Hi everyone! I’m back with my first project of the month that I created for Eileen Hull. Last week Eileen had a release party for her newest set of Magical Shakers by Lindy’s Gang. I wasn’t able to be a part of the release party since I had a family obligation. But I have a few projects I’ll be share in the next few weeks using the Whimsical Garden Magical Shaker Set. Side note…in the supply list below I did include a second link of another source if Eileen’s Etsy store is sold out of the shaker set.
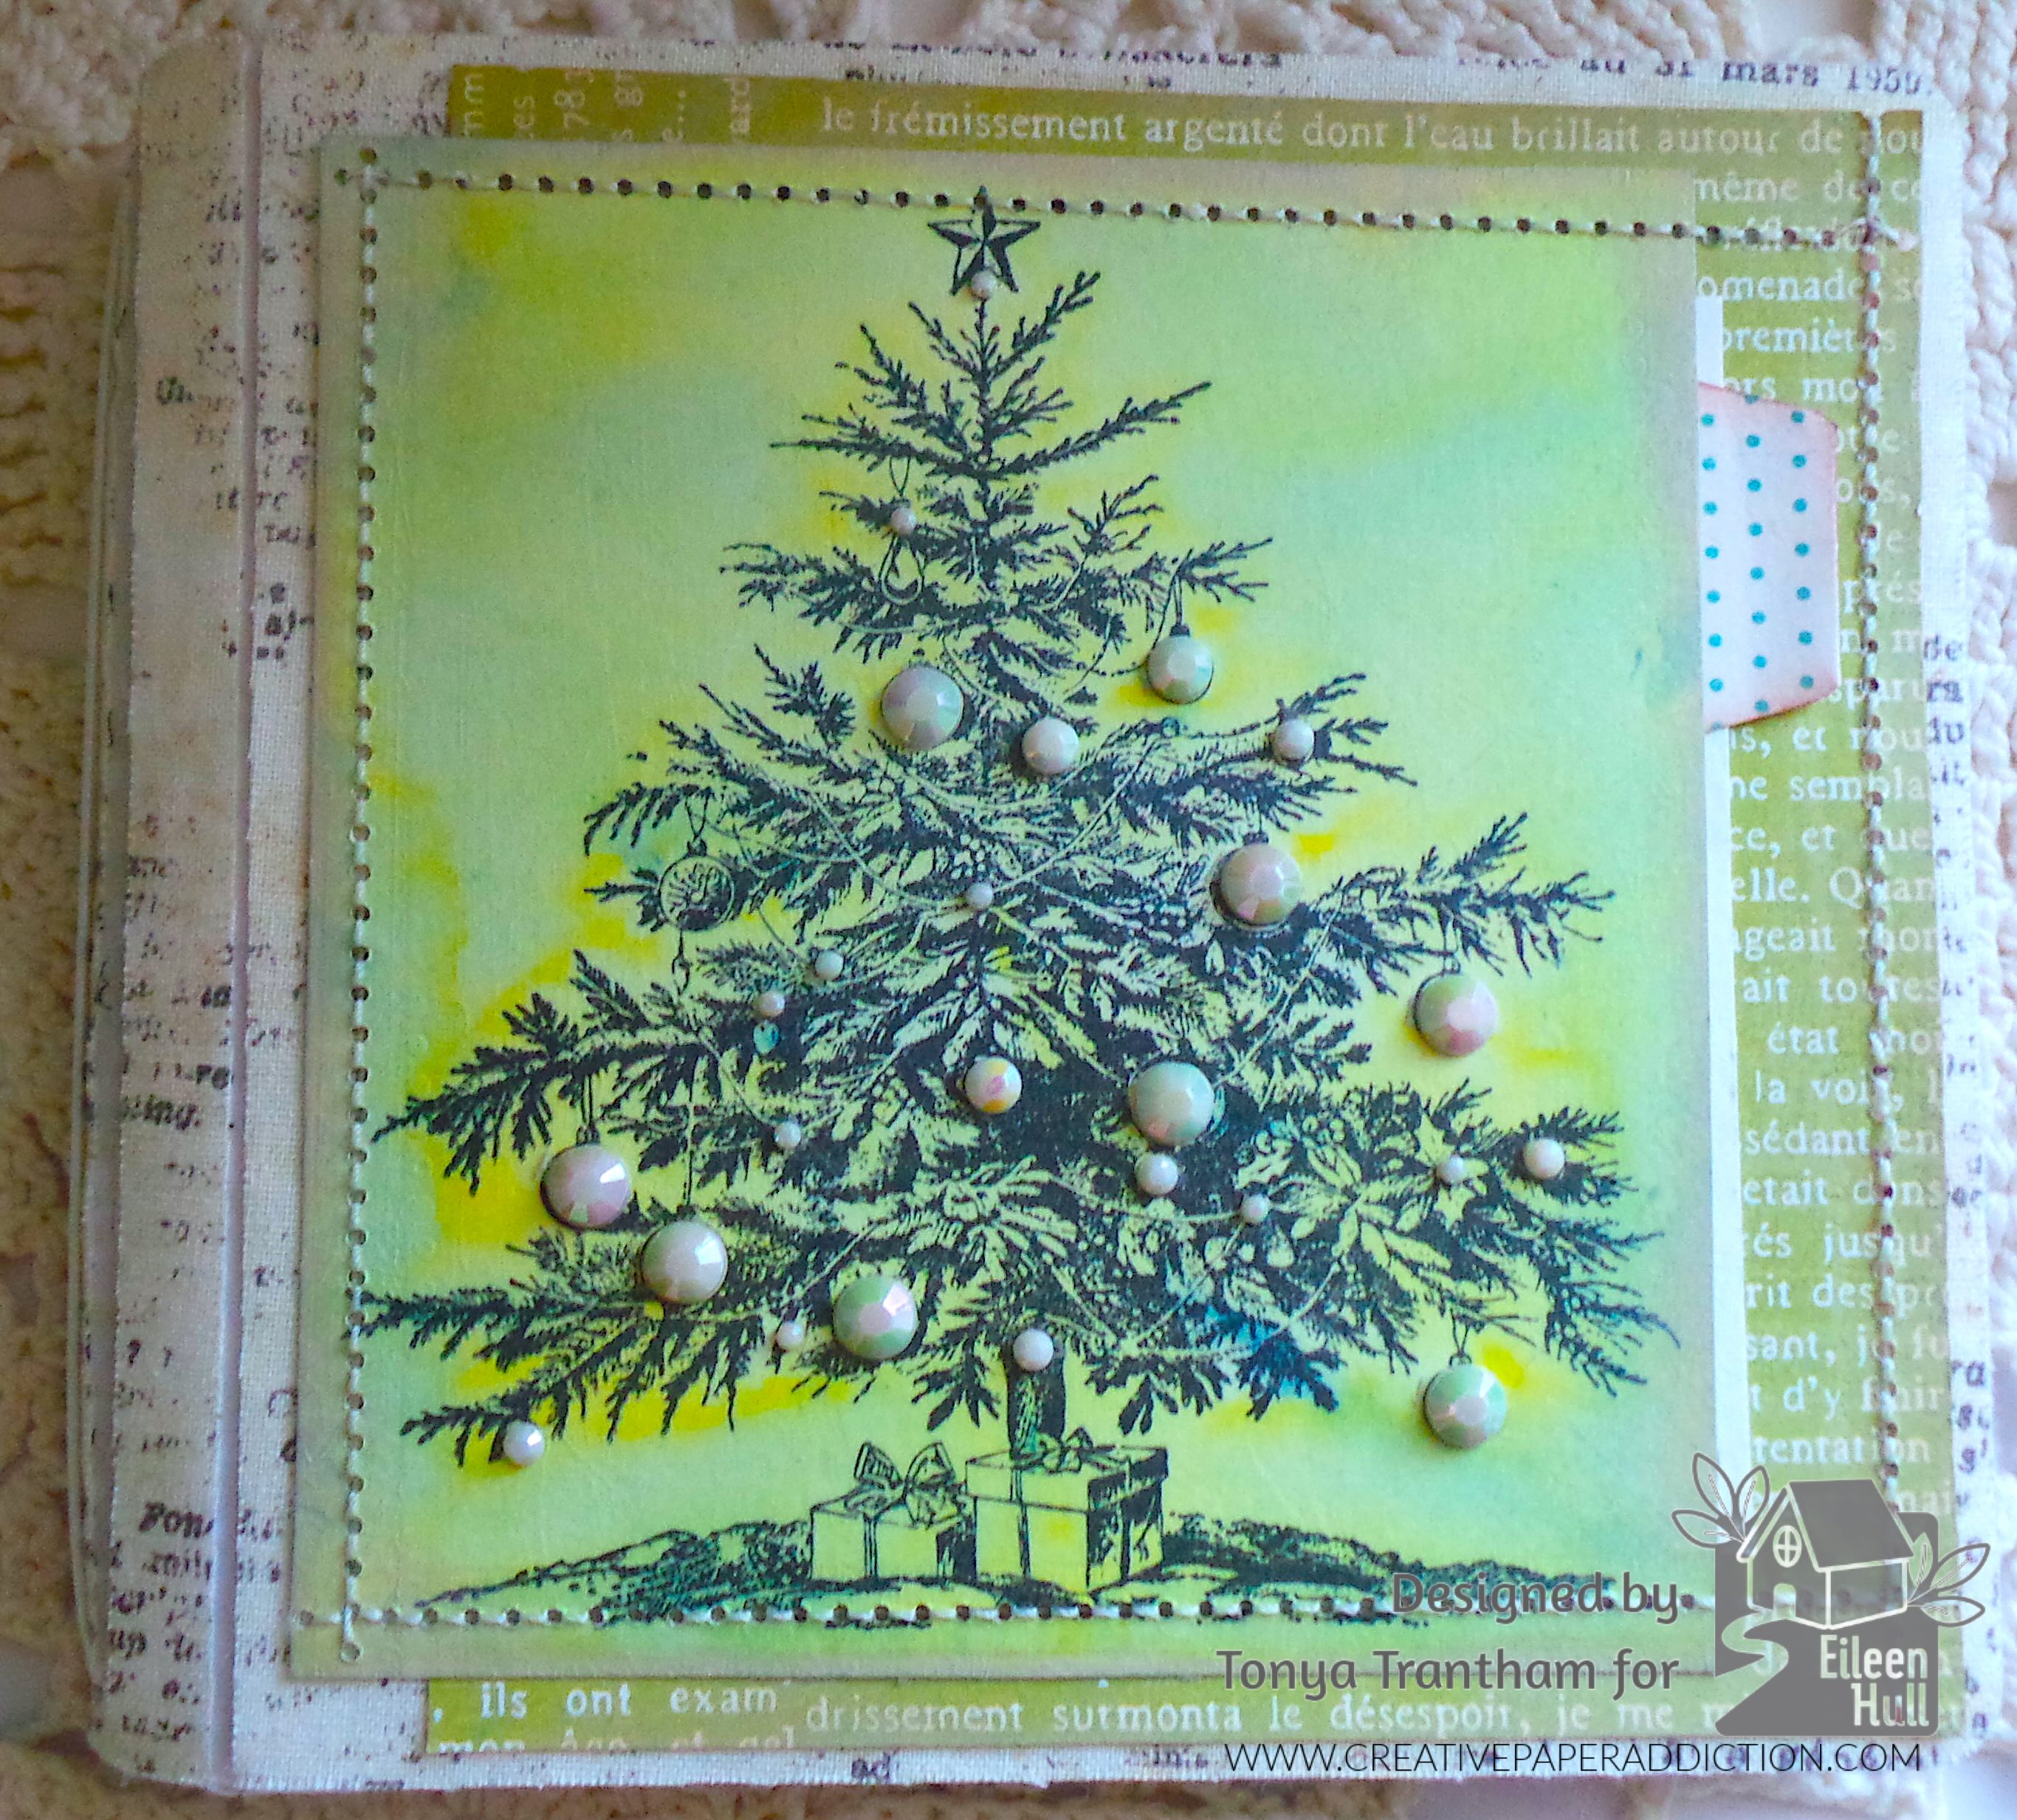
This is the first time using any products from Lindy’s and I love the shaker style bottle. You can shake out as much or as little as you want and all you have to do is add water. It can be used as a watercolor to paint with. Or place Watercolor Paper into the mixture to color drench and let dry.
The Whimsical Garden Magical Shaker Set has a total of five colors. The names of the colors are Pollen Party, Leaf It Alone, Bloom Banter, Berry Bad Behavior and Water You Waiting For.
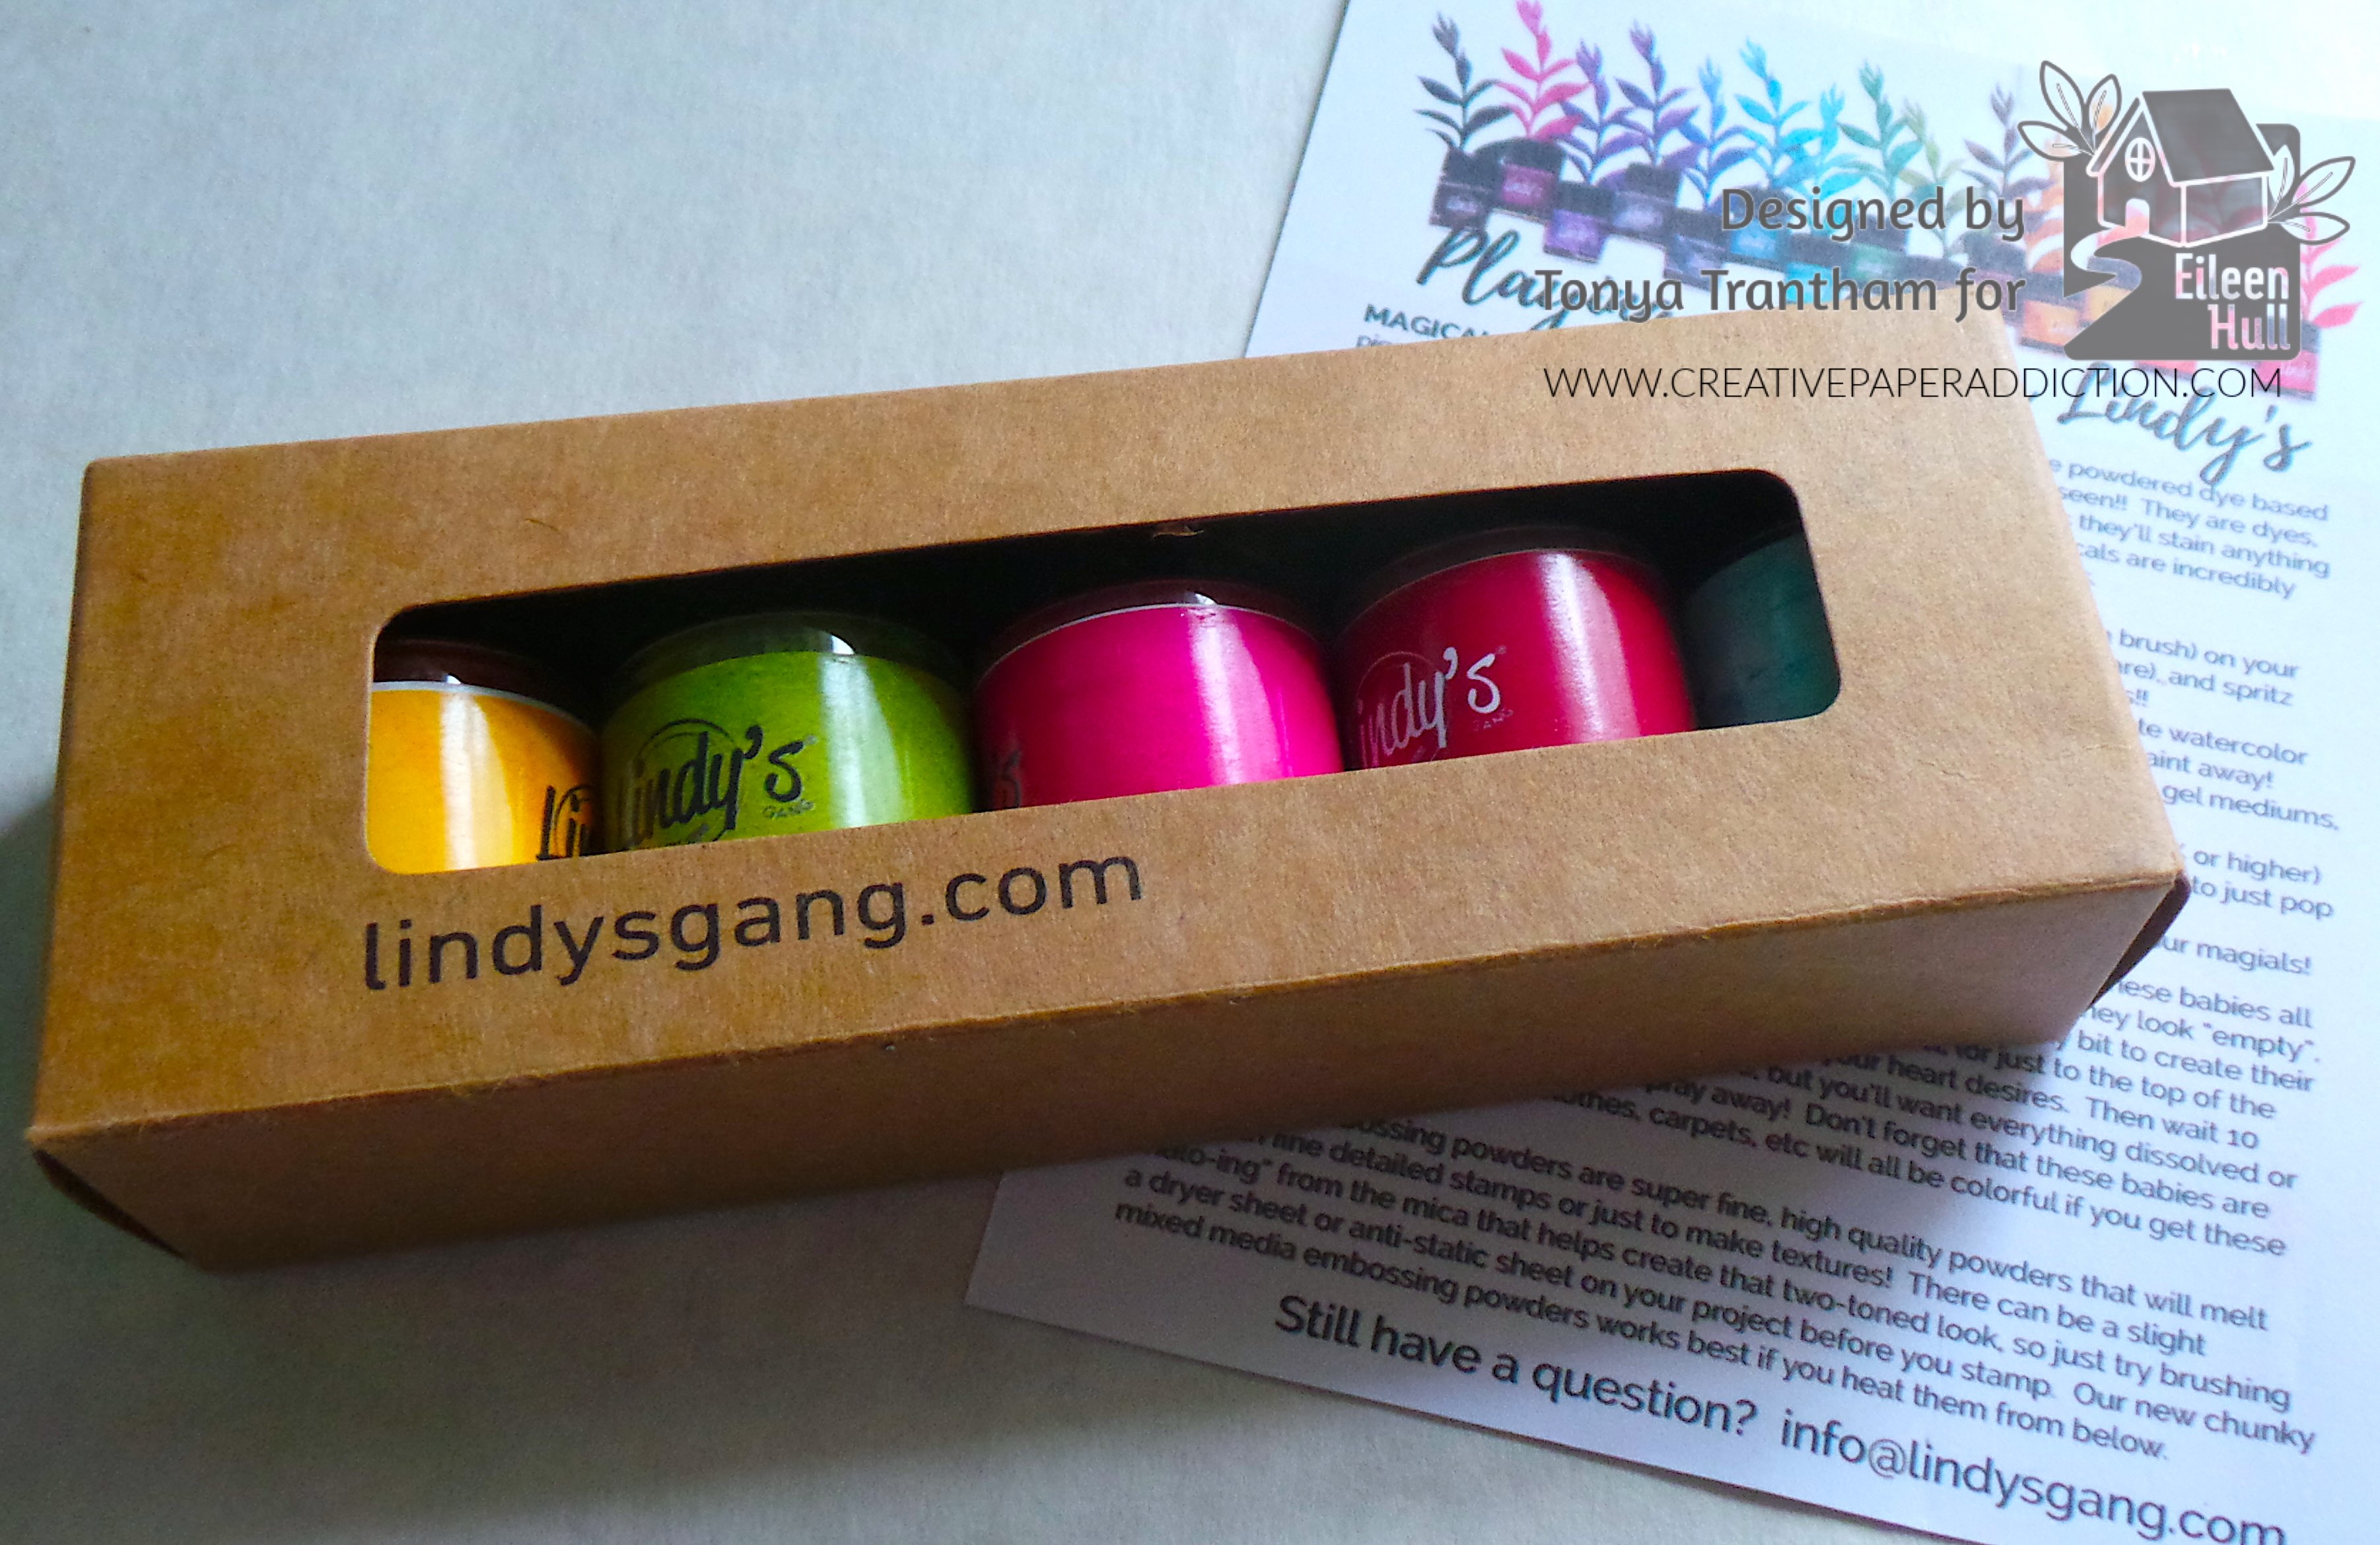
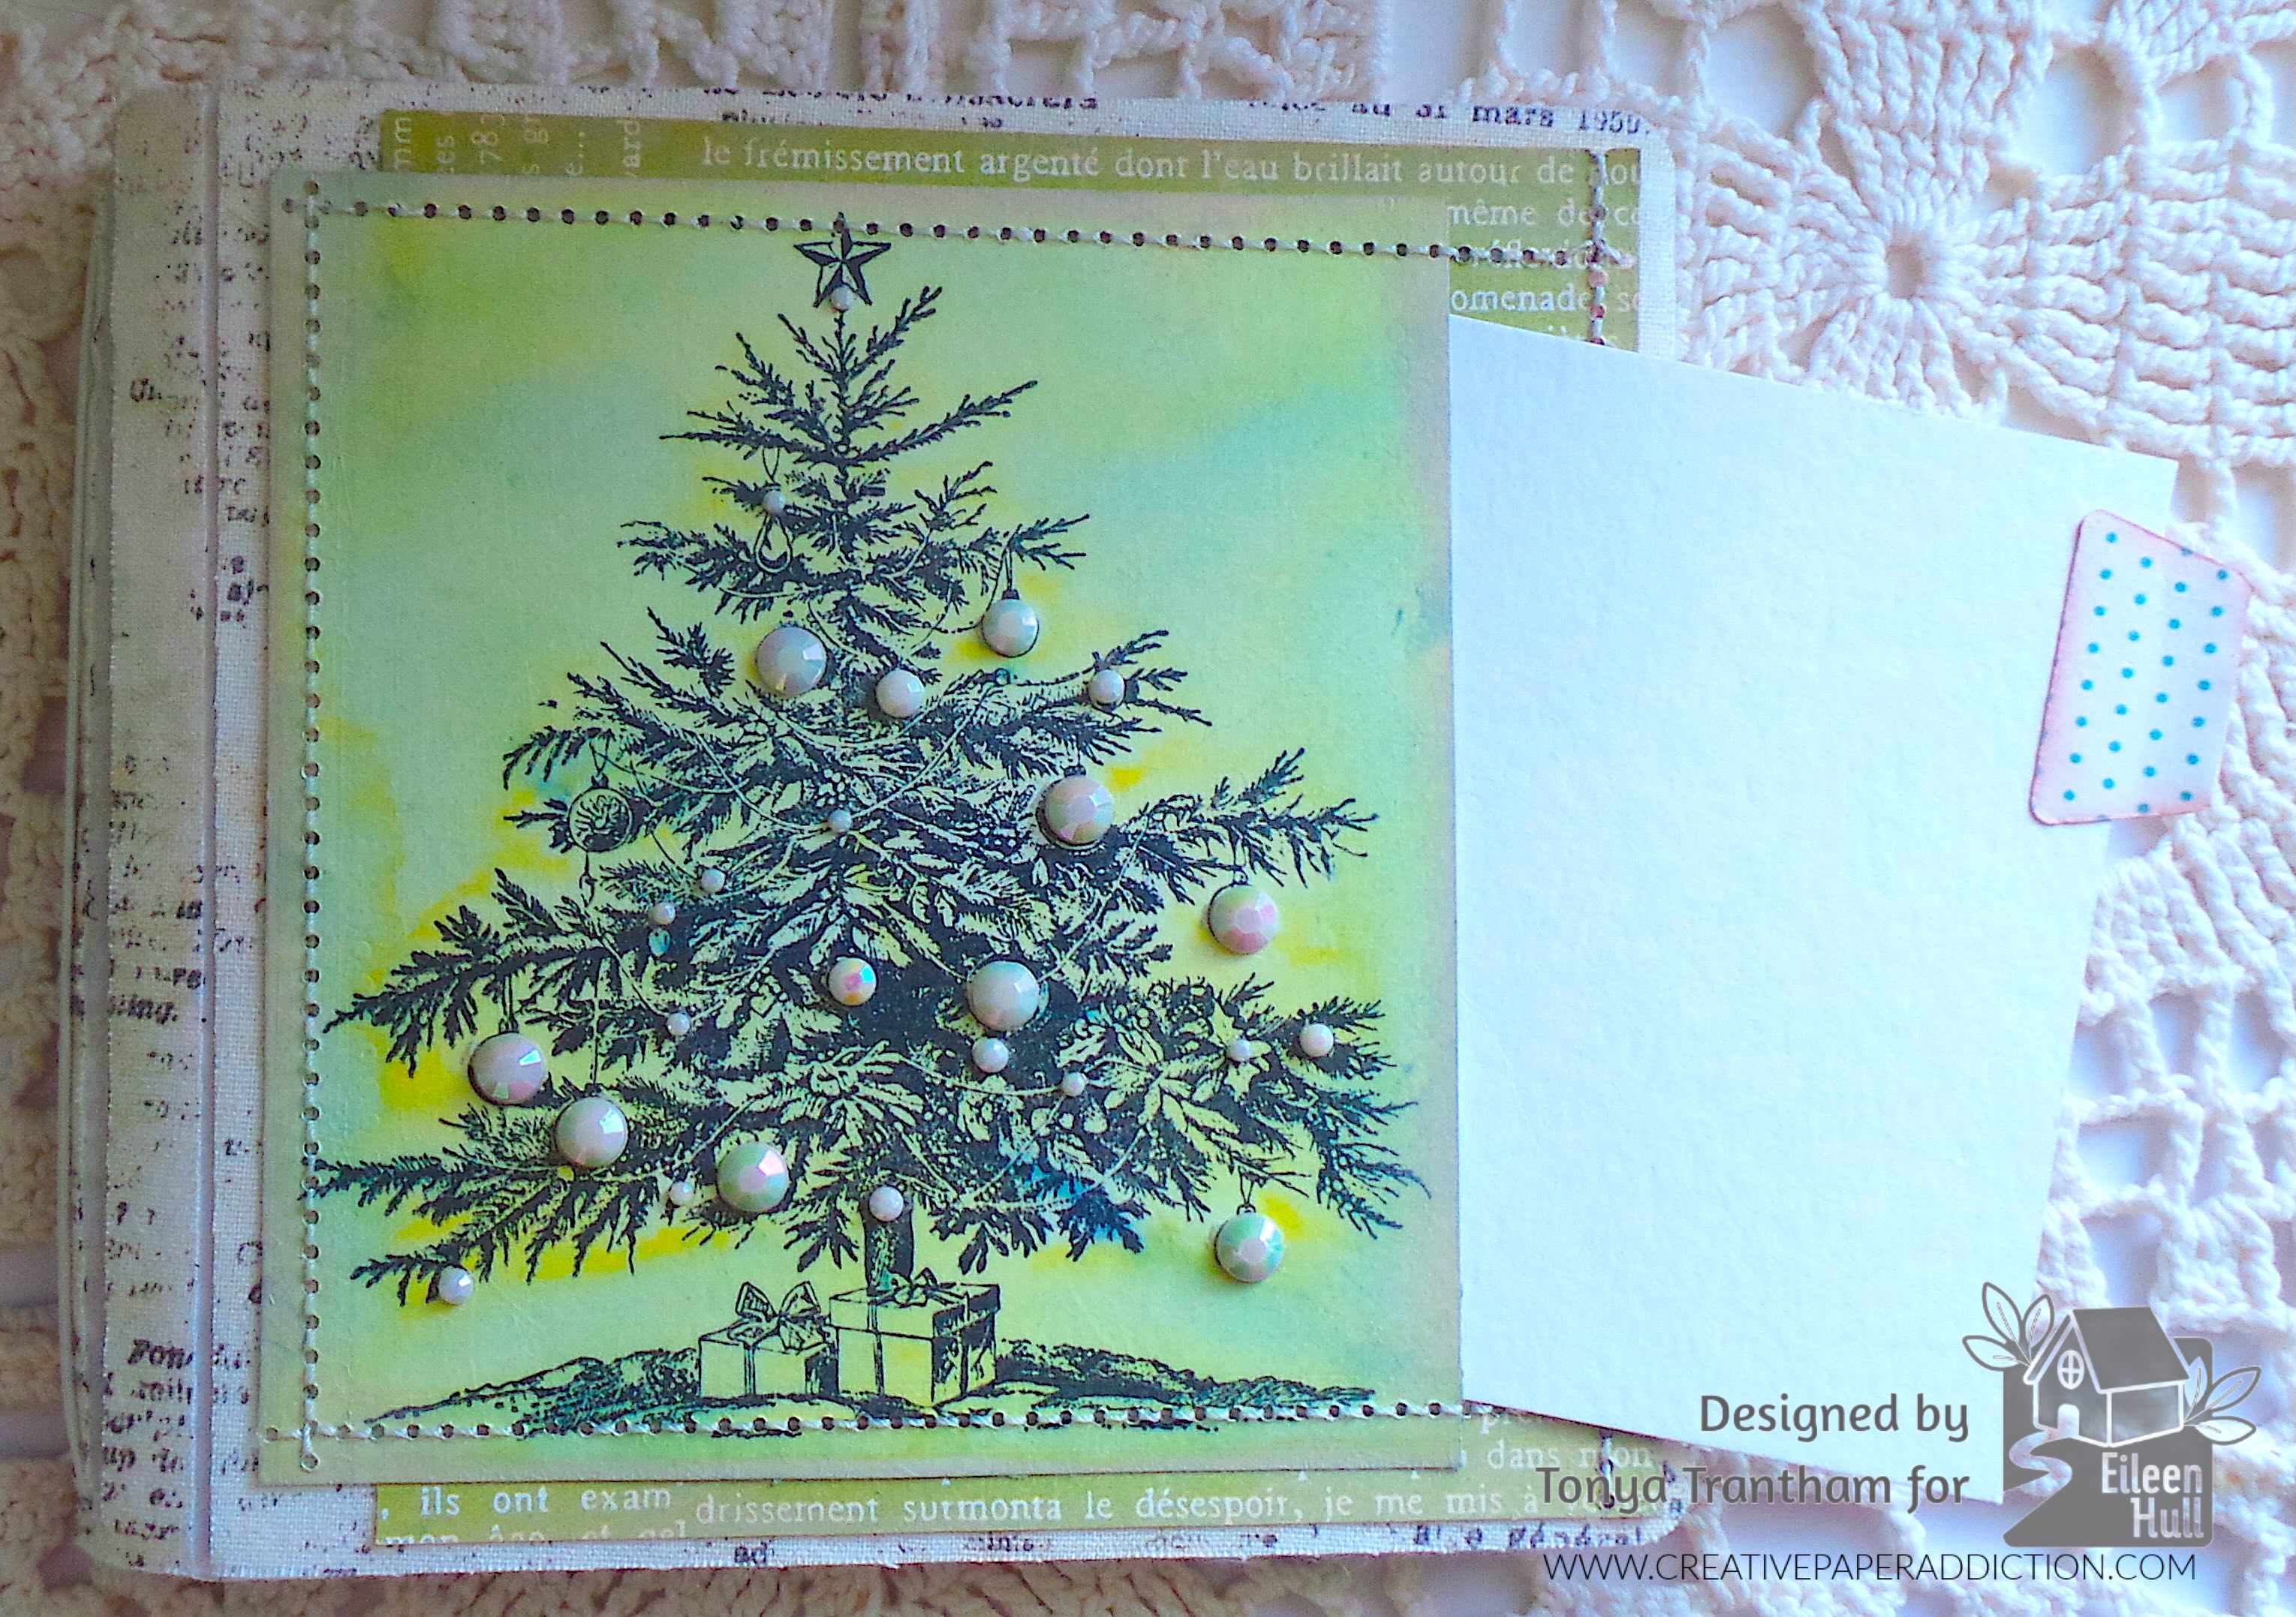
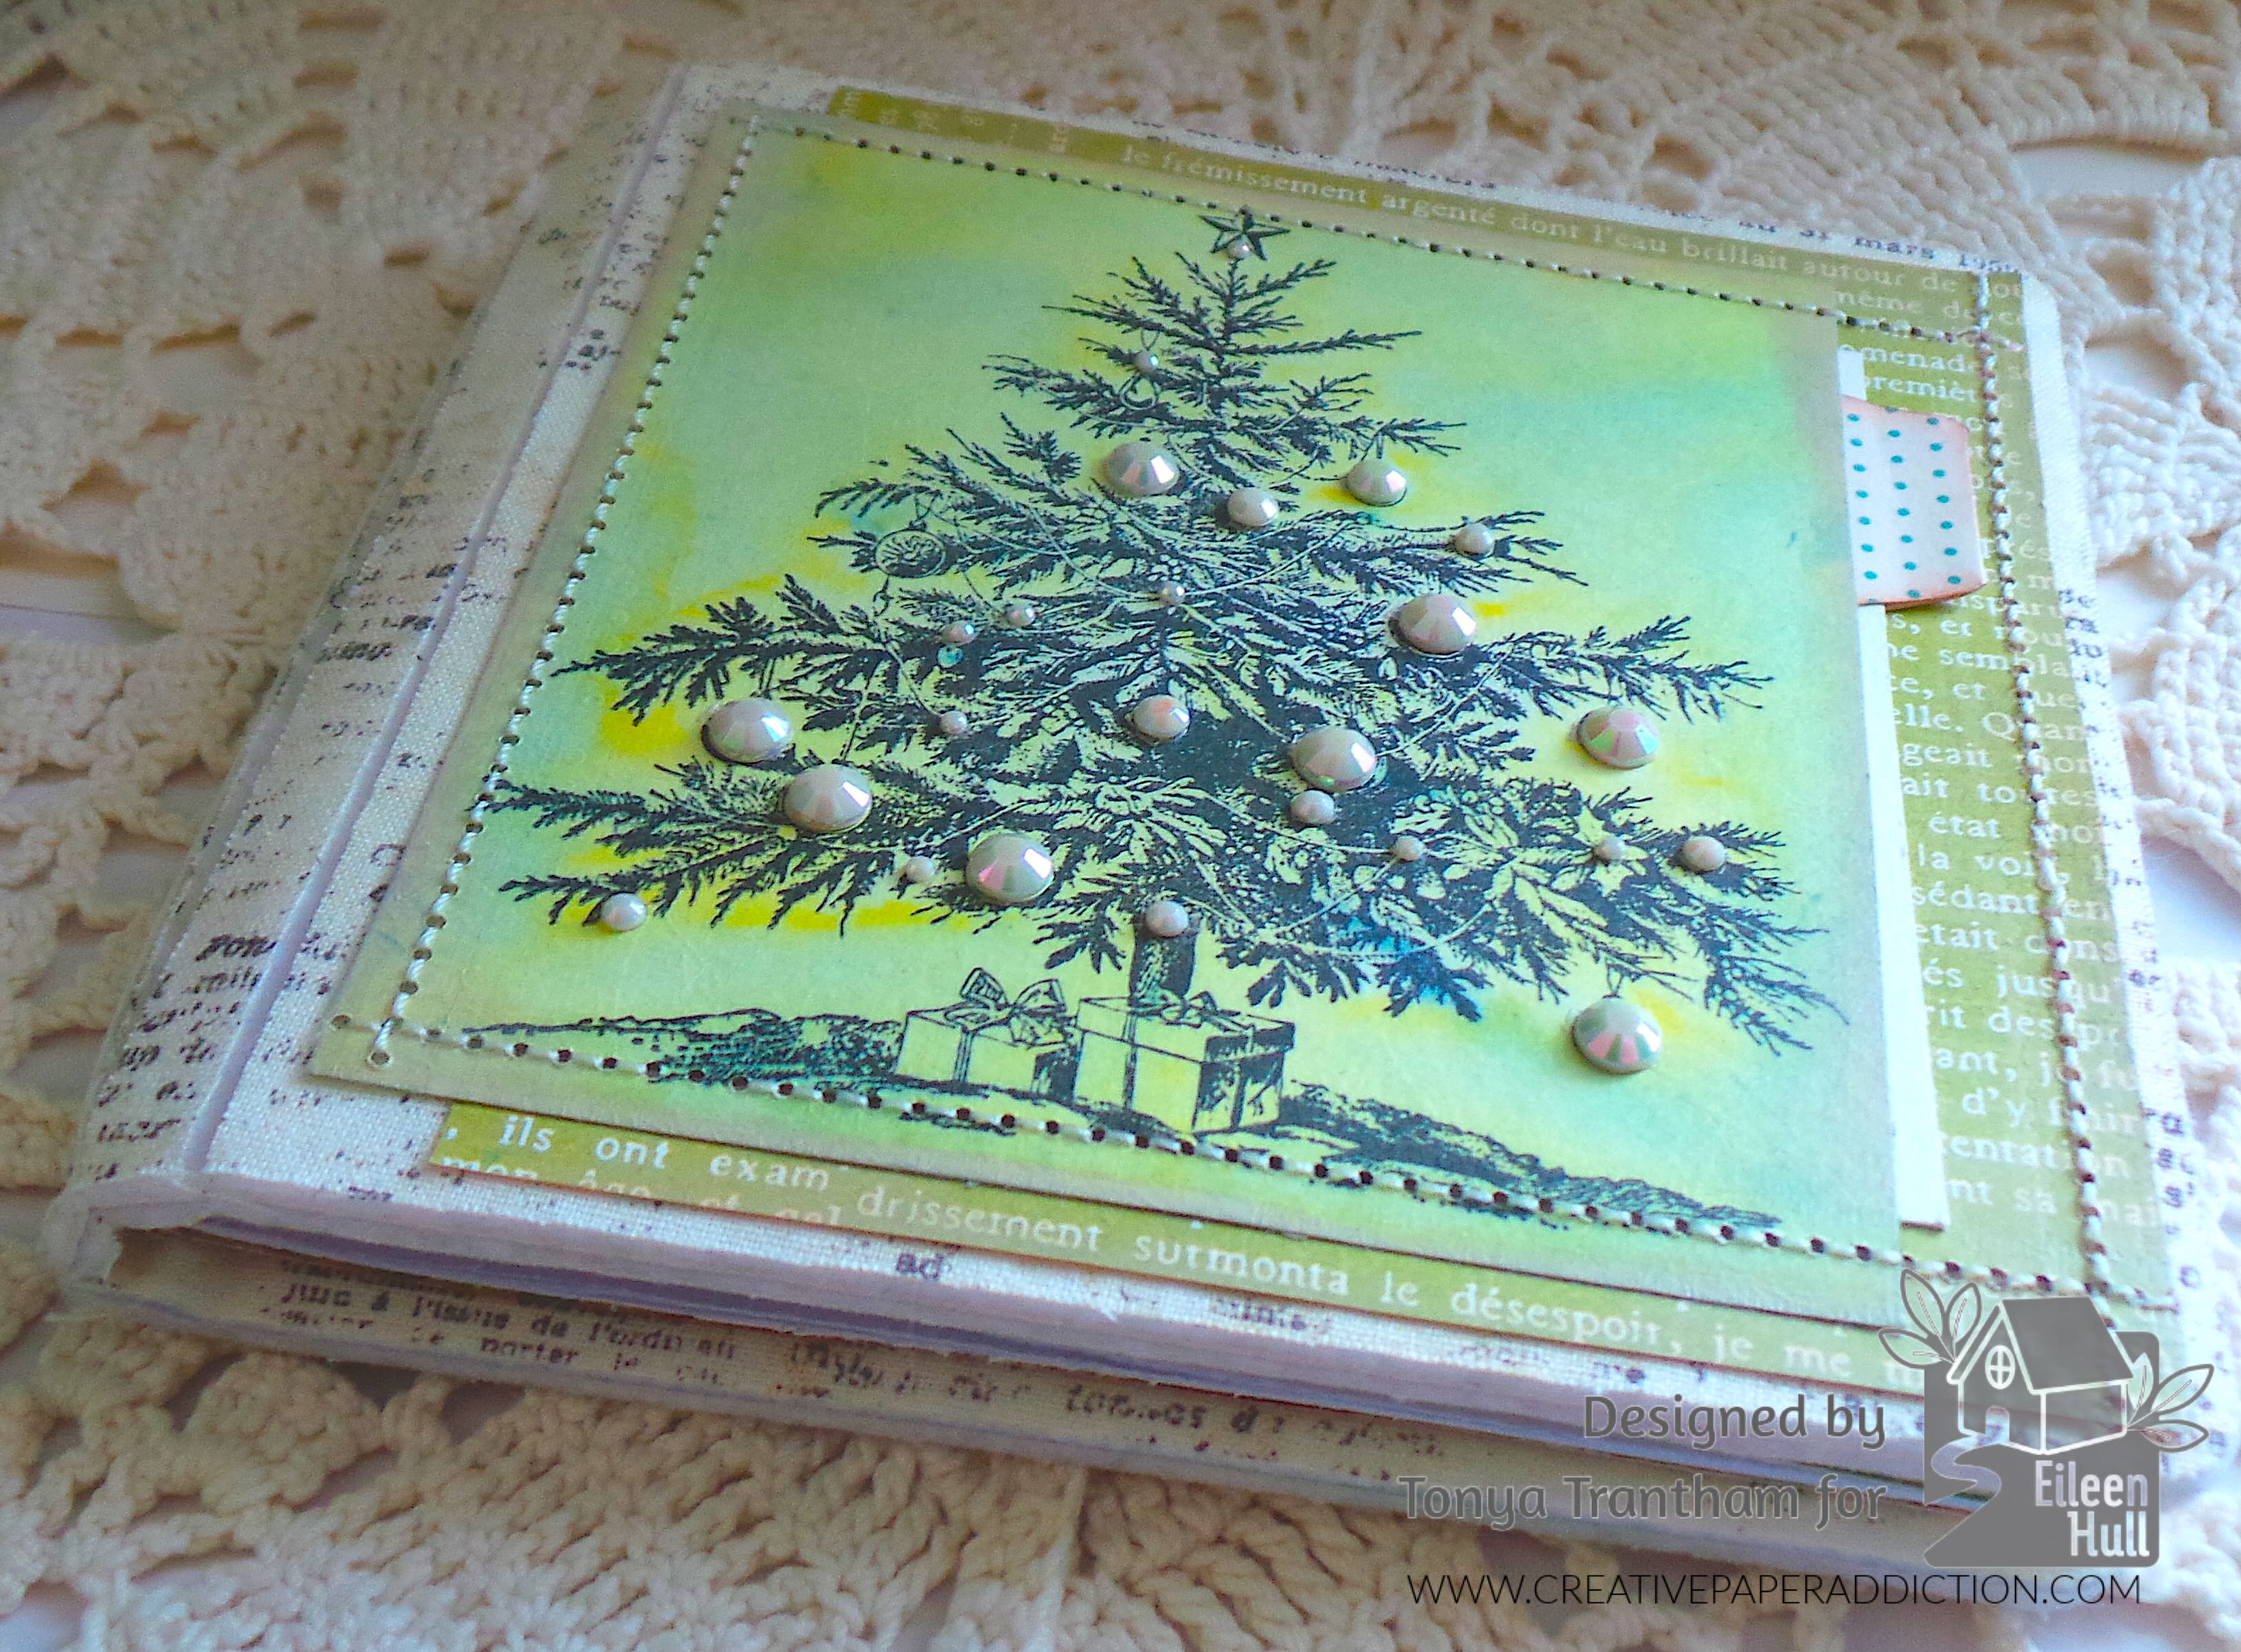
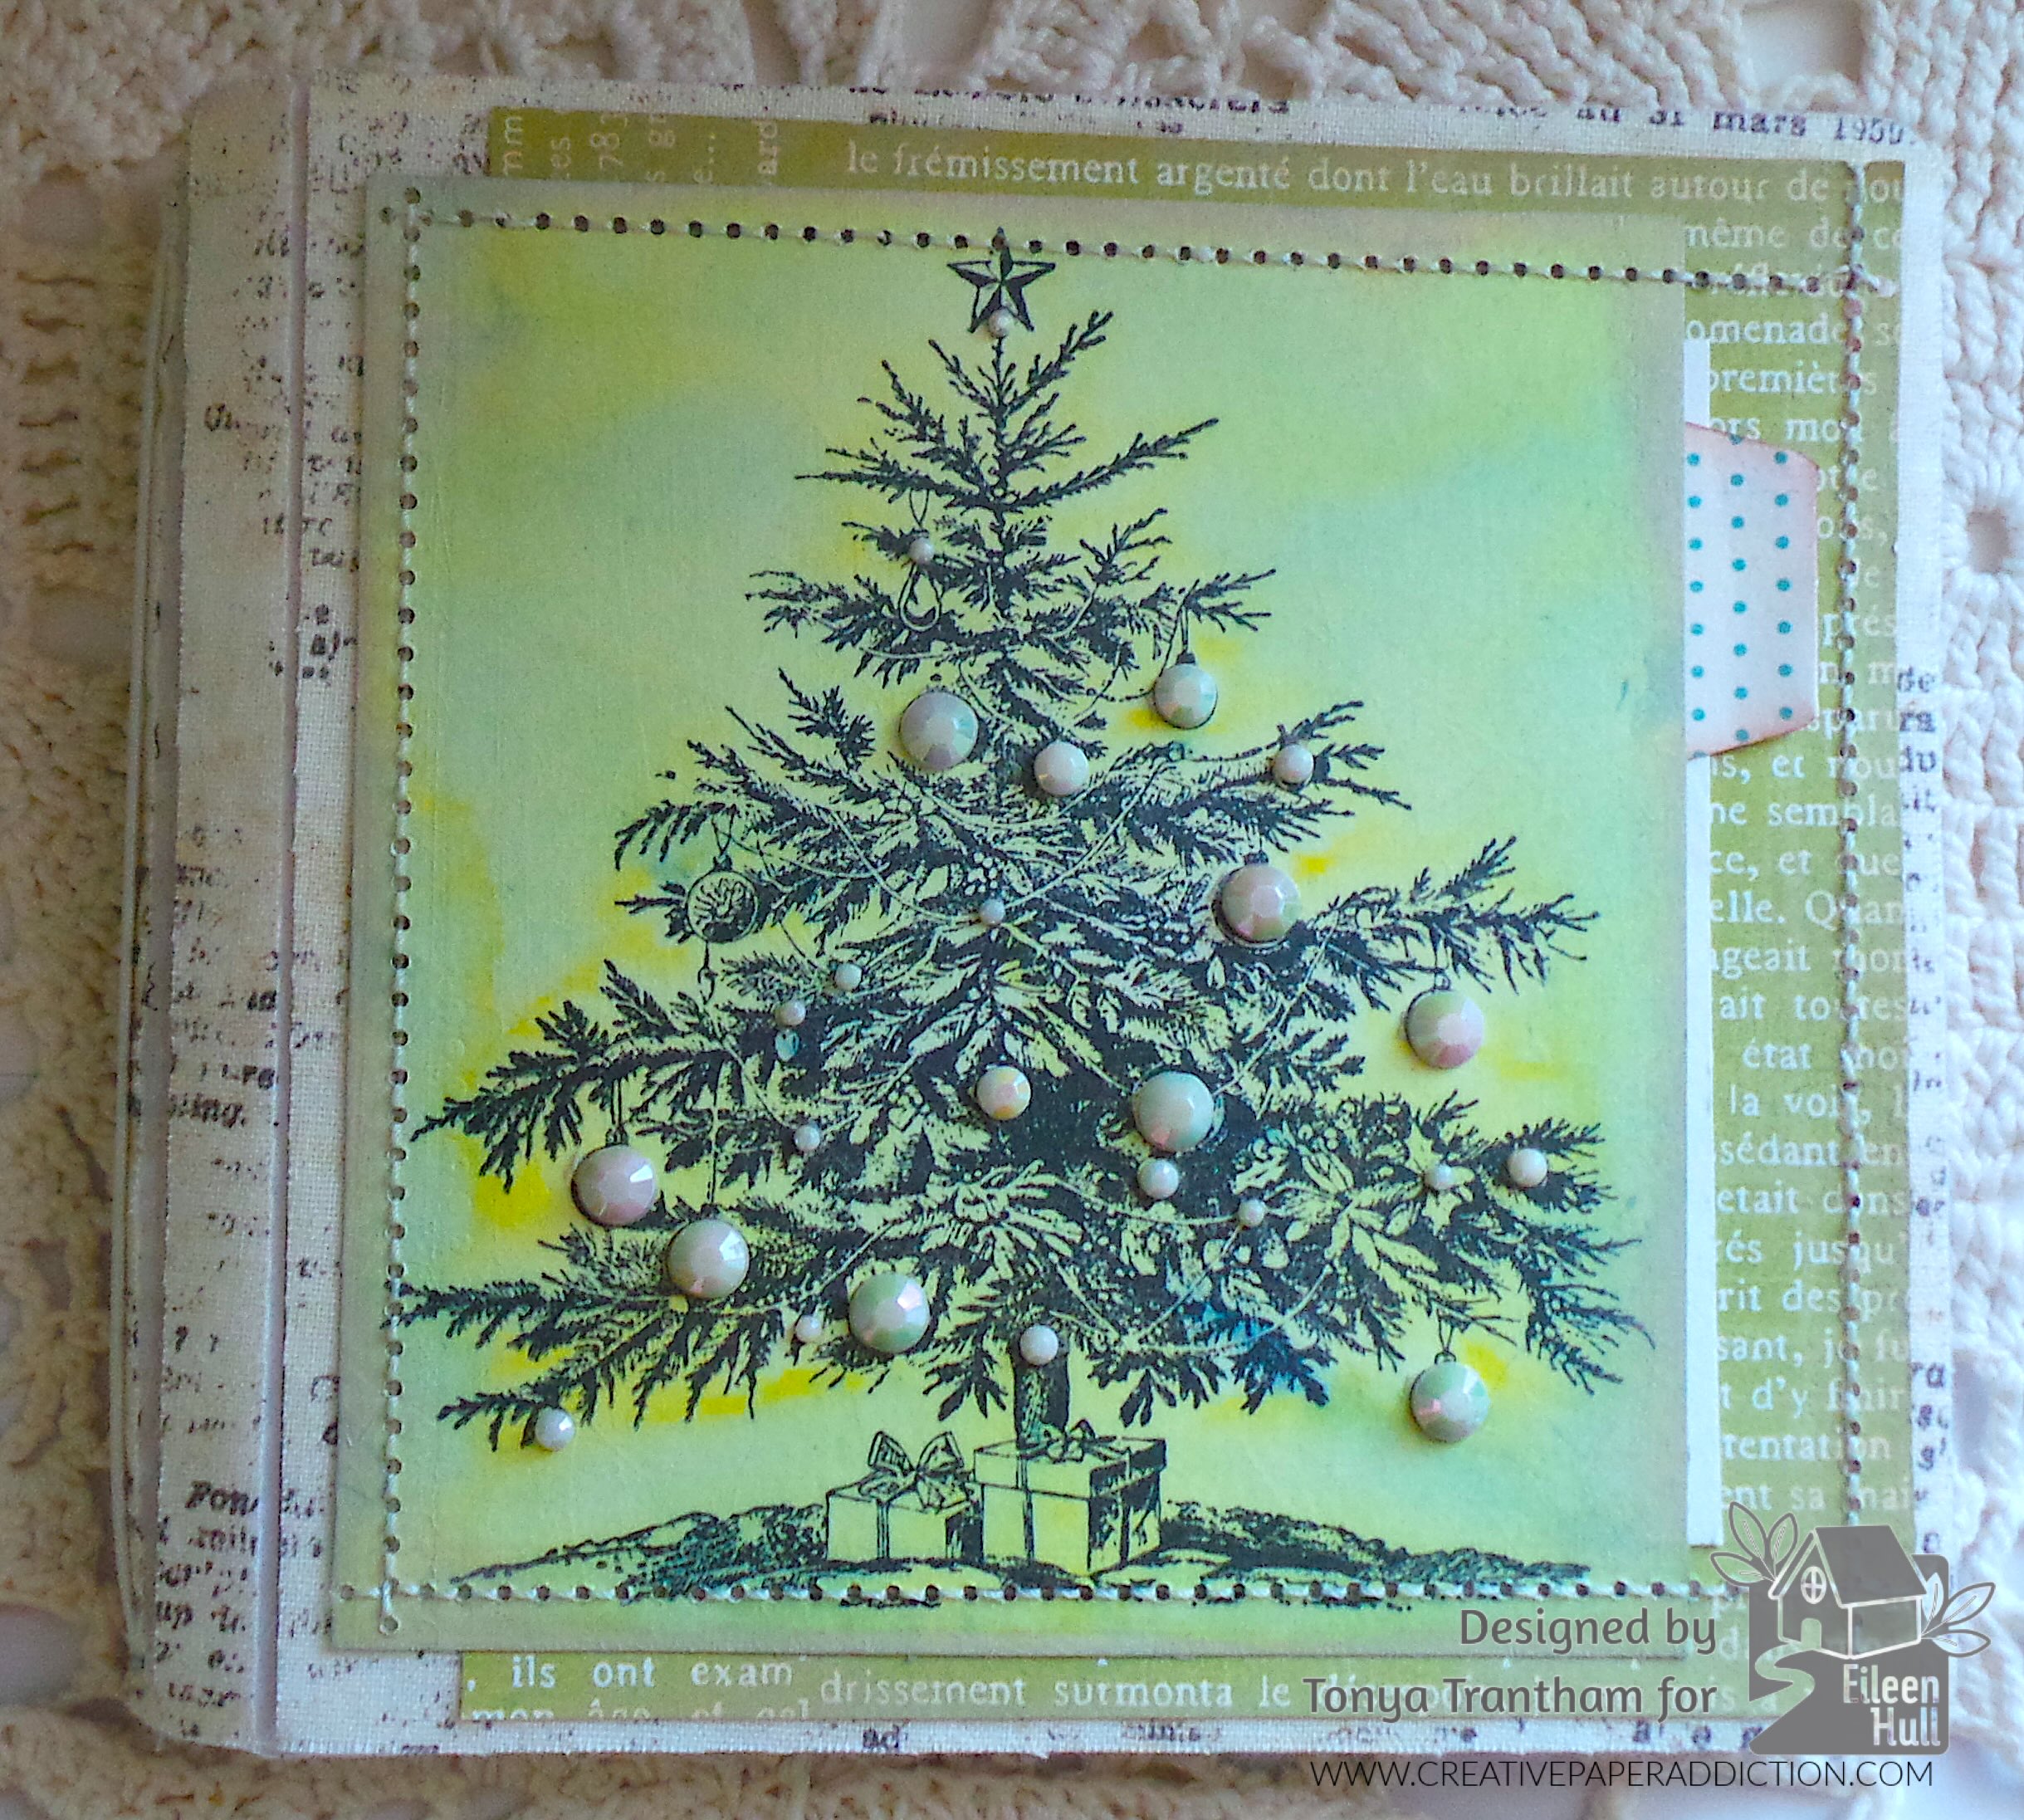
Now for my project! I placed the Christmas tree stamp from Christmas Wishes Stamps by IOD onto the MISTI Stamping Tool. I inked with a waterproof Black Ink and stamped onto a piece of Watercolor Paper. While the image was drying I sprinkled the Leaf It Alone Shaker onto the glass mat and used a spray bottle to wet the sprinkles. Side note…the glass mat I used is from an old microwave that no longer worked. It’s big enough that I can work on bigger projects and it is easy to clean. I placed the image face down into the mixture and once the watercolor paper was completely covered I removed and let dry.
For the cover I cut a piece of patterned cardstock slightly larger than the Christmas tree image. I used the thinlit with the multi holes from the Page Edges Thinlits on both the Christmas tree and the patterned cardstock. I threaded a needle and stitched both together.
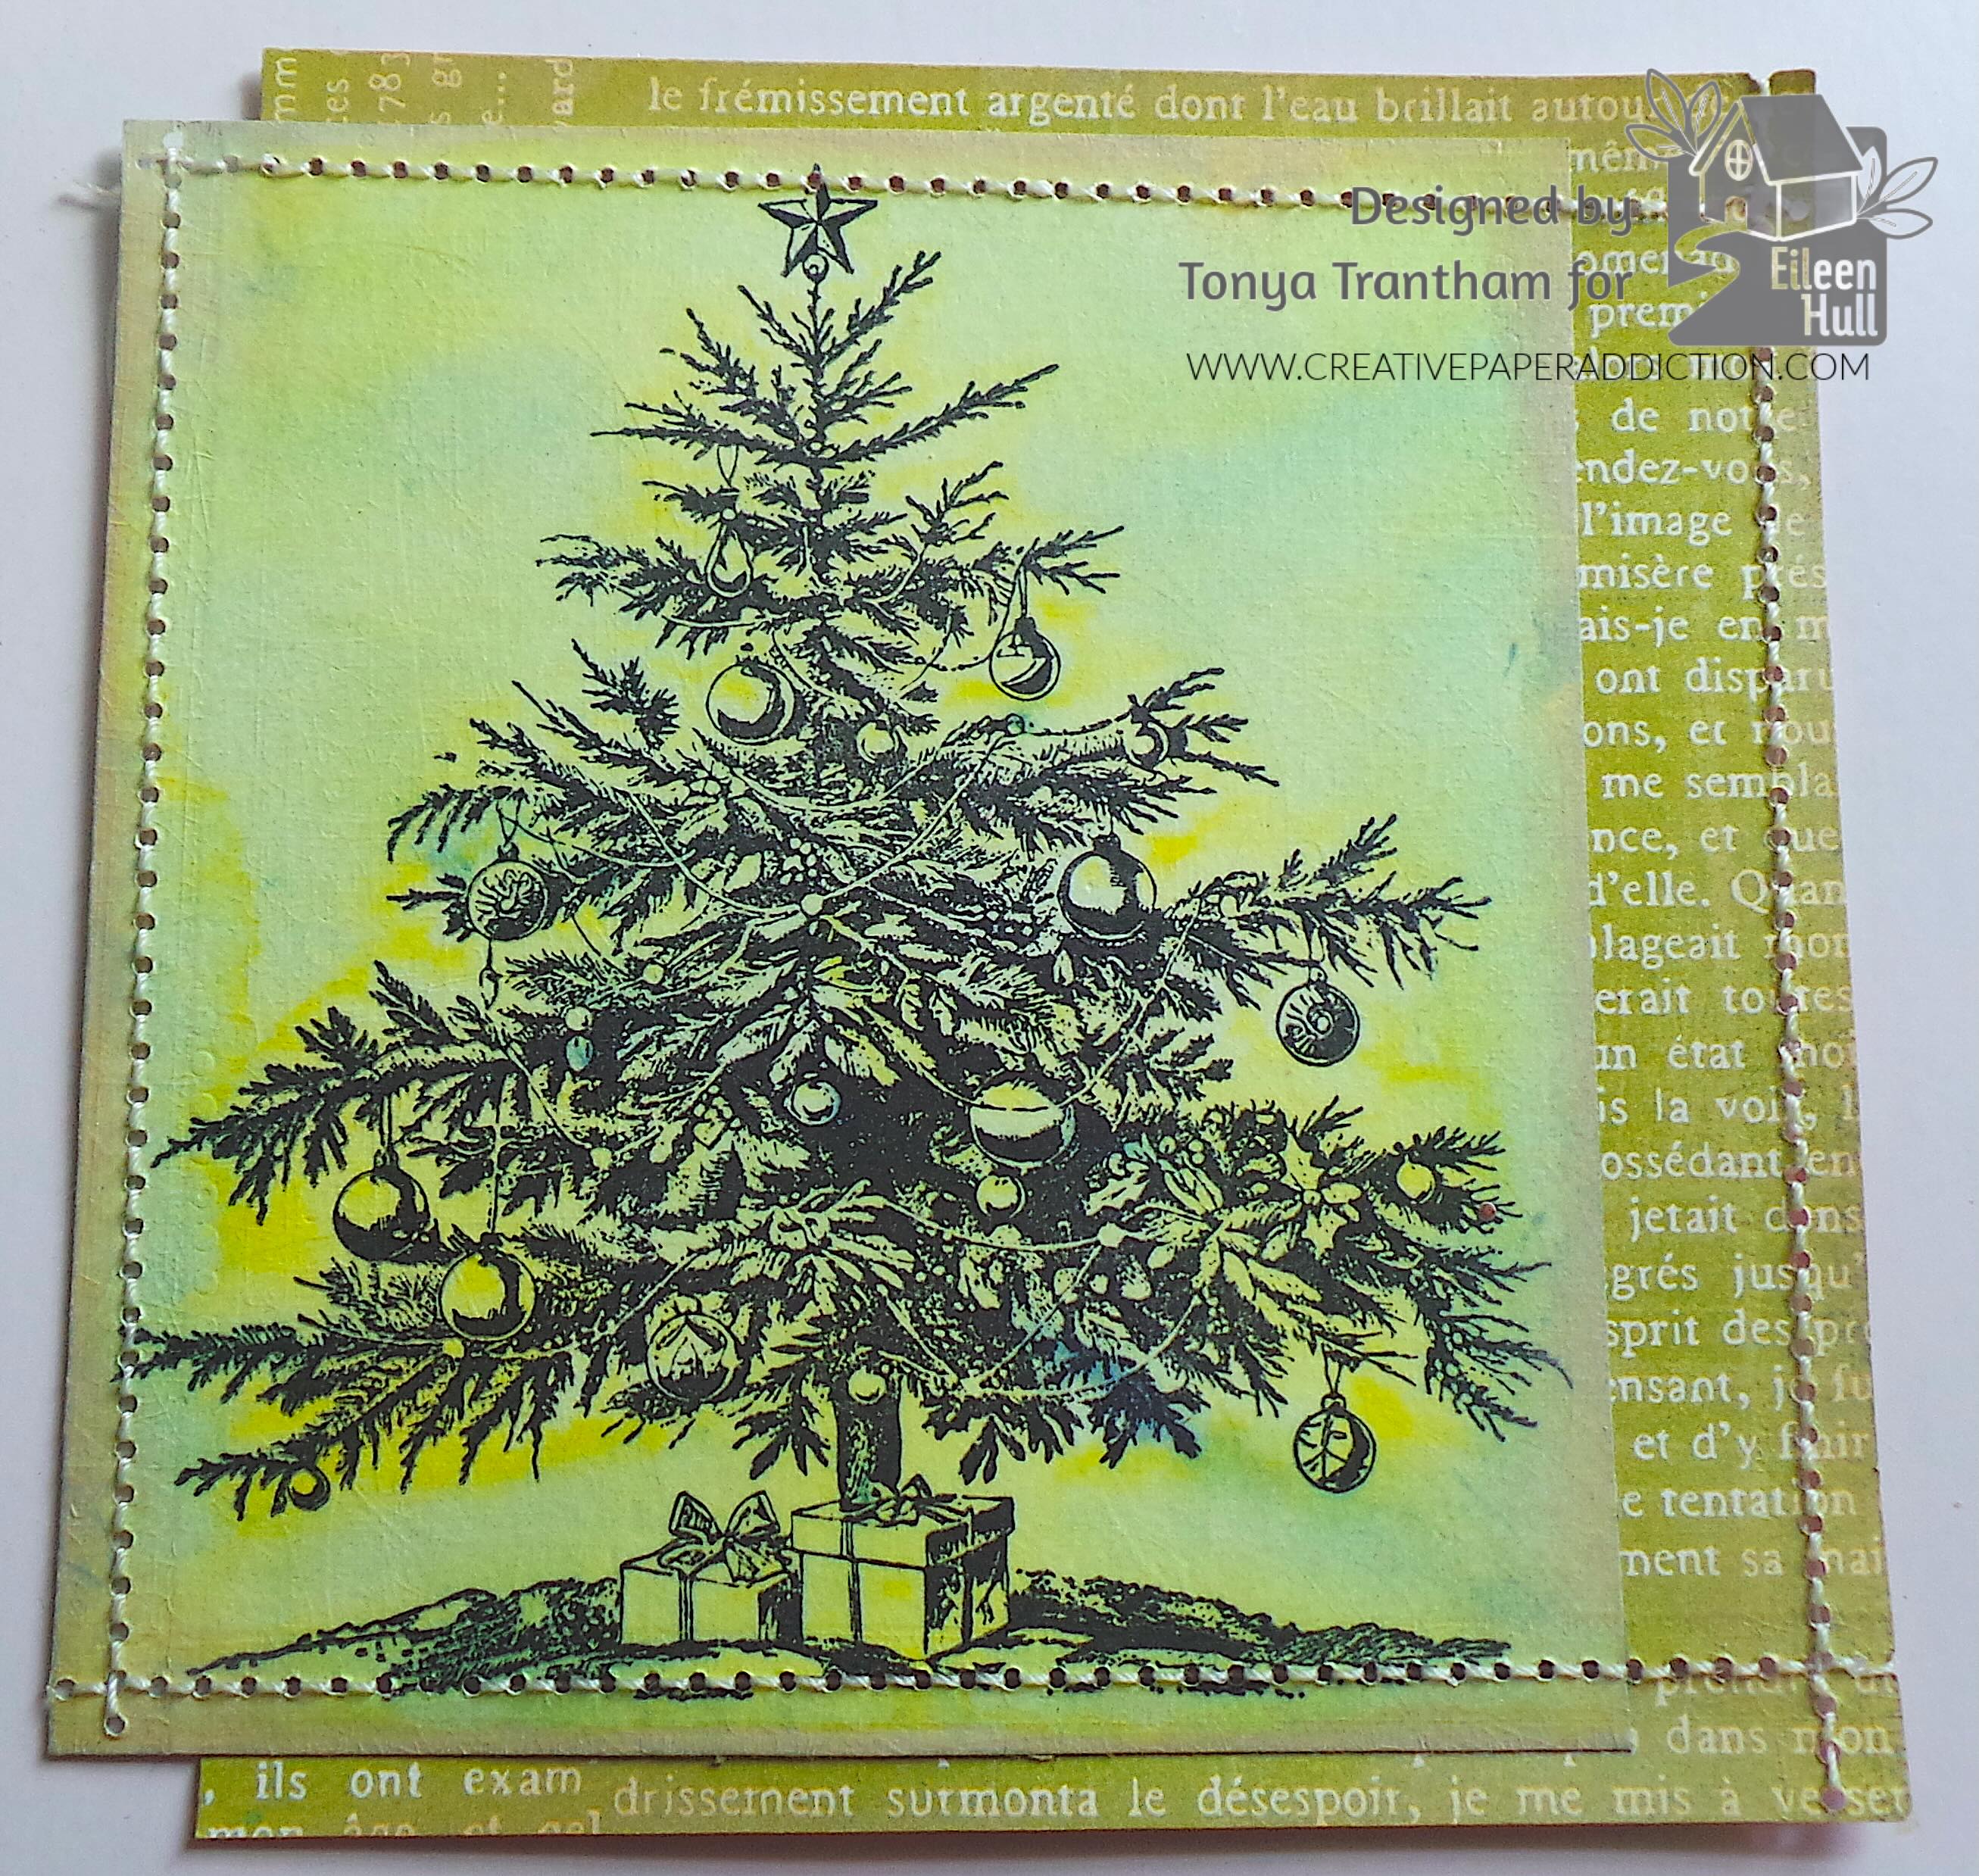
For the cover of the Mini Album Diecut I placed Adhesive Sheets on each side of the cardstock. Next I removed the backing of the Adhesive Sheets and placed felt onto each side. I then applied Adhesive Sheets onto each side of the felt. I removed the backing from the Adhesive Sheets and placed fabric to each side. I then placed onto the Mini Album Diecut and sandwiched in-between two cutting plates and run through the Diecut Machine.
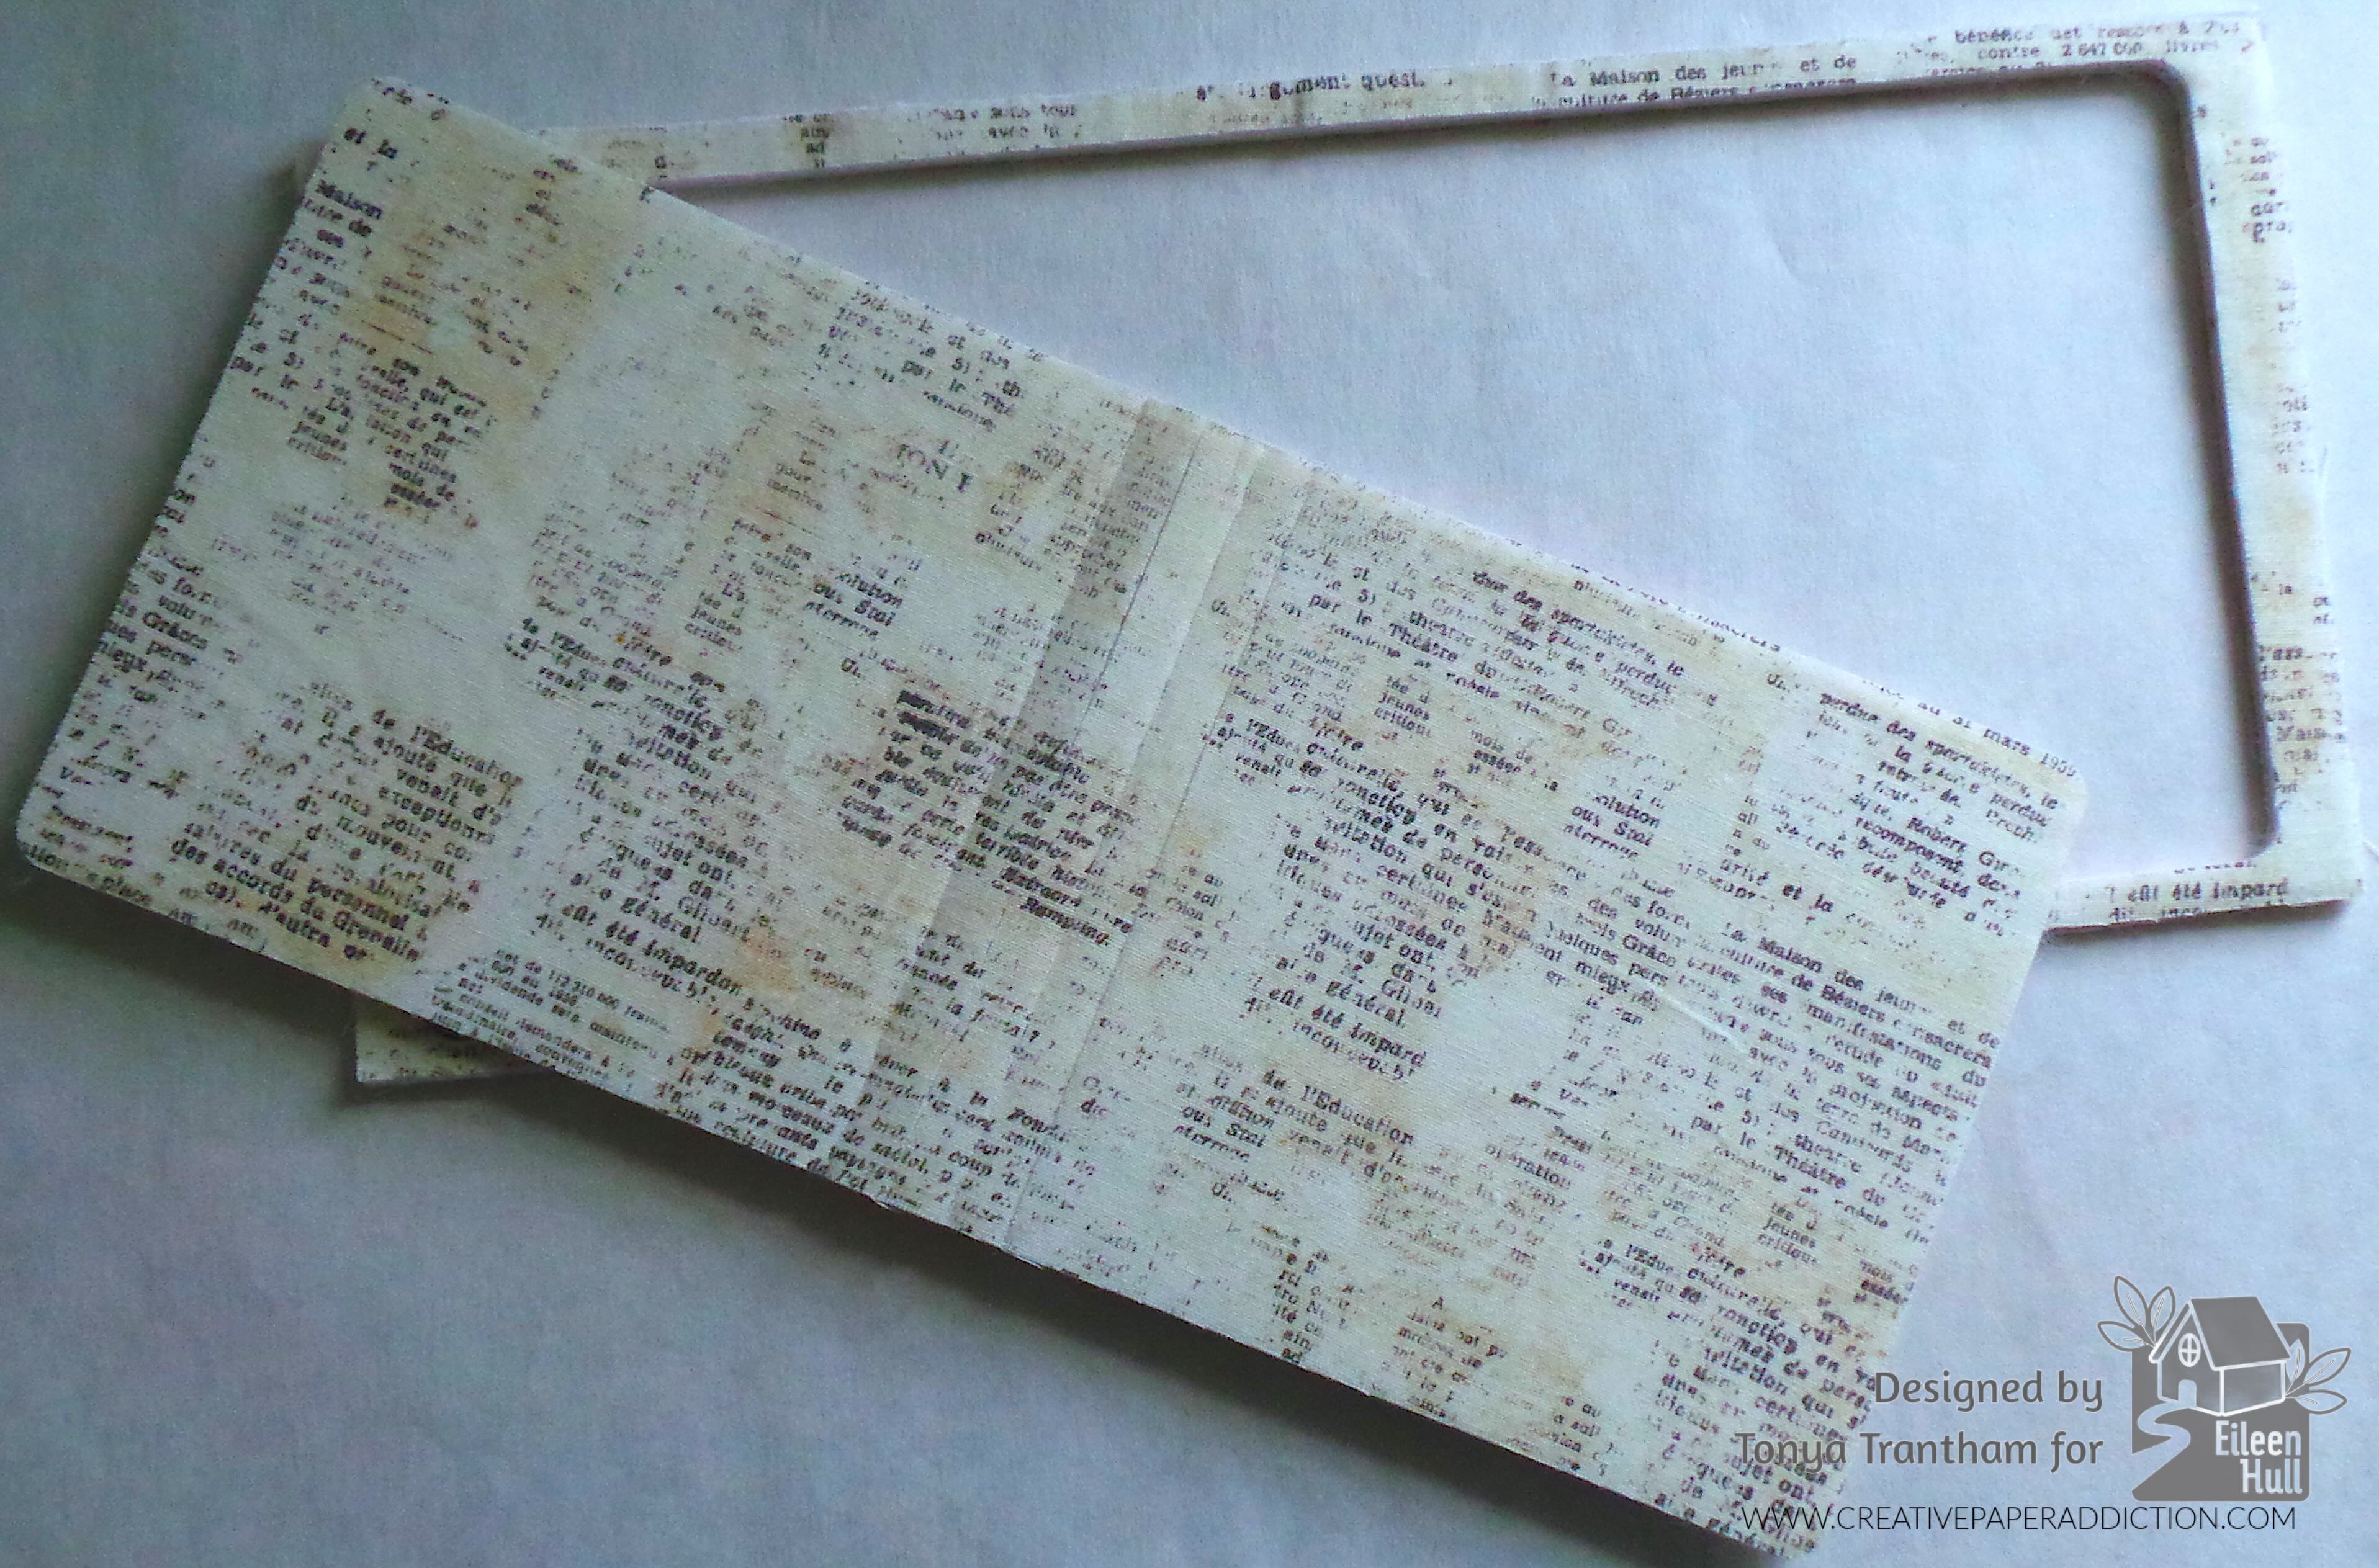
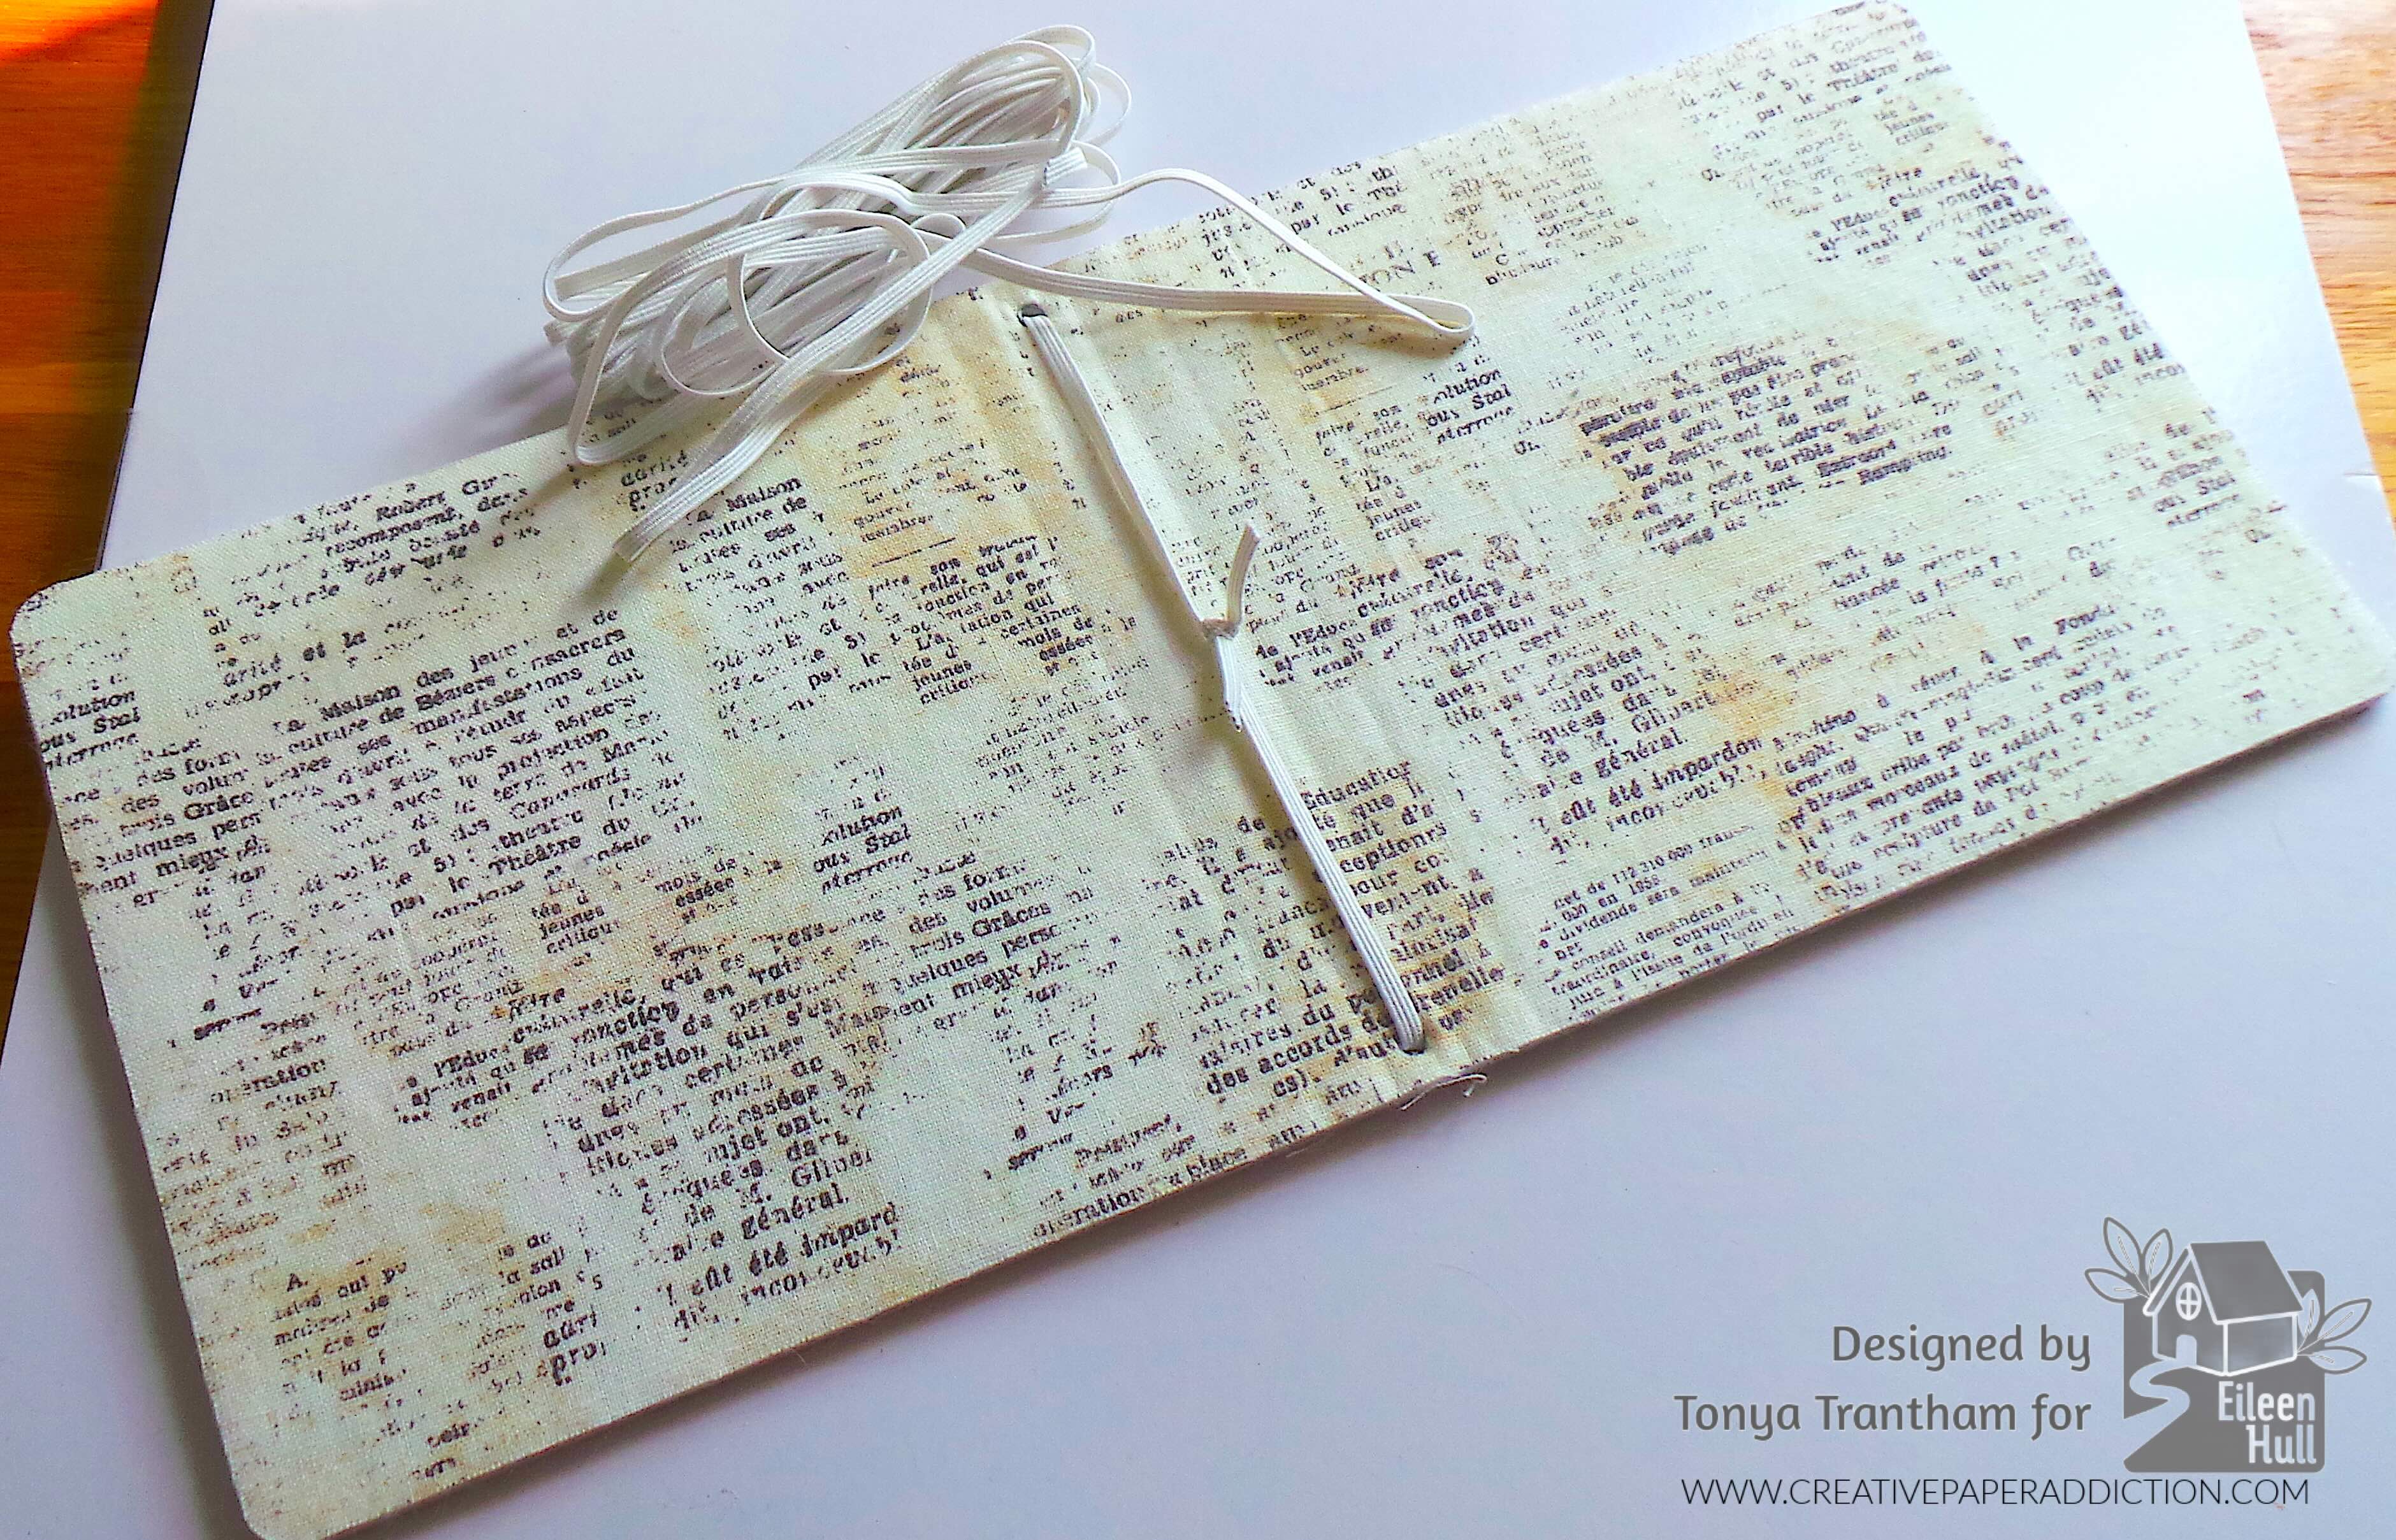
I used a Crop-A-Dile and punched holes in each end of the spine. I placed eyelets in each hole and set with the Crop-A-Dile. I ran elastic through each hole and tied off on the inside of the album.
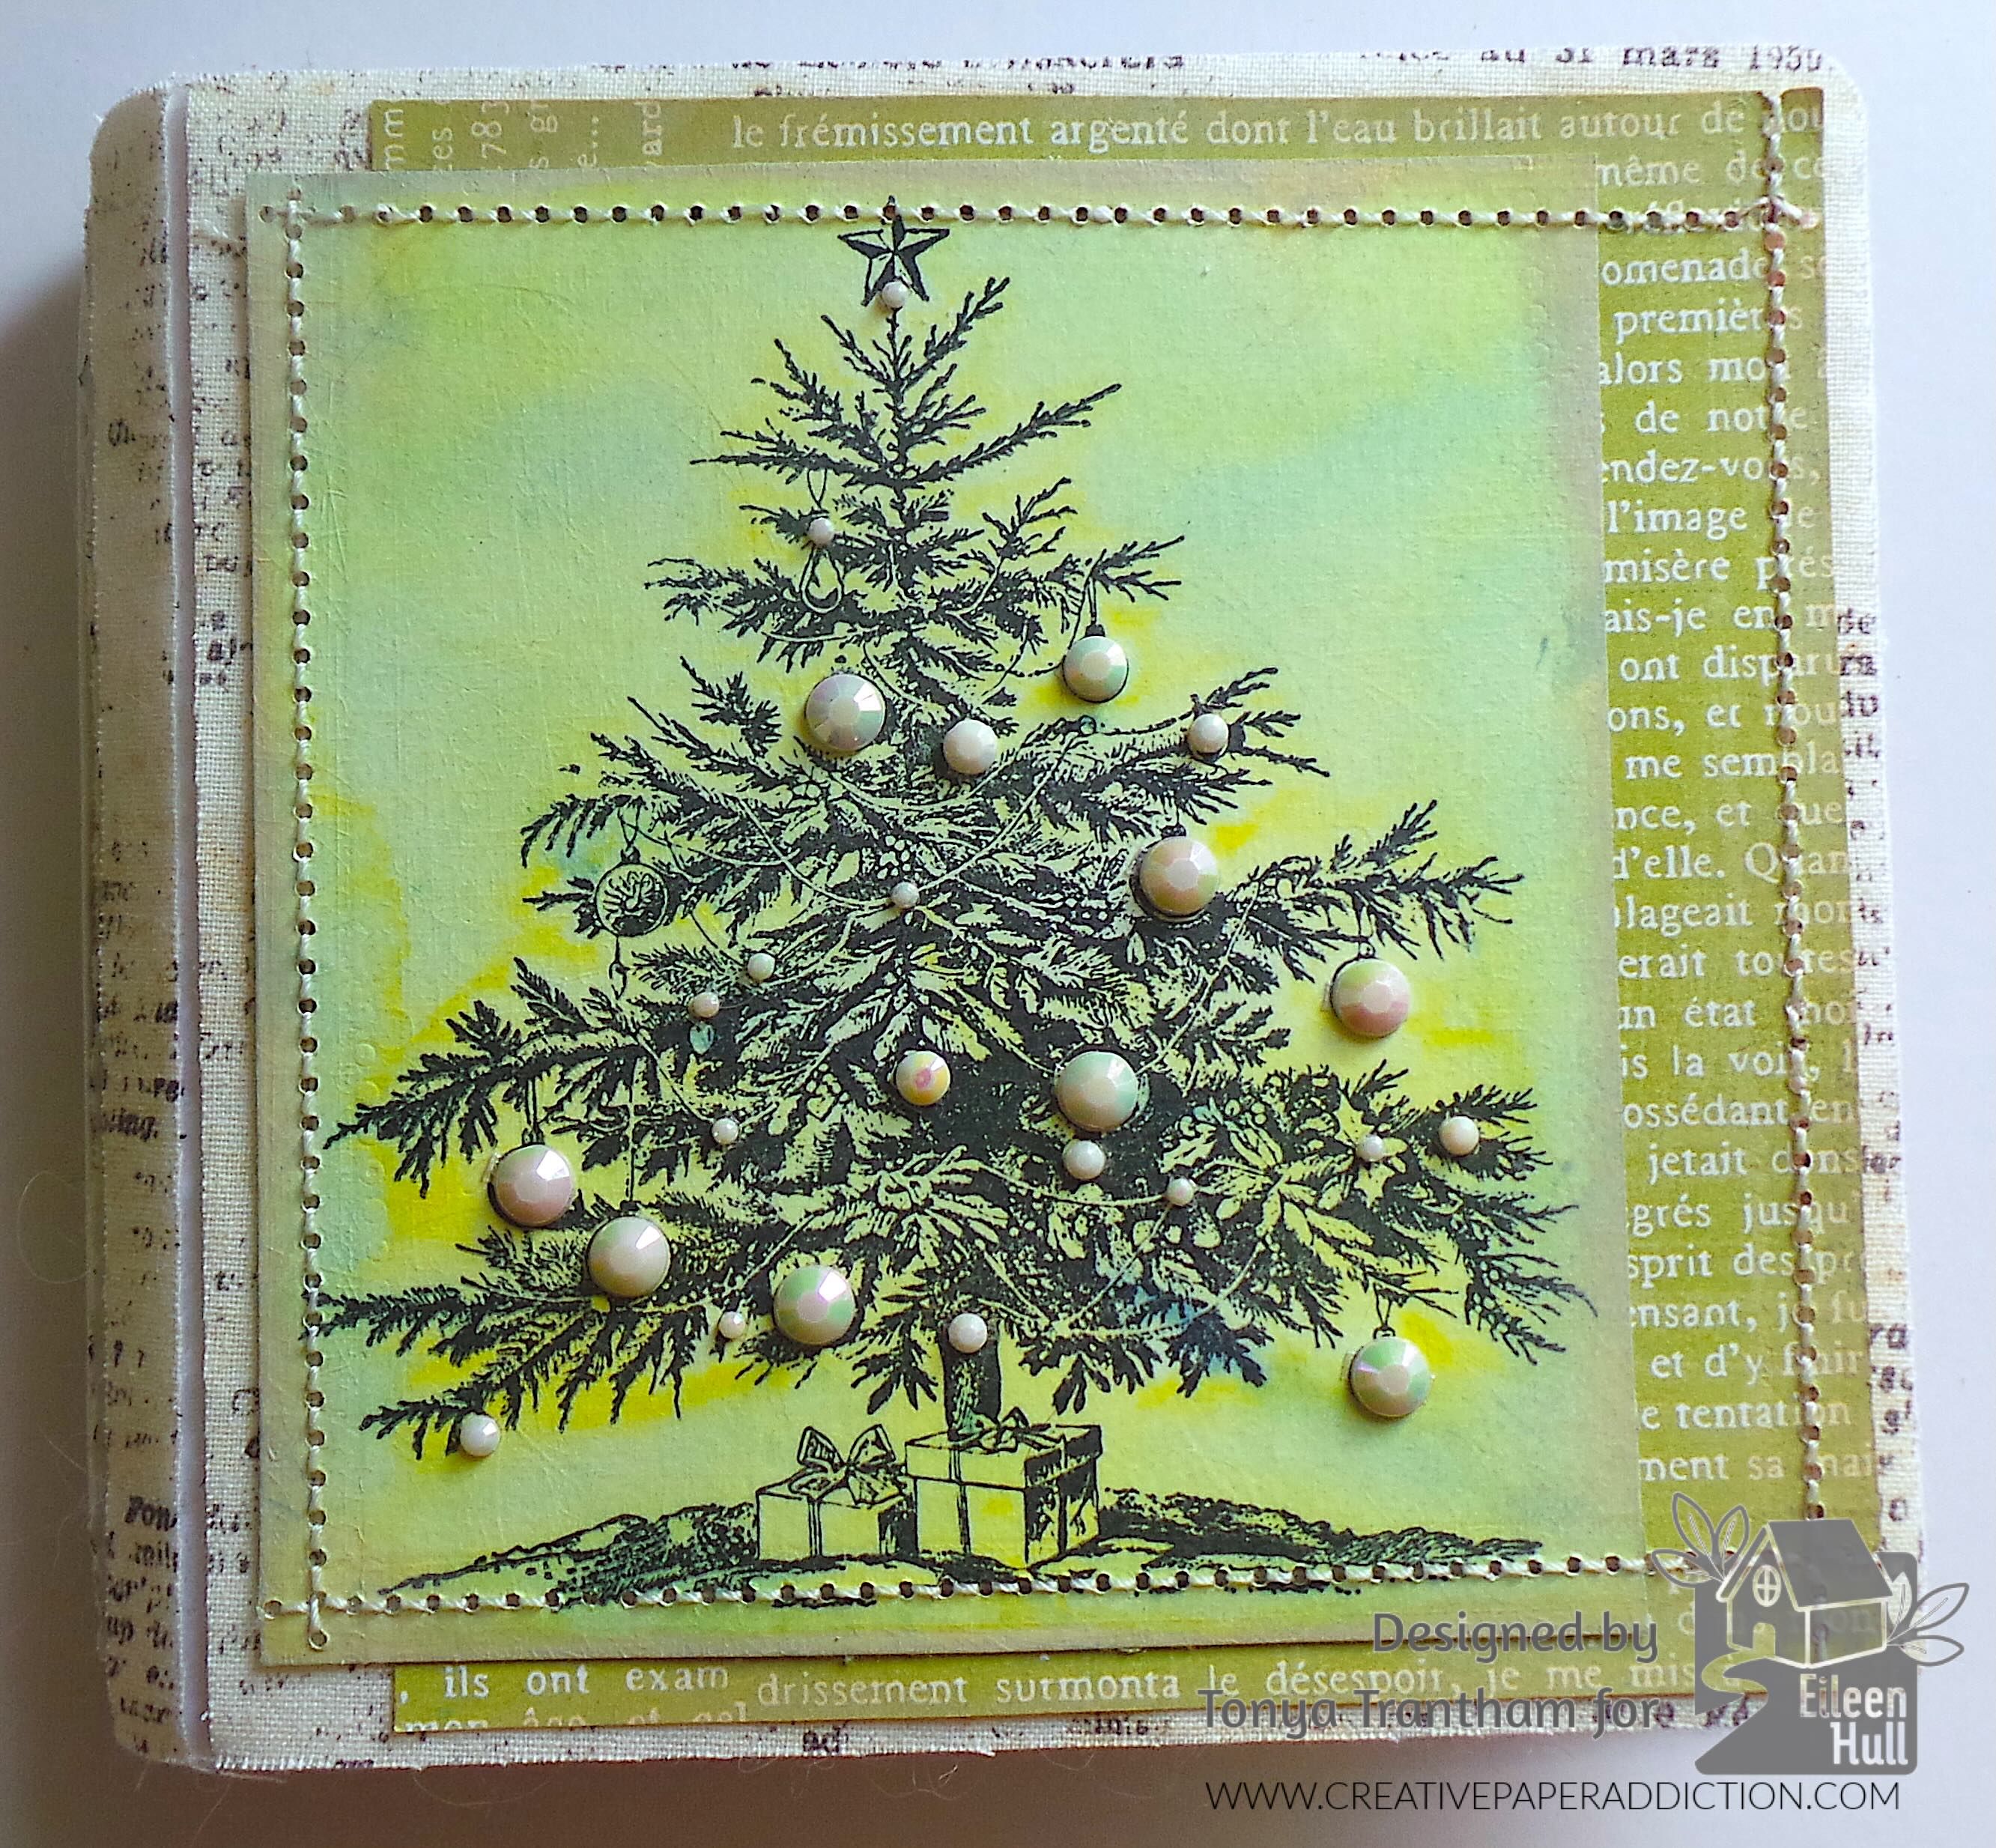
I added adhesive to three sides of the image and mat and placed on the cover. This creates pockets for both the Christmas tree image and the outer mat. I placed White Gems over a majority of the ornaments. to finish the cover.
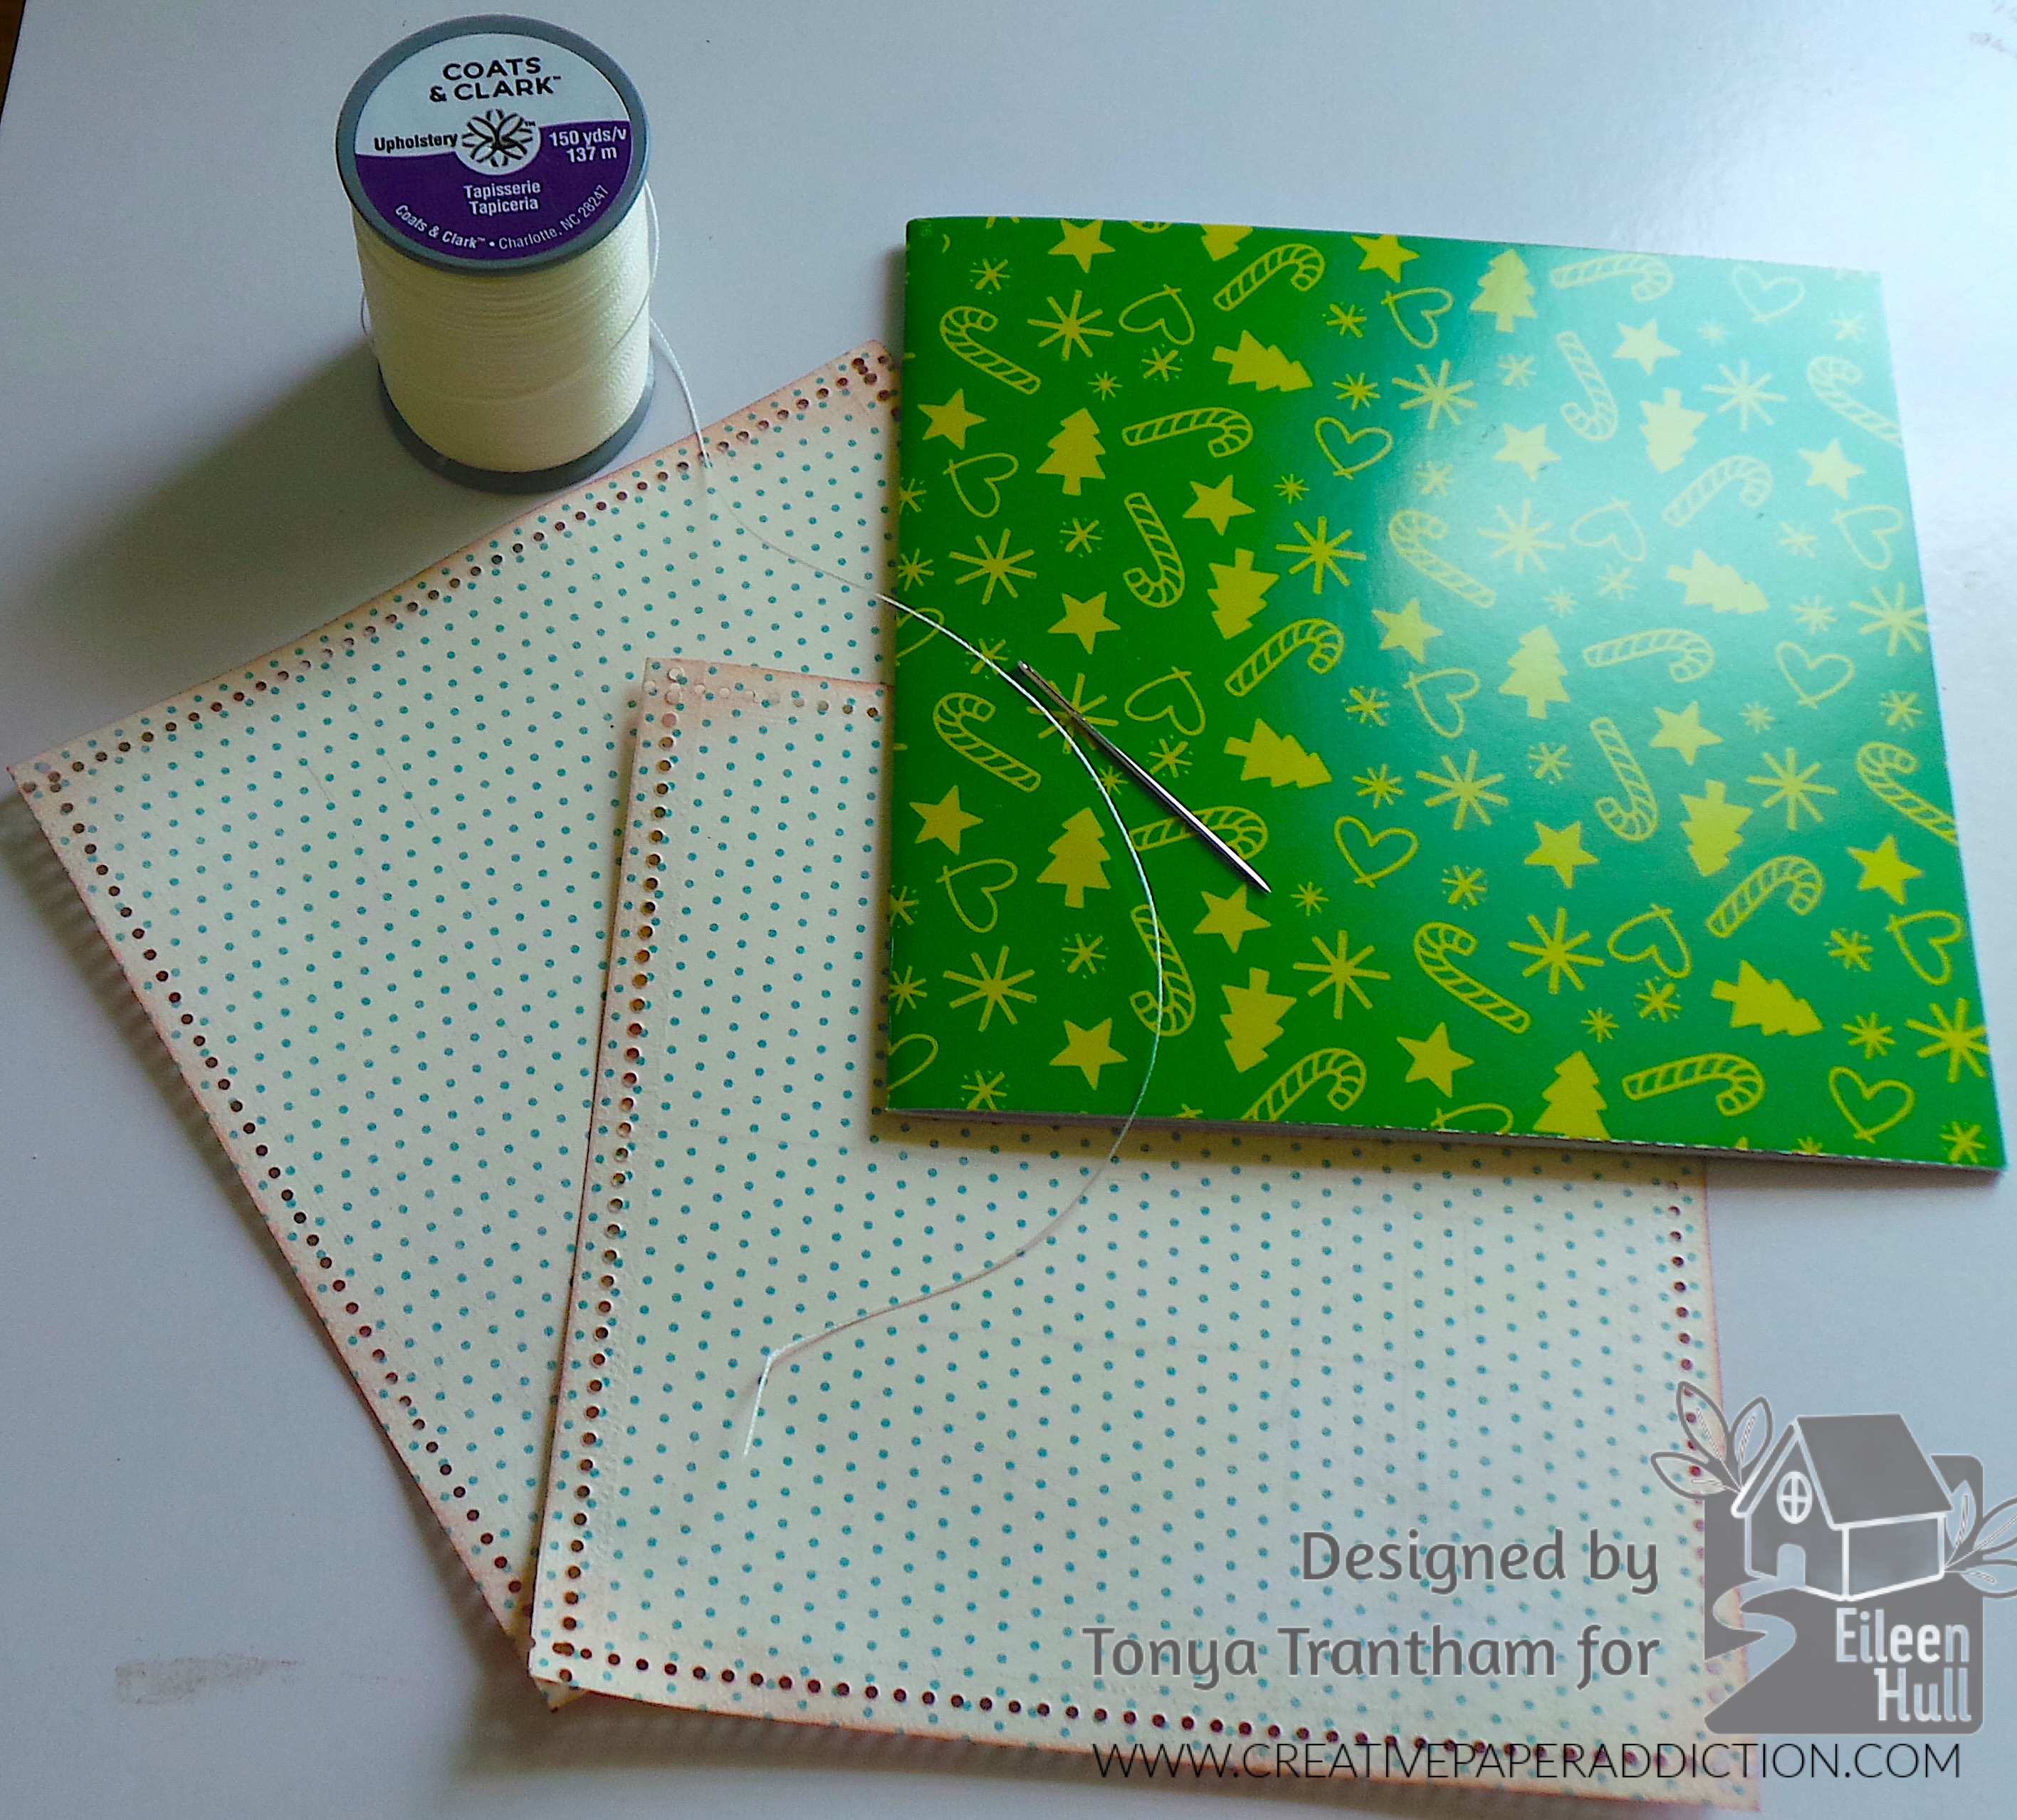
Several years ago I purchased these 8″x 8″ blank journals at the Target Dollar Spot. So I cut one down to fit inside of the album. I cut two pieces of patterned cardstock to fit the front and back of the journal. I used the multi hole thinlits from the Page Edges Thinlits and completed the same steps as I did for the cover of the album. I lightly inked the edges with a brown chalk ink.
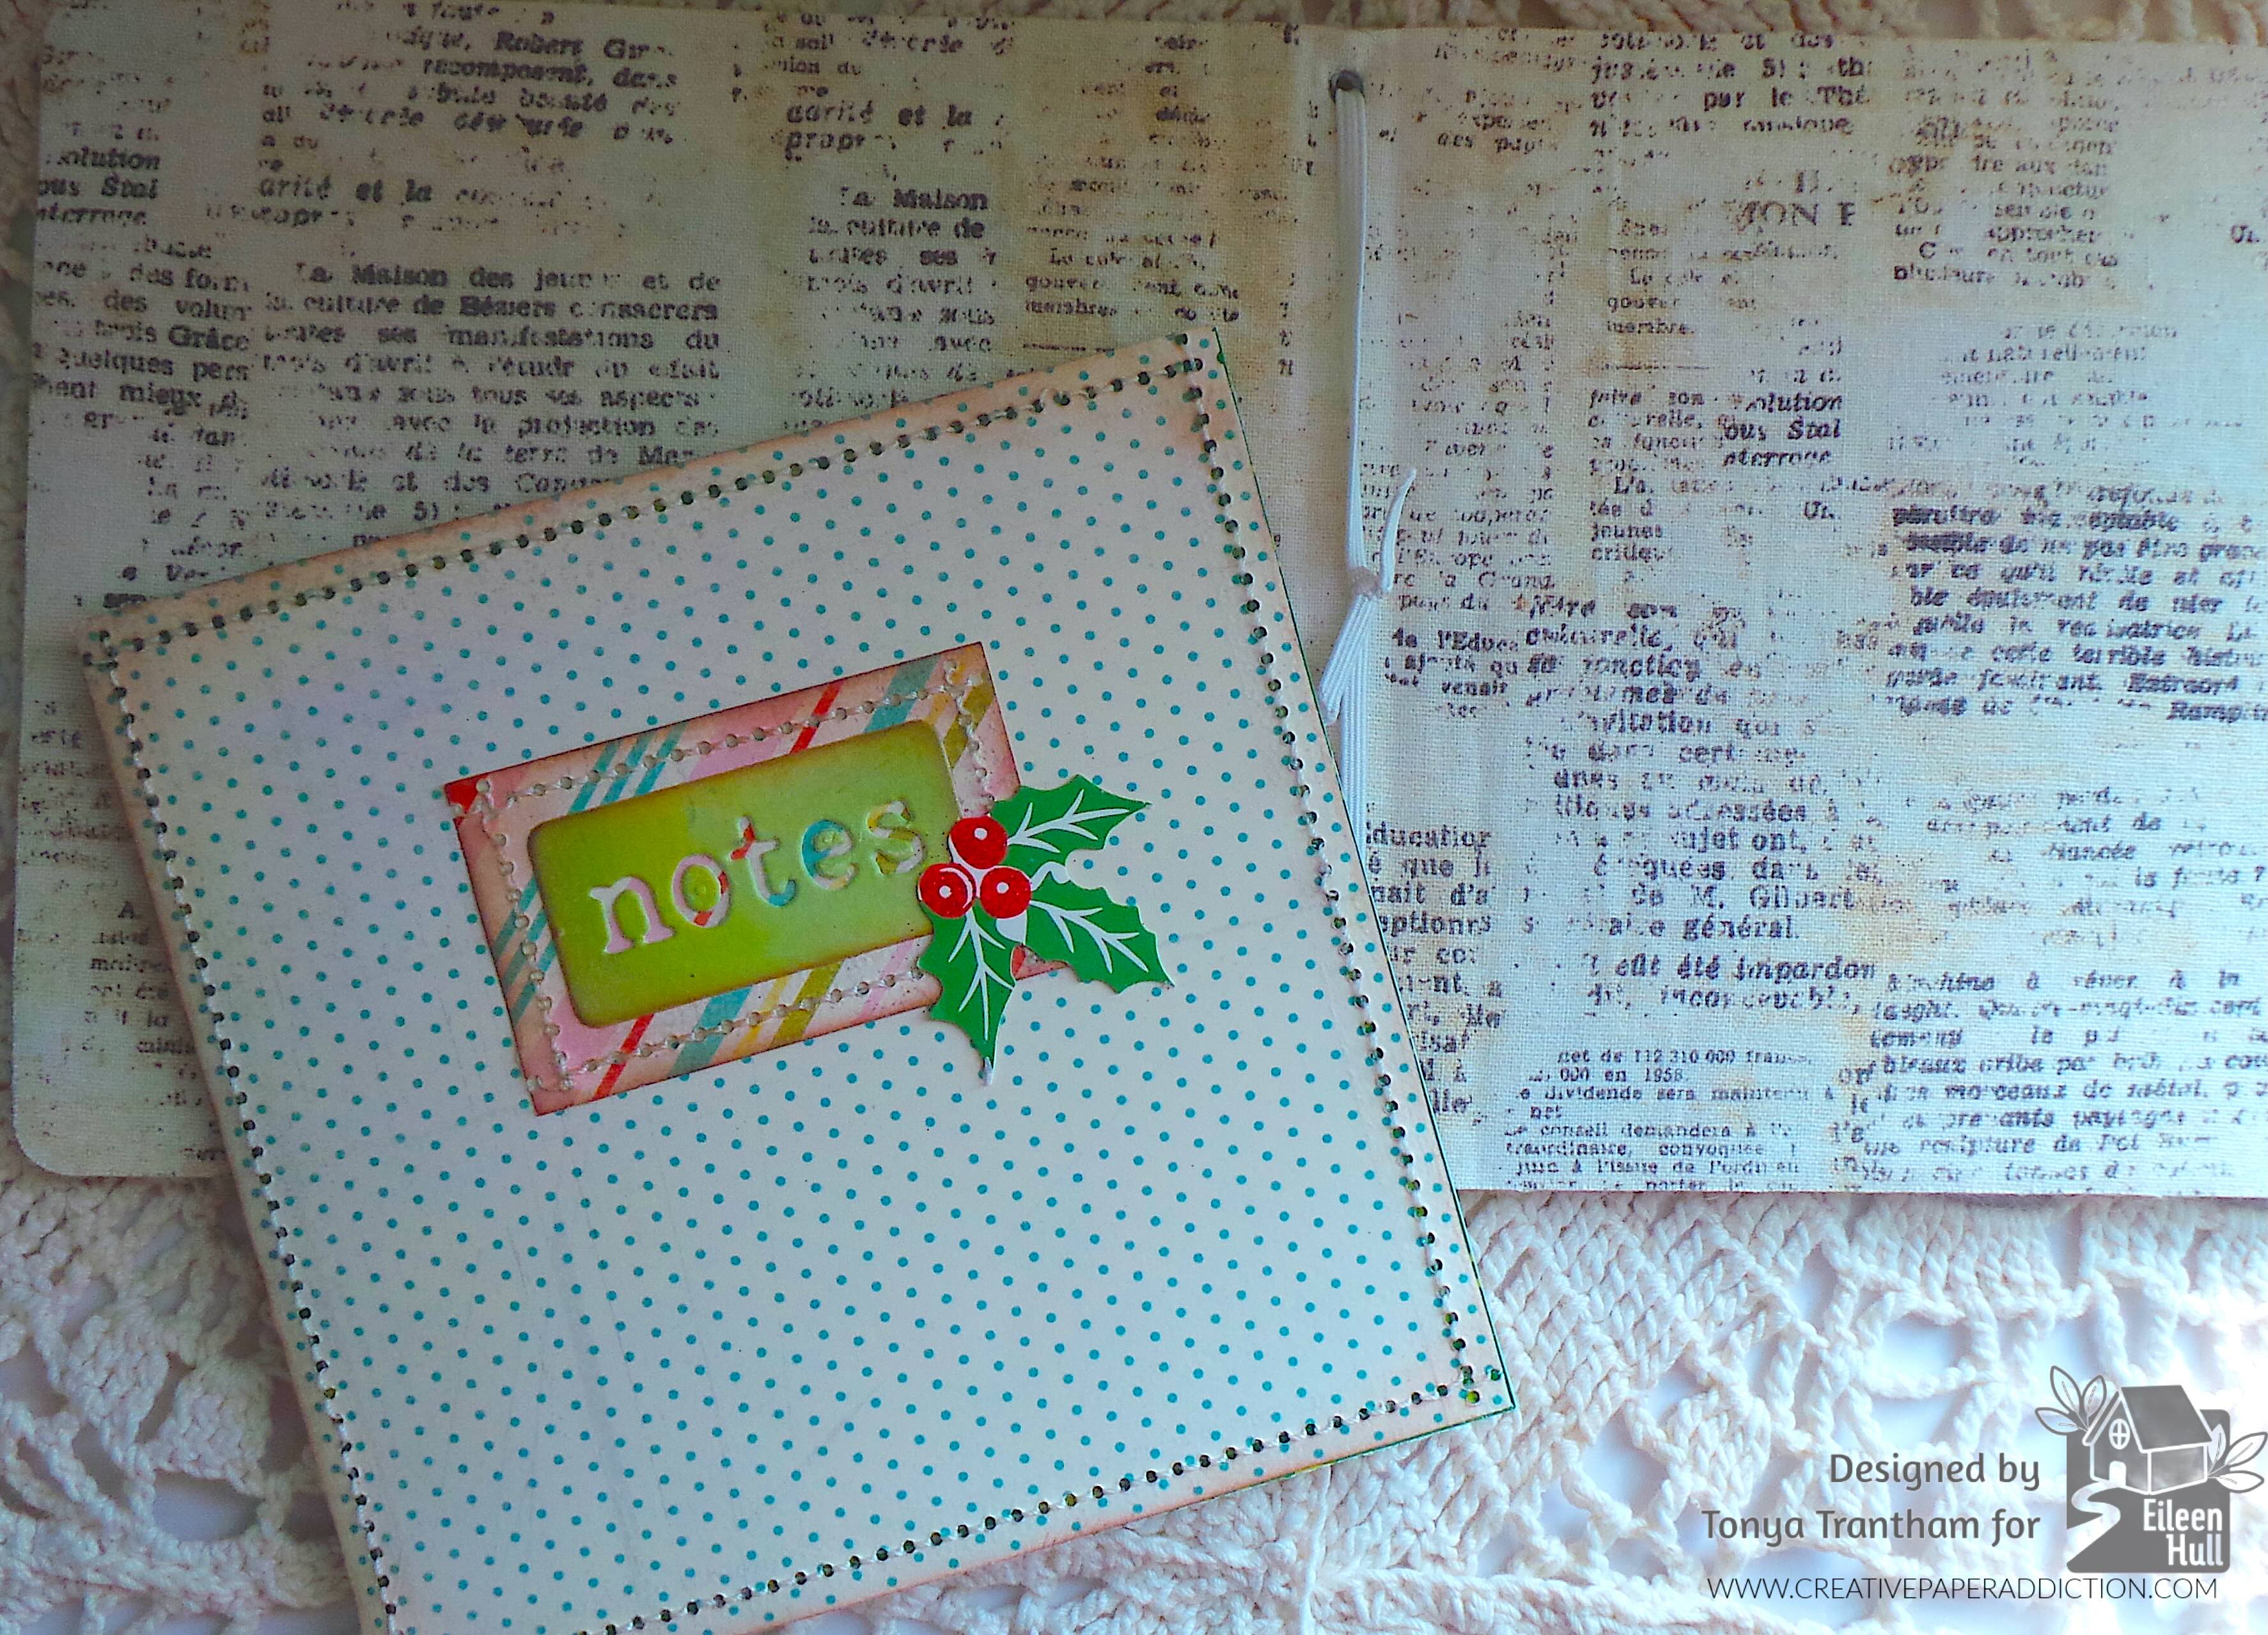
I added stitching the front and back covers and glued both to the journal.
I applied a scrap of Adhesive Sheets to the back of a scrap of Leaf It Alone watercolor paper and used the notes thinlit from the Floral Pocket and Paperclips Thinlits to cut out the negative. I will use the letters in another project later. I used the multi hole thinlit again on a scrap piece of patterned cardstock, stitched and placed the notes image in the center of it. I glued to the journal and dug into my stash and added a holly and berries embellishment to the corner to finish.
I went back to the cover and cut a piece of Watercolor Paper smaller than the top pocket to create a tag. I used a scrap of patterned cardstock and cut a tab from the Library Pocket, ATC Card and Tabs Thinlits (retired). I folded in half and lightly inked the edges before adhering to the tag. I am still puzzling through if I am going to add more than one tag to the bottom pocket. So stay tuned there’s a second part coming to this album.
If you have any questions about this project and/or the use of the Whimsical Garden Magical Shaker Set please leave them in the comments below and I will do my best to answer them.
Also if you haven’t been by Eileen Hull’s blog lately to see what her team has been up to you can find the latest post HERE. Lindy’s Gang has a design team and videos if you need more info and inspiration. You can find more about them HERE.
Supplies
Lindy’s/Eileen Hull: Whimsical Garden Magical Shaker Set or
Whimsical Garden Magical Shaker Set
Sizzix/Eileen Hull: Mini Album Diecut
Sizzix/Eileen Hull: Floral Pocket and Paperclips Thinlits
Sizzix/Eileen Hull: Page Edges Thinlits
Sizzix/Eileen Hull: Library Pocket, ATC Card and Tabs Thinlits (retired)
Therm-o-web/Eileen Hull: Adhesive Sheets
Brown Chalk Ink
Glass Tray
Crop-A-Dile
Eyelets
Various Plain and Patterned Cardstocks
Journal
Elastic Cording
Fabric and Felt
Needle and Thread
Beacon Adhesives: Zip Dry Adhesive
(Products listed above are Affiliated Links for your convenience)
DISCLAIMERS
This blog is compensated to provide opinion on products, services, websites, and various other topics. Even though the owner(s) of this blog receives compensation for our posts or advertisements. I always give my honest opinions, findings, beliefs, or experiences on those topics or products. The views and opinions expressed on this blog are purely my own. Any product claim, statistic, or quote should be checked with each manufacturer. Verify other representations about a product or service with the provider or party in question.This blog contains affiliate links. Clicking these links helps to support Tonya Trantham Designs – Creative Paper Addiction. It’s at no additional cost to you. Today’s features are Lindy’s, Sizzix, Eileen Hull and IOD Products.
Thanks for stopping by, I hope your Tuesday is great and enjoy creating!
