Create a Summer Card with Amalfi Breeze Dies
Hi everyone! How is everyone’s summer going? We are in the last week of June and it has turned scorching hot! We went from rain everyday to 90 degree + weather. I like warm weather but not this warm. It has turned the swimming pool into what feels like bath water. But I wouldn’t mind if I was enjoying the sun on a beach with my toes in the ocean.
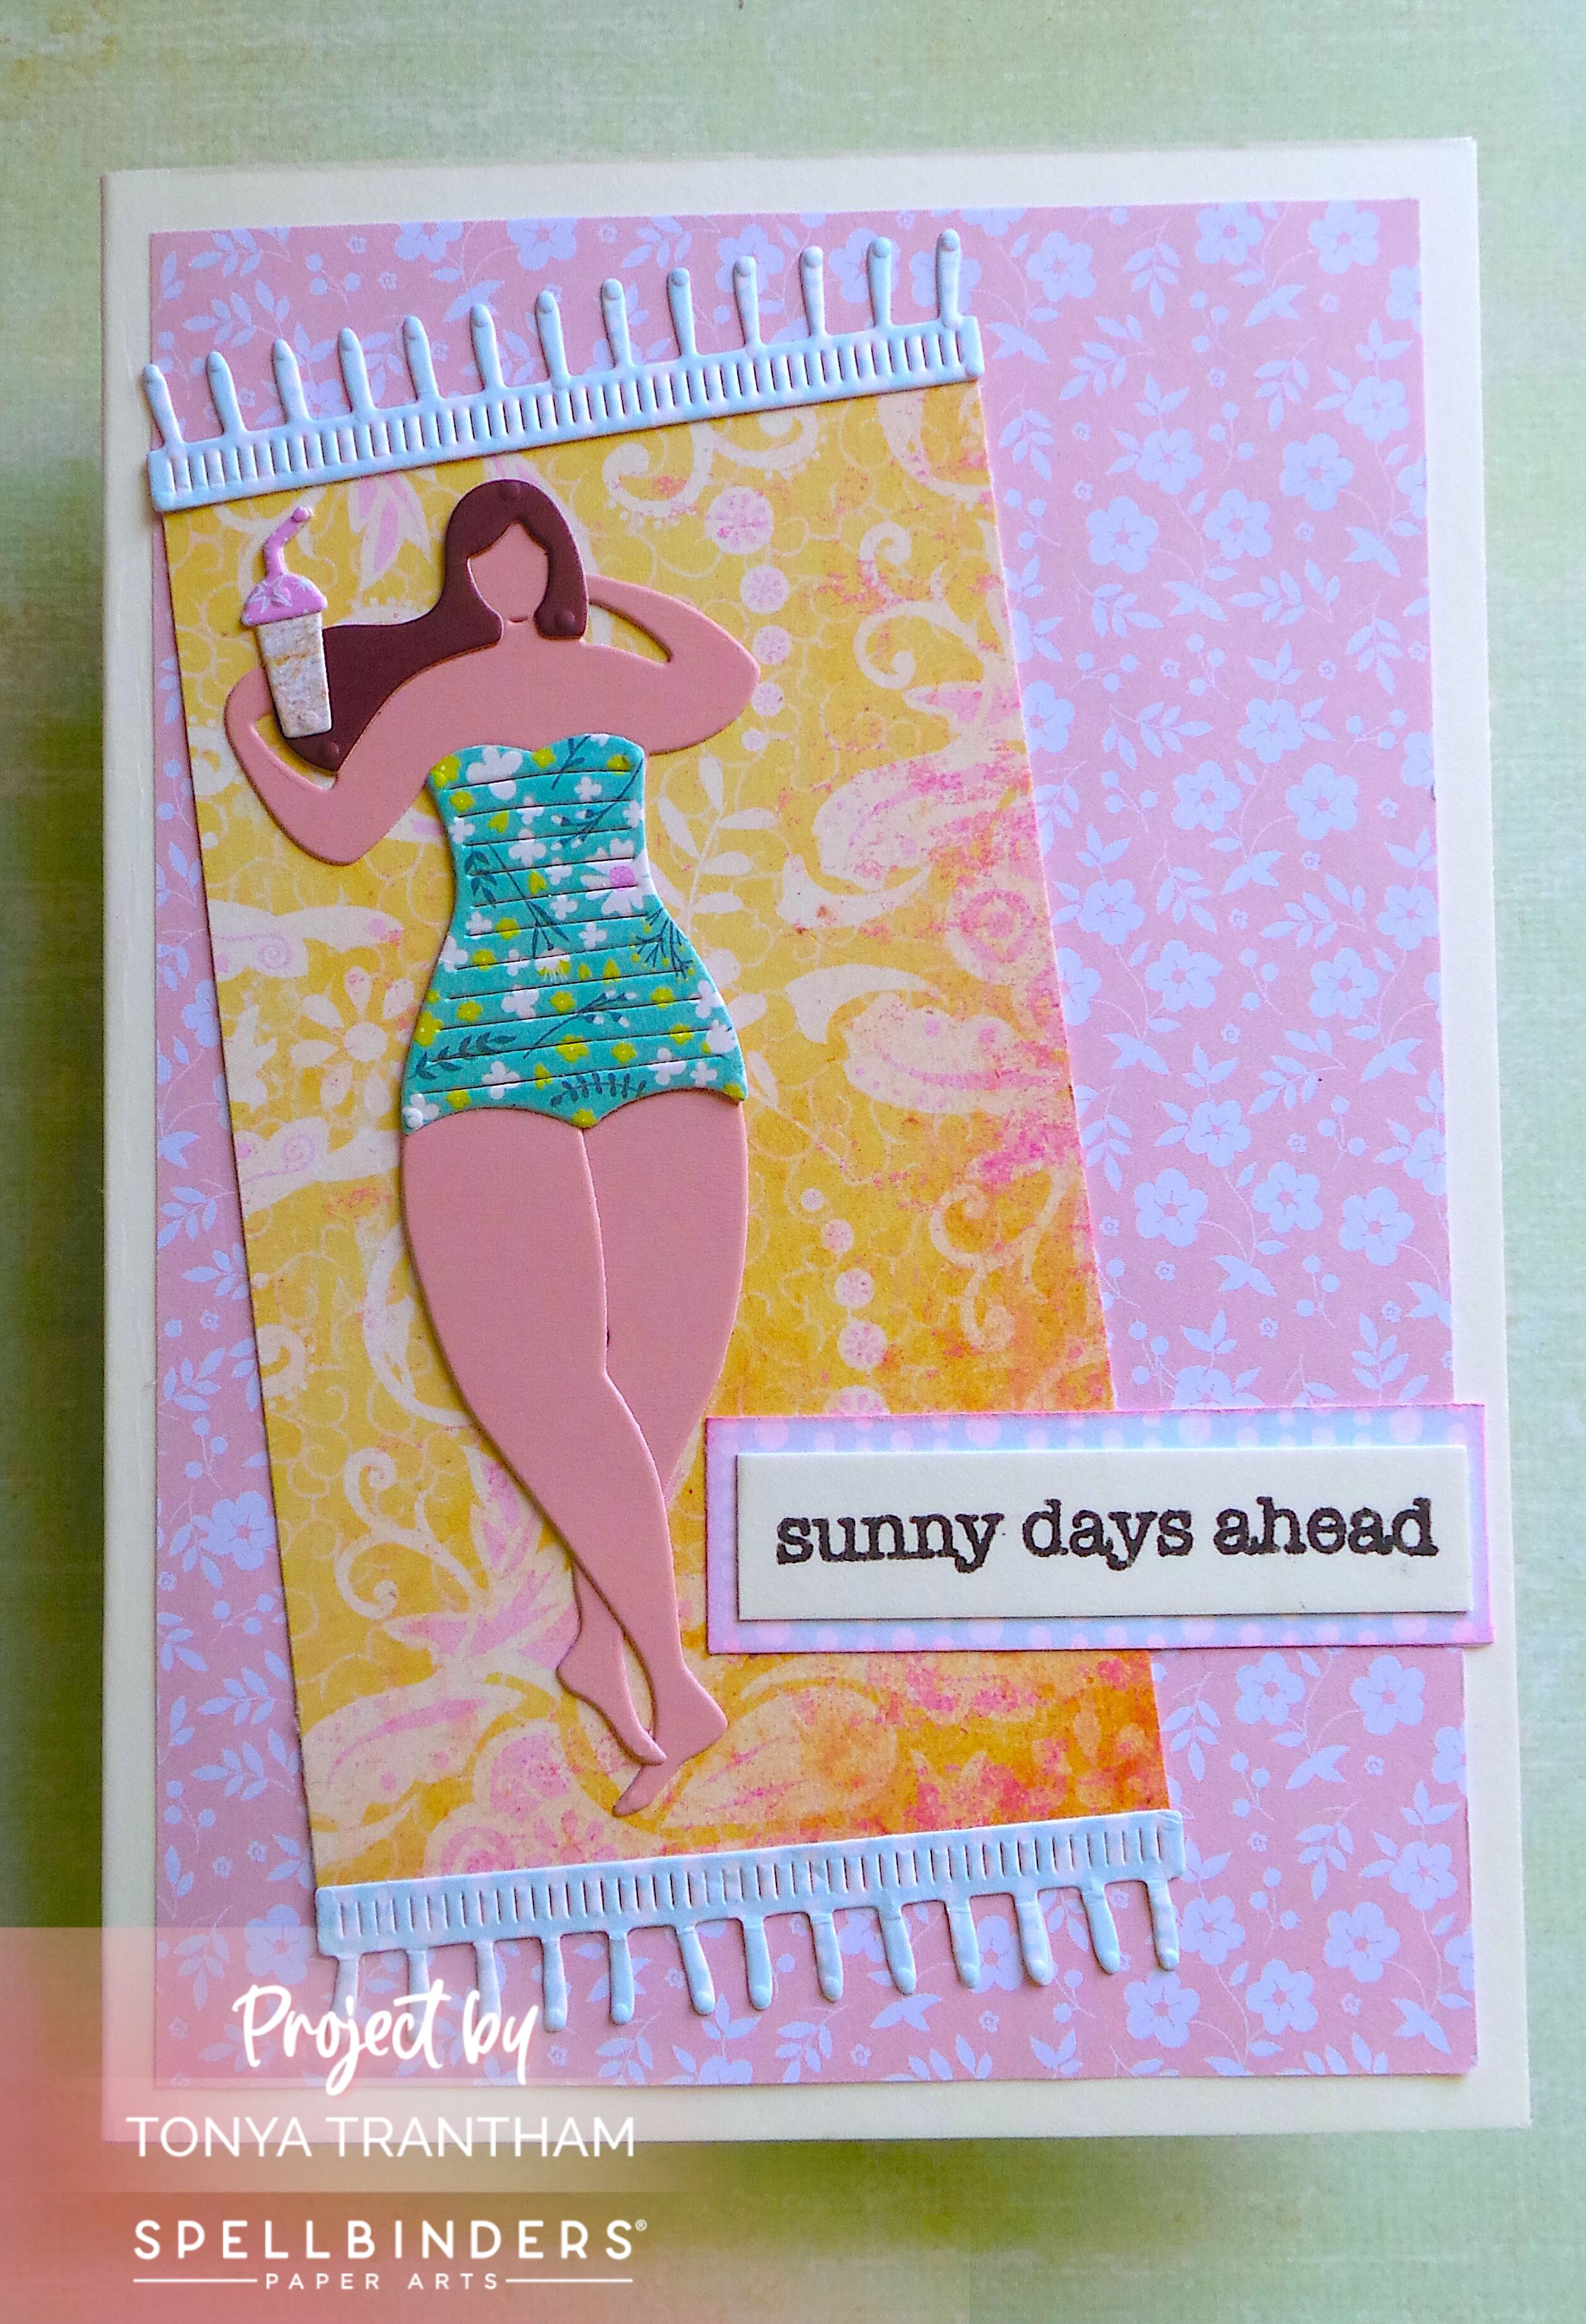
Anyways, I would like to share a card I created. I used the Amalfi Breeze Etched Dies from the La Dolce Vita Collection by Spellbinders. I also used the Typewriter Adventure Sentiments Stamp Set and a sheet of cardstock from the Just Saying Paper Collection.
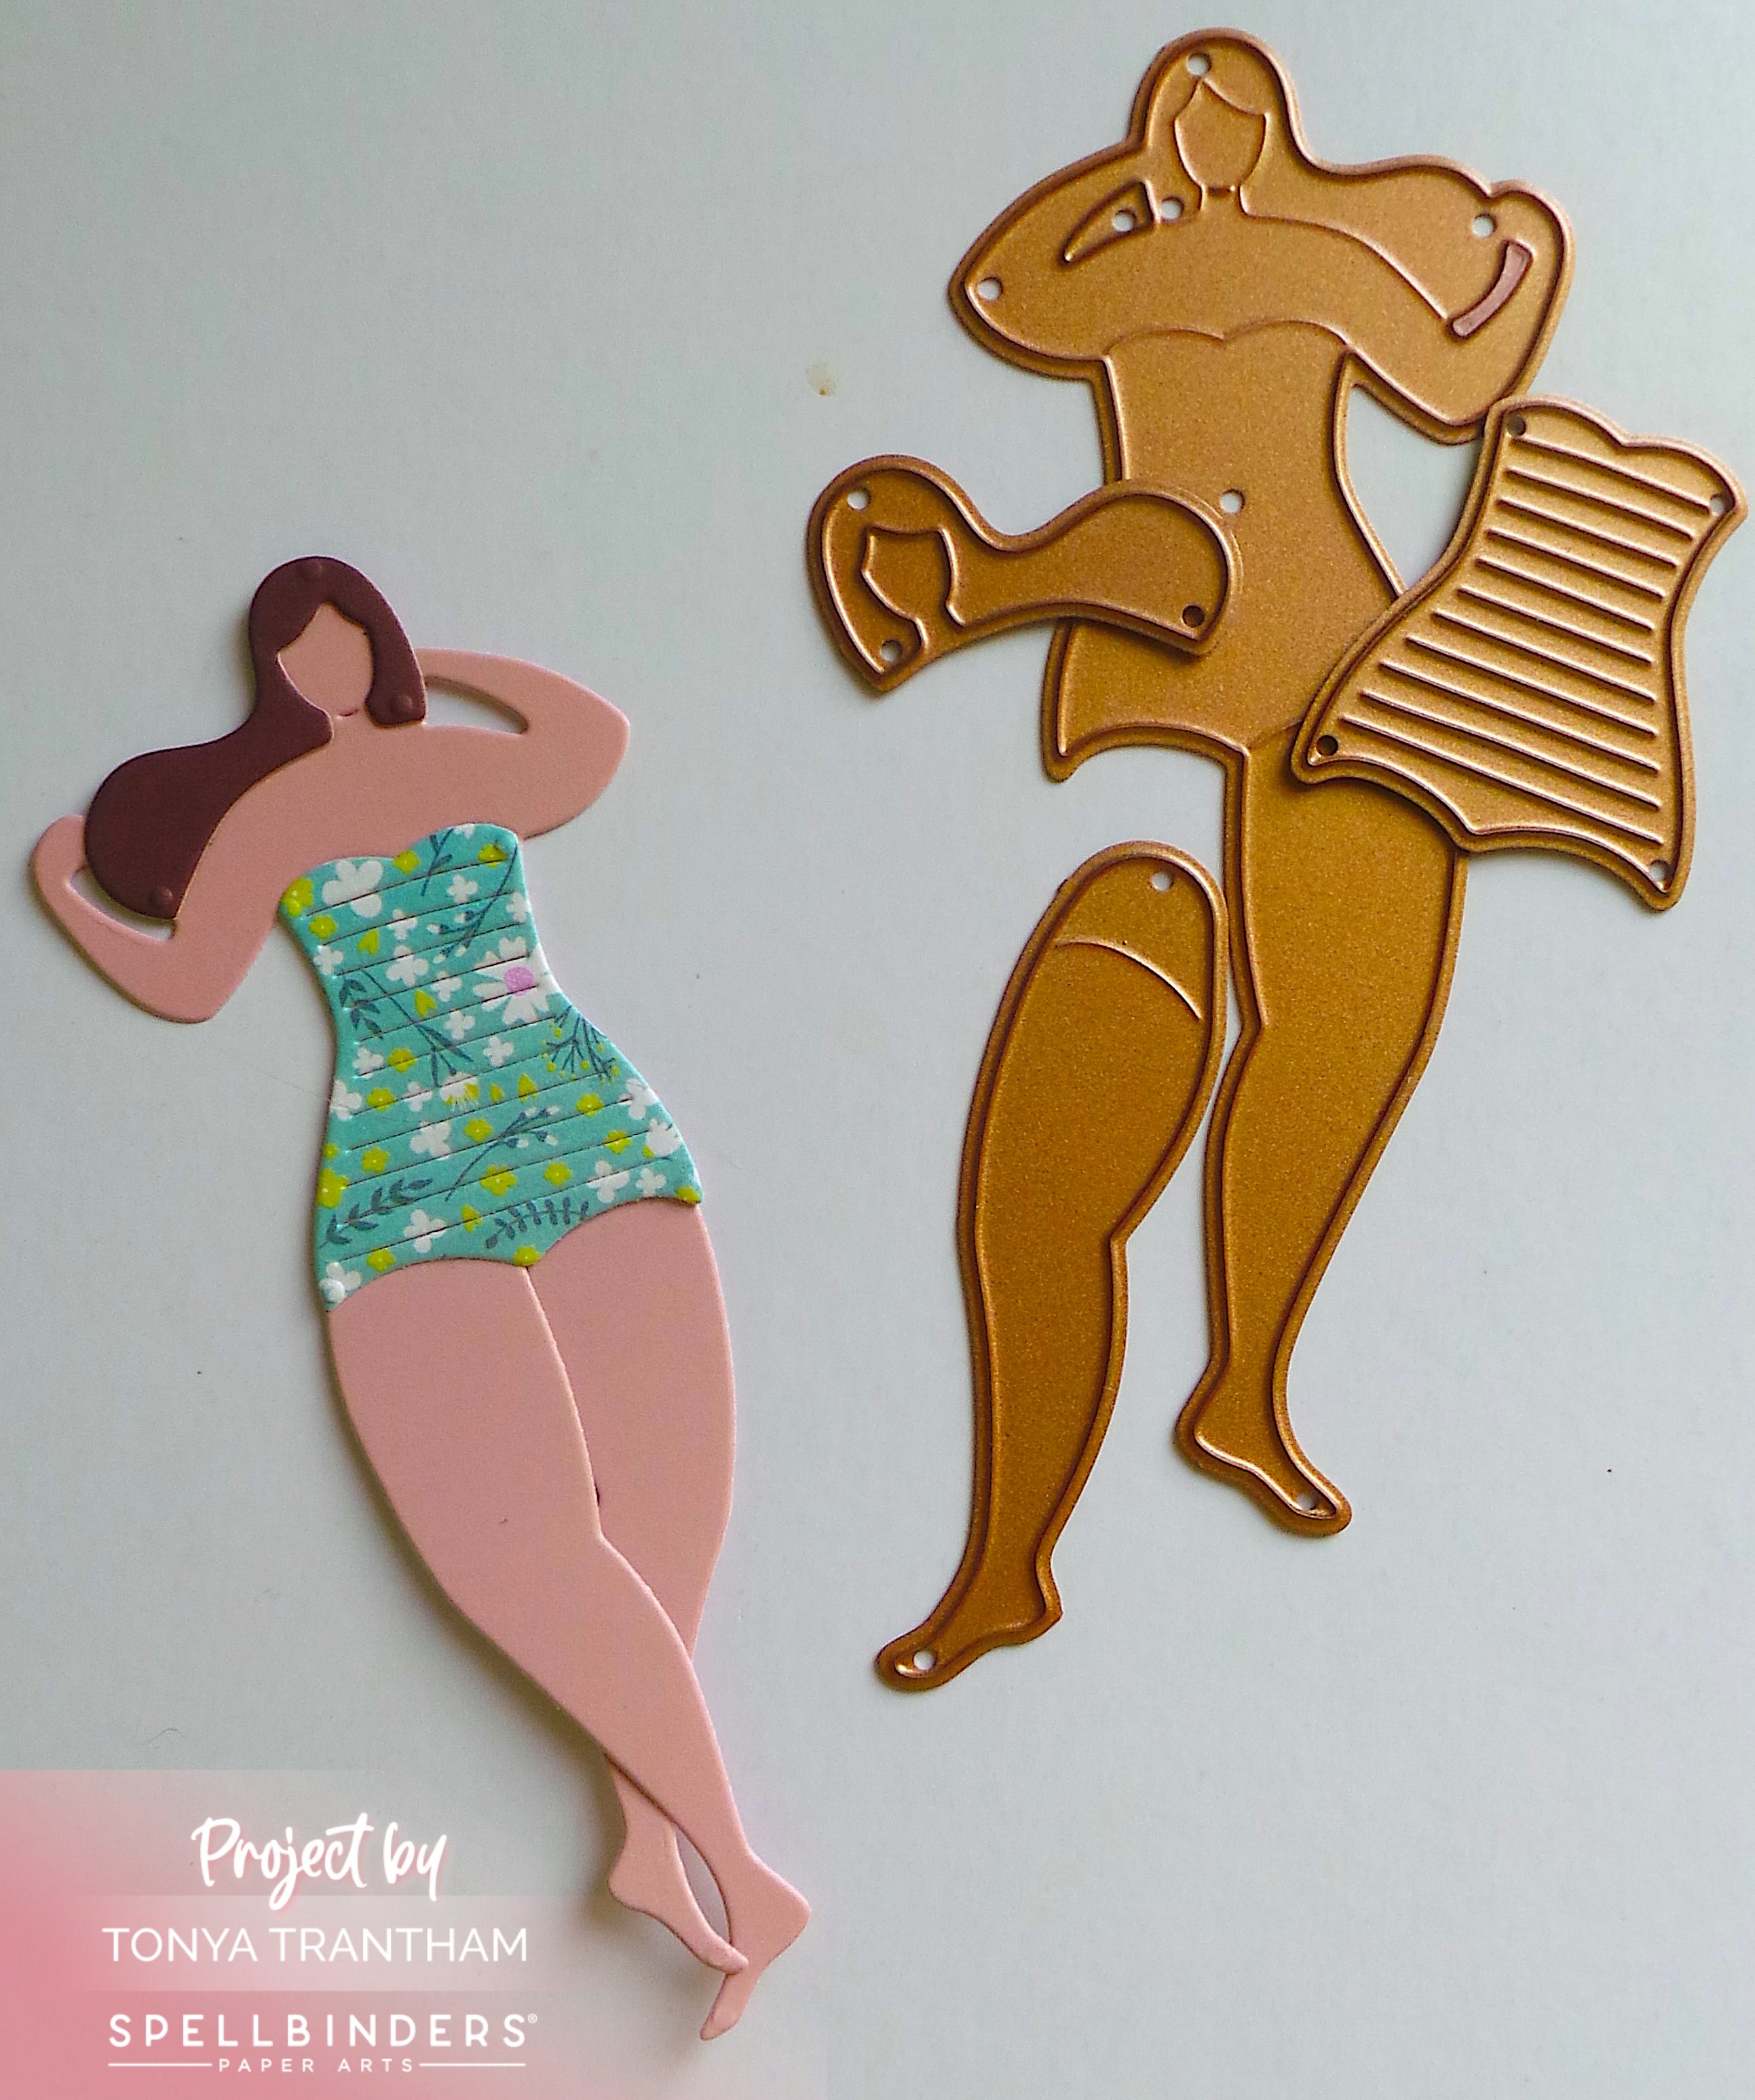
The first thing I did was cut all the pieces of the sun bather out. But before doing that I applied Adhesive to the back of each piece of cardstock. I used a sheet of cardstock from the Just Saying Paper Collection for the bathing suit. I removed the backing from the adhesive and put the sun bather together.
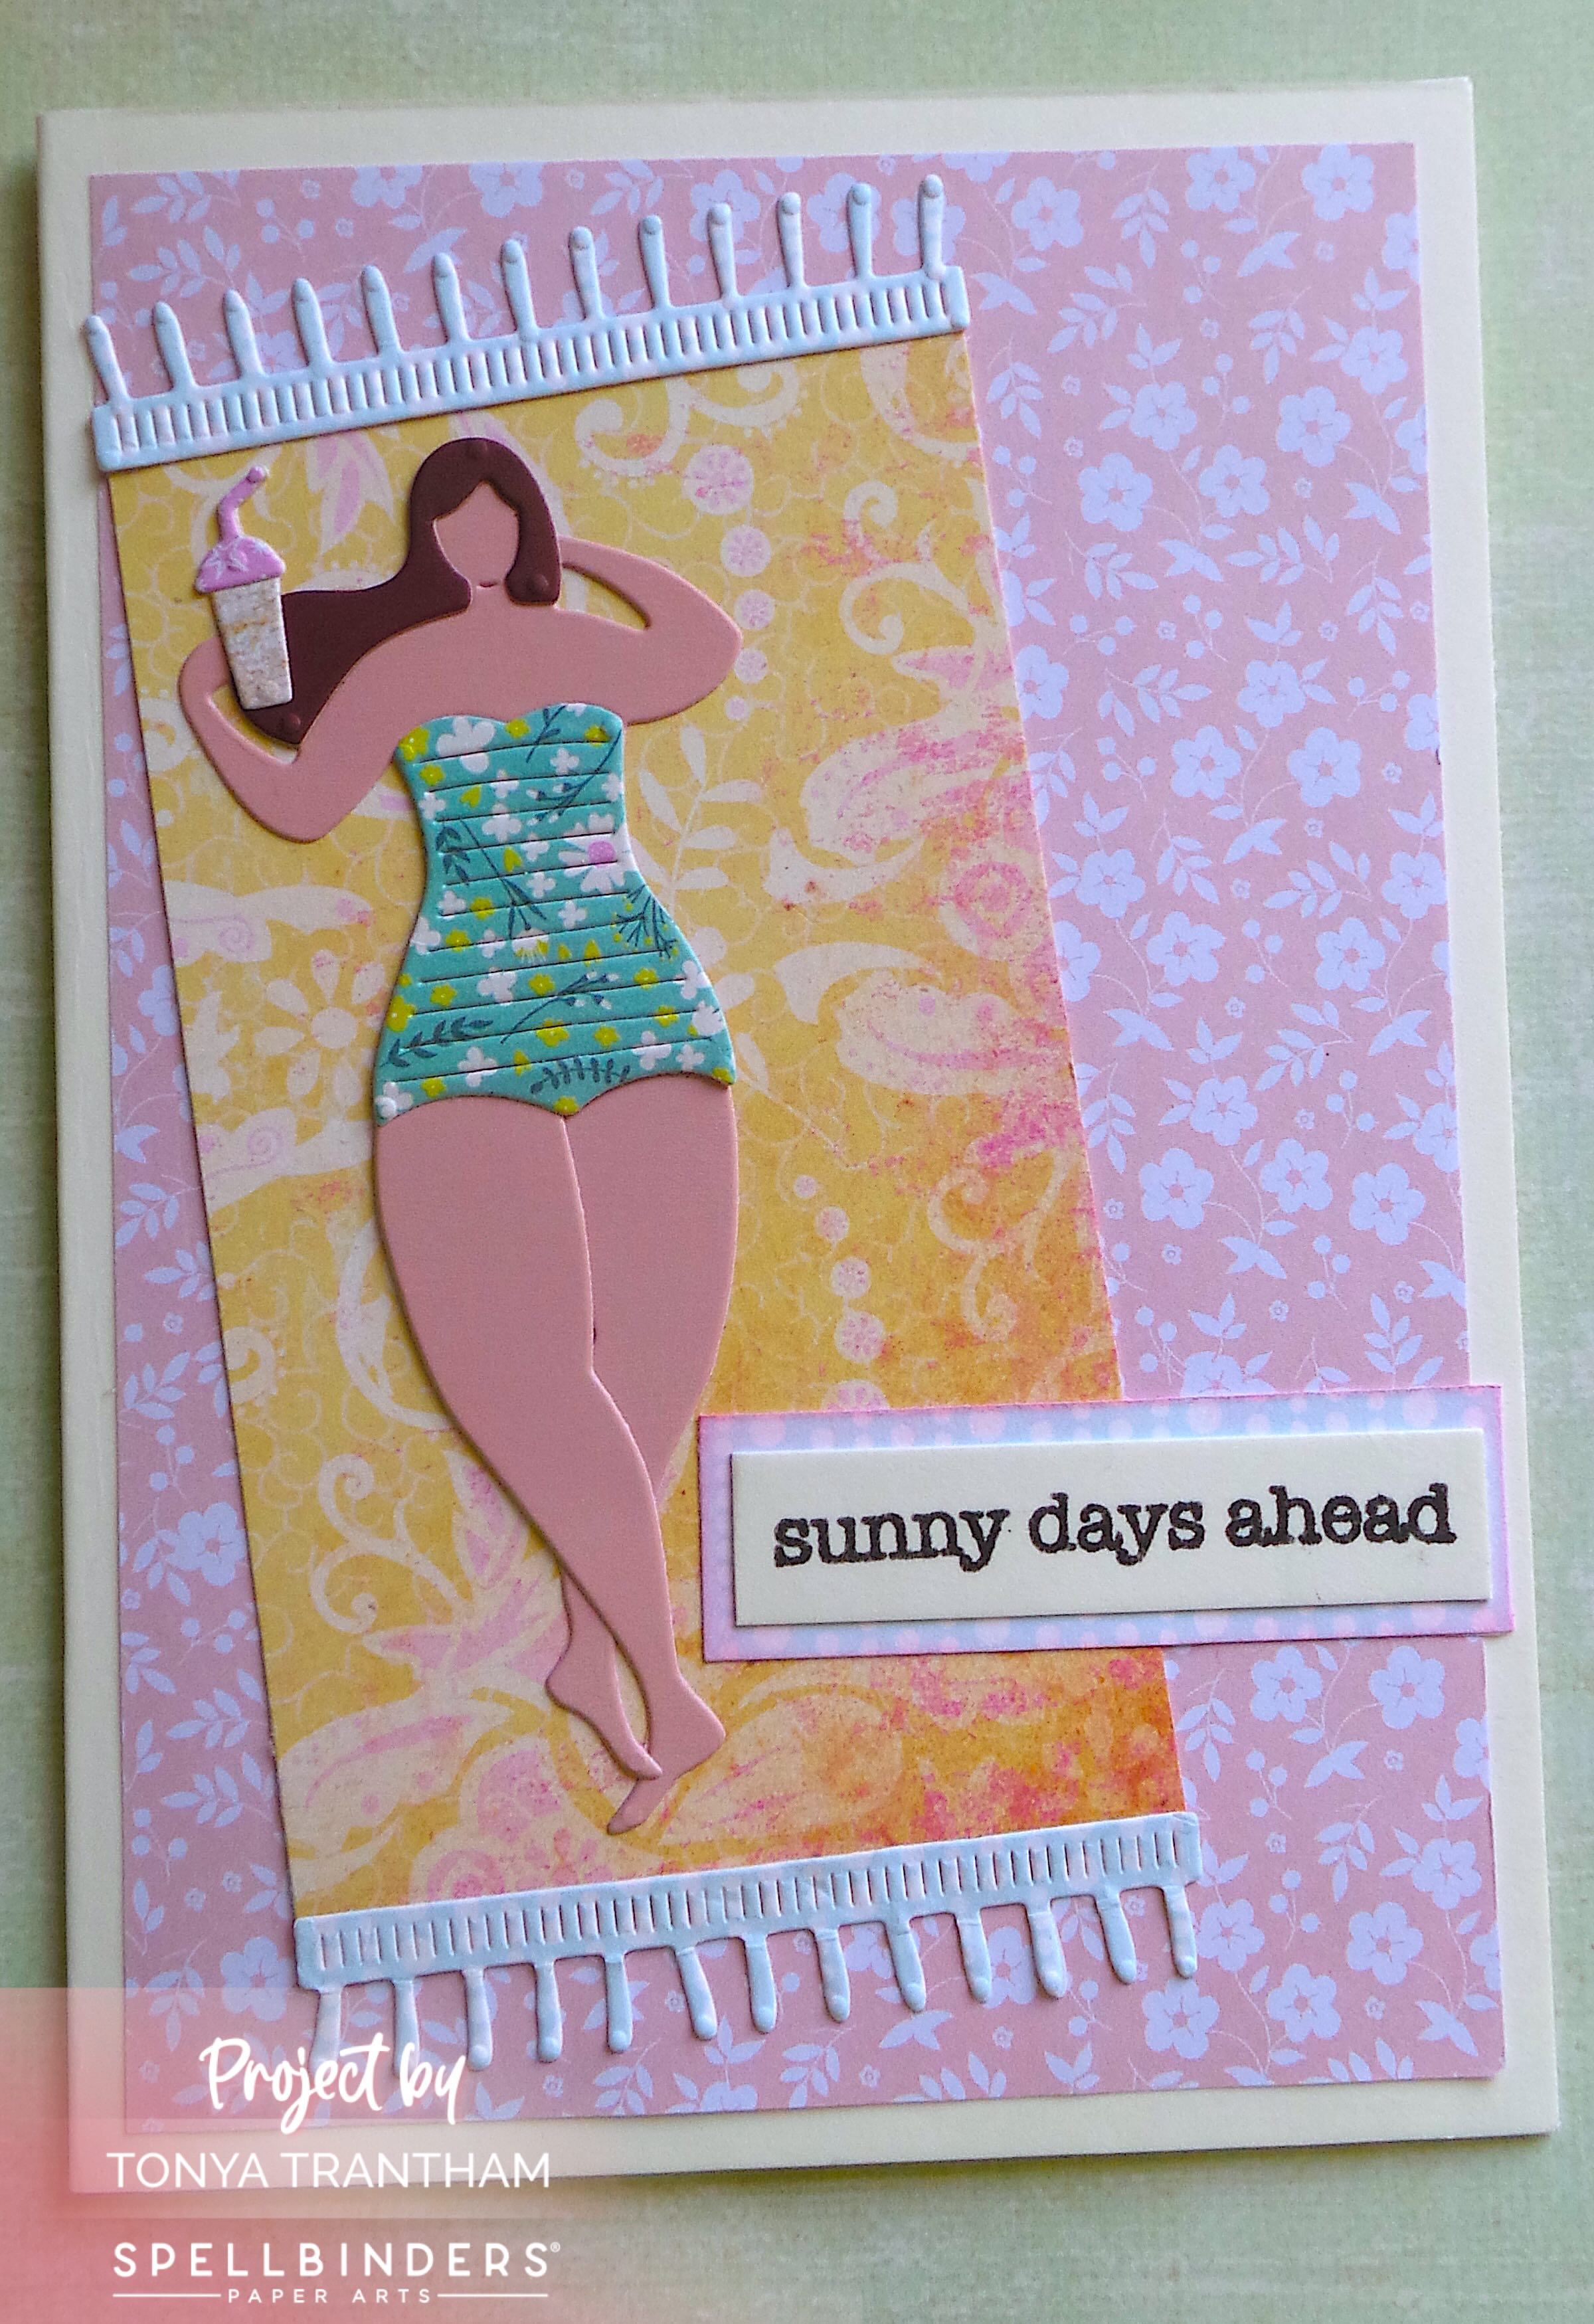
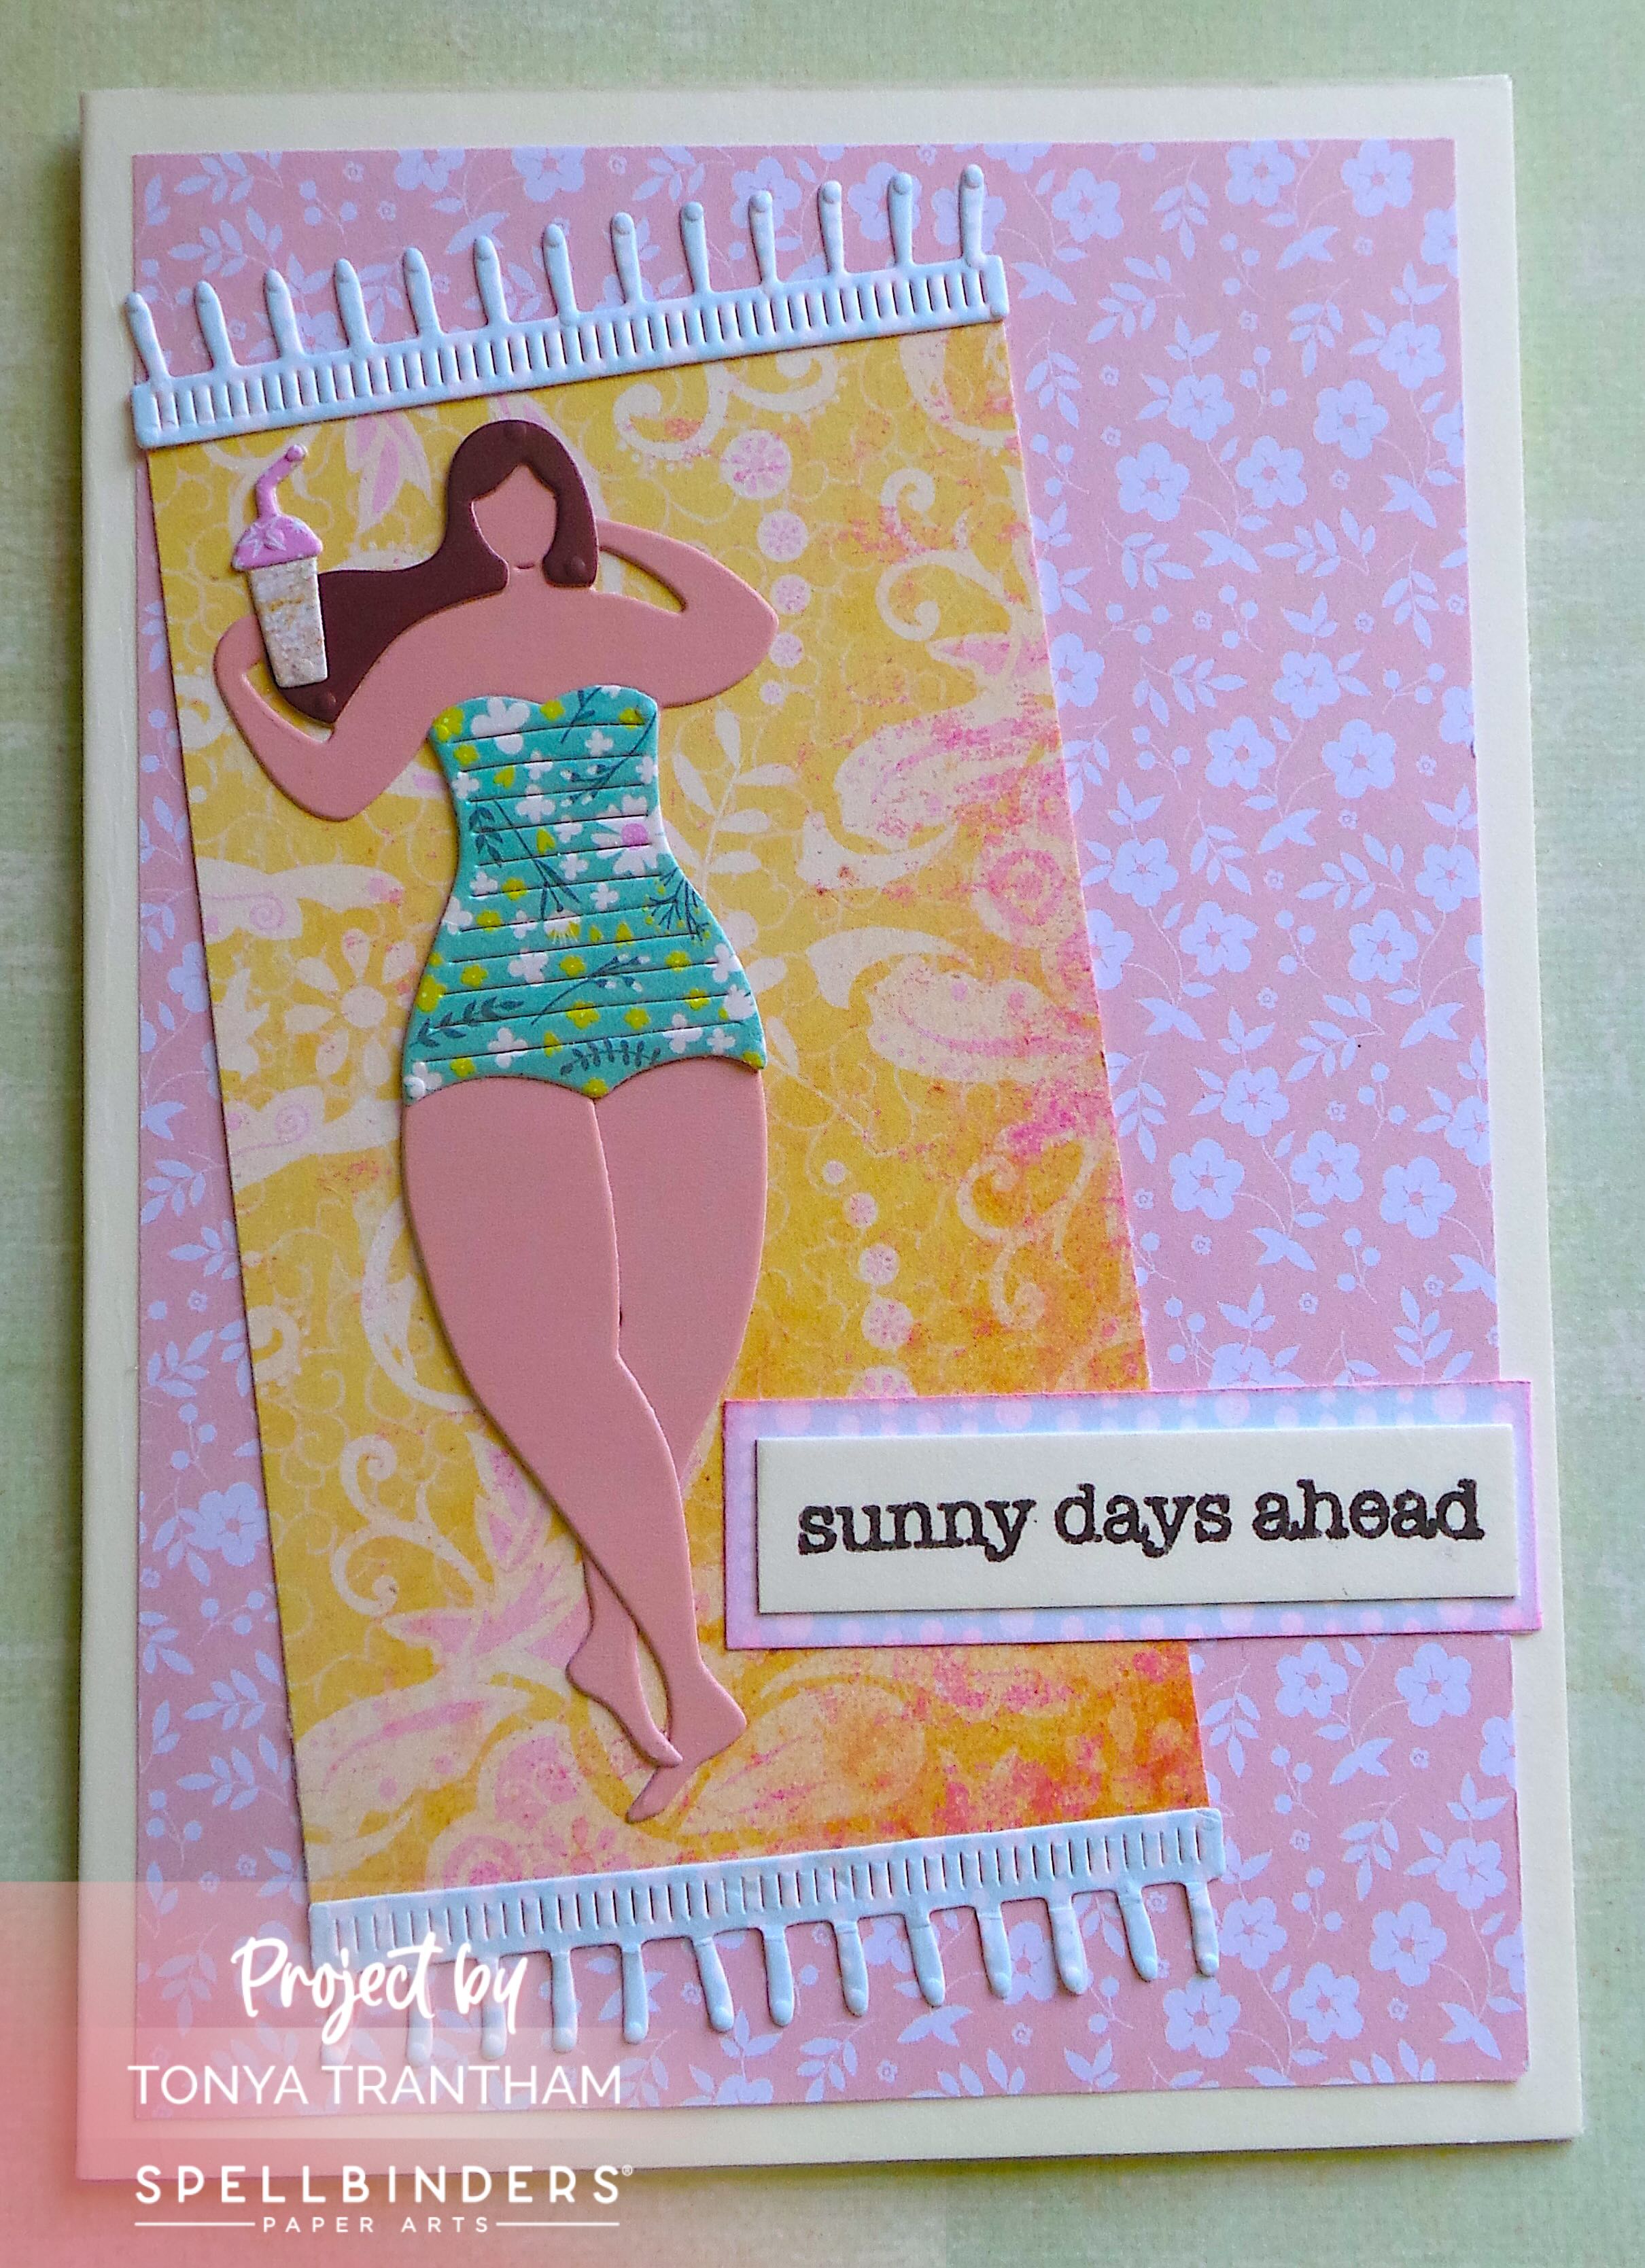
I cut and folded a piece of cardstock, 4 1/4″x 5 1/2″, to create the base of the card. I cut a floral mat slightly smaller than the base and adhered to the card. I applied adhesive to the back of two small pieces of cardstock. I cut two fringes from the die set. Next I cut a piece of cardstock the same width as the fringe and longer than the sunbather.
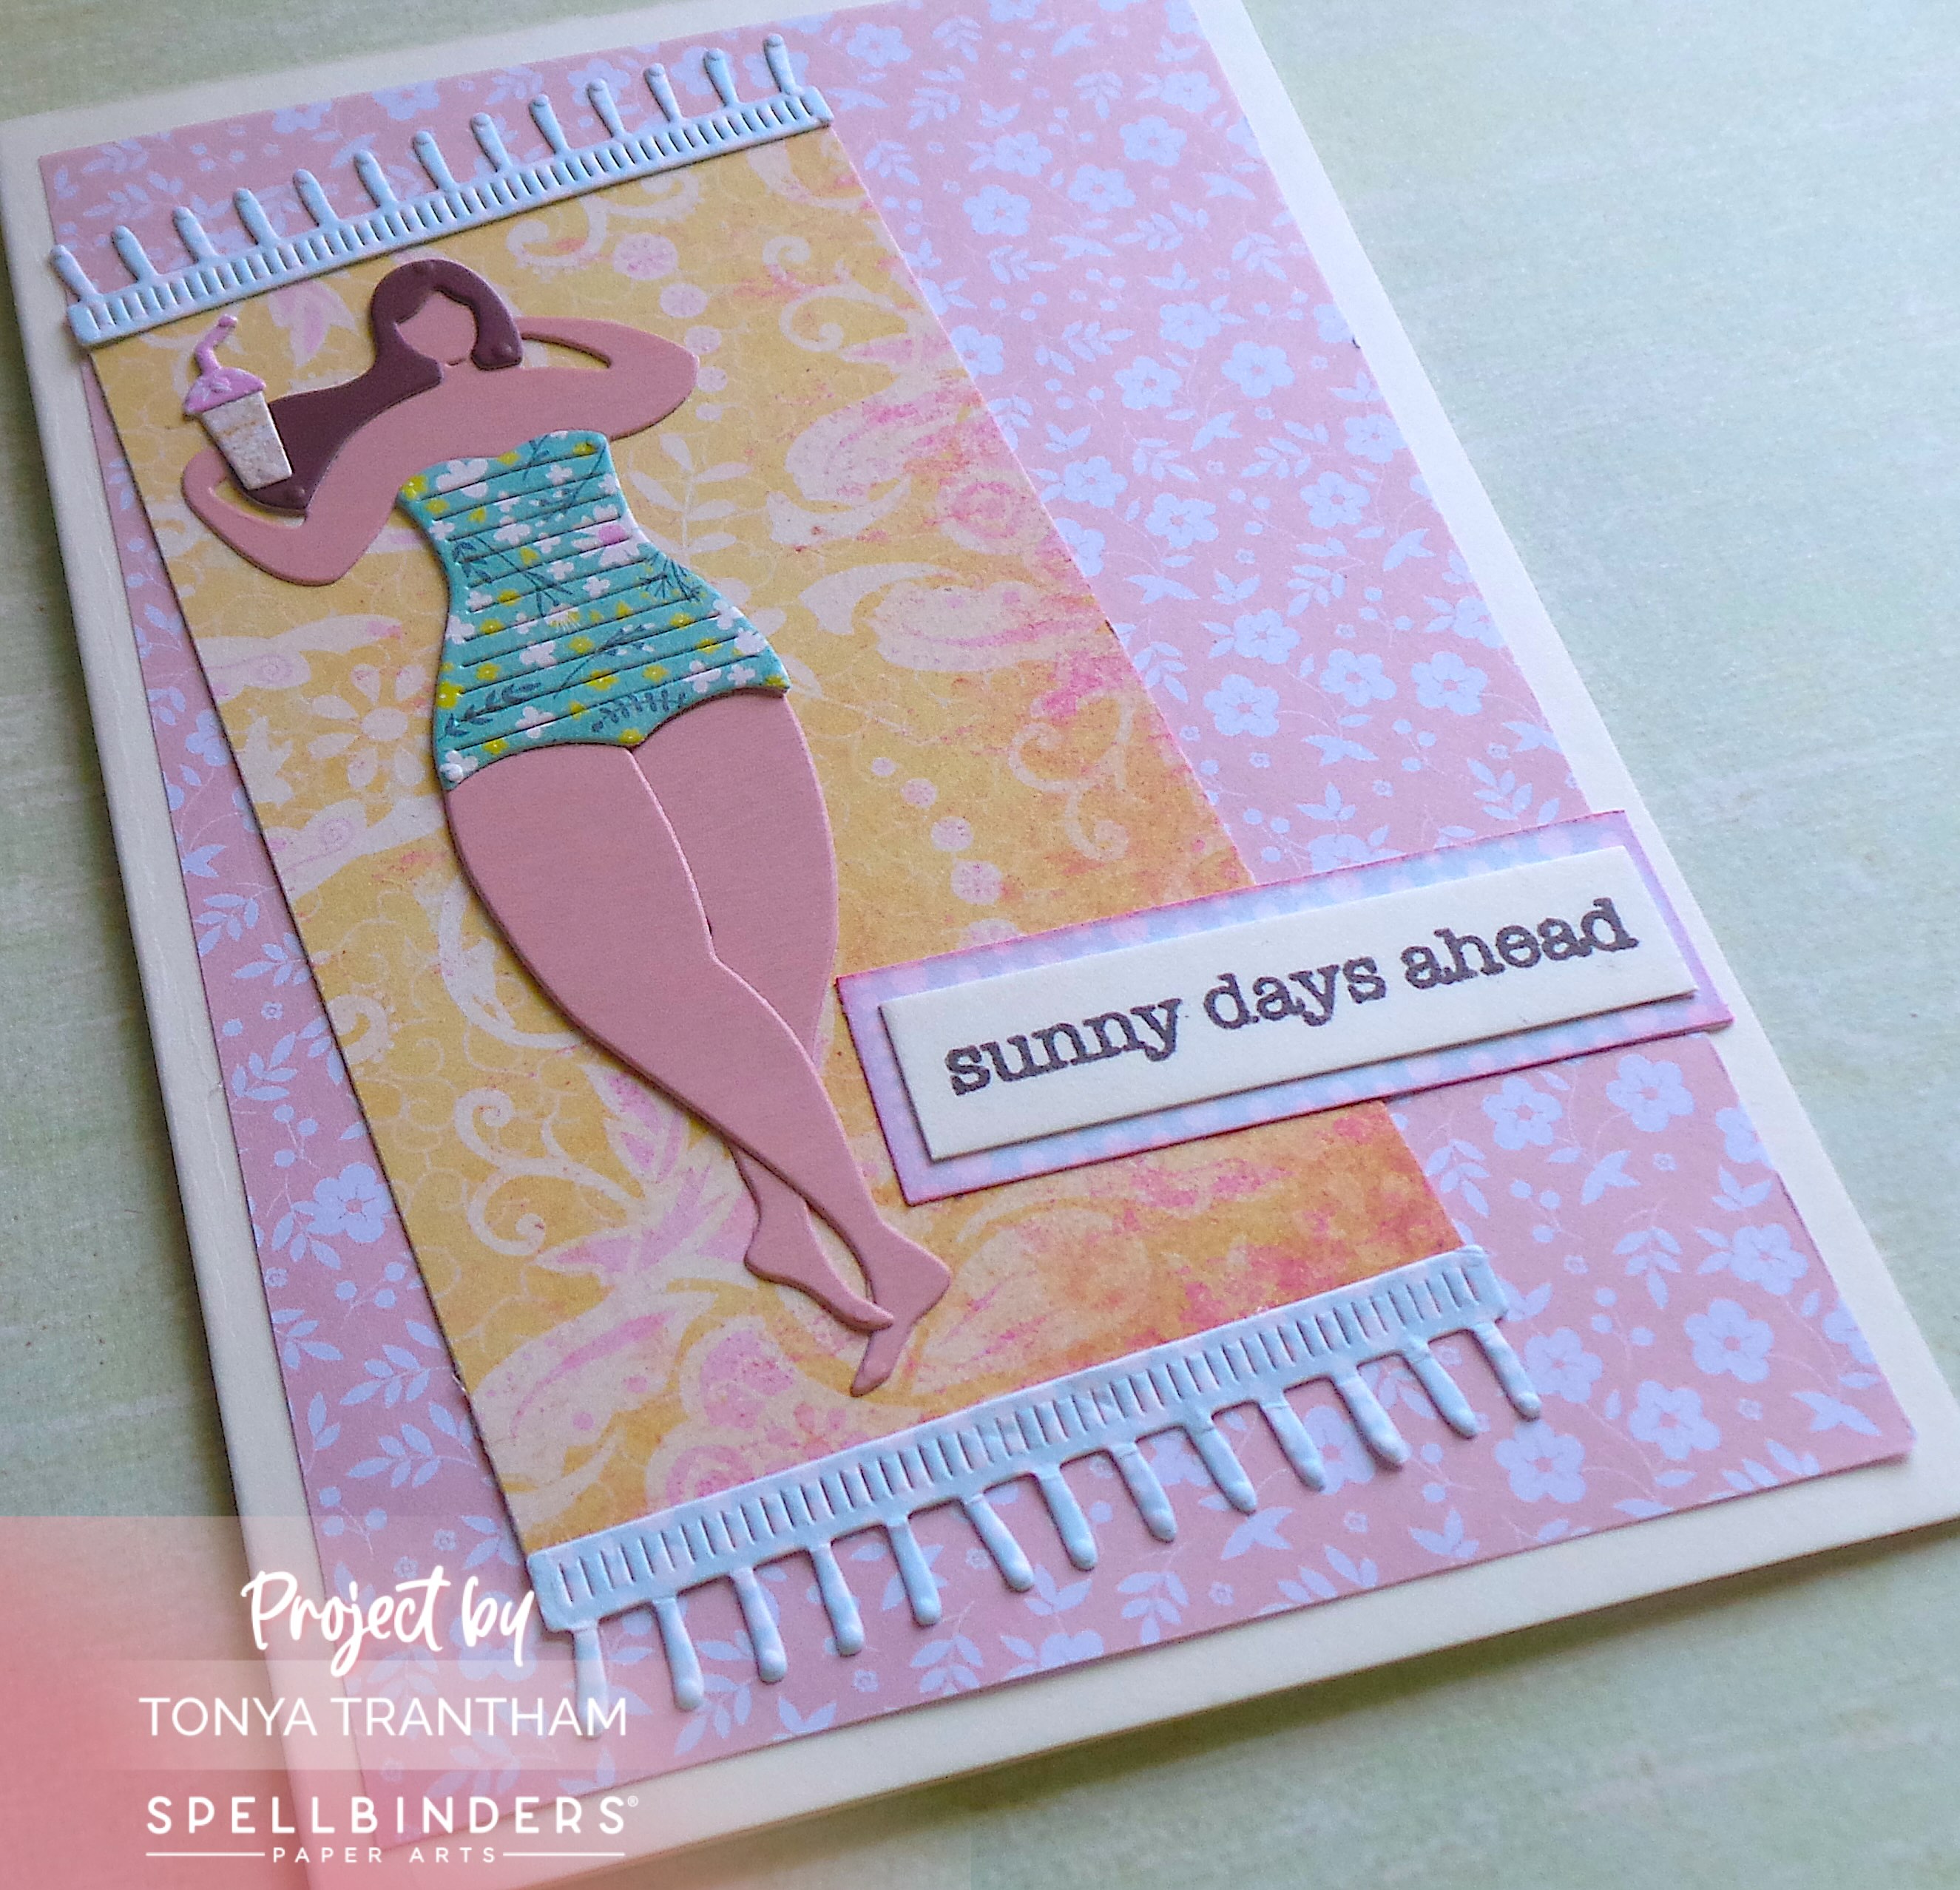
I placed the fringe on either end of the piece of cardstock and glued at an angle onto the card. Next I added the sun bather on top of the “blanket”.
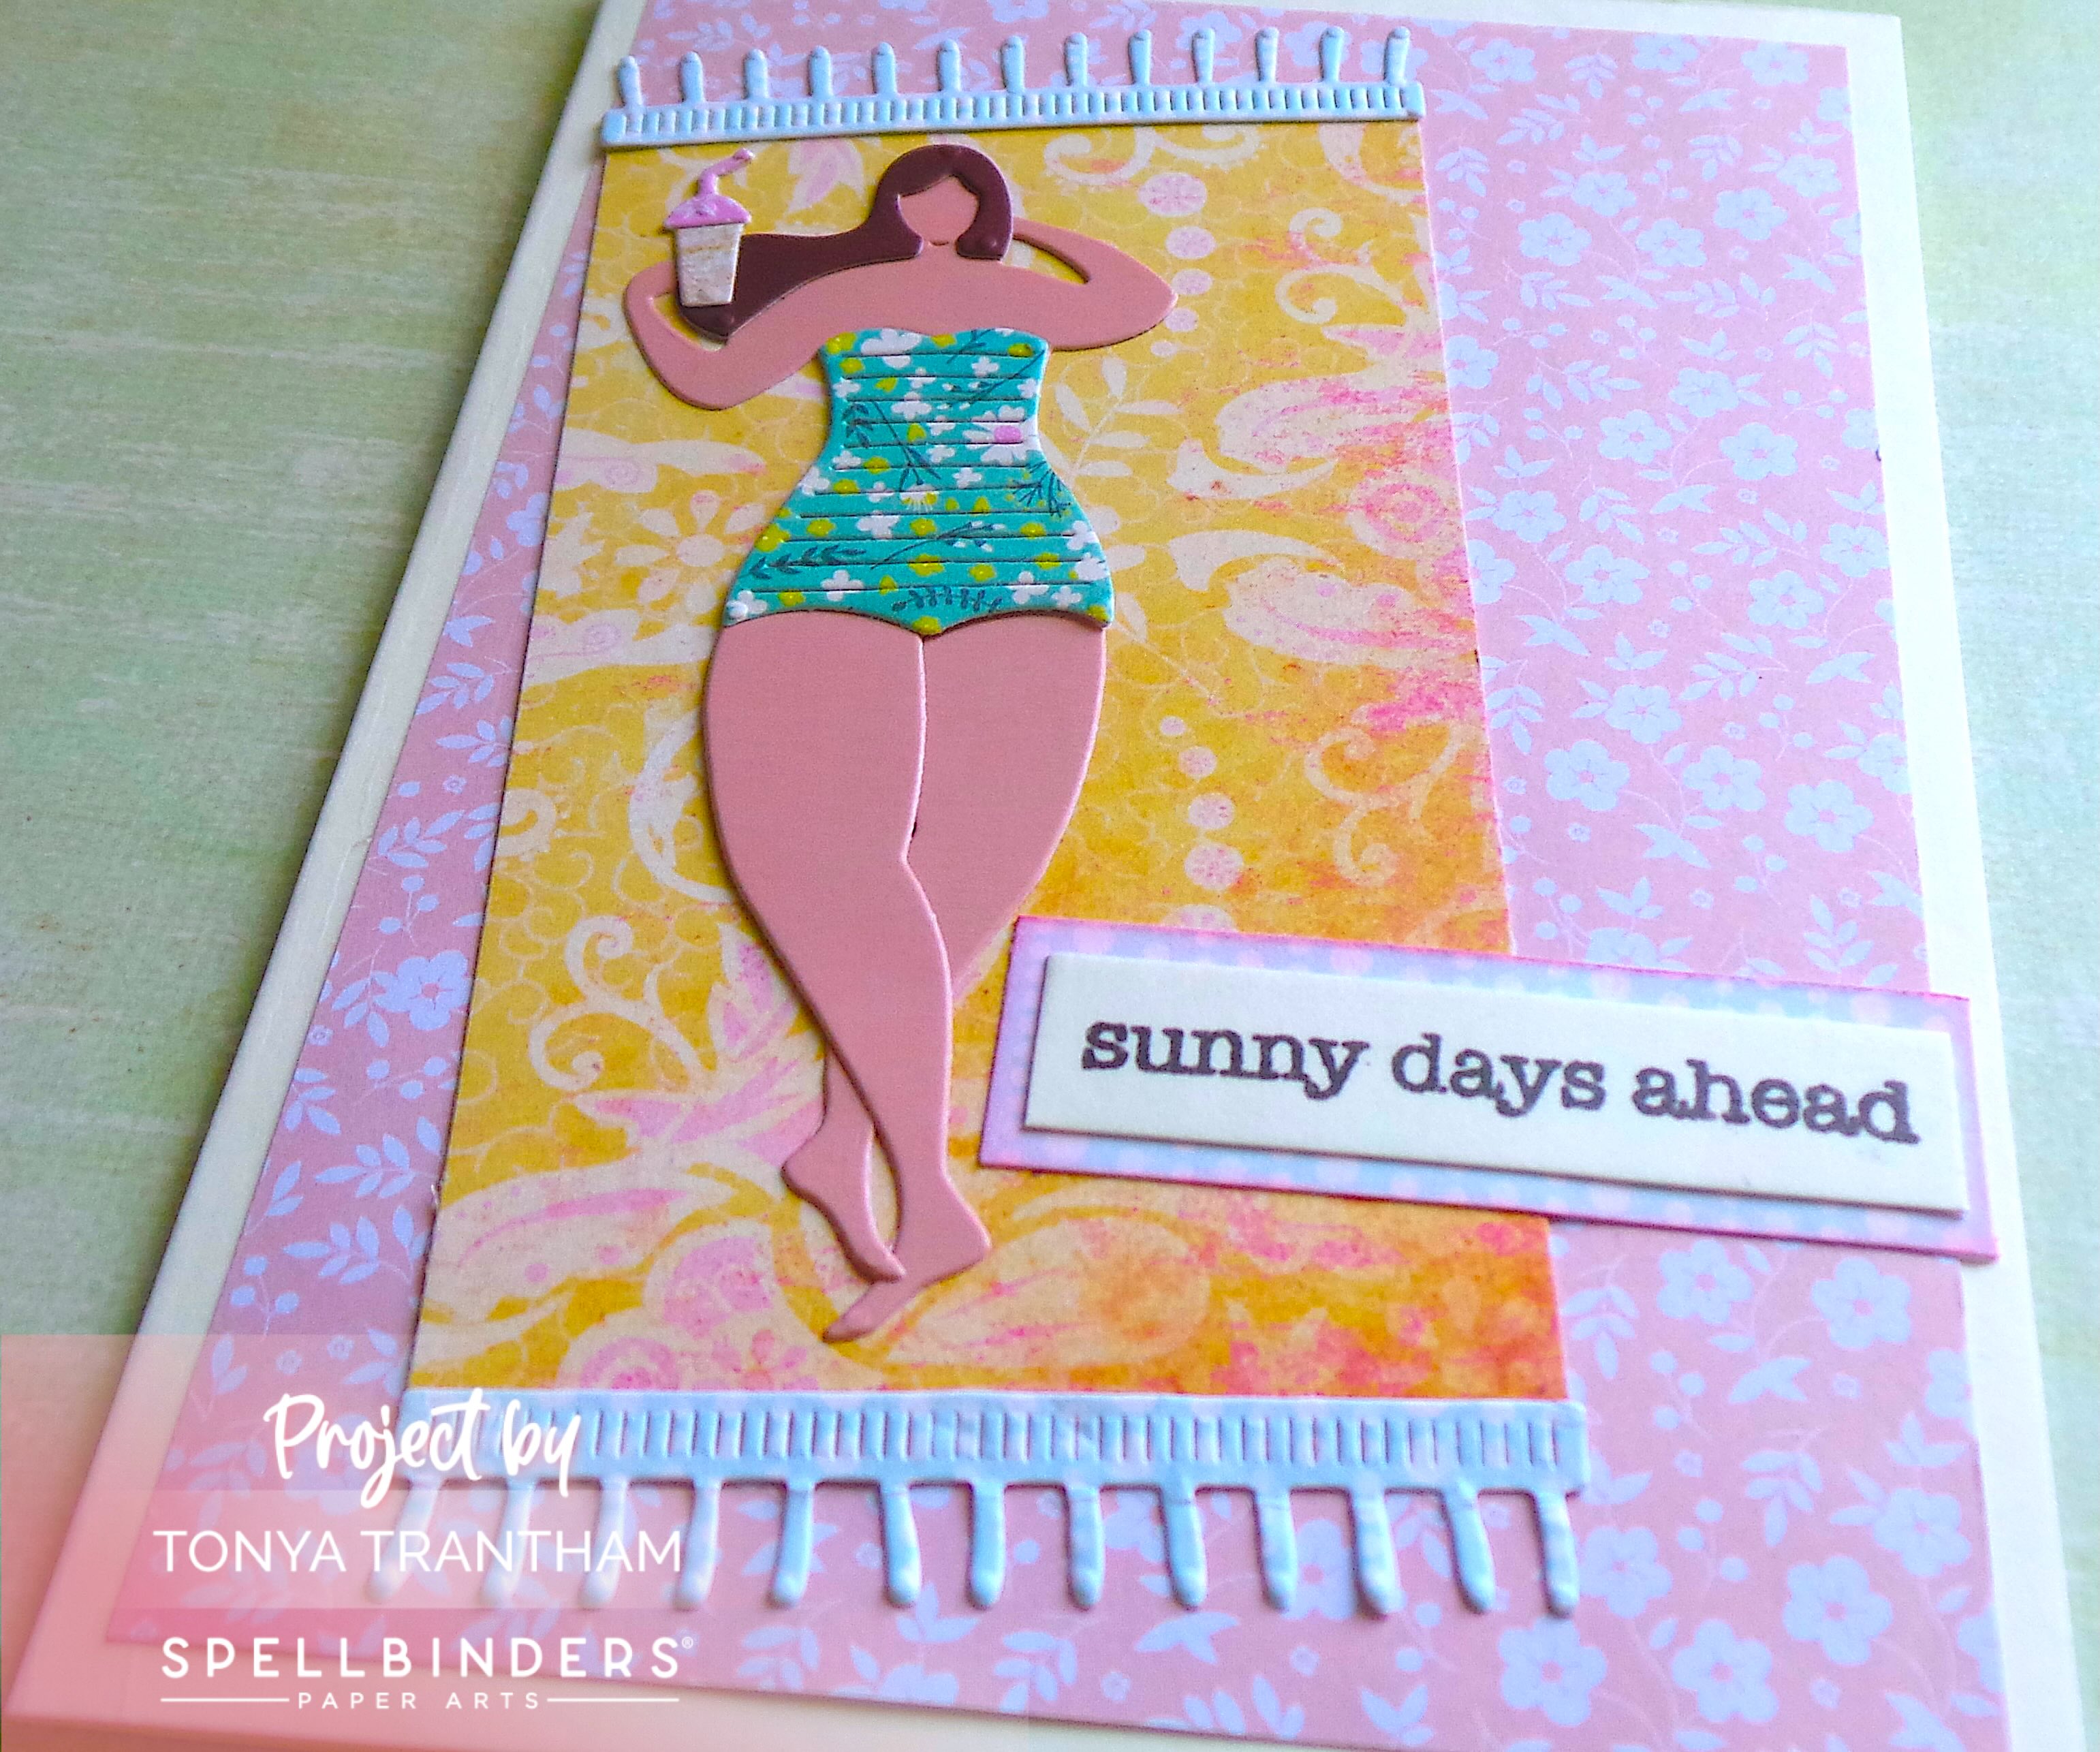
I placed the “sunny days ahead” stamp from the Typewriter Adventure Sentiments Stamp Set onto the MISTI Stamping Tool. I inked with Black Ink and stamped onto a piece of cardstock. I cut a mat slightly larger than the sentiment and lightly inked with Pink Chalk Ink. I glued the sentiment onto the mat and placed on the card to finish.
If you have any questions or comments about this card please leave them below.
Supplies
Spellbinders: Amalfi Breeze Etched Dies
Spellbinders: Typewriter Adventure Sentiments Stamp Set
Spellbinders/Kelly Bangs: Just Saying Paper Collection
Various Plain and Patterned Cardstocks
Beacon Adhesives: Zip Dry Adhesive
(Products listed above are Affiliated Links for your convenience)
DISCLAIMERS
This blog is compensated to provide opinion on products, services, websites, and various other topics. Even though the owner(s) of this blog receives compensation for our posts or advertisements. I always give my honest opinions, findings, beliefs, or experiences on those topics or products. The views and opinions expressed on this blog are purely my own. Any product claim, statistic, or quote should be checked with each manufacturer. Verify other representations about a product or service with the provider or party in question.This blog contains affiliate links. Clicking these links helps to support Tonya Trantham Designs – Creative Paper Addiction. It’s at no additional cost to you. Today’s features are Spellbinders and Scrapbook.com Products.
Thanks for stopping by, I hope your Tuesday was wonderful and enjoy creating!