Creating Unique Junk Journal Tags: Part One
Hi everyone! I hope everyone is surviving the heat and having a wonderful summer. I’ve spent most of my time with family, cooling off in the swimming pool and working on a few home projects that I could no longer put off.
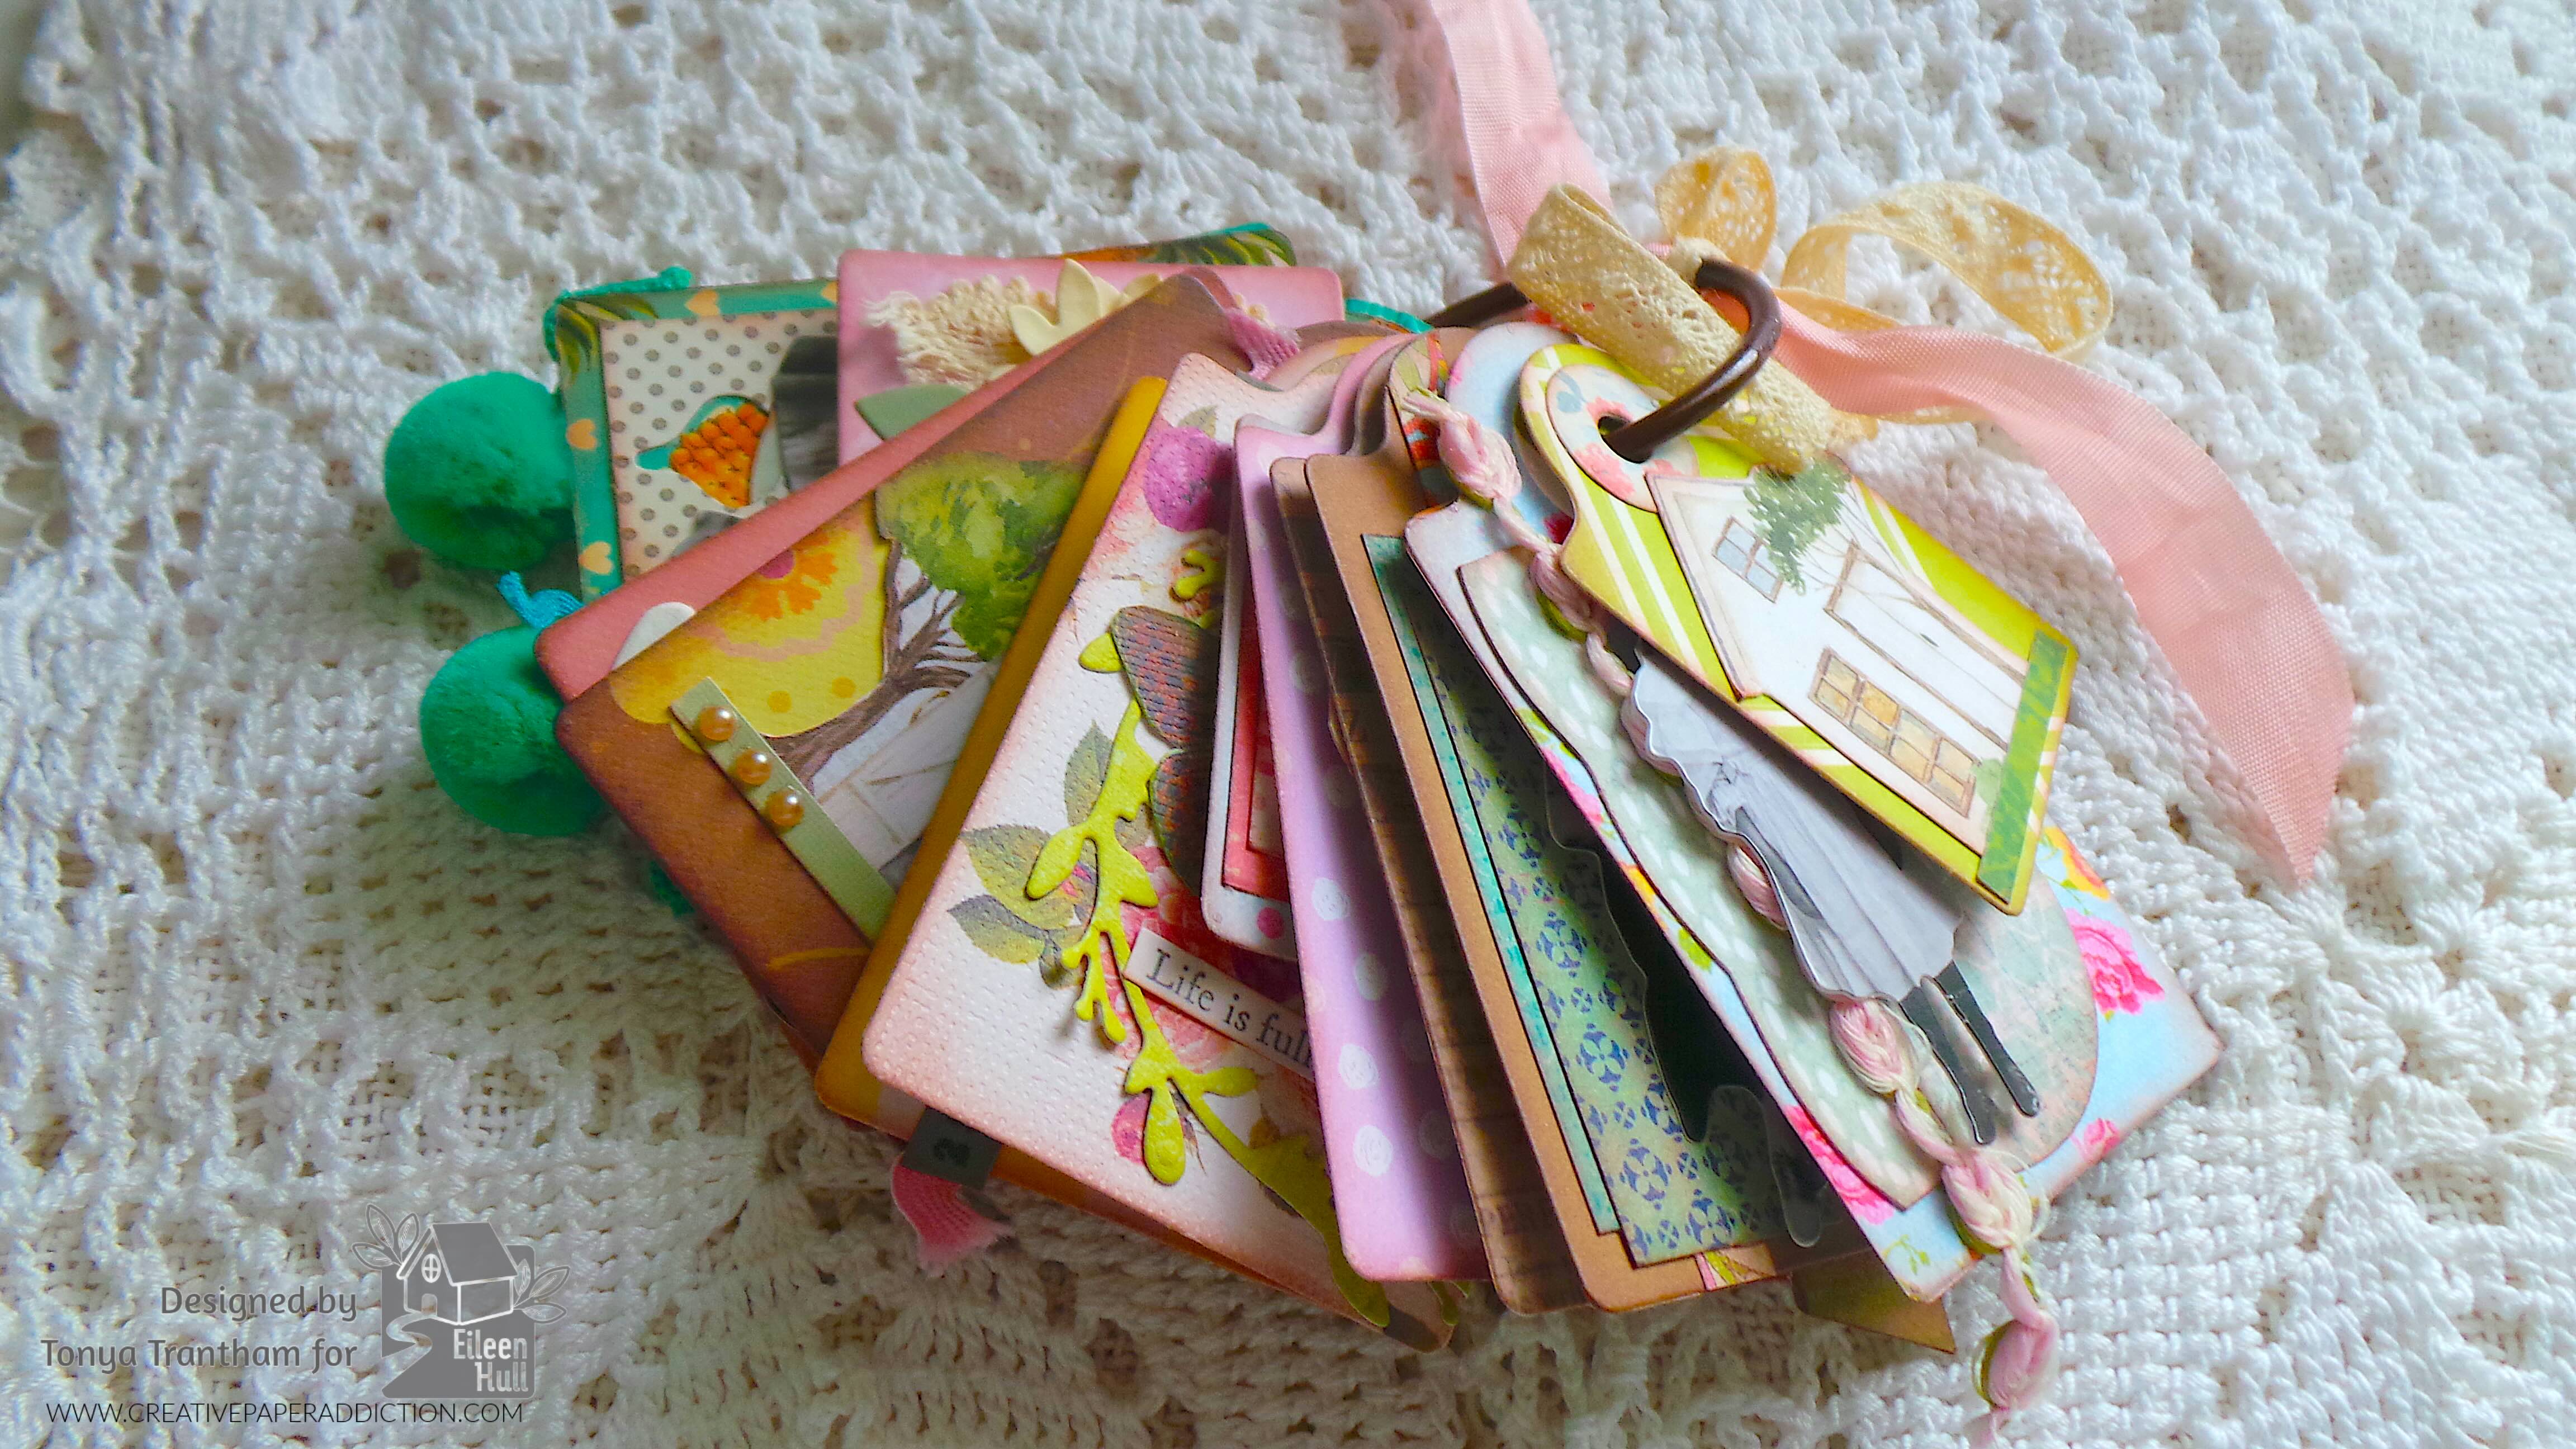
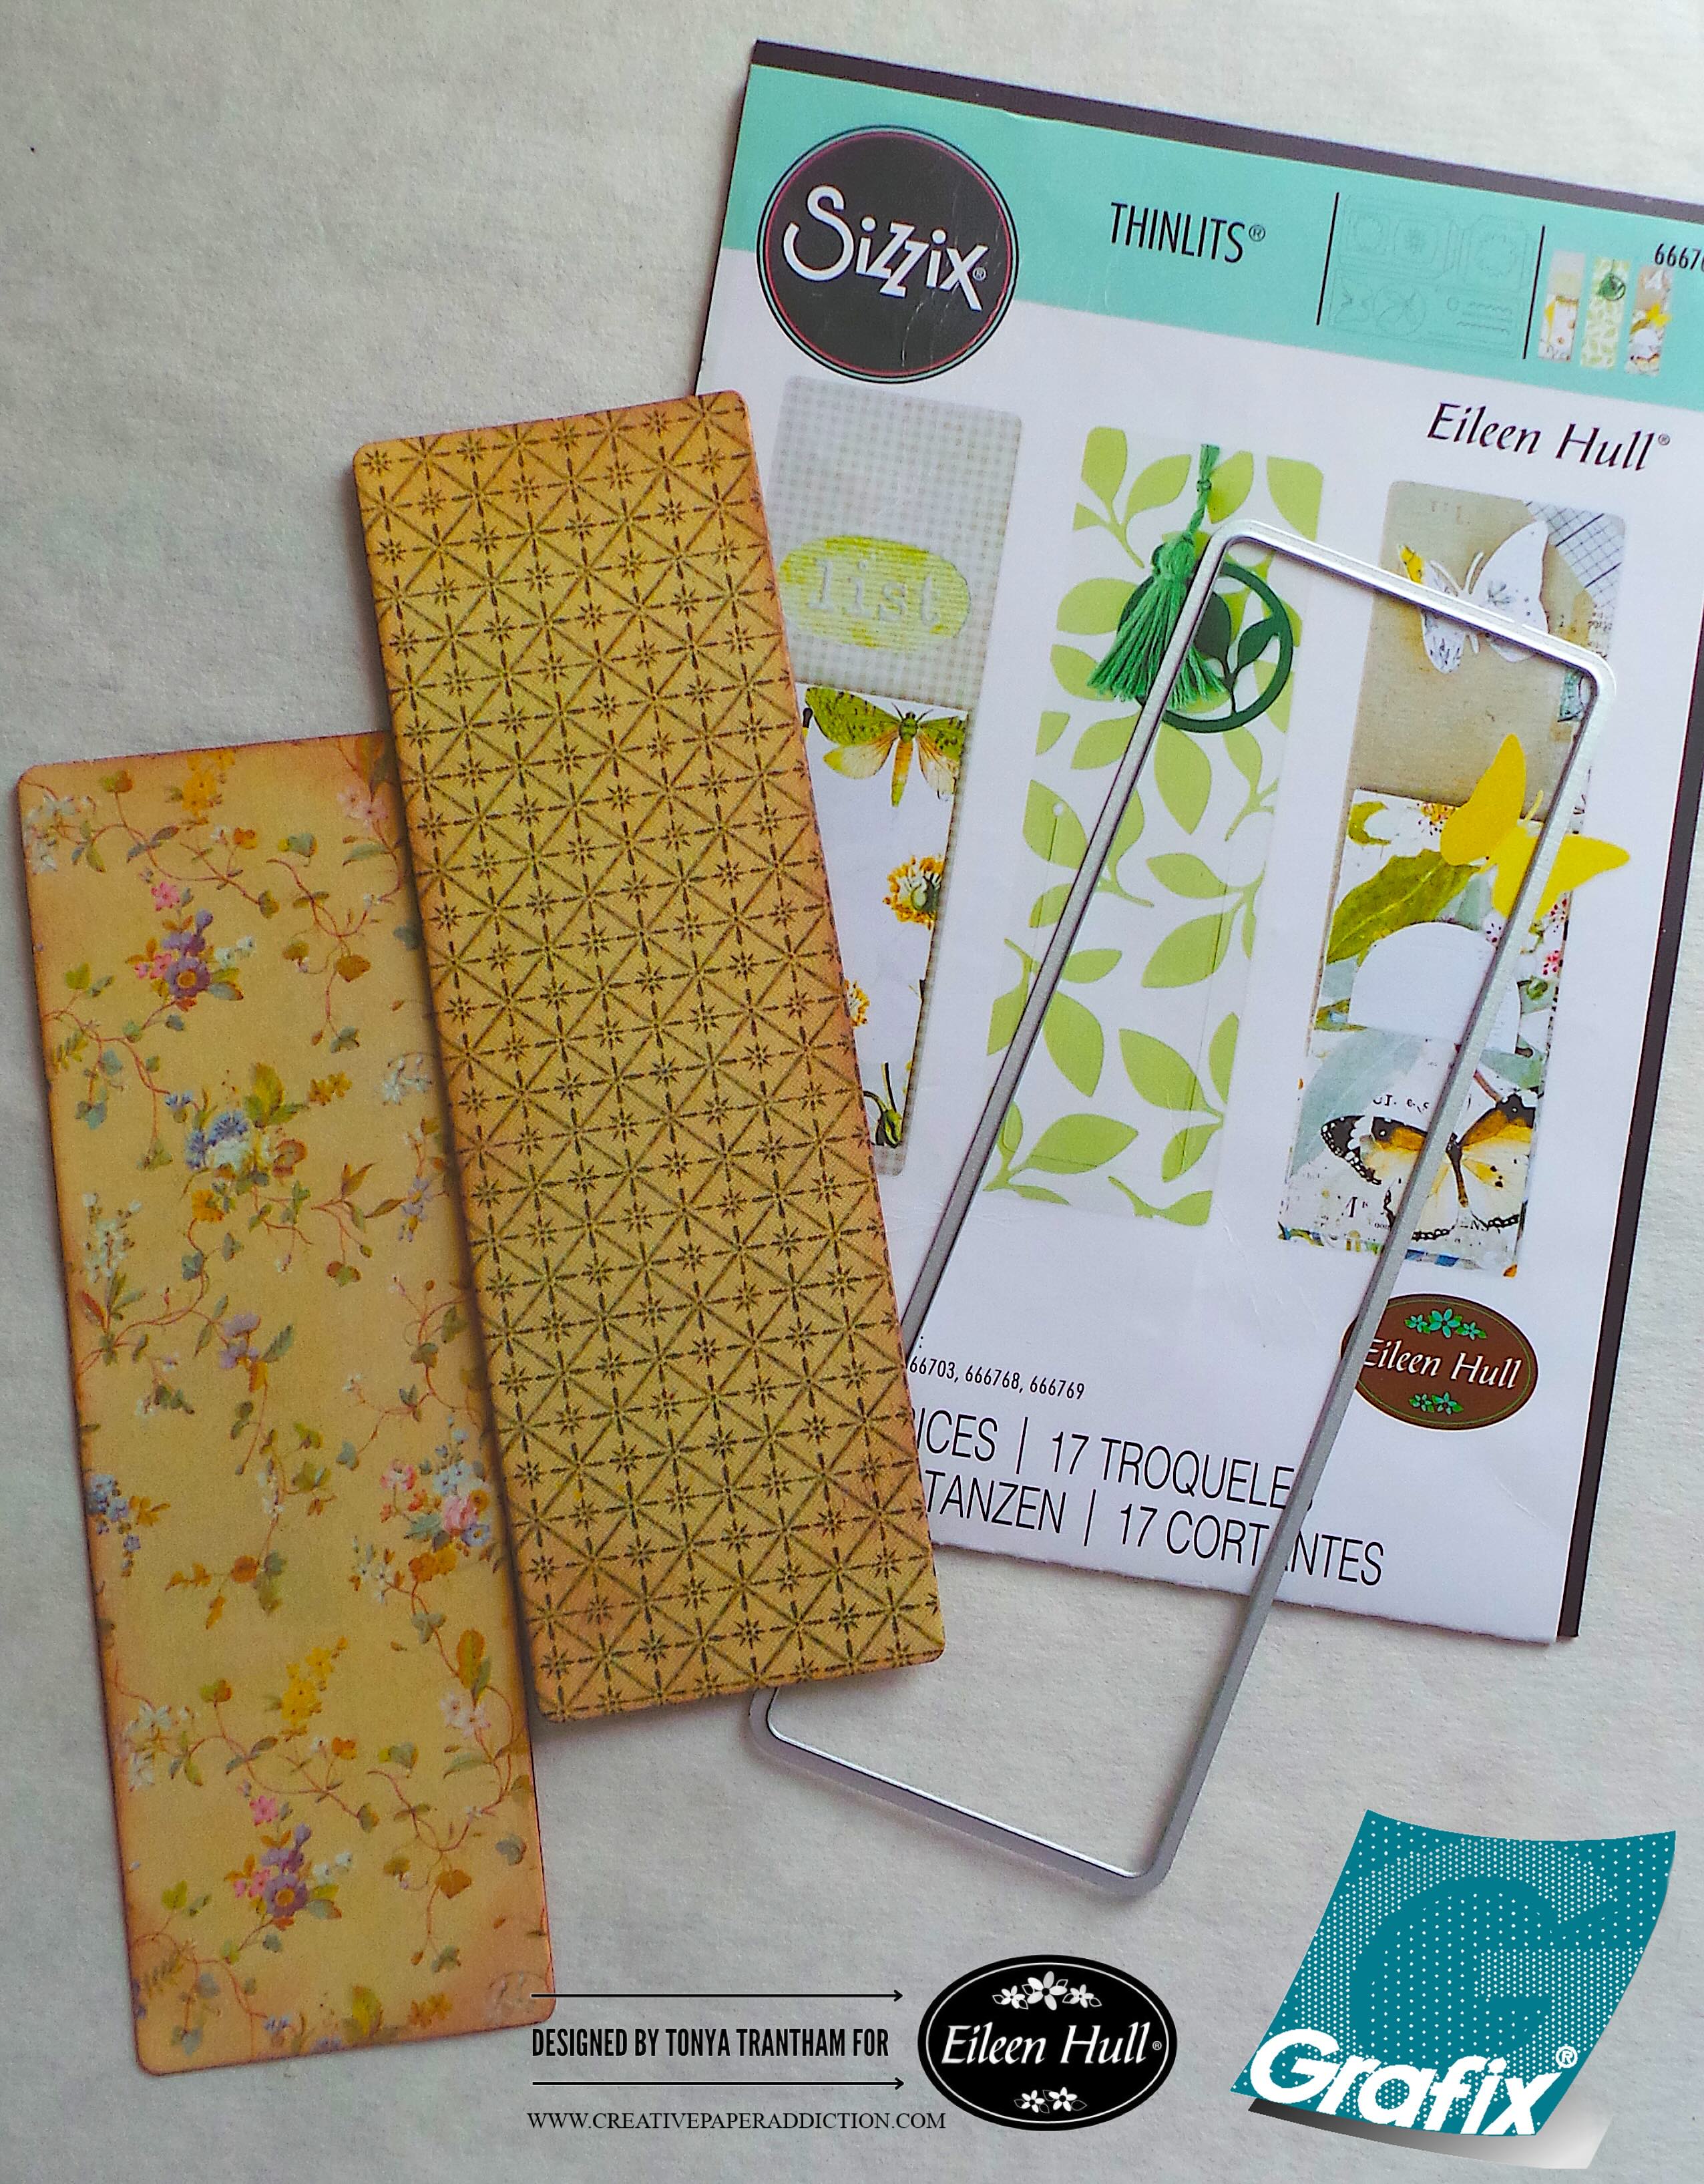
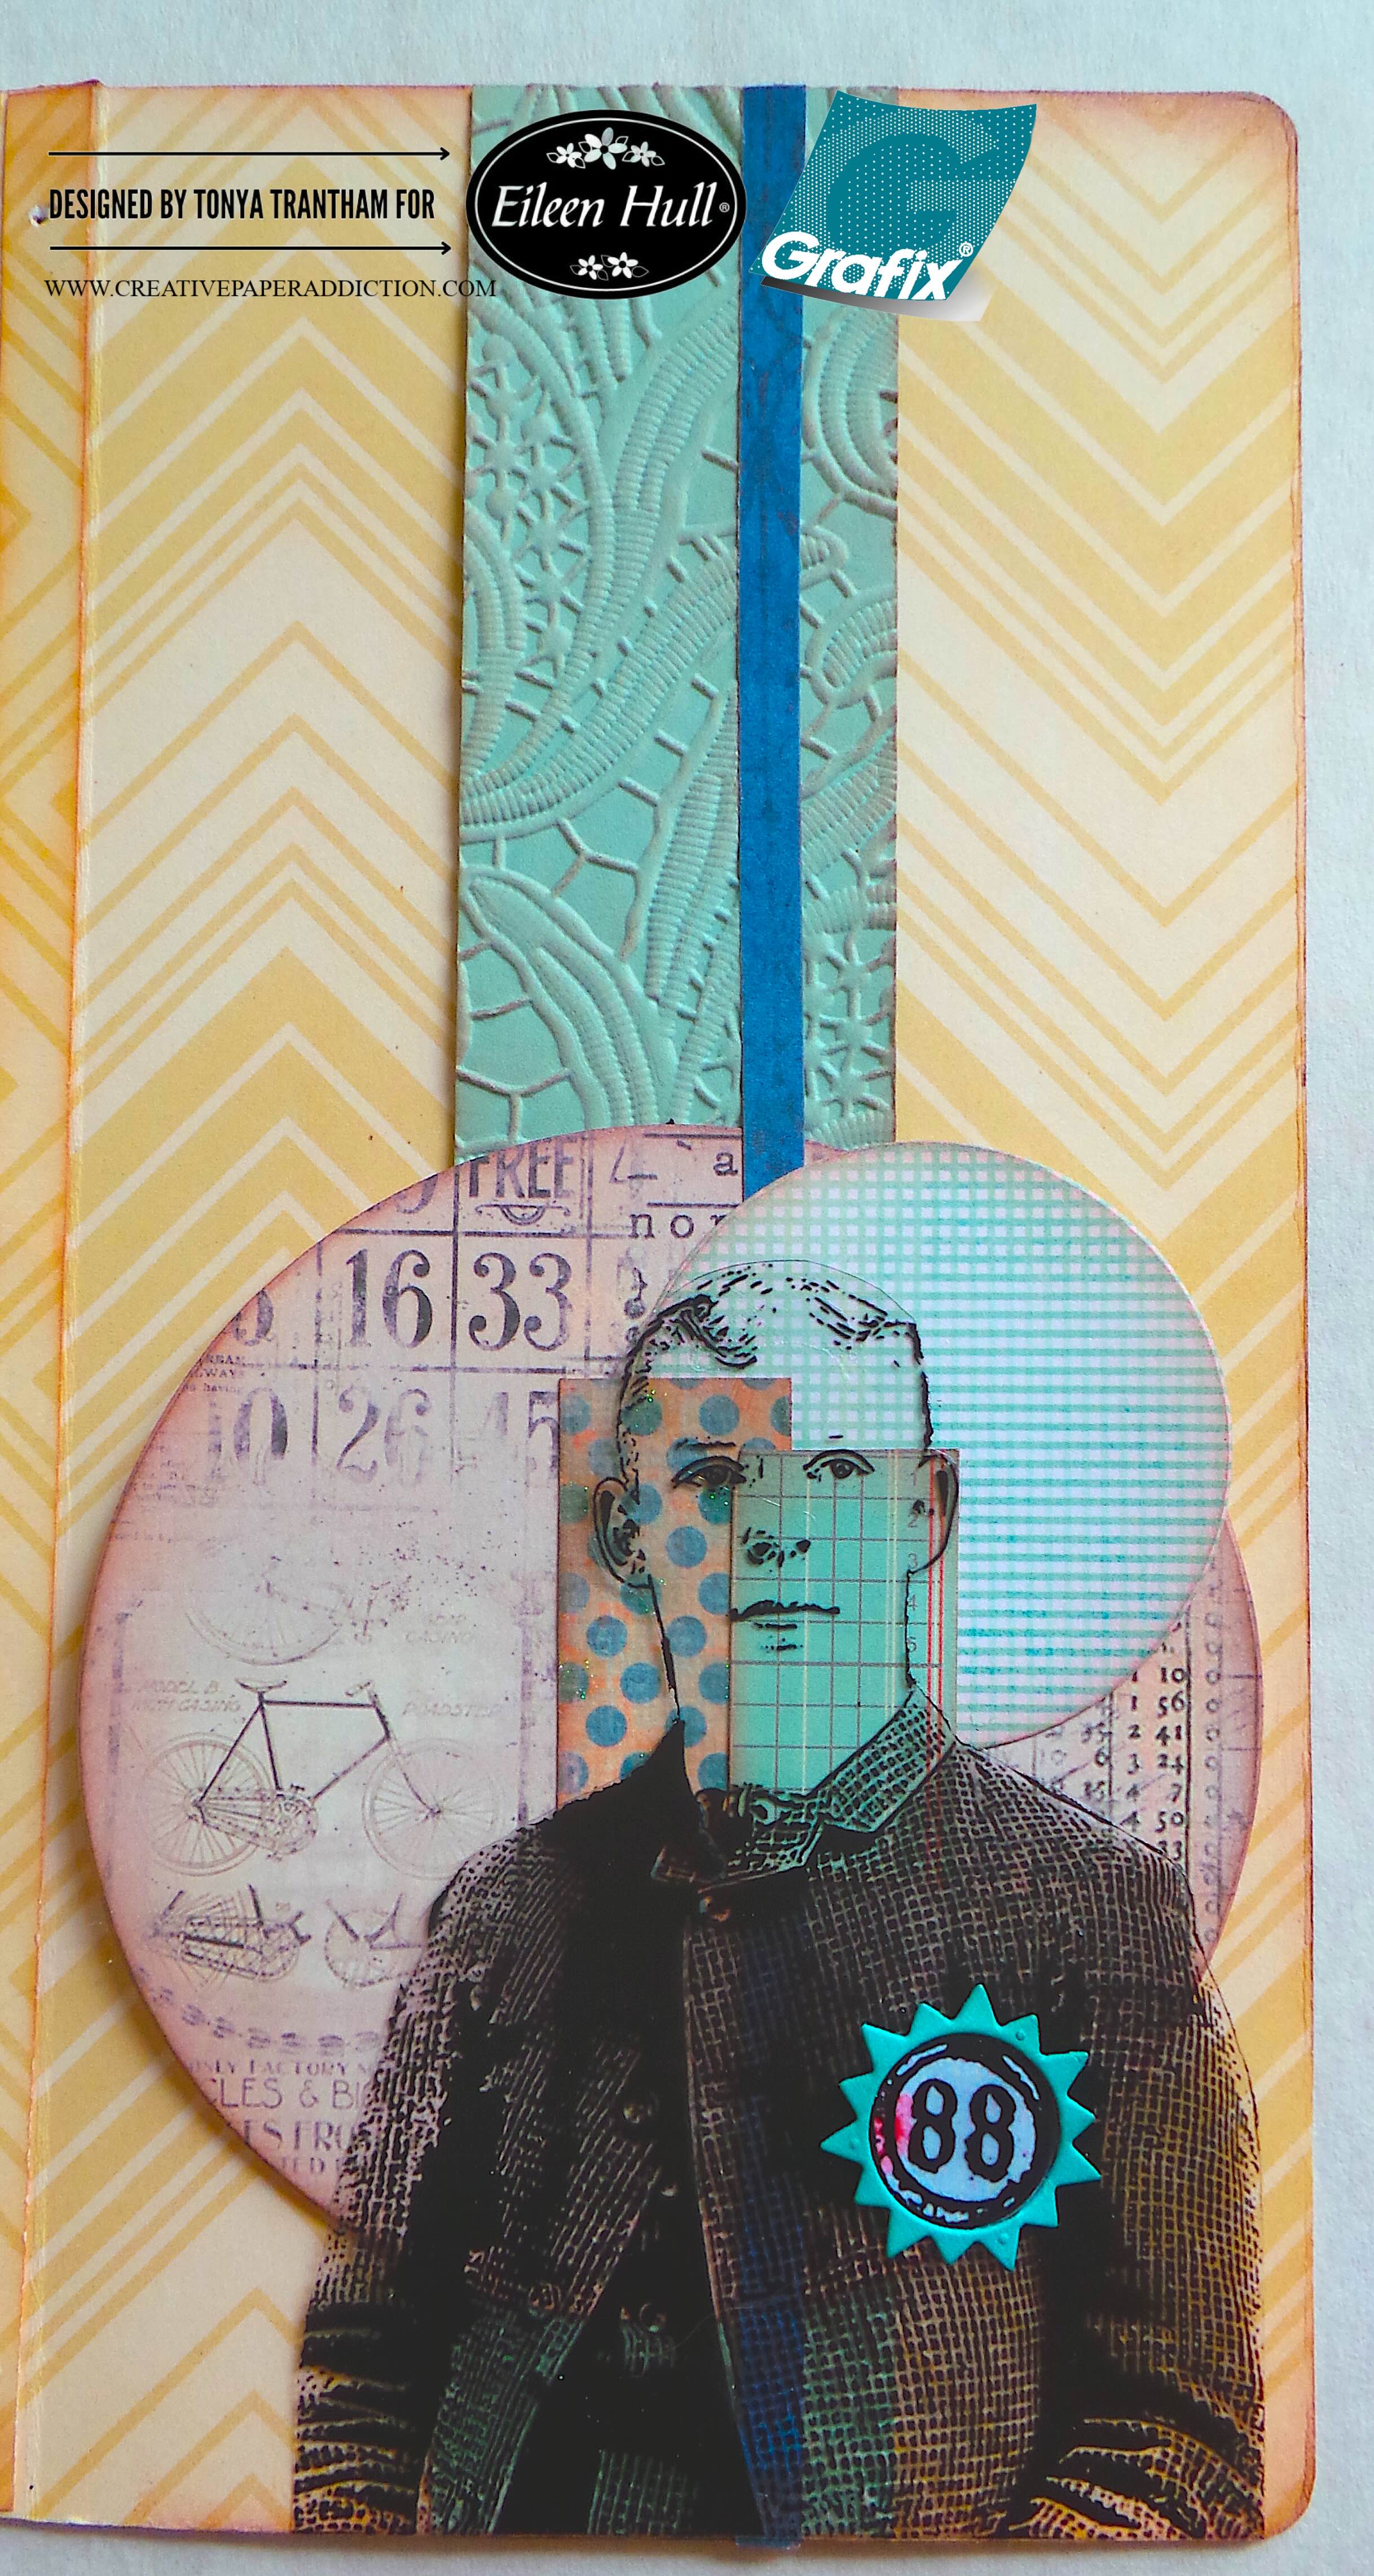
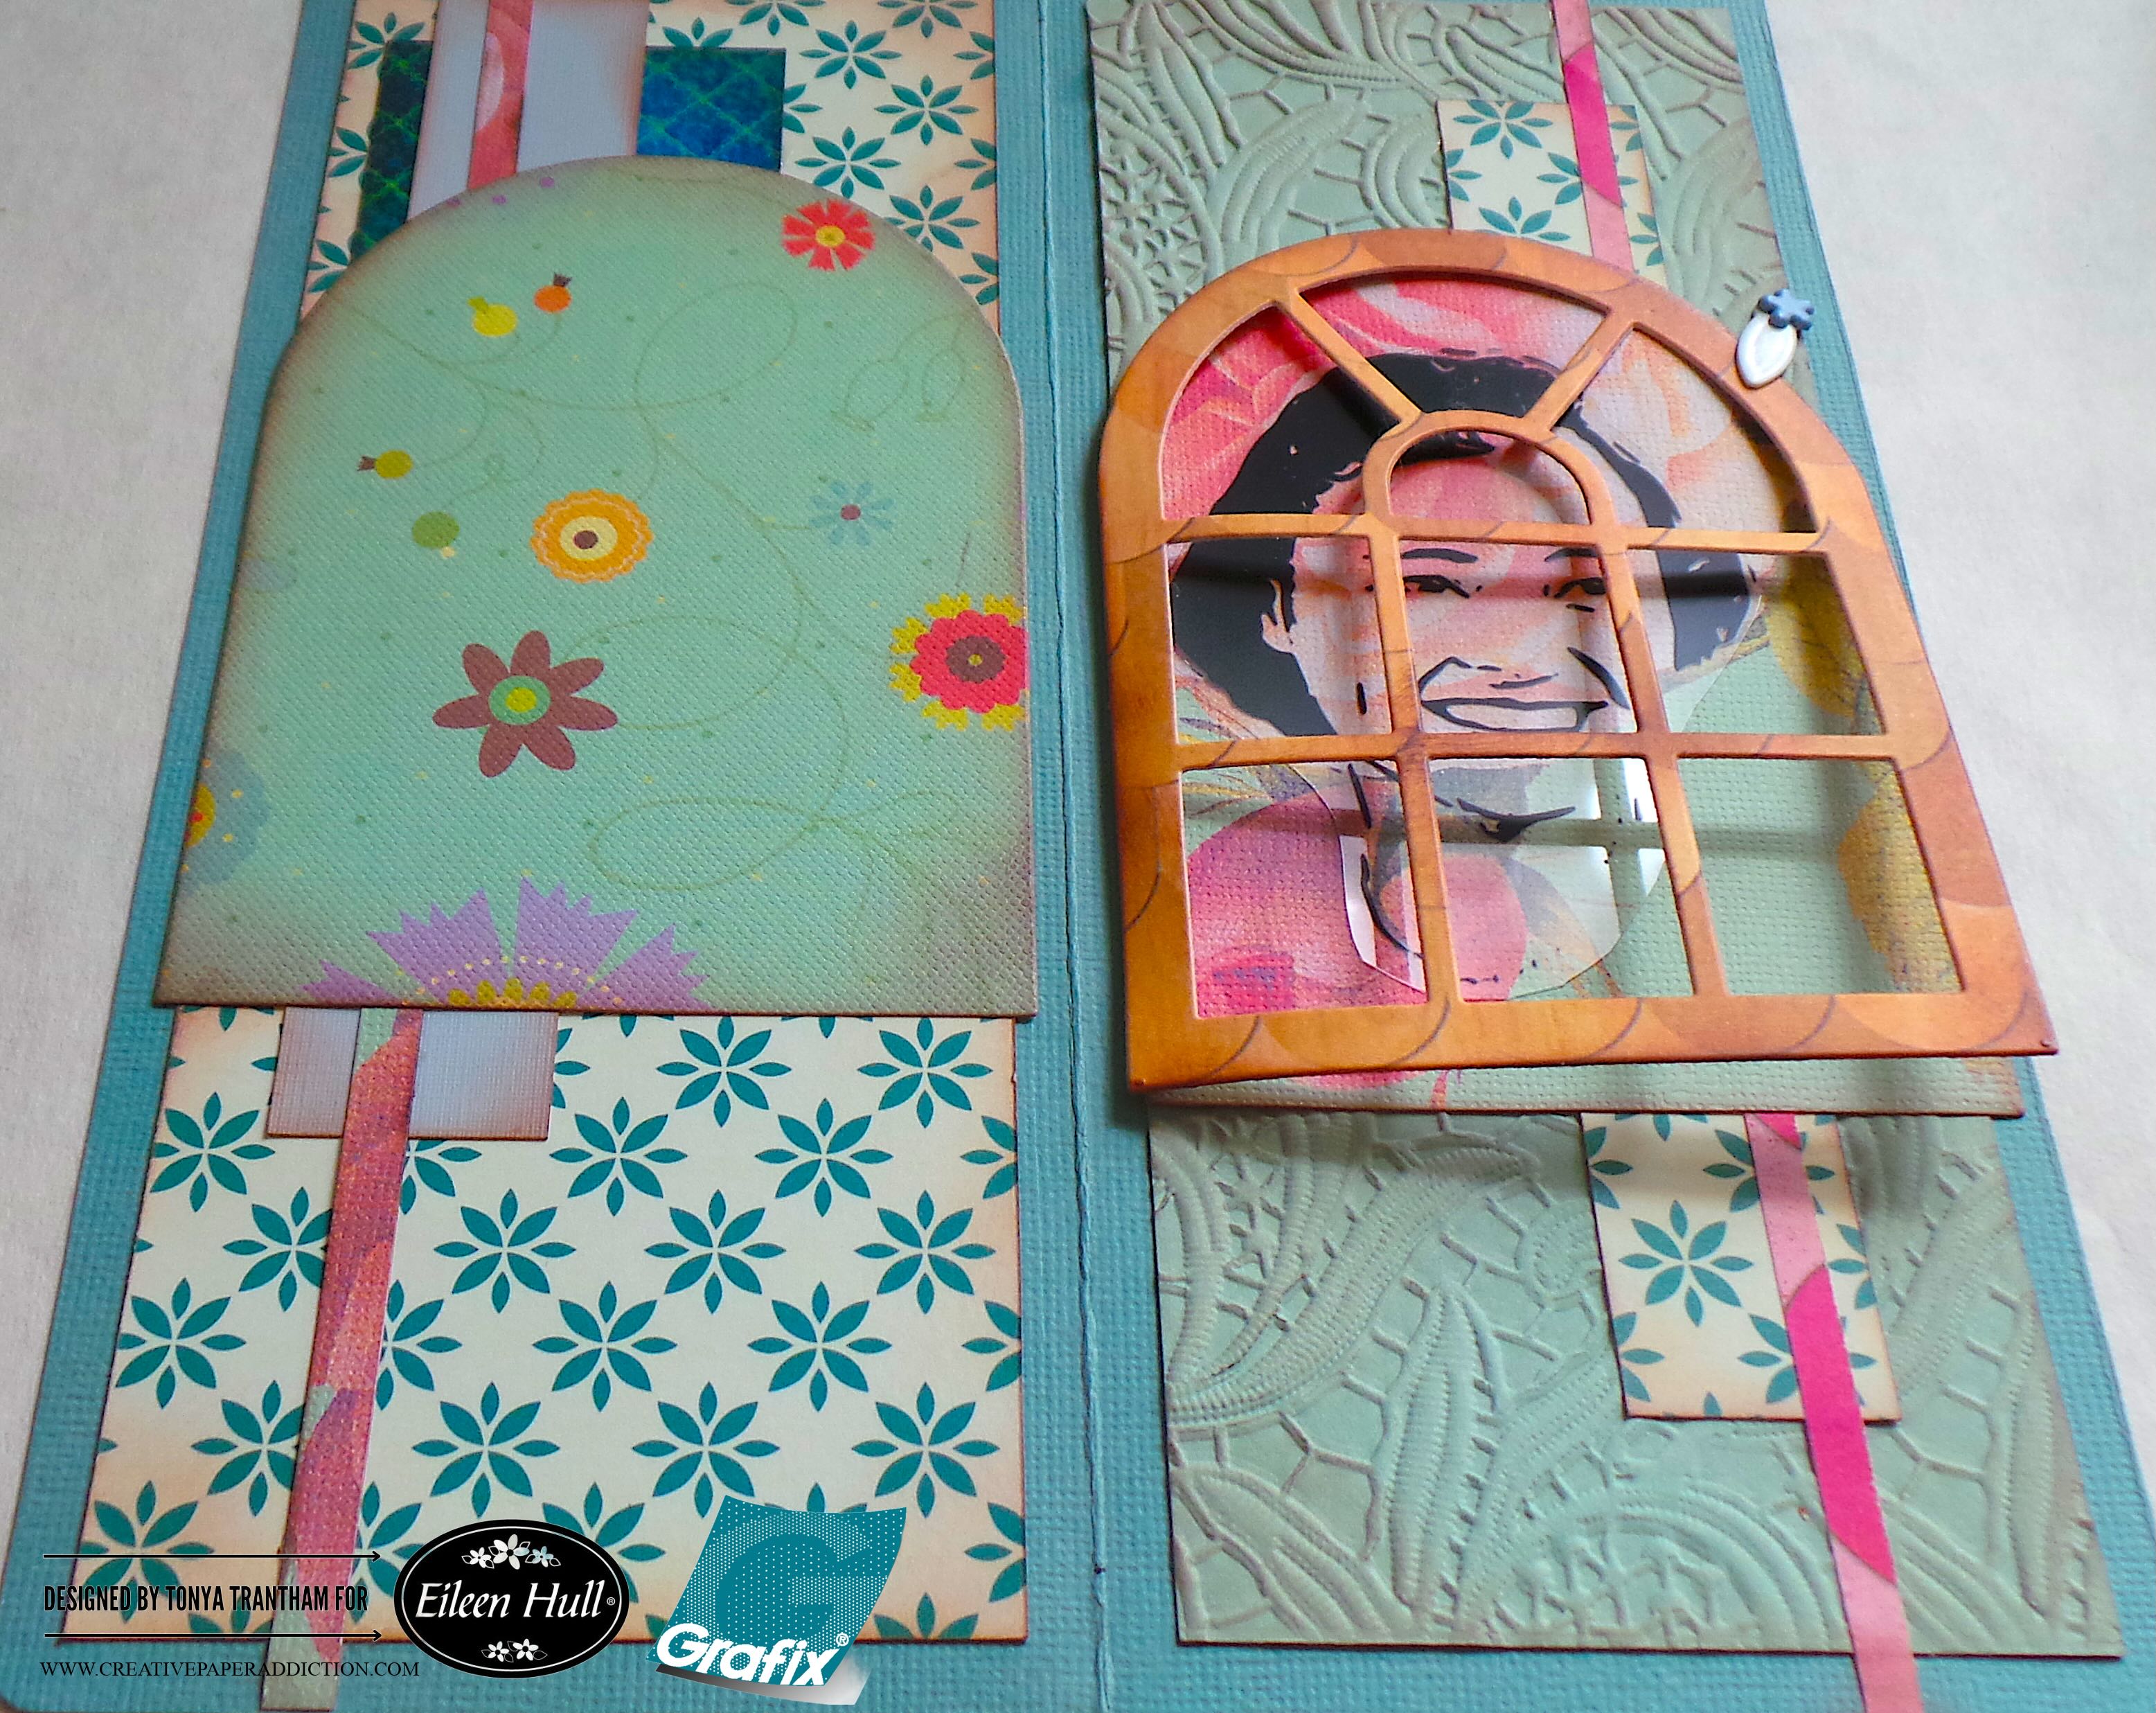
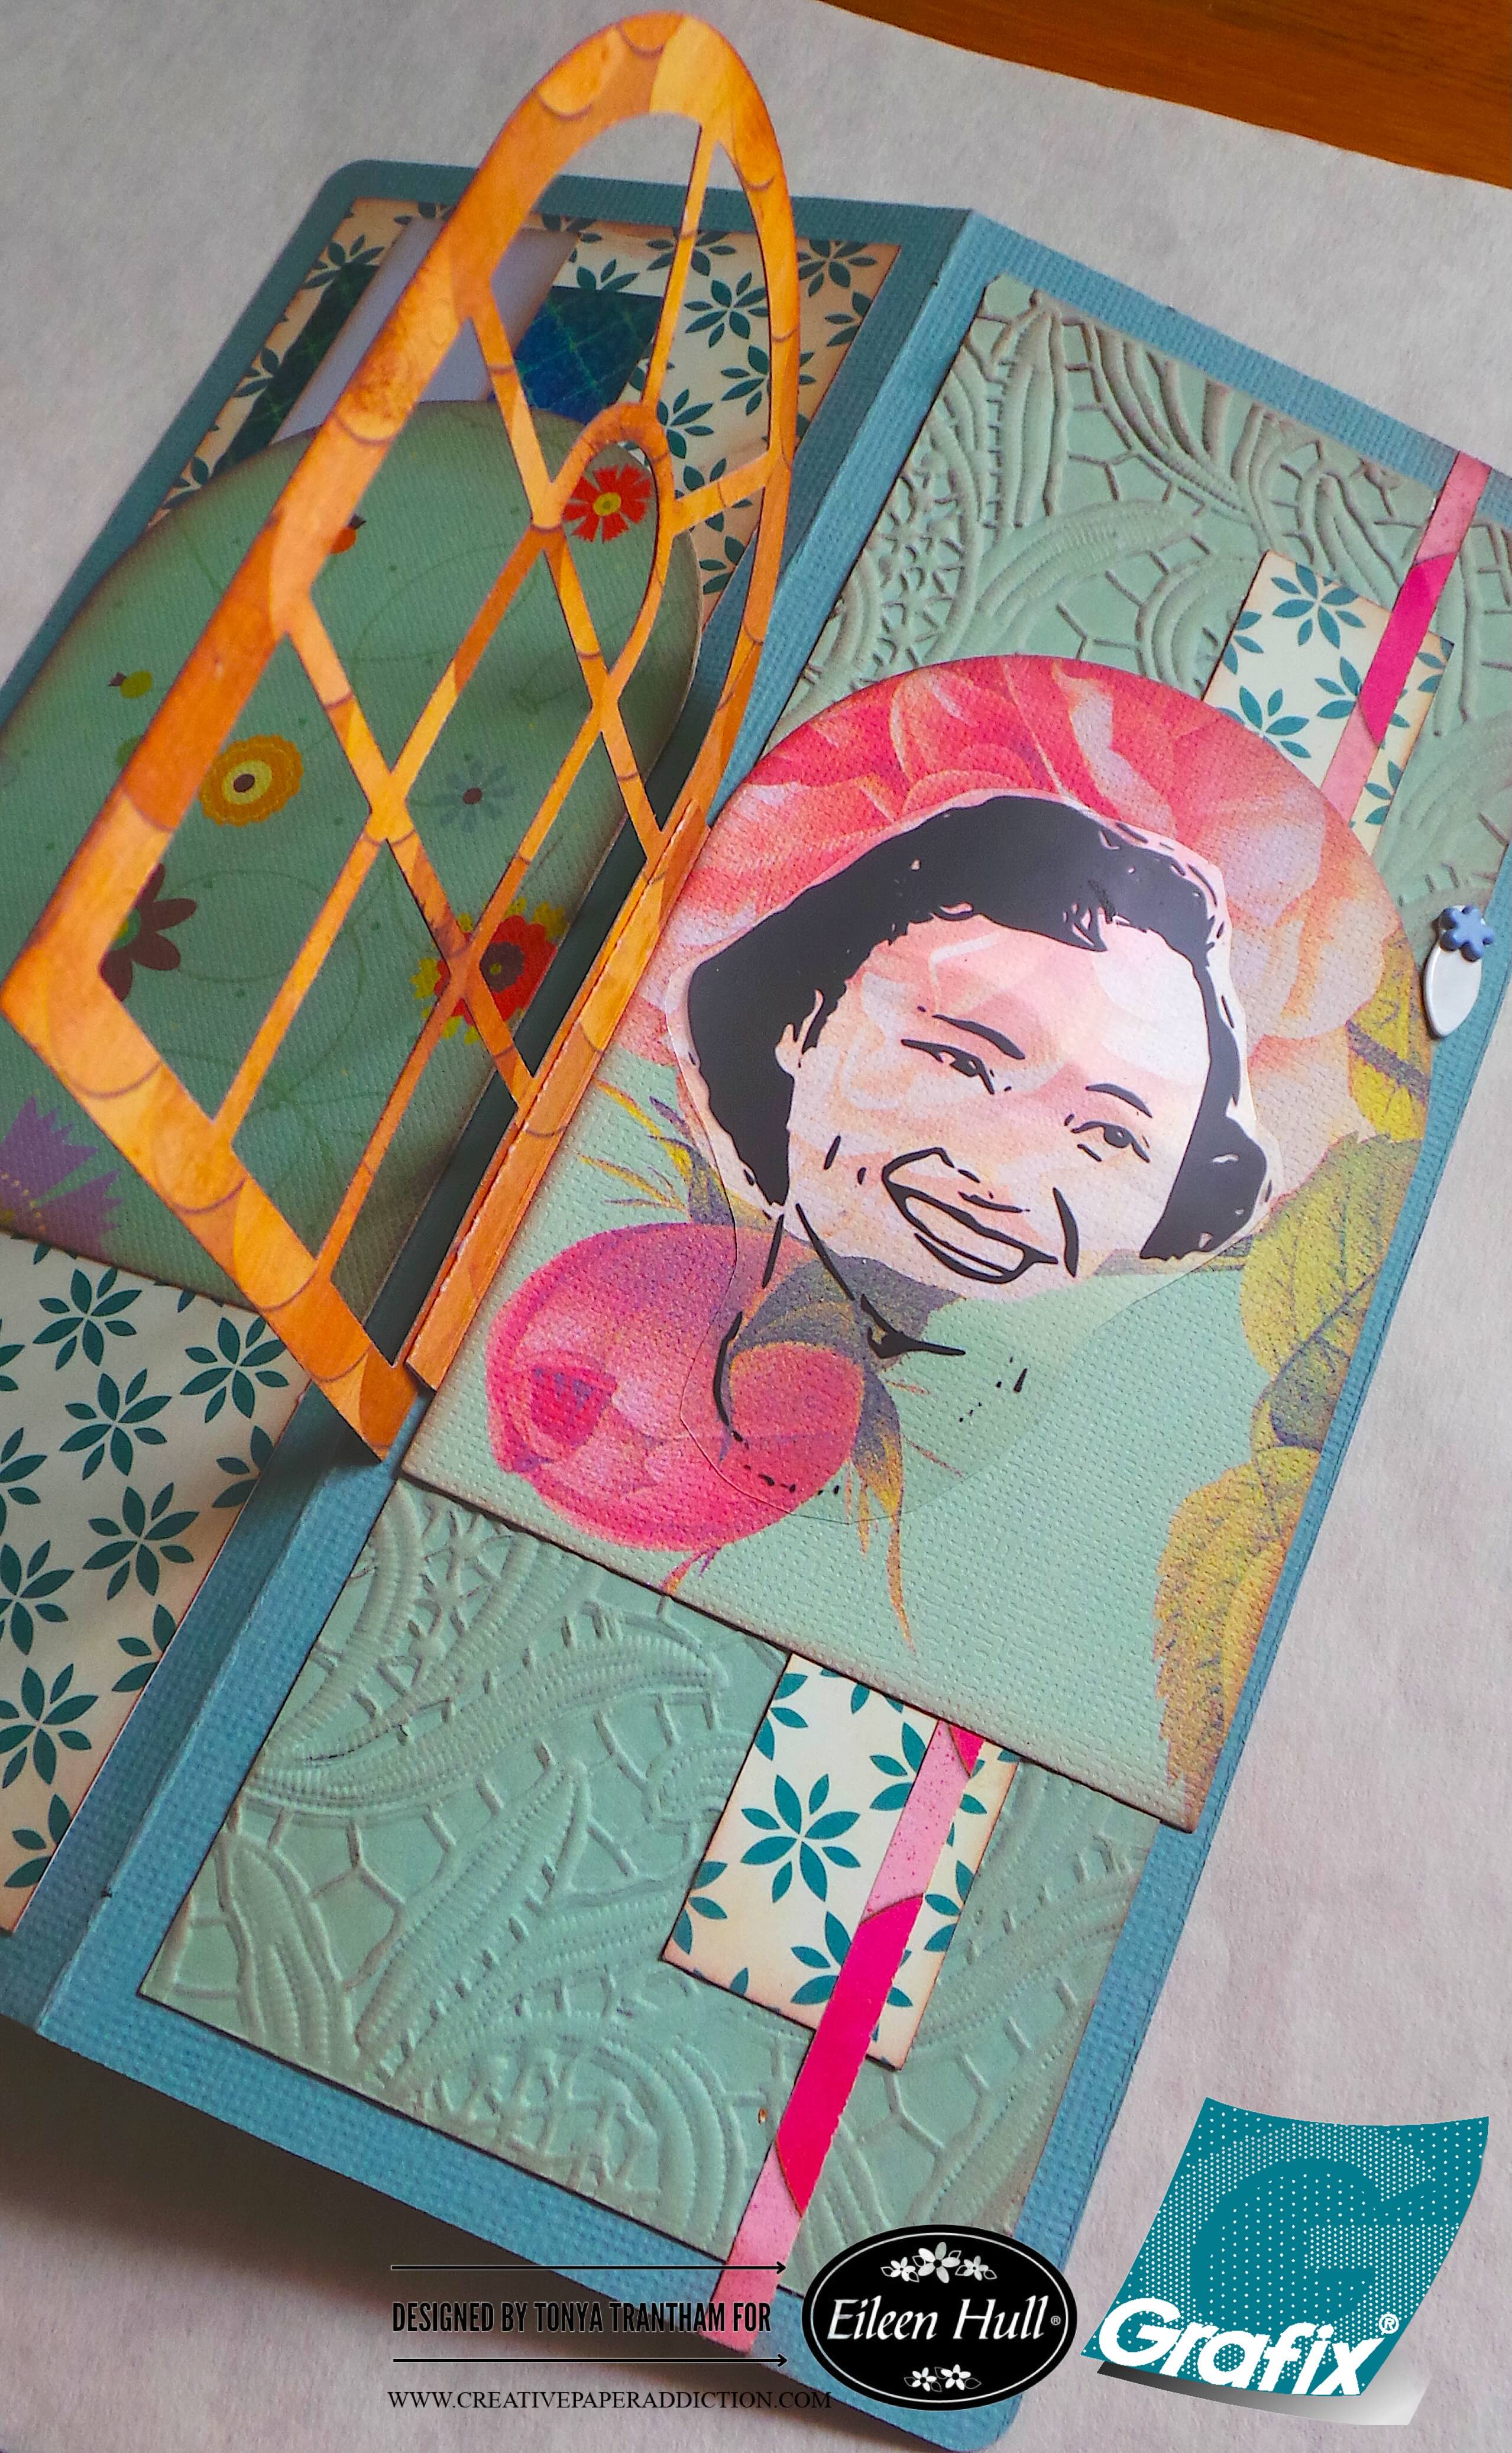
But I do want to share part one of a tag journal I created using an assortment of scraps of cardstock and whatever else I found in my craft stash. I used Eileen Hull‘s newest collection. I used the Ephemera Pocket and Tags Thinlits, Nora Numbers Thinlits, Nora Alphabet Thinlits and Stitched Hearts Thinlits. I also used several other dies by Eileen from past collections that had been living in my stash. Anyways let’s get started!
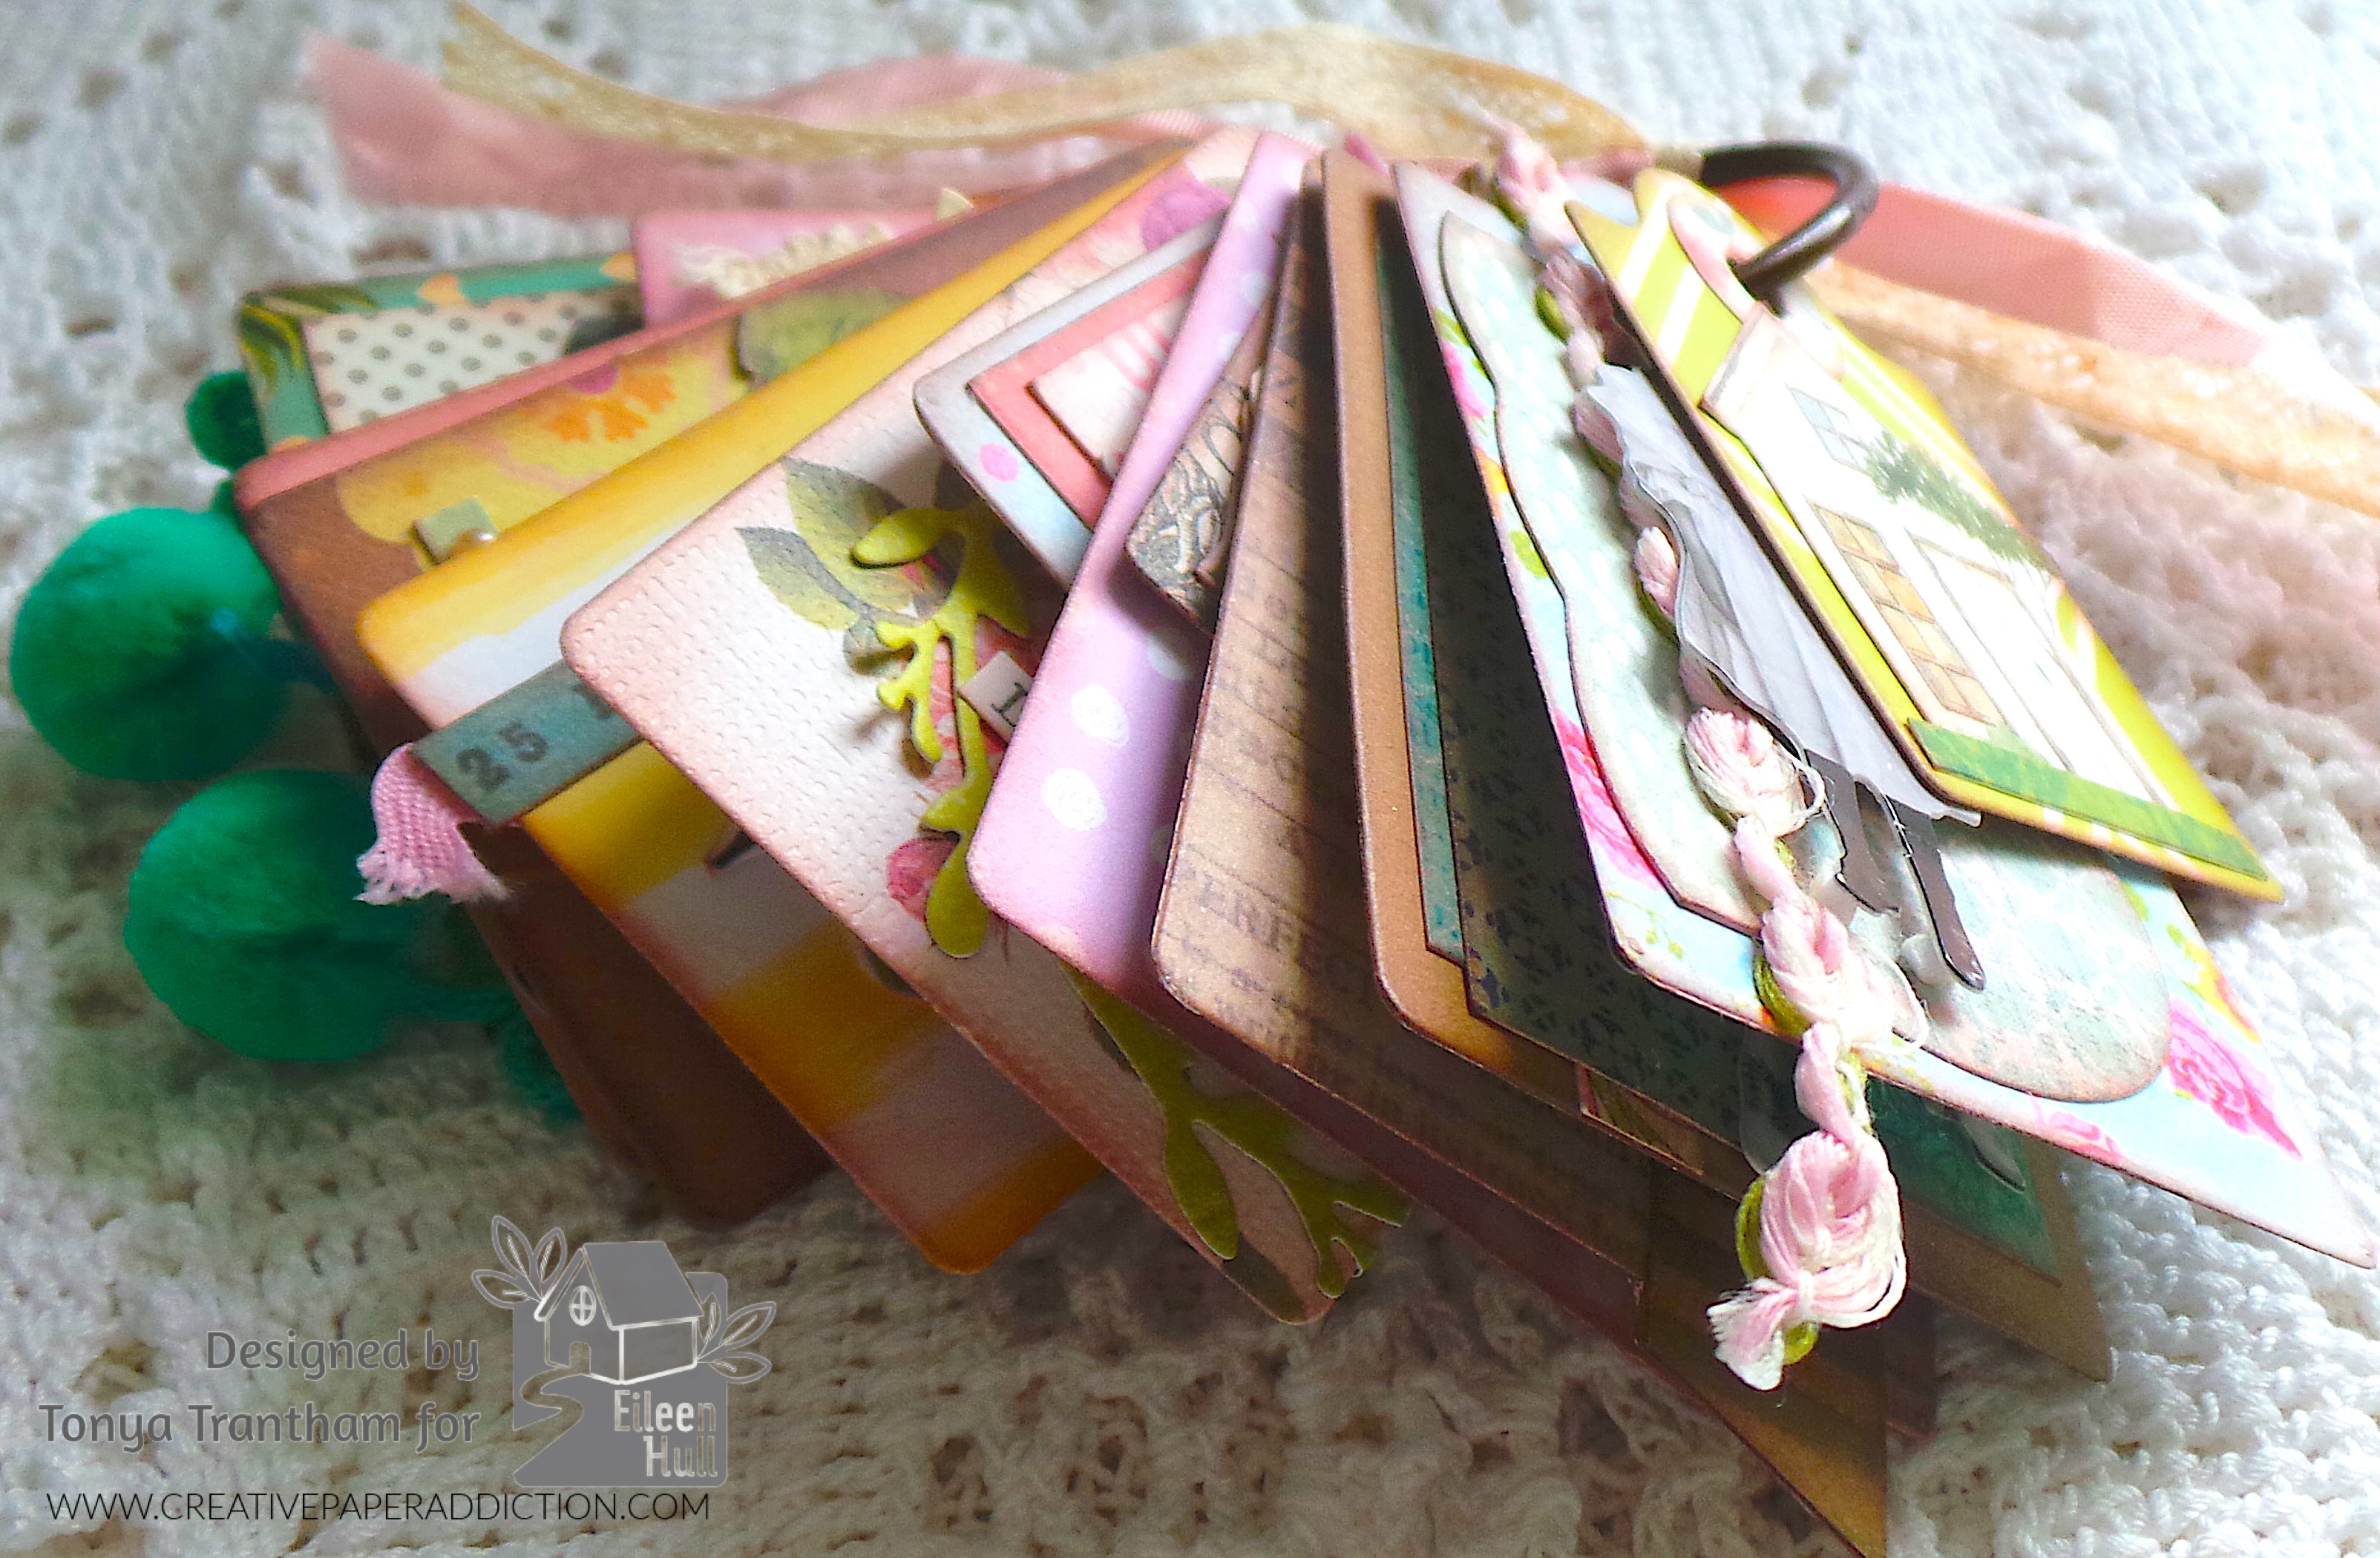
The first thing I did was cut out an assortment of small and large tags from the Ephemera Pocket and Tags Thinlits. Before cutting out several hole reinforcers I applied an Adhesive Sheet to the back of the cardstock. It makes it so much easier if everything is cut out and ready to create.
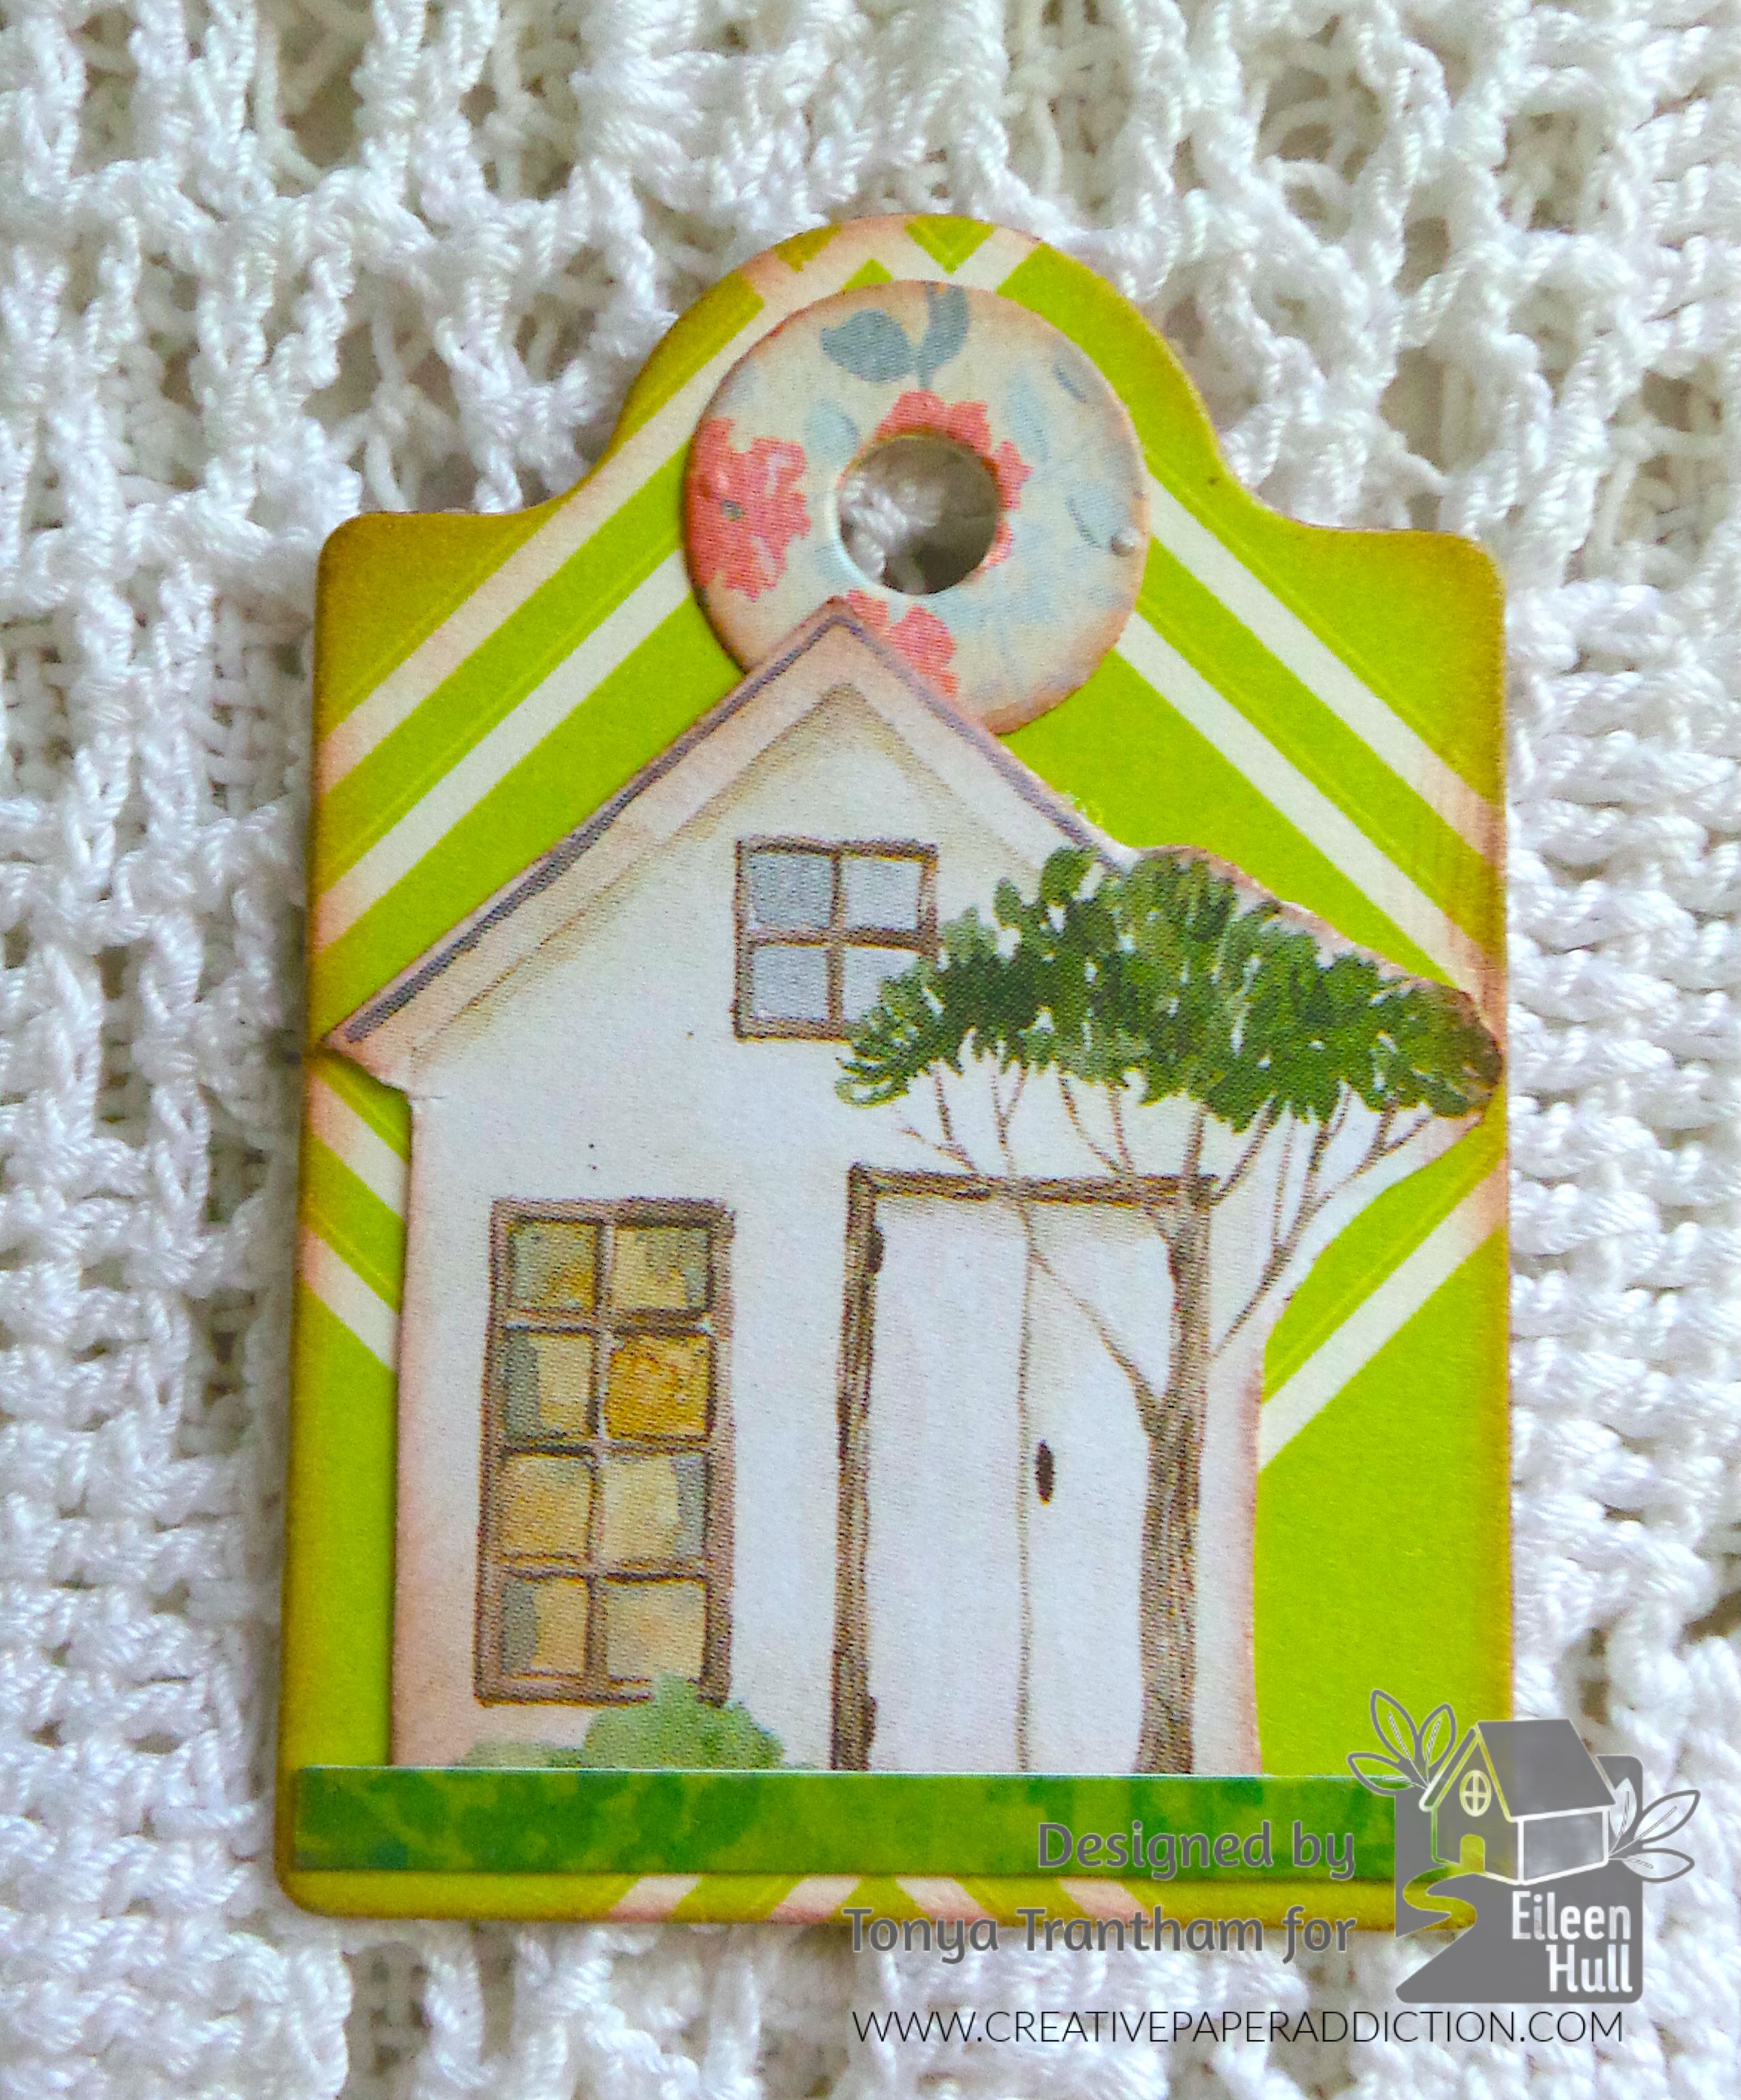
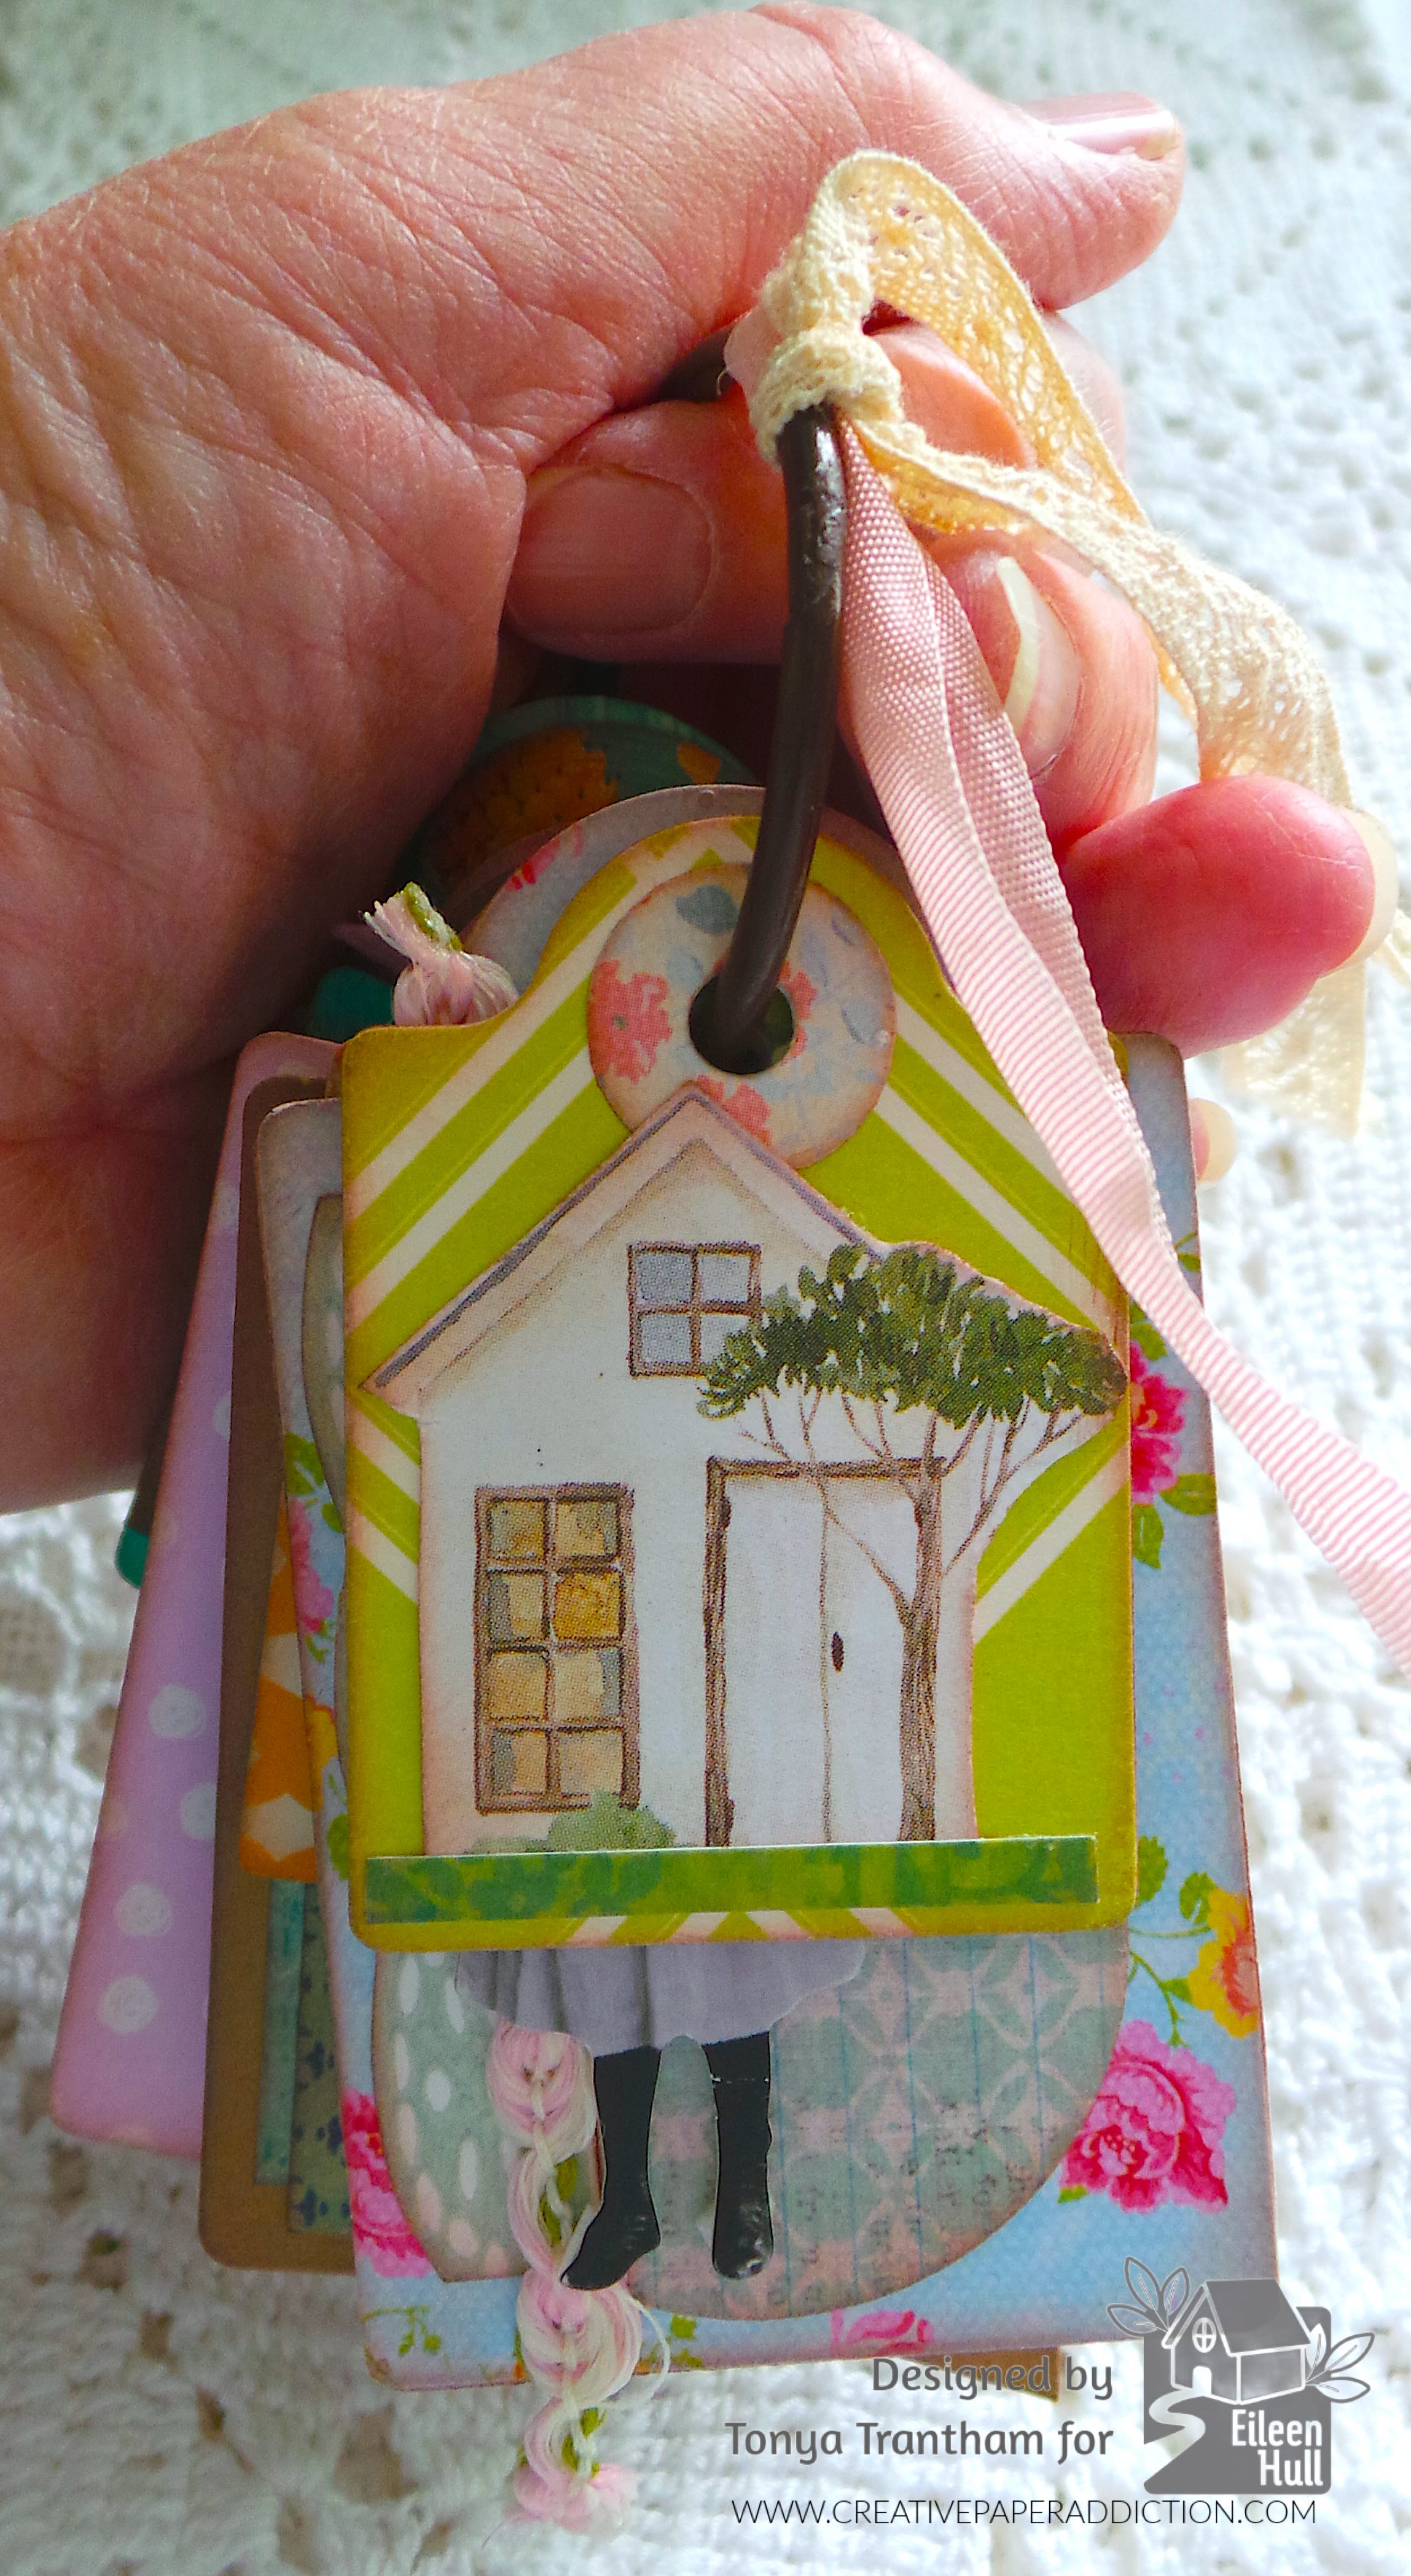
For the first tag I used the smallest tag. I inked the edges of both sides with a Brown Chalk Ink and added a hole reinforcer on both sides. The house is a fussy cut image that I glued to the tag along with a tiny strip of green cardstock to mimic grass.
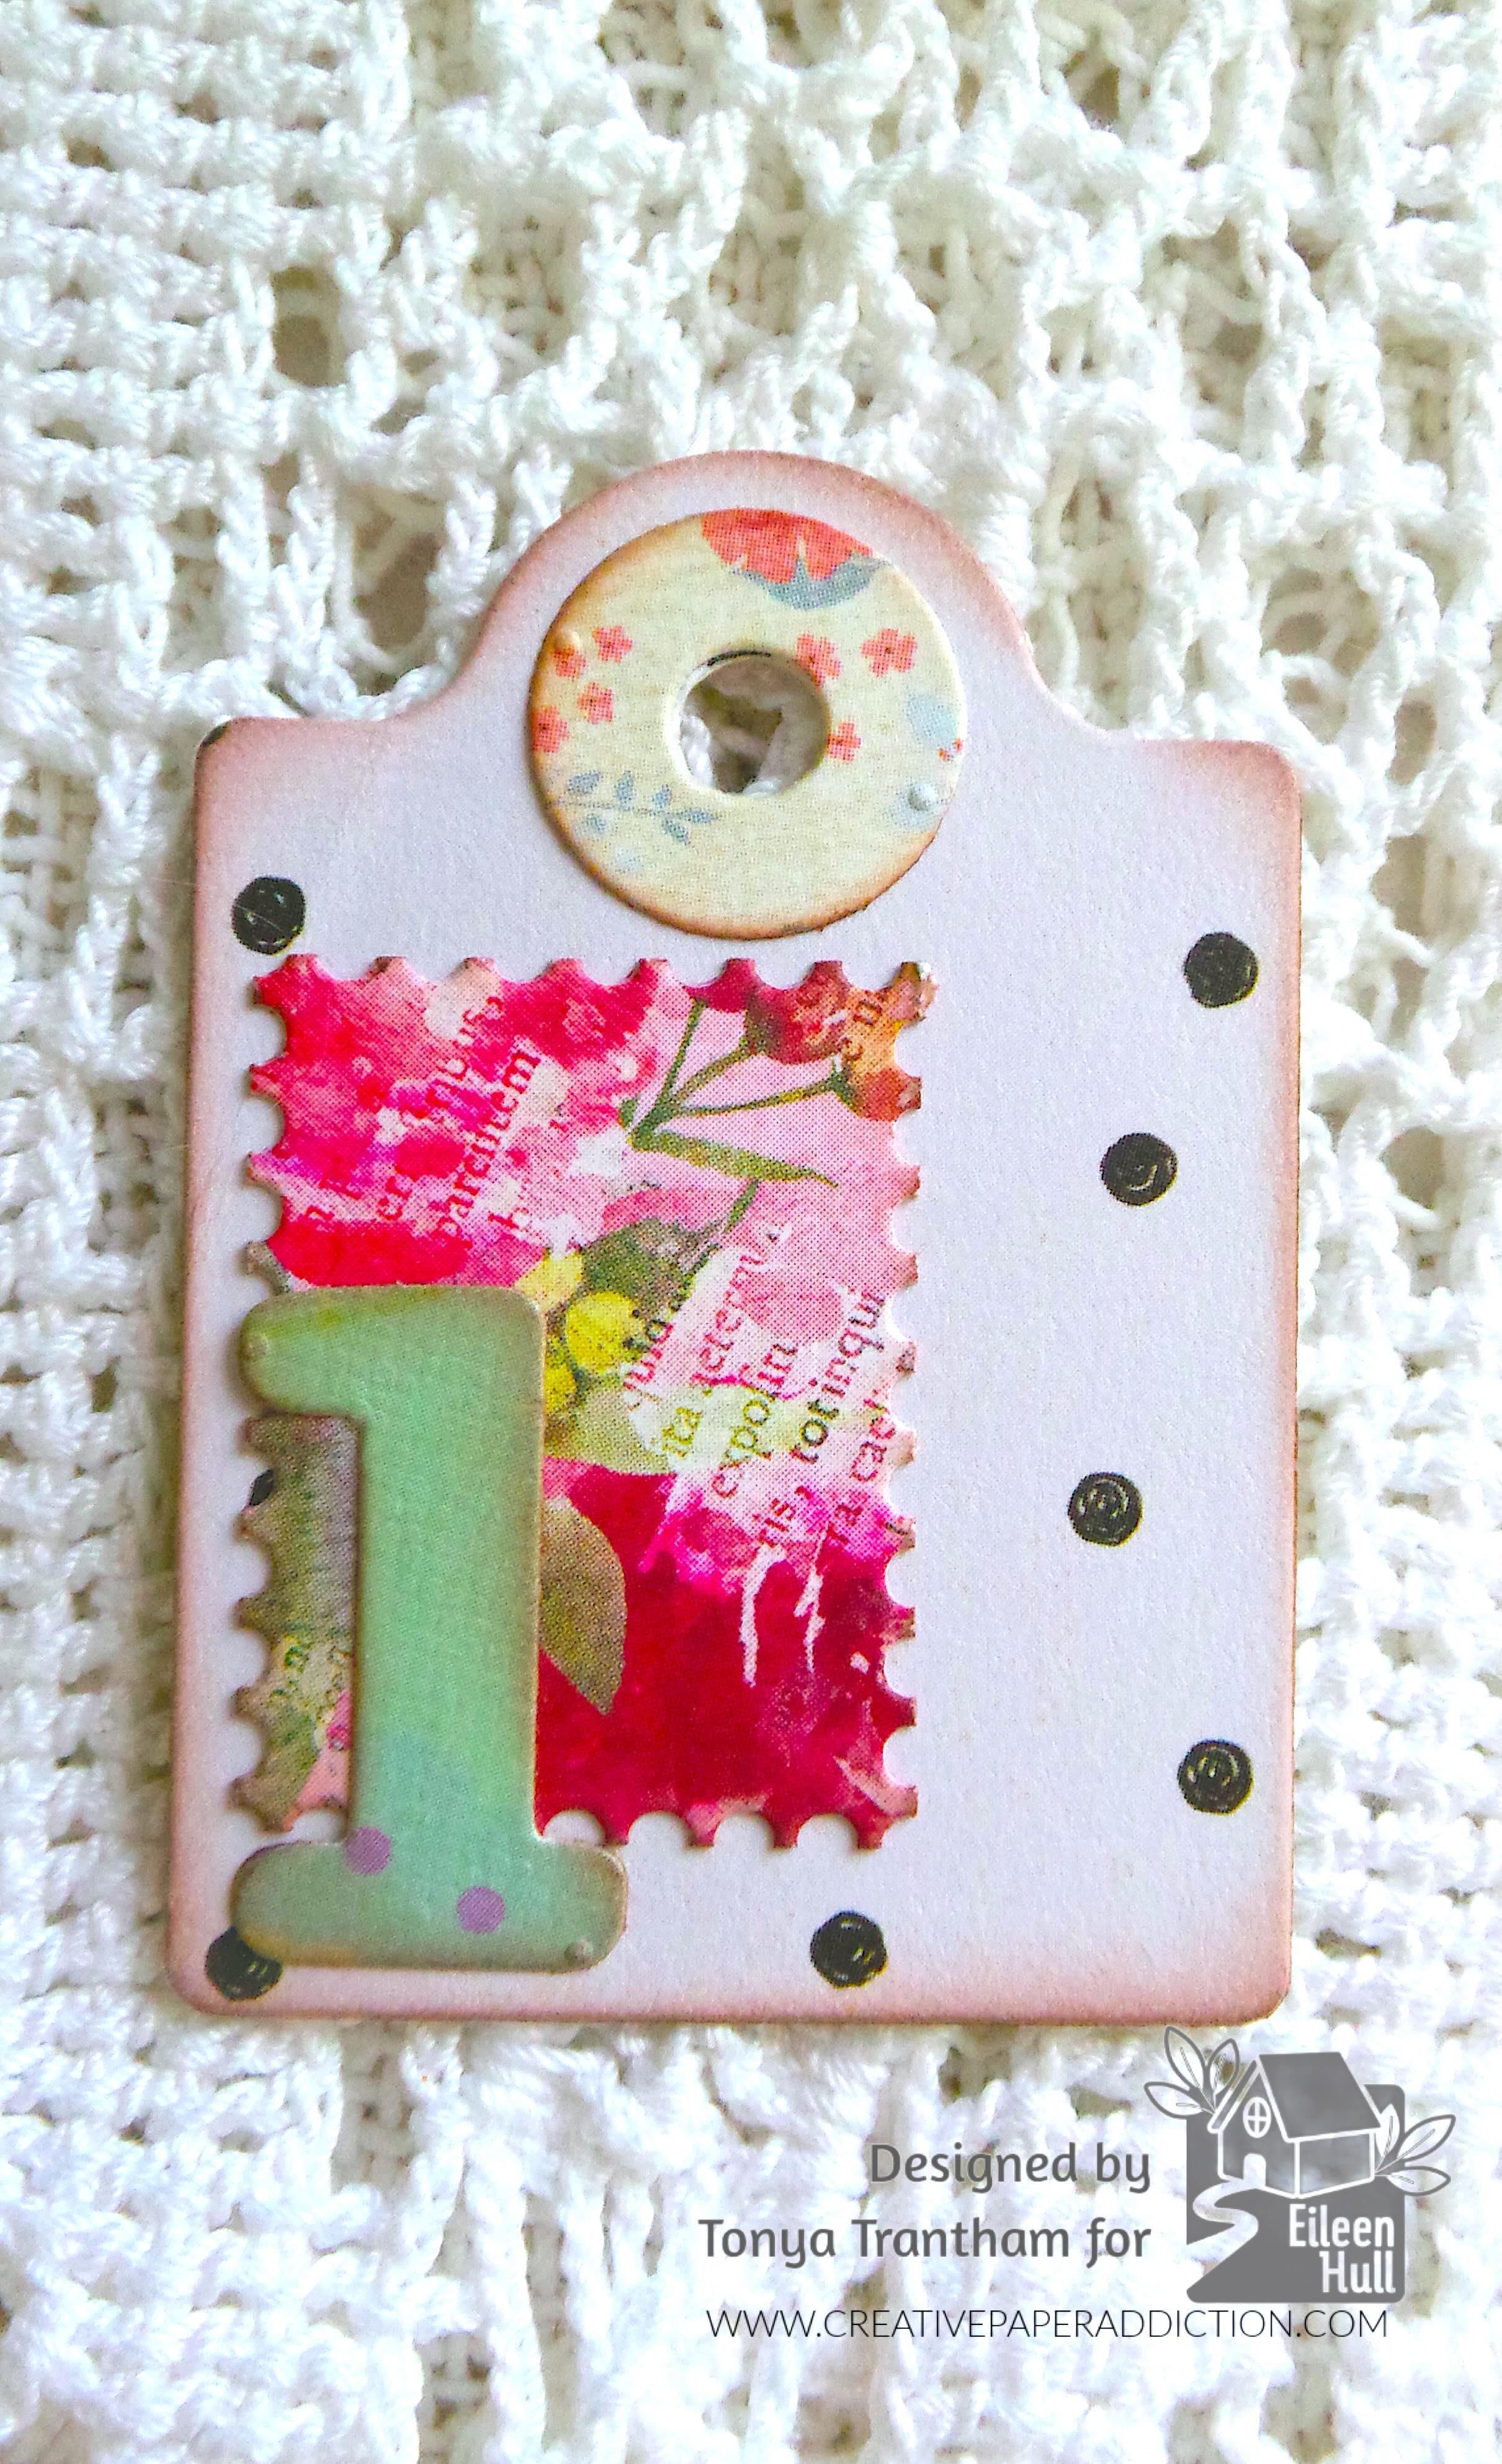
The back side of the tag I added a stamp die from the Faux Postage Thinlits and the number 1 from the Nora Numbers Thinlits to the bottom corner of the stamp die.
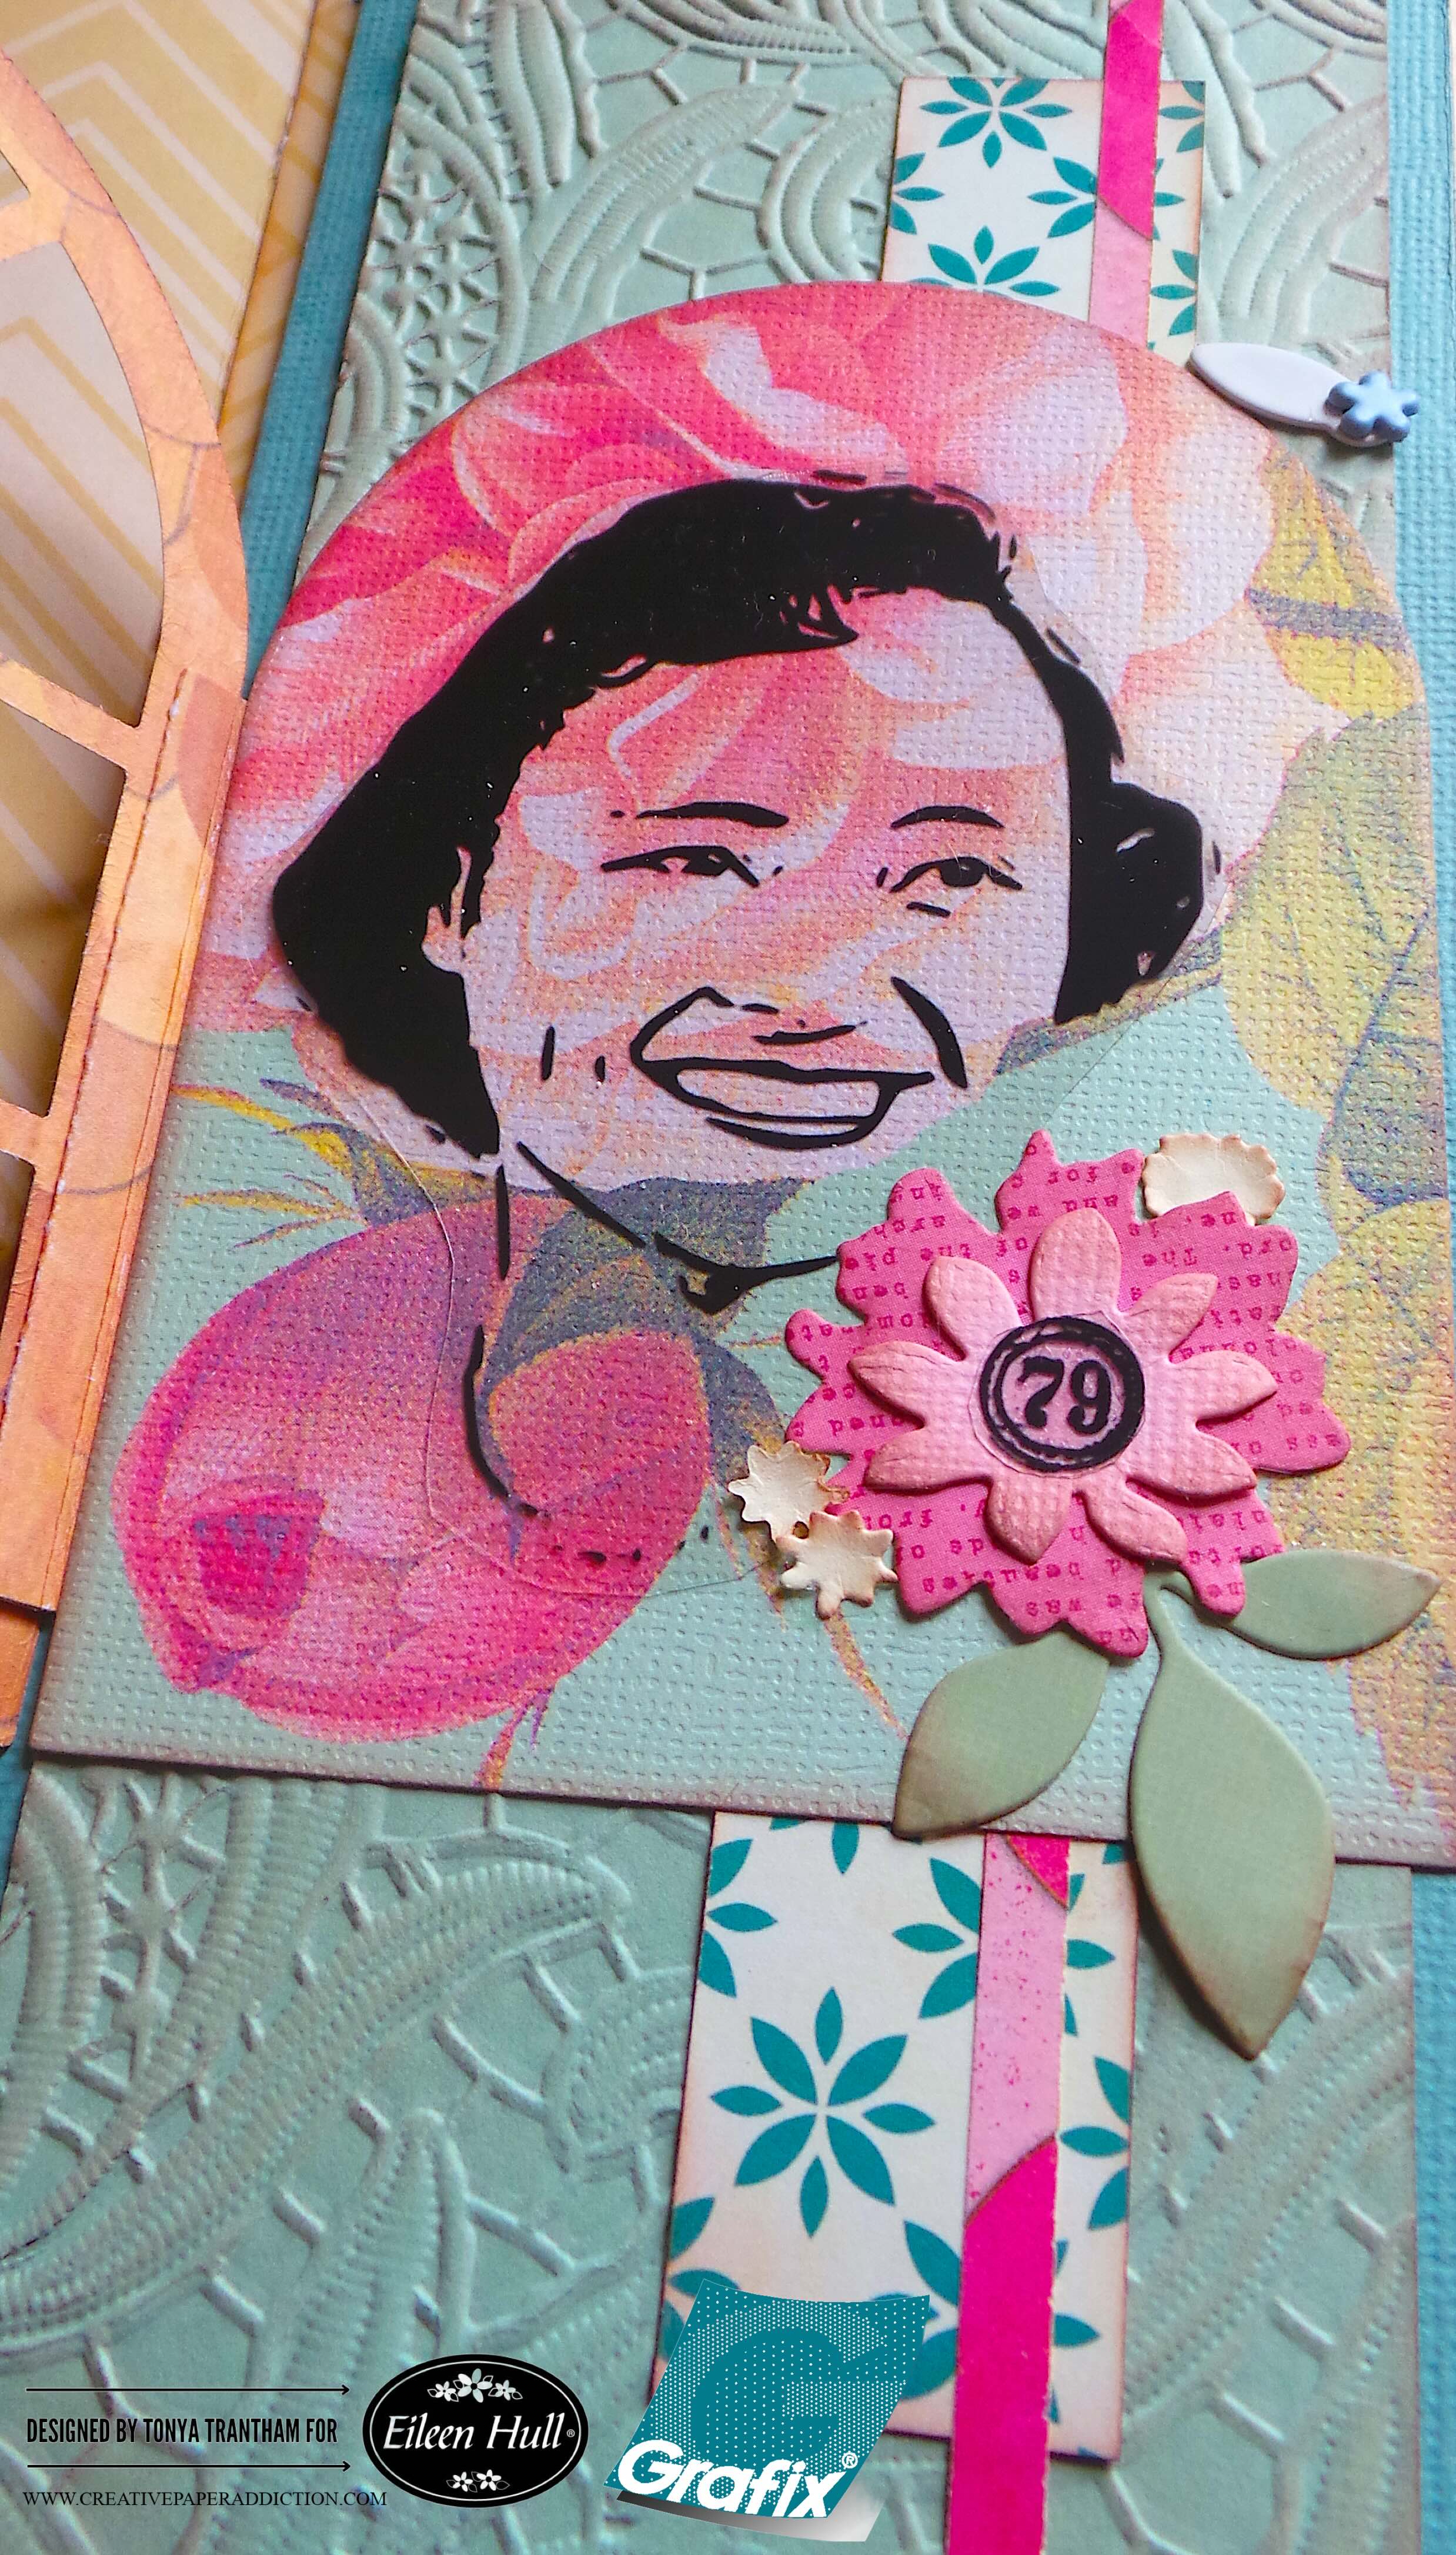
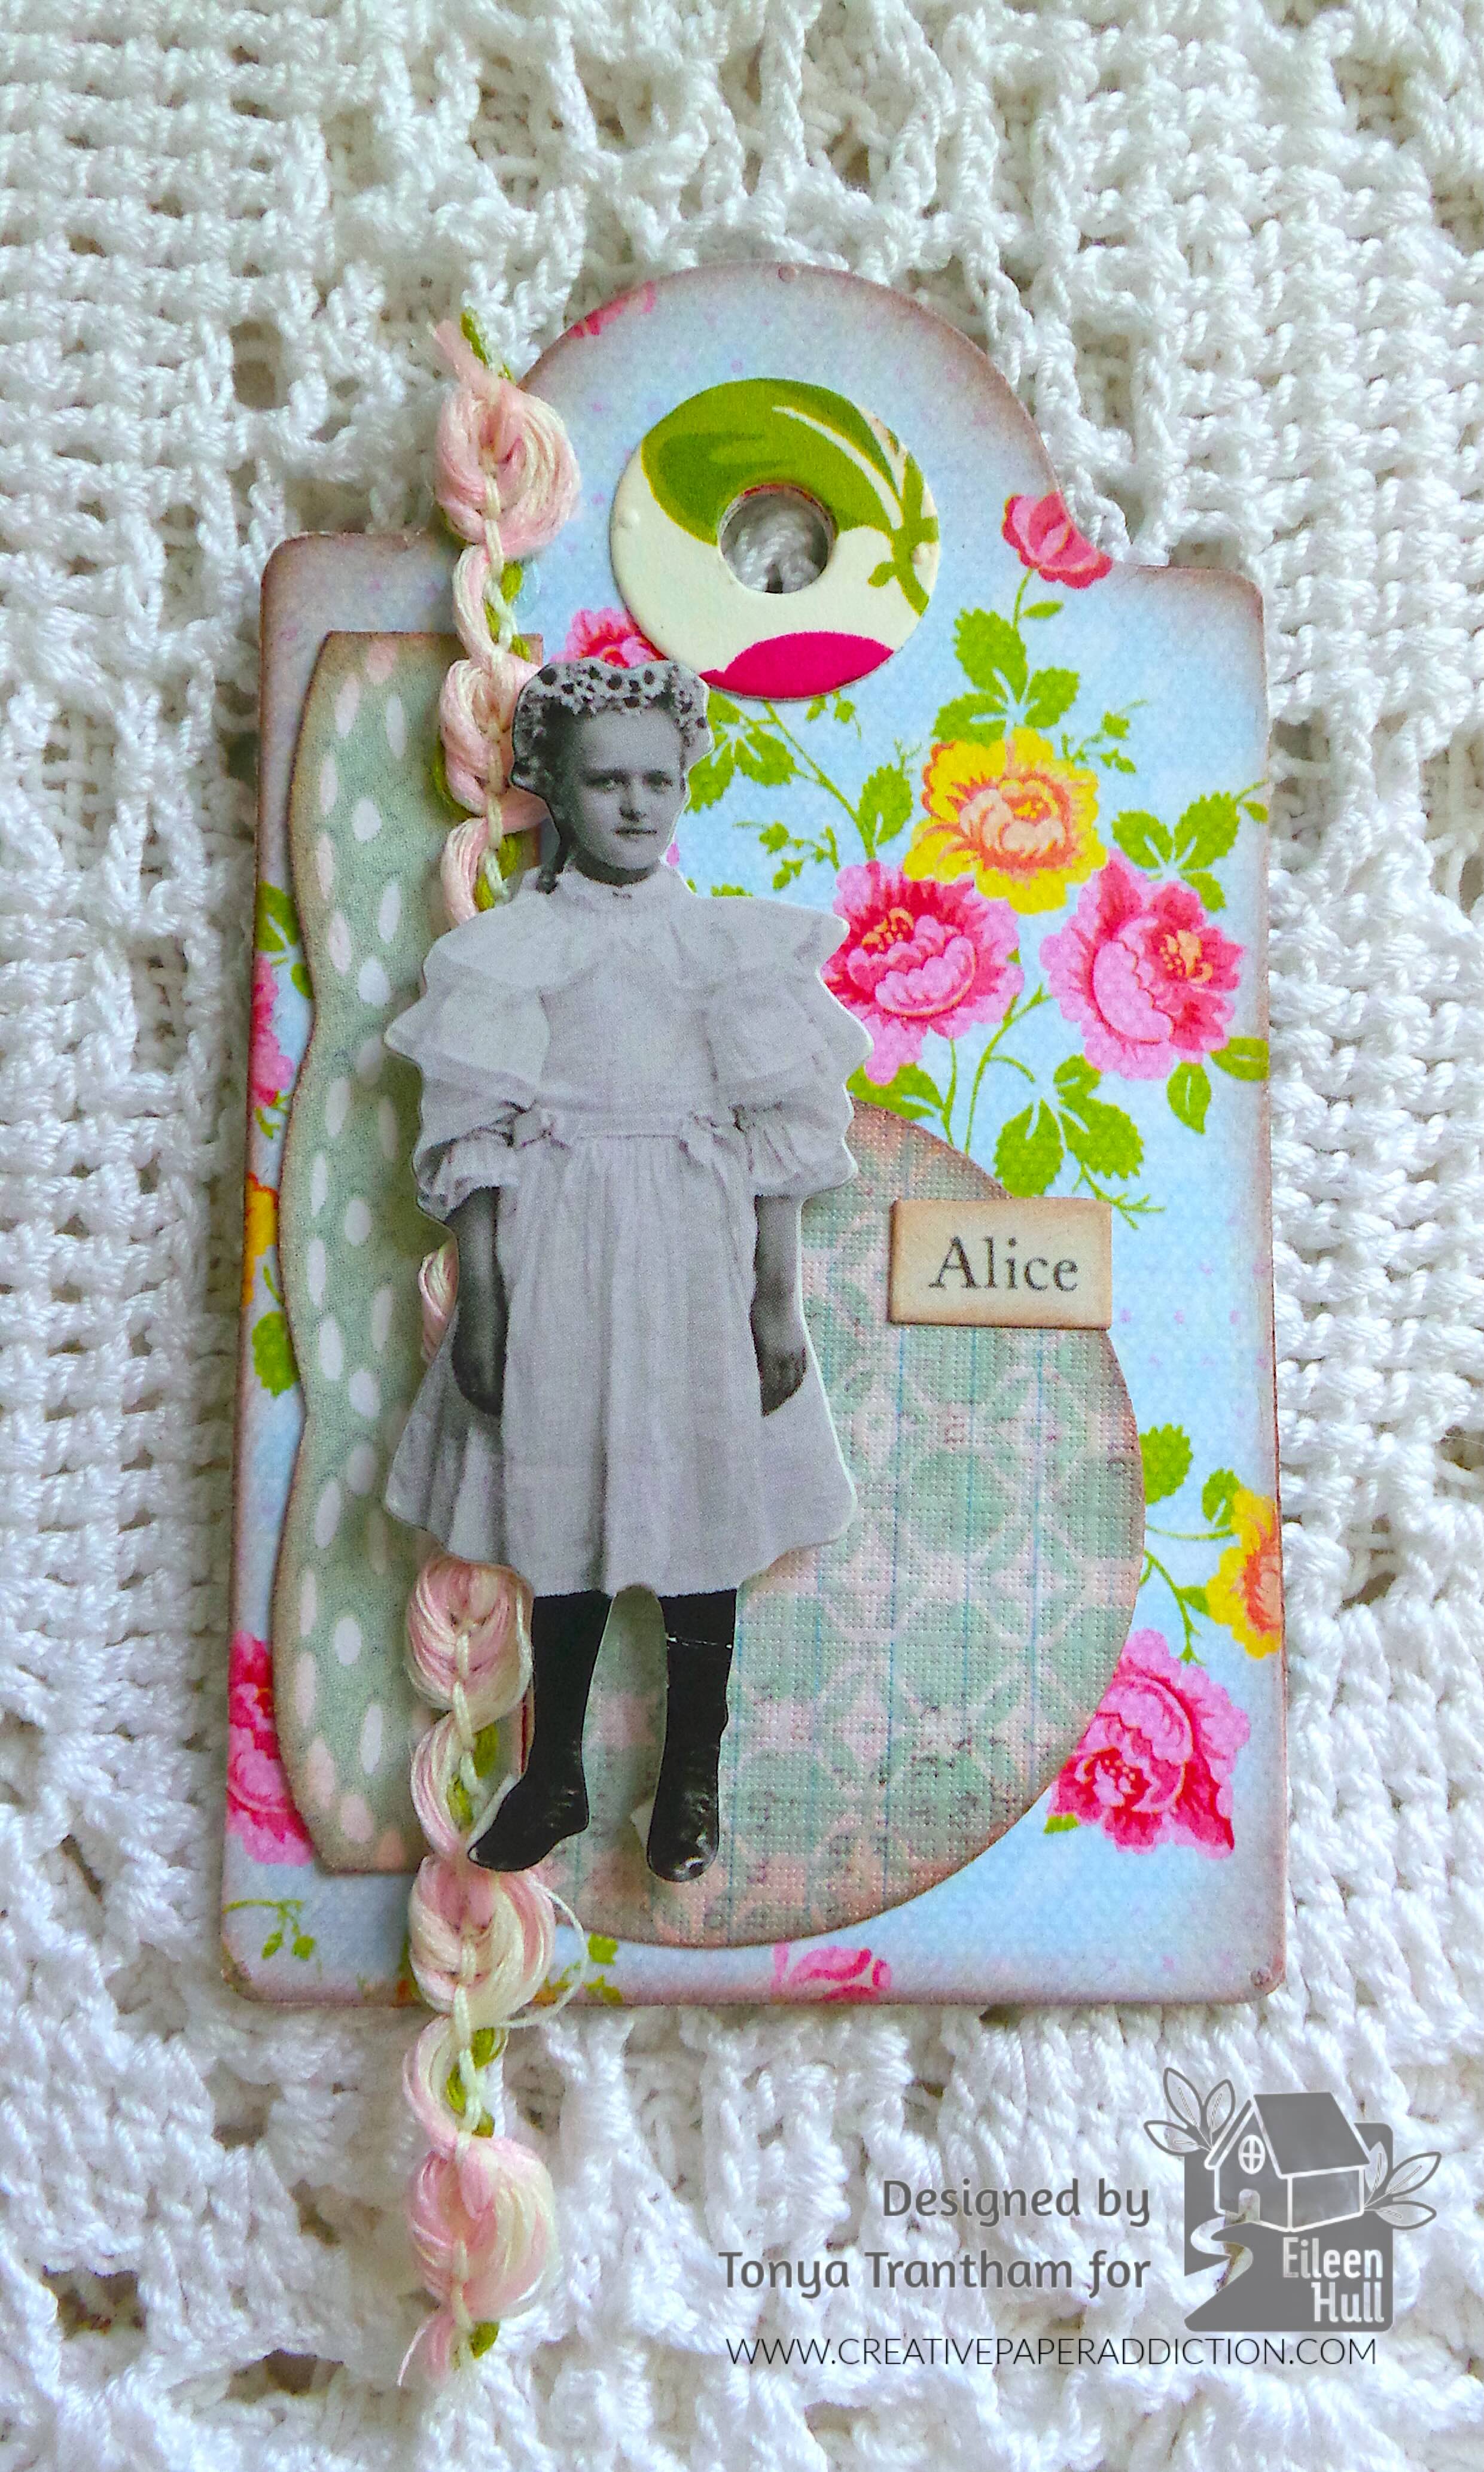
The second tag I used the larger tag. I did adhered two tags together since they were both single sided cardstock. I added a decorative piece of cardstock, a circle die and trim to the tag. I placed Foam Pop Dots to the back of a Mini Paper Doll before adding to the tag. I selected the “Alice” sticker from the Clippings Cardstock Stickers and placed onto the tag.
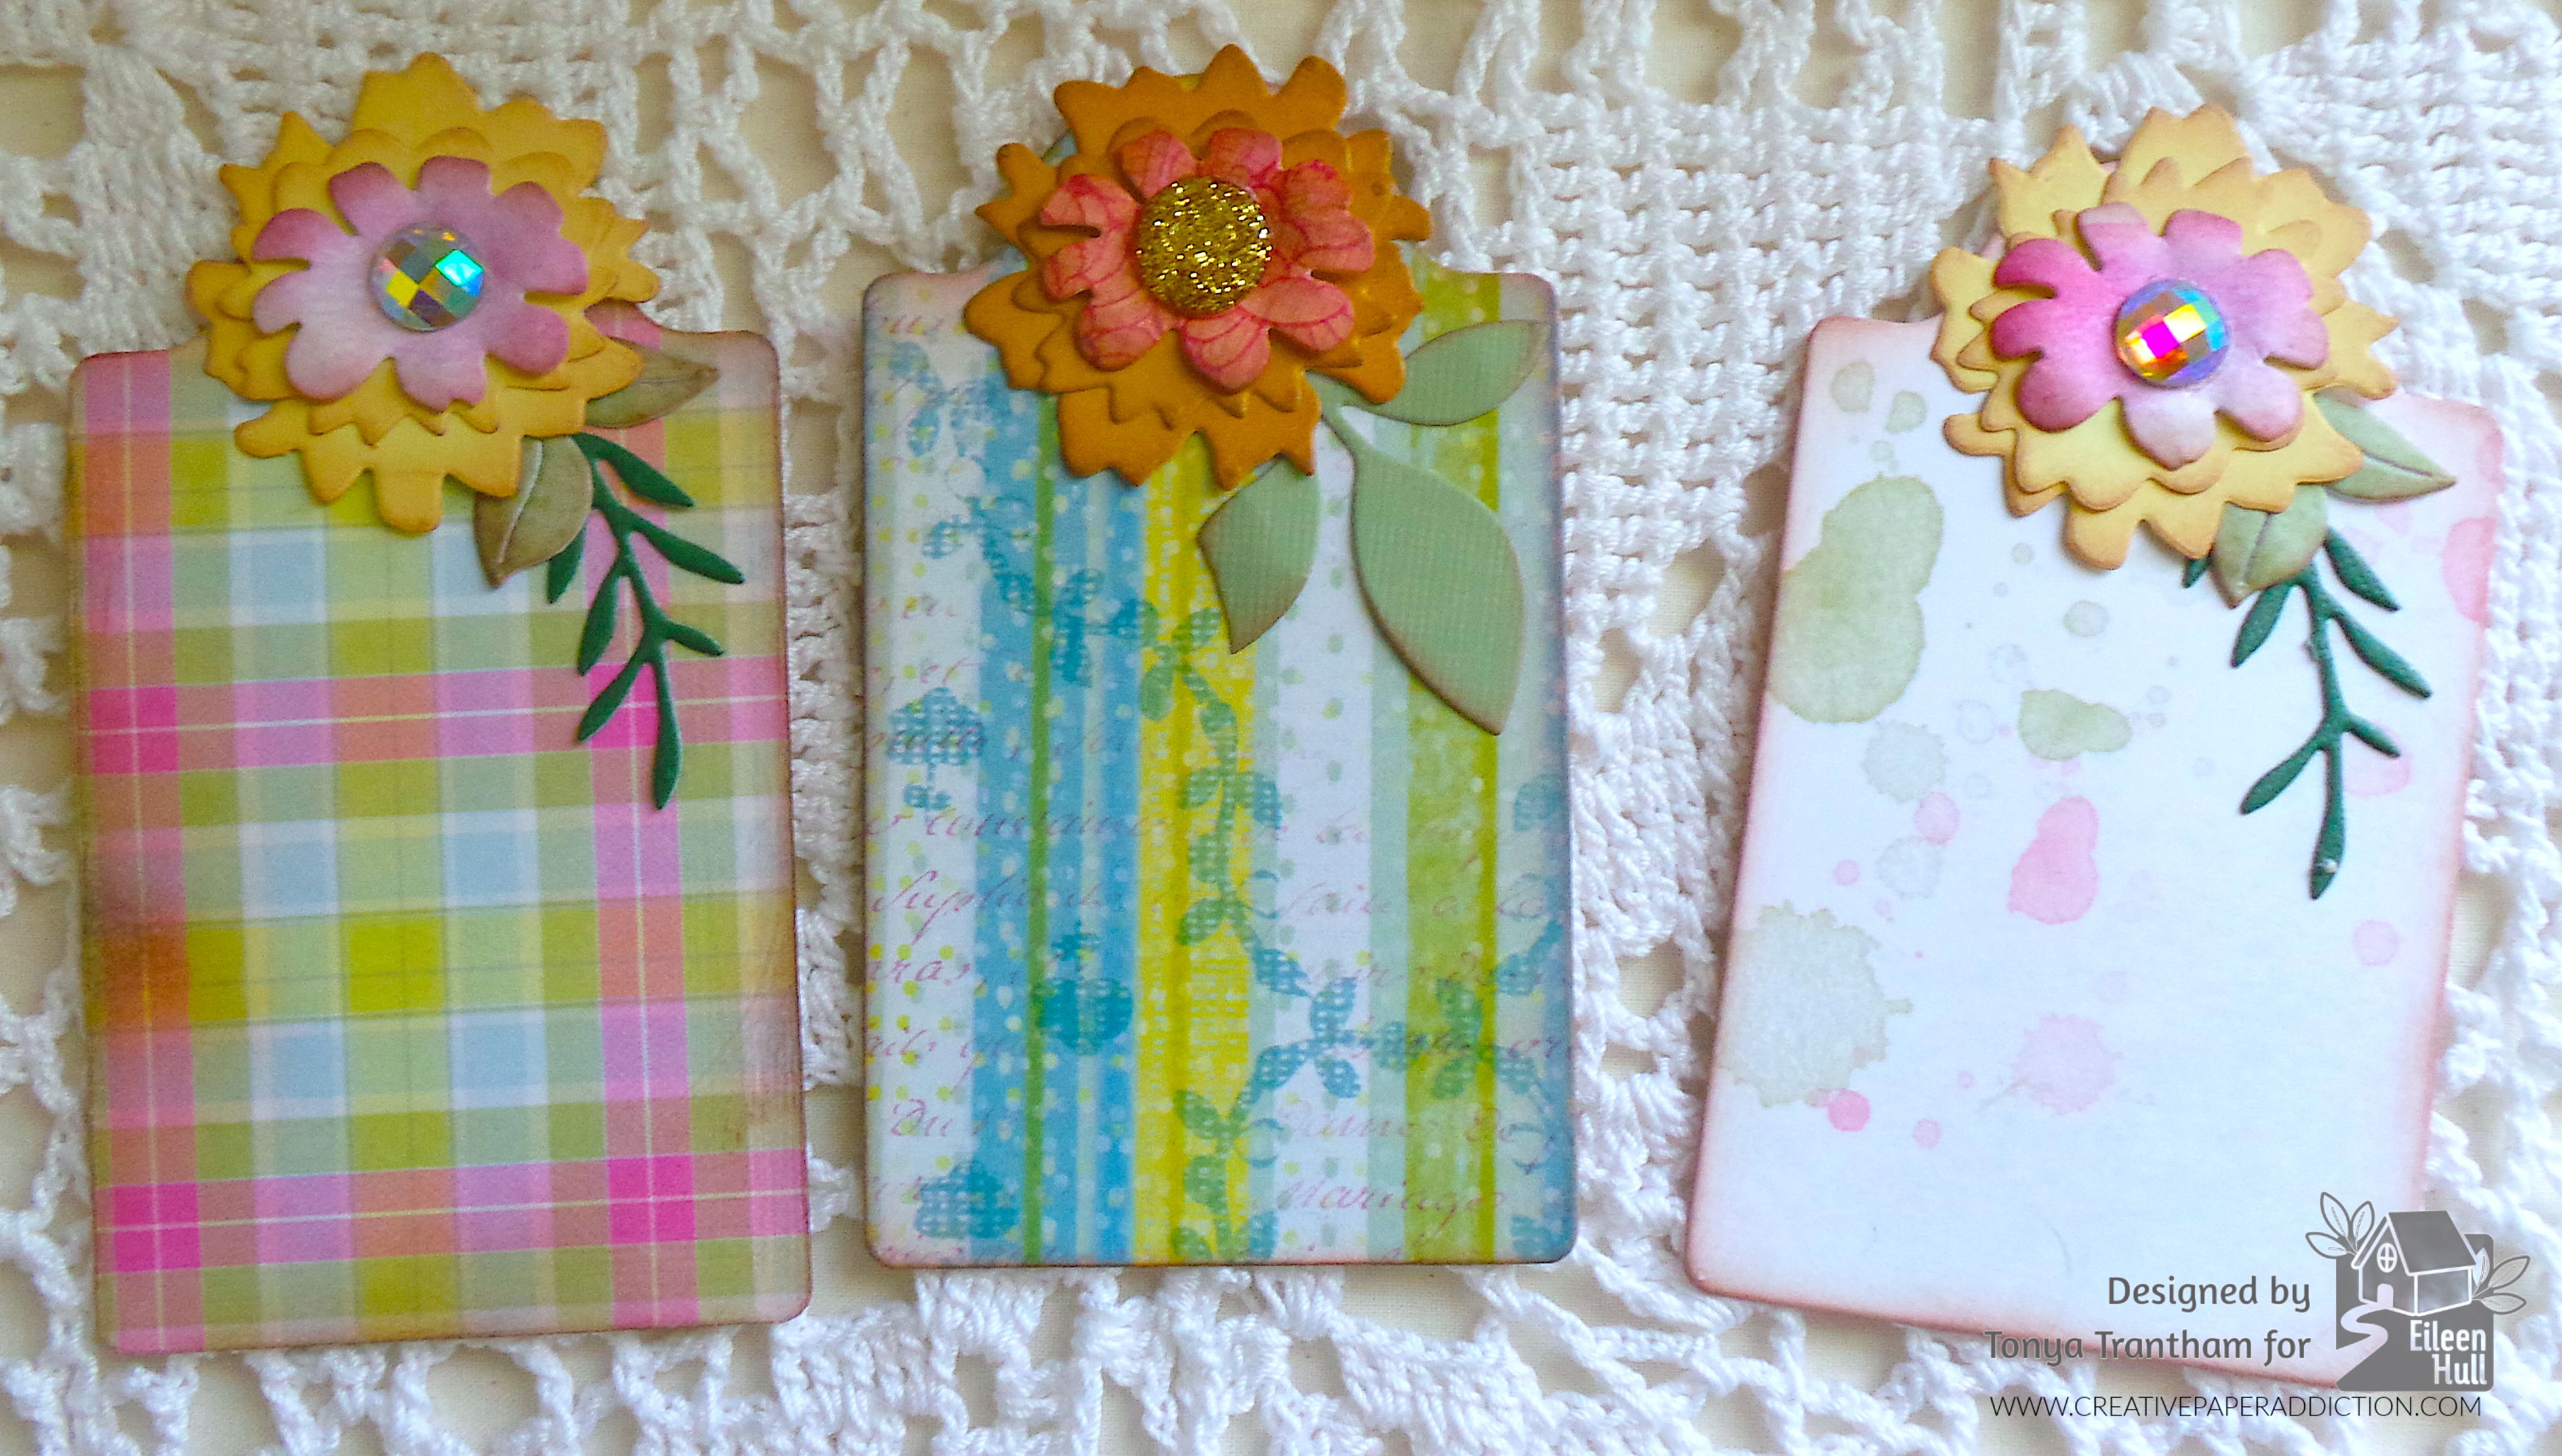
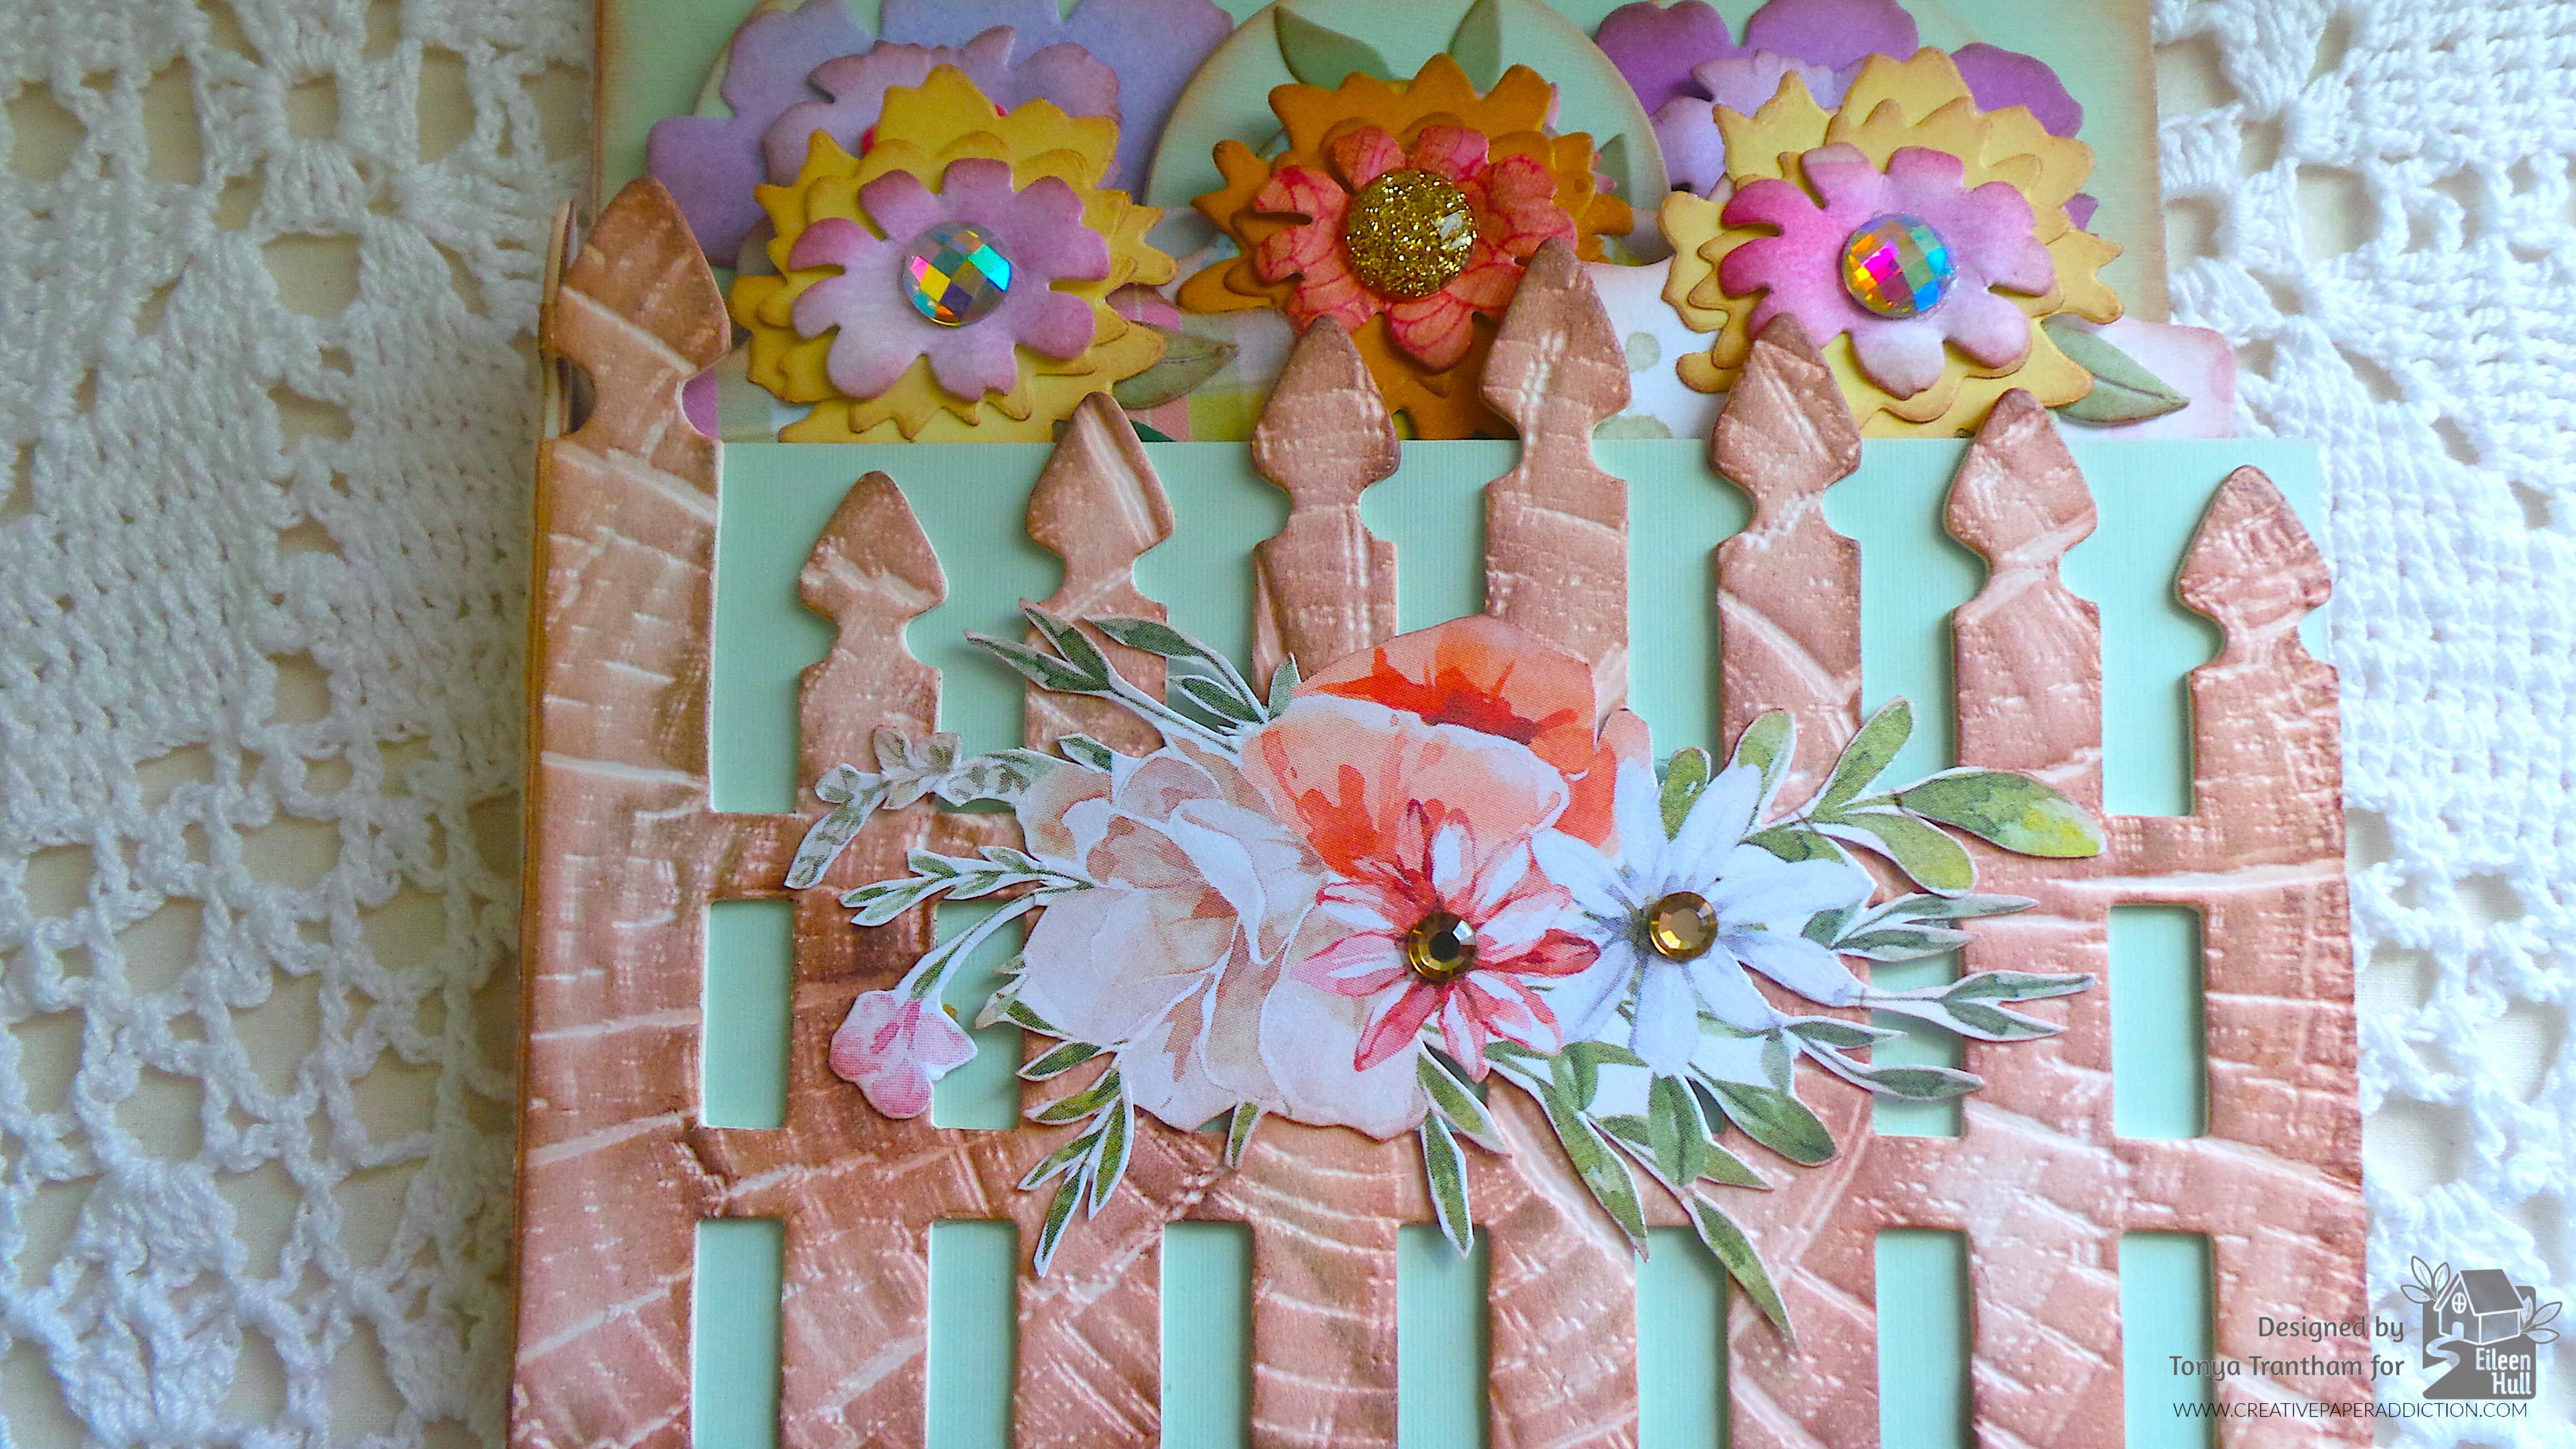
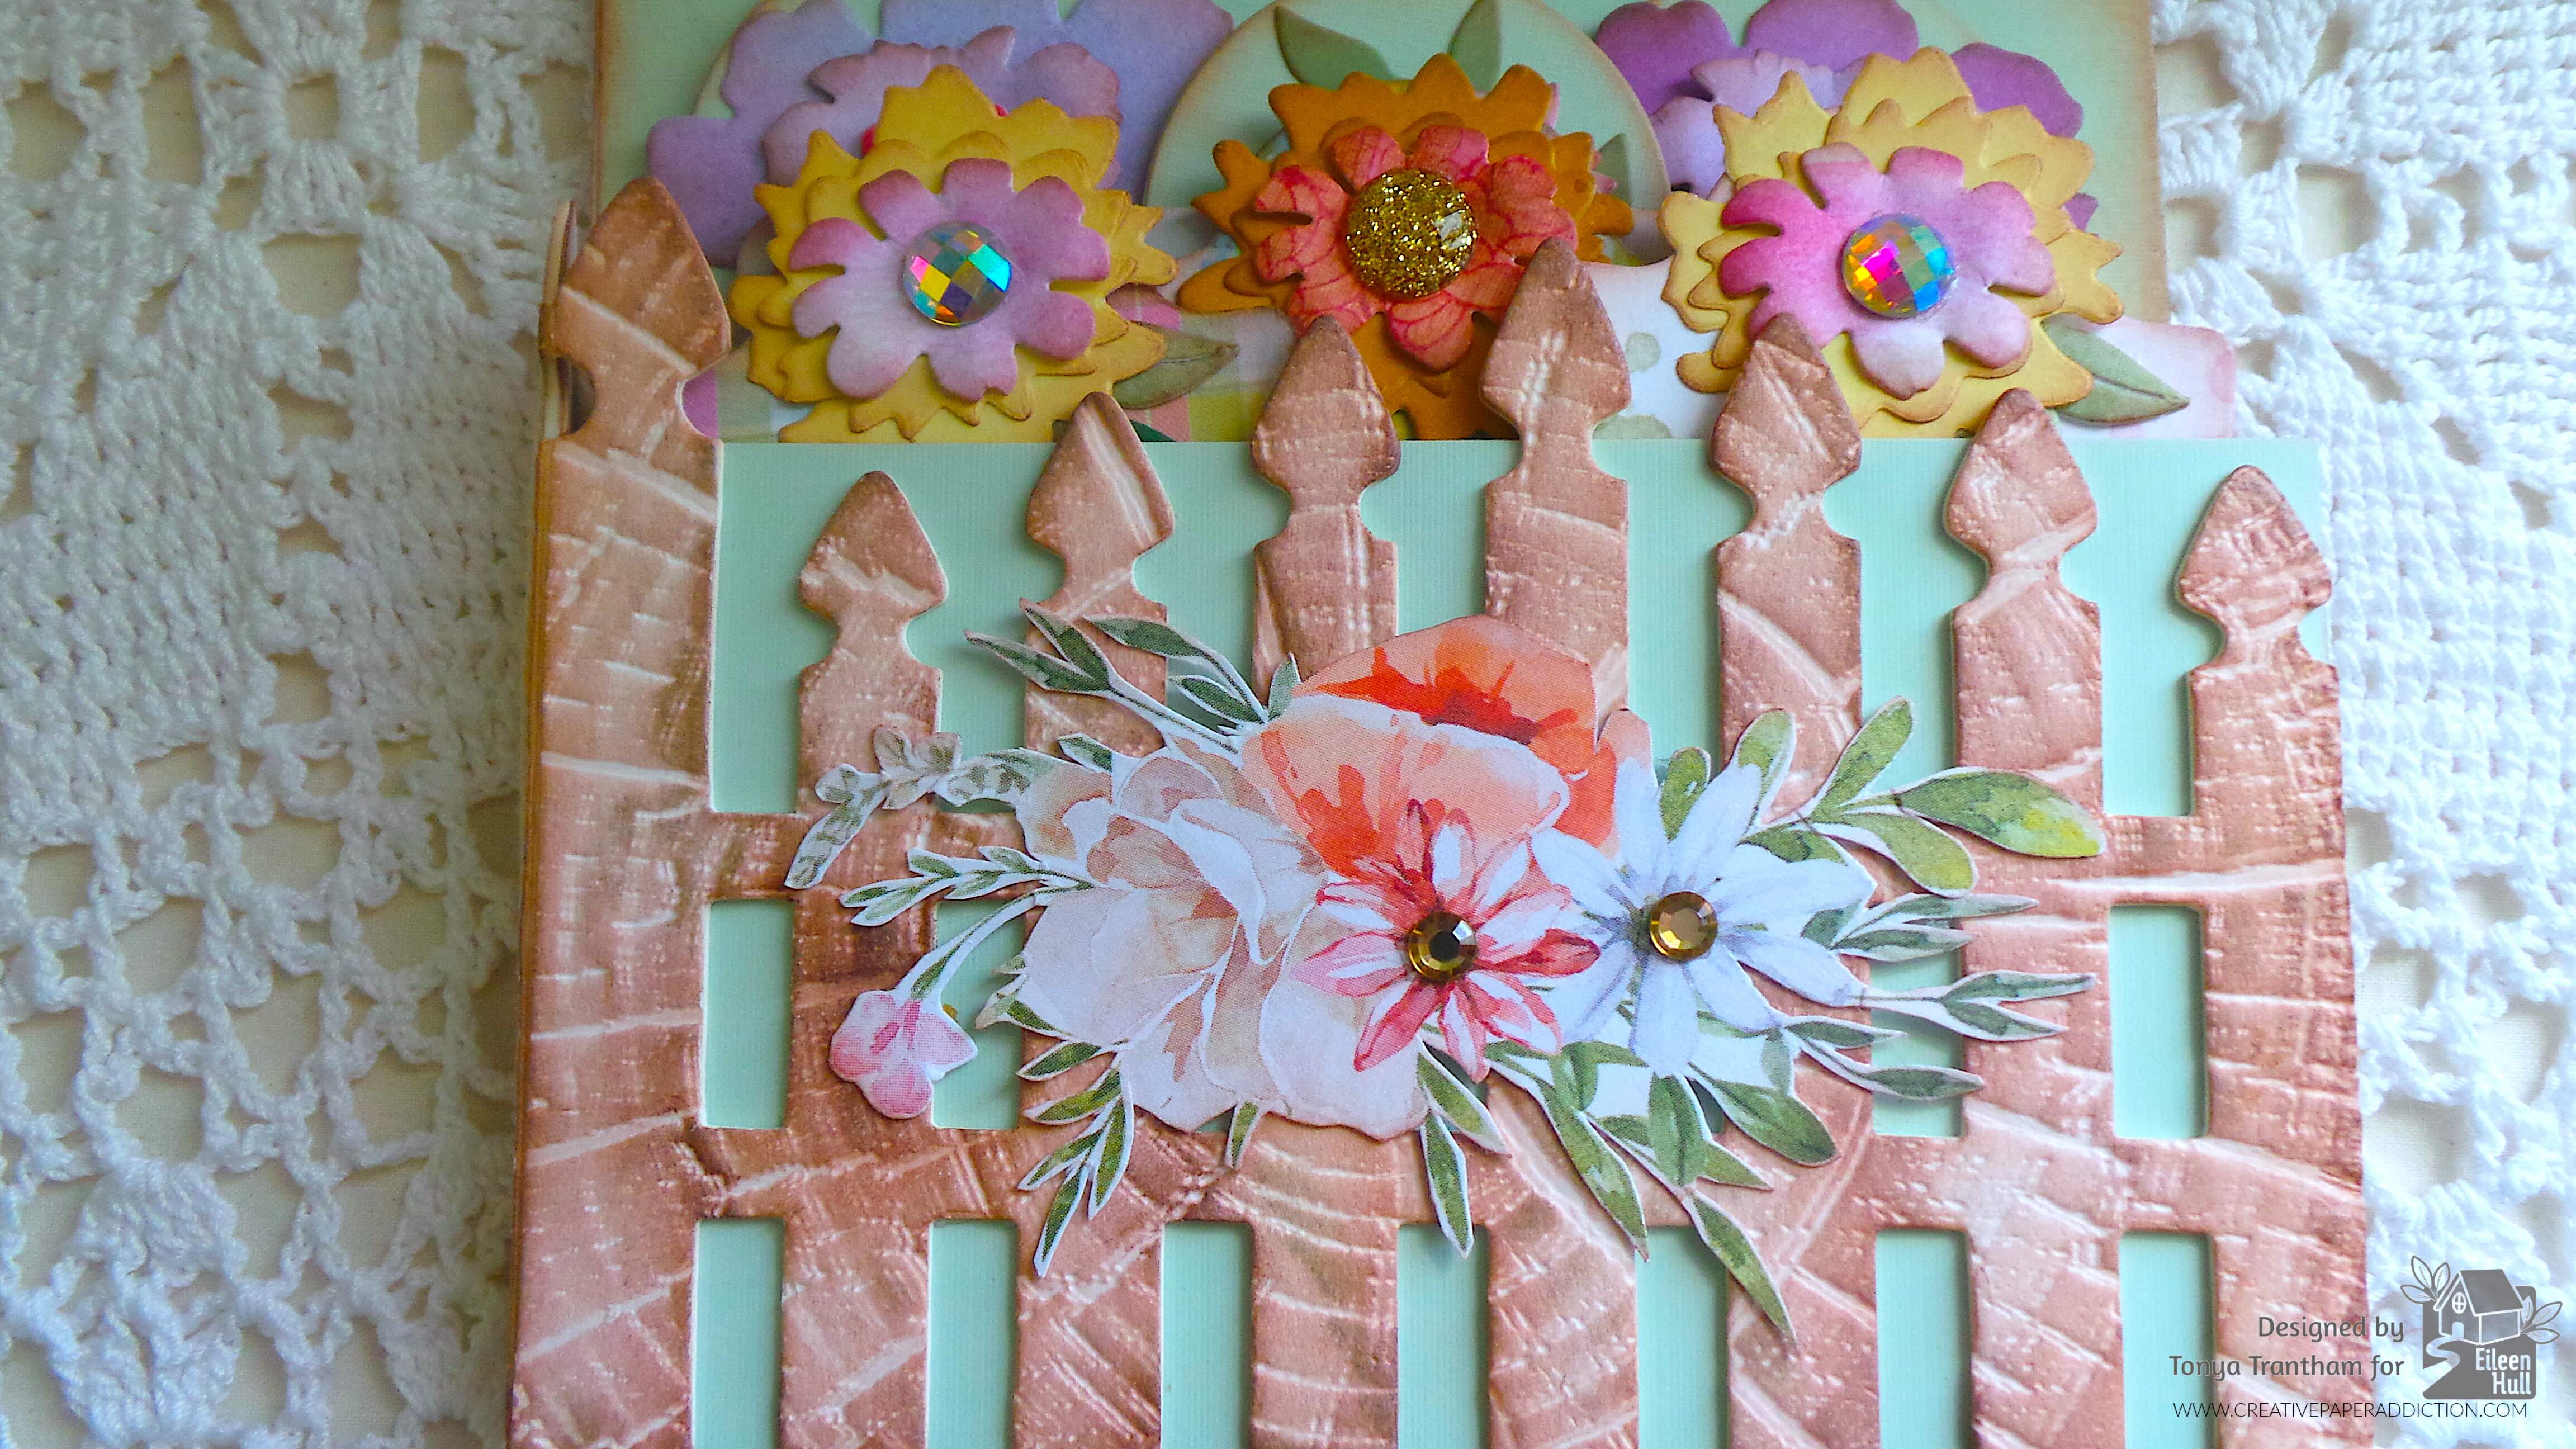
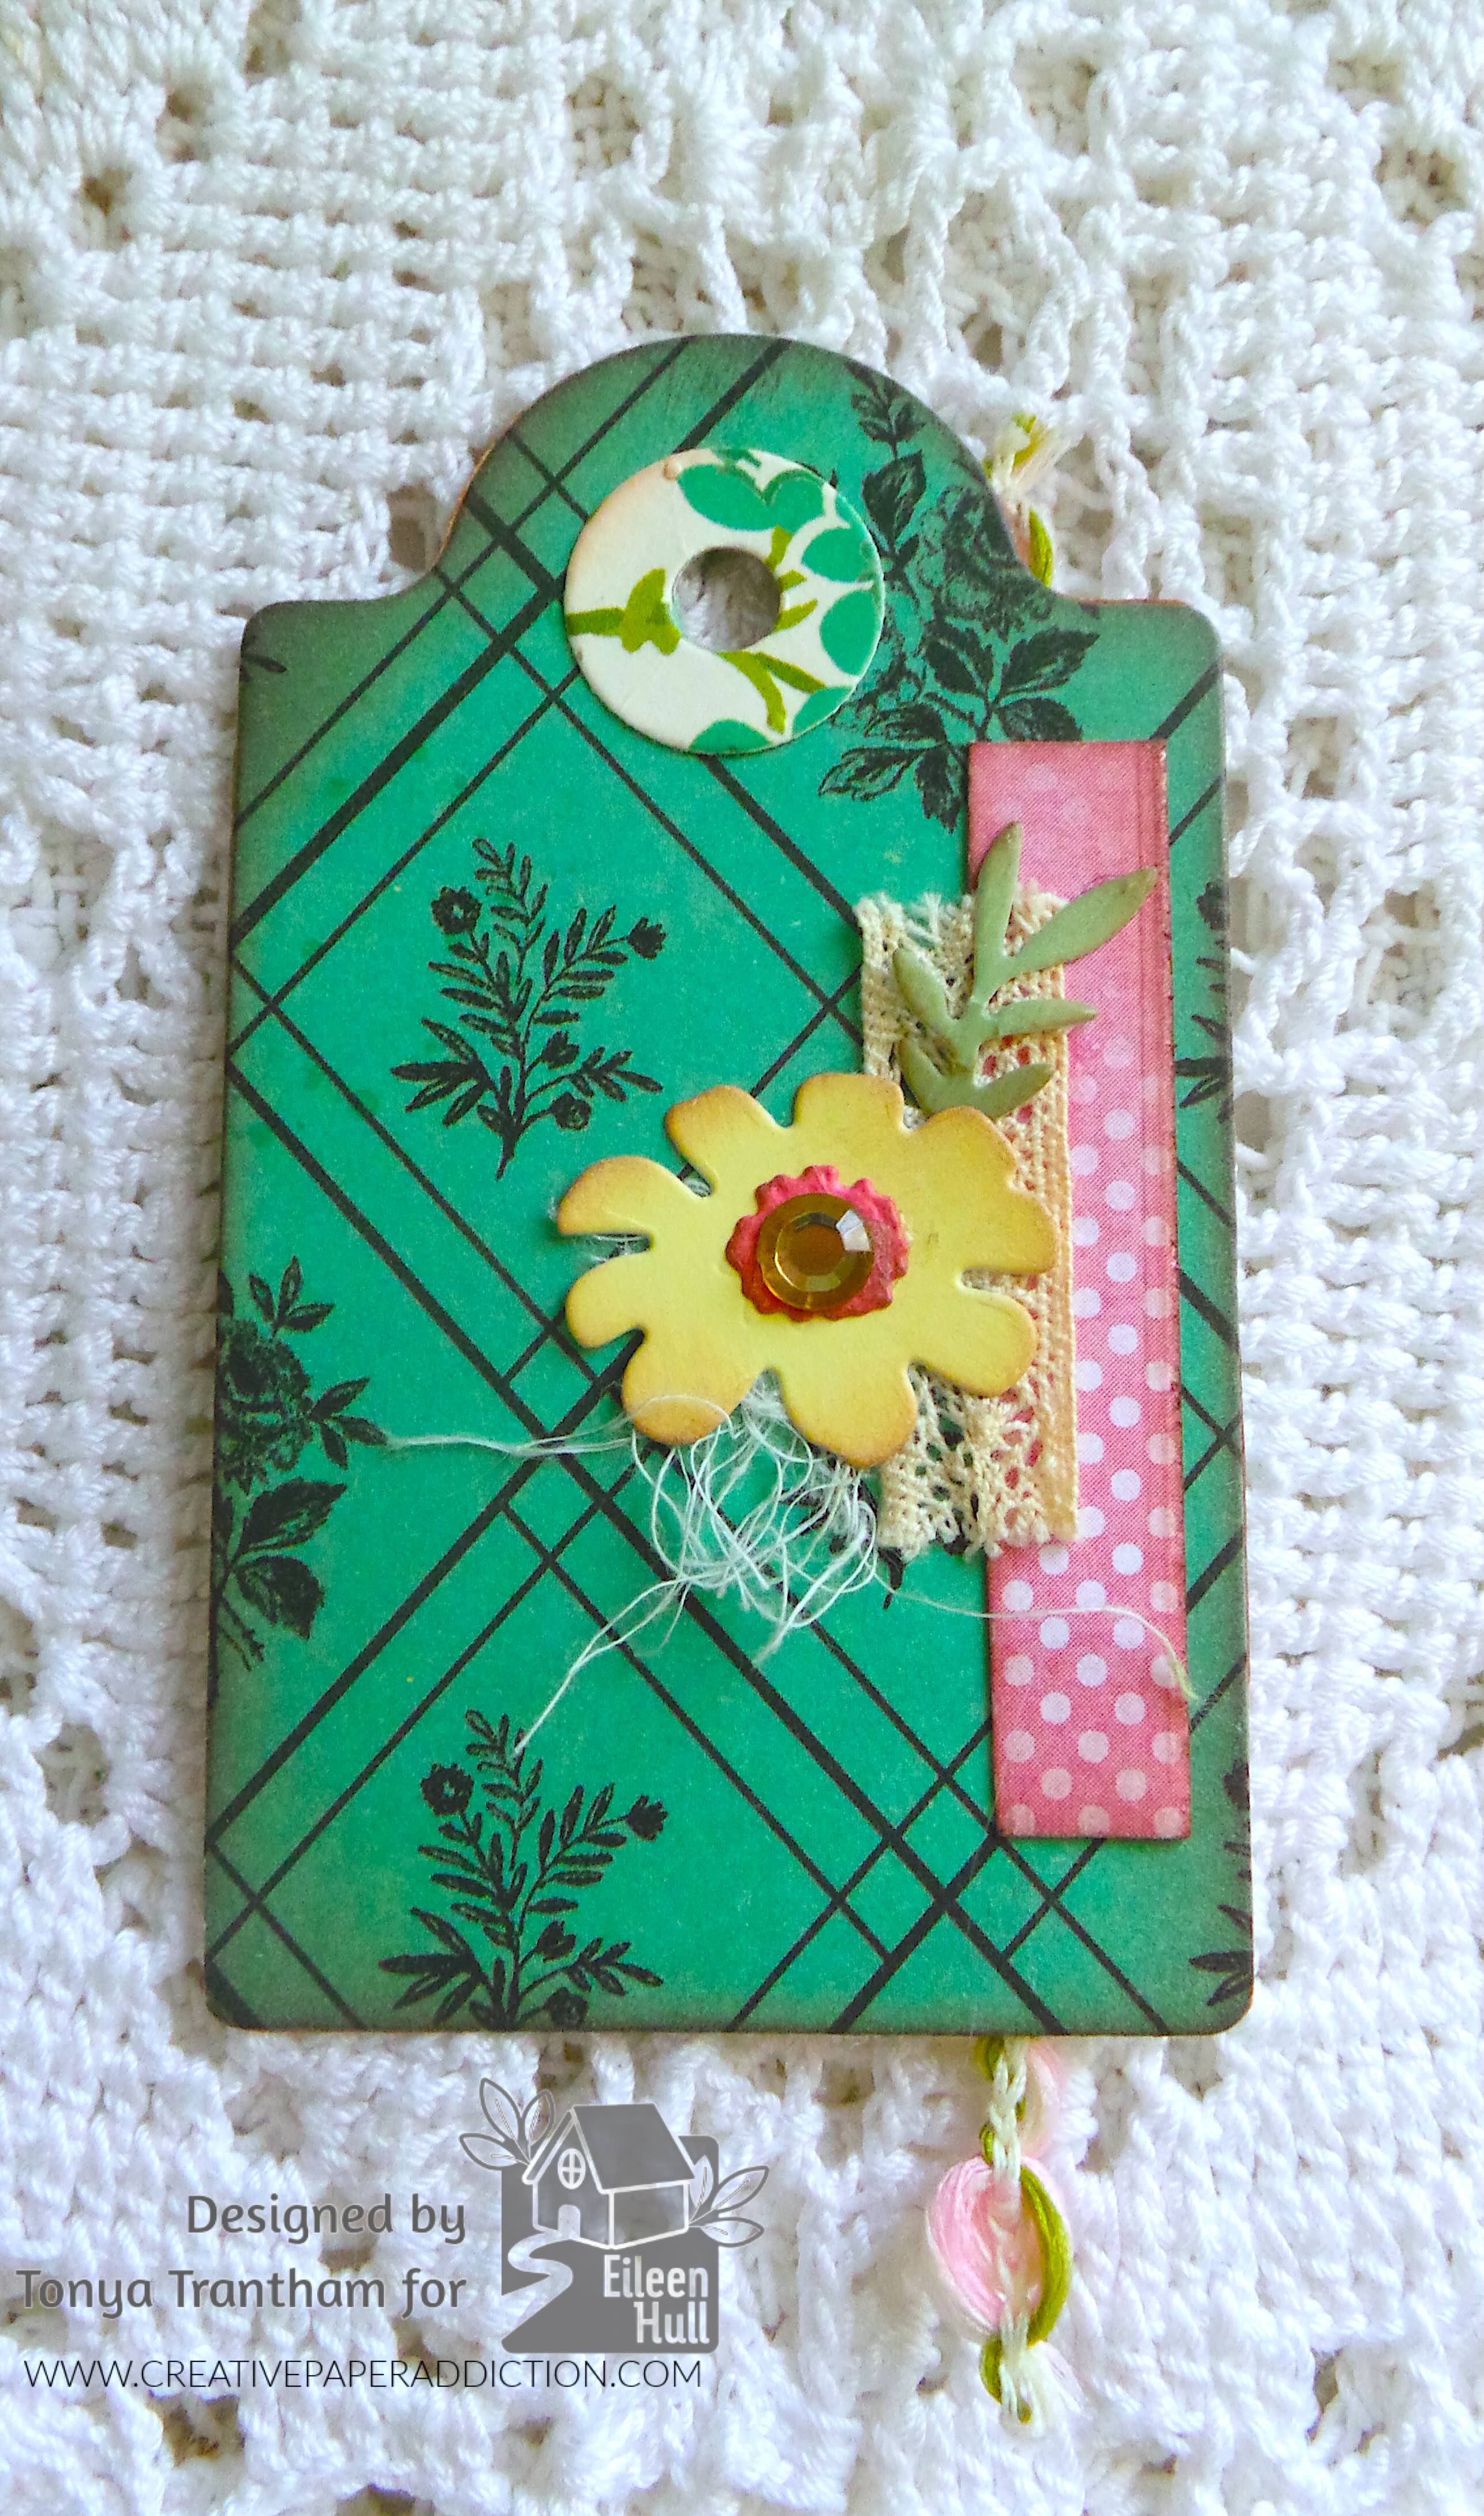
The back side of the tag I glued a strip of cardstock and a scrap of lace to one side of the tag. I cut a large and small flower from the Windowsill Vase and Flowers Thinlits and a leaf sprig from the Home Sweet Home Thinlits. I inked the edges of all the dies I cut out with Brown Chalk Ink. I added a drop of glue to the back of the smallest flower and placed in the center of the larger flower. I adhered the flower, leaf sprig and a tiny piece of cheese cloth to the tag. I added a Gold Gem to the center of the flower.
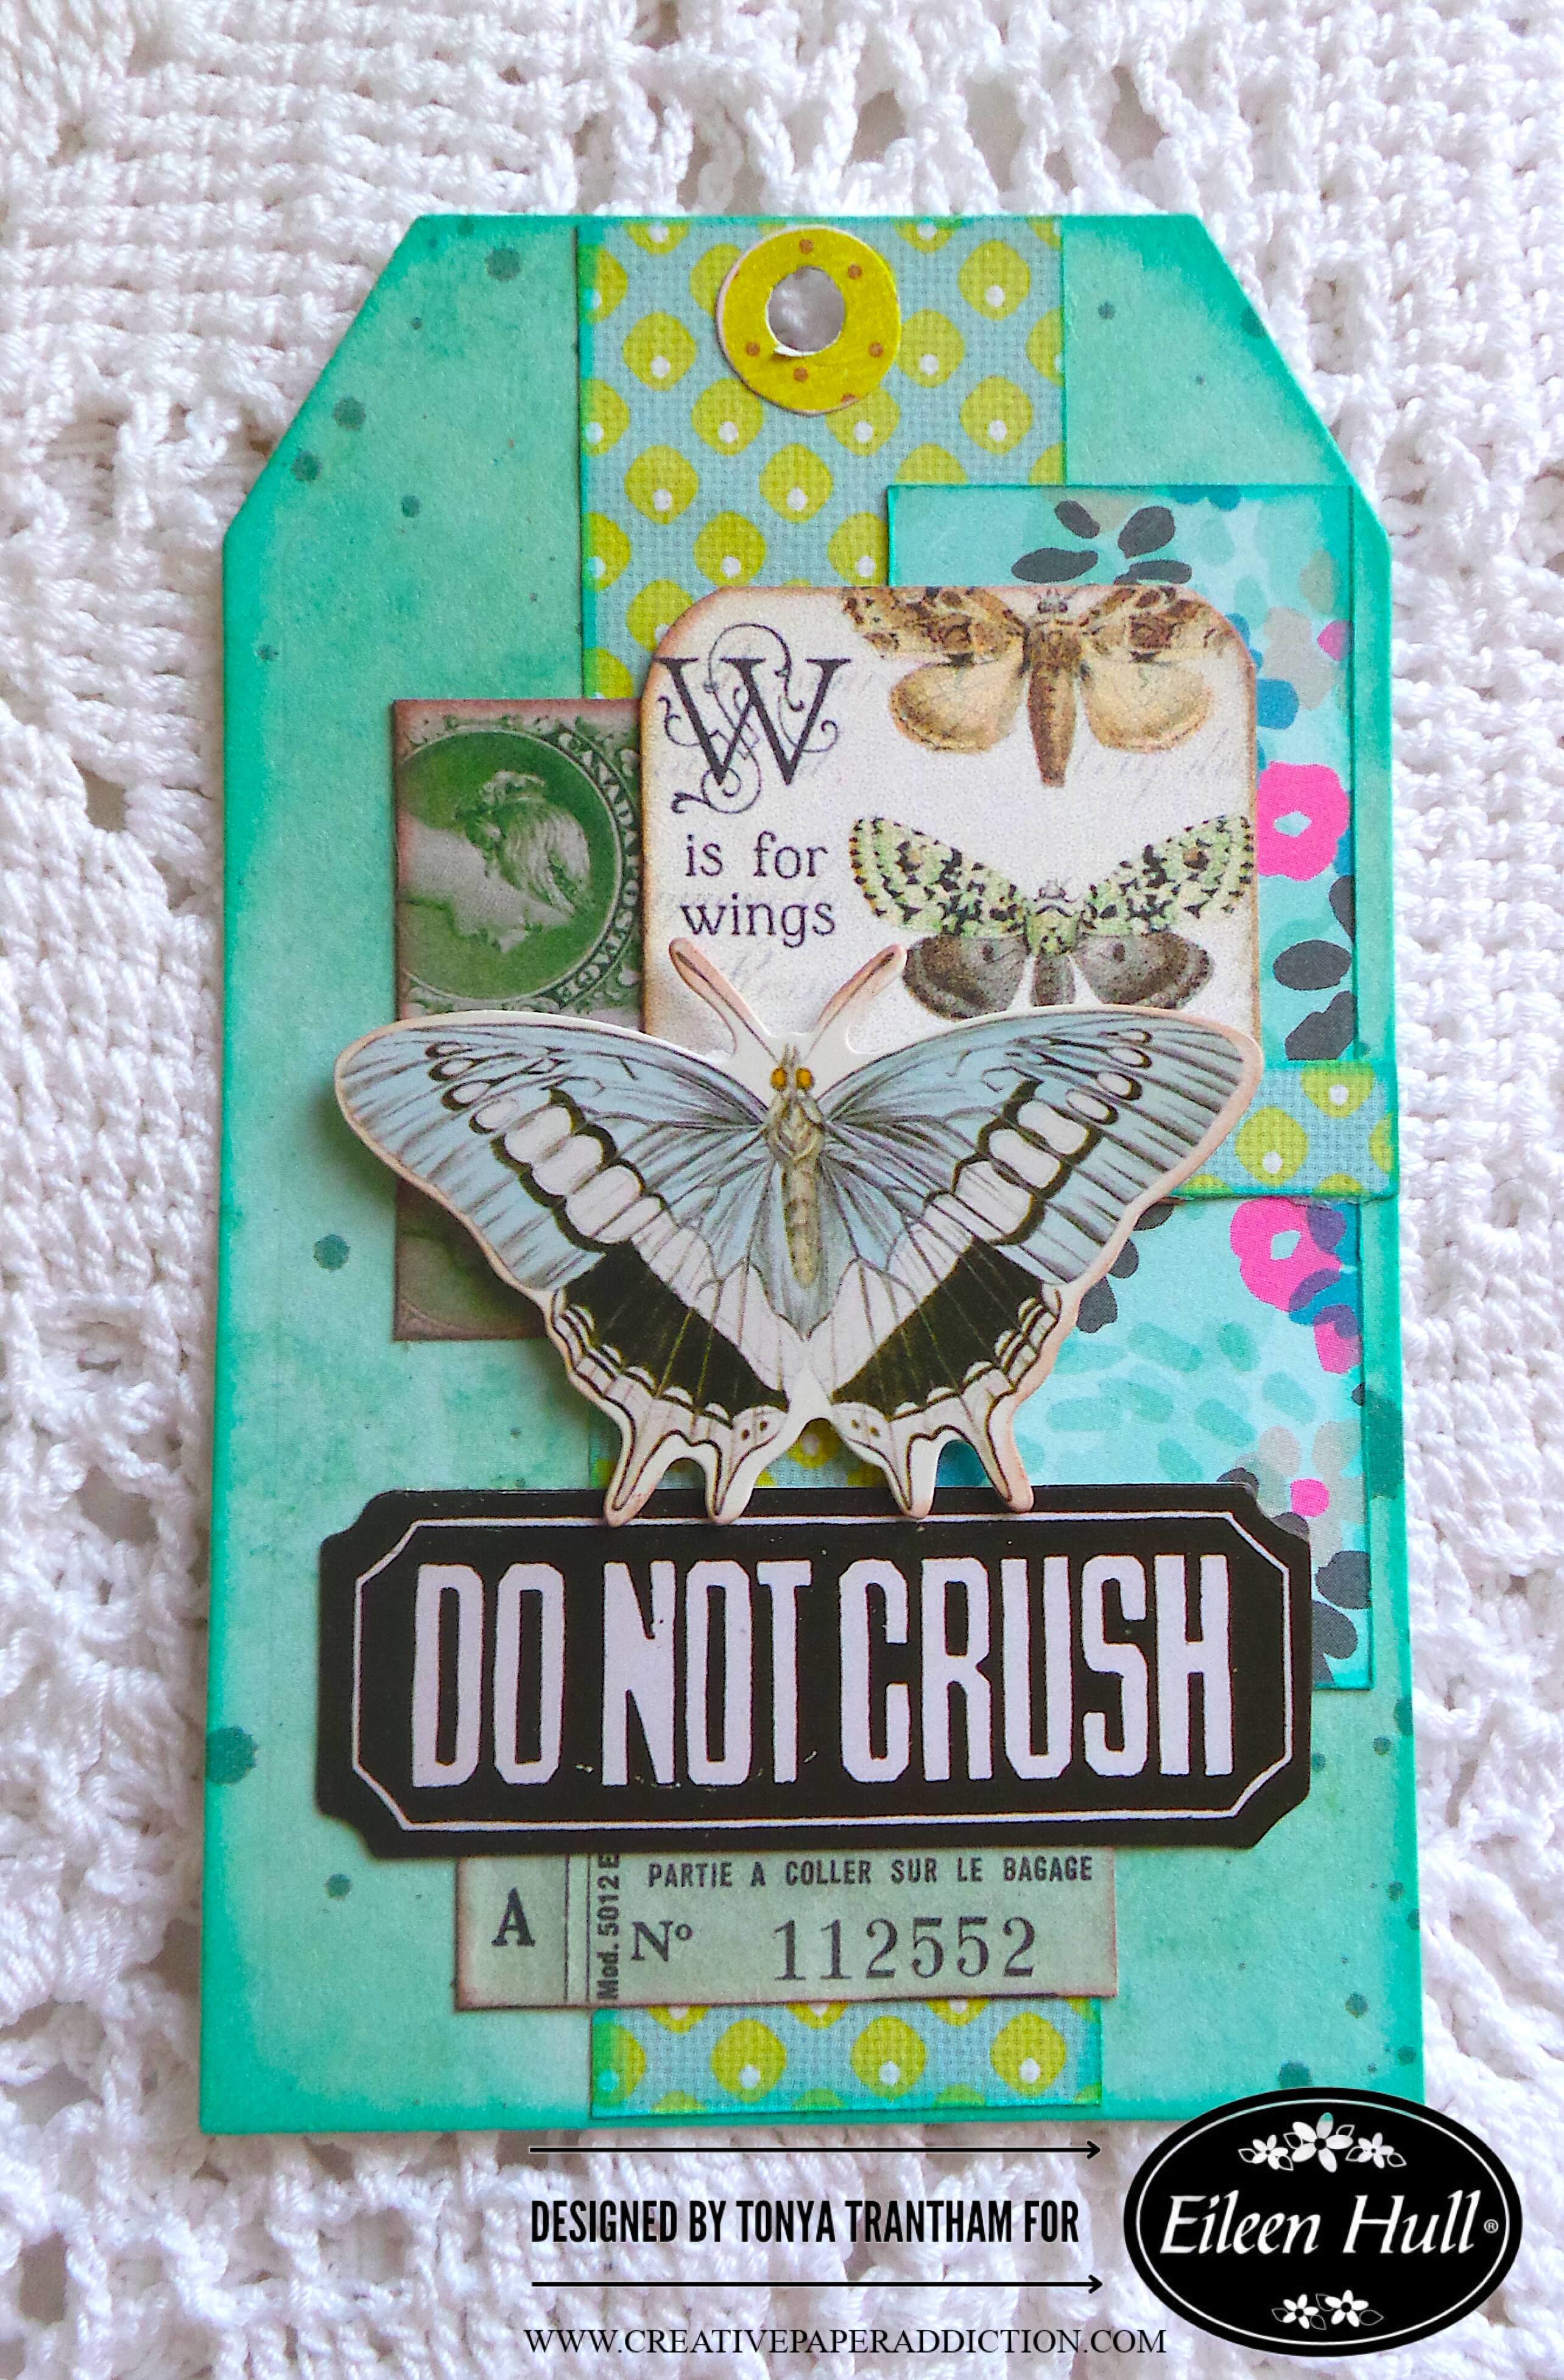
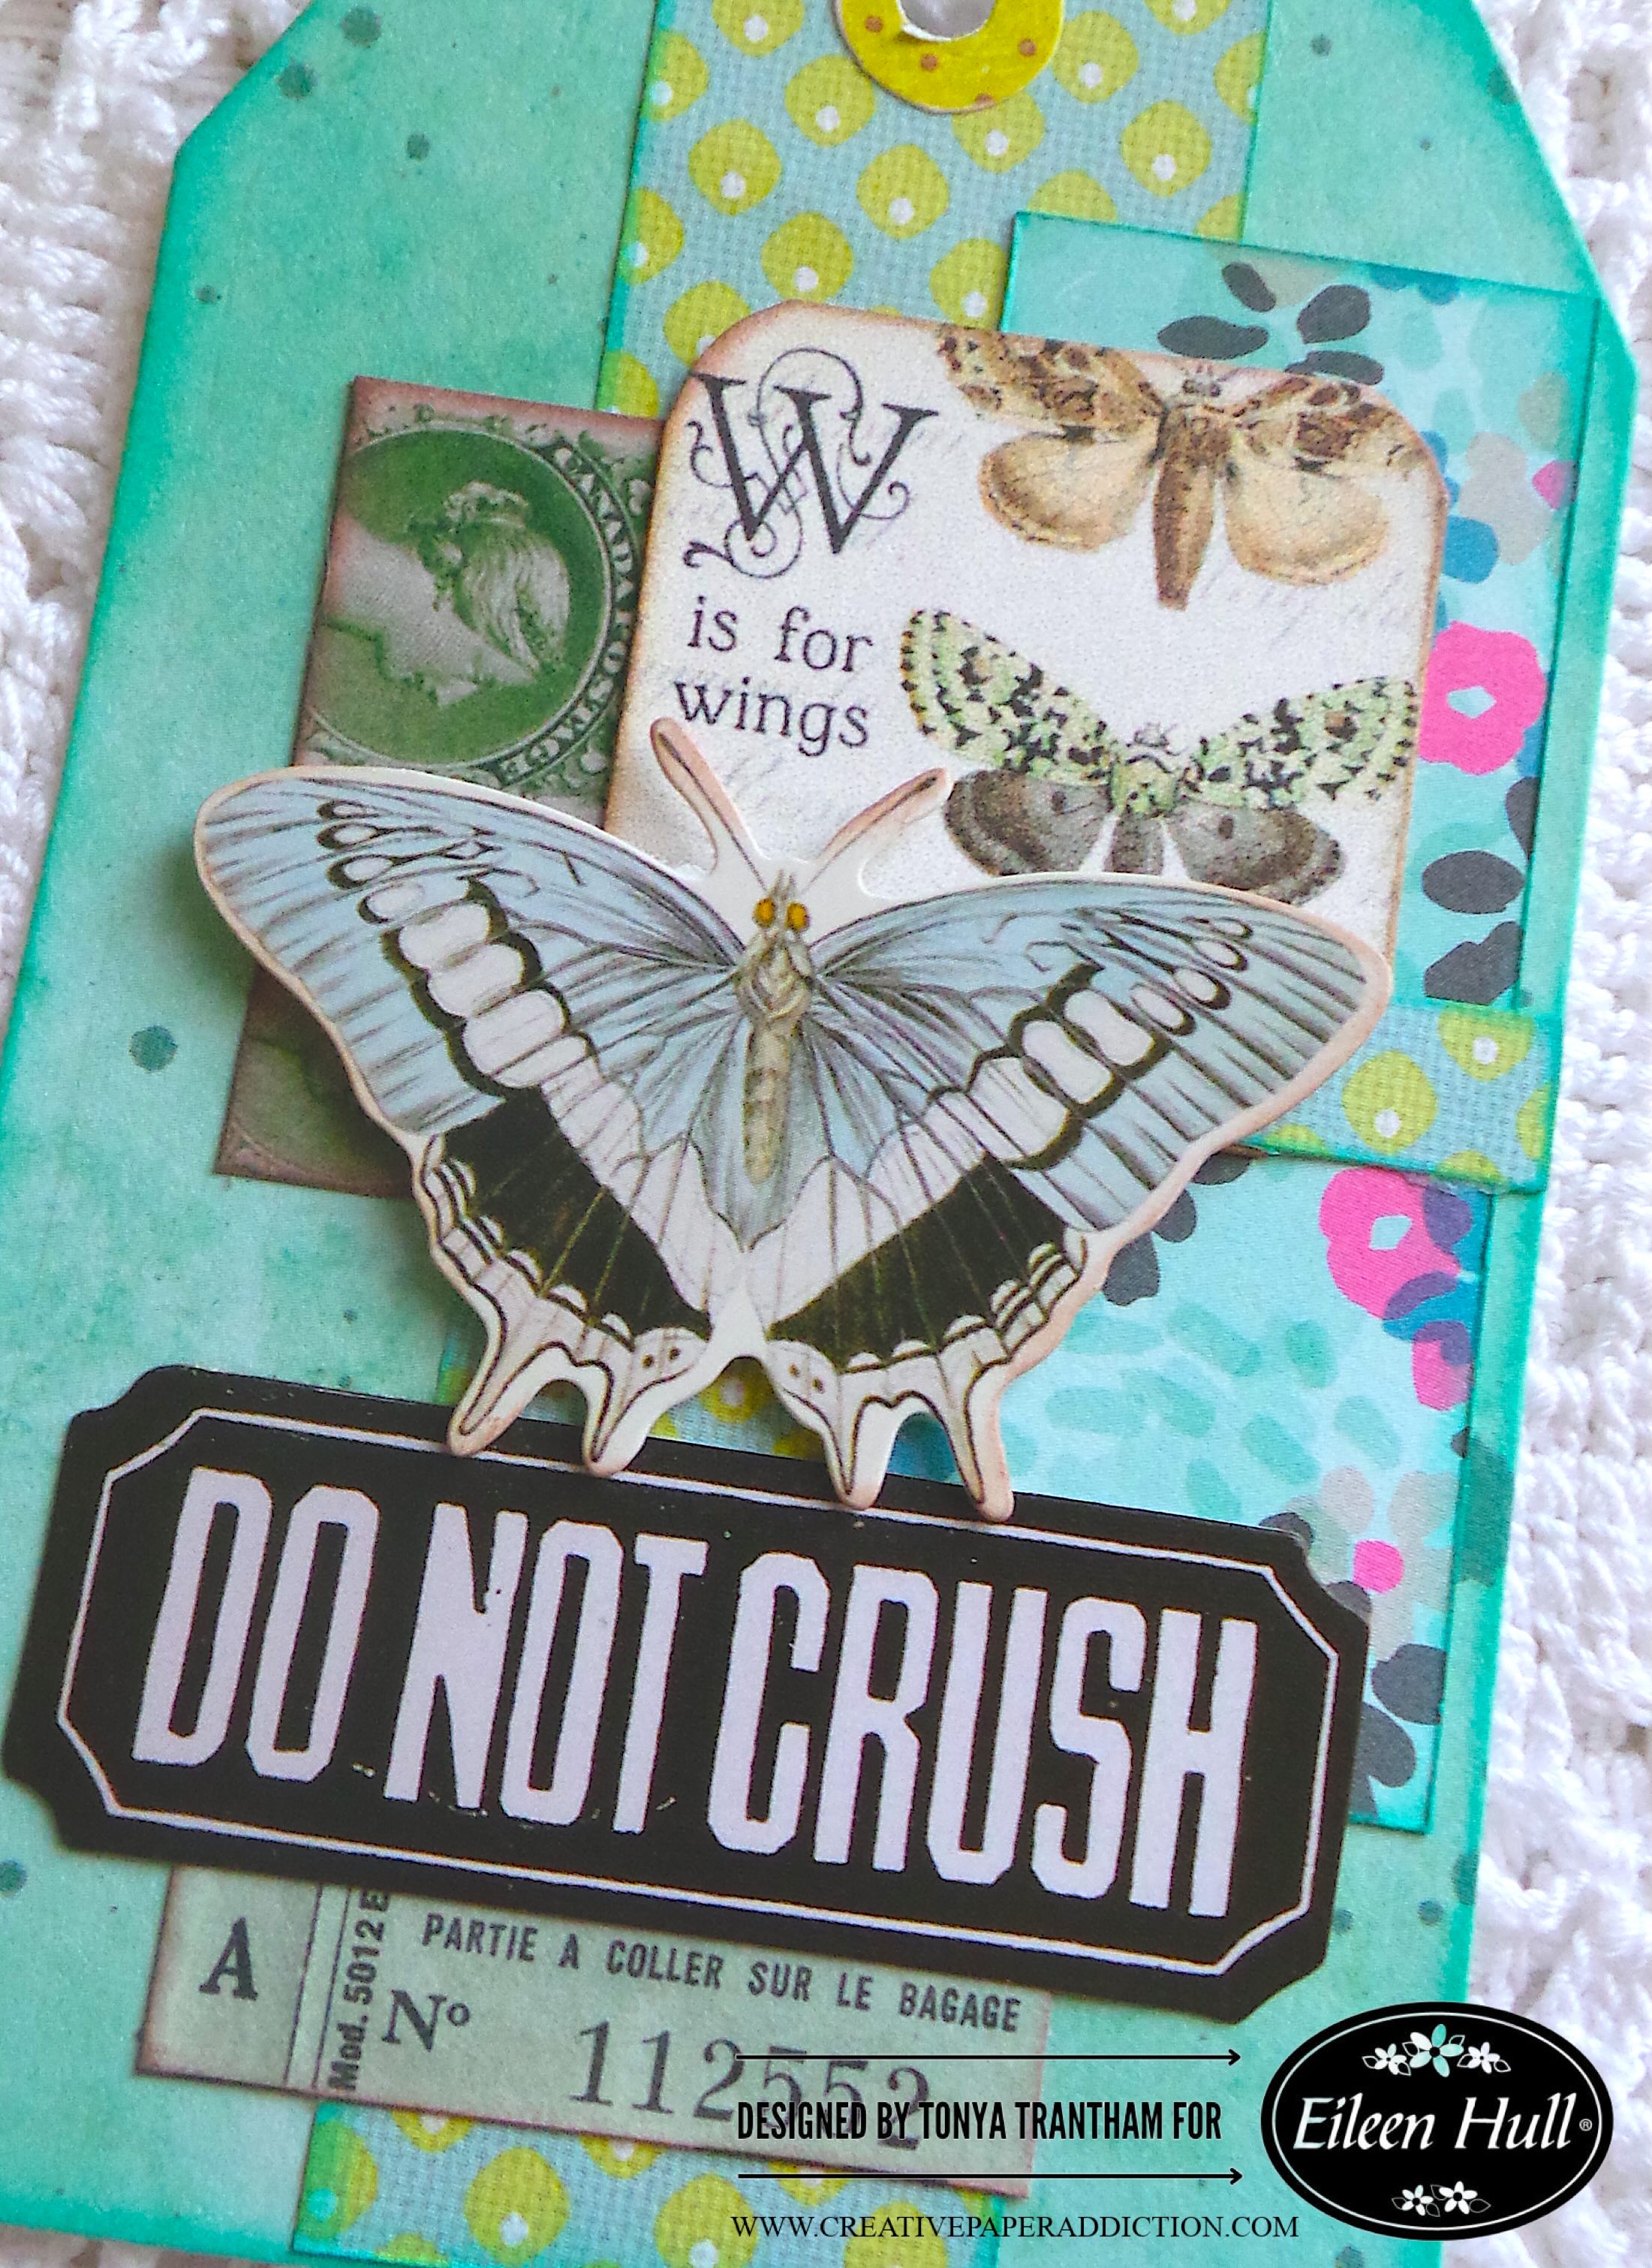
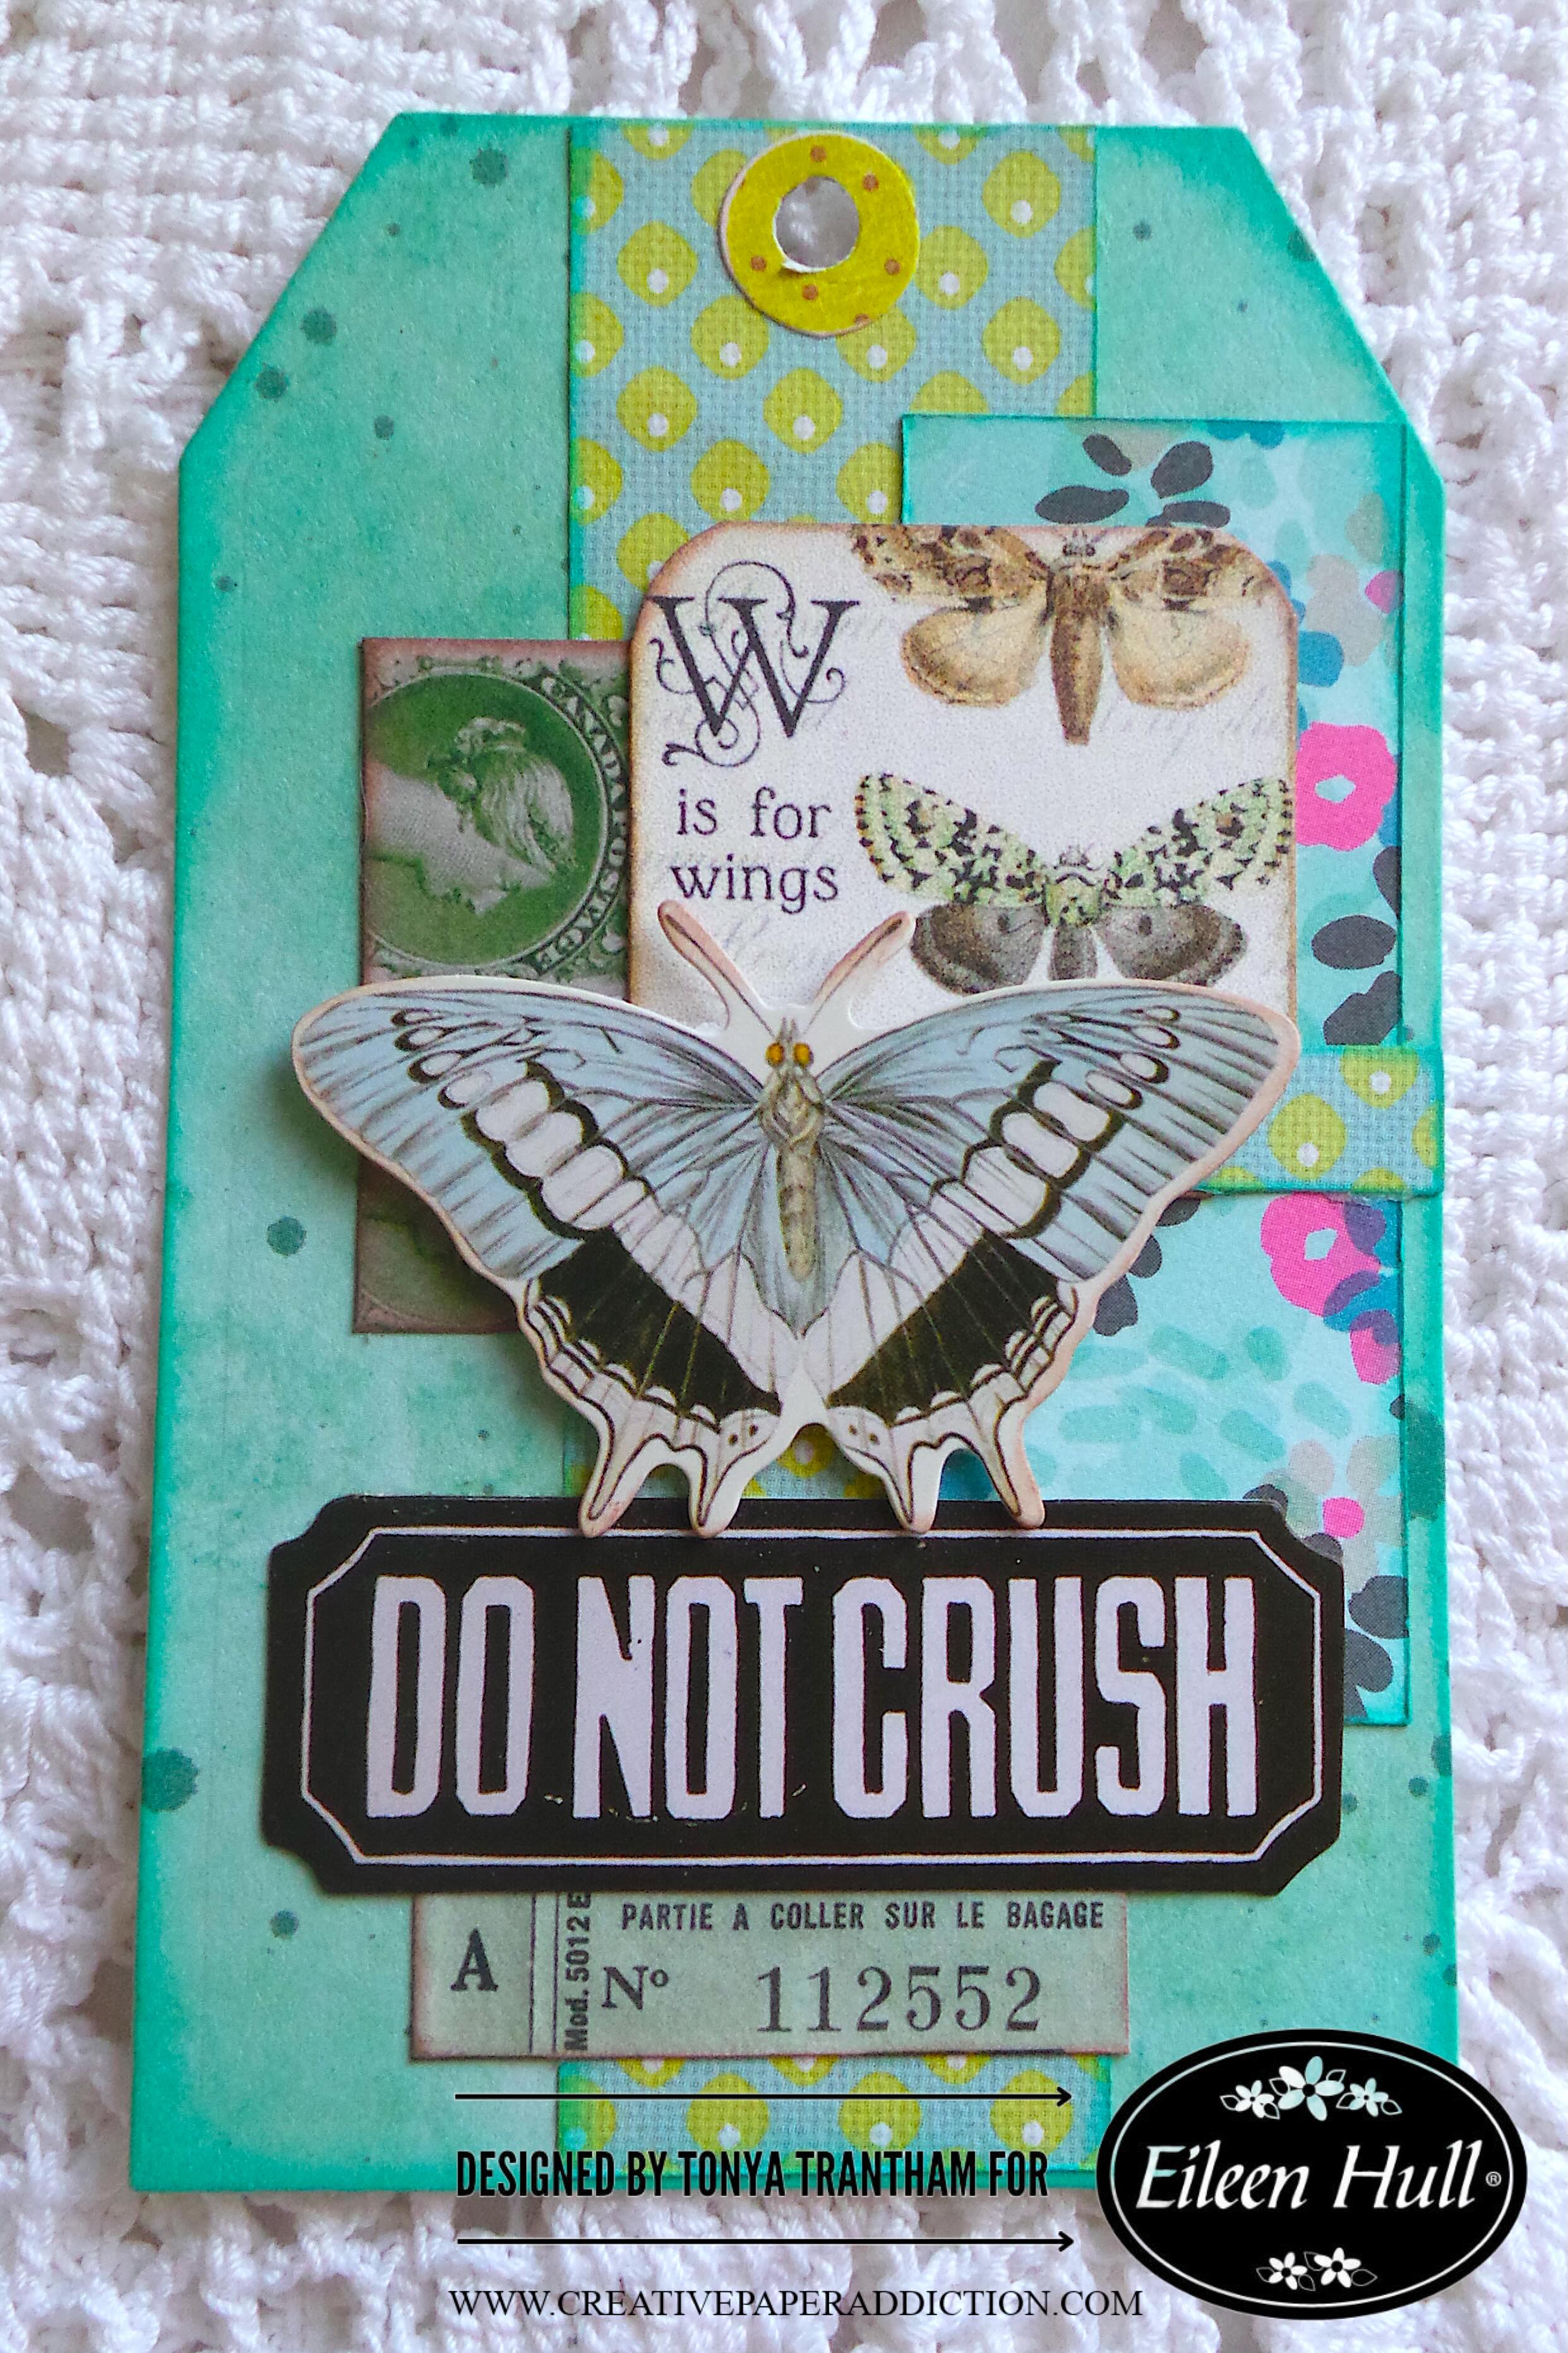
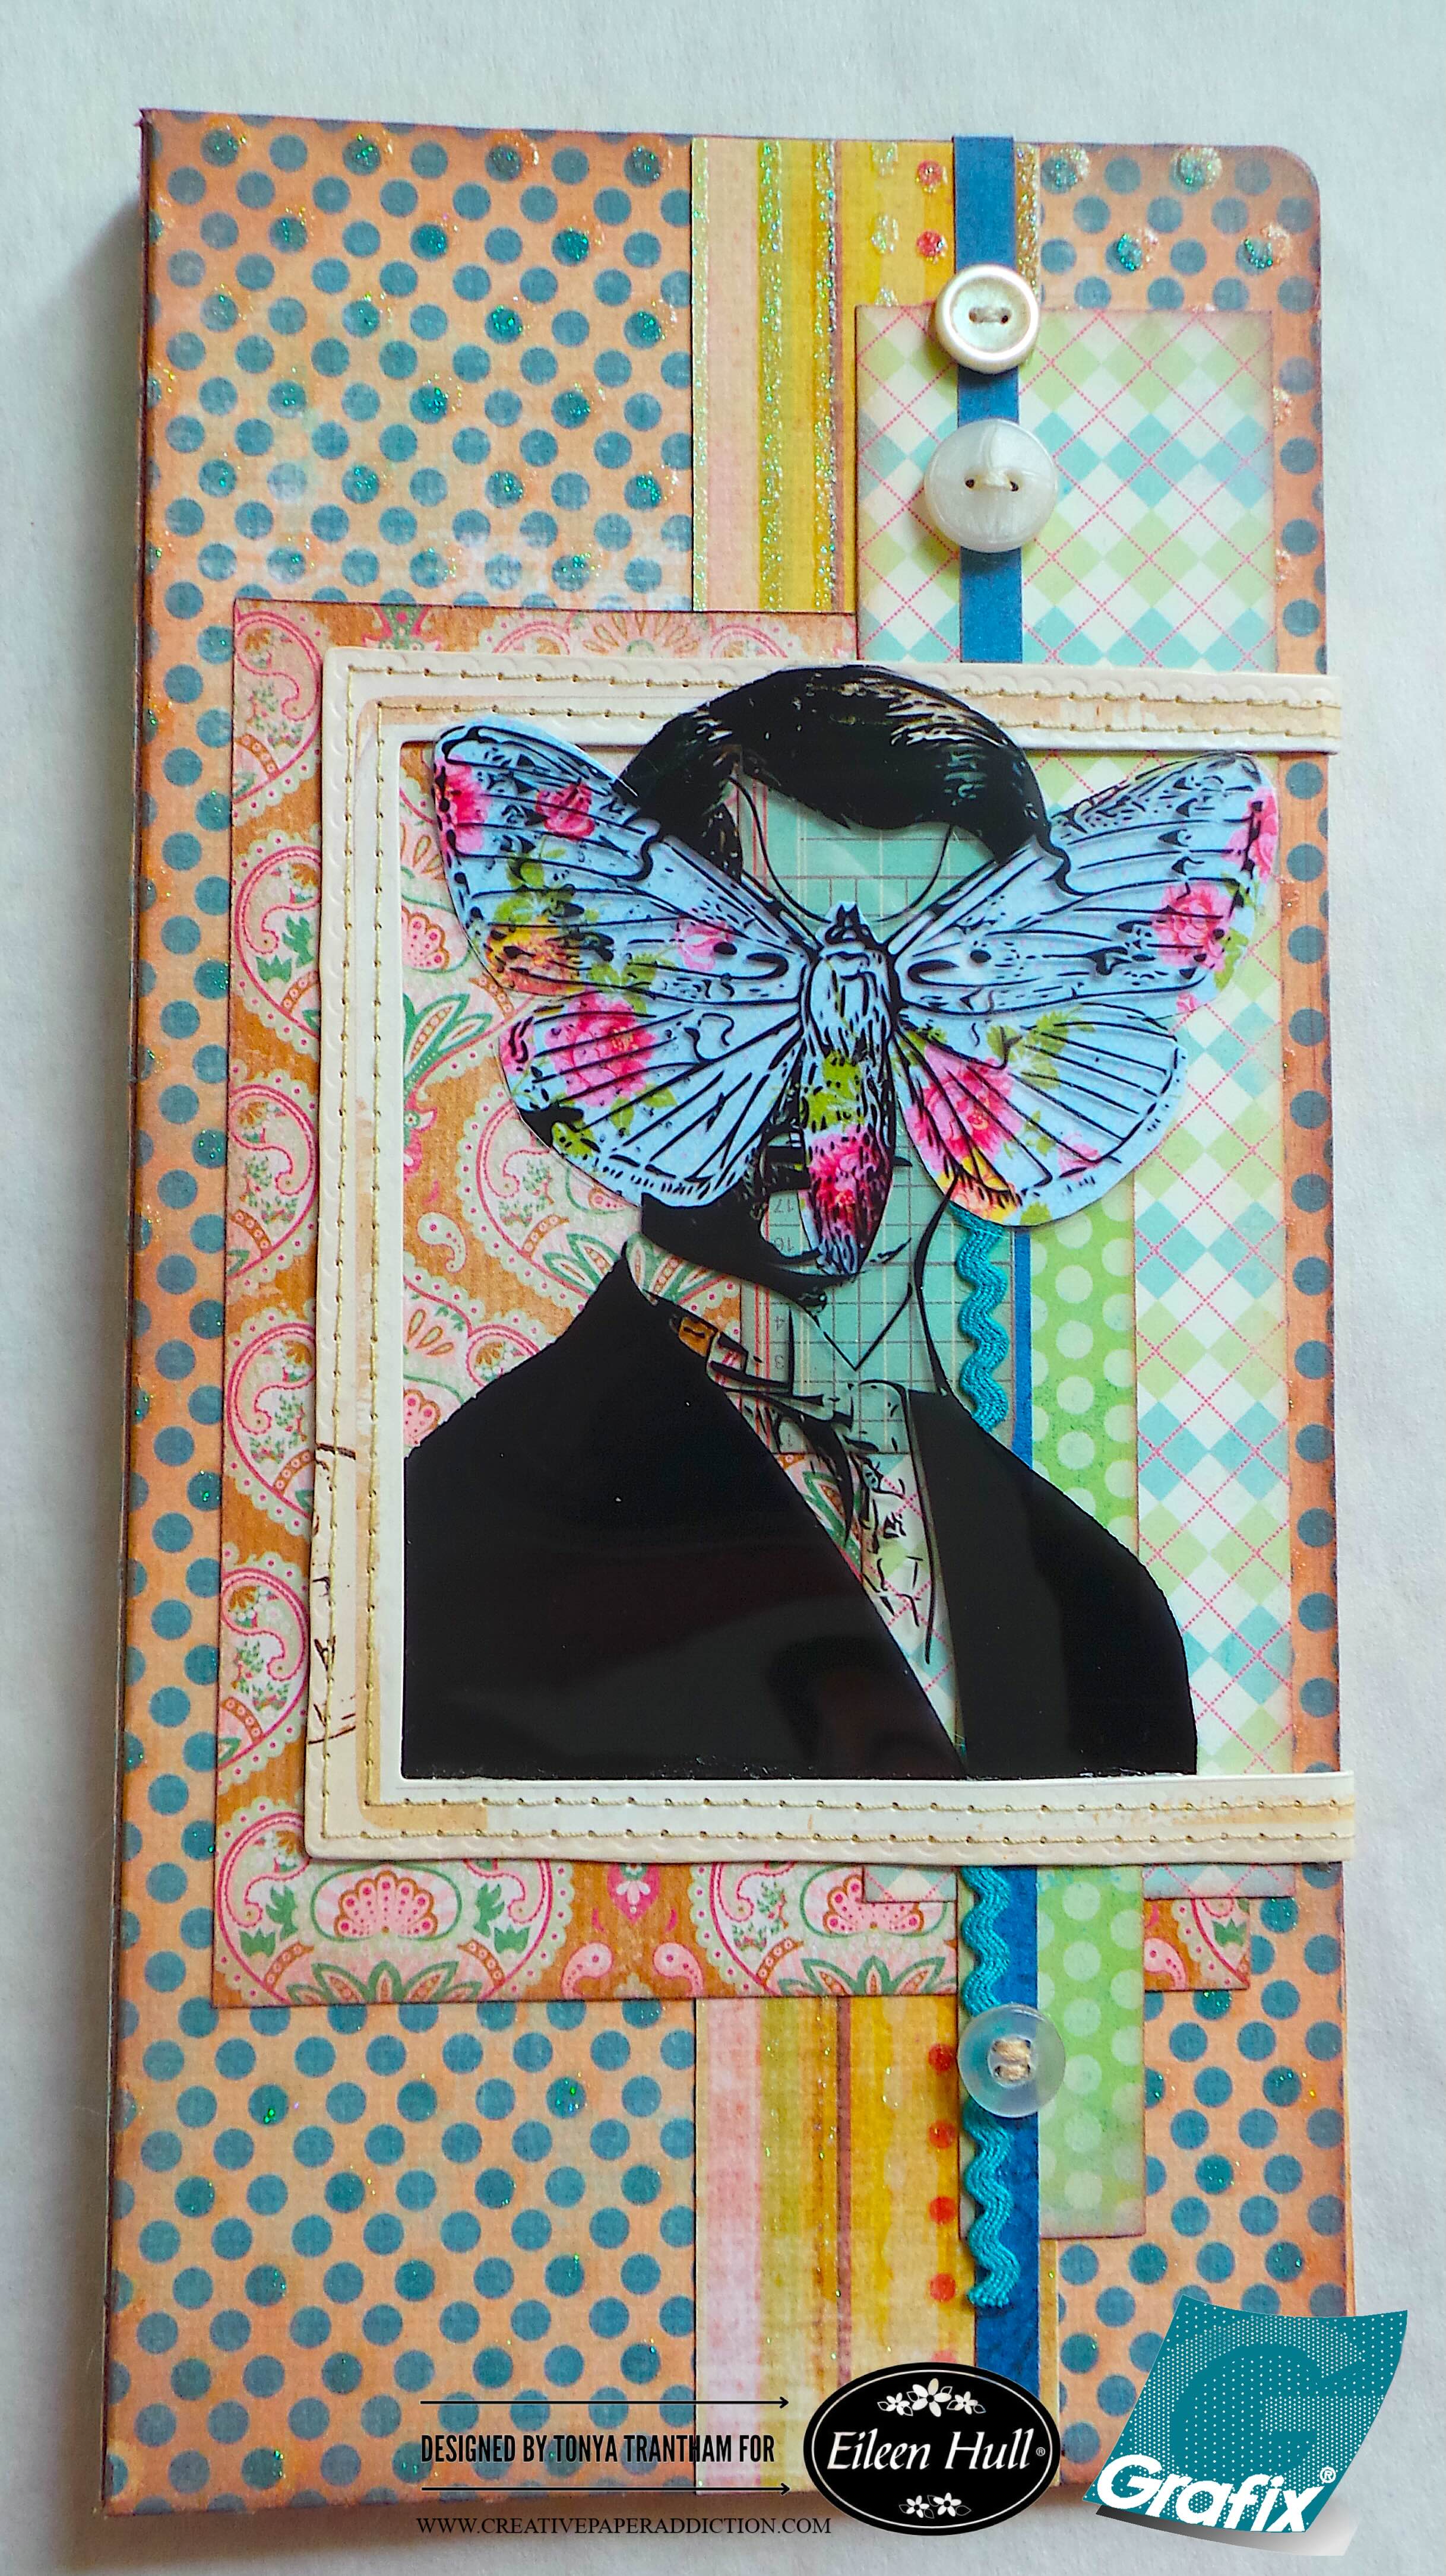
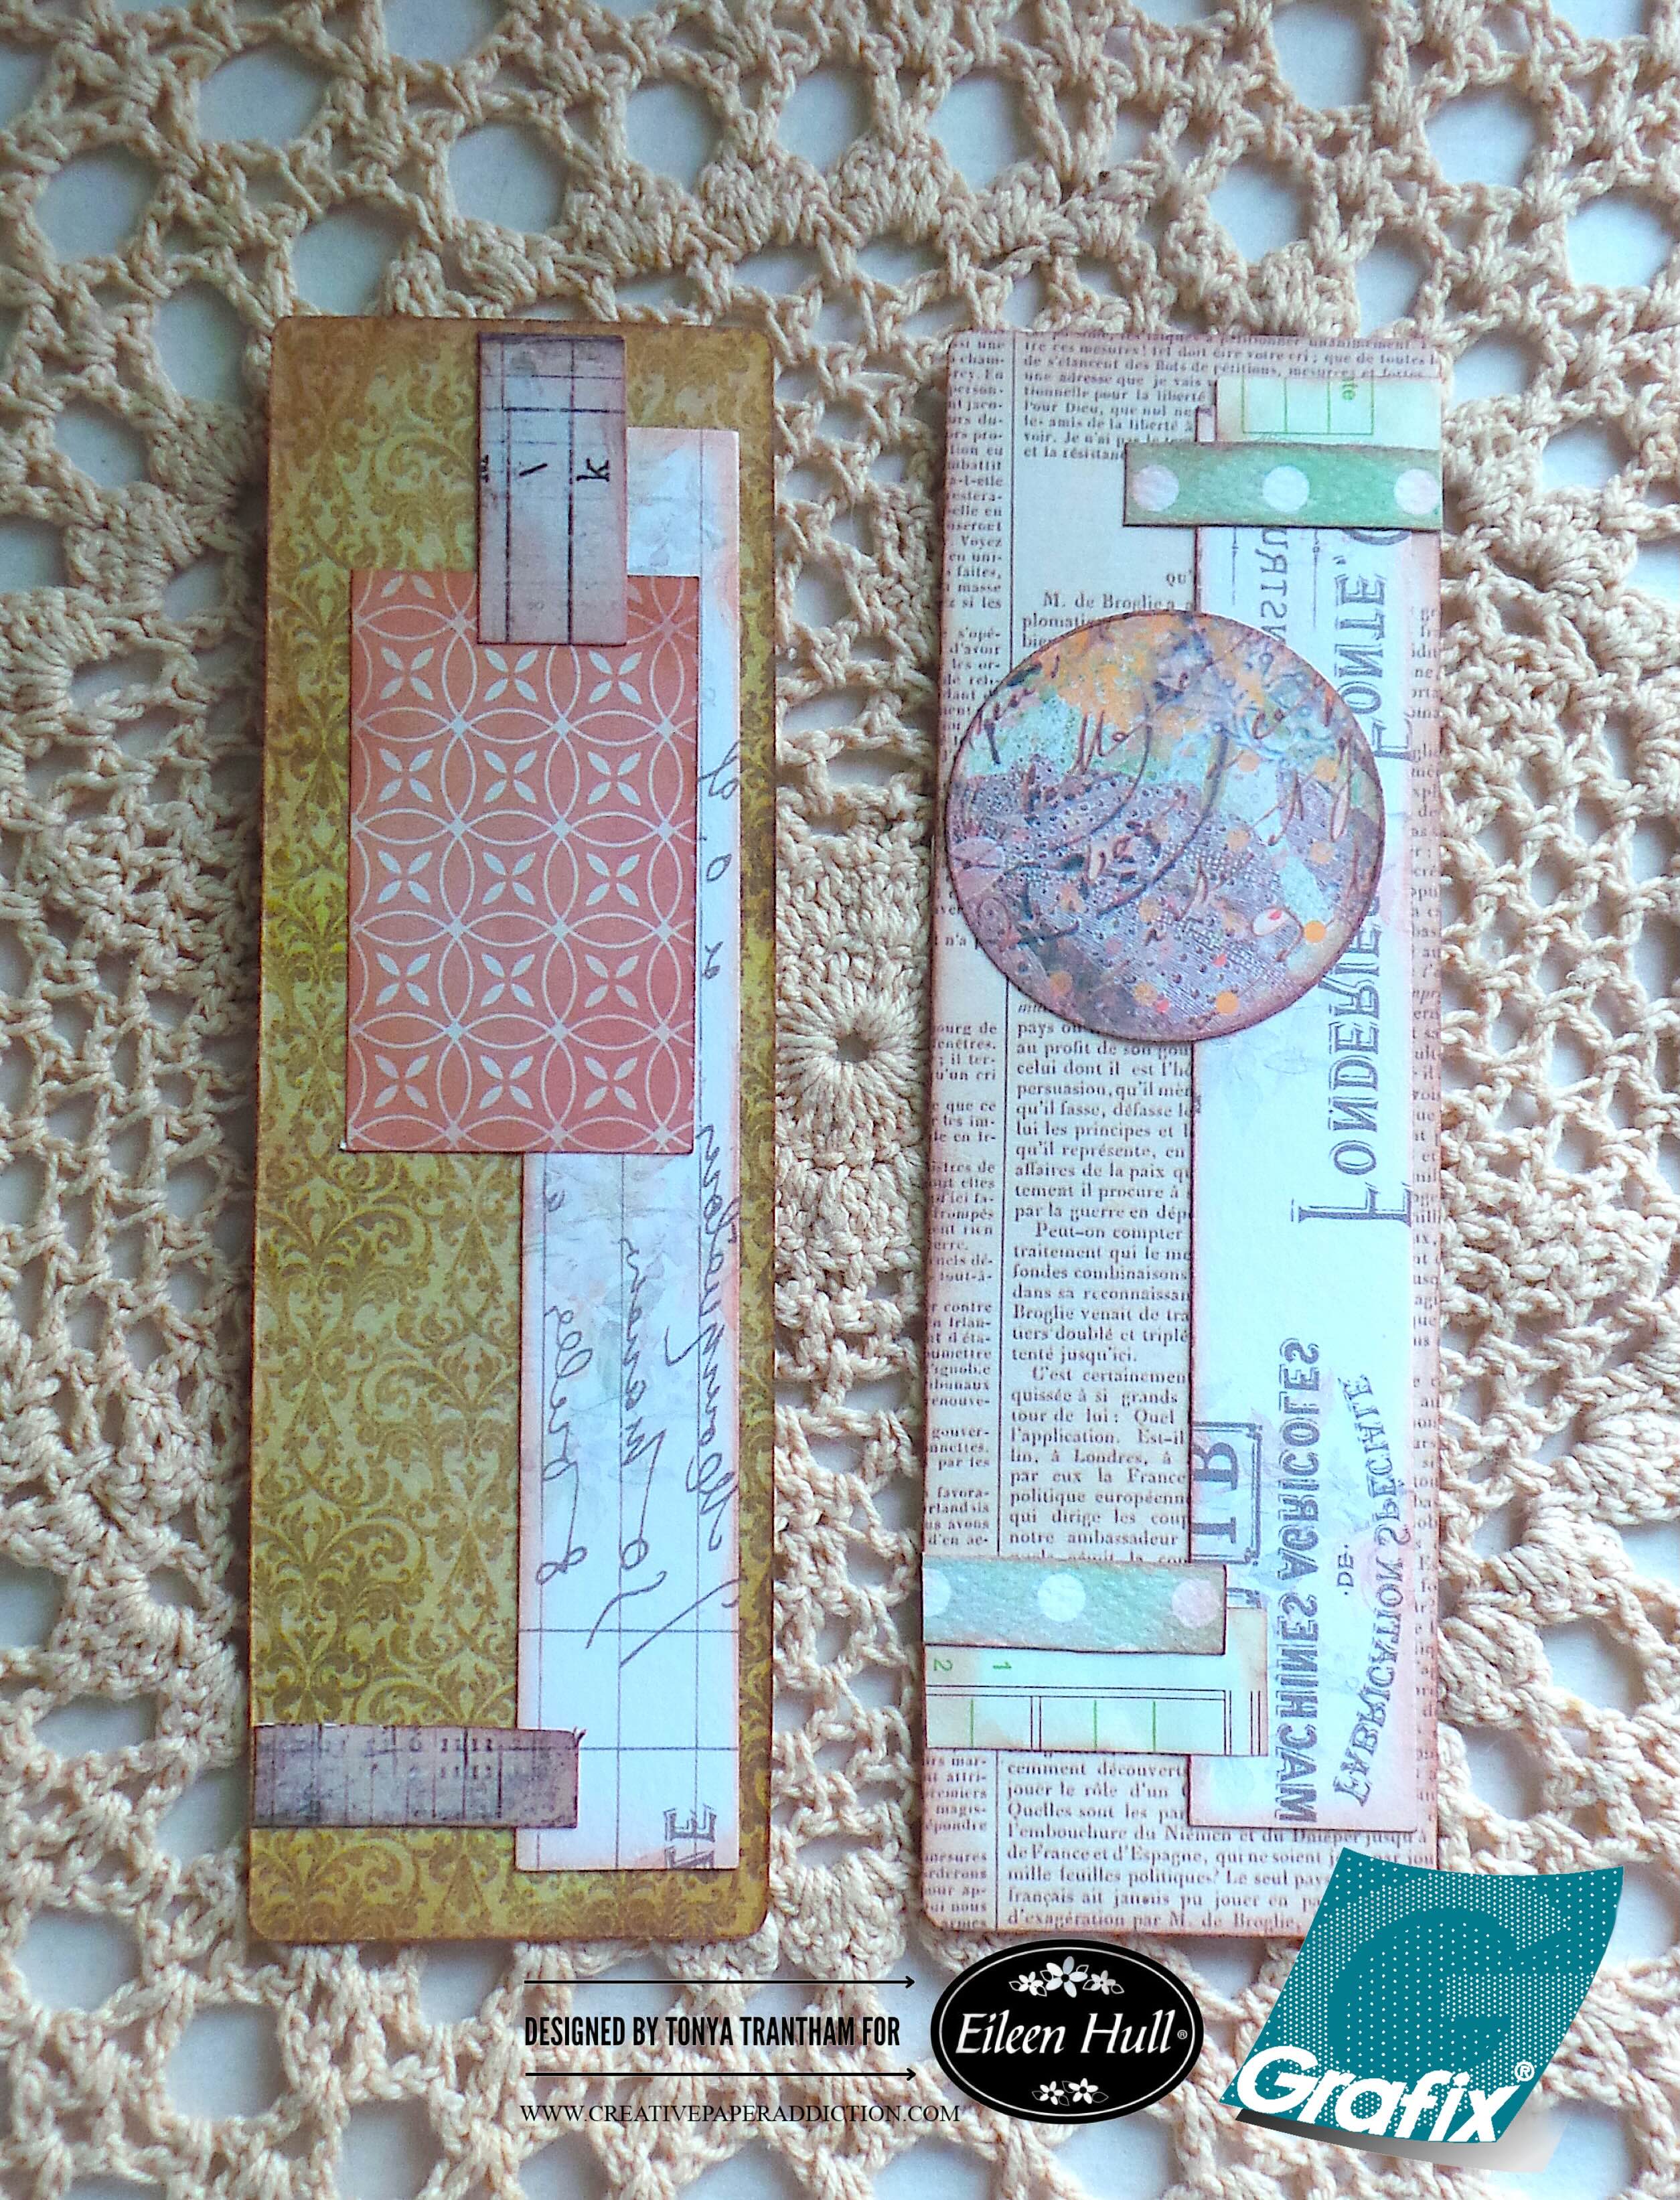
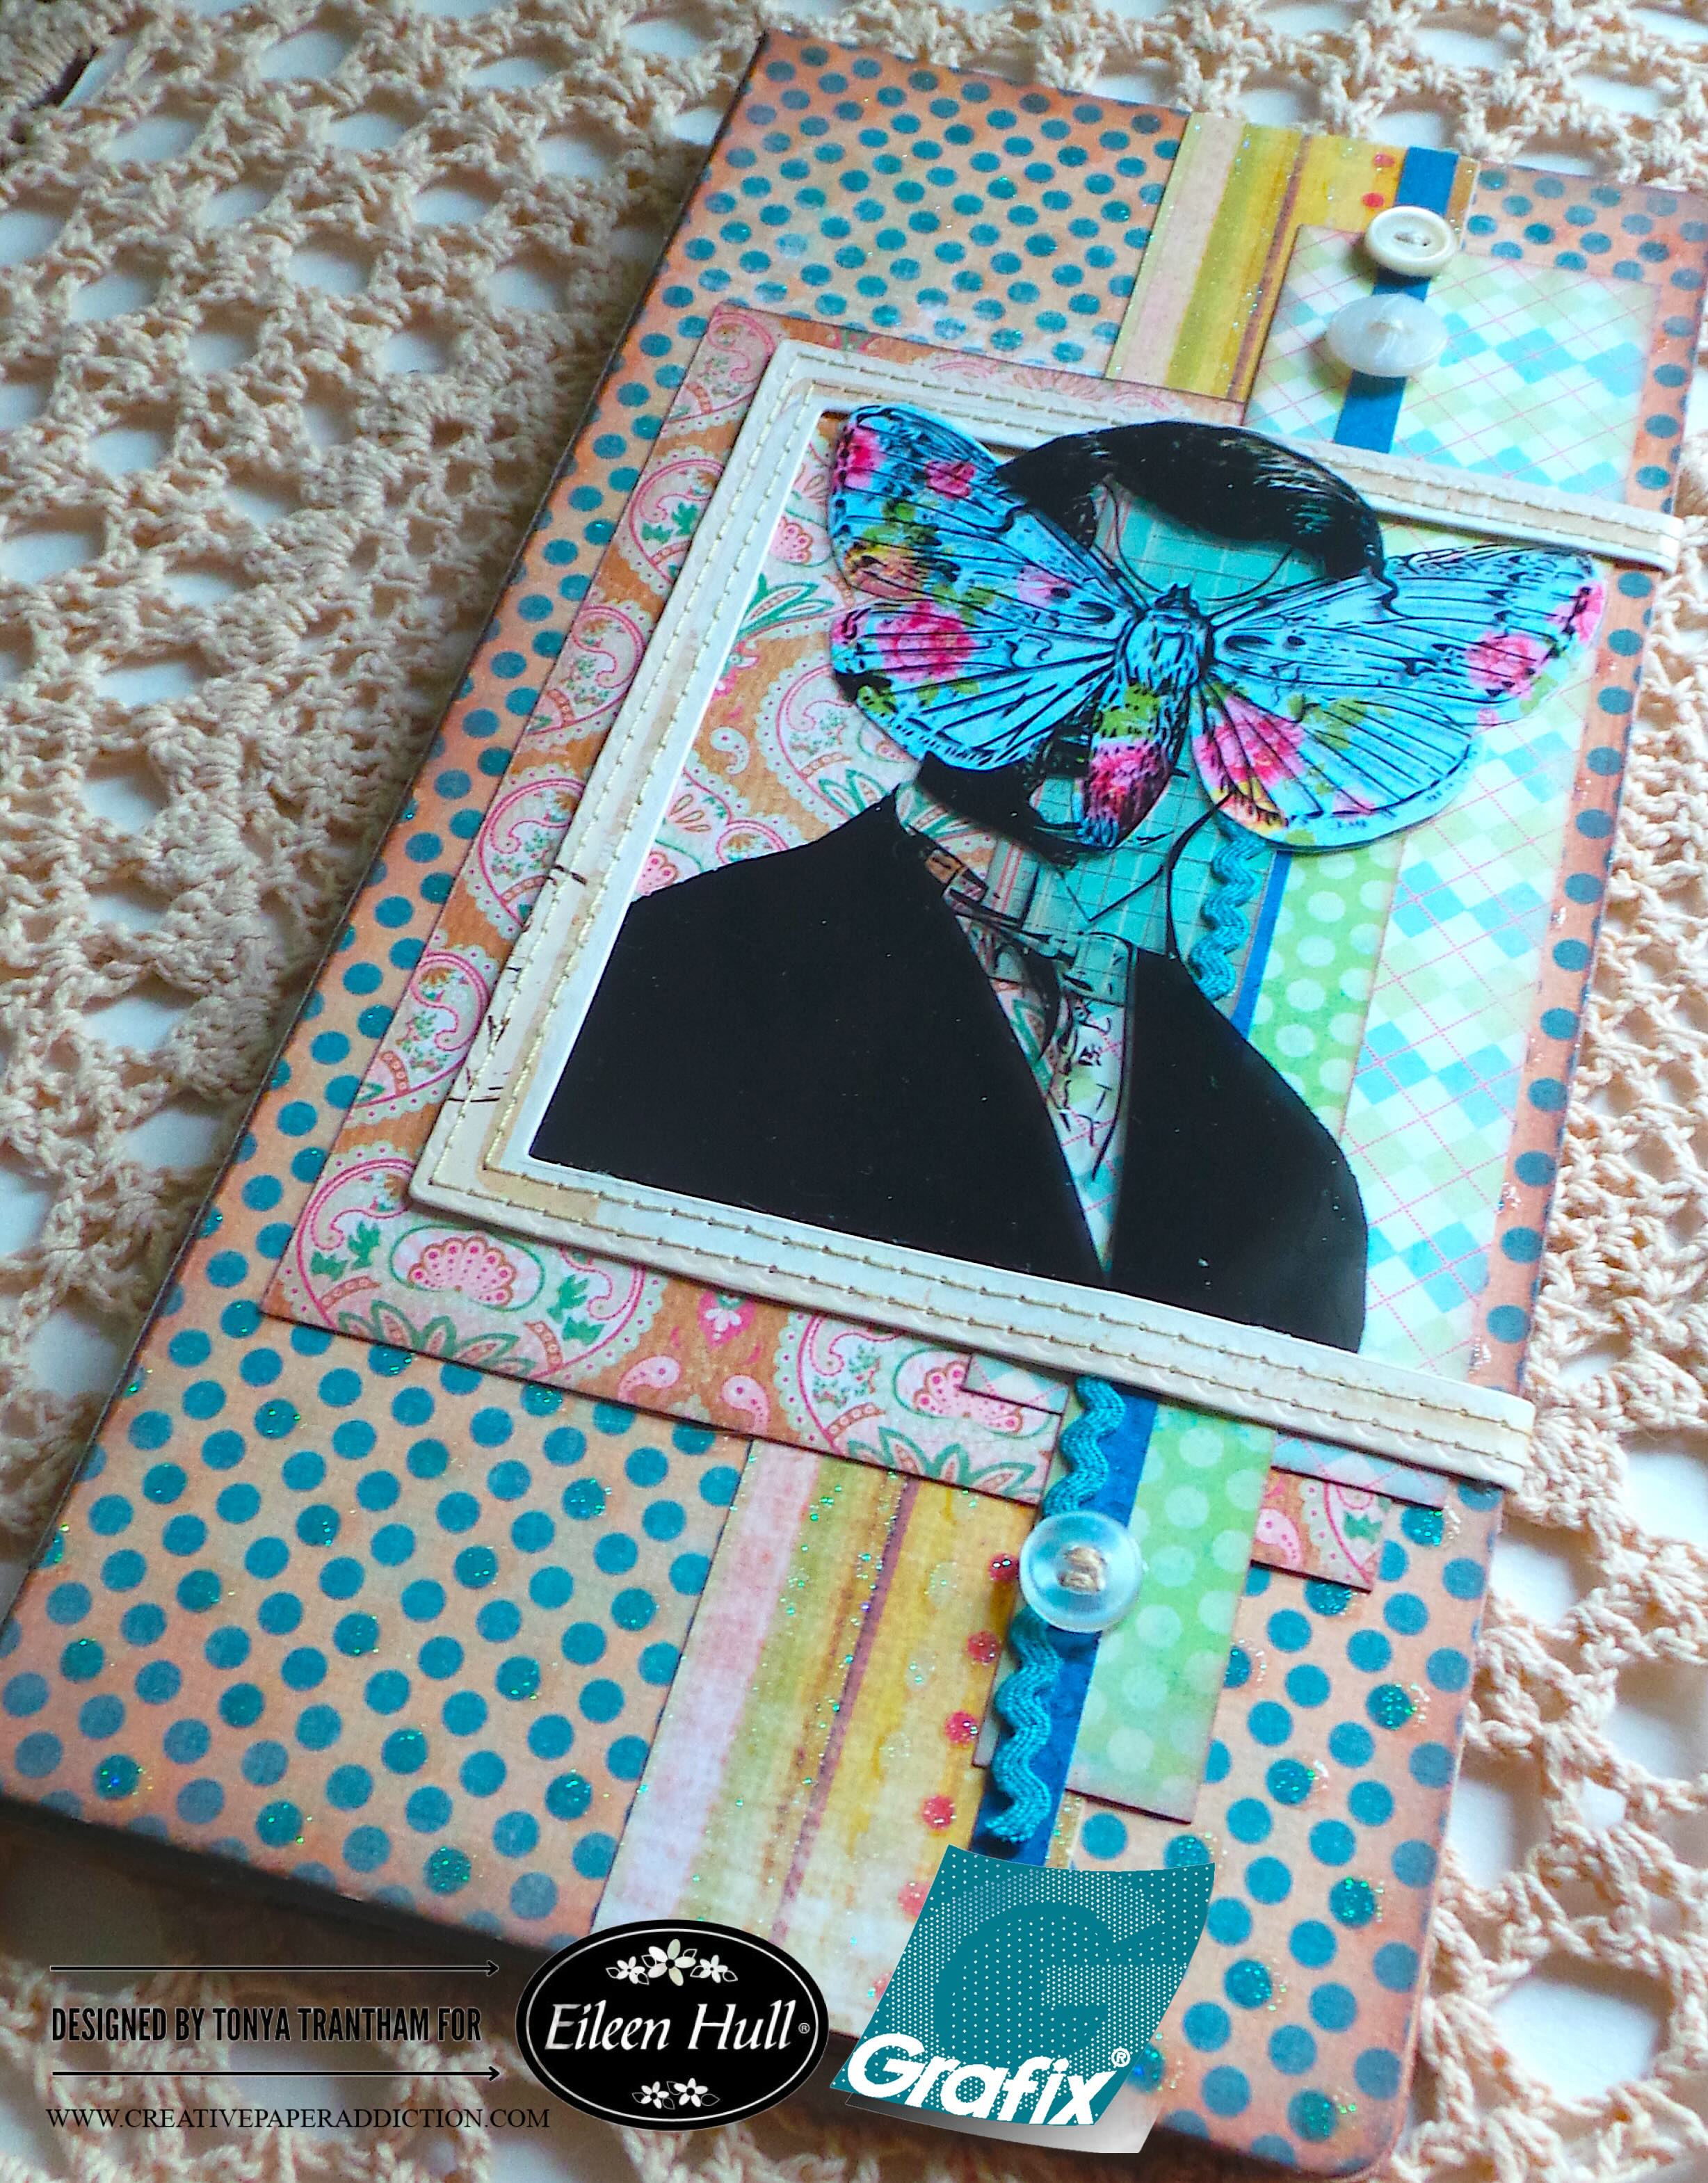
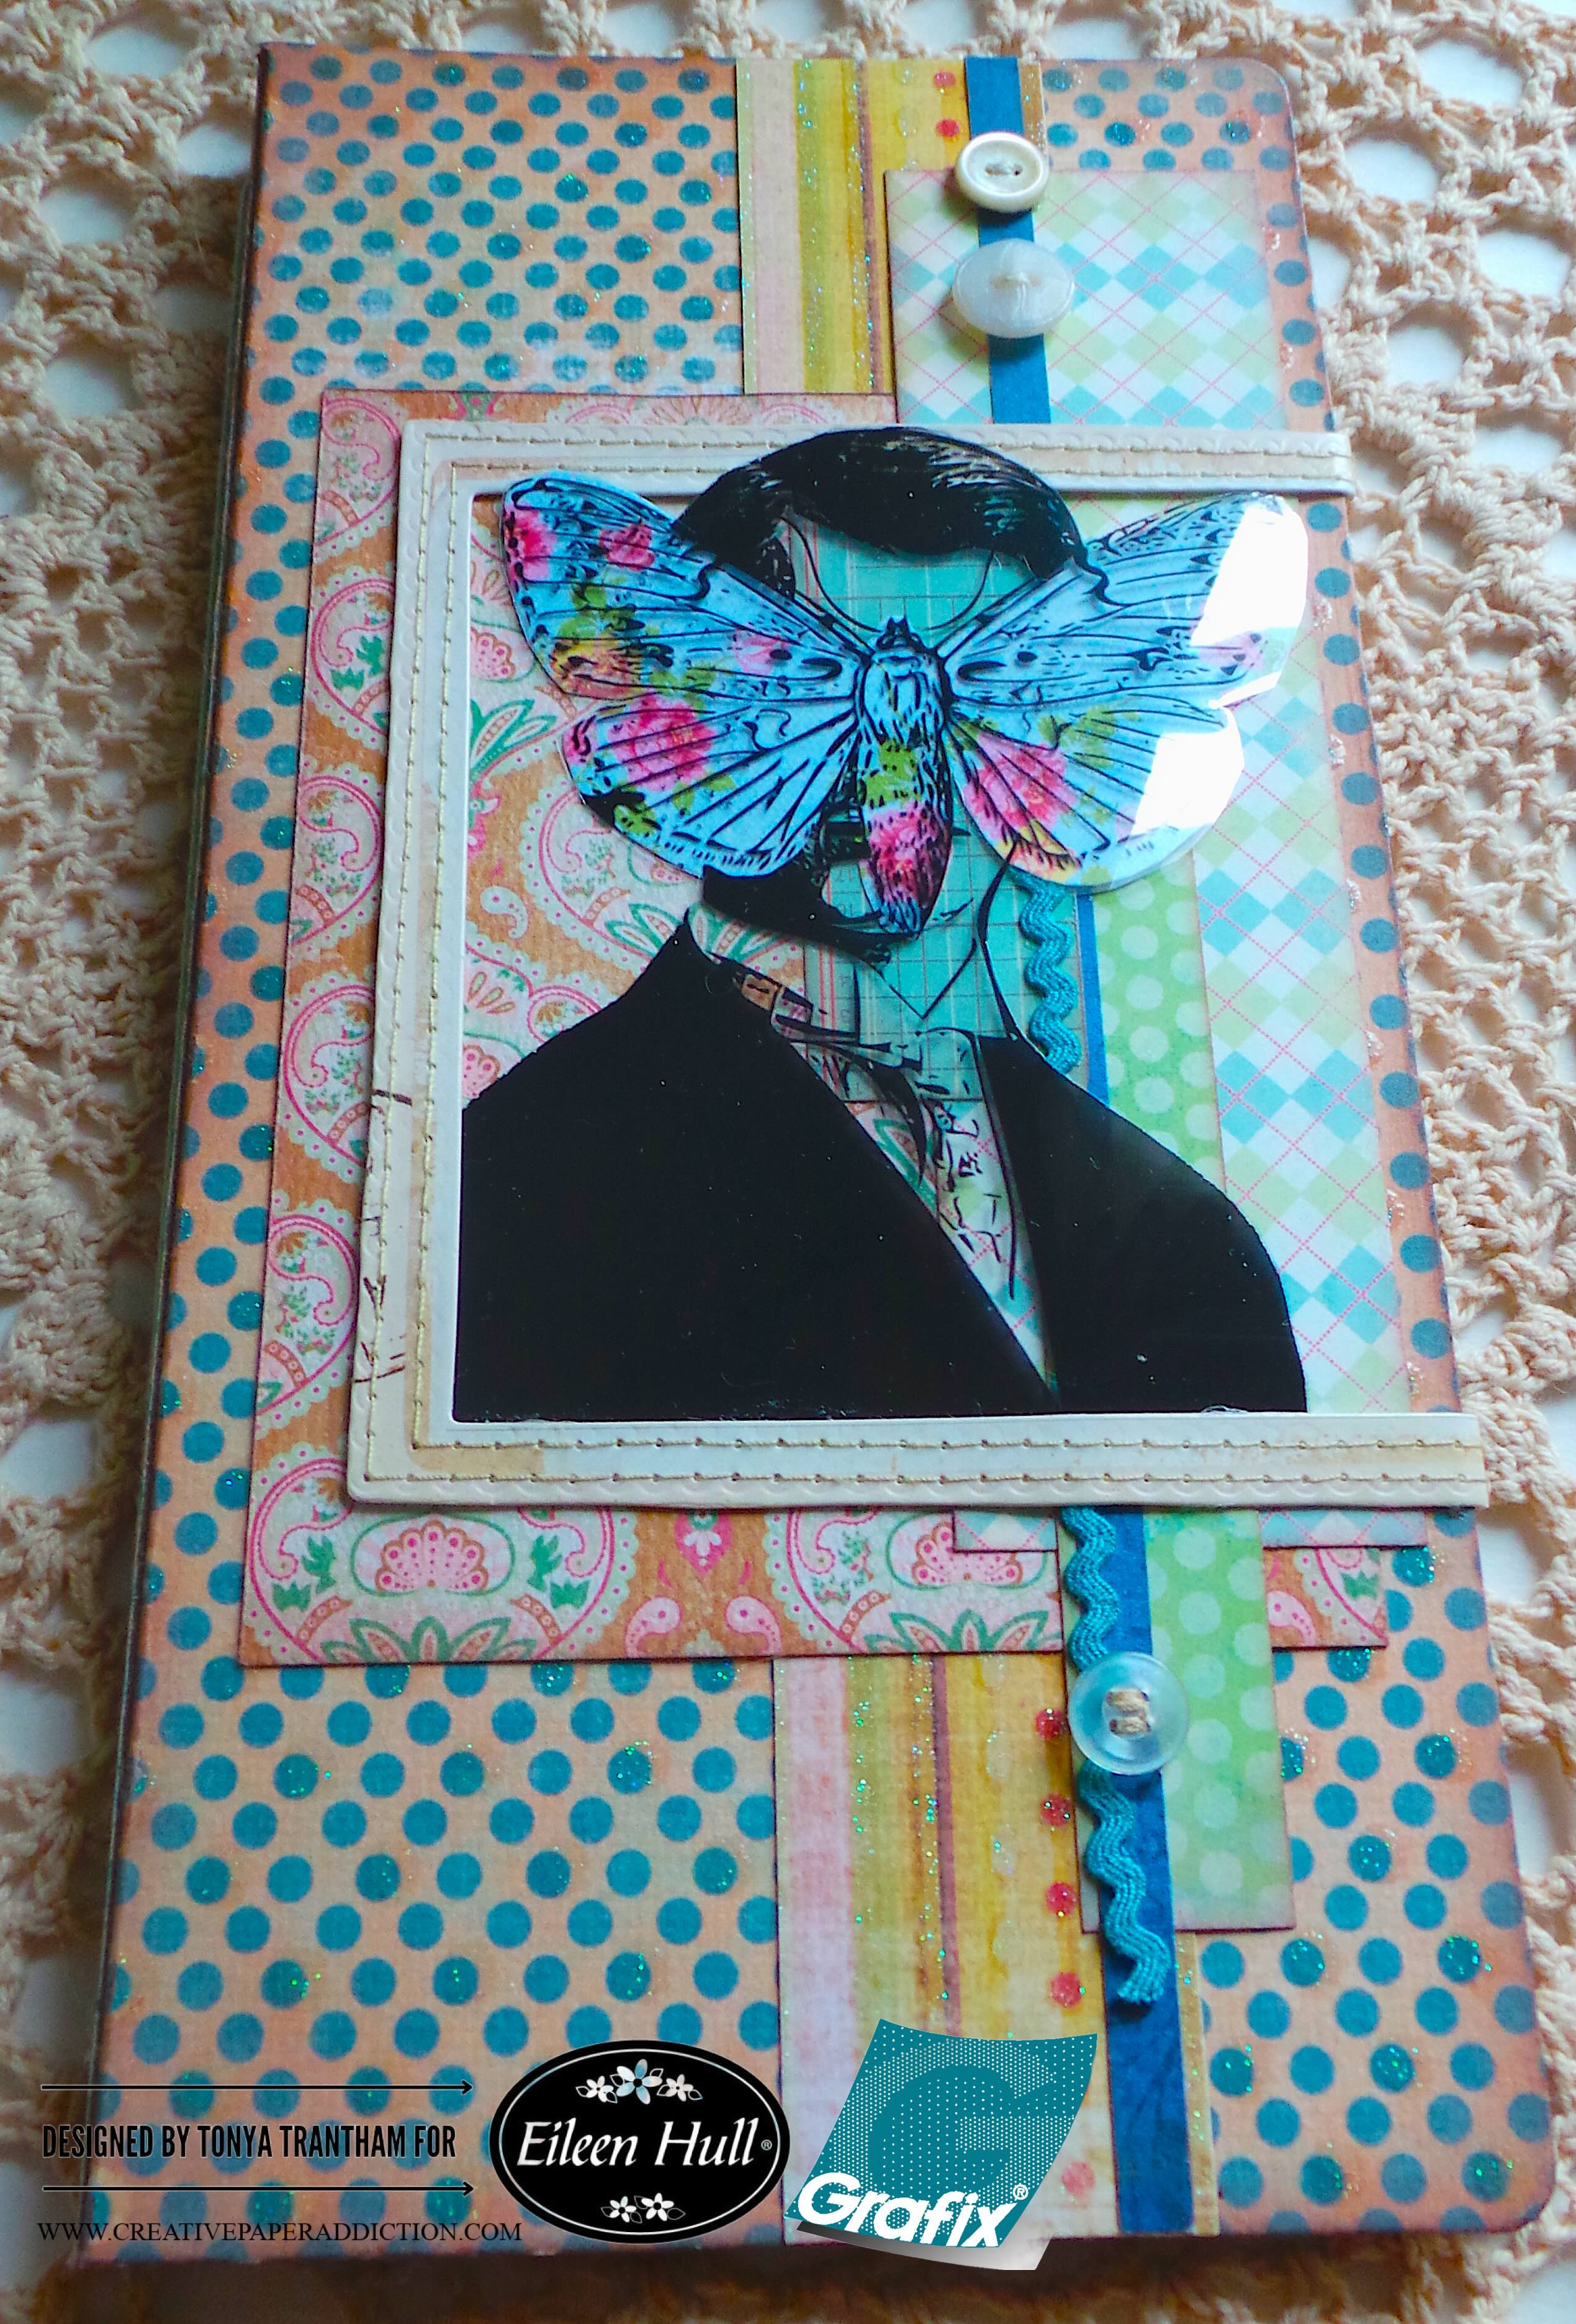
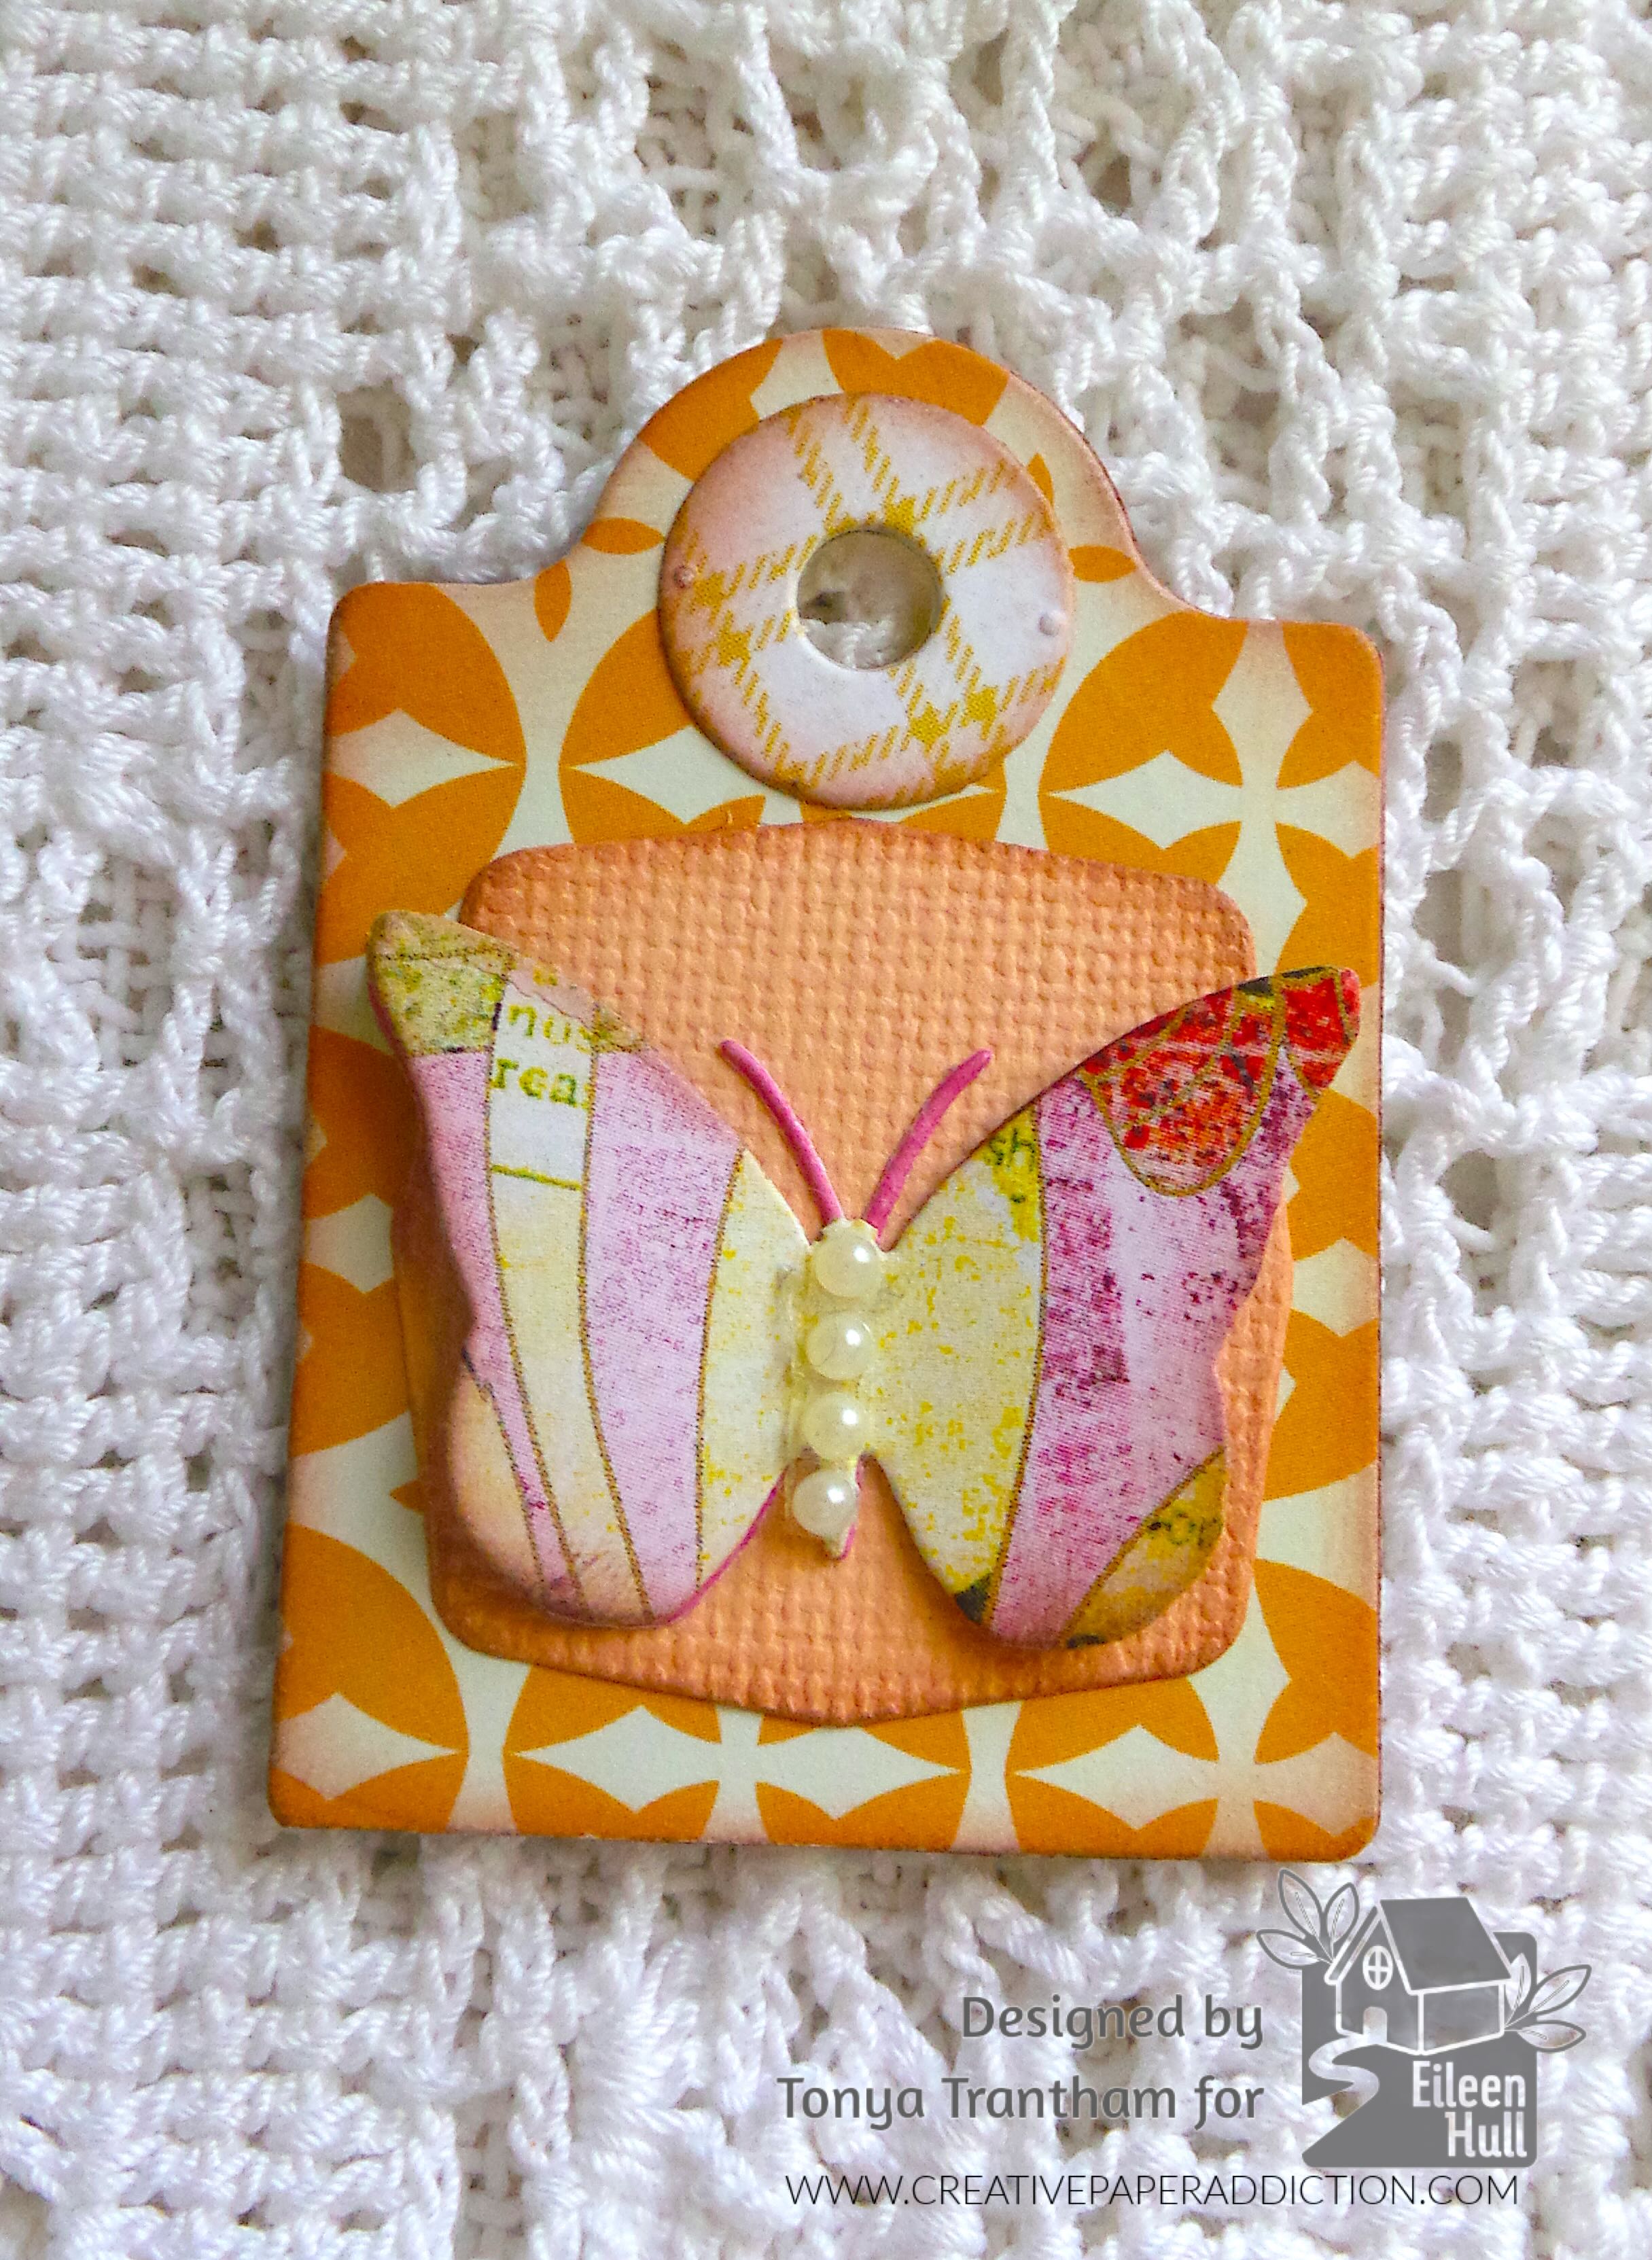
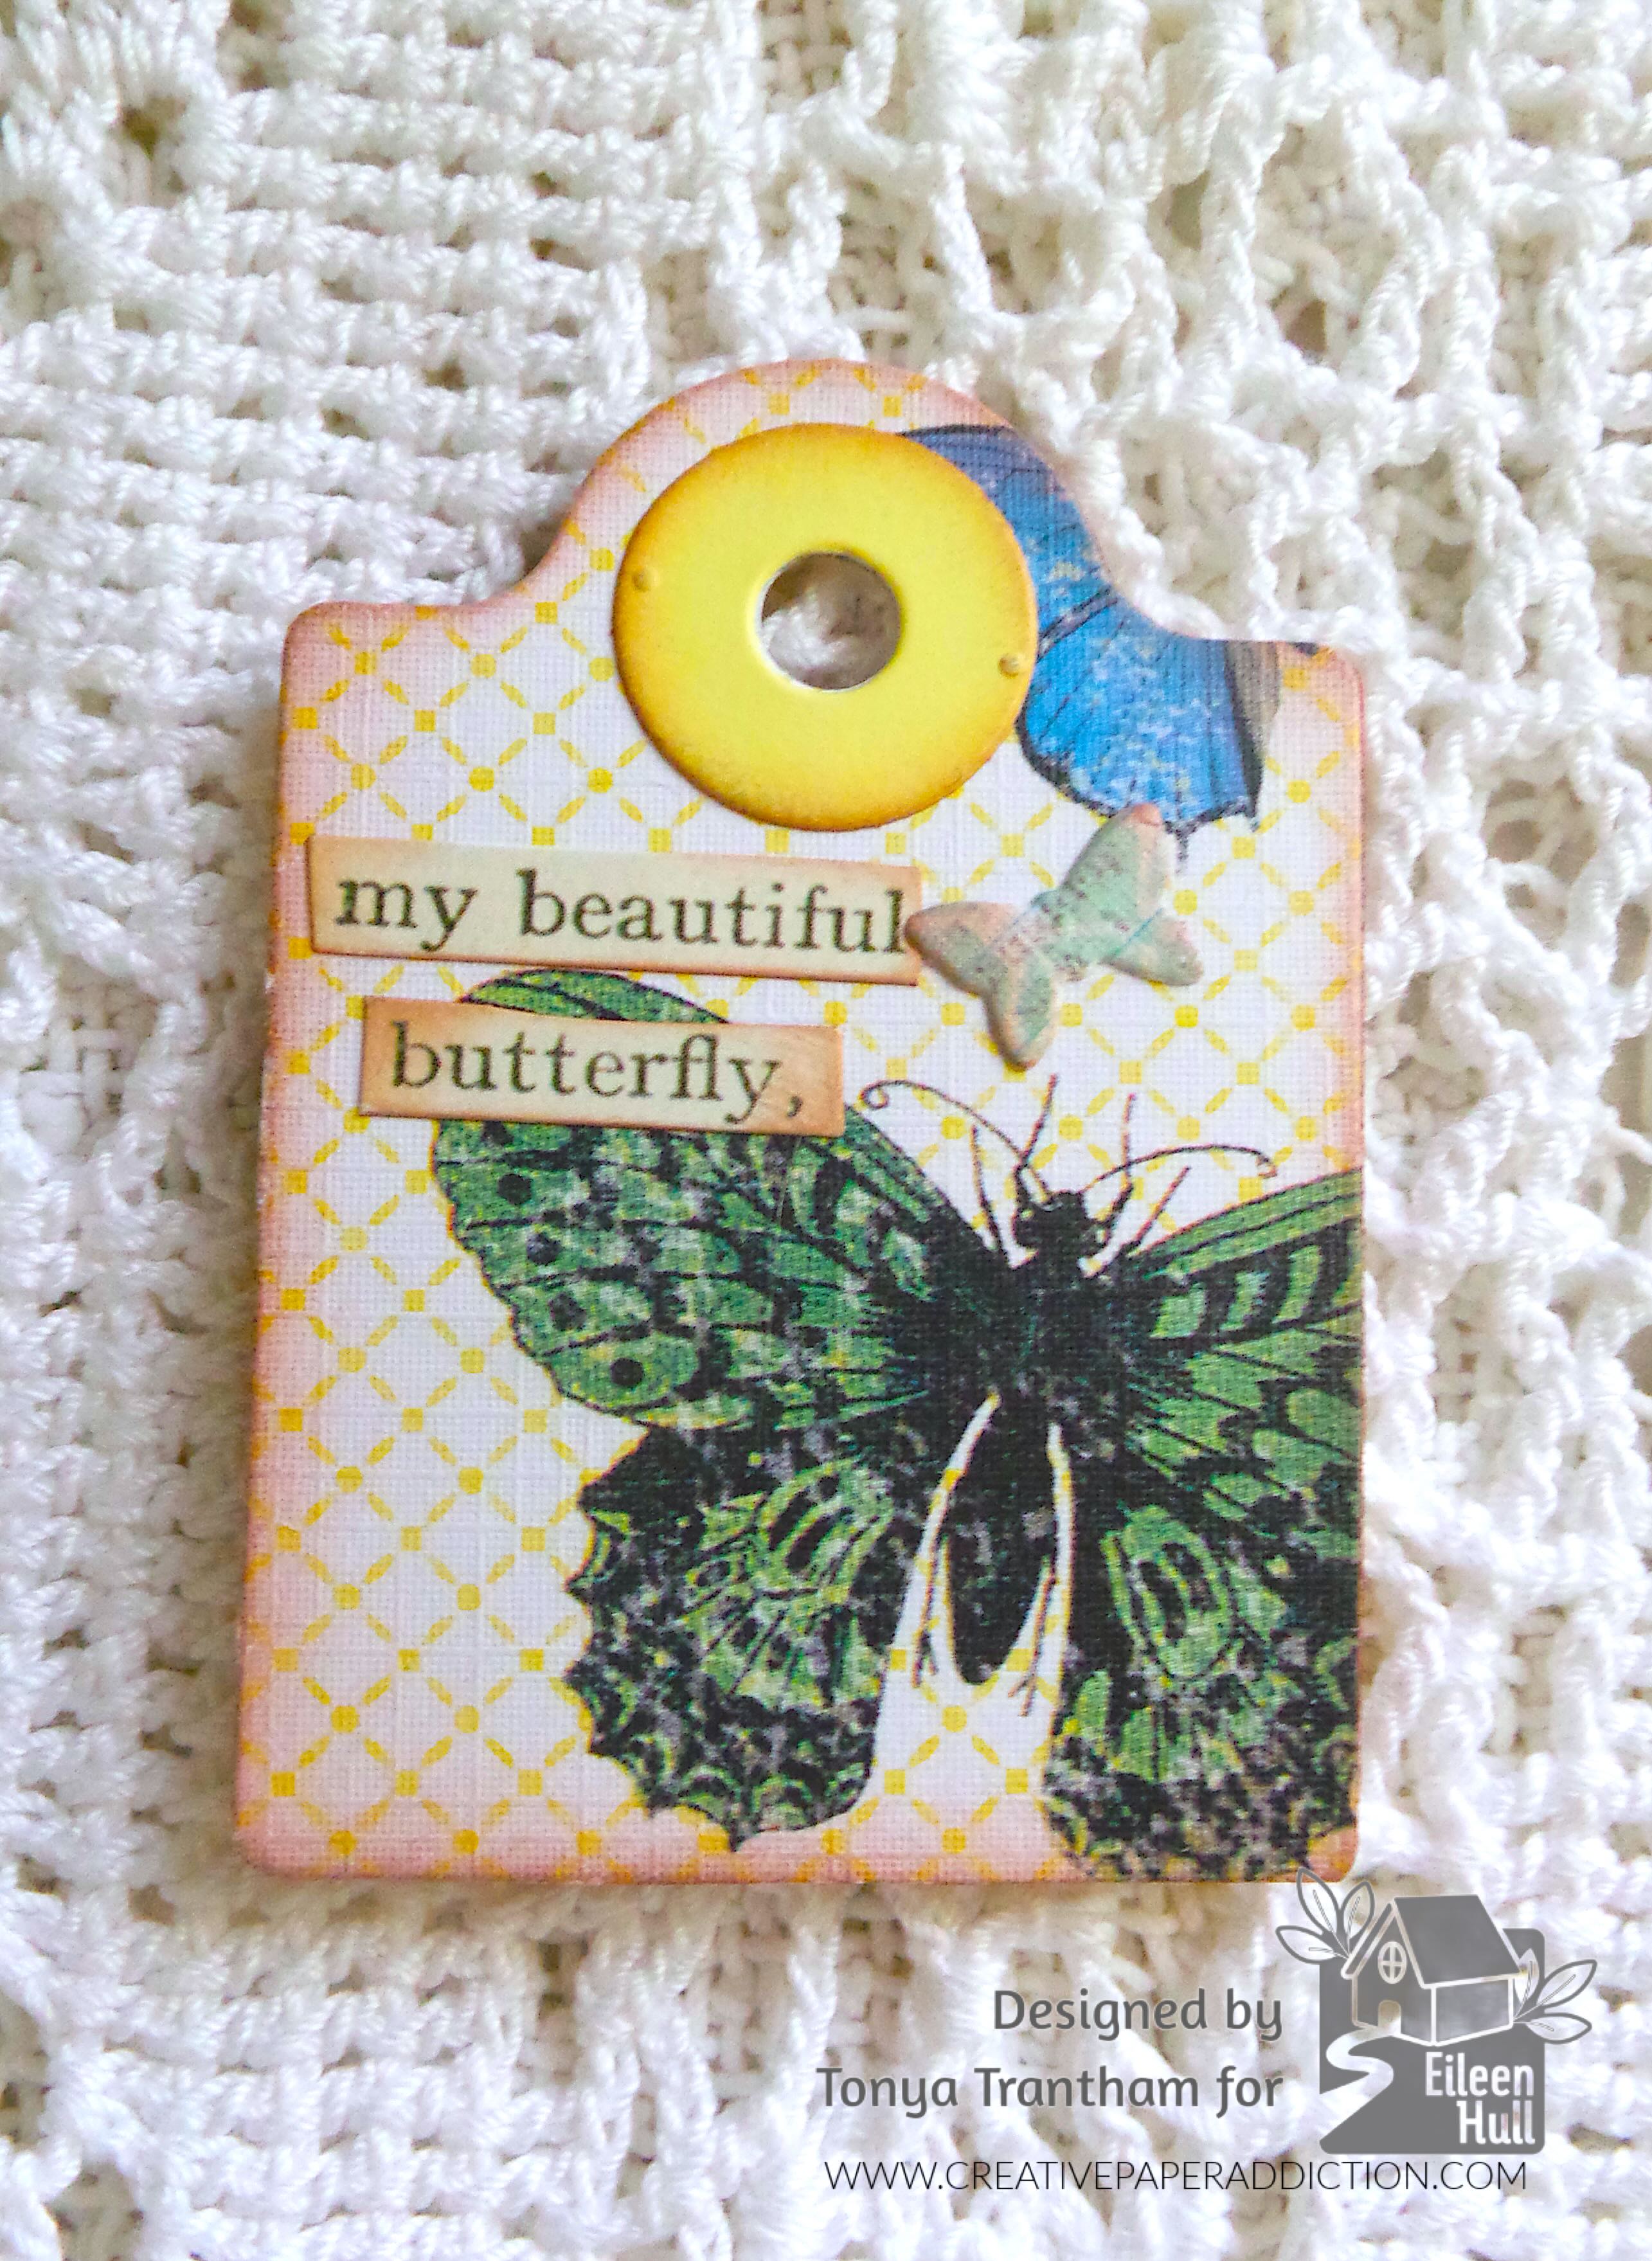
I used the smallest tag and backed two tags together since both were single sided cardstock. I cut one of the labels from the Bookmark, Pockets and Toppers Thinlits and inked the edges before gluing to the tag. I cut two butterflies in different types of cardstock from the same set of dies. I cut the antennas off of one of the butterflies and added a bead of glue to body/center. I placed on top of the other butterfly. The top butterfly I bent the wings slightly upwards. I added four Pearls to the center of the butterfly.
The back side of the tag was easy since I framed the butterflies on the cardstock before cutting out the tag. I cut a tiny butterfly from the Home Sweet Home Thinlits and added the “my beautiful butterfly” sentiment from the Clippings Cardstock Stickers to finish.
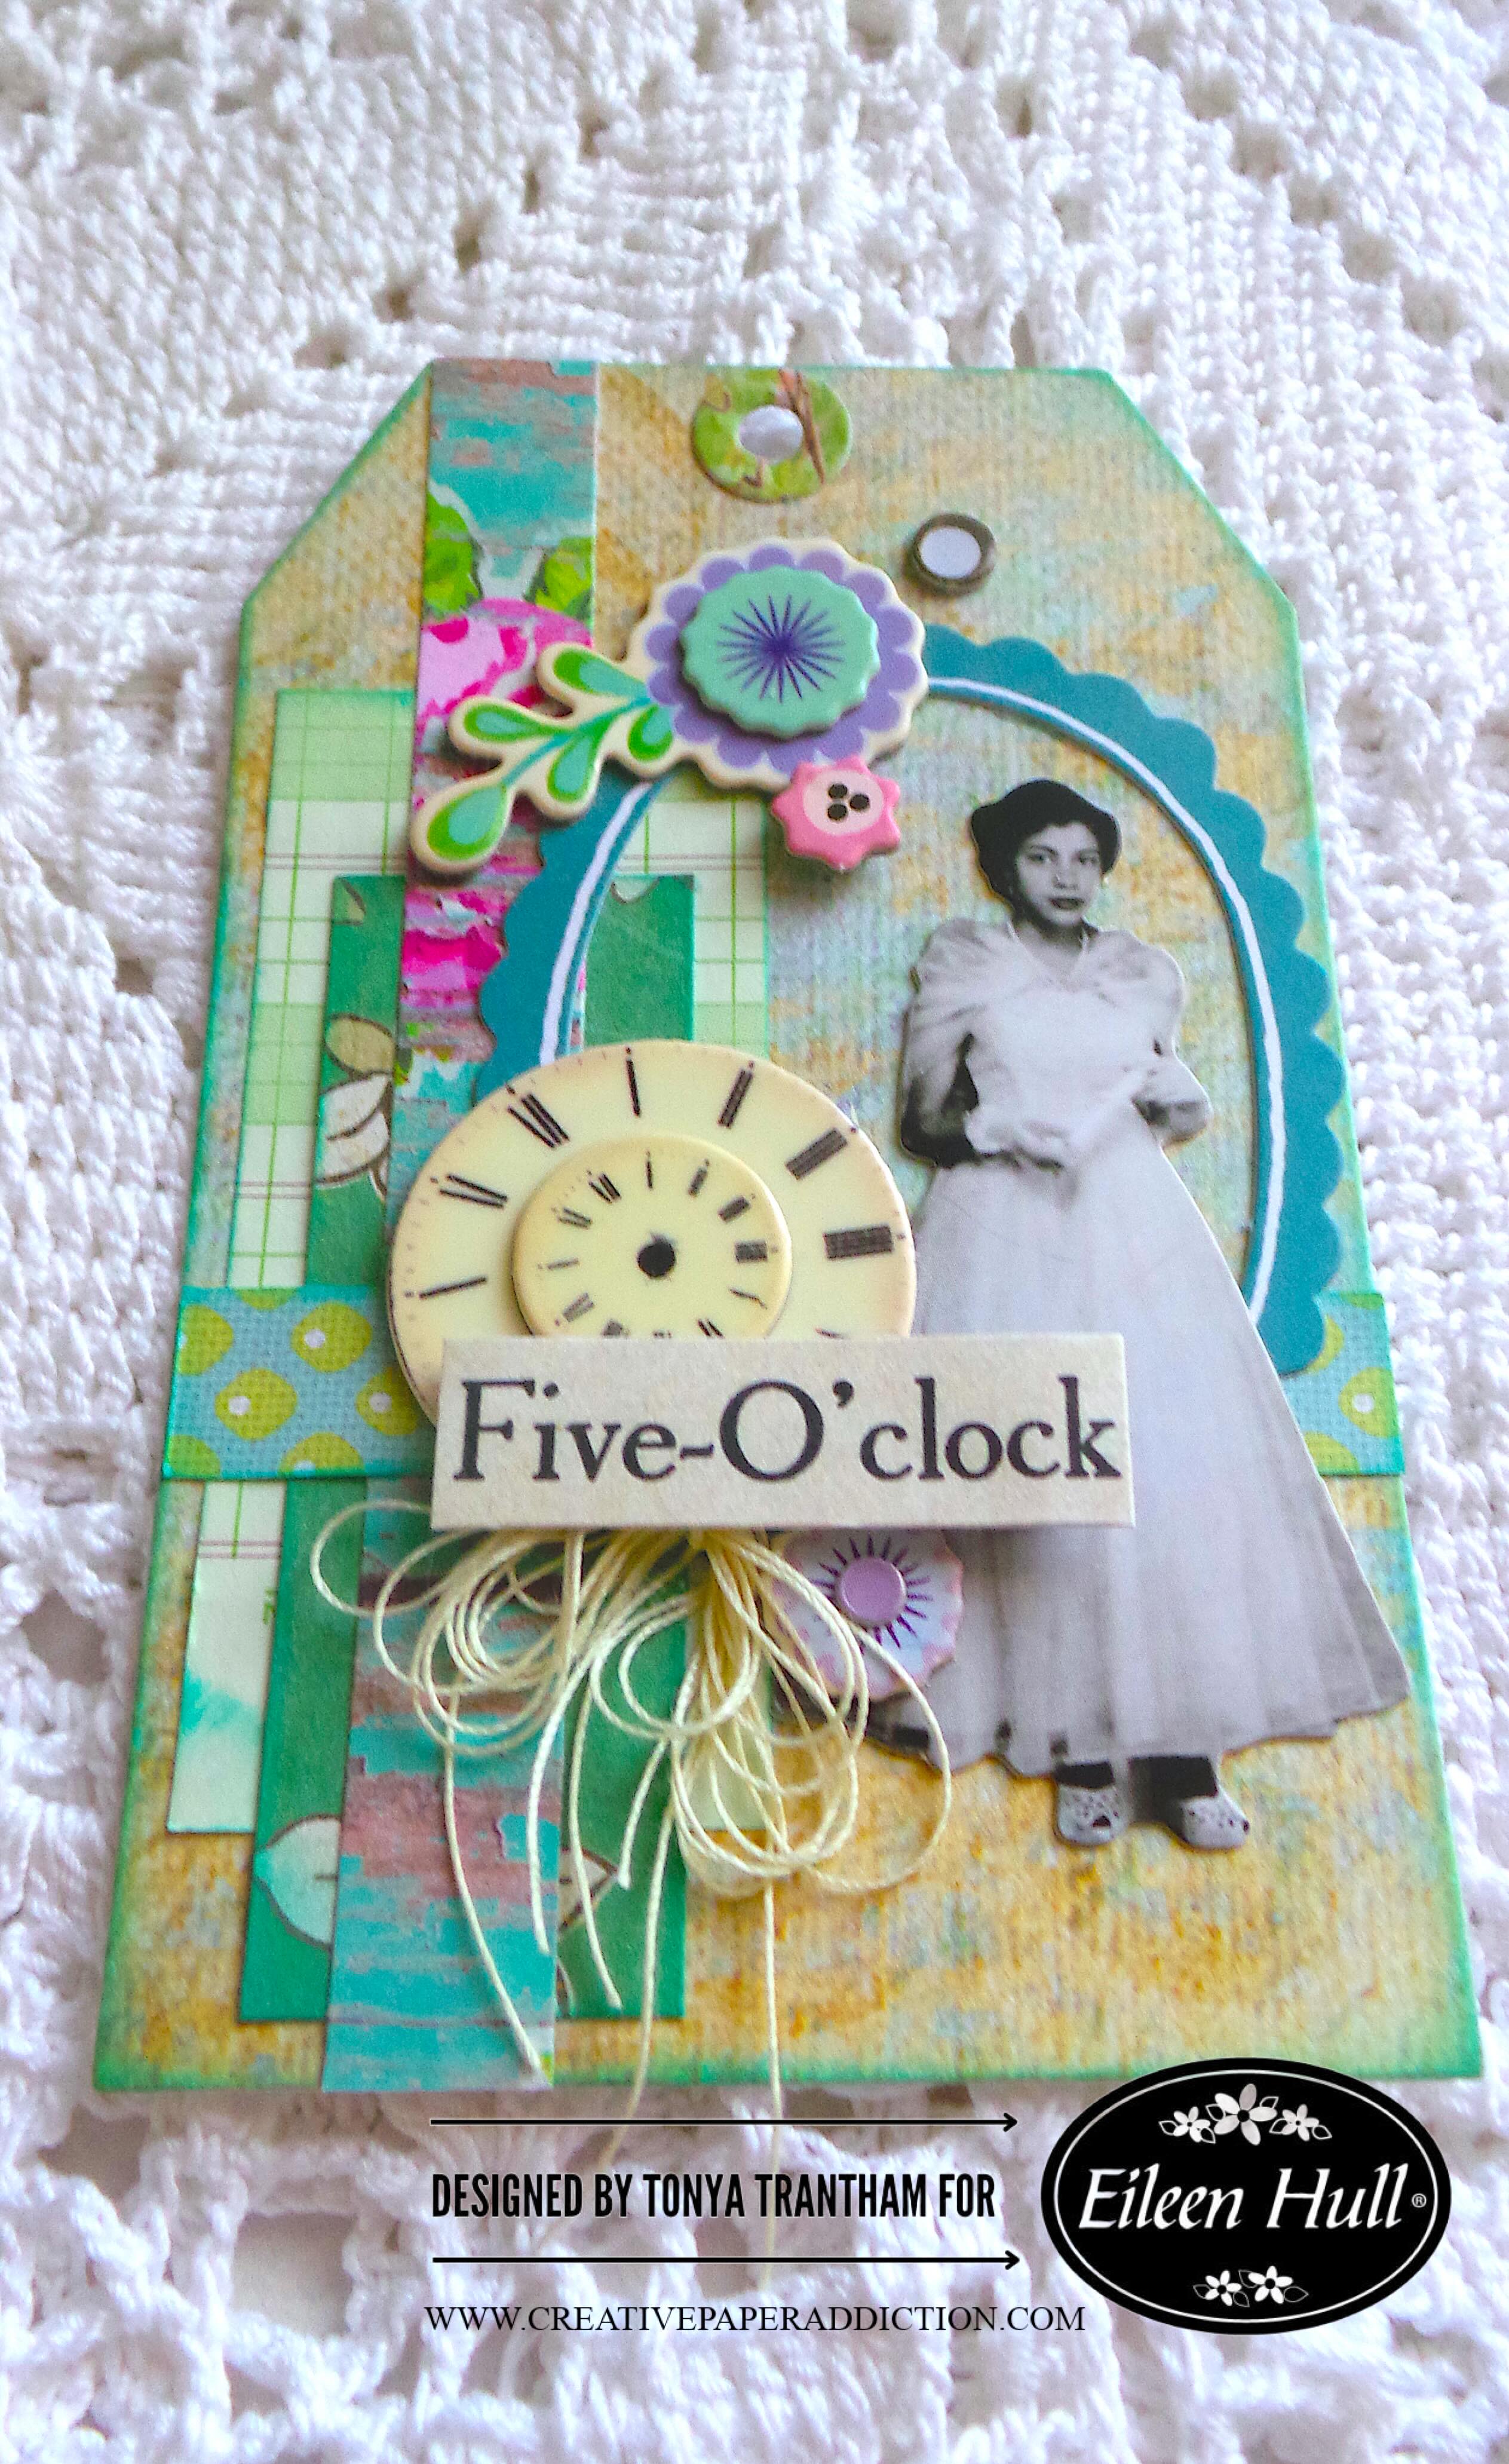
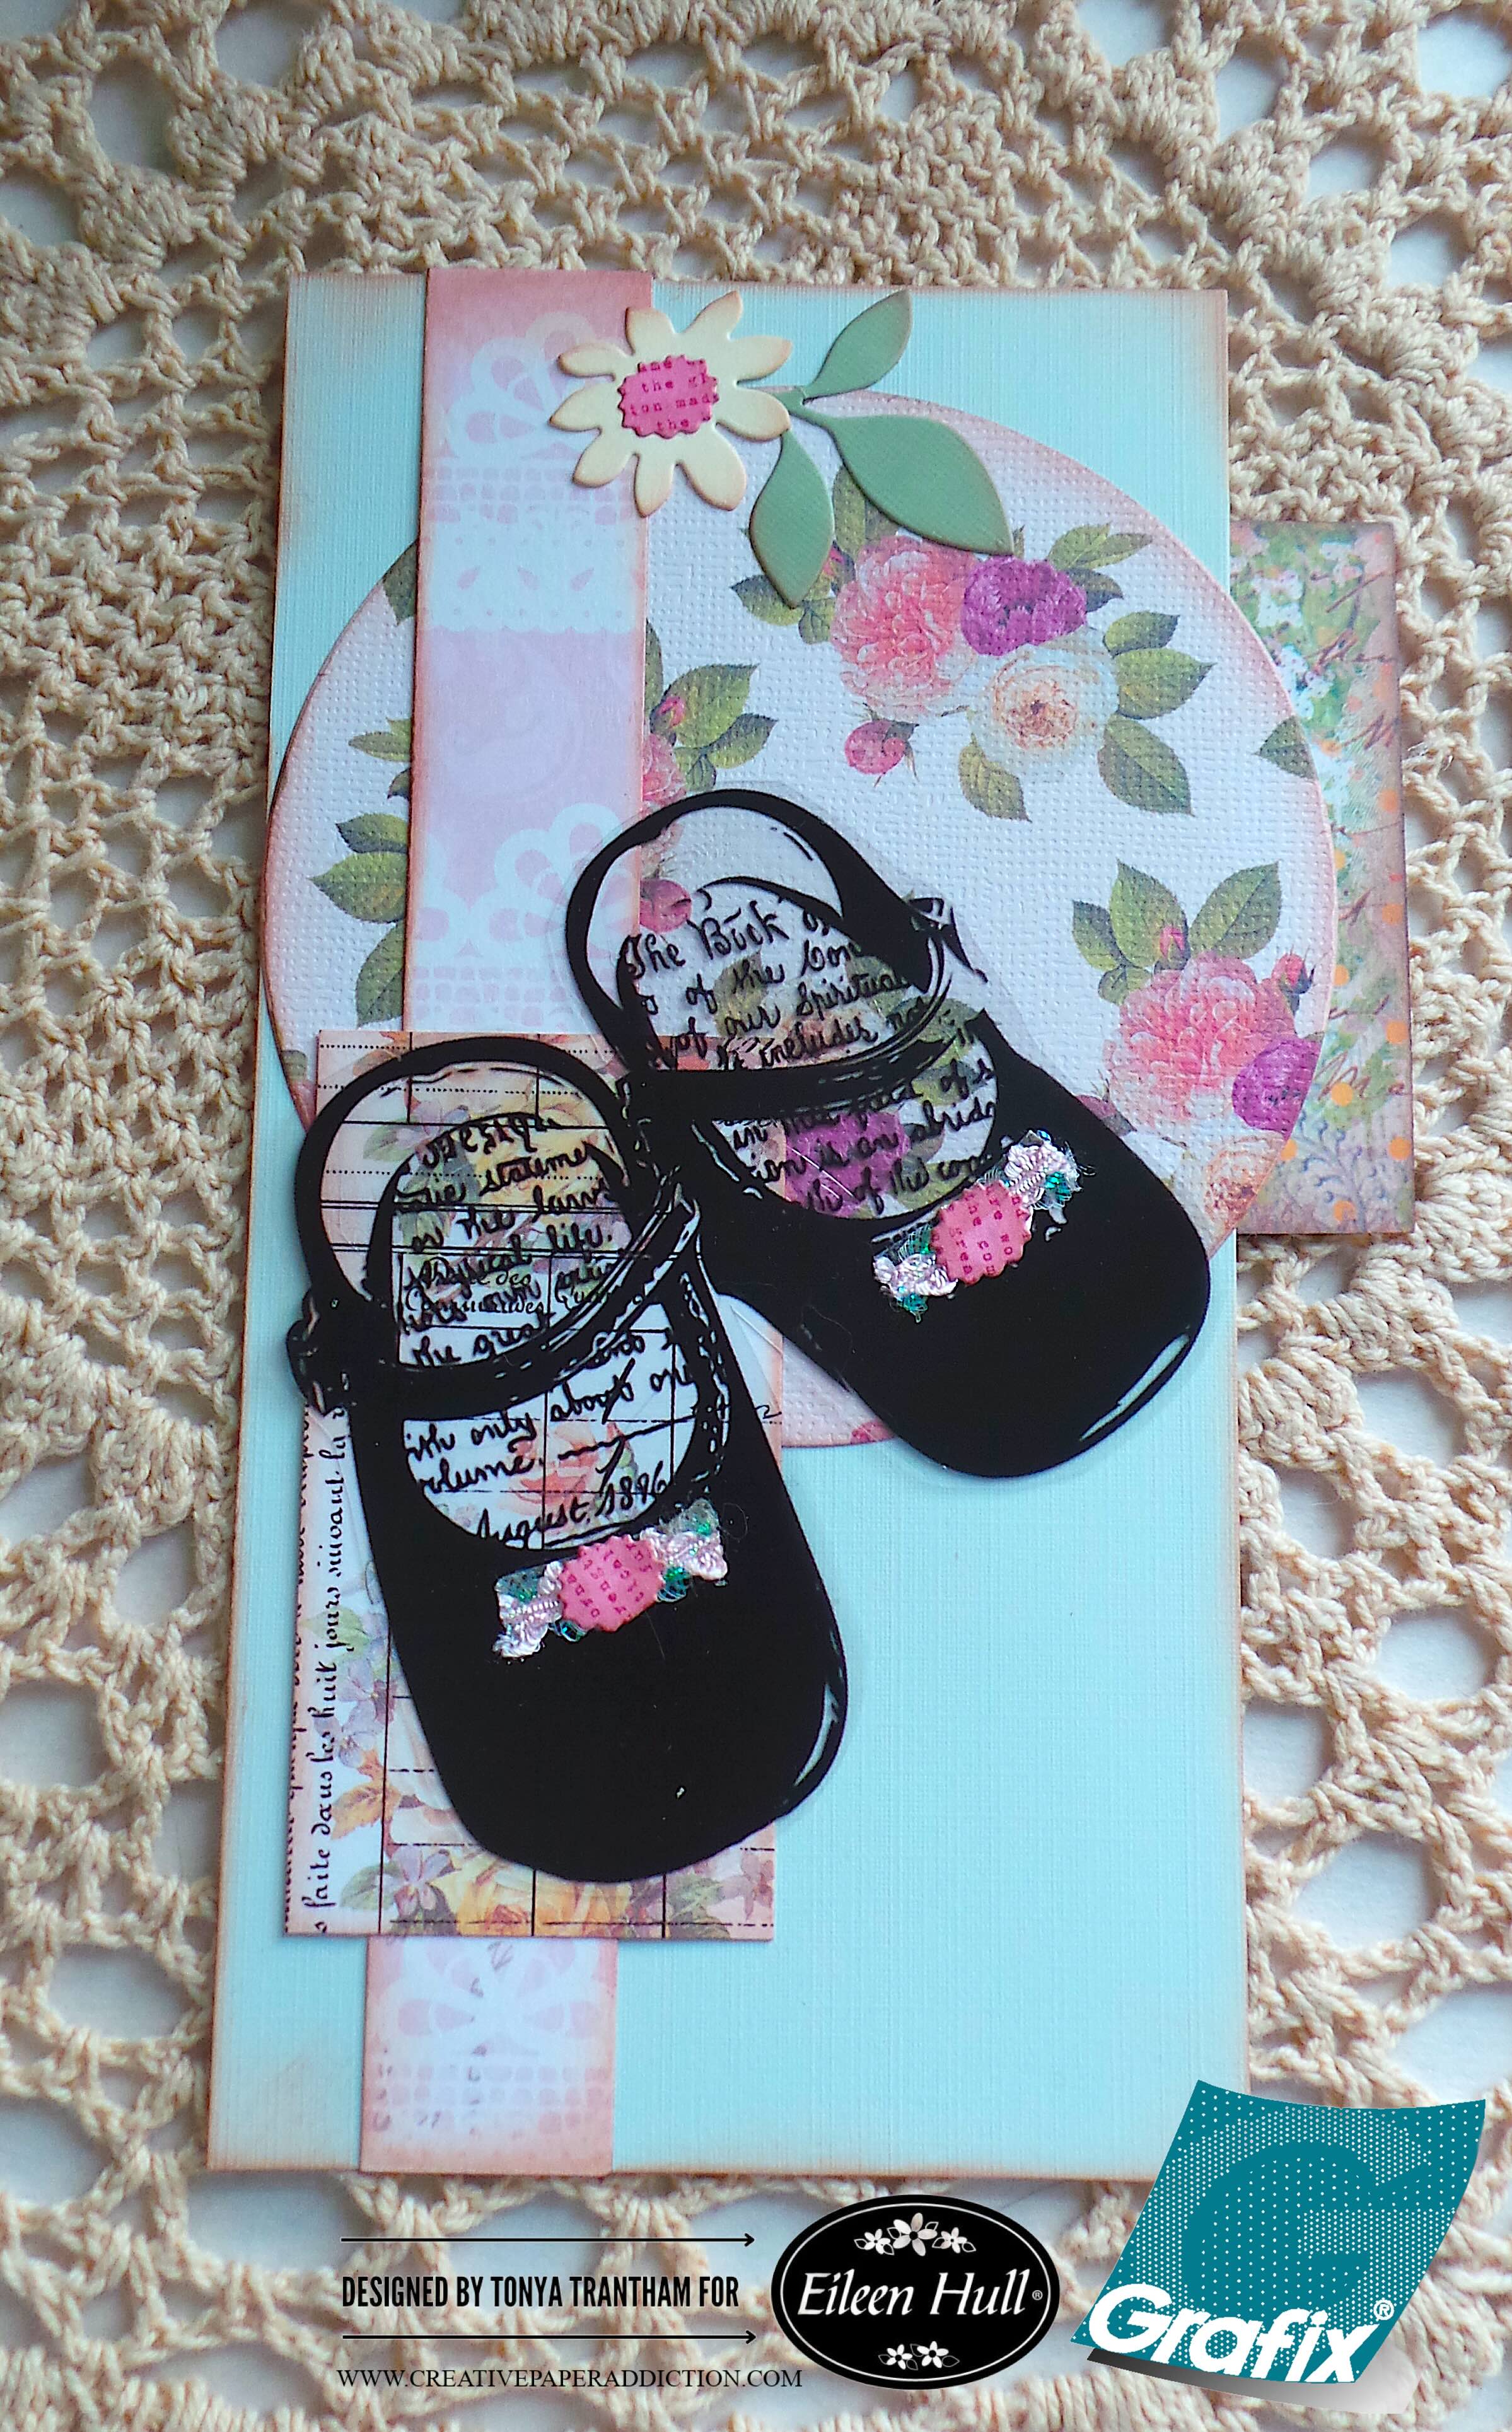
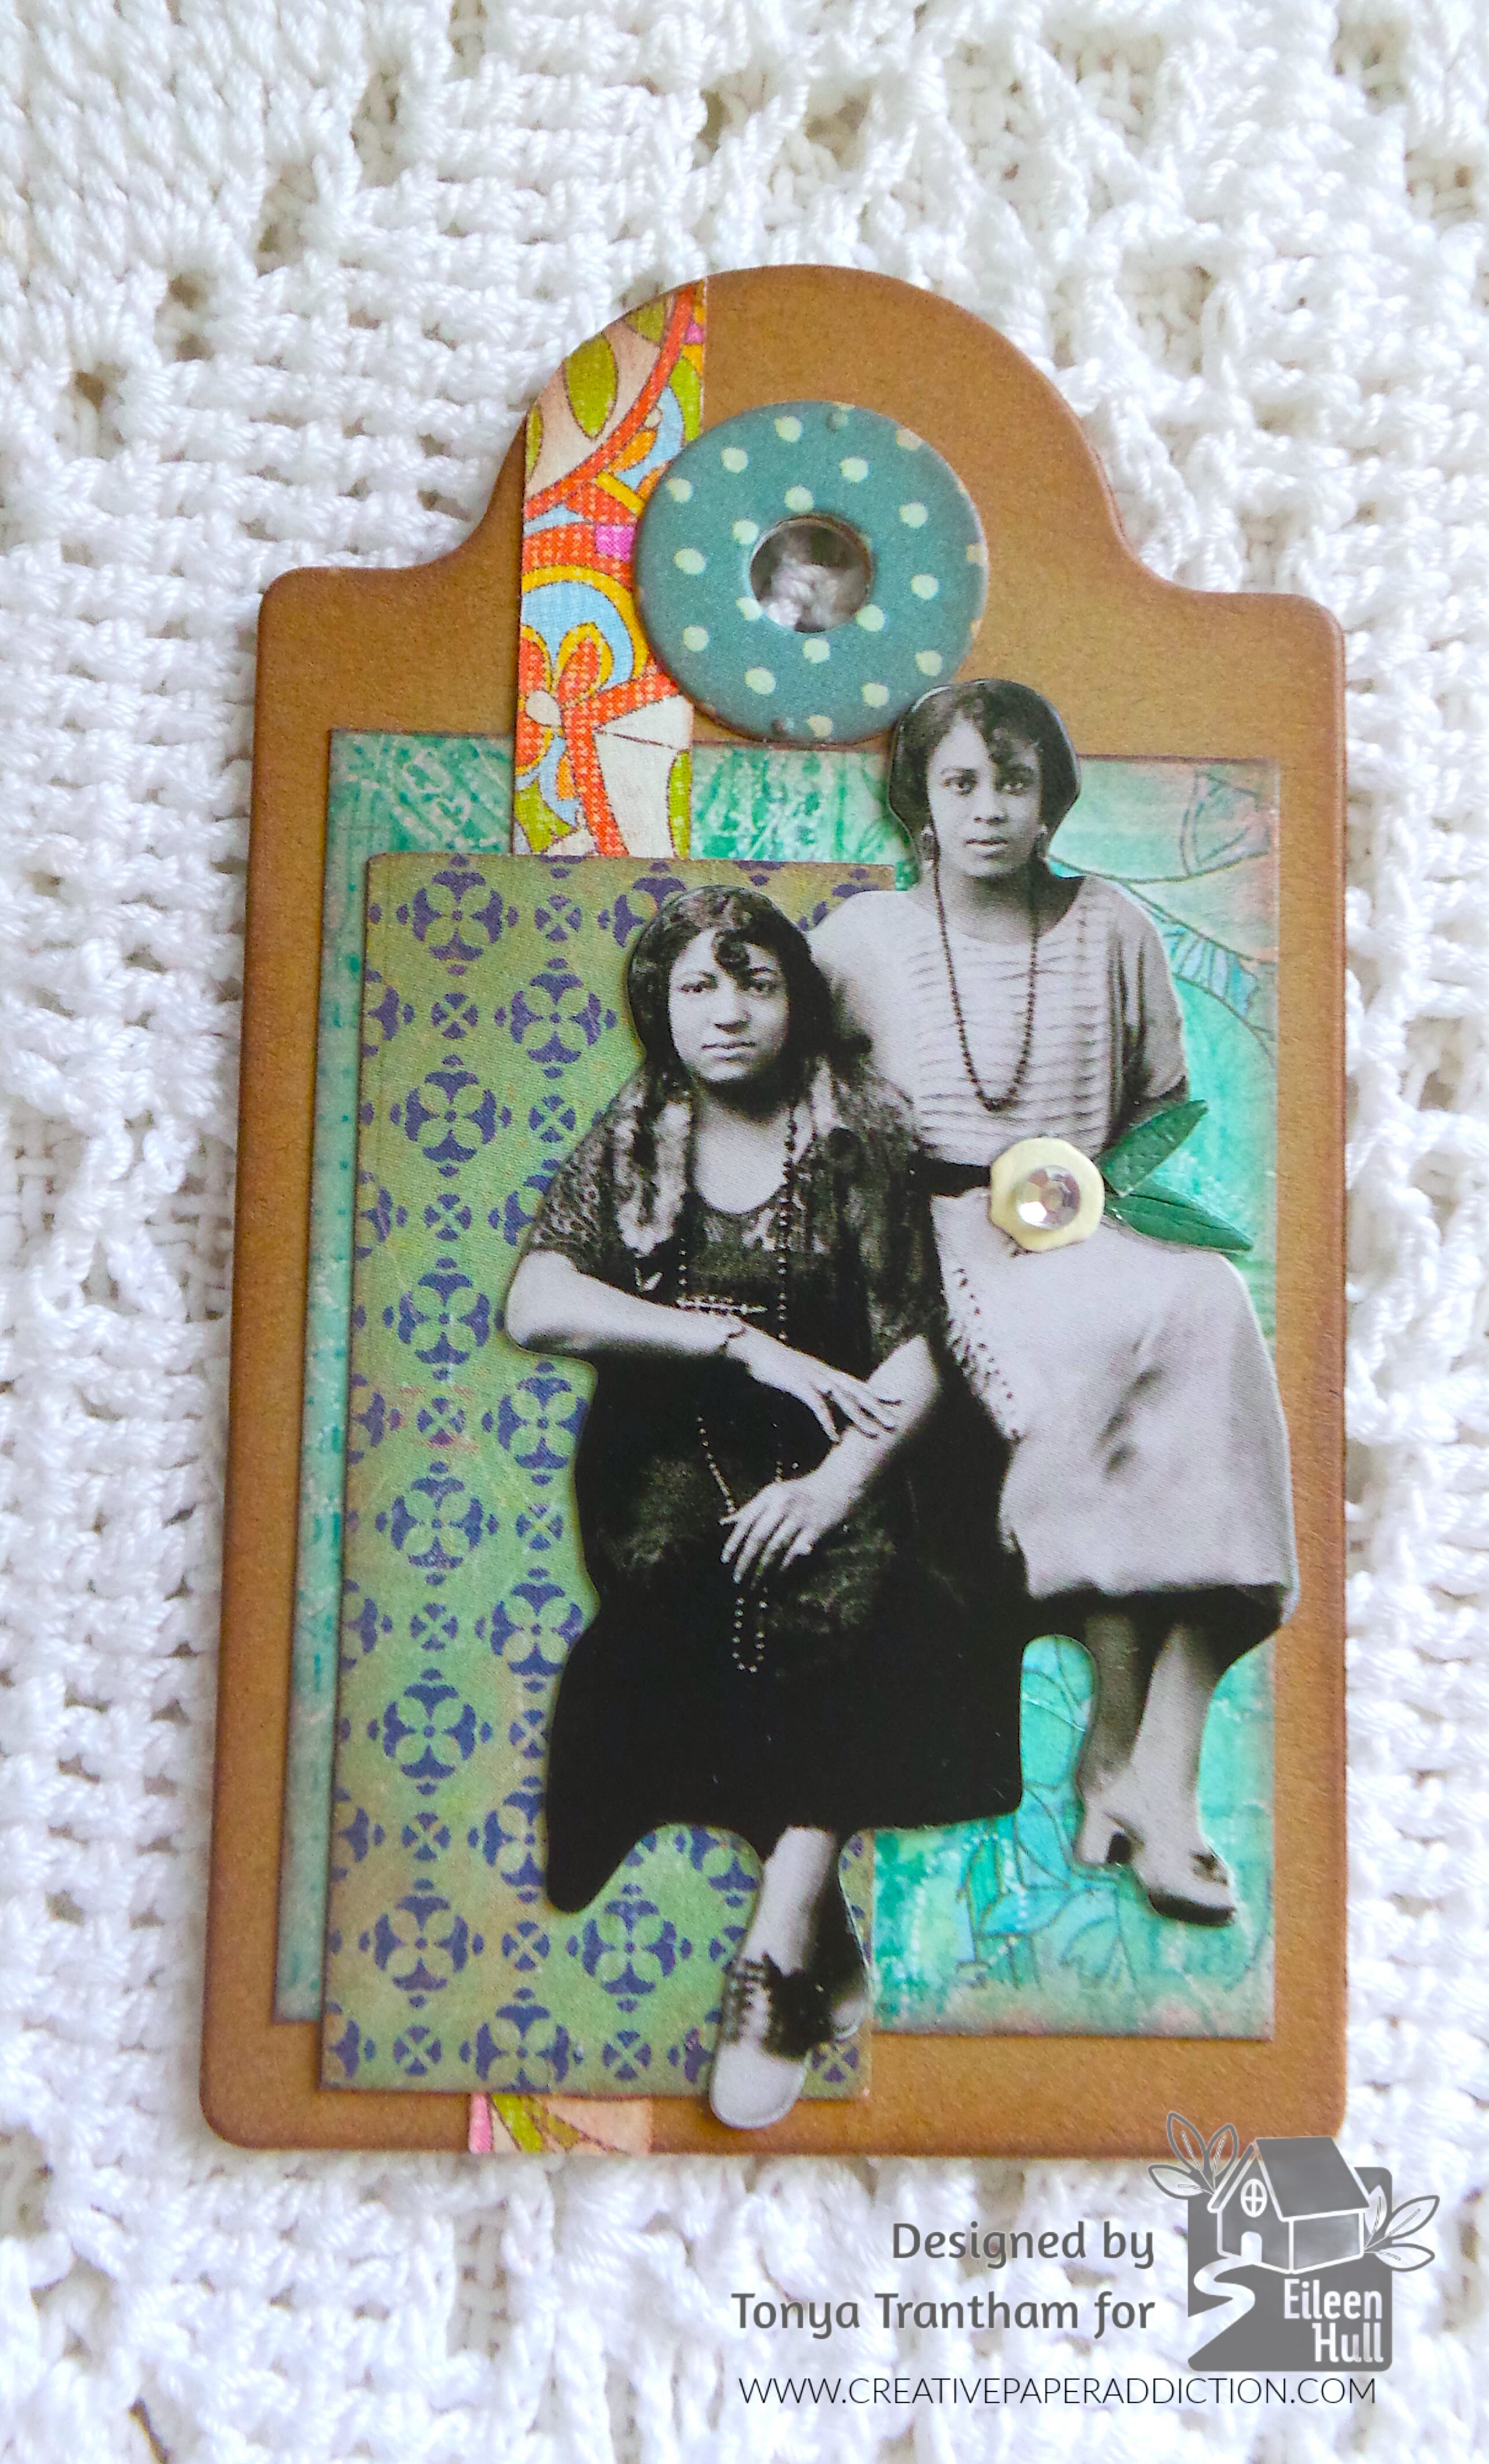
I used the larger tag and backed two tags together since one of the cardstocks was a single sided design. I adhered a patterned piece of cardstock to the center of the tag. I added two scraps of cardstock off center and glued a Mini Paper Doll to the tag. I glued a tiny flower and two tiny leaves, (I’m not sure which die sets these belong to) to the woman and added a Gem to the center of the flower.
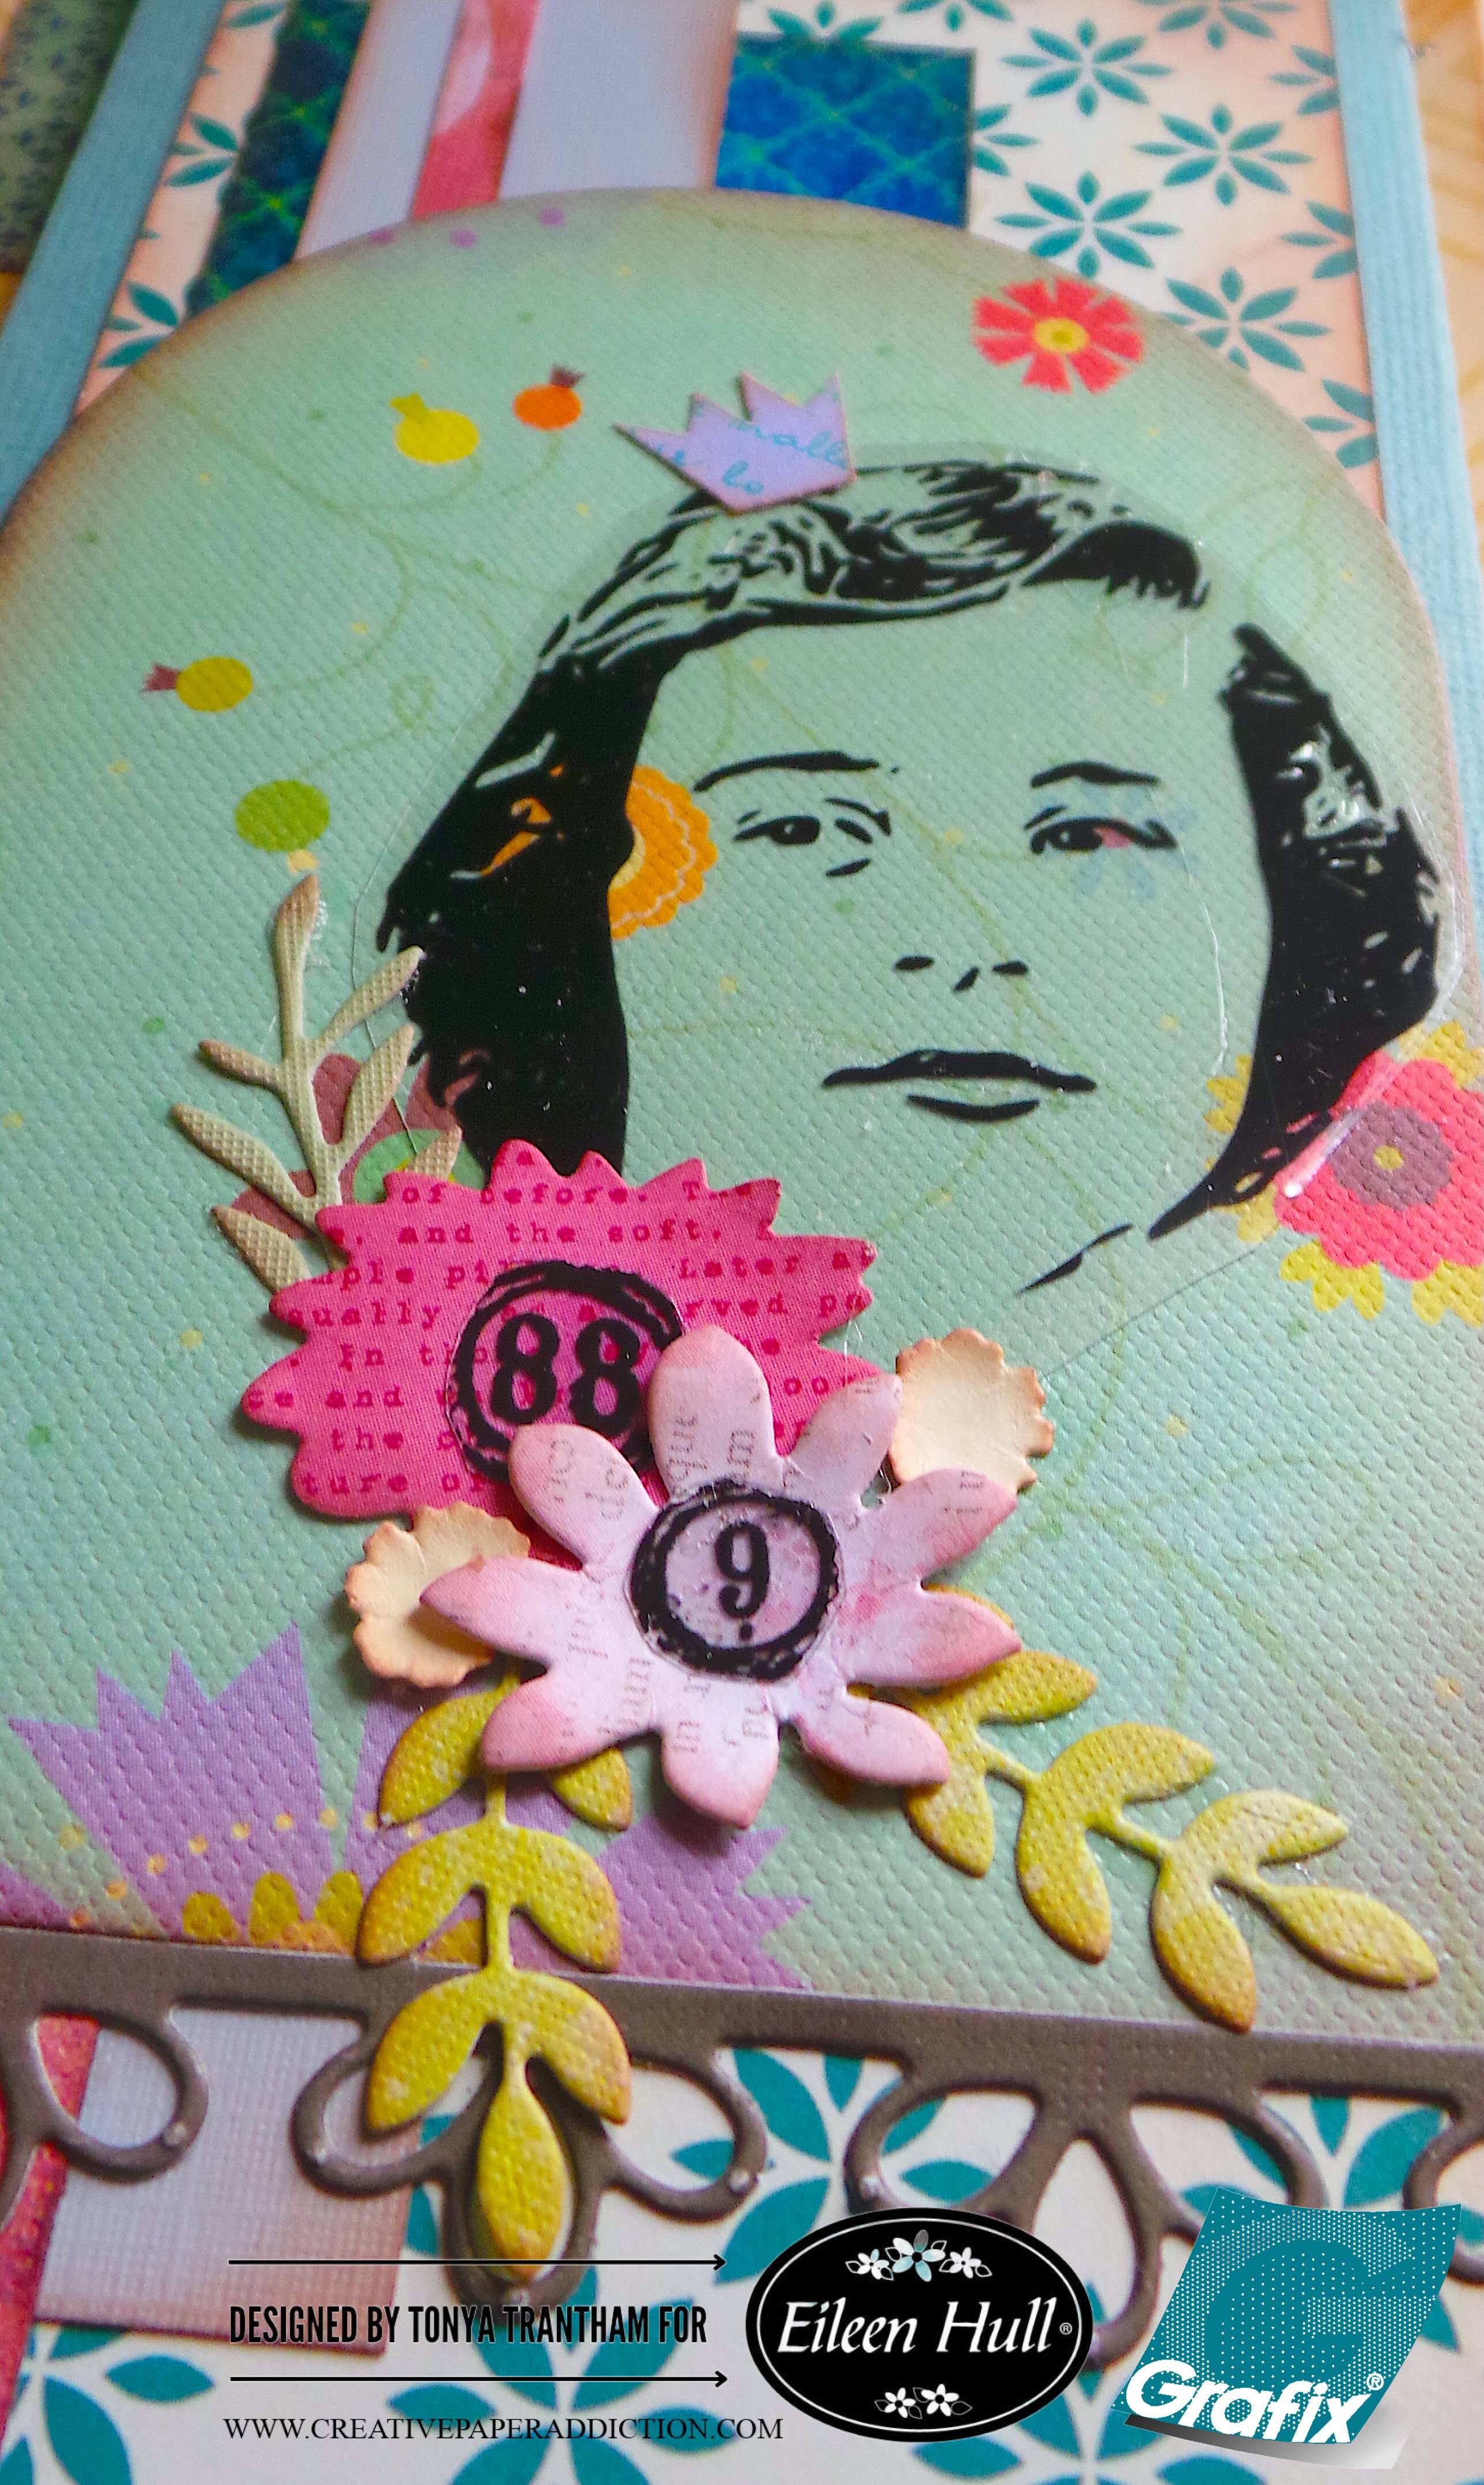
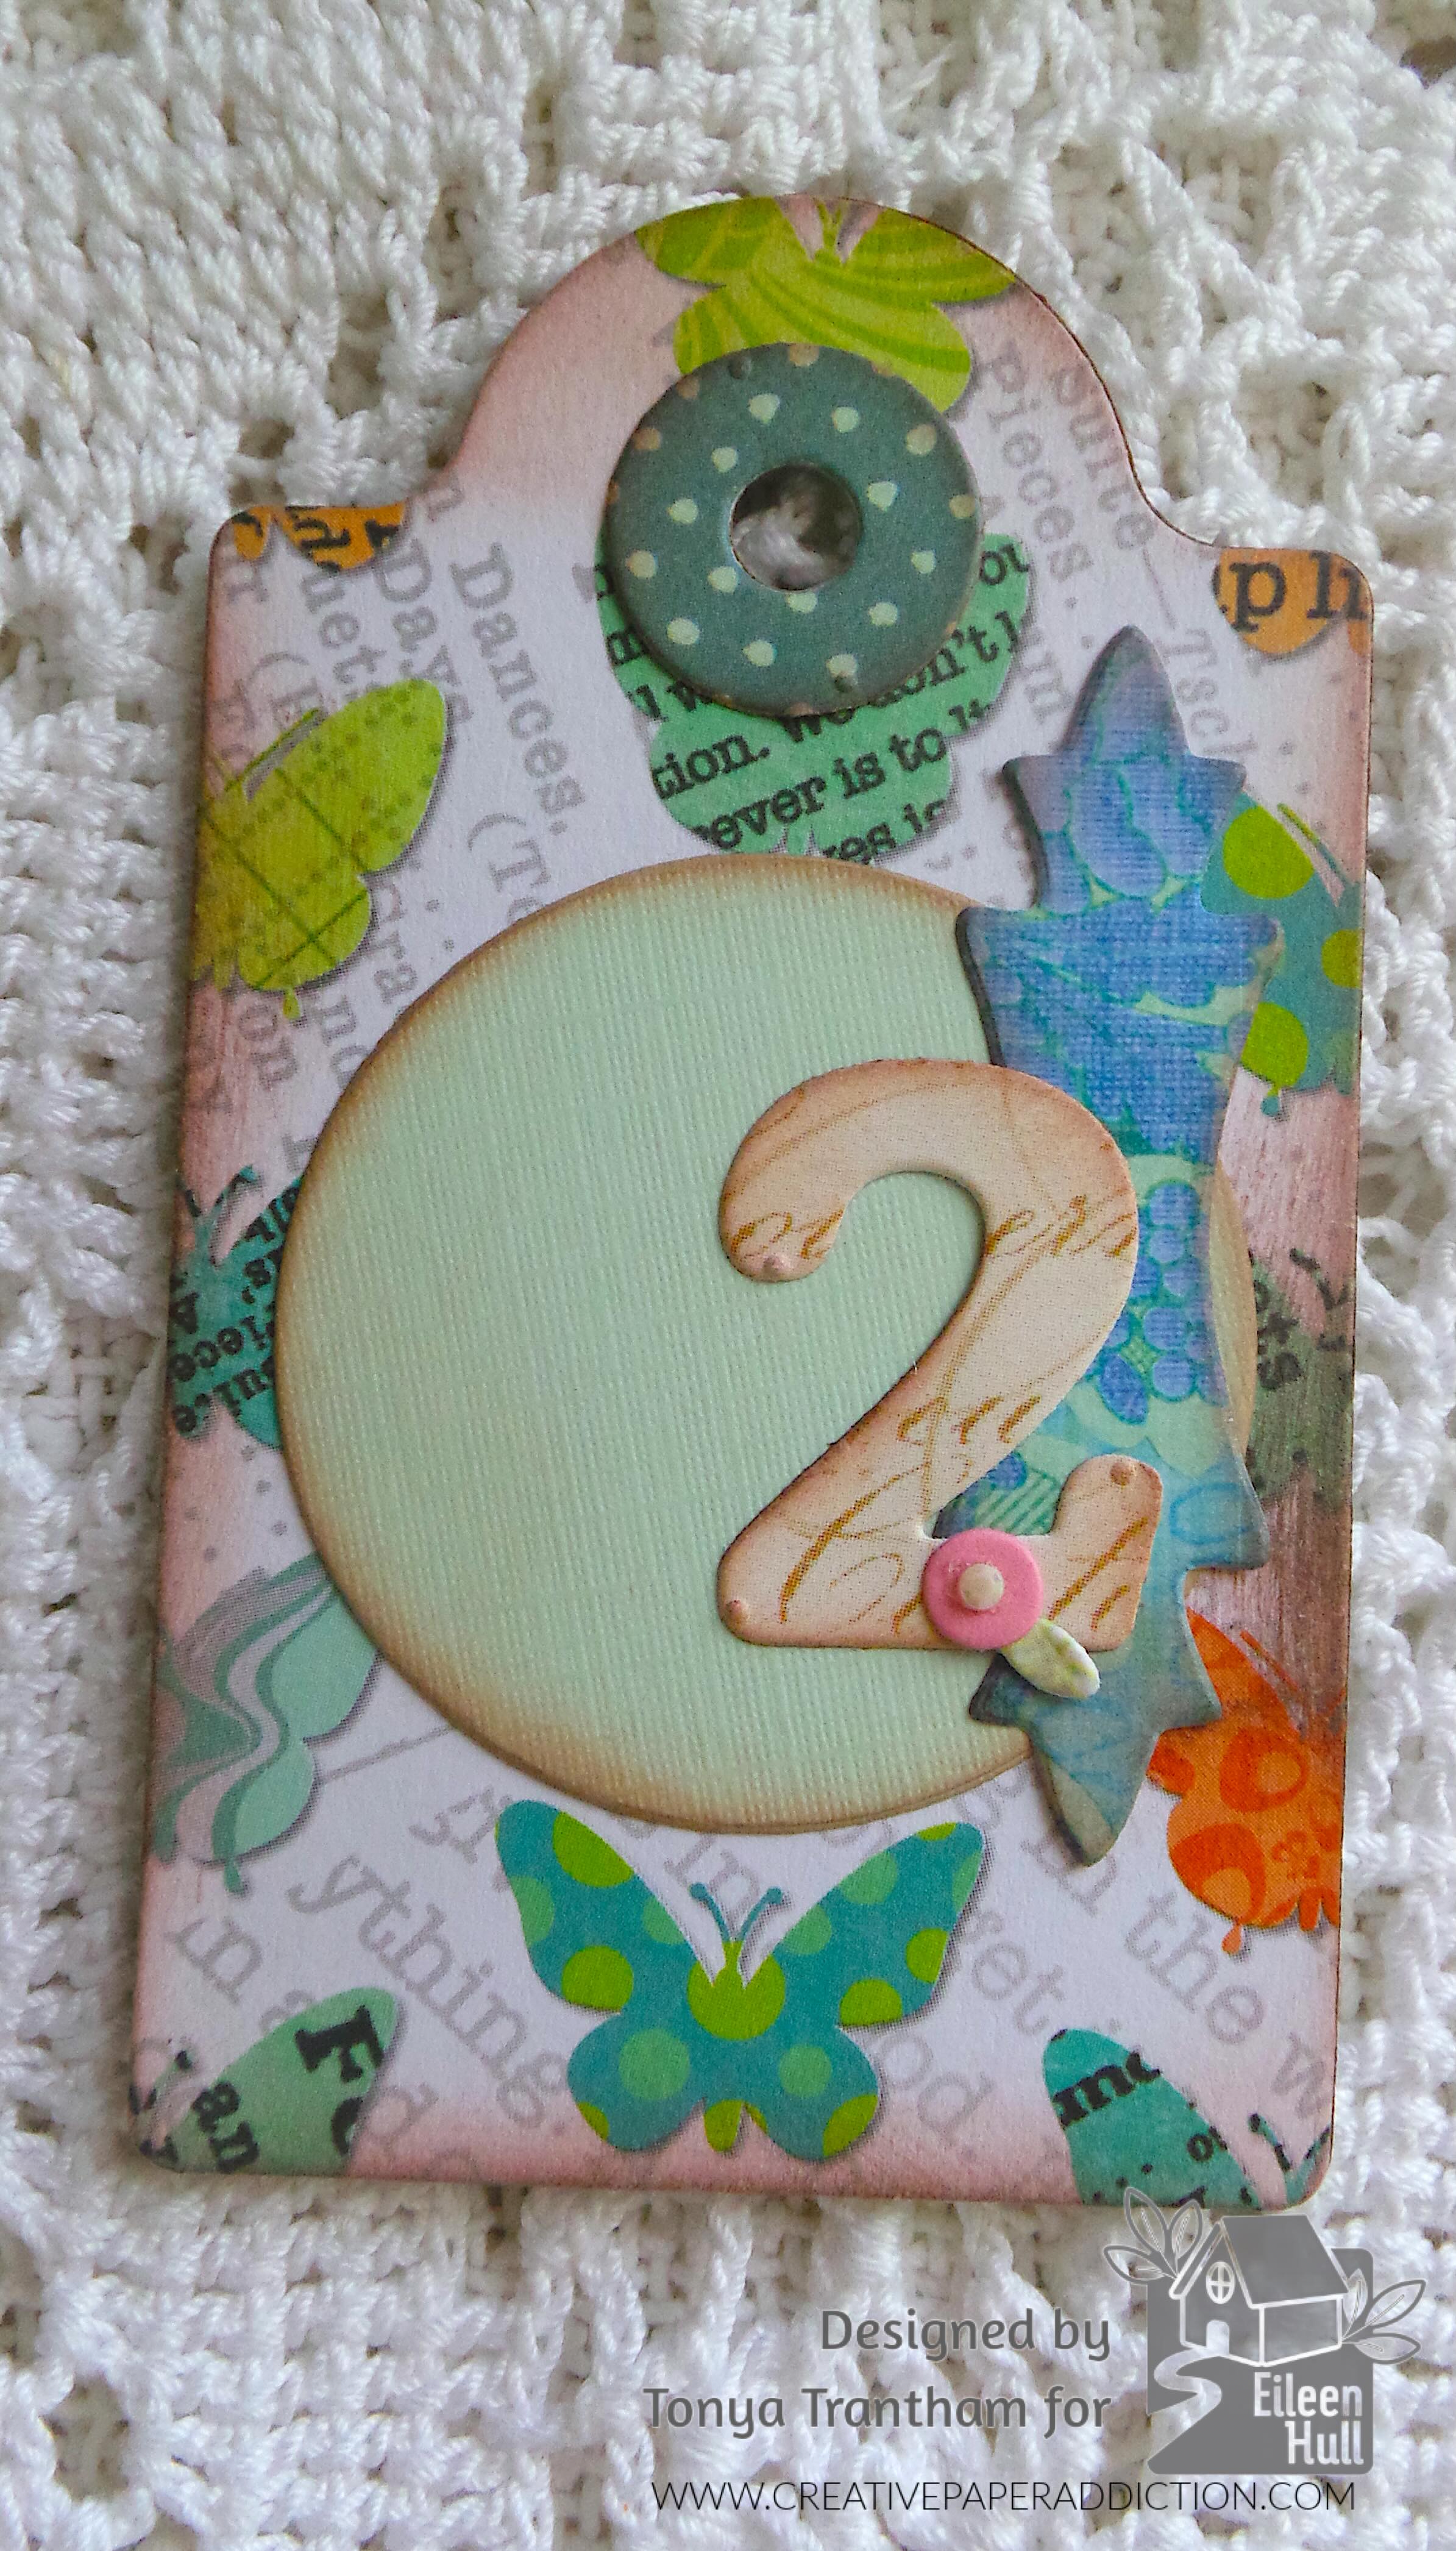
Since the back of the tag had a butterfly pattern I kept the embellishments to a minimum. I dug into my stash and added a circle and label die to the tag. I cut out a number 2 from the Nora Alphabet Thinlits. I added a pink sequin, gem and tiny leaf to the 2.
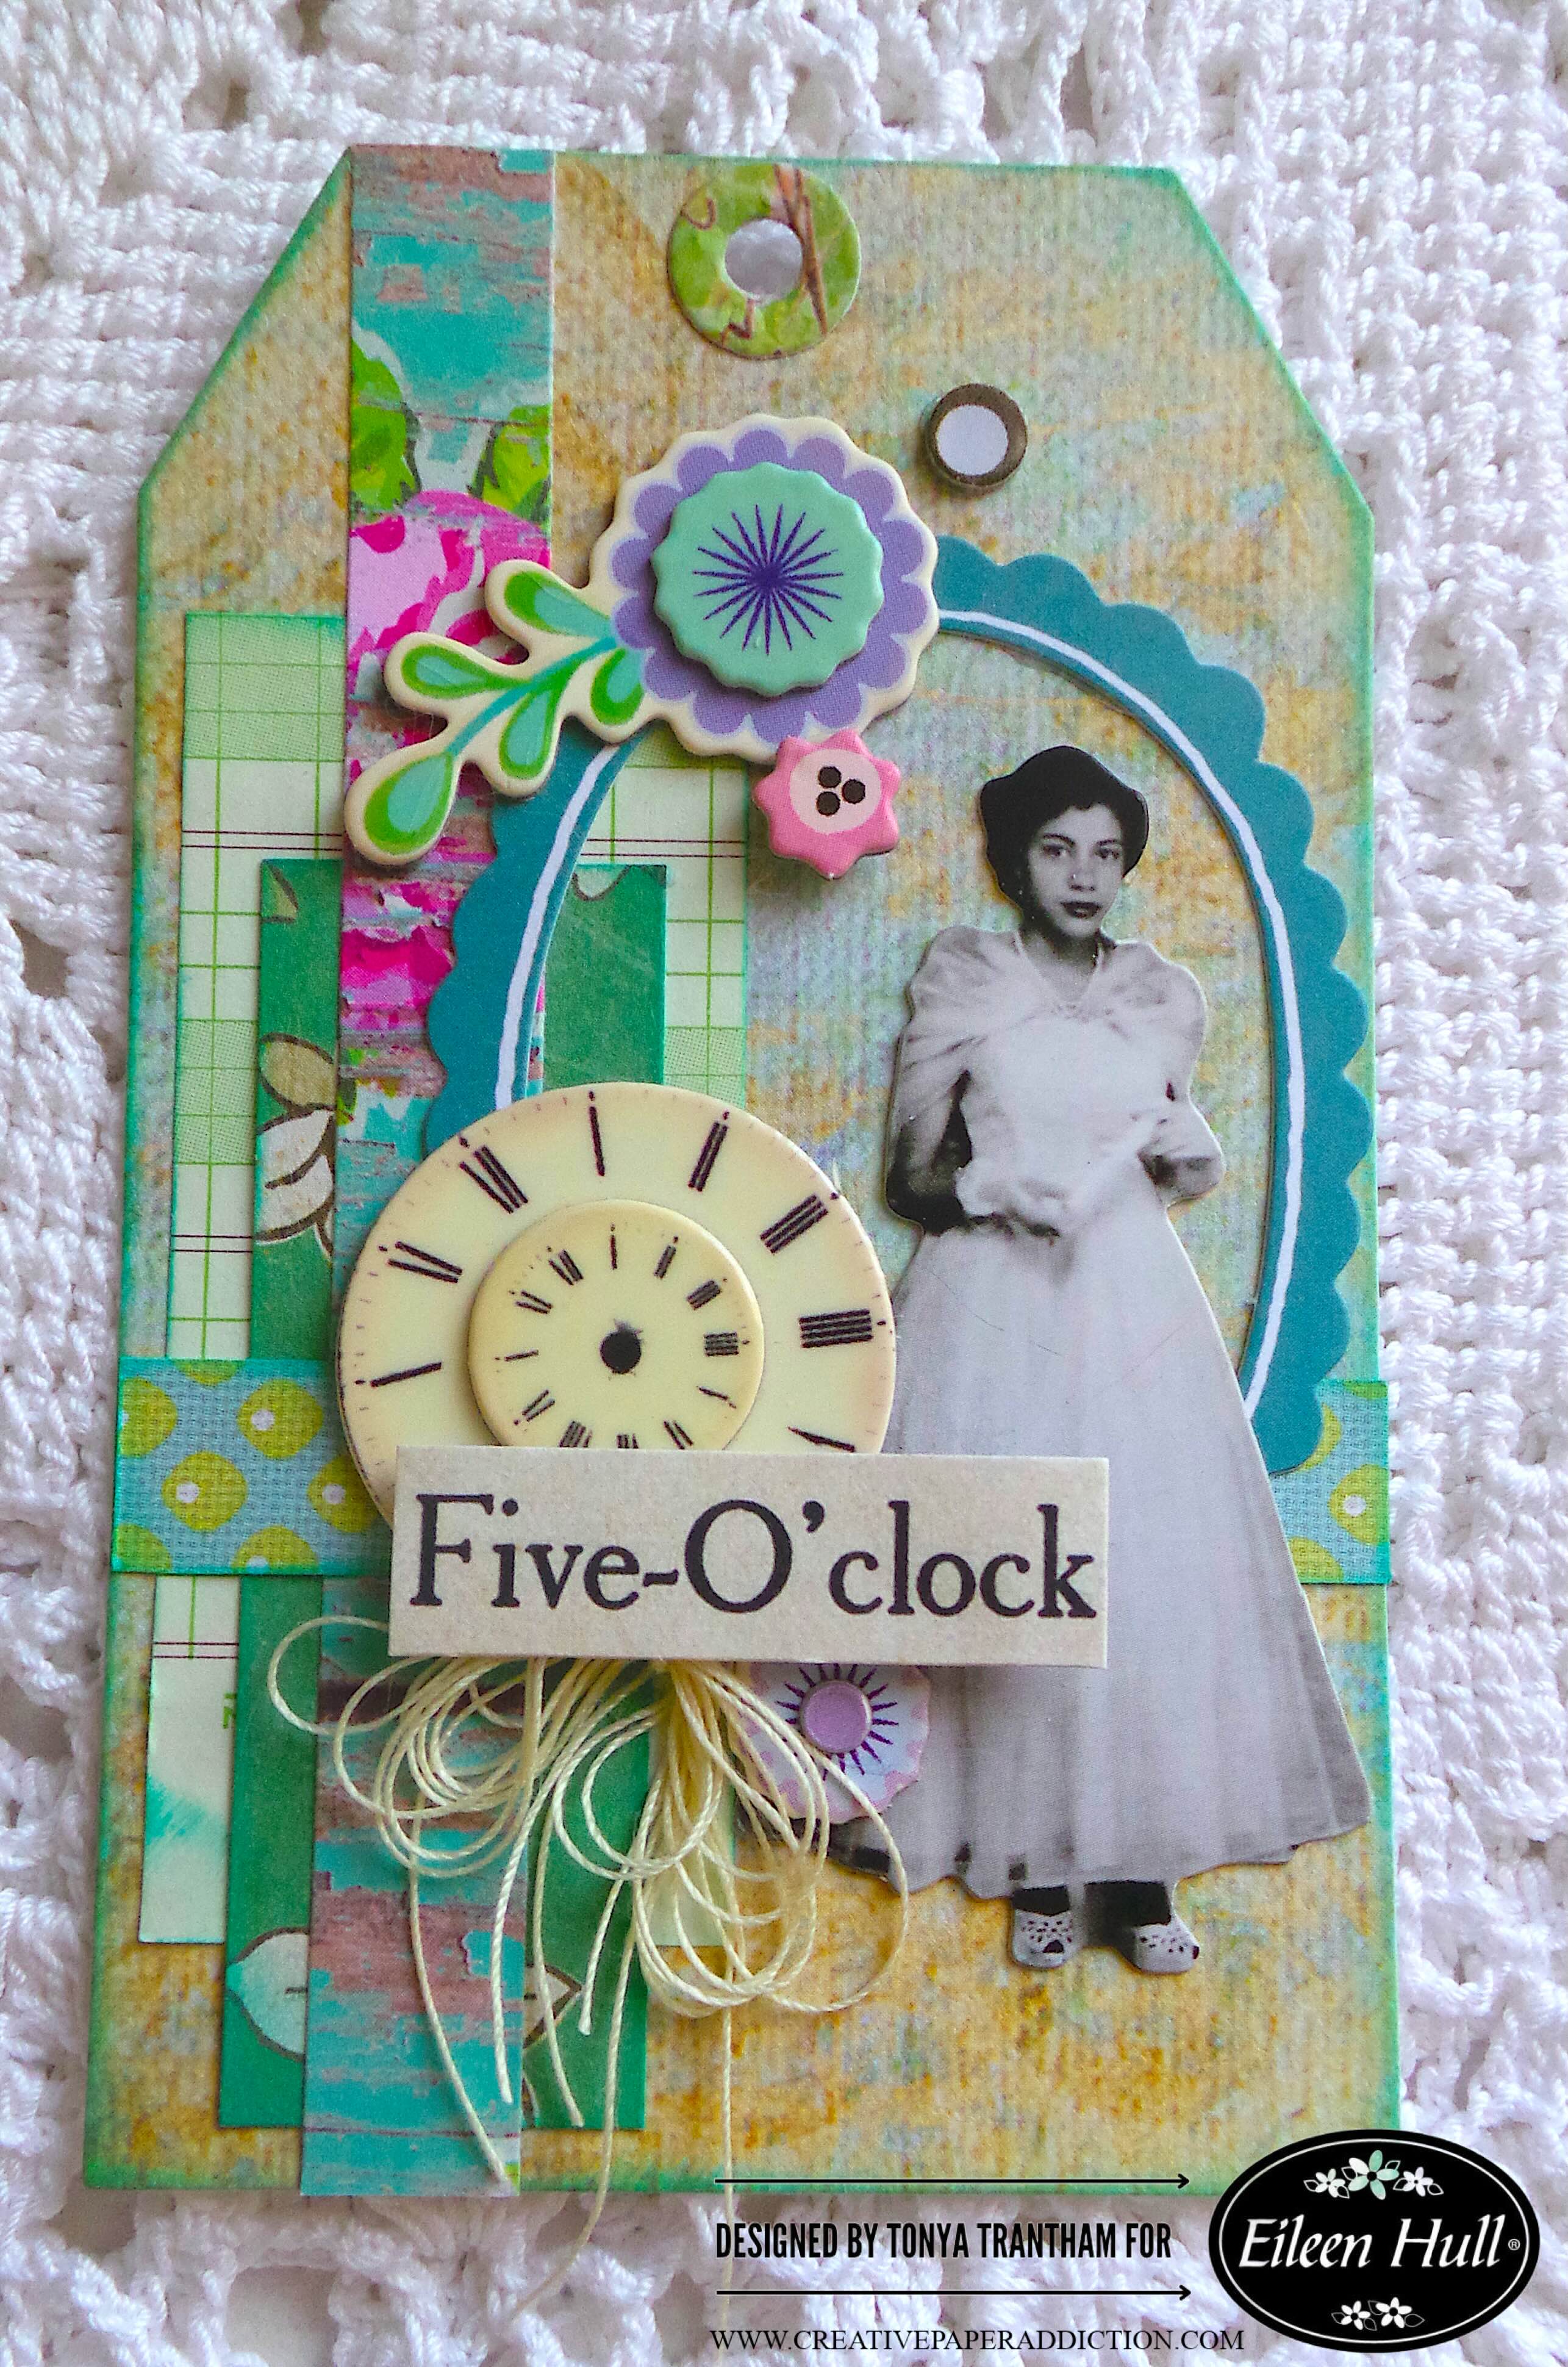
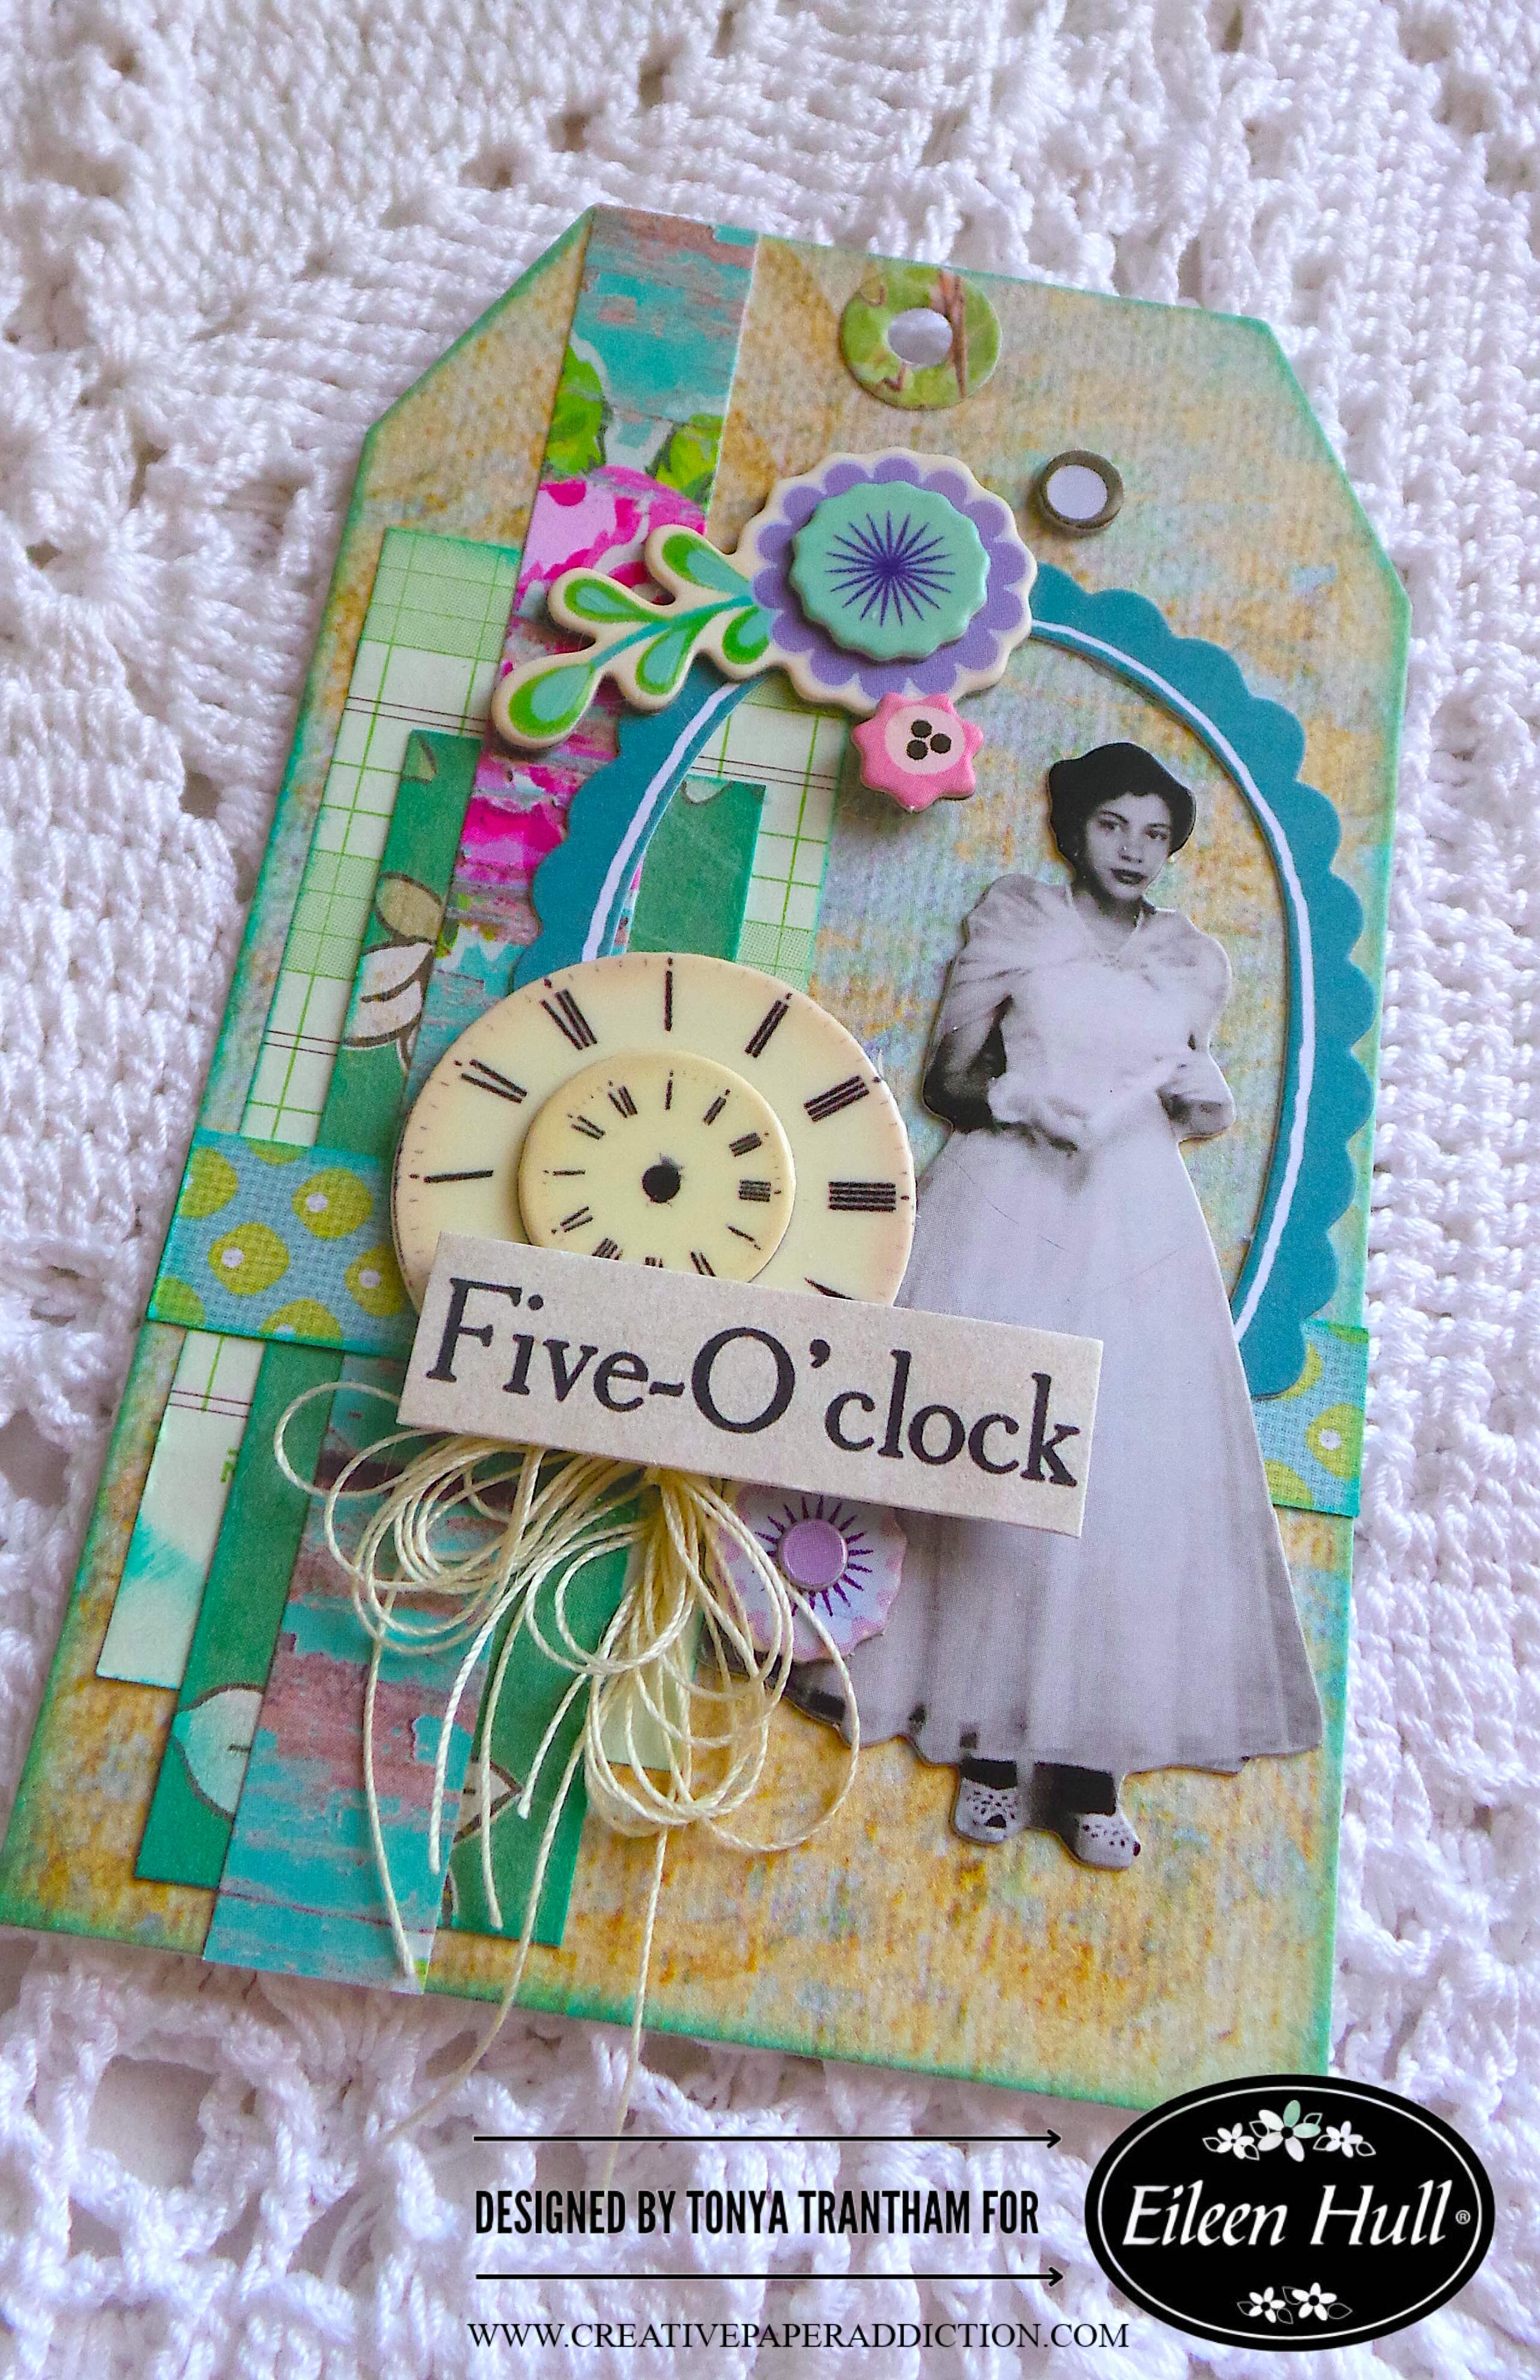
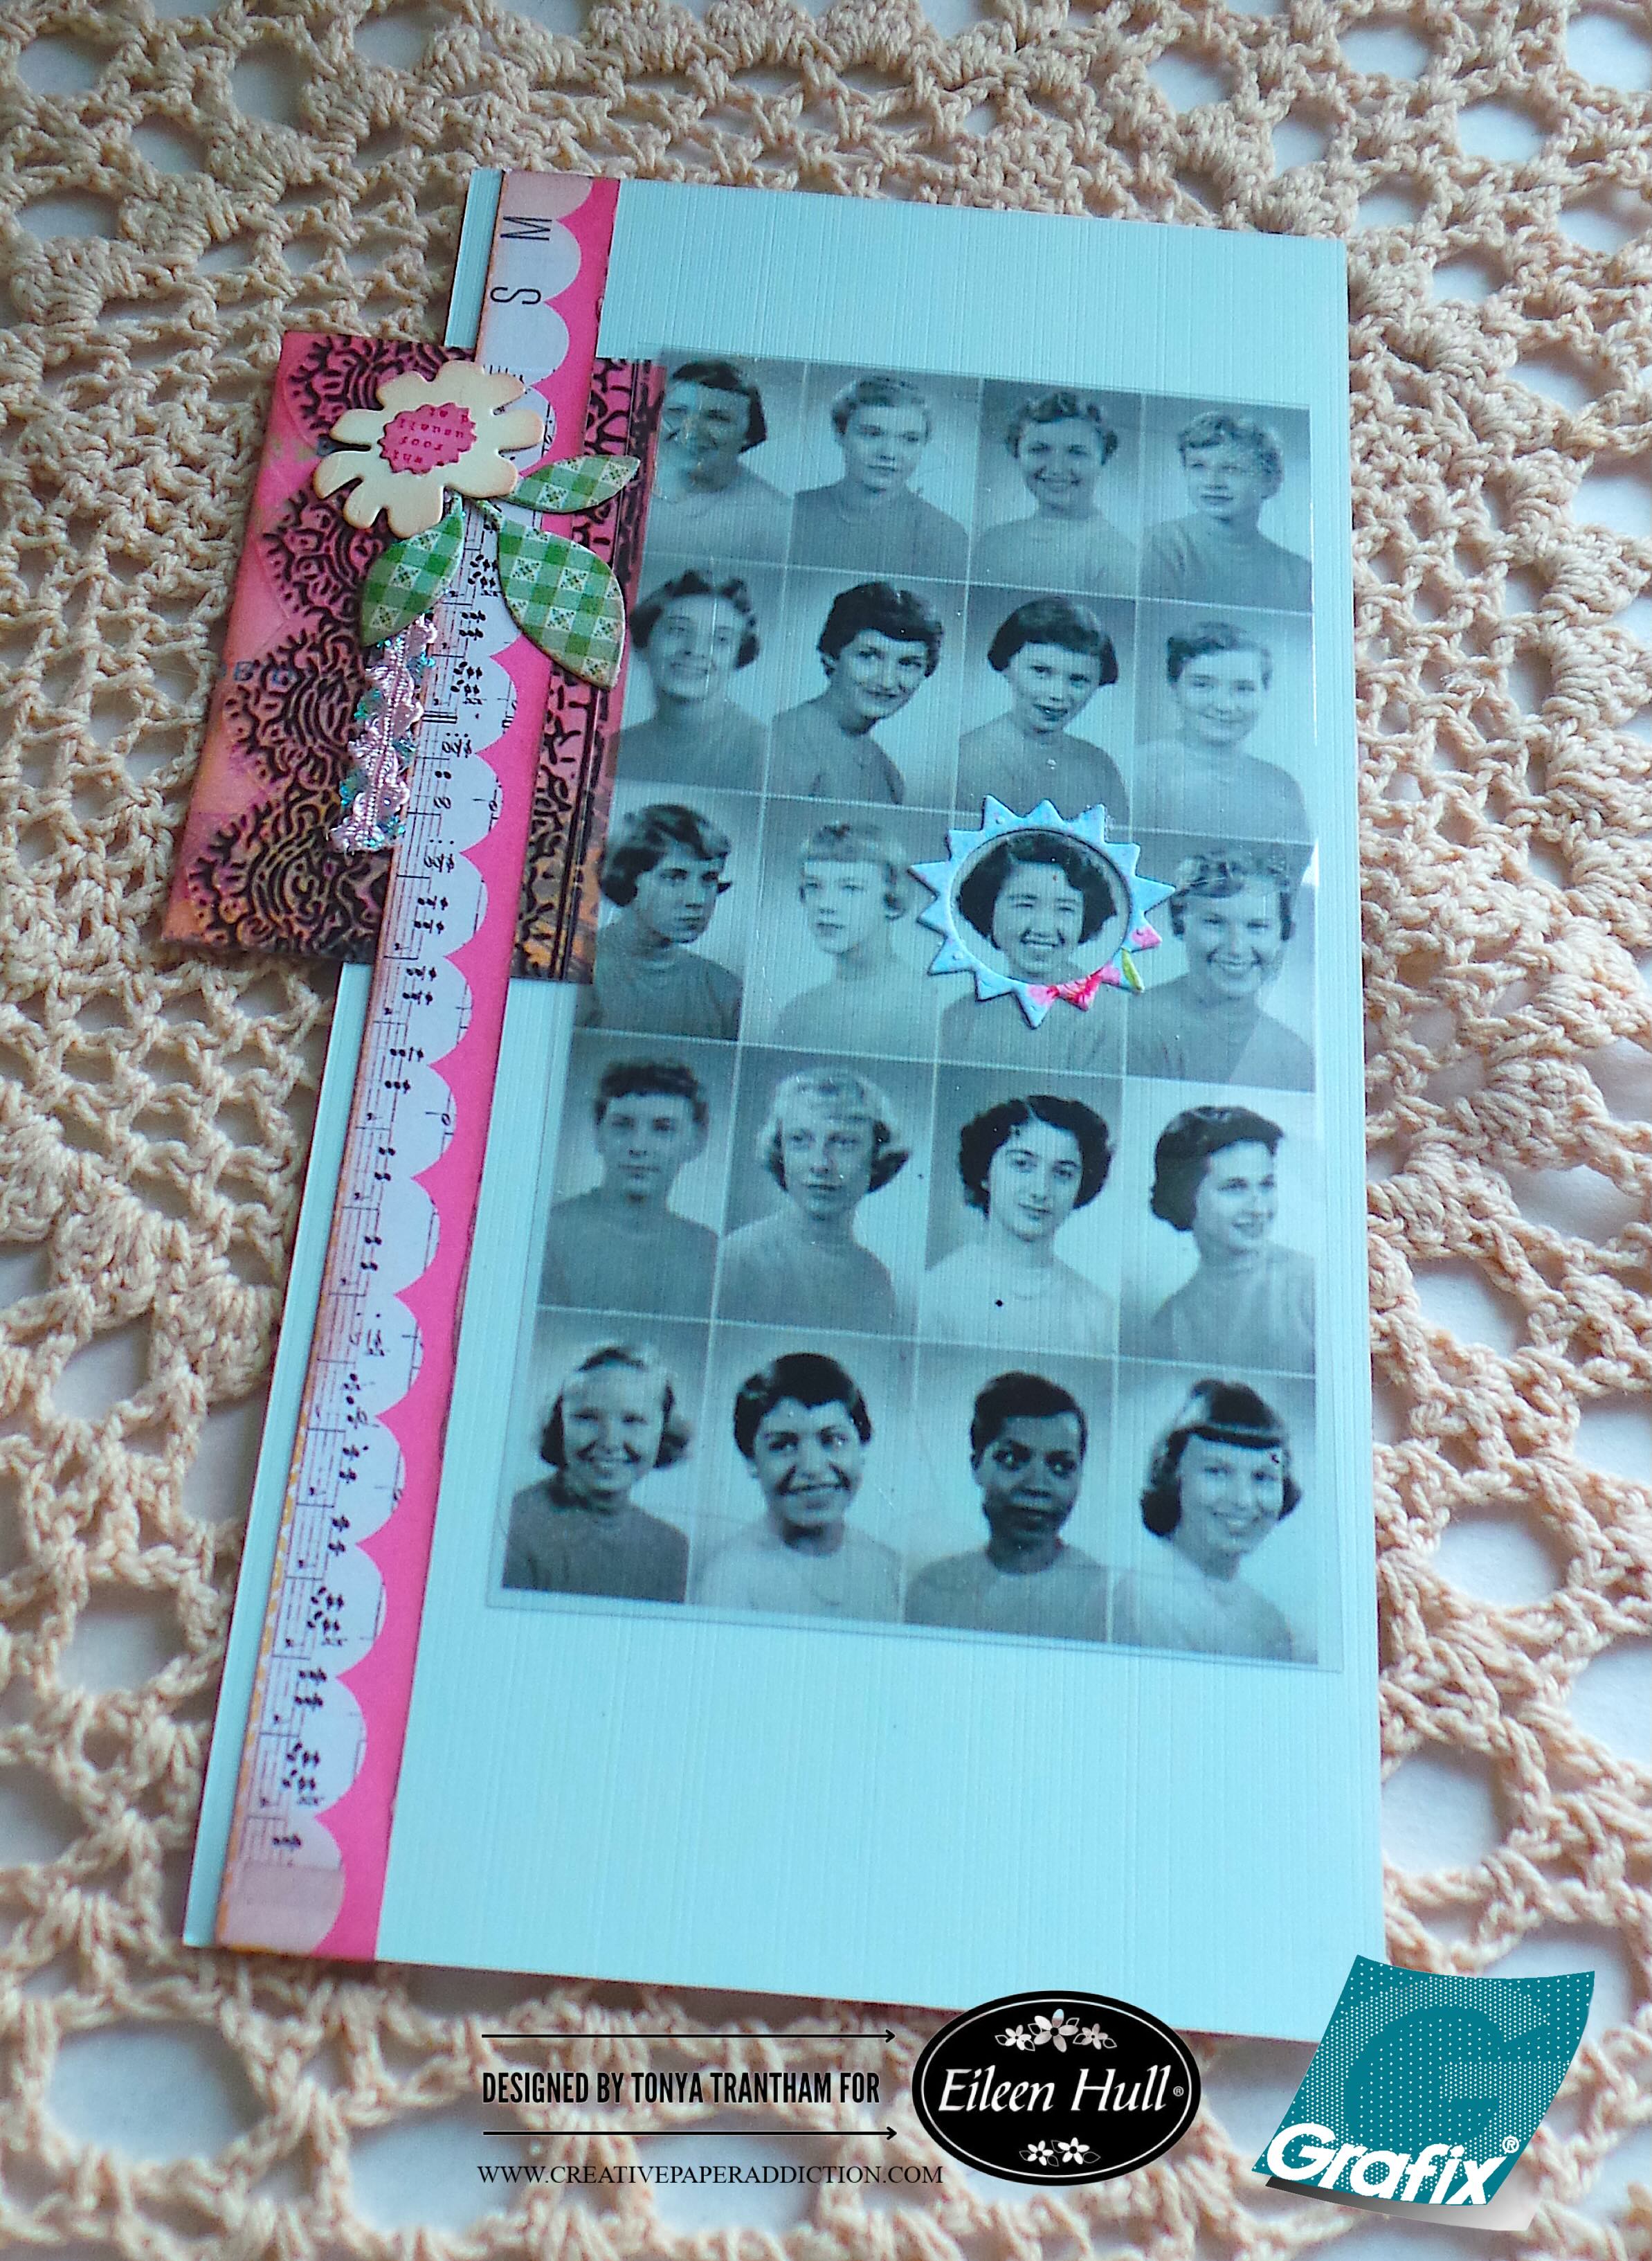
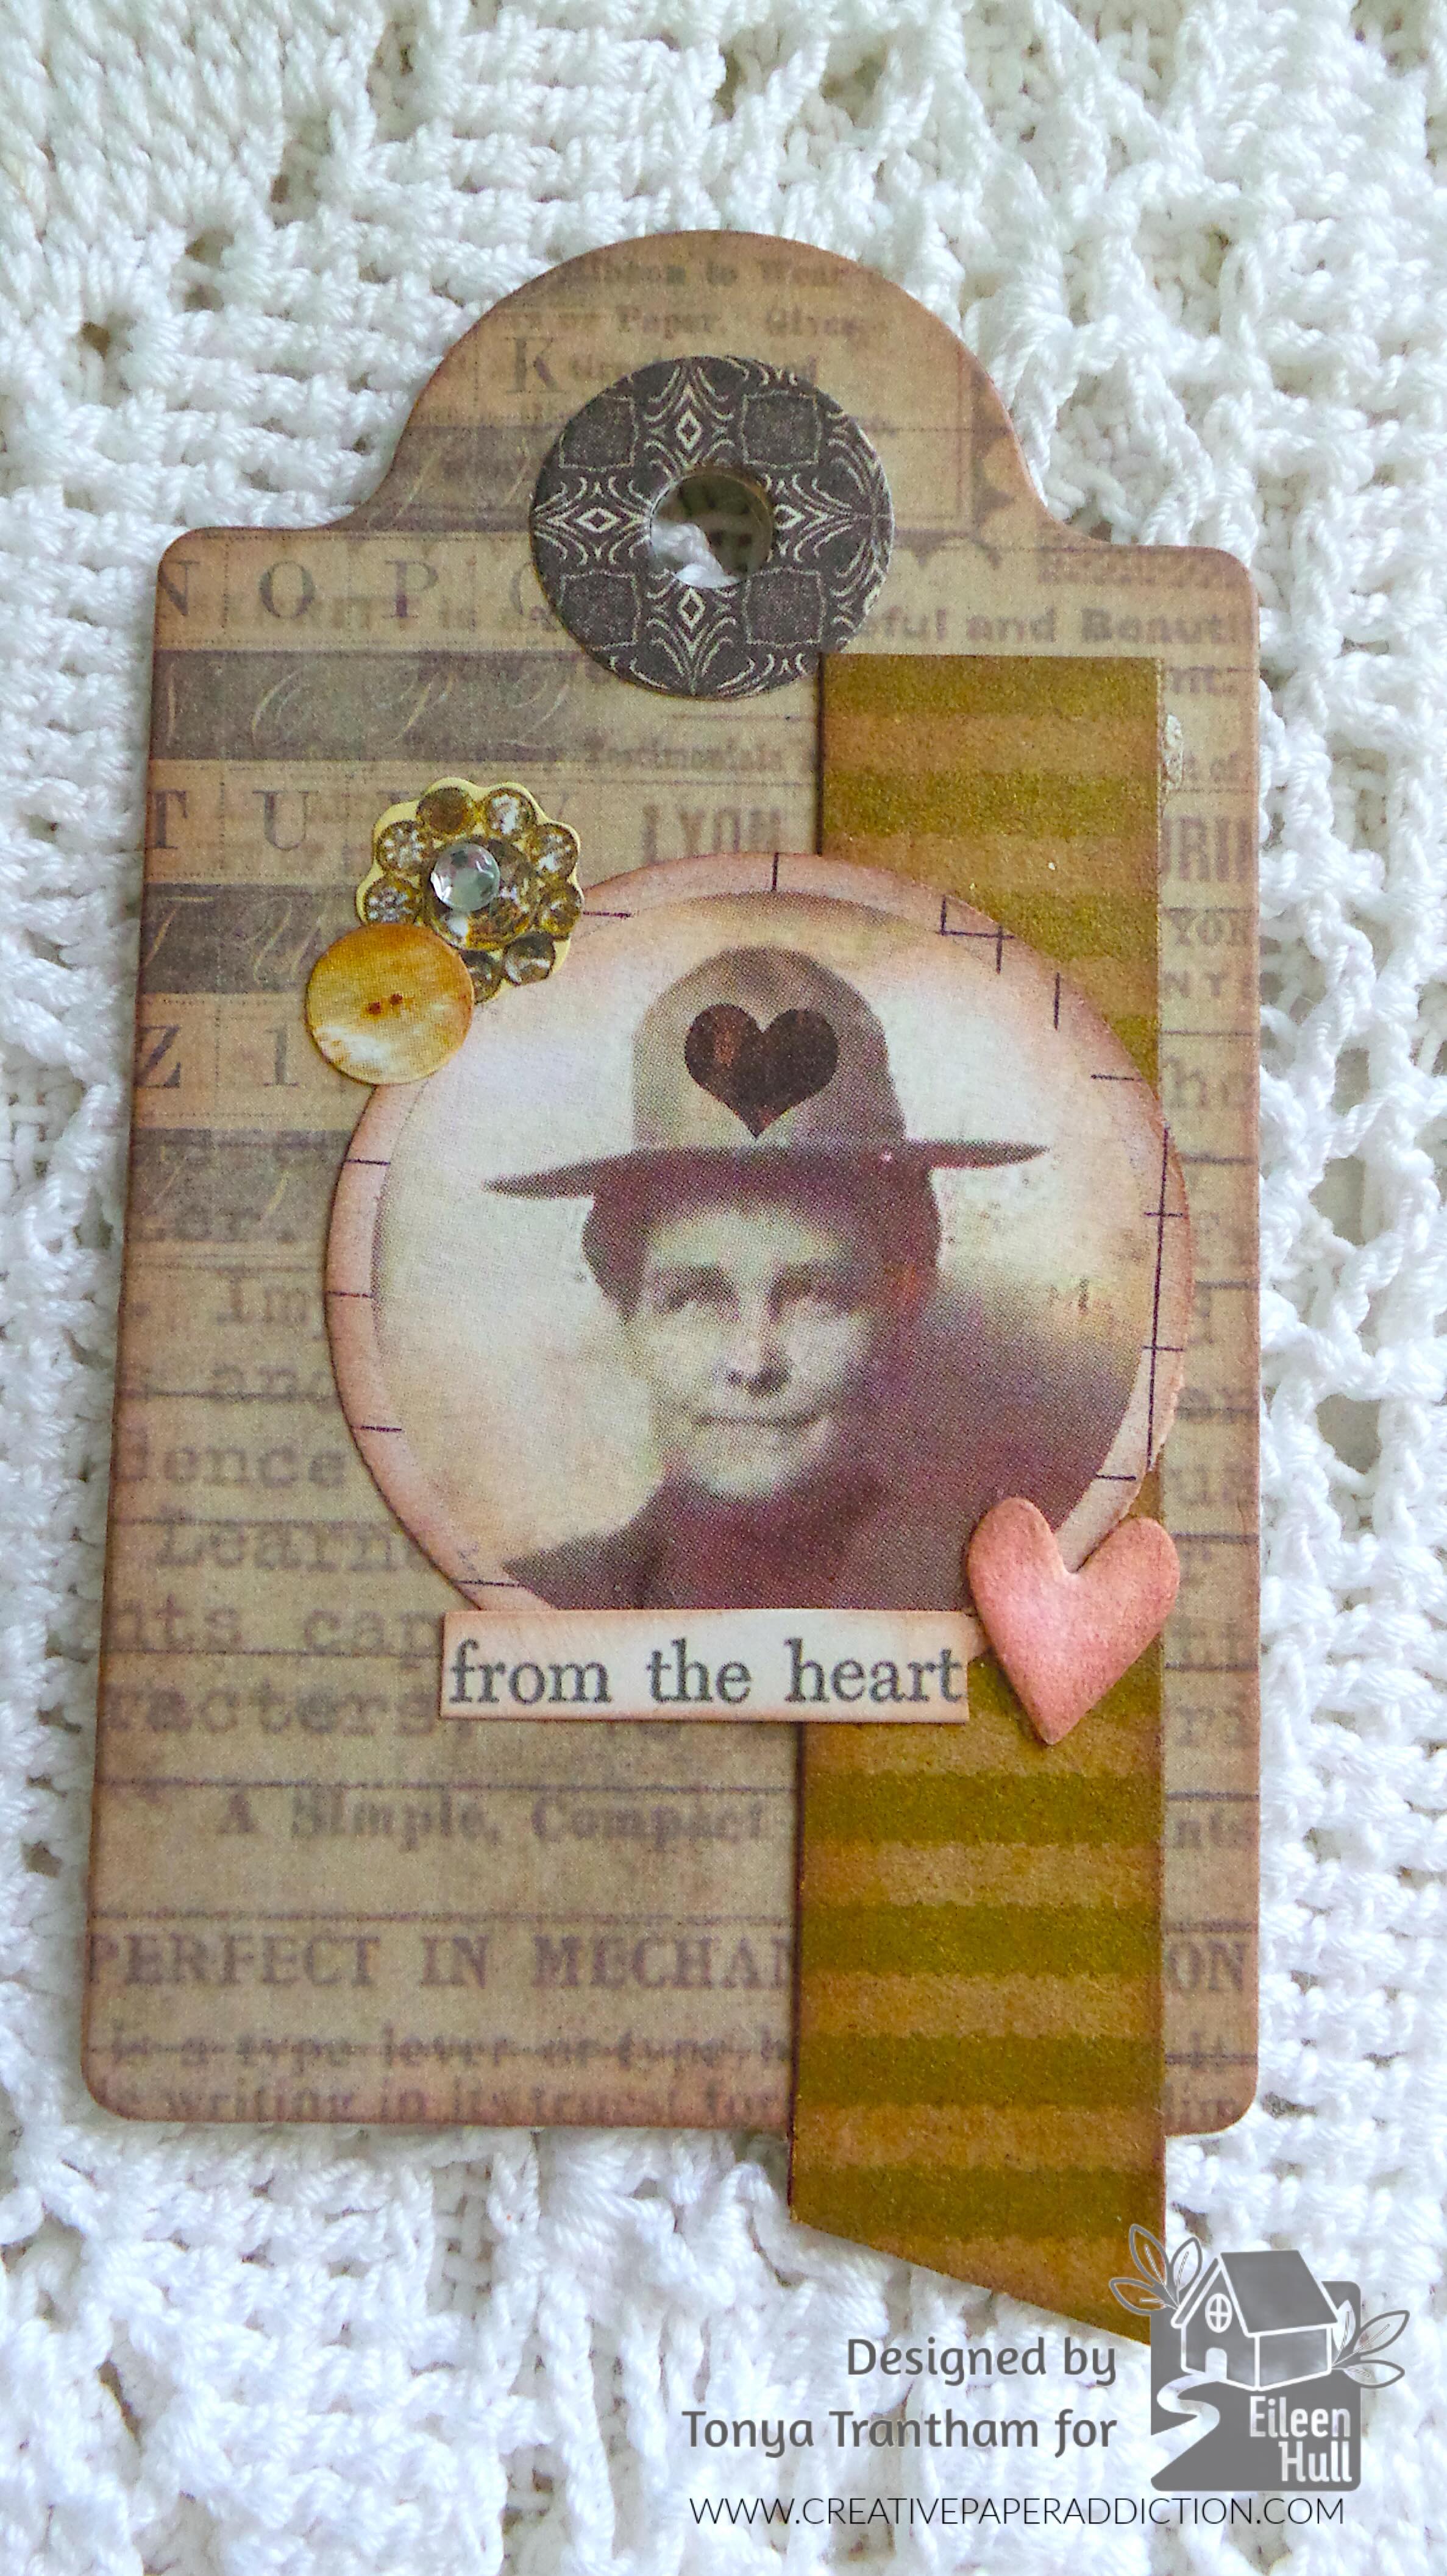
I used the larger tag and backed two tags together. I added a banner to one side of the tag with the edge hanging off. I used a circle punch and punched out the woman with a hat. I added a couple button stickers, the “from the heart” sentiment from Clippings Cardstock Stickers and a small heart die from the Stitched Hearts Thinlits to the tag.
The back side of the tag I adhered an assortment of cardstock to the tag. The stamped label is from one of Eileen’s earlier stamp sets but I don’t remember the name. I glued the label to the tag, added a Mini Paper Doll and three button stickers to finish.
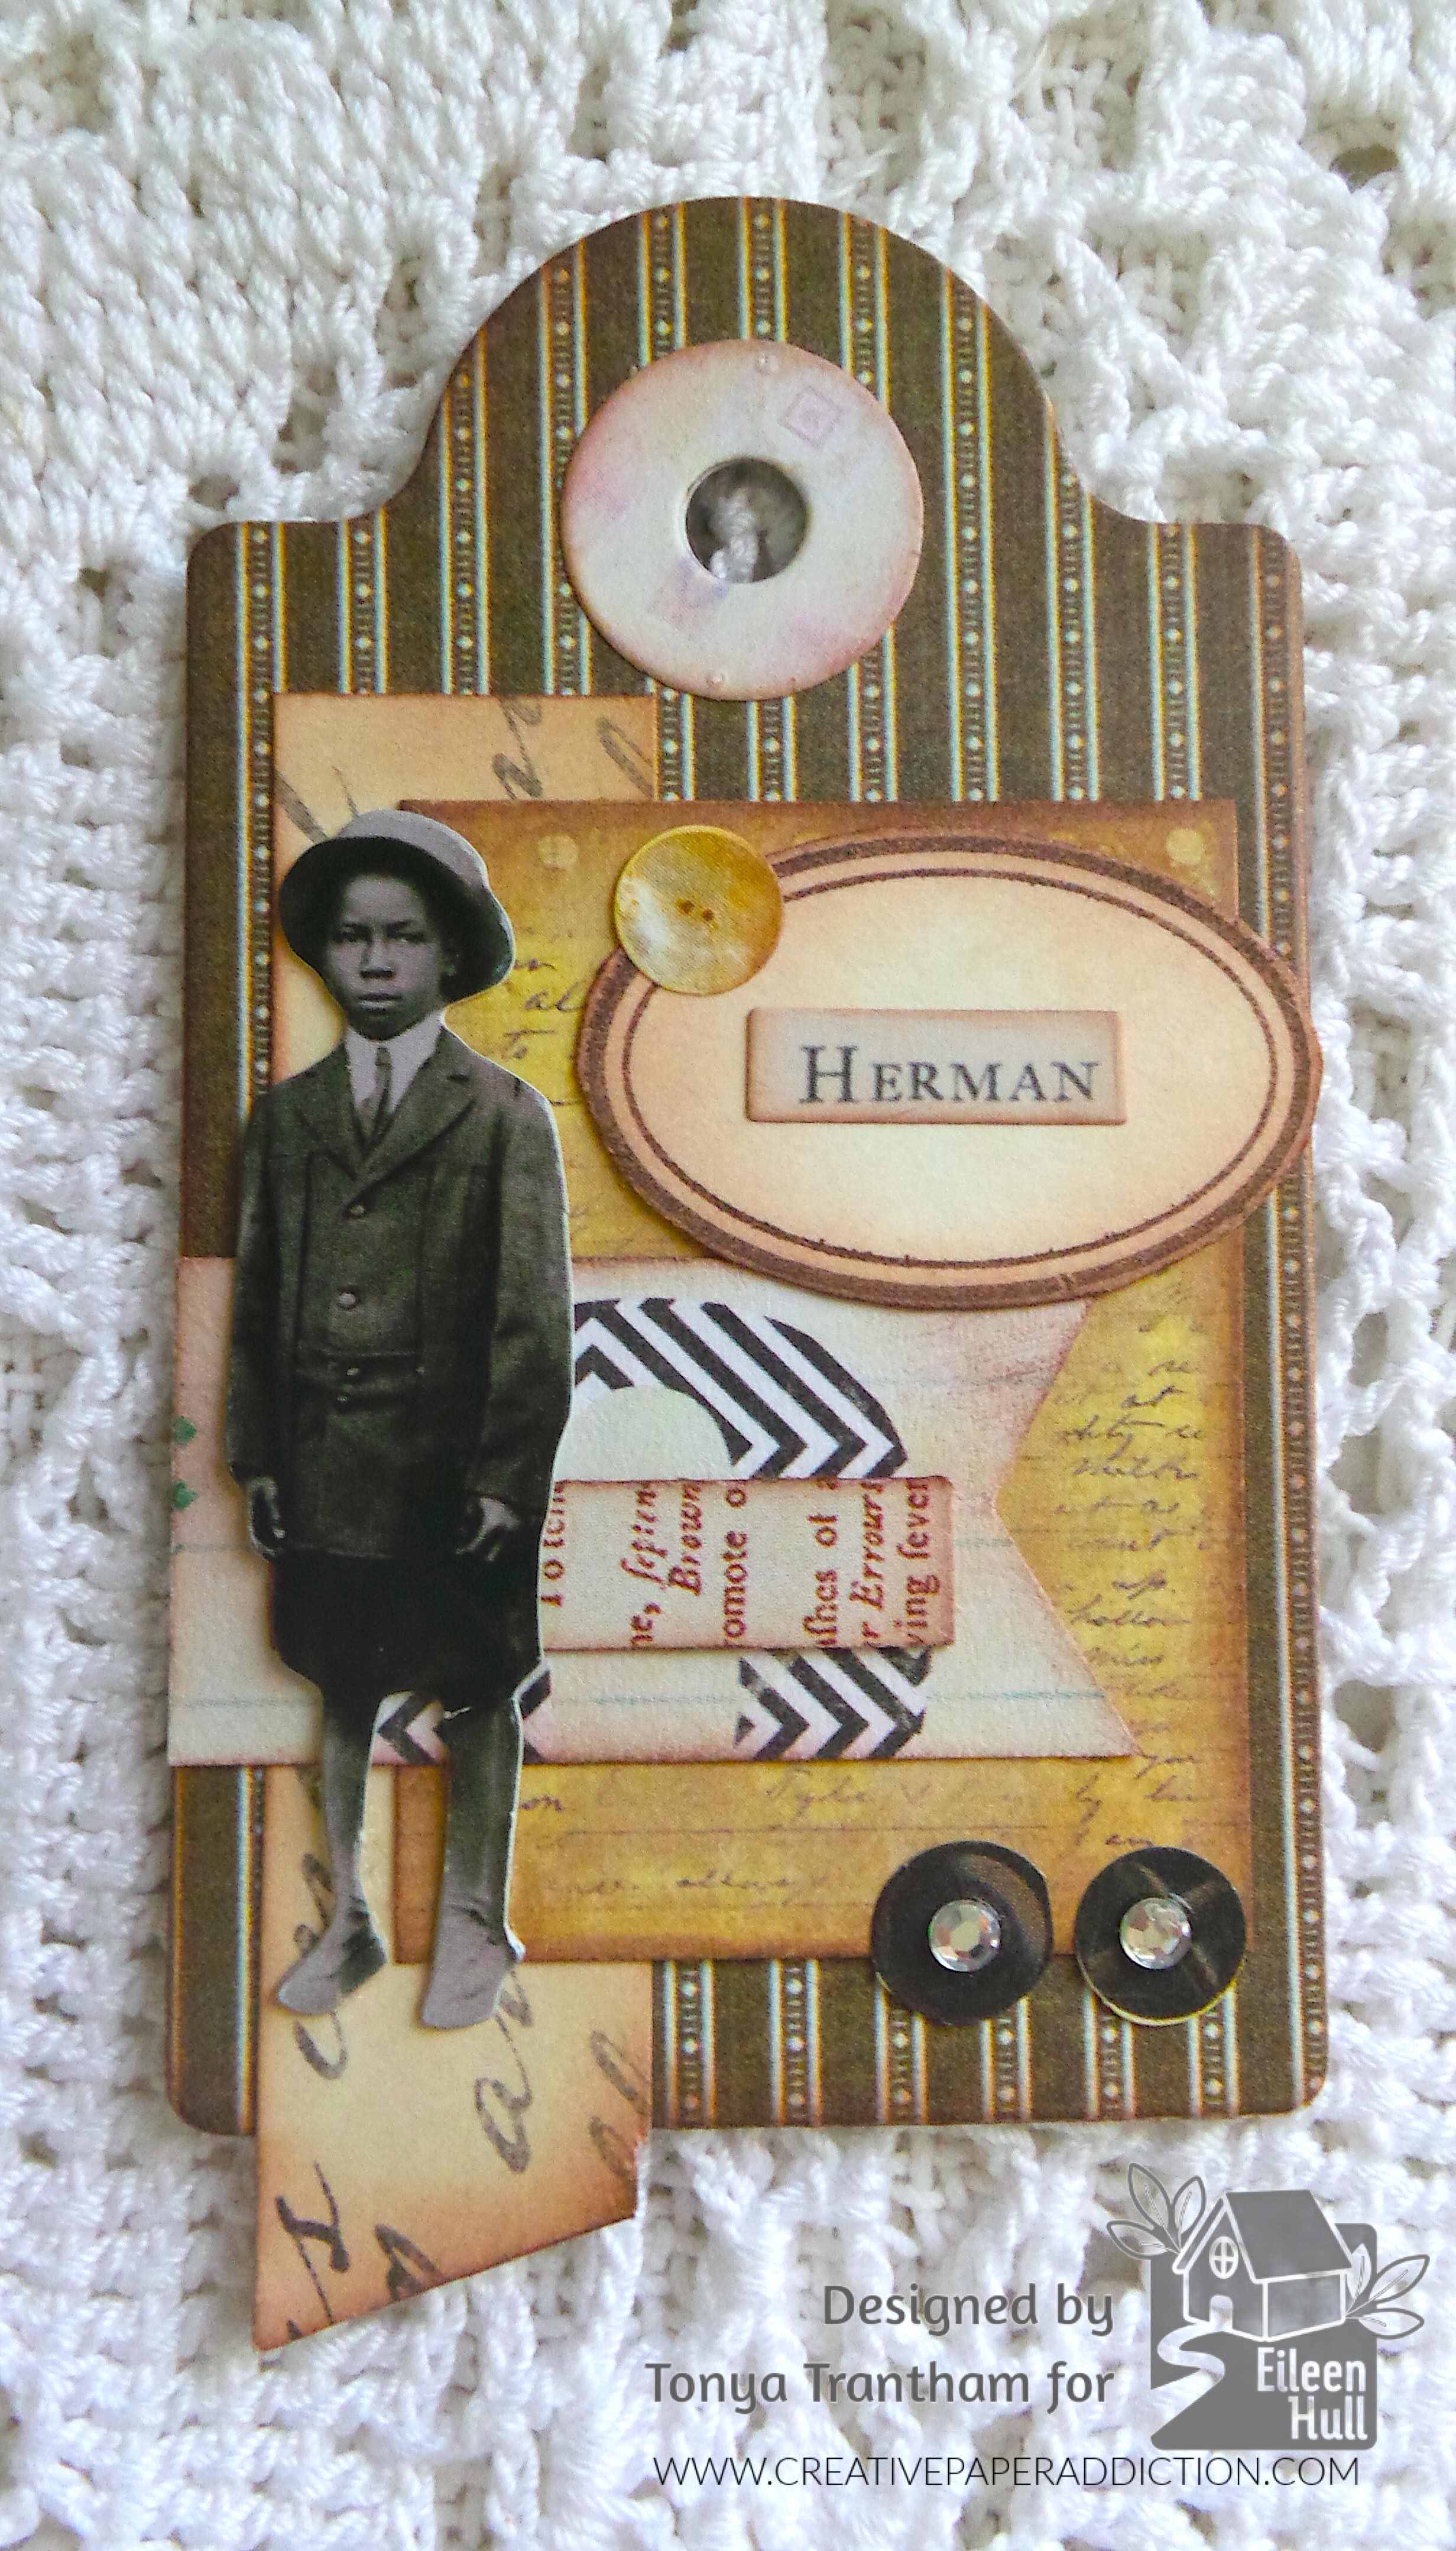
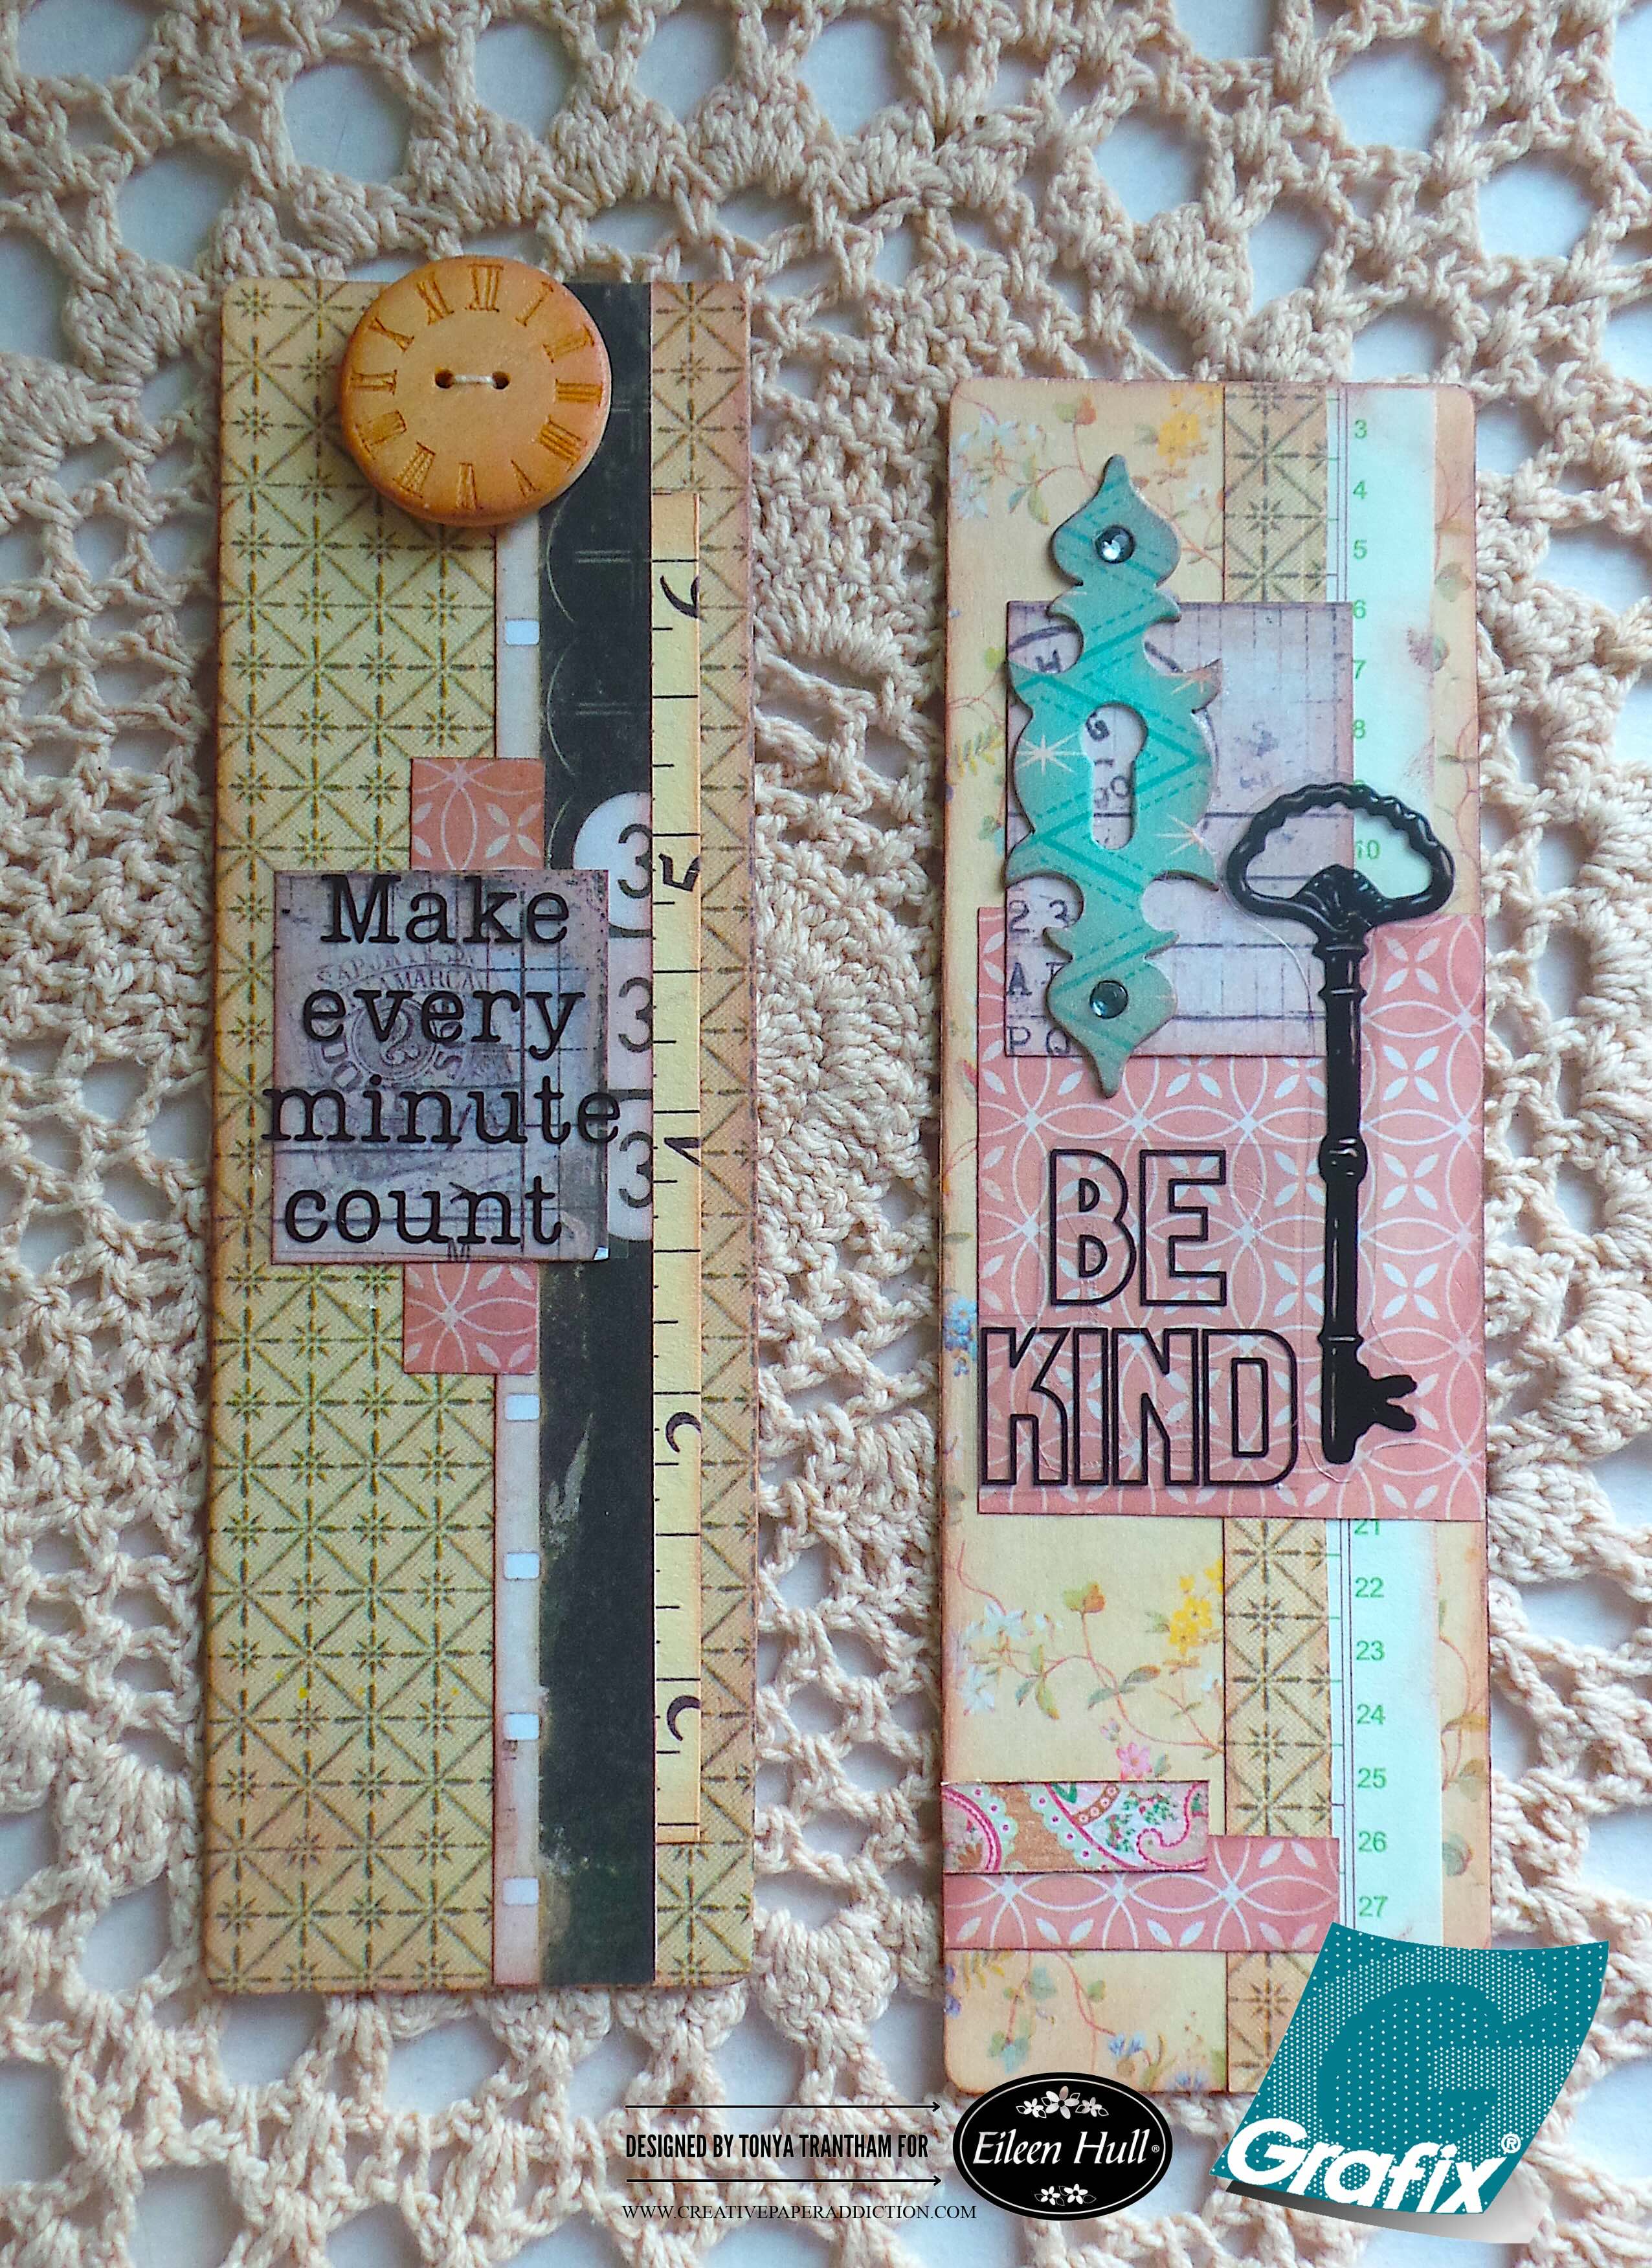
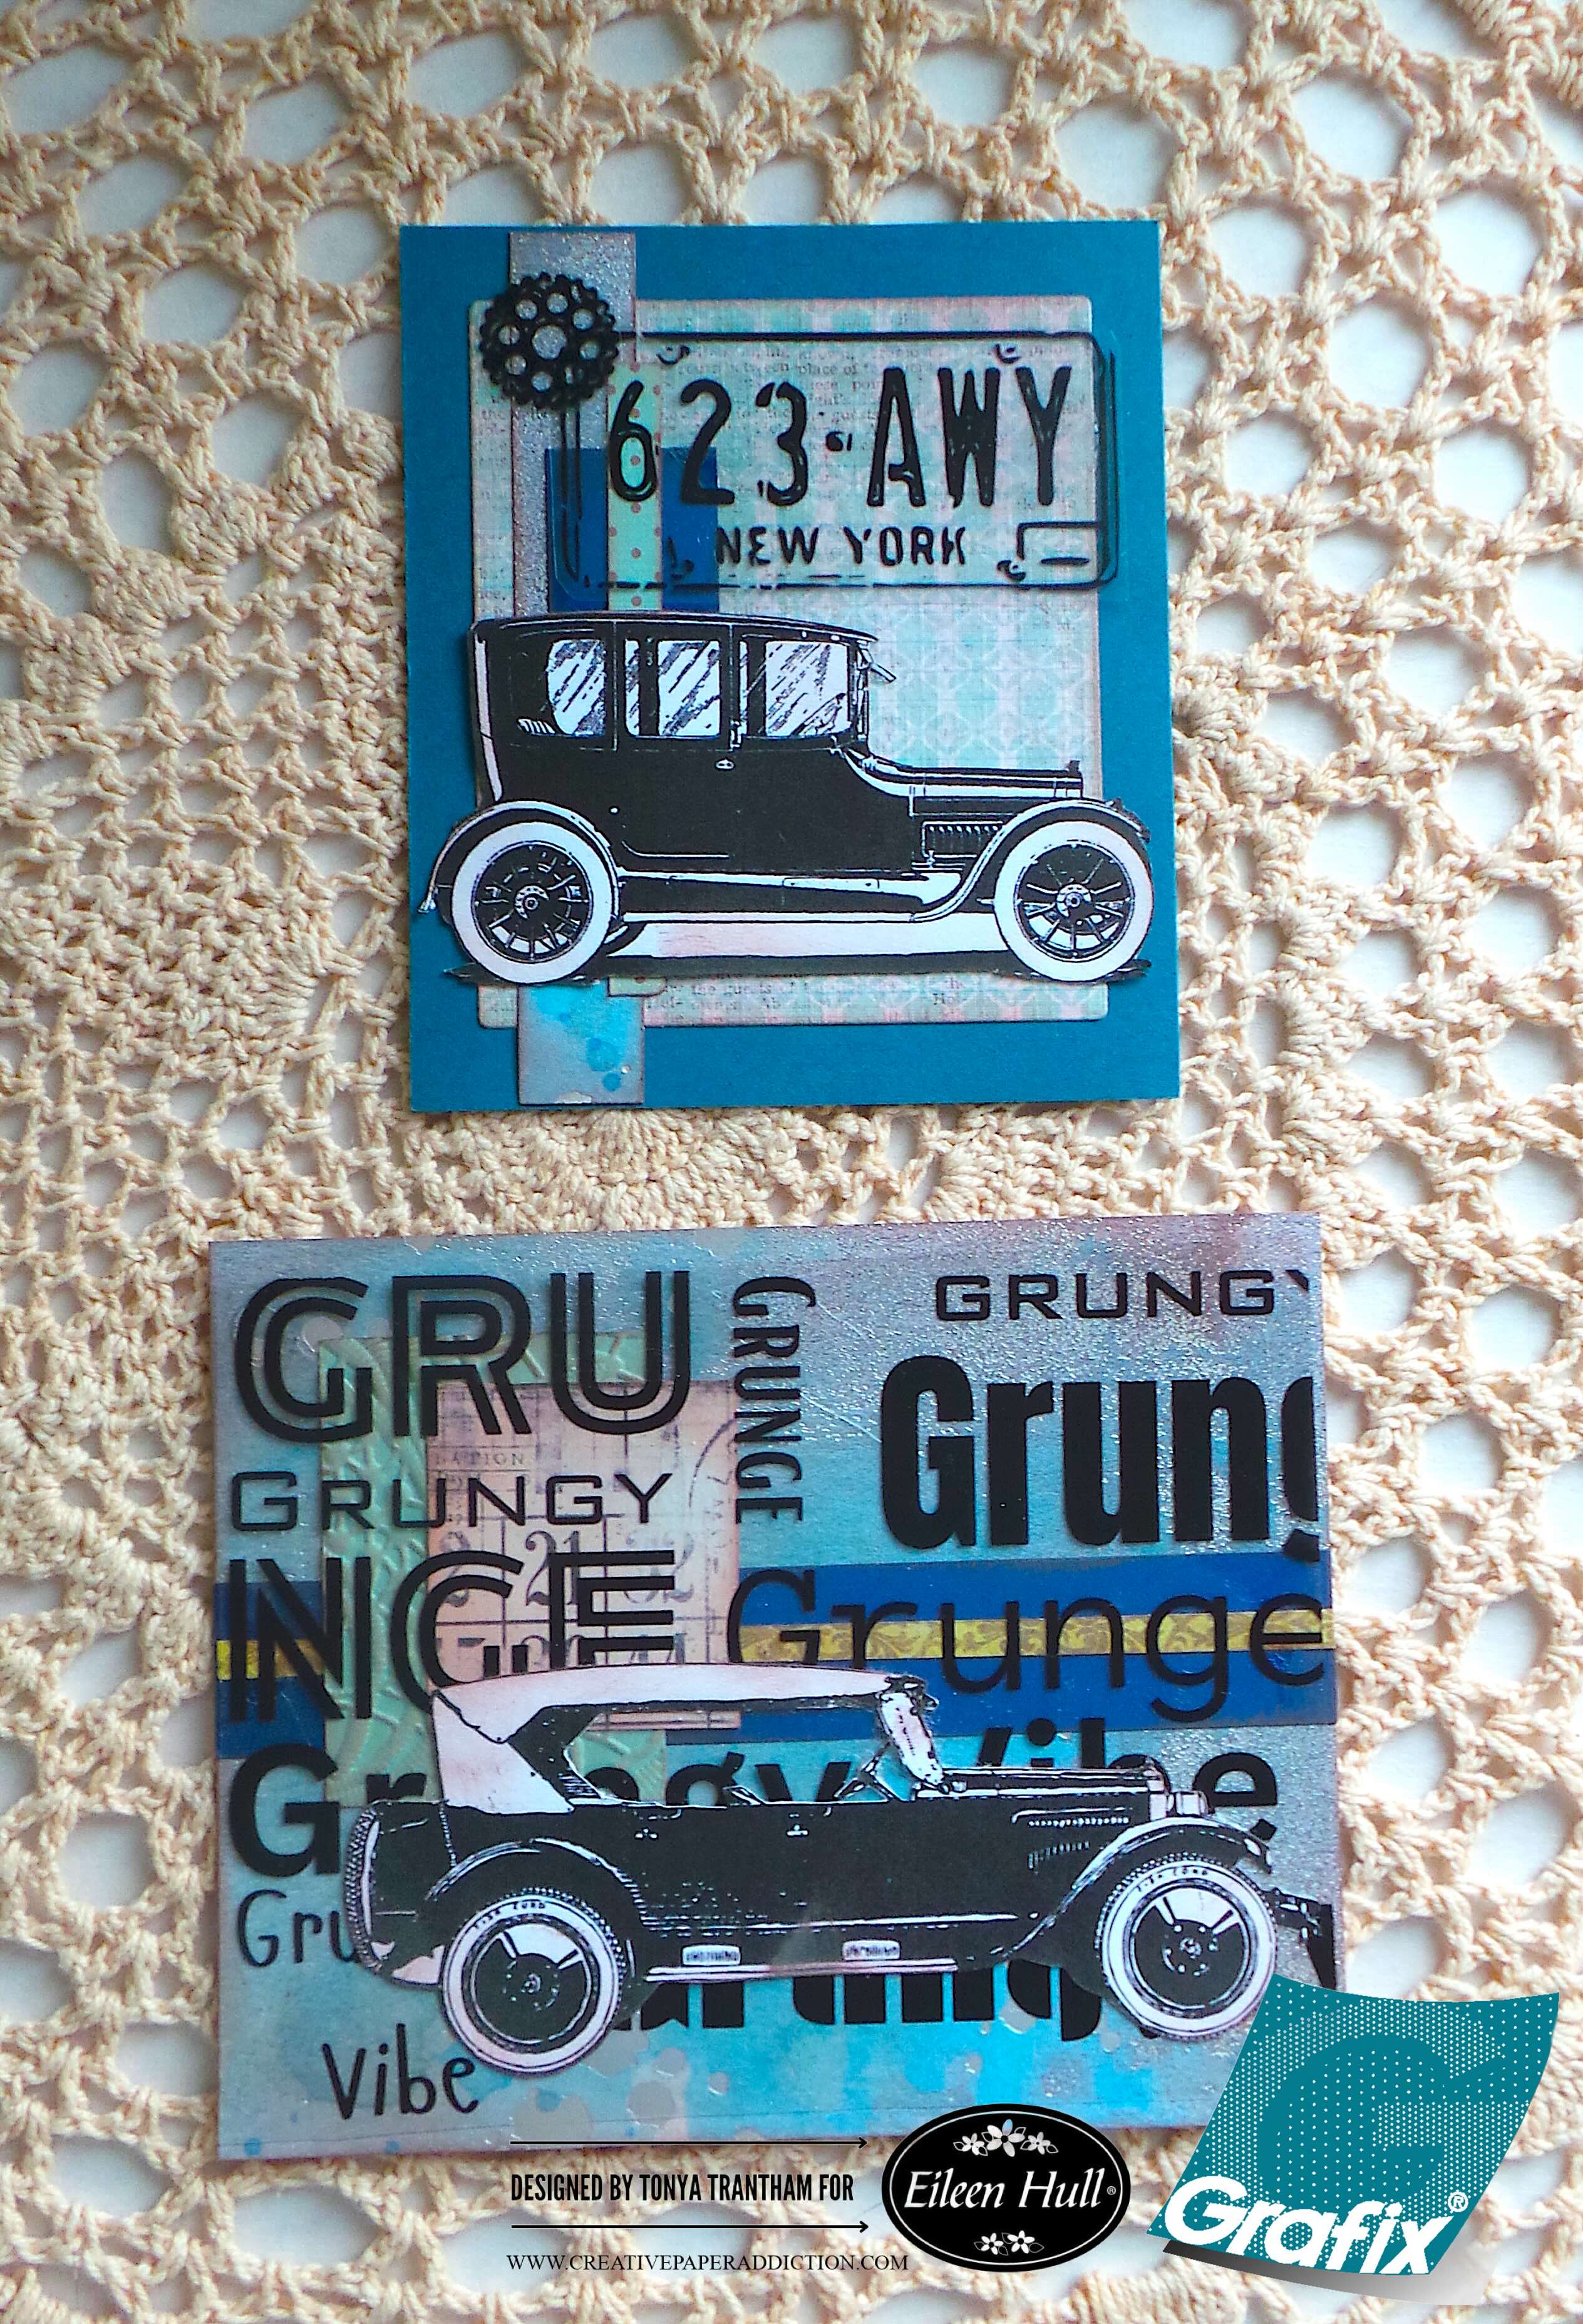
I used the smallest tag and I backed two single sided piece of cardstock together. I fussy cut a leaf sprig from a printable in my stash and adhered to the tag.
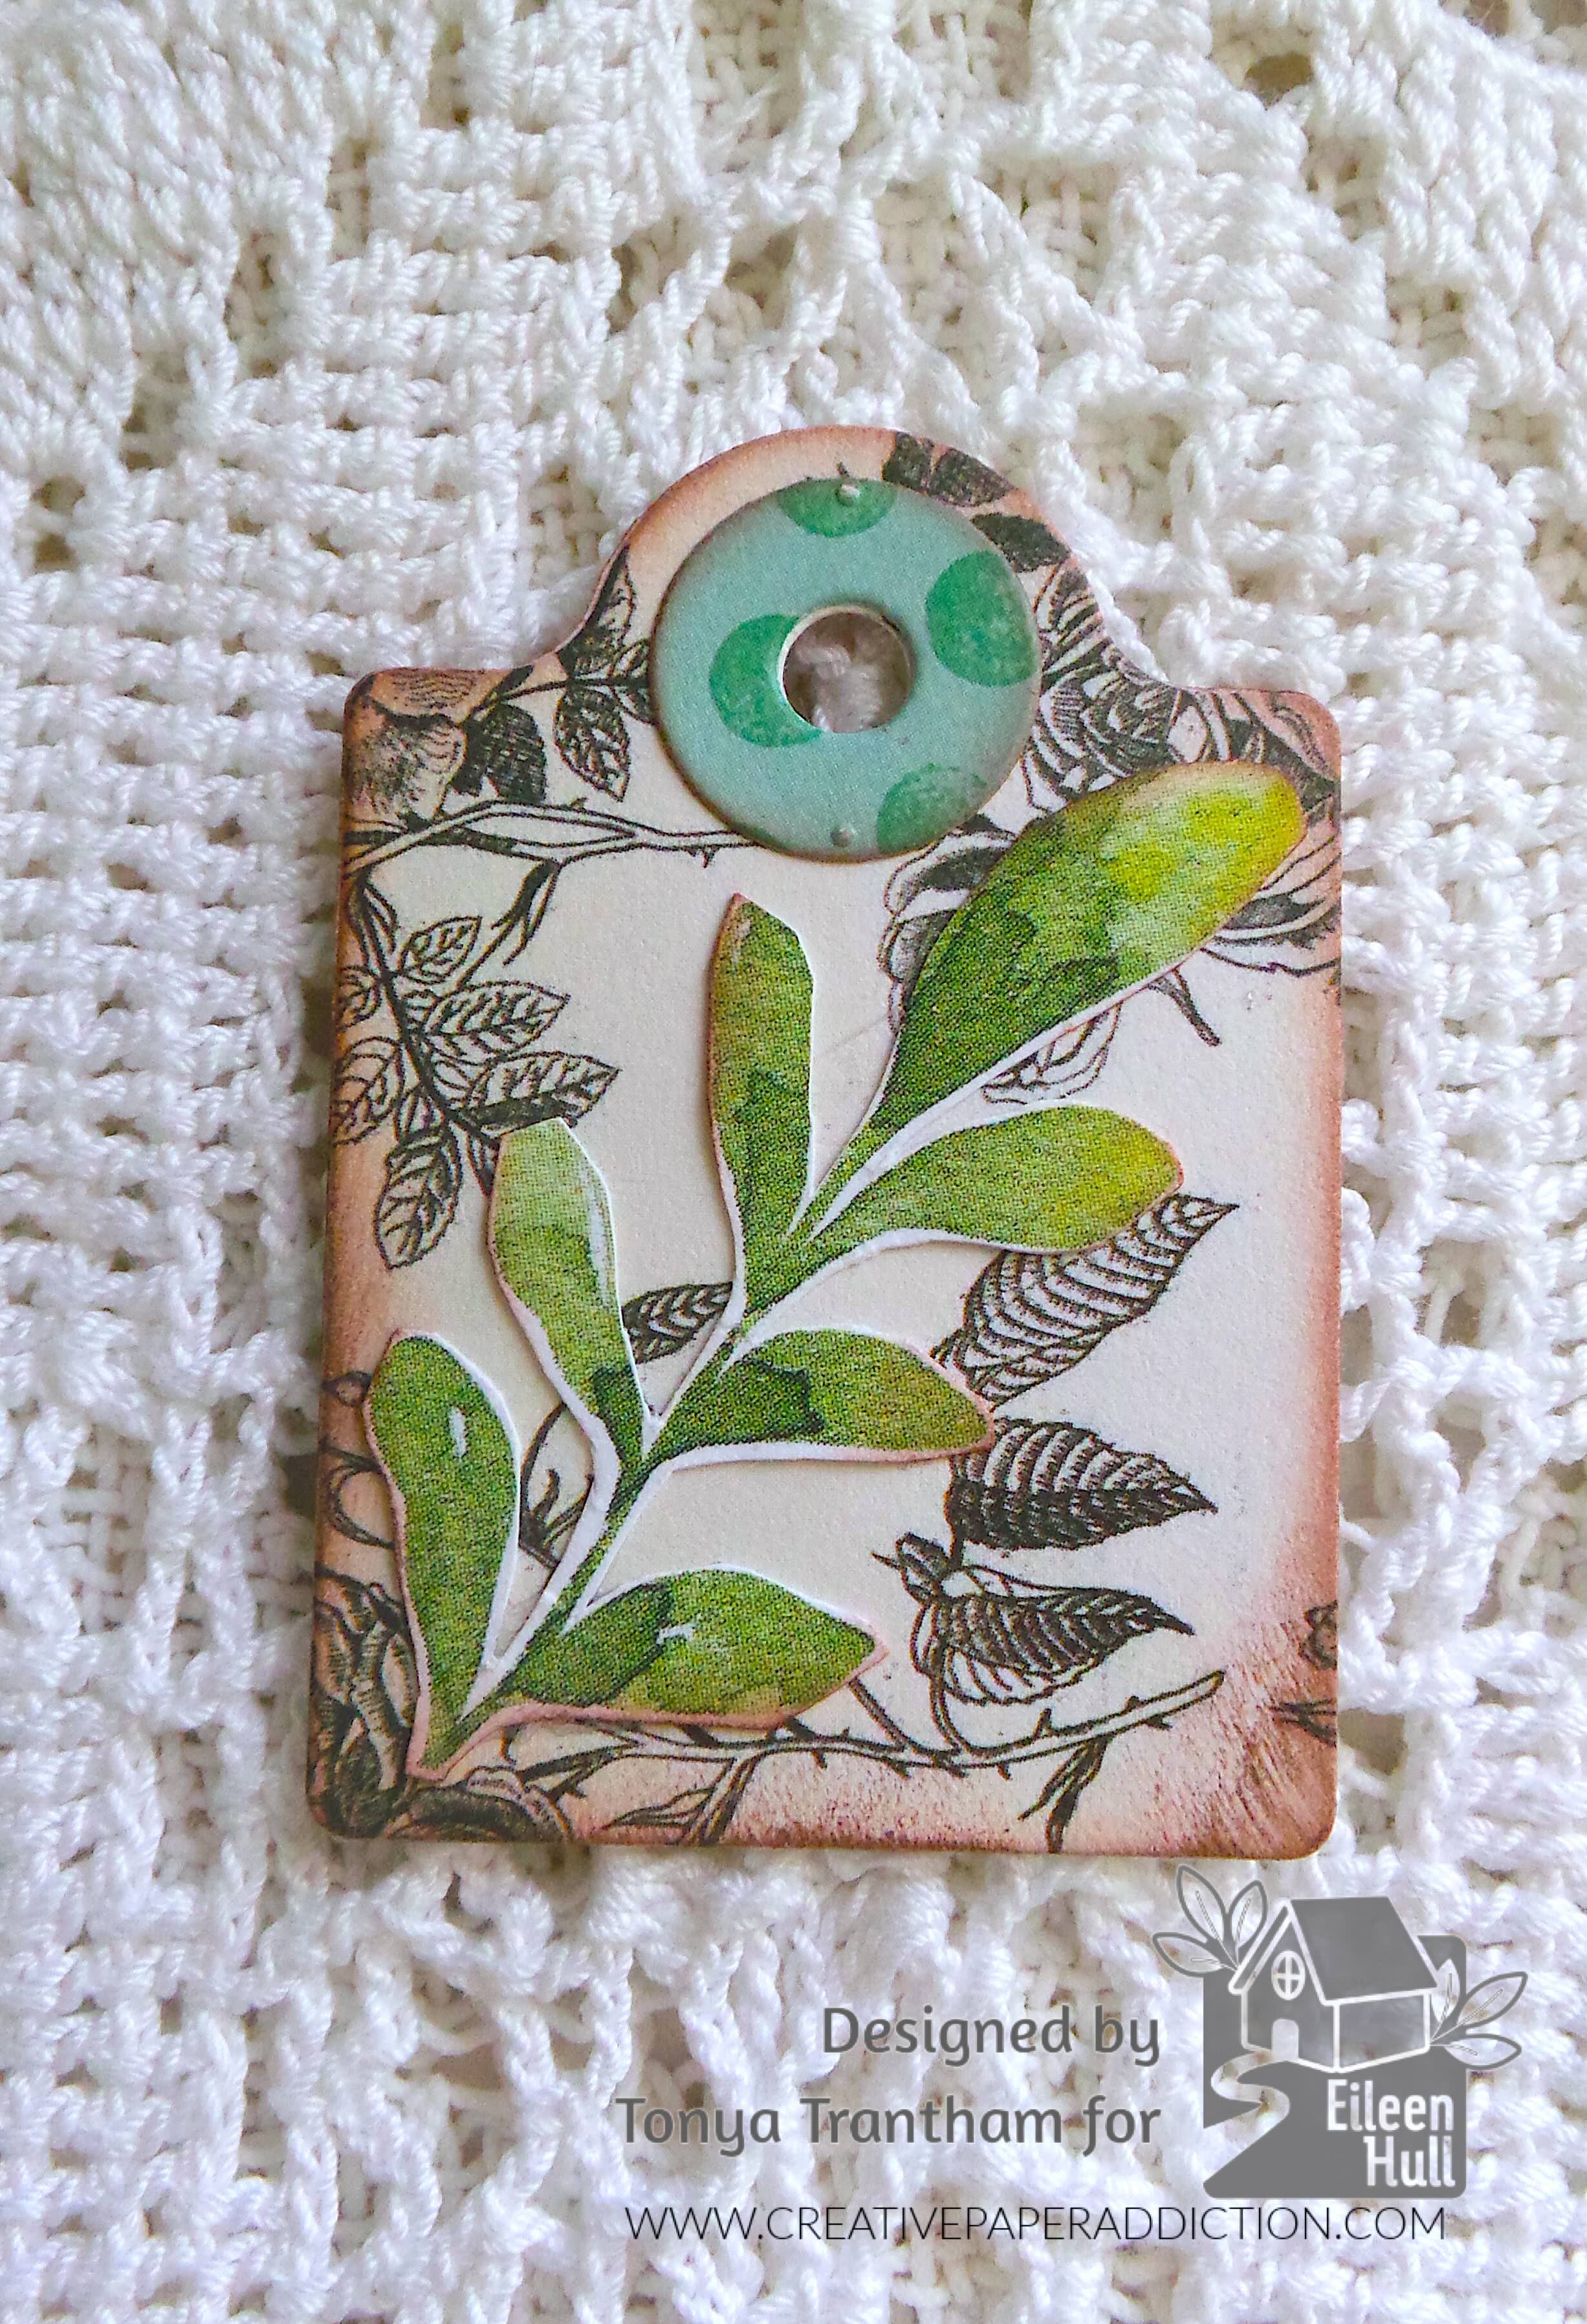
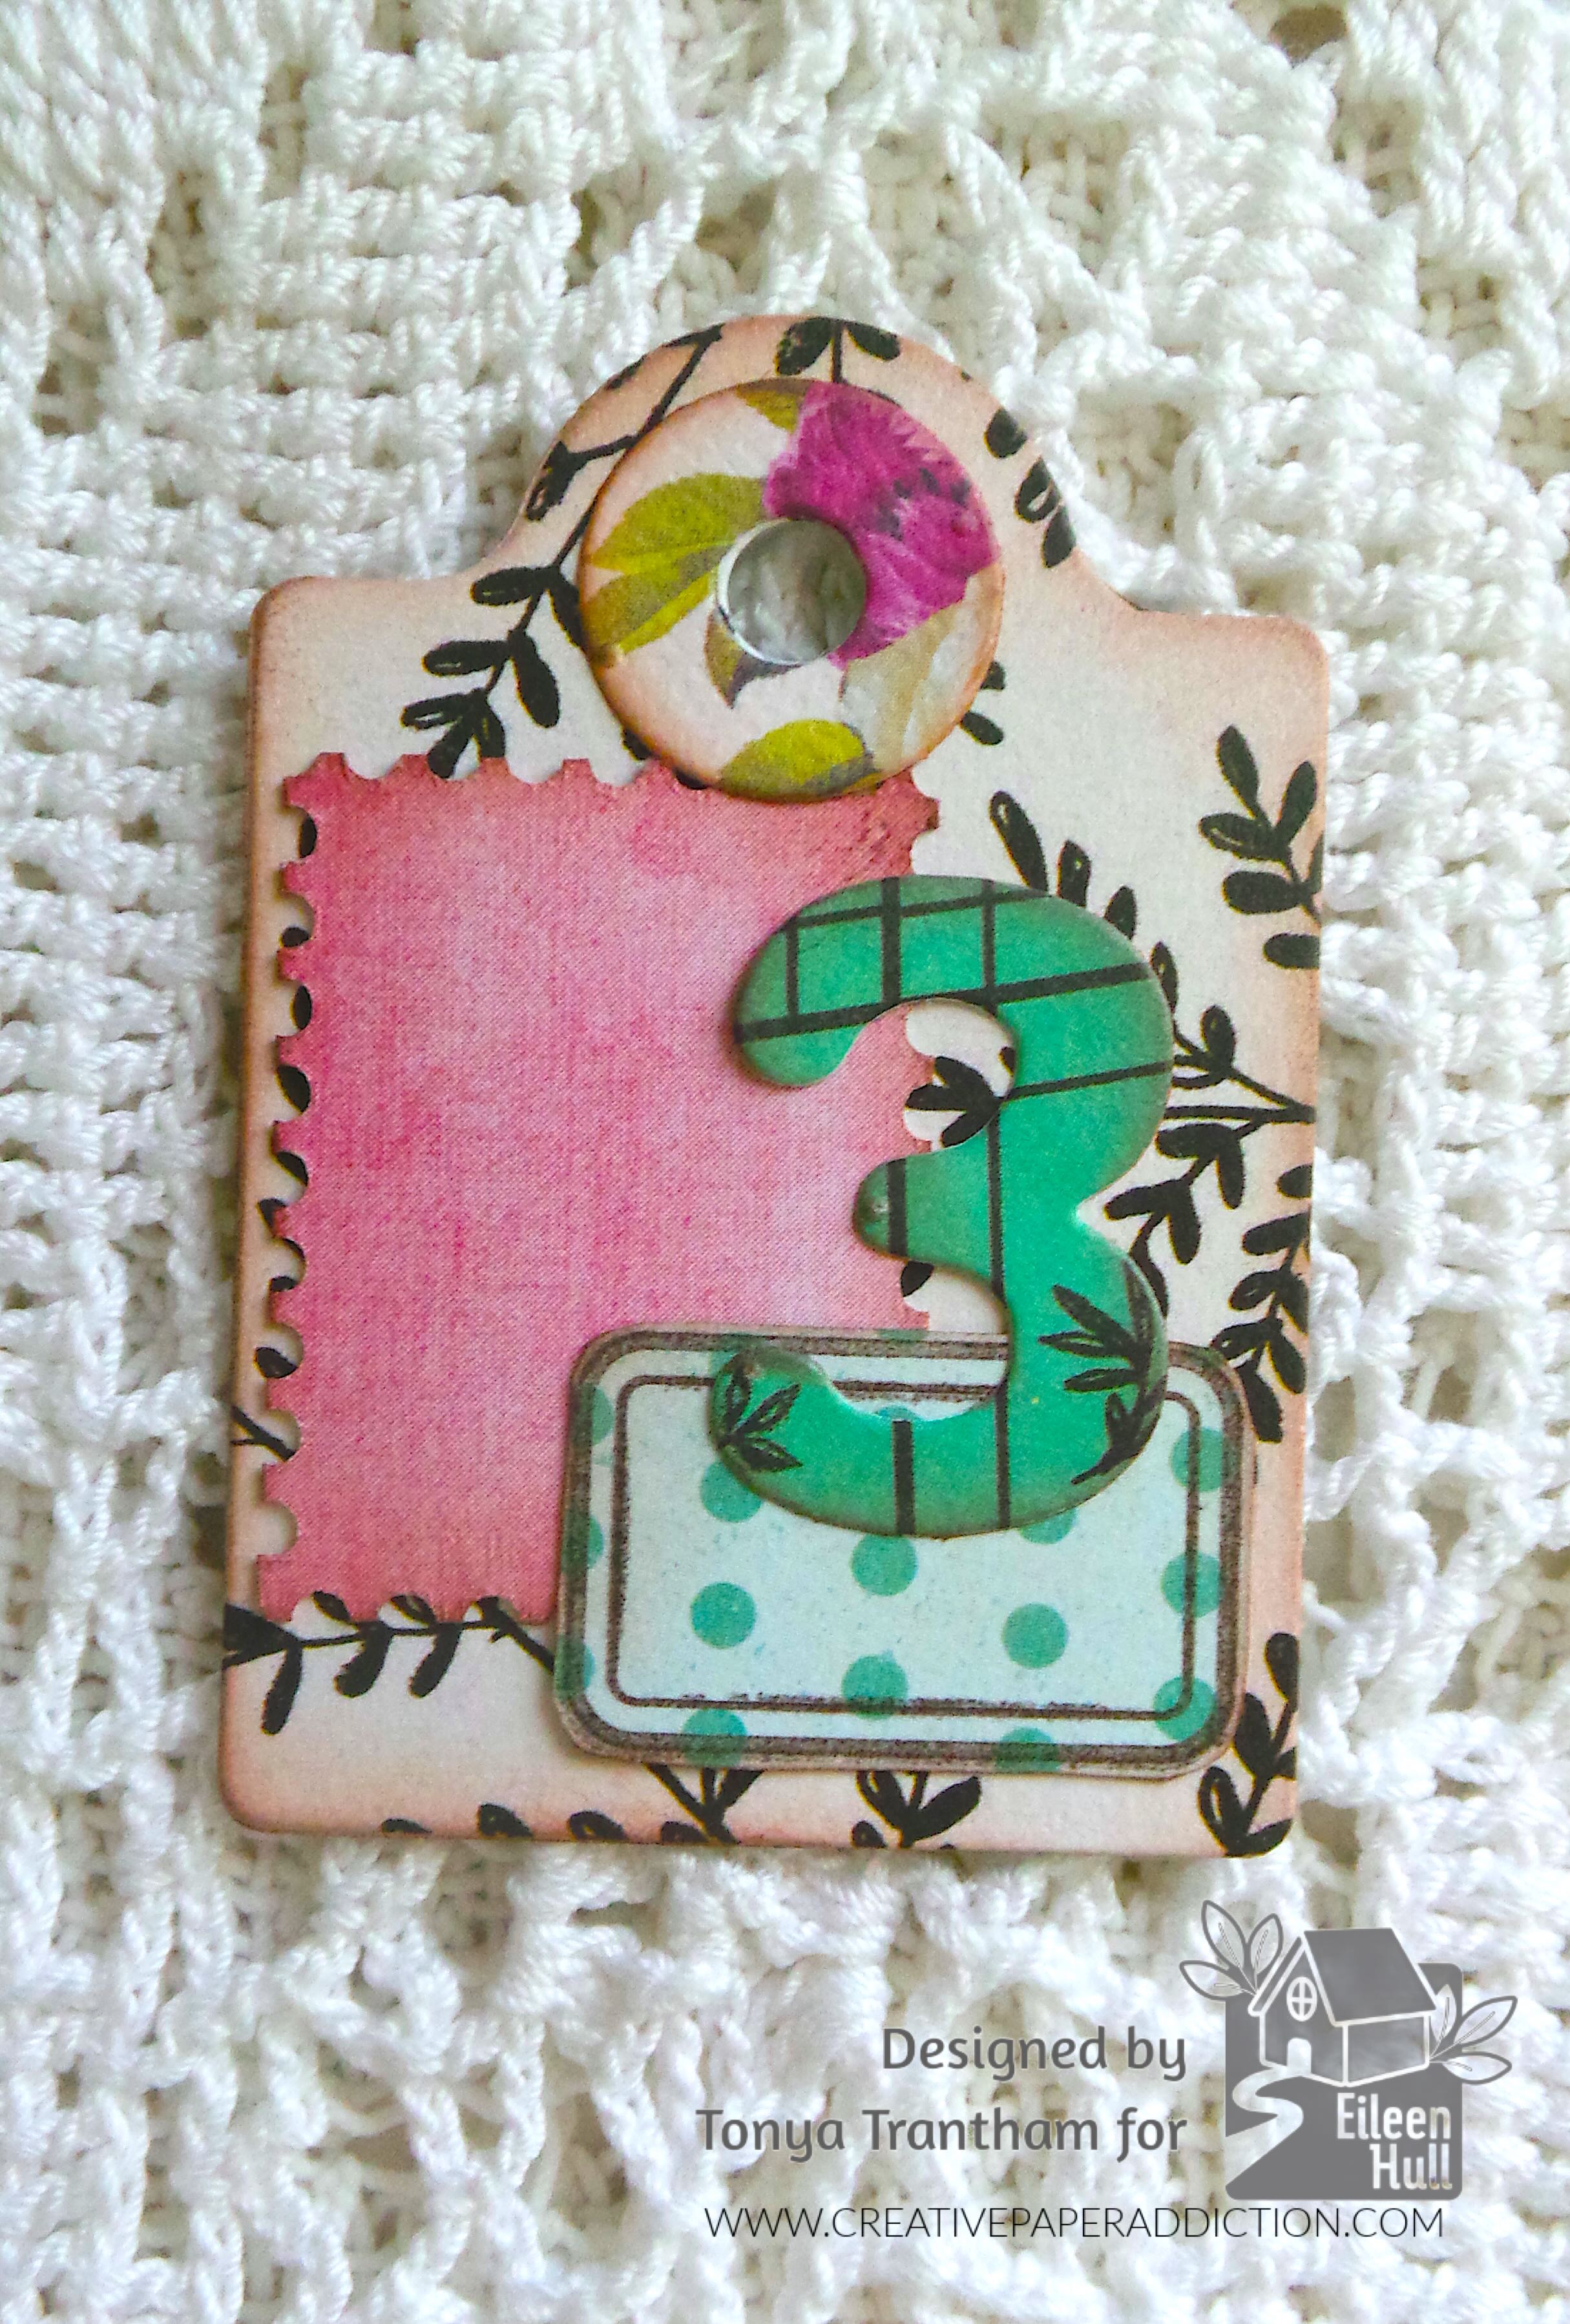
The back side of the tag I added a stamp die from the Faux Postage Thinlits, stamped label and a number 3 from the Nora Numbers Thinlits.
I had so much fun digging through my scraps of cardstock and embellishments and creating these tags. This is a great way to use up what you have lying around. I will be sharing more tags from the same project over the next week or two so be sure to stop back by.
If you have any questions or comments please leave those below. Also if you haven’t been by Eileen Hull’s blog lately to see what the team has been up to you can find the newest post HERE.
Supplies
Sizzix/Eileen Hull: Ephemera Pocket and Tags Thinlits
Sizzix/Eileen Hull: Nora Numbers Thinlits
Sizzix/Eileen Hull: Nora Alphabet Thinlits
Sizzix/Eileen Hull: Stitched Hearts Thinlits
Sizzix/Eileen Hull: Faux Postage Thinlits
Sizzix/Eileen Hull: Windowsill Vase and Flowers Thinlits
Sizzix/Eileen Hull: Home Sweet Home Thinlits
Tim Holtz: Clippings Cardstock Stickers
Various Plain and Patterned Cardstocks
Various Printables
Lace, Trim and Cheese Cloth
Various Stickers and Embellishments
Brown Chalk Ink
Beacon Adhesives: Zip Dry Adhesive
(Products listed above are Affiliated Links for your convenience)
DISCLAIMERS
This blog is compensated to provide opinion on products, services, websites, and various other topics. Even though the owner(s) of this blog receives compensation for our posts or advertisements. I always give my honest opinions, findings, beliefs, or experiences on those topics or products. The views and opinions expressed on this blog are purely my own. Any product claim, statistic, or quote should be checked with each manufacturer. Verify other representations about a product or service with the provider or party in question.This blog contains affiliate links. Clicking these links helps to support Tonya Trantham Designs – Creative Paper Addiction. It’s at no additional cost to you. Today’s features are Sizzix, Eileen Hull and Scrapbook.com Products.
Thanks for stopping by, I hope your Tuesday is great and enjoy creating!