Hi everyone! I am back with the third and final post in this series of tags I created using Eileen Hull’s newest collection and a lot of past dies. If you haven’t been following along you can find the first post HERE and the second post HERE. Anyways, let’s get started!

For the first tag I cut the largest tag from the Ephemera Pocket and Tags Thinlits. I glued a fussy cut image of a house with tree, a tiny strip of cardstock and three Pearls.

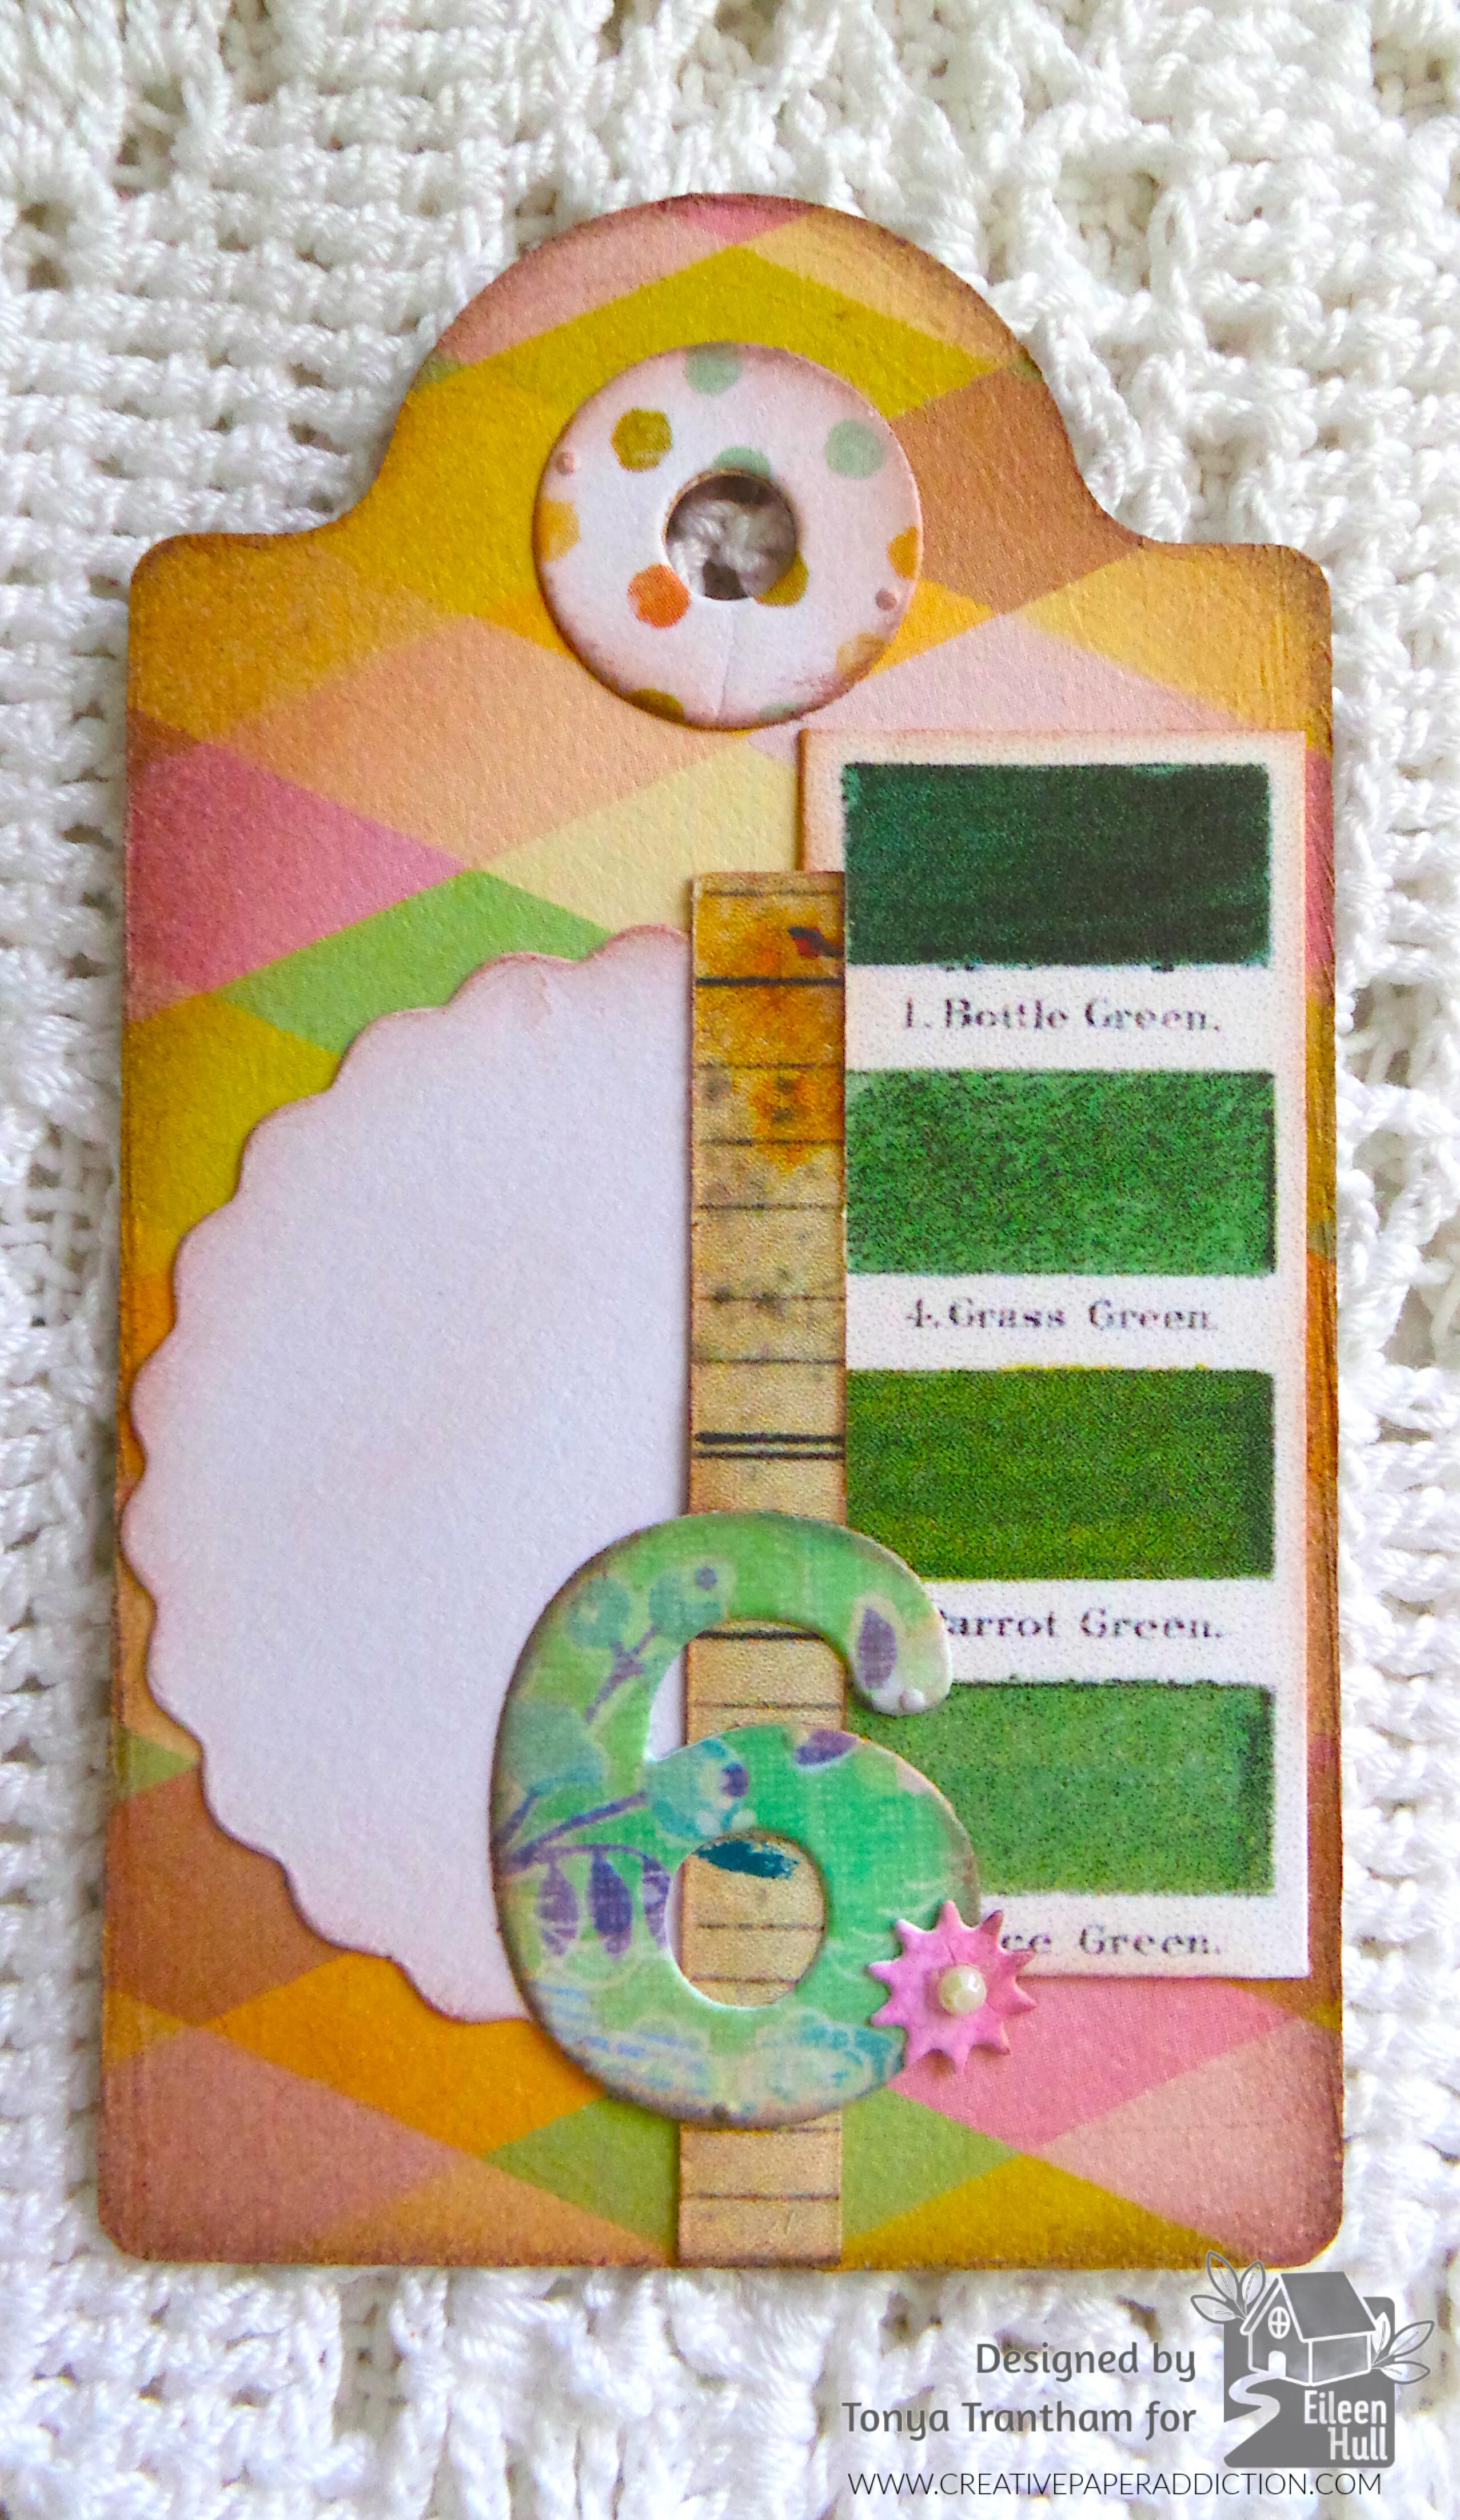
The back of the tag I added a scalloped circle die from my stash to one side of the tag. I glued a color swatch printable and a strip of patterned cardstock over part of the scalloped circle die. I cut out the number 6 from the Nora Numbers Thinlits and adhered near the bottom of the tag. I added a tiny flower that I had cut from the Windowsill Vase and Flowers Thinlits and a Gem to the center of the flower. I placed it onto the number 6.
I cut out the smaller tag and glued a fussy cut house and a strip of cardstock to it. I used another tiny flower from the Windowsill Vase and Flowers Thinlits and added a Gem to the center of the flower. The tiny leaf I’m not sure which collection that comes from but I adhered that to the back of the flower and added to the strip of cardstock.

I found this scrap of cardstock that had the word “things” on it. So I glued it to the tag along with the number 7 from the Nora Numbers Thinlits.

I cut a largest tag and glued the “love you more” sentiment to one side of the tag. I added the married couple from the Mini Paper Doll and a small heart from the Stitched Hearts Thinlits to the tag.

The other side I glued three strips of cardstock to the tag and added fussy cut boots with flowers to the tag.

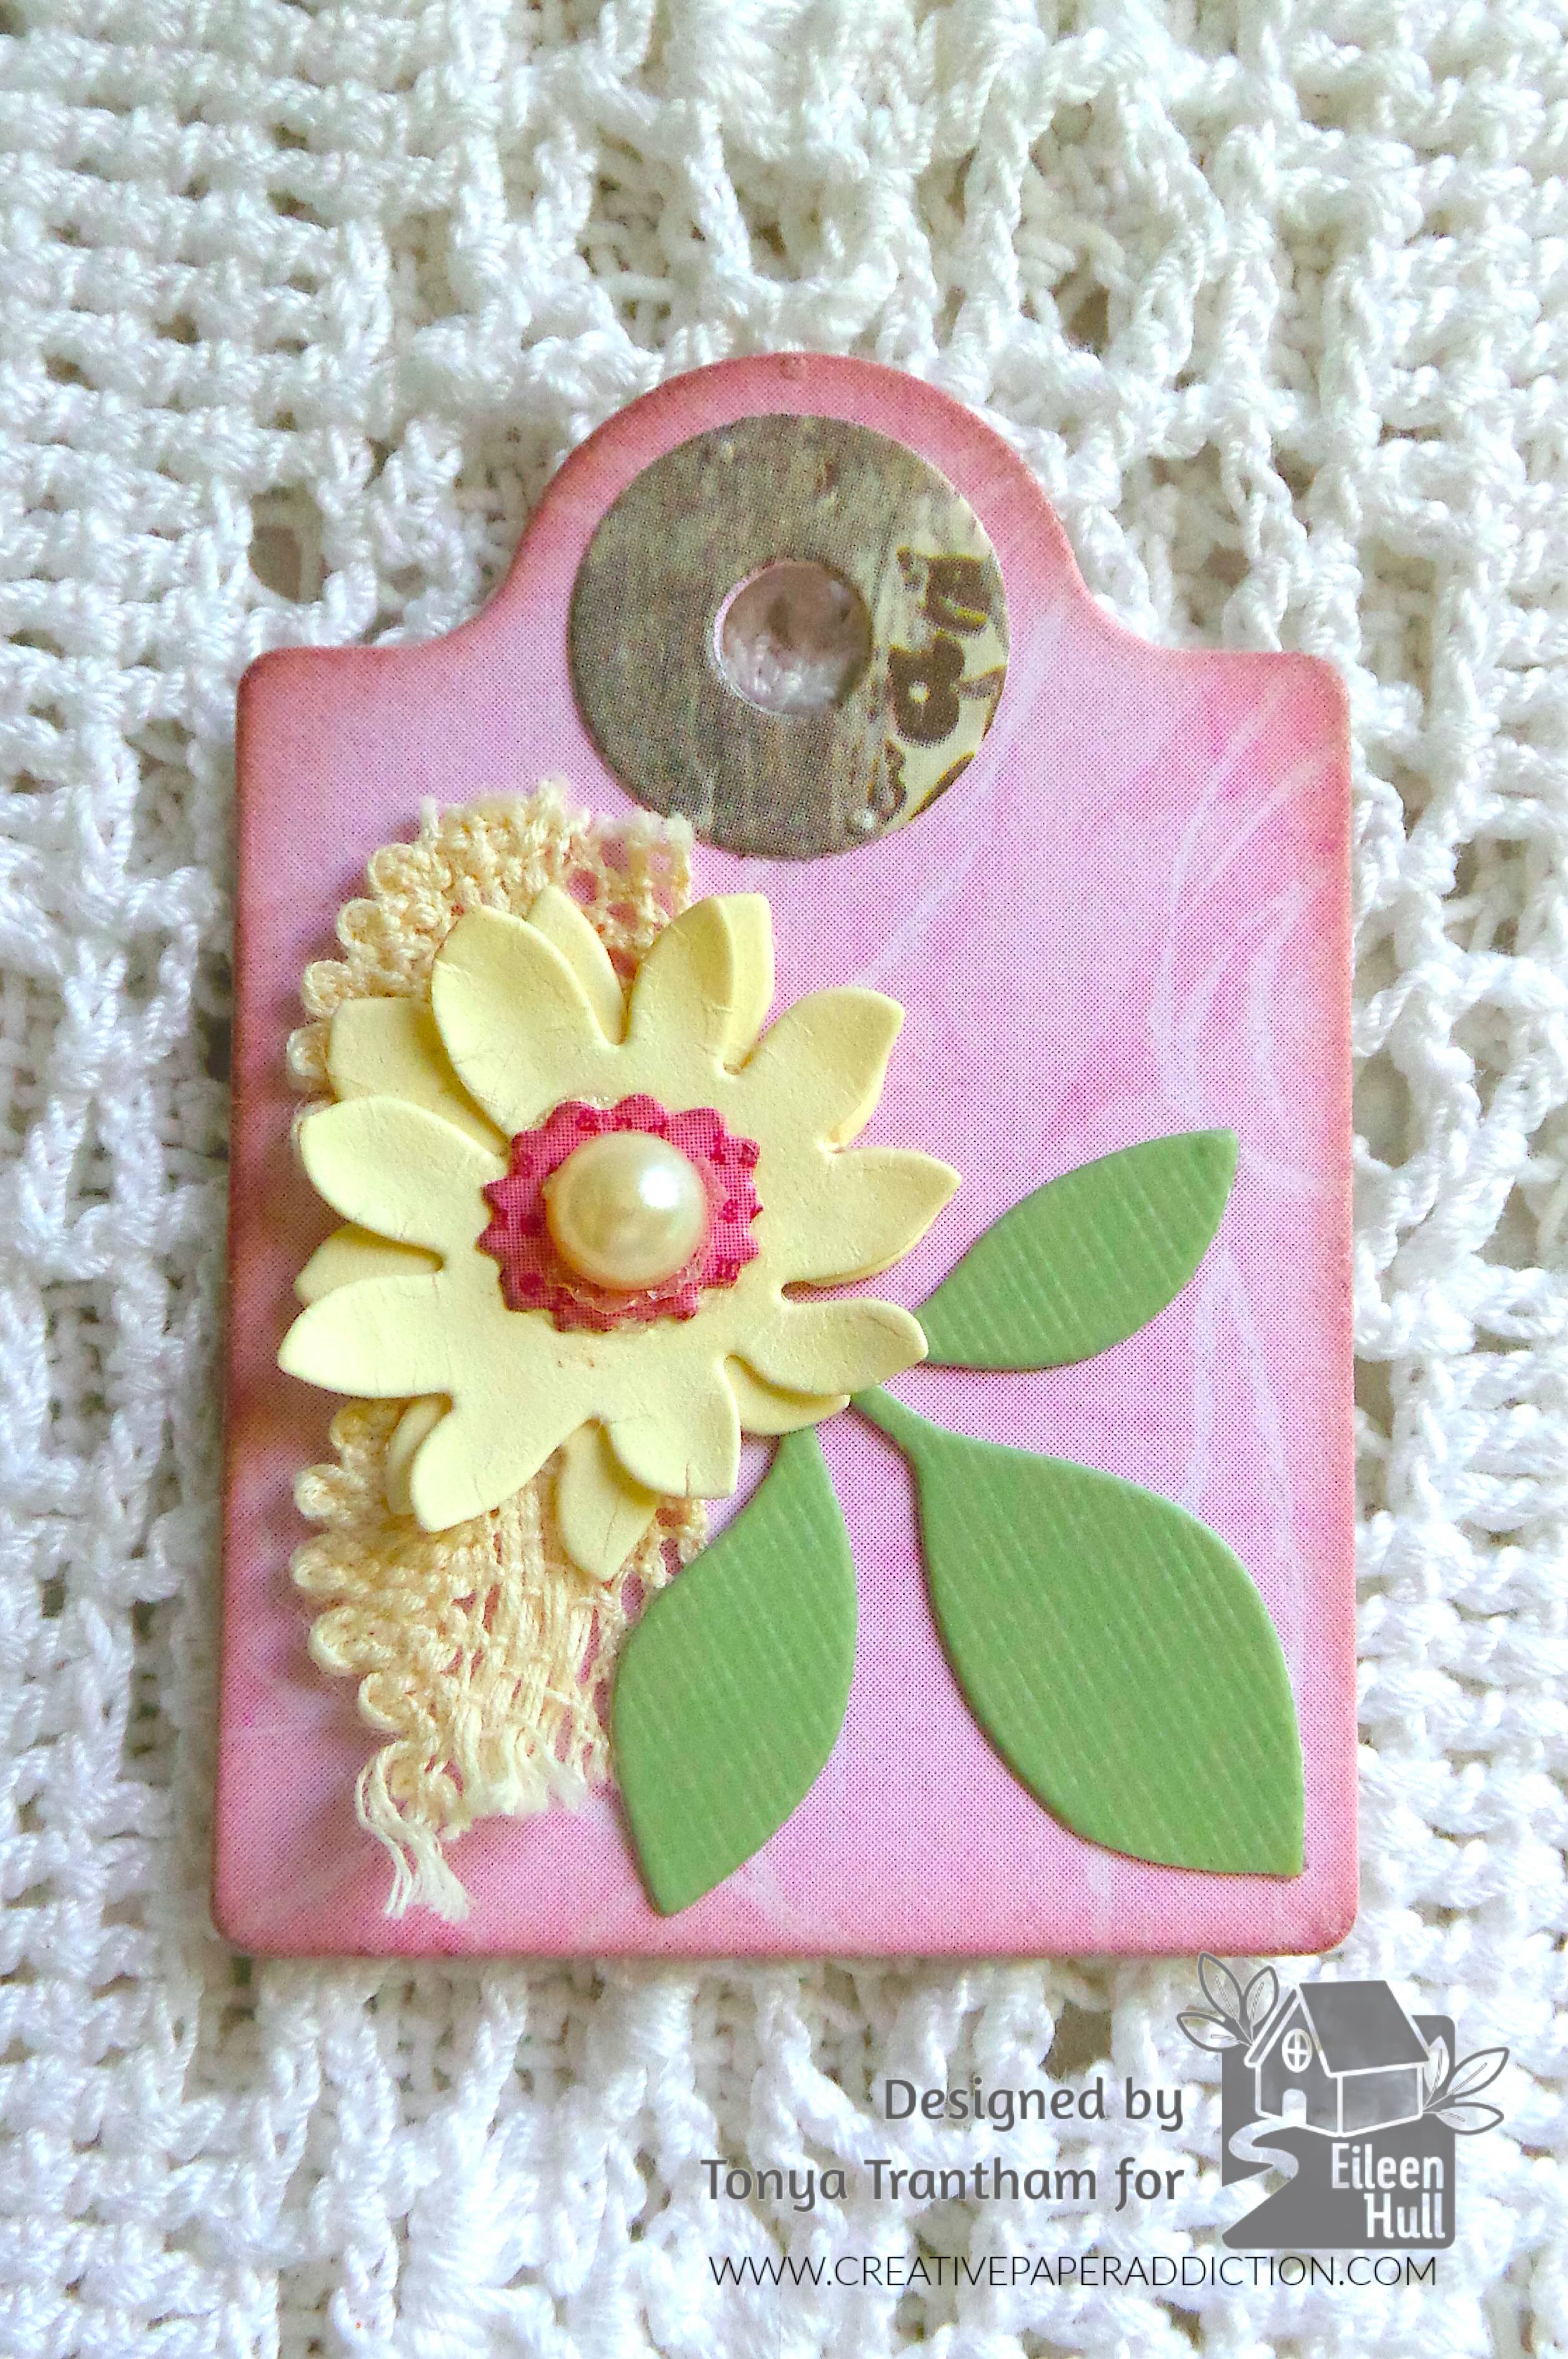
I cut out the smaller tag. I adhered a piece of lace to one side of the tag. I cut two of large and one small flowers from the Windowsill Vase and Flowers Thinlits. I layered and glued together and added a Pearl to the center of the flower. I dug into my stash and used a leaf sprig which I adhered it and the flower to the tag.
For the back side of the tag I cut a label from the Bookmark, Pockets and Toppers Thinlits and glued to the tag. I cut the number 8 from the Nora Numbers Thinlits and adhered to the corner of the label and I added the “No.” sticker from the Clippings Cardstock Stickers next to the number 8.

I cut out the larger tag. I used the negative space from a die I had cut out and glued to one side of the tag. I added a circle die over what was there. I adhered a strip of cardstock and Ric Rac onto the circle die. I layered two flowers from the Windowsill Vase and Flowers Thinlits and added a Gem to the center of the flower. I dug into my stash and found a leaf sprig die that I glued to the tag along with the flower. To finish I glued a little girl from the Mini Paper Doll to the tag.

The back side of the tag I embossed a circle die with Watercolour Bouquet Embossing Folder and lightly inked with an Aqua Chalk Ink and glued onto the tag along with a postage stamp from the Faux Postage Thinlits. I applied Adhesive Sheet to a piece of green cardstock and cut a portion of a wreath from the Wreath and Snowflake Thinlits. I placed the wreath onto the tag. I cut the letter “T” from the Nora Alphabet Thinlits and I glued onto the circle and postage stamp portion of the tag to finish.

I cut out the larger tag and embossed with the Watercolour Bouquet Embossing Folder. I lightly inked over the edges with Aqua Chalk Ink. I adhered Pom Pom trim to the bottom of the tag.

The back I cut out a portion of my business card with the tag die and polk a dot cardstock from the bottom half. I glued both to the back of the tag I had embossed. I added a Ric Rac to finish.
I had so much fun decorating all the tags and I can’t wait to create more. I love the fact that I am using up scraps of cardstock, embellishments that didn’t make it into a project and it gives me a chance to create a little when I don’t have much time.
If you have any questions about this project or comments please leave them below. Also If you haven’t been by Eileen blog to see what the team has been up to you can find that post HERE.

Supplies
Sizzix/Eileen Hull: Ephemera Pocket and Tags Thinlits
Sizzix/Eileen Hull: Nora Numbers Thinlits
Sizzix/Eileen Hull: Nora Alphabet Thinlits
Sizzix/Eileen Hull: Stitched Hearts Thinlits
Sizzix/Eileen Hull: Faux Postage Thinlits
Sizzix/Eileen Hull: Windowsill Vase and Flowers Thinlits
Sizzix/Eileen Hull: Home Sweet Home Thinlits
Sizzix/Eileen Hull: Wreath and Snowflake Thinlits
Sizzix/Eileen Hull: Watercolour Bouquet Embossing Folder
Sizzix/Eileen Hull: Bookmark, Pockets and Toppers Thinlits
Tim Holtz: Clippings Cardstock Stickers
Various Plain and Patterned Cardstocks
Various Printables
Lace, Trim and Cheese Cloth
Various Stickers and Embellishments
Brown Chalk Ink
Aqua Chalk Ink
Beacon Adhesives: Zip Dry Adhesive
(Products listed above are Affiliated Links for your convenience)
DISCLAIMERS
This blog is compensated to provide opinion on products, services, websites, and various other topics. Even though the owner(s) of this blog receives compensation for our posts or advertisements. I always give my honest opinions, findings, beliefs, or experiences on those topics or products. The views and opinions expressed on this blog are purely my own. Any product claim, statistic, or quote should be checked with each manufacturer. Verify other representations about a product or service with the provider or party in question.This blog contains affiliate links. Clicking these links helps to support Tonya Trantham Designs – Creative Paper Addiction. It’s at no additional cost to you. Today’s features are Sizzix, Eileen Hull and Scrapbook.com Products.

Thanks for stopping by, I hope your Tuesday is great and enjoy creating!
