DIY Tags from Scrap Cardstock: Quick and Easy
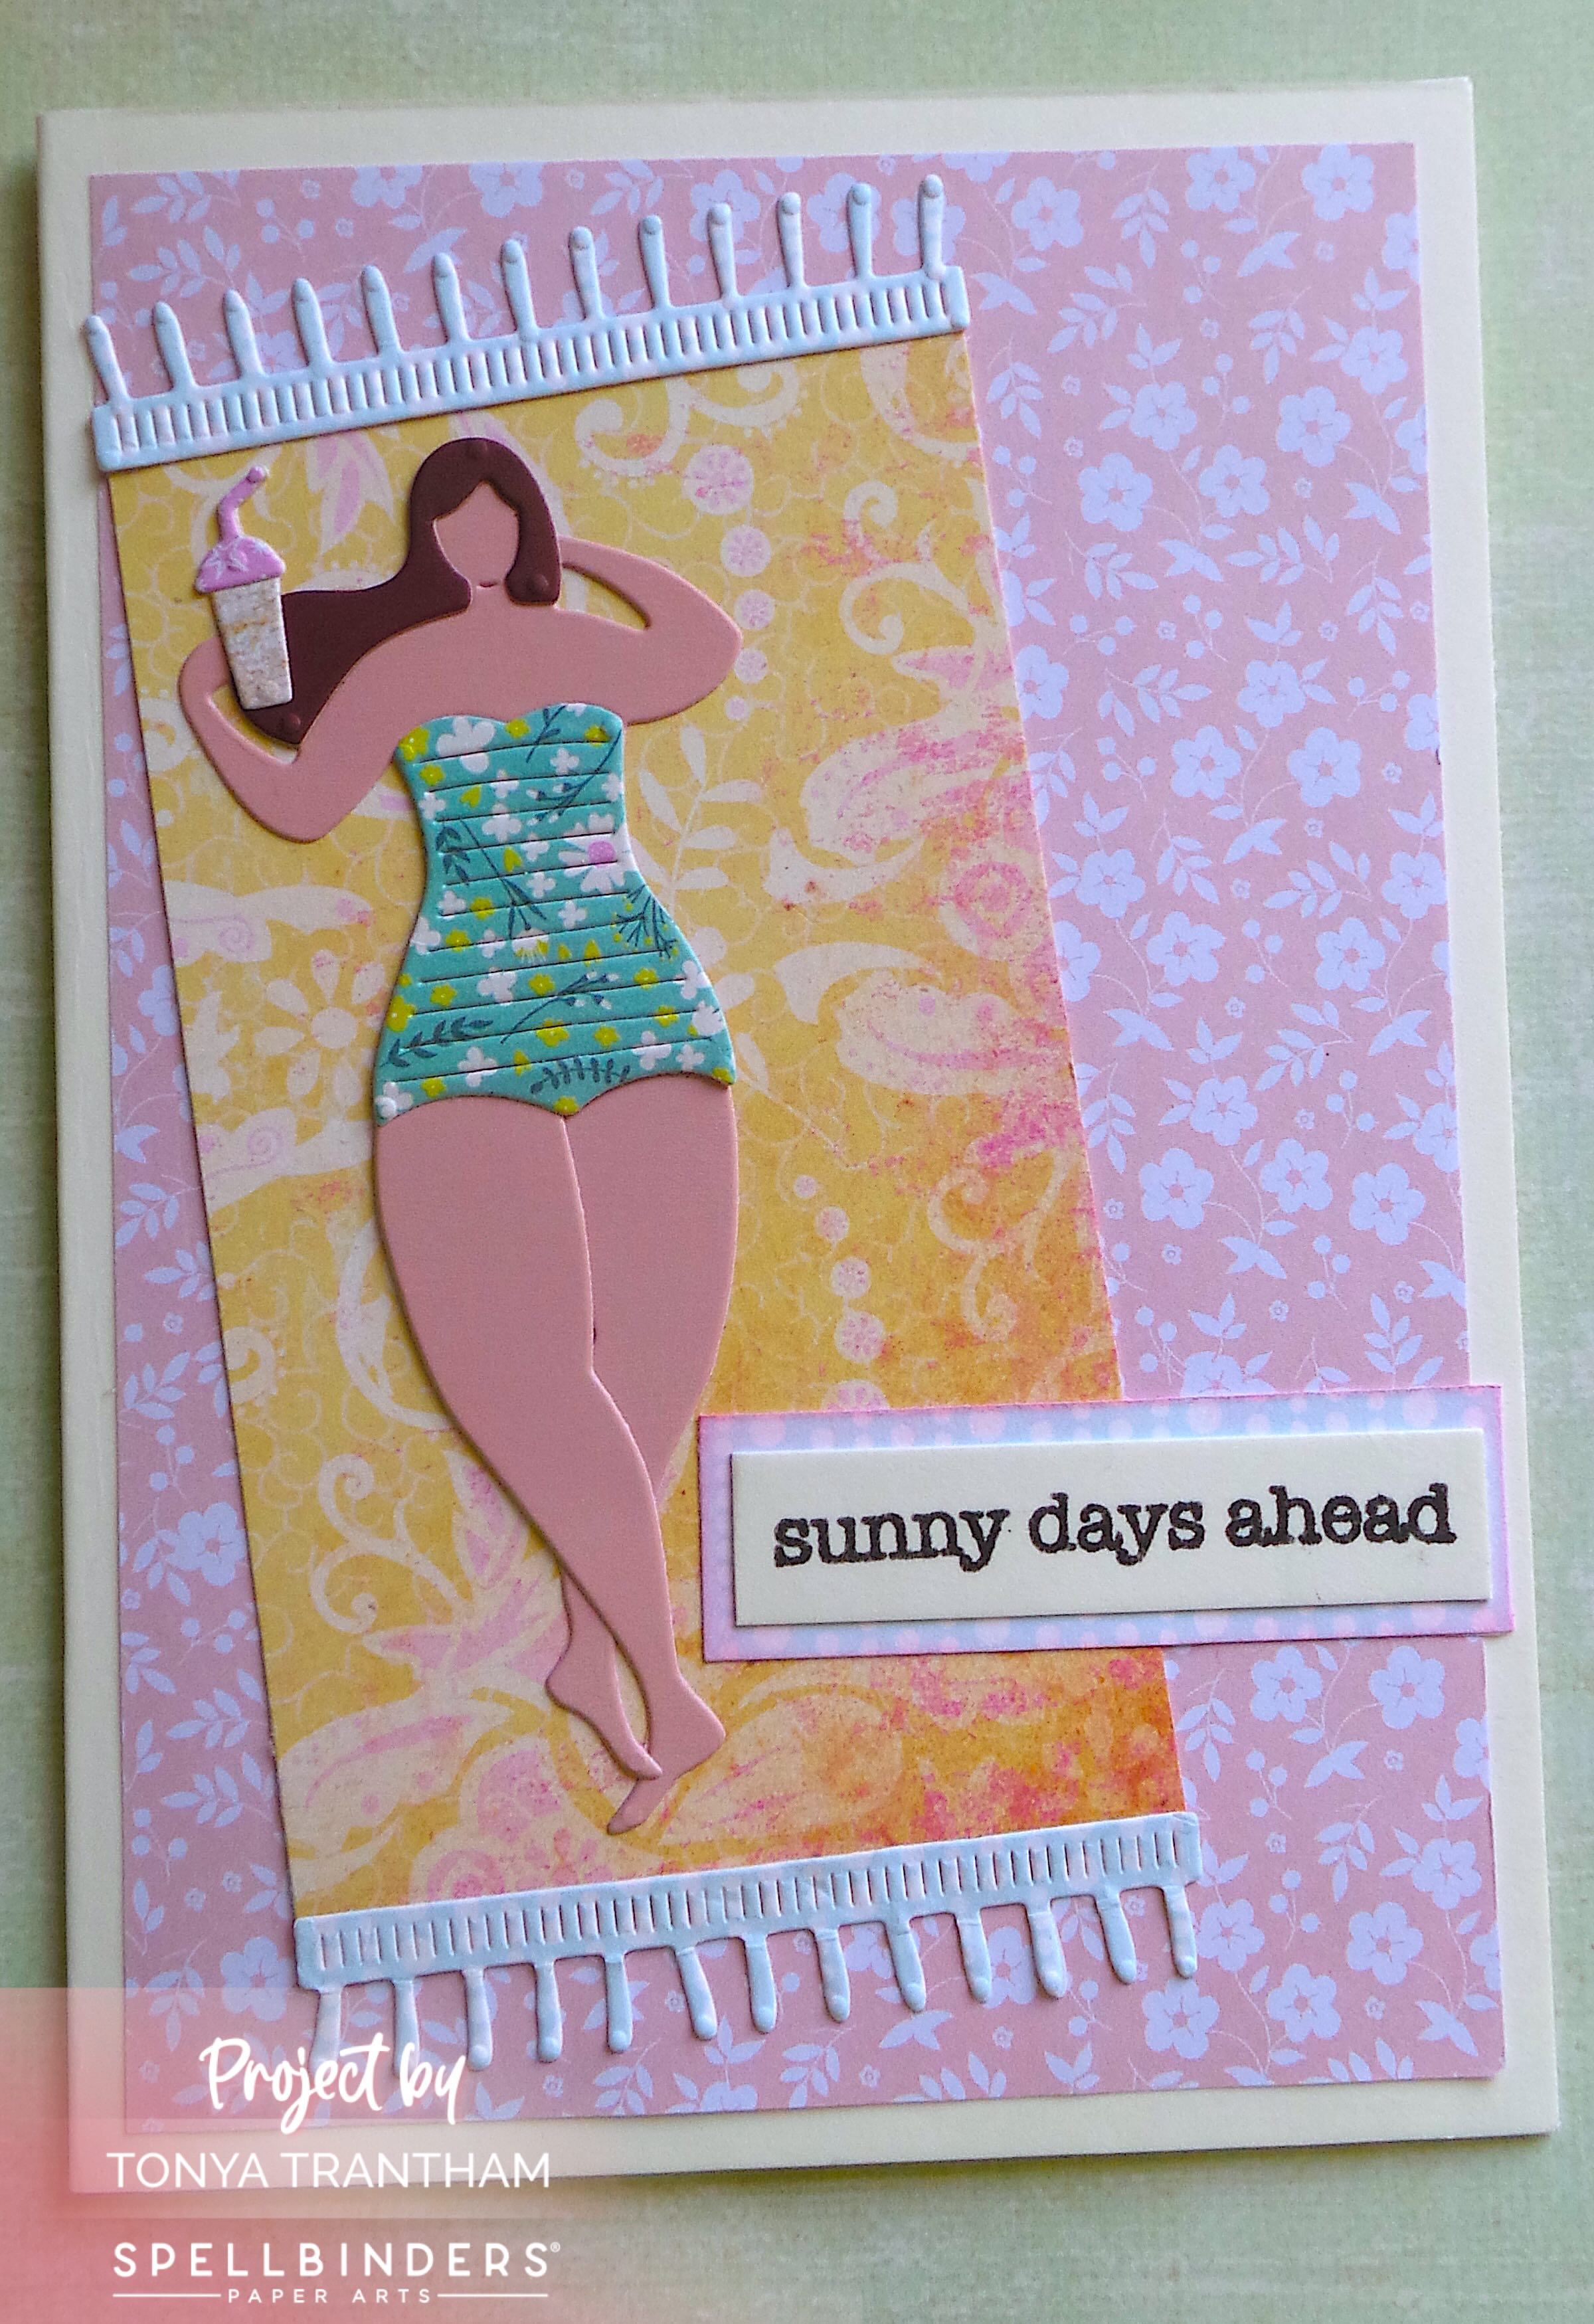
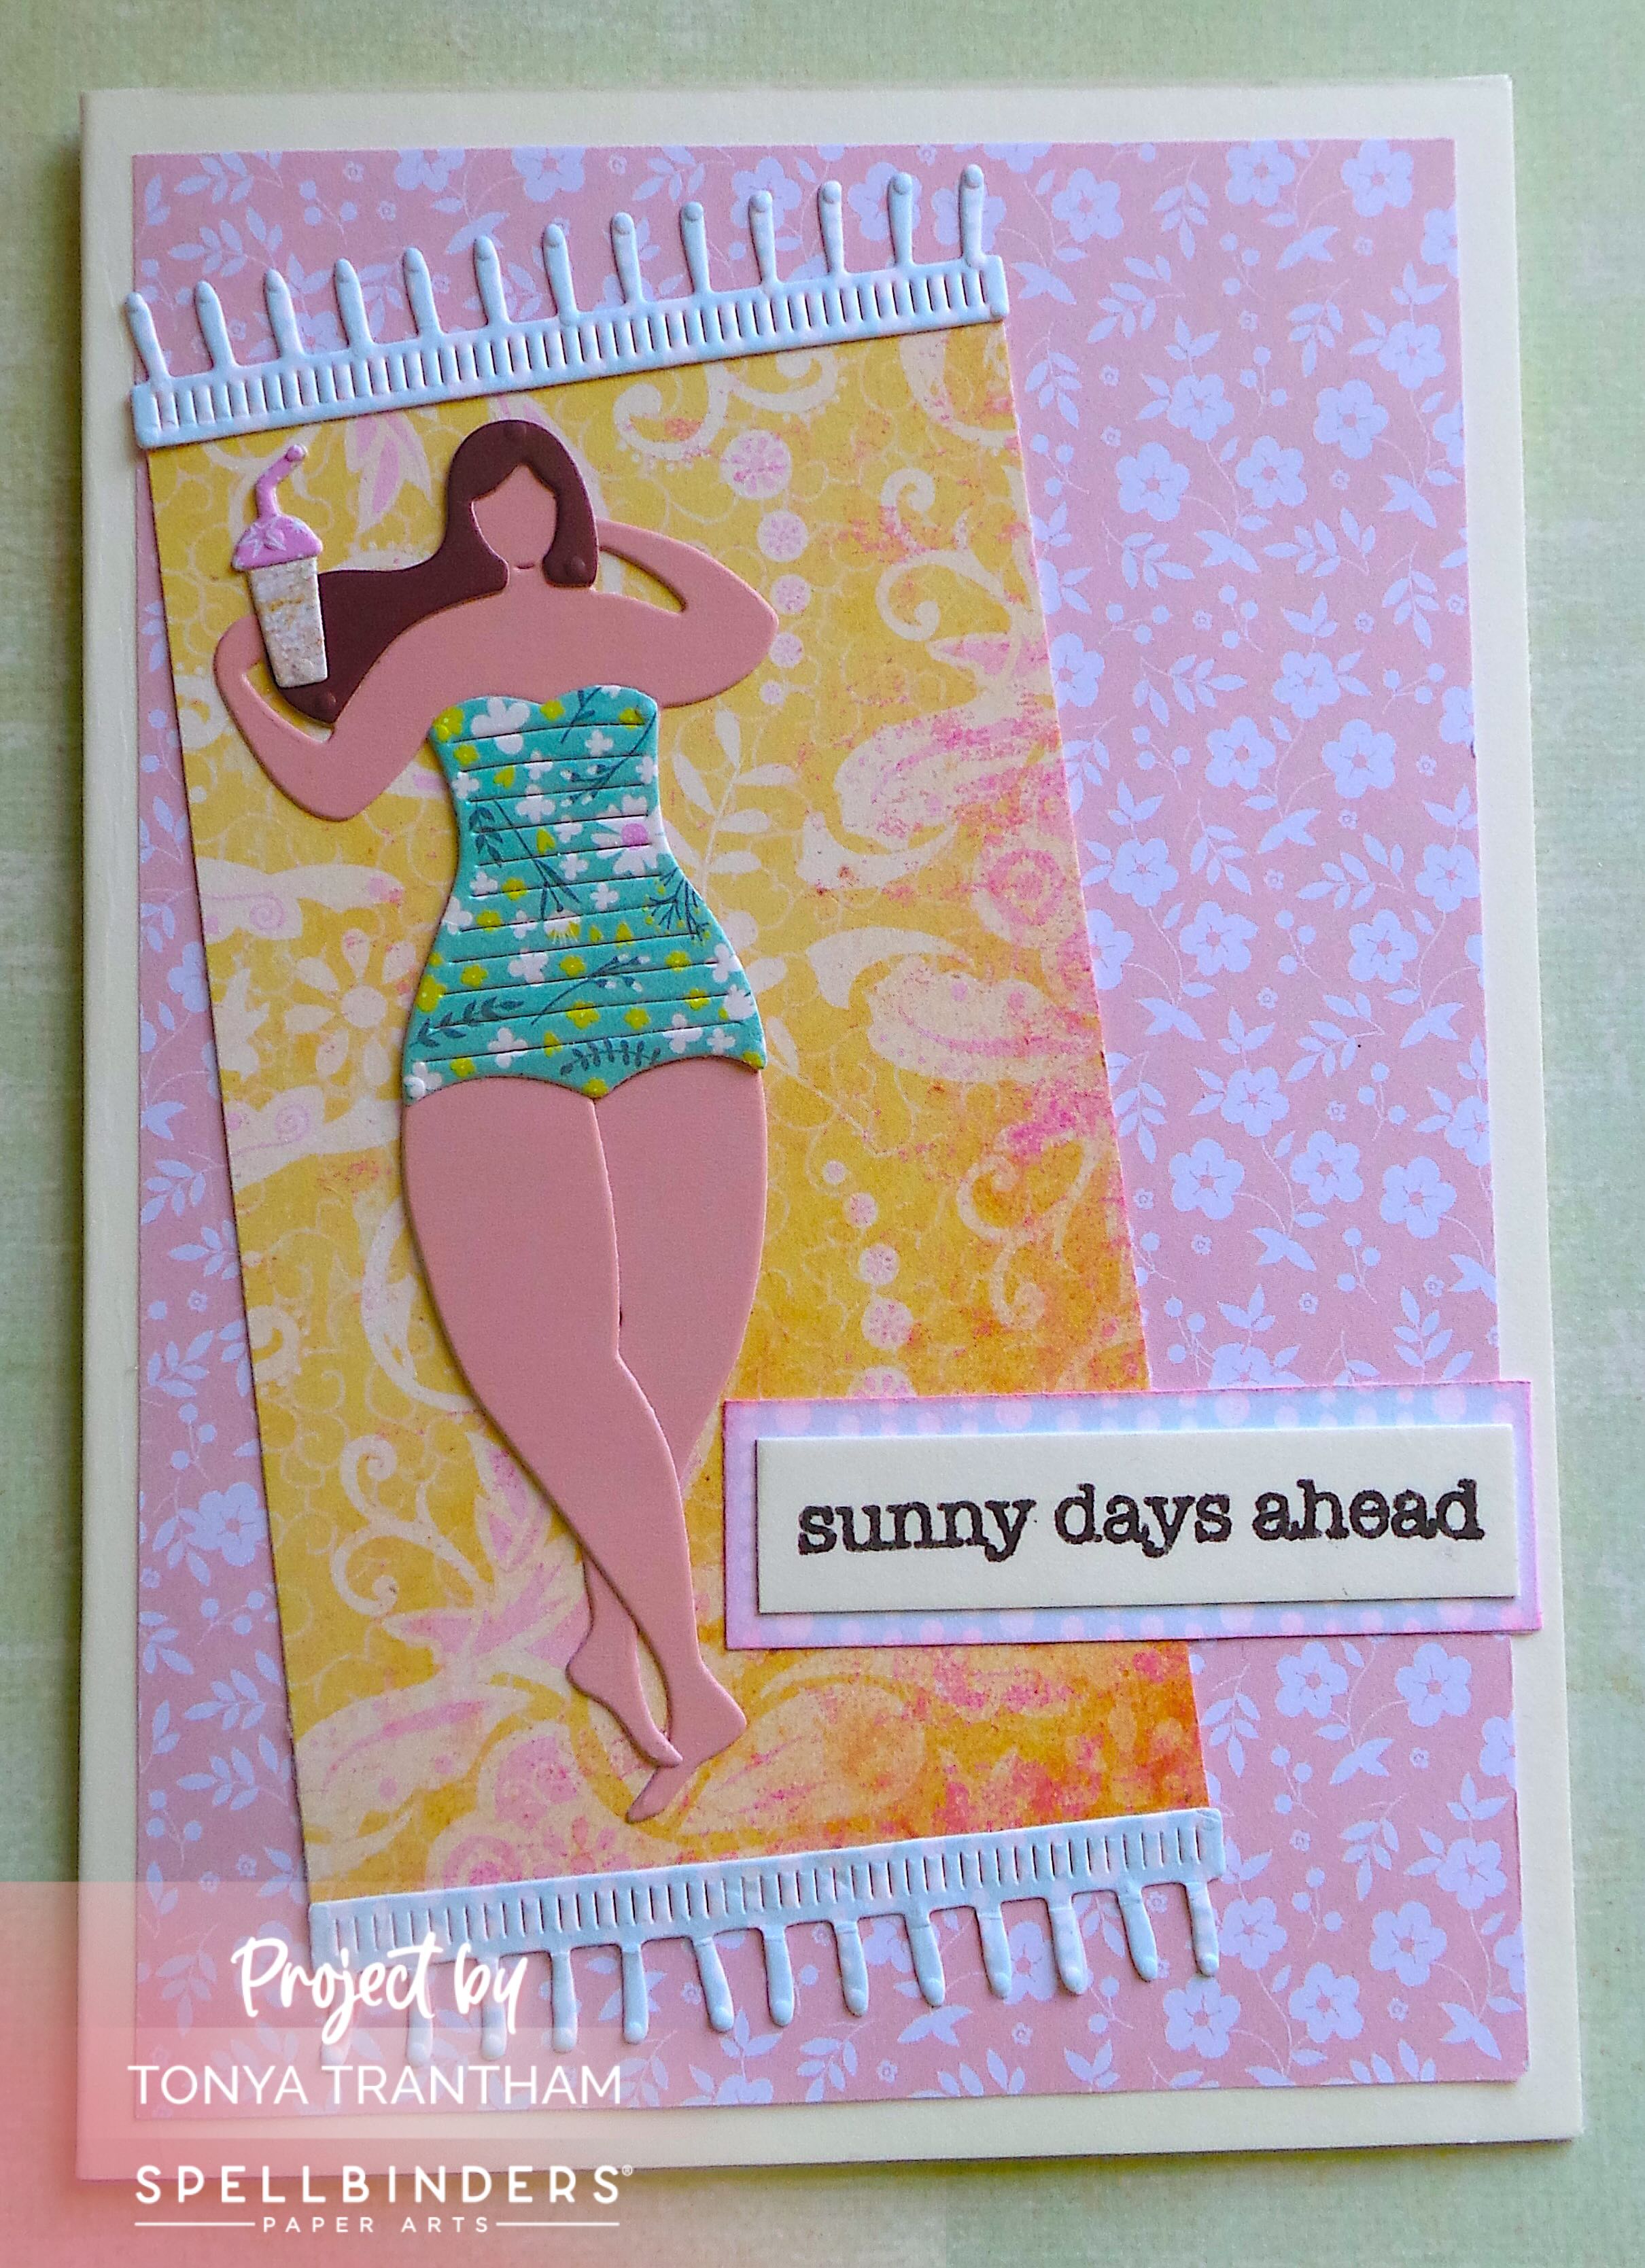
Hi everyone! I’m back with my first project of the month for Eileen Hull. I created two quick tags using the largest tag die from the Waterfall and Tags Thinlits. Tags are a great way to use up scraps of cardstock and those random bits of lace or embellishments that cover your desk. Anyways, let’s get started!
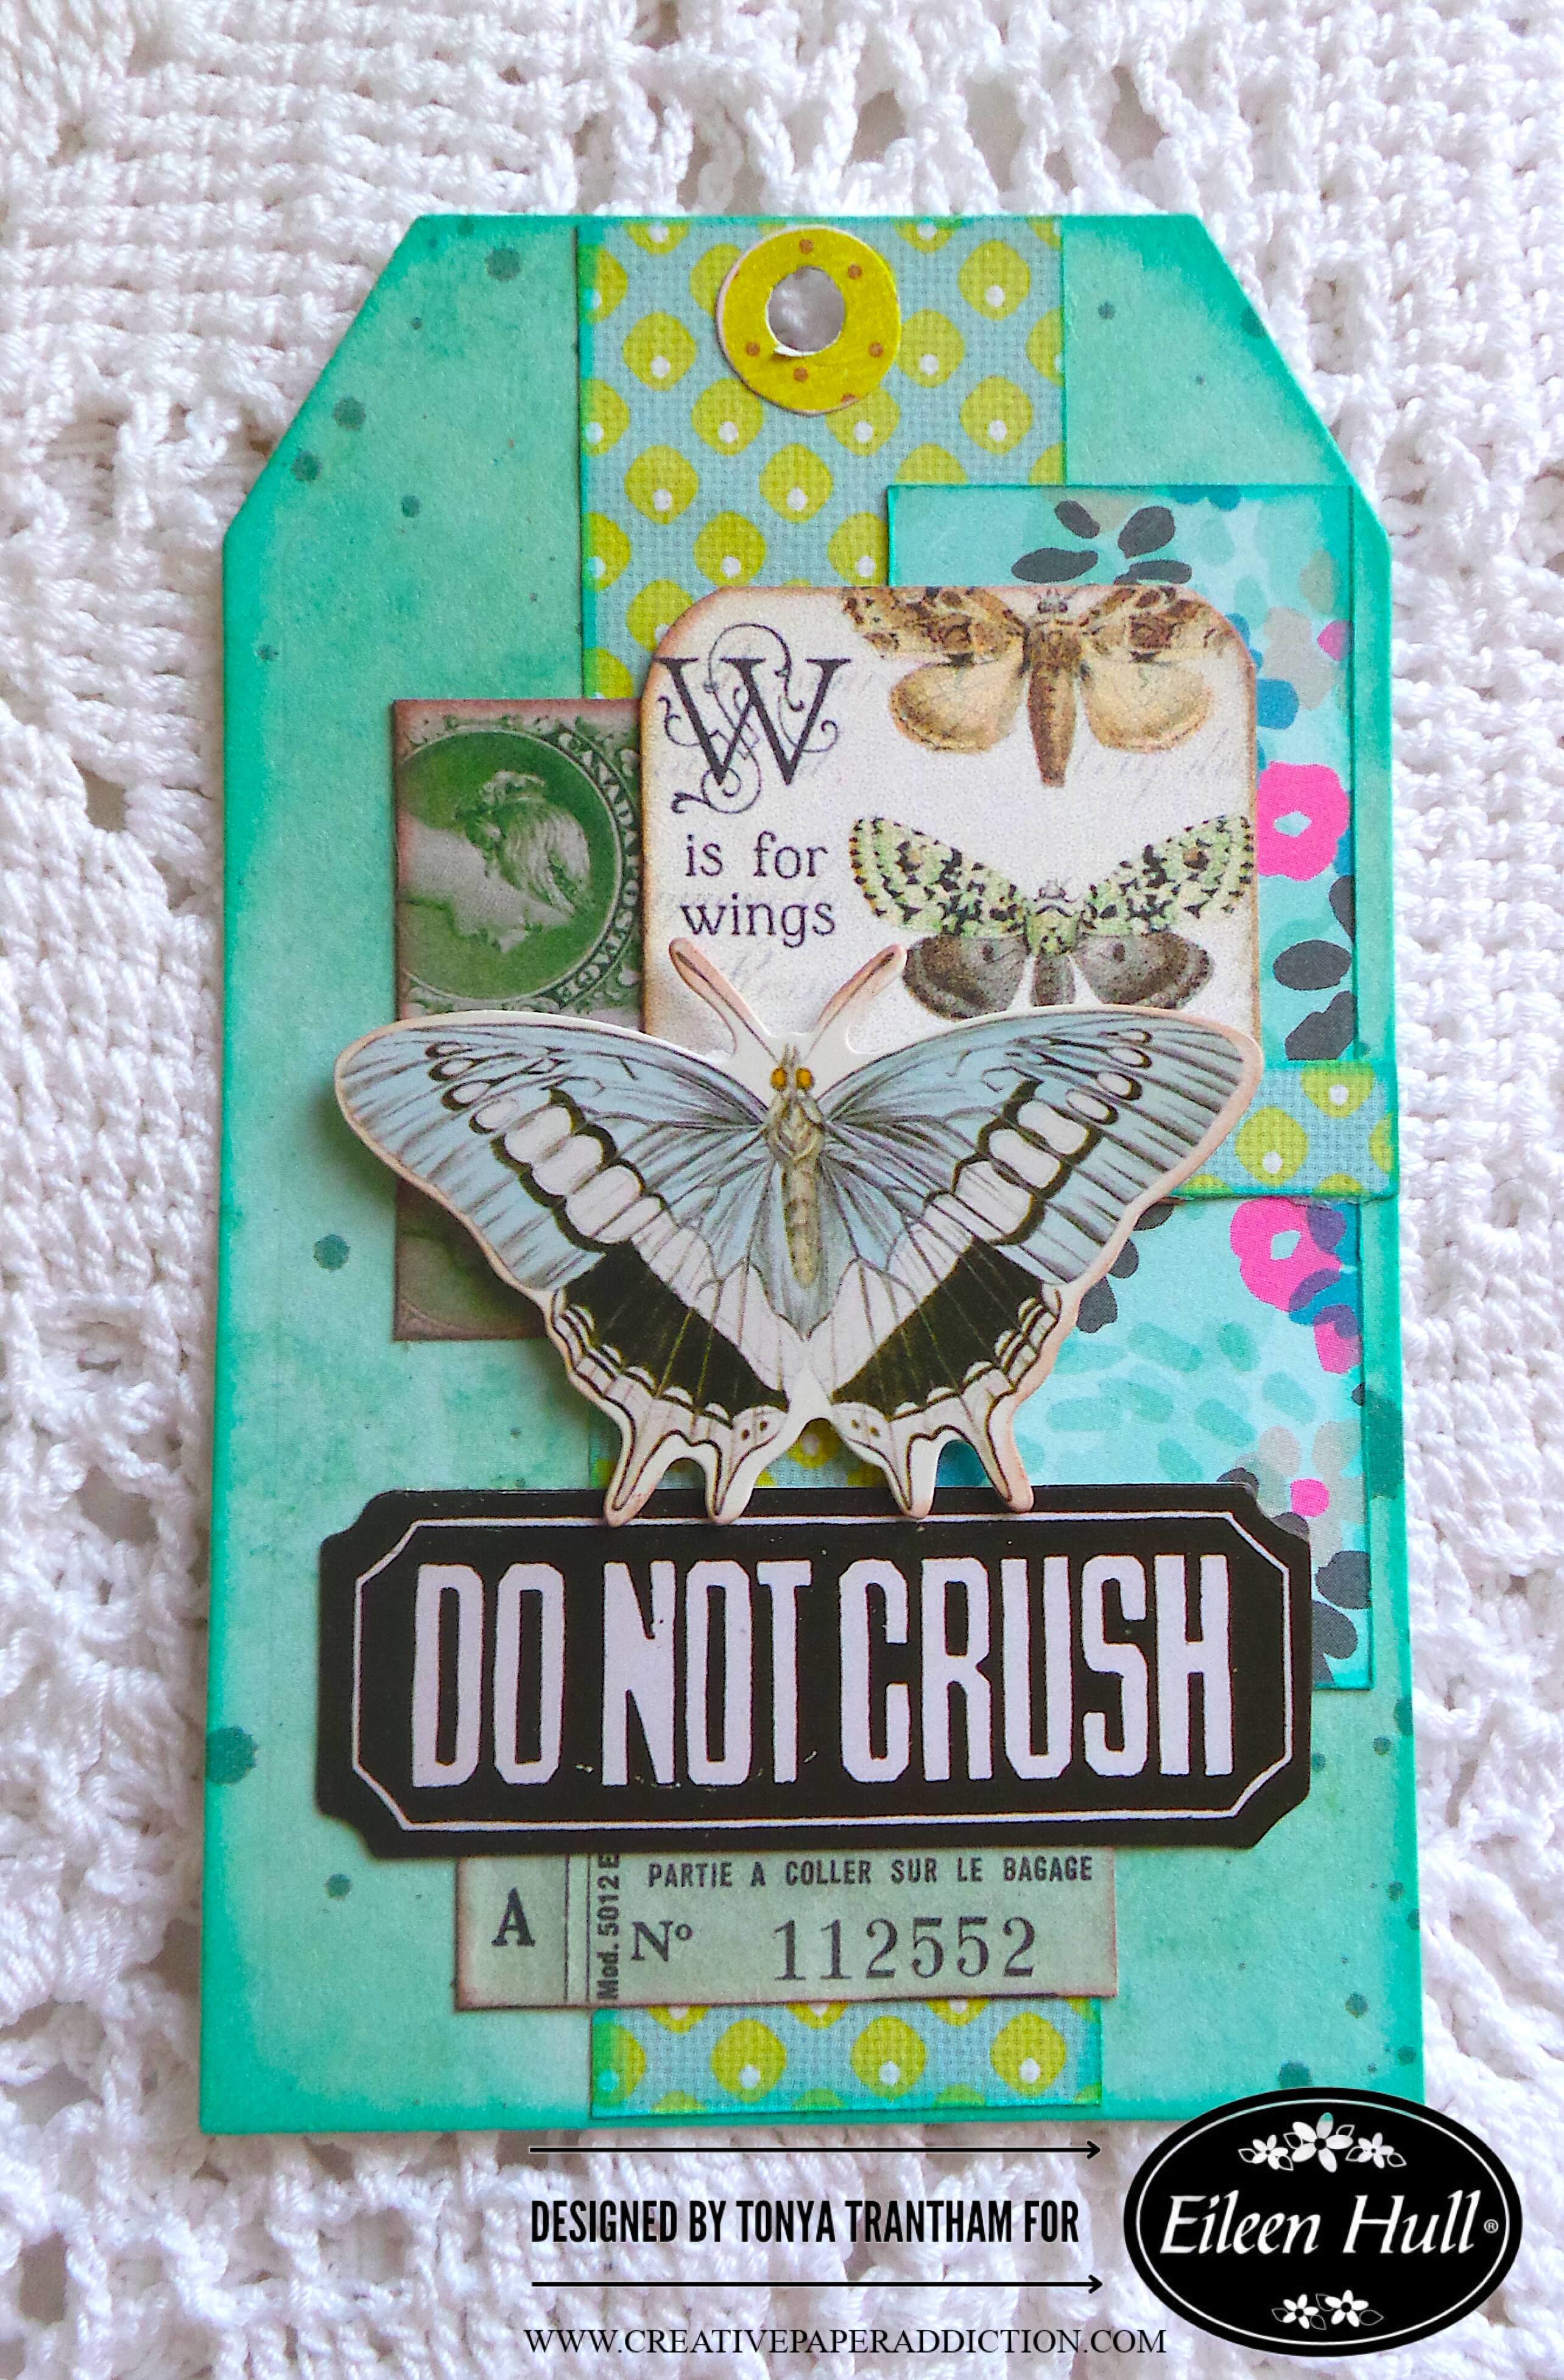
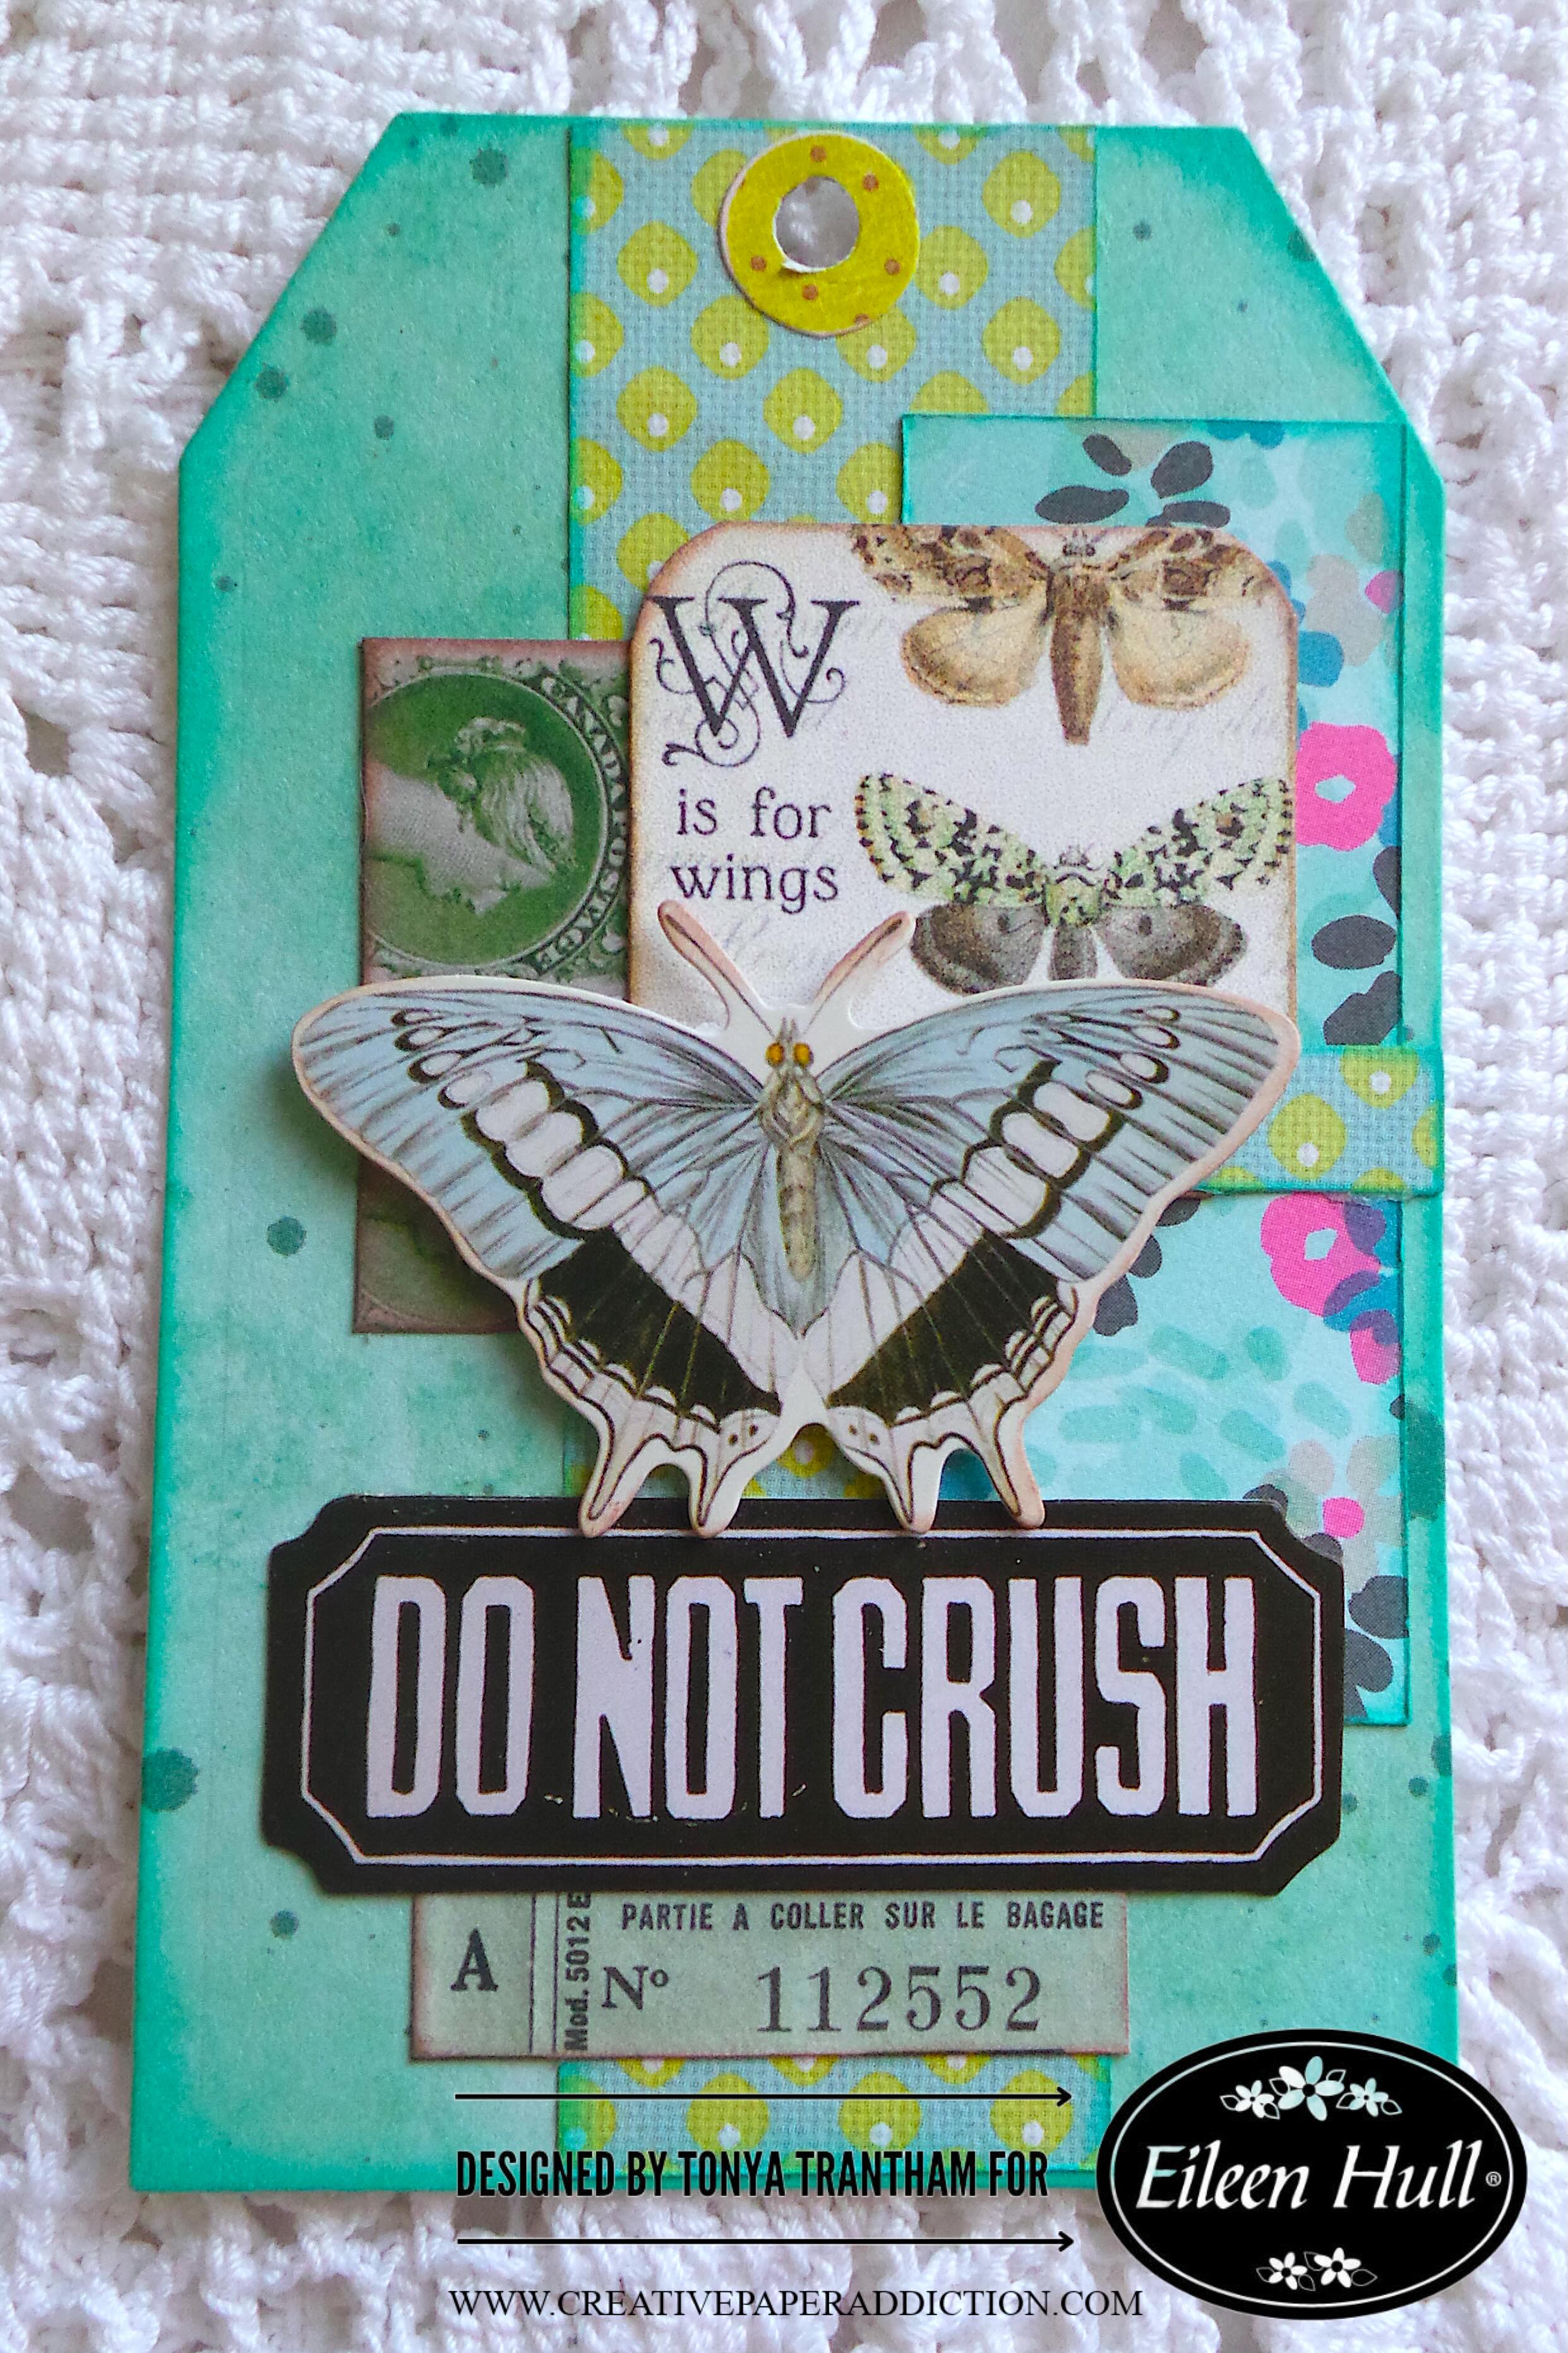
First I gathered up scrap of cardstock that coordinated with the color of the tag. I inked the edges of the scraps with a combo of blue and brown chalk inks and adhered to the tag.
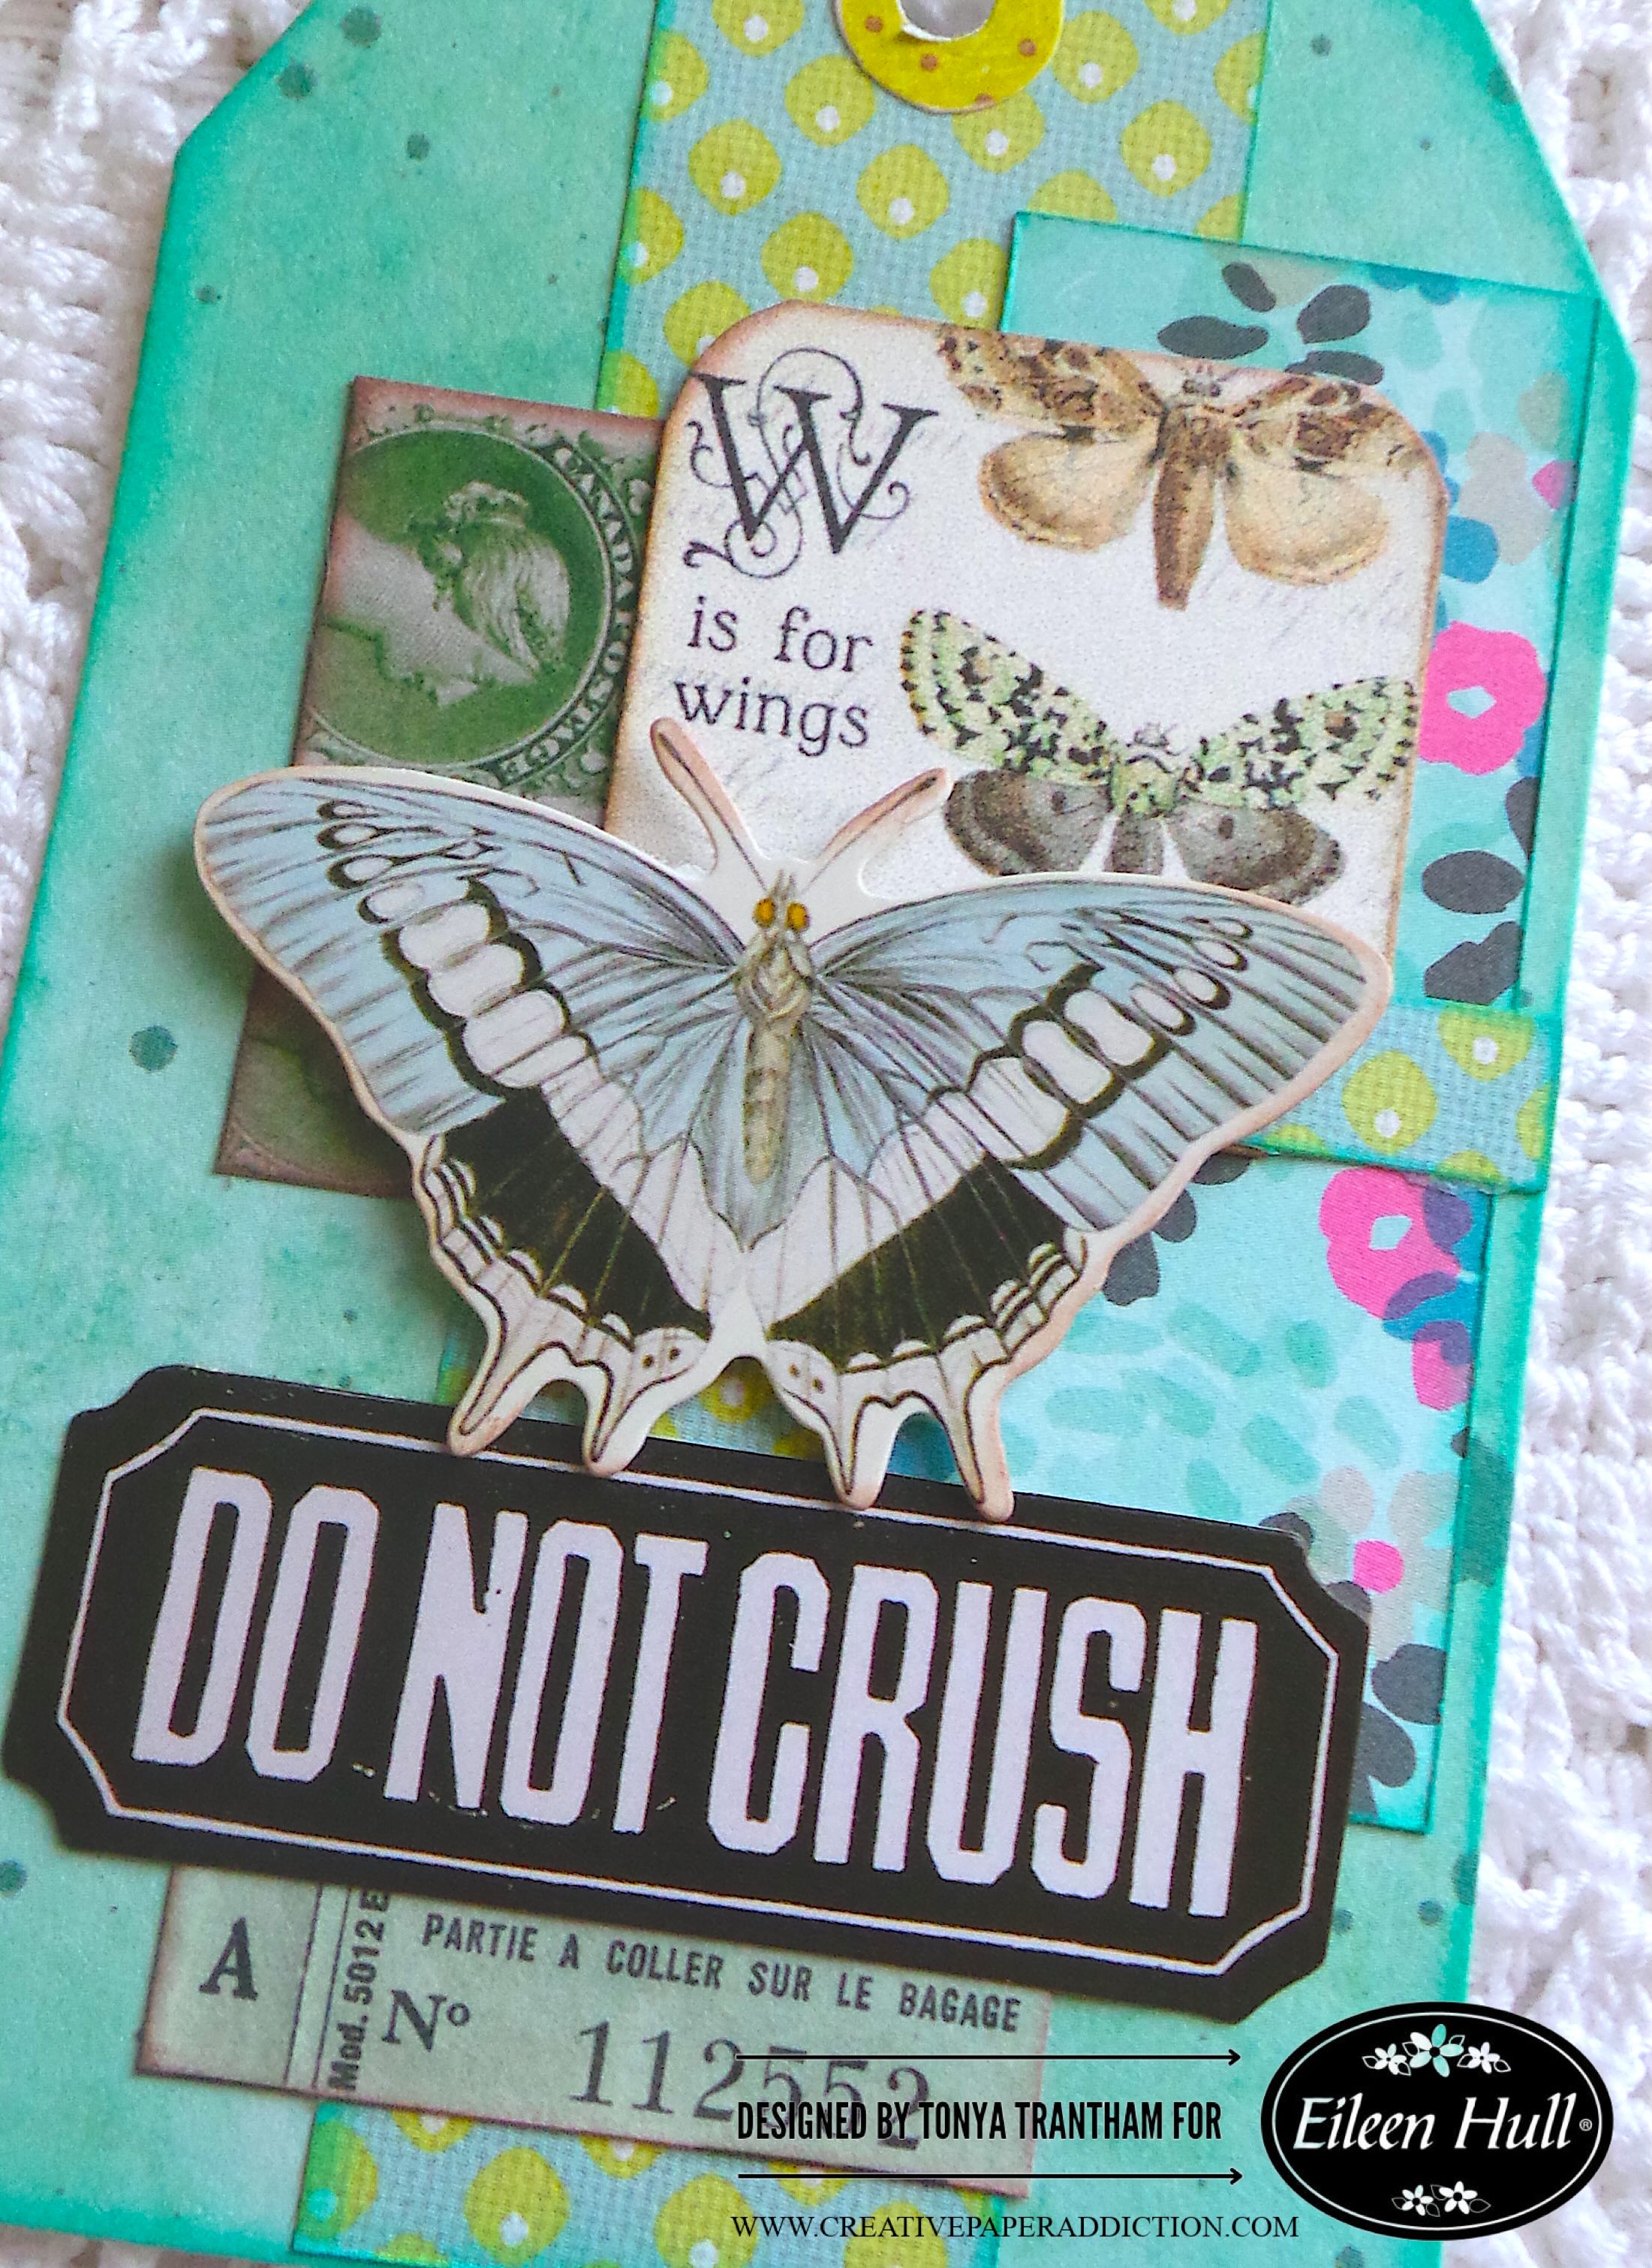
The “W is for Wings” is a printable, the butterfly is a chipboard piece and the “do not crush” sentiment is from one of Tim Holtz’s collections. I glued all to the tag to finish.
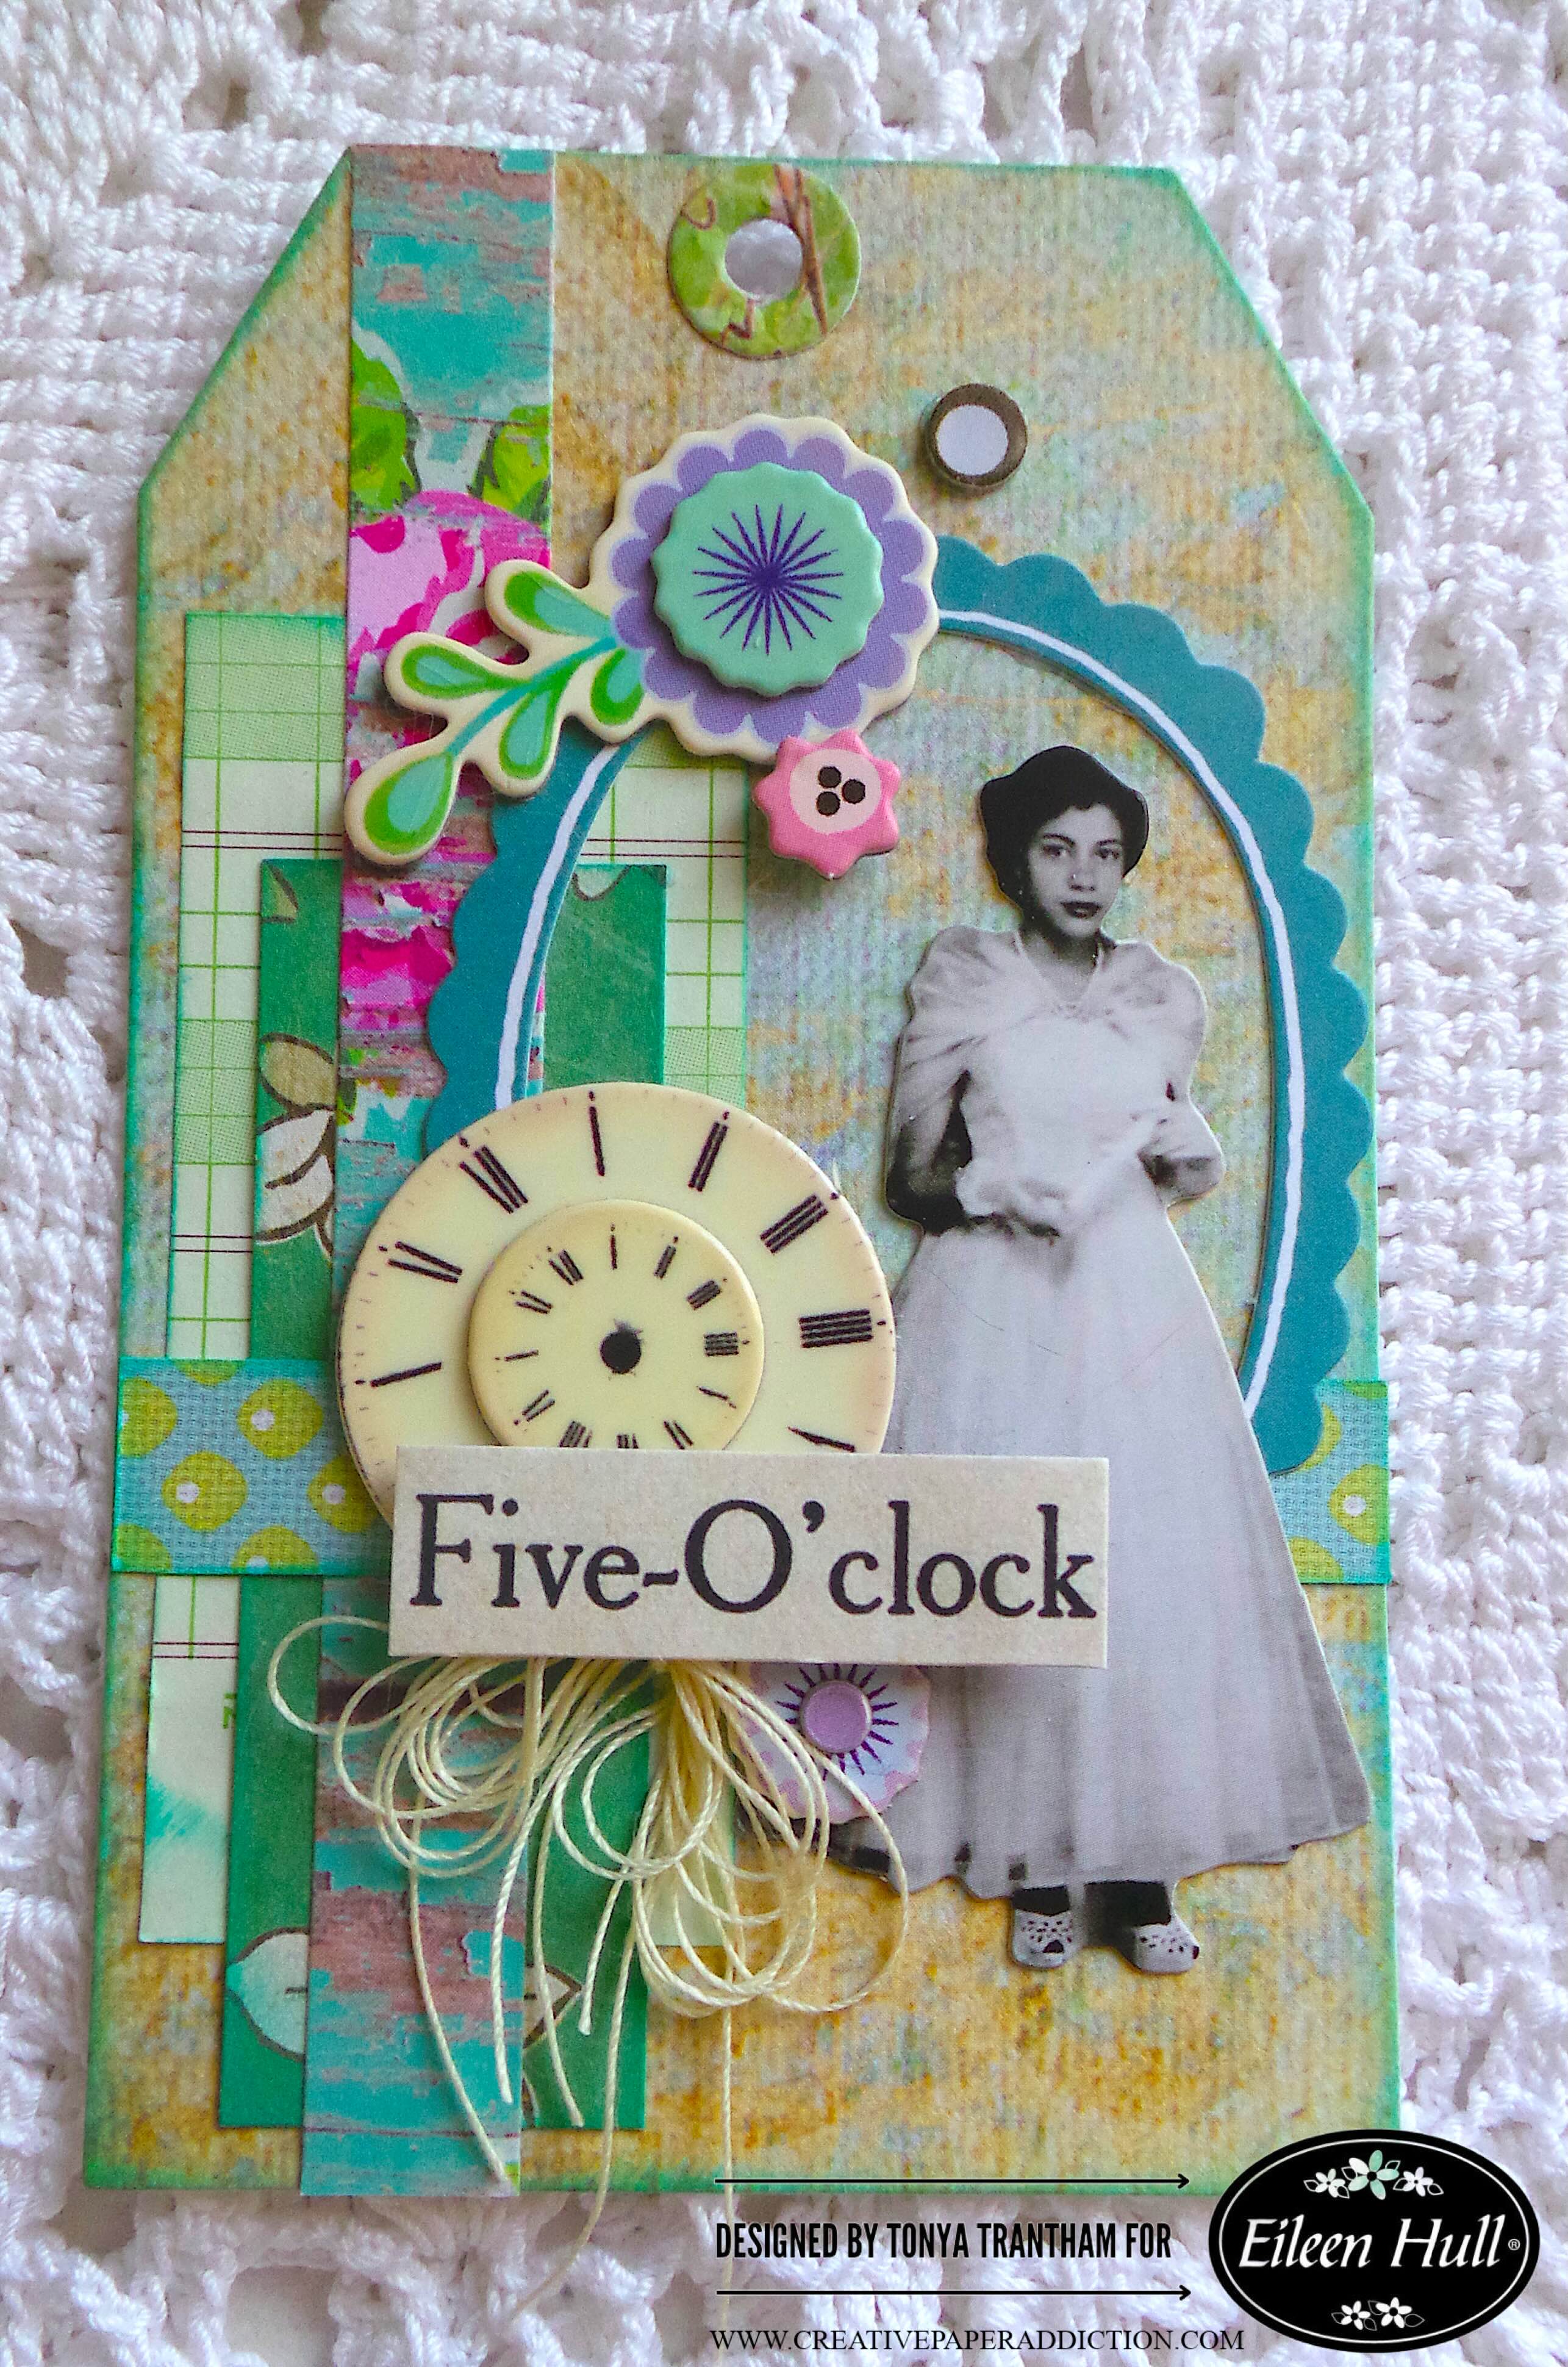
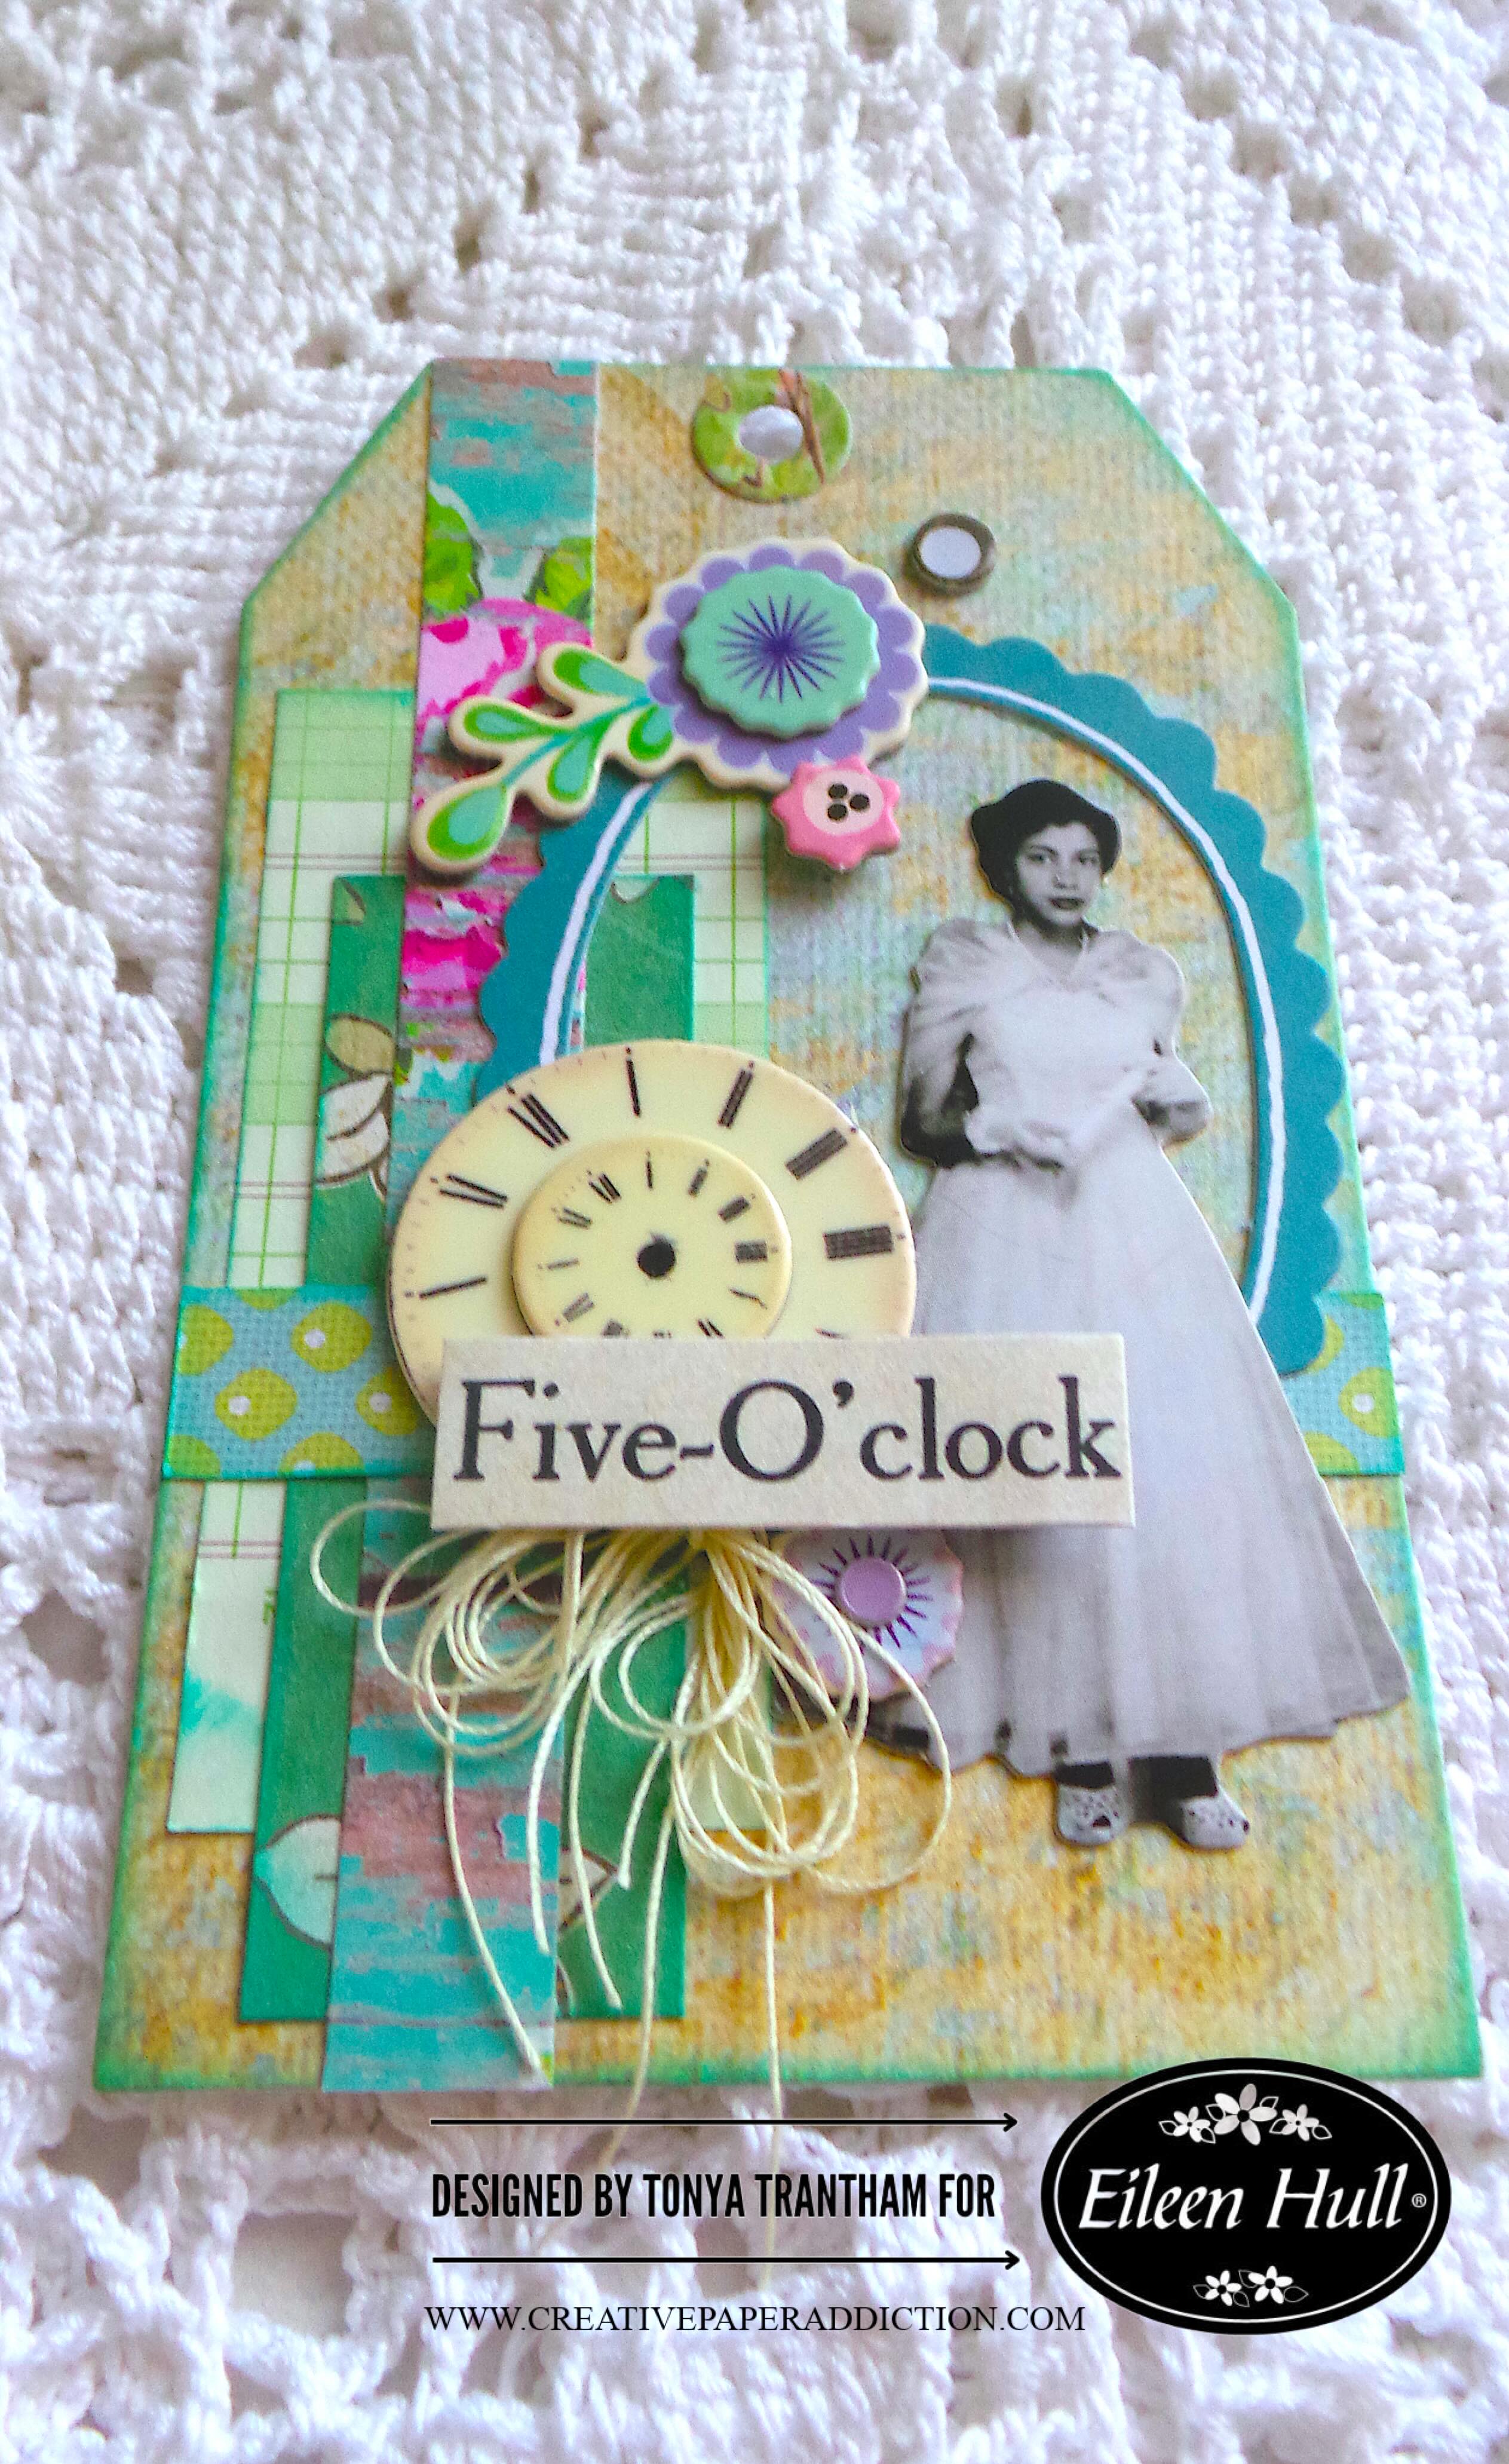
The second tag I used an assortment of cardstock and a little piece of ledger paper which I inked with blue chalk ink. I adhered all to the tag.
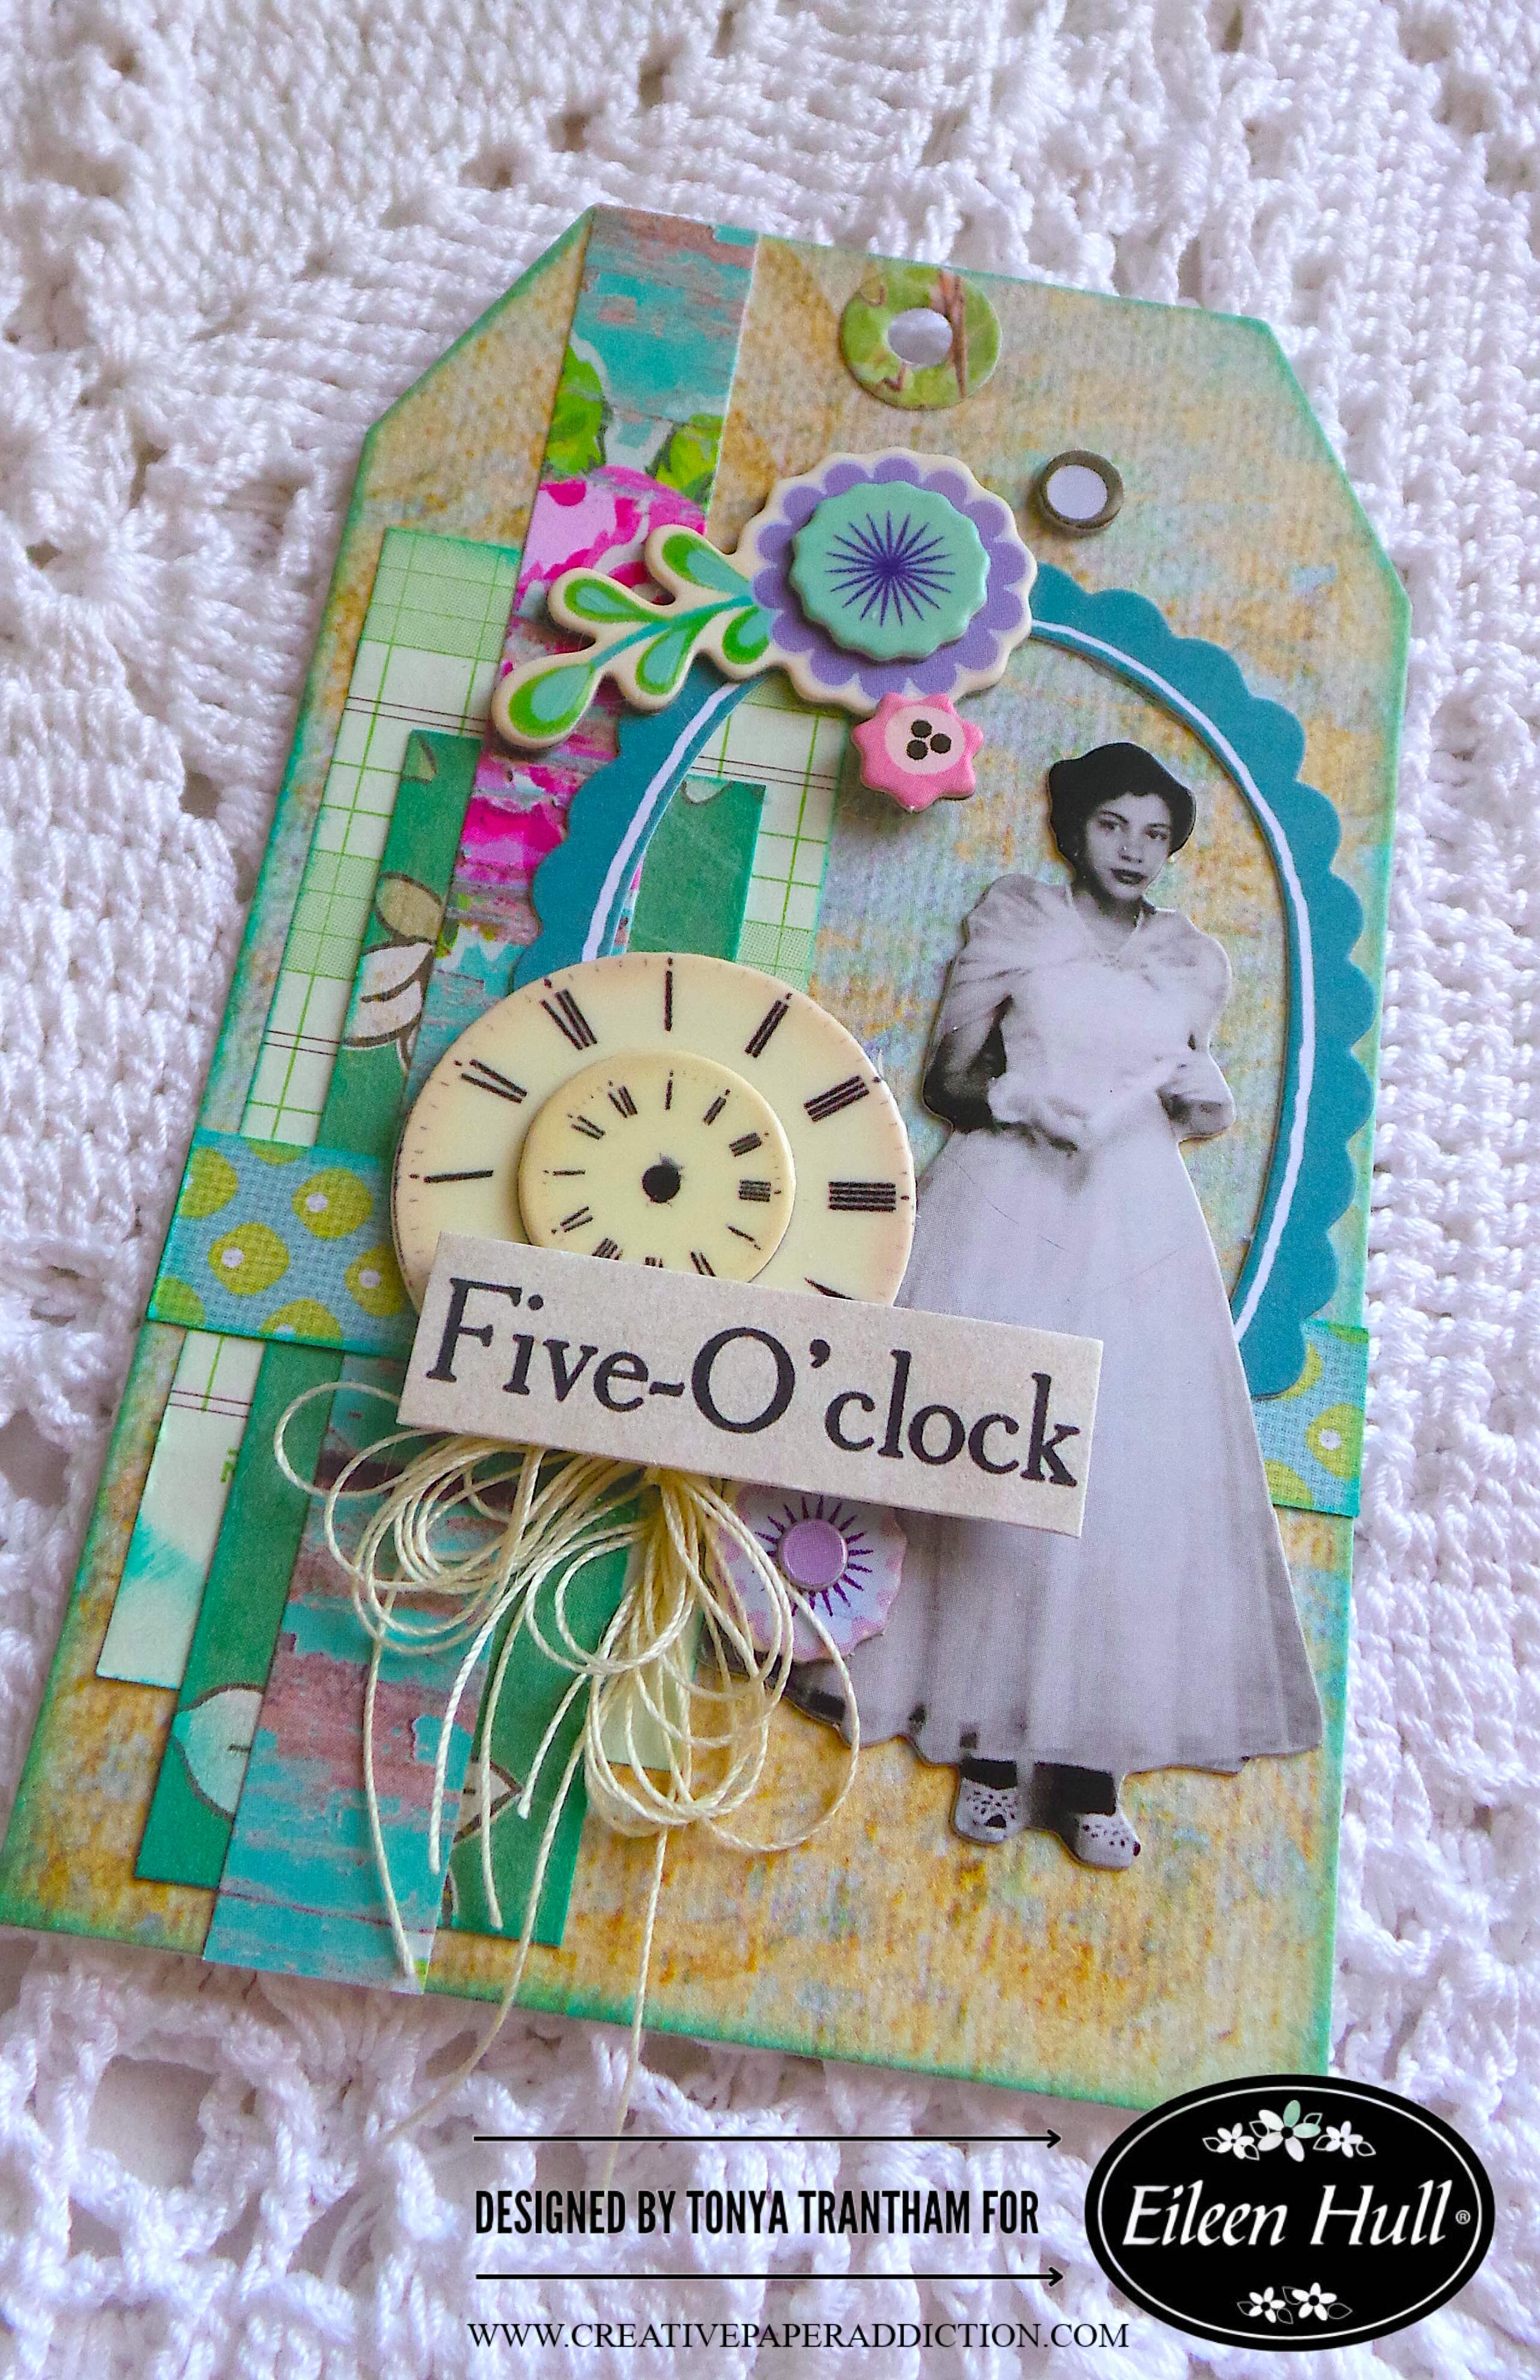
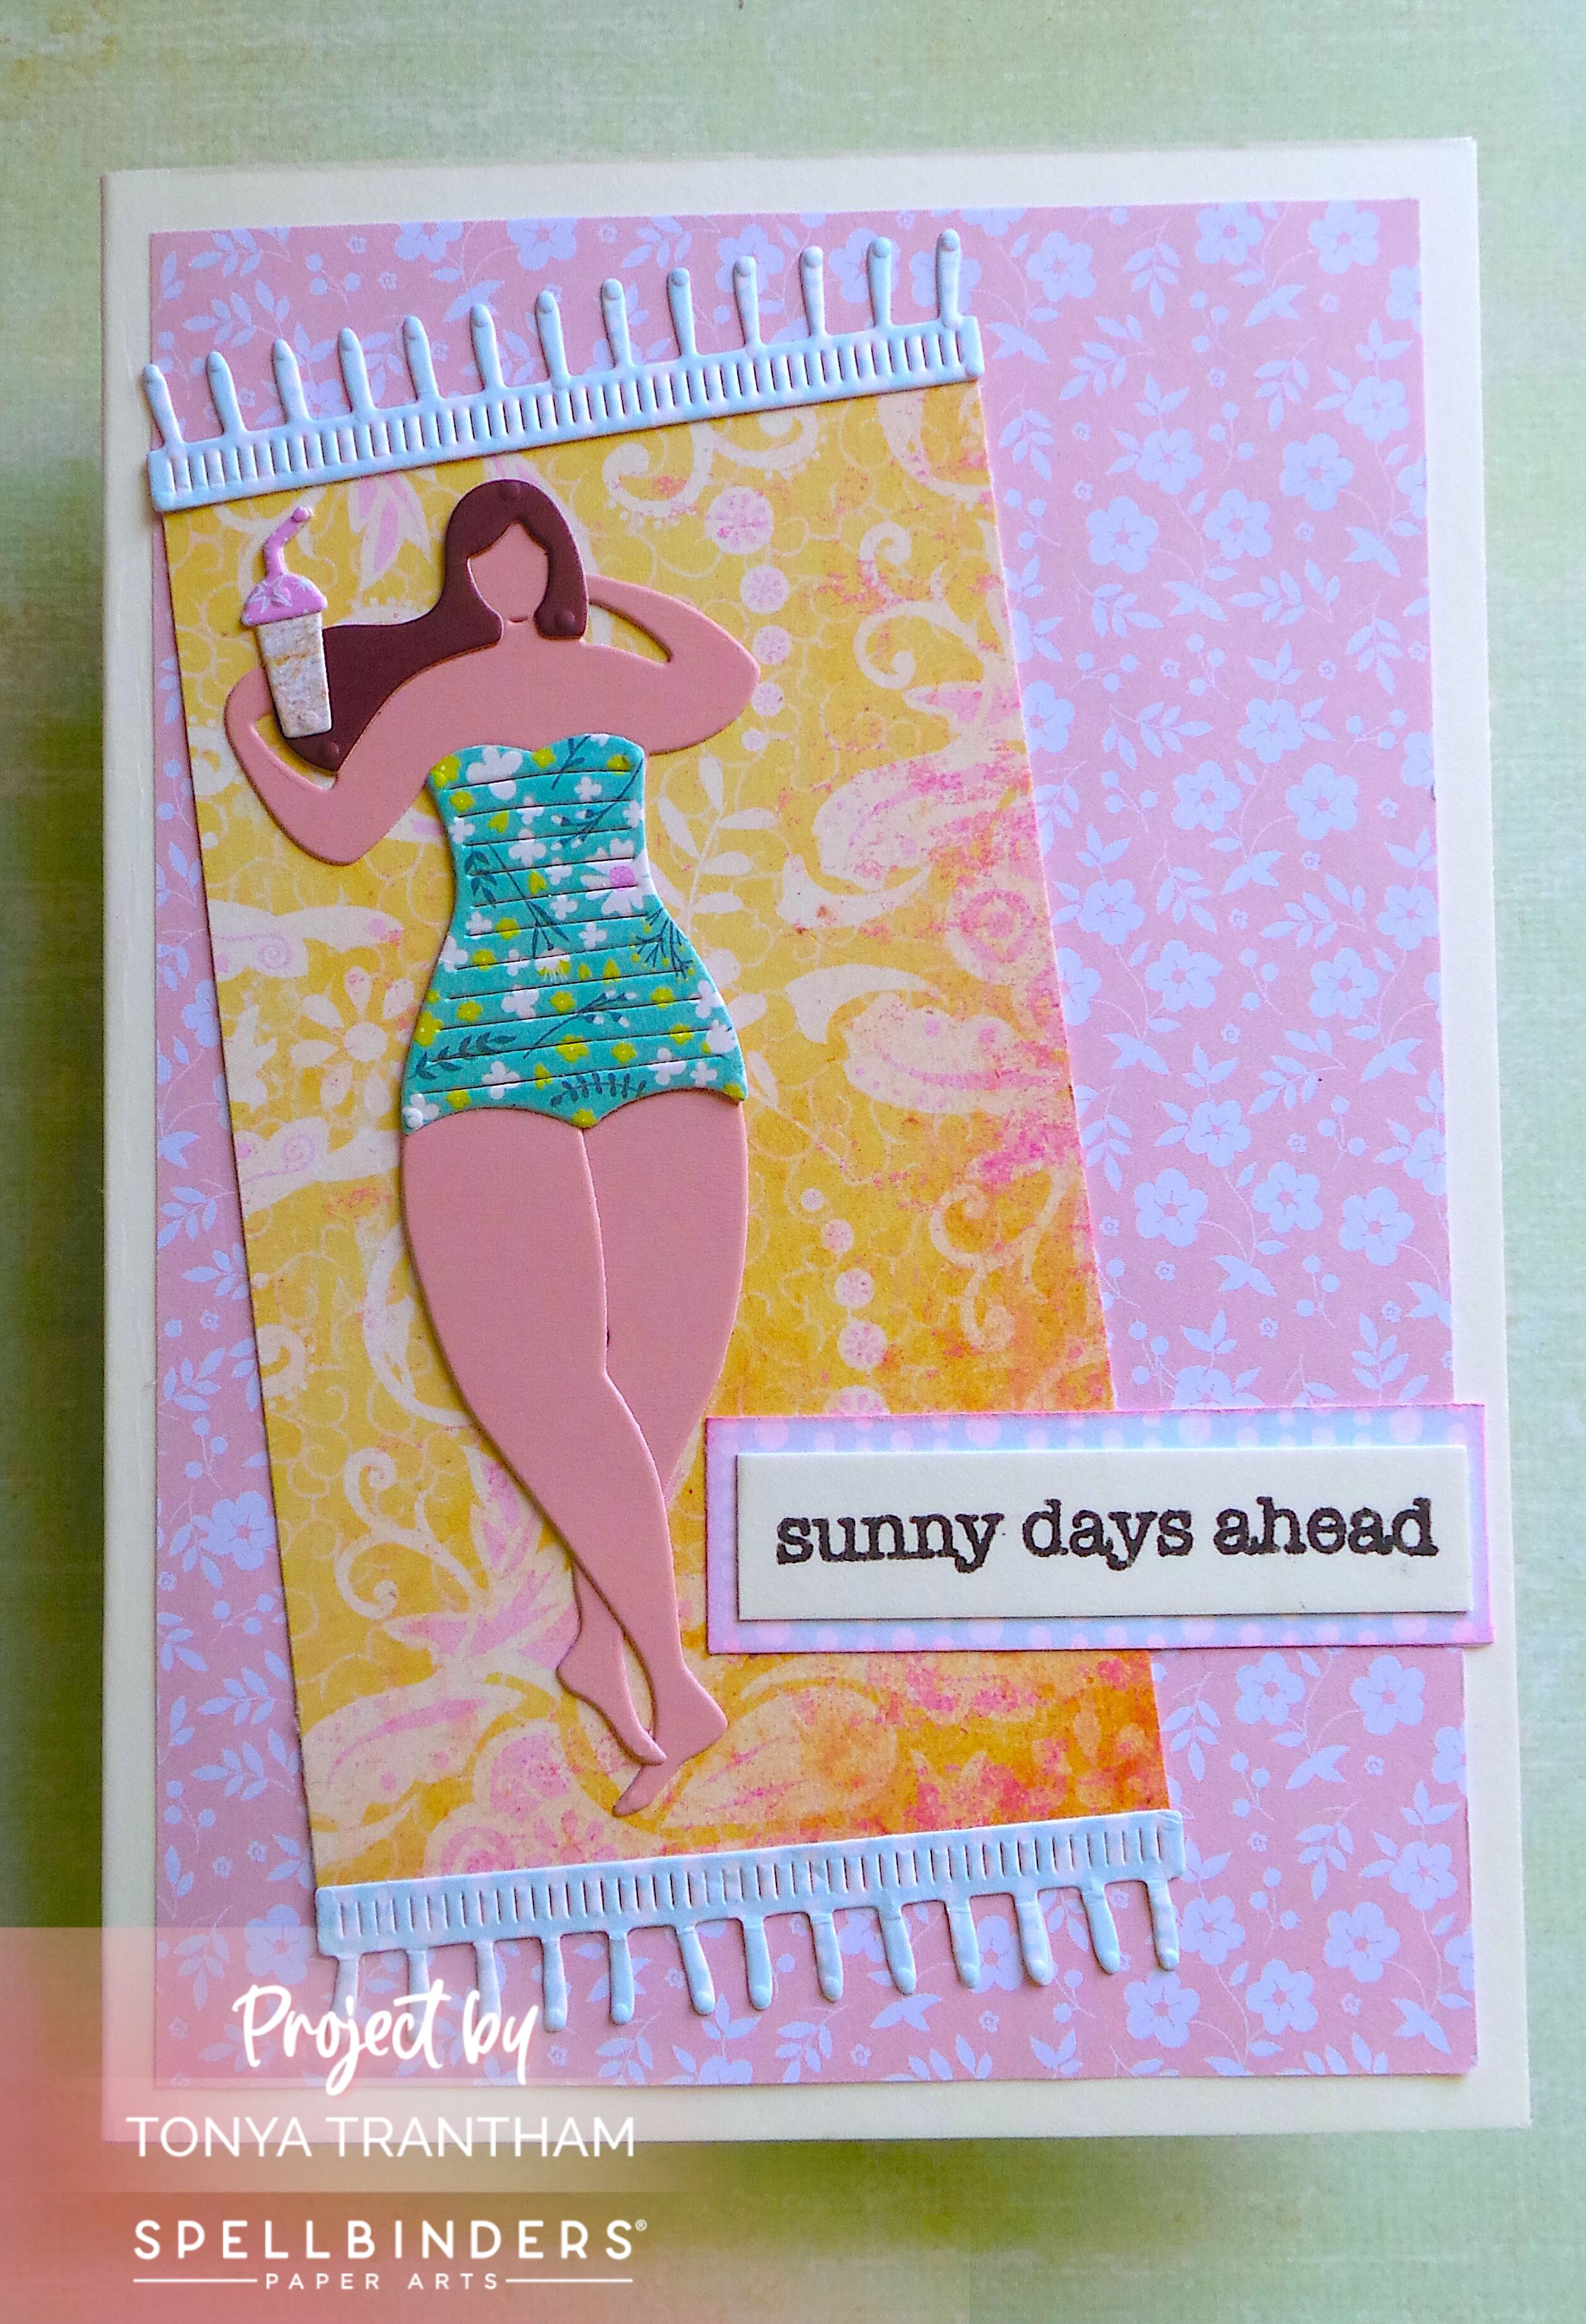
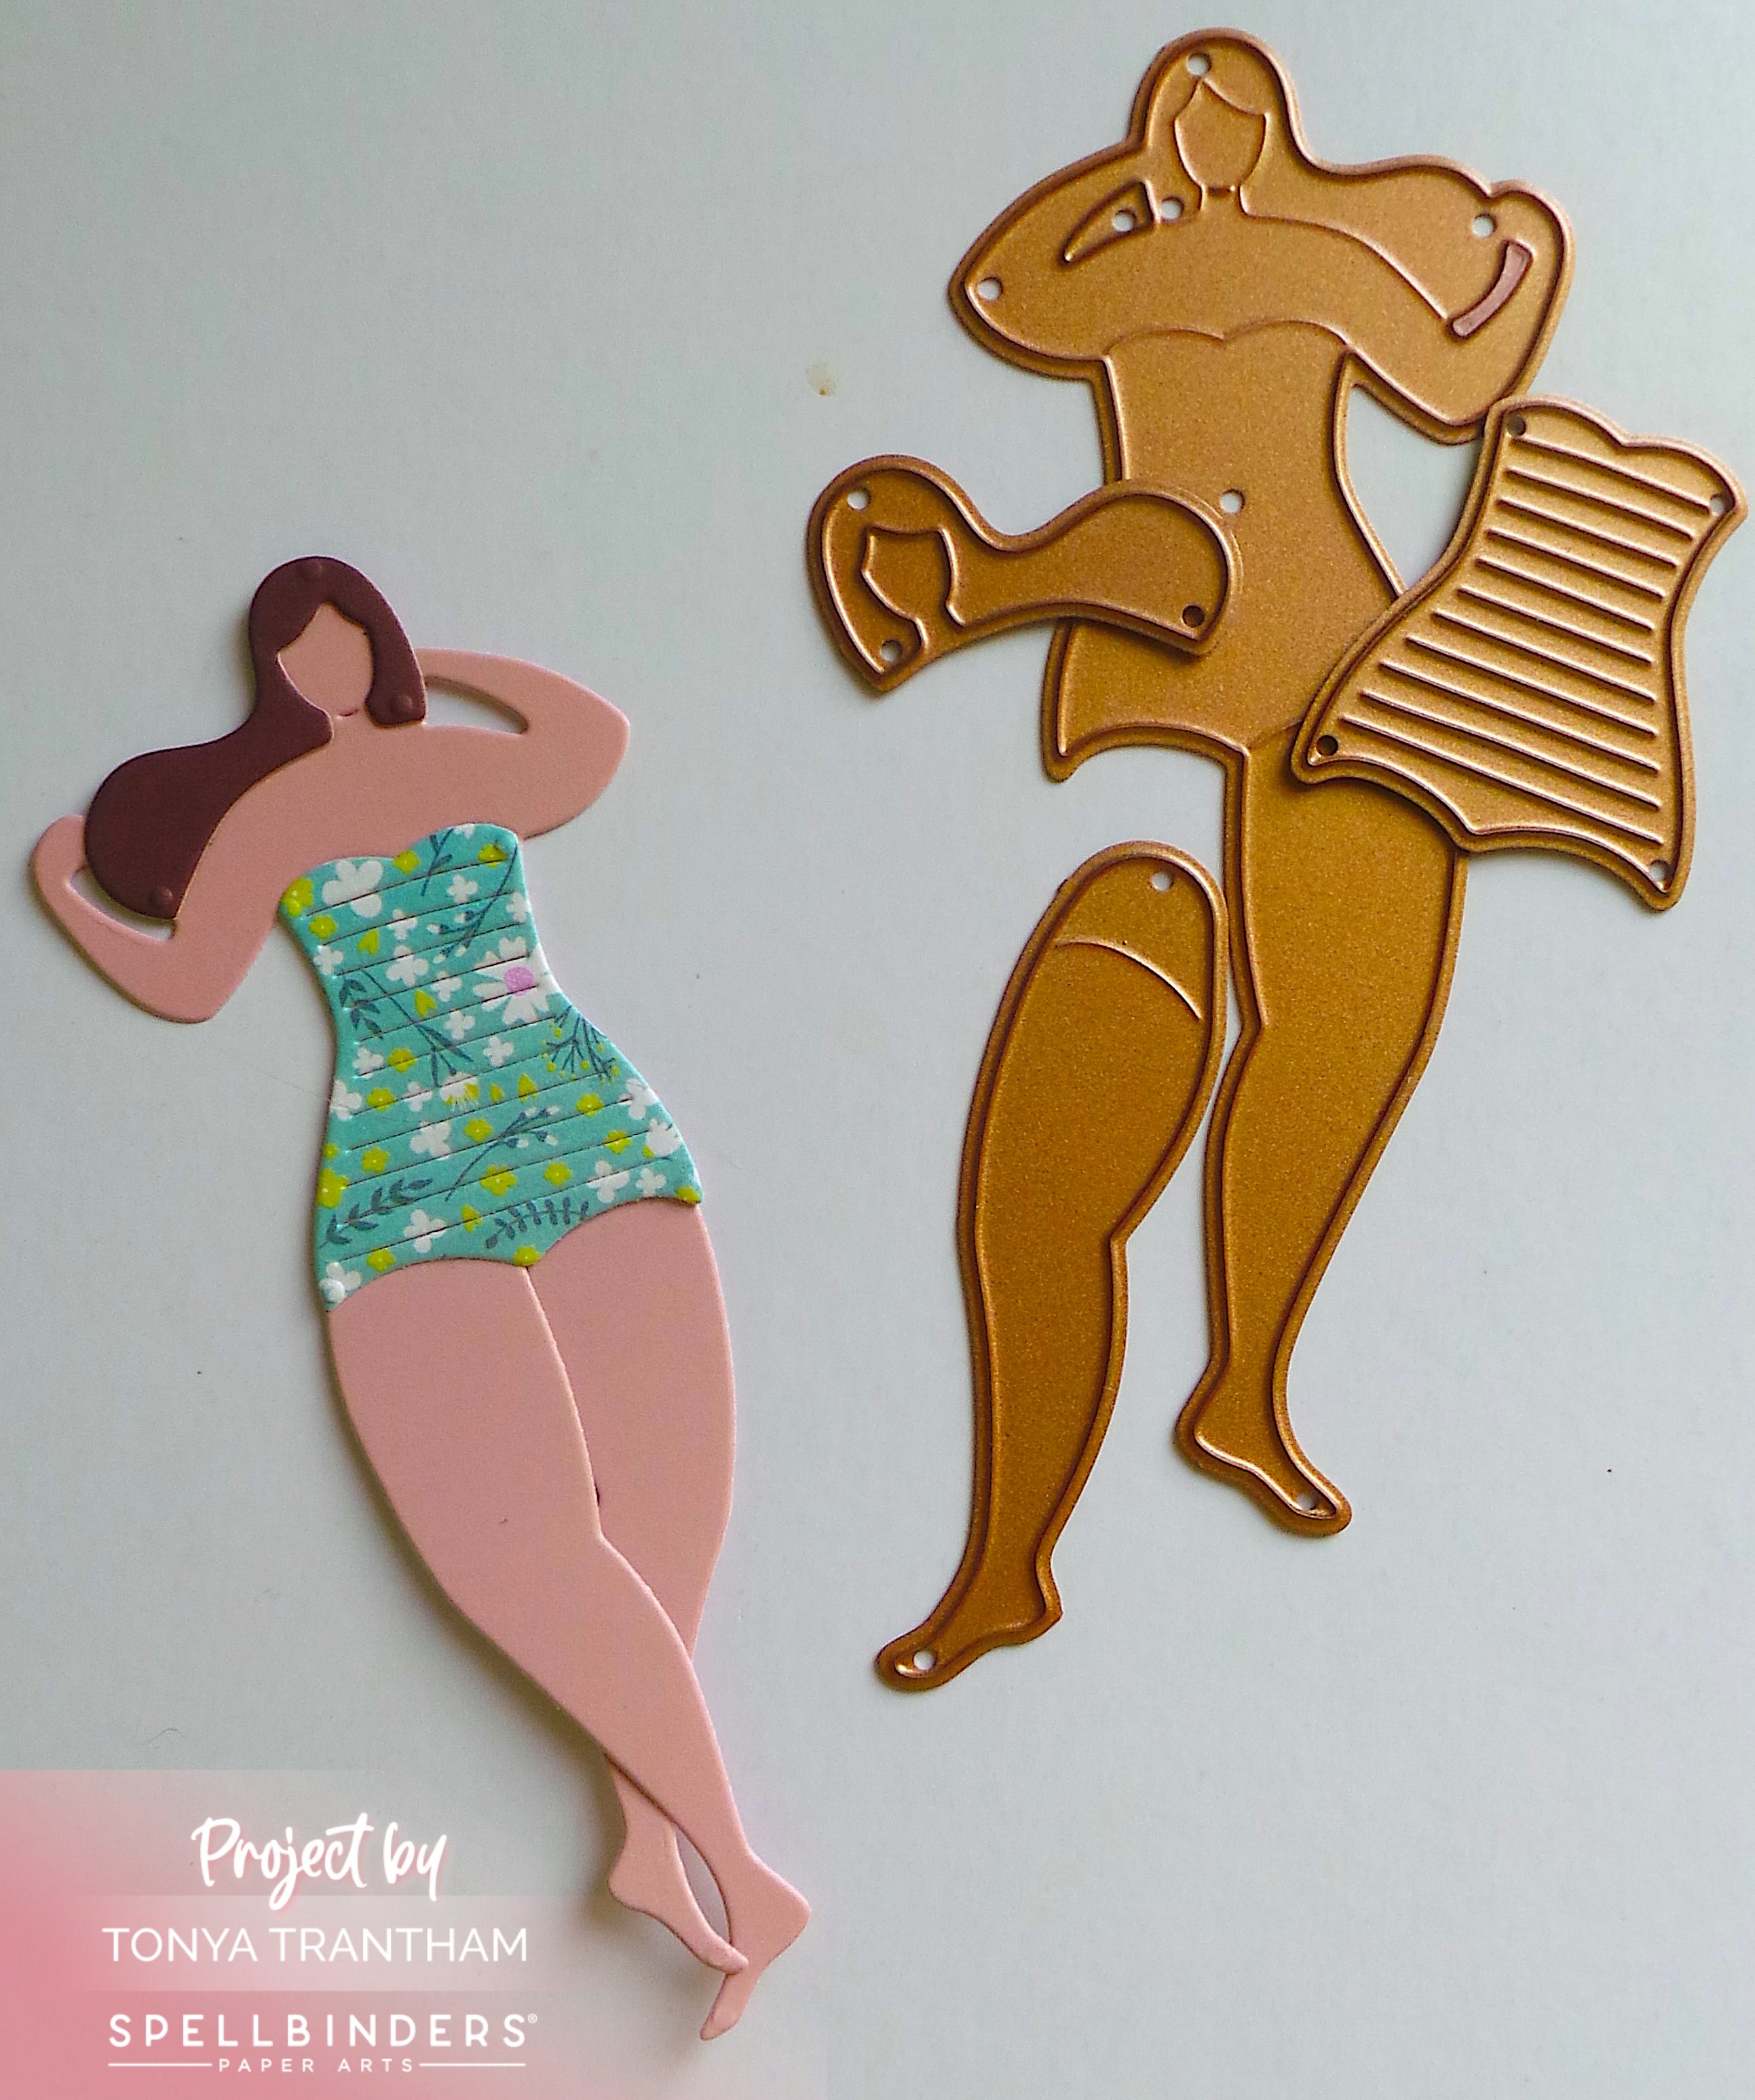
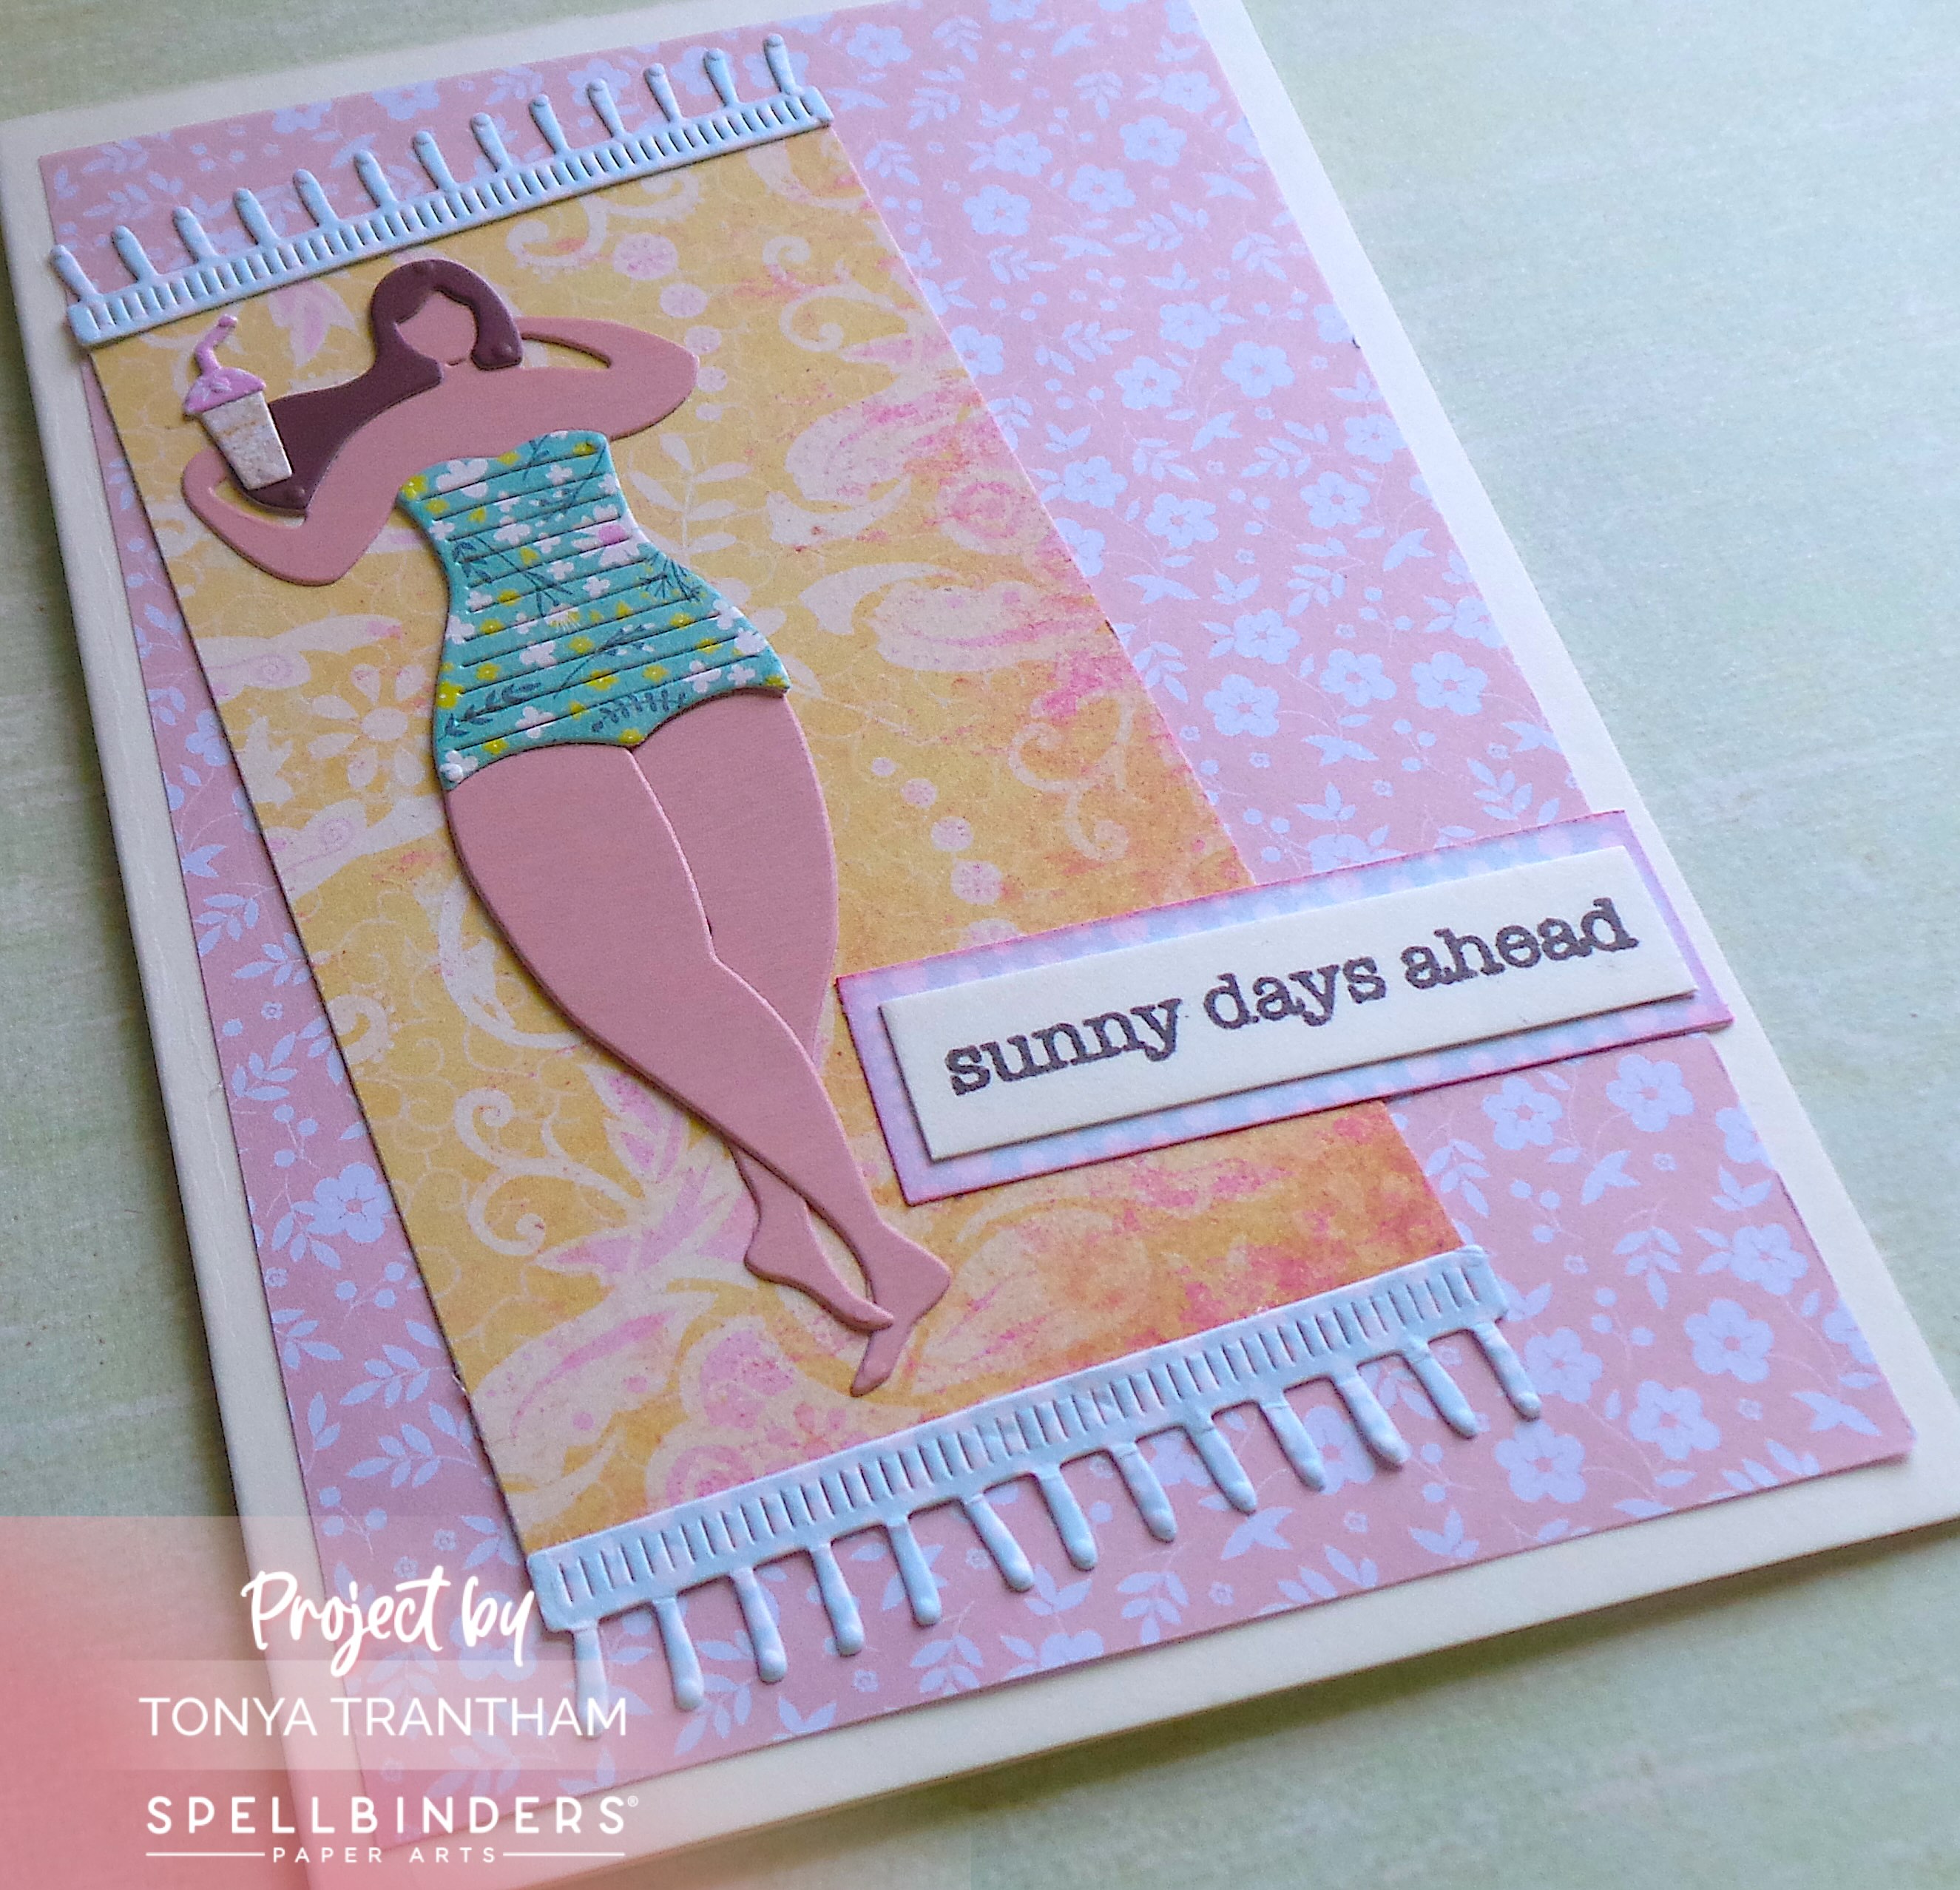
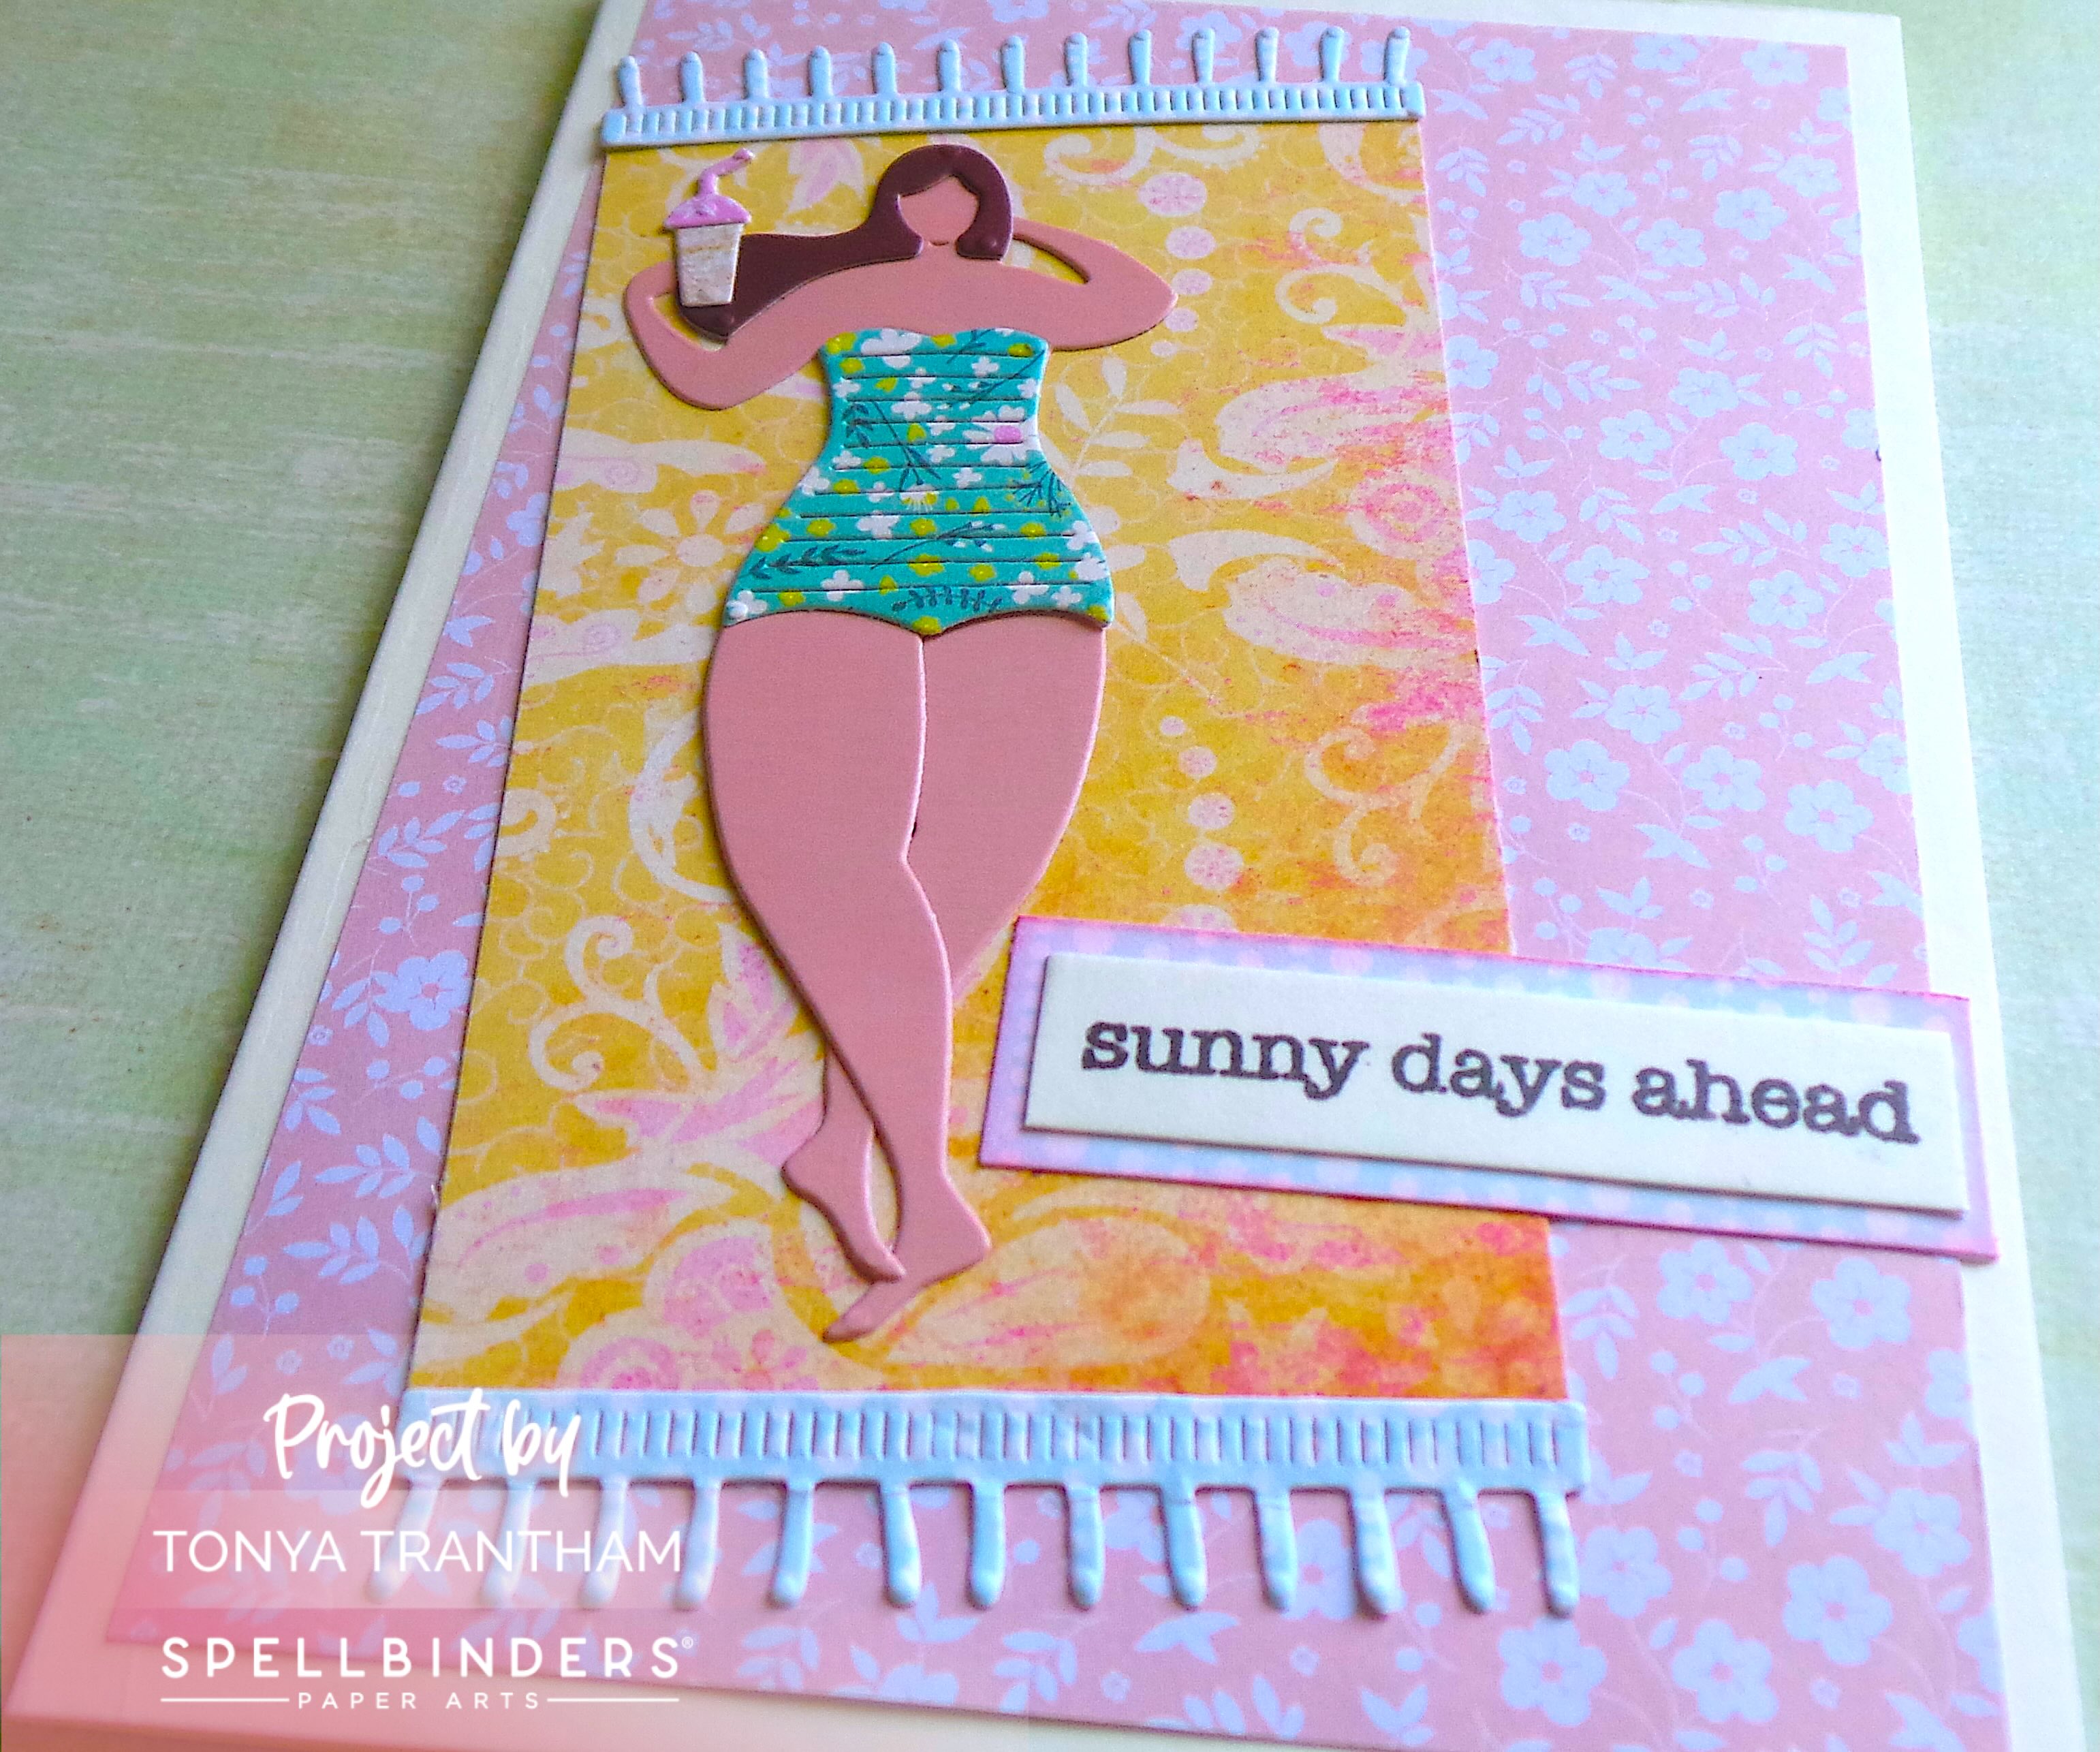
I added a Mini Paper Dolls, a clock face and floral chipboard pieces, oval scalloped frame and the “five-O’clock” sentiment to the tag. I used thread to create a bow and adhered underneath the sentiment to finish. Oh how I love creating tags and have already started more! I’ll be sharing those soon.
If you have any comments or questions please leave them below. If you haven’t been by Eileen’s blog lately you can find the latest post HERE.
Supplies
Sizzix/Eileen Hull: Waterfall and Tags Thinlits
Tim Holtz: Collage Strips
Tim Holtz: Mini Paper Dolls
Various Plain and Patterned Cardstocks
Embellishments
Thread
Blue and Brown Chalk Inks
Beacon Adhesives: Zip Dry Adhesive
(Products listed above are Affiliated Links for your convenience)
DISCLAIMERS
This blog is compensated to provide opinion on products, services, websites, and various other topics. Even though the owner(s) of this blog receives compensation for our posts or advertisements. I always give my honest opinions, findings, beliefs, or experiences on those topics or products. The views and opinions expressed on this blog are purely my own. Any product claim, statistic, or quote should be checked with each manufacturer. Verify other representations about a product or service with the provider or party in question.This blog contains affiliate links. Clicking these links helps to support Tonya Trantham Designs – Creative Paper Addiction. It’s at no additional cost to you. Today’s features are Sizzix and Eileen Hull Products.
Thanks for stopping by, I hope your Monday is awesome and enjoy creating!