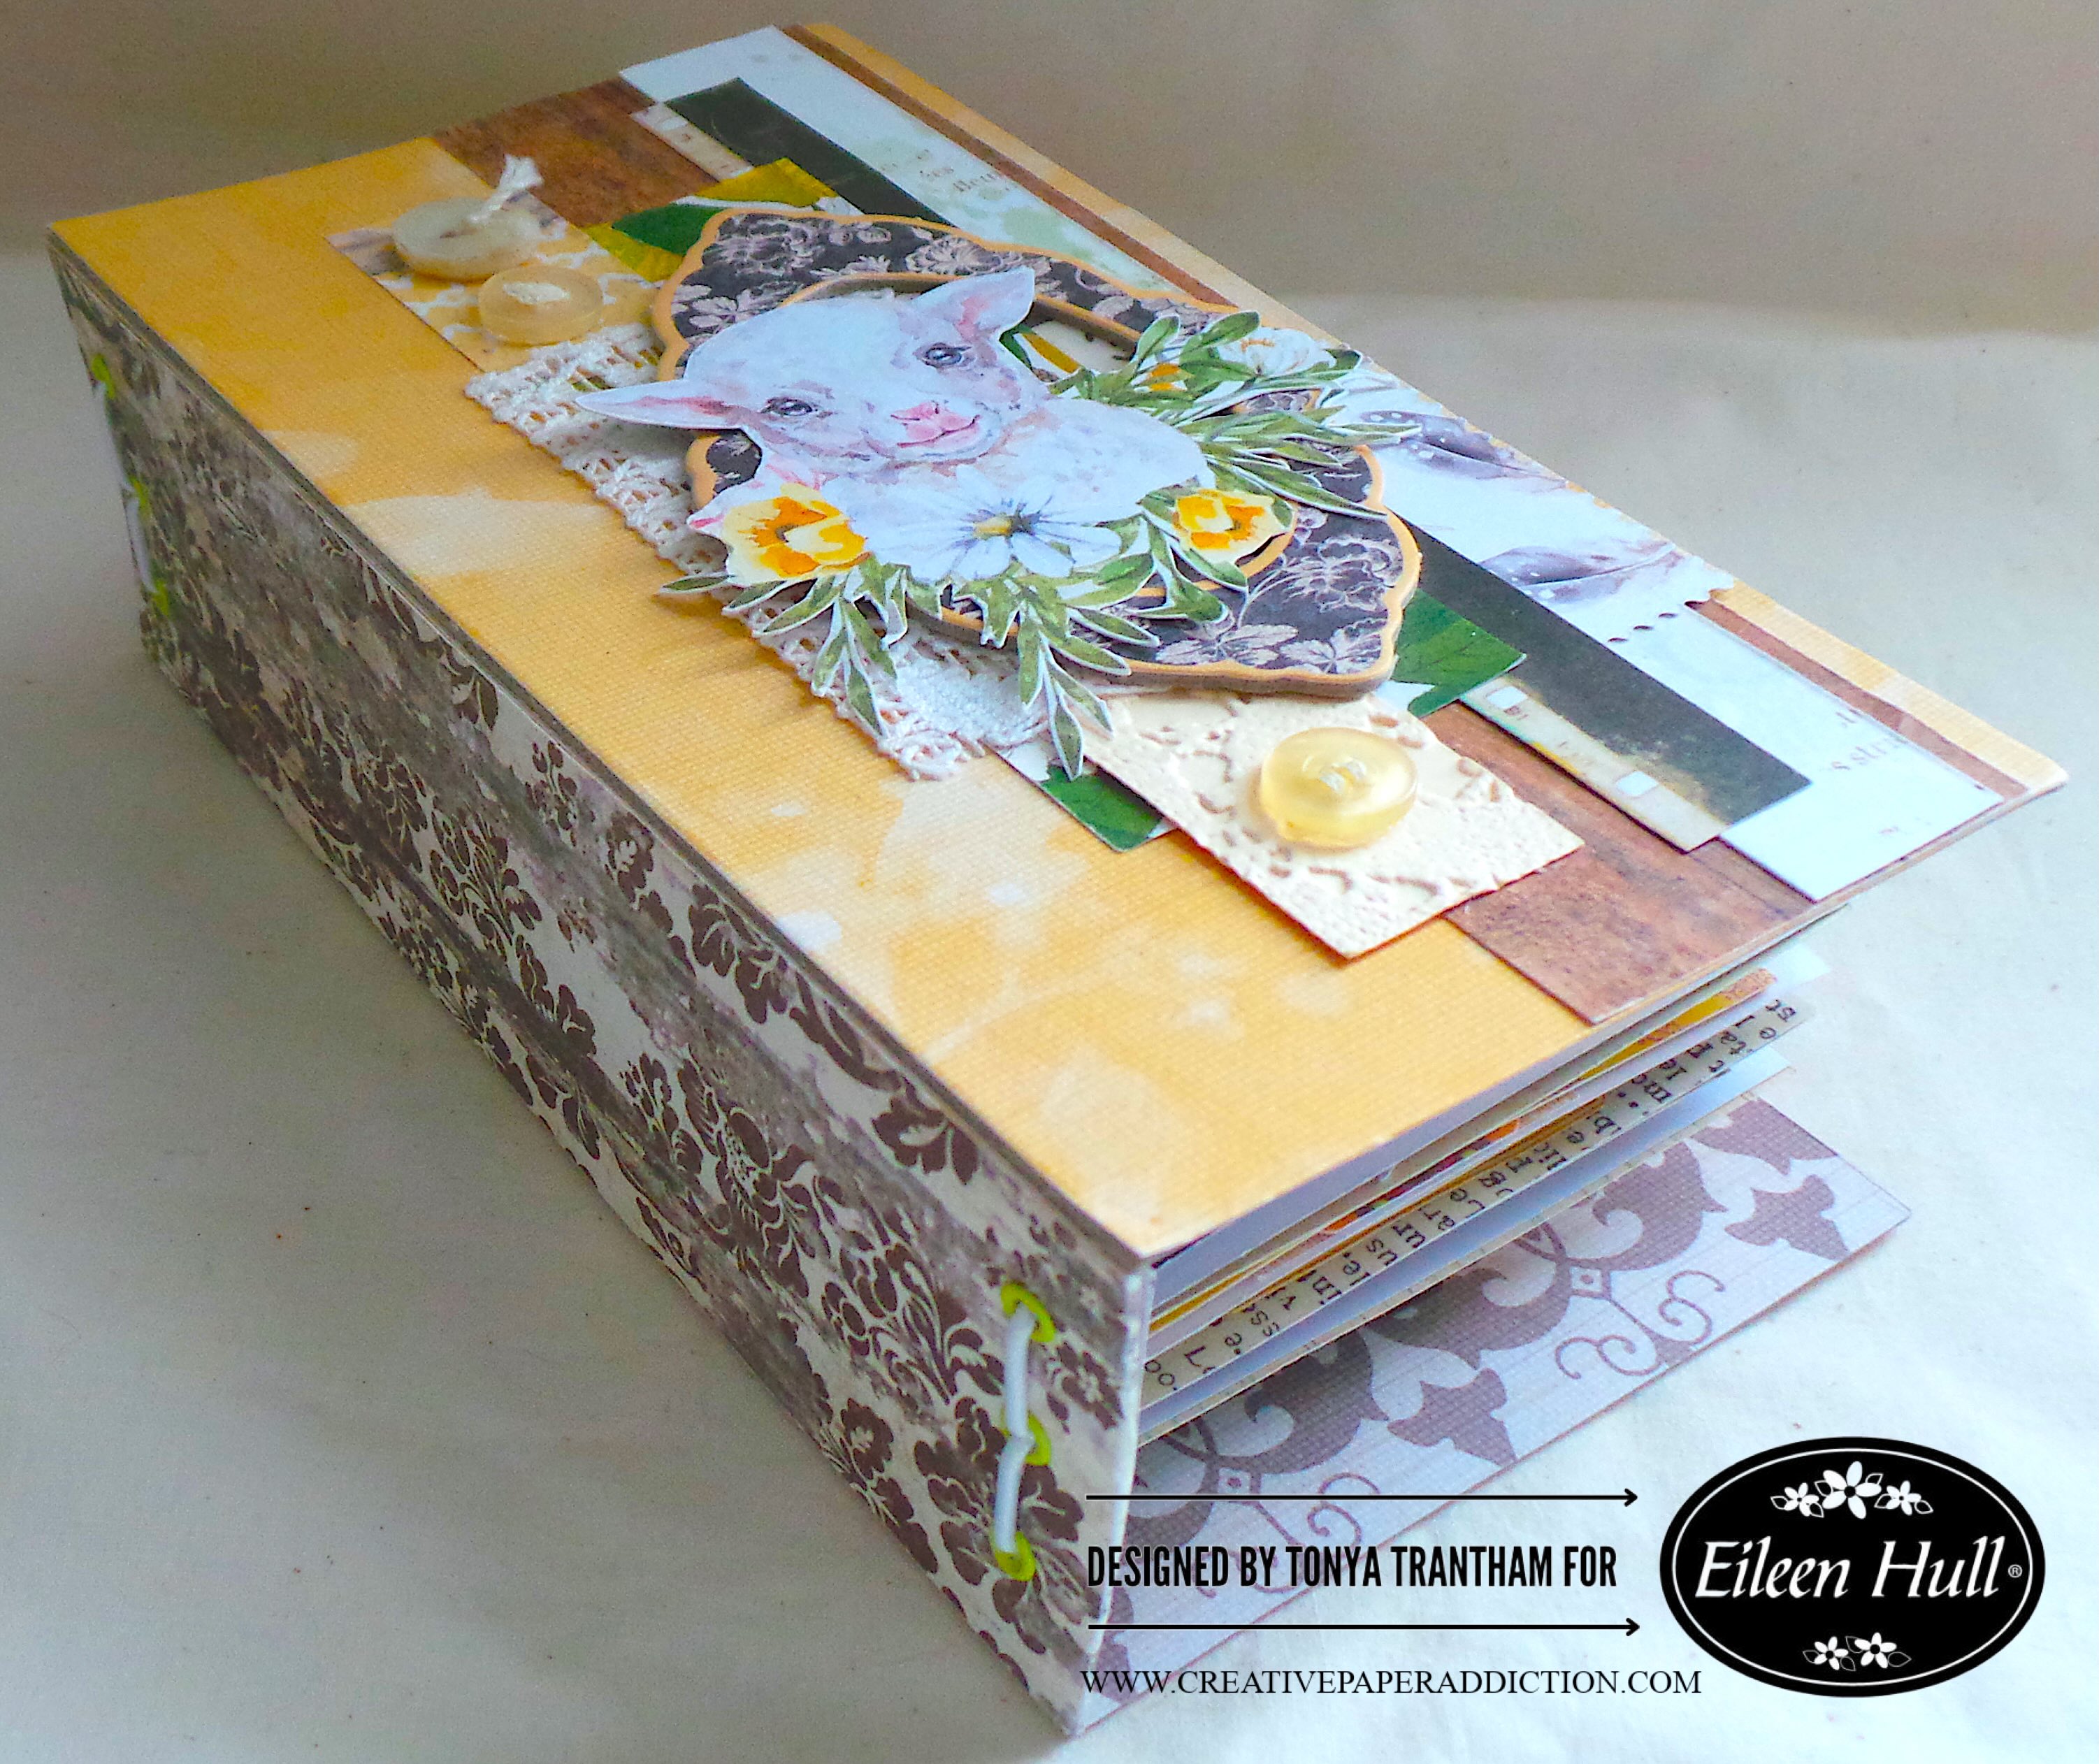
Hi everyone! I’m back this week with a journal I created. I had actually started this journal last year but the month of February and Valentine’s Day slipped by quickly on me and I didn’t finish it. So needless to say, I was able to finish it this year. I used envelopes, an assortment of different types of cardstocks, embellishments and a few diecuts and thinlits by Eileen Hull to complete this journal. Anyways, let’s get started!
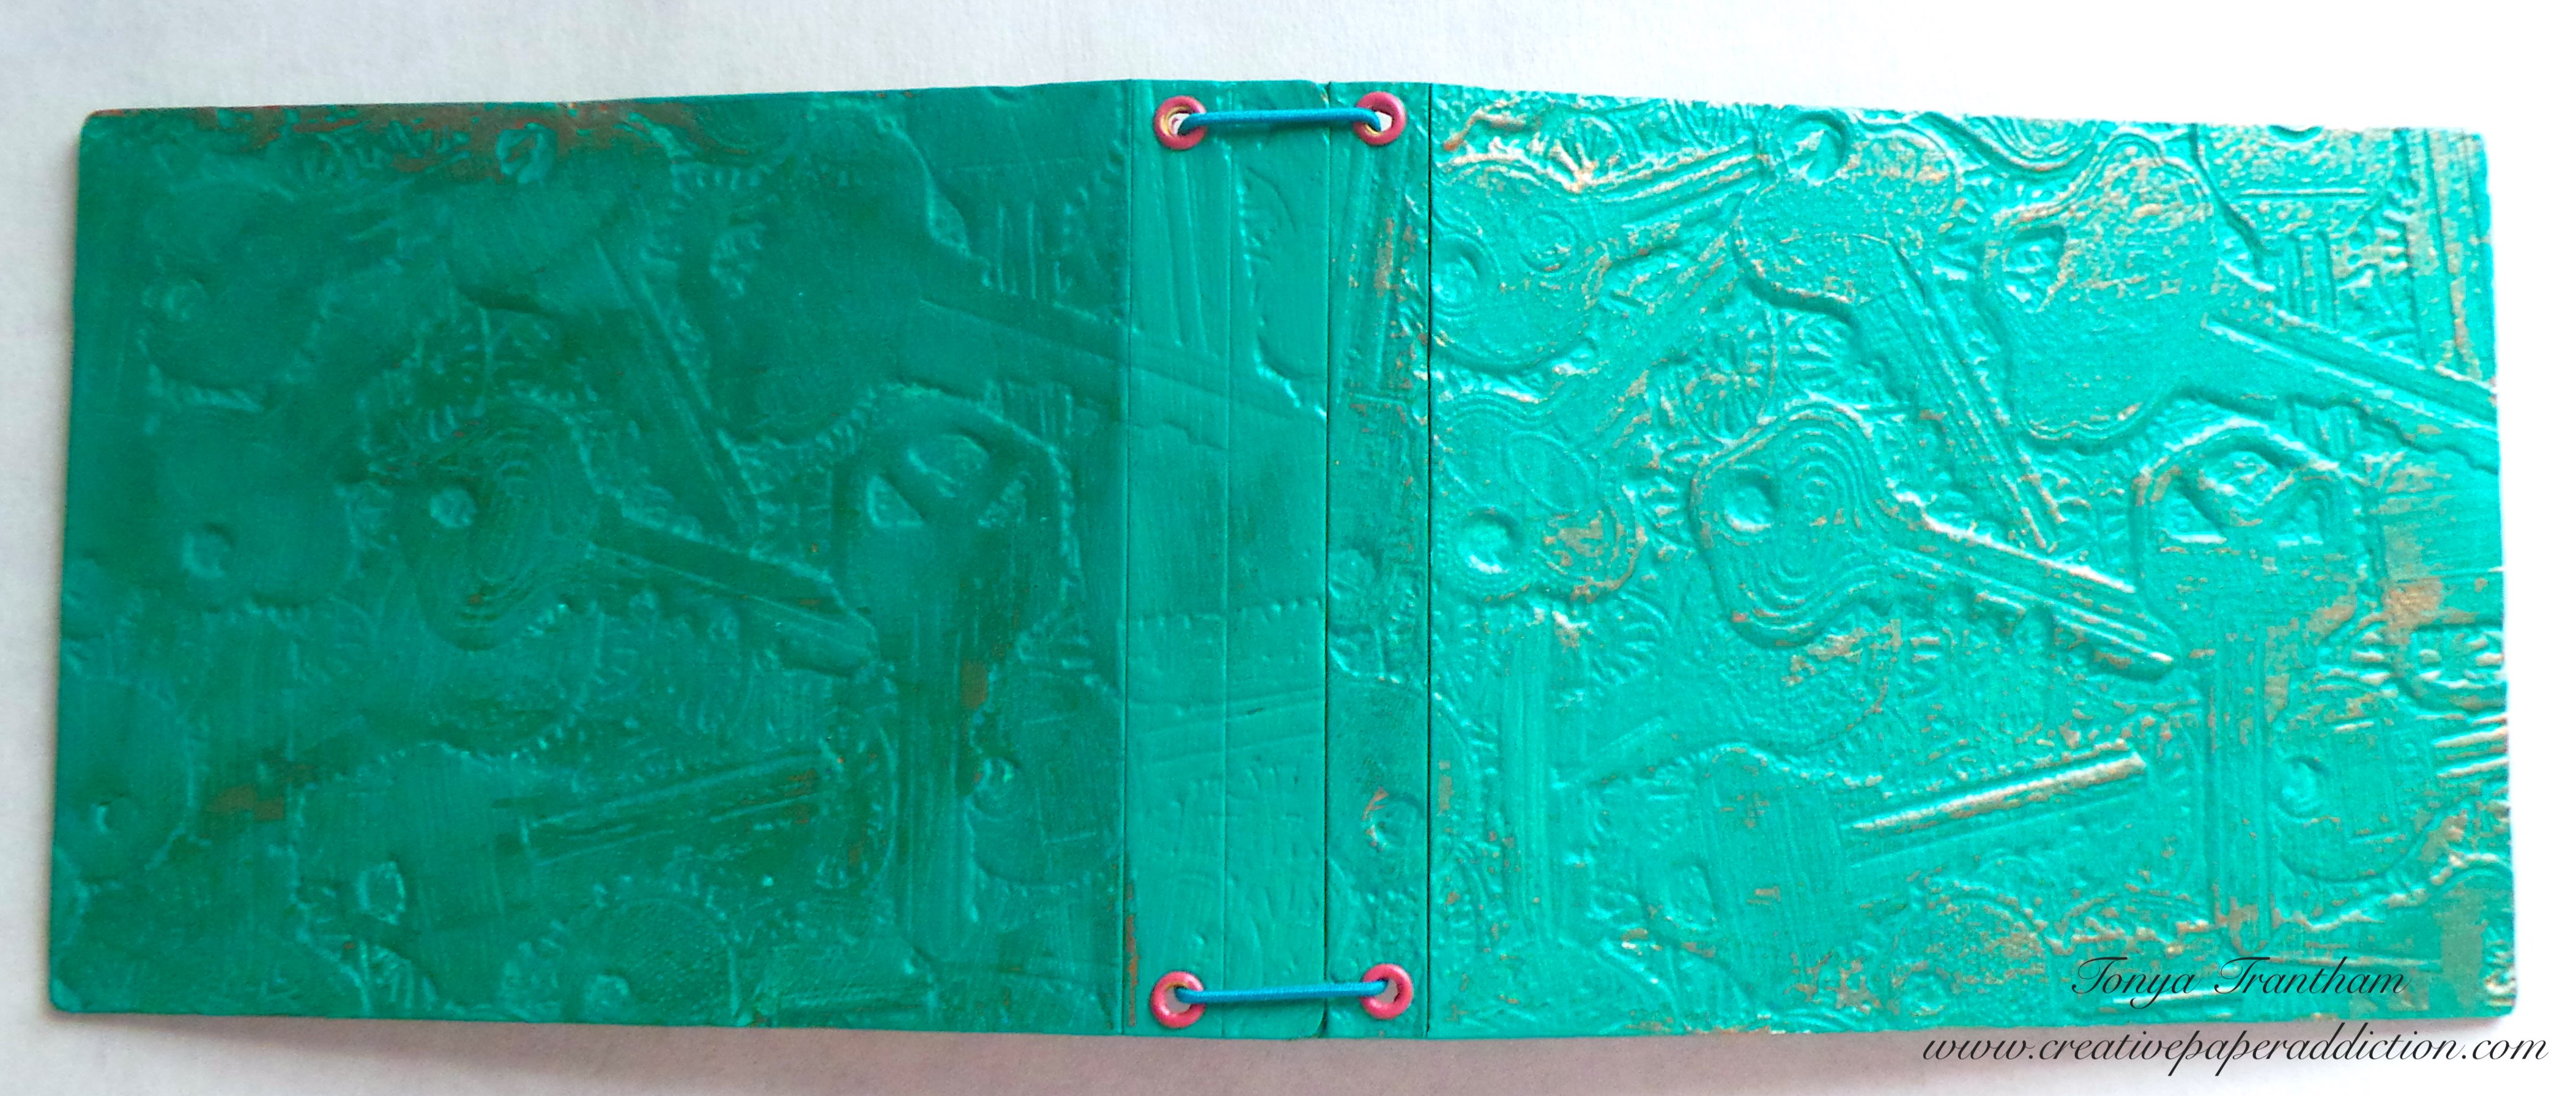
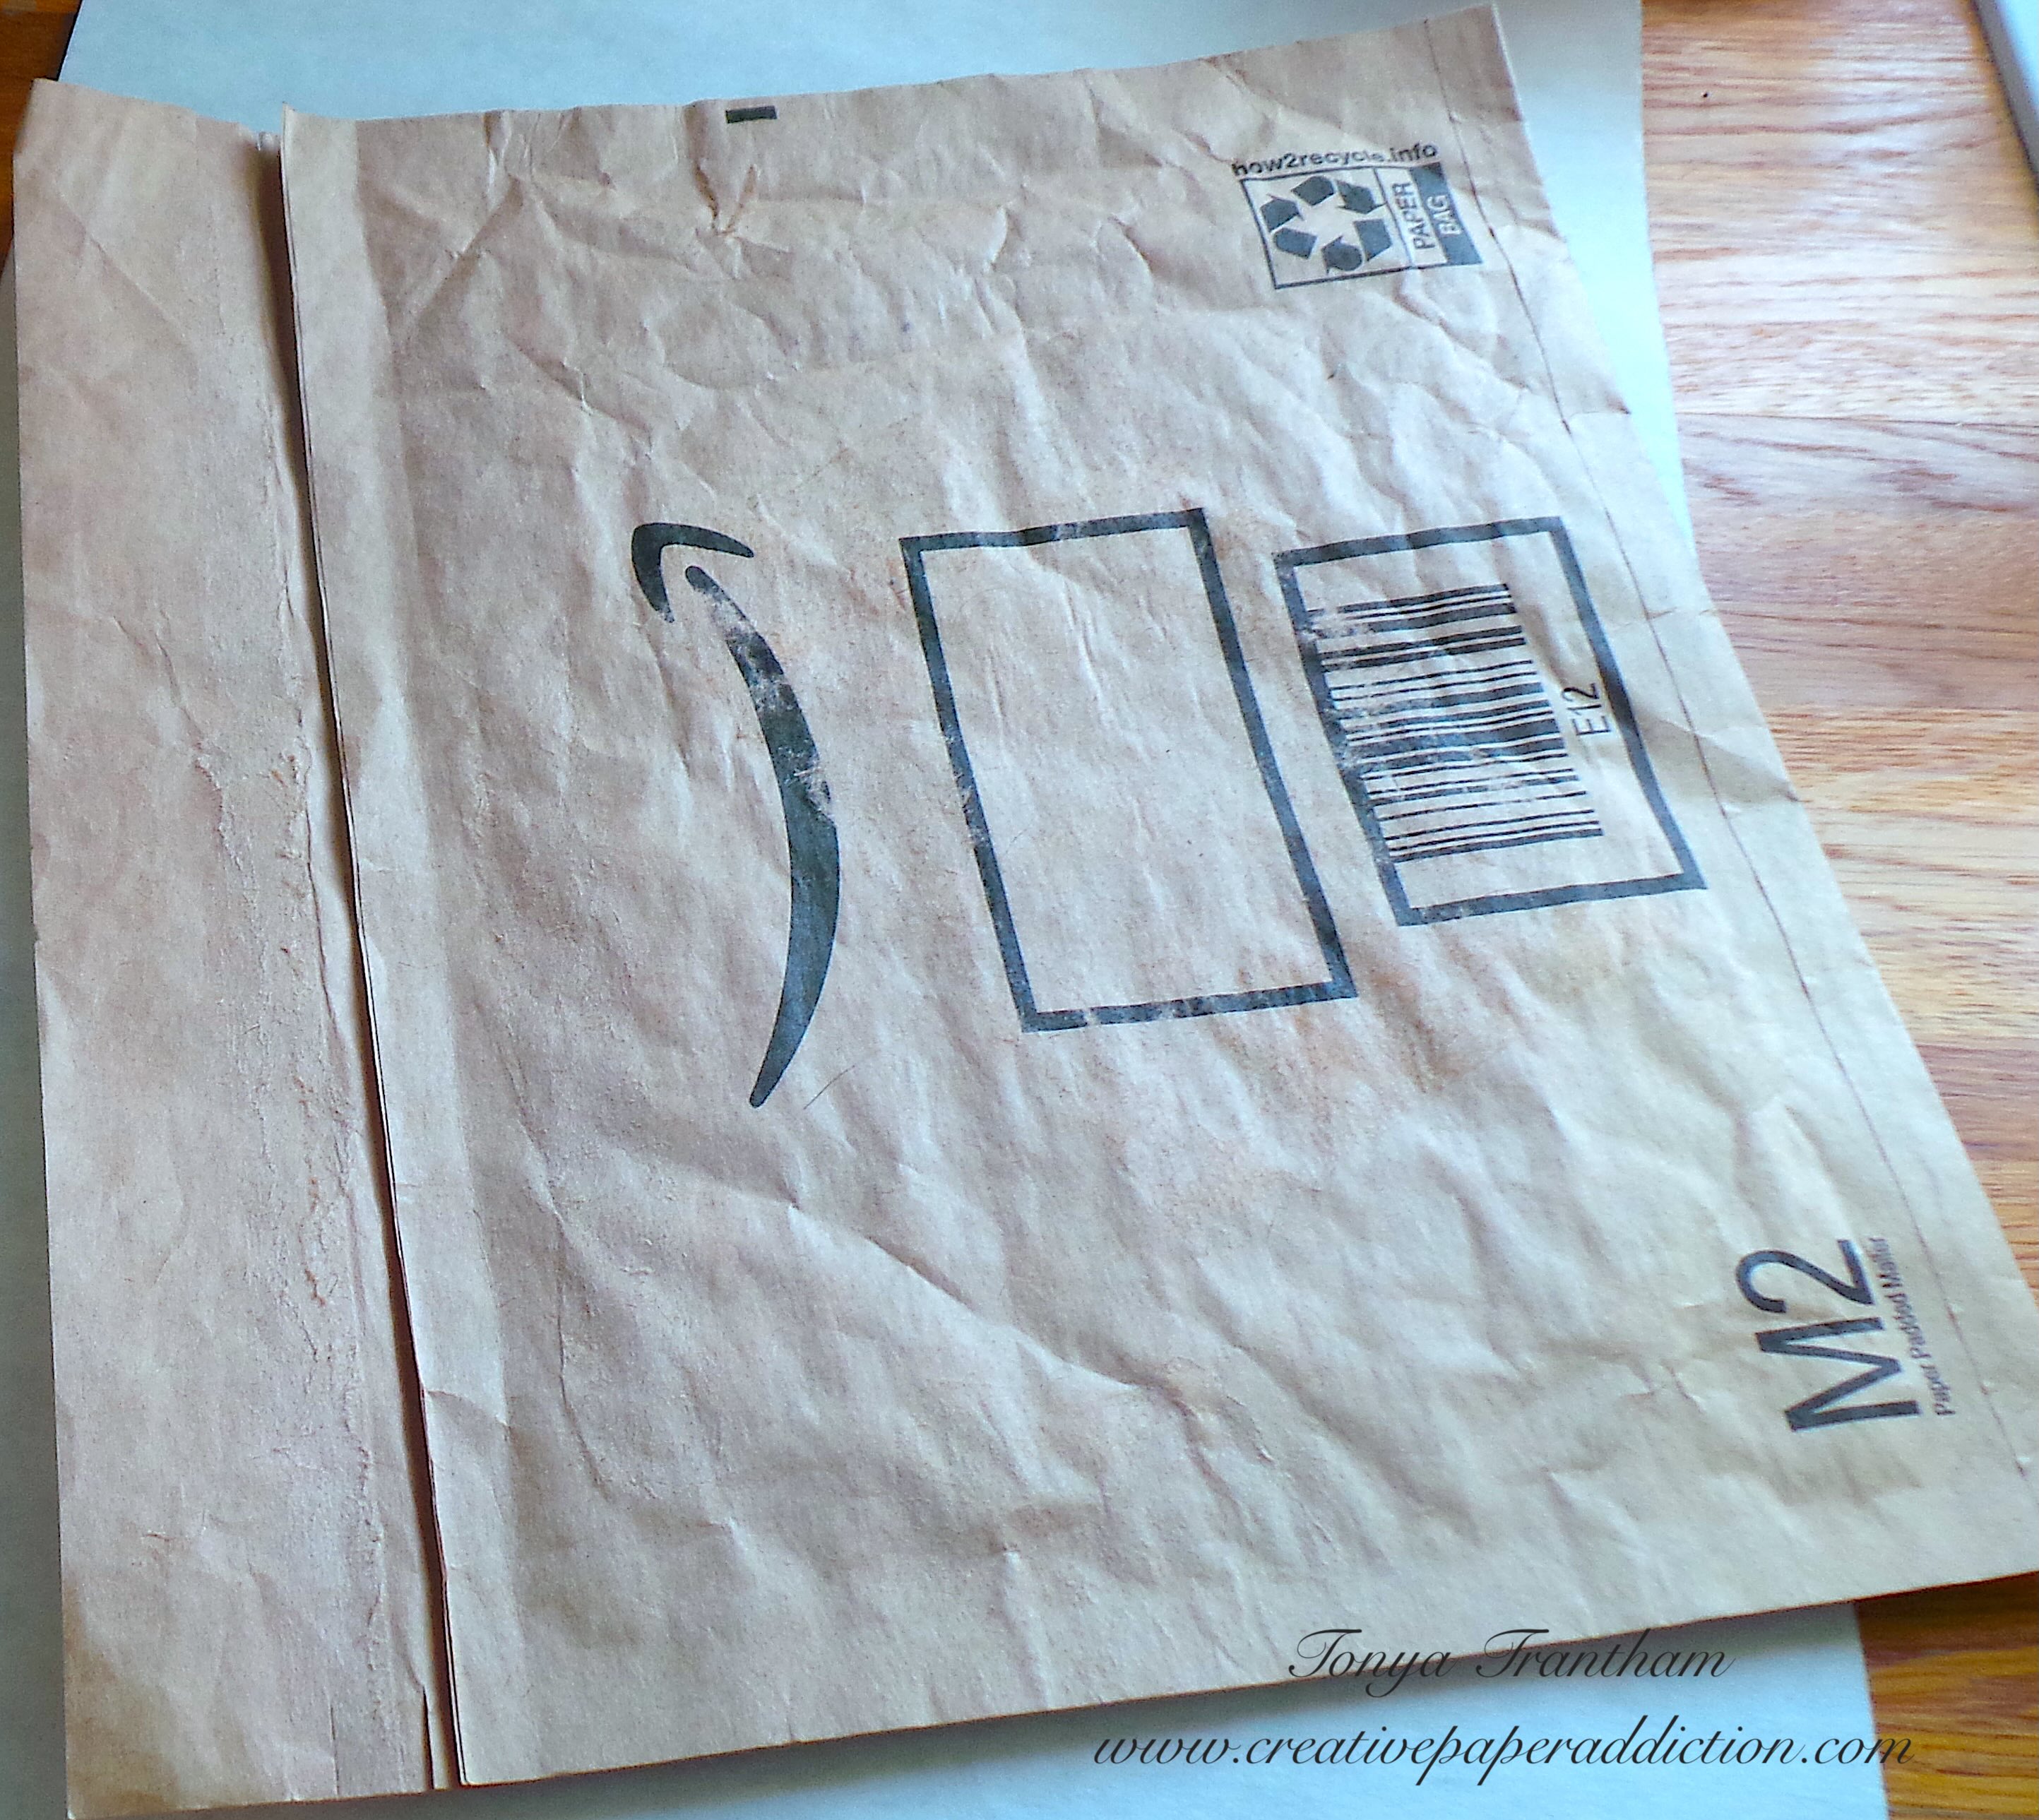
First, I started with an envelope that had “junk mail” in it. I was able to open it without ripping up the flap on the back . I glued the flap down and folded in half.
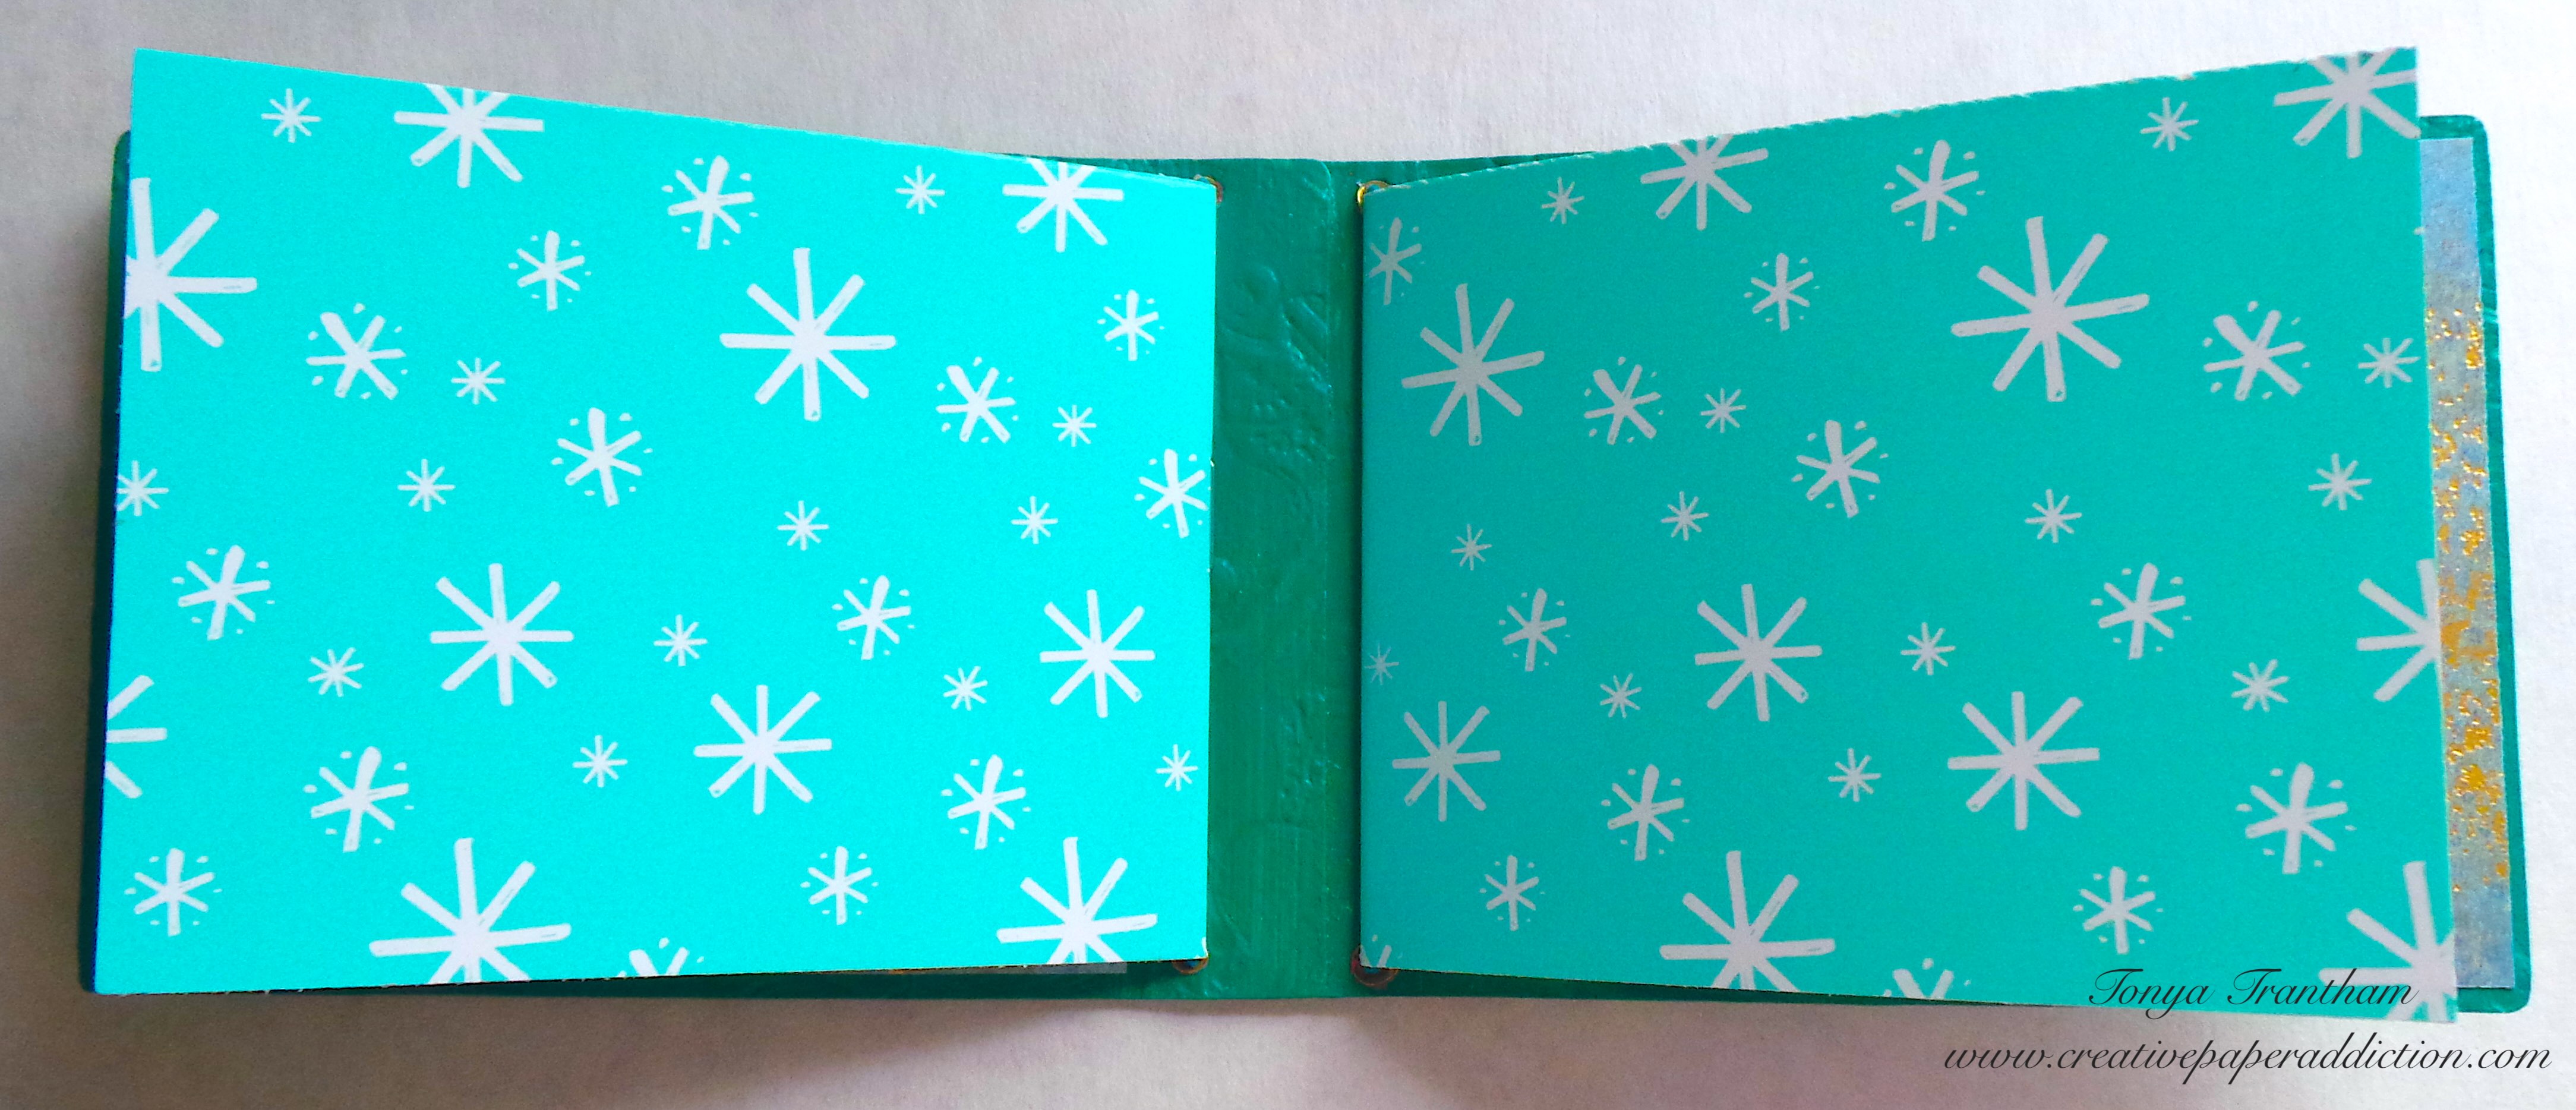
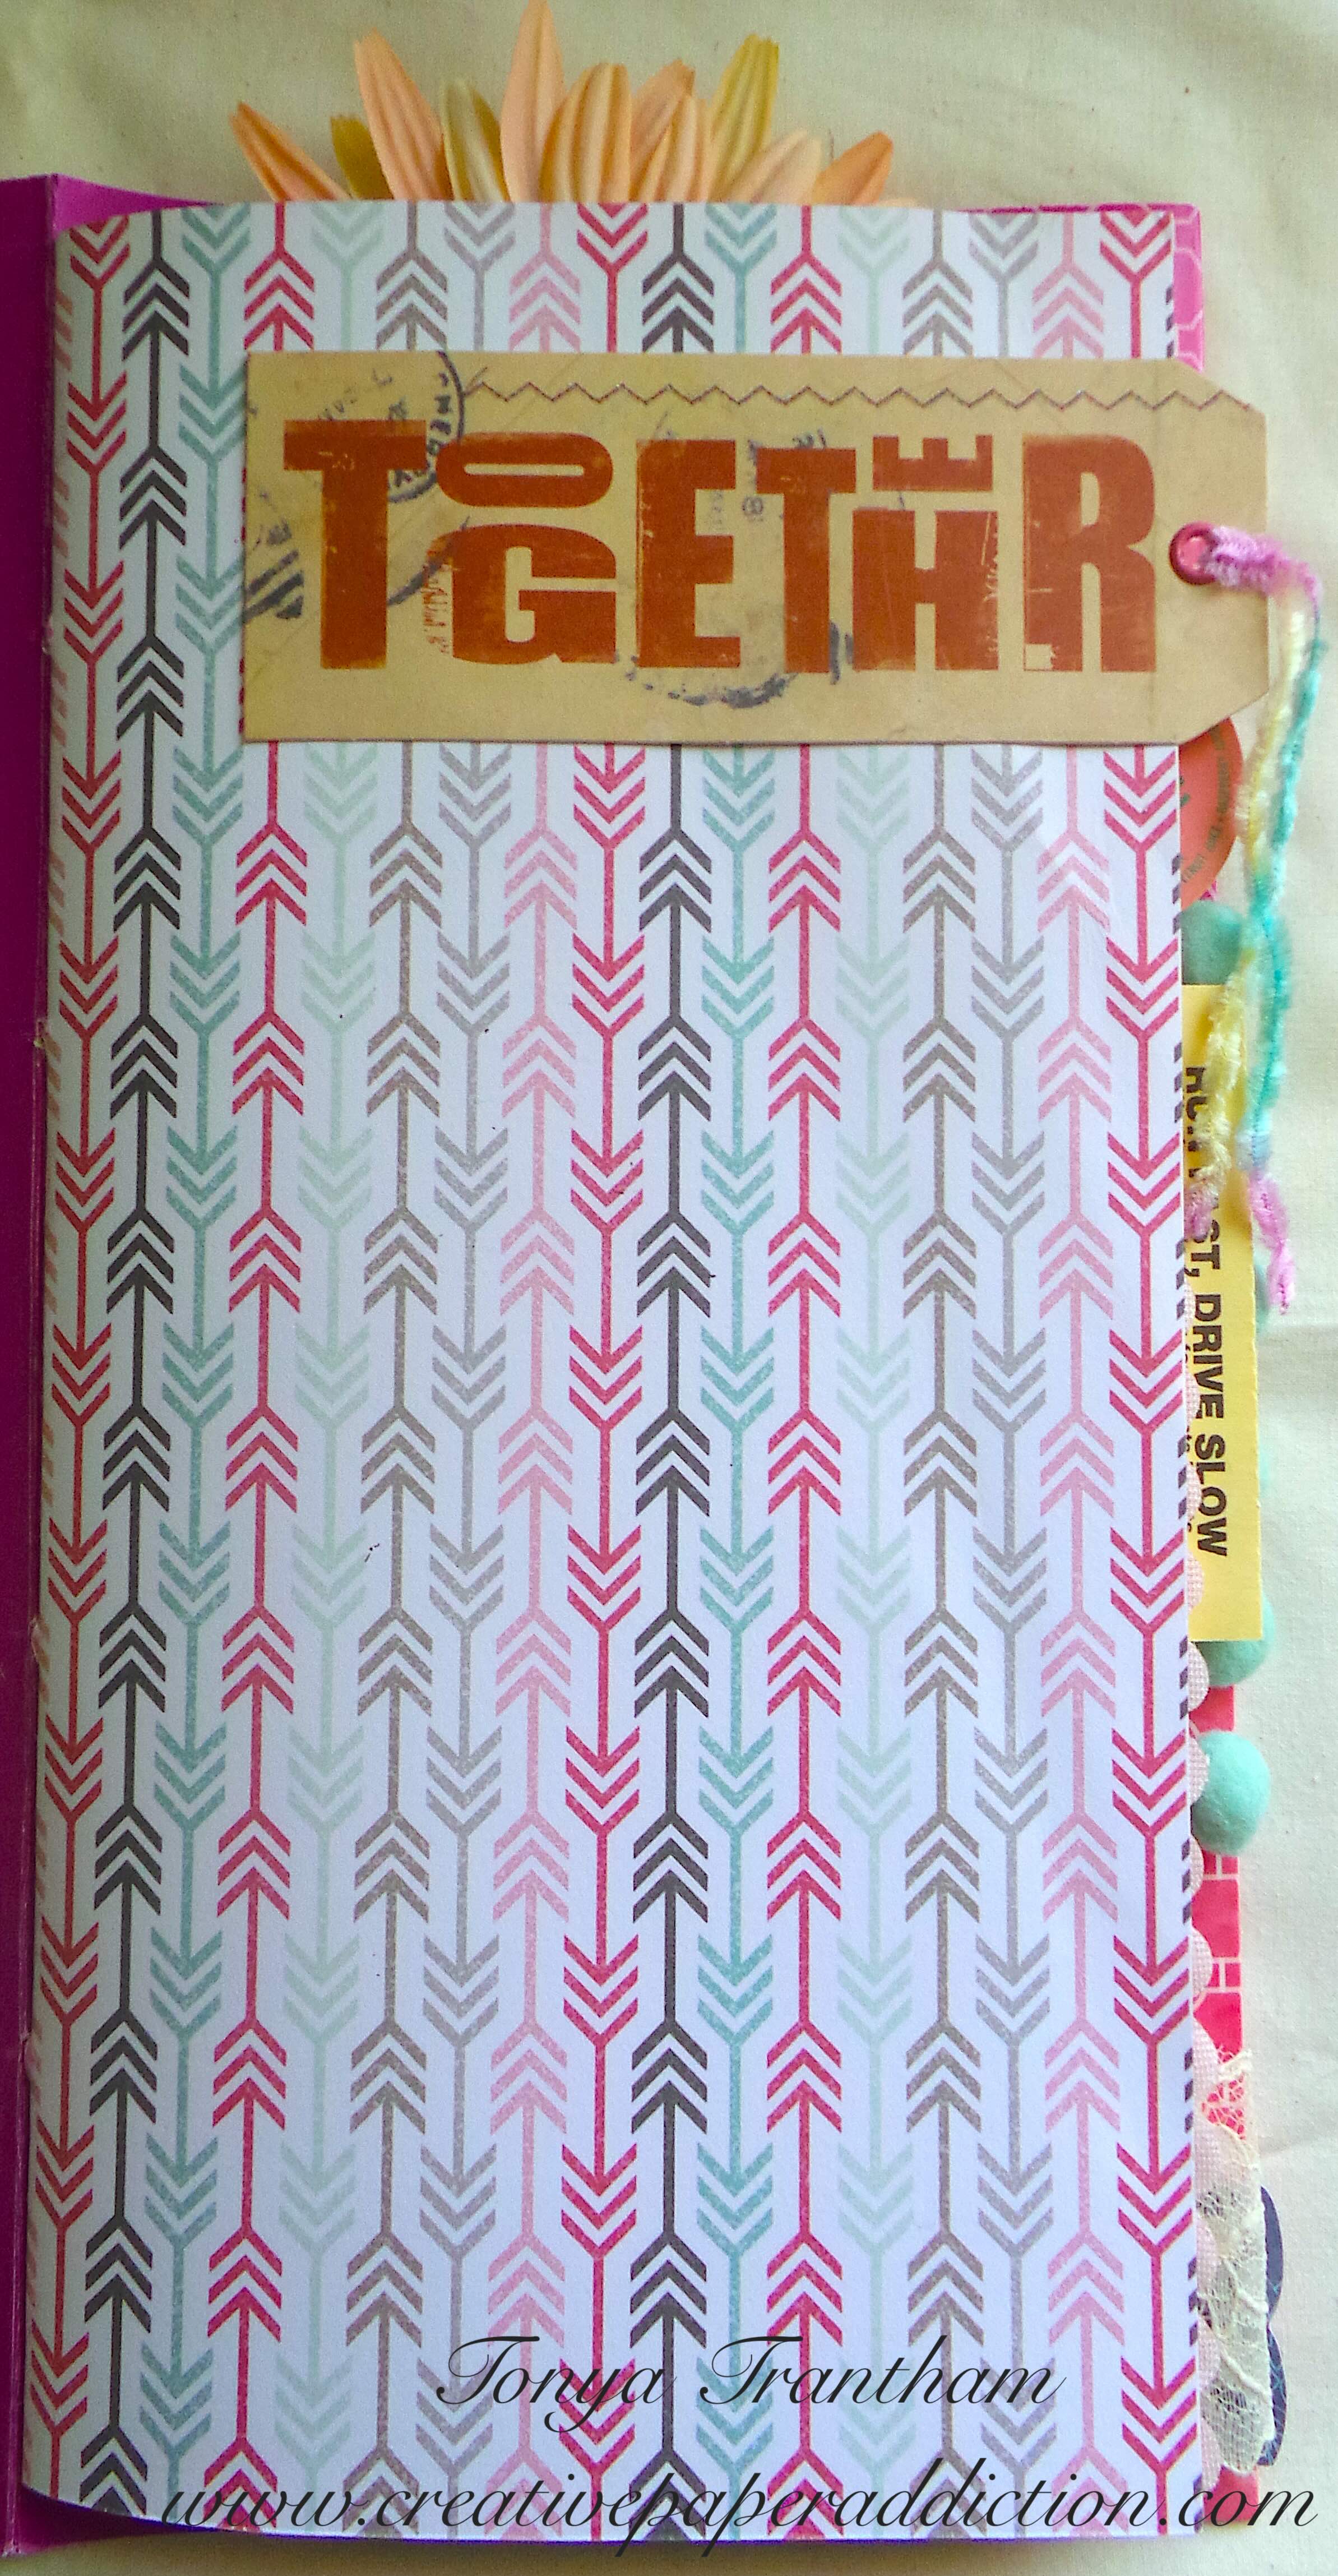
Second, I cut to fit patterned cardstock to fit the front and back of the cover and the inside of both sides of the cover. Side note, this will make it easier to stitch in the pages.
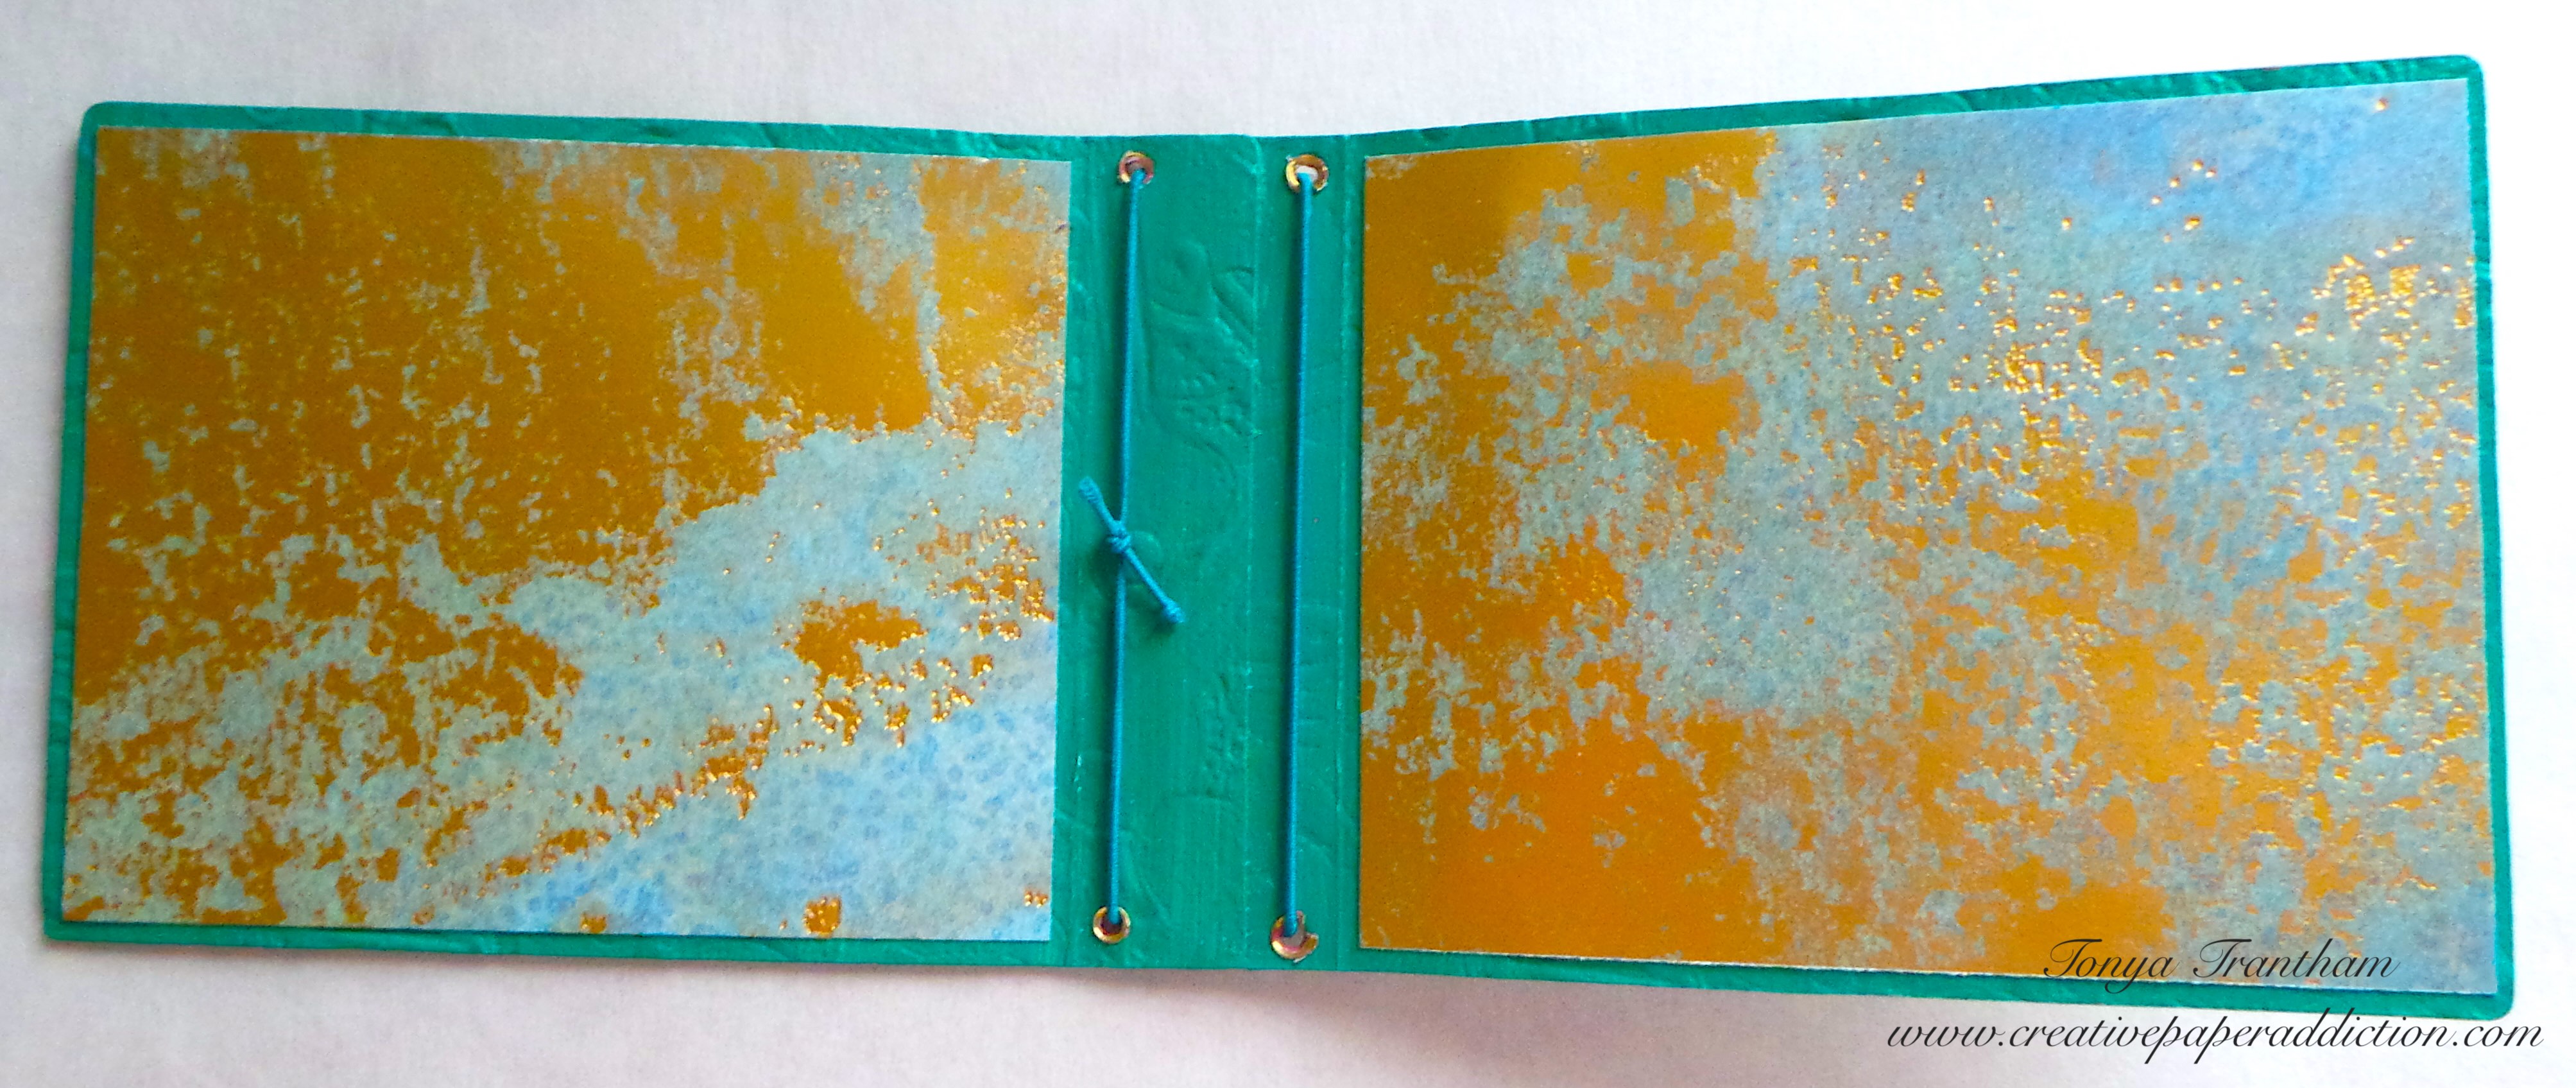
Third, I gathered an envelope, which I sealed the flap before cutting an opening in the end to created a “pocket, patterned cardstocks and dotted writing paper for the inside pages. I punched two holes into the spine before stitching with a needle and thread all the pages to the inside of the cover. I tied off on the outside spine. I cut a piece of flat lace the length of the spine, centering the lace to either side of the front and back covers before adhering in place.
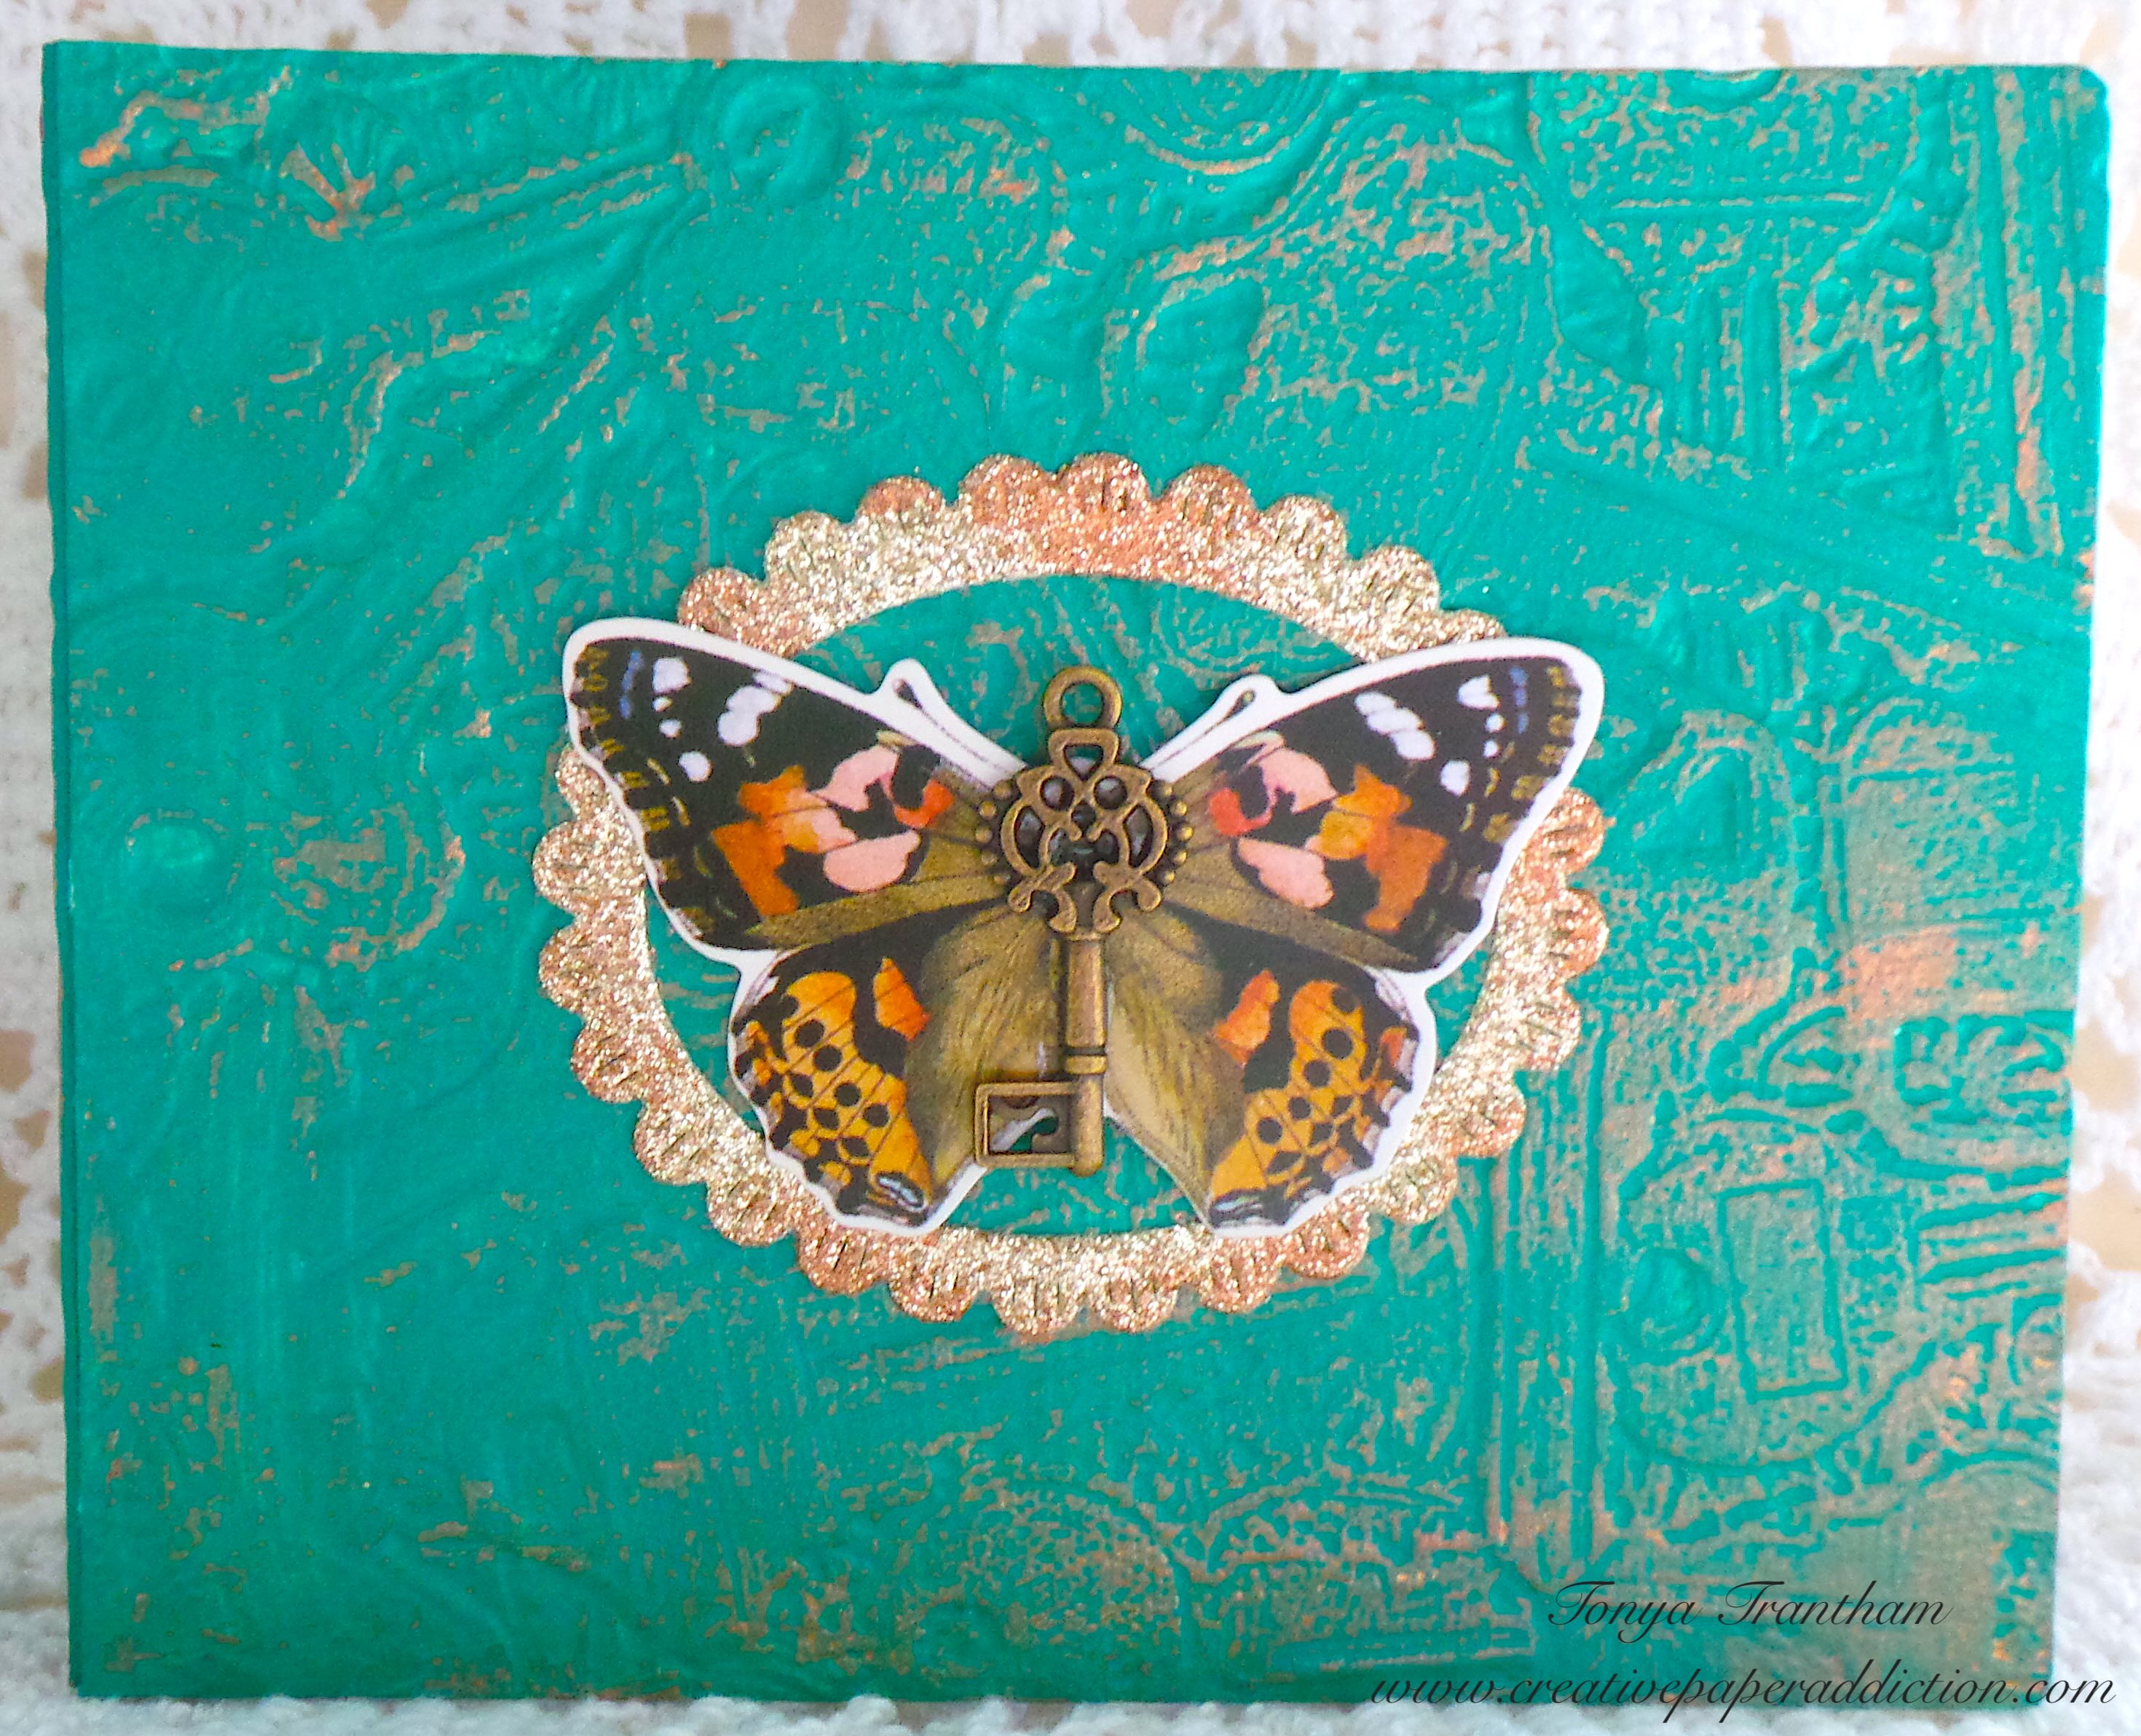
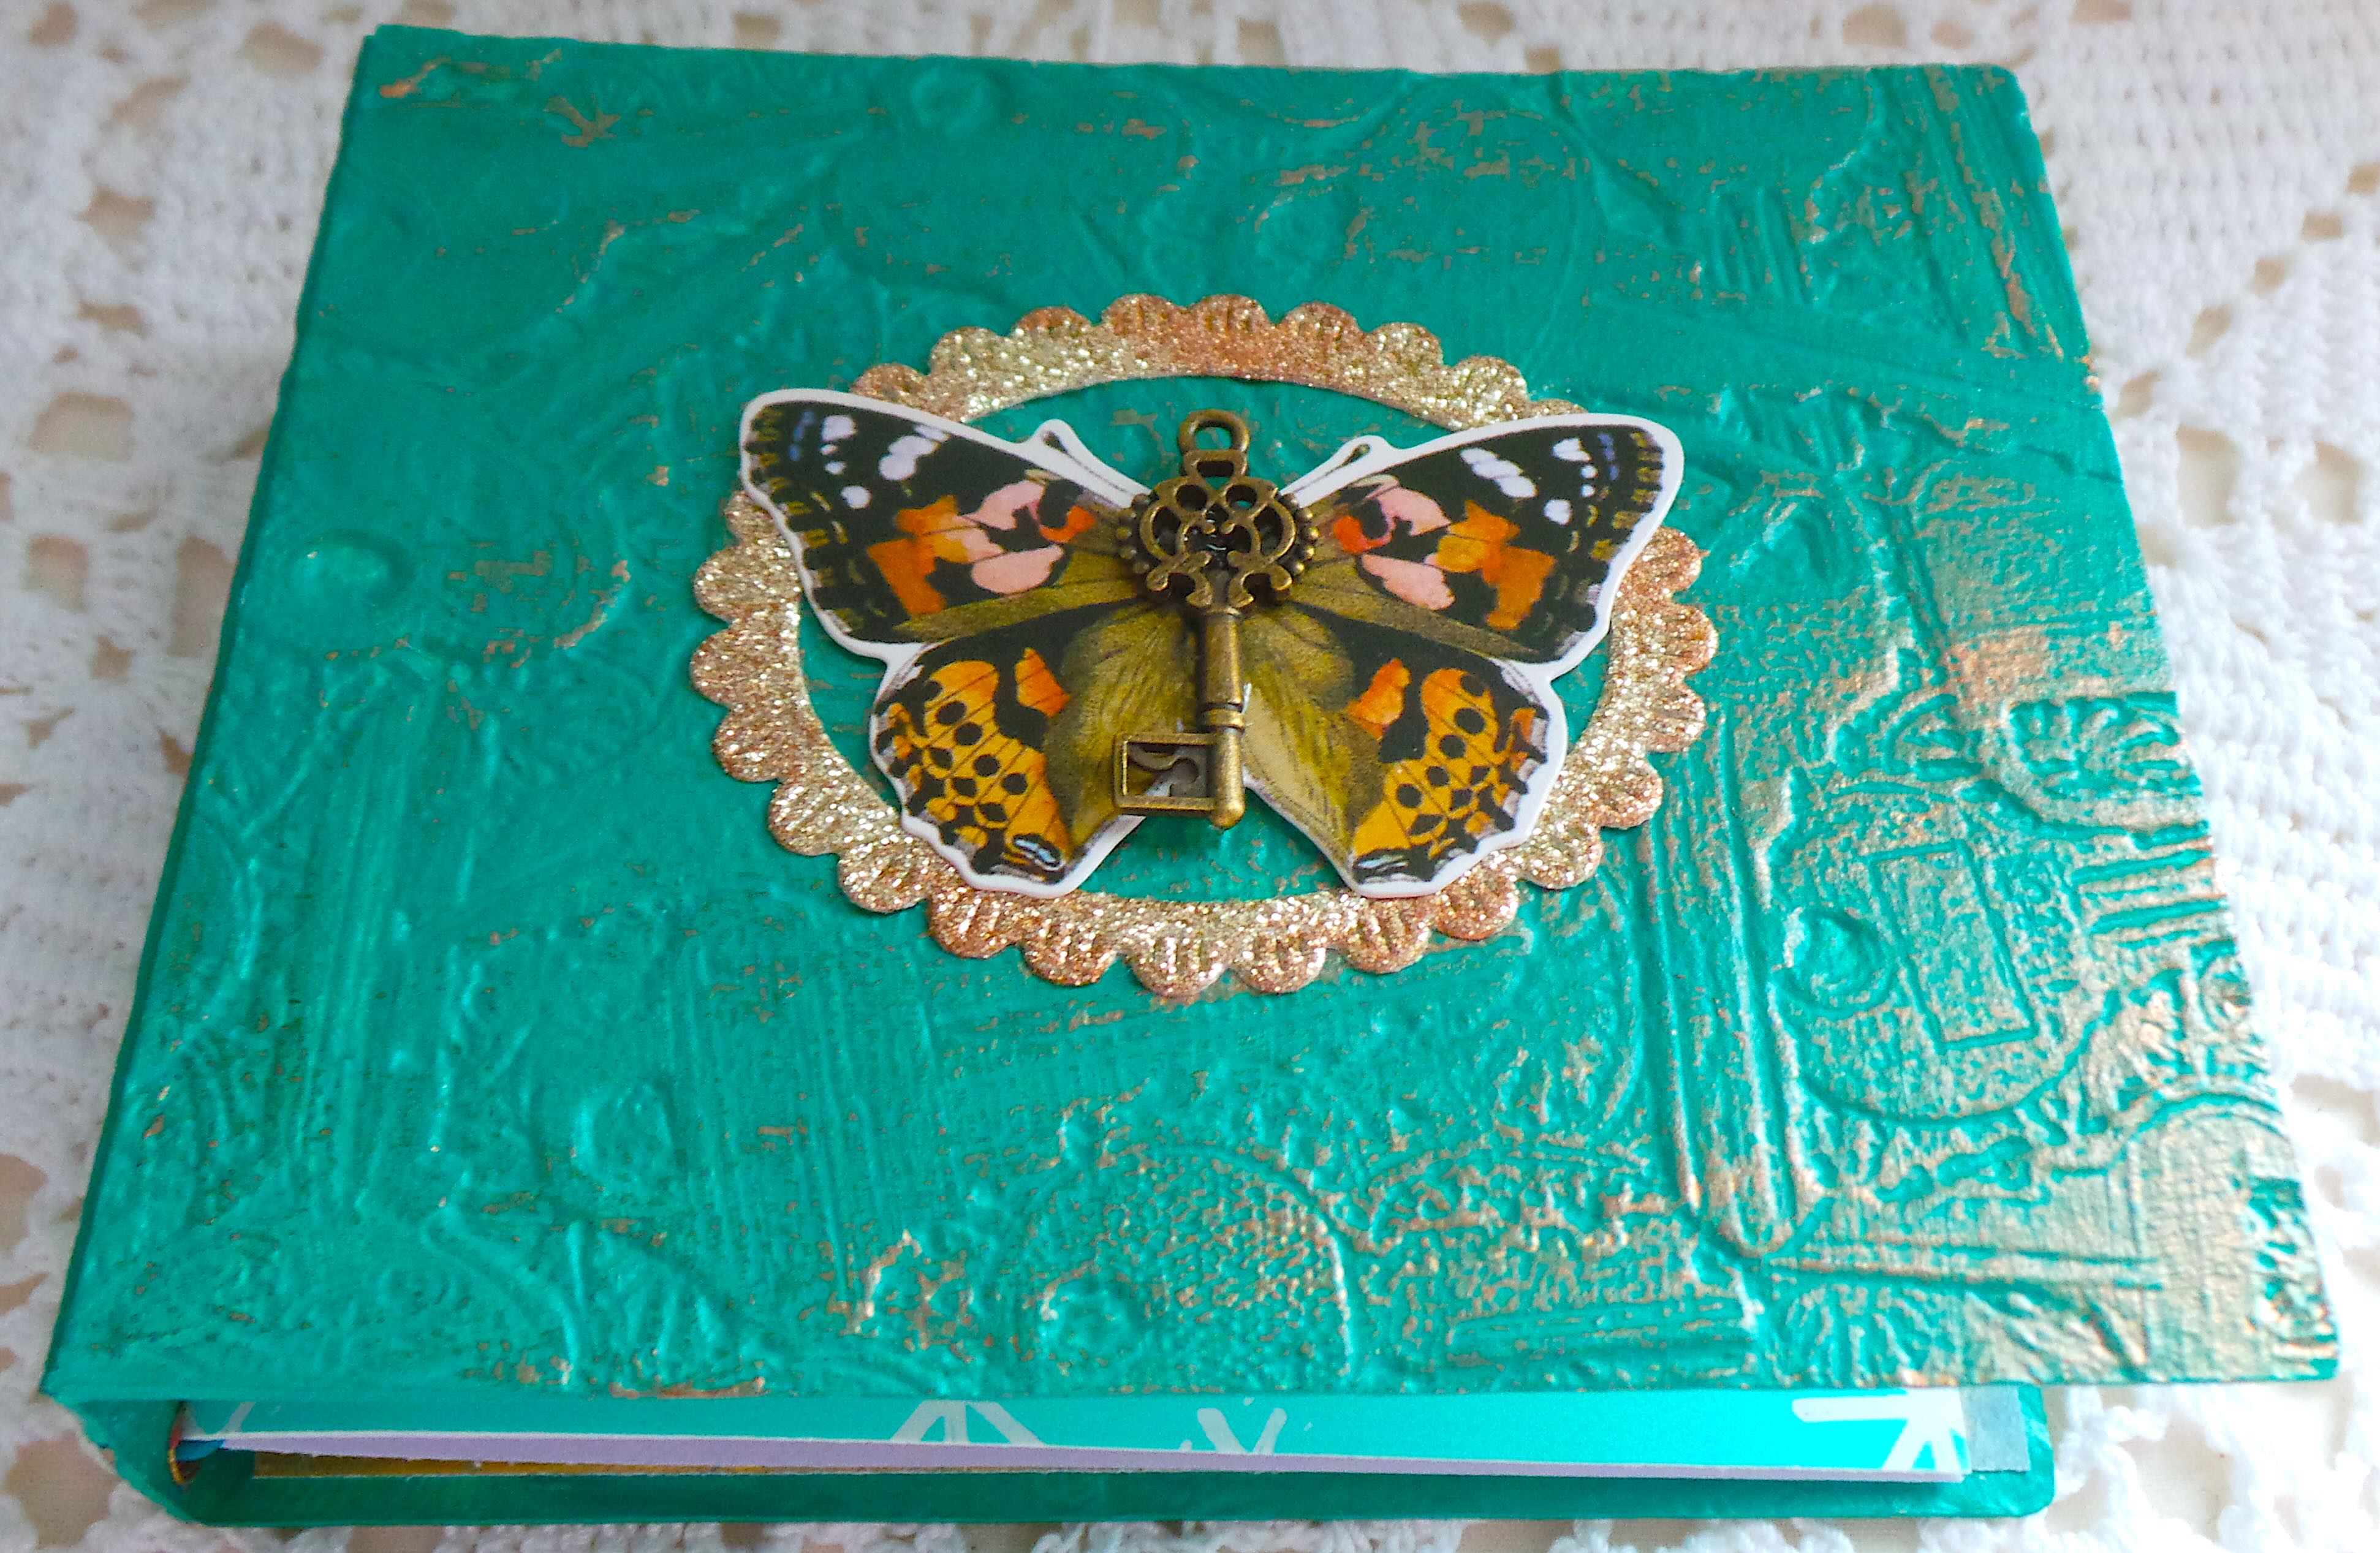
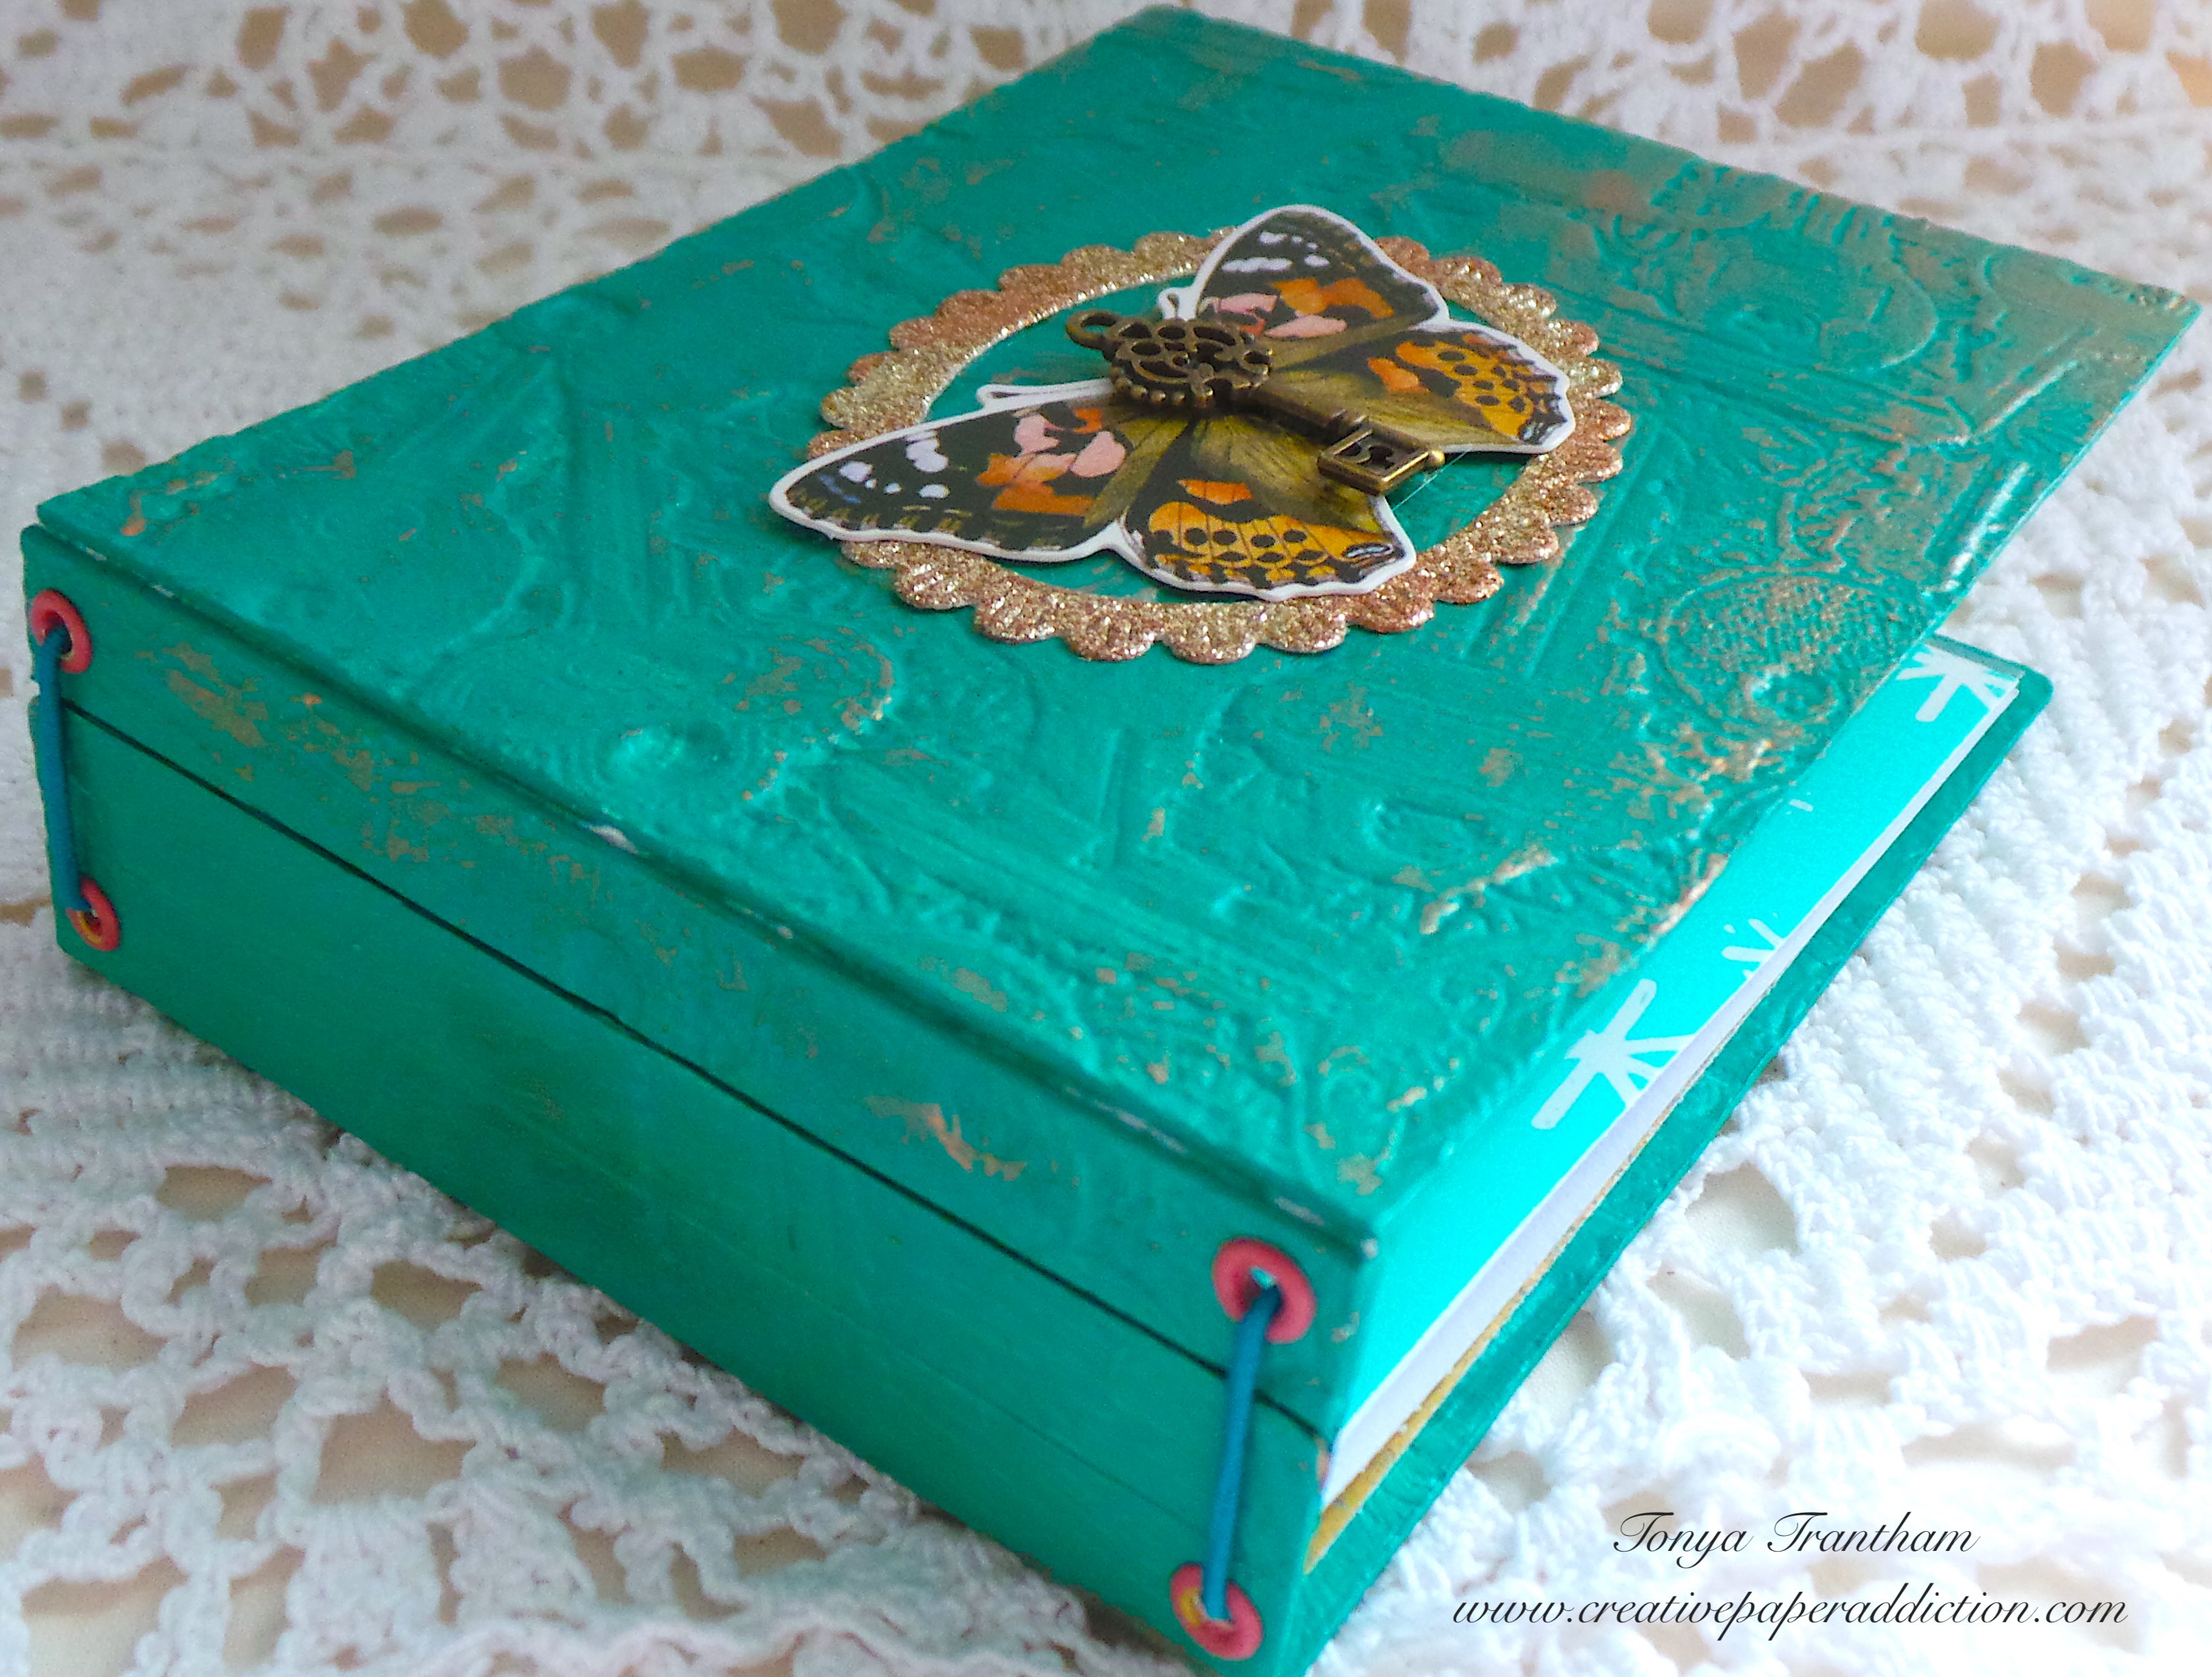
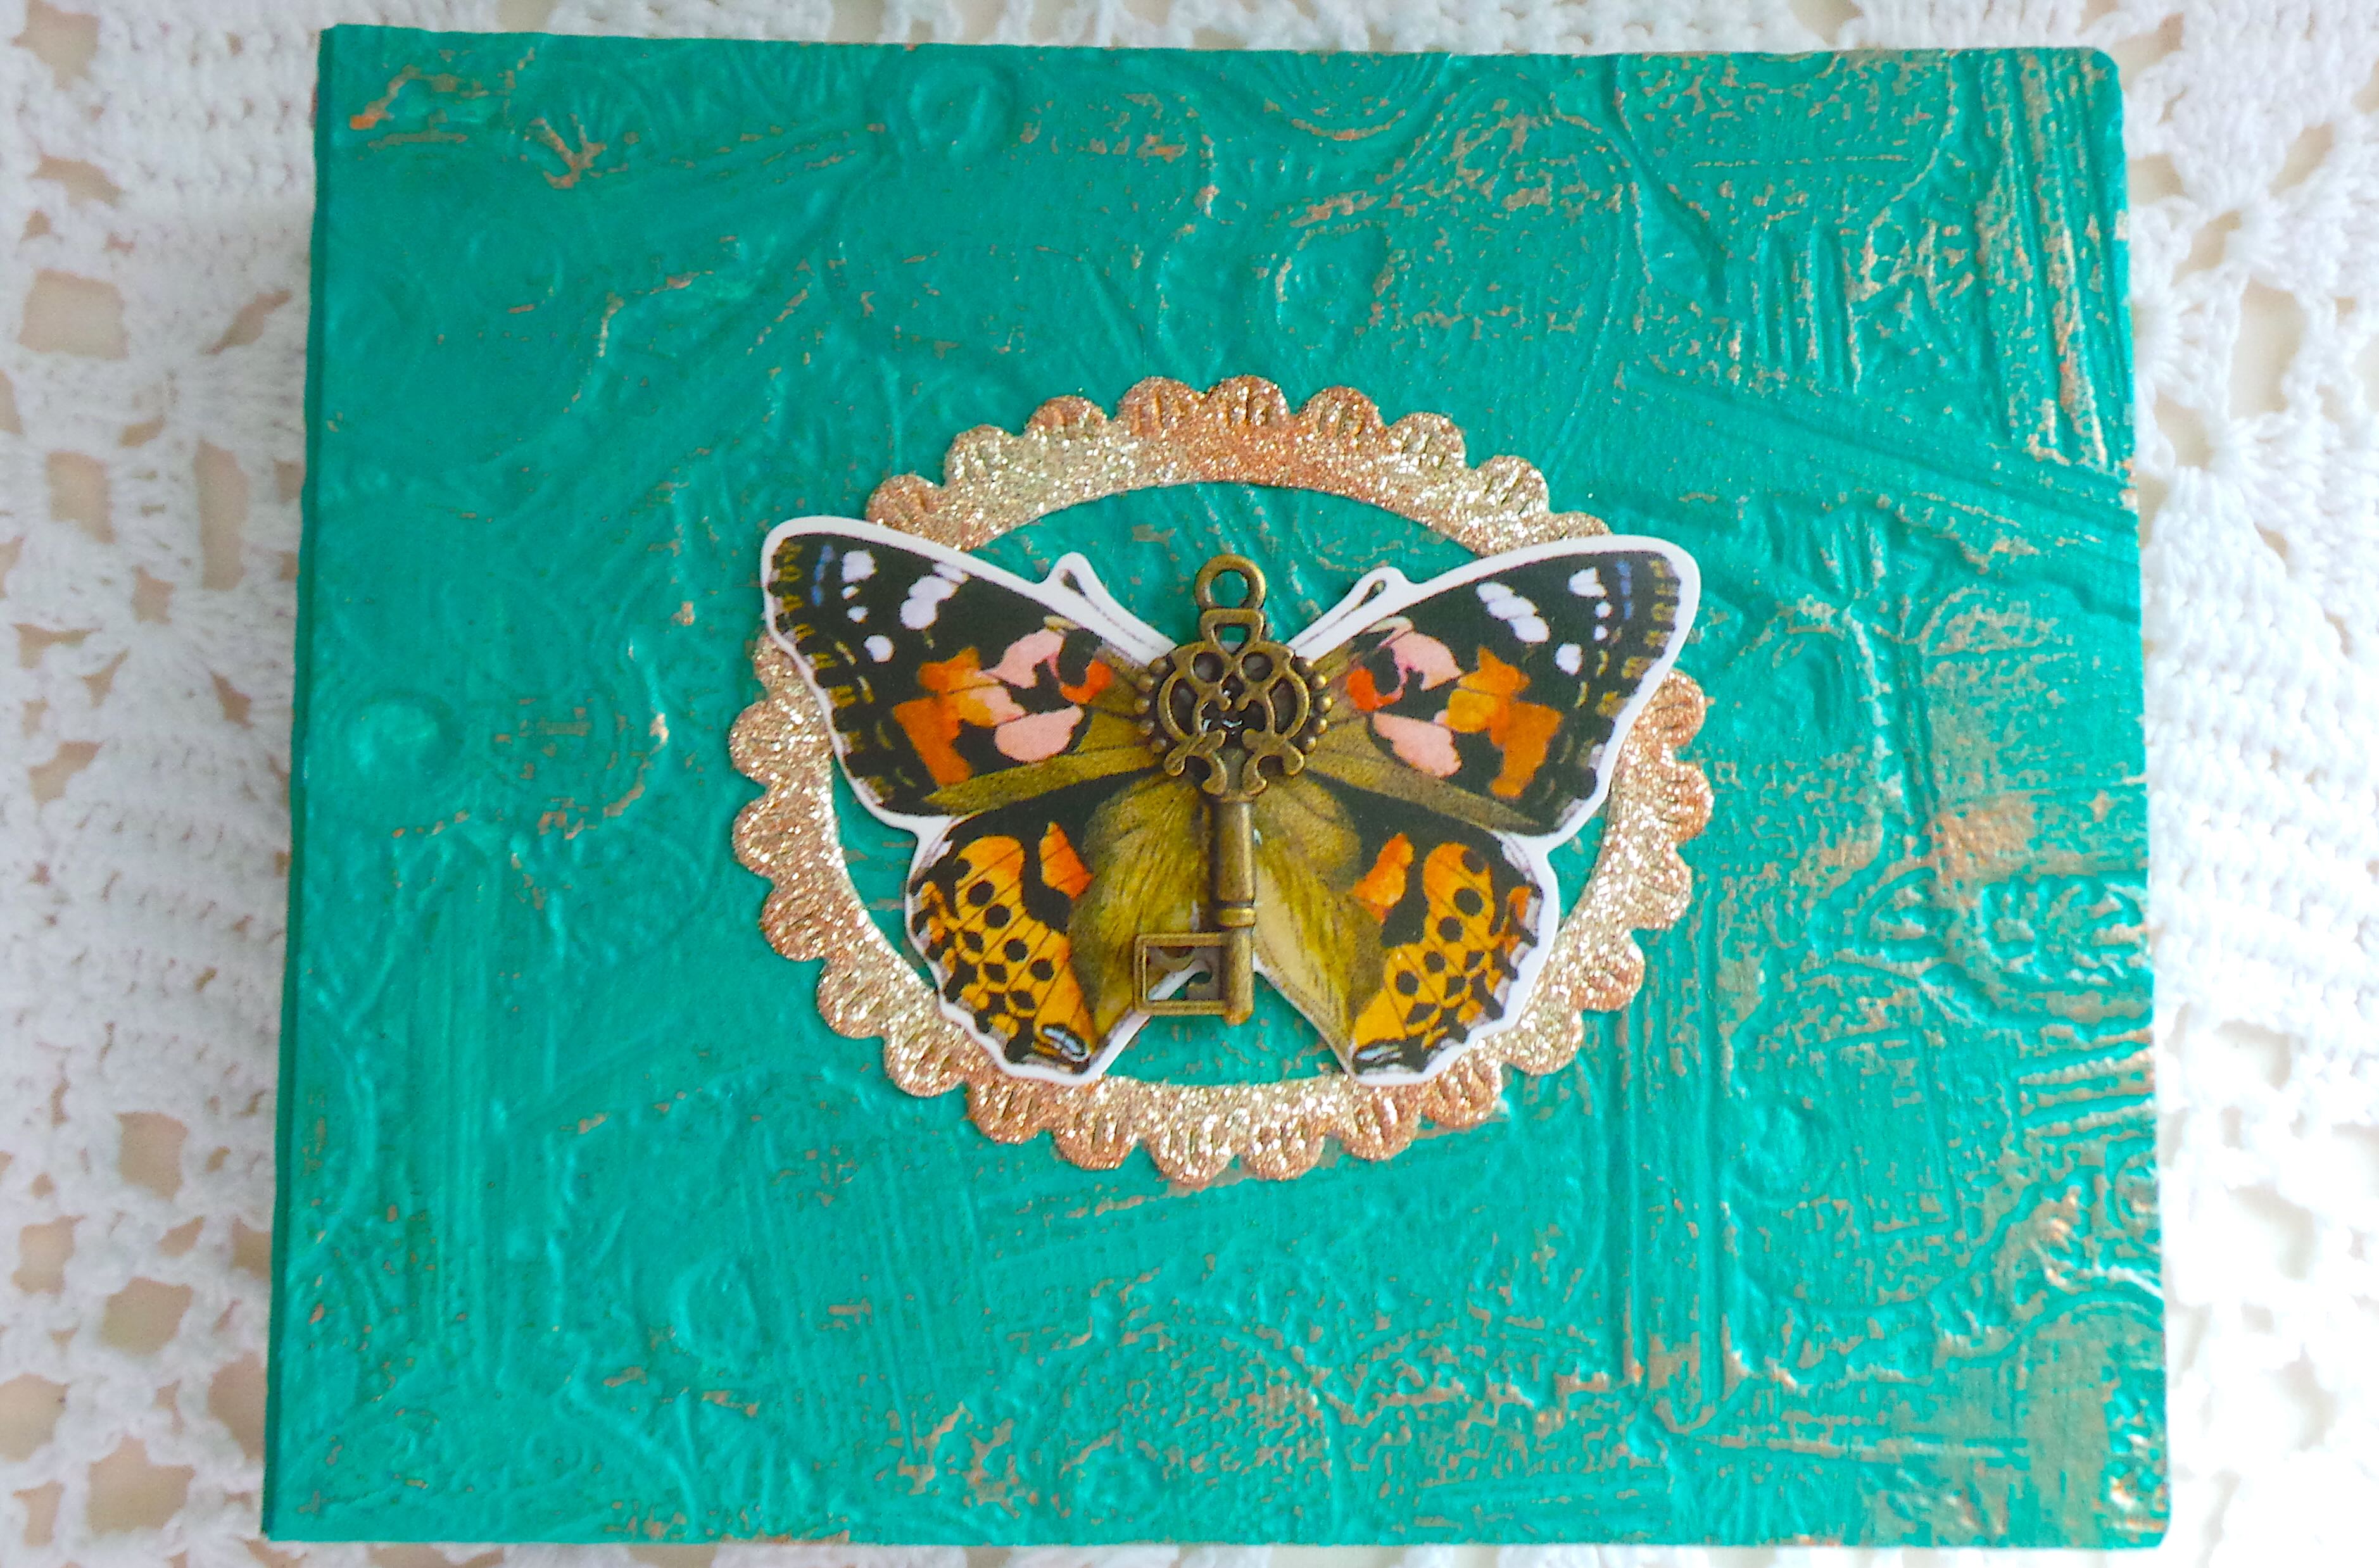
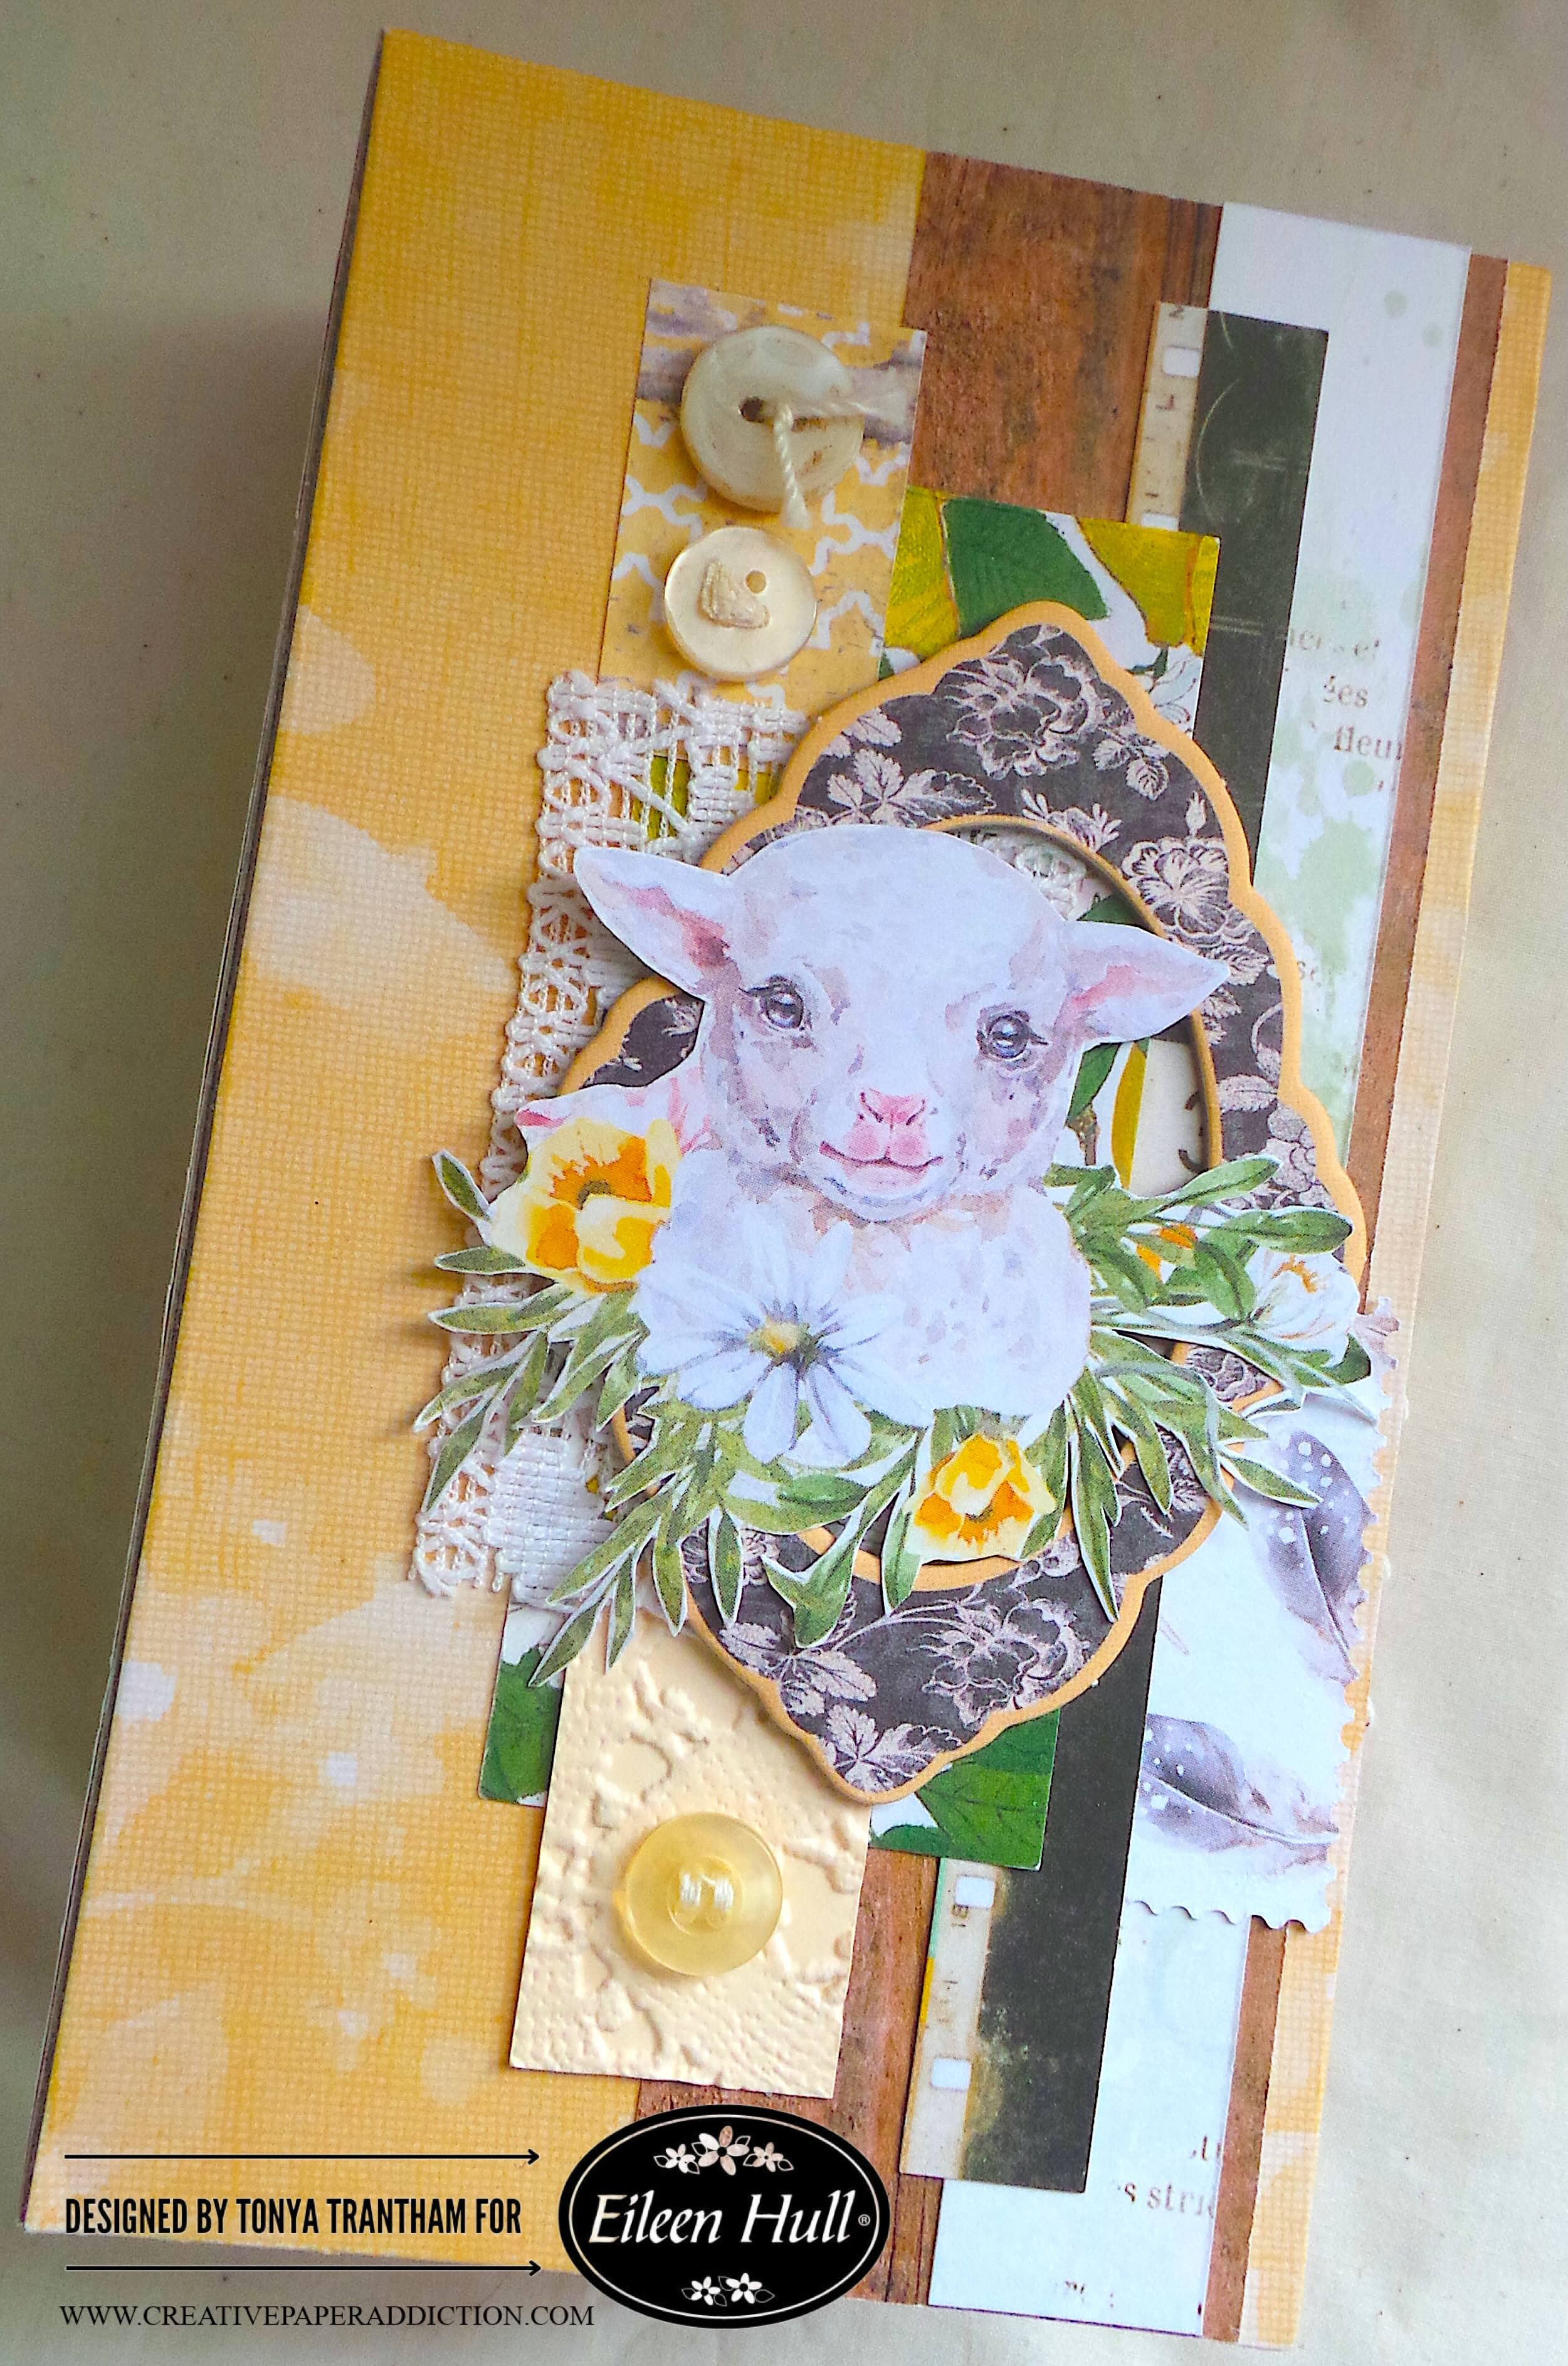
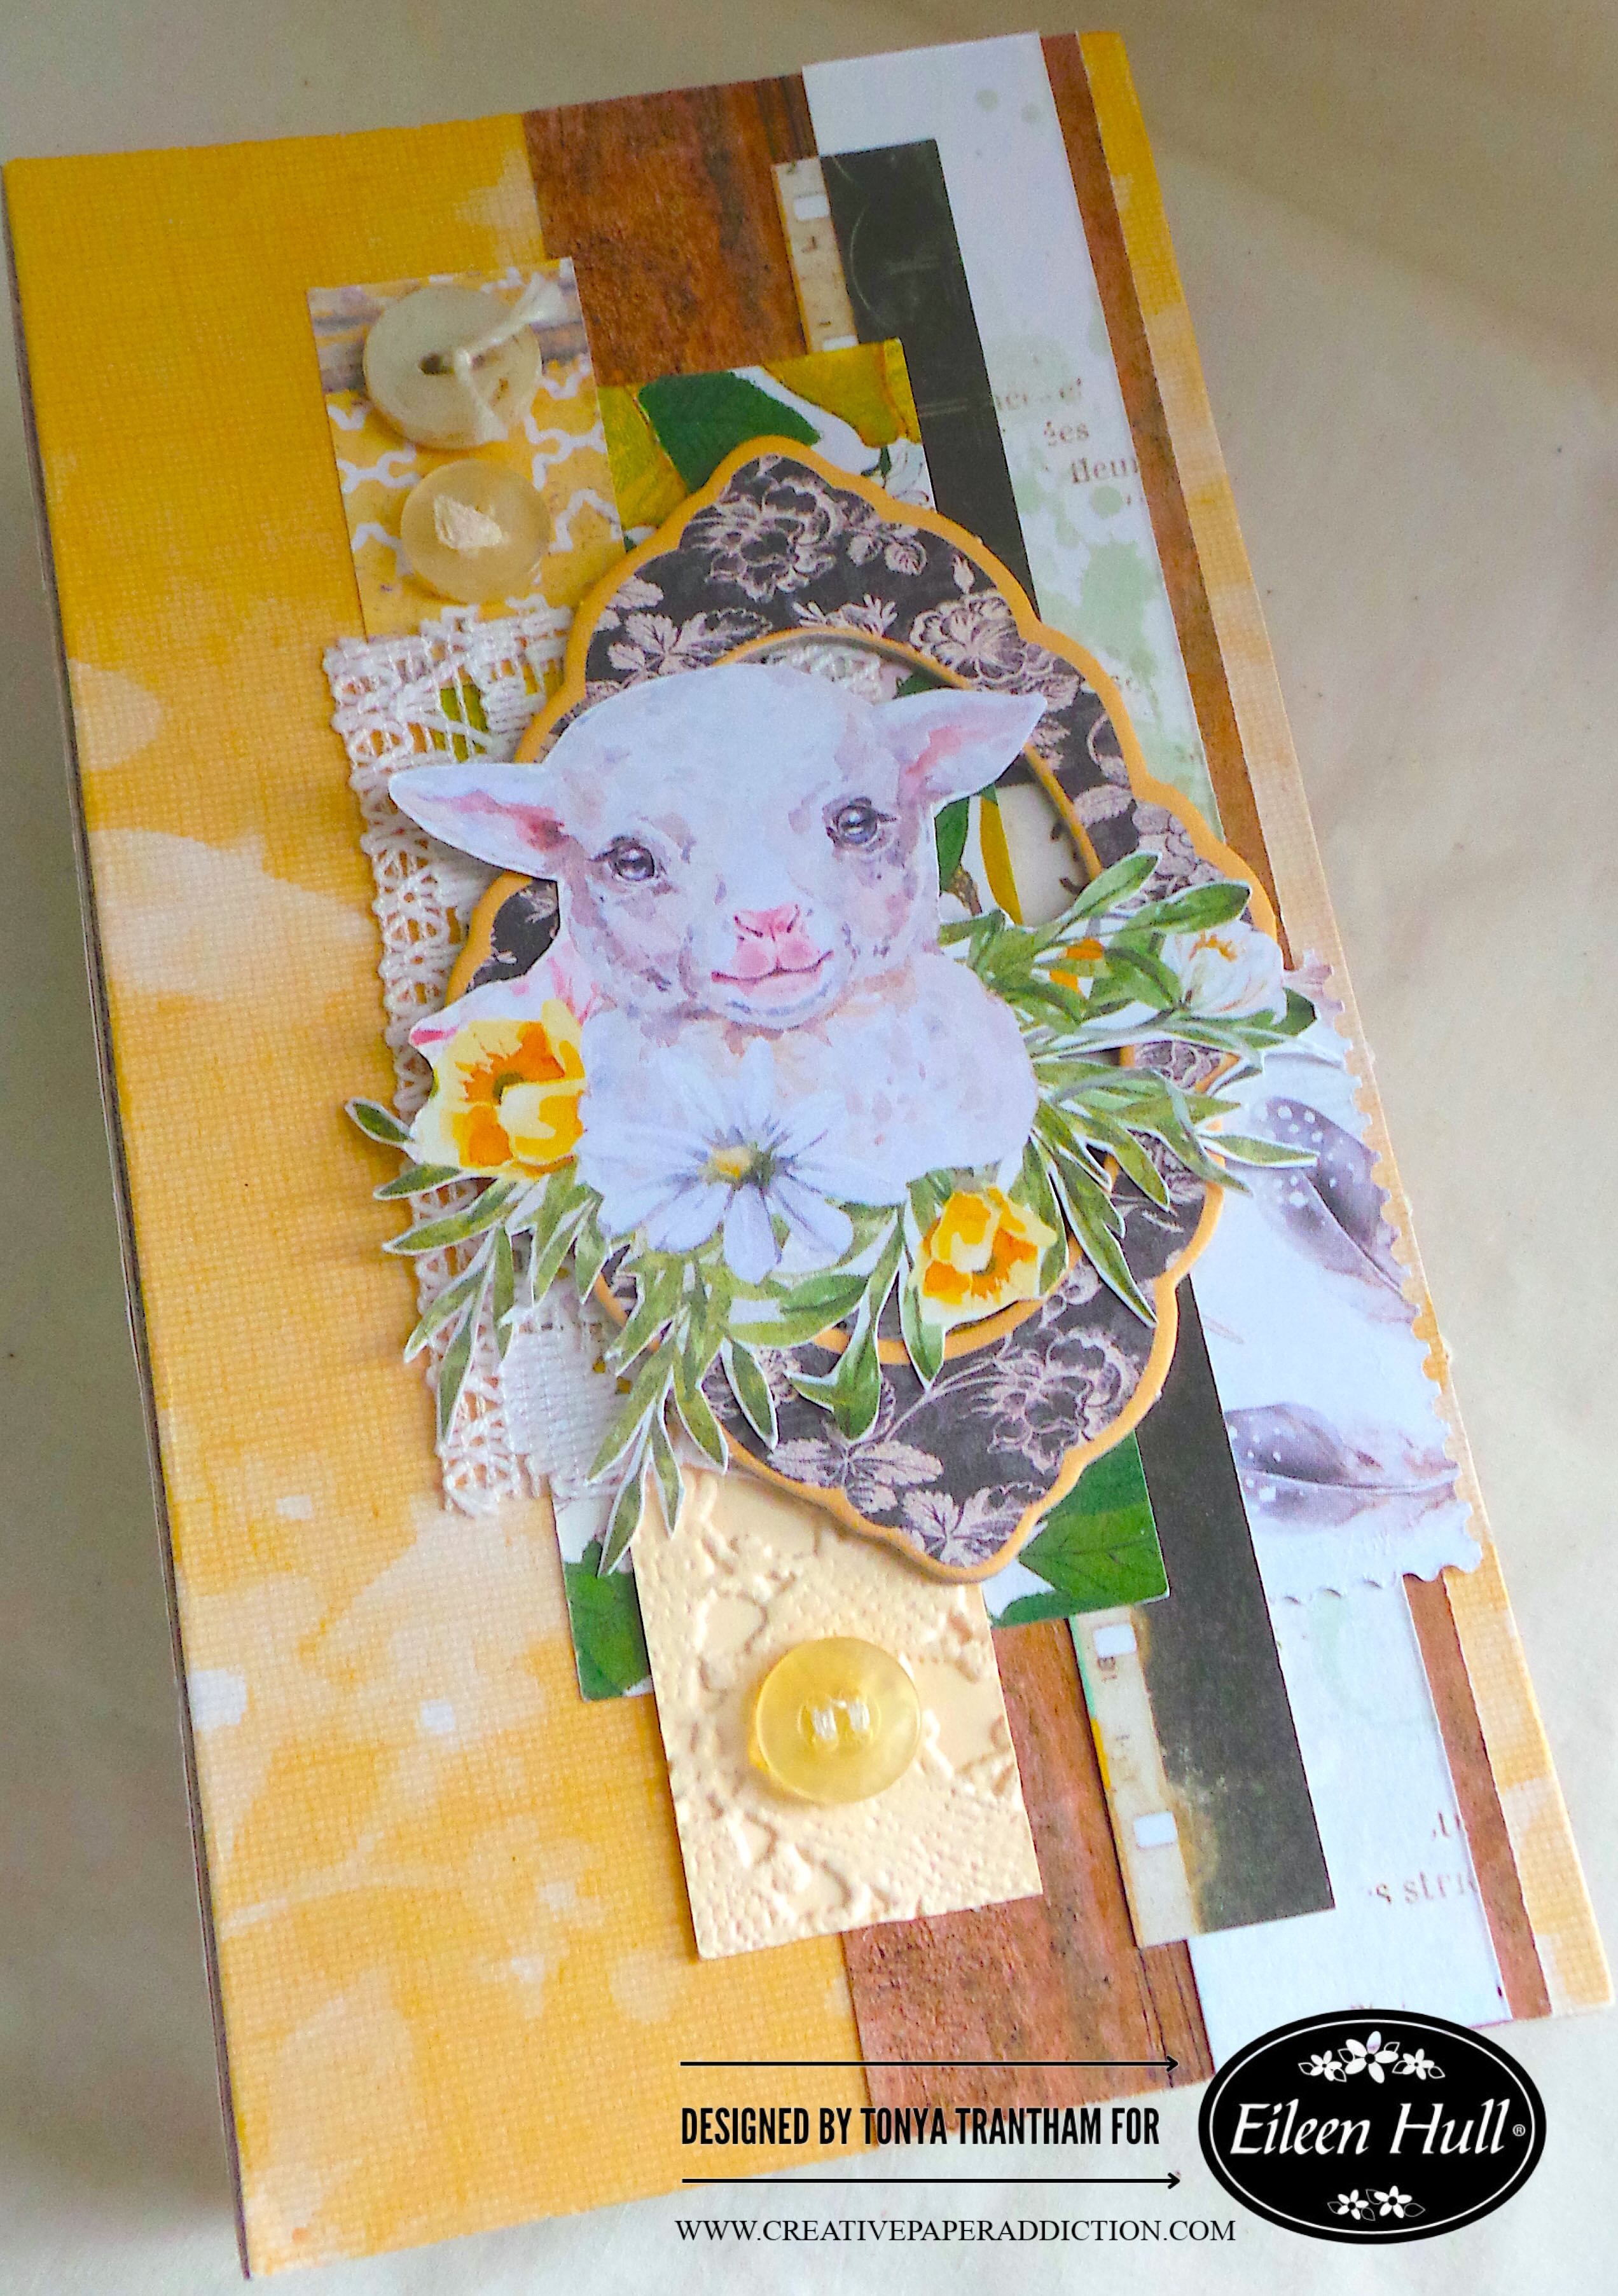
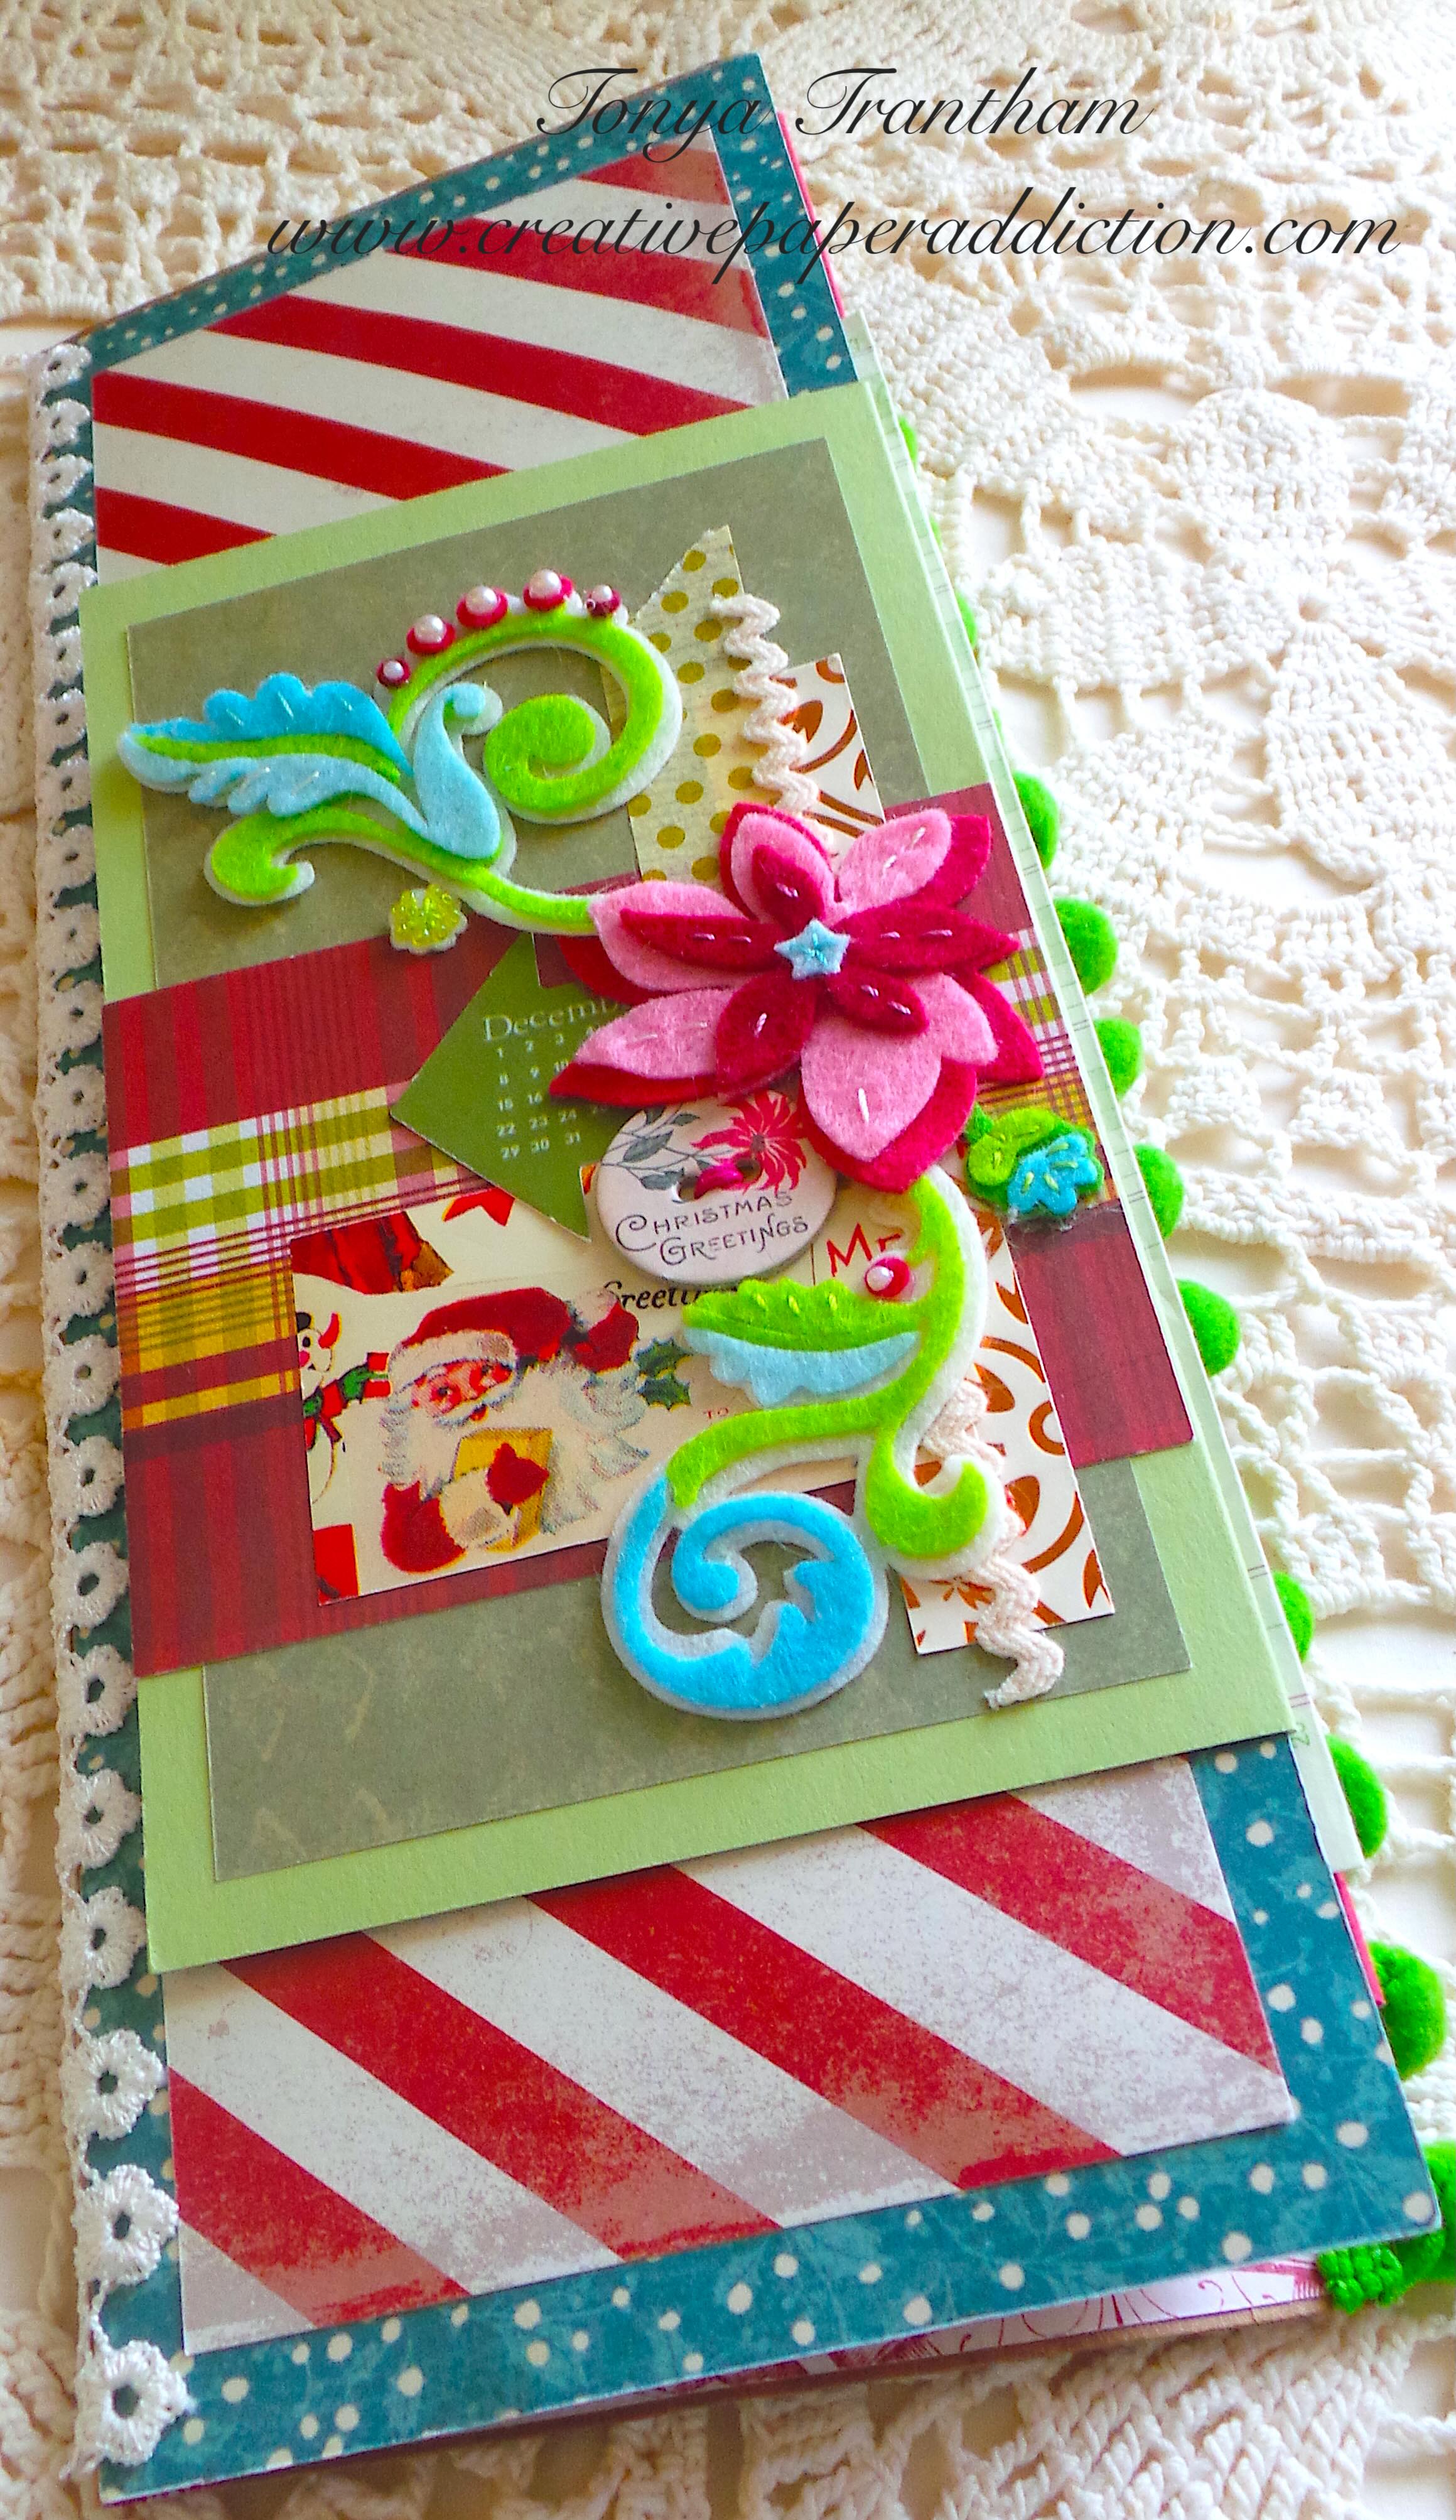
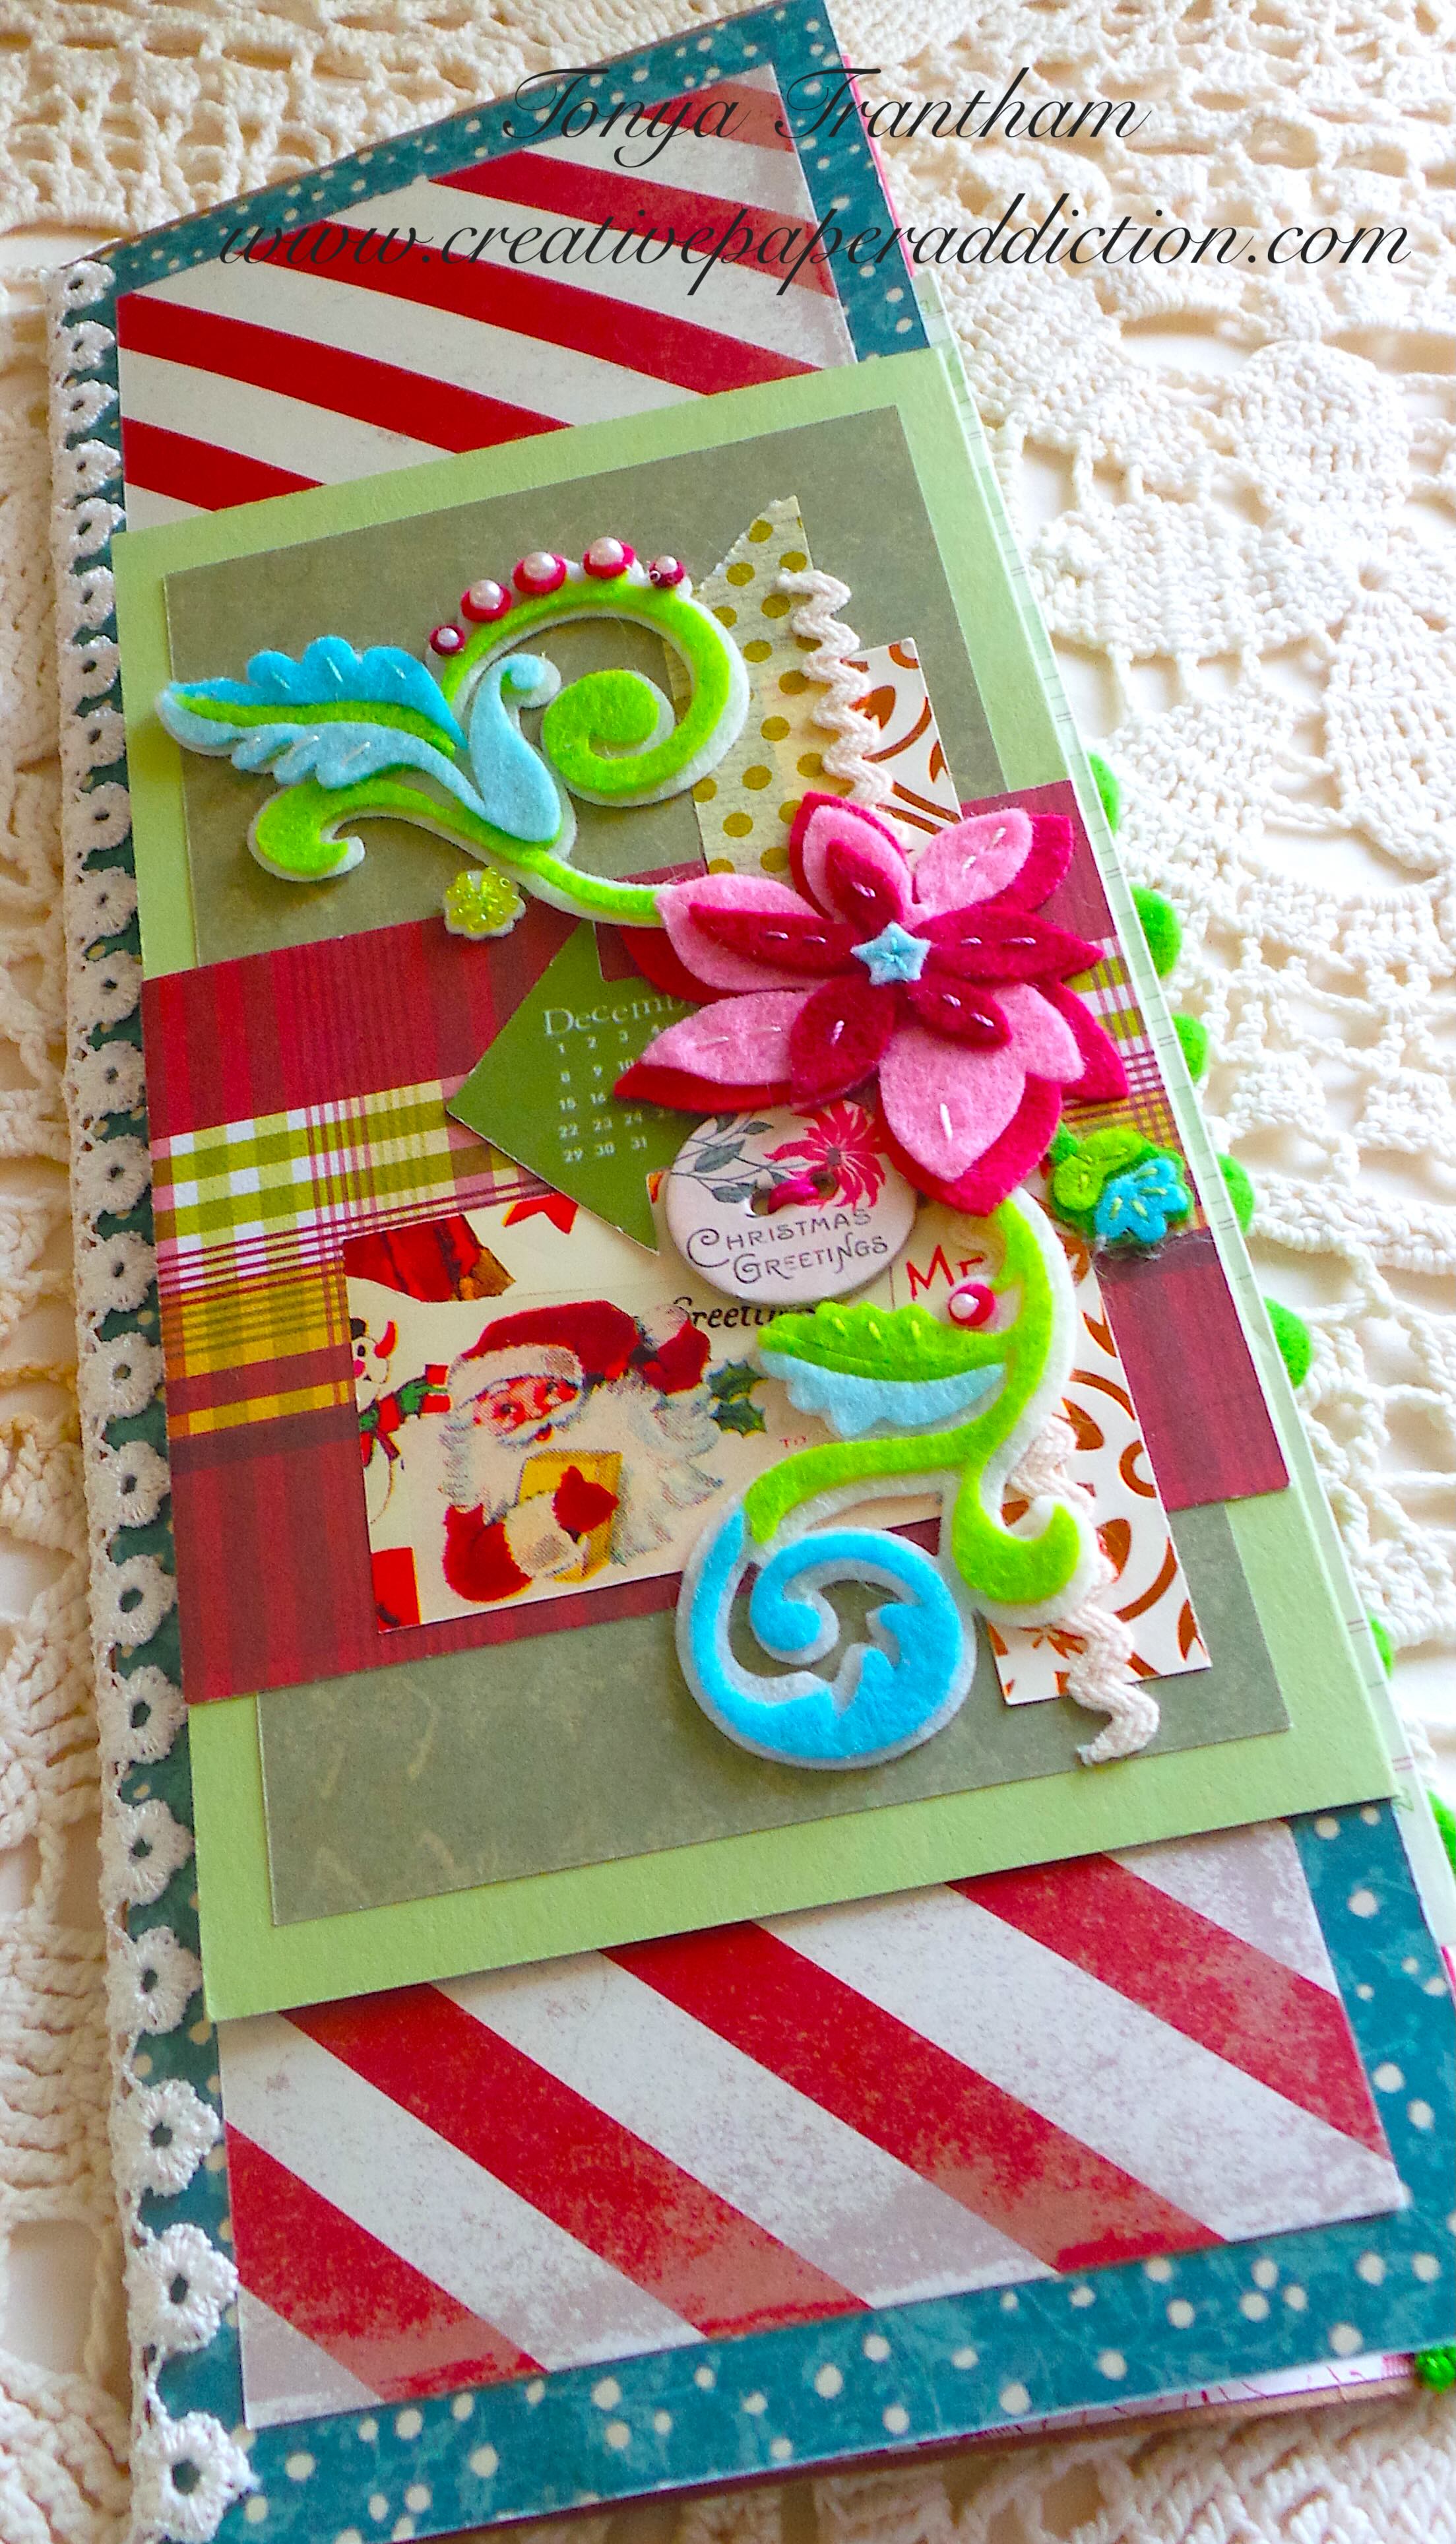
Fourth, I decorated the cover first. I know some crafters like to save the cover for last but for me if I can get the cover squared away/finished or close to finished it sets the theme for the inside of the journal.
I used an assortment of embellishments that I have had for years in my stash on the cover, such as the Ric Rac, lace, the lace flower and the chipboard roses piece along with a chipboard frame and a oversized floral postage stamp that I had purchased a couple of months ago. I cut the smallest and middle size hearts from the Envelope, Folder and Flowers Thinlits and inked the edges with a hot pink chalk ink. I layered those on top of each other and slightly under the chipboard roses. I also cut the largest leave from the same set of thinlits and shaped with a Stylus before gluing under the lace flower. I finished by adding a bow made of thread under the flower.
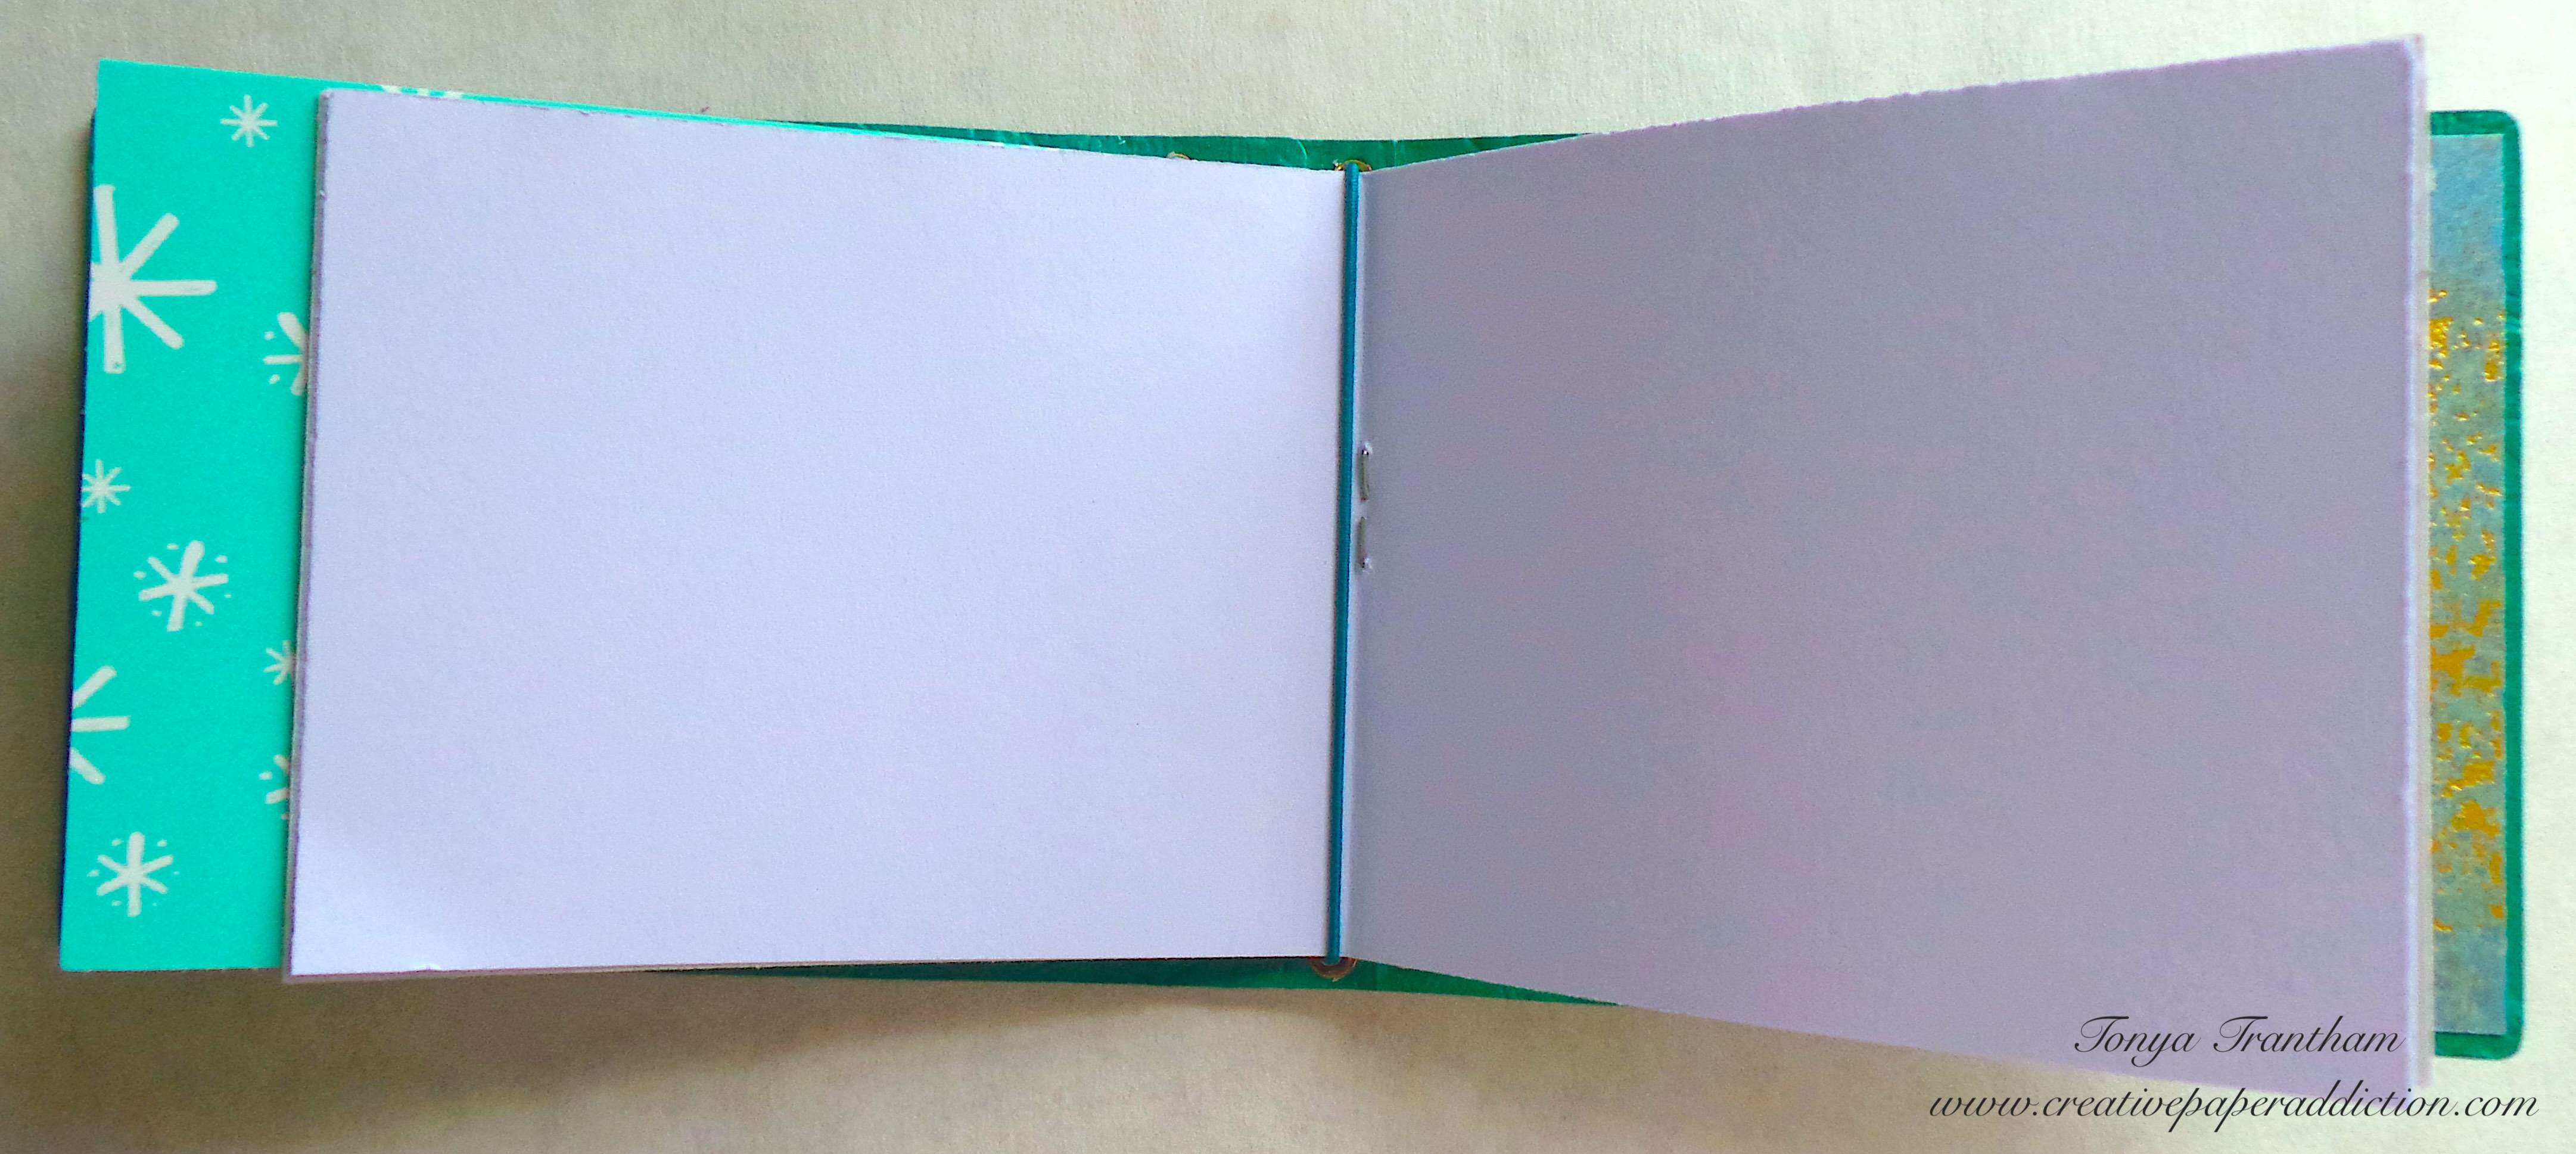
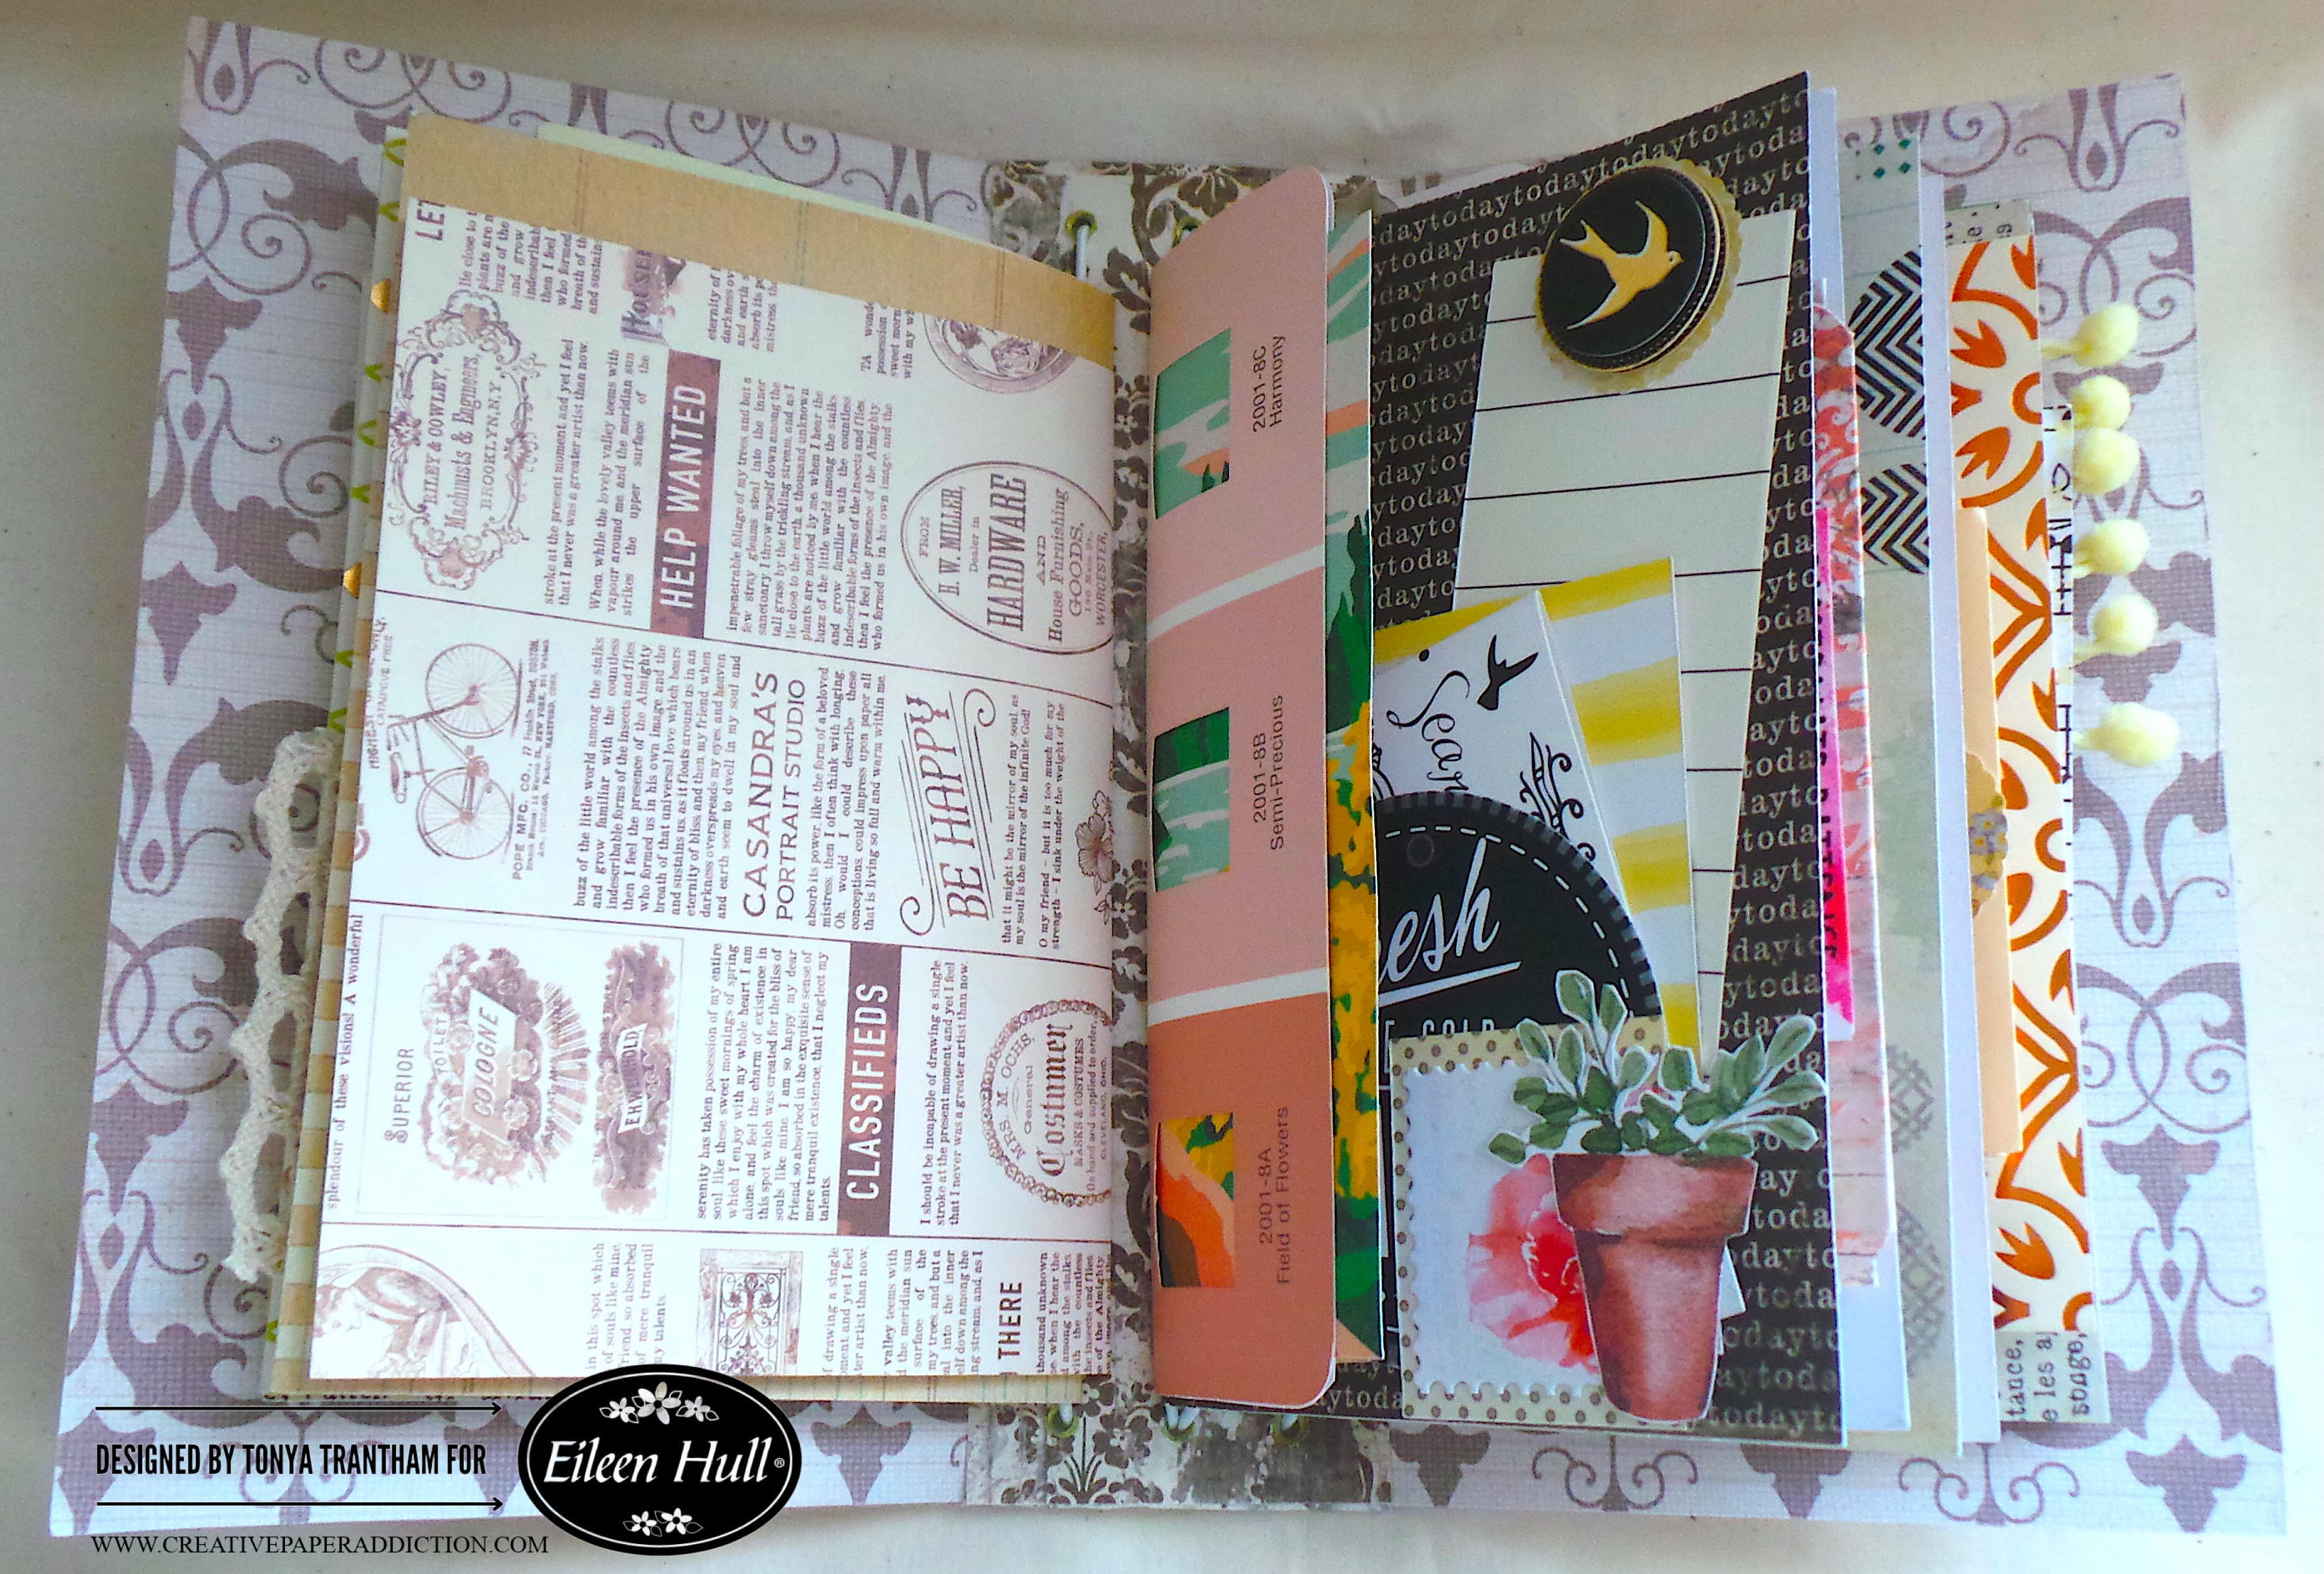
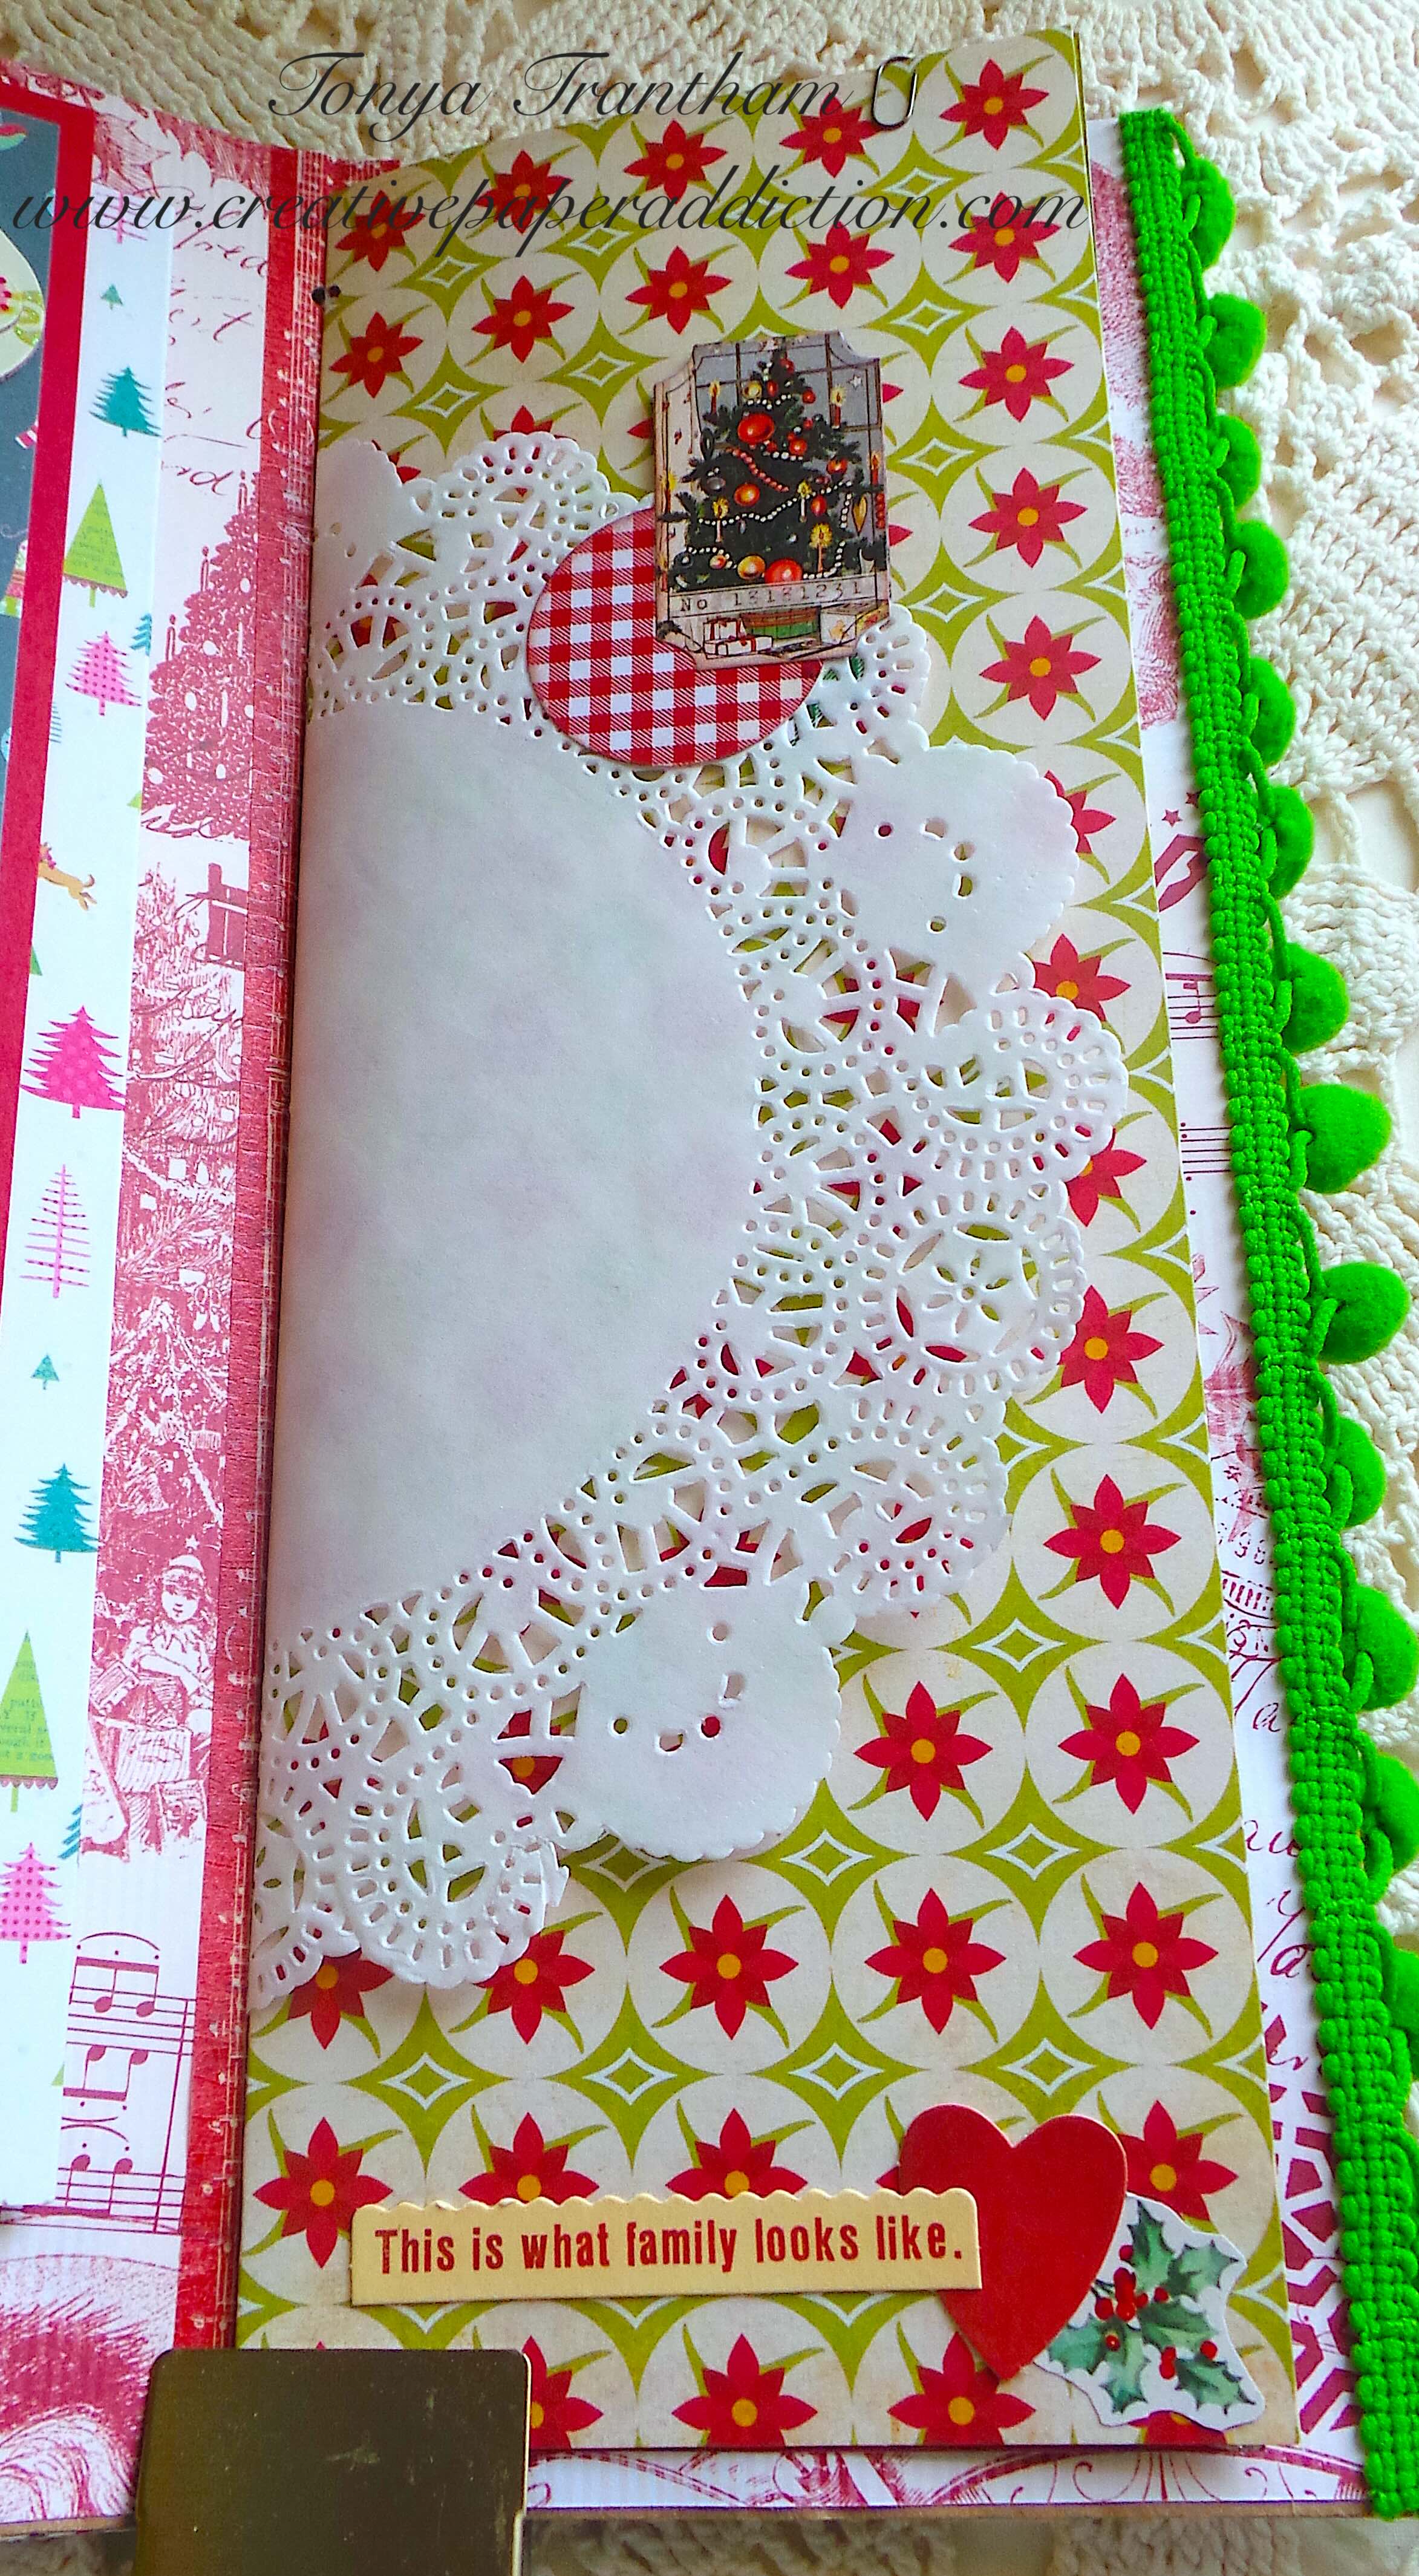
Fifth, I used a cut a part to create a pocket on the inside cover which I added a couple of flowers and another cut a part over the flowers. I used a bit of trim to dress up the top of the pocket. The opposite page I covered with a patterned cardstock.
I cut from a patterned piece of cardstock the decorative number 14, inked the edges before adding glue to two sides and placing on the corner of the page to create a pocket. I used a mix of cut a parts, scraps of patterned cardstock and a piece of grid paper as tags to fill the pockets. Side note, I dressed up the grid paper with a rub on and lightly inking the edges to give it an aged old.
Sixth, the next set of pages I kept the decoration to those pages to a minimum. I added a patterned cardstock to the back of the smaller page along with pom pom trim. The opposite page I found these felt pieces in my stash. I adhered to the upper corner of the page, added the “sweetheart” sentiment and sequins over the heart.
Seventh, this set of pages I added two cut a parts and a staple with my Tiny Attacher.
The opposite page I fussy cut the children out and added glue to the bottom and to the corner of the heart and placed on to the page to create a pocket. I cut down a piece of 6″x6″ patterned cardstock, folded in half and placed in the pocket.
Eighth, these two page I kept simple and added lace to the dotted paper. The opposite page I adhered the tab I had cut off from a file folder to that page along with Ric Rac.
Ninth, I adhered a piece of patterned cardstock to the back of the tab. Also you can see where I stitched the pages into the cover.
Tenth, the next set of pages I used a piece of washing tape to secure the “love you” cut a part to the page to create a tip in/flap. I adhered heart ribbon down the side of the page and I added a button to the flap. The opposite page, I cut a library pocket from Library Pocket ATC Card and Tabs Thinlits from Vellum and put together. I added glue to the bottom and one side of the pocket and placed on the bottom corner of the page.
I glued a label to the pocket. The open circle is actually the tire that was leftover from the a project I made with the Vintage Truck Box Diecut. I glued onto the label and added a chipboard heart and two sequins to complete the pocket. I placed cut a parts and folded pieces of patterned cardstock to the pocket.
Eleventh, the next set of pages, the dotted paper I cut two banners and added adhesive to the top of each and placed in the top corner of the page and a circle punch and a scrap of cardstock. The banner can be used as tuck spots for tags.
The opposite page I added two cut a parts and another staple to finish the page.
Twelfth, the next set of pages I glued two strips of cardstock, one slightly smaller than the other, together before adding adhesive to the top and bottom of the strip before placing onto the page. I embellished with a felt heart and a “love you” sentiment. I also cut a piece of notebook paper down and folded in half. I lightly inked with chalk ink and added a “us forever” rub on the paper before sliding under the belly band.
The smaller page I added patterned cardstock to the envelope and glued a flower and a cut a part to the upper corner of the page. I added two tags to the pocket.
Thirteen, I cut a waterfall card from the Waterfall Card and Tags Thinlits, added a “love” rub on to the card, folded the flap and adhered the smaller flap to the inside of the pocket.
I glued a small tab to the top of the card and a decorative piece of cardstock to the page. The back of the inside cover I used a decorative diecut from my stash and a “happiest day ever” sentiment to complete the inside of the journal.
It felt great to use what I had in my massive amount of supplies to create this journal. Don’t get me wrong I love buying new craft supplies but I am trying to use more of my supplies instead of hoarding them.
Question, do you hoard your craft supplies or do you use them? Let me know in the comments below if you do or if you don’t.
If you haven’t been by Eileen Hull’s blog lately to see what her teams have been up to you can find the latest post HERE.
Supplies
Sizzix/Eileen Hull: Envelope, Folder and Flowers Thinlits
Sizzix/Eileen Hull: Library Pocket ATC Card and Tabs Thinlits
Sizzix/Eileen Hull: Vintage Truck Box Diecut
Sizzix/Eileen Hull: Waterfall Card and Tags Thinlit
Diecut Machine
Stylus
Tiny Attacher
Tiny Attacher Refills
Vellum
Washi Tape
Lace, Pom Pom Trim, Ric Rac and Trim
Chalk Ink
Various Embellishments
Various Patterned Cardstocks
Notebook and Dotted Paper
Needle, Thread, Button and Sequins
Scissors
Paper Cutter
Beacon Adhesives: Zip Dry Adhesive
(Products listed above are Affiliated Links for your convenience)
DISCLAIMERS
This blog is compensated to provide opinion on products, services, websites, and various other topics. Even though the owner(s) of this blog receives compensation for our posts or advertisements. I always give my honest opinions, findings, beliefs, or experiences on those topics or products. The views and opinions expressed on this blog are purely my own. Any product claim, statistic, quote or other representation about a product or service should be verified with each manufacturer, provider, or party in question.This blog contains affiliate links, clicking and shopping through these links helps to support and run Tonya Trantham Designs – Creative Paper Addiction at no additional cost to you. Today’s features are Sizzix, Eileen Hull, Scrapbook.com and A Cherry on Top Store Products.
Thanks for stopping by, hope your Wednesday is wonderful and enjoy creating!