Santa Treat Box
Hi everyone! I’m kicking off the first day of December with a project that can be used as a treat or trinket box or as a way to hold a small gift for Christmas. I used the Slotted Treat Box Diecut, Mandala Thinlit and the mini snowflake from the Everyday Labels and Tags Thinlits (only at Scrapbook.com) to create this treat box. These dies are all by Eileen Hull.So let’s get started!

First, I applied Adhesive Sheets to each side of Mat Board and placed a Christmas patterned cardstock (I think this is very old collection My Mind’s Eye cardstock) onto each side of the mat board. Side note, if you don’t have mat board you can use chip board in its place.
Second, I sandwiched the covered mat board and Slotted Treat Box Diecut between two plates and ran through the Diecut Machine. I cut two of each of each die out and put together.
Third, I adhered flat back pearls around the edges of the box, marked the holes for the closure and Hinges, punched holes into the box with a Crop A Dile and added brads to hold the clasp and hinges in place.

Fourth, I glued trim around the inside lid and box. This “helps”secure the brads in place when opening and closing the box.

Fifth, I applied adhesive sheets to cardstock and cut three of the mini snowflakes from the Everyday Labels and Tags Thinlits. I applied a snowflake to cover the “slot” on either side of the box. I added a flat back pearl to the center of each snowflake.

Sixth, I applied adhesive sheet to another piece of patterned cardstock and cut the Mandala Thinlit. I applied the mandala die onto the lid along with the extra snowflake and added a flat back pearl. I fussy cut a Santa image from a piece of cardstock and glued to the corner of the lid to call it finished.

I think anyone would love to receive this as a gift and the theme could be changed for any holiday or special event. What do you think? If you have any questions about this project please let me know.

Supplies
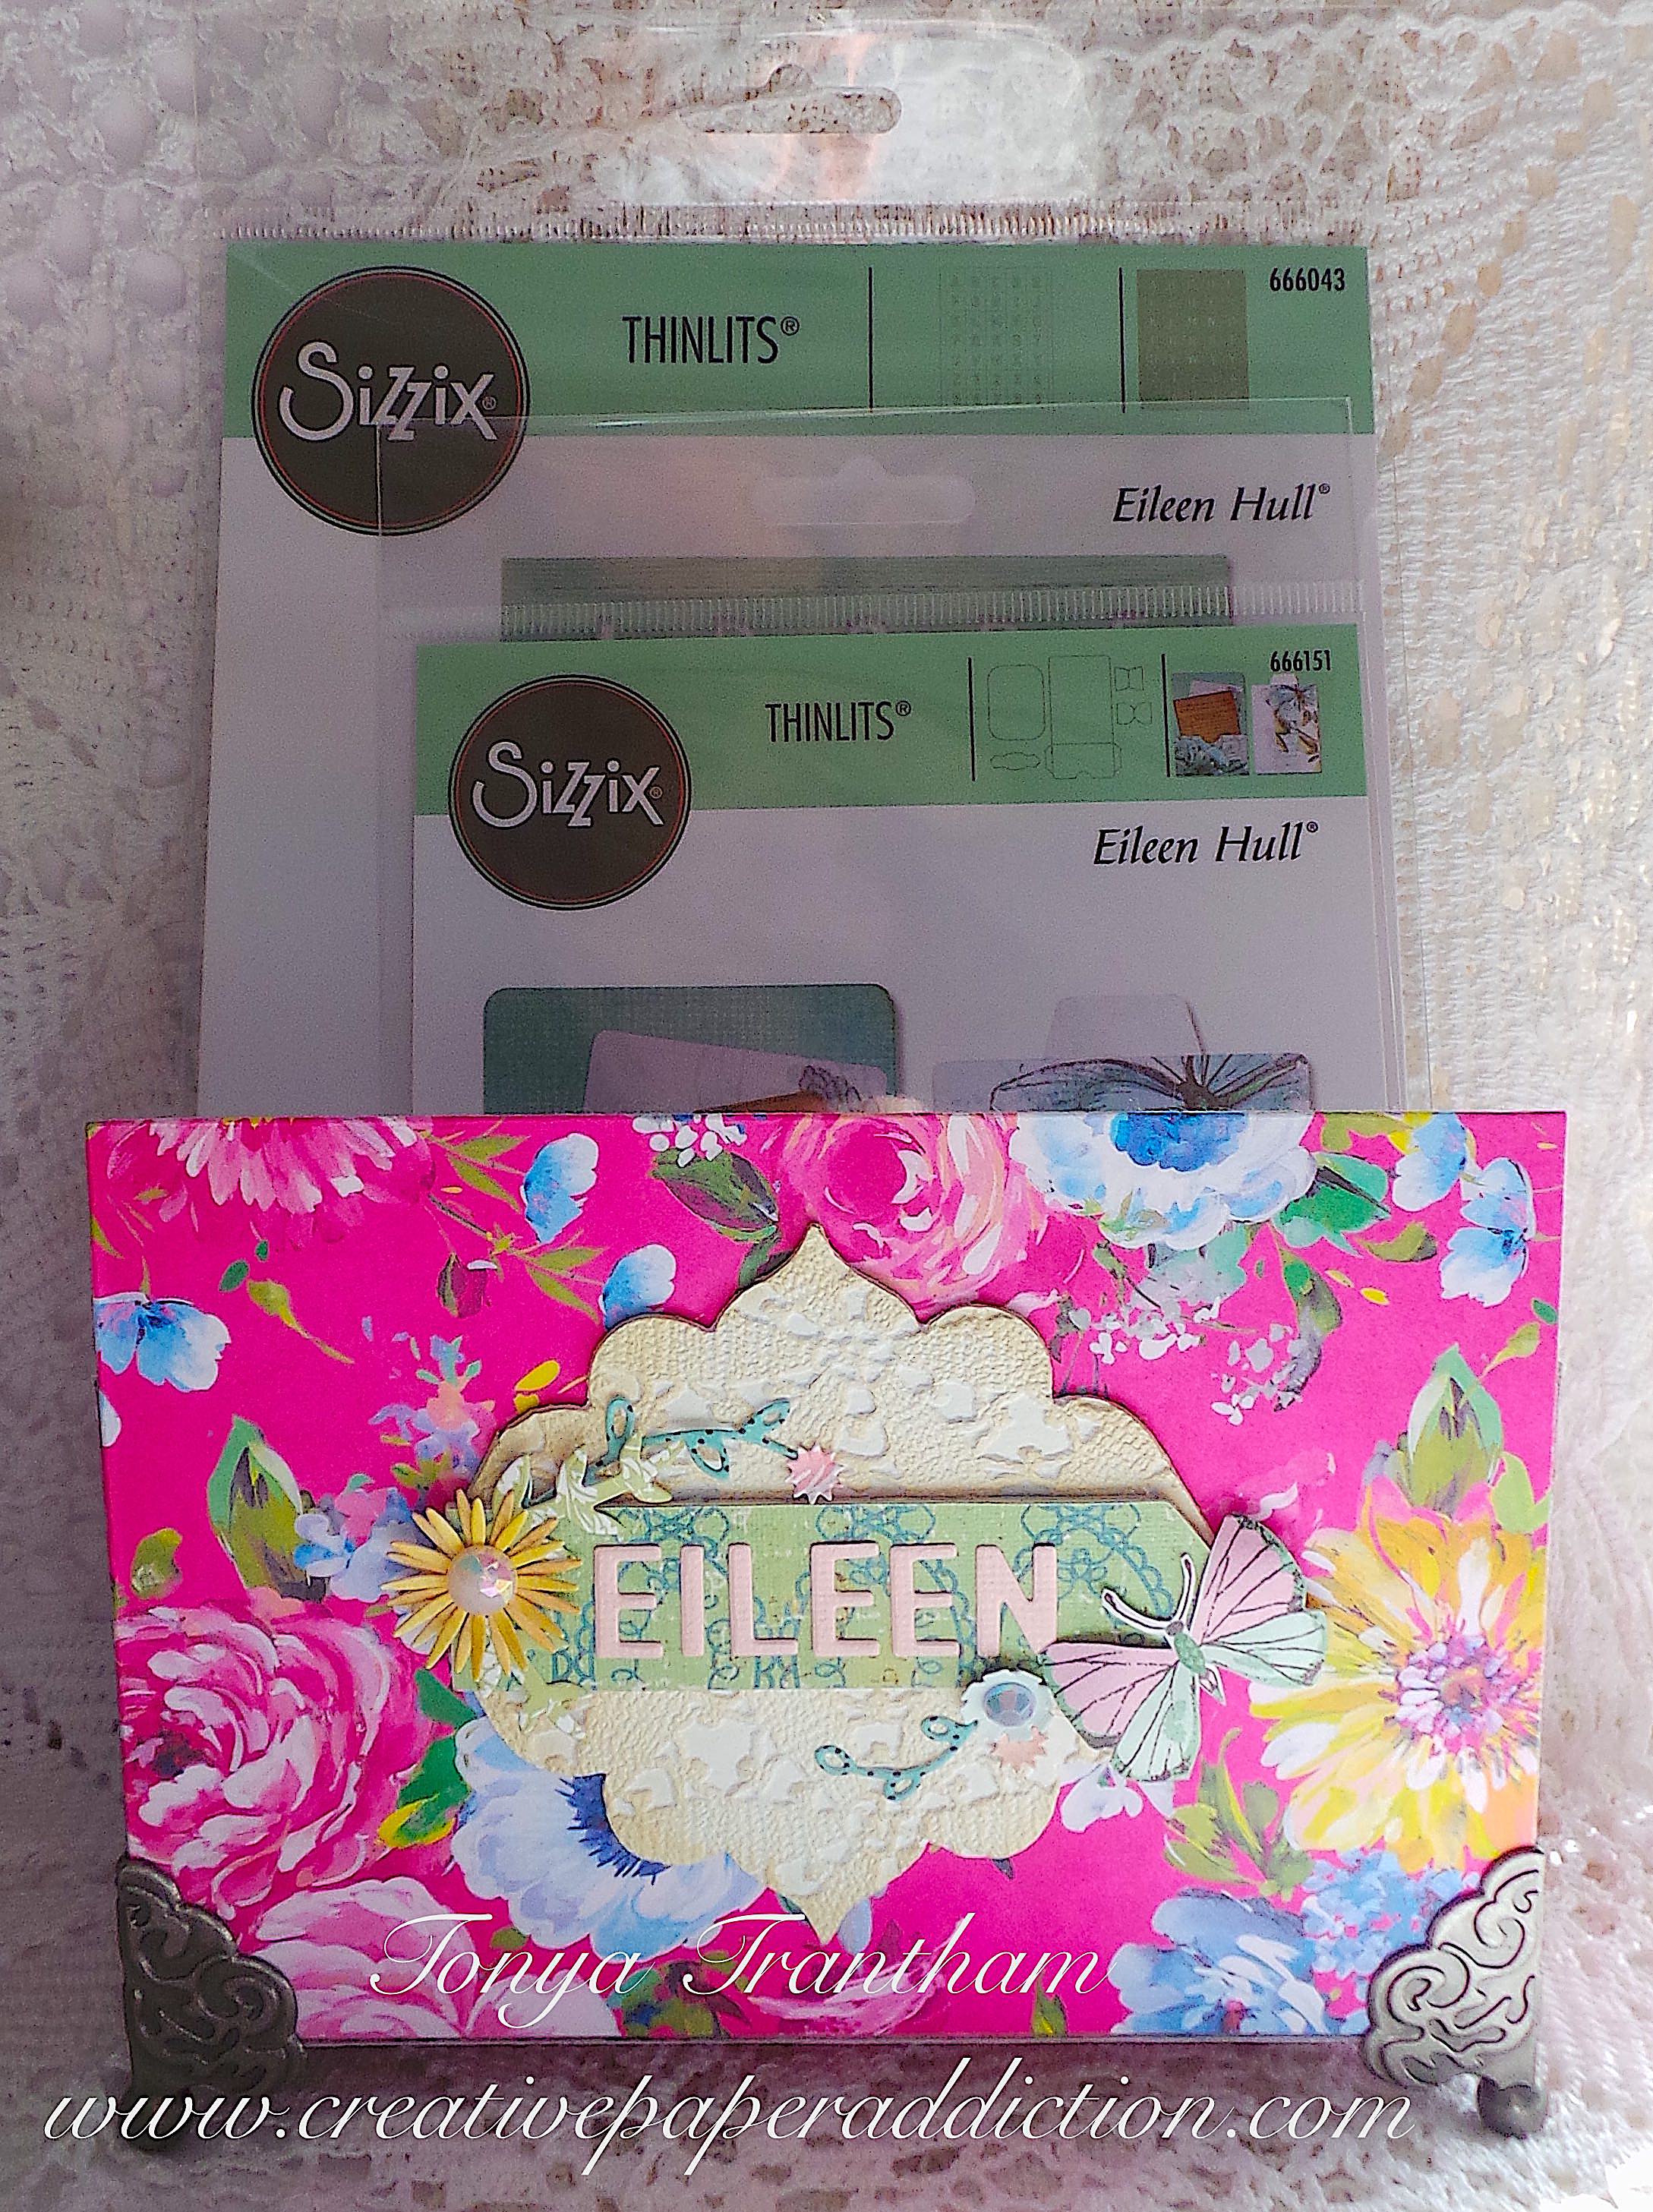
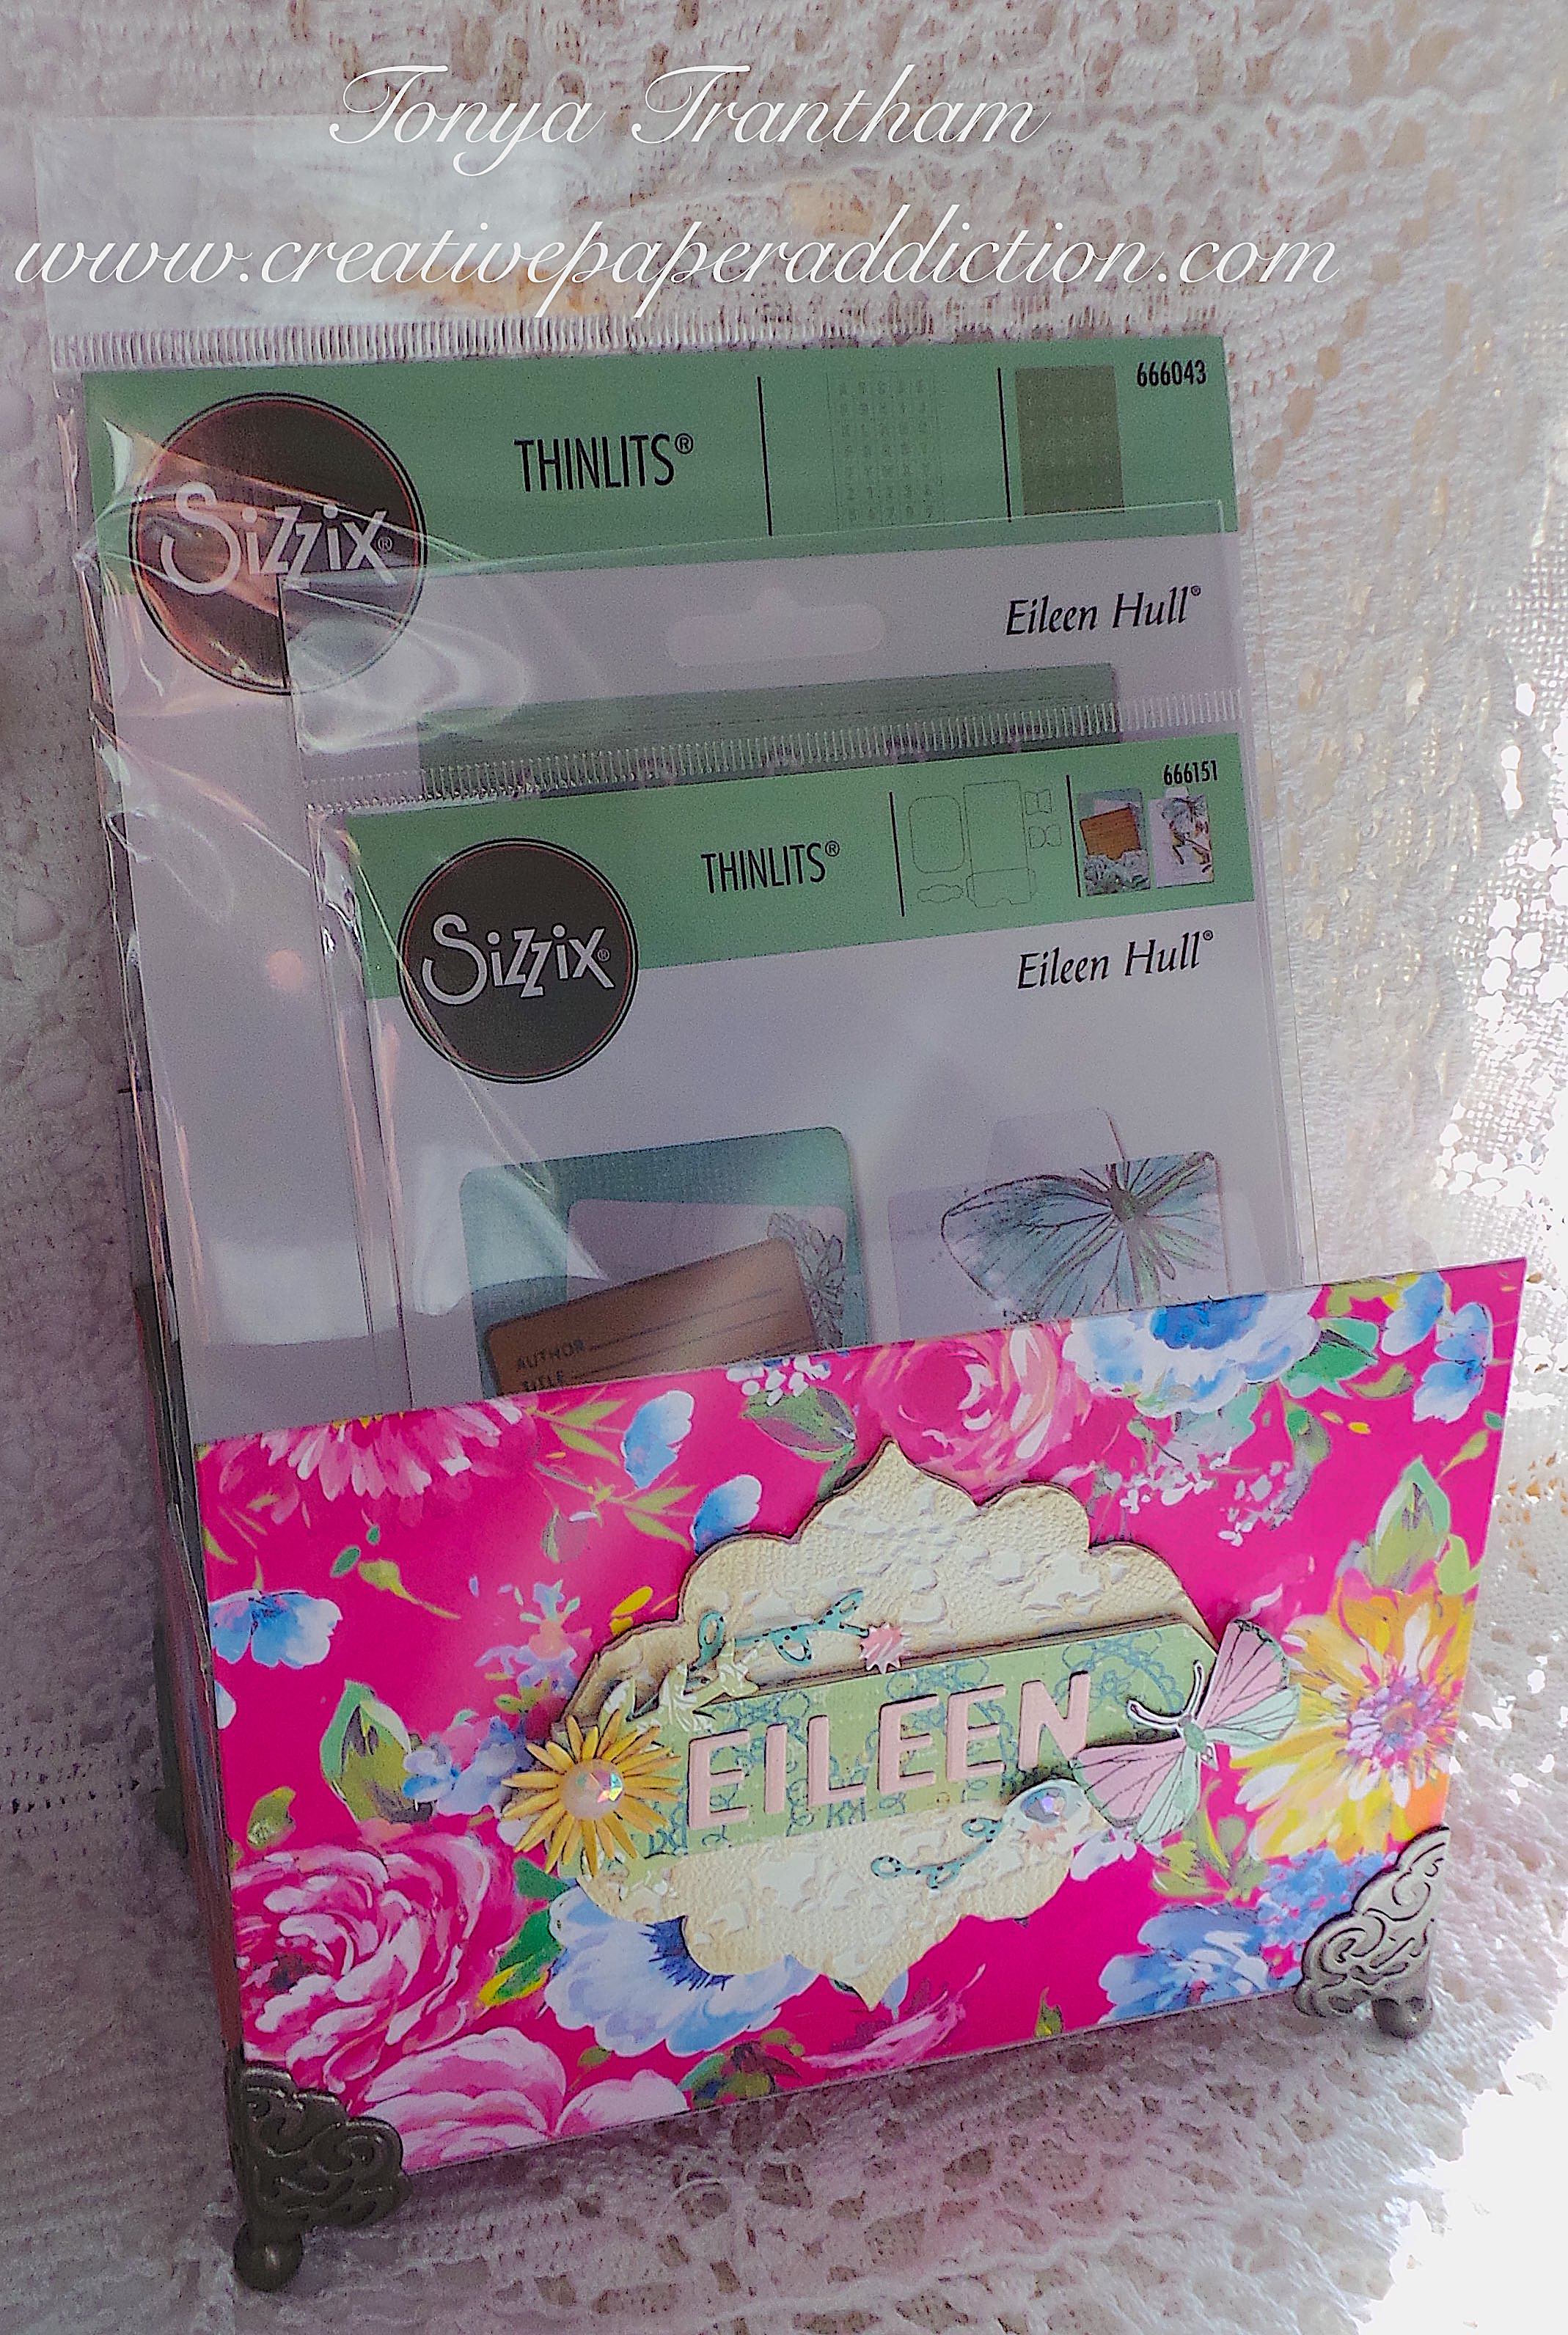
Sizzix/Eileen Hull: Slotted Treat Box Diecut
Sizzix/Eileen Hull: Mandala Thinlit
Sizzix/Eileen Hull: Everyday Labels and Tags Thinlits (only at Scrapbook.com)
Closure
Various Plain and Christmas Themed Cardstock
Trim and Flat Back Pearls
Beacon Adhesives: Zip Dry Adhesive
(Products listed above are Affiliated Links for your convenience)
DISCLAIMERS
This blog is compensated to provide opinion on products, services, websites, and various other topics. Even though the owner(s) of this blog receives compensation for our posts or advertisements. I always give my honest opinions, findings, beliefs, or experiences on those topics or products. The views and opinions expressed on this blog are purely my own. Any product claim, statistic, quote or other representation about a product or service should be verified with each manufacturer, provider, or party in question.This blog contains affiliate links, clicking and shopping through these links helps to support and run Tonya Trantham Designs – Creative Paper Addiction at no additional cost to you. Today’s features are Sizzix, Eileen Hull, Scrapbook.com and A Cherry on Top Store Products.

Thanks for stopping by, hope your Friday is great and enjoy creating!