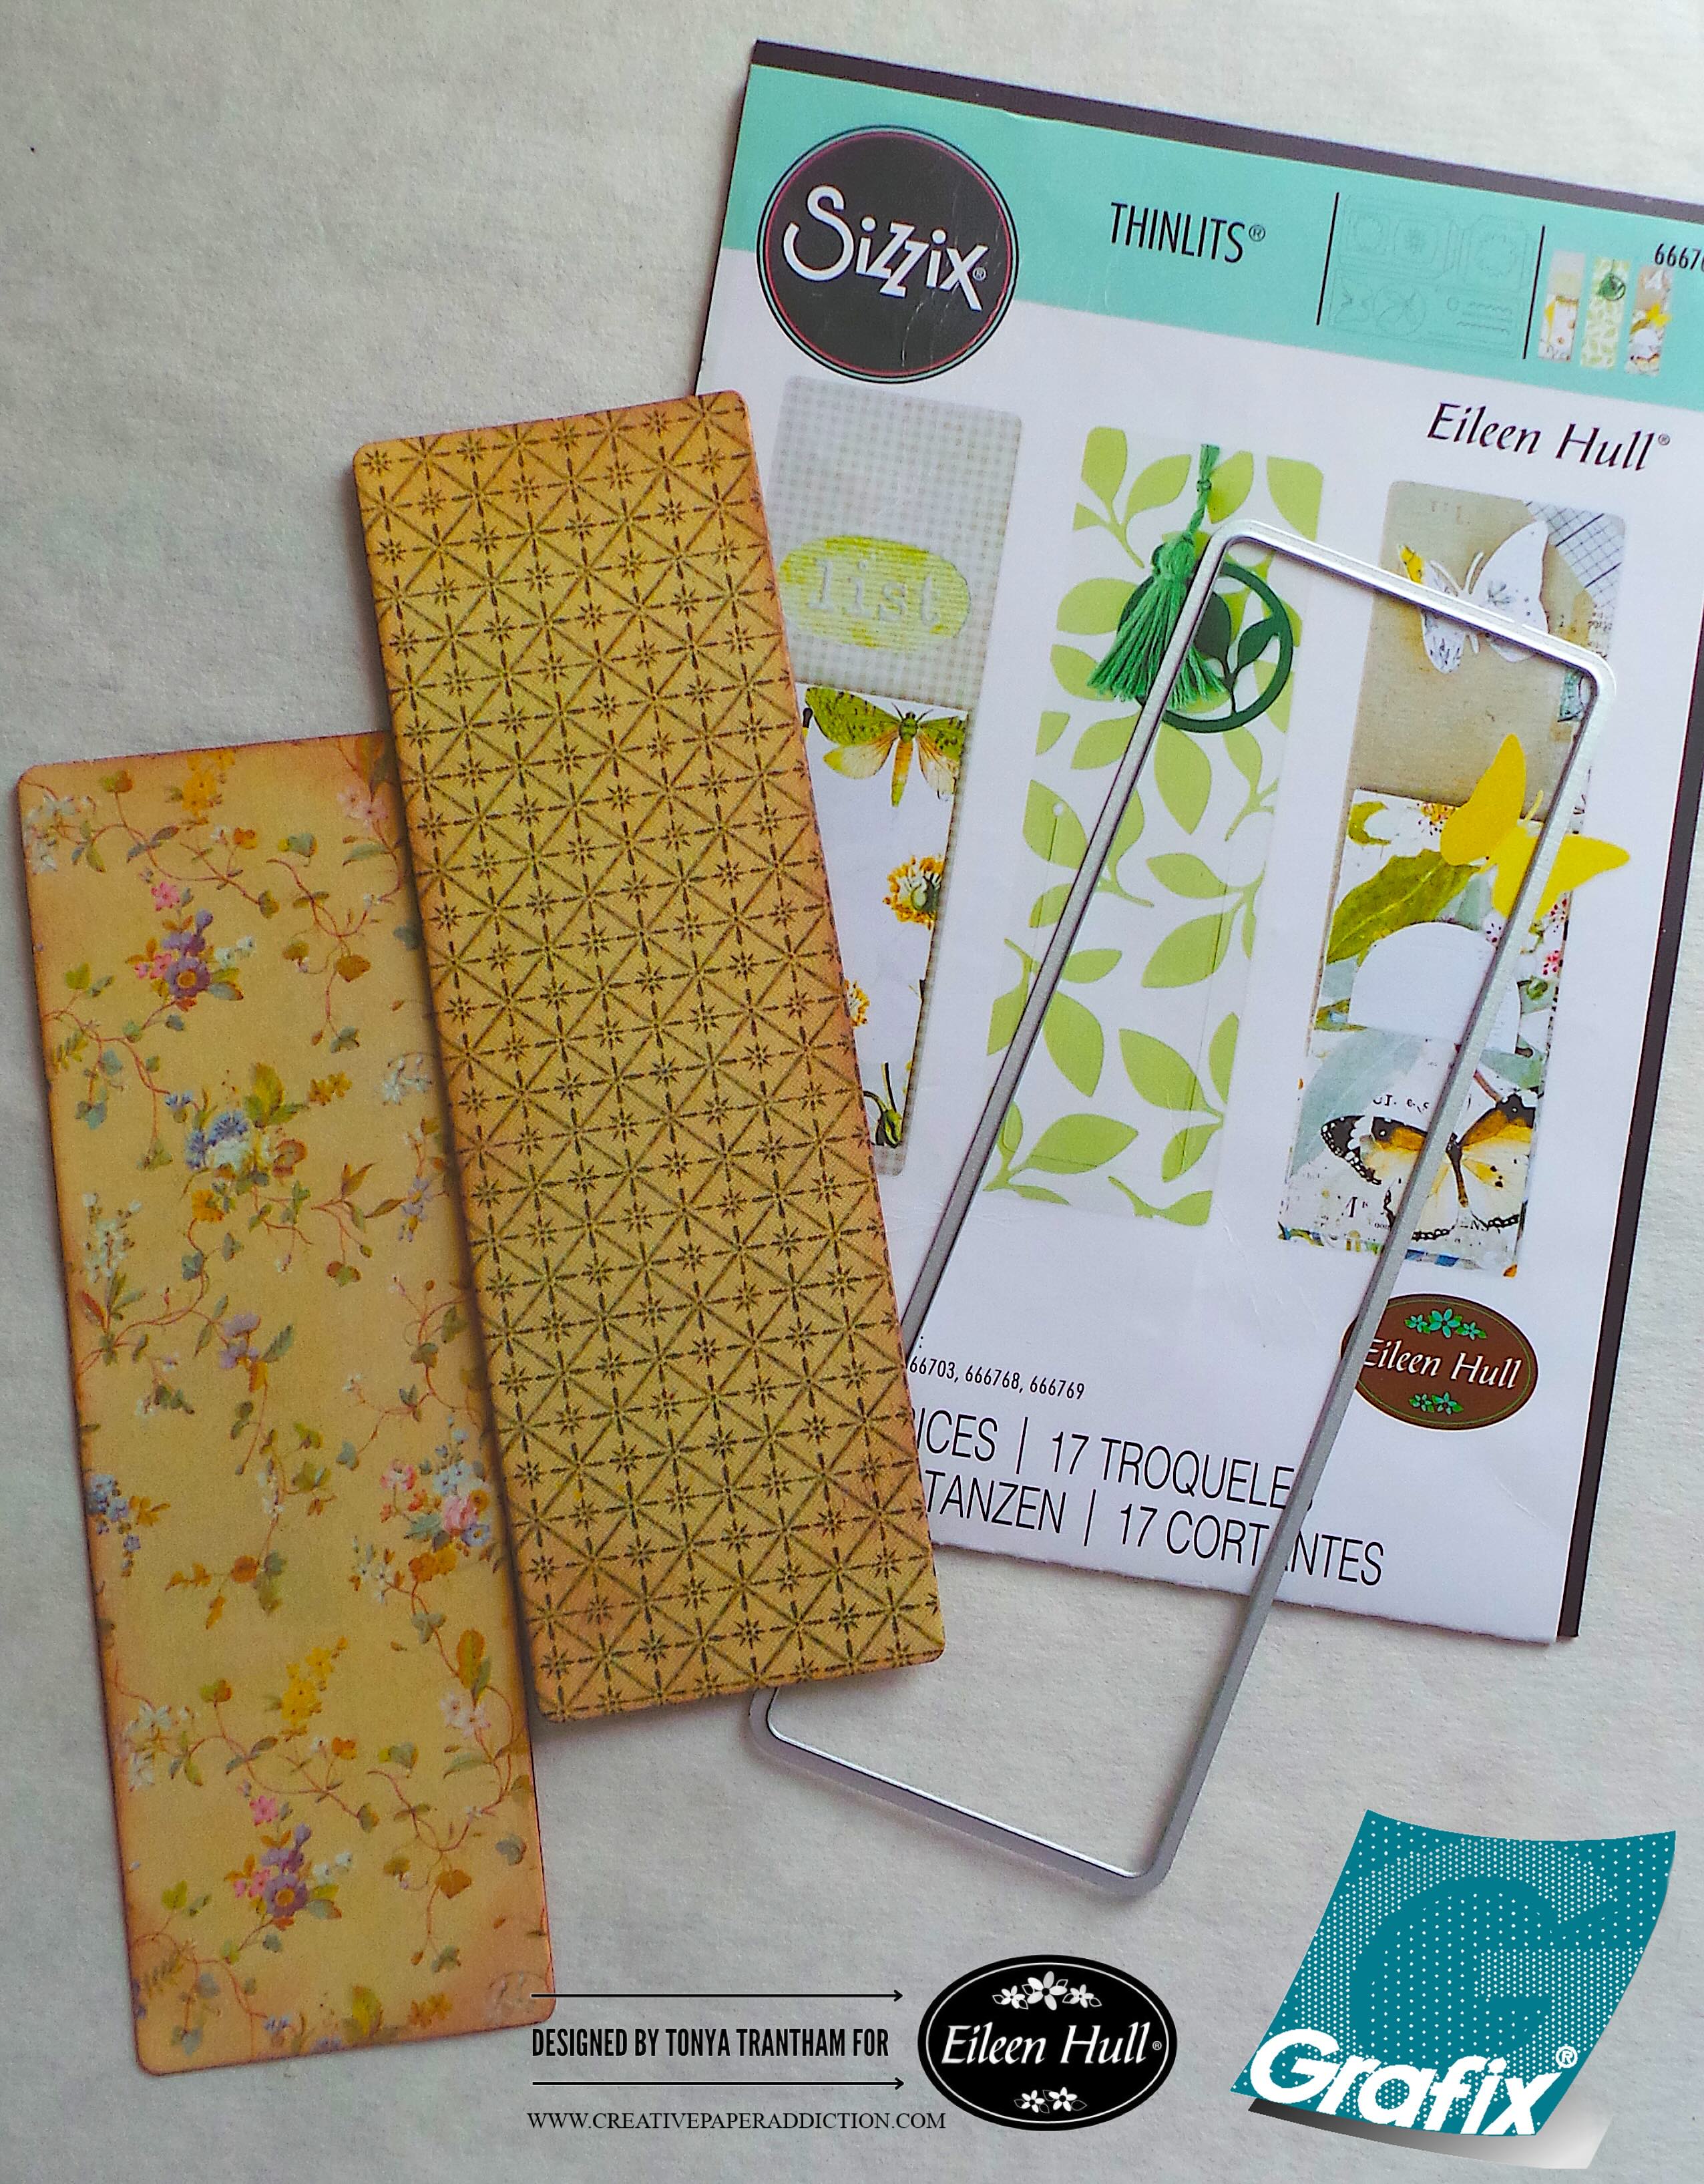
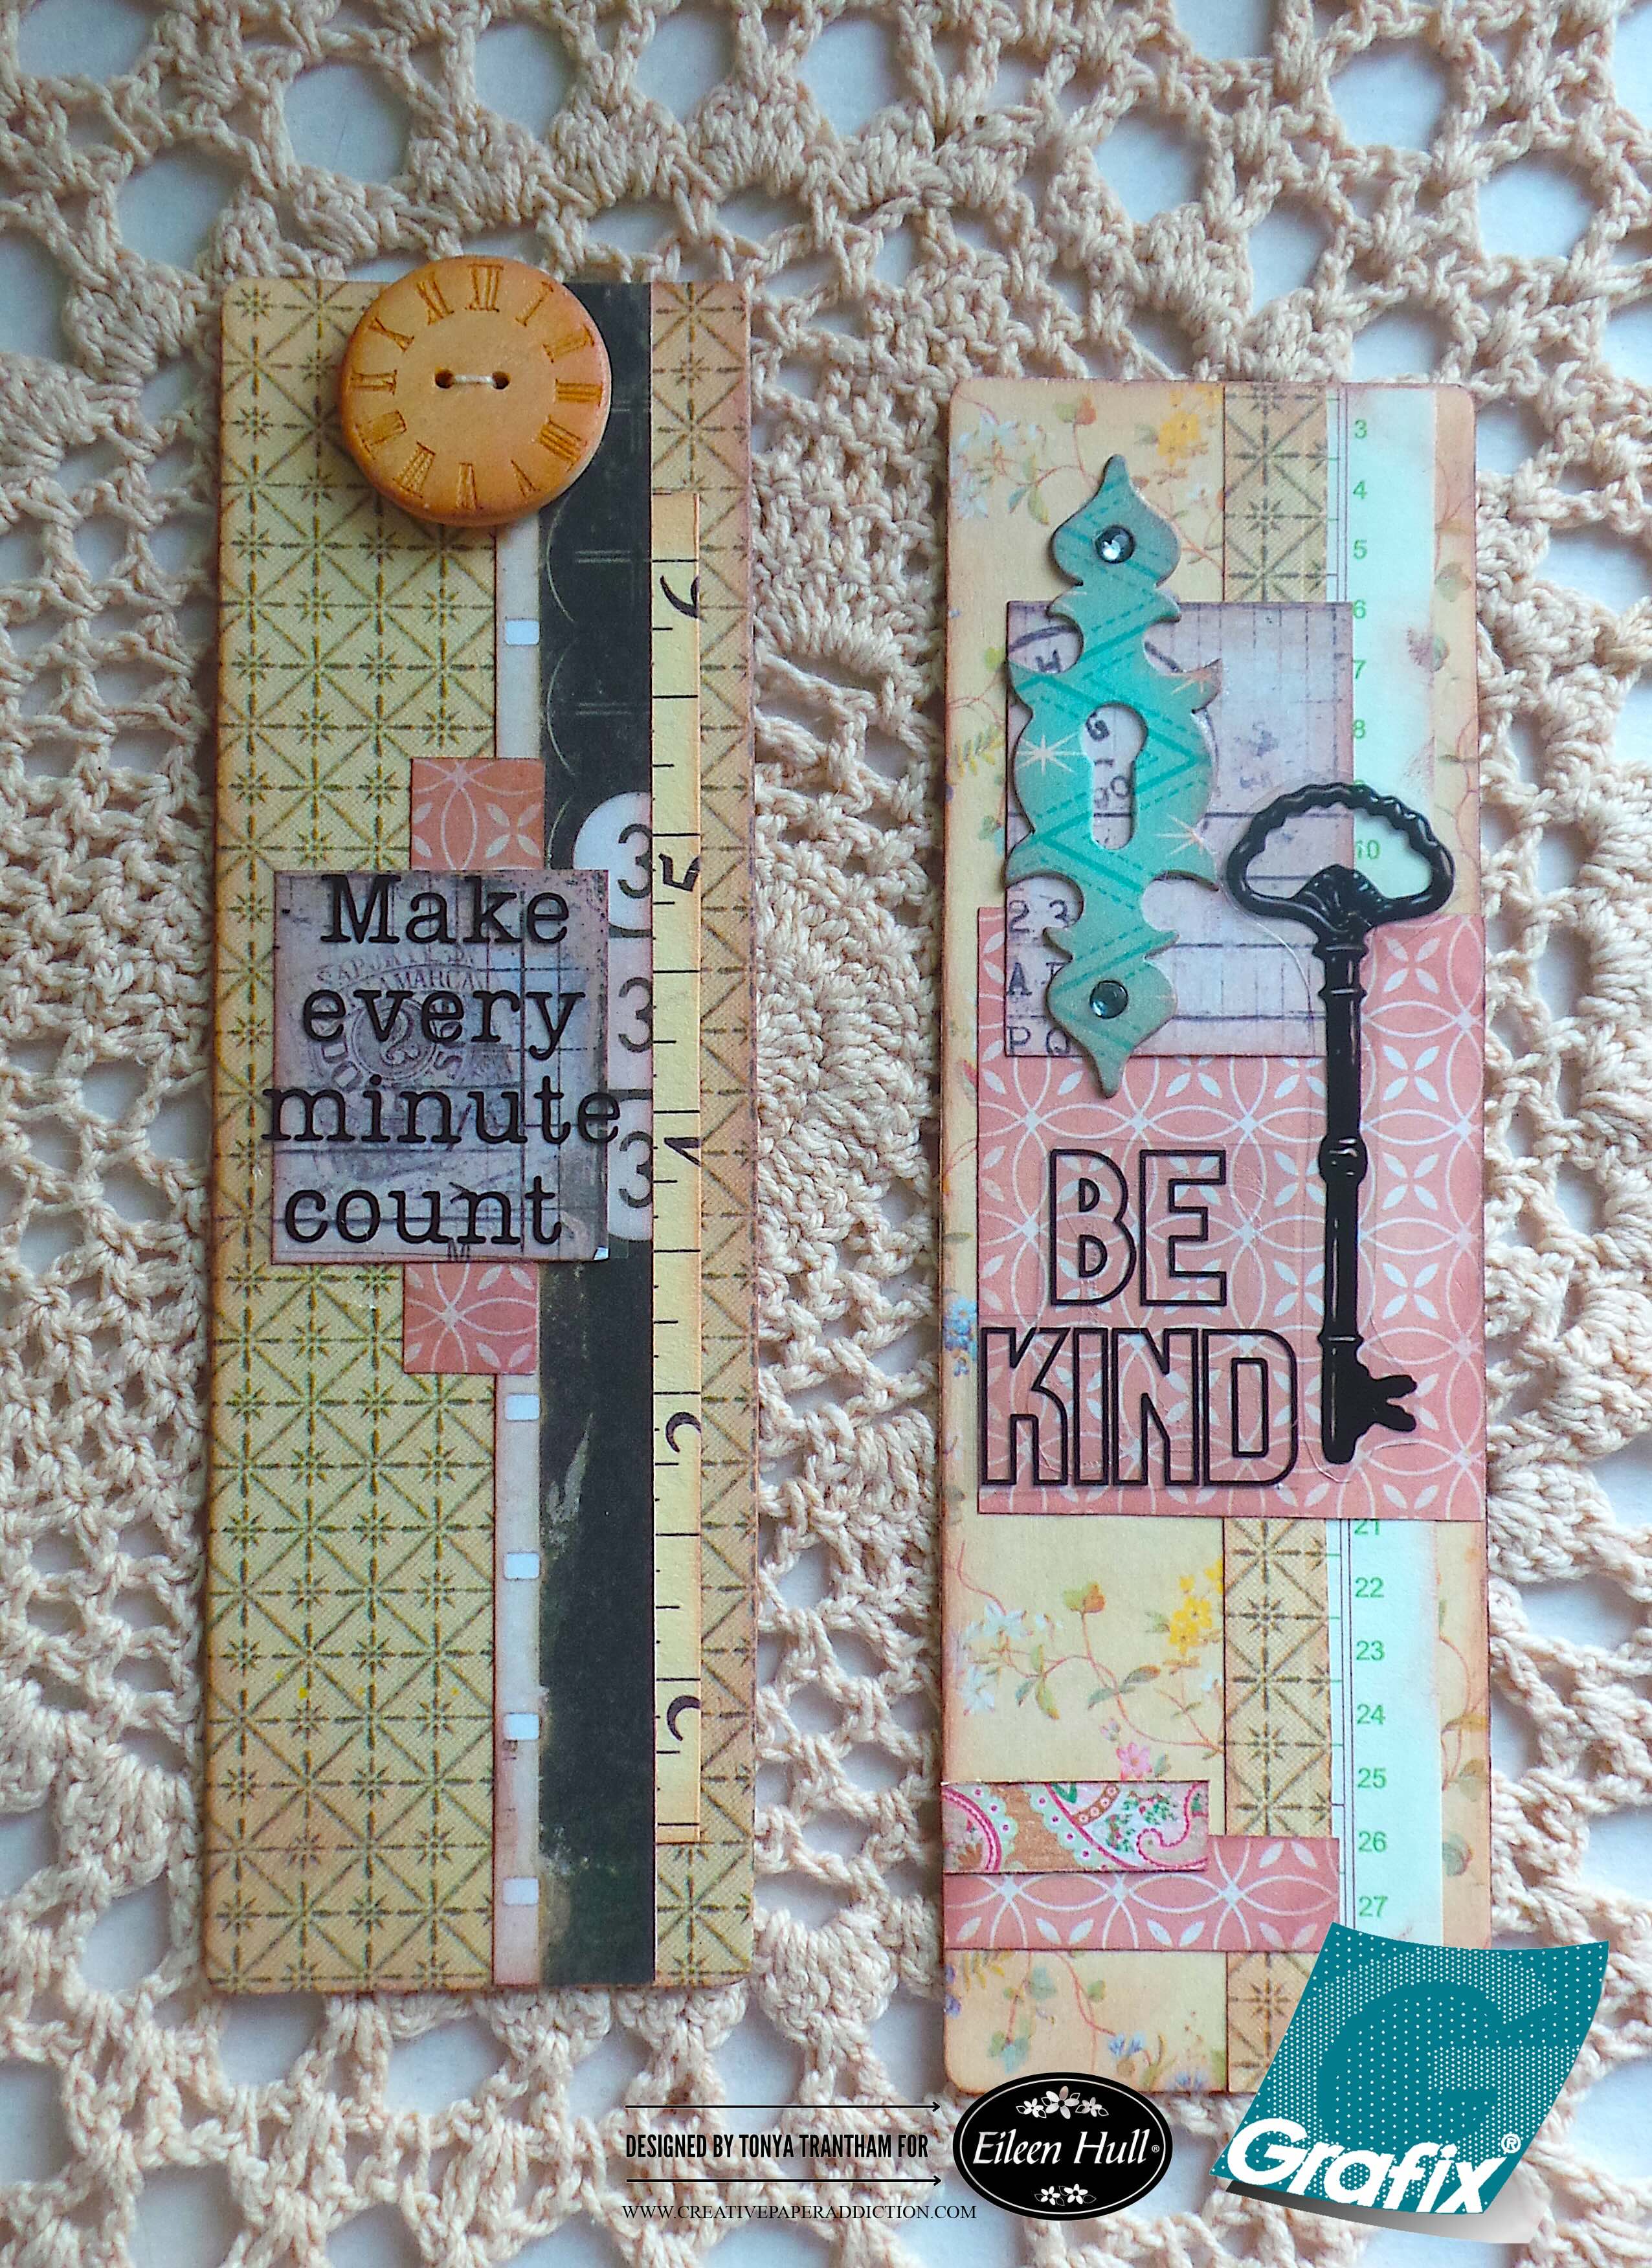
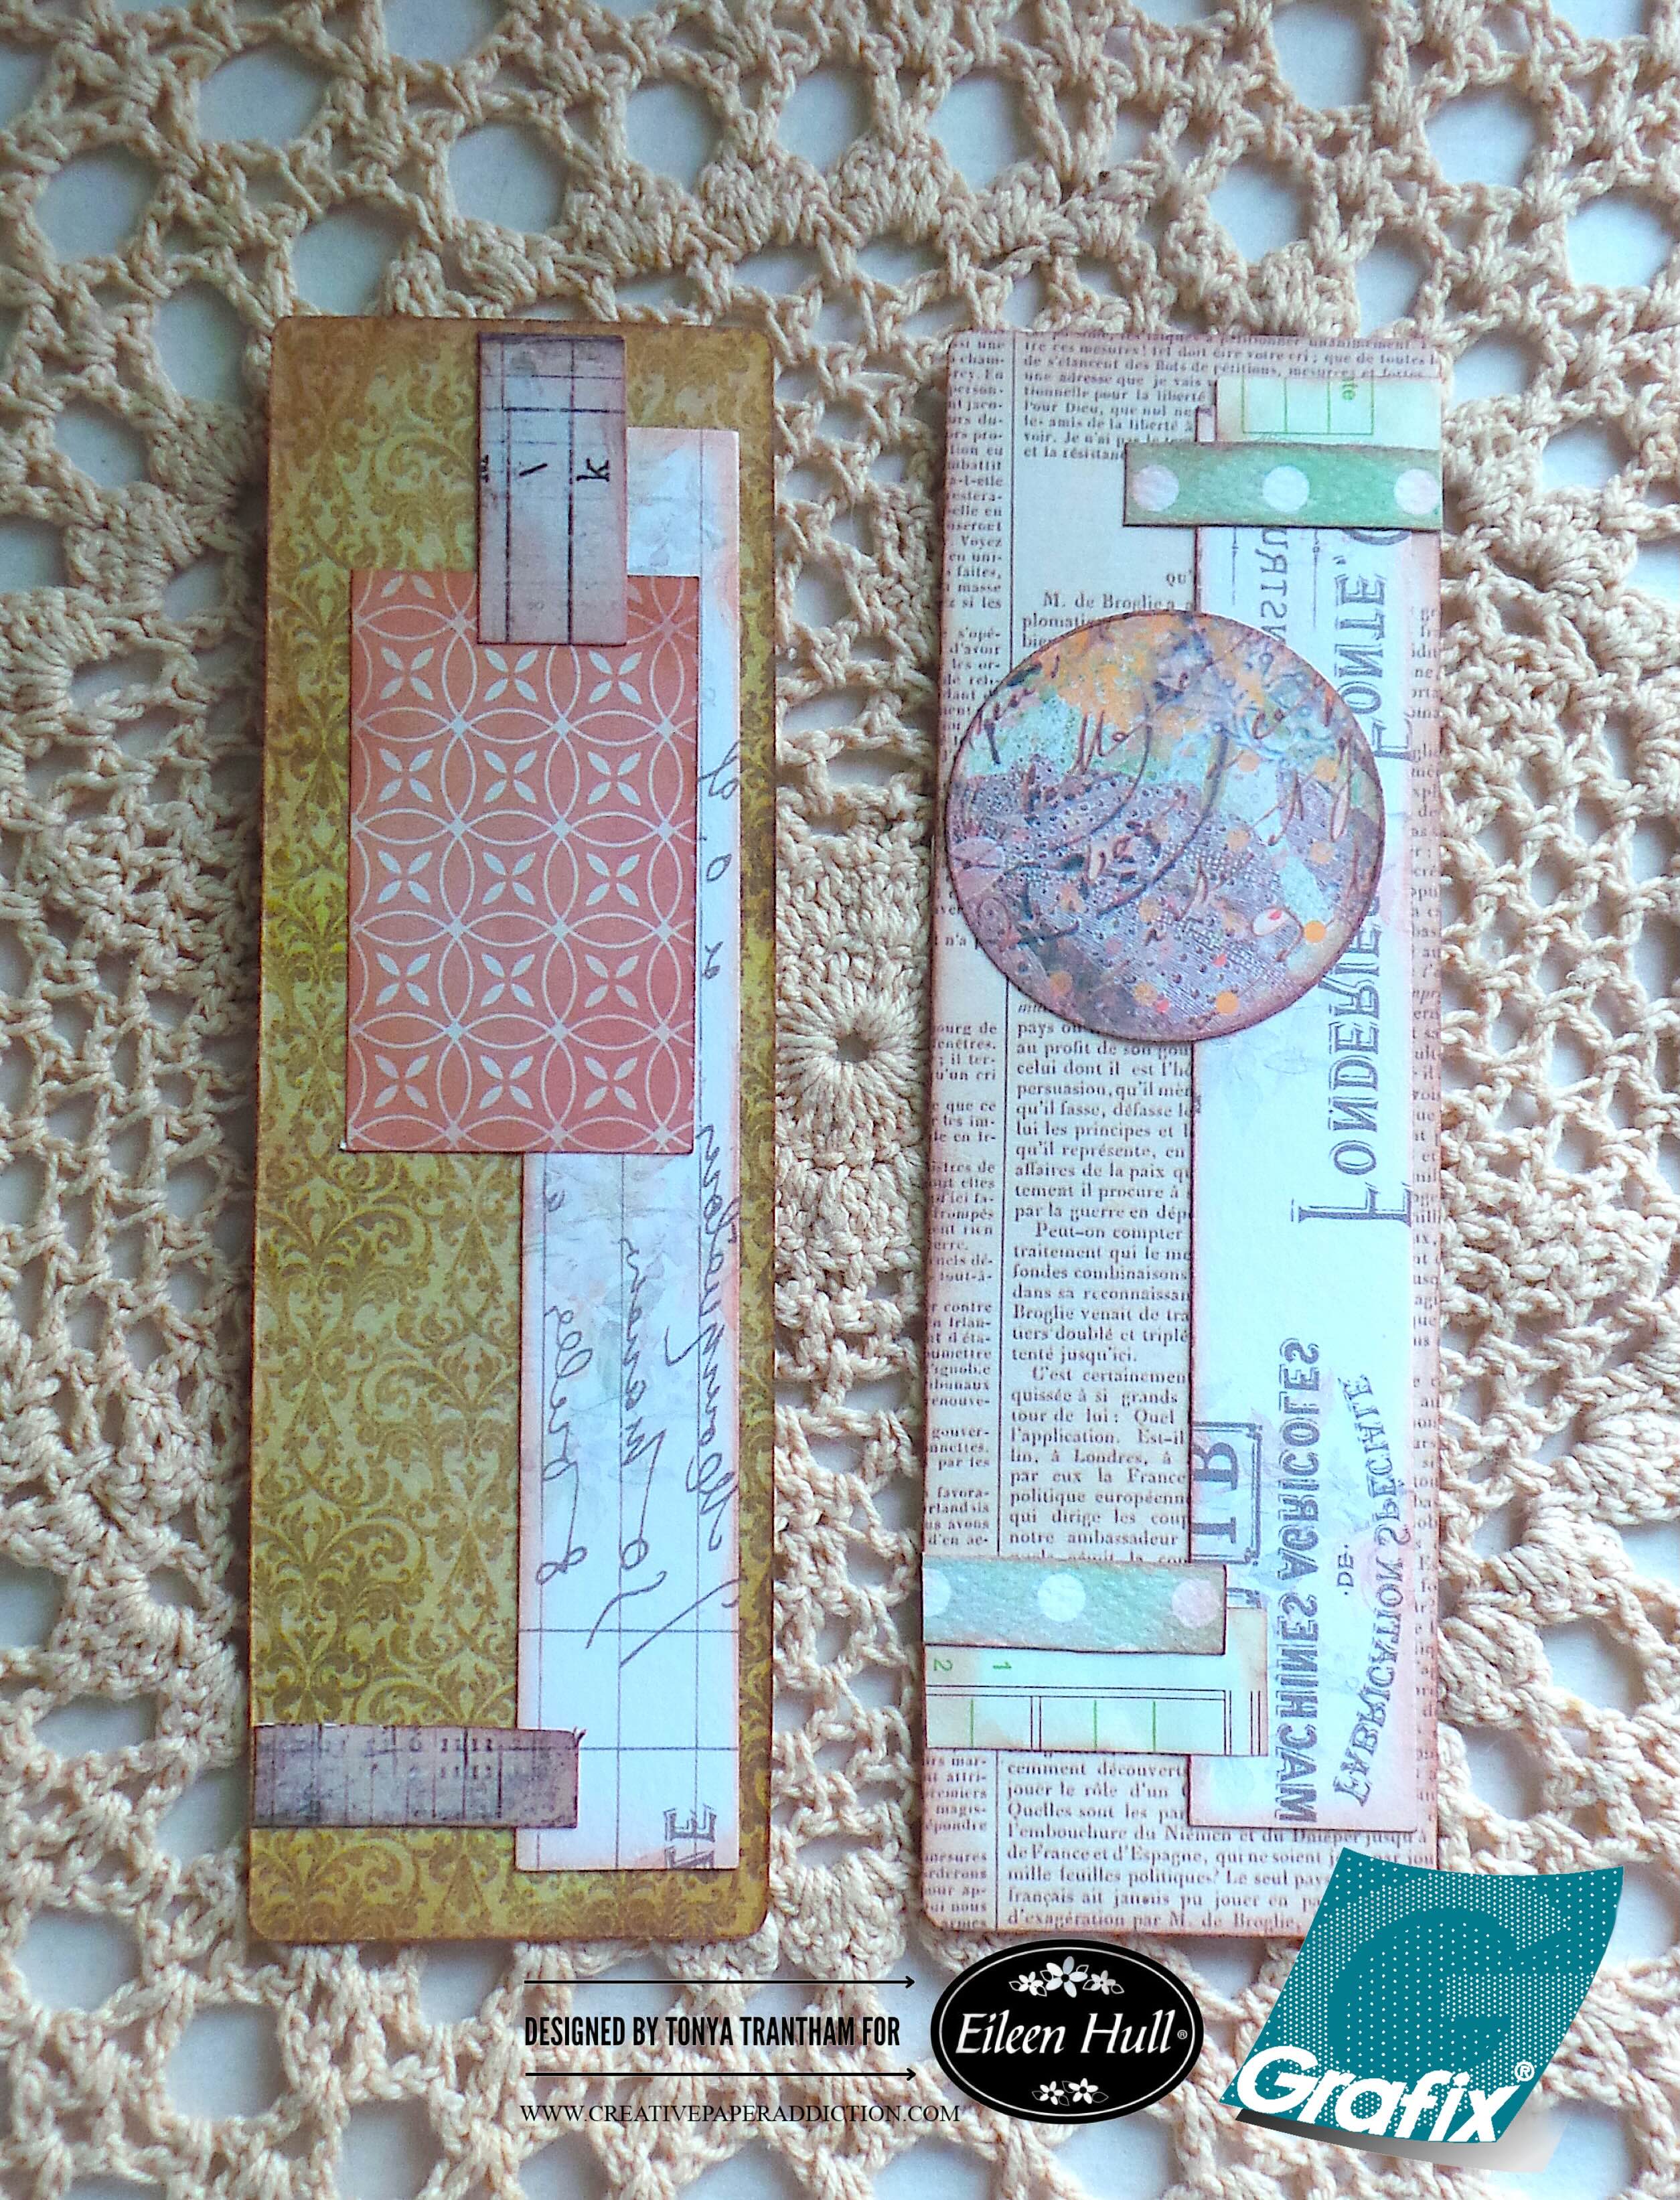
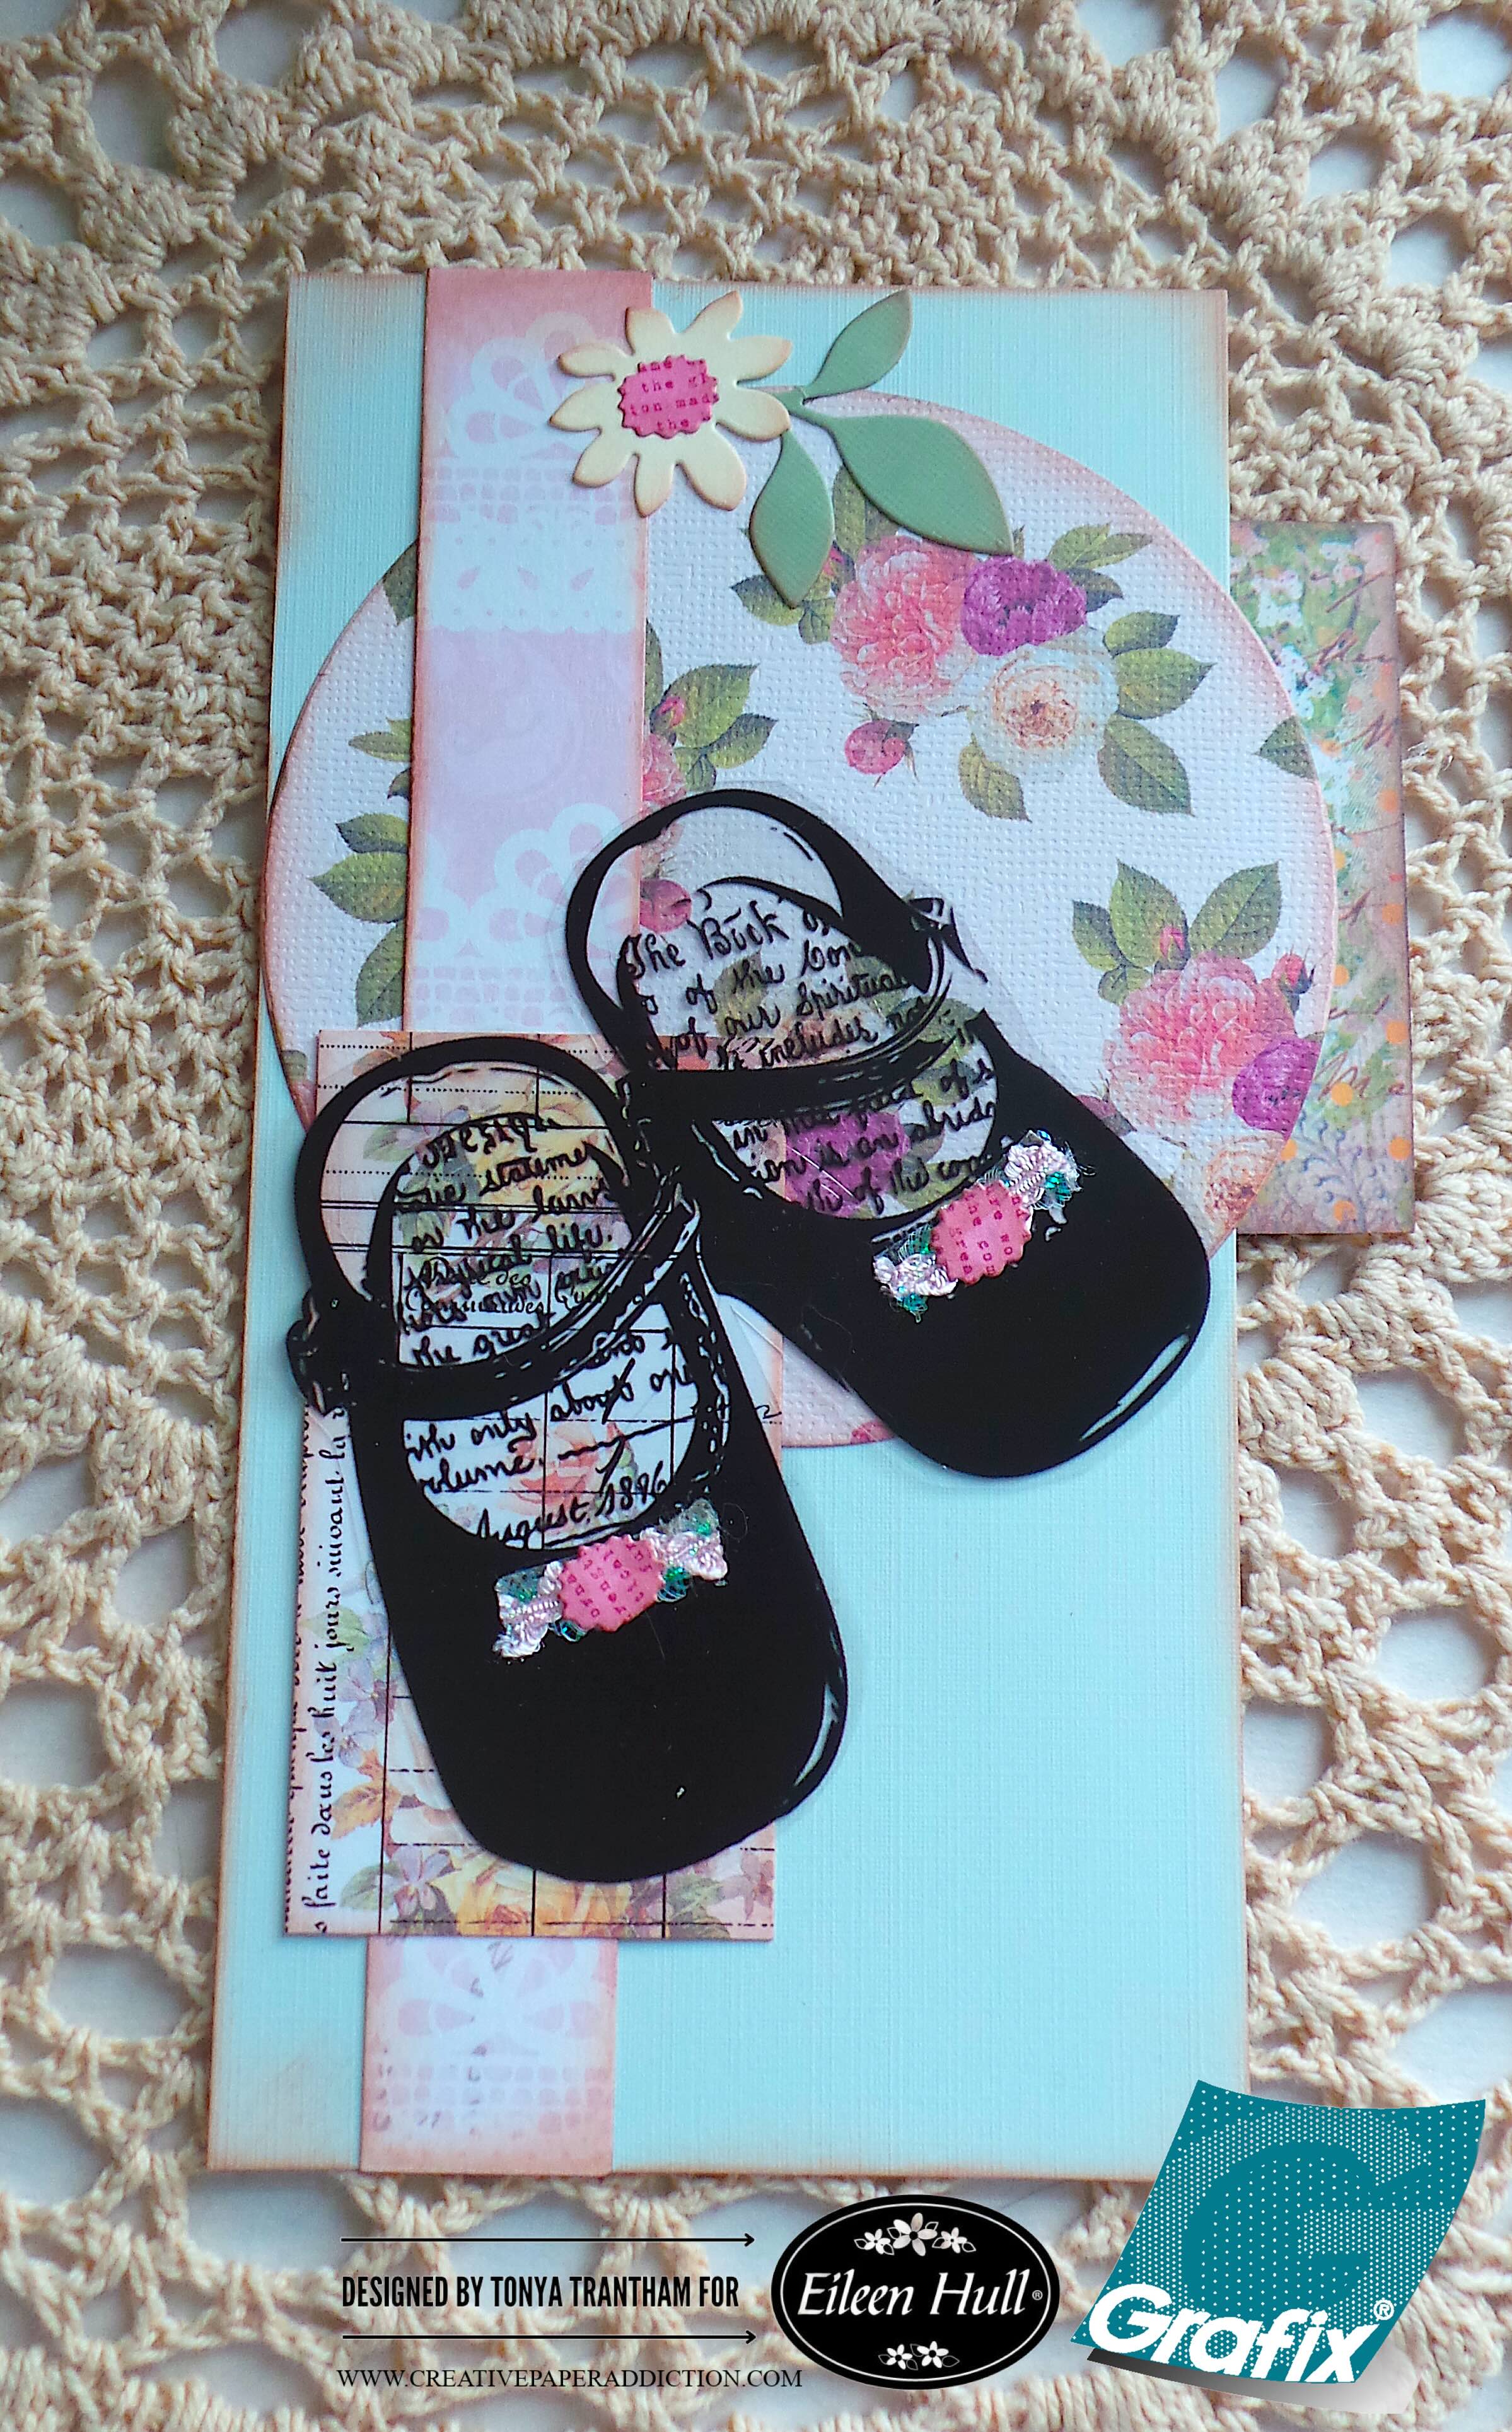
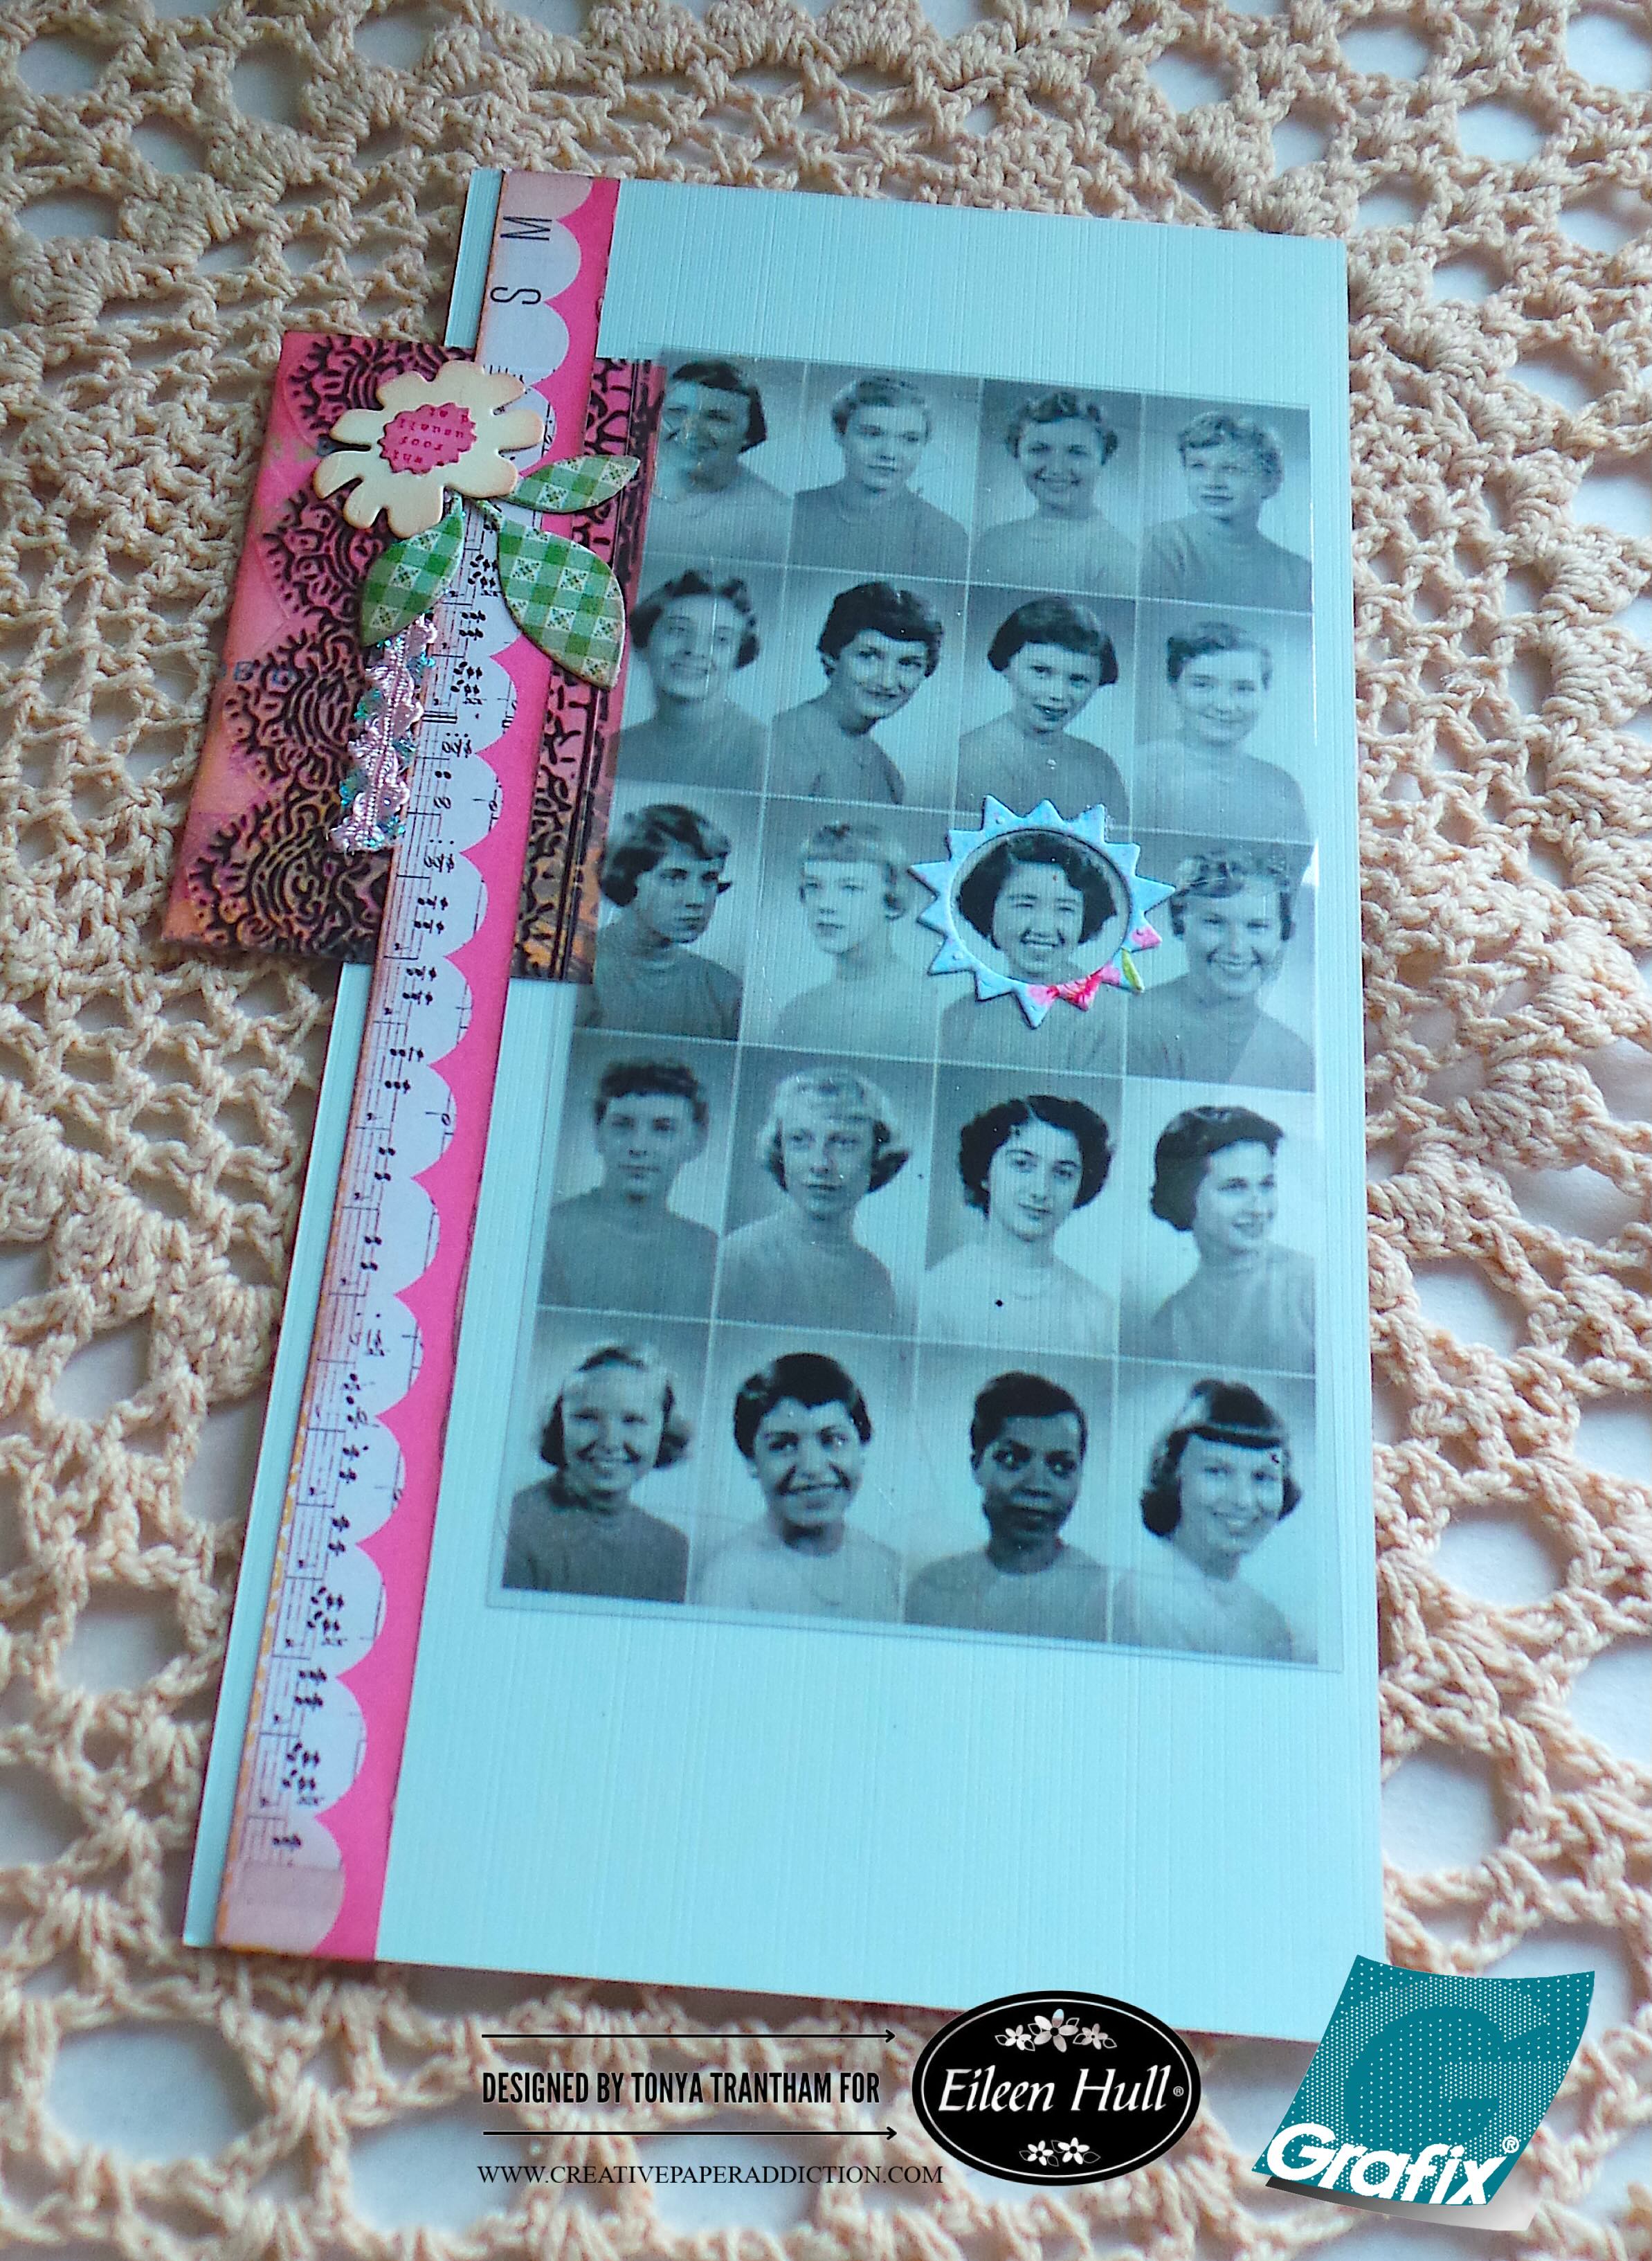
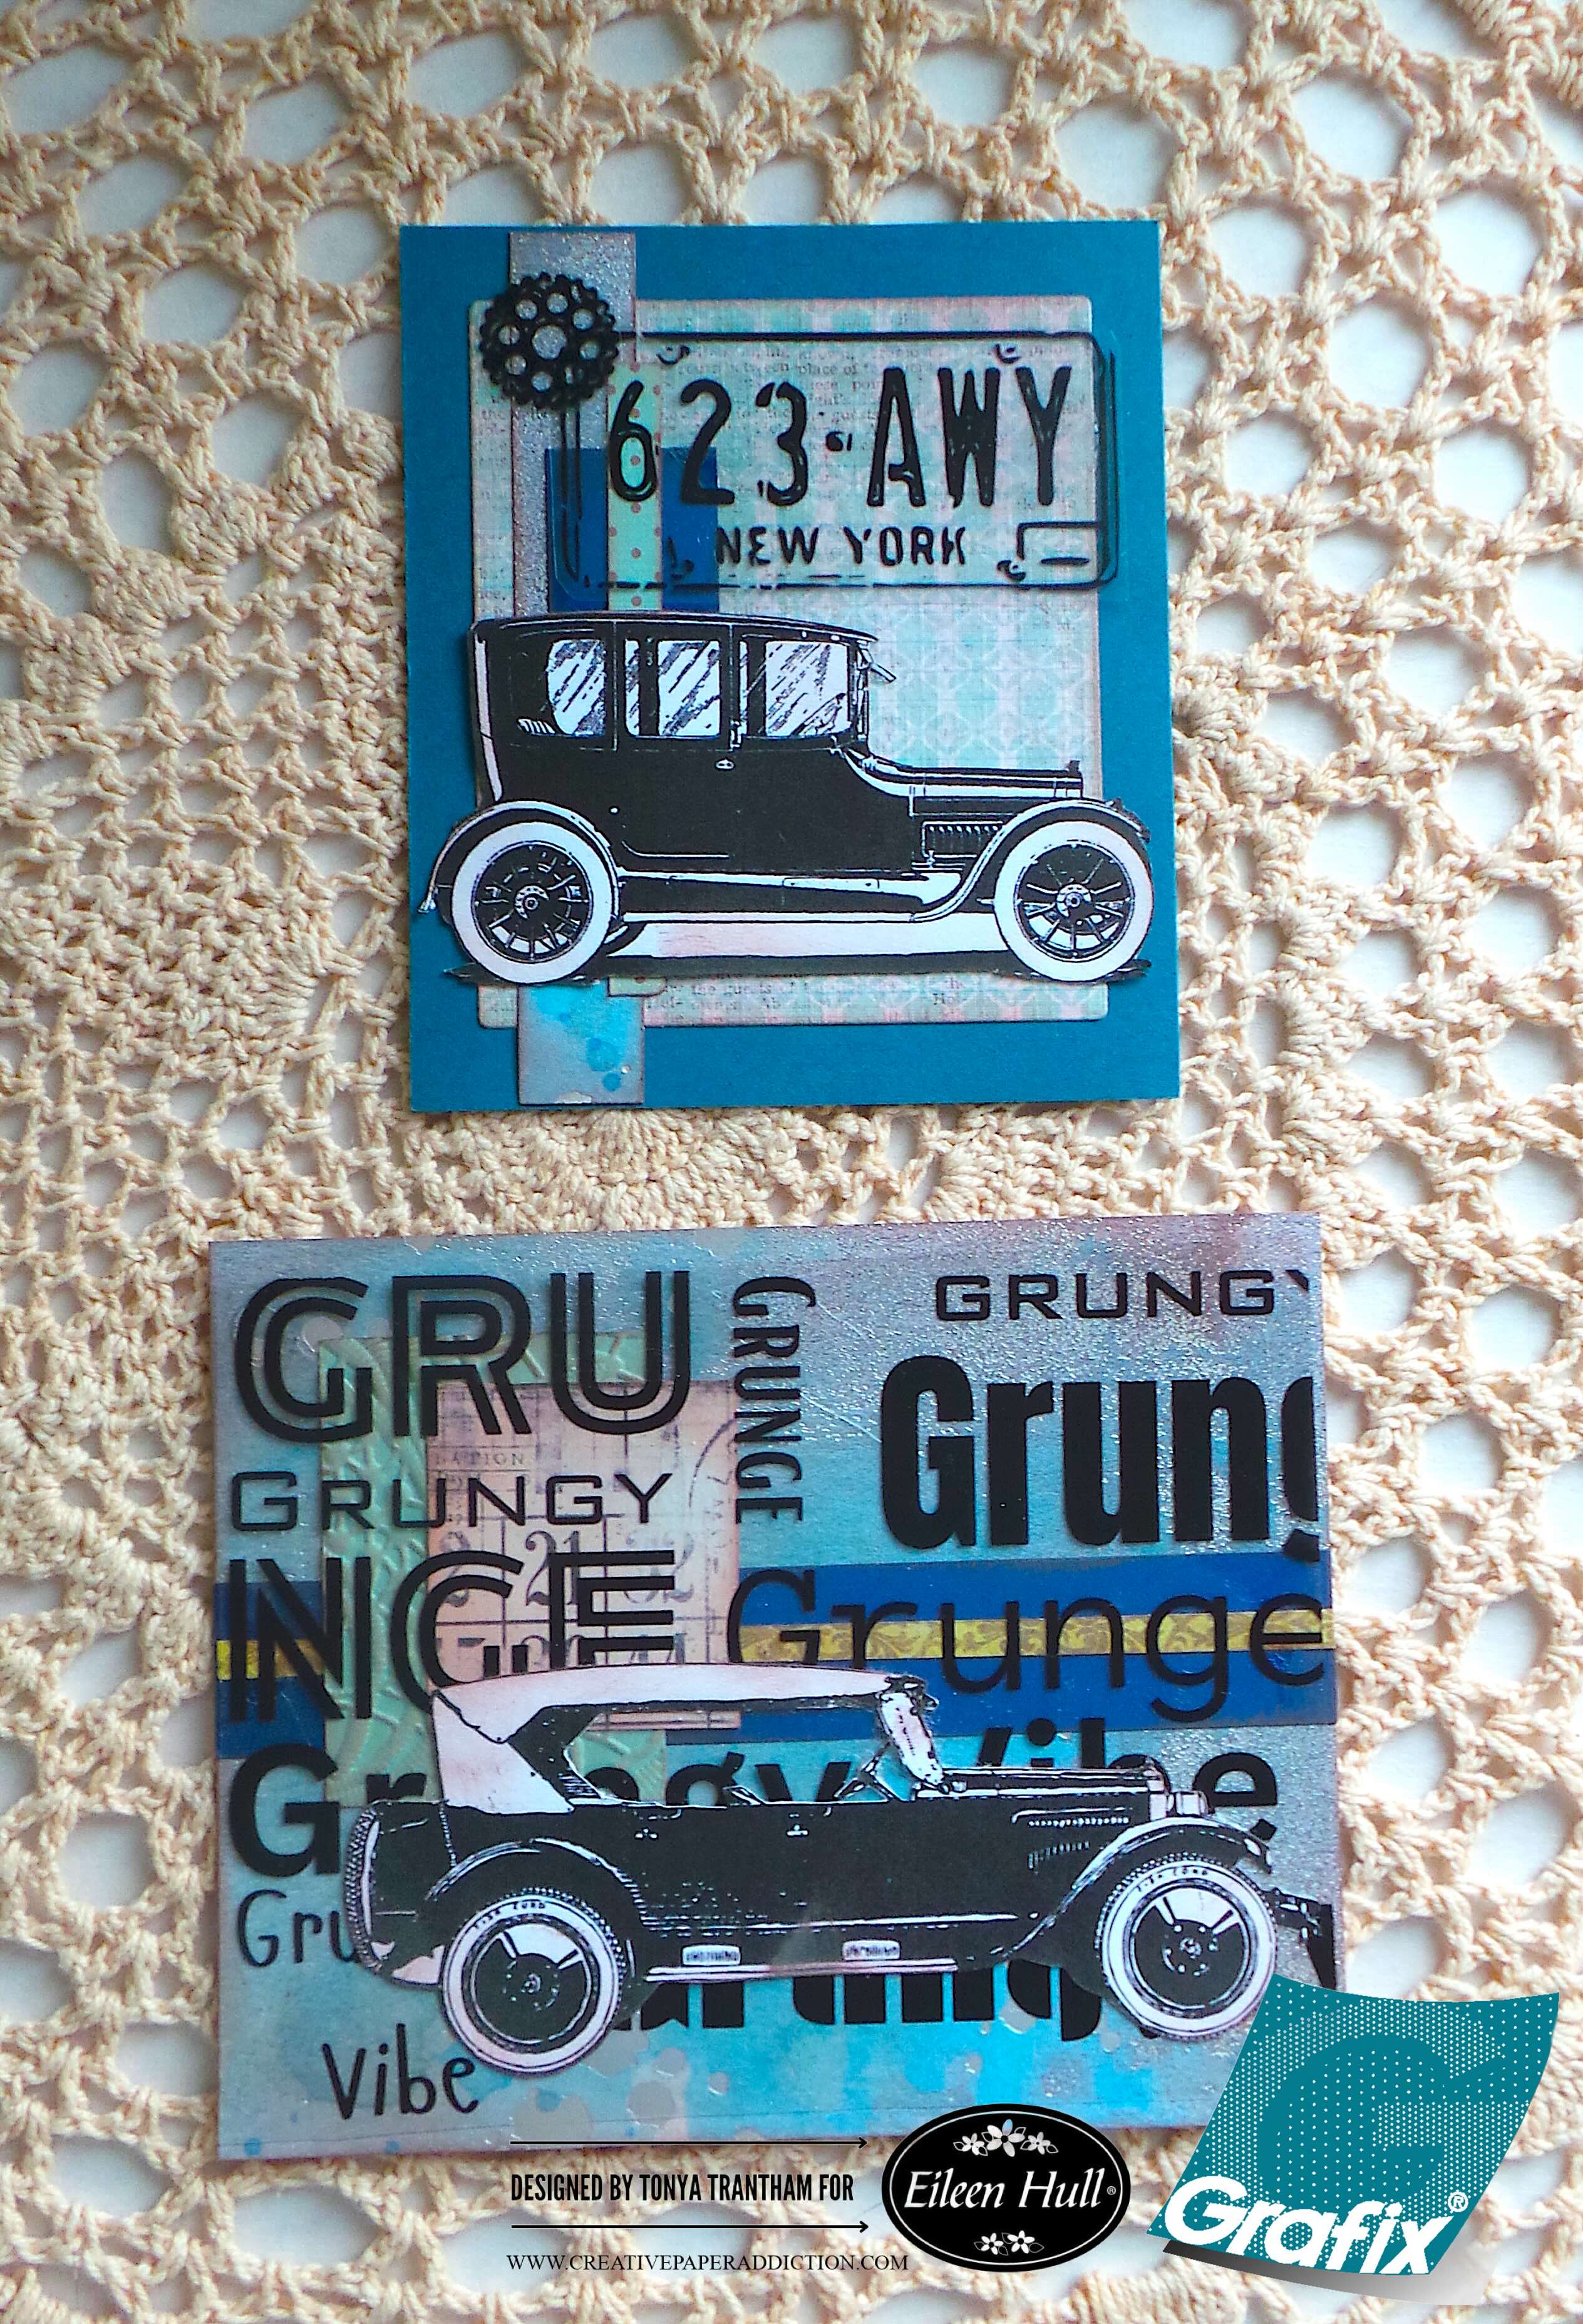
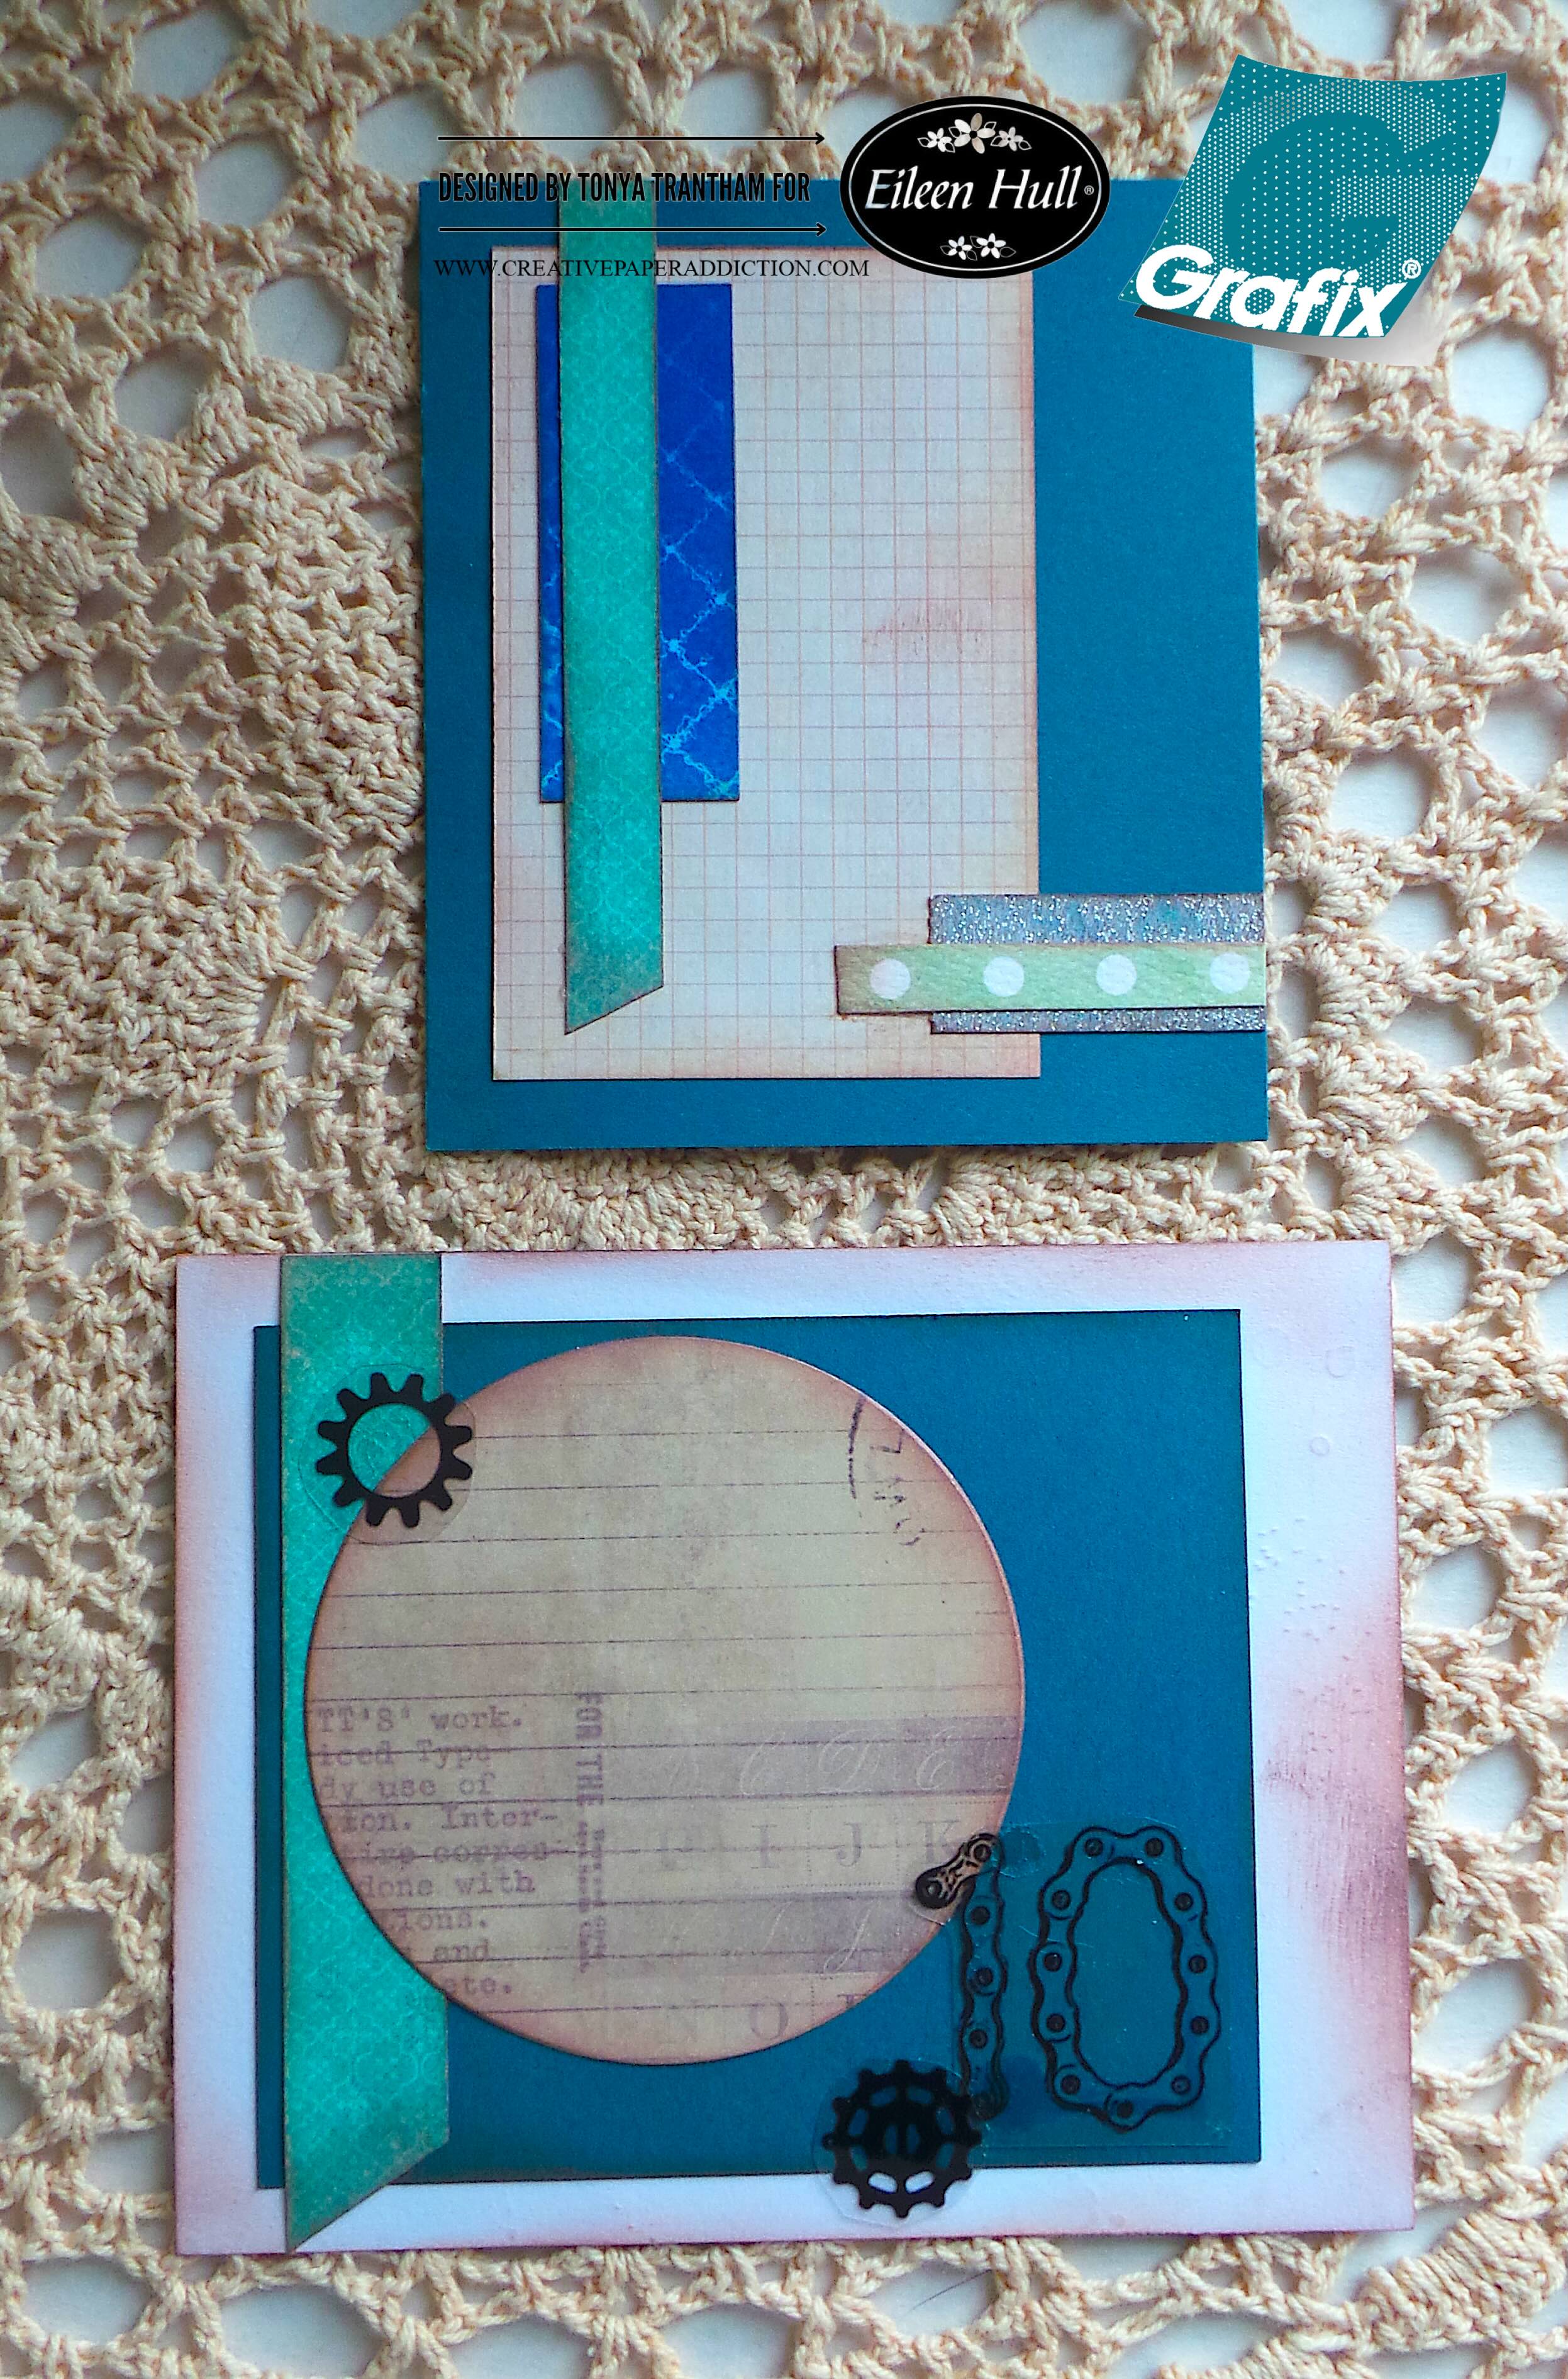
Discover the Grafix and Eileen Hull Collaboration Part One

Hi everyone! I am back with my project for Eileen Hull this month. The team is also collaborating with Grafix. I’ll be using an assortment of dies, thinlits, embossing folders and Grafix Dura-lar Prints to dress up the Journal Diecut .

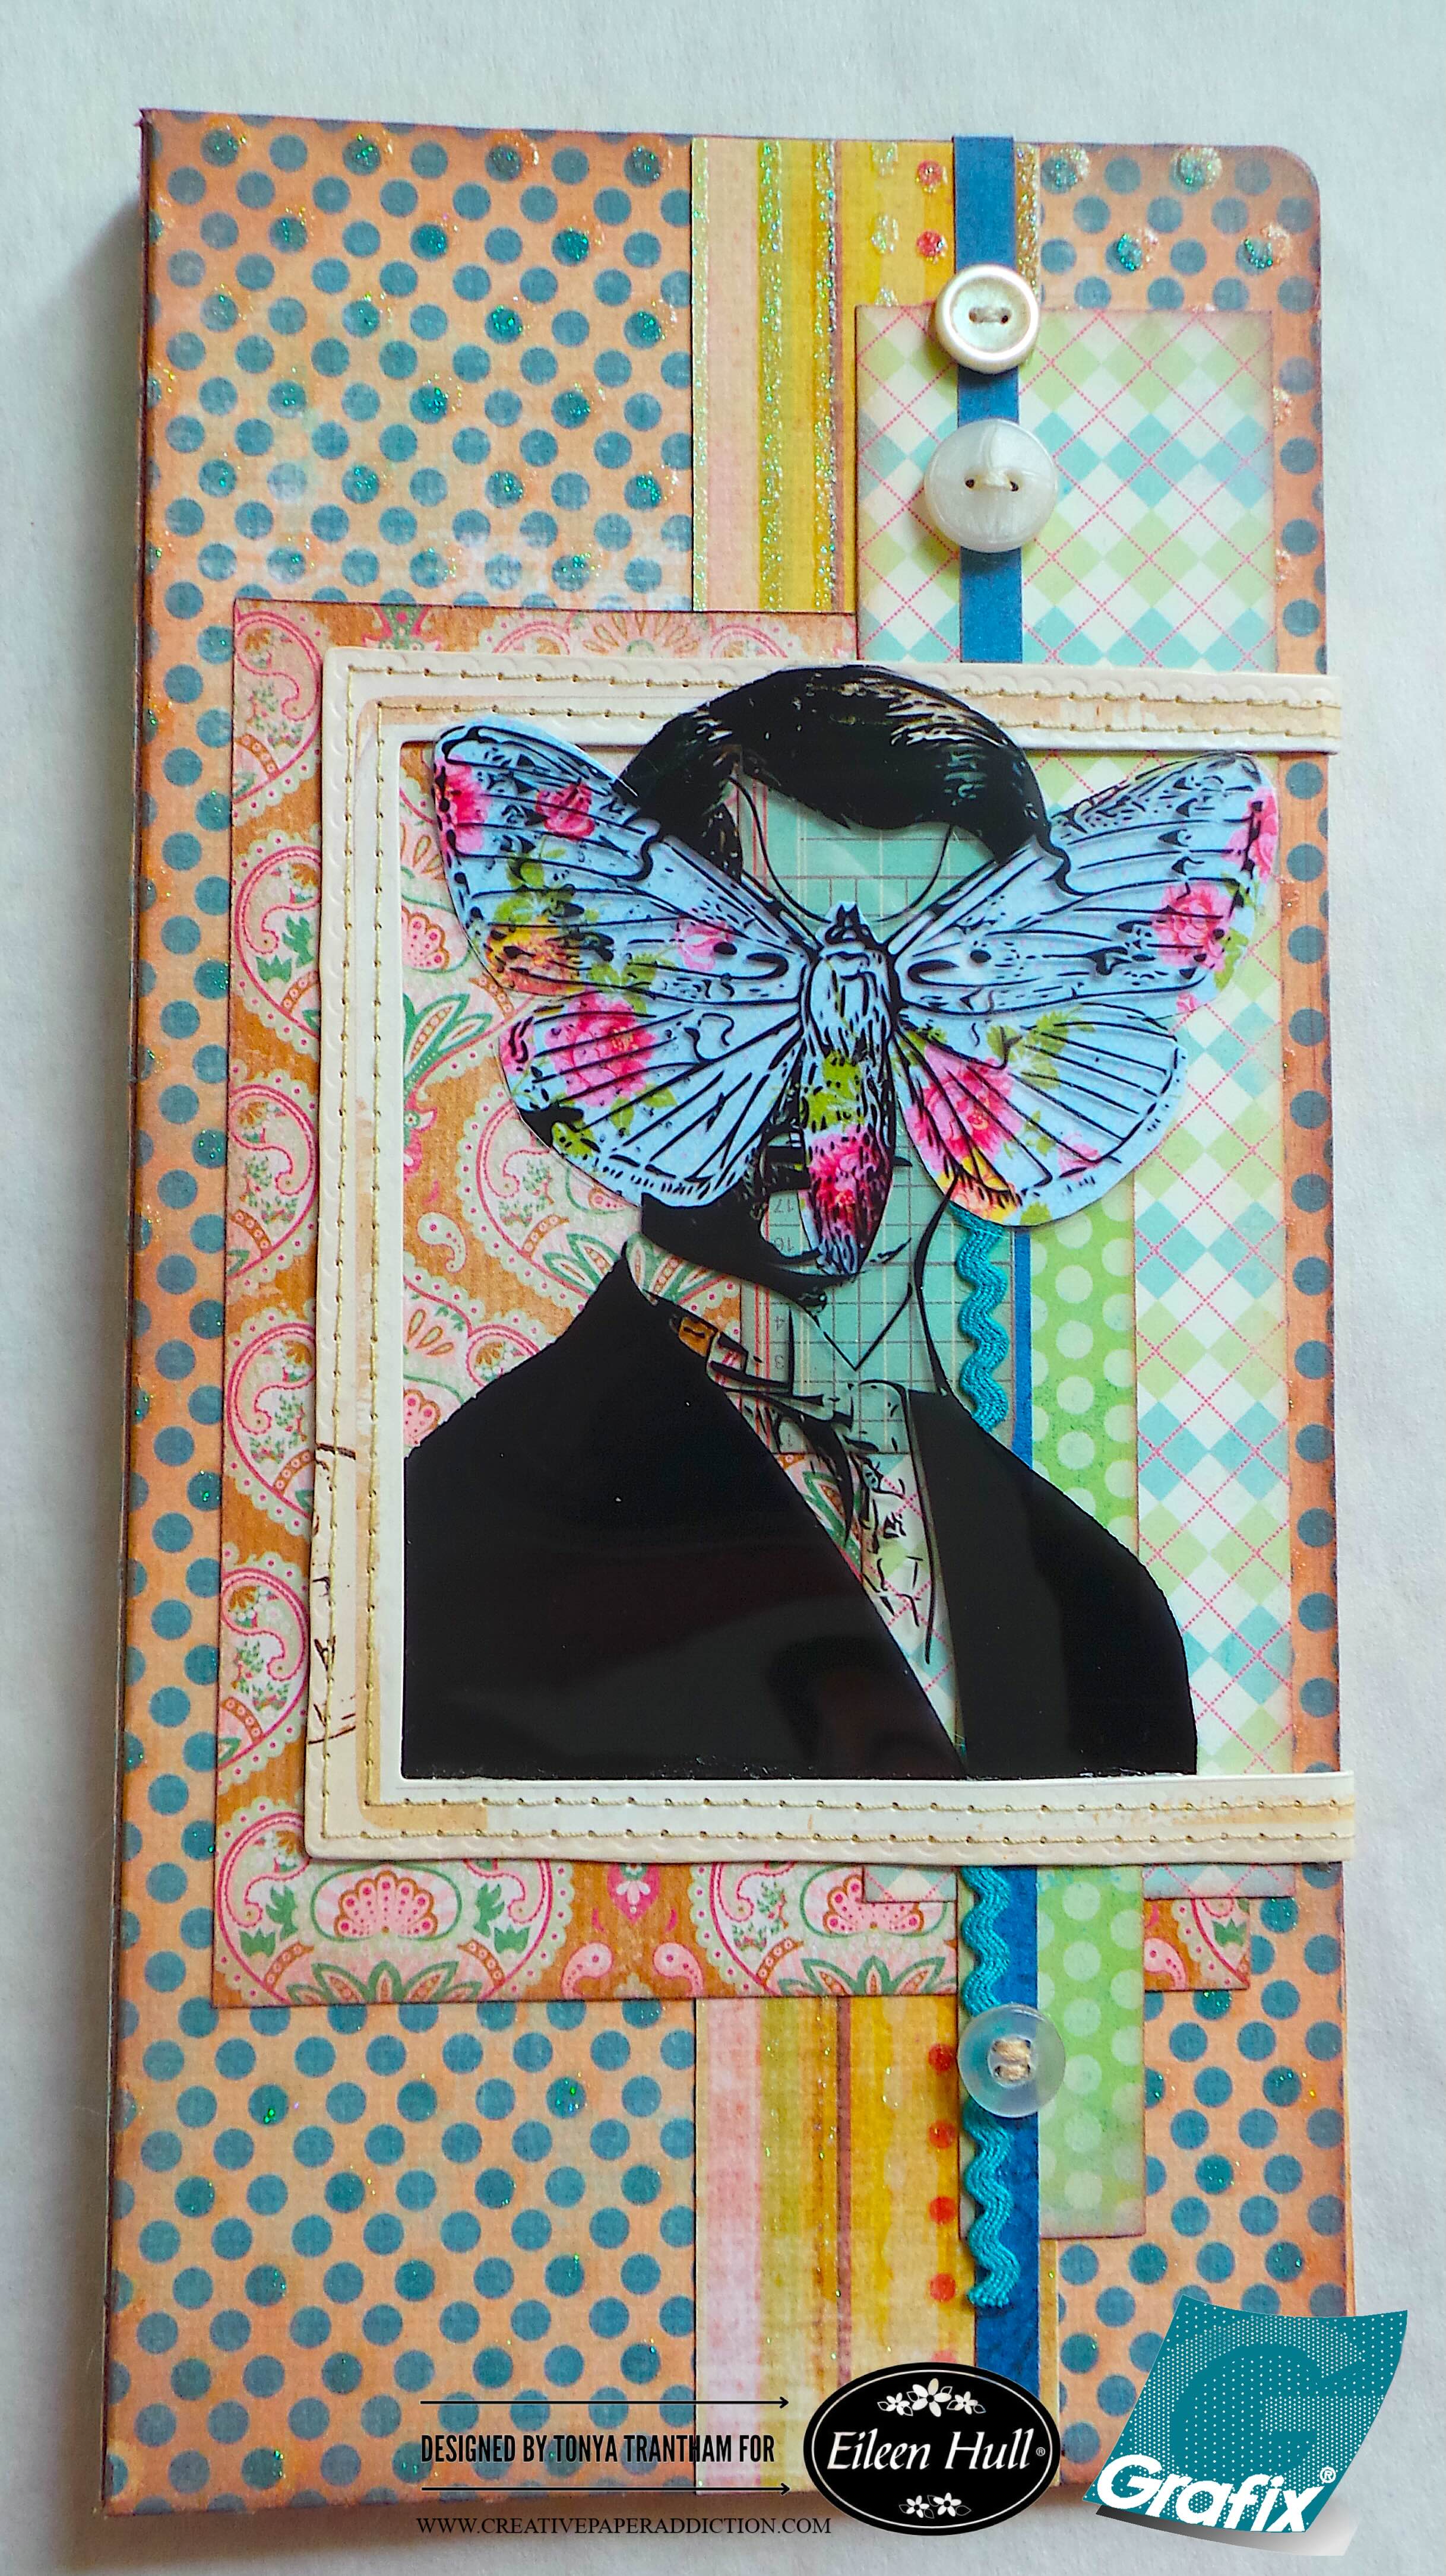
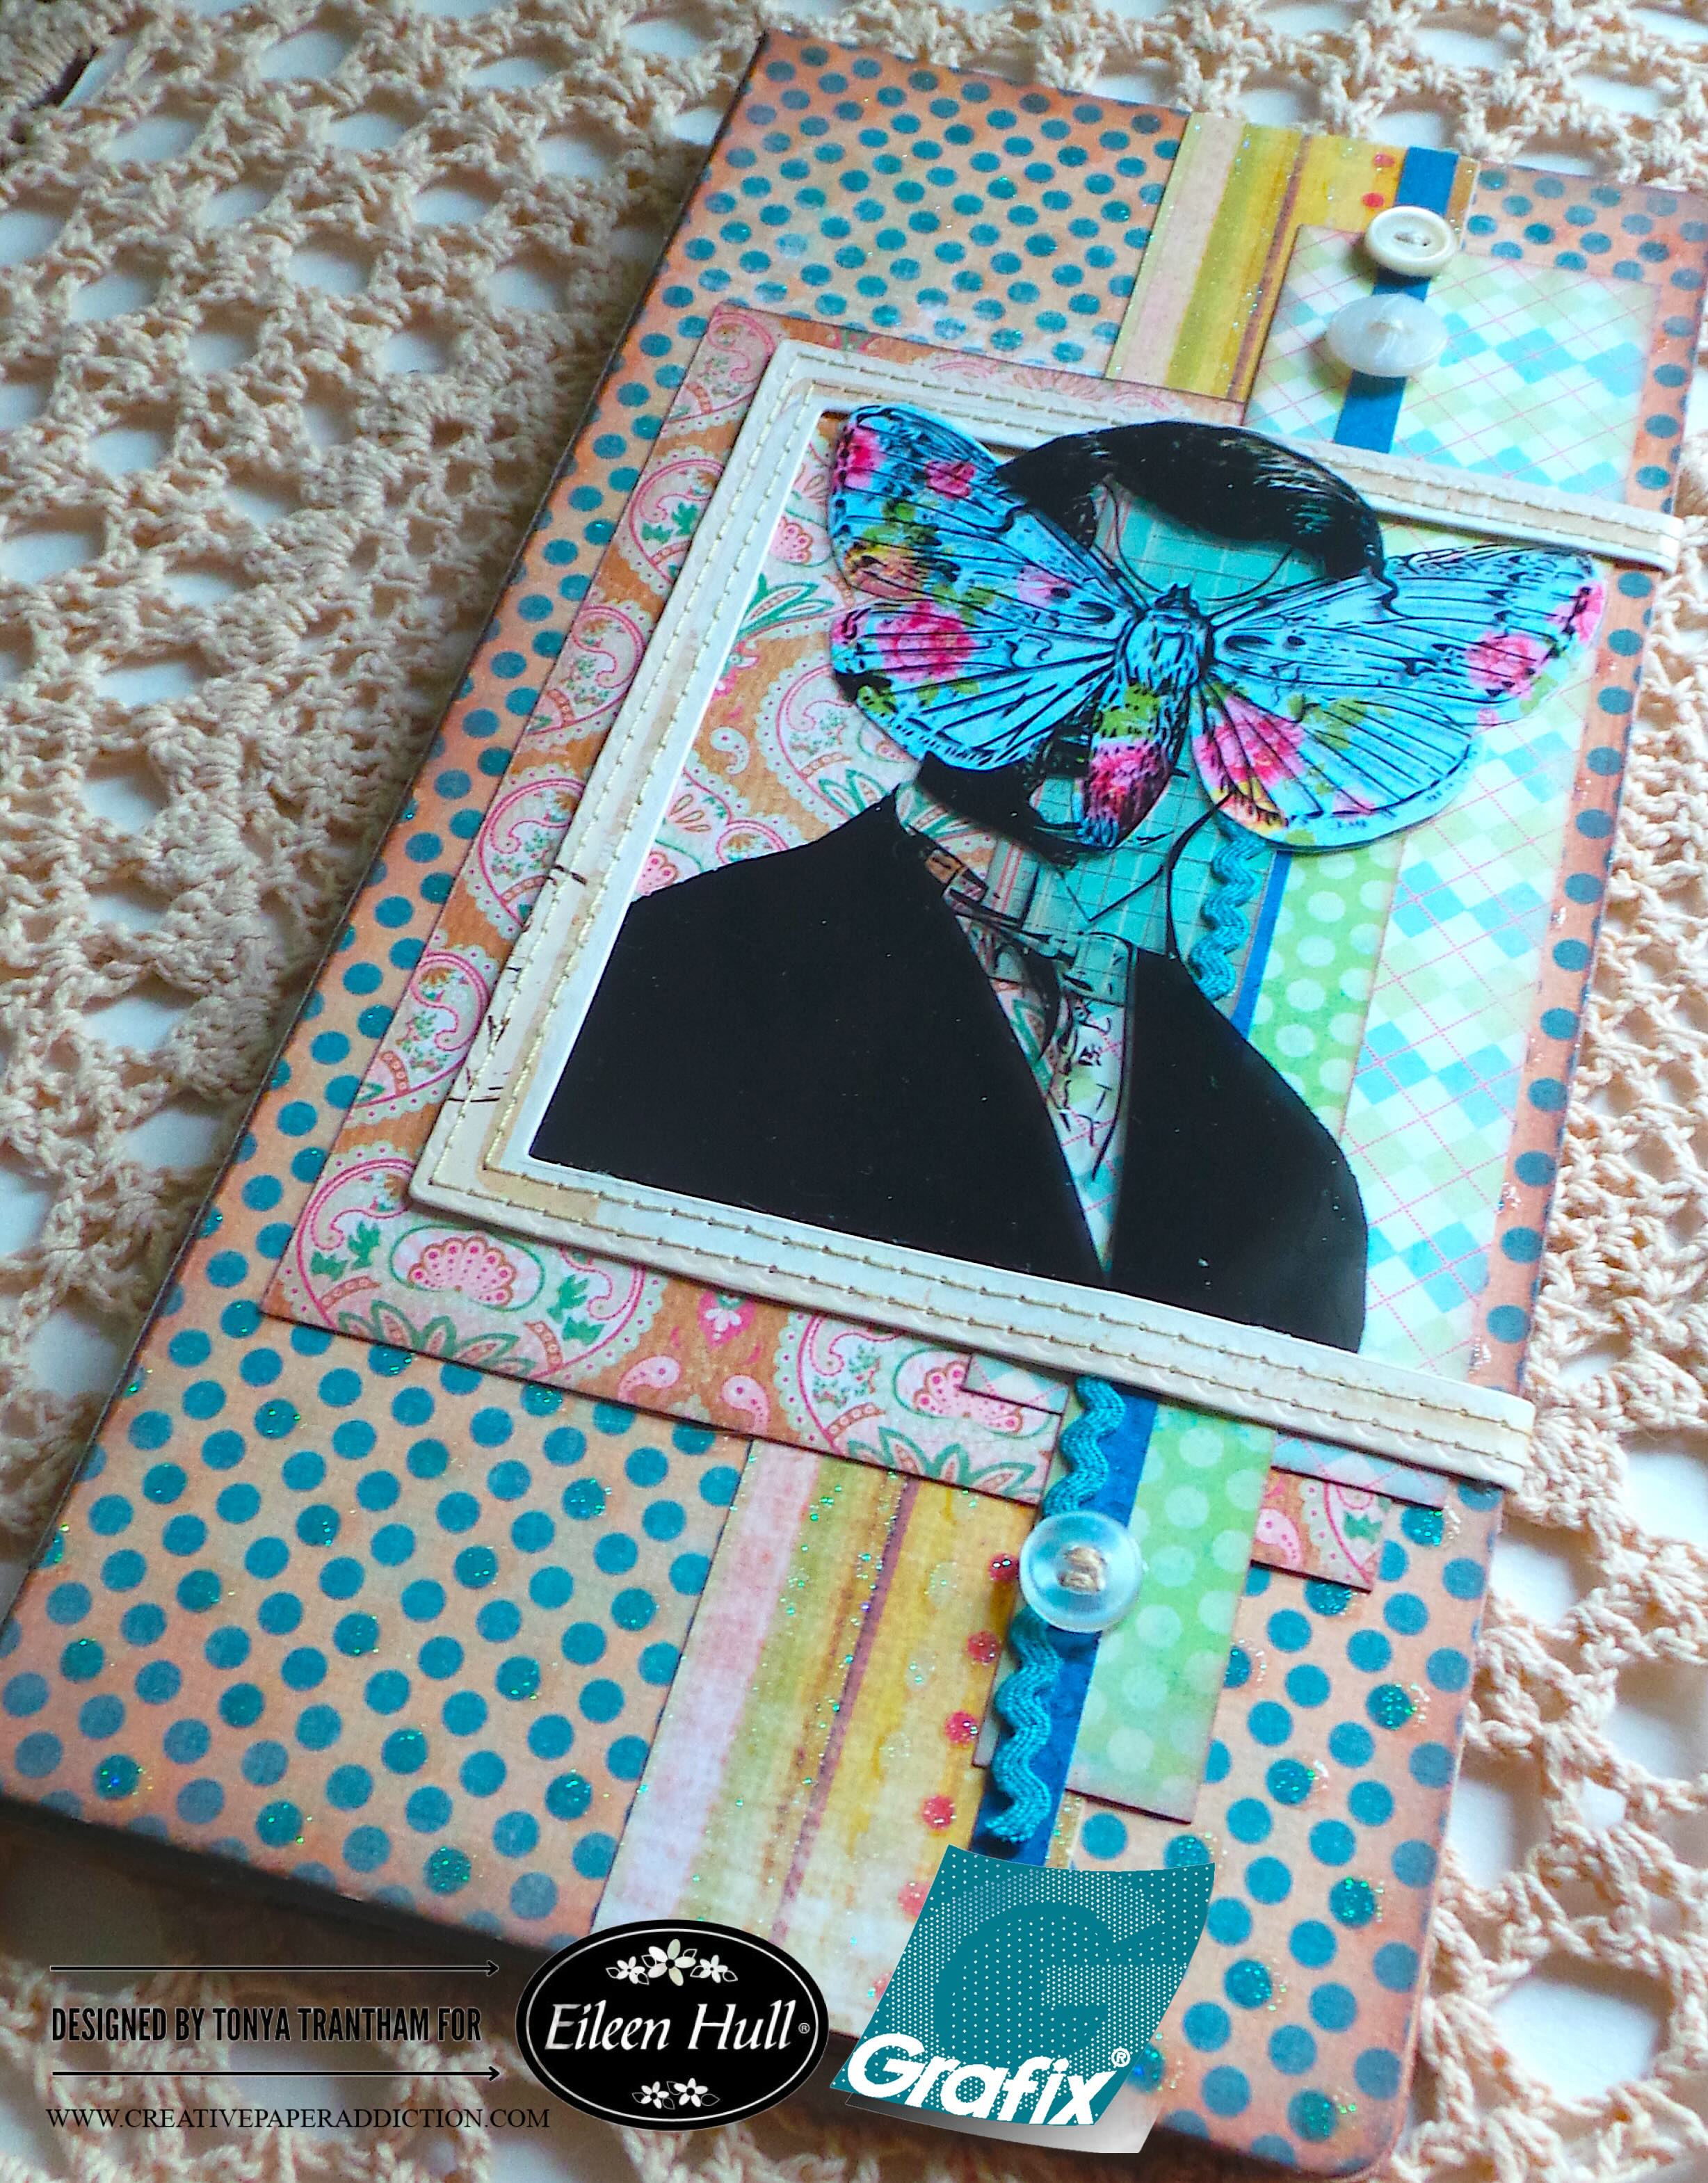
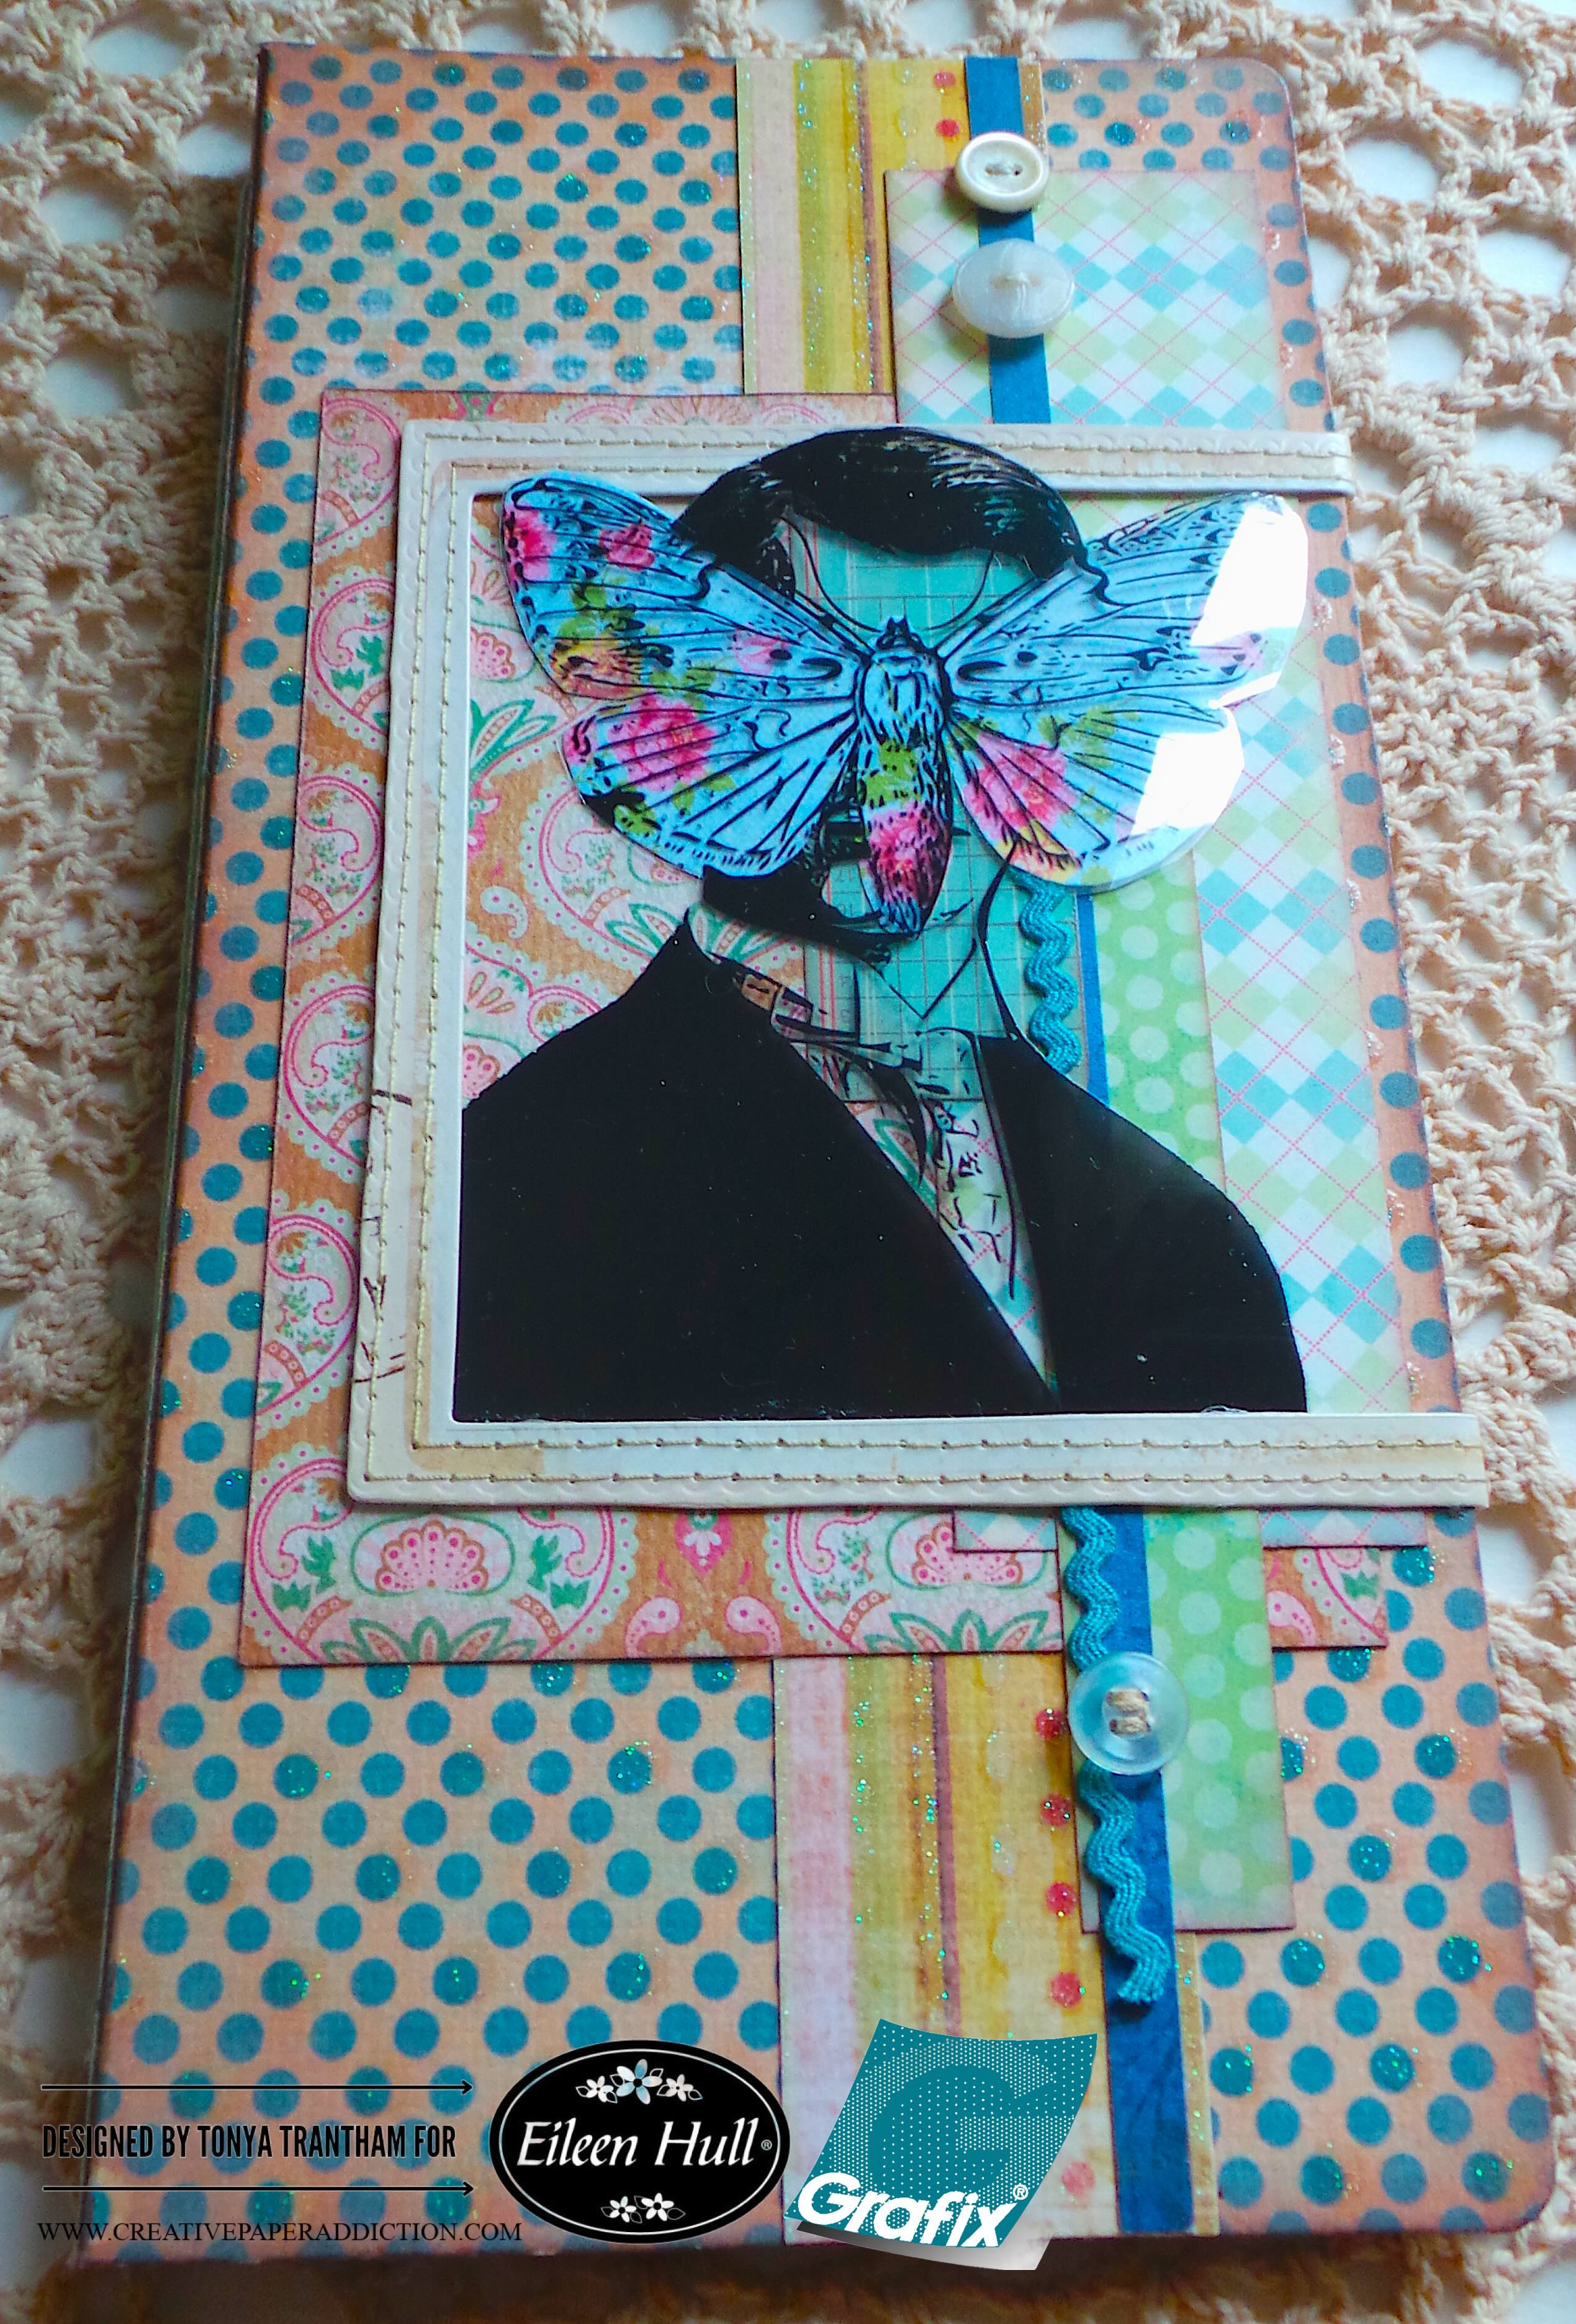
A mixed media art piece featuring a silhouette of a person with a large, colorful butterfly overlay, set against a background of patterned paper with various colors and textures.

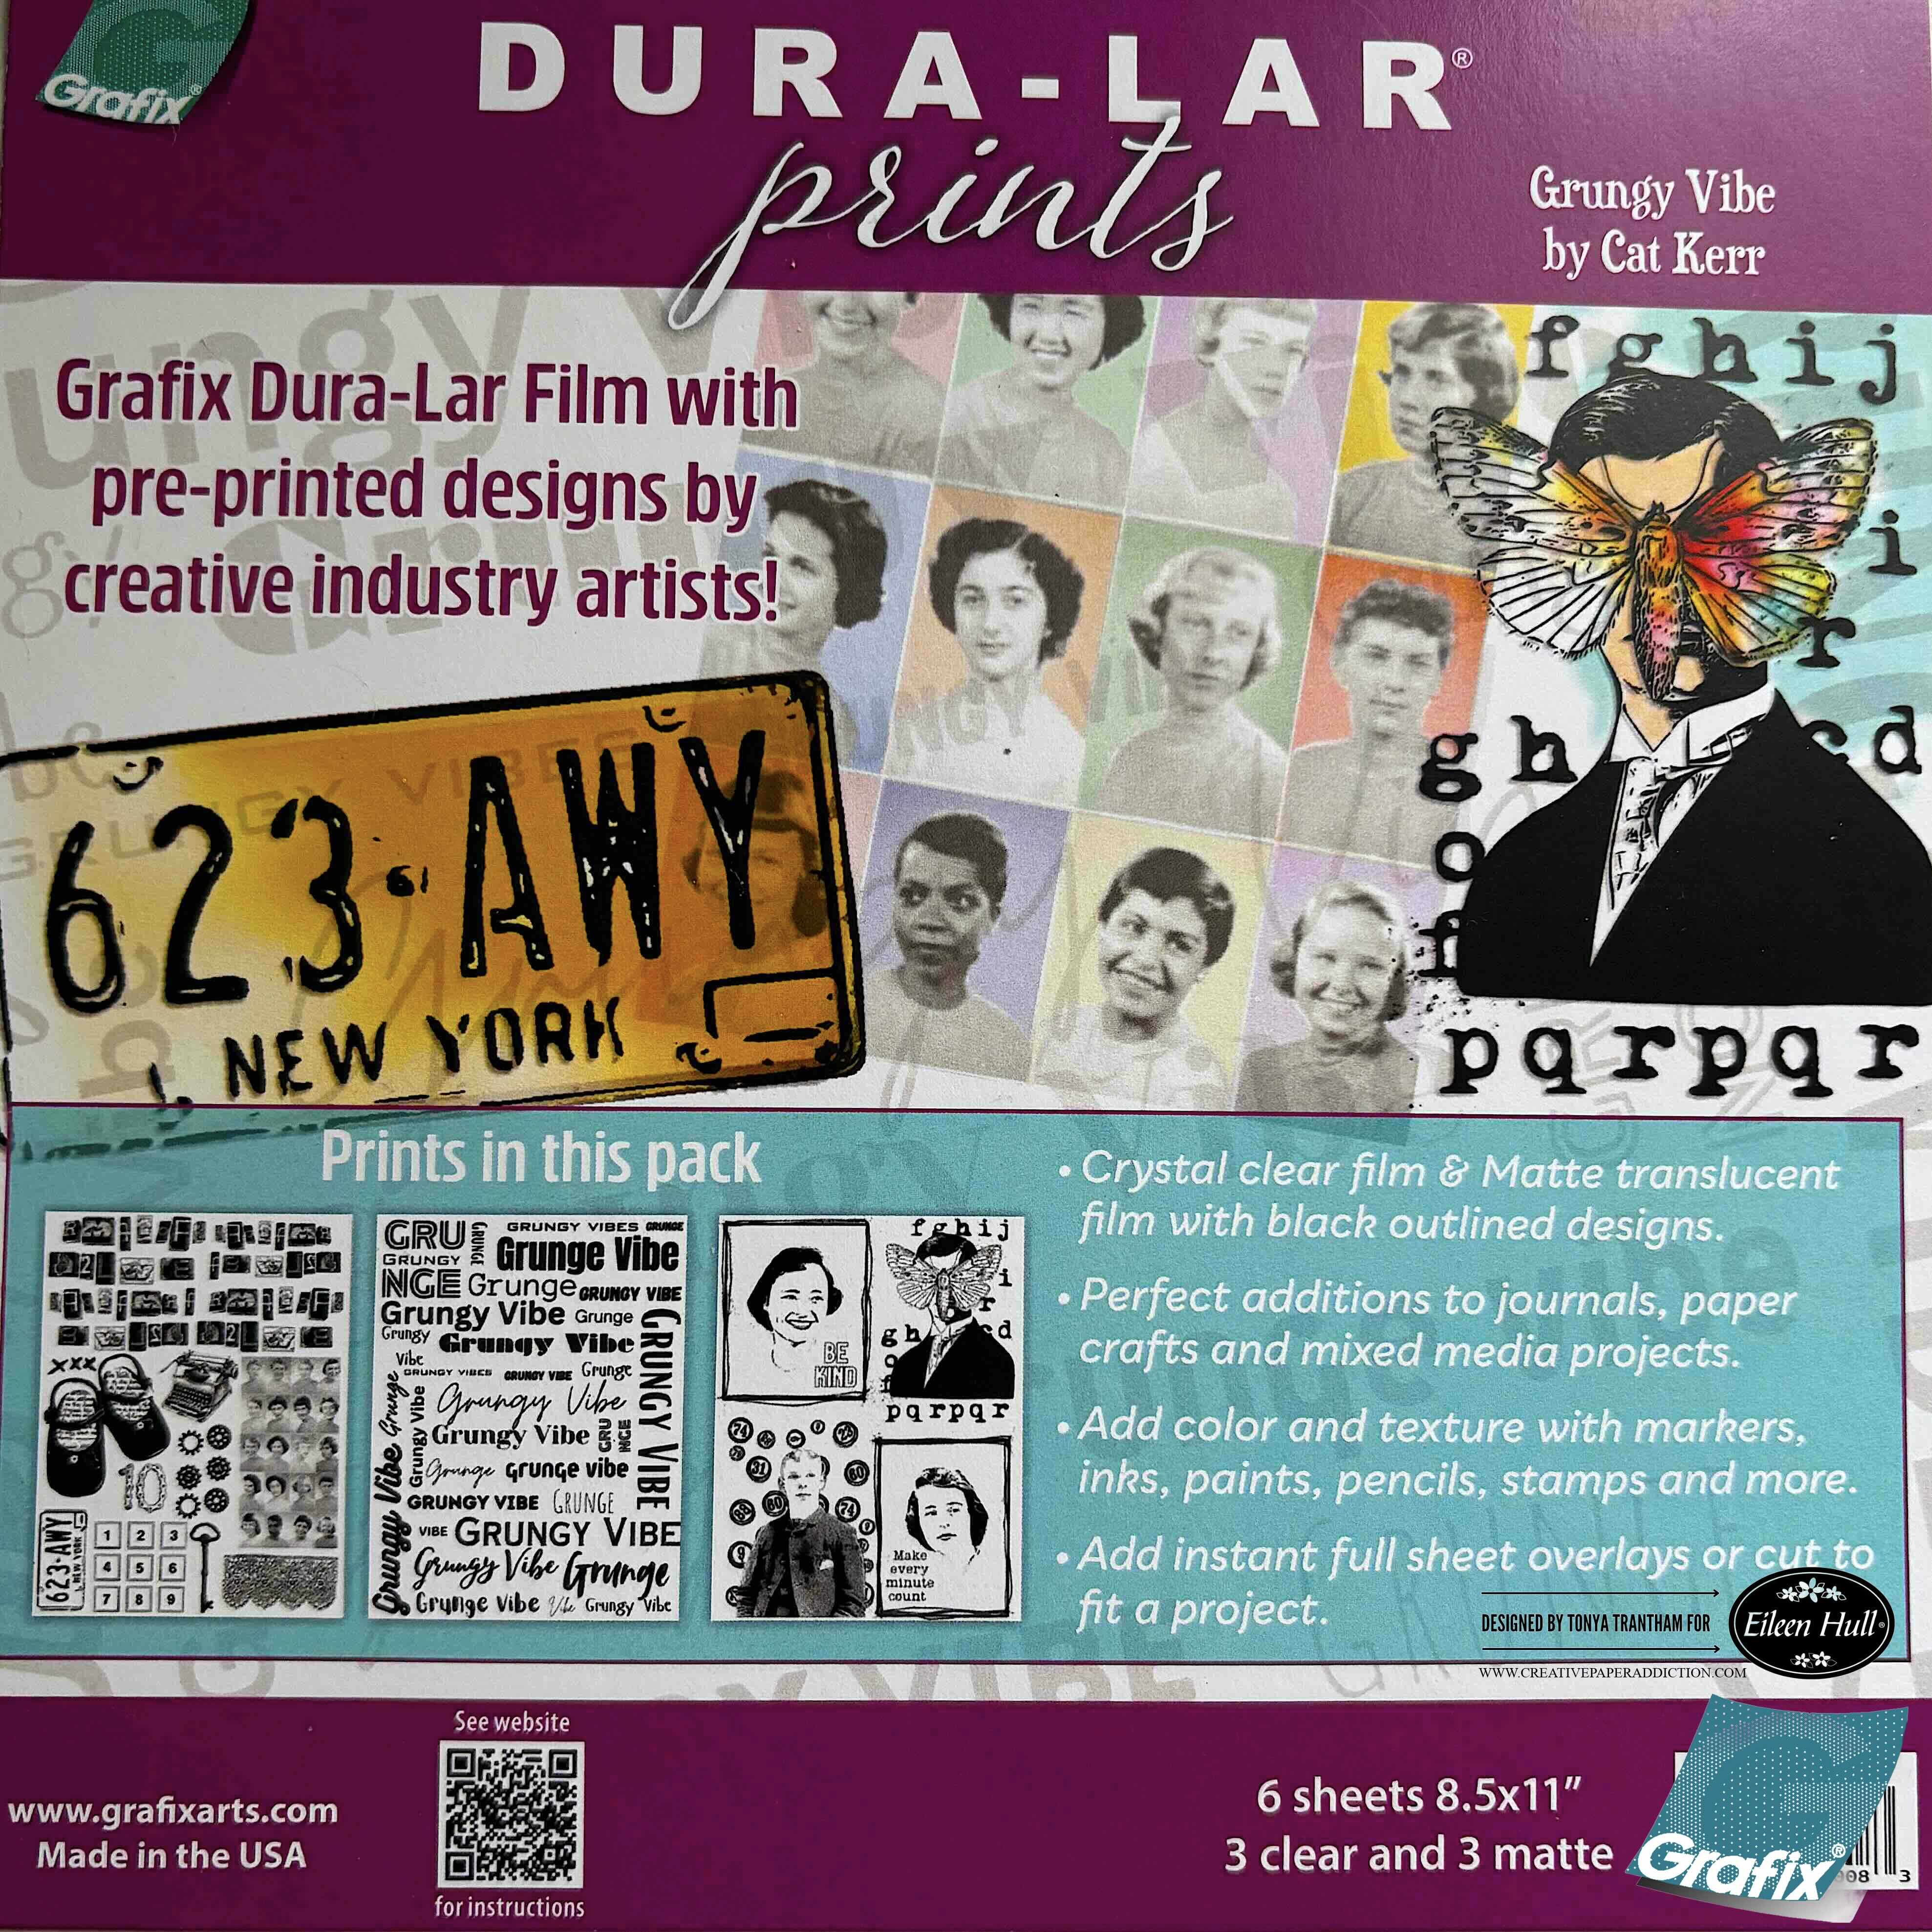
I received the Grungy Vibe by Cat Kerr to incorporate in my journal. There’s a crystal clear film and a matte translucent film of each design for a total of six sheets in the package. Anyways, let’s get started!

A packaging for Grafix Dura-Lar prints featuring the Grungy Vibe design by Cat Kerr, showcasing pre-printed artistic designs for creative projects. The image includes a mock license plate, colorful portraits, and design descriptions.

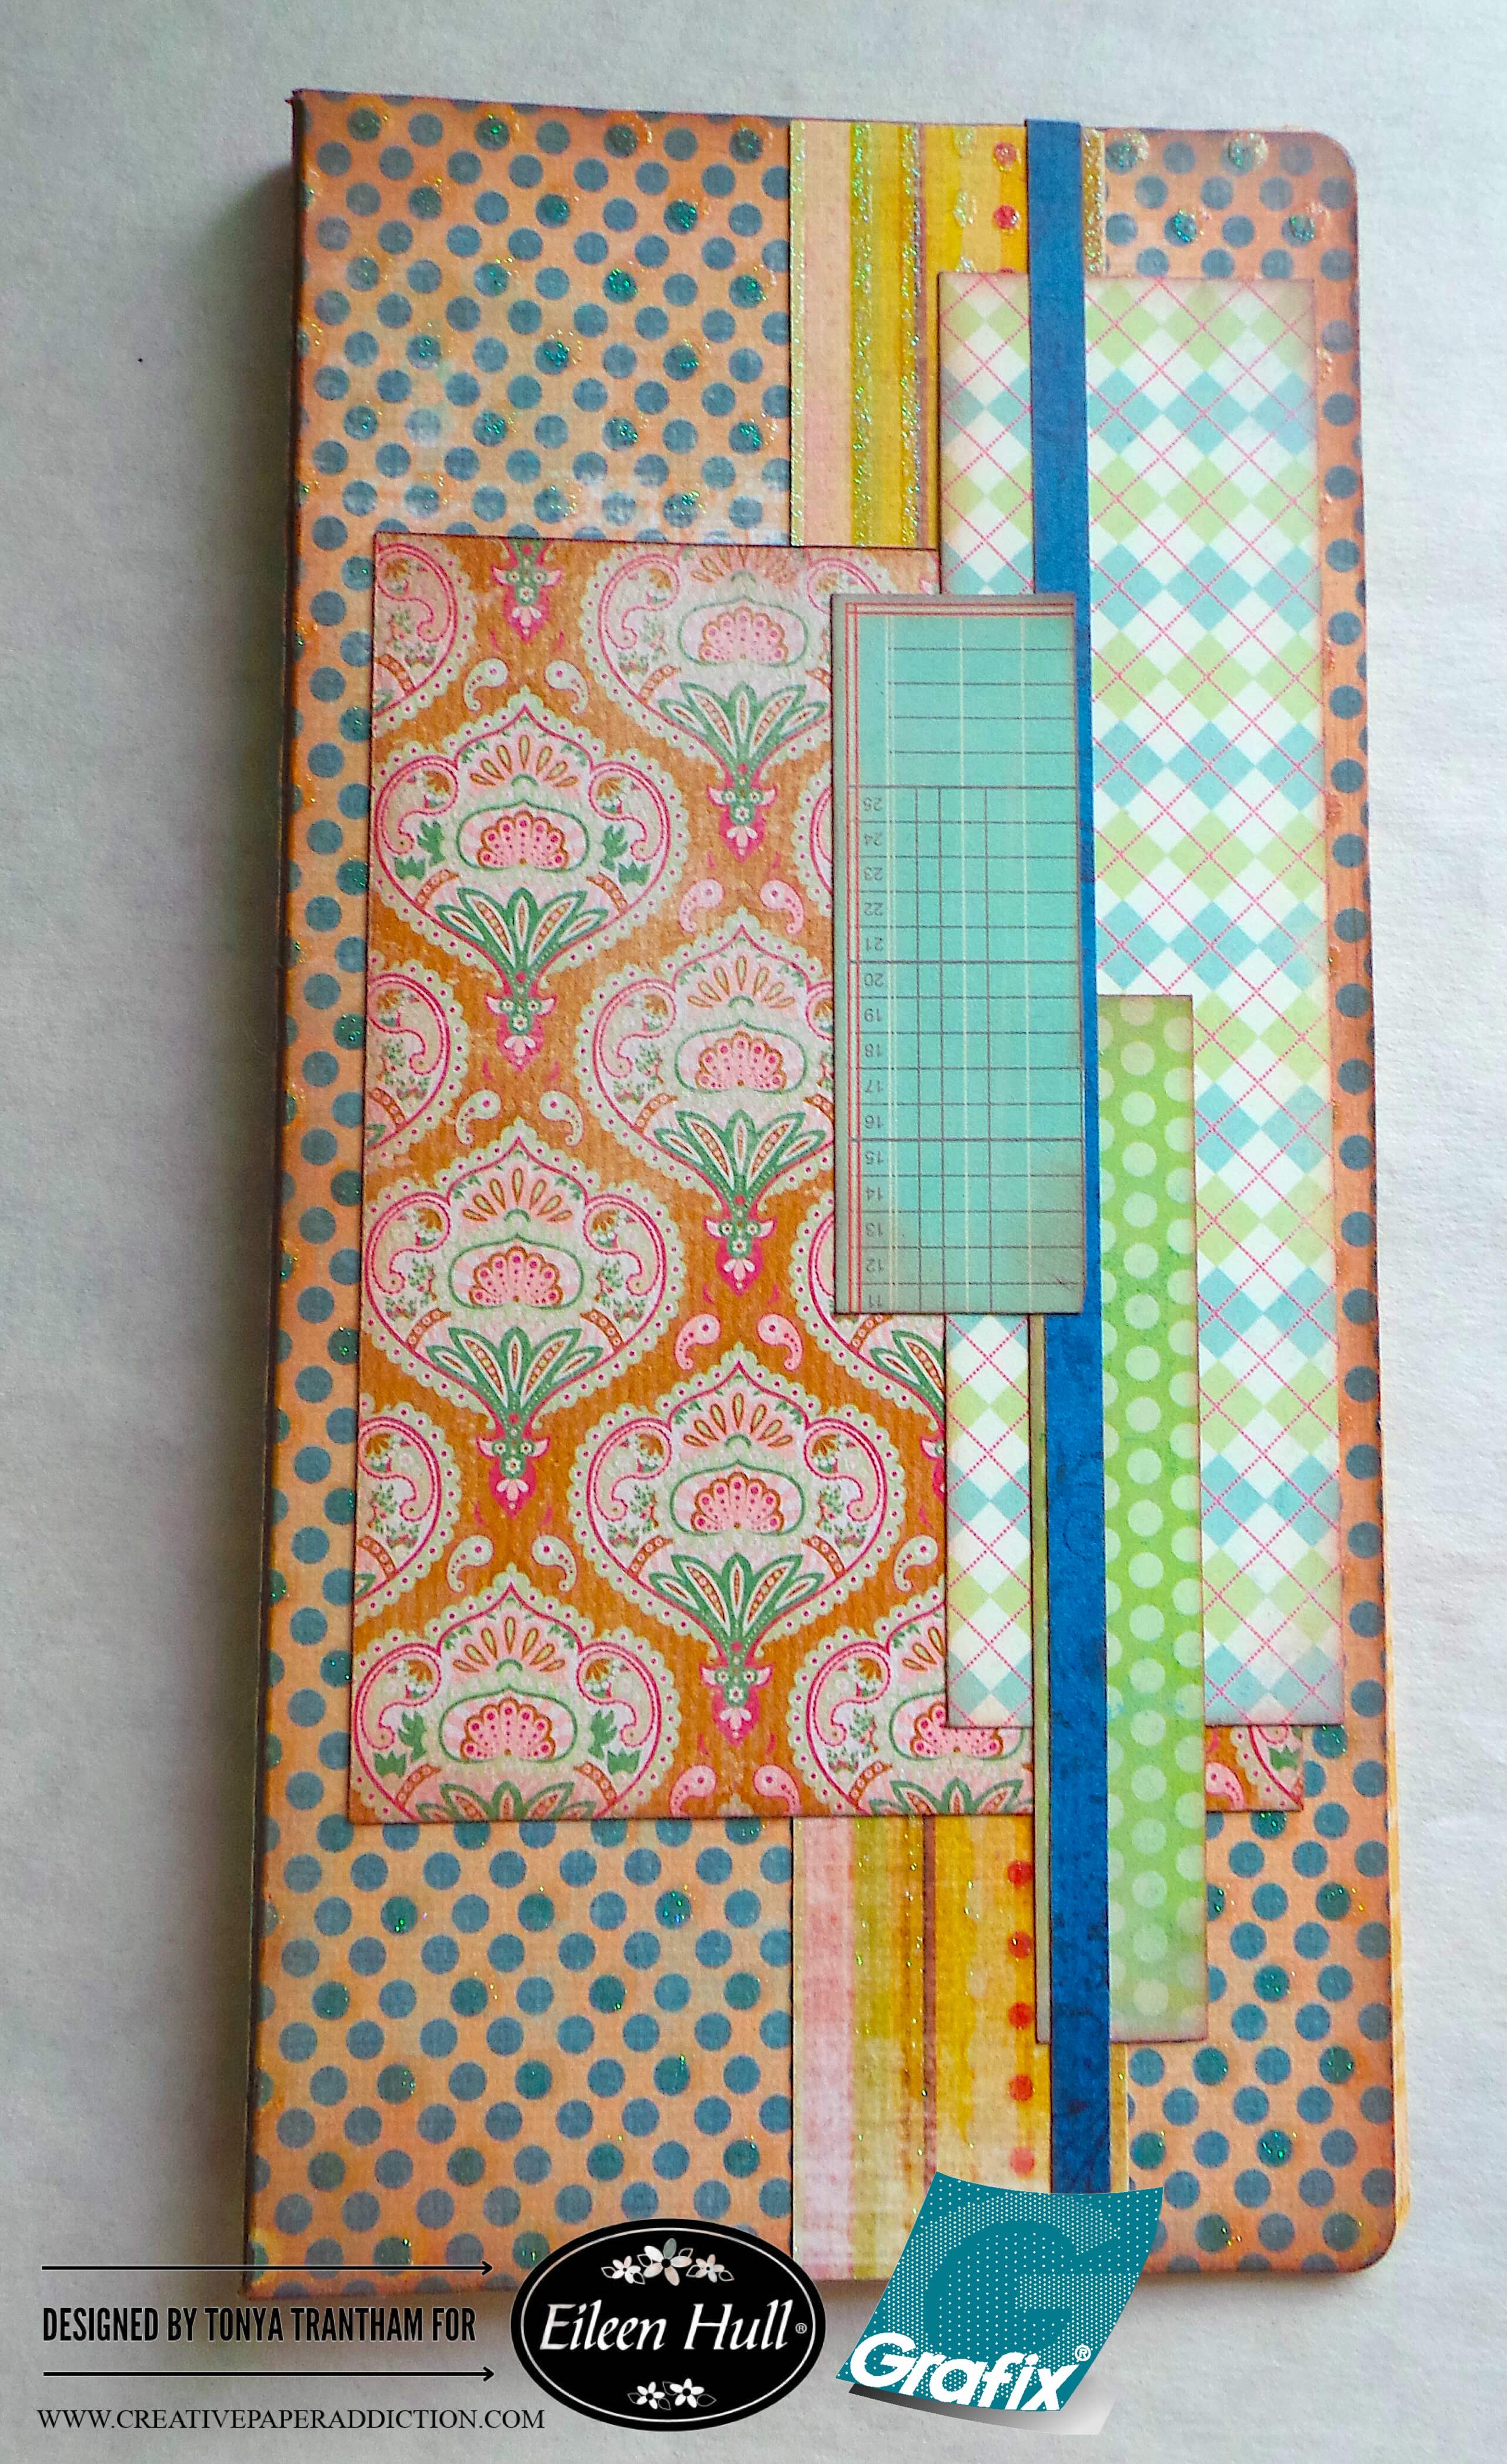
I placed Adhesive Sheets on both sides of a piece of Chipboard (I did this step twice). I added patterned cardstock to both sides of the chipboard, placed the chipboard onto the Journal Diecut, sandwiched between the two cutting plates and run through the Diecut Machine.

I lightly inked the cover with Brown Chalk Ink. I cut off the excess spine and peeled one side of the remaining spine so when glued together it will lay flat.

Craft materials arranged on a surface featuring a notebook with a polka dot design and decorative strips.

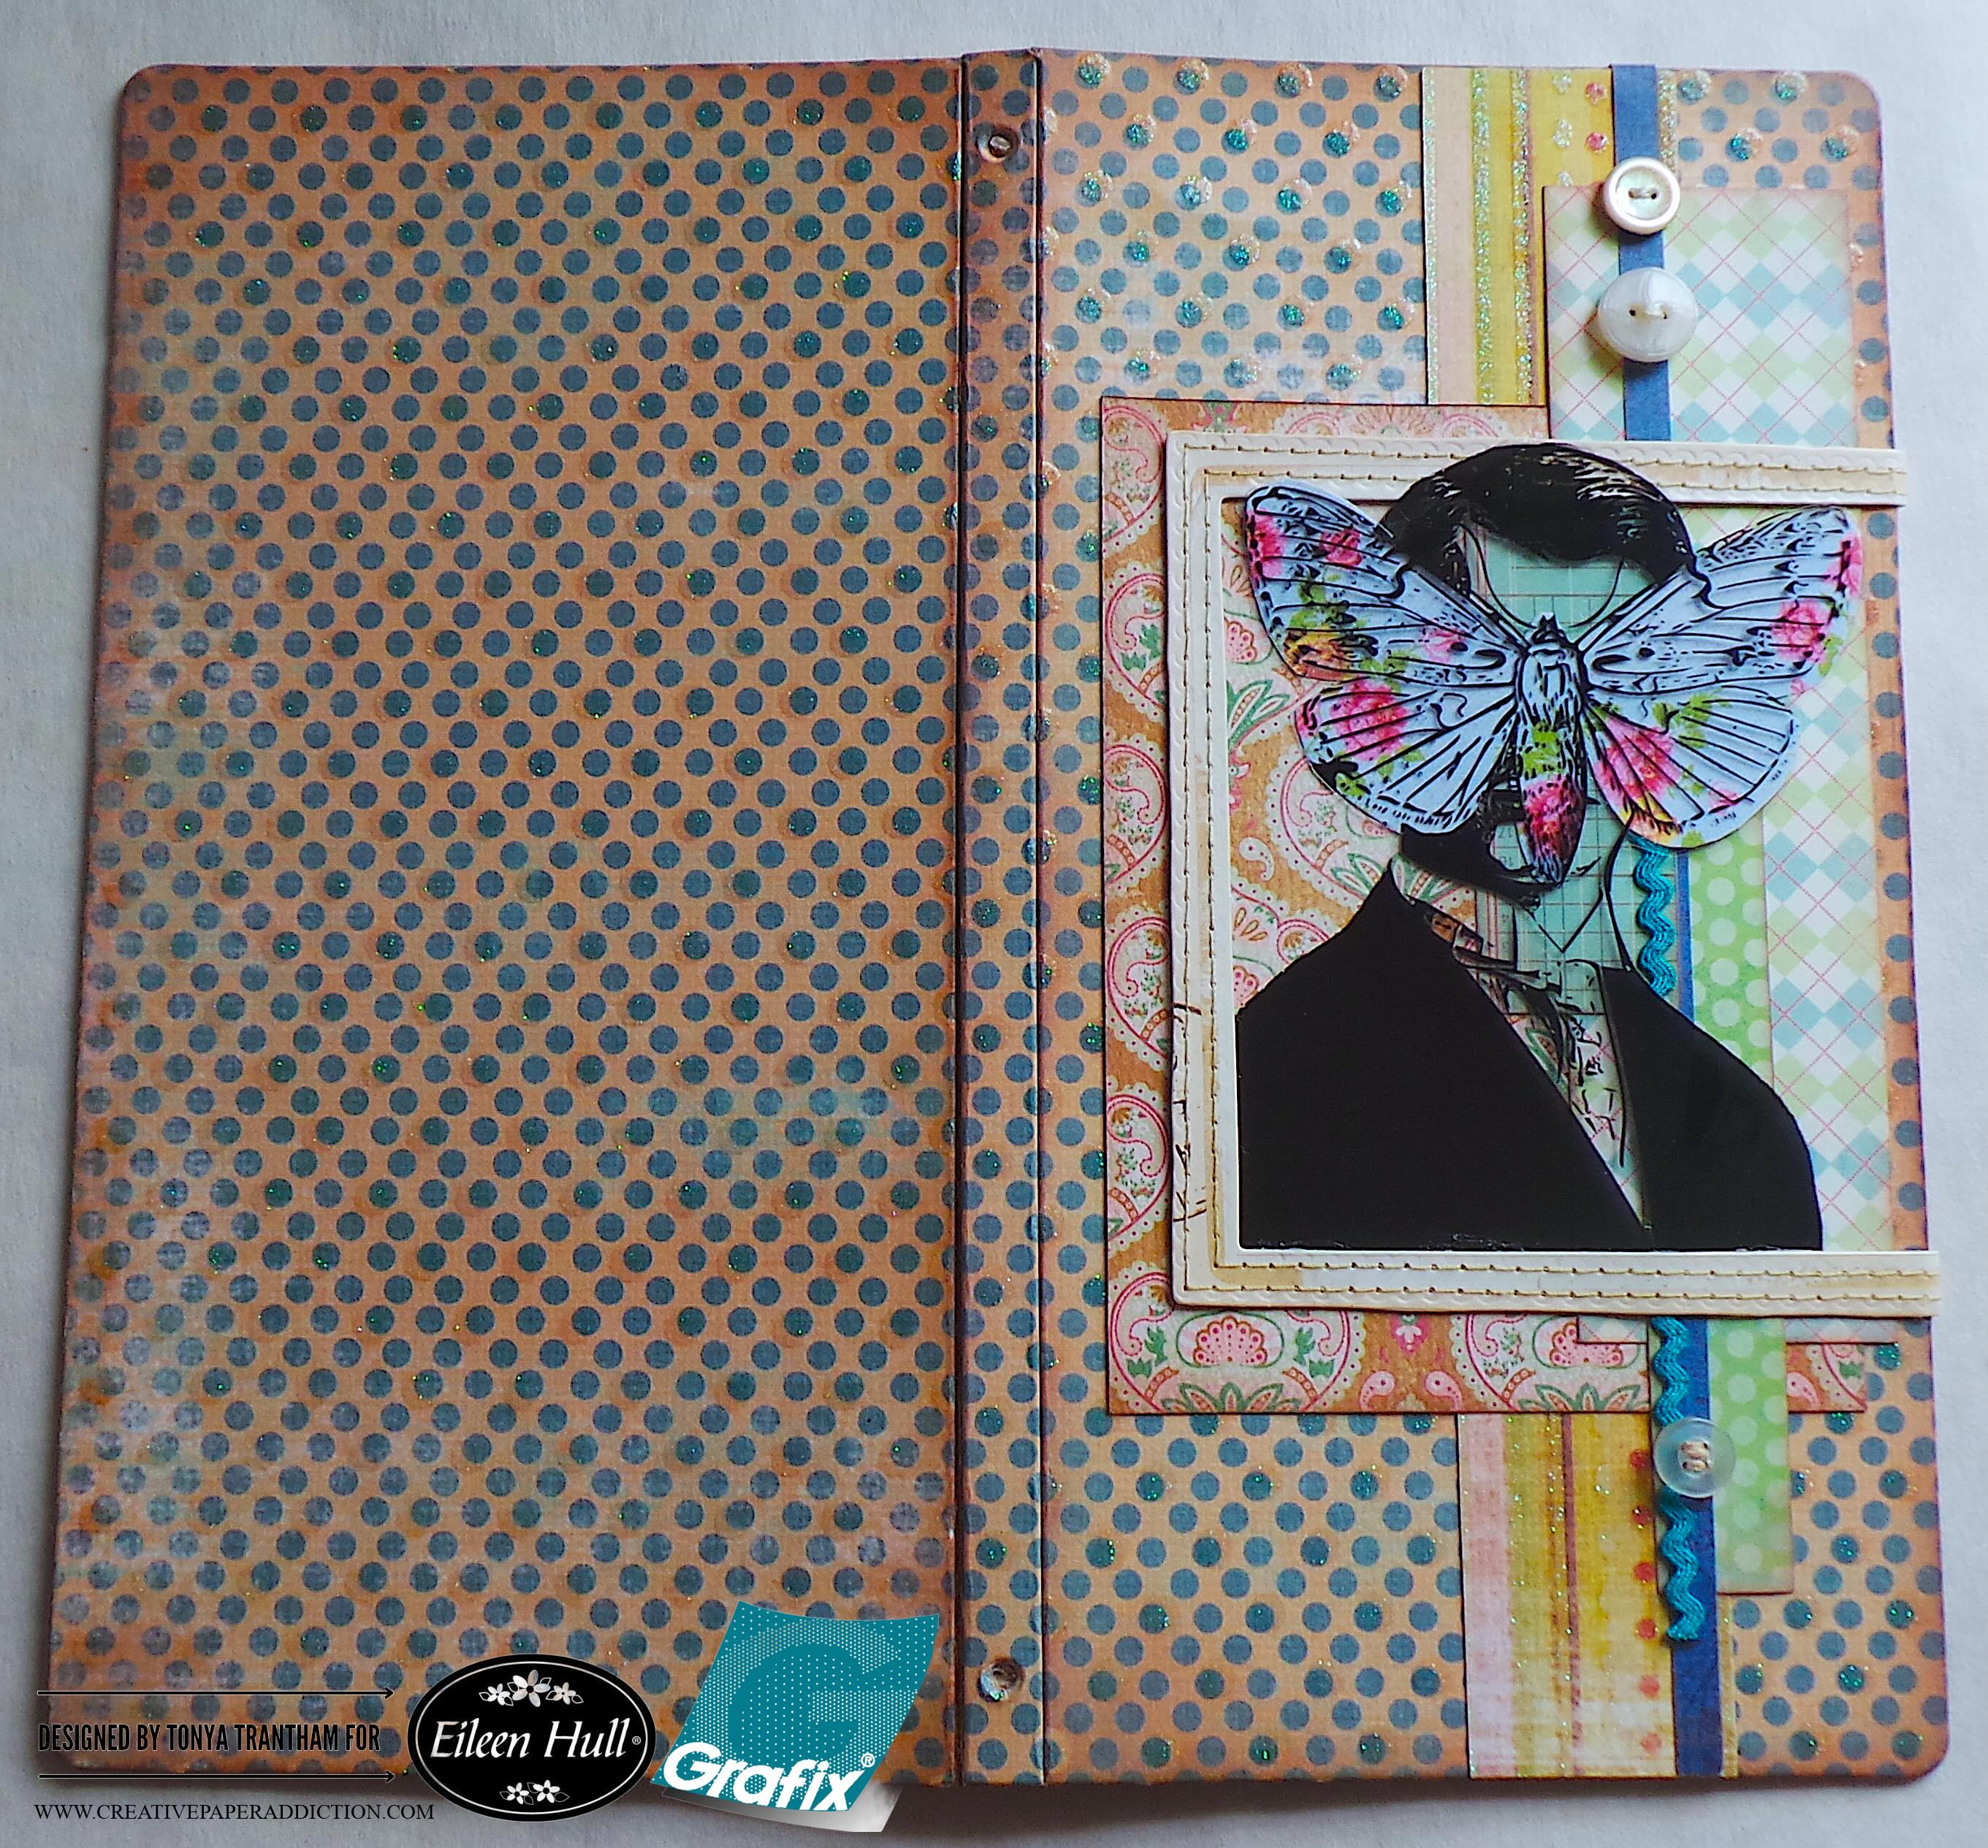
I adhered scraps of patterned cardstock to the cover of the journal.

A decorated notebook cover featuring colorful patterns including polka dots and floral designs, with various layers of patterned paper and a blue ribbon.

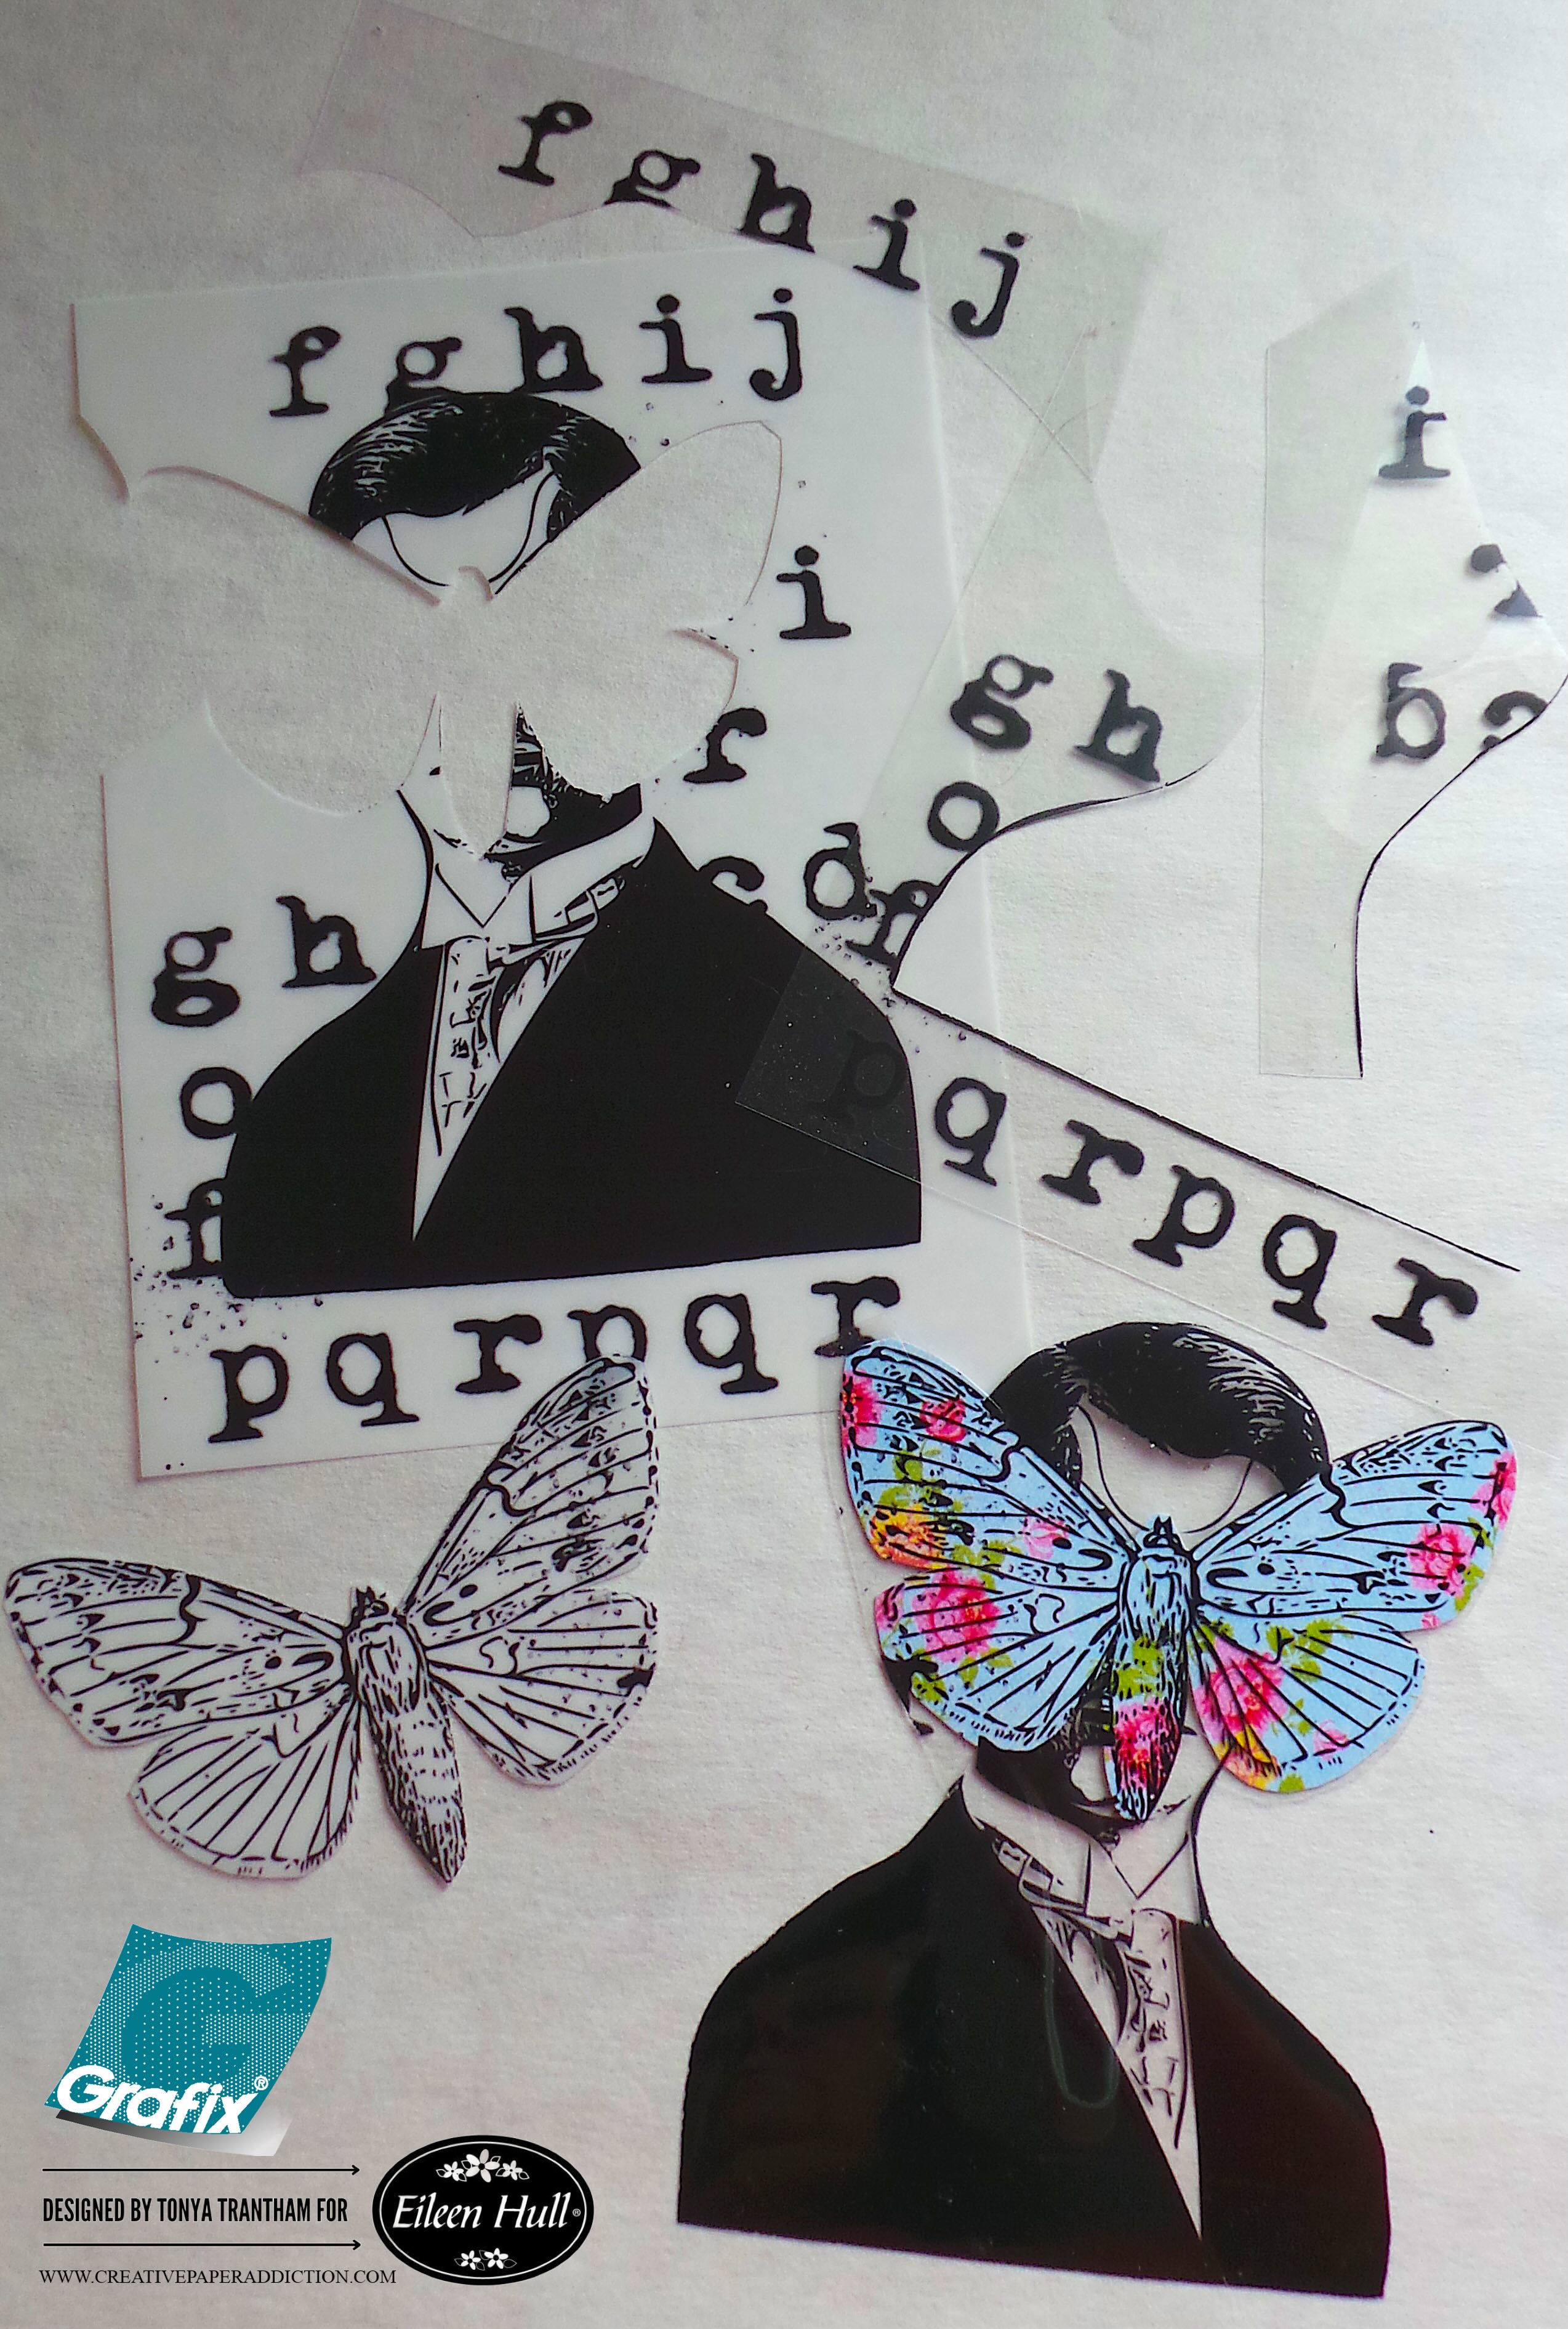
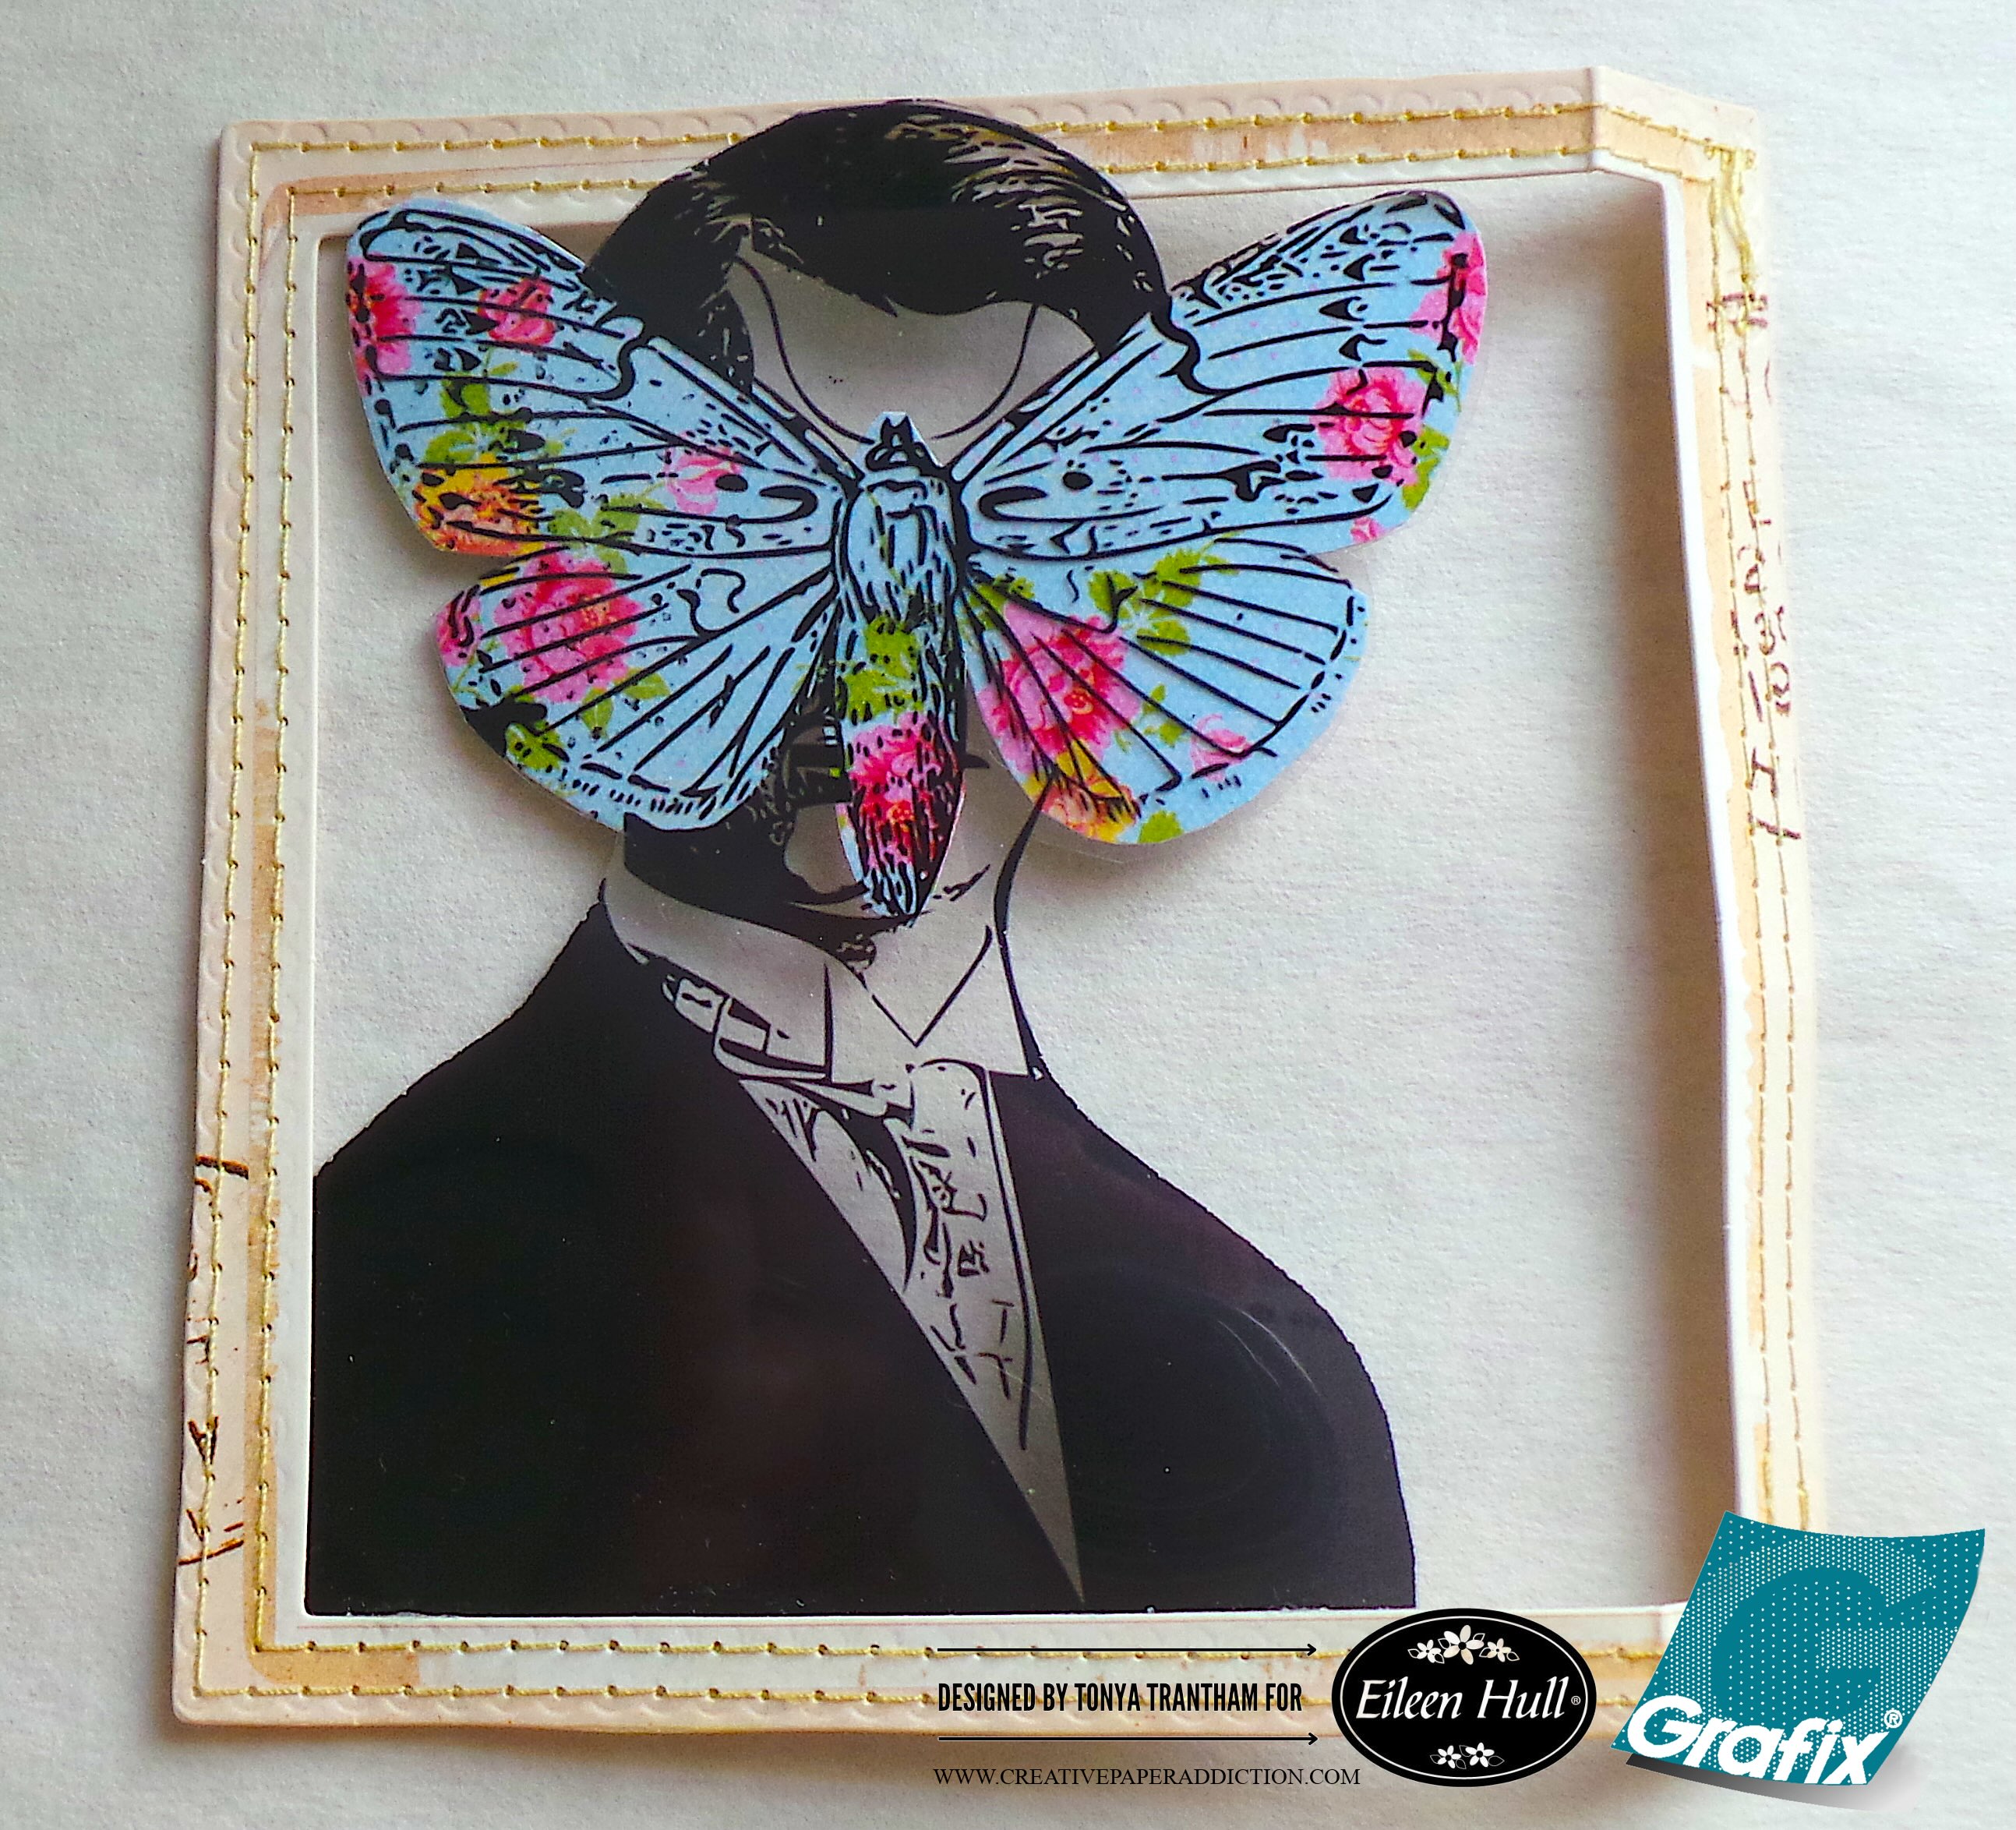
I dug into the packet of Grungy Vibe by Cat Kerr and pulled out both the clear and matte translucent images of the man with a butterfly over his face. The clear image, I cut out only the man with the butterfly. The matte image I only cut out the butterfly to use as a template to trace onto a piece of patterned cardstock and cut out. I adhered the patterned butterfly to the back side of the clear image.

A collage featuring a vintage-style black and white illustration of a man in a suit with stylized butterfly cutouts positioned over his face, alongside sheets of transparent letters and pattern designs.

I dug into my stash of embellishments and found this stitched frame (I think it is from 49 & Market). I glued the bottom edge of the clear image and the top of the man’s head to the frame. I scored the outer edge of frame since it is larger than the journal cover. I wrapped around and adhere to the inside of the cover.

An artistic design featuring a butterfly with colorful wings positioned over a vintage-style portrait of a man in formal attire, within a decorative frame.

I added ric rac and buttons before gluing the frame to the cover.

An artistic scrapbook page featuring a vintage-inspired design with polka dot backgrounds, layered decorative papers, and an illustration of a man with a butterfly for a face.

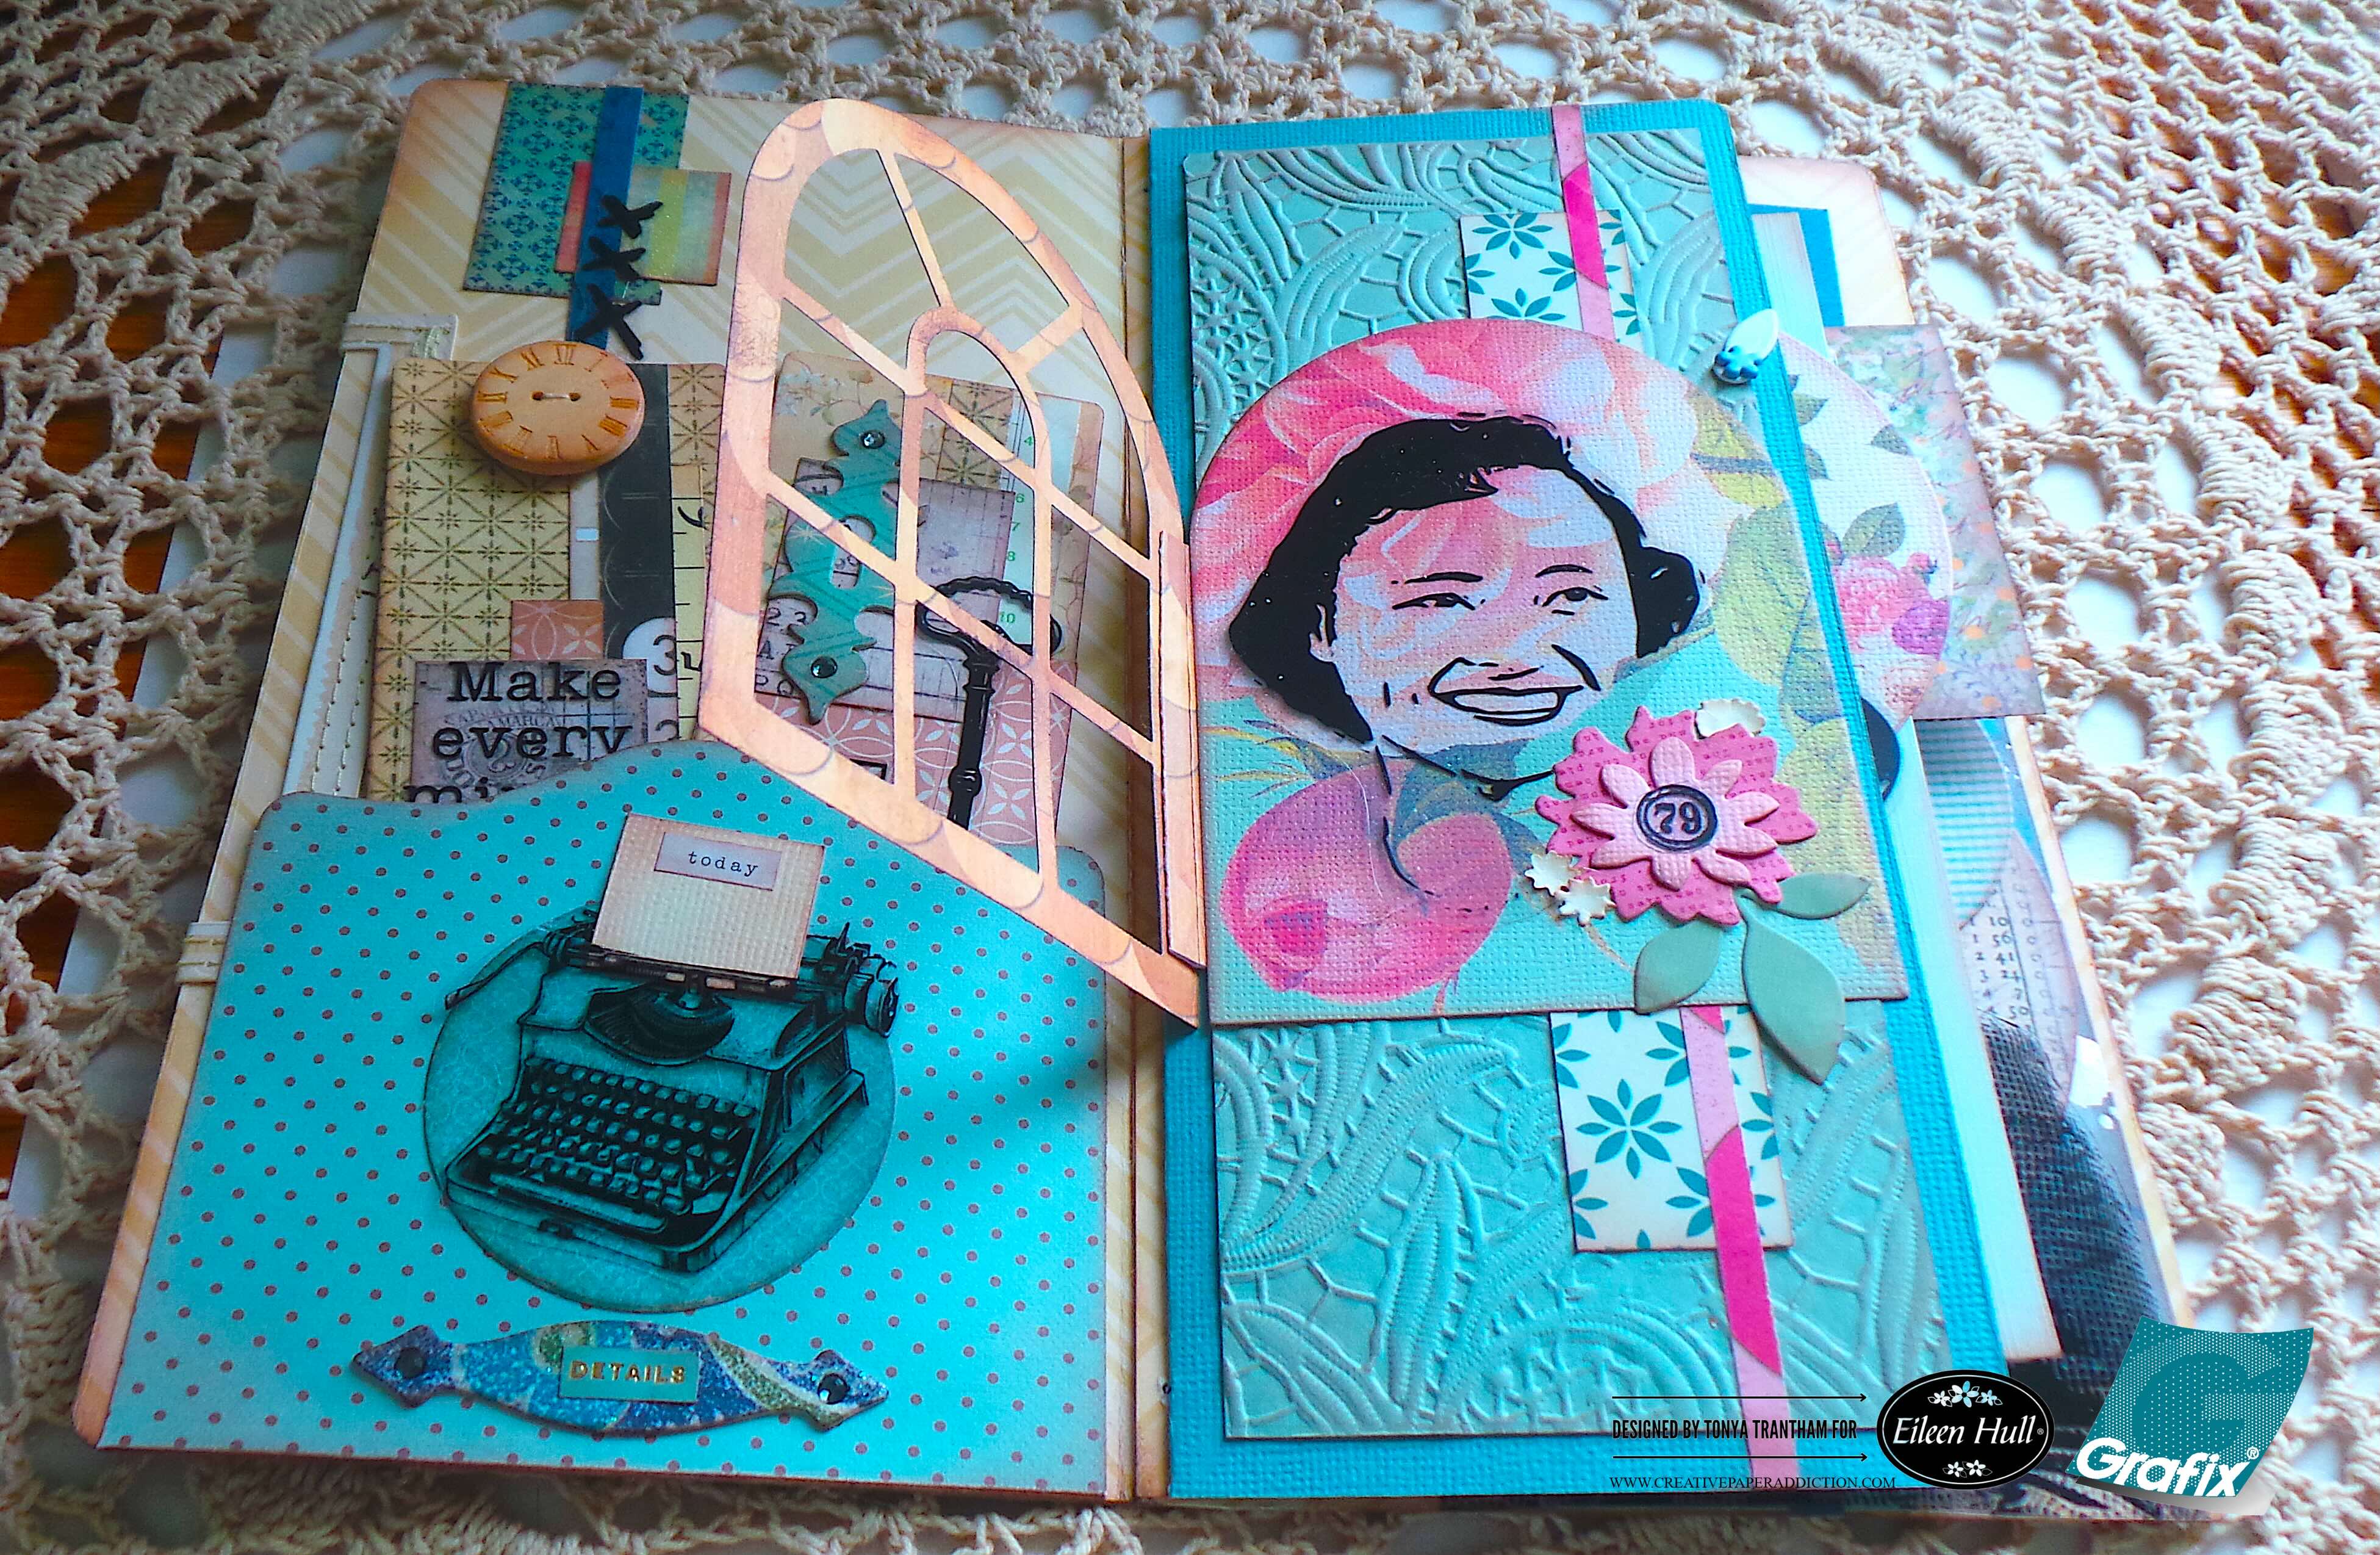
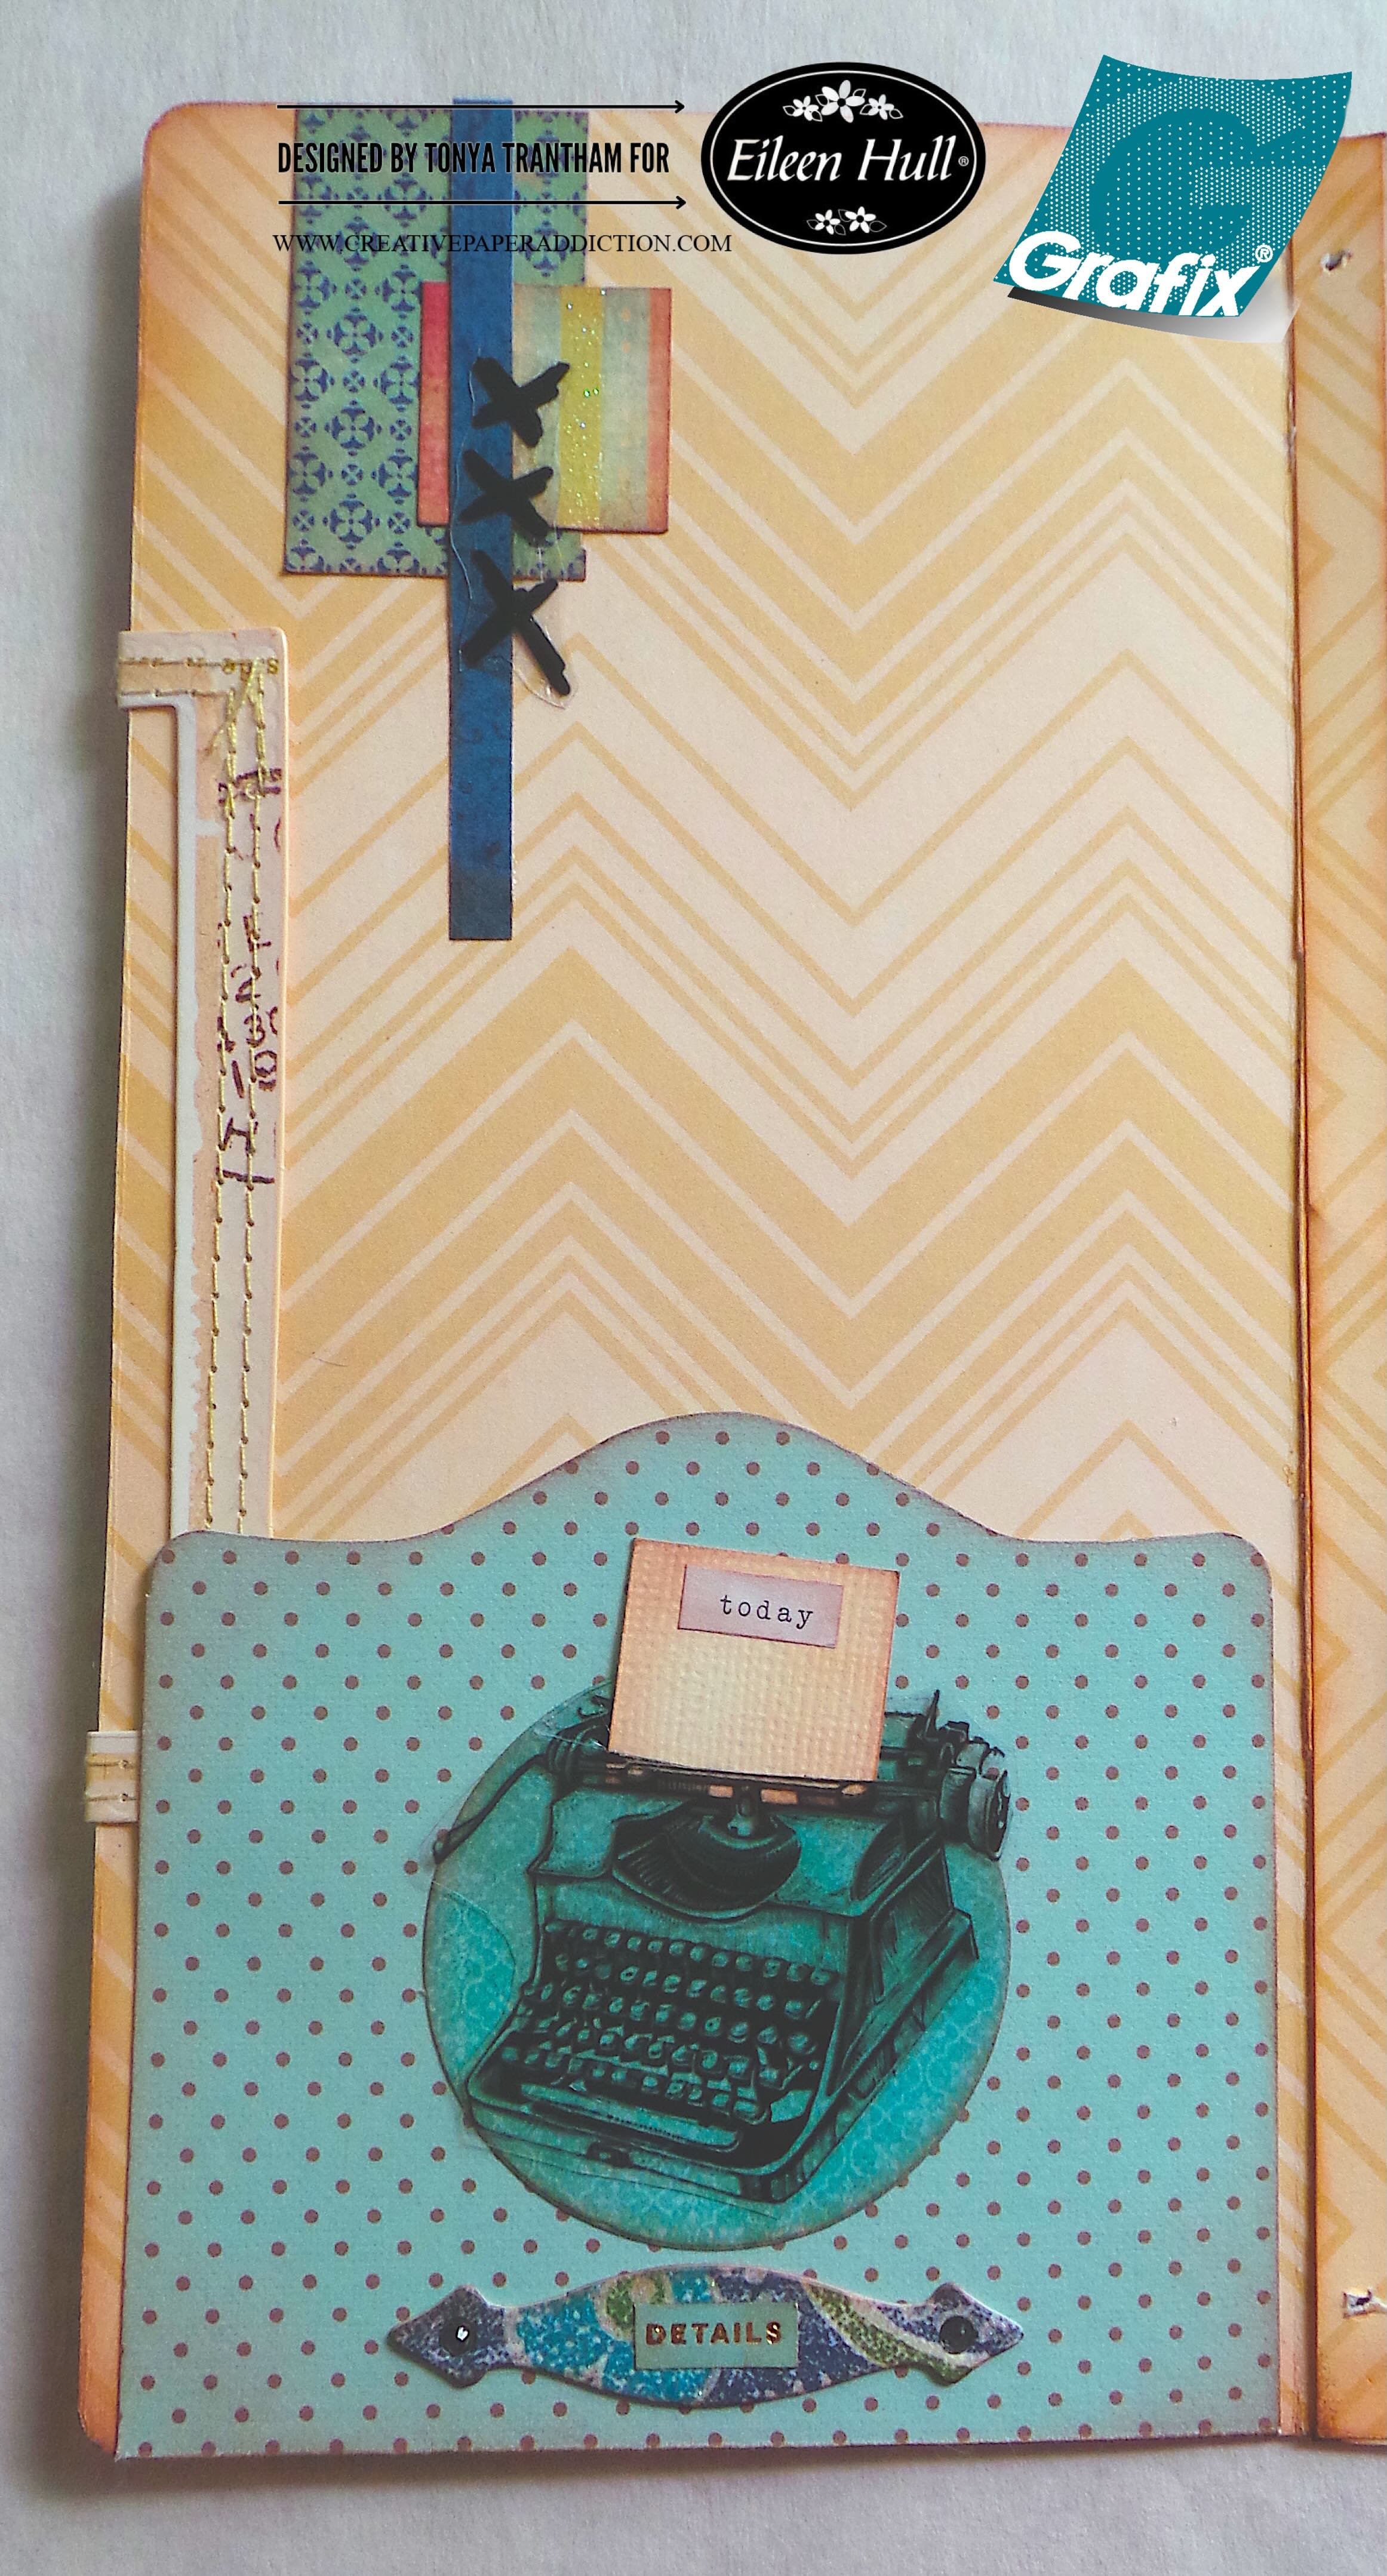
The inside front cover I cut a pocket from a portion of the Field Notes and Specimen Card Diecut. I did cut down the sides so it would fit on the inside cover of the journal. I lightly inked the edges and added glue to three sides before placing on the inside cover. I added scraps of patterned cardstock to the upper corner of the inside cover. I cut out a label from the Journal Hardware Diecut and the middle size circle from the Rainbow Wheels Thinlits. I inked the edges of both dies before adhering to the pocket.

I cut out the three stitches and the typewriter from the clear film. The typewriter I used a Knife and cut a slit in the top of it. I cut a piece of plain cardstock to fit into the slit of the typewriter. I lightly inked the edges and glued inside the slit of the typewriter. I dug into my stash of stickers and added the “today” to the paper in the typewriter and “details” to the label. I placed two Black Gems in the holes of the label.

A creative scrapbook page featuring a vintage typewriter illustration, decorated with colorful patterned paper, decorative elements, and labels for notes, against a chevron background.

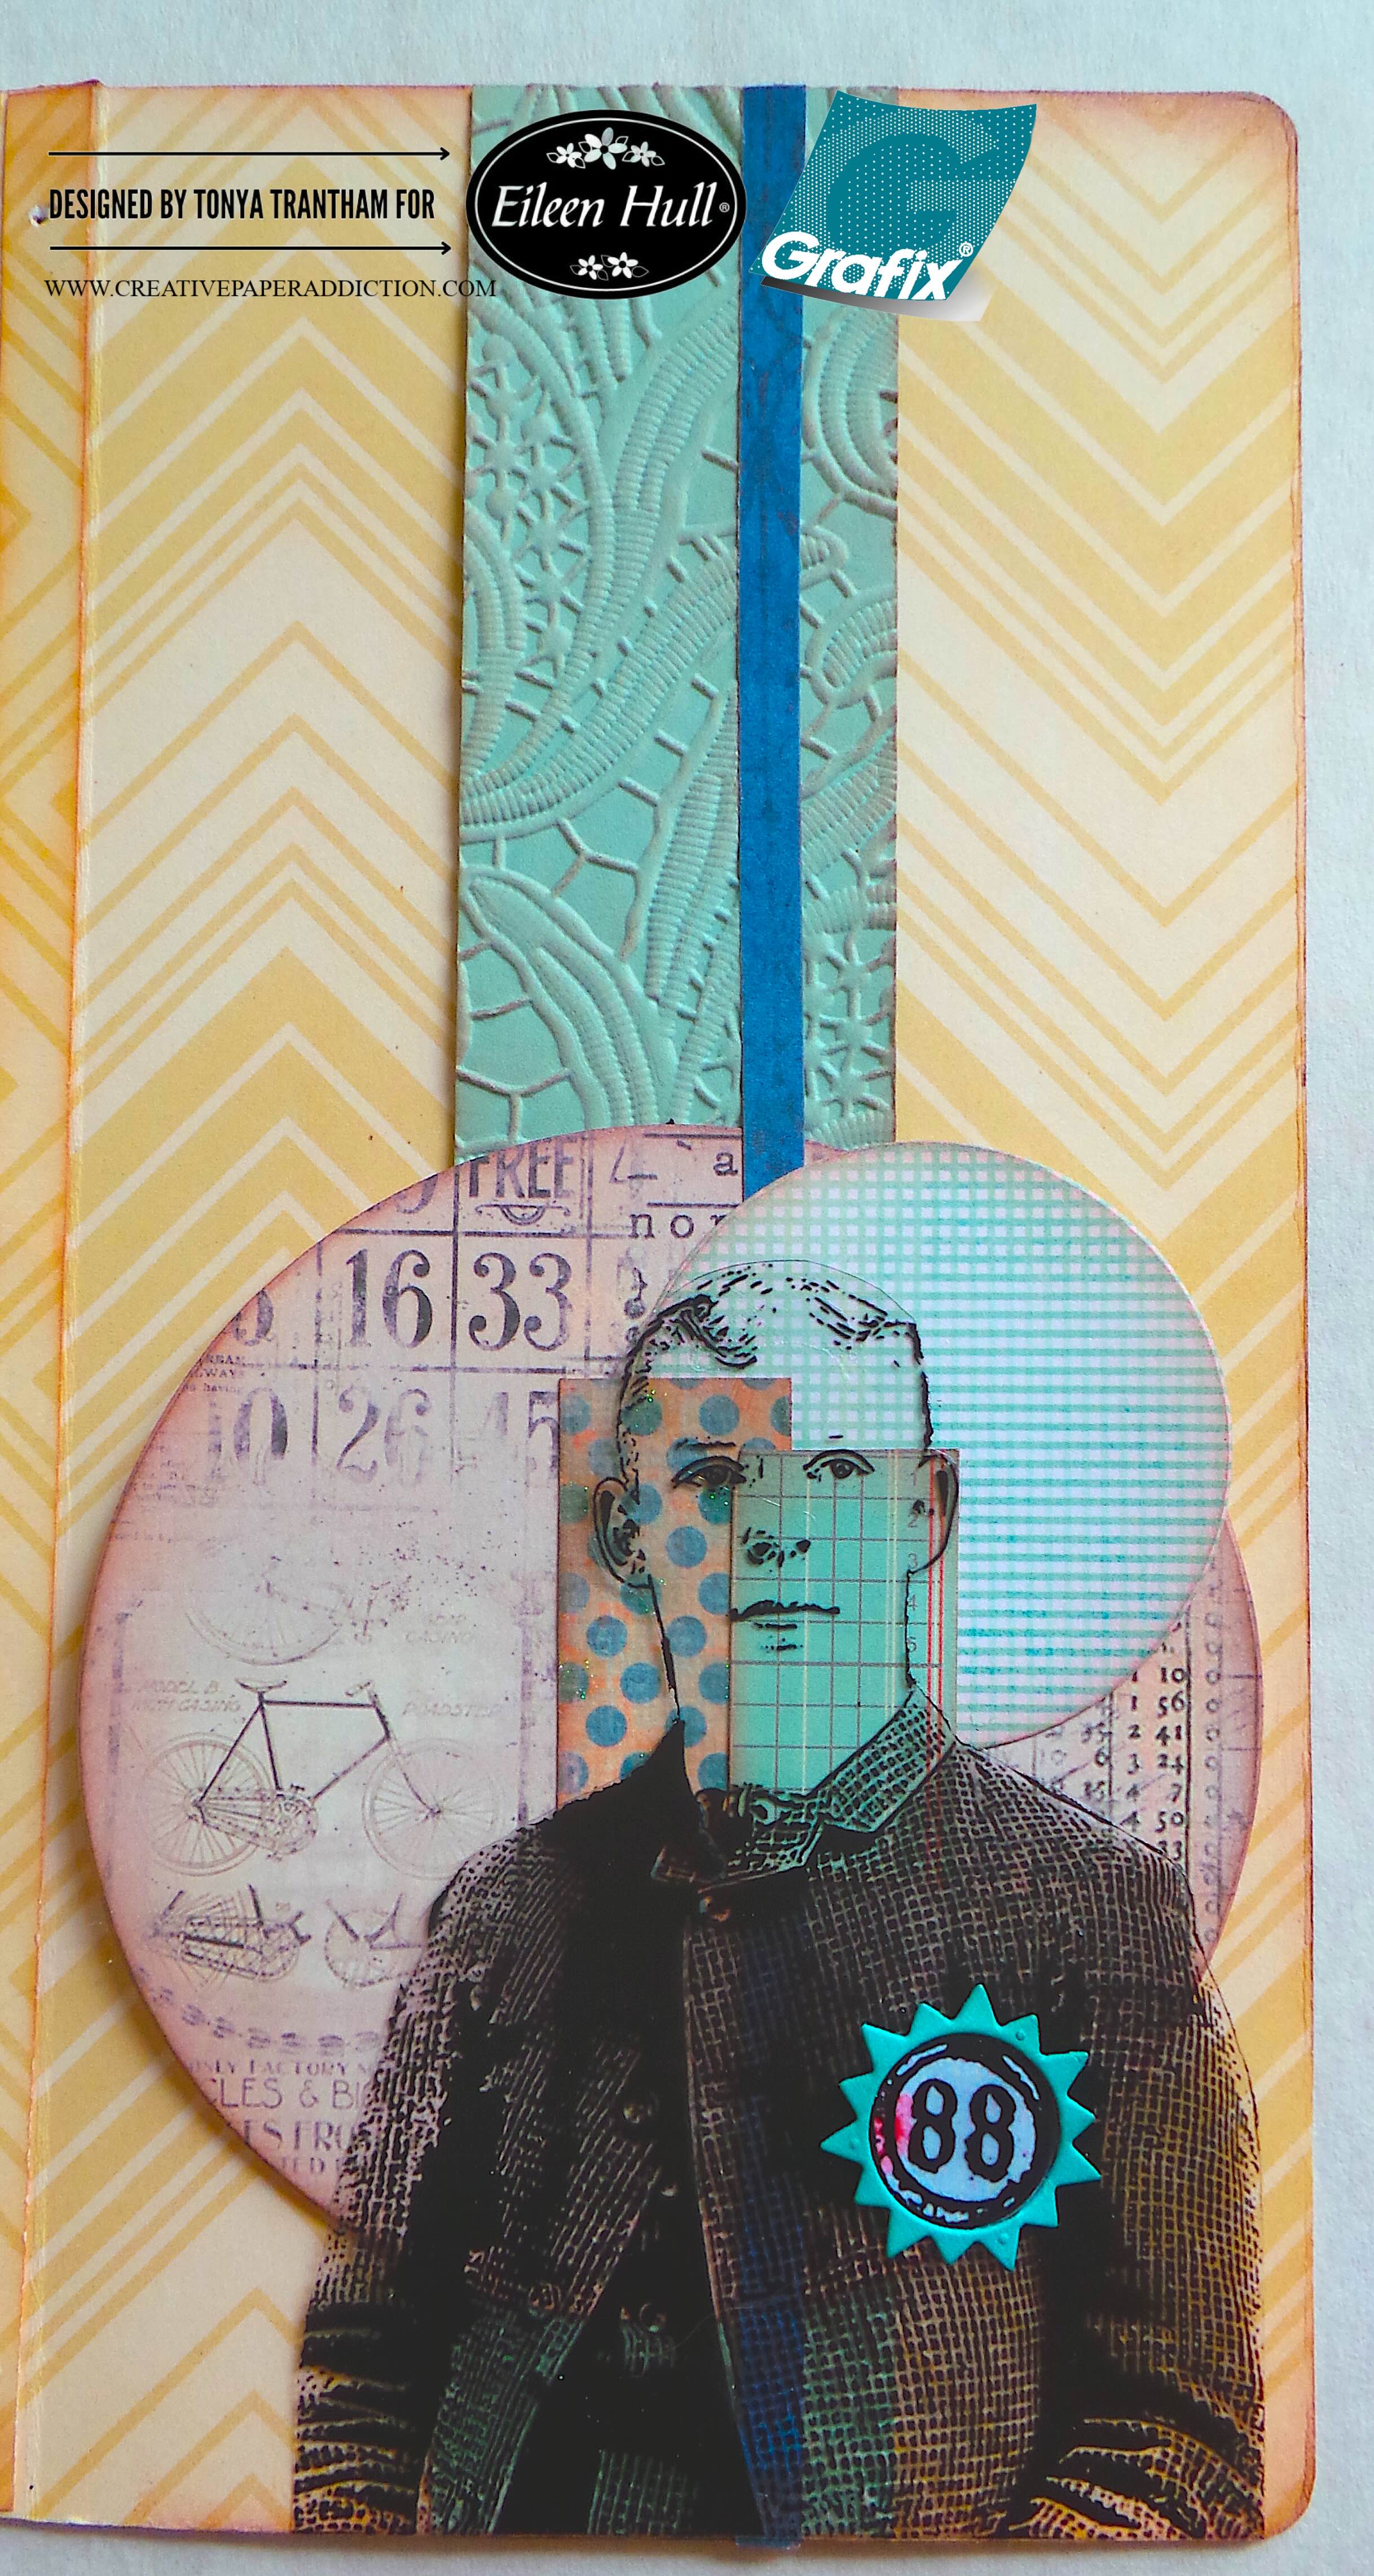
The back inside cover I embossed a piece of cardstock with the Lacy Leaves A5 Embossing Folder. I cut a strip of cardstock to fit the back of the journal and lightly inked with chalk ink. I added glue to each end of the cardstock and placed onto the inside cover. This creates a belly band to hold tags, journaling cards, etc. I cut the largest and middle size circles from the Rainbow Wheels Thinlits. I inked the edges with chalk ink along with a strip of blue cardstock and adhered onto the belly band. I added a couple scraps of patterned cardstock on top of the circles. I cut out the man from the clear film. I adhered on top of the circles. Next, I cut the sunshine from the Home Sweet Home Thinlits twice. One of each in plain and patterned cardstocks. I placed the outer part of the sunshine die over the coat pocket of man. I cut out the number “88” from the clear translucent. I glued on top of the inner circle from the sunshine and added to the center of the sunshine.

Mixed media artwork featuring a vintage-style portrait of a man against colorful patterned backgrounds, including geometric designs and an embossed texture, accented with a badge displaying the number '88'.

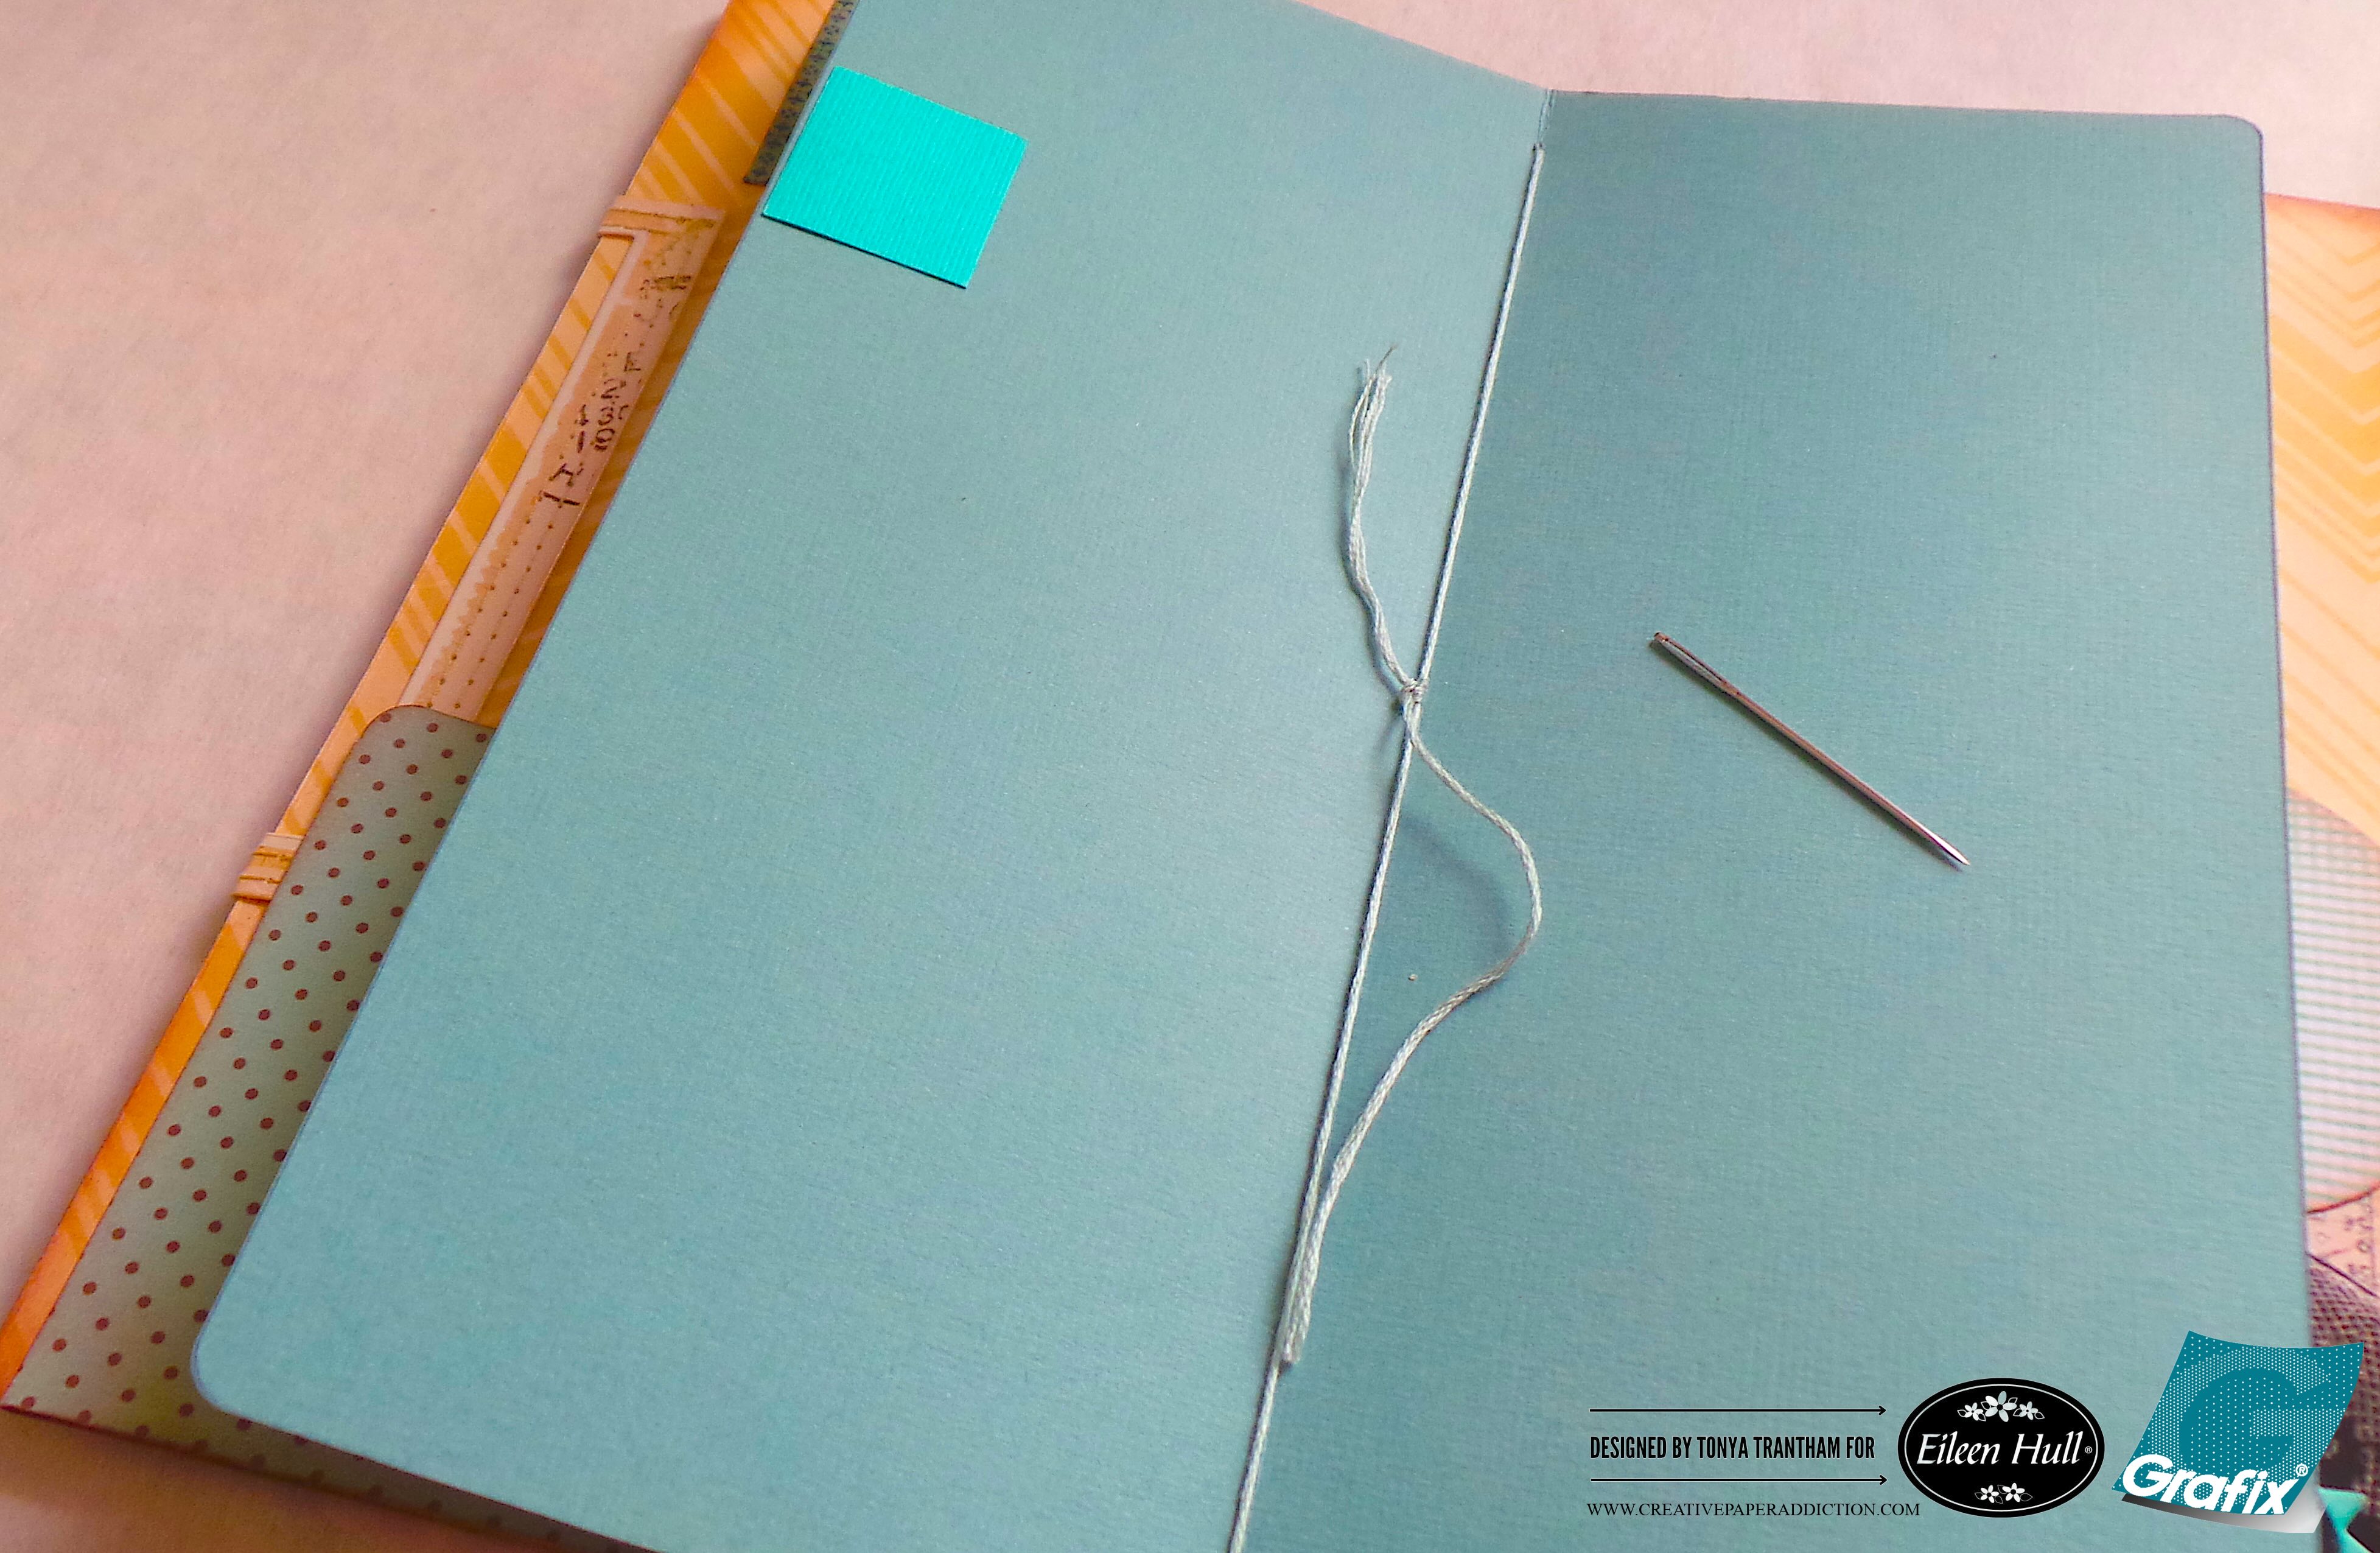
For the inside pocket I folded a piece of cardstock in half and placed below the cut lines of the spine of the Journal Diecut. I marked the holes on the inside of pocket and used the needle to poke holes in the spine. I threaded the needle with thread and stitched the pocket onto the spine of the journal. I added glue at each end to create the pocket.

An open blue folder featuring a needle and thread, with decorative patterned paper in the background.

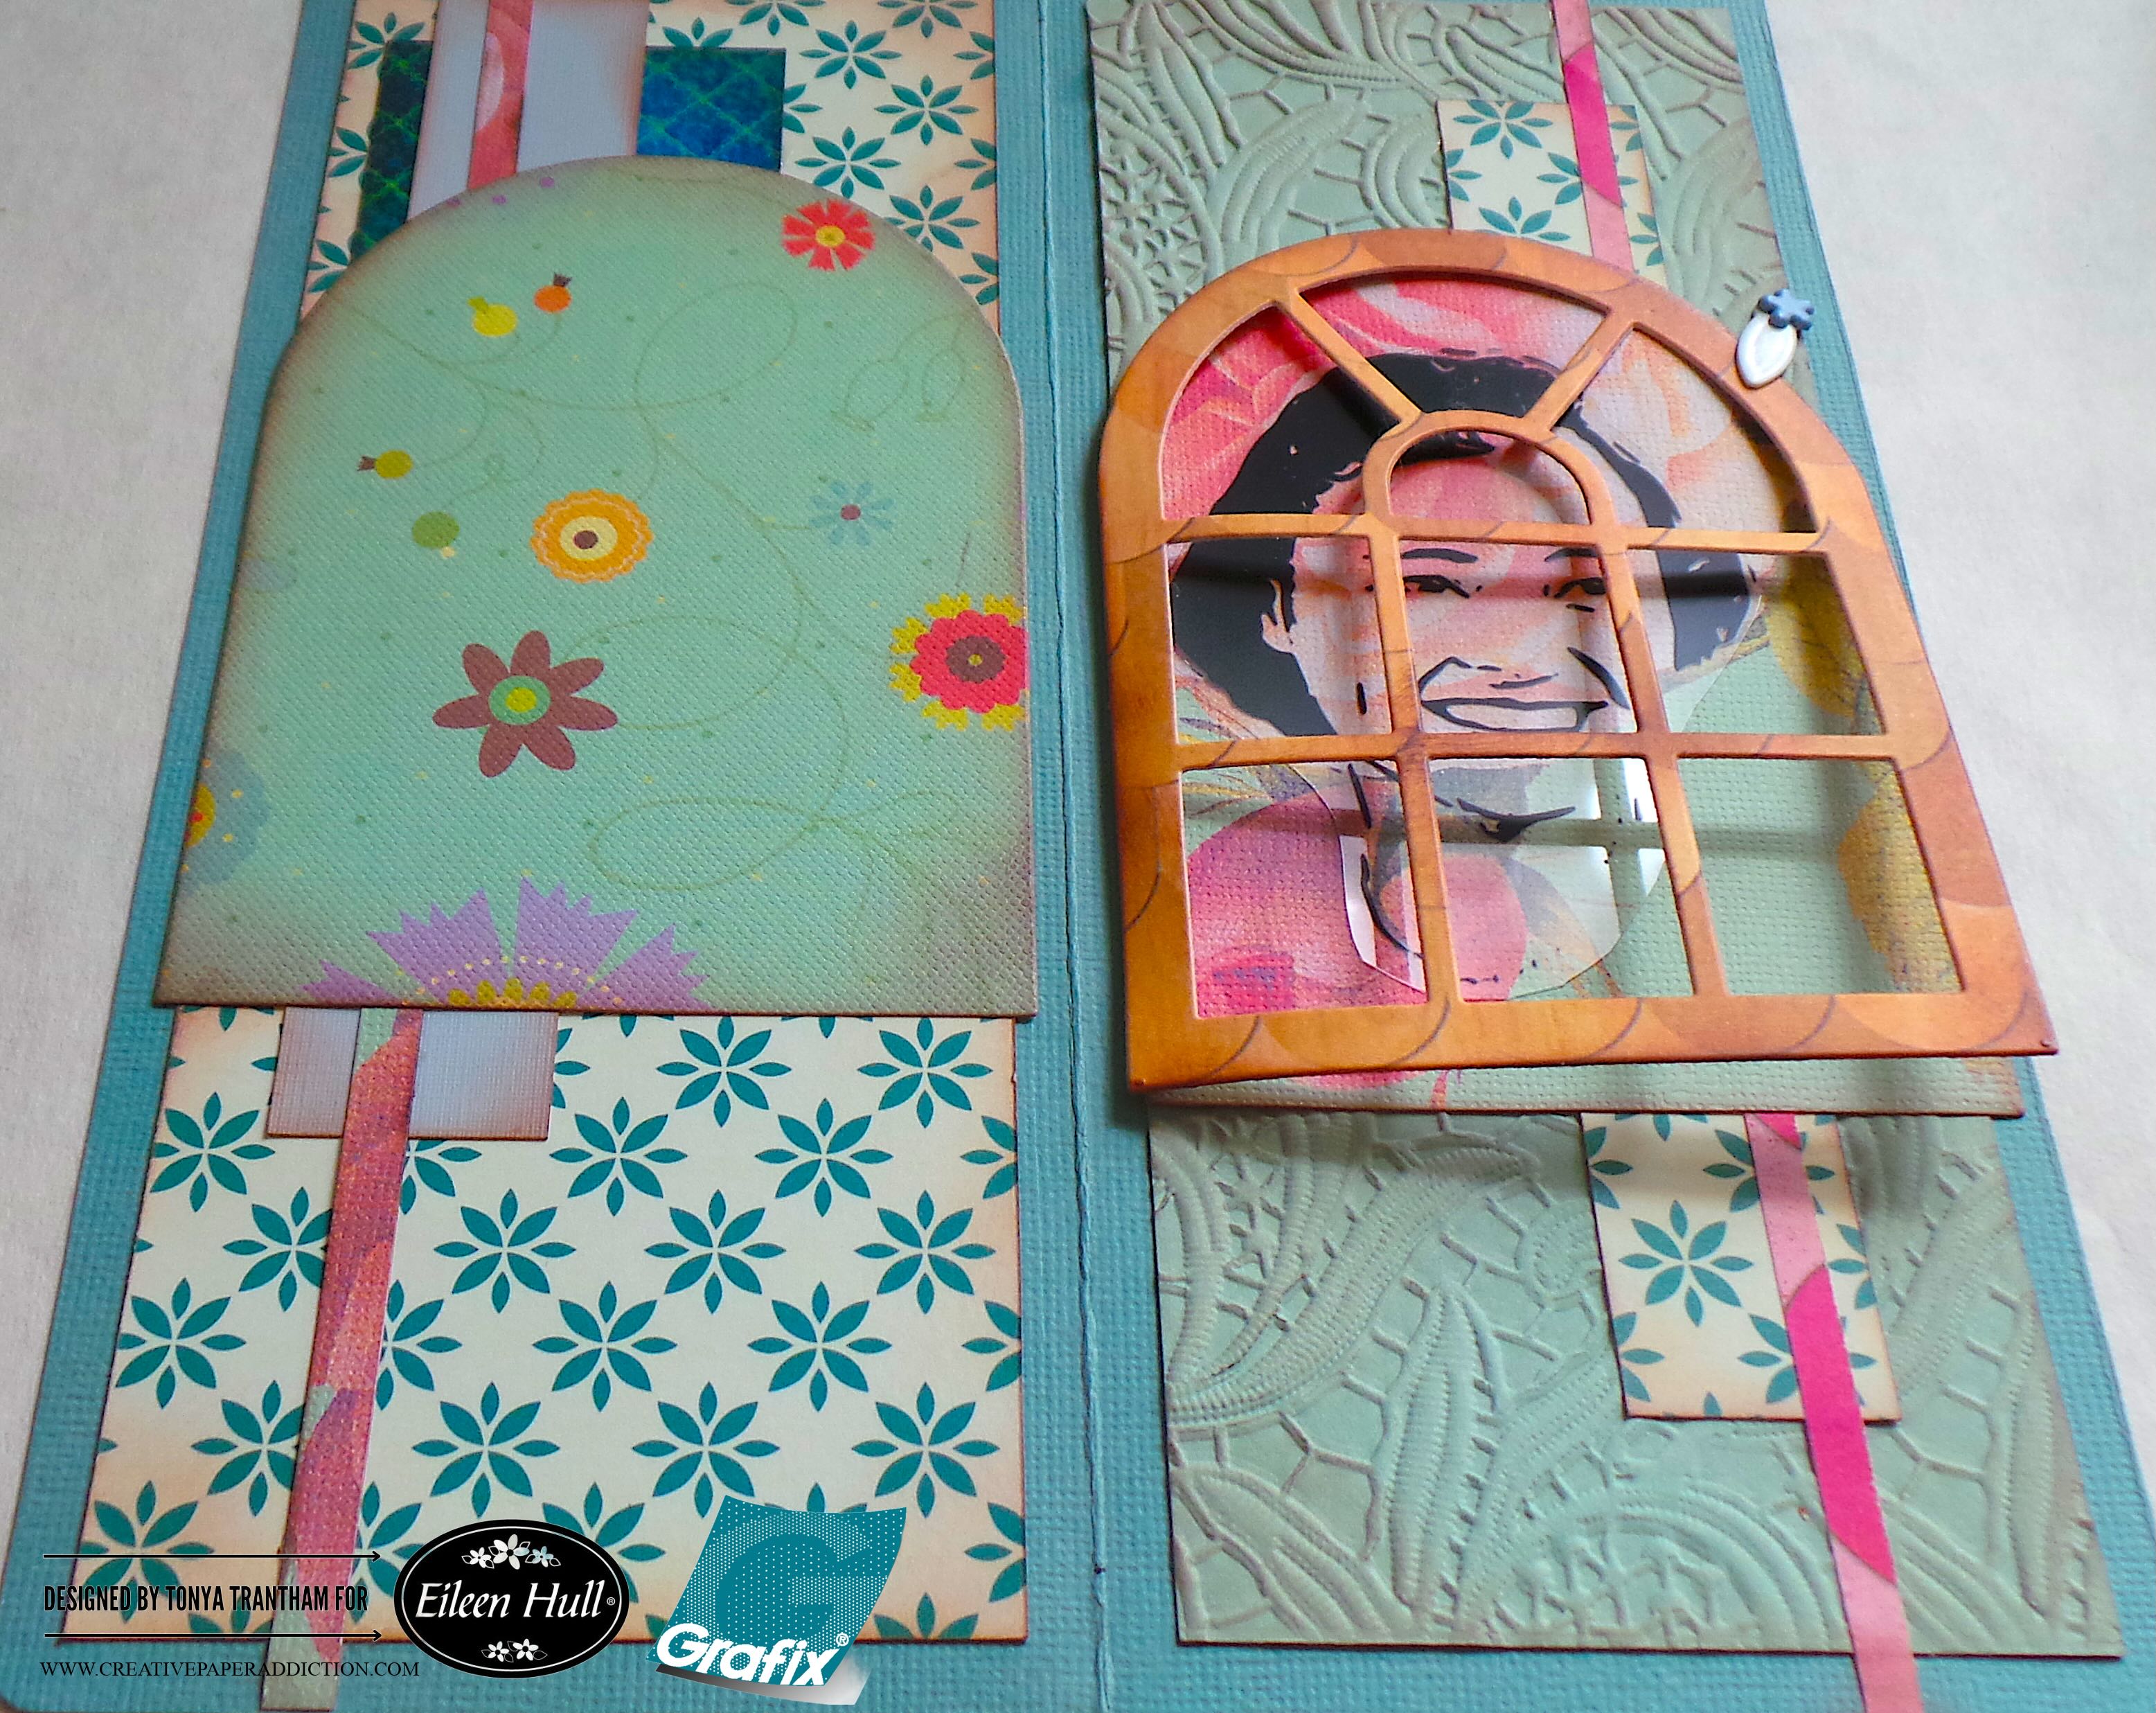
I added the extra piece of Lacy Leaves A5 Embossing Folder to the outside of the pocket along with some strips of patterned cardstock. I cut a piece of patterned cardstock slightly smaller and glued to the back side of the pocket. I also added a few strips of cardstock to the back. Next I cut out two of the largest Tunnel Arches Thinlits. I cut out the windowsill from the Windowsill Flowers and Vase Thinlits. I folded a piece of cardstock to create a hinge.

A colorful paper craft composition featuring a green decorative panel with floral designs on the left and an artistic window frame revealing a portrait underneath on the right. The background has a textured turquoise finish with patterned papers.

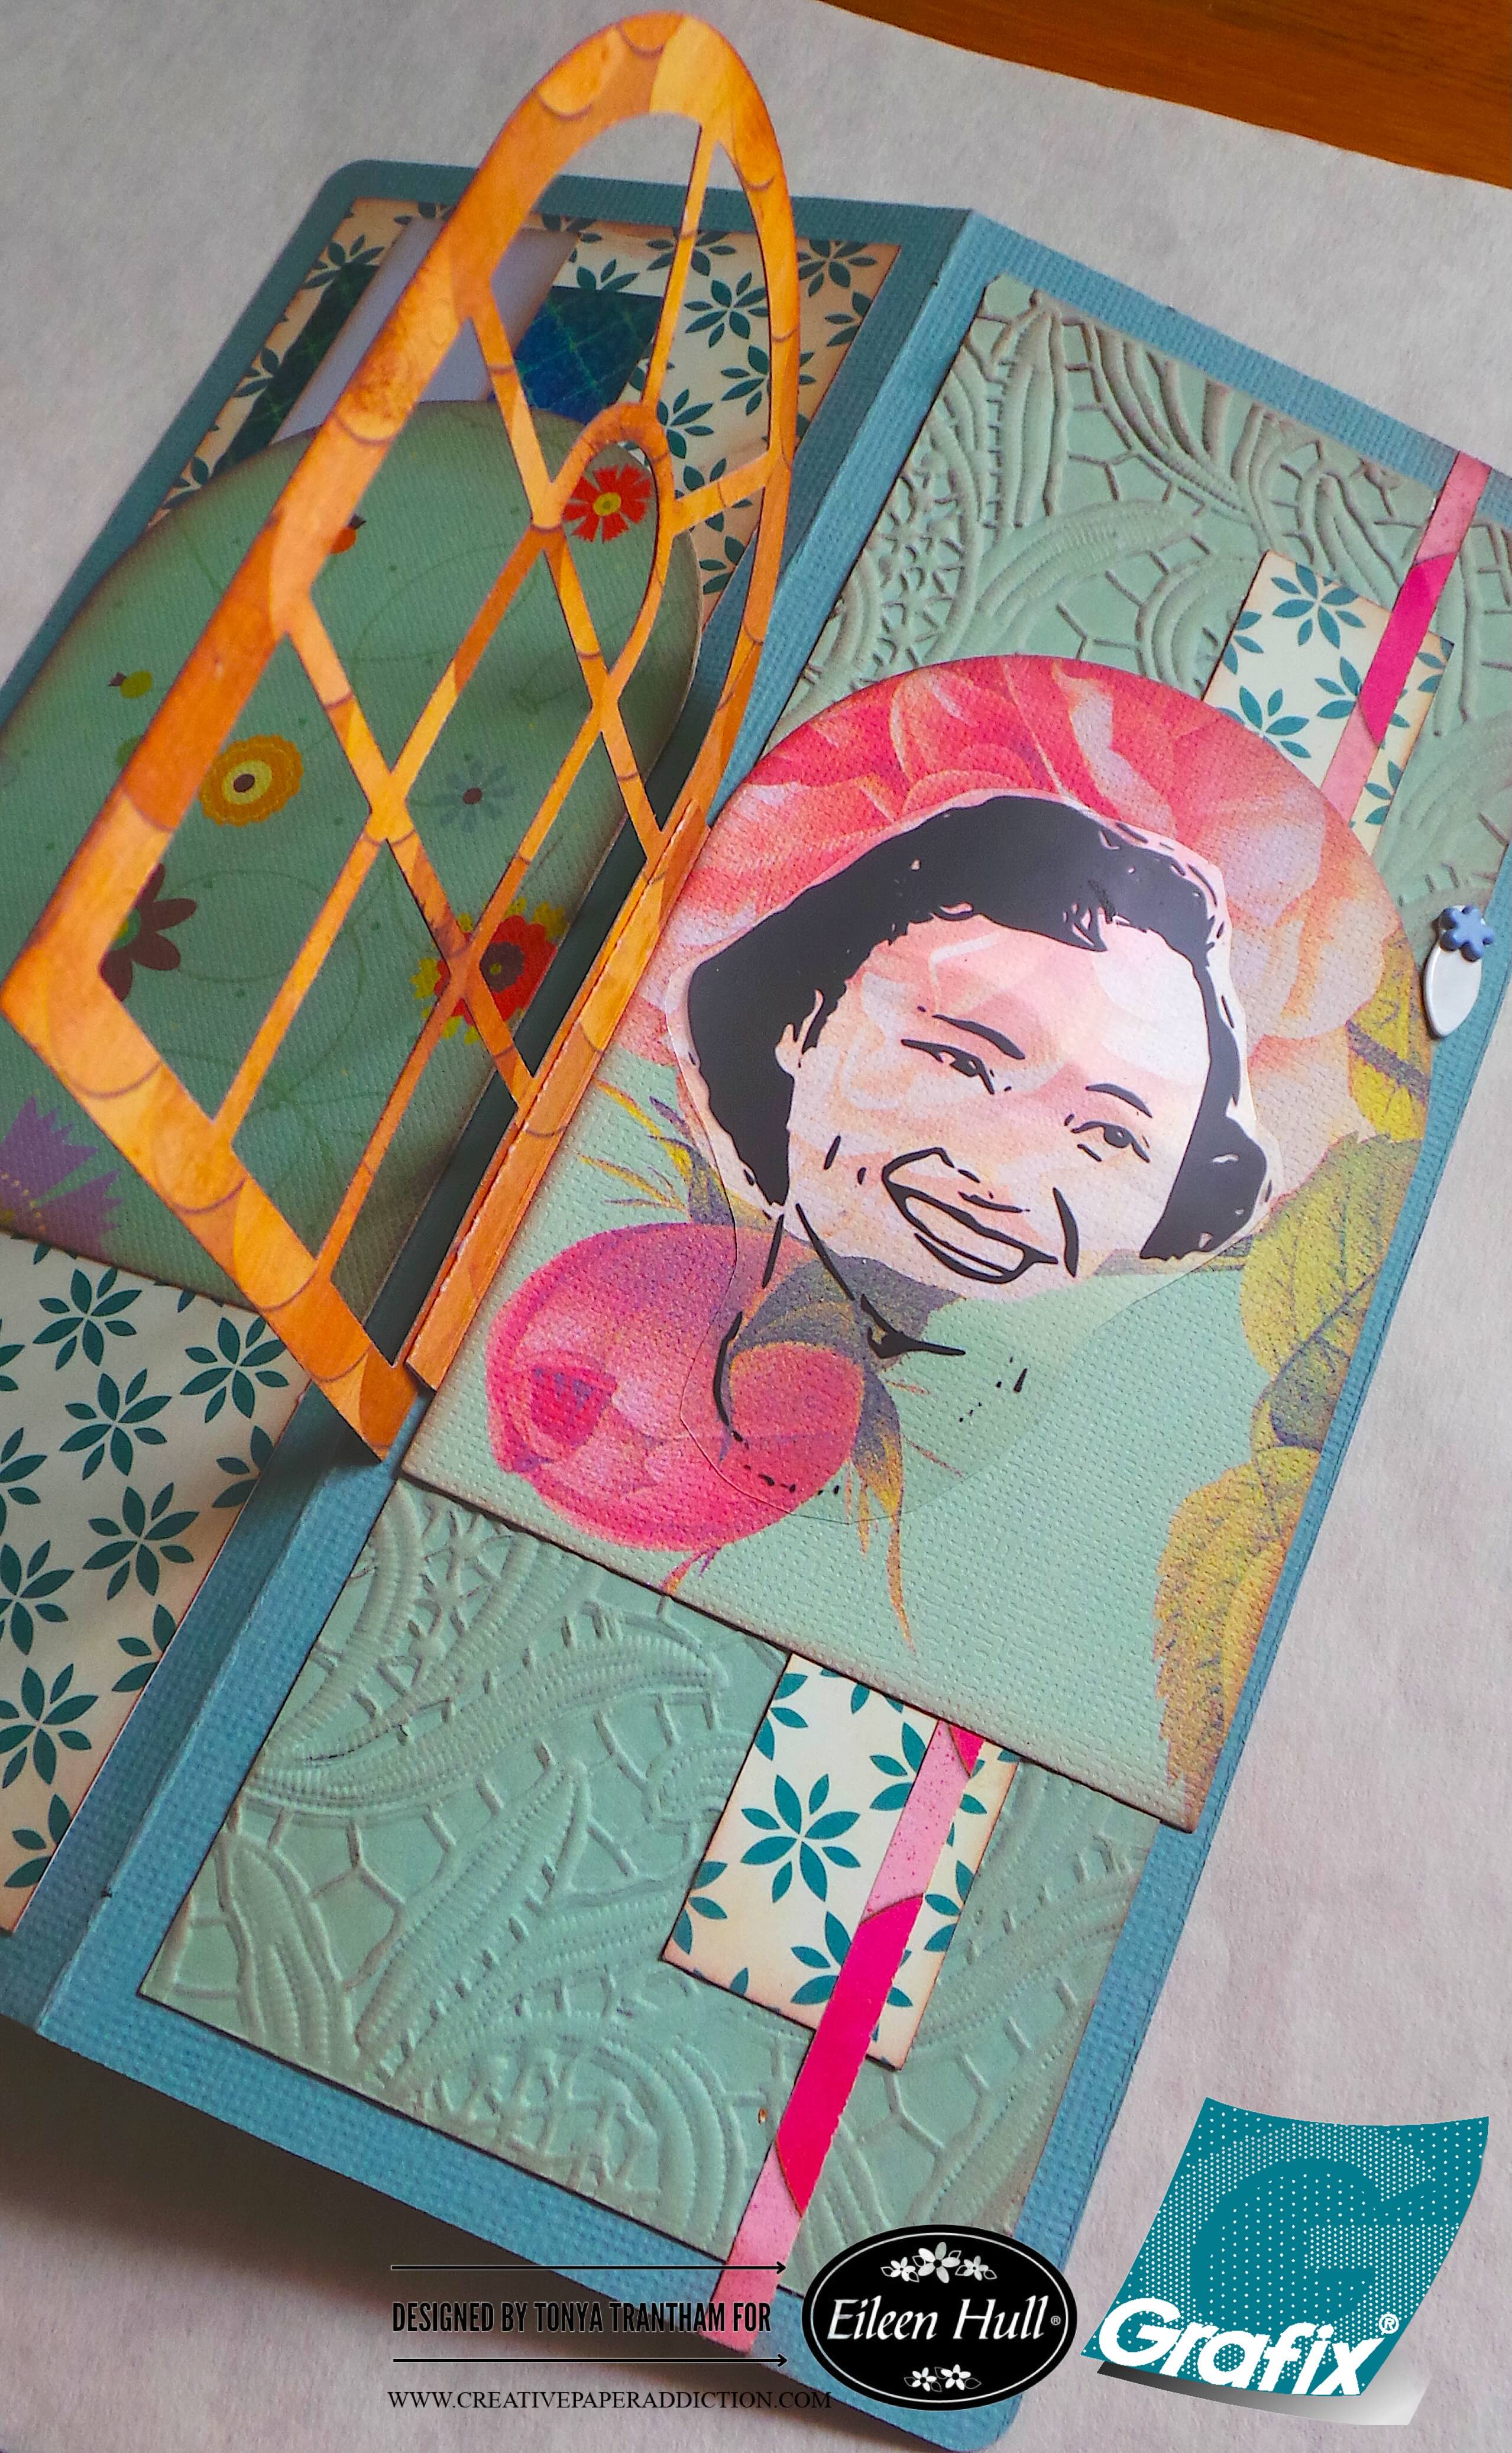
I adhered to the windowsill and the back of the tunnel arch. I glued to the pocket. I cut out the clear film of the woman and adhered to the tunnel arch. Next I punched a hole next to the tunnel arch and attached a closure with a flower brad.

An open scrapbook featuring colorful patterned papers, a decorative die-cut window, and an artistic portrait of a woman surrounded by floral designs.

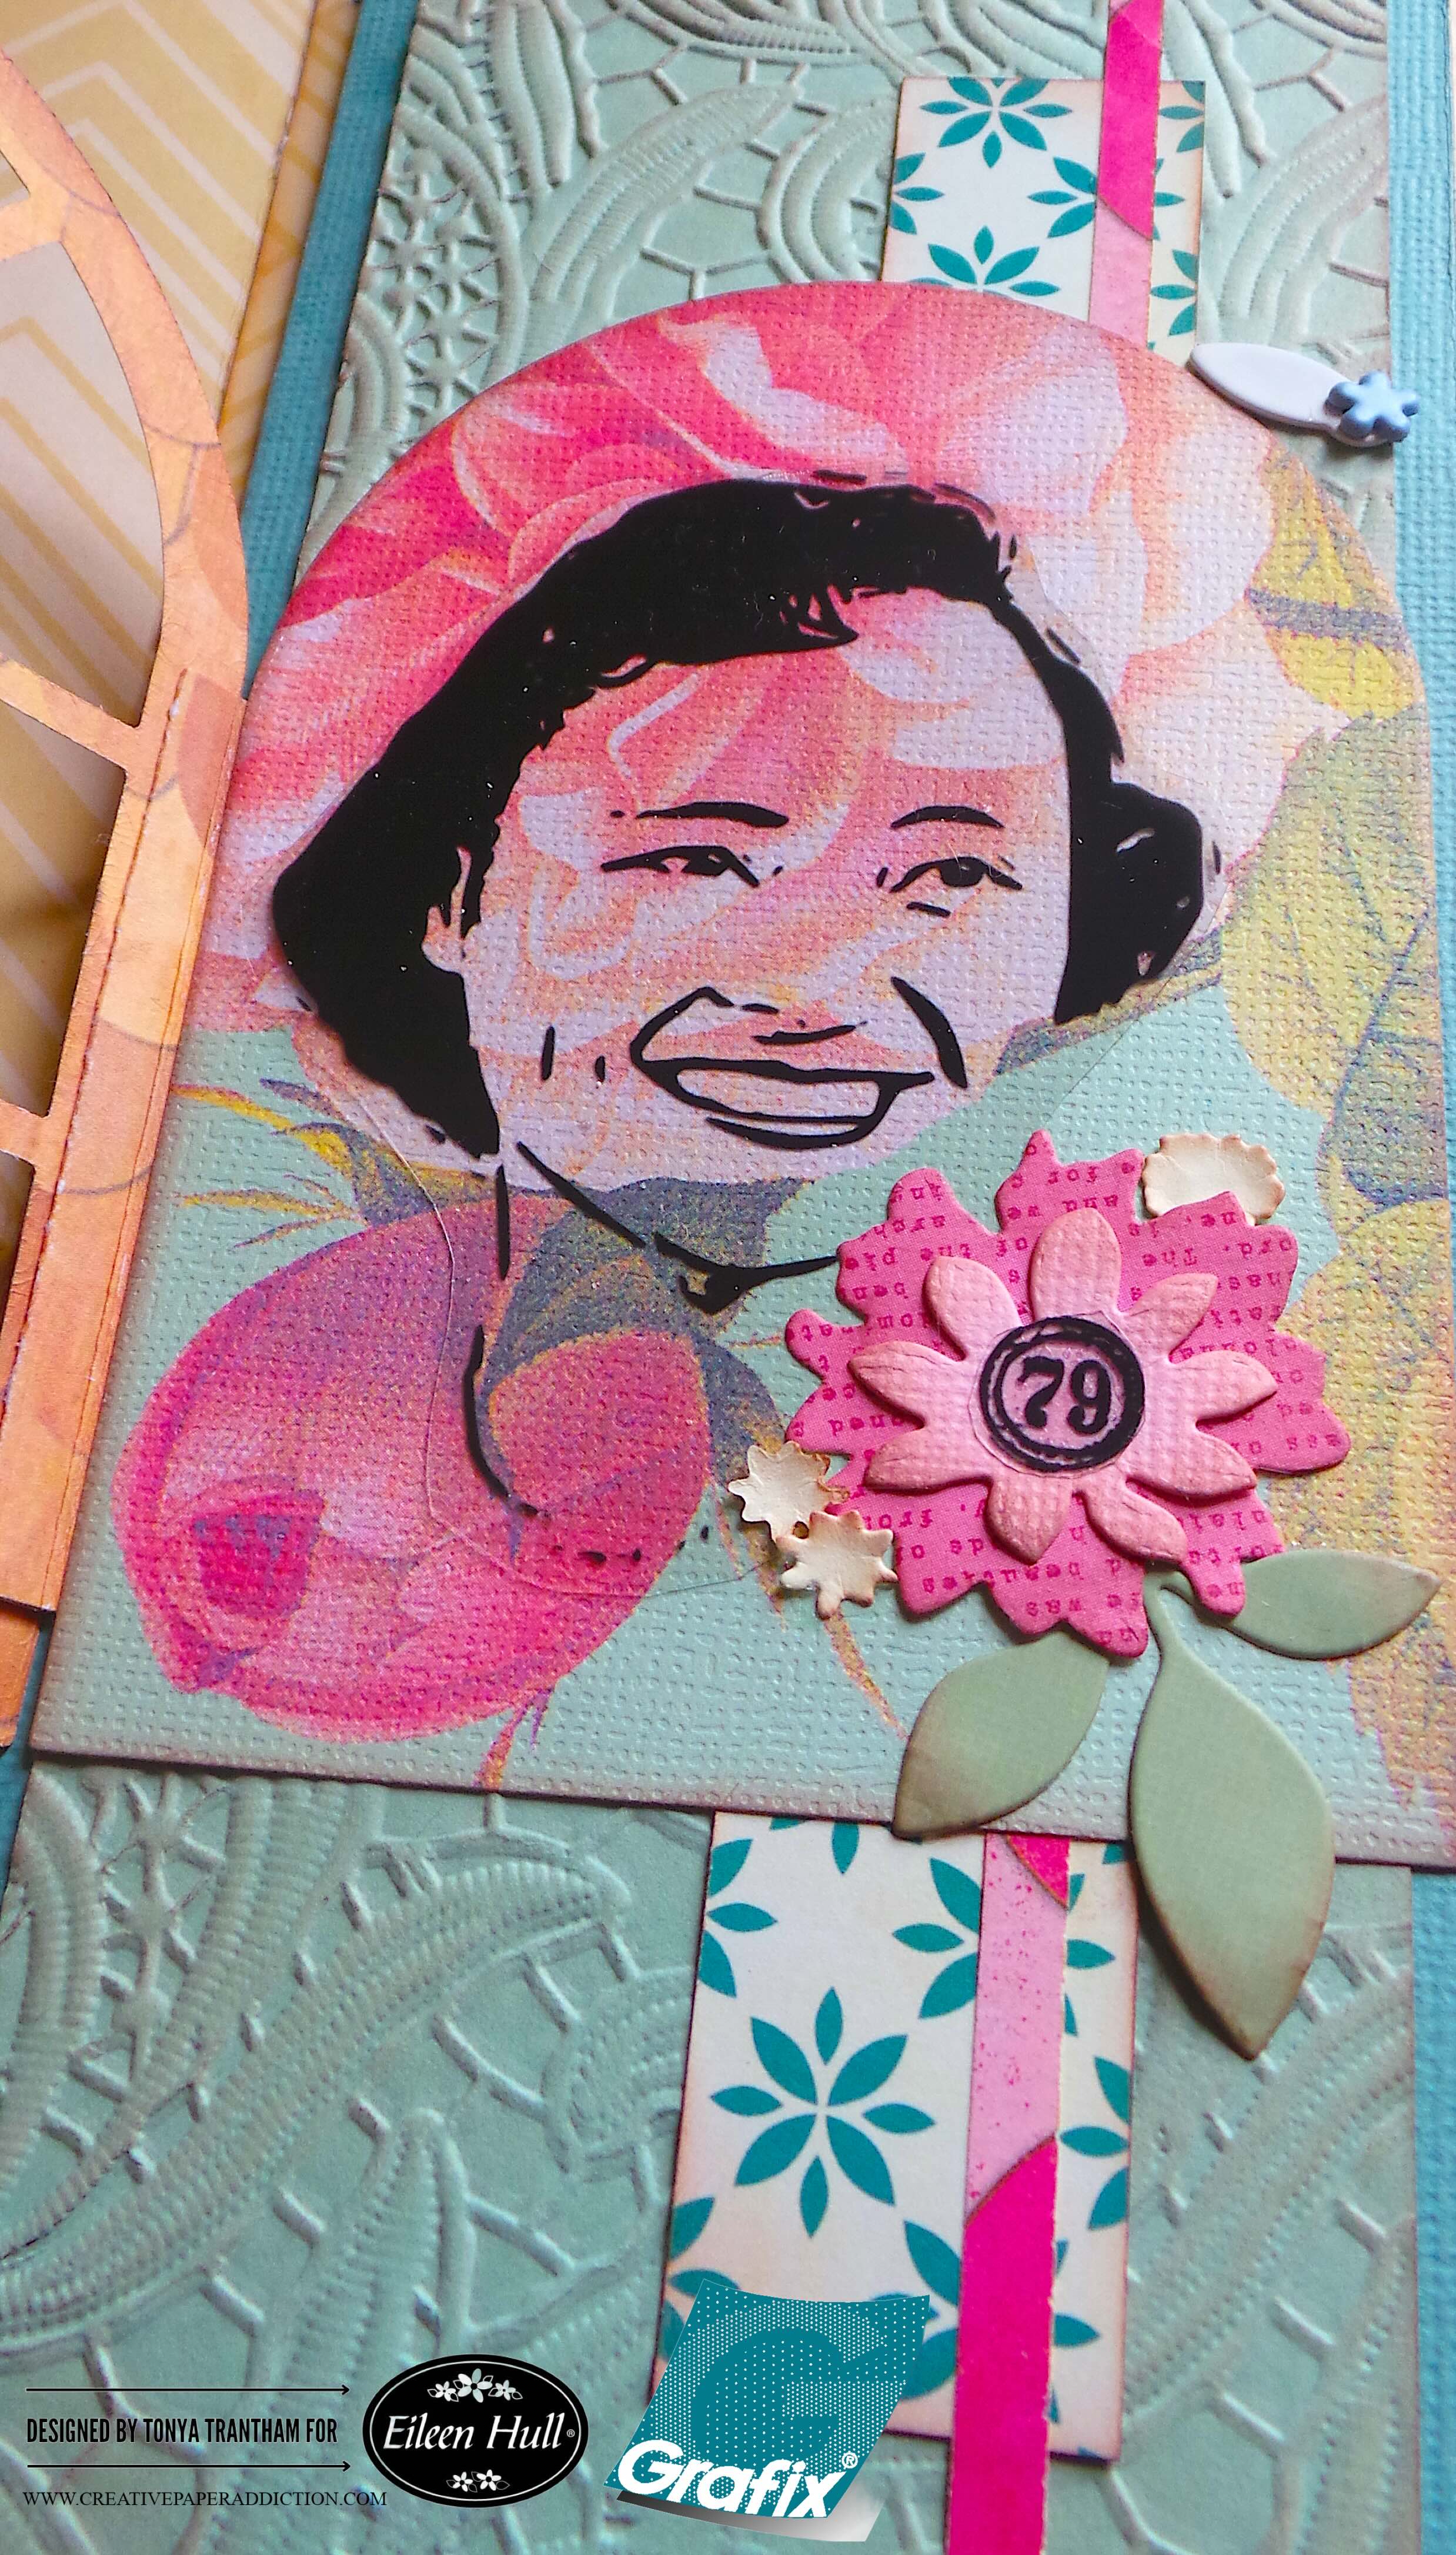
I cut out the following dies: Floral Pocket and Paperclips Thinlits, two of the largest flowers and a leaf sprig. Windowsill Flowers and Vase Thinlits, two large flowers and five of the smaller flowers. Home Sweet Home Thinlits, three leaf sprigs. I used one of the largest flower, one large flower, three of the small flowers and a leaf sprig and placed next to the woman and bottom corner. I cut the number “79” from the clear film and added to the center of the flower.

A colorful mixed media artwork featuring a portrait of a smiling woman, surrounded by floral elements and various textured backgrounds. The composition includes paper cutouts and embellishments like flowers and leaves, adding depth and visual interest.

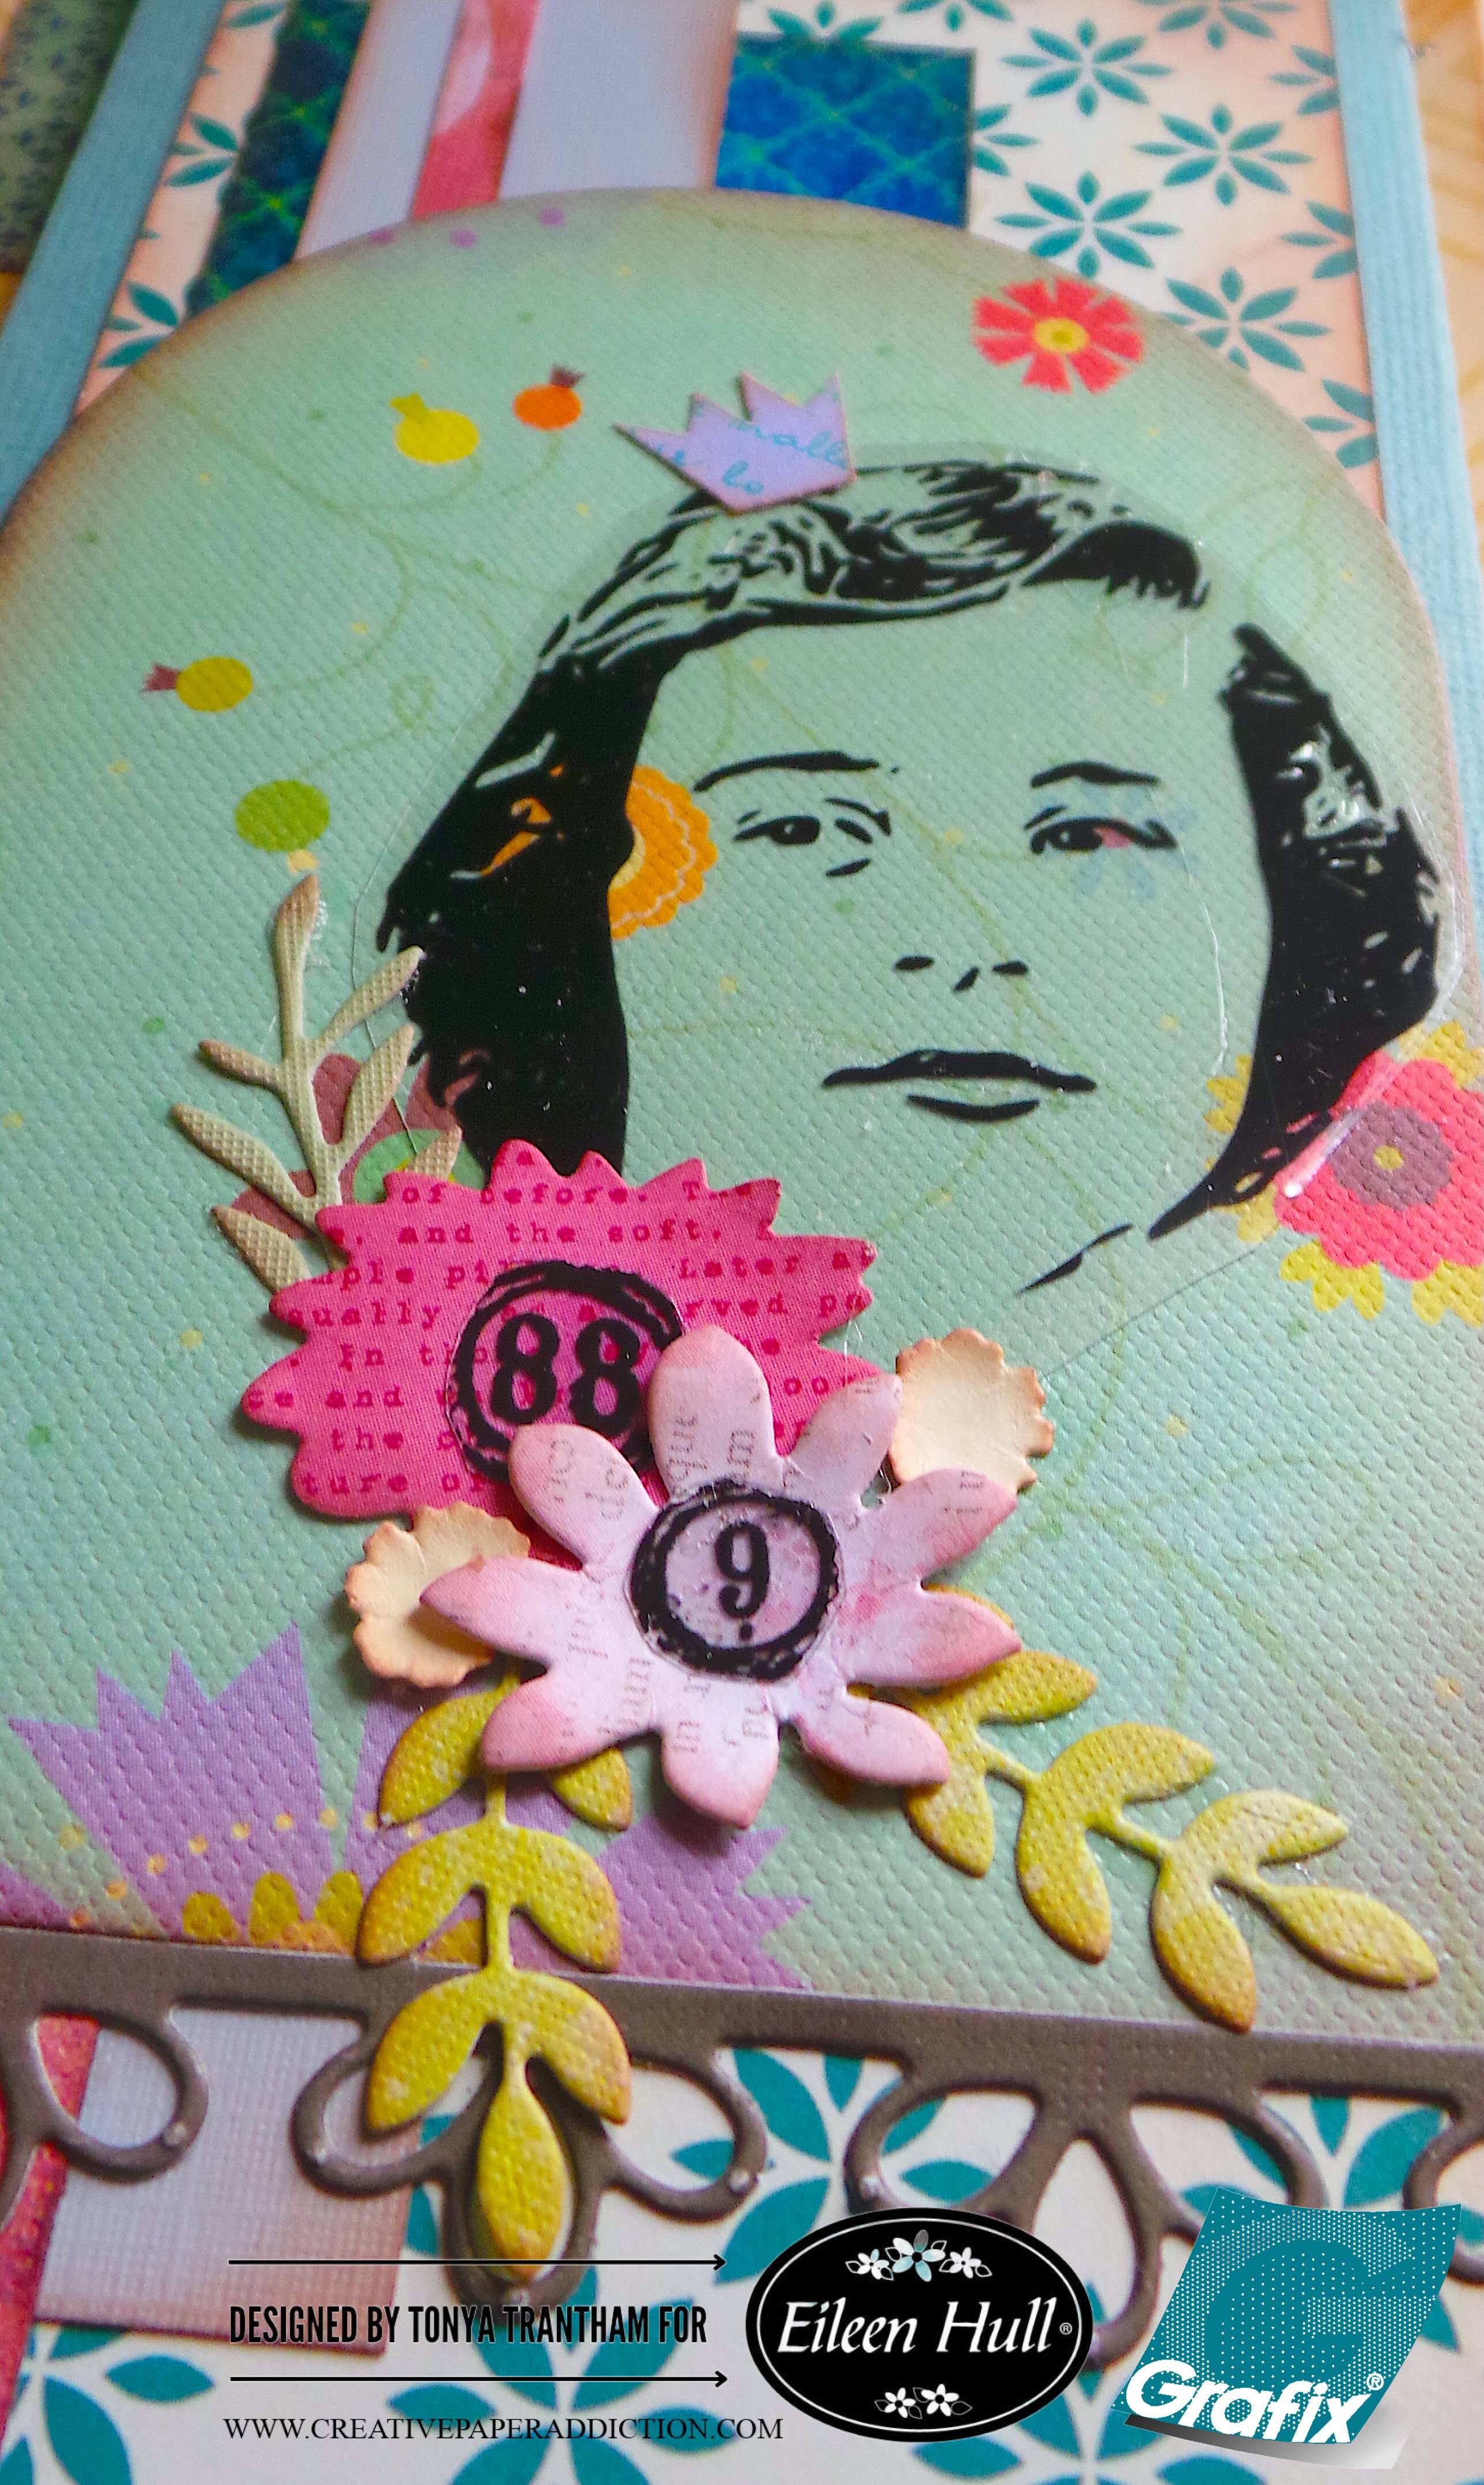
I adhered the largest tunnel arch to the back of the pocket. I added the decorative trim from the Windowsill Flowers and Vase Thinlits to the bottom of the tunnel arch. I cut out the other woman from the clear film and glued to the tunnel arch. From my stash of embellishments I added a crown to the woman’s head. I adhered the largest, large, two small flowers along with three leaf sprigs next to the woman’s face. I cut a number “9” and a number “88” from the clear film and glued to the center of the flowers.

Close-up of a mixed media art piece featuring a stylized portrait of a woman with a crown, surrounded by colorful flowers, numbers, and decorative elements.

I absolutely love these images from Grafix! They are fun to work with and really dress up any type of project. I will be share a part two blog post later this week/early next week using the Grafix film along with Eileen Hull’s dies. So be sure to keep an eye out for that post.

If you haven’t been by Eileen’s blog to see what the team has been up to you can find the latest post HERE. If you have any questions or comments about this project please leave them below.

A mixed media artistic creation featuring a vintage-style illustration of a man with a colorful butterfly overlay on his face. The background includes patterned papers in various colors and textures, adorned with decorative buttons and ribbons.

Supplies

Sizzix/Eileen Hull: Journal Diecut

Sizzix/Eileen Hull: Field Notes and Specimen Card Diecut

Sizzix/Eileen Hull: Journal Hardware Diecut

Sizzix/Eileen Hull: Rainbow Wheels Thinlits

Sizzix/Eileen Hull: Home Sweet Home Thinlits

Sizzix/Eileen Hull: Lacy Leaves A5 Embossing Folder

Sizzix/Eileen Hull: Tunnel Arches Thinlits

Sizzix/Eileen Hull: Floral Pocket and Paperclips Thinlits

Sizzix/Eileen Hull: Windowsill Flowers and Vase Thinlits

Grafix: Grungy Vibe by Cat Kerr

Chipboard

Adhesive Sheets

Diecut Machine

Brown Chalk Ink

Paper Cutter

Scissors

Knife

Black Gems

Needle and Thread

Crop-A-Dile

Closure and Flower Brad

Plain and Patterned Cardstocks

Ric Rac and Buttons

Beacon Adhesives: Zip Dry Adhesive

(Products listed above are Affiliated Links for your convenience)

DISCLAIMERS

This blog is compensated to provide opinion on products, services, websites, and various other topics. Even though the owner(s) of this blog receives compensation for our posts or advertisements. I always give my honest opinions, findings, beliefs, or experiences on those topics or products. The views and opinions expressed on this blog are purely my own. Any product claim, statistic, or quote should be checked with each manufacturer. Verify other representations about a product or service with the provider or party in question.This blog contains affiliate linksClicking these links helps to support Tonya Trantham Designs – Creative Paper Addiction. It’s at no additional cost to you. Today’s features are Sizzix, Eileen and Grafix Products. 

A colorful mixed media artwork featuring a black and white portrait of a man with a butterfly overlay on his face. The background includes patterned paper in various colors like blue, pink, and yellow, with decorative elements like buttons and ribbons.

Thanks for stopping by, I hope your Tuesday is wonderful and enjoy creating!

A decorative design featuring a bird perched among colorful flowers, with the name 'Tonya' elegantly displayed in script.

Join the Eileen Hull Dies Card Bonanza Fun

Hi everyone! I hope everyone had a great holiday. I took time to enjoy family and I wound up with a nasty cold that took awhile to get over. But I’m back with my first Eileen Hull project of the month and the theme is Card Bonanza. I used an assortment of dies, stamp set and an embossing folder to come up with this uplifting card. Let’s get started!

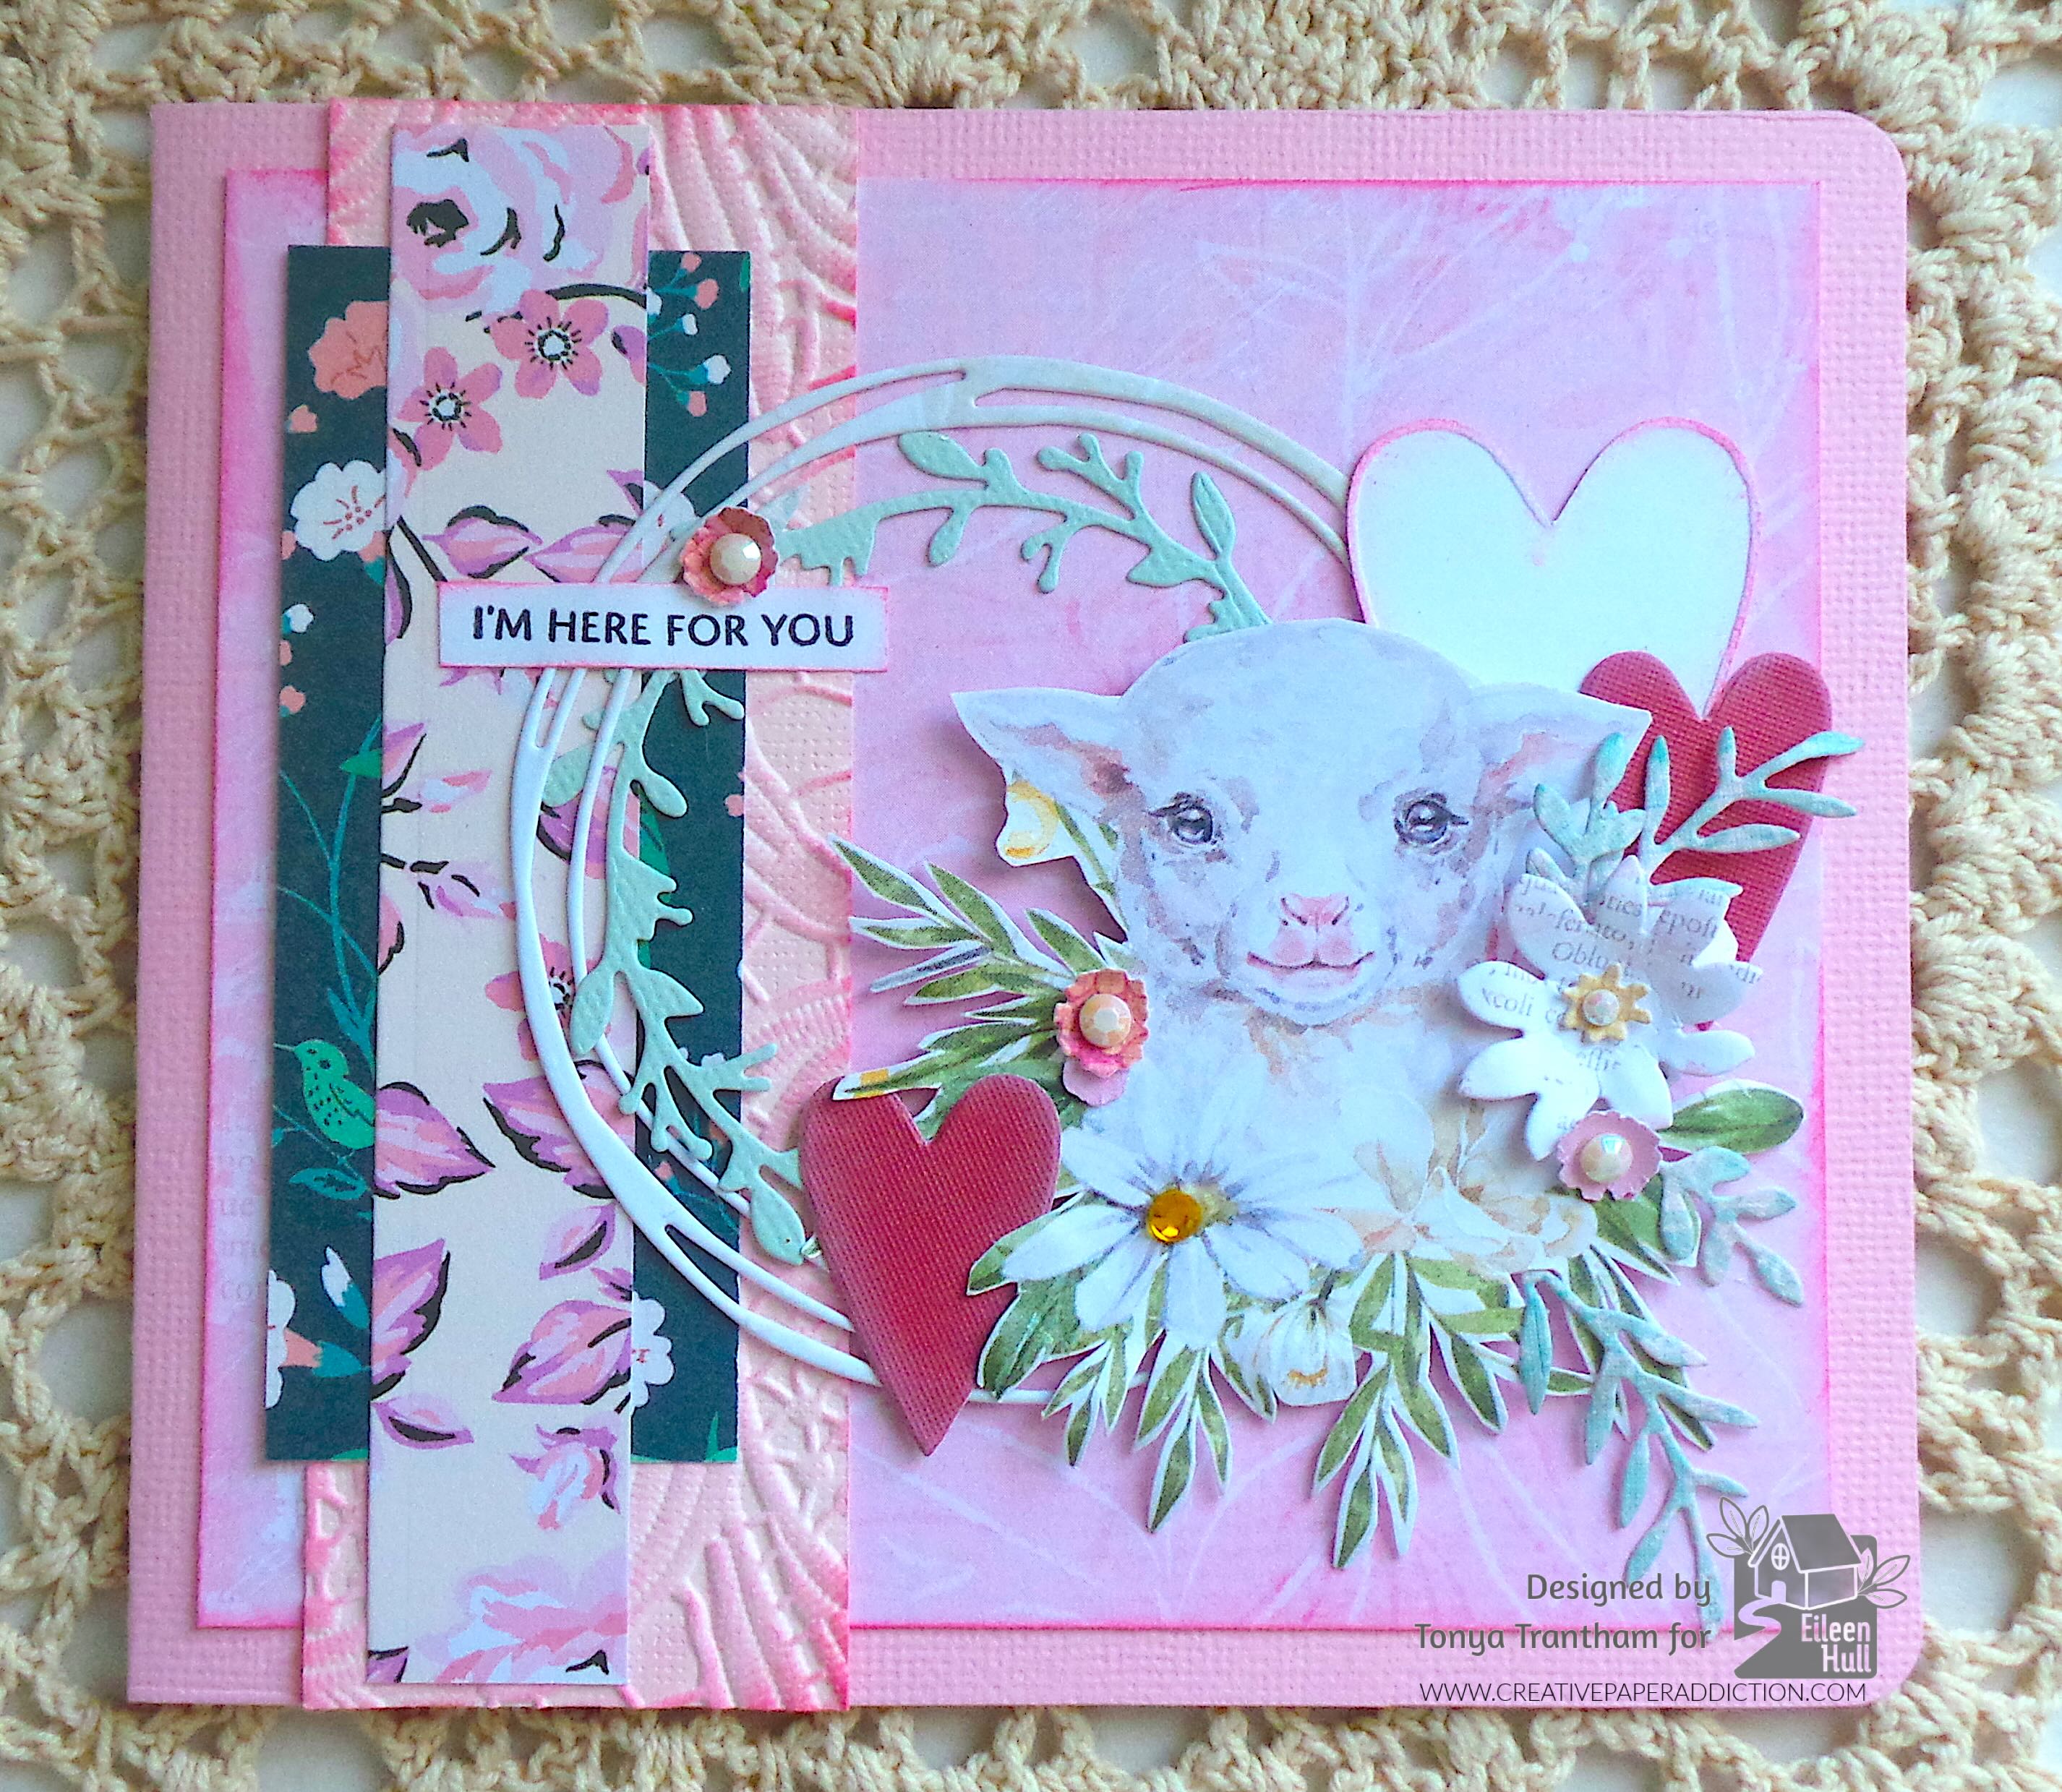
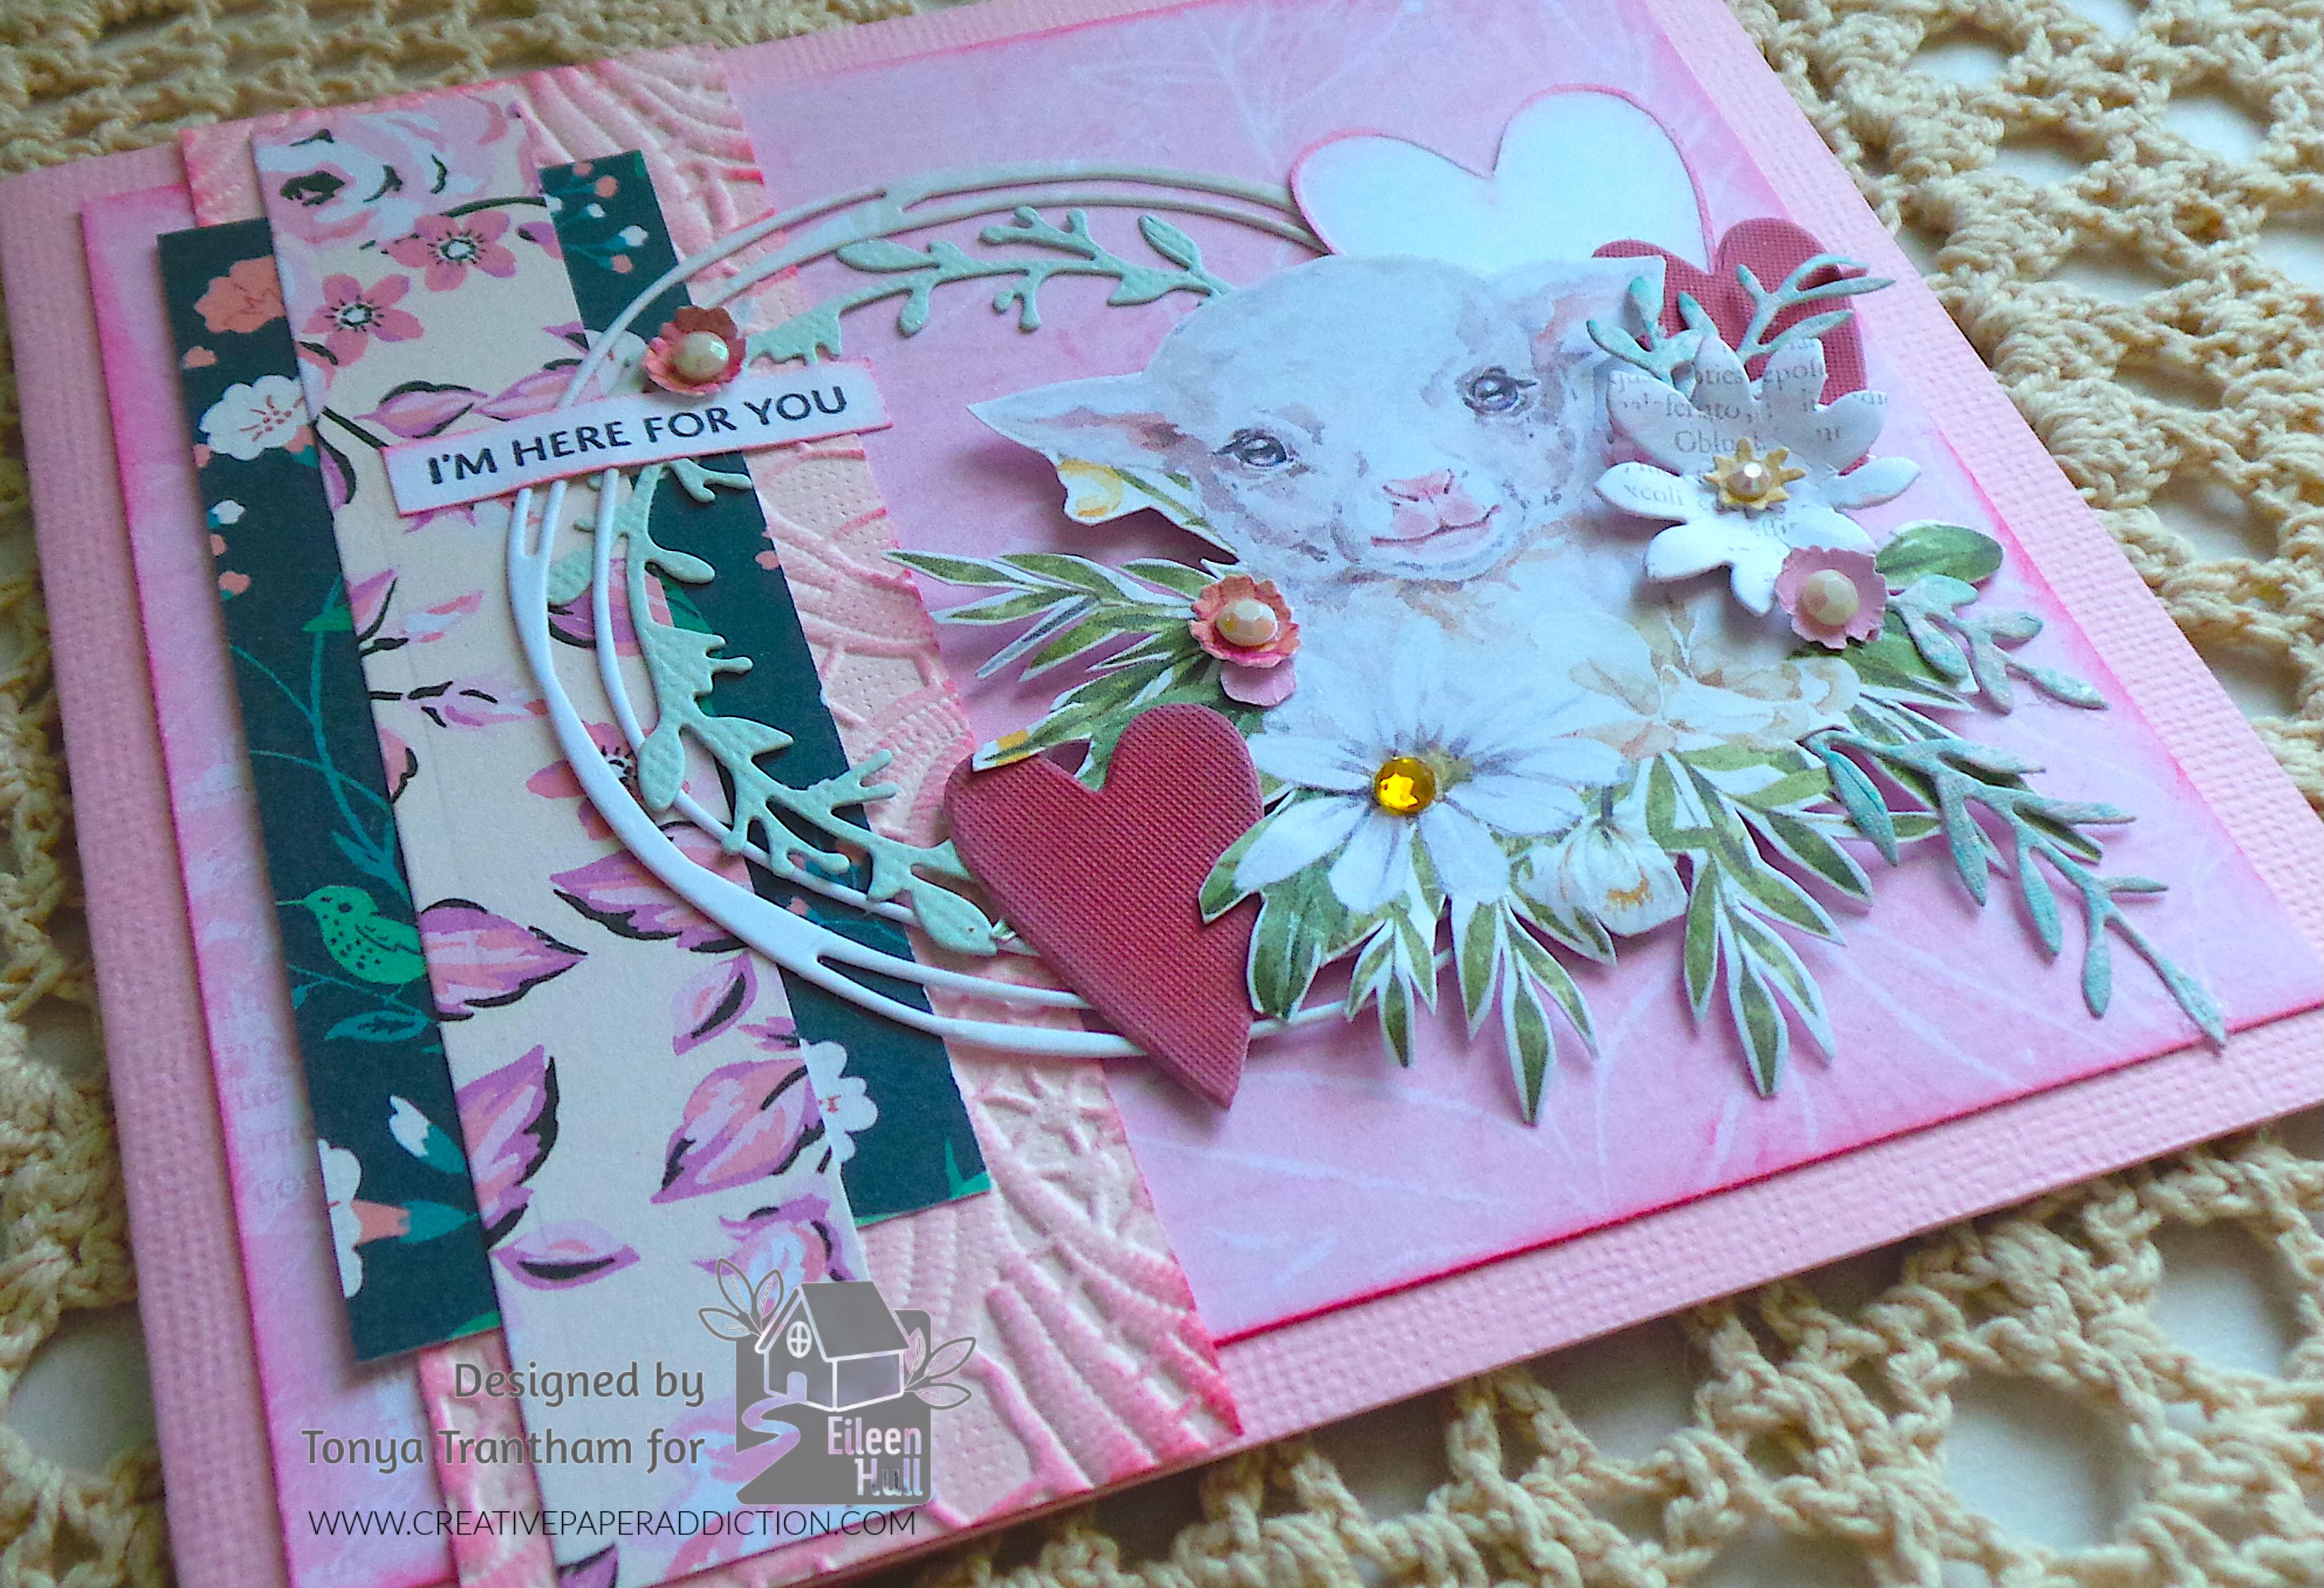
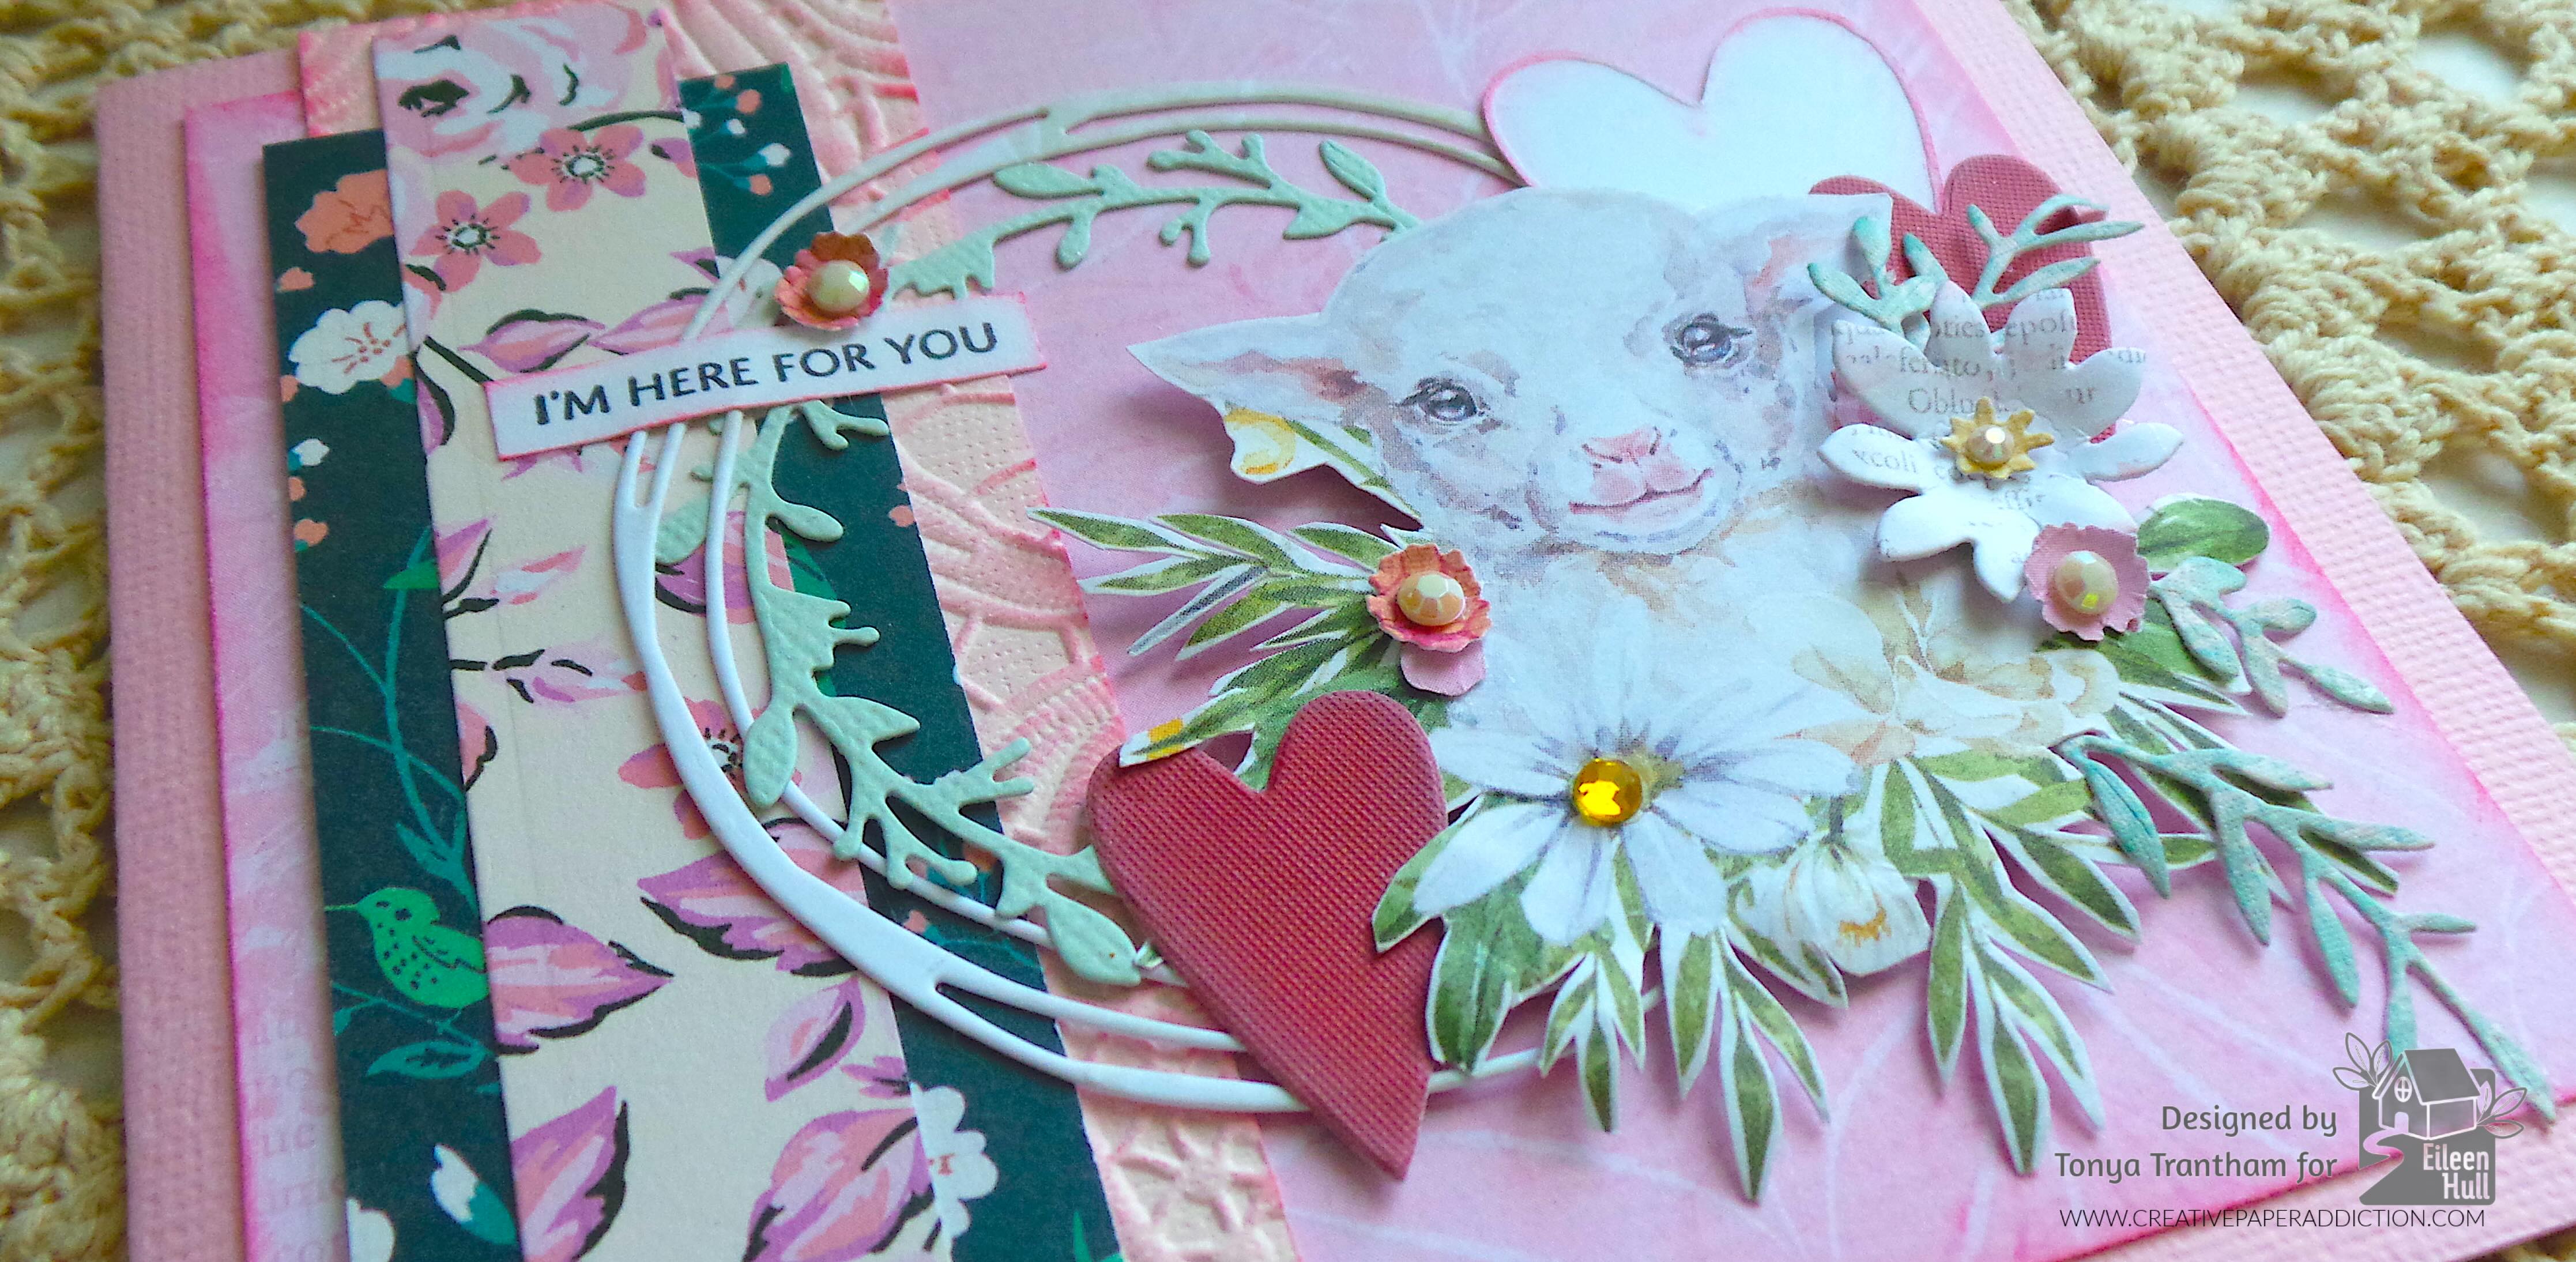
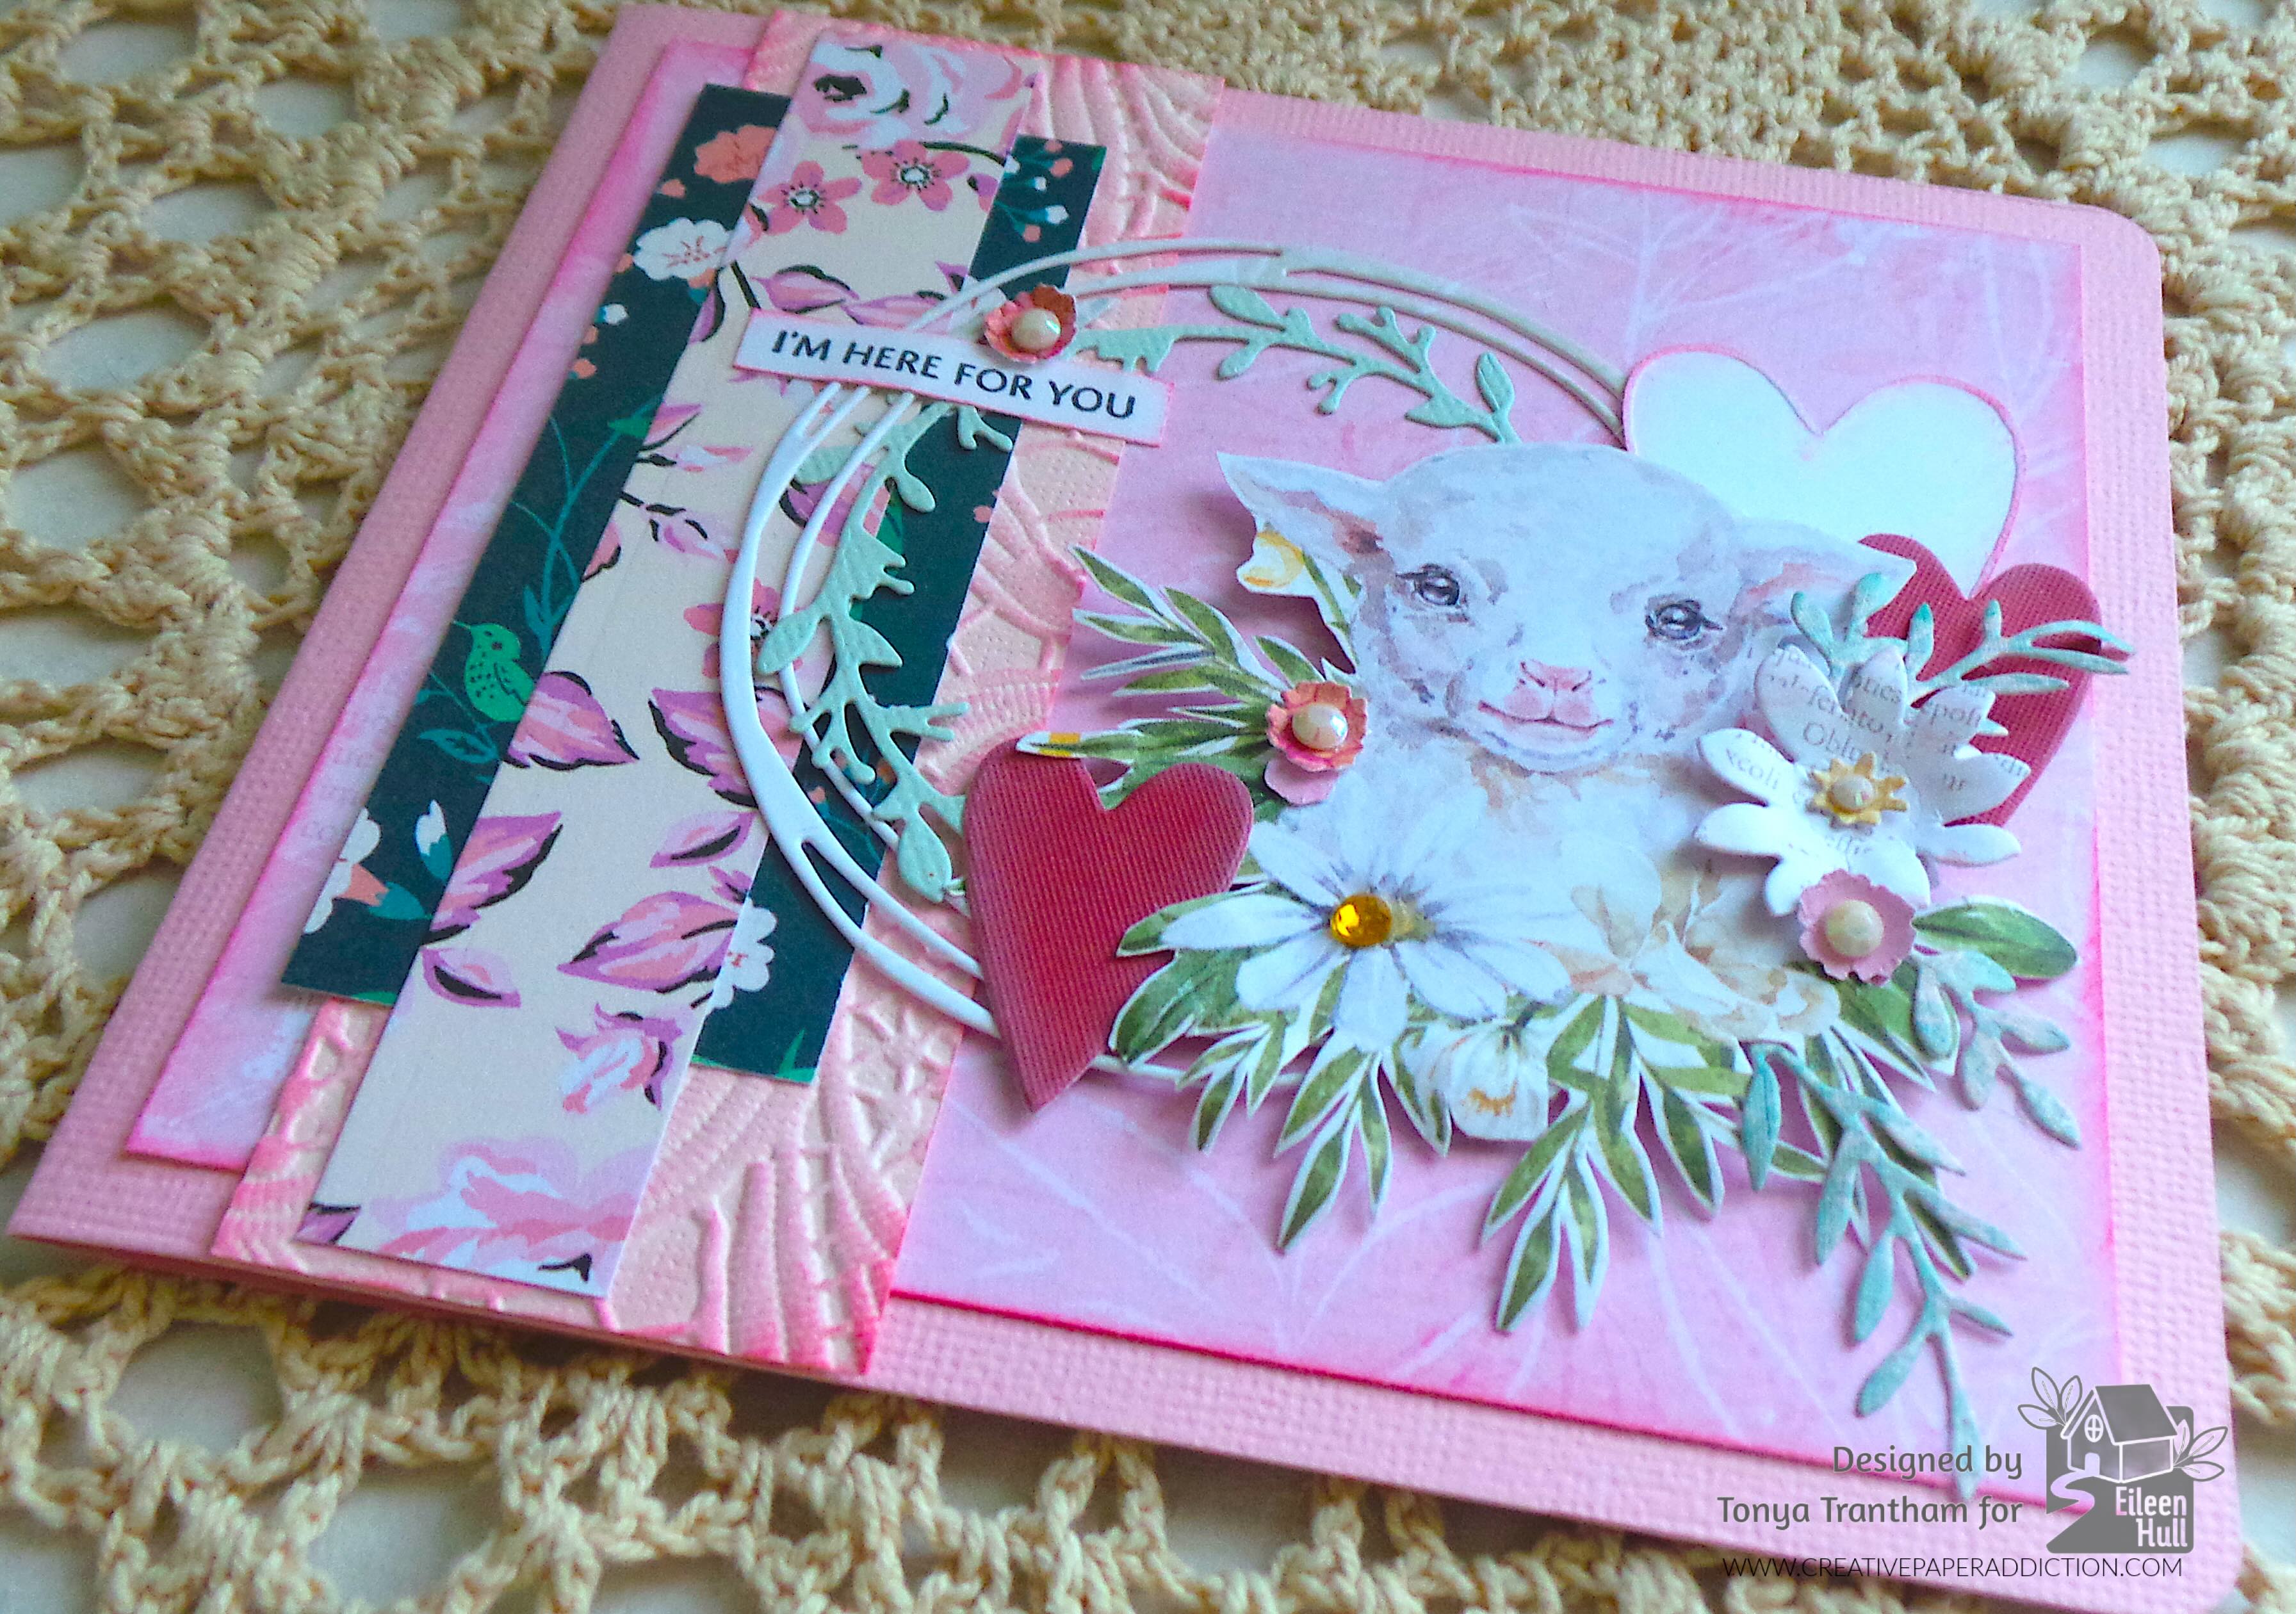
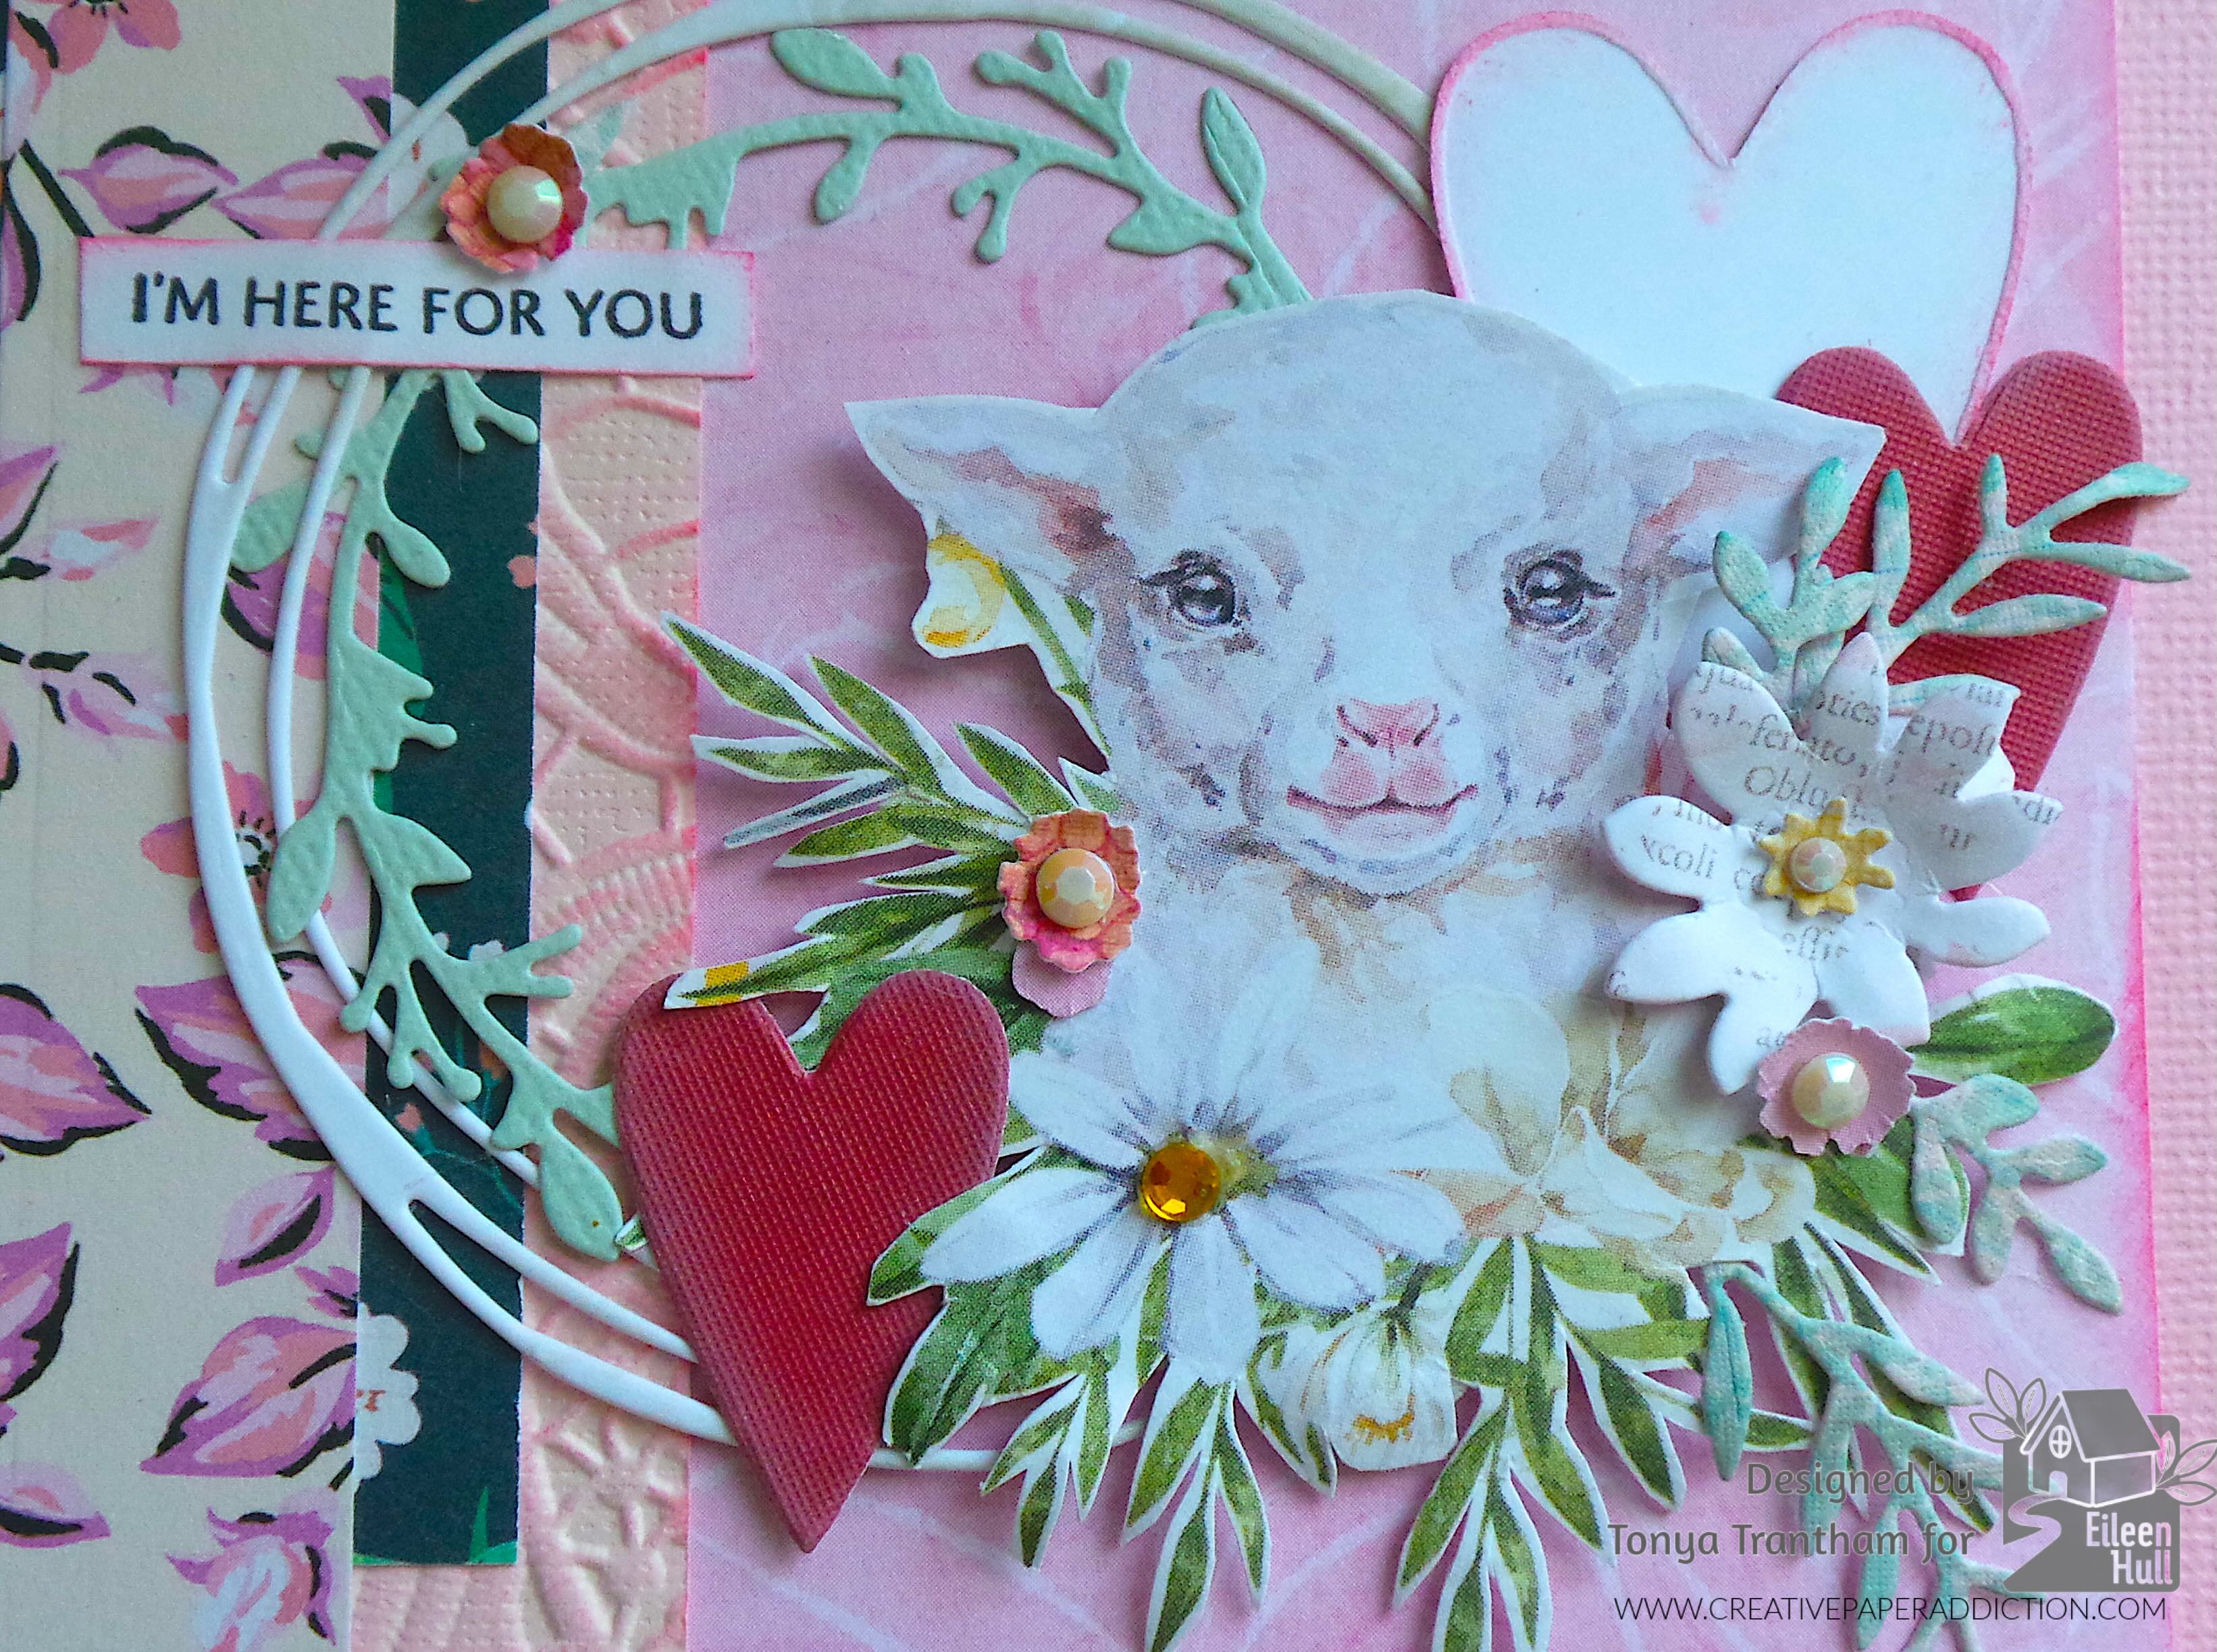
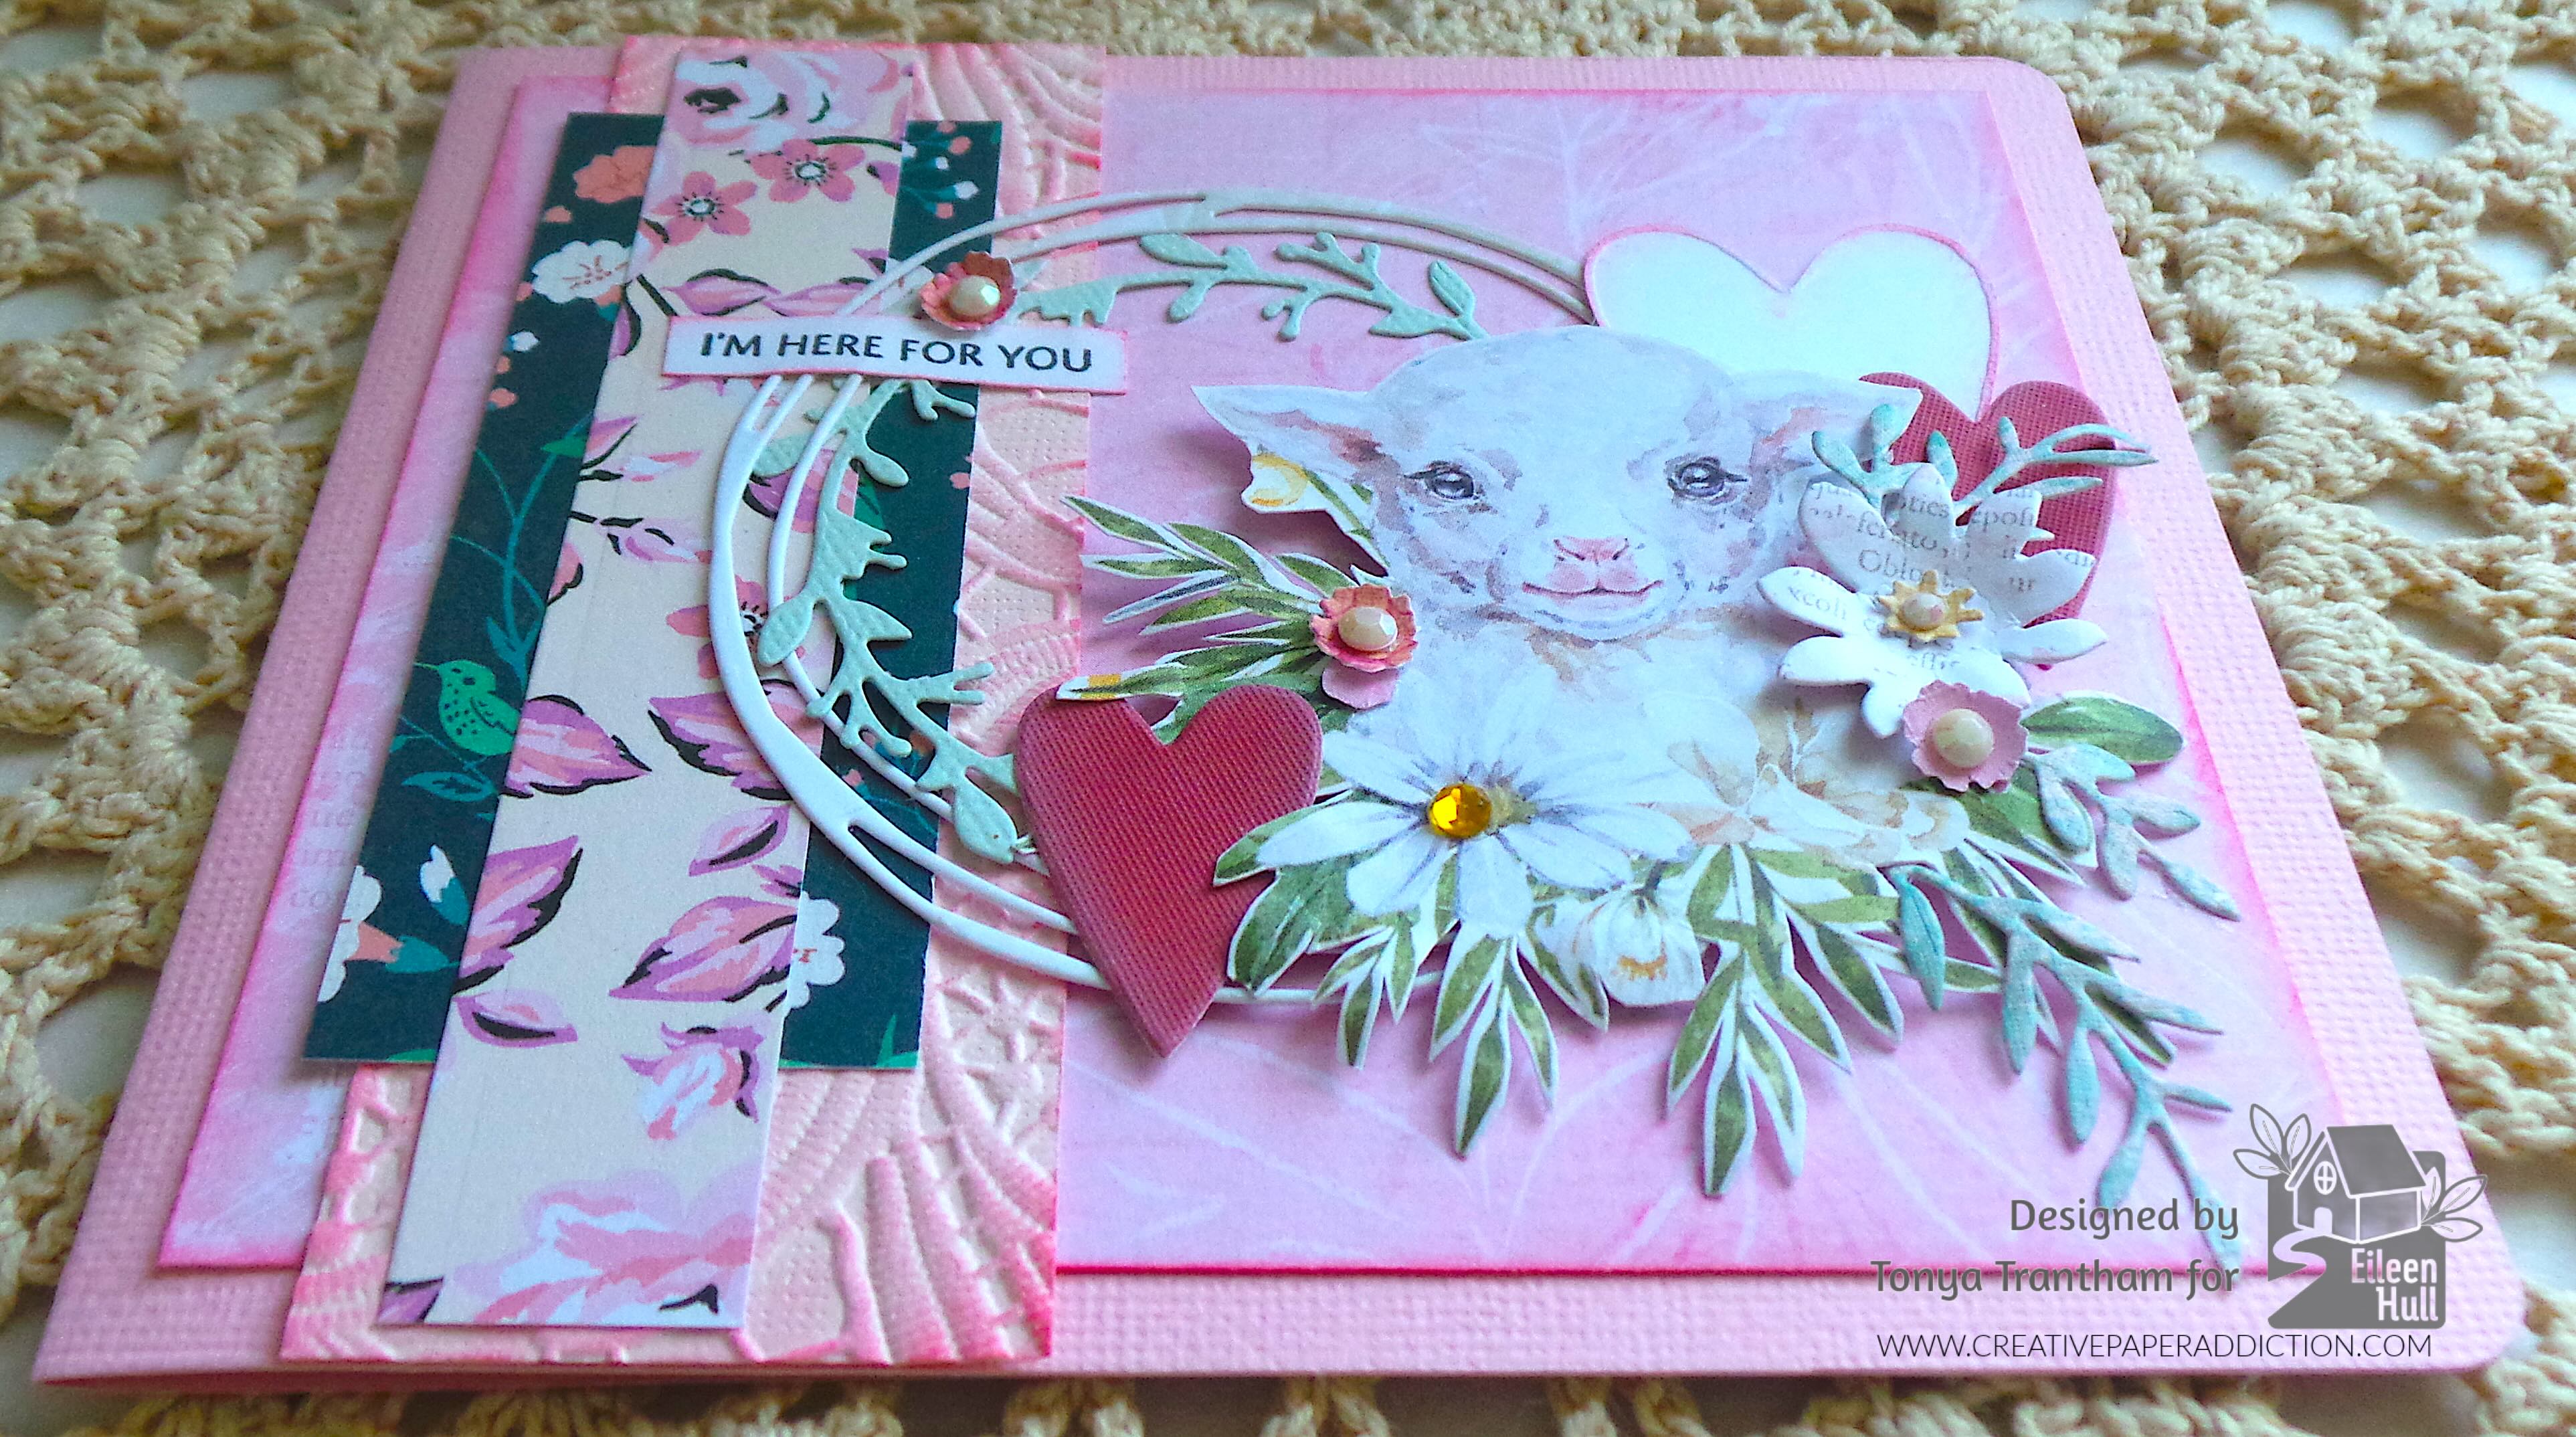
A handmade card featuring a charming illustration of a lamb surrounded by floral and leafy embellishments. The card has a soft pink background and includes hearts and the text 'I'M HERE FOR YOU.'

I used a piece of cardstock and the Mini Album Diecut to create the base for my card. All I had to do was fold the diecut in half. Next I cut a piece of patterned cardstock slightly smaller than the base. I inked the edges with a hot pink chalk ink before gluing to the card.

A handmade greeting card featuring a painted lamb surrounded by floral embellishments, with the text 'I'M HERE FOR YOU' at the top.

I used an assortment of patterned cardstocks along with a plain piece of cardstock which I embossed with the Lacy Leaves A5 Embossing Folder. I lightly inked the embossed cardstock with a mix of hot pink and regular pink chalk inks before adhering all strips of cardstock to the base of the card.

A handmade card featuring a watercolor lamb surrounded by floral embellishments and hearts, with the text 'I'M HERE FOR YOU' on a decorative banner.

I found in my stash a wreath from the Wreath and Snowflake Thinlits and a garland from the Winter Garland Thinlits (retired) already cut out. I glued both to the center of the card. The lamb is a leftover piece I had fussy cut from cardstock. I shaped the leaves and made an indention in the center of the largest flower with a Stylus before adding Foam Pop Dots to the back of the lamb. I placed that off center of the wreath and garland.

A handcrafted greeting card featuring a cute lamb illustration surrounded by flowers and hearts, with a pink and floral-patterned background and the text 'I'M HERE FOR YOU.'

Next I cut one large and two of the medium size hearts from the Envelope, Folder and Flowers Thinlits. I inked the edges of all the hearts with a pink chalk ink before adhering all to the card.

I cut three small flowers and a large flower with center flower from the Windowsill Flowers and Vase Thinlits. I cut four leaf sprigs from the Home Sweet Home Thinlits. I shaped with a Stylus and glued all to the lamb. I placed Yellow and White Gems to the center of each flower.

A decorative card featuring a cute illustration of a lamb, surrounded by floral elements, hearts, and a sentimental message that says 'I'M HERE FOR YOU'.

I placed the “I’m Here for You” sentiment from the Swatch Cards Stamp Set onto the MISTI Stamping Tool and inked with Black Ink. I stamped onto a piece of cardstock, cut to size and inked with pink chalk ink. I adhered to the upper edge of the wreath and garland along with a mini flower to finish.

If you haven’t been by Eileen Hull’s blog lately to see what the team has been up to you can find the latest blog post HERE. Also if you have any questions or comments please leave them below.
A handcrafted card featuring a watercolor illustration of a lamb surrounded by floral embellishments, hearts, and the text 'I'M HERE FOR YOU' on a pink background.

Supplies

Sizzix/Eileen Hull: Mini Album Diecut

Sizzix/Eileen Hull: Lacy Leaves A5 Embossing Folder

Sizzix/Eileen Hull: Home Sweet Home Thinlits

Sizzix/Eileen Hull: Windowsill Flowers and Vase Thinlits

Sizzix/Eileen Hull: Swatch Cards Stamp Set

Sizzix/Eileen Hull: Wreath and Snowflake Thinlits

Sizzix/Eileen Hull: Envelope, Folder and Flowers Thinlits

Sizzix: Winter Garland Thinlits (retired)

Diecut Machine

Paper Cutter

Black Ink

Scissors

Yellow Gems and White Gems

Foam Pop Dots

MISTI Stamping Tool

Various Plain and Patterned Cardstocks

Hot Pink and Pink Chalk Inks

Stylus

Beacon Adhesives: Zip Dry Adhesive

(Products listed above are Affiliated Links for your convenience)

DISCLAIMERS

This blog is compensated to provide opinion on products, services, websites, and various other topics. Even though the owner(s) of this blog receives compensation for our posts or advertisements. I always give my honest opinions, findings, beliefs, or experiences on those topics or products. The views and opinions expressed on this blog are purely my own. Any product claim, statistic, or quote should be checked with each manufacturer. Verify other representations about a product or service with the provider or party in question.This blog contains affiliate linksClicking these links helps to support Tonya Trantham Designs – Creative Paper Addiction. It’s at no additional cost to you. Today’s features are Sizzix, Eileen Hull and Scrapbook.com Products. 

A handcrafted card featuring a watercolor lamb surrounded by flowers and leaves, with the text 'I'M HERE FOR YOU' prominently displayed. The card has a pink background with decorative patterned paper in pastel colors.

Thanks for stopping by, I hope your Monday is awesome and enjoy creating!

A decorative graphic featuring a bird and colorful flowers with the name 'Tonya' elegantly displayed in cursive font.

My Top Three Favorite Eileen Hull Projects for 2025

Hi everyone! Can you believe this year is almost over? I’ve been busy creating behind the scenes working on craft and home projects. Also I’ve been spending quality time with family. But I want to share my three favorite projects that I created for Eileen Hull this year.

The first project is a prayer journal I created this for a friend using the Skinny Mini Book Box Diecut. You can find that blog post HERE.

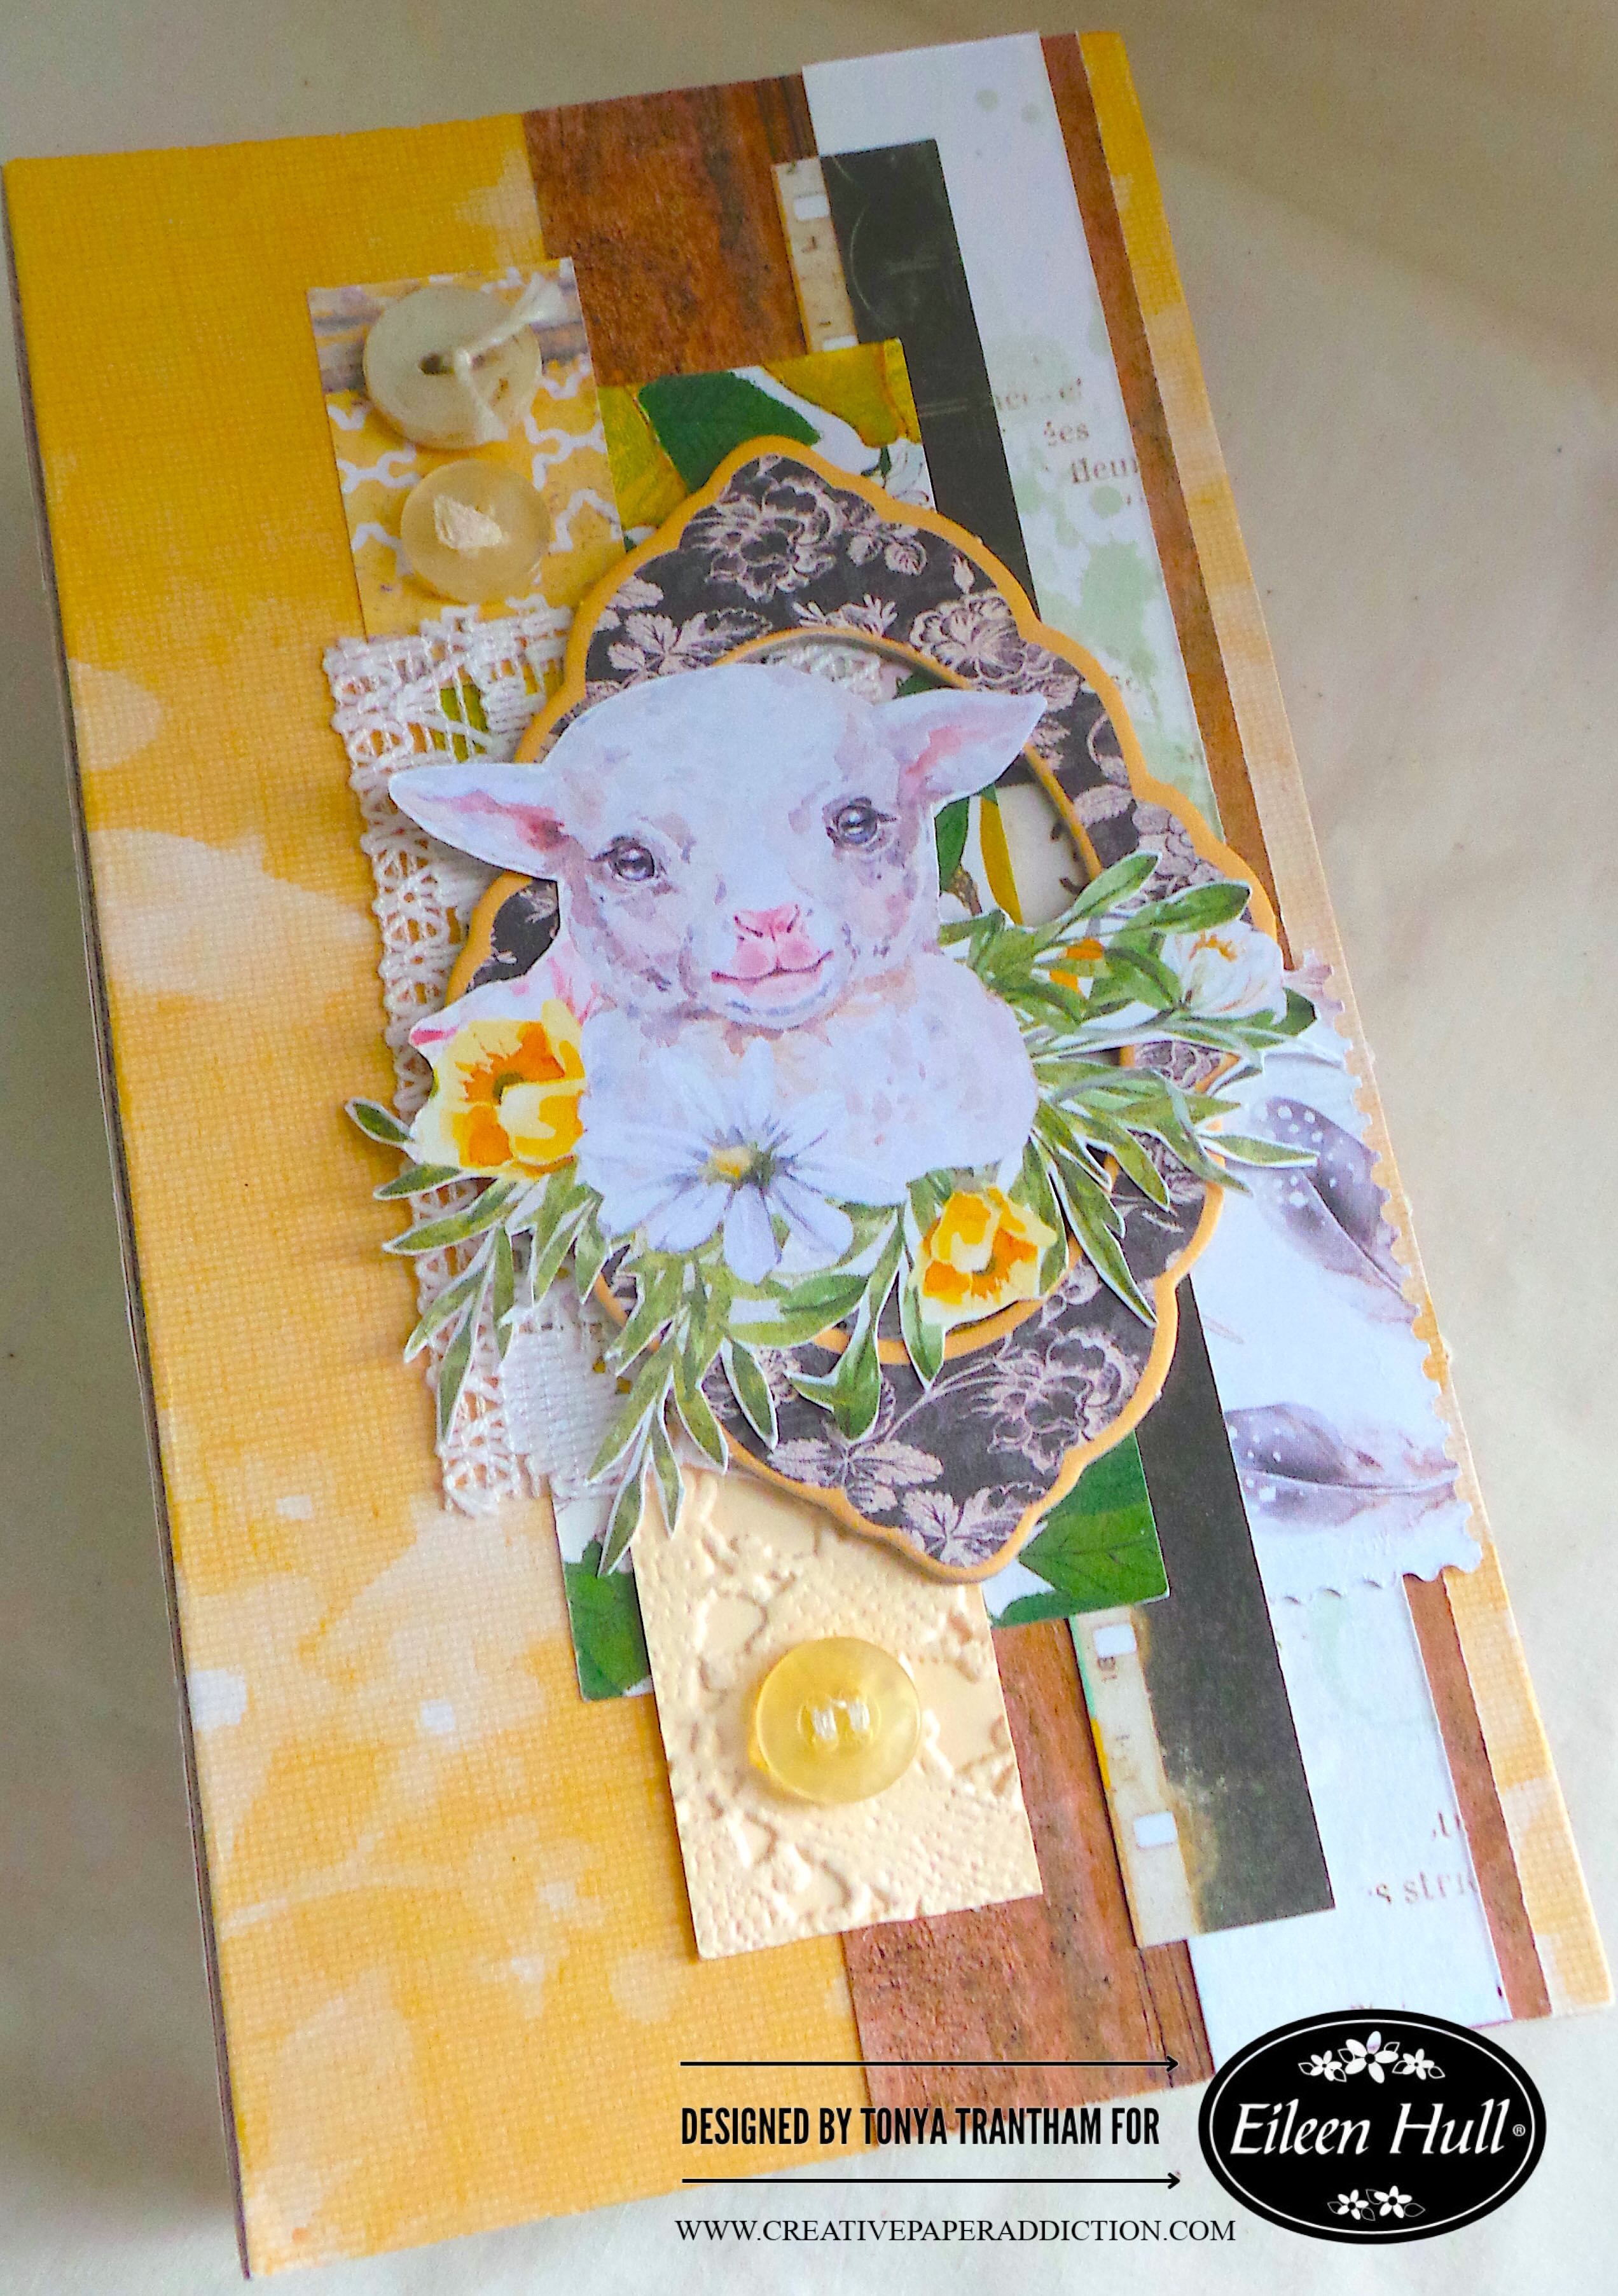
A prayer journal featuring a watercolor illustration of a lamb surrounded by floral elements, with a textured background and colorful patterned papers.

The second project I created a swatch book using the Hardbound Journal Diecut along with a few other dies and stamp set. I loved being able to add bits of ribbon, lace and trim to this book. You can find that blog post HERE.

A colorful and decorative prayer journal featuring floral fabric, layered frames, lace, and embellishments, designed by Tonya Trantham for Eileen Hull.

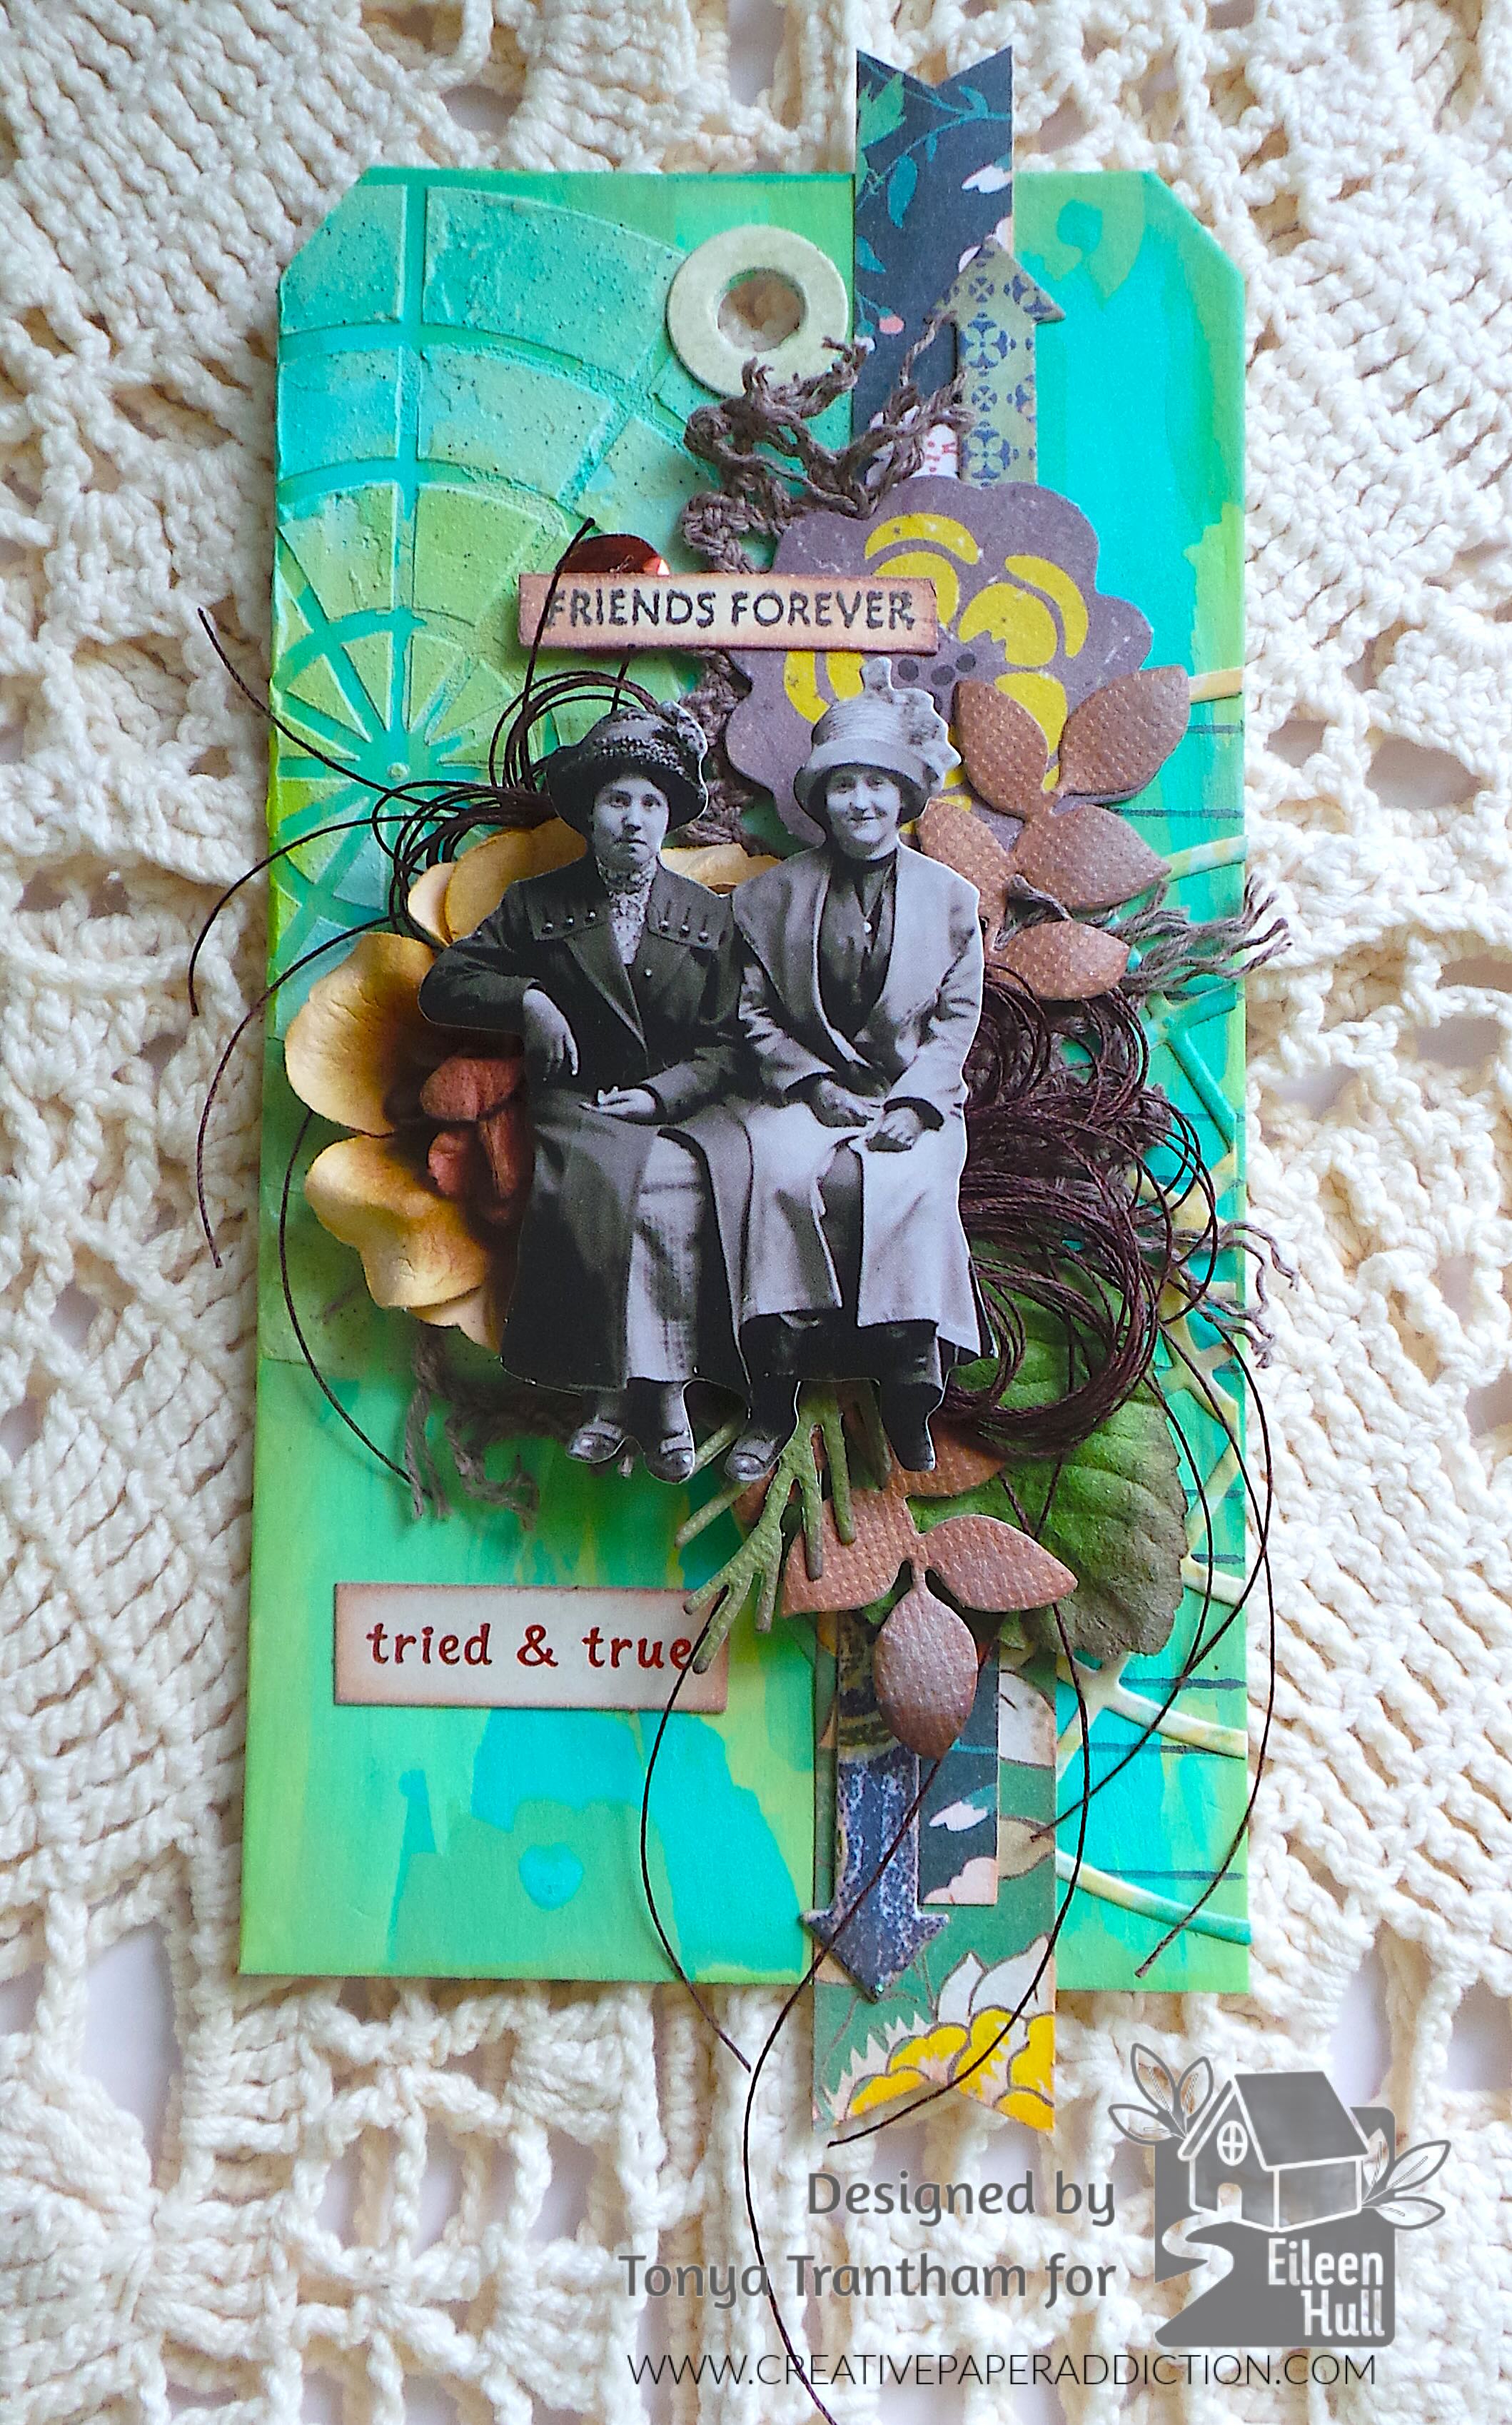
The final favorite project is a tag I created. Tags are a great way to use scraps of cardstock and embellishments you have lying around. I used the Color Wheel Stencils, Rainbow Wheels Thinlits and Swatch Cards Stamp Set to make this tag. You can find that blog post HERE.

A colorful handmade tag featuring two vintage black and white photographs of women, embellished with floral accents and decorative paper elements, with the text 'FRIENDS FOREVER' and 'tried & true'.

If you have any questions or comments please leave them below. Also if you haven’t been by Eileen Hull’s blog lately to see what is happening with her and the team you can find the latest post HERE.

Supplies

Sizzix/Eileen Hull: Skinny Mini Book Box Diecut

Sizzix/Eileen Hull: Hardbound Journal Diecut

Sizzix/Eileen Hull: Color Wheel Stencils

Sizzix/Eileen Hull: Rainbow Wheels Thinlits

Sizzix/Eileen Hull: Swatch Cards Stamp Set

Diecut Machine

(Products listed above are Affiliated Links for your convenience)

DISCLAIMERS

This blog is compensated to provide opinion on products, services, websites, and various other topics. Even though the owner(s) of this blog receives compensation for our posts or advertisements. I always give my honest opinions, findings, beliefs, or experiences on those topics or products. The views and opinions expressed on this blog are purely my own. Any product claim, statistic, or quote should be checked with each manufacturer. Verify other representations about a product or service with the provider or party in question.This blog contains affiliate linksClicking these links helps to support Tonya Trantham Designs – Creative Paper Addiction. It’s at no additional cost to you. Today’s features are Sizzix and Eileen Hull  Products. 

An open prayer journal featuring various decorative papers, embellishments, and textures, showcasing a colorful and creative design.

Thanks for stopping by, I hope your Tuesday is wonderful and enjoy creating!

A decorative graphic featuring a bird among colorful flowers with the name 'Tonya' artistically displayed.

Turning Trash into Treasure: Comfort and Joy 2025 Recycled Christmas

Hi everyone! It’s my turn to share my quick and easy Comfort and Joy project for Eileen Hull! I’m on a recycle kick and choose to use corrugated cardboard to create a Rudolph the Red Nose Reindeer Tag.

A festive graphic featuring the text 'Comfort & Joy' along with event details. The background has a red and green plaid pattern with a branch of pine on the left side.

Since I have a lot of corrugated cardboard laying around I decided this would be a great way to keep it out of the landfill. The reindeer head I used the largest arch die from the Tunnel Arches Thinlits. The first time running it through the Diecut Machine it would not cut through the corrugated chipboard. So I ran it through the diecut machine three times and it cut the die out with no problem.

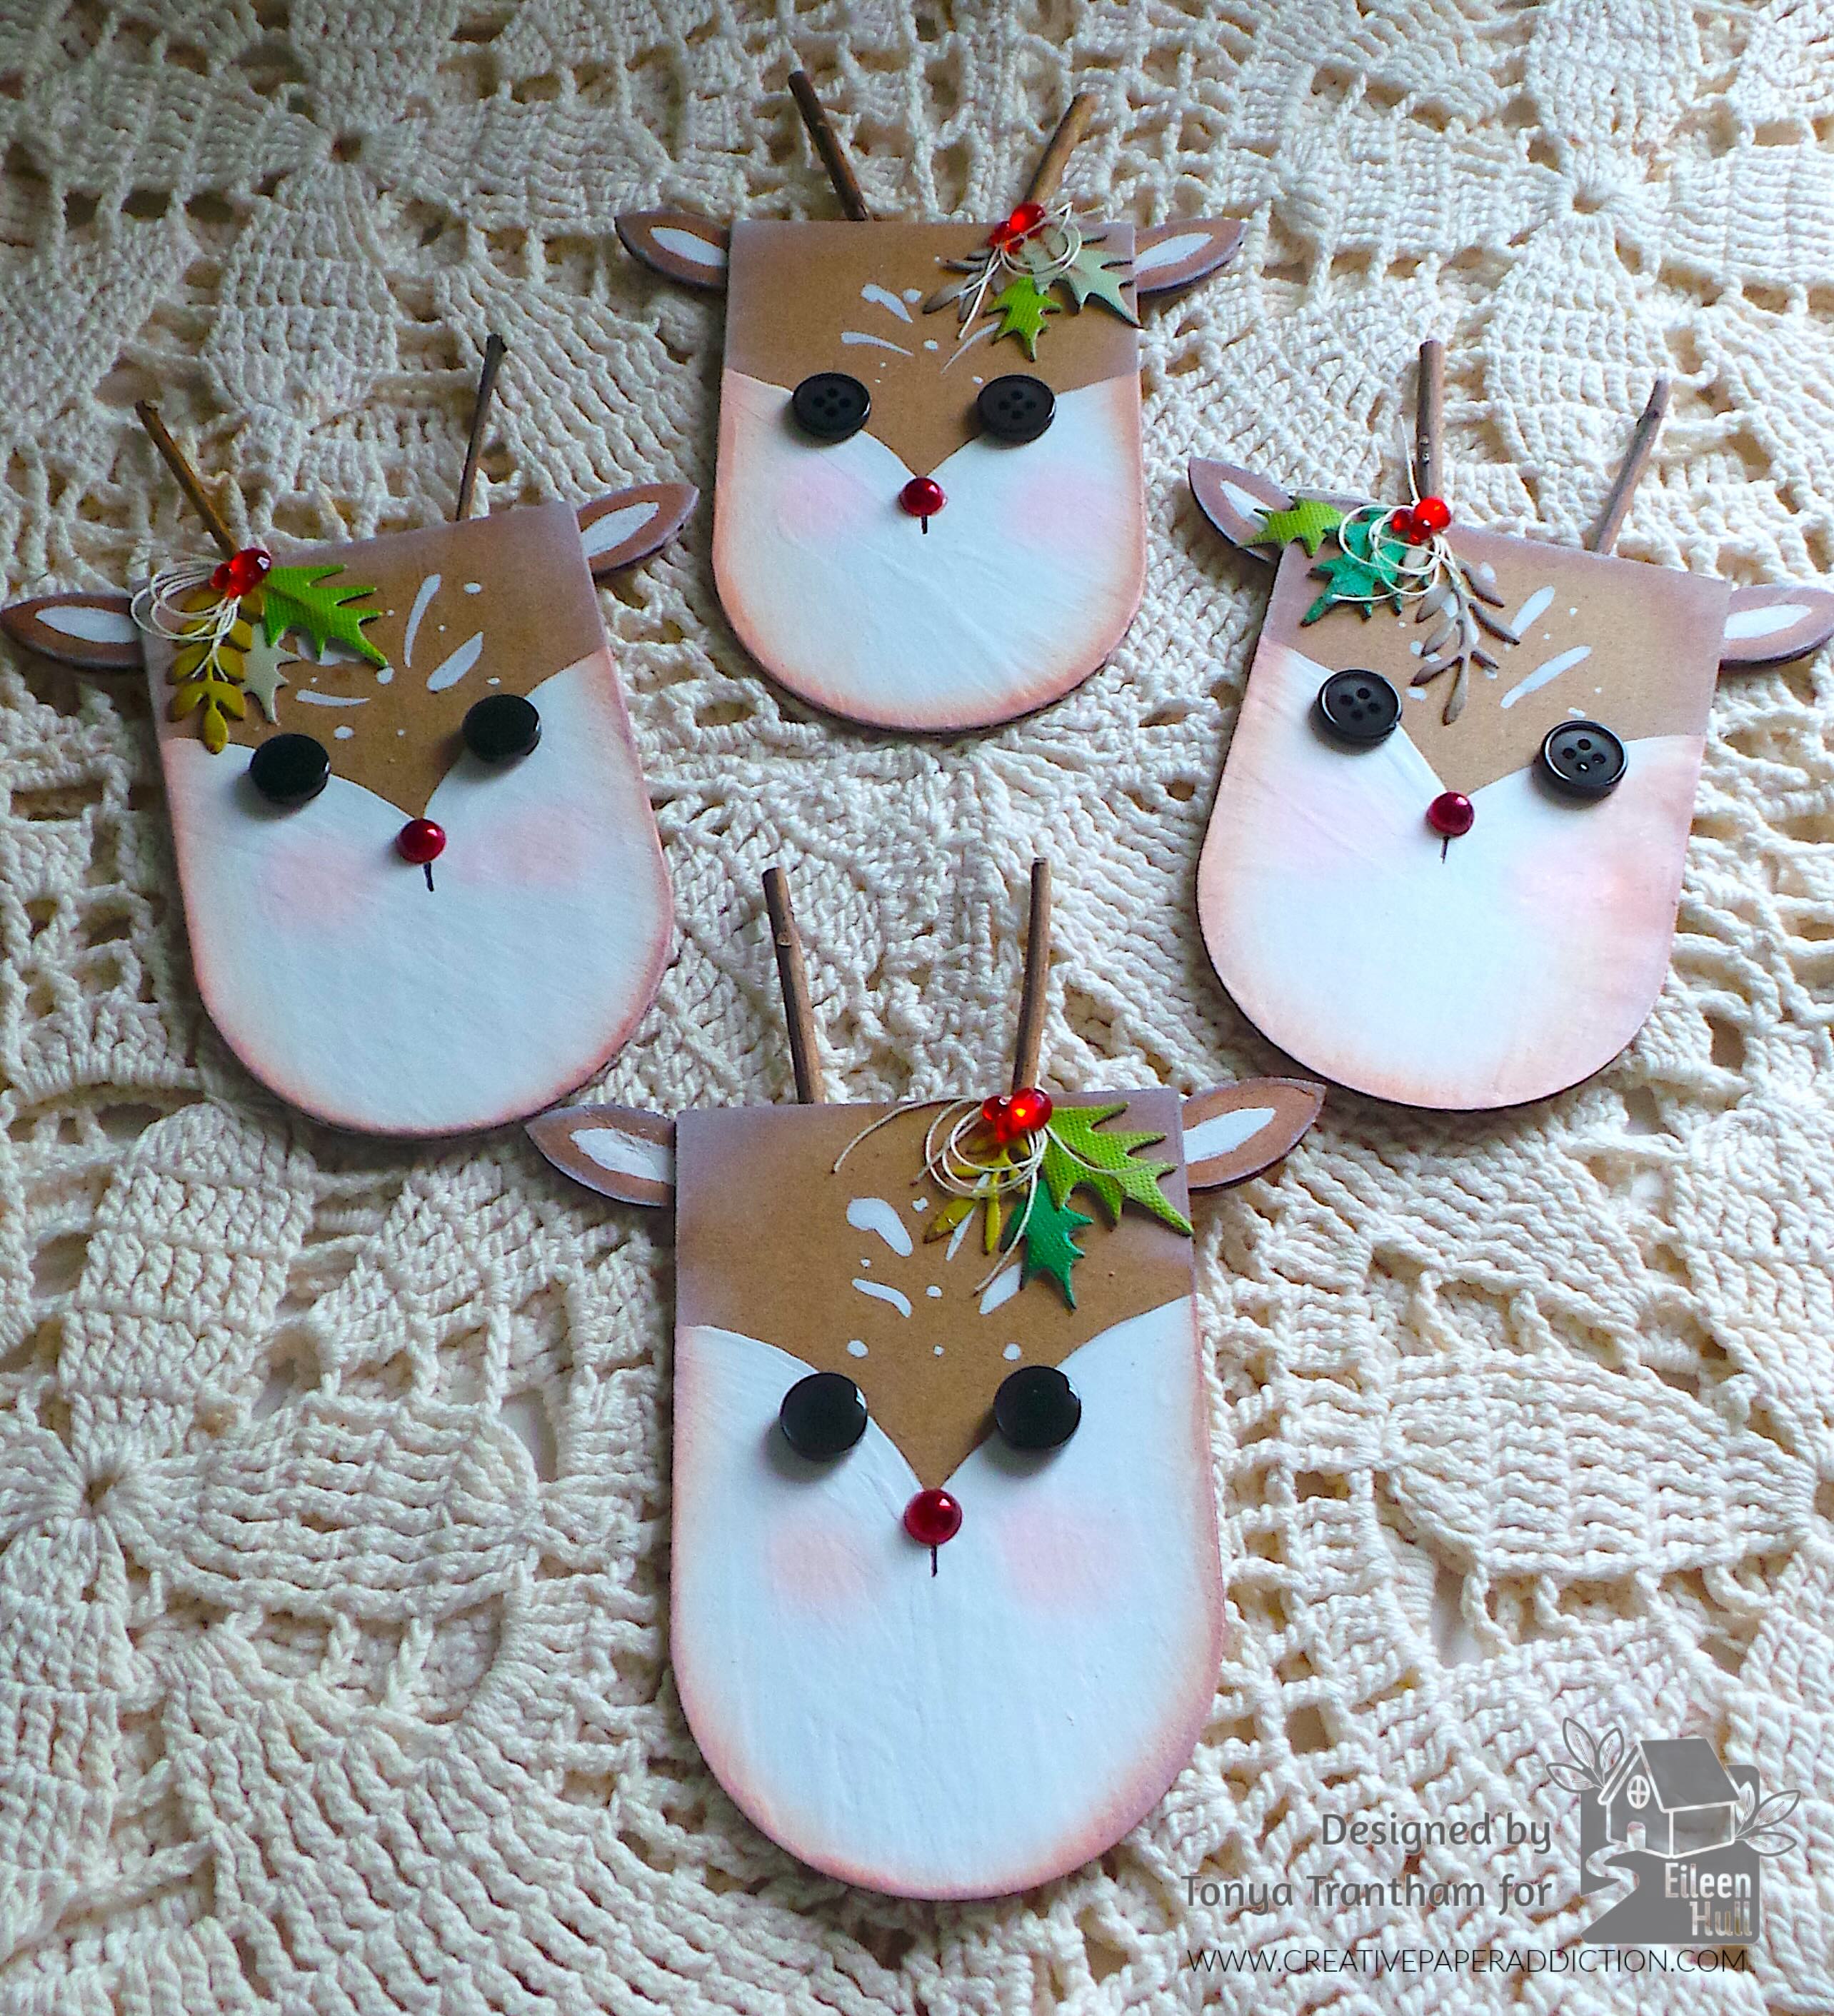
A handmade Rudolph the Red Nosed Reindeer tag made from corrugated chipboard, featuring painted details, black buttons for eyes, a red gem for the nose, and twigs for antlers adorned with leaves and threads.

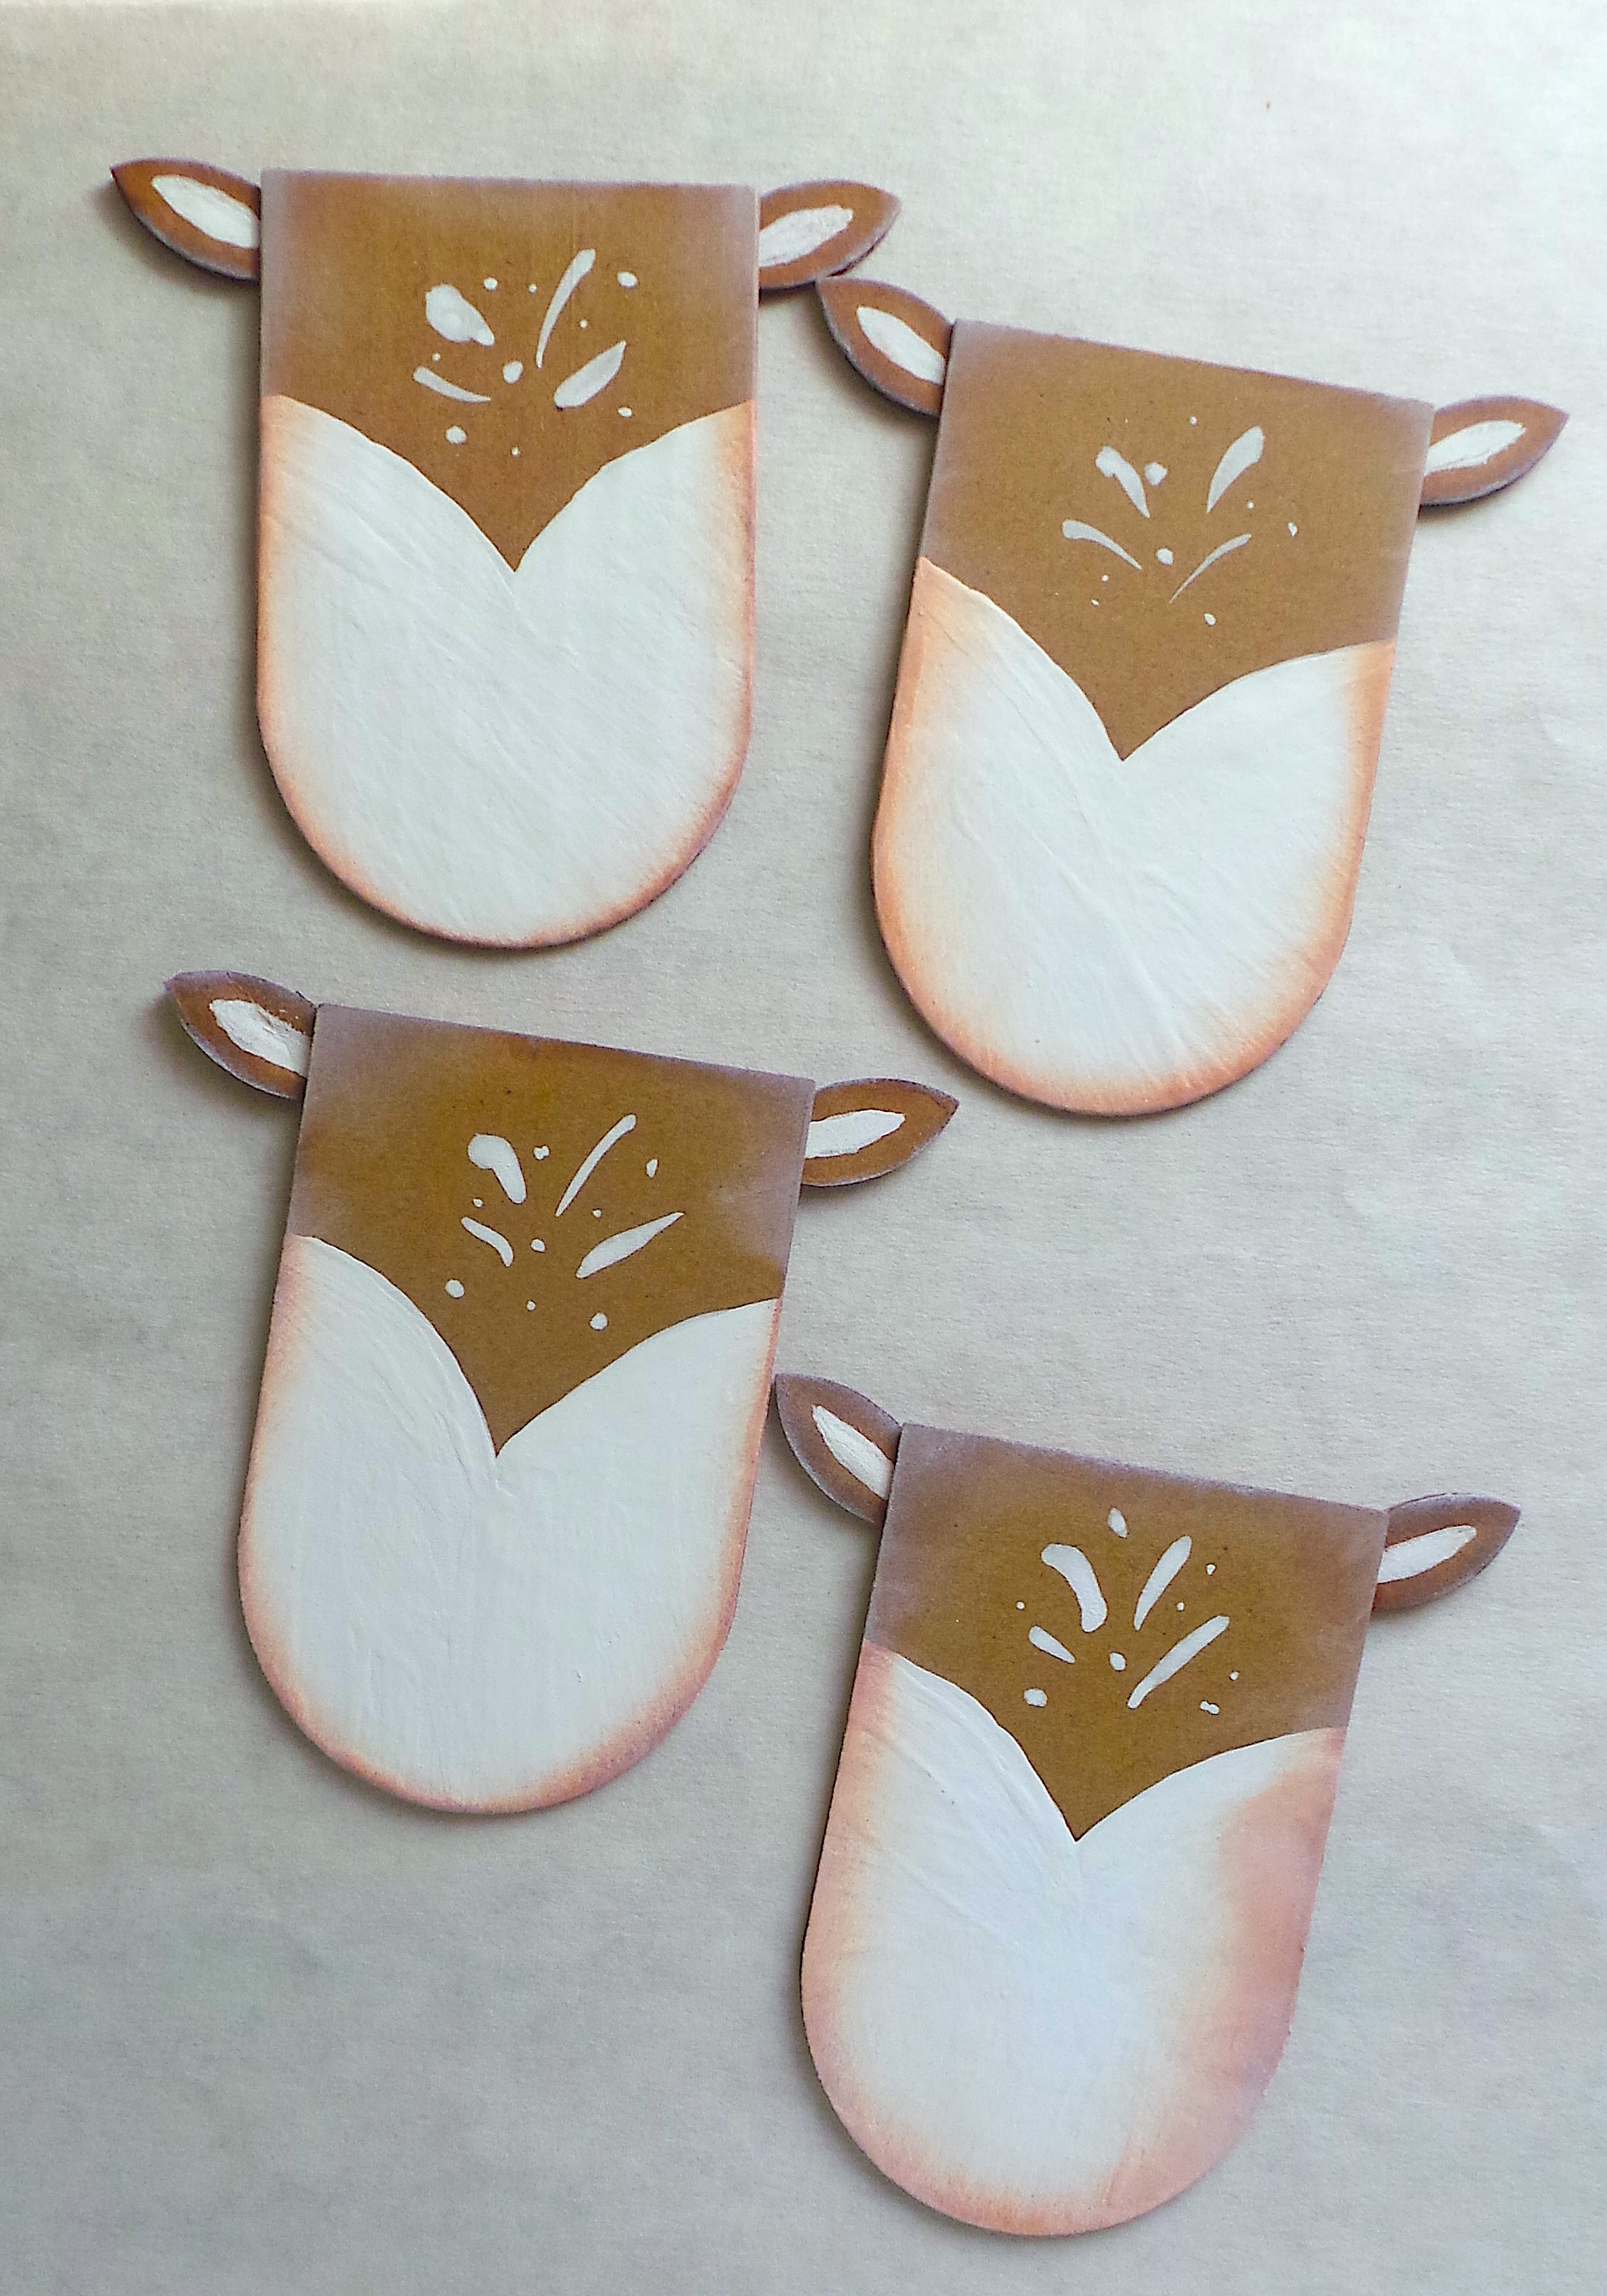
I used the Sunflower Diecut and cut out a couple of the sunflower from the corrugated cardboard. I cut the petals off to create ears for the reindeer. With a pencil I free handed the face onto the die. The face, the center of the ears and spots I painted with white acrylic paint.

Various die-cut pieces made from corrugated chipboard, including reindeer faces and sunflower shapes, alongside a bottle of white acrylic paint and a paintbrush on a plastic surface.

I glued the ears to the face and lightly inked the edge with white and brown chalk inks.

Four cut-out reindeer heads made from corrugated chipboard, featuring brown tops, white facial markings, and adorable ears.

I adhered two Black Buttons for eyes and added a red gem for the nose to the face. I drew a black line with a fine tip black marker under the nose. I used a pink pastel to add color to the cheeks.

I sent my husband outside to round up some twigs to use as antlers. He came back with a couple of sticks. I cut all of those with a pair of scissors since they weren’t that thick. I glued to the back of the head.

A handmade reindeer tag featuring a brown corrugated chipboard face with black button eyes, a red gem nose, and twigs for antlers. Decorated with green leaves and red gems on the head.

Since I had several of the hollies cut from the Funky Festive Thinlits (retired) I added those to one of the antlers. I also added a leaf sprig which are from the Home Sweet Home Thinlits, loops of thread and red gems to finish.

Close-up of two crafted reindeer tags made from corrugated cardstock, featuring black button eyes, red gem noses, and leaf decorations on top. The tags have a light brown color with white accents for the face and pink chalk for cheeks.

Even though the plan is to use these reindeer as tags. I could easily add a mini clothes pin to the back to use as a closure to a bag. Or string them up to create an adorable banner. Also if you don’t have the supplies listed below you can change out with brown and white cardstock, hand draw or use a circle pinch for the eyes, pipe cleaners for the antlers, etc. There’s endless possibilities. Let me know in the comments below what you would use these reindeers for or if you have any questions.

Four festive reindeer tags made from corrugated chipboard, each featuring a painted face with black button eyes, a red gem nose, twigs for antlers, and decorative holly leaves.

Supplies

Sizzix/Eileen Hull: Tunnel Arches Thinlits

Sizzix/Eileen Hull: Sunflower Diecut

Sizzix/Eileen Hull: Home Sweet Home Thinlits

Sizzix/Tim Holtz: Funky Festive Thinlits (retired)

Diecut Machine

Scissors

Corrugated Cardboard

White Acrylic Paint

Pink Pastel

Paint Brush

Fine Tip Black Marker

White and Brown Chalk Inks

Black Buttons, Red Gems and Thread

Twigs from a Tree

Beacon Adhesives: Zip Dry Adhesive

(Products listed above are Affiliated Links for your convenience)

DISCLAIMERS

This blog is compensated to provide opinion on products, services, websites, and various other topics. Even though the owner(s) of this blog receives compensation for our posts or advertisements. I always give my honest opinions, findings, beliefs, or experiences on those topics or products. The views and opinions expressed on this blog are purely my own. Any product claim, statistic, or quote should be checked with each manufacturer. Verify other representations about a product or service with the provider or party in question.This blog contains affiliate linksClicking these links helps to support Tonya Trantham Designs – Creative Paper Addiction. It’s at no additional cost to you. Today’s features are Sizzix, Eileen Hull and Scrapbook.com Products. 

Two handcrafted reindeer tags featuring corrugated cardstock with twigs for antlers, black buttons for eyes, and red gems for noses, decorated with leaves and a light pink blush on the cheeks.

Thanks for stopping by, I hope your Friday is great and enjoy creating!

A decorative graphic featuring a bird amidst colorful flowers, with the name 'Tonya' artistically displayed in a flowing script.

Create a Unique December Daily from Gusset Bags

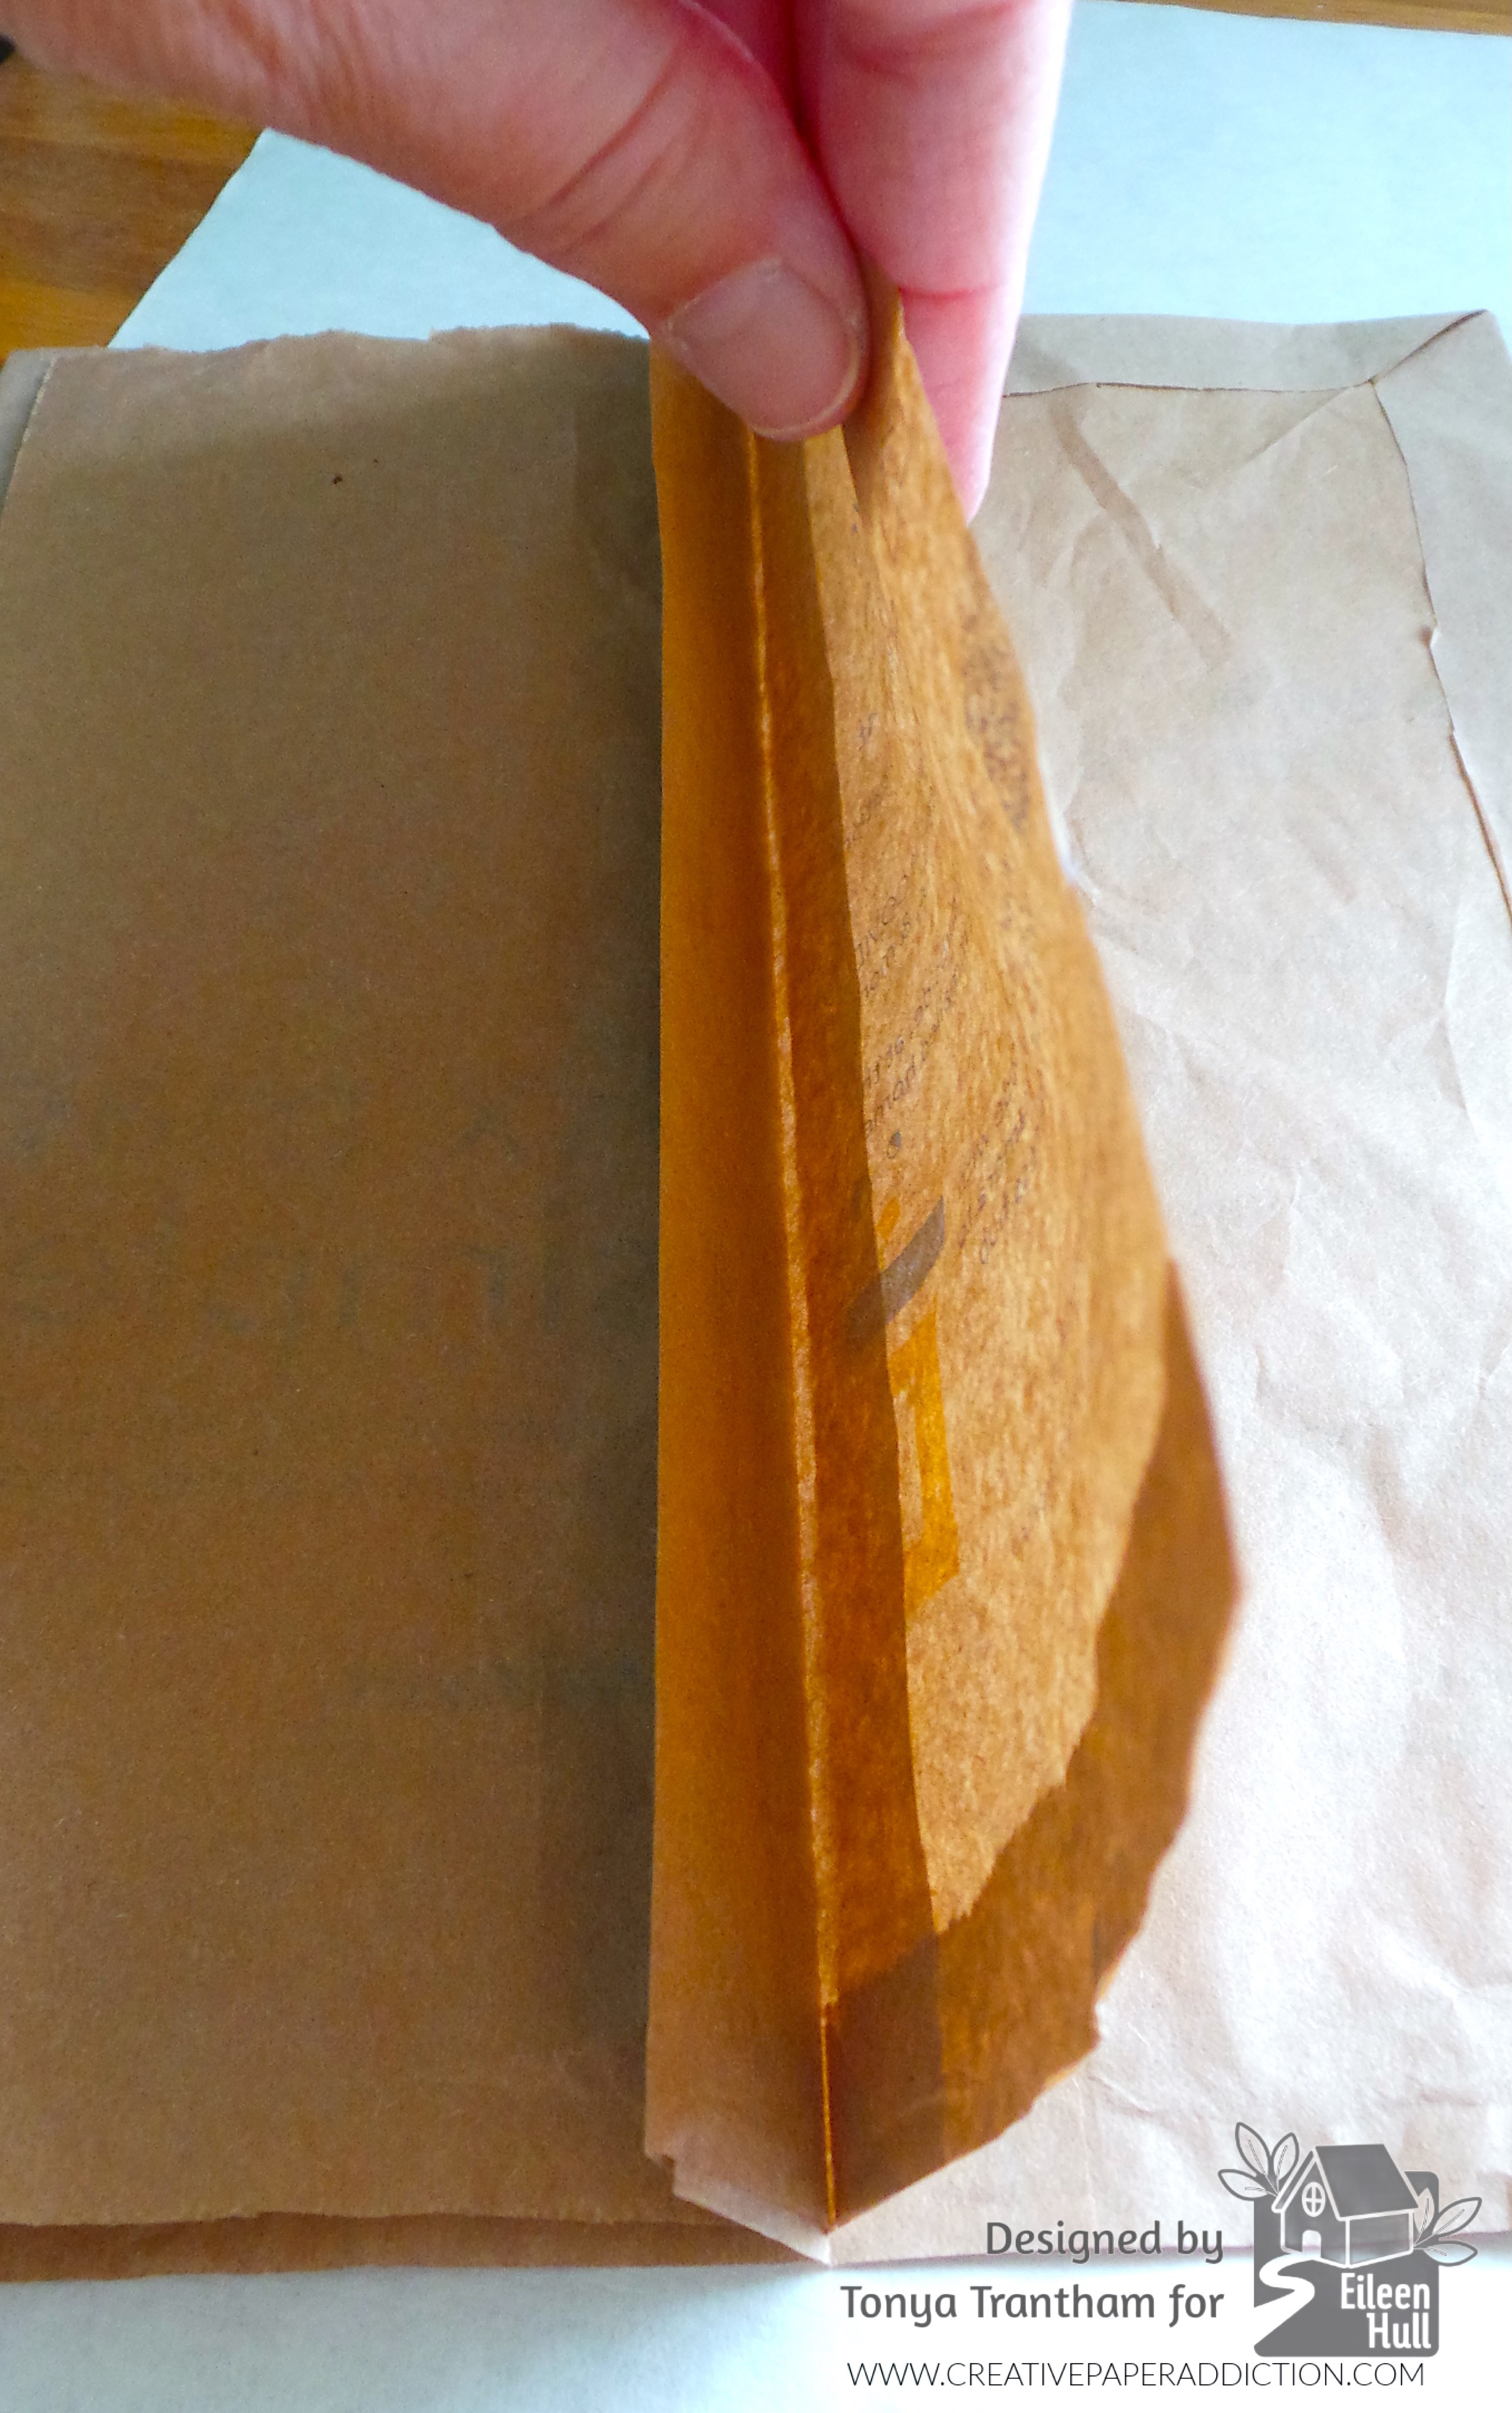
Hi everyone! I’ve been extremely busy with everything that pertains to inside the home. I’m just getting around to sharing my first project of the month for Eileen Hull. It’s hard to believe that Christmas is right around the corner. So I decided I was going to create a December Daily since I’ve been saving the gusset bags (it has a pleat on each side of the paper bag) that my husband’s medicine has come in when he picks them up at the Walmart pharmacy. Anyways, let’s get started!

A decorative journal cover featuring layered patterned cardstock, a central circular motif with a deer illustration, and the text 'It's the most wonderful time of the year.' The cover incorporates vibrant colors, textures, and embellishments like ric rac.

The first thing I did was cut off a tiny section of the bottom of each bag. Next I cut the middle of the “gusset” to create one cover and three inside pages. That’s a total of four bags cut for one journal. The top of the bags has an “extended “flap” of paper that I scored. I glued the “flap” and each of folded edges of the gusset down.

A close-up view of two brown gusset bags laid flat on a surface, with one bag opened slightly to show its pleated sides, alongside a bottle of Fabri-Tac adhesive.

The middle gusset I adhered together. I glued each side of the gusset page onto the center piece/gusset.

Close-up of a hand holding a folded gusset bag, showcasing its pleated edges and texture.

I did that for each of the three pages.

Open gusset bag from Walmart pharmacy with text 'Rx made simple' printed in blue on the front.

Now for the fun stuff! Decorating the cover! First, I cut patterned cardstock, inked the edges with a green chalk ink and glued to the front and back covers. I added two strips of cardstock to the cover. I cut two of the largest tunnel die from the Tunnel Arches Thinlits and adhered both, ends facing each other, to the cover along with a strip of patterned cardstock.

A colorful journal cover decorated with patterned cardstock, including vibrant green and pink designs, layered strips, and a unique arch shape.

I cut the largest circle die from the Rainbow Wheels Thinlits and inked the edges with a brown chalk ink.

A decorated circular tag featuring a deer silhouette surrounded by a green wreath. The tag includes the phrases 'It's the most' and 'WONDERFUL time of the year' in colorful letters, with embellishments like holly leaves and pearl accents.

I glued another strip of patterned cardstock to the cover before adding the circle die. I cut two of the wreaths from the Wreath and Snowflake Thinlits (retired), placed on top of each other and adhered to the circle. I cut a deer die from the Home Sweet Home Thinlits, inked with a brown chalk ink and placed in the center of the wreath.

Decorative cover of a handmade journal featuring a deer silhouette, wreath, festive colors, and a chipboard sentiment saying 'It's the most wonderful time of the year.'

I placed the “it’s the most wonderful time of the year” Chipboard Christmas Sentiment underneath the deer. I cut two holly dies from the Funky Festive Thinlits (retired), inked and shaped with a Stylus. I placed those onto the chipboard sentiment. I added White Gems to the wreath and the holly. I also glued two pieces of deep pink ric rac to cover to finish.

A decorated journal cover featuring a deer, layered patterned cardstock, and festive embellishments including a sentiment that reads 'It's the most wonderful time of the year'.

The only thing left to do is to decorate the inside pages. I think this journal will be an abbreviated version of a December Daily. Even though the holiday season is busy I don’t do a lot of exciting things to document.

Anyways, if you have any questions or comments please leave them below.

Colorful December Daily journal cover featuring patterned cardstock, a deer embellishment, and a sentiment that reads 'It's the most wonderful time of the year'.

Supplies

Sizzix/Eileen Hull: Tunnel Arches Thinlits

Sizzix/Eileen Hull: Rainbow Wheels Thinlits

Sizzix/Eileen Hull: Wreath and Snowflake Thinlits (retired)

Sizzix/Eileen Hull: Home Sweet Home Thinlits

Sizzix/Tim Holtz: Funky Festive Thinlits (retired)

Diecut Machine

Paper Cutter

Scissors

Gusset Bags (4)

Plain and Patterned Cardstocks

White Gems

Ric Rac

Green and Brown Chalk Inks

Chipboard Christmas Sentiment

Stylus

Beacon Adhesives: Fabri-Tac Adhesive

DISCLAIMERS

This blog is compensated to provide opinion on products, services, websites, and various other topics. Even though the owner(s) of this blog receives compensation for our posts or advertisements. I always give my honest opinions, findings, beliefs, or experiences on those topics or products. The views and opinions expressed on this blog are purely my own. Any product claim, statistic, or quote should be checked with each manufacturer. Verify other representations about a product or service with the provider or party in question.This blog contains affiliate linksClicking these links helps to support Tonya Trantham Designs – Creative Paper Addiction. It’s at no additional cost to you. Today’s features are Sizzix, Eileen Hull and Scrapbook.com Products. 

A decorated journal cover featuring a deer surrounded by greenery, with the phrase 'It's the most wonderful time of the year' prominently displayed, against a colorful patterned background with various paper strips.

Thanks for stopping by, I hope your Tuesday is wonderful and enjoy creating!

A decorative digital graphic featuring a bird among colorful flowers with the name 'Tonya' artistically displayed.

Creating a Floral Gift Card Holder with Eileen Hull Dies

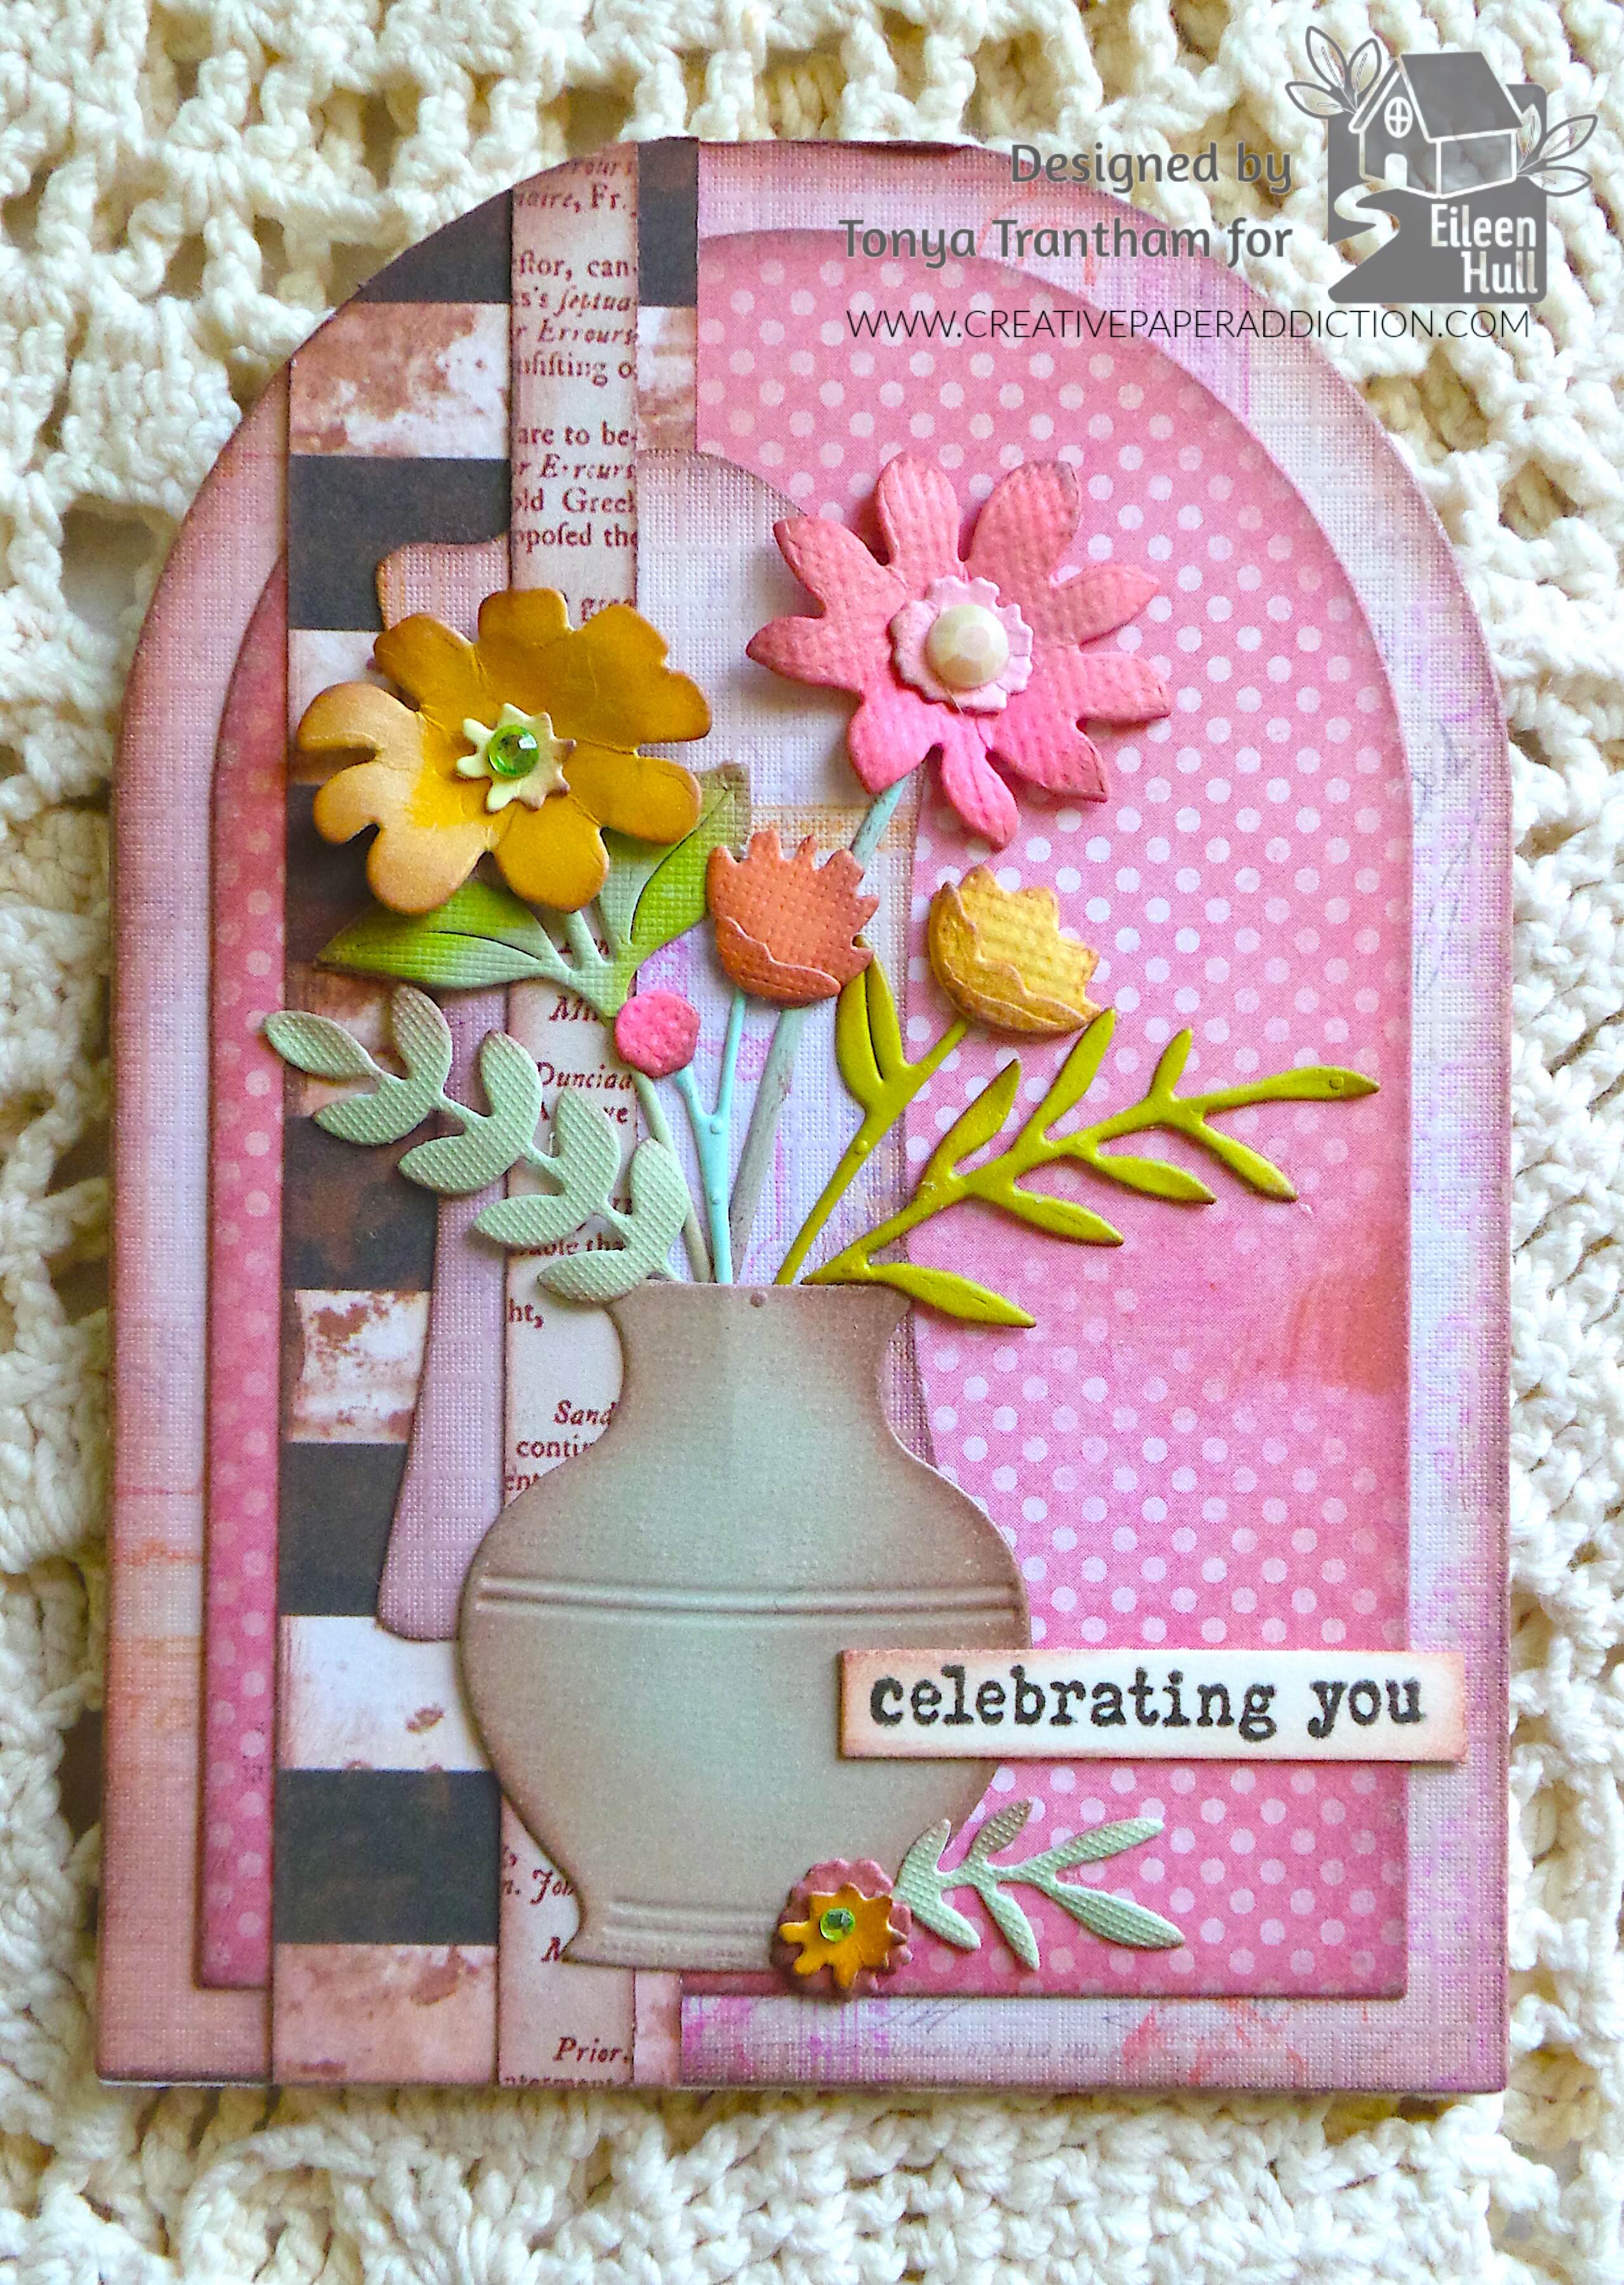
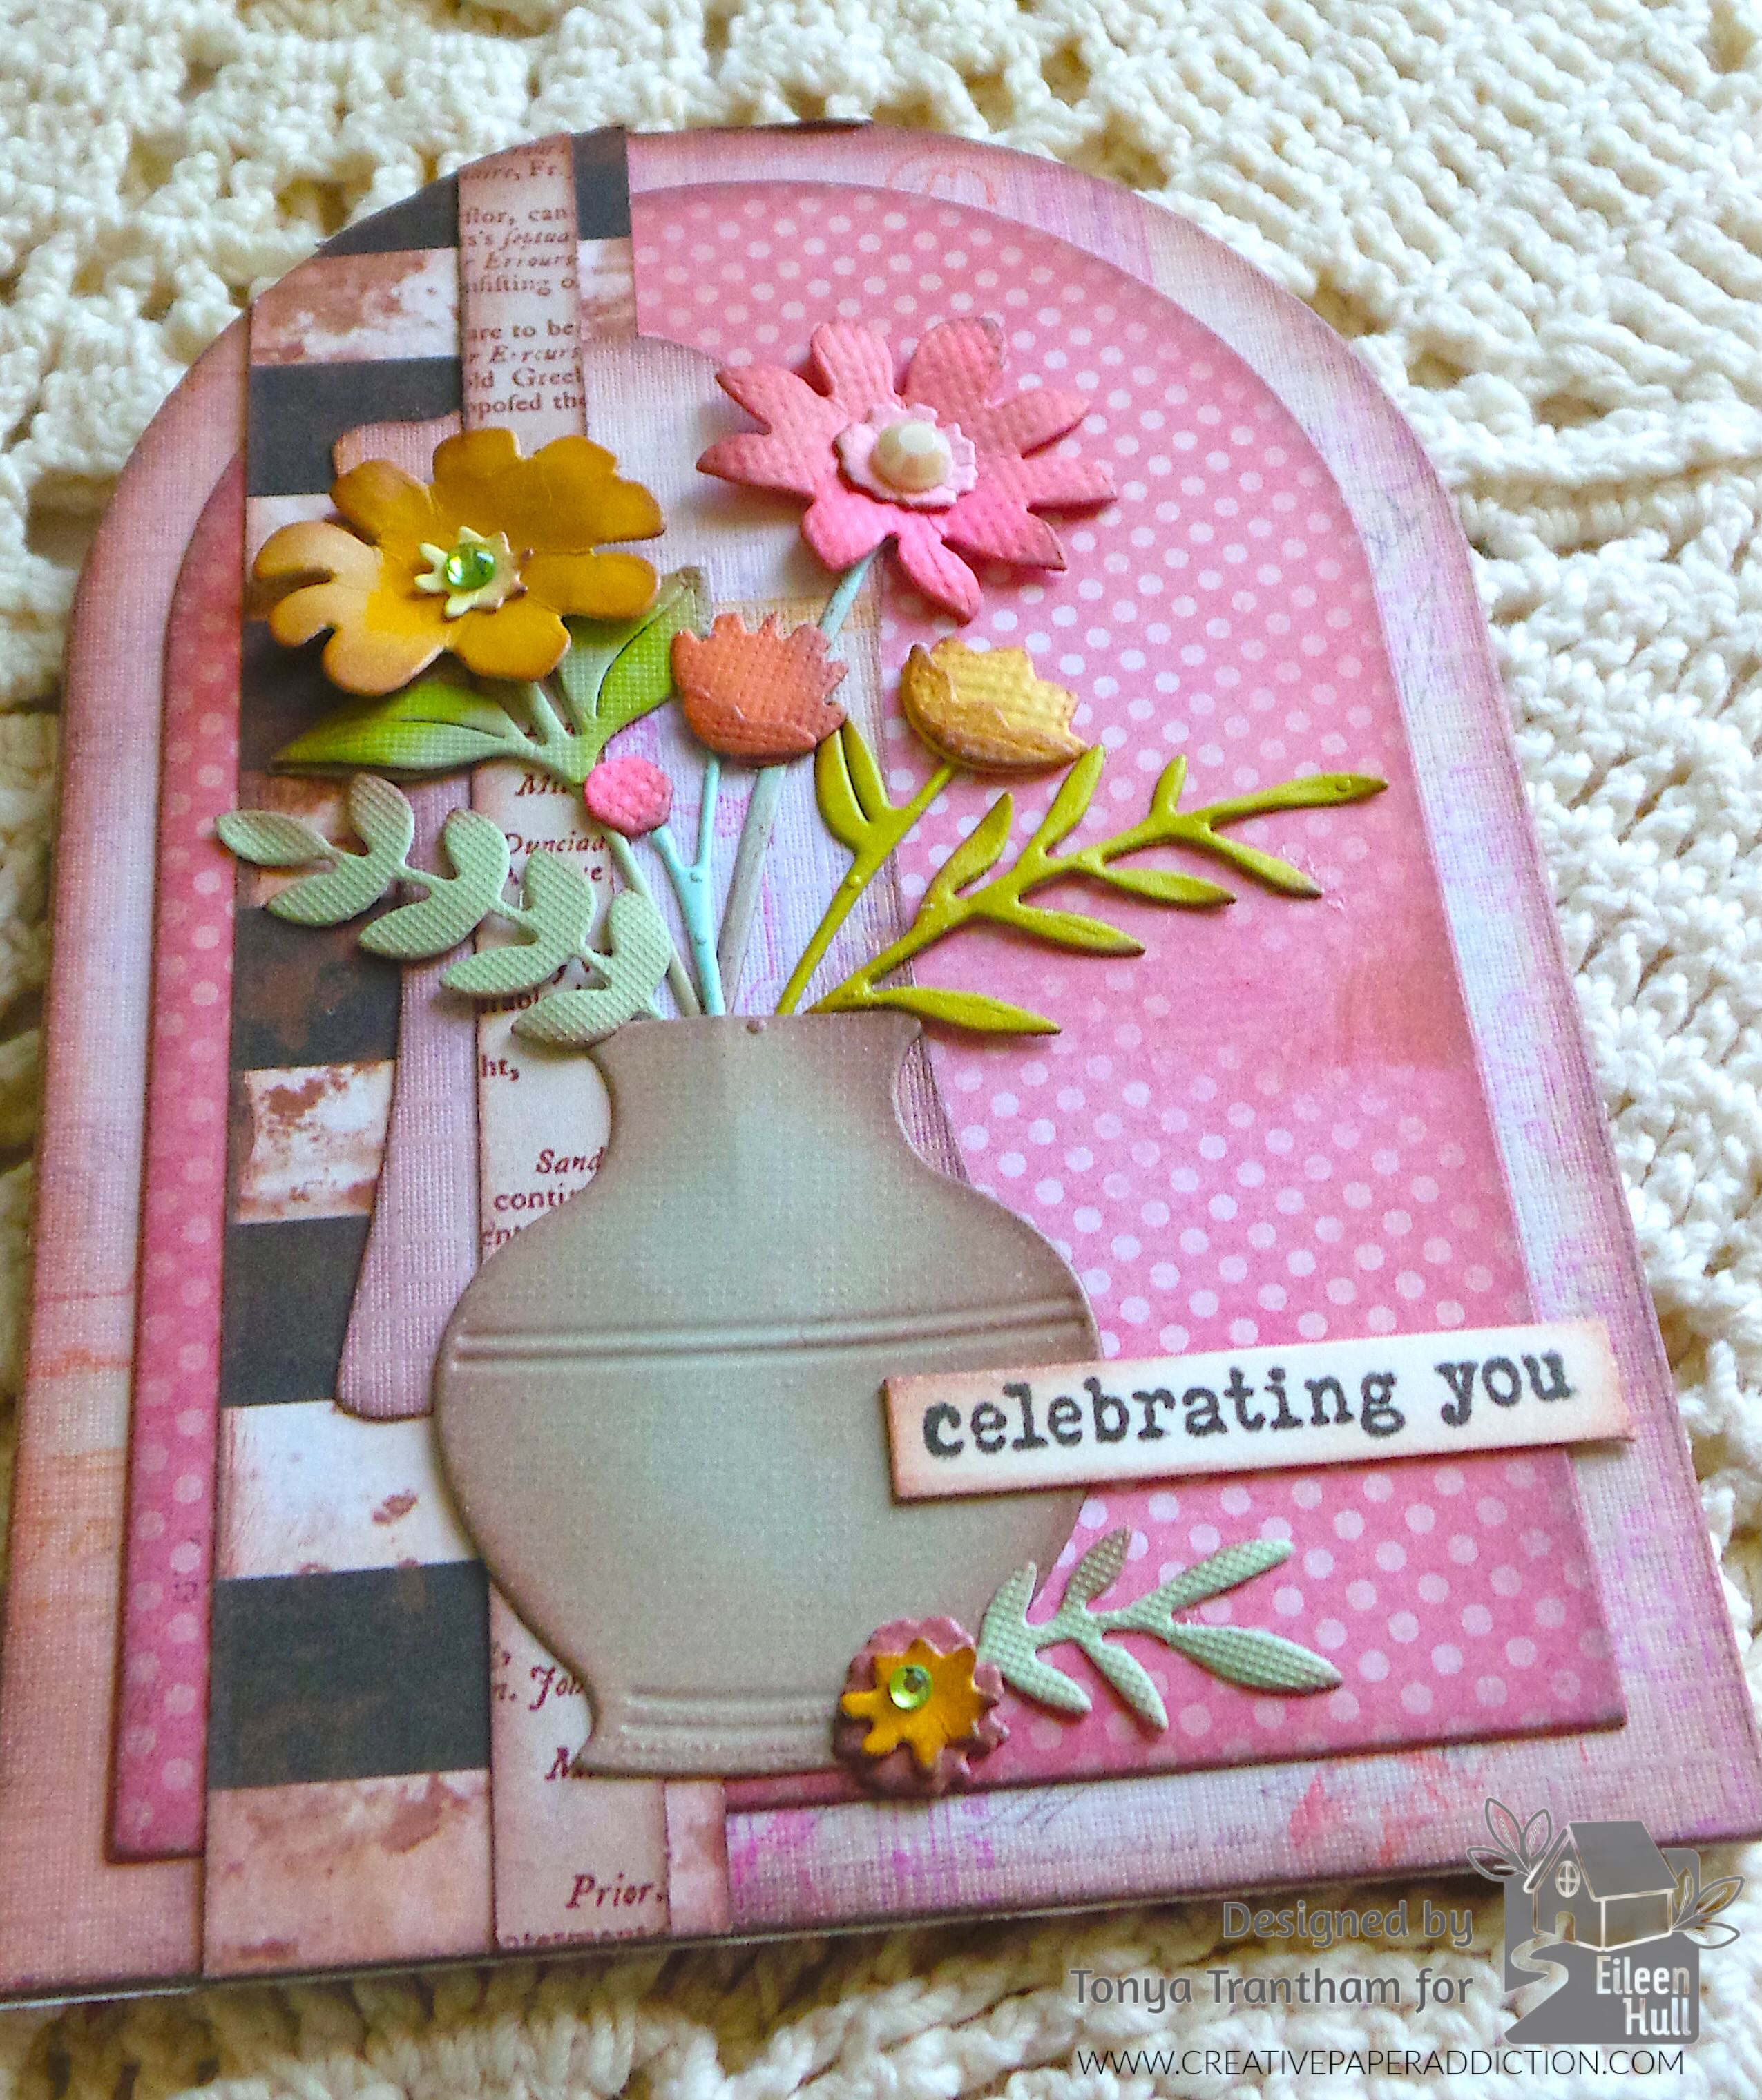
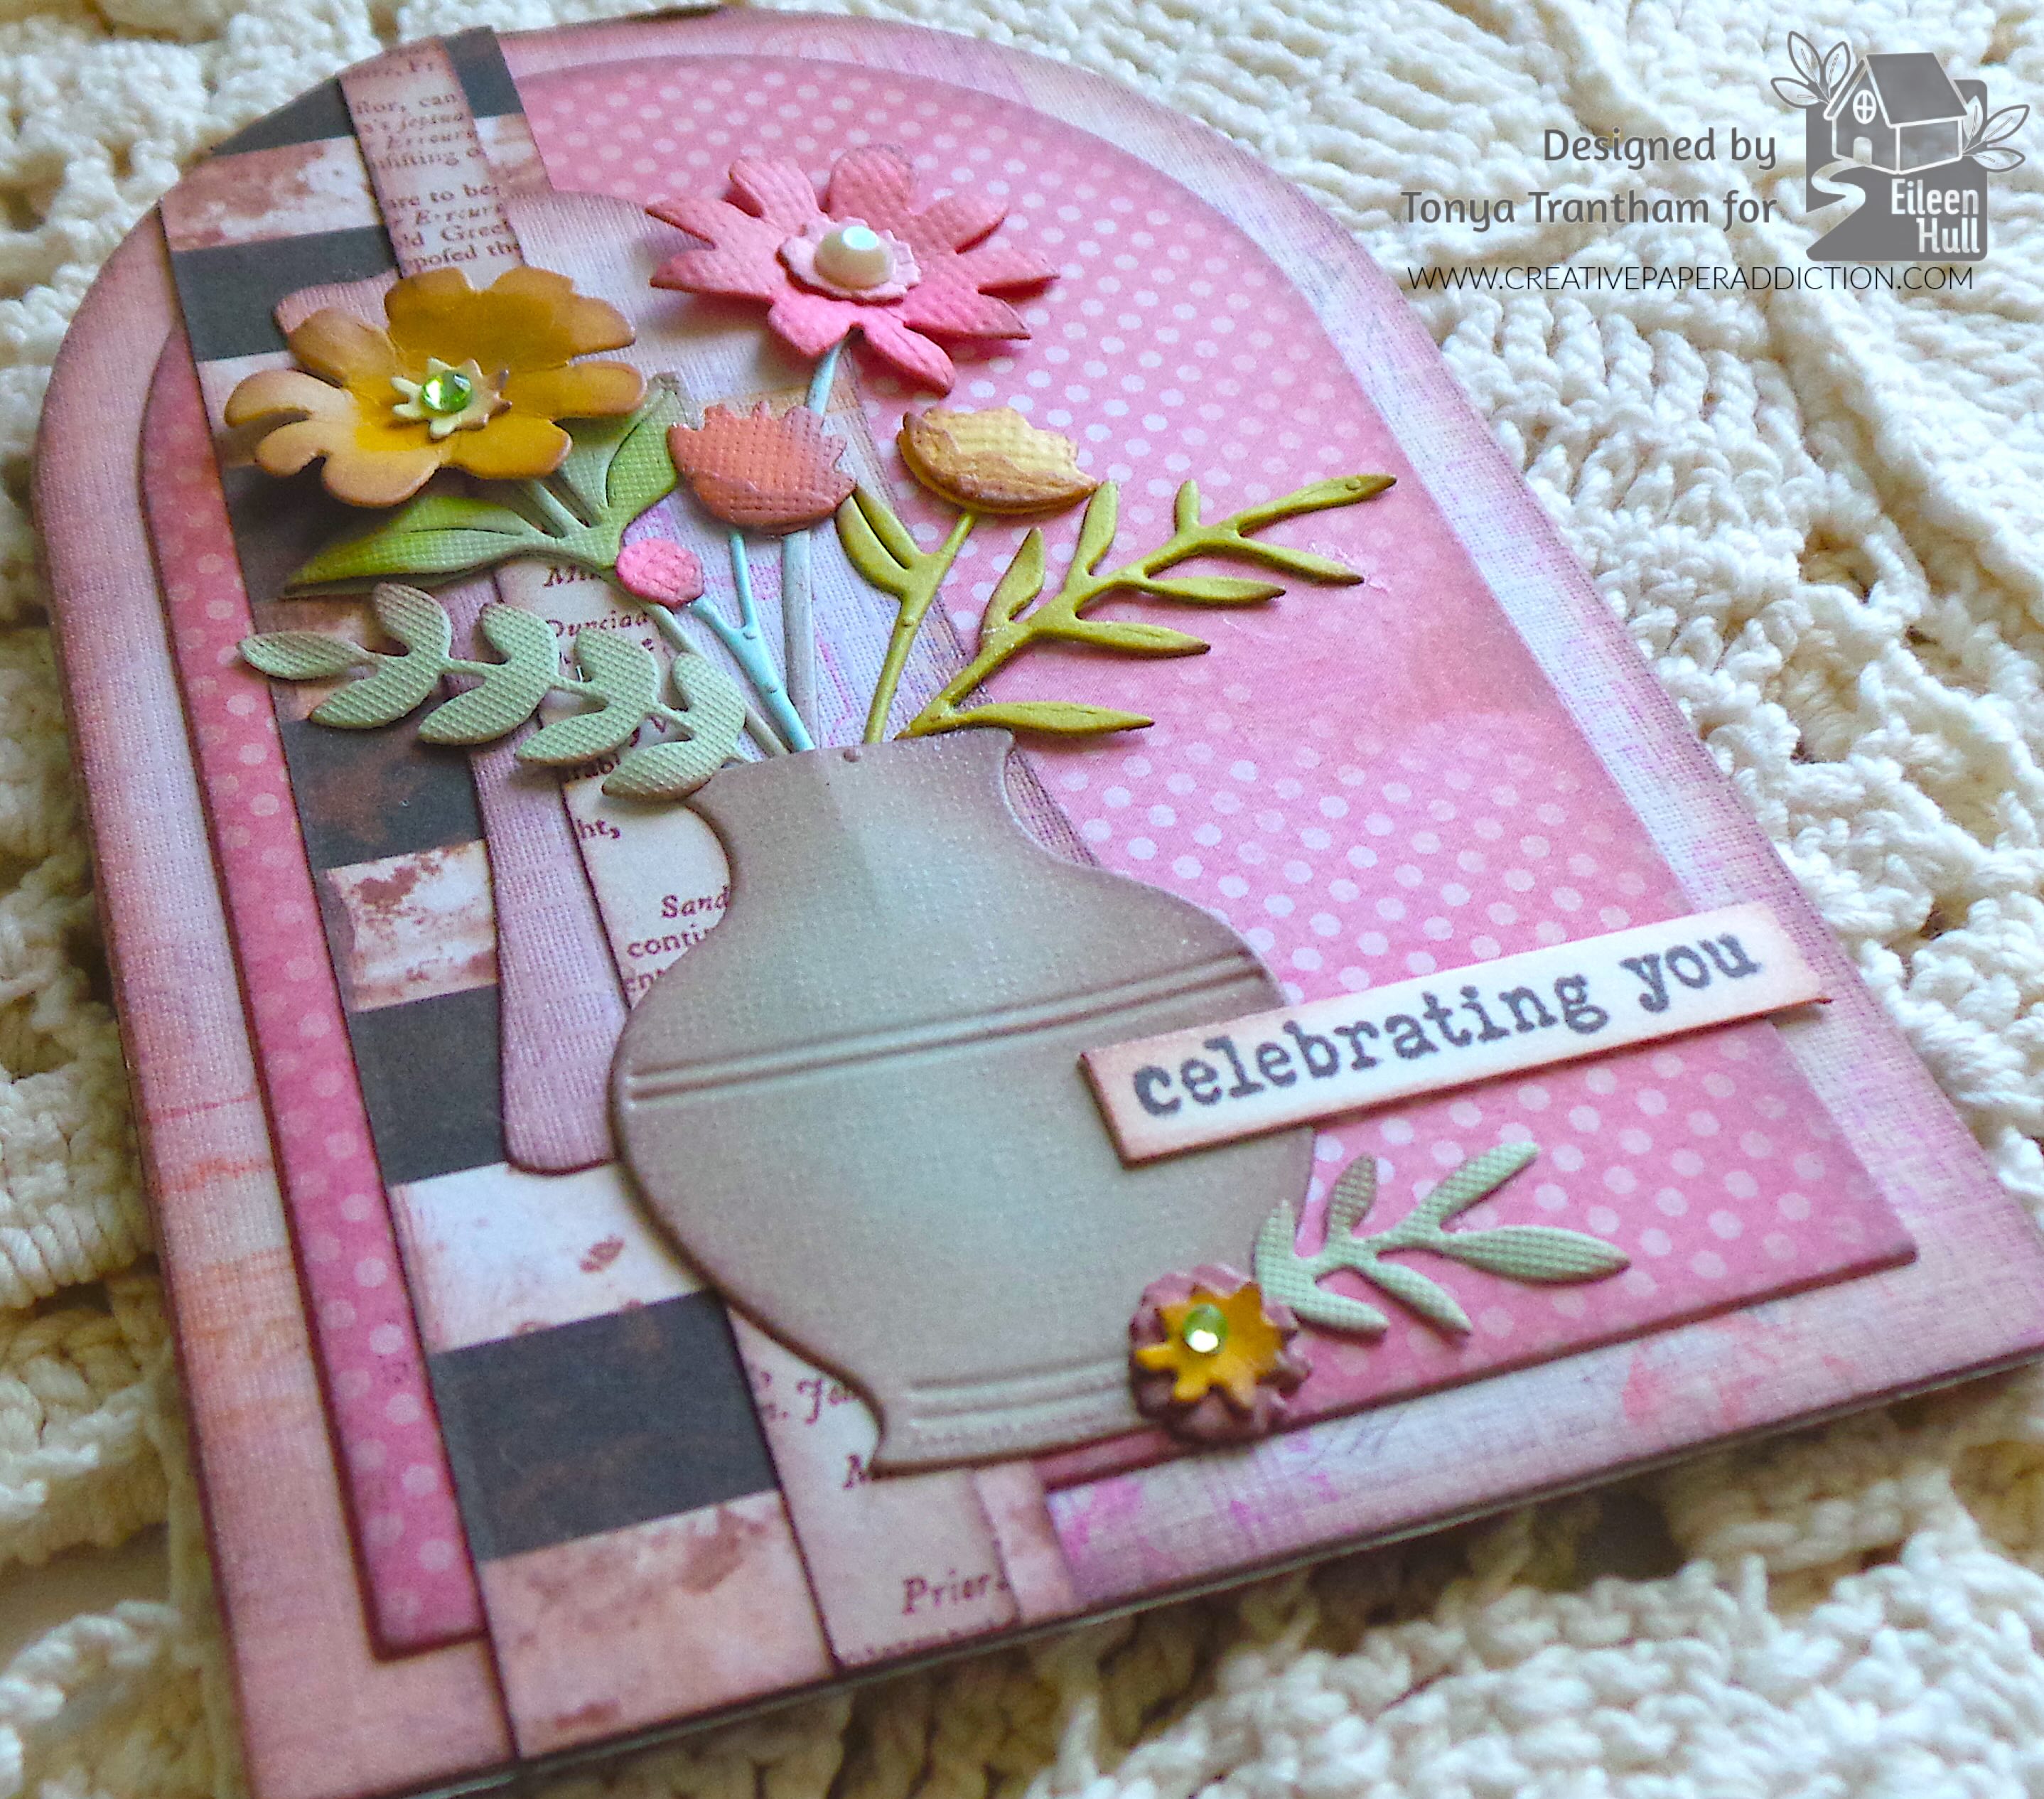
Hi everyone! I’m back with a project I created. If you’re like me and like giving gift cards but like to “dress up” them up I have the solution. I made a gift card holder using an assortment of dies and stamps: Tunnel Arches Thinlits, Home Sweet Home Thinlits, Windowsill Flowers and Vase Thinlits, Journal Hardware Diecut and Fan Favorite Clear Stamp Set. These are all by Eileen Hull.

A decorated gift card holder featuring a vase of colorful flowers and the text 'celebrating you', set against a patterned background.

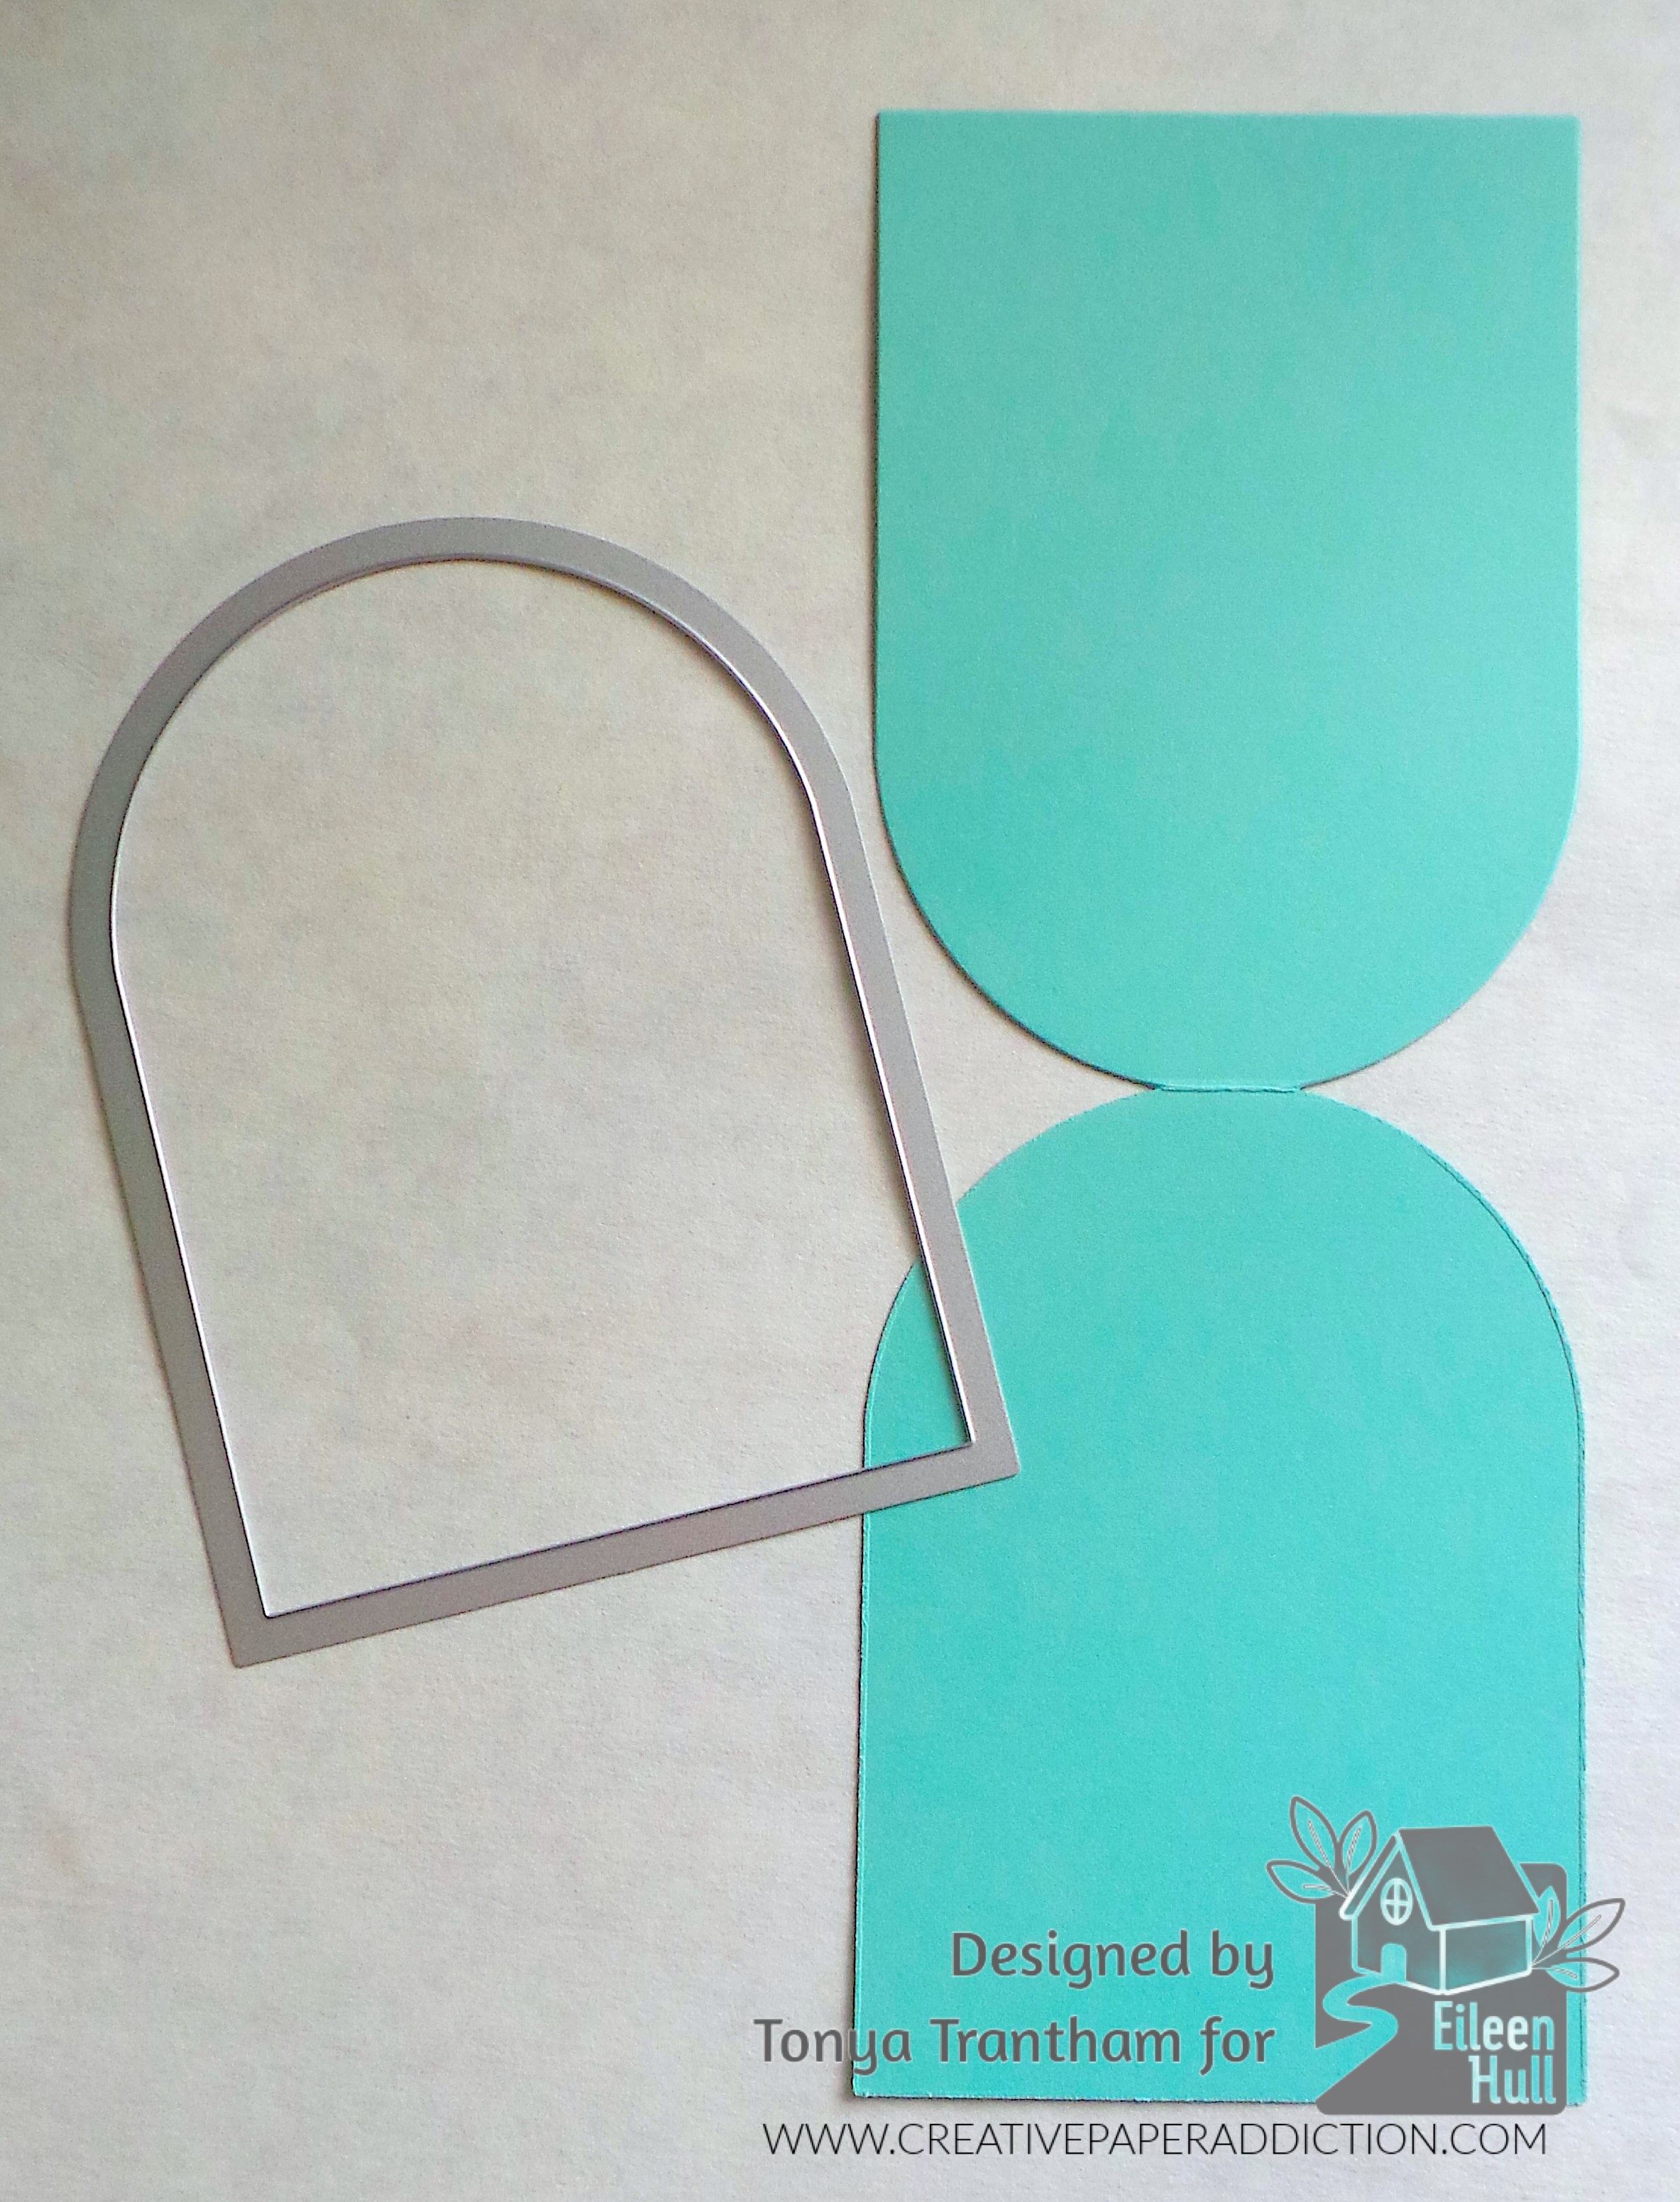
The first thing I did was fold a piece of cardstock in half. I placed the folded edge of the cardstock just below the top edge of the largest tunnel die from the Tunnel Arches Thinlits and run through the Diecut Machine. This created the base for the card.

Flat lay of a turquoise cardstock piece and an intricate metal die, showing the preparation for a gift card holder project.

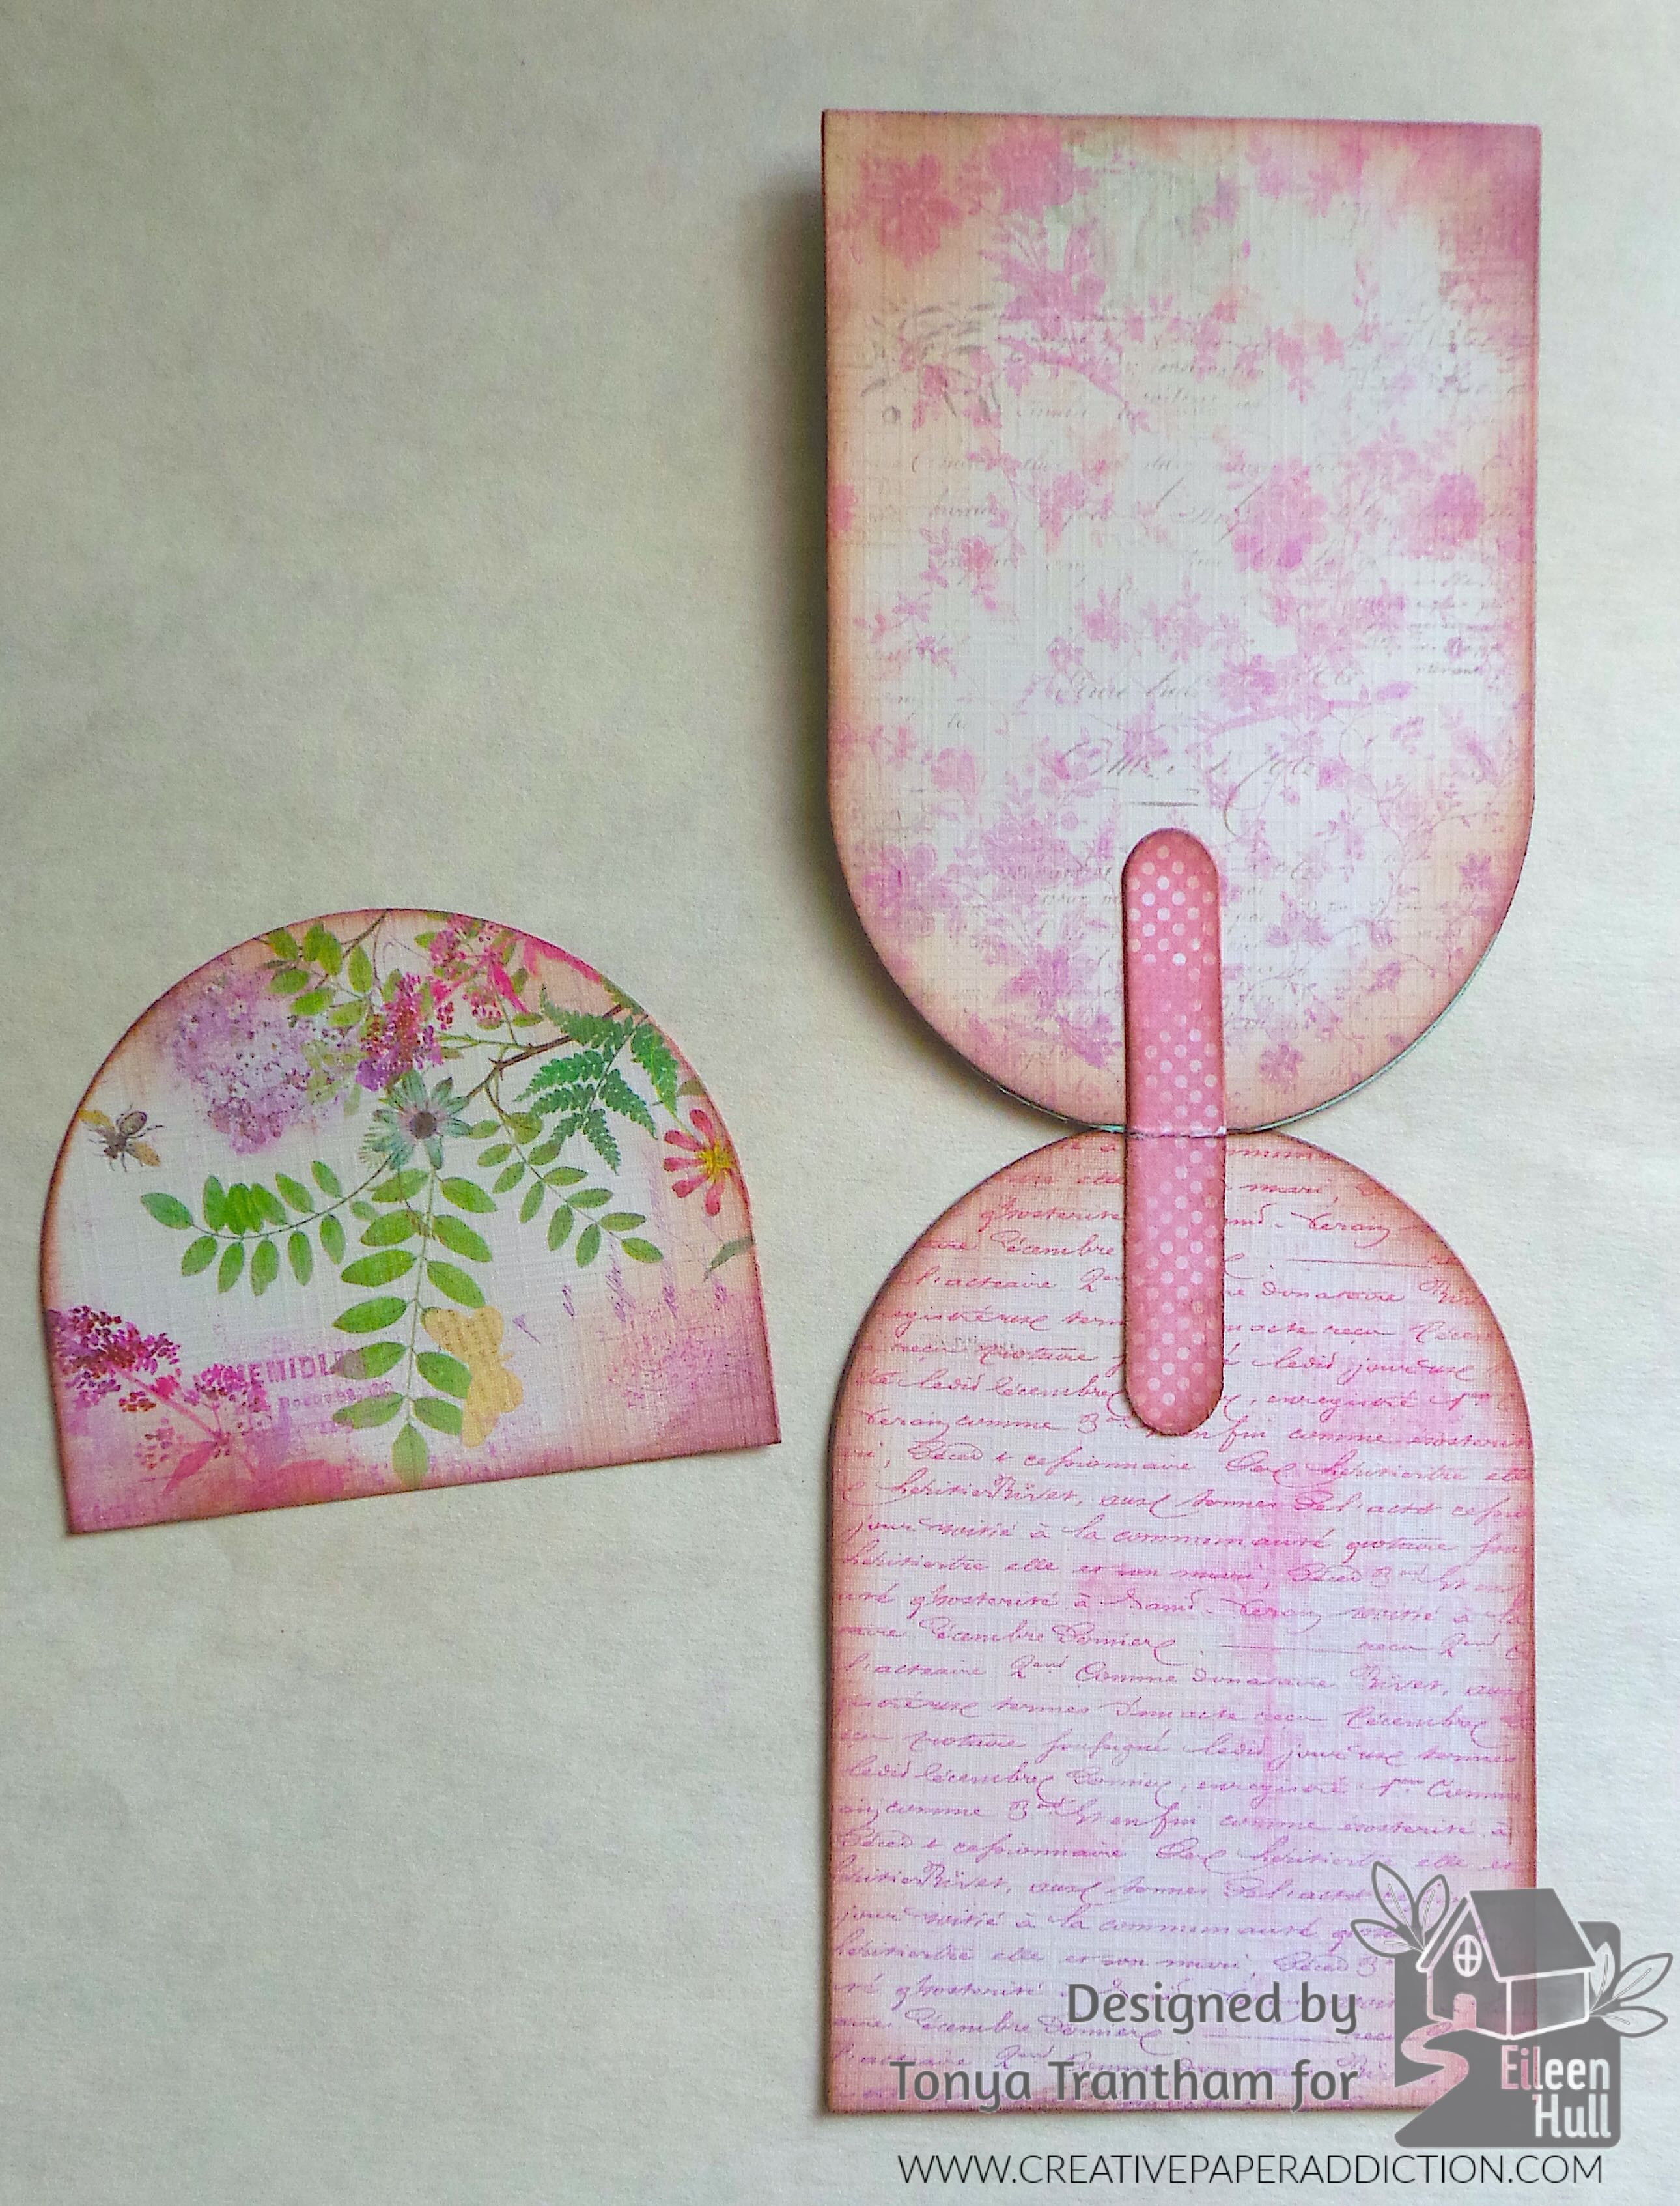
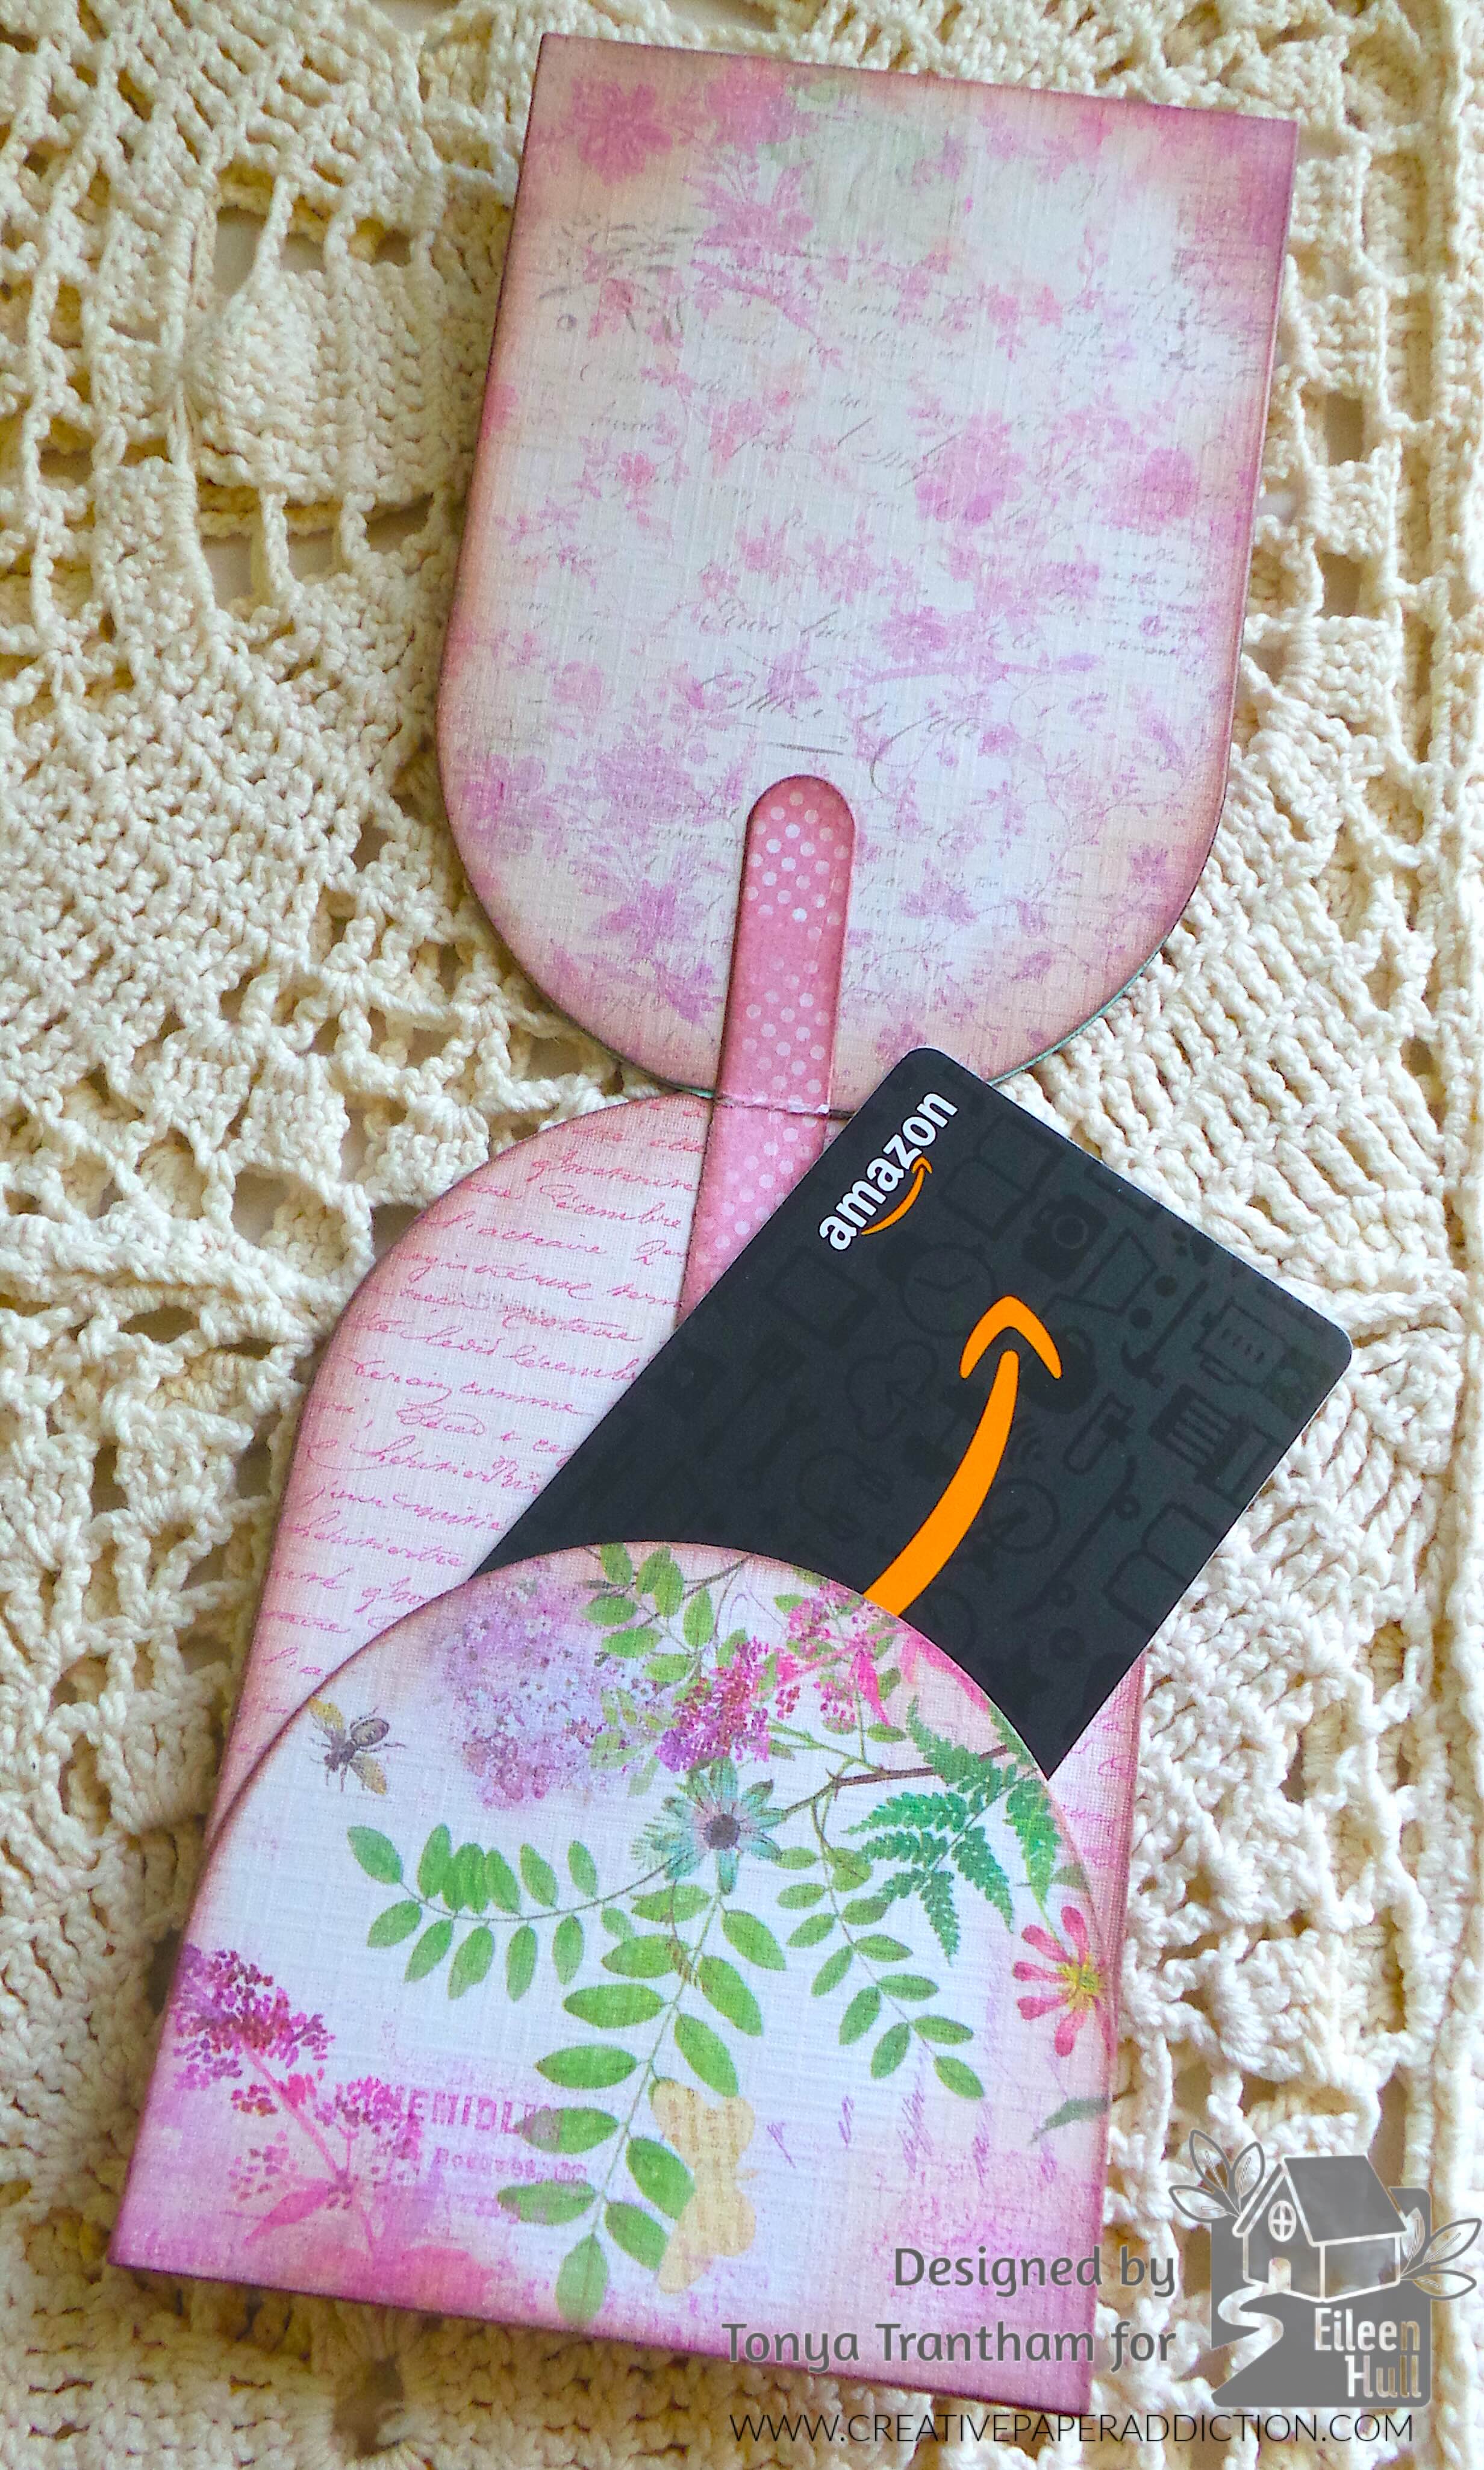
I didn’t like how flimsy the cardstock felt so I wound up covering both sides of the card base with patterned cardstock. I cut the largest tunnel die and the bottom half off to use as a pocket for inside the card and adhered the sides and the bottom to the card. I also folded half a piece of patterned cardstock. I placed below the bottom of the smallest tunnel die and run through the diecut machine. I glued that to the inside of the card base to reinforce the card.

A handmade gift card holder featuring a floral-patterned design with a pocket for a gift card and a decorative flap.

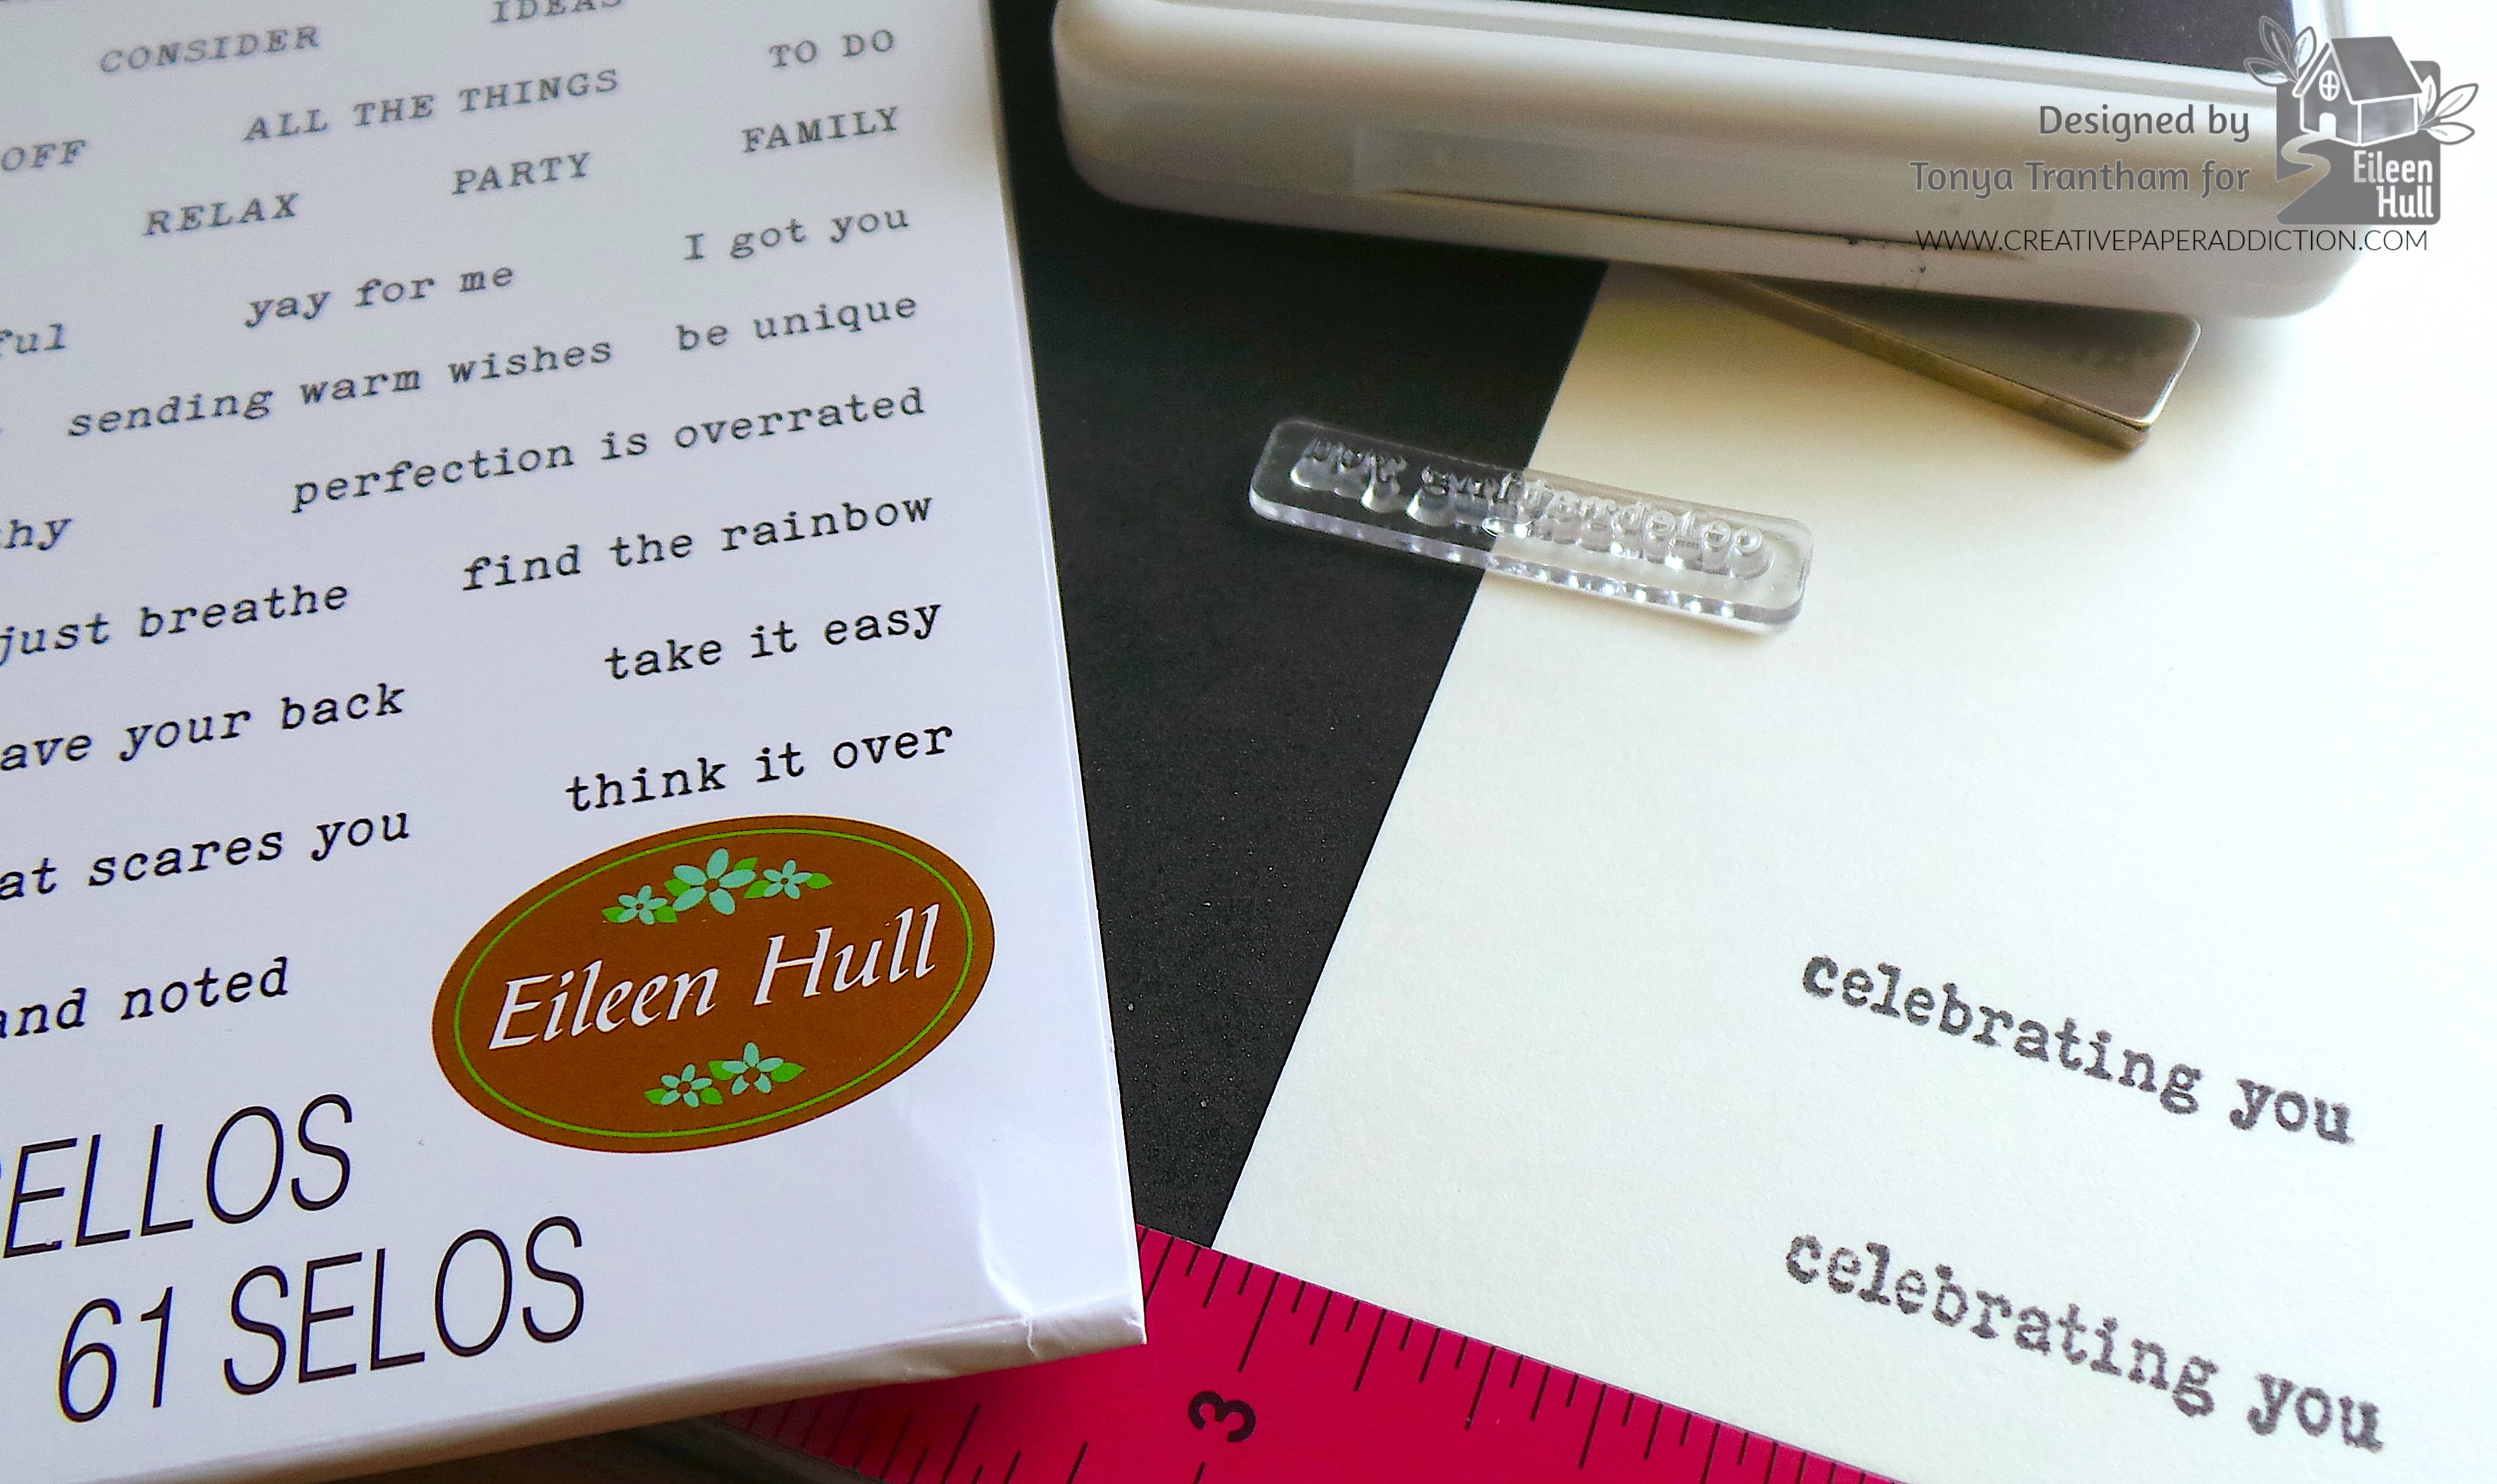
I placed the “celebrating you” stamp from the Fan Favorite Clear Stamp Set onto the MISTI Stamping Tool and inked with Black Ink and stamped onto a piece of White Cardstock.

Close-up of clear stamps and a label with the text 'celebrating you' printed on a piece of white cardstock, with a stapler and ruler visible in the background.

I cut a label from the Journal Hardware Diecut. I glued that and a couple of stripes of patterned cardstock to the front of the card. I cut an assortment of flowers, stems, leaf sprigs and vase from the Home Sweet Home Thinlits and Windowsill Flowers and Vase Thinlits. I did add Double Sided Adhesive Roll to the back of the cardstock before cutting out the stems.

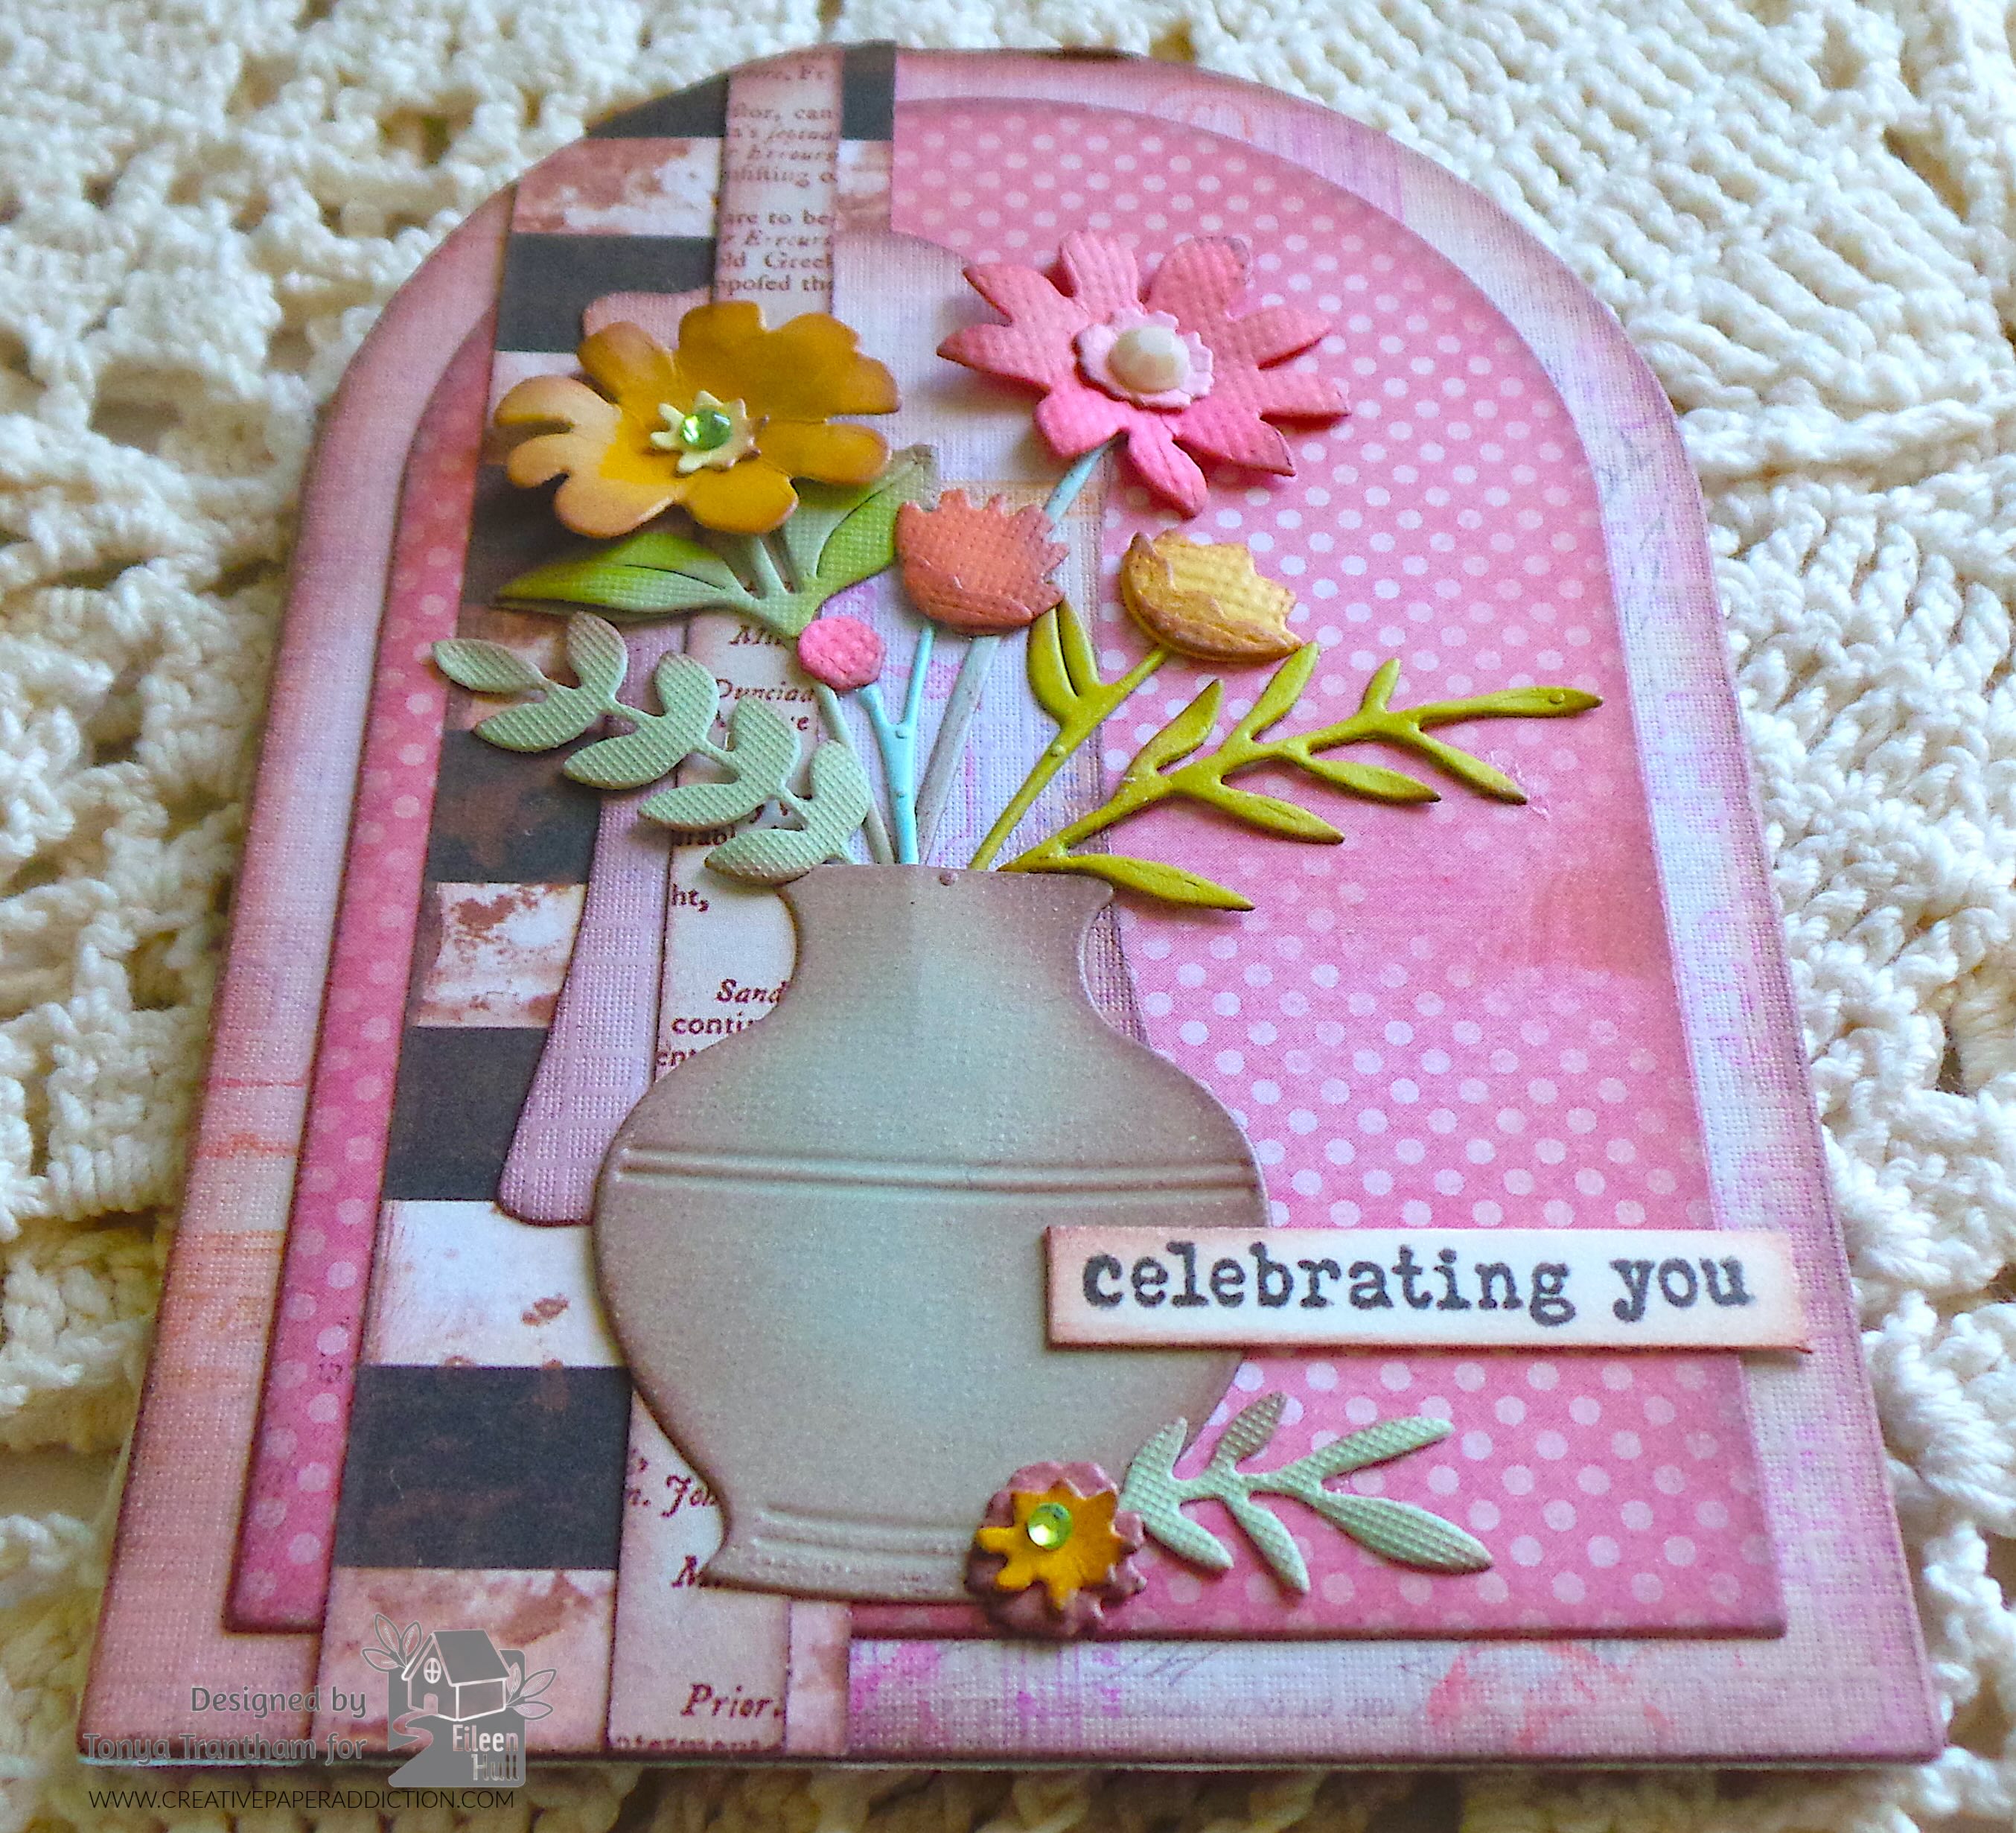
A decorative gift card holder featuring a vase with colorful flowers and leaves, embellished with the phrase 'celebrating you' on a patterned background.

I inked all dies with brown chalk ink. I shaped the flowers and stems and leaf sprigs with a Stylus. I applied the stem dies to the card first. I layered the flowers and placed on the stems. I added a gems to the center of the flowers. I glued the vase over the bottoms of the stems. I added a couple of the I added a couple of leaf sprigs to the vase.

A decorated gift card holder featuring a vase with colorful flowers, leaves, and the phrase 'celebrating you' on a patterned background.

I also adhered a smaller leaf sprig and small flower to the bottom of the vase. I lightly inked the edges of the sentiment before gluing to the card to finish.

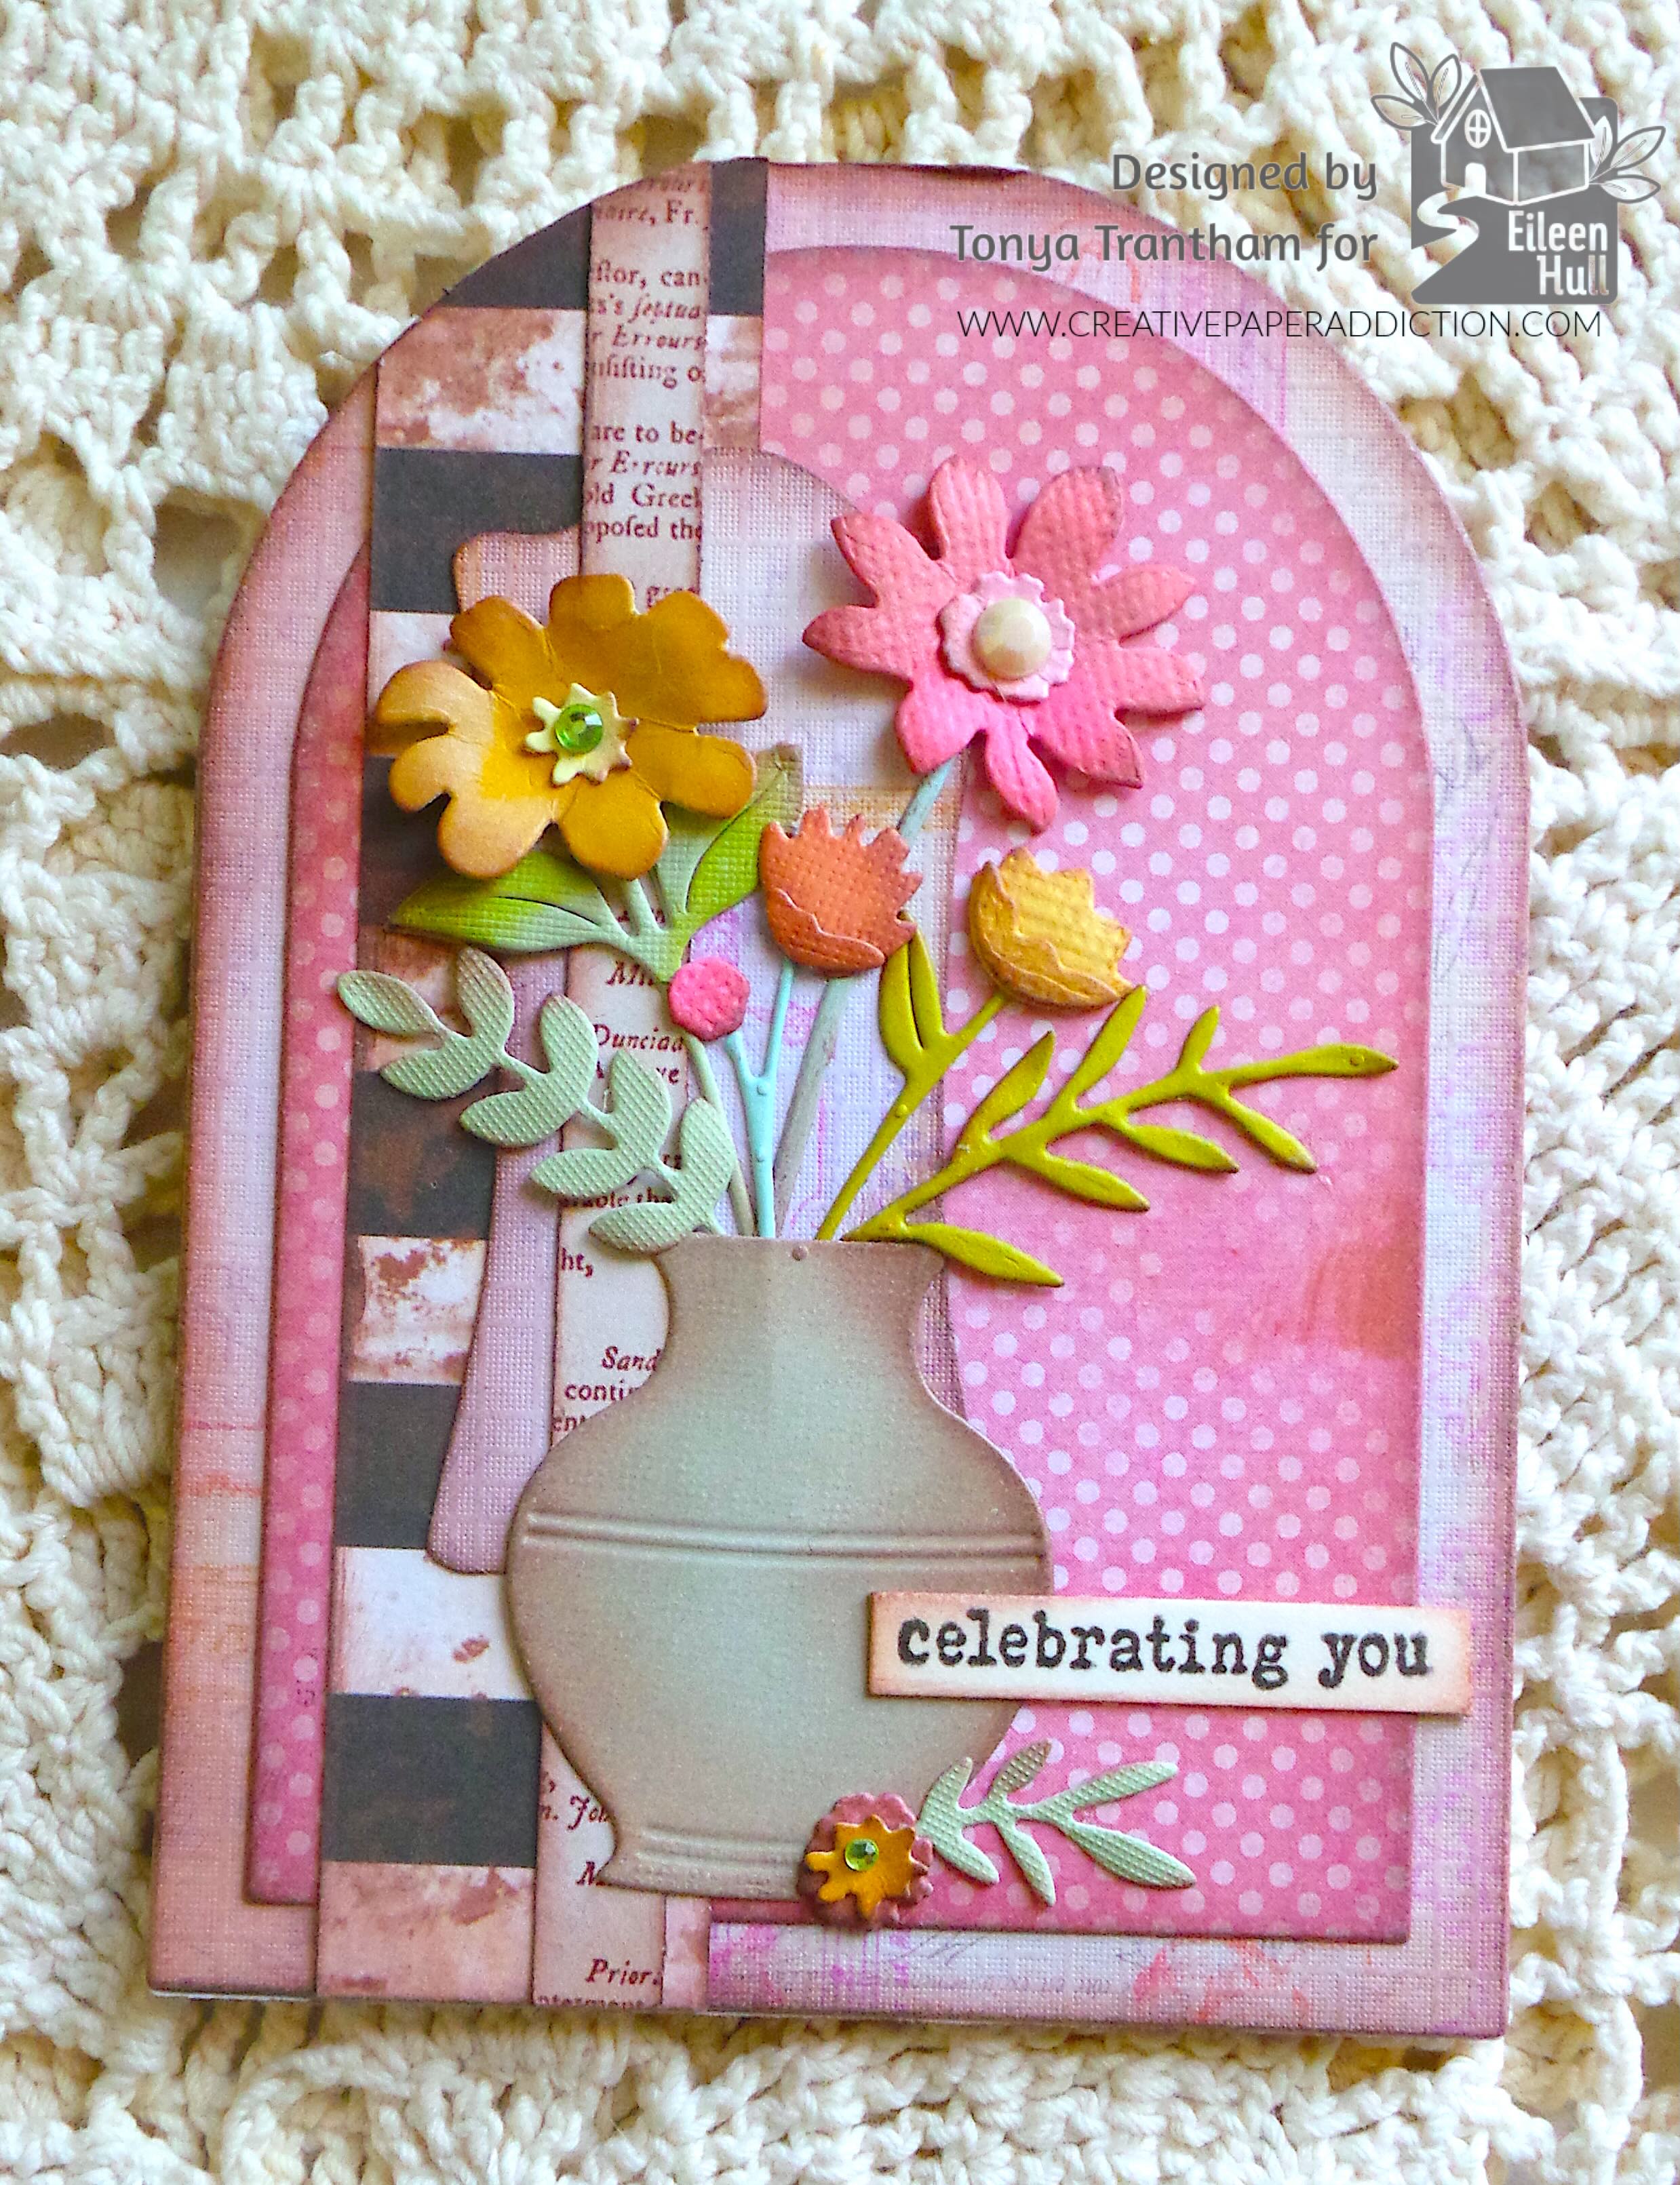
A decorative gift card holder featuring a vase filled with colorful flowers, placed on a patterned background with the phrase 'celebrating you' attached.

All you need to do is add a gift card and it is ready to give. I plan on making a few more of these but change the theme to Christmas.

If you haven’t been by Eileen’s blog lately you can find the latest post HERE. Also if you have any questions or comments please leave them below.

Gift card holder made from patterned cardstock featuring floral designs, designed to hold a gift card securely.

Supplies

Sizzix/Eileen Hull: Tunnel Arches Thinlits

Sizzix/Eileen Hull: Home Sweet Home Thinlits

Sizzix/Eileen Hull: Windowsill Flowers and Vase Thinlits

Sizzix/Eileen Hull: Journal Hardware Diecut

Sizzix/Eileen Hull: Fan Favorite Clear Stamp Set

Diecut Machine

Various Plain and Patterned Cardstocks

MISTI Stamping Tool

Black Ink

Brown Chalk Ink

White Cardstock

Stylus

Double Sided Adhesive Roll

Gems

Beacon Adhesives: Zip Dry Adhesive

(Products listed above are Affiliated Links for your convenience)

DISCLAIMERS

This blog is compensated to provide opinion on products, services, websites, and various other topics. Even though the owner(s) of this blog receives compensation for our posts or advertisements. I always give my honest opinions, findings, beliefs, or experiences on those topics or products. The views and opinions expressed on this blog are purely my own. Any product claim, statistic, or quote should be checked with each manufacturer. Verify other representations about a product or service with the provider or party in question.This blog contains affiliate linksClicking these links helps to support Tonya Trantham Designs – Creative Paper Addiction. It’s at no additional cost to you. Today’s features are Sizzix, Eileen Hull and Scrapbook.com Products. 

A decorative gift card holder featuring a vase with colorful flowers and the phrase 'celebrating you' on a patterned background.

Thanks for stopping by, I hope your Monday is wonderful and enjoy creating!

A decorative image featuring the name 'Tonya' in an elegant script font, surrounded by colorful flowers and a bird, set against a soft, blurred background.

How to Recycle Envelopes into a Tri Fold Journal

Hi everyone! I’m back with my first post of the month. I want to share how I altered three envelopes and turned them into a journal. I used a wide assortment of diecuts from Eileen Hull’s newest collection to create this fun project. Anyways let’s get started!

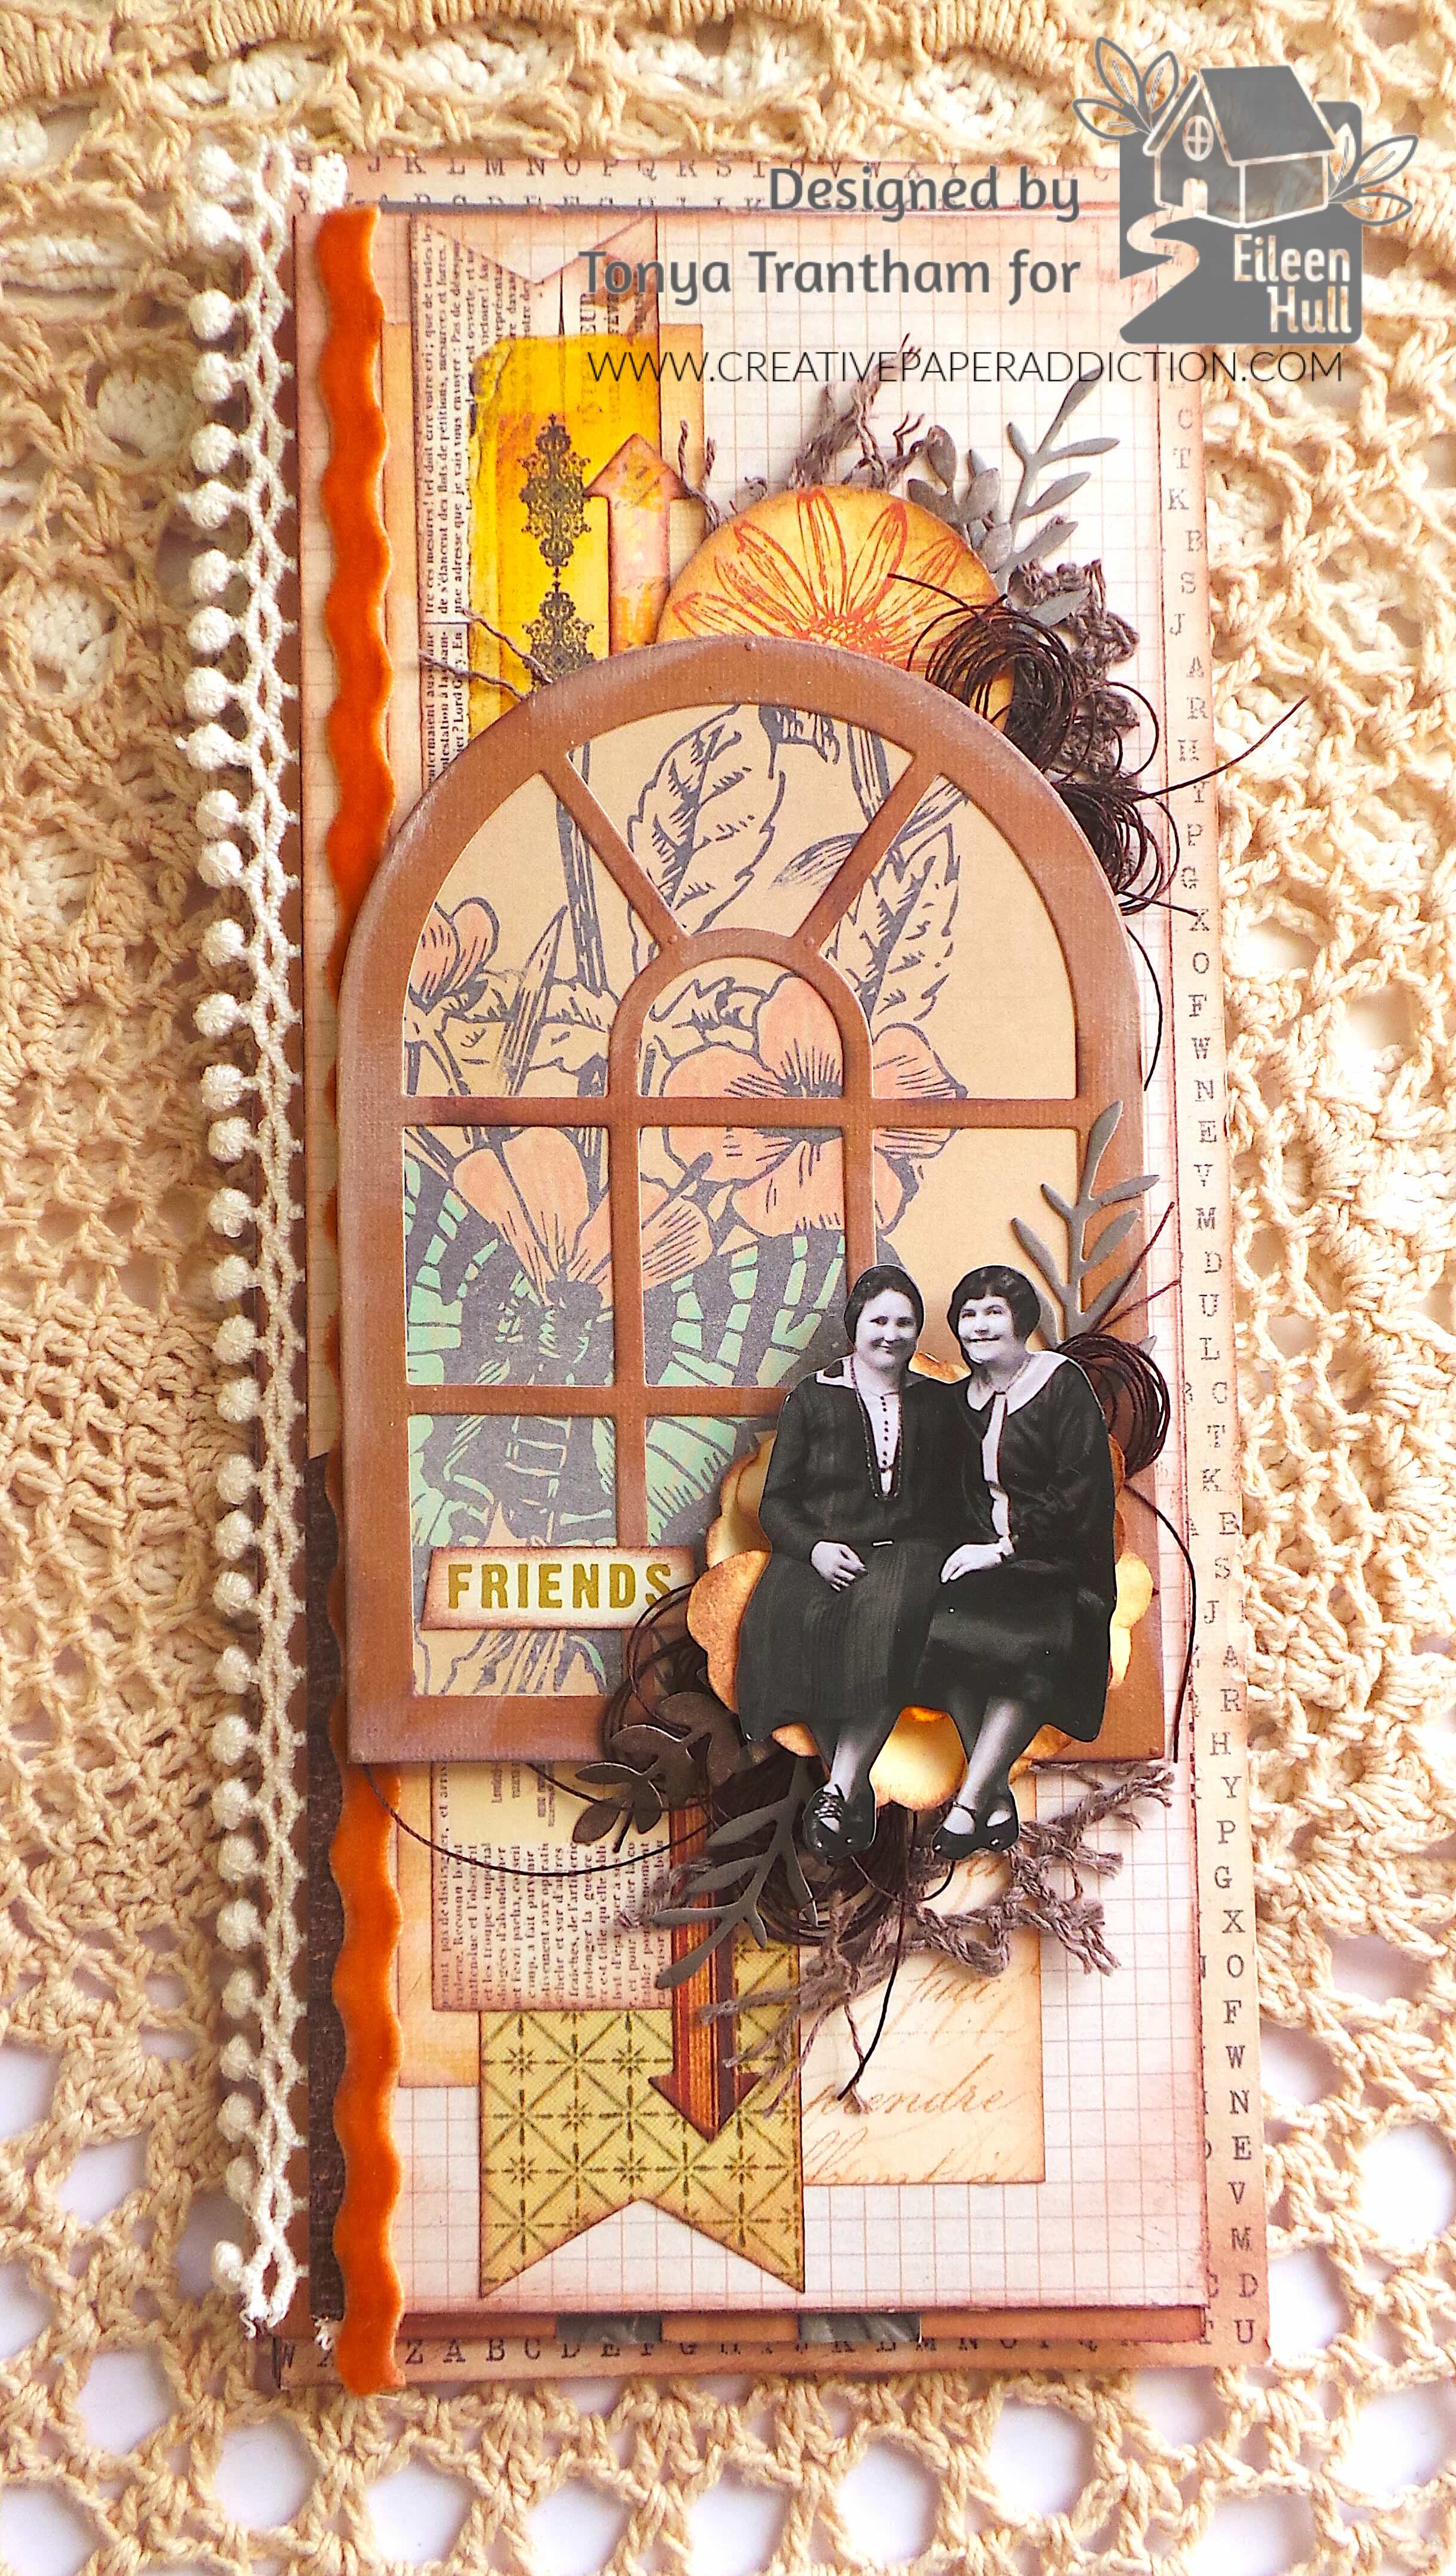
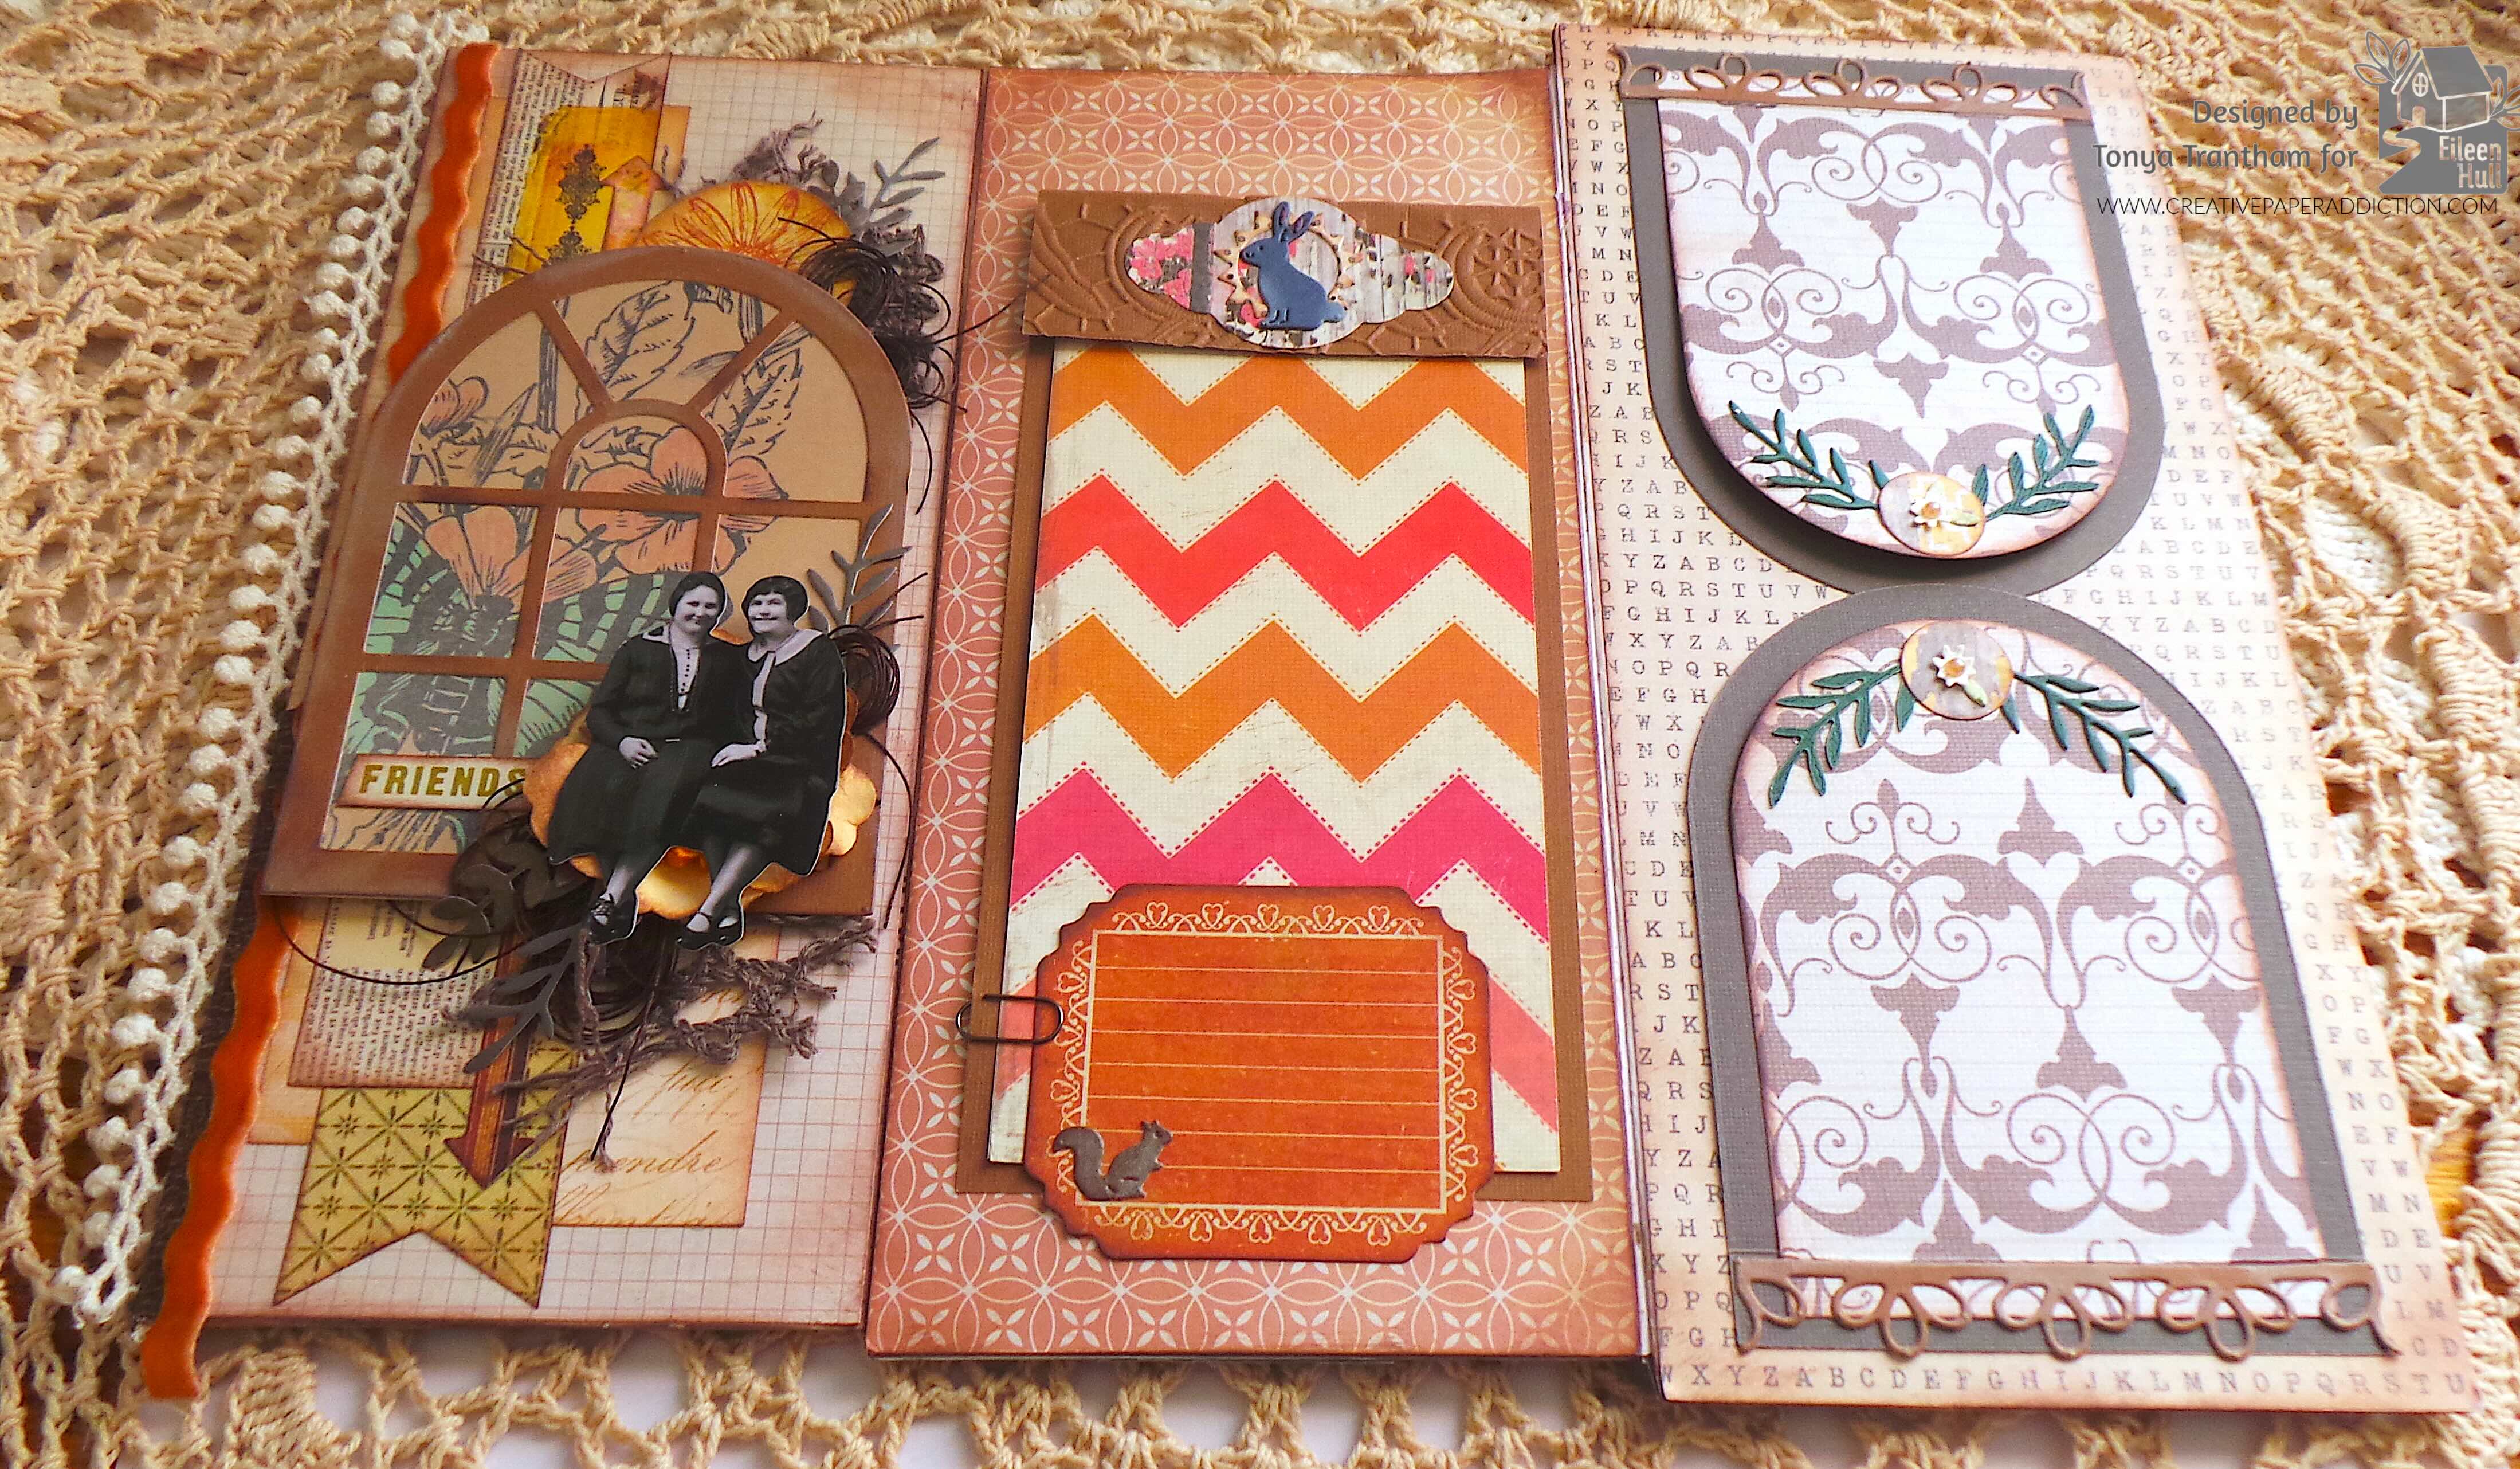
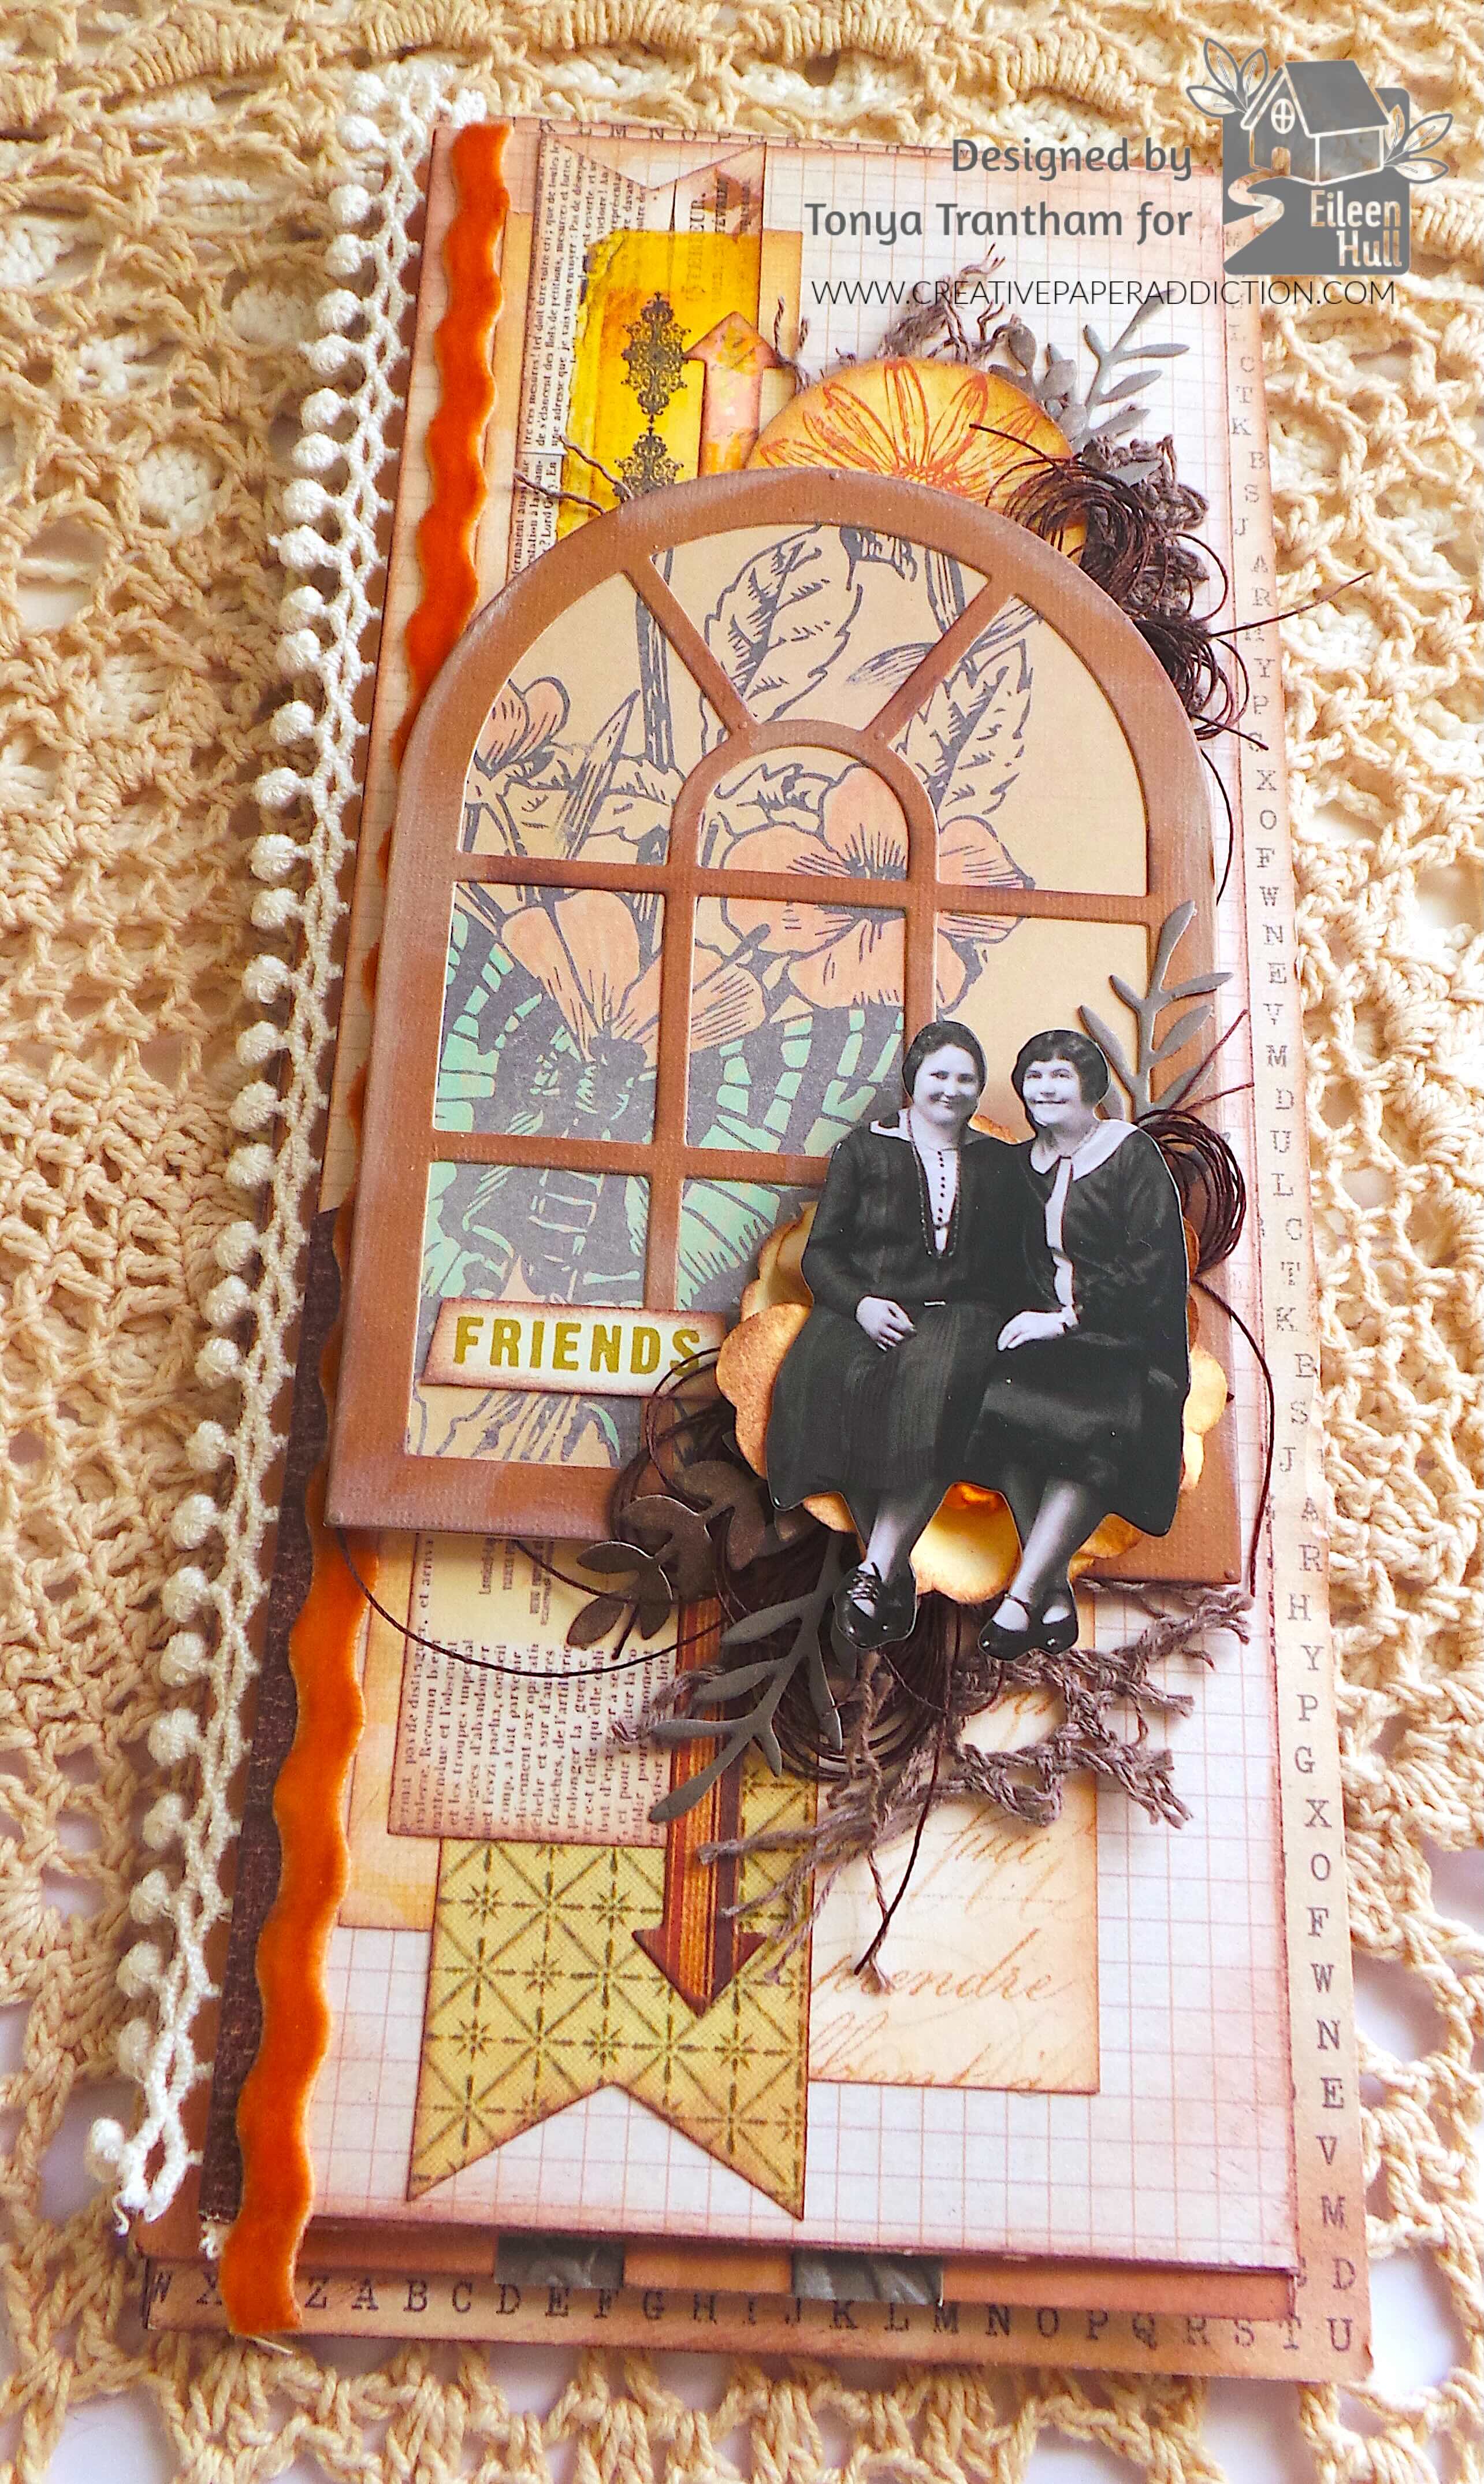
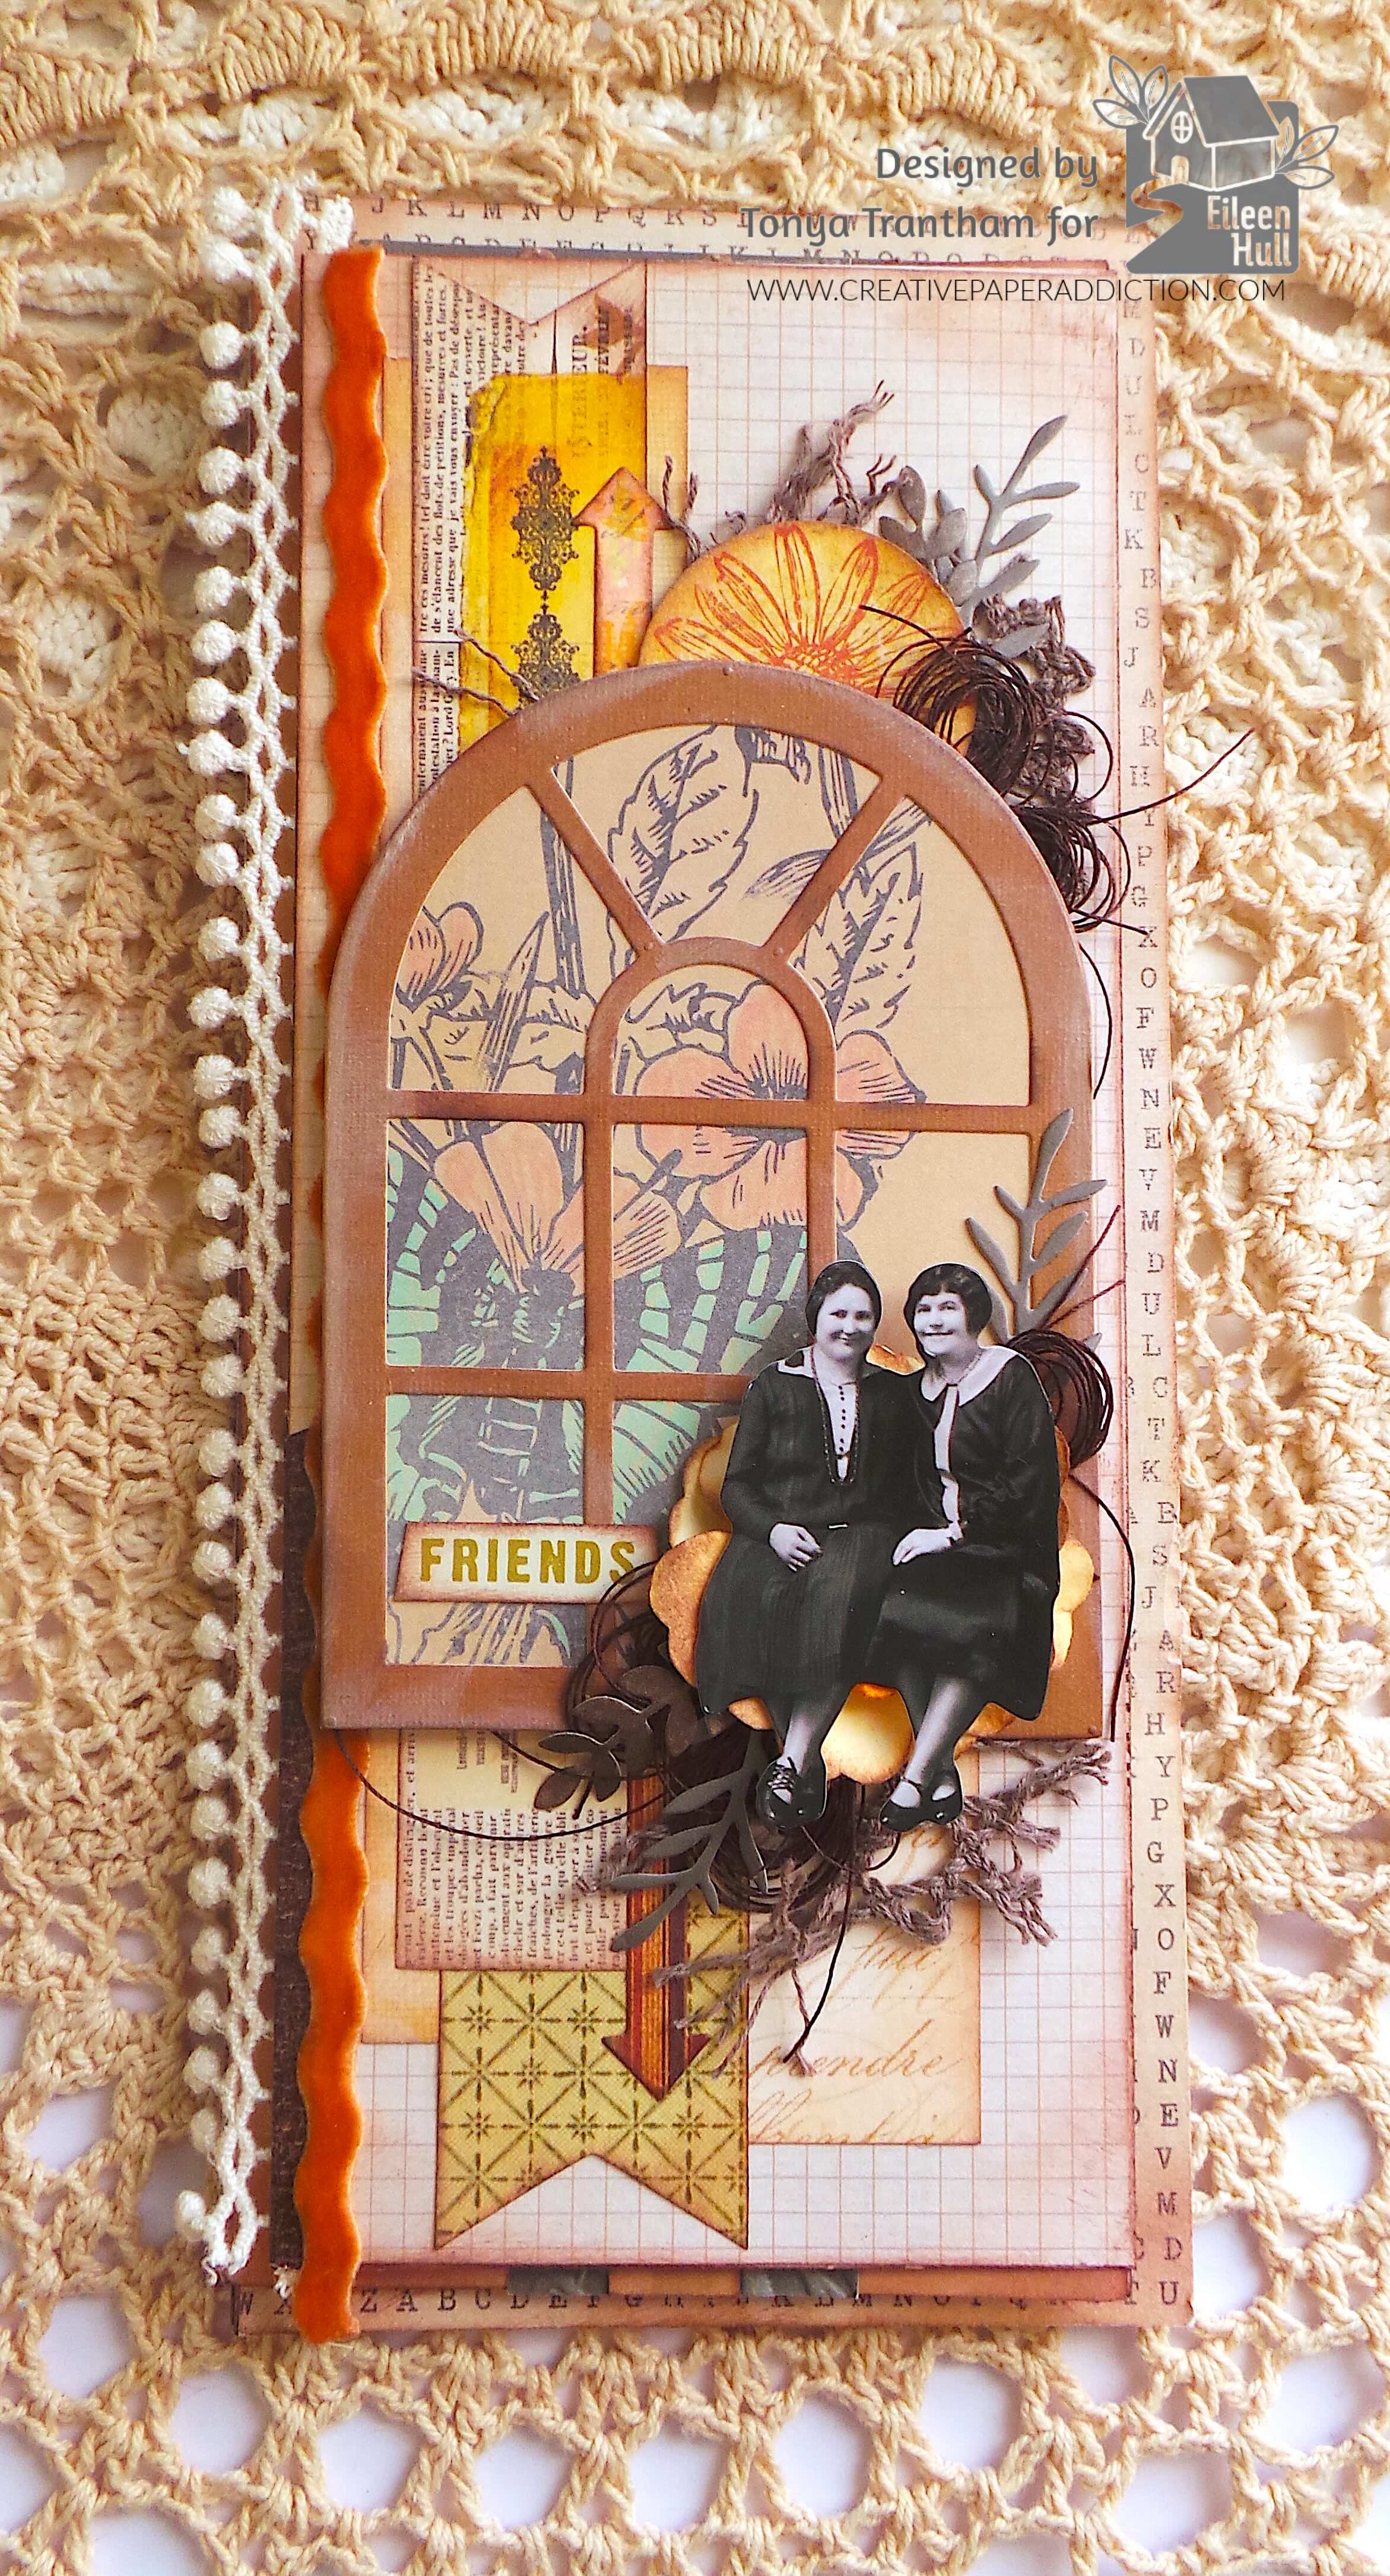
A handcrafted journal featuring a vintage autumn theme, with a decorative window frame, floral elements, and black-and-white photographs of two women. The cover includes various layers of cardstock, embellishments, and a sentiment that reads 'FRIENDS'.

I have no step out photos of how I put together the envelopes. But I glued the top envelope flap to the middle envelope. The bottom envelope I adhered to the middle envelope to create a trip fold journal.

I went with an Autumn/Vintage theme and picked cardstock and embellishments to match. I covered both sides of all the tri fold journal with cardstock. I had chosen a section of a sheet of cardstock that had a butterfly and florals and cut the largest arch die from the Tunnel Arches Framelits Diecuts. I also cut the window frame die from the Windowsill Flowers and Vase Thinlits Diecuts. I glued the window frame on top of the arch and lightly inked with white chalk ink.

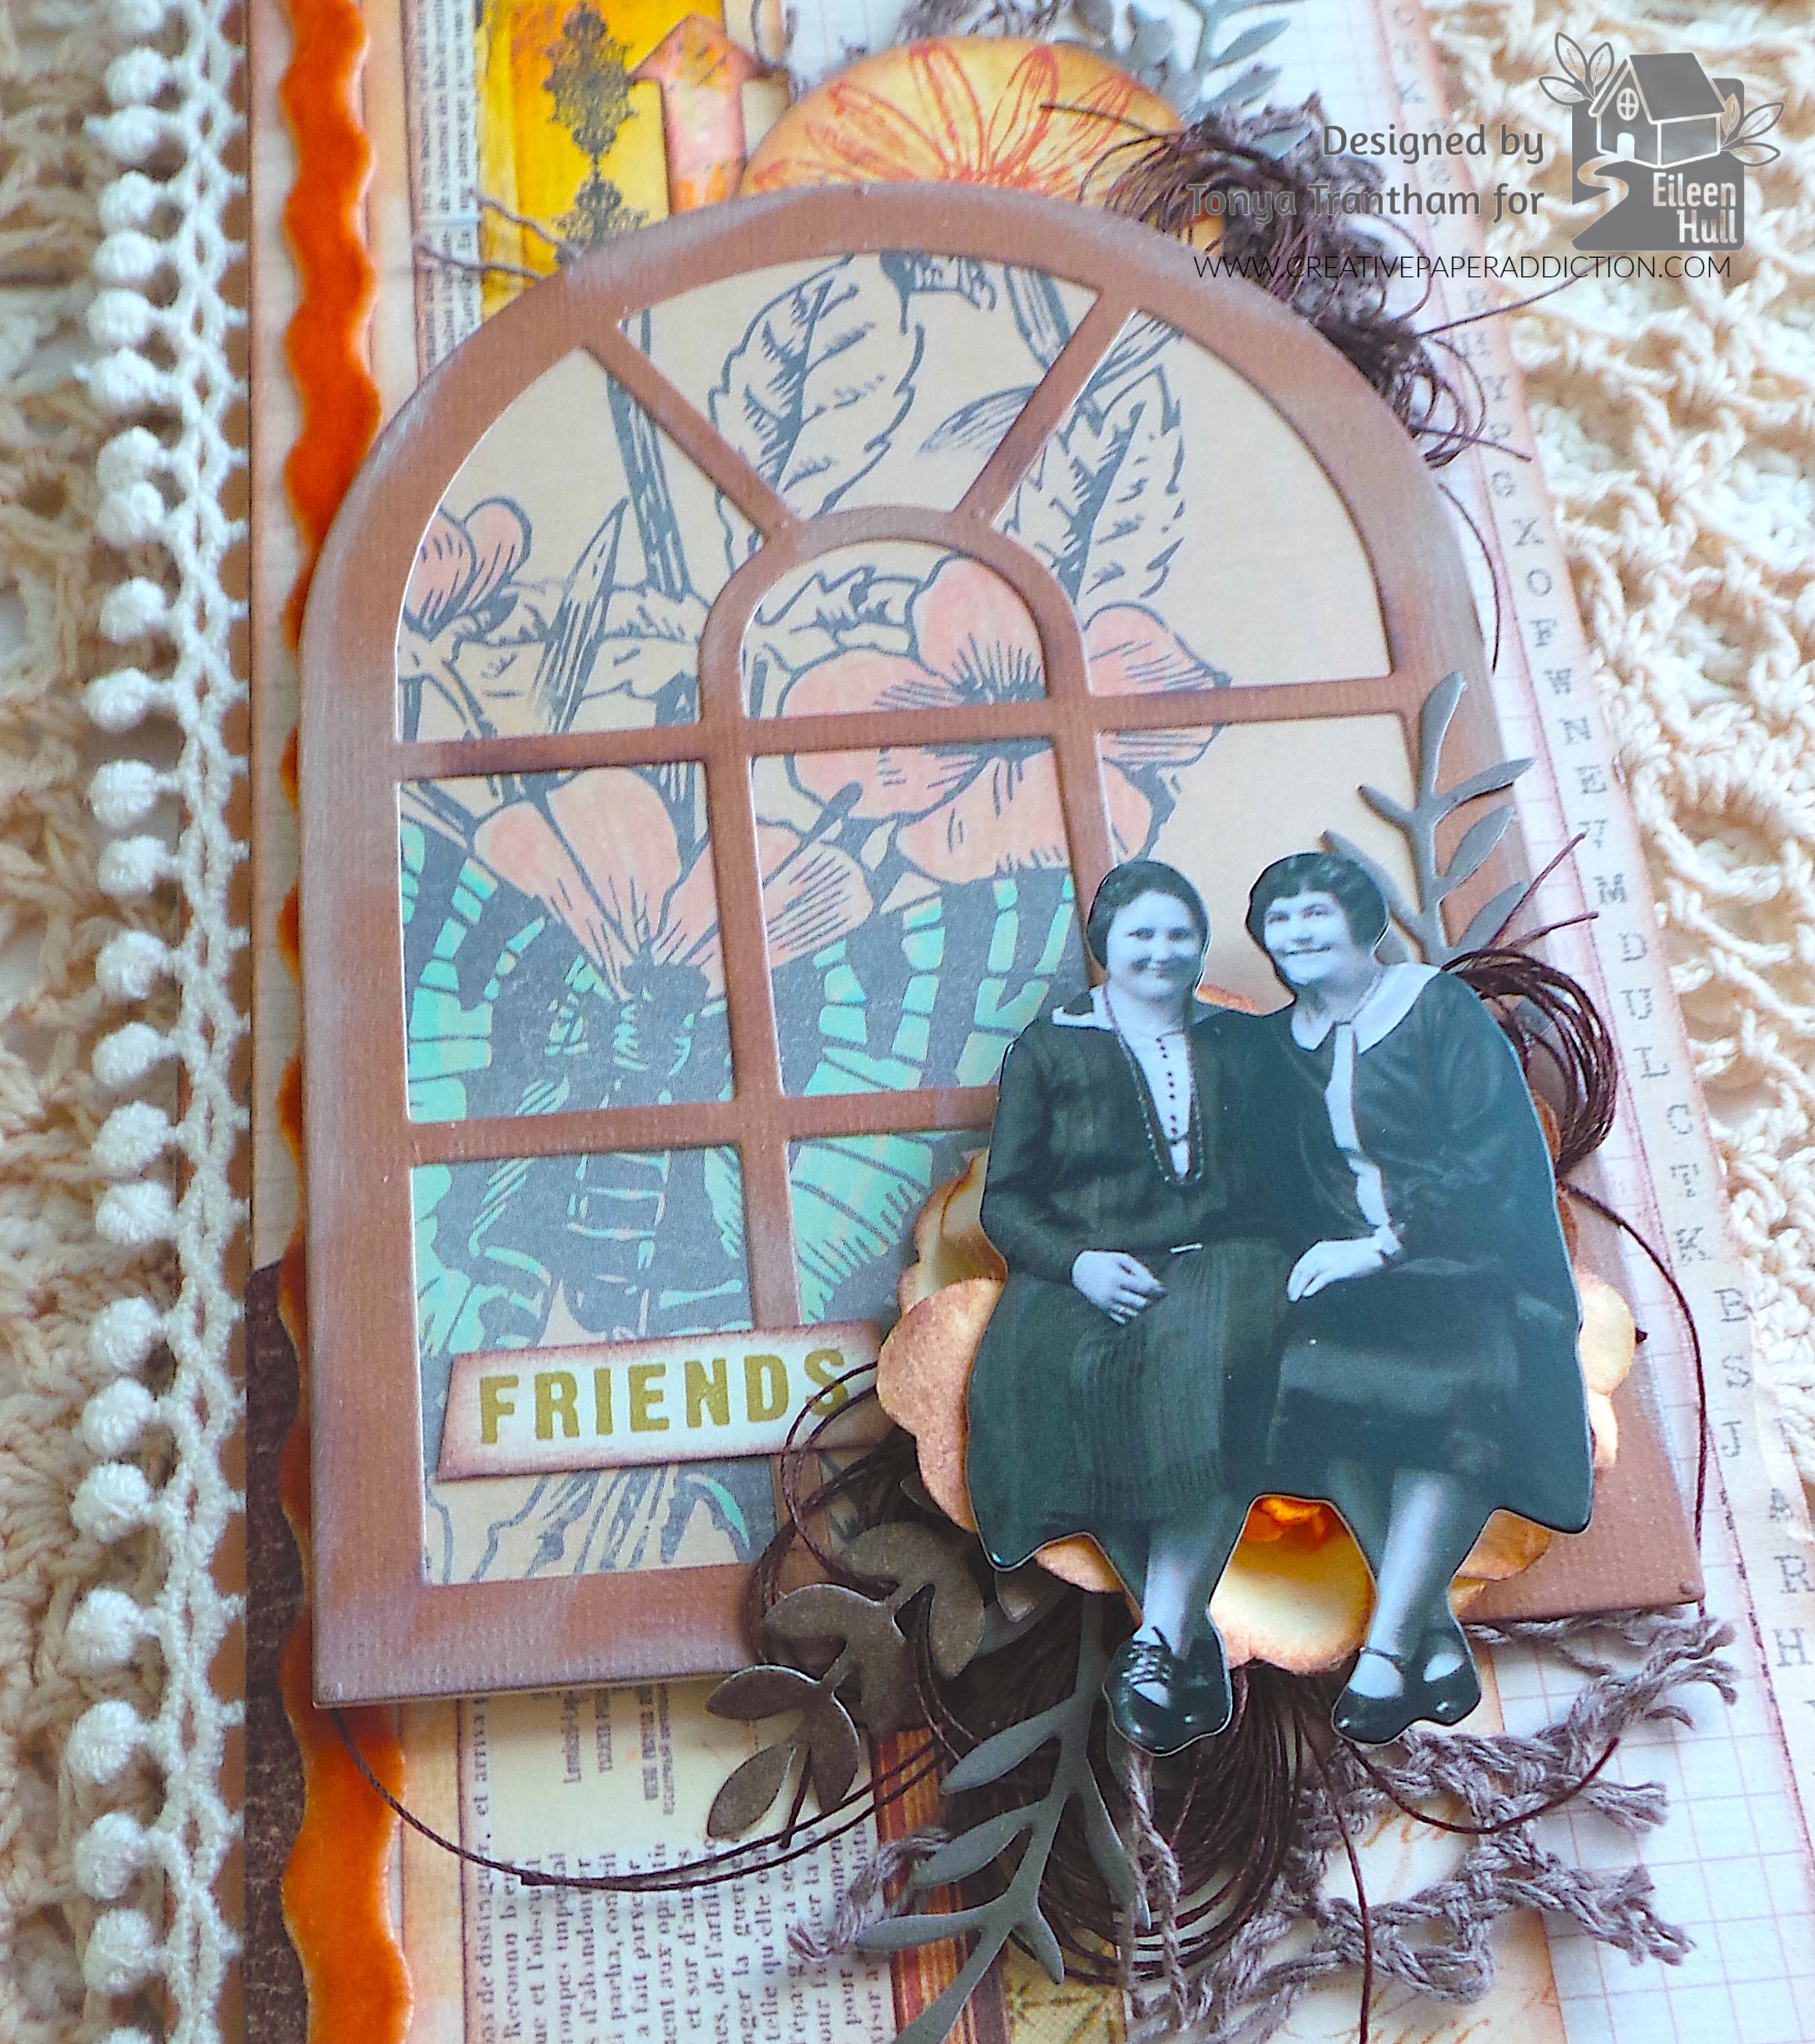
A close-up of a decorated journal cover featuring a window frame, floral designs, and a vintage photograph of two women sitting together. The word 'FRIENDS' is prominently displayed below the window, surrounded by embellishments like leaves and floral accents.

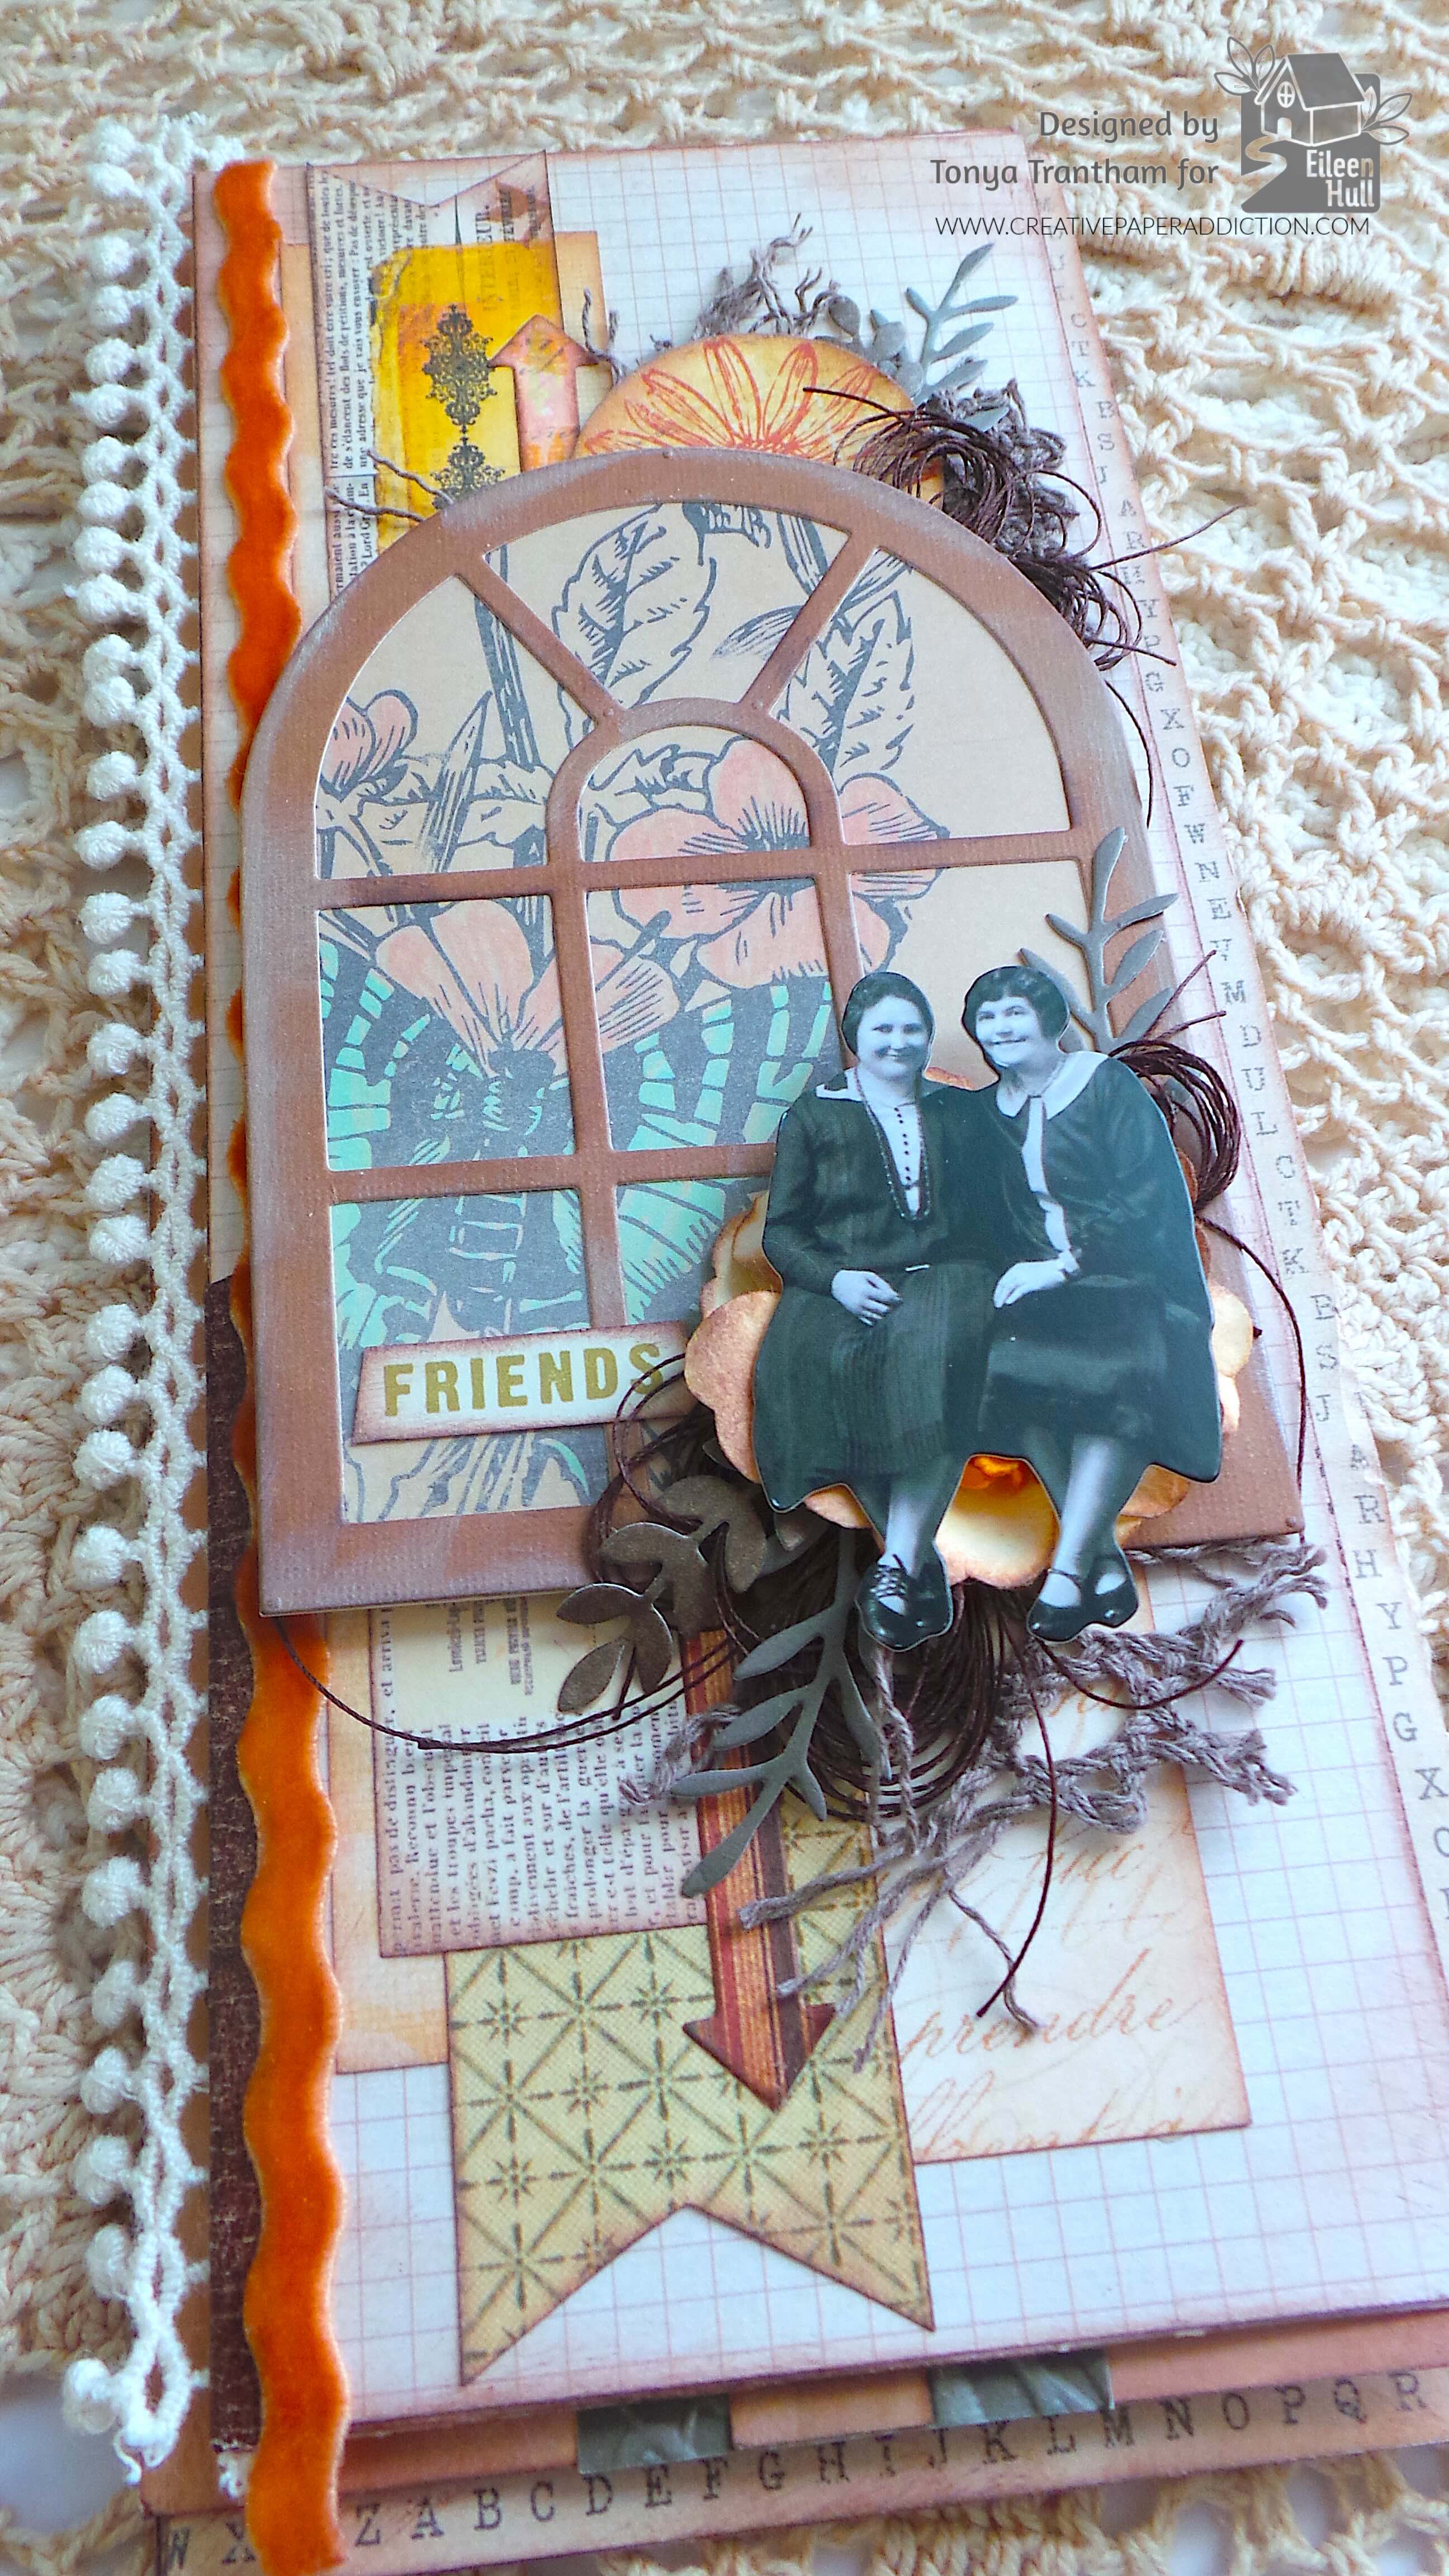
I added an assortment of scraps of cardstock along with two of the longest arrows from the Rainbow Wheels Thinlits to the cover. On the edge of the cover I adhered a piece of velvet ric rac. I added Foam Pop Dots to the back of the window frame and placed on the cover. I dug into my stash and added a yellow flower to the corner of the window frame.

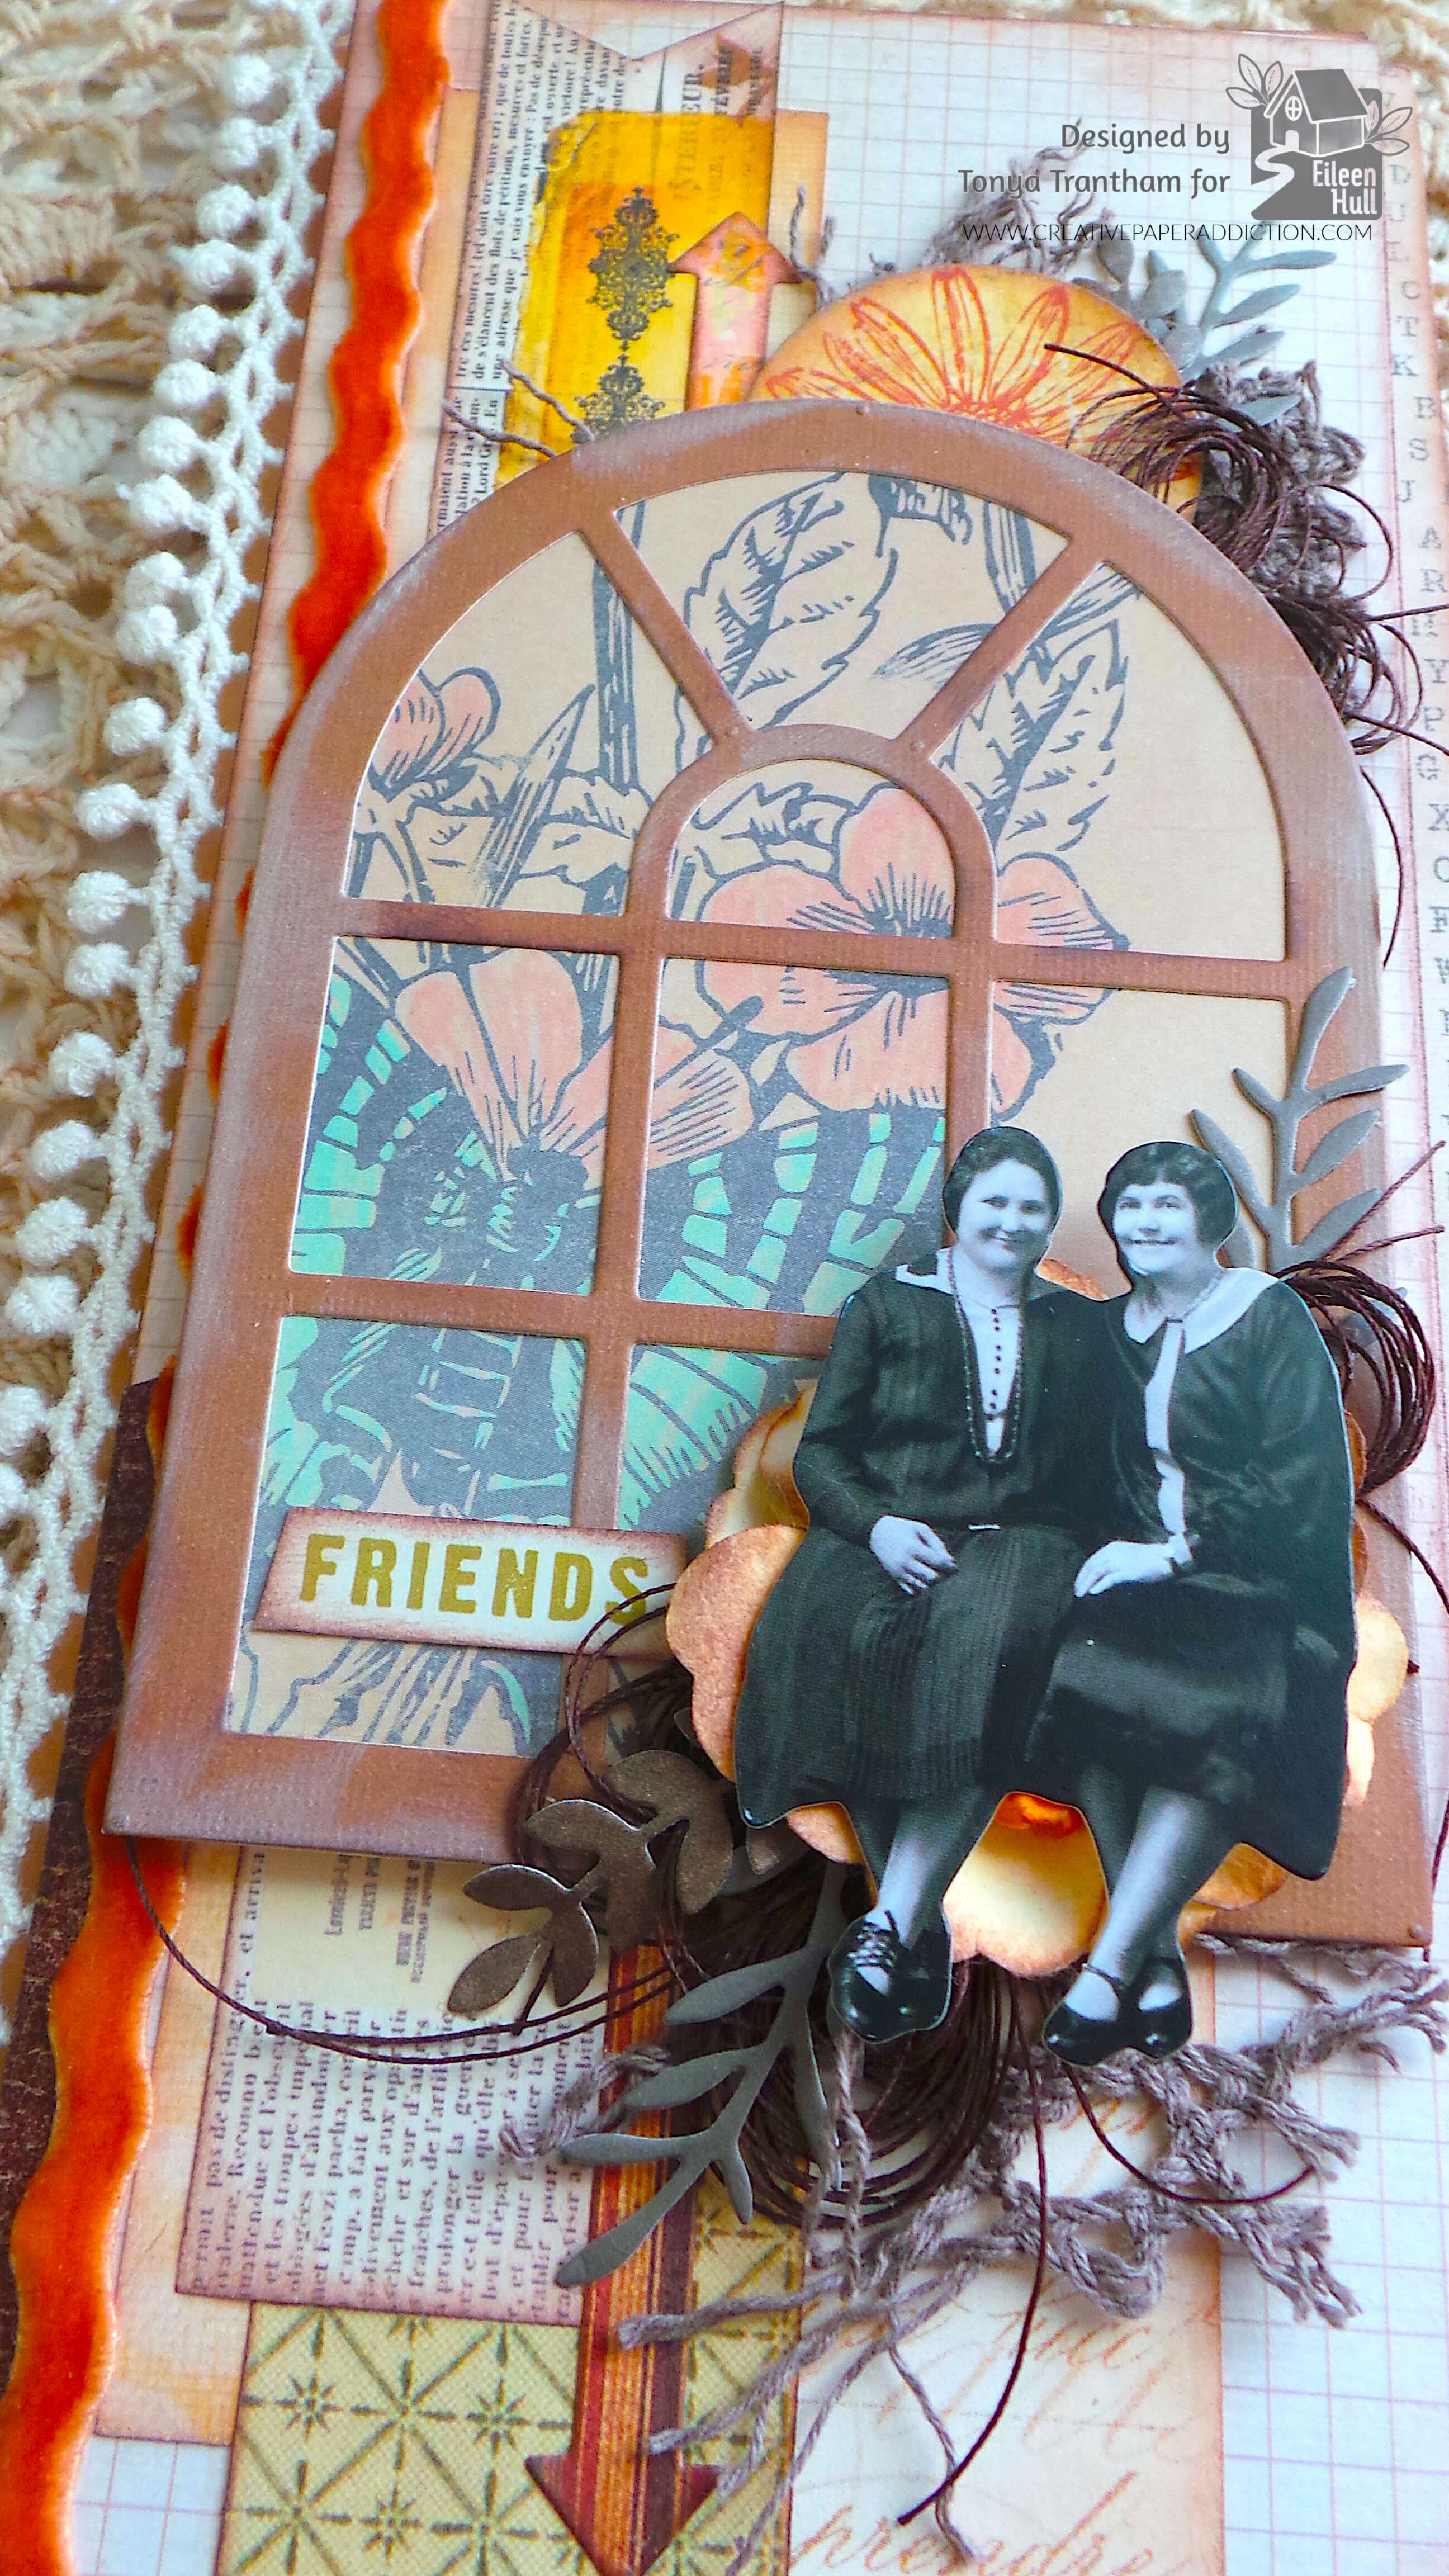
A decorated journal cover featuring a window frame with floral designs, the word 'FRIENDS', and vintage-style photographs of two women, surrounded by embellishments like leaves and stitching.

I created three bows out of thread and glued one behind the window frame and two behind the flower. I cut a part scraps of lace and glued behind the window frame along with a floral circle that I lightly inked with brown chalk ink. I inked with brown chalk ink a friend sentiment and adhered to the window frame. I picked a set of women from the Mini Paper Dolls and glued on top of the flower. I cut a total of four leaf sprigs from the Windowsill Flowers and Vase Thinlits Diecuts. I glued three under the large flower and one to the top of the cover.

A decorated journal cover featuring a window frame design, floral elements, and two vintage-style images of women sitting together. The journal has autumn-themed colors and embellishments like ric rac and layered cardstock.

The middle page of the journal I created a pocket with a journaling spot from my stash. I added glue to the bottom edge. I cut a squirrel, rabbit and two suns from the Home Sweet Home Thinlits Diecuts. I also cut out one label and two key holes from the Journal Hardware Diecuts. I embossed the top edge of a piece of cardstock with the Lacy Leaves Embossing Folder. I folded over and stapled some scraps of cardstock to create a place to add photos or journaling. I glued the label, the outer part of the sun and rabbits to the fold over. I adhered the squirrel to the bottom corner of the journaling spot.

A tri-fold journal created using altered envelopes, featuring a vintage autumn theme with die cuts, cardstock patterns, embellishments, and a decorative window frame.

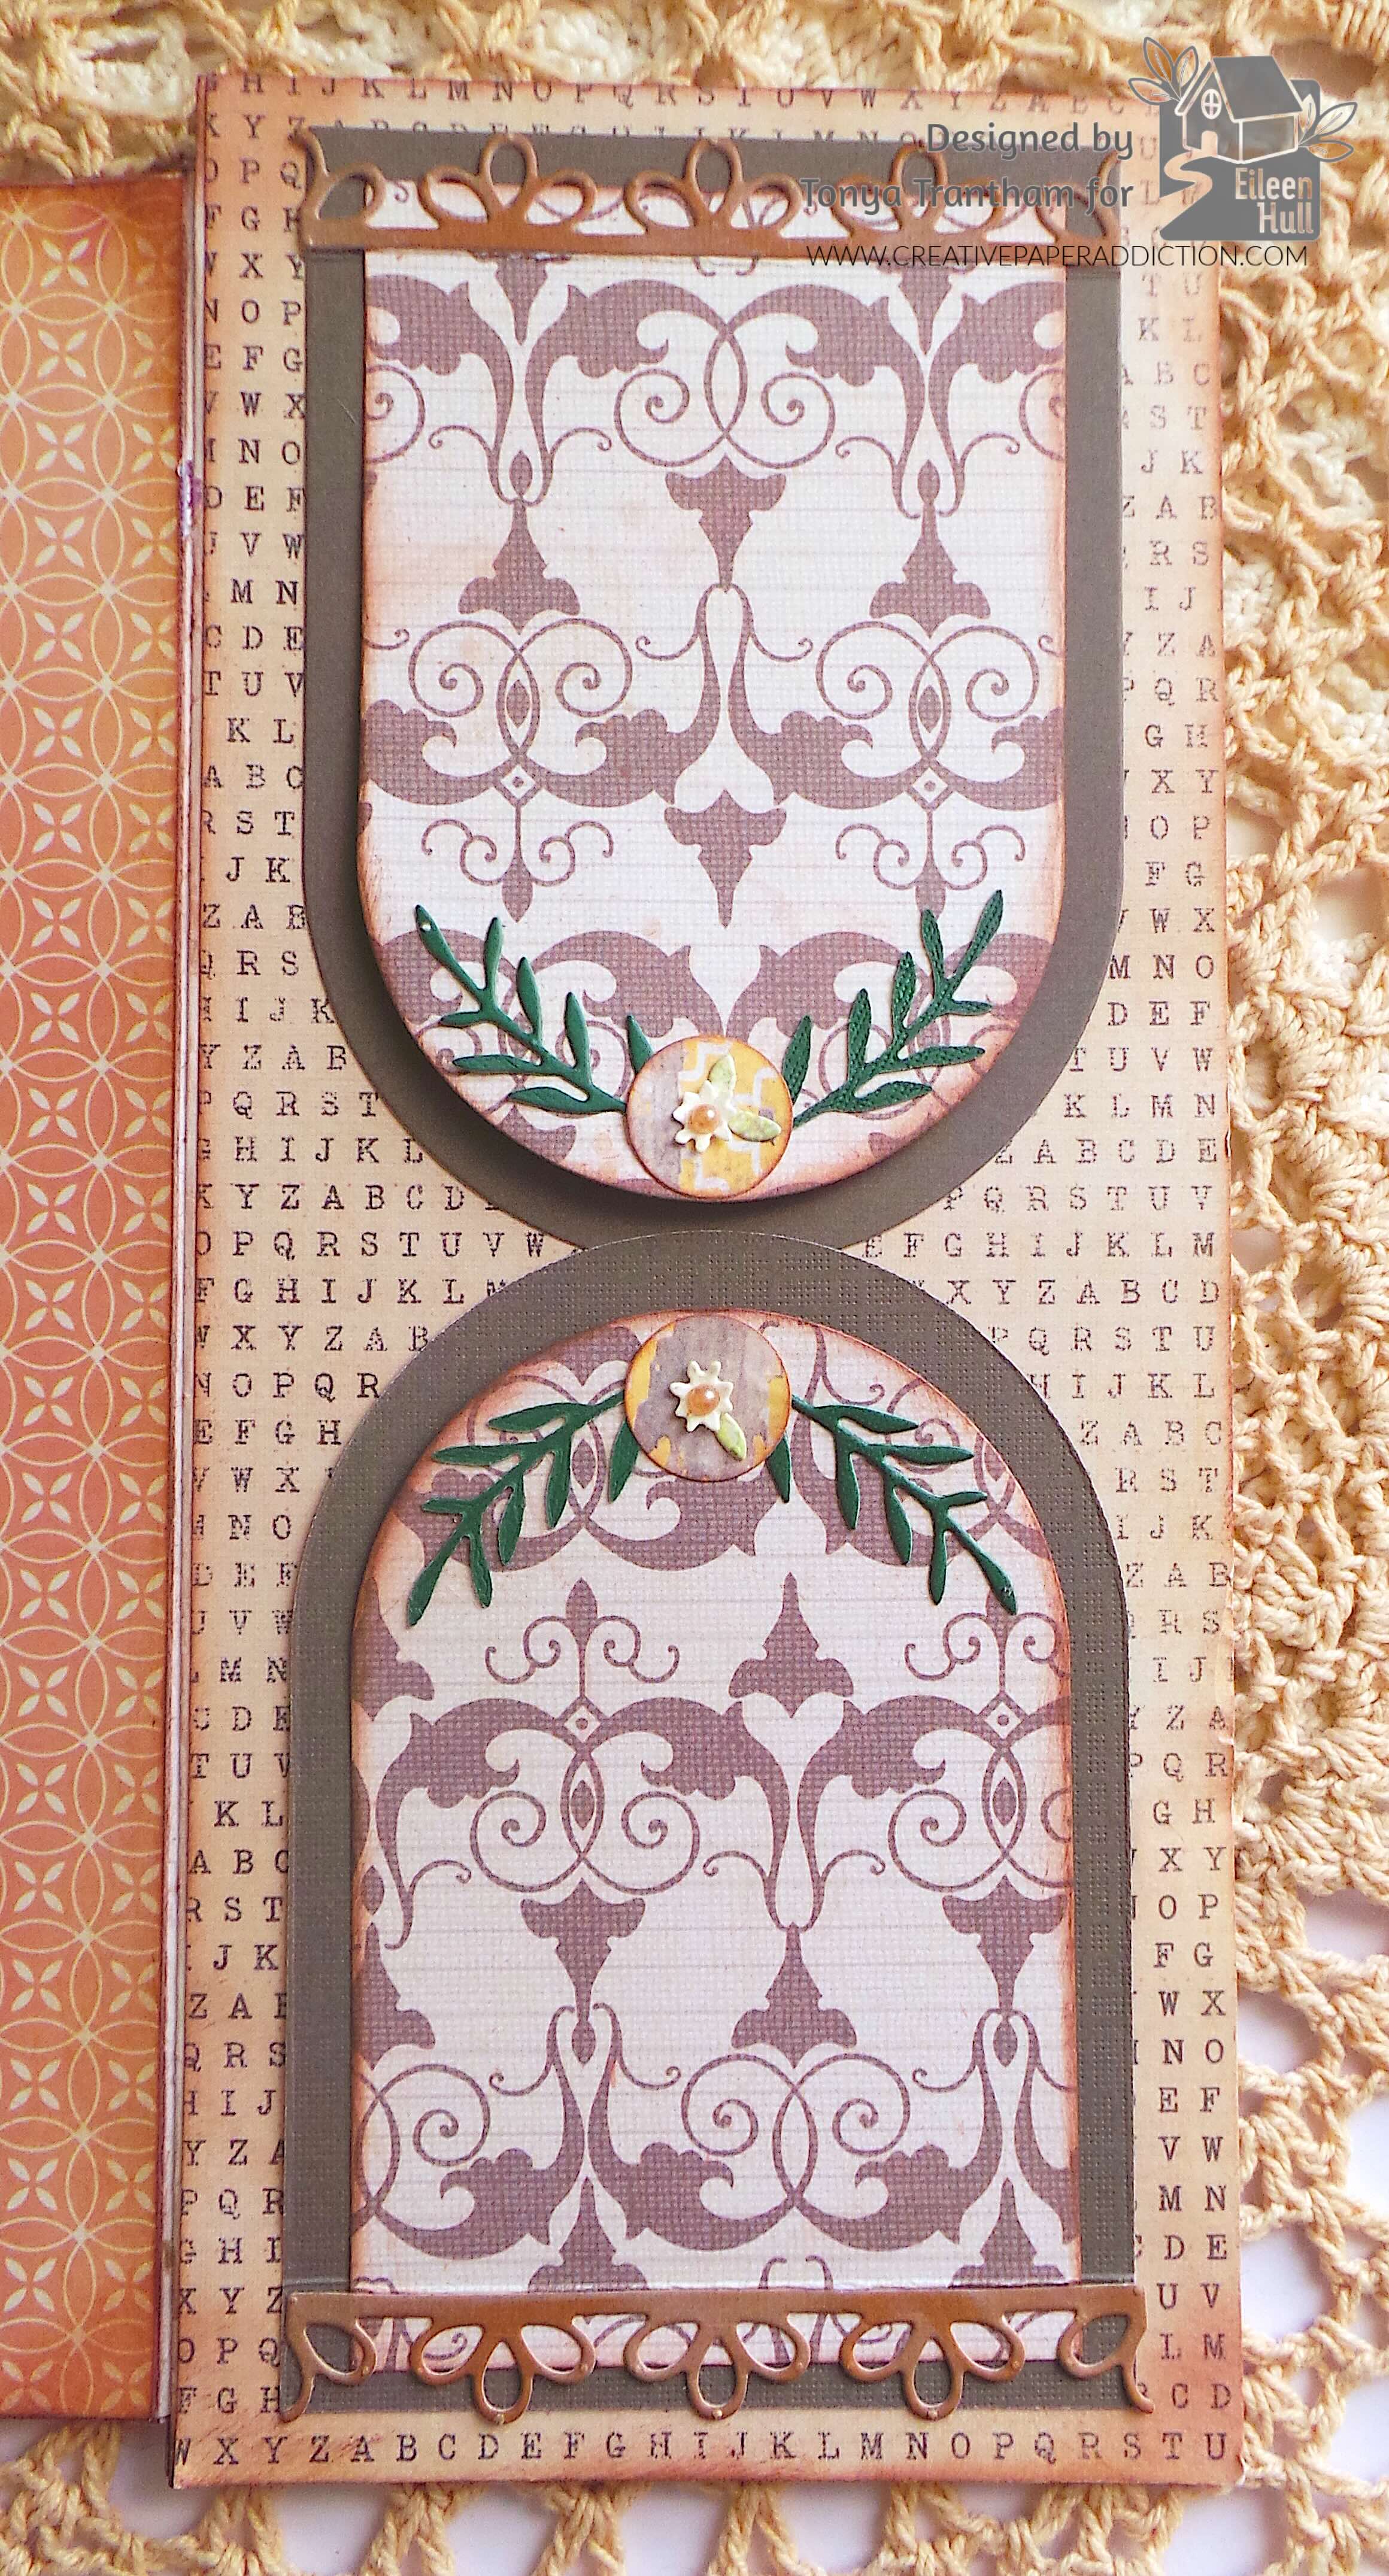
I cut two of the largest arches and two of the next size down arches from the Tunnel Arches Framelits Diecuts. I added glue to the top edge of both smaller arches and placed on top of the largest arch. I then added adhesive to the top of both largest arch and placed both onto the journal page. I cut two each of the following: lace trim, smallest flowers and larger flowers from the Windowsill Flowers and Vase Thinlits Diecuts. I also cut five of the leaf sprigs from the same set of dies. I adhered two leaf sprigs, one circle from the center of the sun diecut and two leaves cut from one of the leaf sprigs and the small flower to each outer flap. I placed a Flat Back Pearls to the center of each flower.

An embellished journal page featuring two decorative arches with floral designs and a patterned background. The page includes cut leaves and a circular embellishment with a flower.

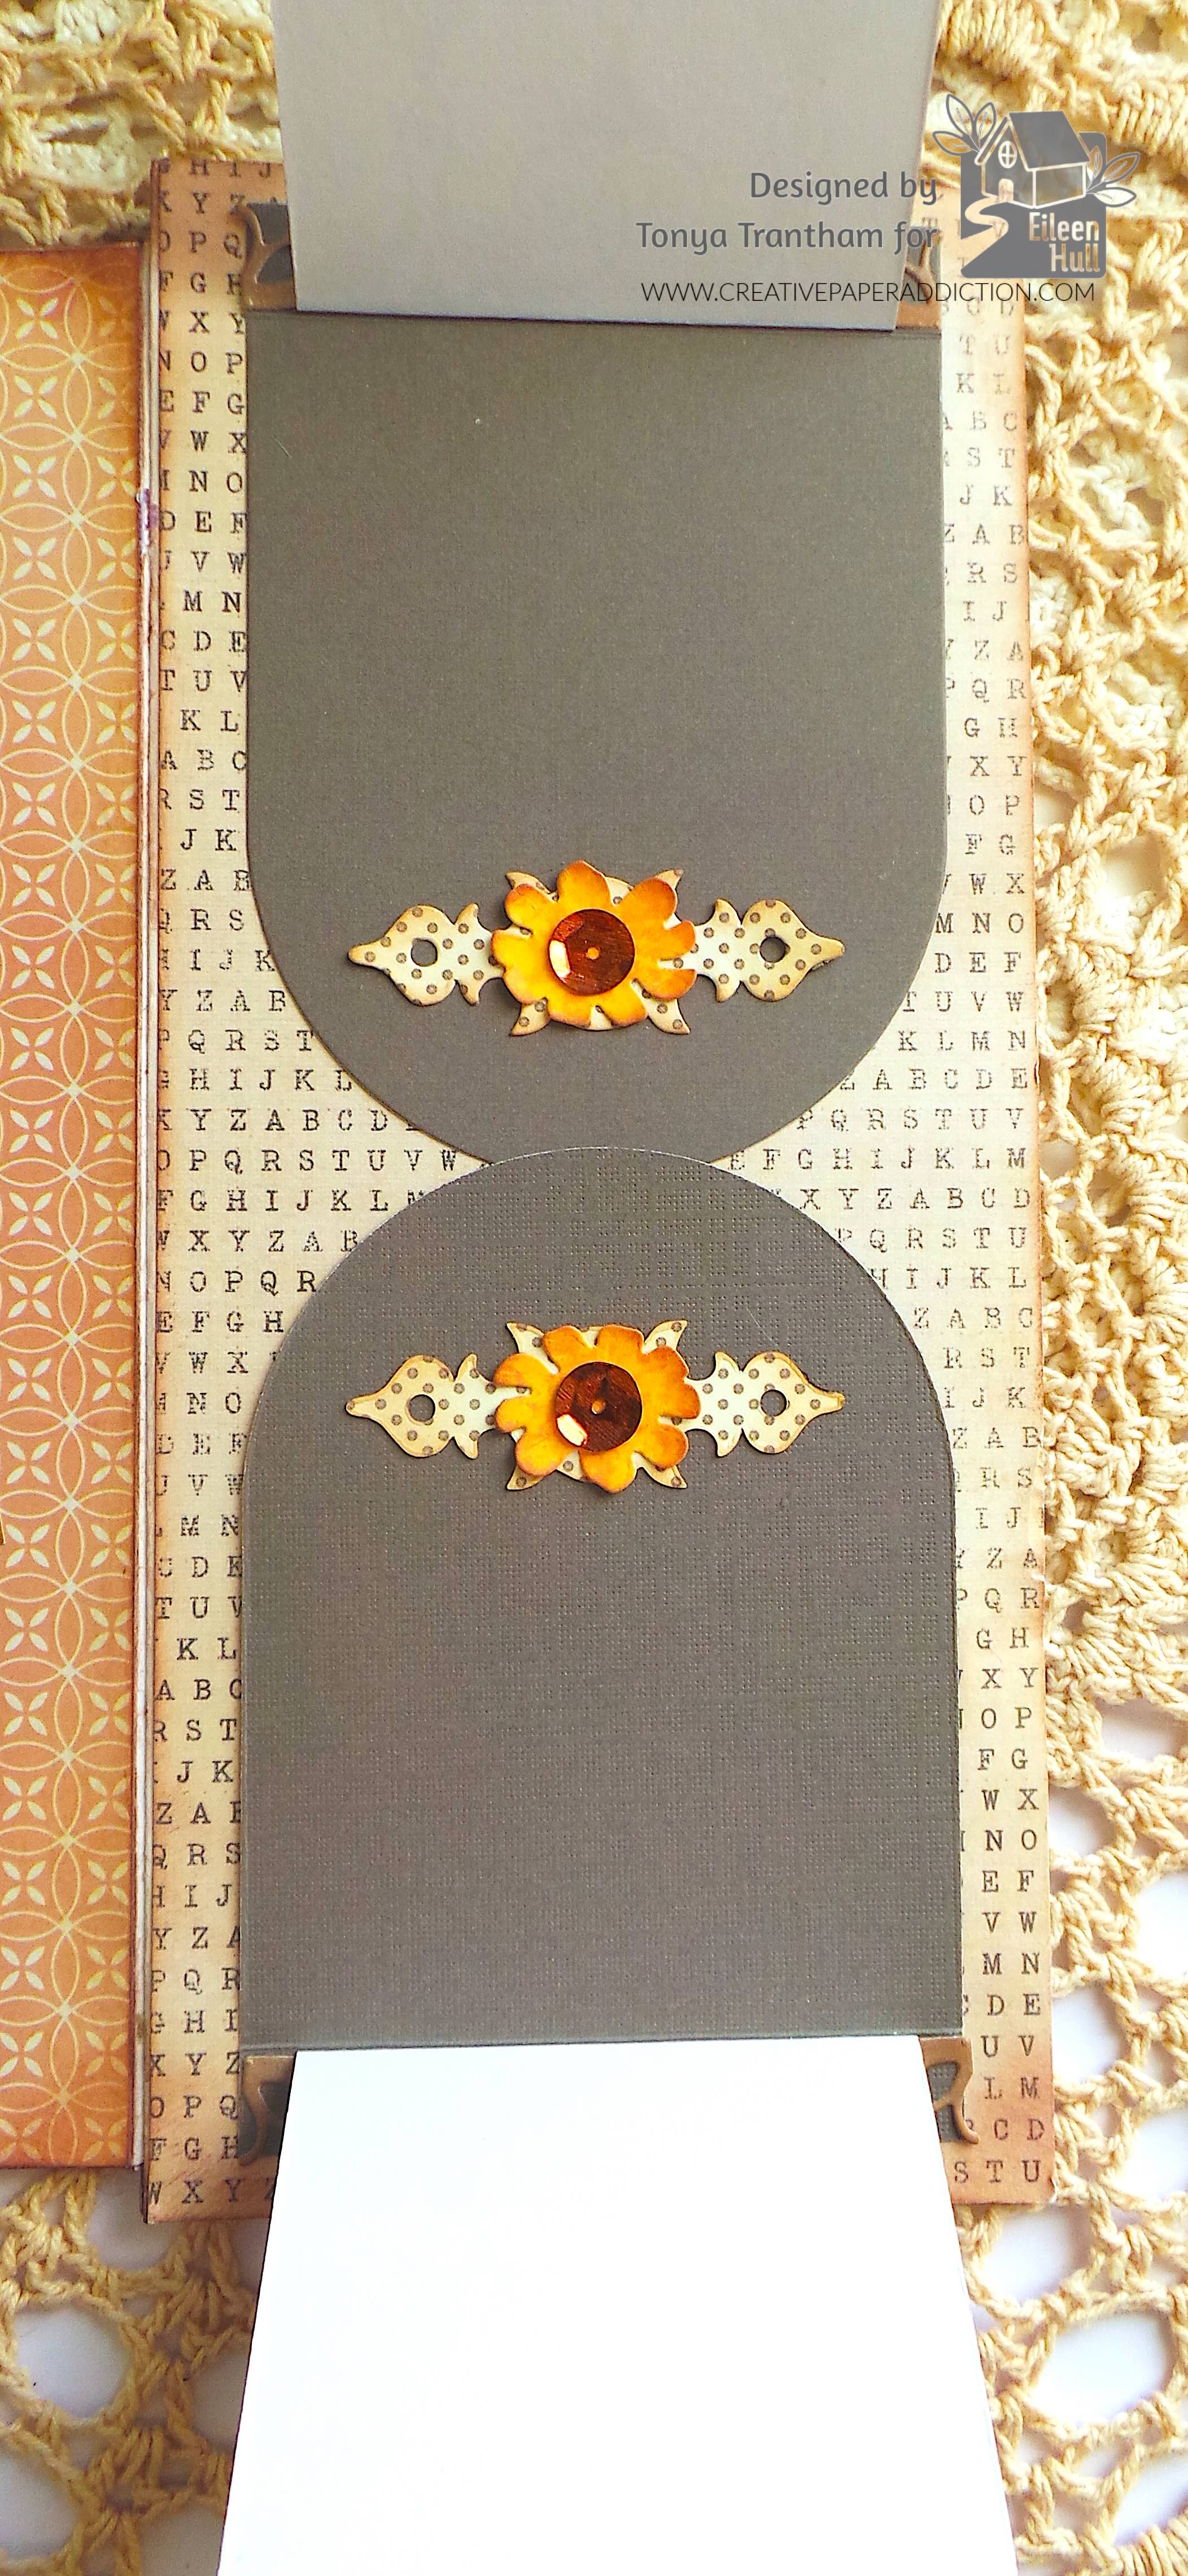
The inside flap I glued a key hole die side ways on each flap. I adhered the large flower to the middle of the key hole die and placed a sequin in the center of each flower.

Close-up view of a tri-fold journal page featuring two decorative pockets adorned with orange sunflowers and embellishments on a textured gray background.

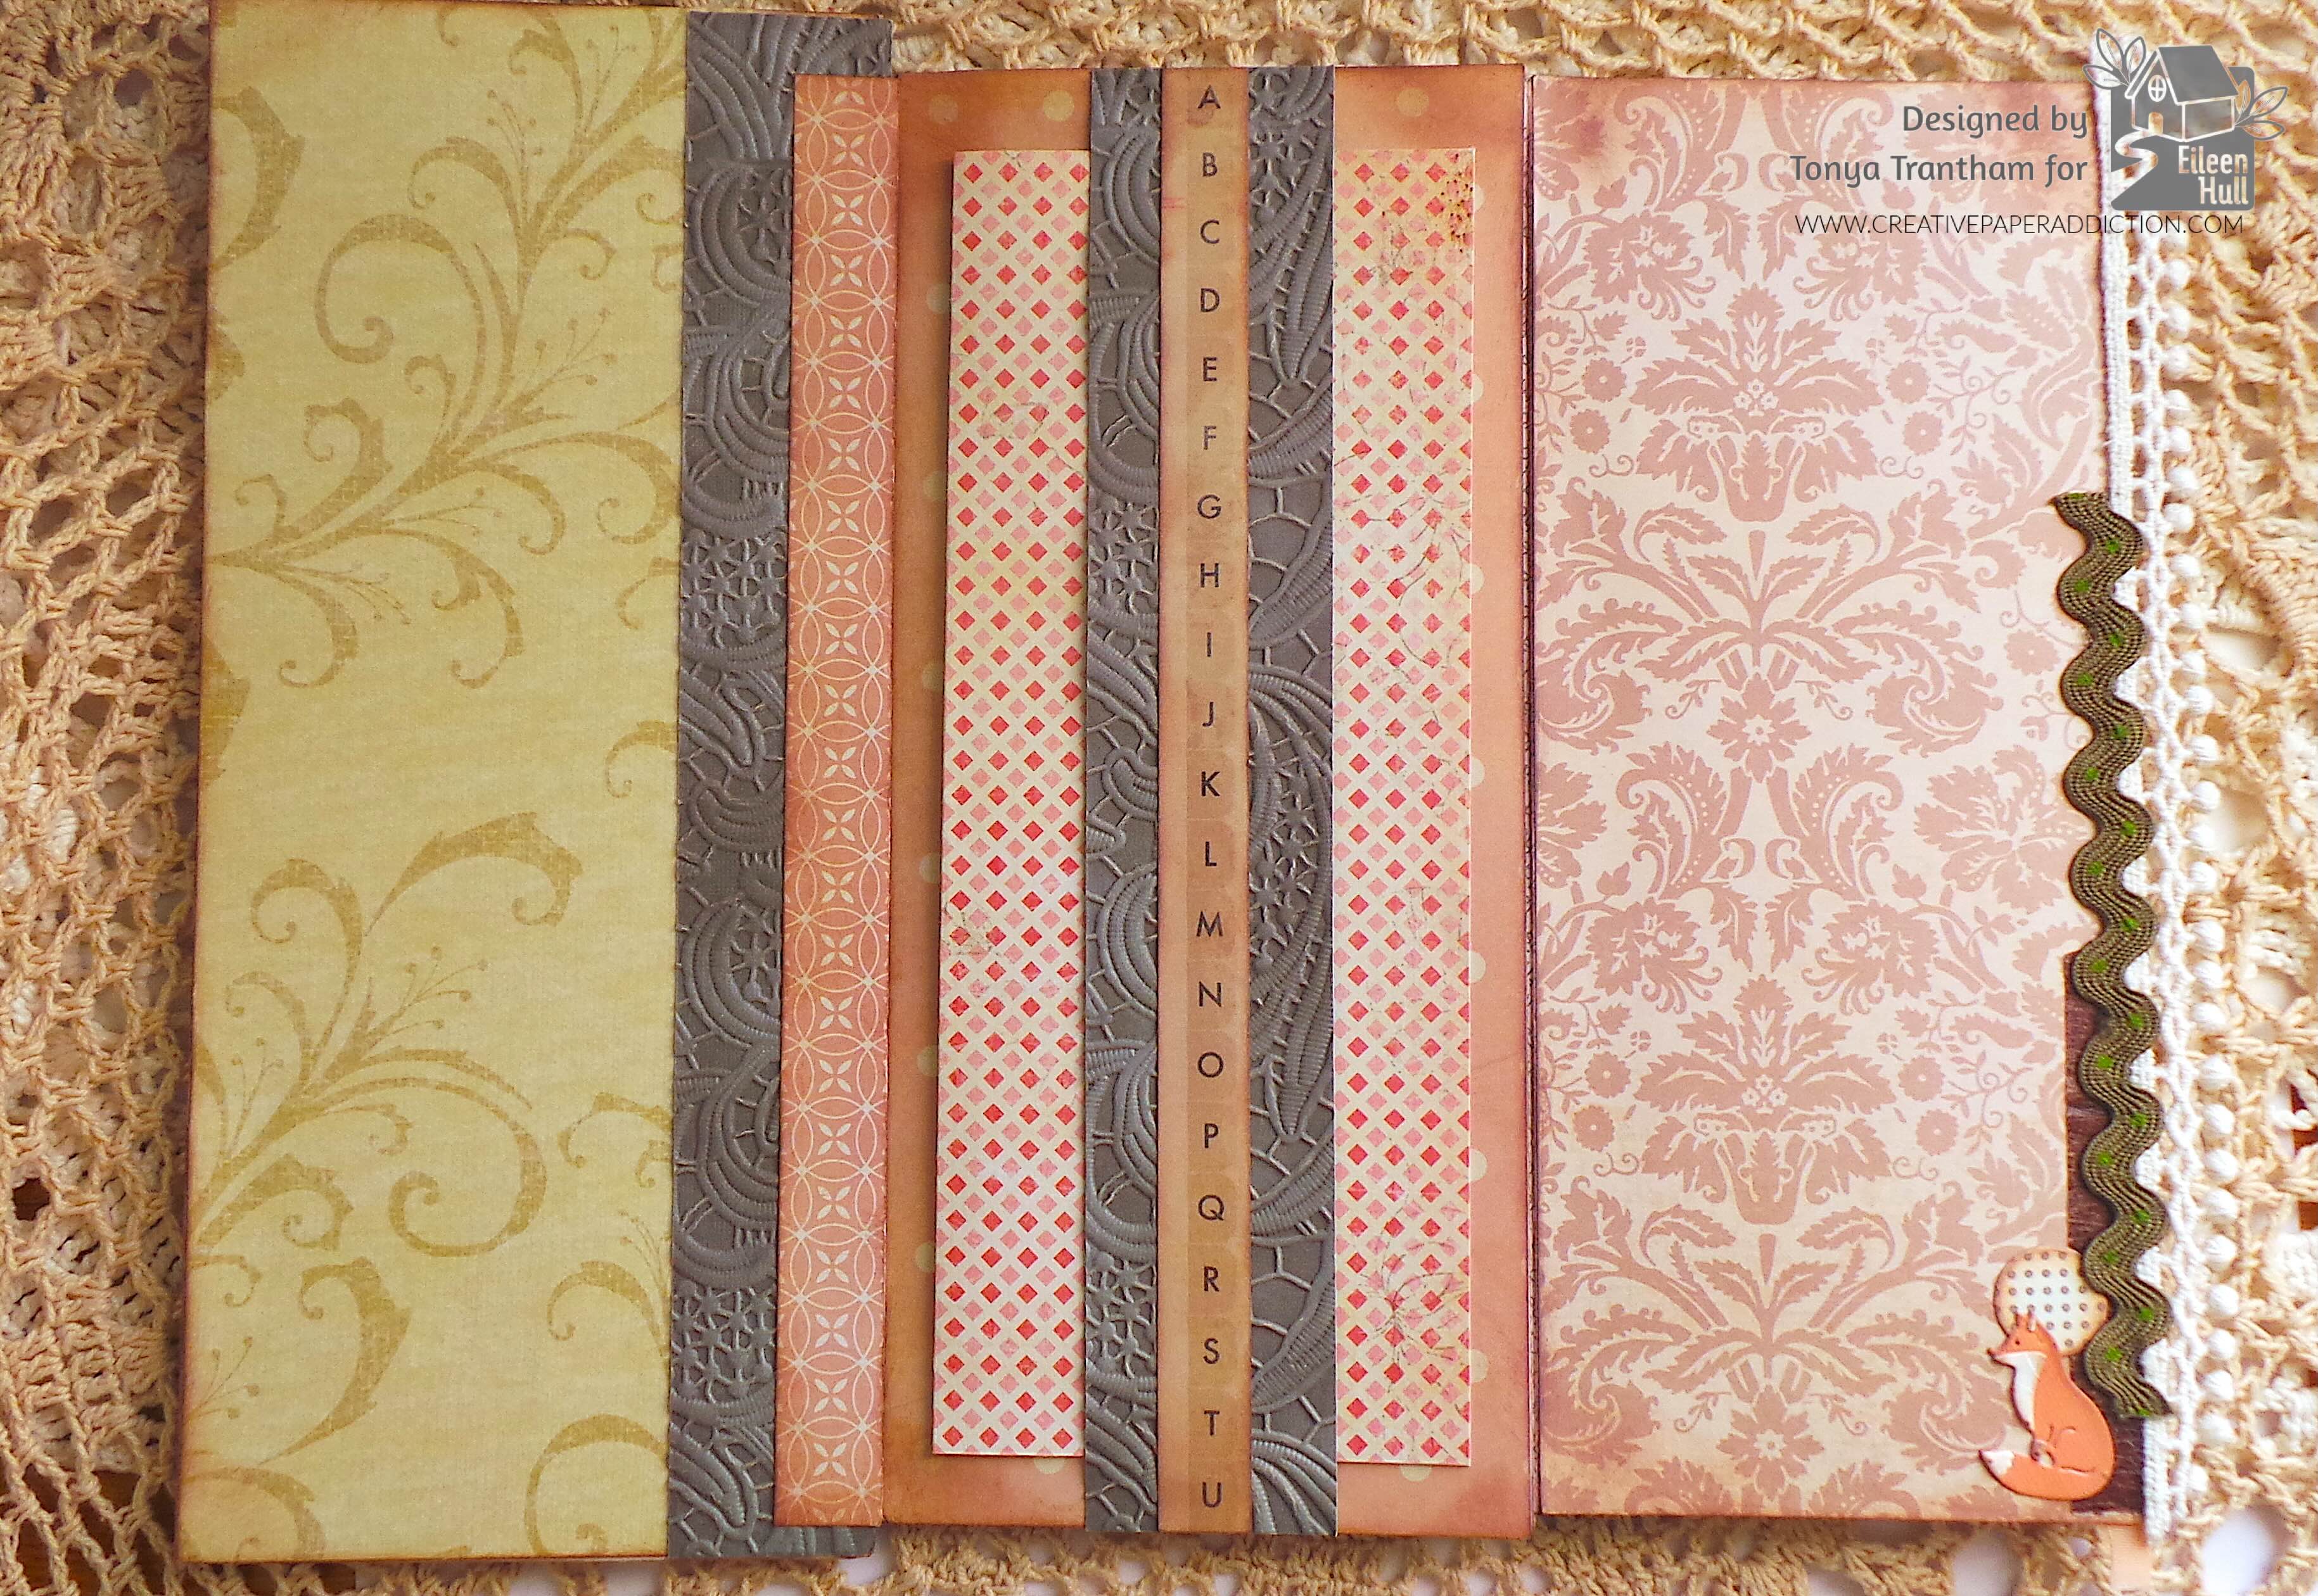
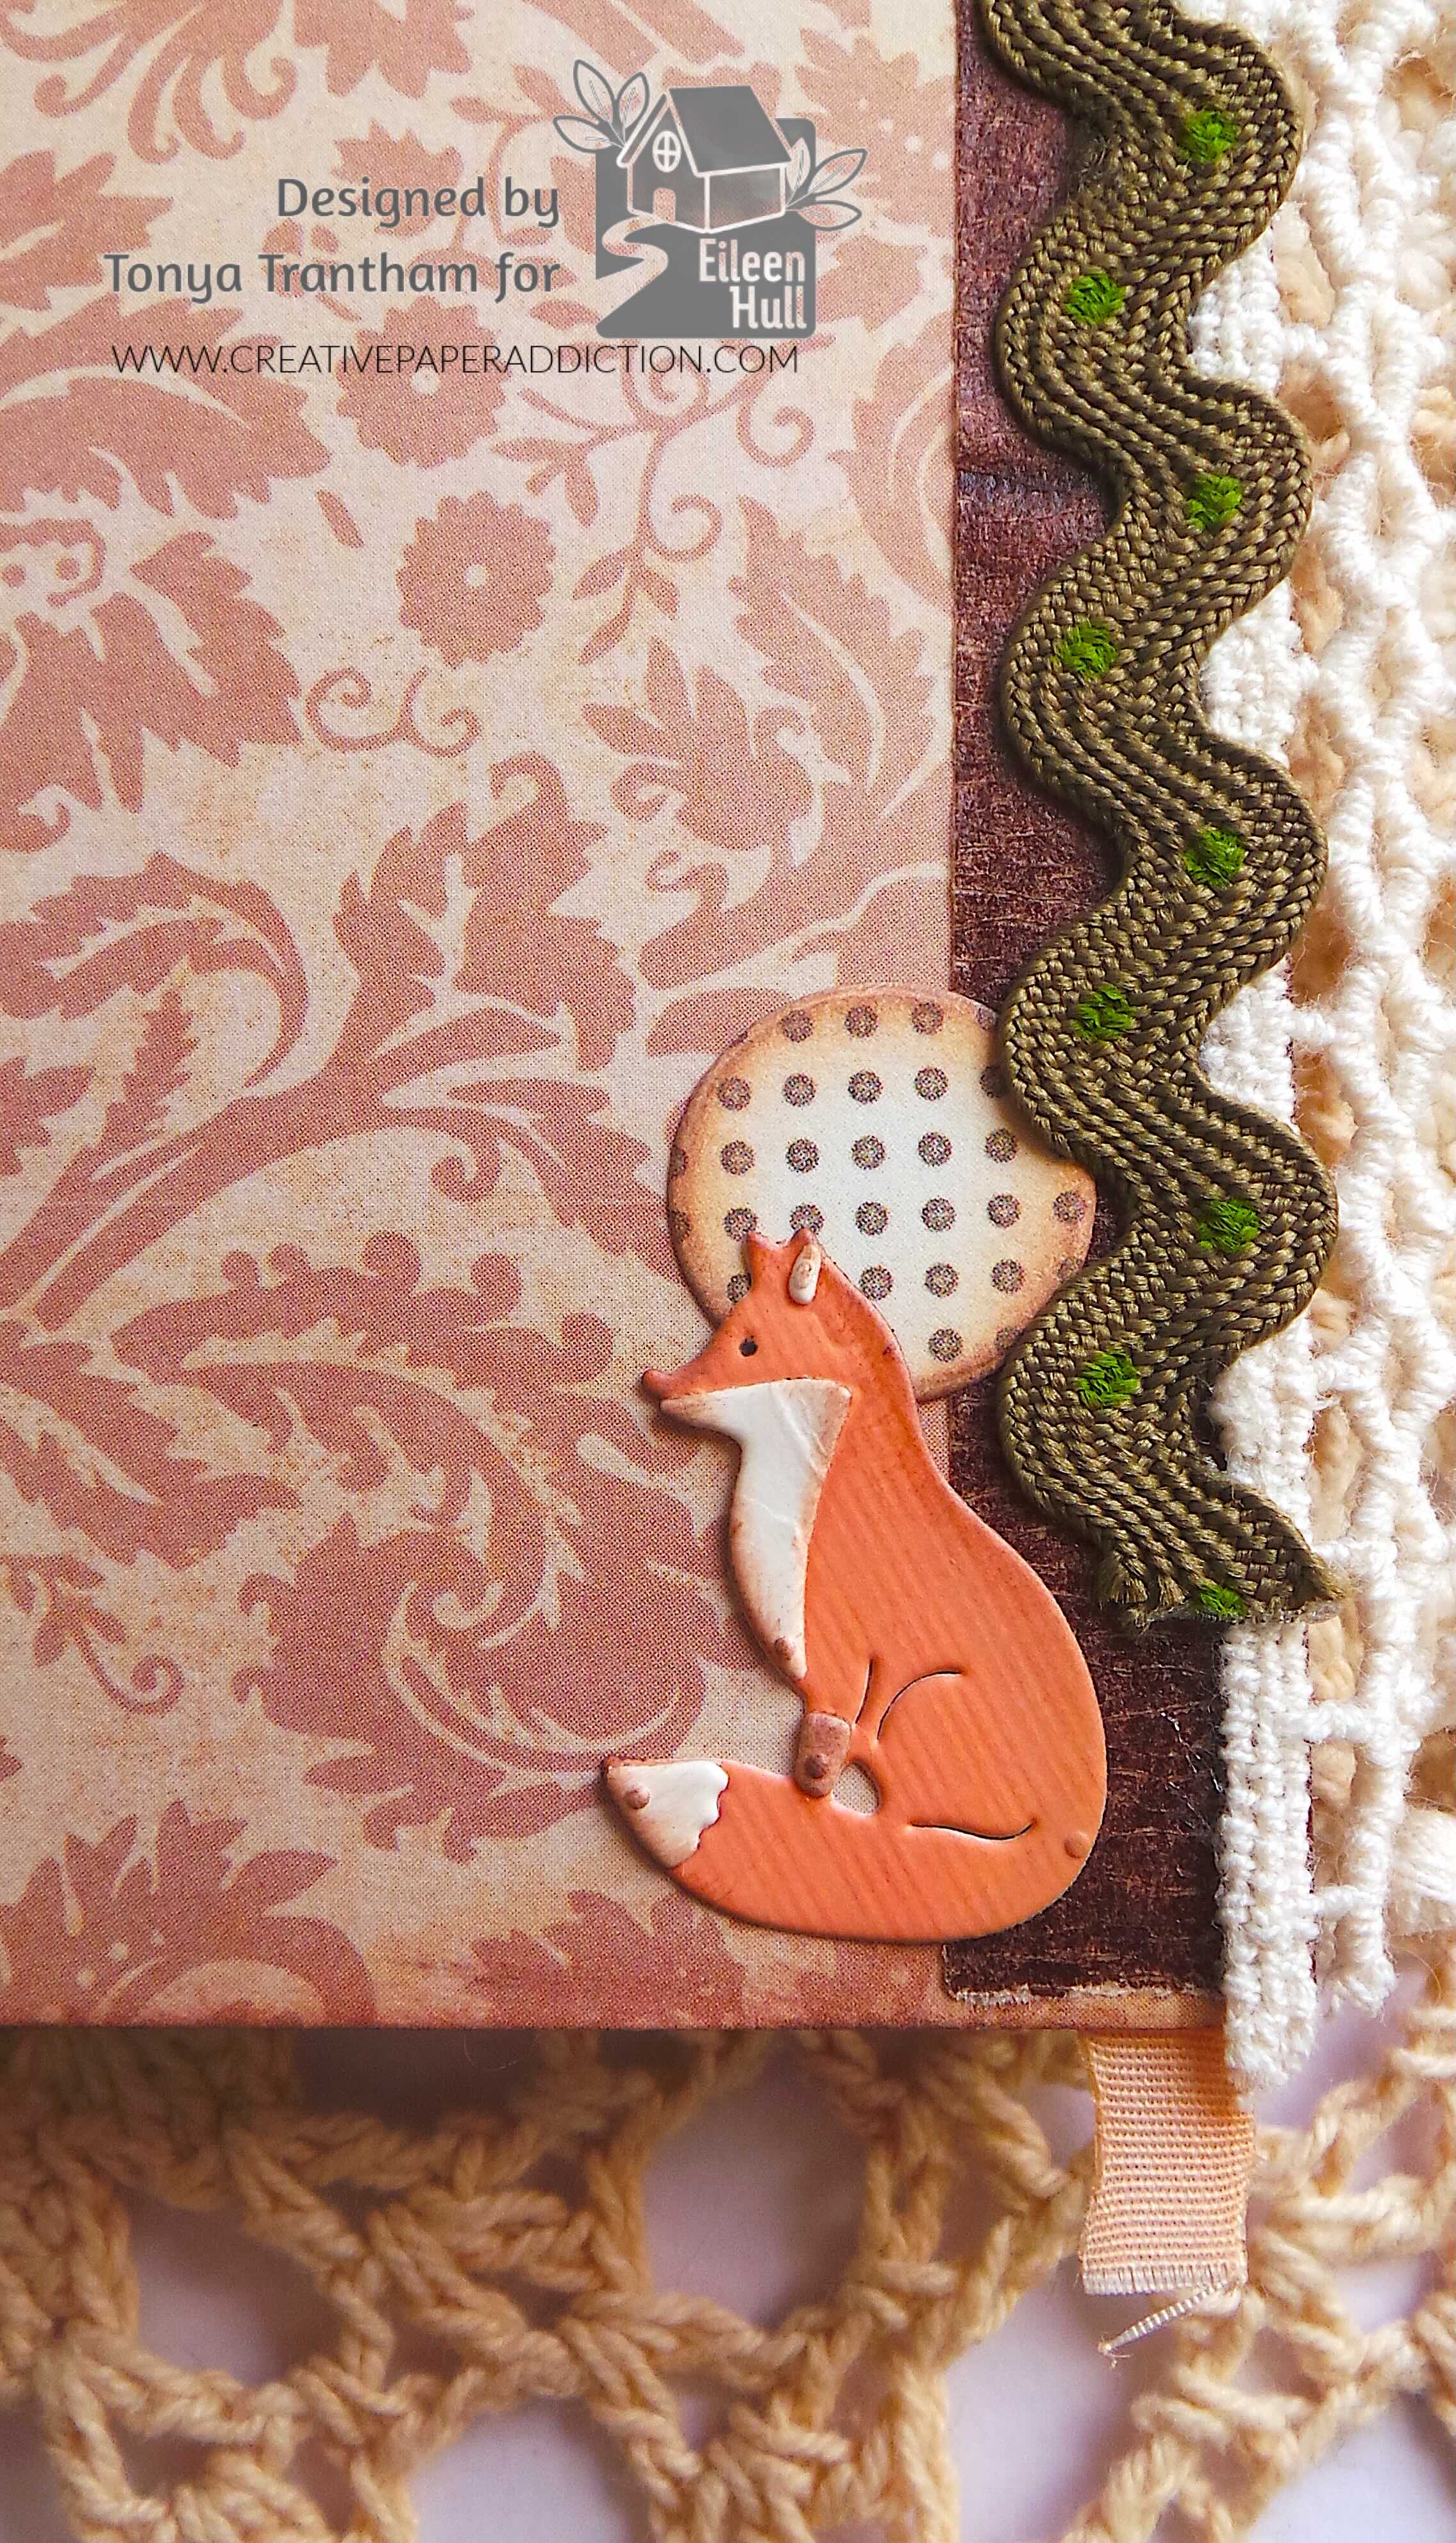
The other side of the journal. I embossed two strips of cardstock with the Lacy Leaves Embossing Folder and inked with white chalk ink. I glued one piece to the back edge of a page along with a strip of cardstock. The middle page I added adhesive to both end of the embossed cardstock. I placed in the center of the page to create a tuck spot and added a folded piece of cardstock. I glued a strip of cardstock to the center of the embossed cardstock. The other page I added a piece of ric rac to the edge of the page. I glued the circle from the center of the sun and a fox from the Home Sweet Home Thinlits Diecuts to finish.

Craft project showcasing a tri-fold journal made from altered envelopes, featuring a variety of patterned cardstocks and embellishments including a fox cutout and decorative ric rac trim.

This project is a great way to recycle envelopes you get in the mail and use up scrap of cardstock that you might have laying around in your supplies.

Also if you haven’t been by Eileen Hull’s blog lately to see what her team has been up to you can find the latest post HERE. As always if you have any questions or comments please leave them below.

A handcrafted journal featuring an arch window design, decorative paper, and vintage-style embellishments, including a photo of two women labeled 'Friends'.

Supplies

Sizzix/Eileen Hull: Tunnel Arches Framelits Diecuts

Sizzix/Eileen Hull: Windowsill Flowers and Vase Thinlits Diecuts

Sizzix/Eileen Hull: Rainbow Wheels Thinlits

Sizzix/Eileen Hull: Home Sweet Home Thinlits Diecuts

Sizzix/Eileen Hull: Journal Hardware Diecuts

Sizzix/Eileen Hull: Lacy Leaves Embossing Folder

Diecut Machine

Foam Pop Dots

White and Brown Chalk Ink

Lace, Ric Rac, Pom Pom Trim and Brown Thread

Various Embellishments

Mini Paper Dolls

Paper Cutter

Scissors

Various Plain and Patterned Cardstocks

Sequin and Flat Back Pearls

Tiny Attacher

Beacon Adhesives: Zip Dry Adhesive

(Products listed above are Affiliated Links for your convenience)

DISCLAIMERS

This blog is compensated to provide opinion on products, services, websites, and various other topics. Even though the owner(s) of this blog receives compensation for our posts or advertisements. I always give my honest opinions, findings, beliefs, or experiences on those topics or products. The views and opinions expressed on this blog are purely my own. Any product claim, statistic, or quote should be checked with each manufacturer. Verify other representations about a product or service with the provider or party in question.This blog contains affiliate linksClicking these links helps to support Tonya Trantham Designs – Creative Paper Addiction. It’s at no additional cost to you. Today’s features are Sizzix, Eileen Hull, Scrapbook.com and Spellbinders Products. 

A handcrafted journal featuring a vintage aesthetic, adorned with die-cut elements, including a window frame, floral designs, and black-and-white photographs of two women, set against patterned backgrounds and decorative cardstock.

Thanks for stopping by, I hope your Tuesday is great and enjoy creating!

Artistic design featuring a bird and floral elements with the name 'Tonya' in an elegant font.

Join the Eileen Hull September Release Party for Craft Ideas

Hi everyone! It’s that time again! Eileen Hull has a new release and this collection was inspired by nature and the cozy feeling of home. It was designed to coordinate with the Handbound Journal (sold separately) to create a tunnel book. But each die set also stands beautifully on its own and can be used in so many creative ways!

Close-up of a decorated journal cover featuring a stylized orange fox, intricate floral patterns, and a textured ribbon.

First, I would like to share a sneak peek of a project I created. I used all the dies and embossing folder in this one project. I will be share the reveal later this month so be sure to stop back by!

Close-up of an orange embossing folder featuring an intricate lacy pattern with floral and leaf designs.

Lacy Leaves Embossing Folder
A bold, intricate lacy pattern measuring 6” x 8 ½”—perfectly sized for journal covers and cards. This design was inspired by an actual piece of lace from my collection that reminded me of leaves. I love the mix of nature and lace! Whether you emboss or deboss the pattern, the result is simply beautiful.

A scenic illustration featuring layered die-cut figures of a deer, rabbit, fox, trees, a house, and butterflies, set against a green landscape with a sun and moon above.

Home Sweet Home Die Set
This 24-piece set includes layered forest animals (deer, fox, bunny, squirrel, and butterflies), pine trees, grassy hills, greenery, clouds, sun, moon, and a cozy house. The sweet deer alone makes this set worth it! Perfect for holiday projects, baby themes, everyday cards, journals, and tags.

Die set featuring a window with a vase of colorful flowers, including sunflowers and tulips, designed for crafting projects.

Windowsill Flowers & Vase Die Set
A 13-die set designed to coordinate with the Tunnel Arches. The window die matches the largest arch. It lets you build a 3D scene that looks as though you’re peering through a window. The tiny vase and flowers (yes, I had to make them that small for scale!) are wonderful for using scraps. The little lacy piece also makes a lovely accent for junk journal pockets and cards.

A layered die-cut design featuring multiple arches in varying shades of brown, beige, and teal, showcasing a modern, colorful aesthetic.

Tunnel Arches Die Set
Who knew arches could be so versatile? Make a rainbow! Use the negative cuts to create graduated windows in journals, cards, and home decor. Use the positive pieces as card bases and tags. Nothing goes to waste! This 7-die nesting set ranges in size from 4 ½” x 3 ¼” down to teeny-tiny (so cute!). They were designed to fit perfectly inside the Handbound Journal. You might want to try your hand at a tunnel book. Watch for upcoming tutorials on Eileen’s YouTube Channel which can be found HERE!

Supplies

Sizzix/Eileen Hull: Handbound Journal Diecut

Sizzix/Eileen Hull: Lacy Leaves Embossing Folder

Sizzix/Eileen Hull: Home Sweet Home Die Set

Sizzix/Eileen Hull: Windowsill Flowers & Vase Die Set

Sizzix/Eileen Hull: Tunnel Arches Die Set

Diecut Machine

(Products listed above are Affiliated Links for your convenience)

DISCLAIMERS

This blog is compensated to provide opinion on products, services, websites, and various other topics. Even though the owner(s) of this blog receives compensation for our posts or advertisements. I always give my honest opinions, findings, beliefs, or experiences on those topics or products. The views and opinions expressed on this blog are purely my own. Any product claim, statistic, or quote should be checked with each manufacturer. Verify other representations about a product or service with the provider or party in question.This blog contains affiliate linksClicking these links helps to support Tonya Trantham Designs – Creative Paper Addiction. It’s at no additional cost to you. Today’s features are Sizzix, Eileen Hull and Scrapbook.com Products. 

A crafted display featuring layered nature scenes, including trees, animals, and a sun, surrounded by colorful paper backgrounds and decorative elements like flowers and arches.

Thanks for stopping by, I hope your Tuesday is awesome and enjoy creating!
A decorative design featuring a bird and colorful flowers with the name 'Tonya' elegantly written in cursive.


Step-by-Step Upcycled Phone Box Using Eileen Hull Diecuts

Hi everyone! I’m back with my project for Eileen Hull this month. This month theme is mix and match and I’ve definitely used an assortment of dies for this project. Anyways, let’s get started!

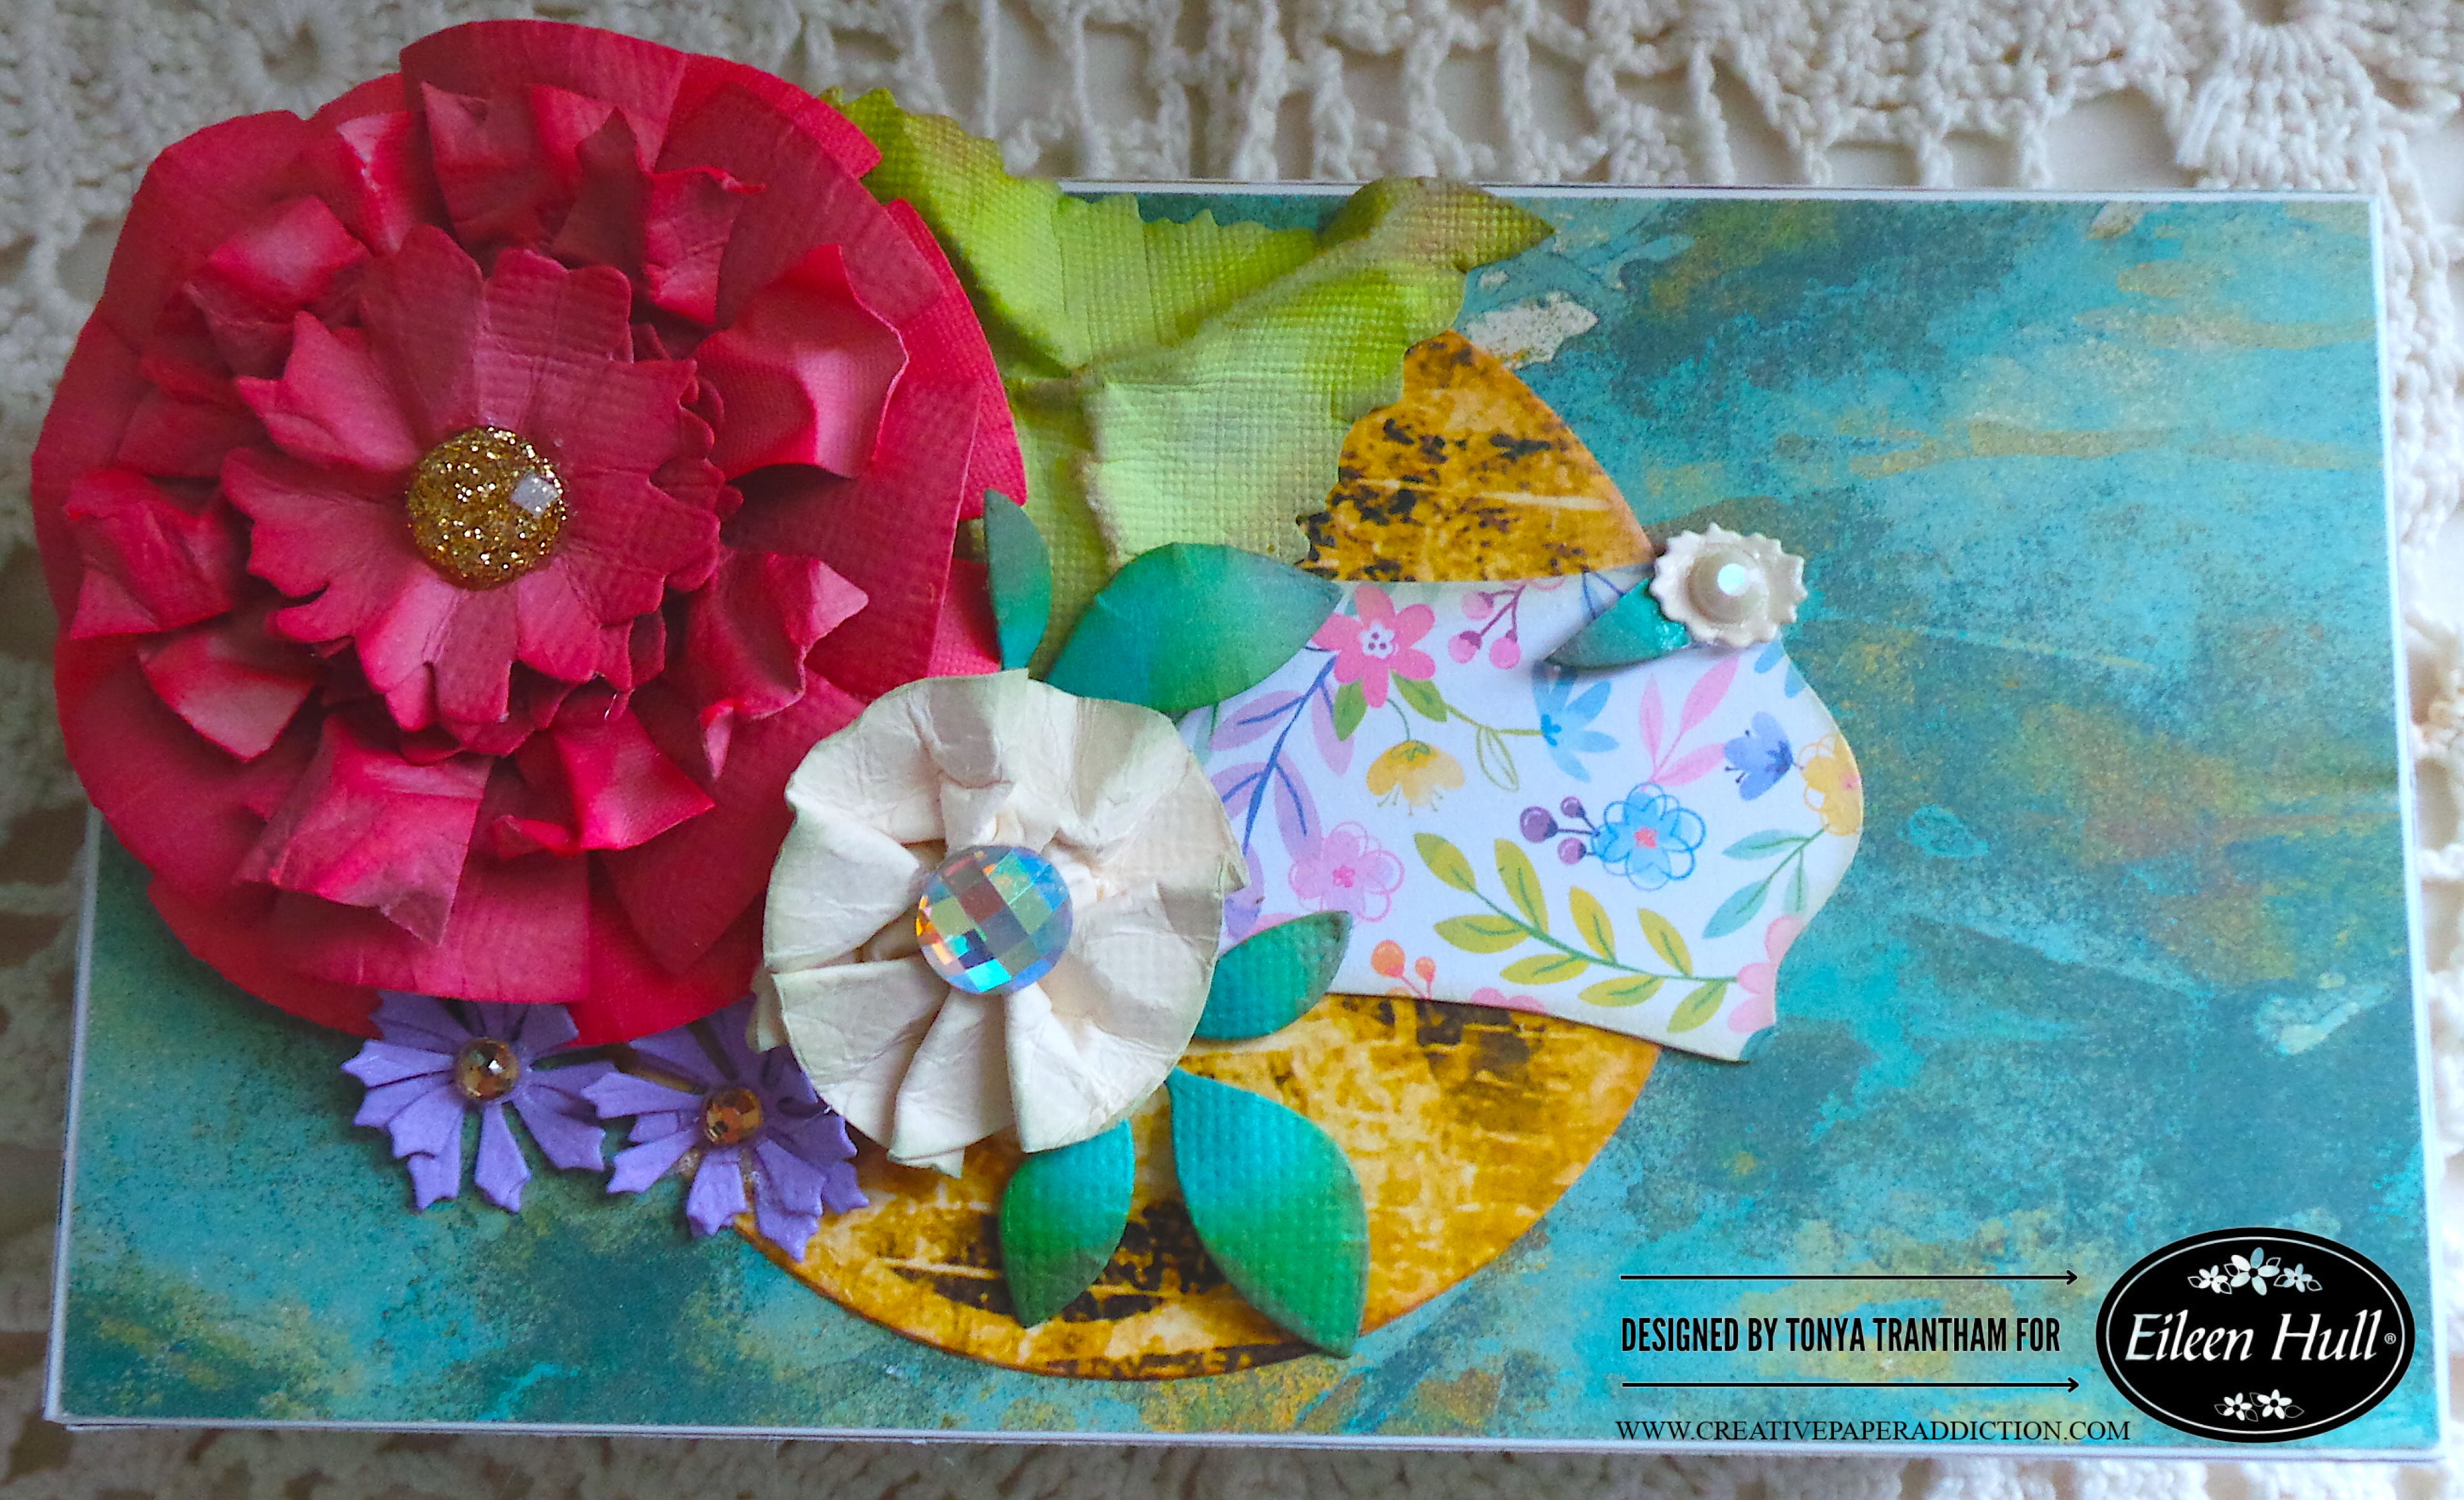
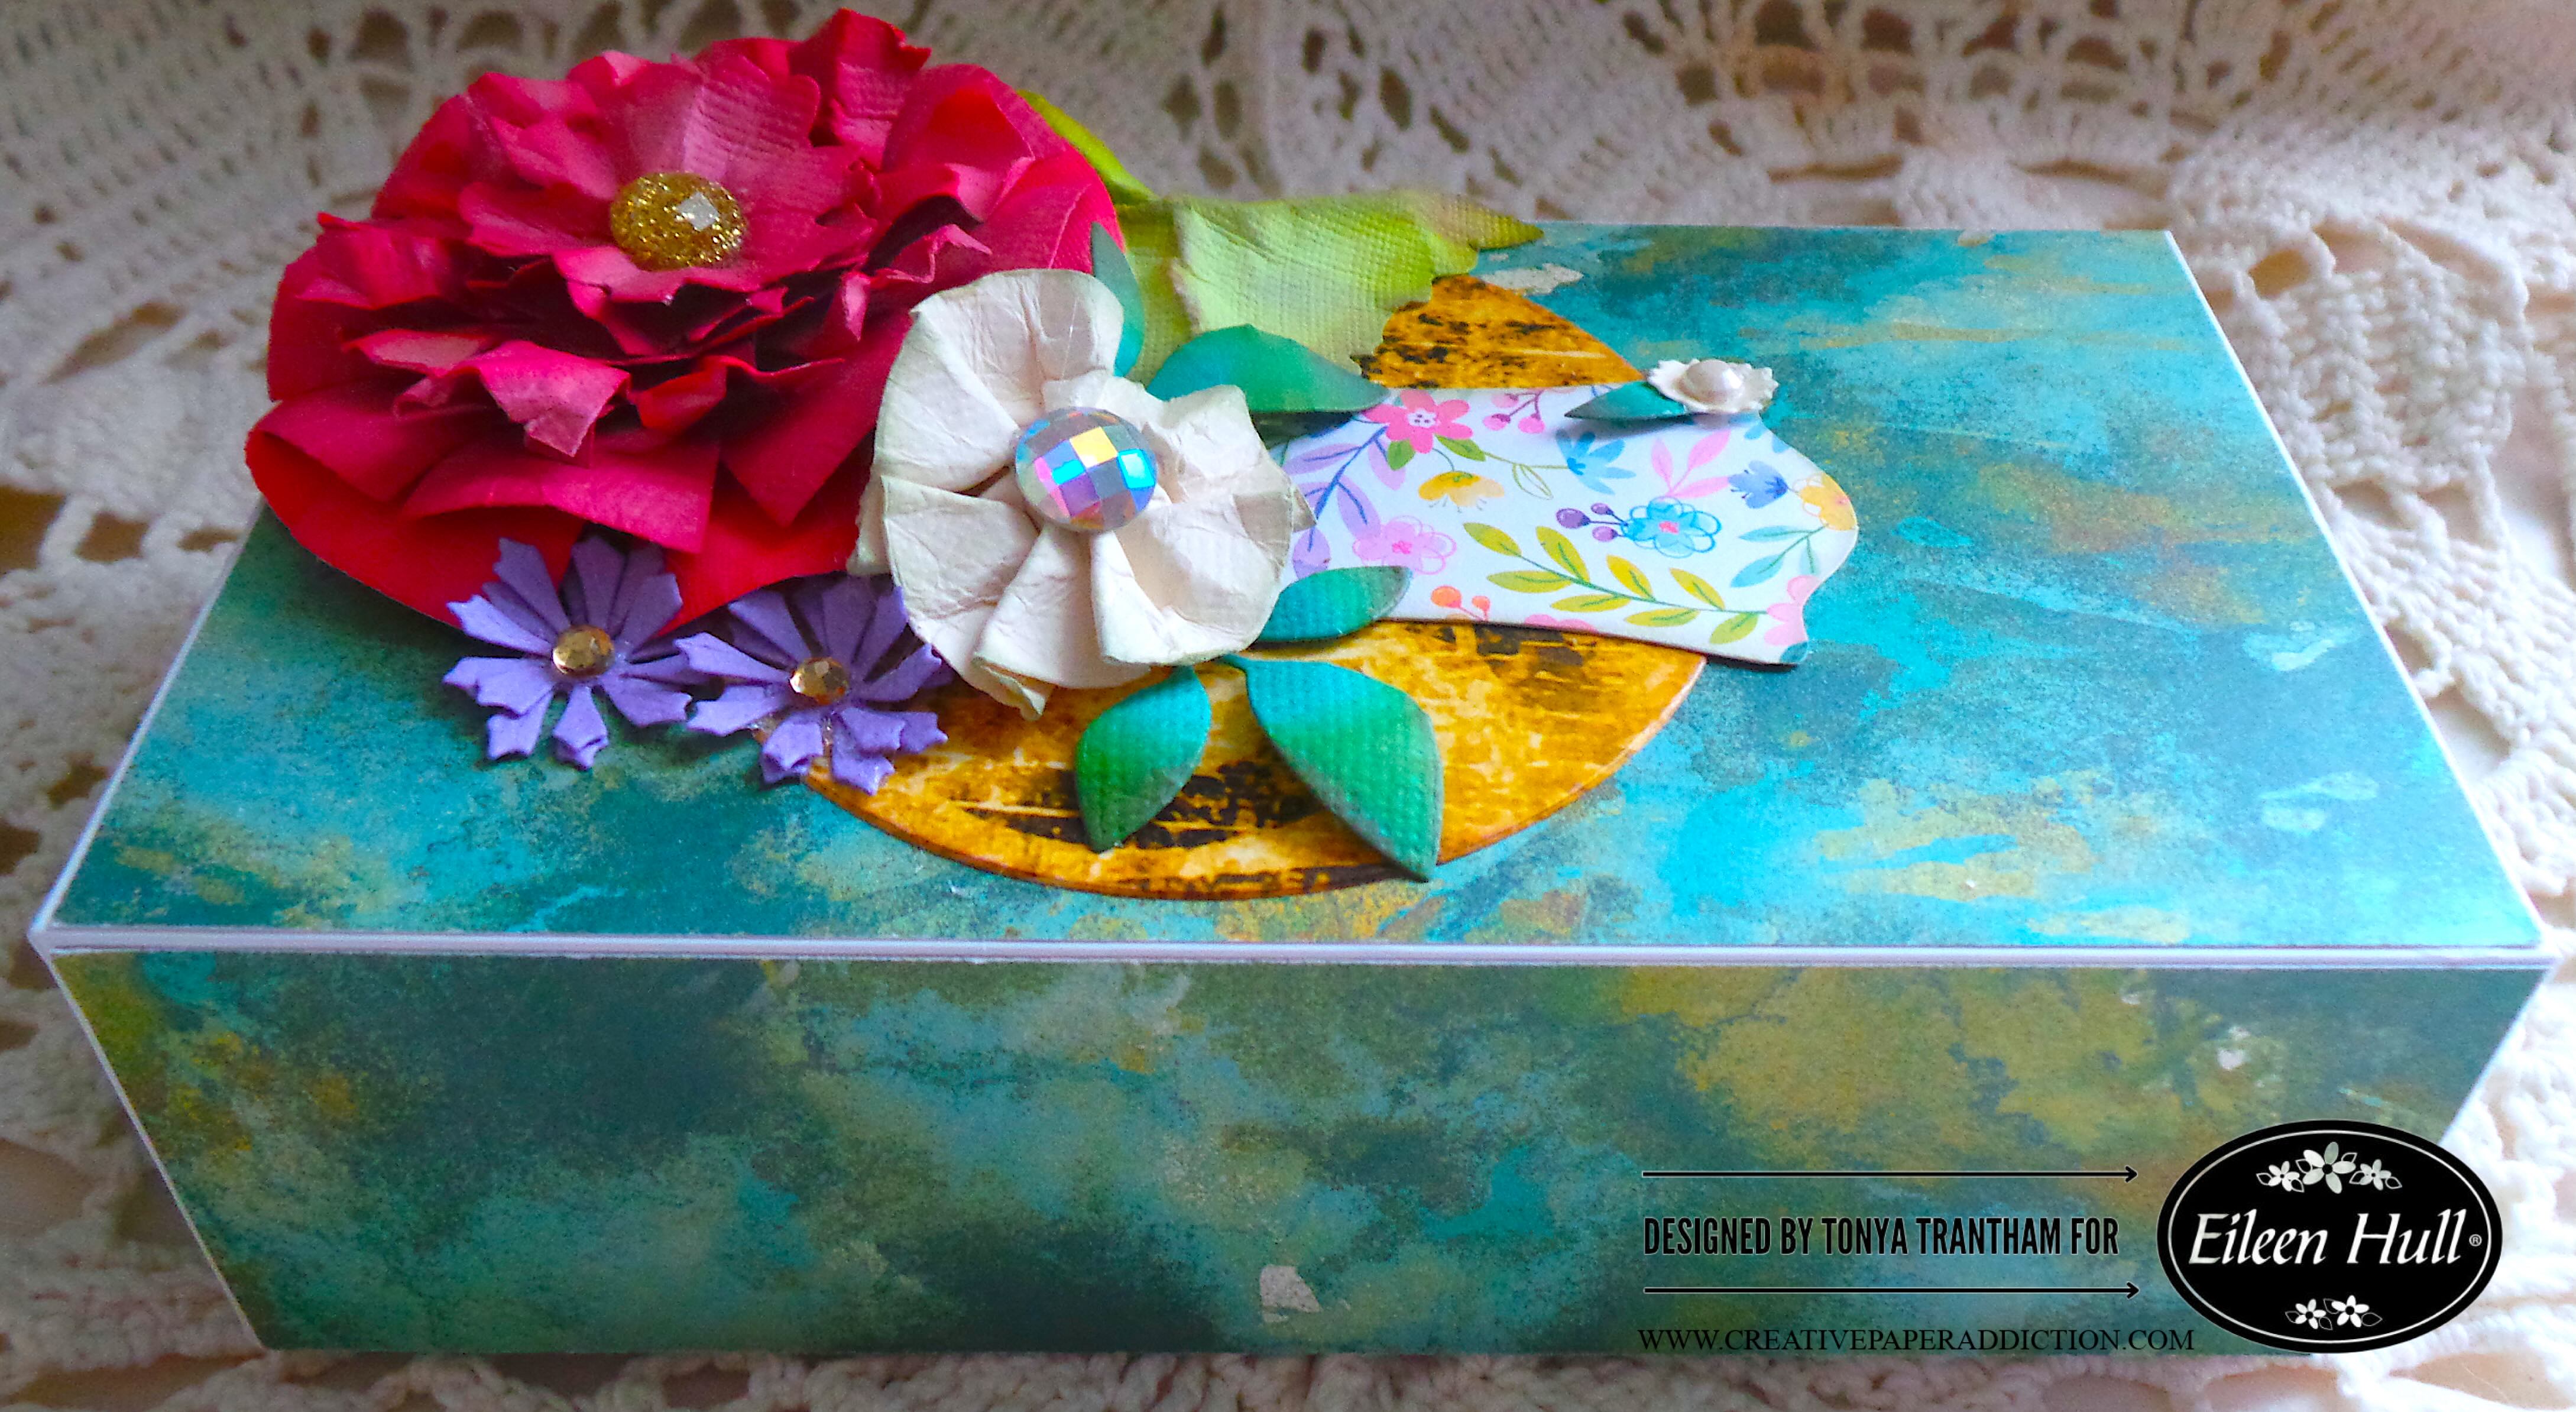
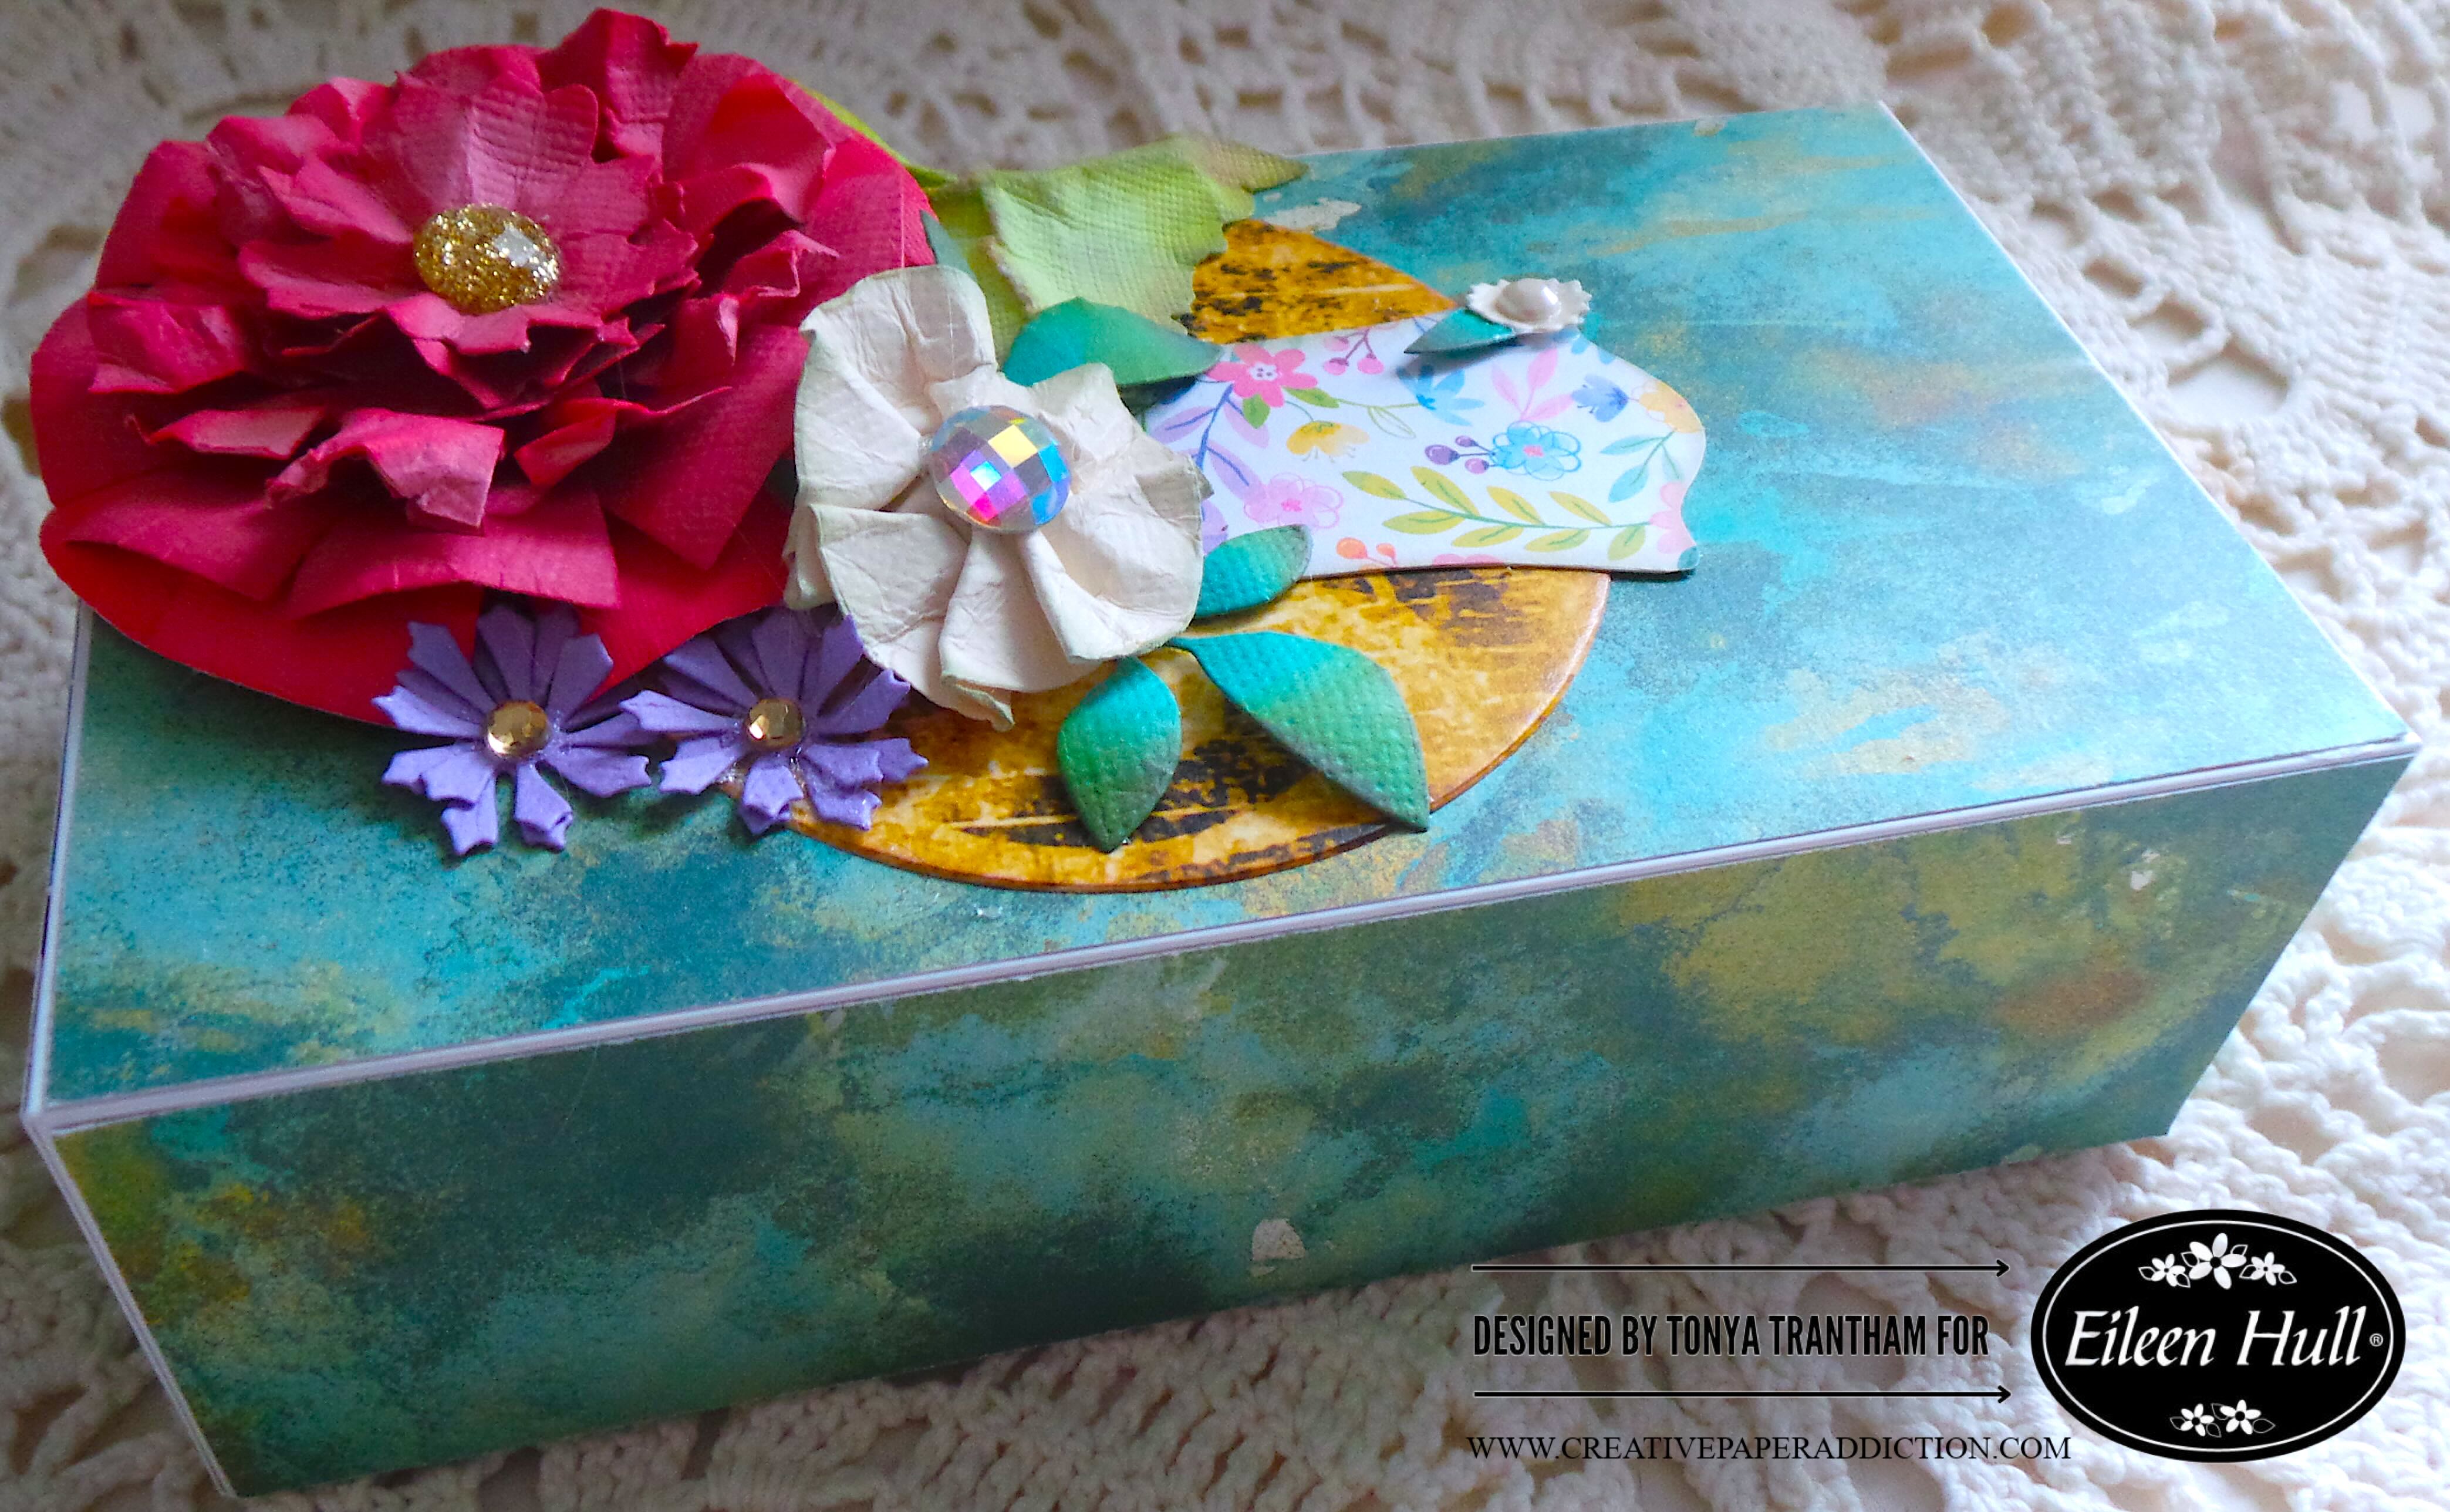
A colorful gift box adorned with large paper flowers in shades of red and cream, featuring green leaves and a decorative floral tag, set against a textured teal background with golden accents.

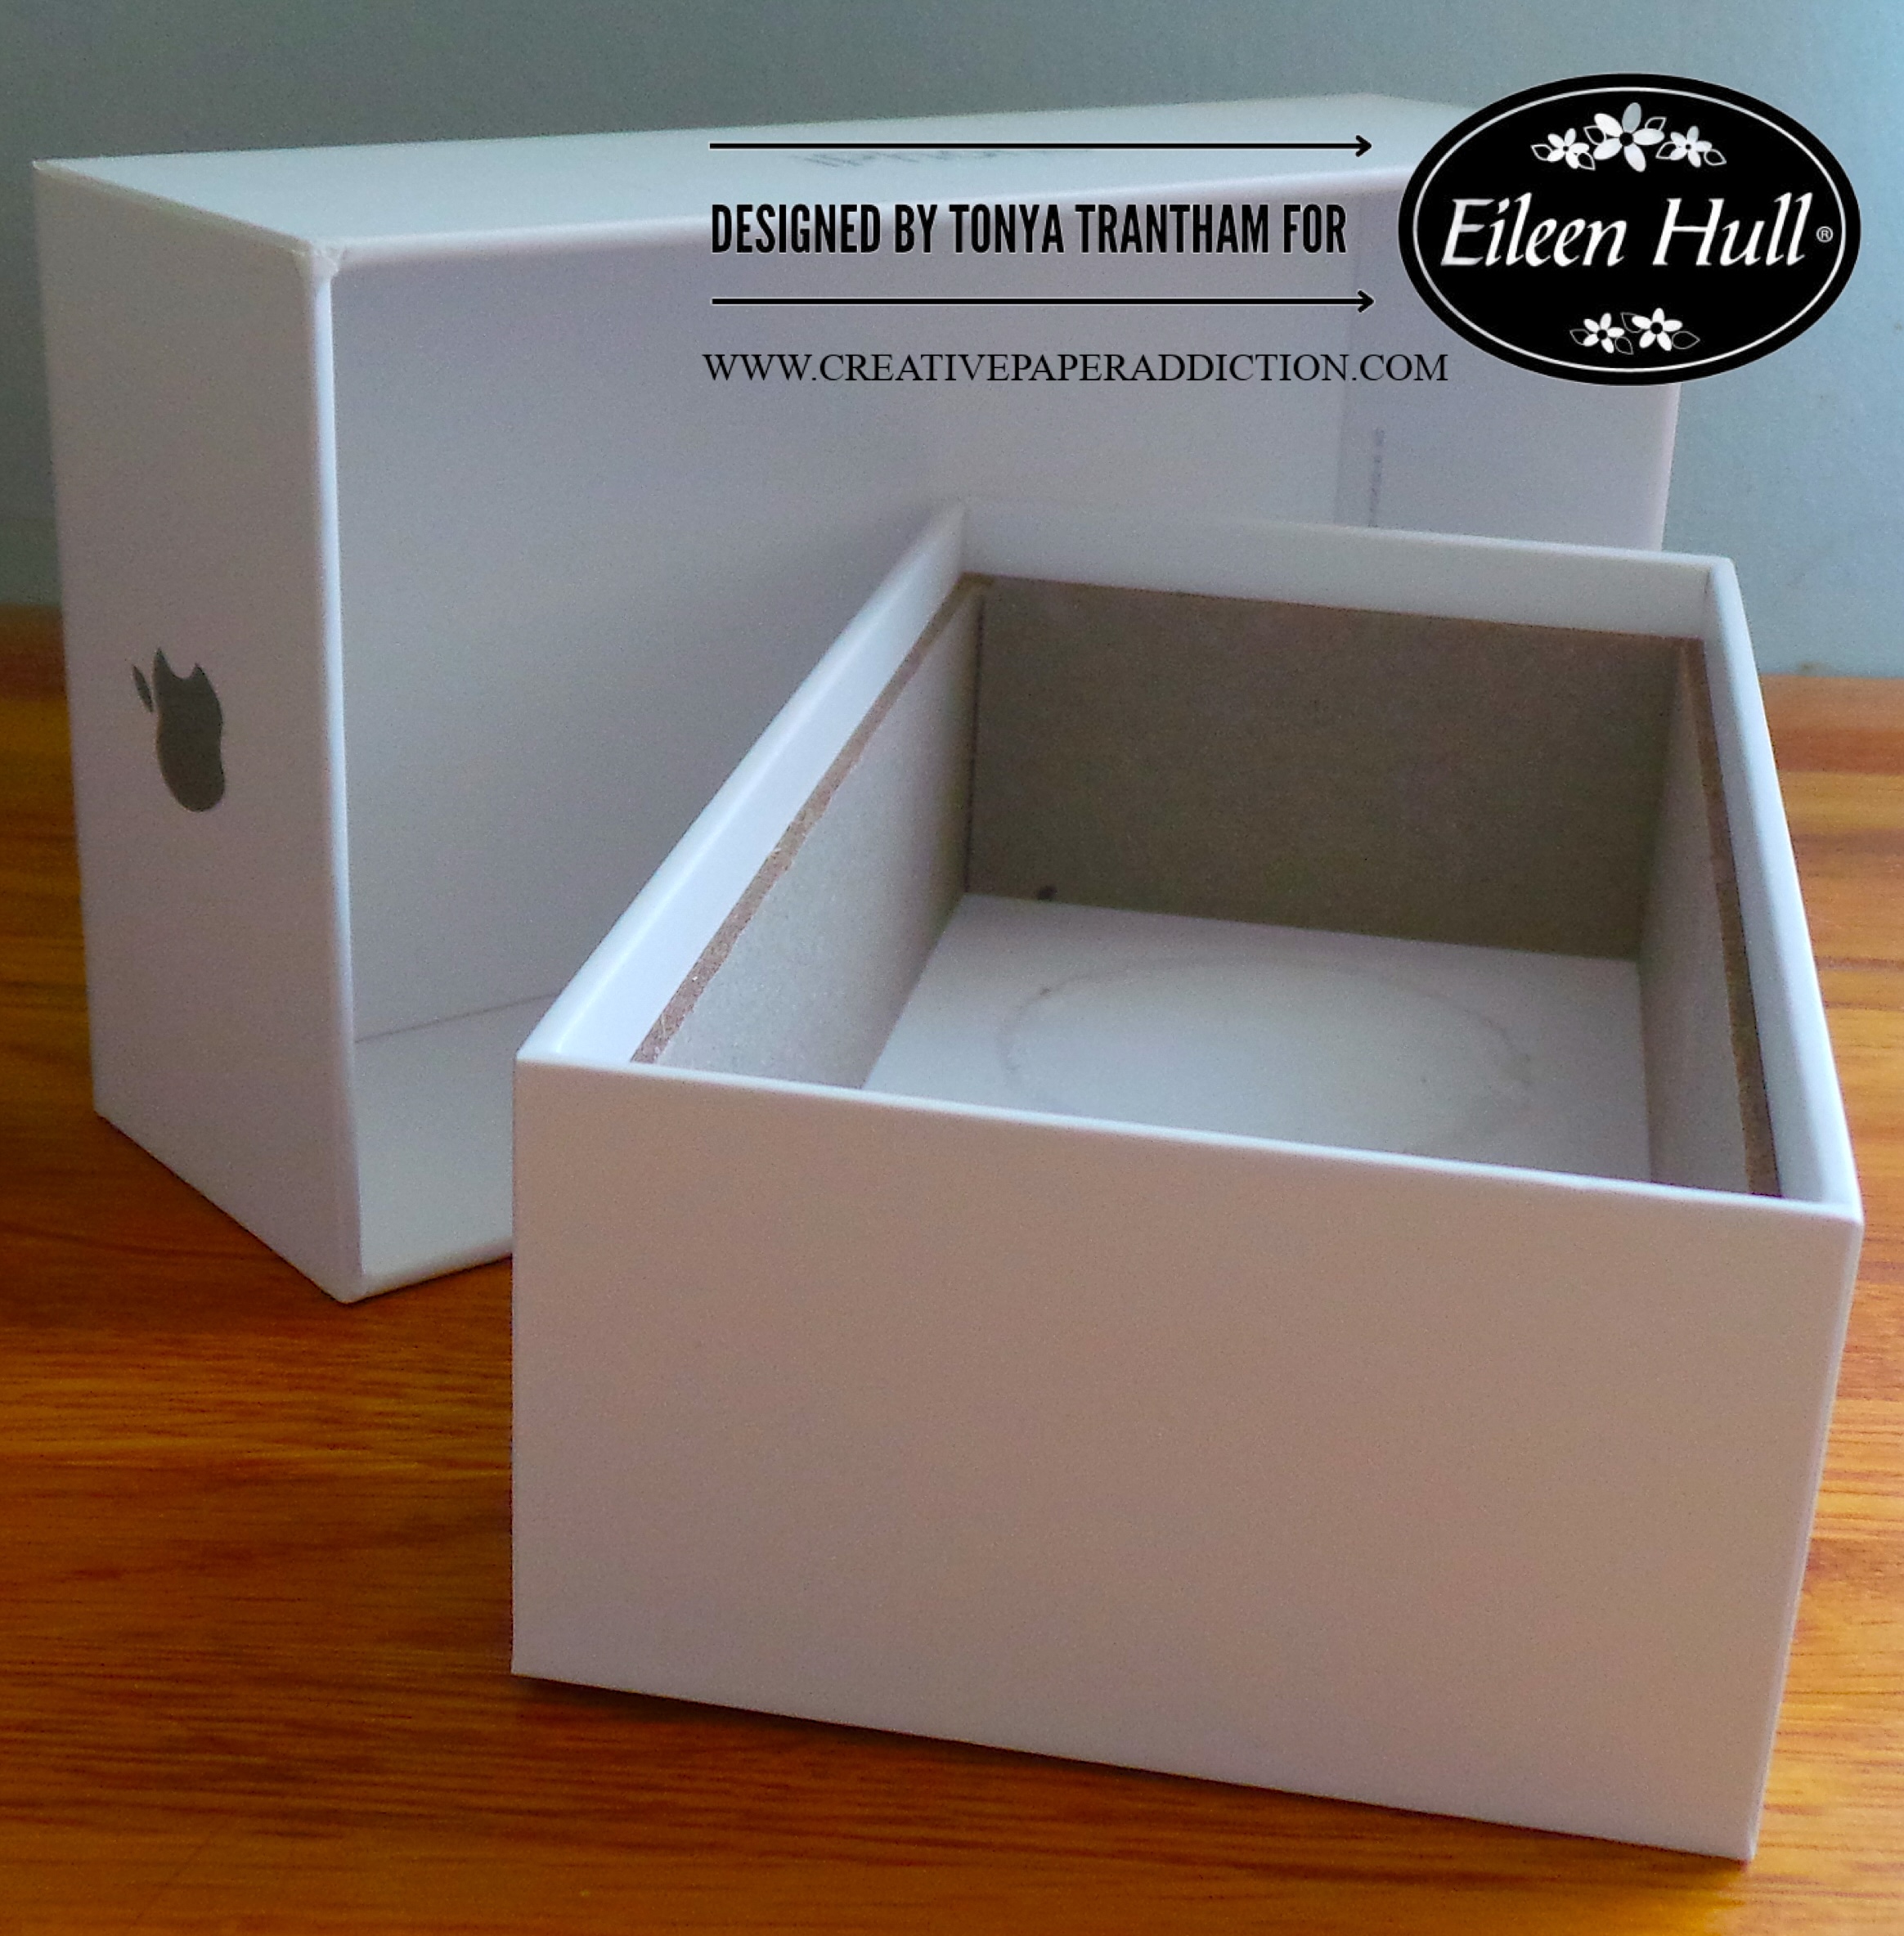
I have a collection of phone boxes in my stash. Since they are sturdy I decided to up-cycle and turn one into a gift box. The first thing I did was remove the plastic piece that is in the bottom of the box.

An empty white phone box on a wooden surface, with the lid removed, showcasing its interior.

Next I cut and covered the outside of the box with a patterned cardstock. I also cut and covered the inside of the box to cover up where I removed the plastic.

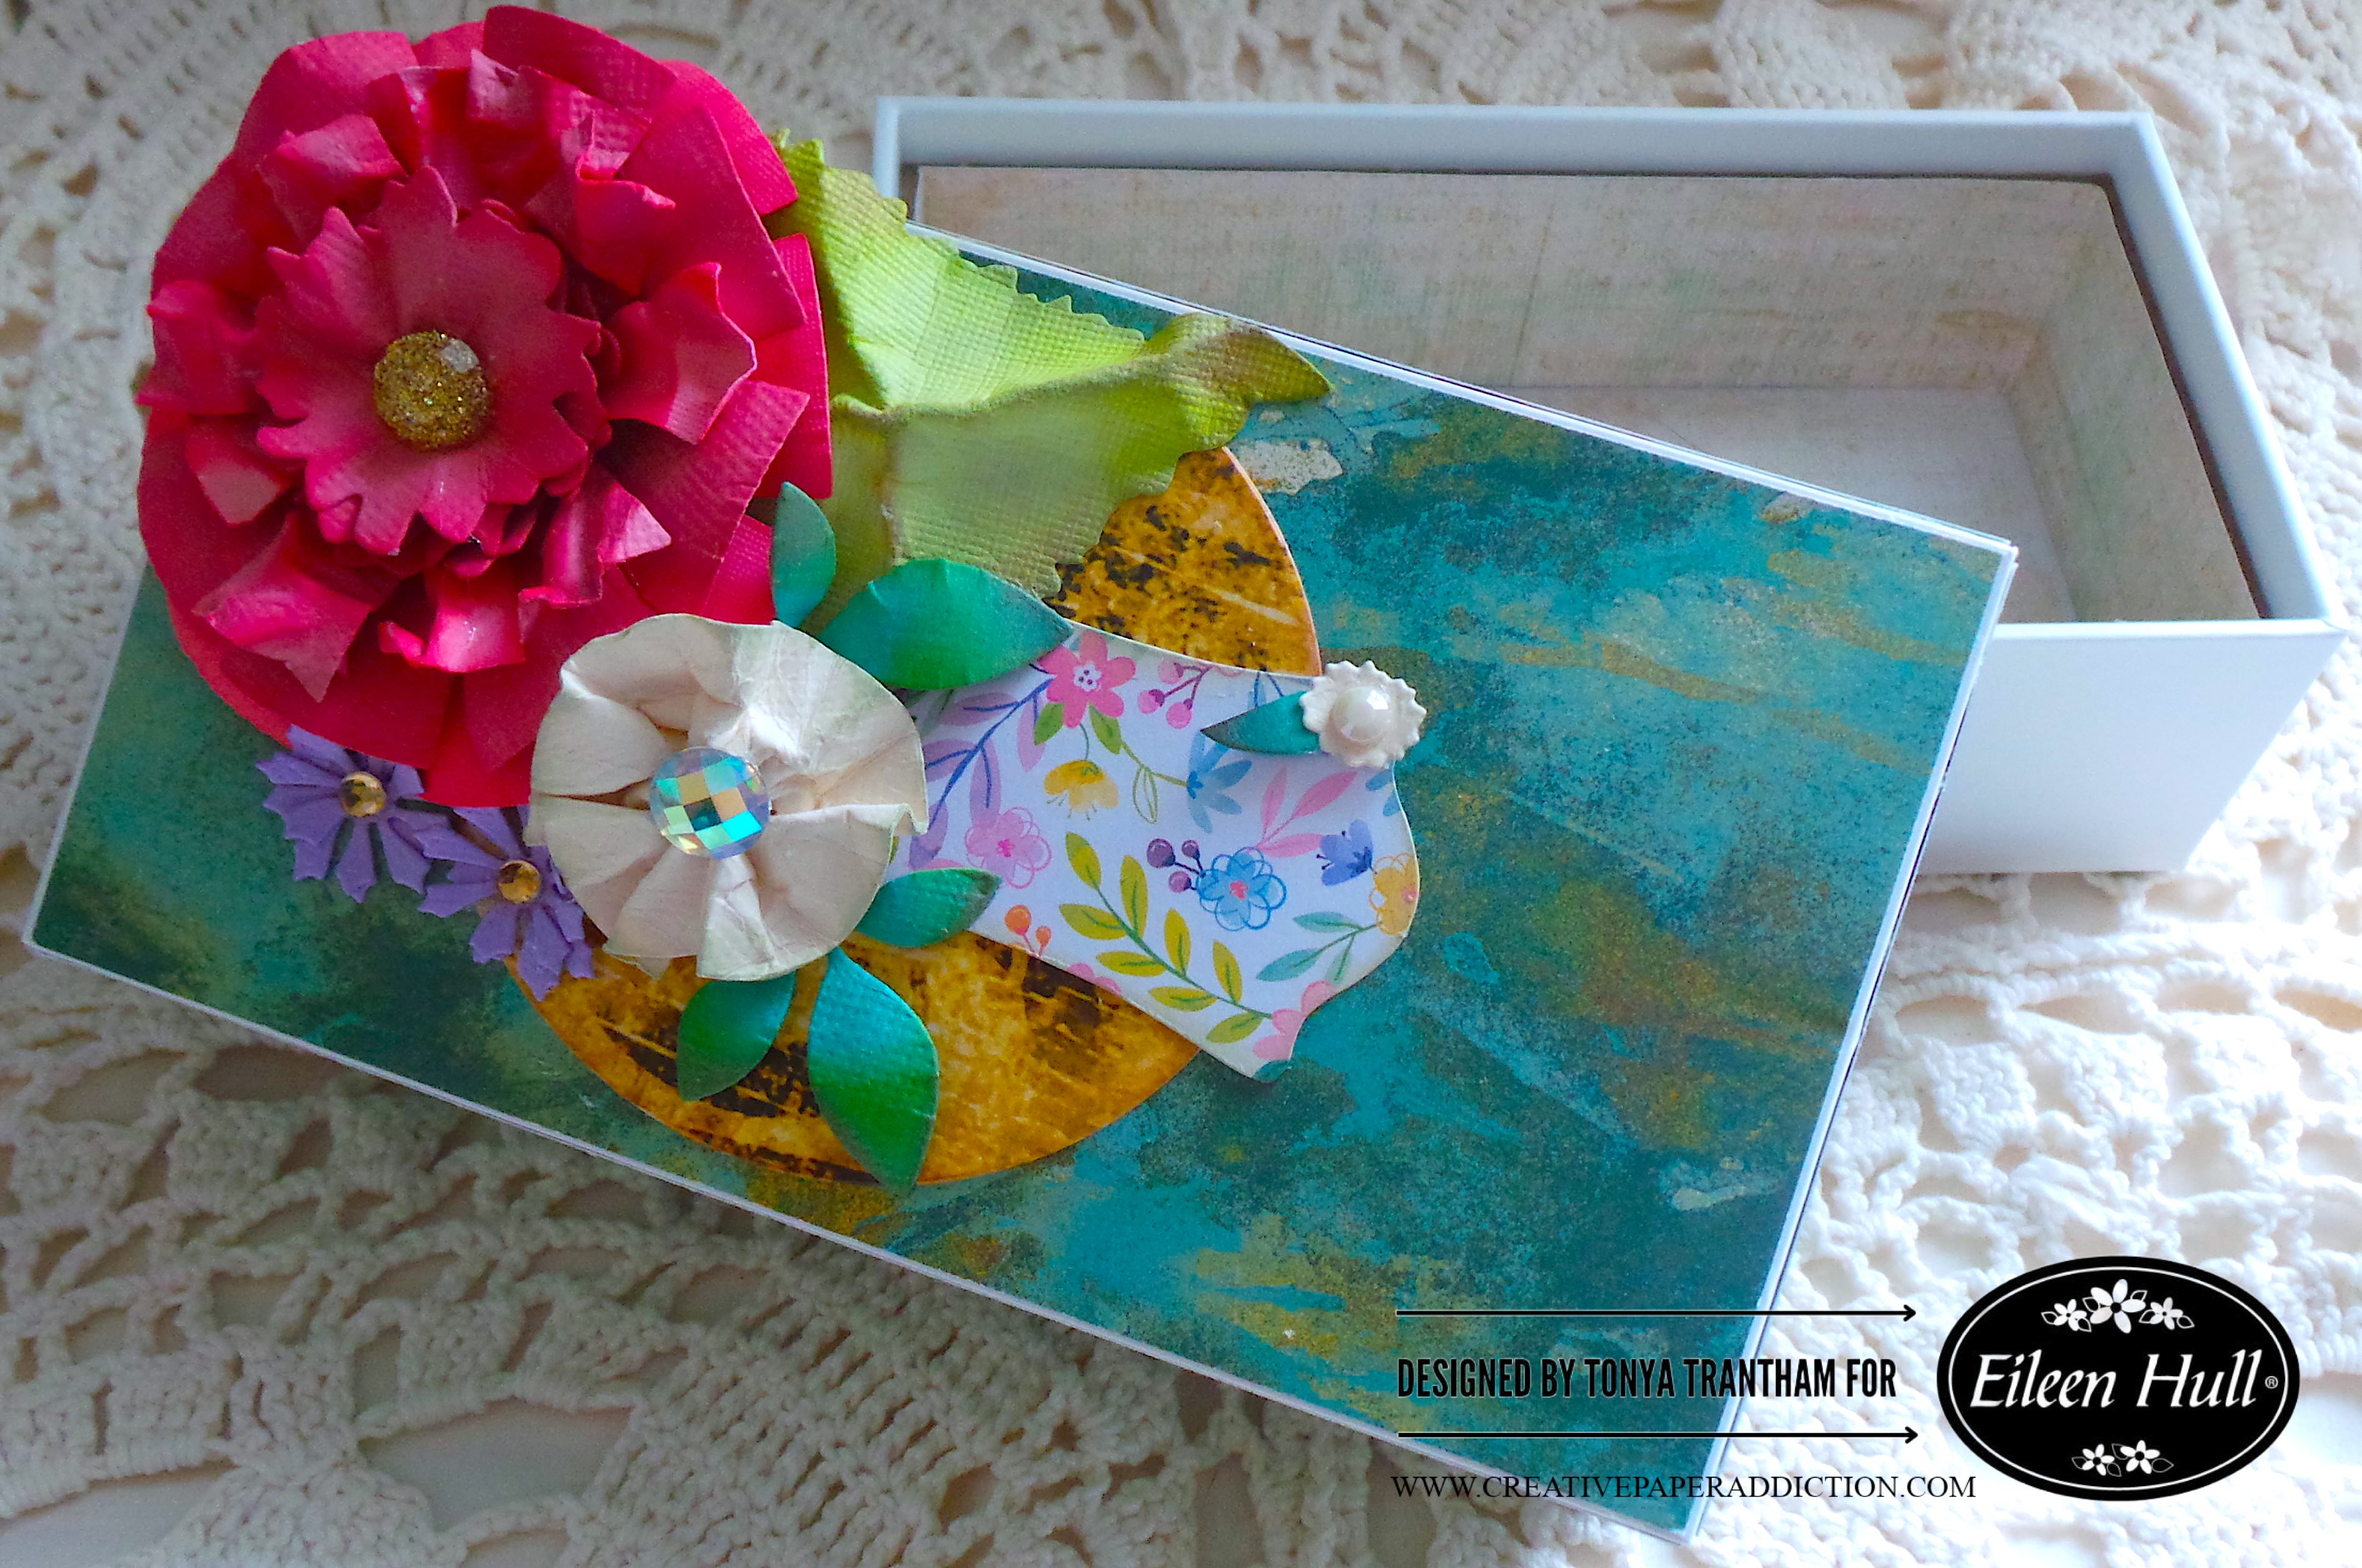
A decorated gift box with a colorful, textured lid, featuring shades of blue, green, and gold. The box is open to reveal a simple interior.

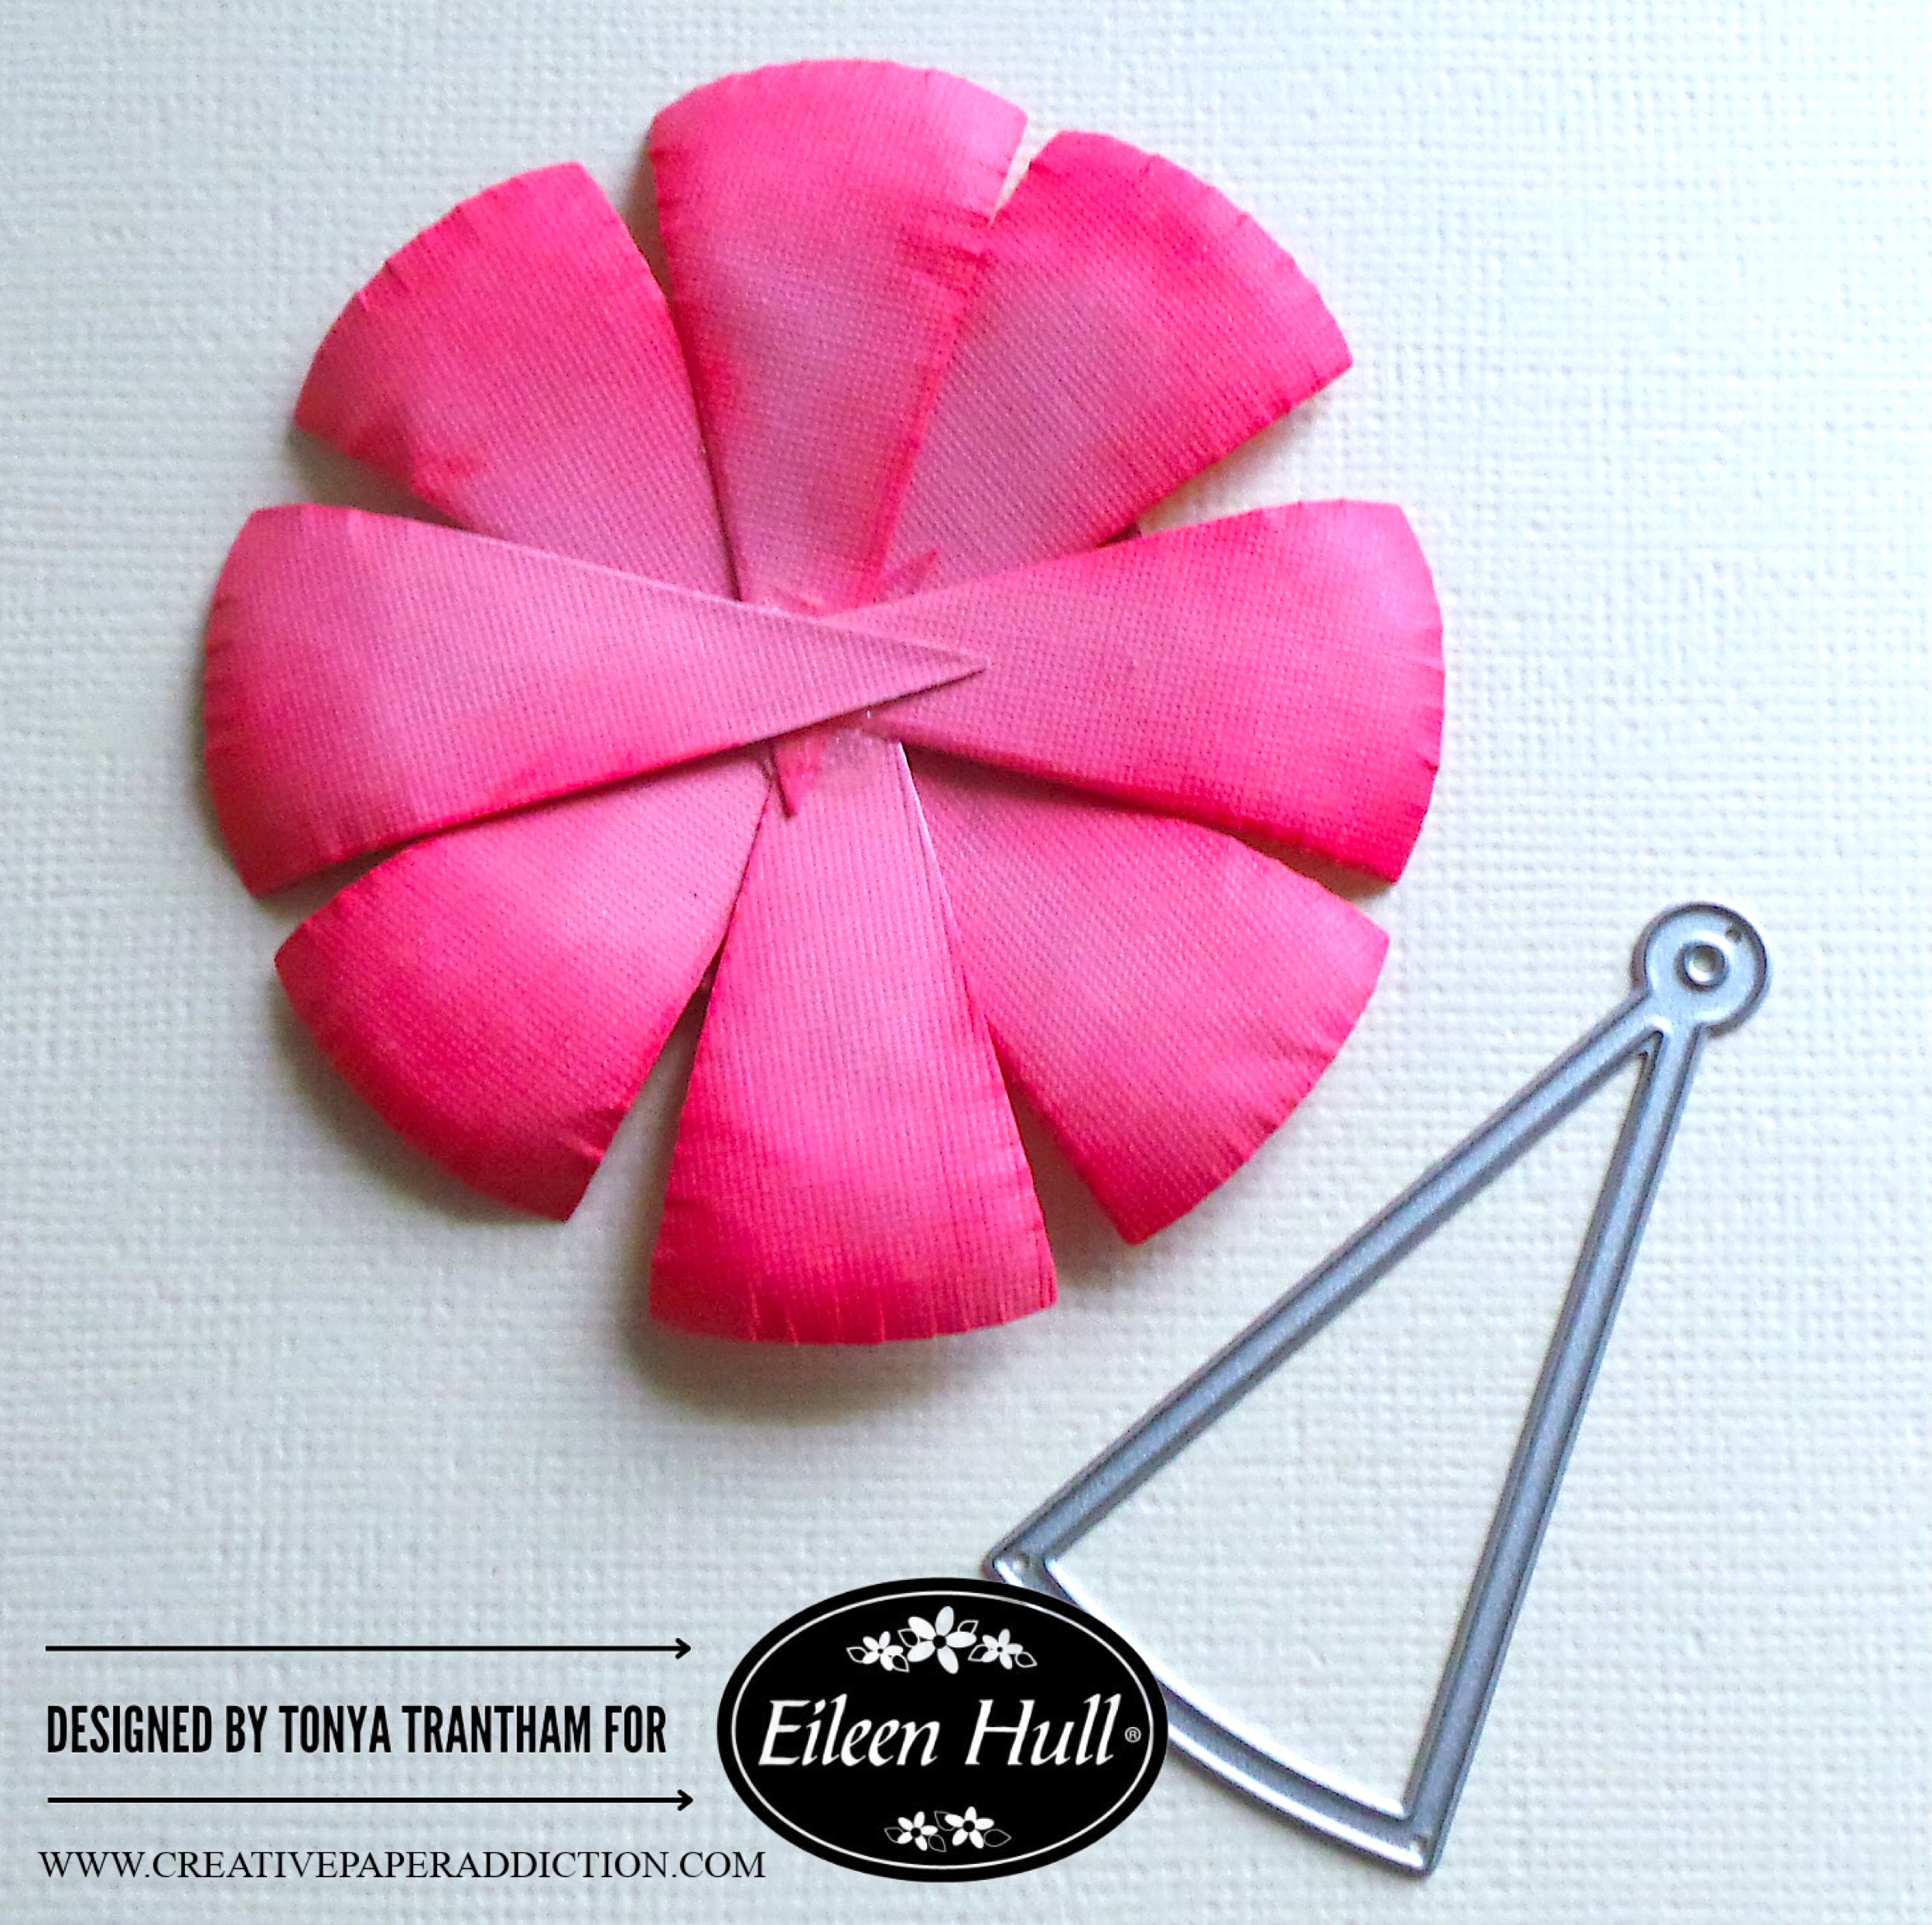
To create the largest flower on the box I cut over twenty of the triangles from the Rainbow Wheels Thinlits. I lightly inked the edges with a pink chalk ink and shaped with a Stylus.

A layered pink paper flower made from various sized petals, next to a metal die cut in the shape of a triangle, on a textured background.

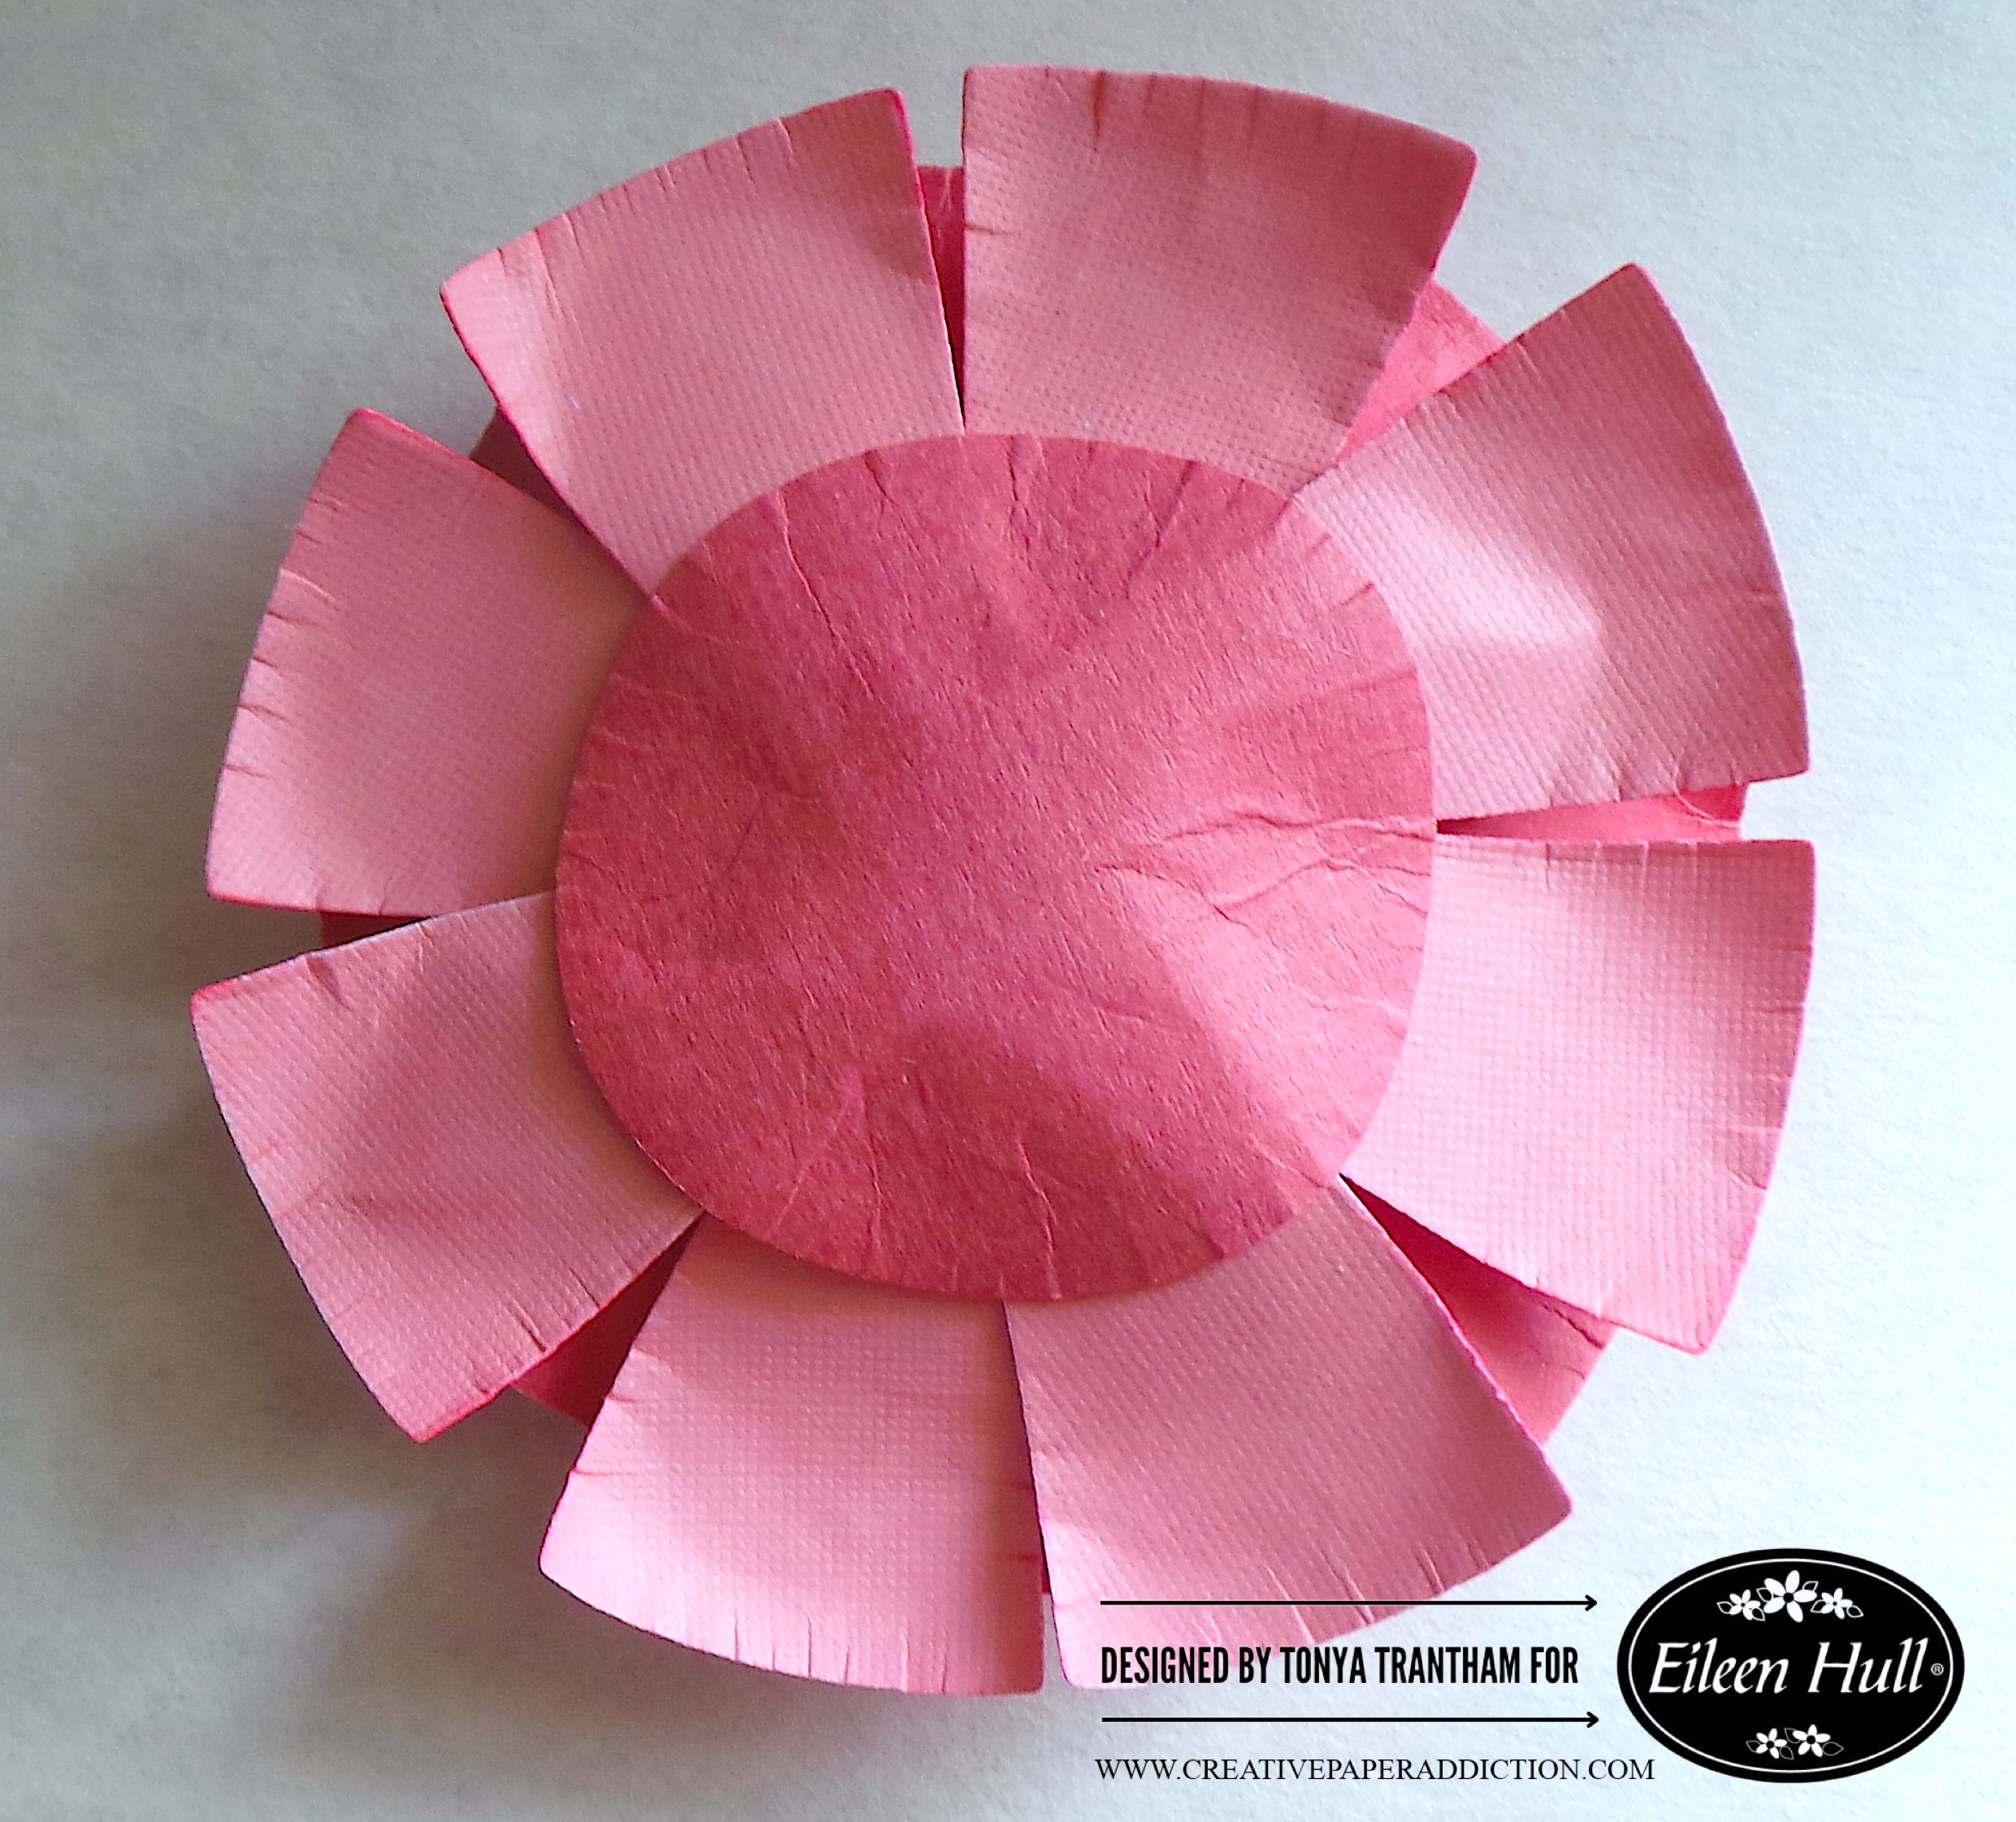
I also cut the smallest circle from the Rainbow Wheels Thinlits and shaped with a Stylus. I started adhering the triangles to the circle. I added two layers of the regular size triangles dies to the circle.

A handcrafted pink flower made from paper, featuring layered petals and a textured center.

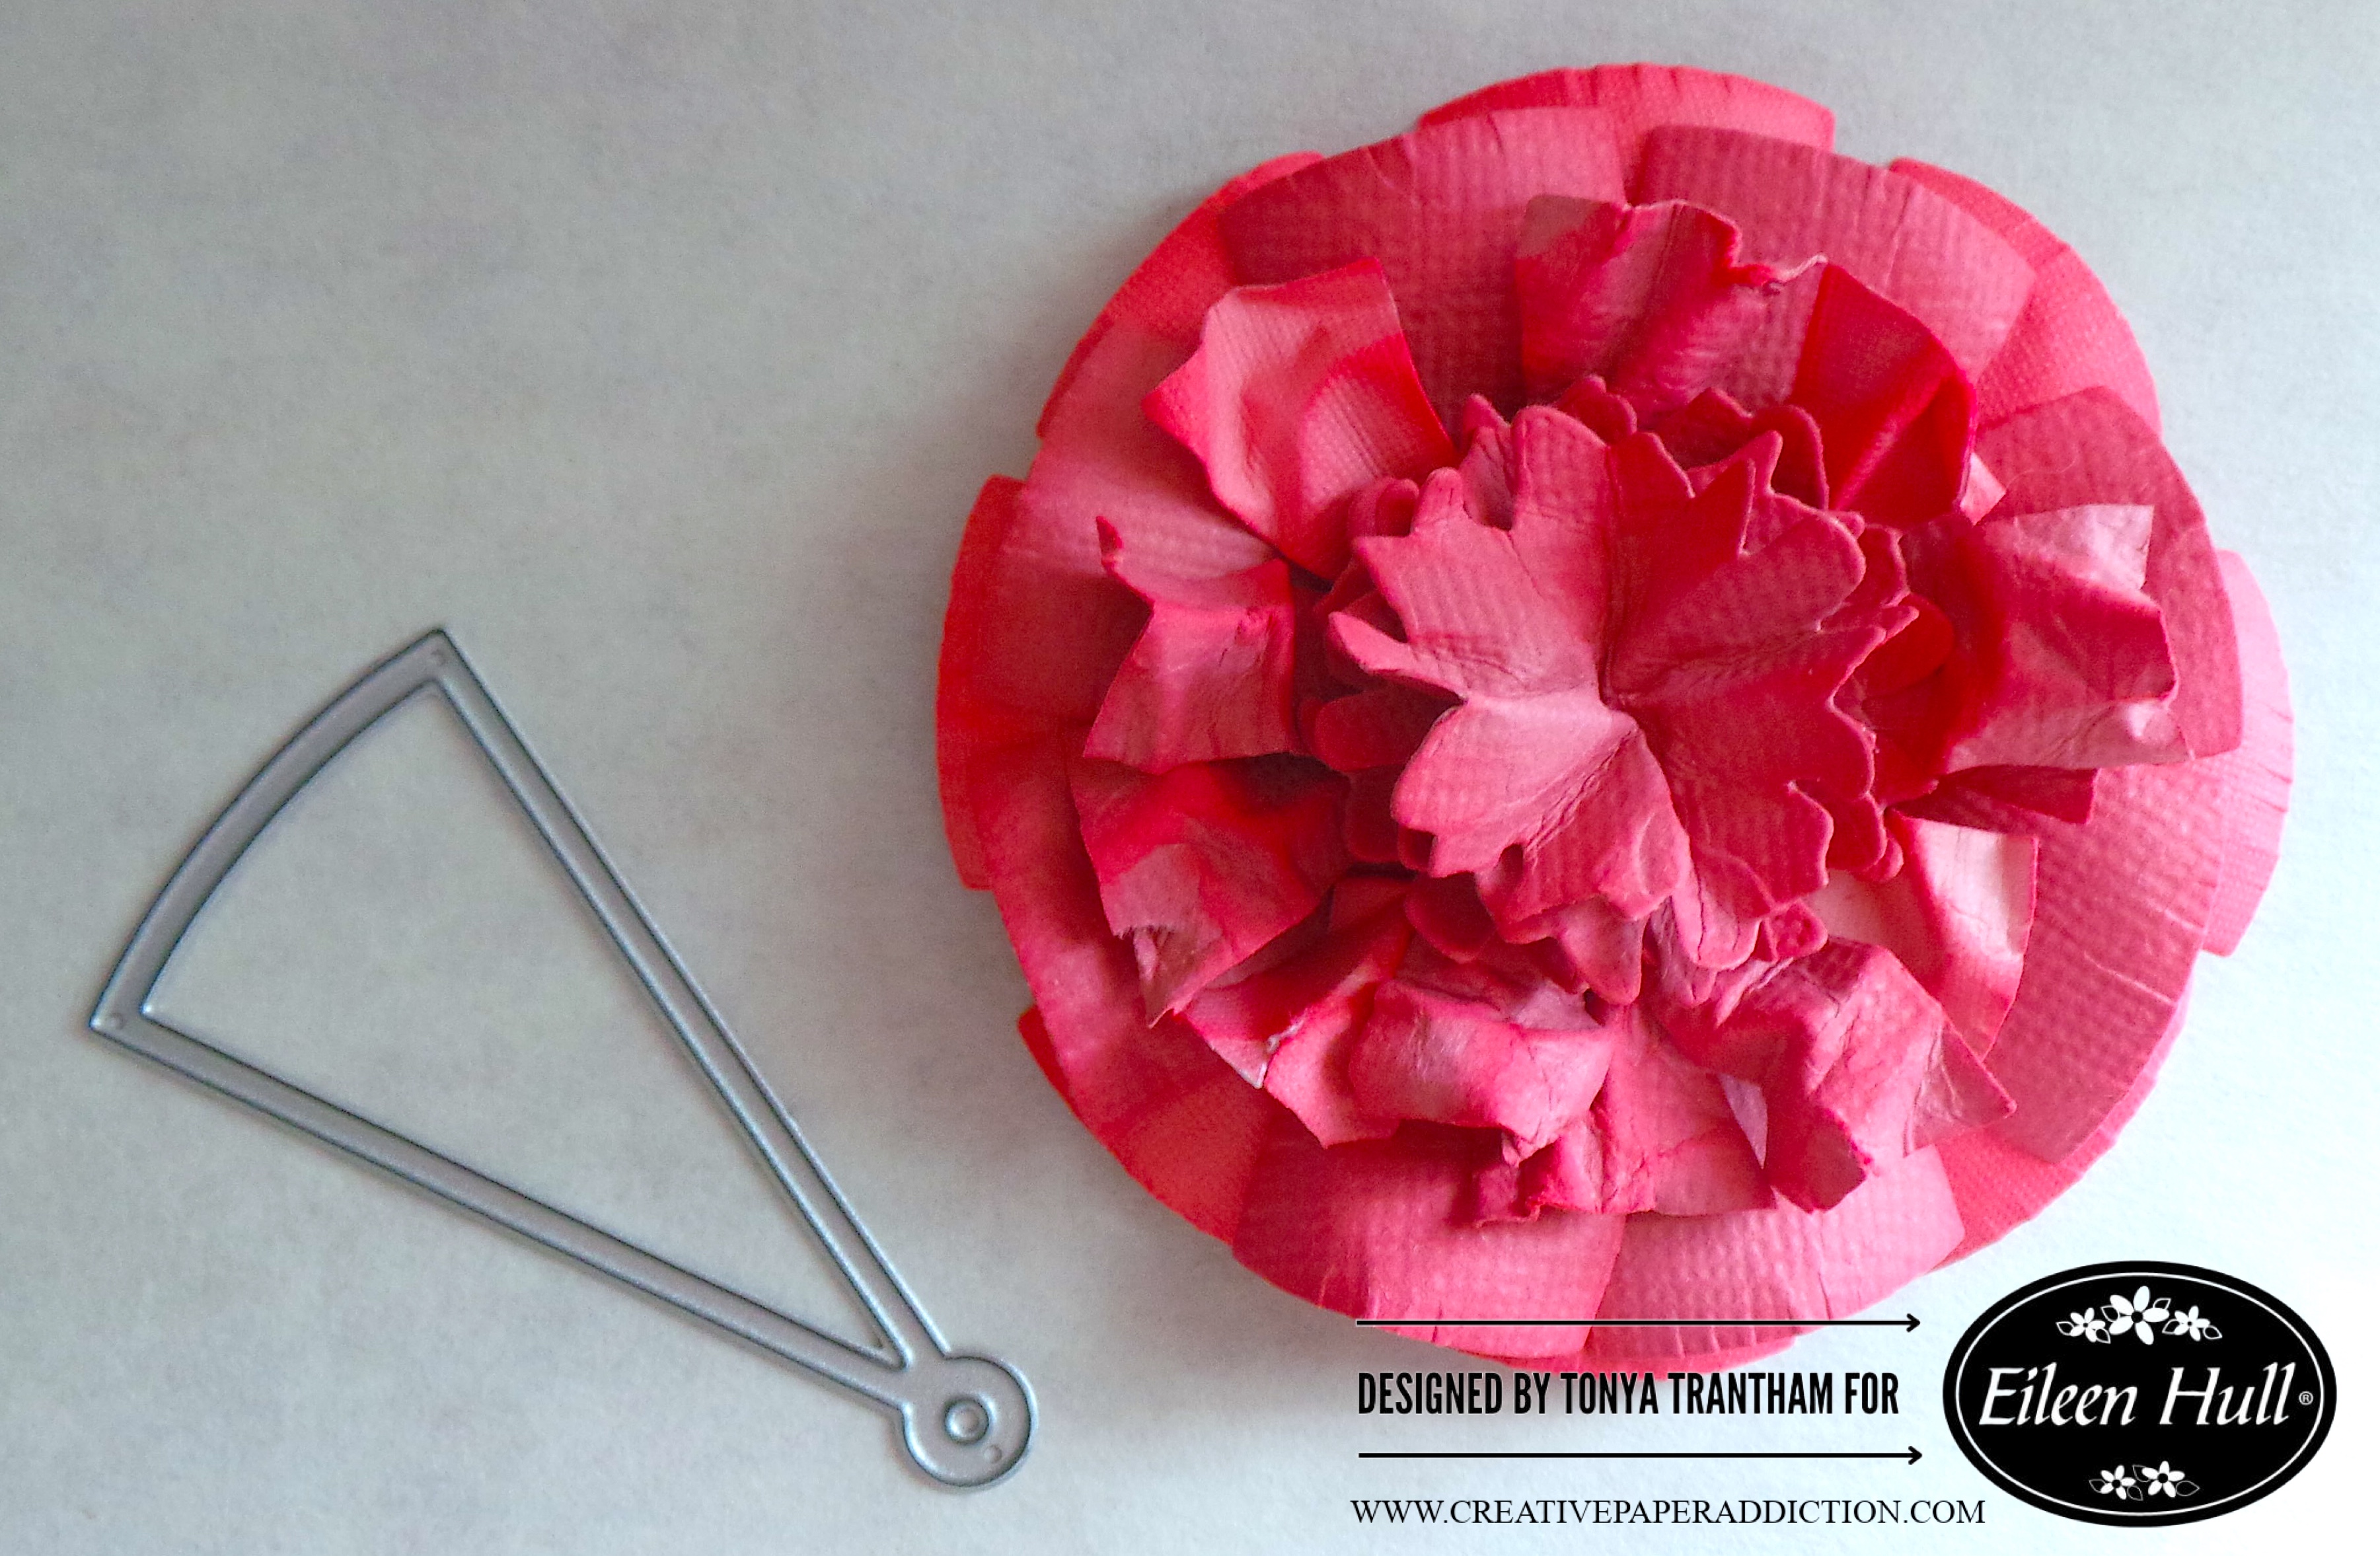
I cut the “v” end off ten triangle dies and crunched up in my hand before adding to the flower. I cut out three flowers from the Bookmark, Pockets and Topper Thinlits. I inked with pink chalk ink and shaped with a Stylus and my hand. I glued each on top of each other before adding to the flower.

A layered paper flower in shades of pink alongside a metal die cut in a semi-circle shape, designed by Tonya Trantham for Eileen Hull.

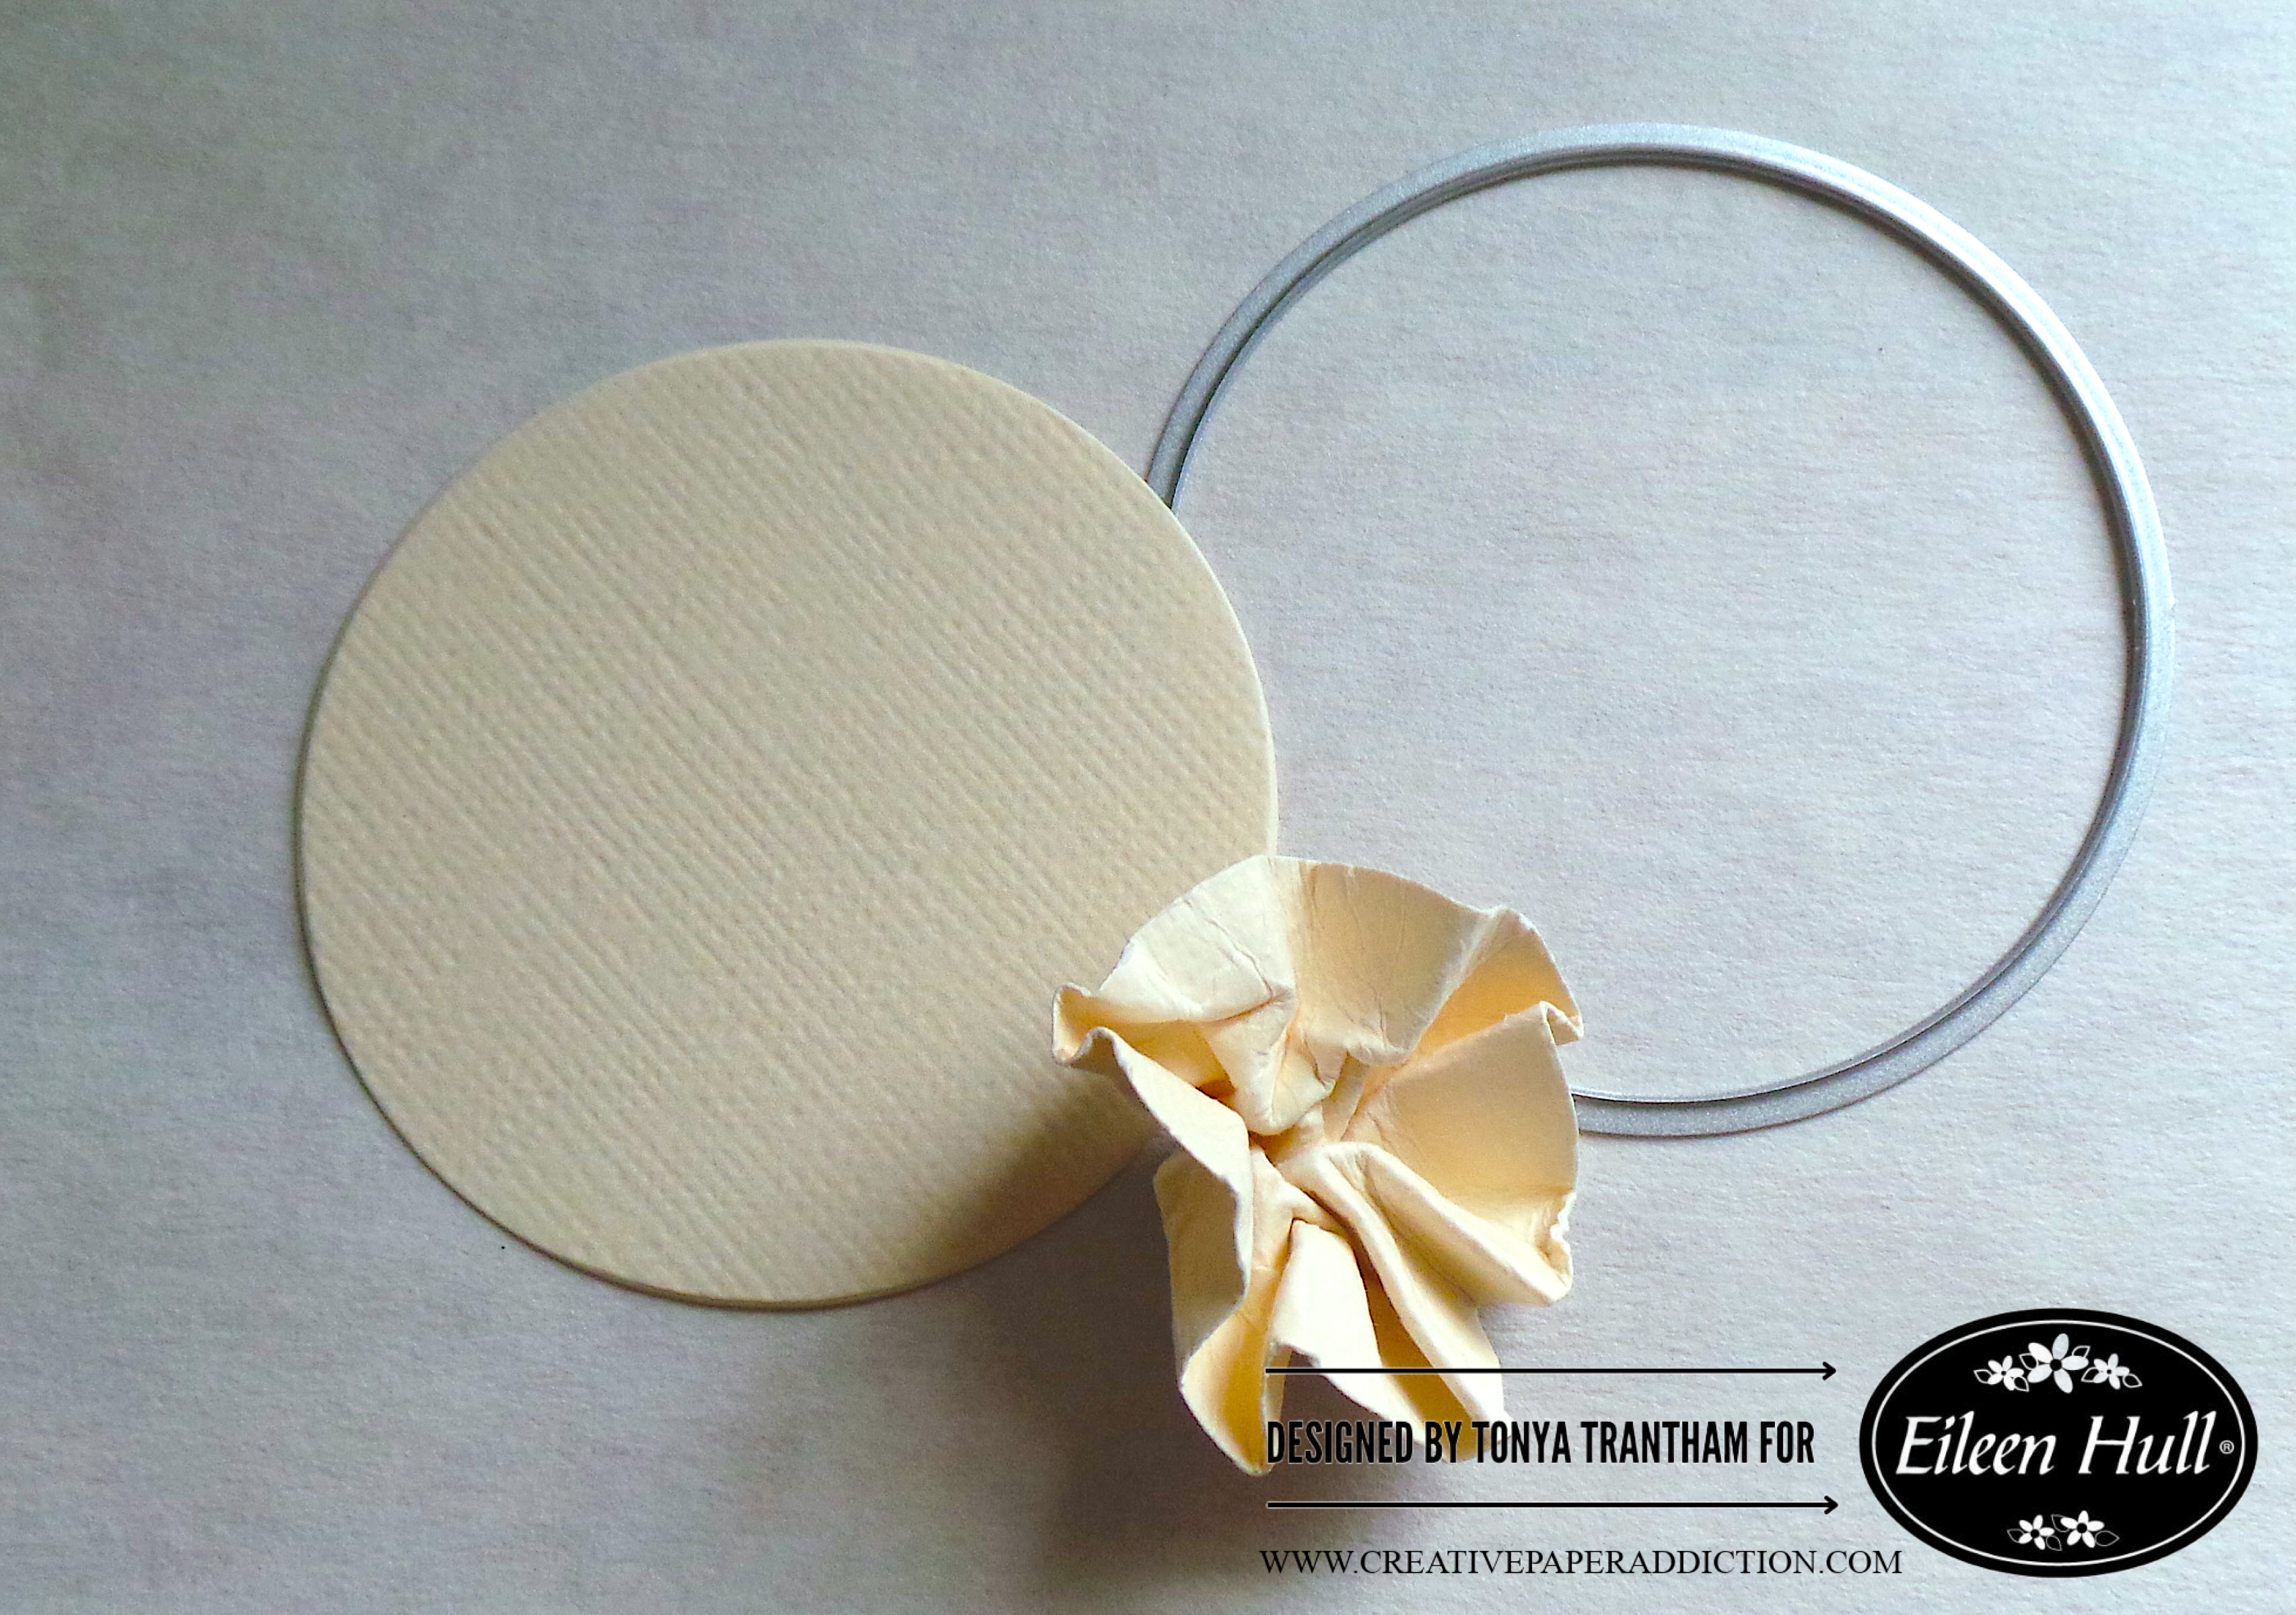
I cut the smallest circle from the Rainbow Wheels Thinlits. I lightly wet the circle with water and crunched, shaped in my hand and let it dry.

A circular piece of off-white cardstock alongside a silver die-cutting ring and a crumpled, light-colored paper flower, designed for a crafting project.

I cut the largest circle from the Rainbow Wheels Thinlits and adhered to the center of the box. I cut one of the labels from the Journal Hardware Diecut and glued onto the large circle.

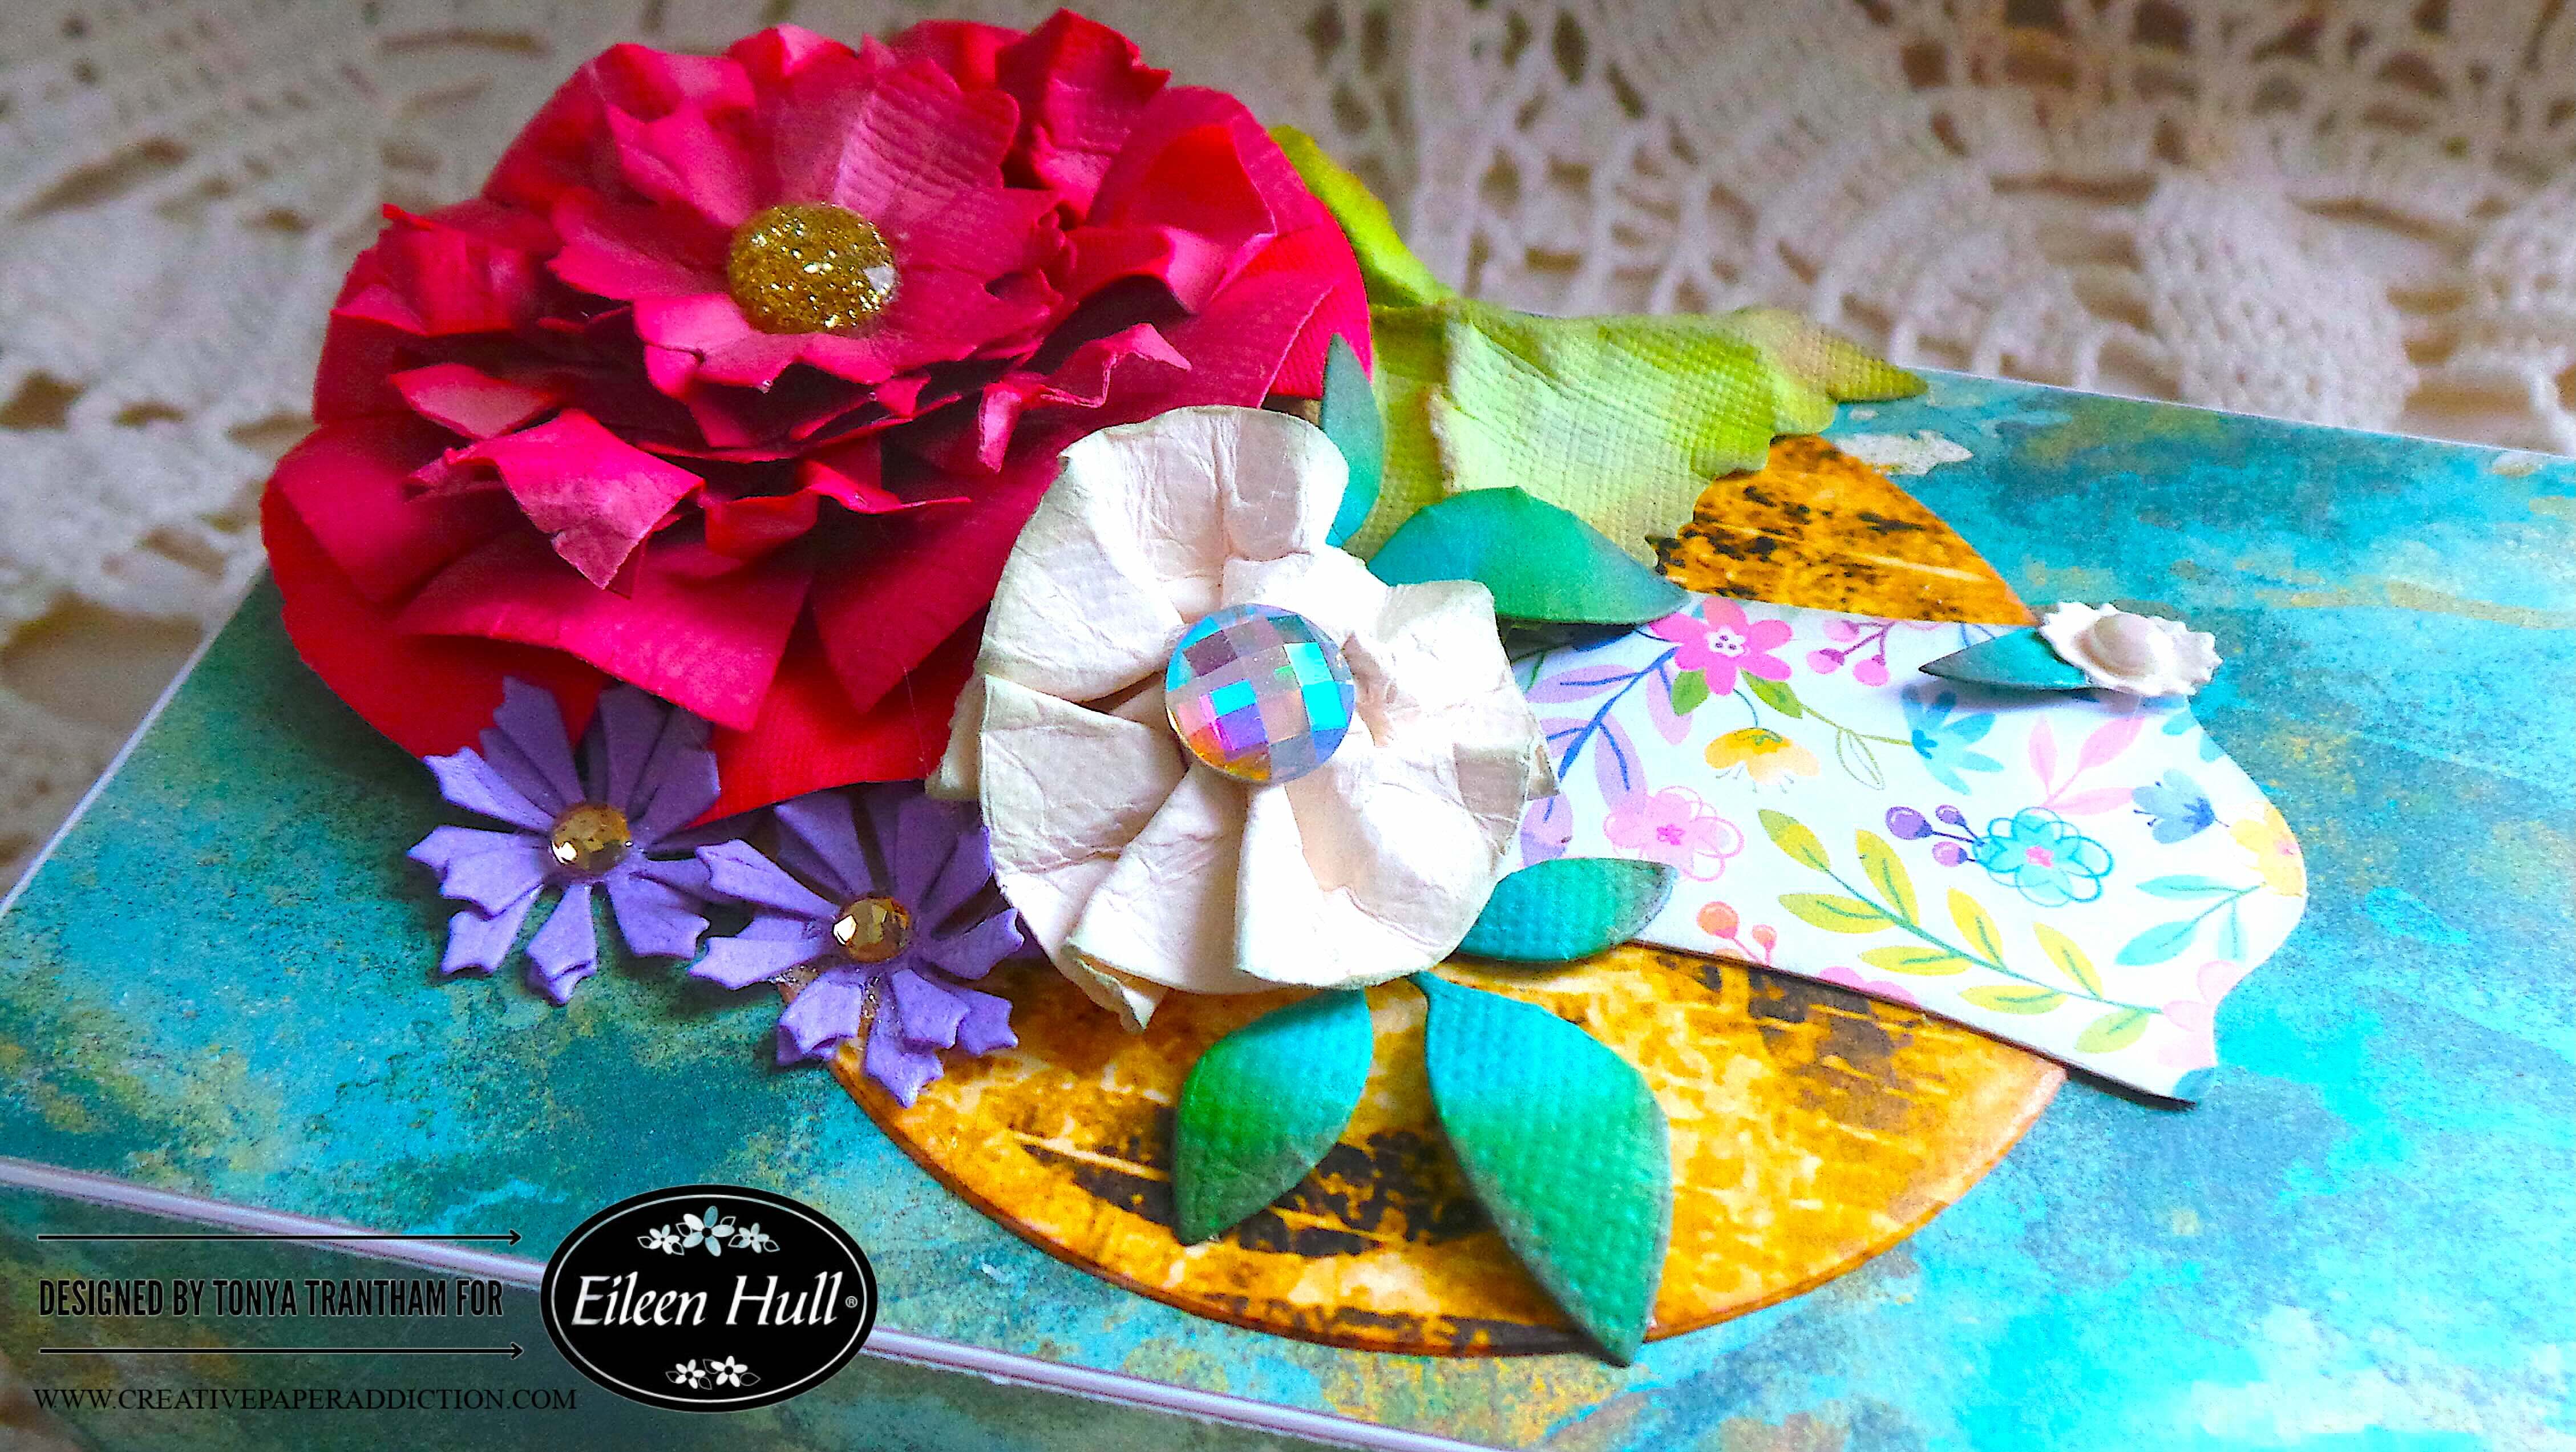
Close-up of a decorated gift box featuring large multicolored flowers, green leaves, and embellishments.

I glued the largest flower to the upper corner of the lid. Next I dug into my stash and found a leaf from the Sunflower Diecut (retired). I inked, shaped and adhered underneath the larger flower. I glued the white flower next to the large flower. I cut and shaped two leaf sprigs from the Bookmark, Pockets and Topper Thinlits and adhered underneath the white flower.

A decorated gift box featuring colorful paper flowers in red, pink, white, and purple on a textured teal background.

I cut four of the purple and one small flowers from the Bookmark, Pockets and Topper Thinlits. I shaped all flower with a Stylus. I glued a purple flower on top of each other and added to the lid. The white flower I adhered to the corner of the label along with a single leaf from a leaf sprig.

Close-up of a decorated gift box featuring various paper flowers, including a large red flower, a white flower, and purple accents, alongside green leaves and a floral patterned piece.

I added Gold and White Gems to the center of each flower to finish. This box makes a beautiful home decor piece or a gift to a special someone.

If you haven’t been by Eileen Hull’s blog lately you can find the latest post HERE. Also if you have any questions or comments please leave them below.

Colorful decorated gift box featuring various paper flowers, including a large pink flower, with a floral design on the box and a plain white interior.

Supplies

Sizzix/Eileen Hull: Rainbow Wheels Thinlits

Sizzix/Eileen Hull: Journal Hardware Diecut

Sizzix/Eileen Hull: Bookmark, Pockets and Topper Thinlits

Sizzix/Eileen Hull: Sunflower Diecut (retired)

Various Plain and Patterned Cardstocks

Empty Phone Box

Pink and Green Chalk Ink

Diecut Machine

Paper Cutter

Scissors

Gold and White Gems

Stylus

Beacon Adhesives: Zip Dry Adhesive

(Products listed above are Affiliated Links for your convenience)

DISCLAIMERS

This blog is compensated to provide opinion on products, services, websites, and various other topics. Even though the owner(s) of this blog receives compensation for our posts or advertisements. I always give my honest opinions, findings, beliefs, or experiences on those topics or products. The views and opinions expressed on this blog are purely my own. Any product claim, statistic, or quote should be checked with each manufacturer. Verify other representations about a product or service with the provider or party in question.This blog contains affiliate linksClicking these links helps to support Tonya Trantham Designs – Creative Paper Addiction. It’s at no additional cost to you. Today’s features are Sizzix, Eileen Hull and Scrapbook.com Products. 

A decorated gift box with colorful paper flowers, including large red and white flowers, smaller purple flowers, and green leaves, atop a teal and gold patterned surface.

Thanks for stopping by, I hope your Monday is wonderful and enjoy creating!
A decorative digital artwork featuring a bird and a variety of colorful flowers, with the name 'Tonya' artistically displayed in script.

Step-by-Step Guide to an Embossed Glue Book Using Keys Folder

Hi everyone! I’m back with my first project of the month for Eileen Hull. The theme this month is anything embossed. I’ve had this book in my stash of unfinished projects which I started over two years ago. I’ve been plugging along on the inside pages and hopefully be finished soon. But I thought I could at least show how I completed the cover. I used the Notepad Diecut which is retired. The Keys 3D Embossing Folder I used to emboss the cover. This embossing folder can be found in Eileen Hull’s Etsy Shop. Anyways, let’s get started!

A decorated journal cover featuring an embossed teal background, with a butterfly embellishment and a key in the center, surrounded by a glittery frame.

First I cut two covers of the Notepad Diecut (retired) from Mat Board.

Two covers made from mat board for a notepad, one white and one a cream color, with visible score lines for folding.

I embossed both covers with the Keys 3D Embossing Folder.

Three embossed covers featuring intricate key designs, with a Sizzix packaging in the background.

I painted both sides of each cover with an acrylic paint. I have no idea of the color of the paint I used.

Two green book covers embossed with a key pattern, showcasing different angles of the embossed design.

I glued the covers together at the spine. I cut and adhered cardstock to the inside covers. I punched a total of four hole in each of the spine with a Crop-A-Dile.

Opened journal cover with metallic gold and teal pages showcasing an artistic embossed design.

I set eyelets in each of the holes. I also cut elastic and strung through the holes and tied off on the inside of the spine. I applied Rose Gold Luster Wax over the embossed areas of the cover.

A completed book cover featuring a teal embossed design of keys, secured with pink eyelets.

I have blank journals that I had bought at Target several years ago. I cut two down to fit the inside.

Open blank journal with patterned cover and white pages.

I opened the journals up to the center where it is stapled and slide under the elastic cording.

Side note, I know I have shared about making glue books in the past but would like revisit that thought. A glue book is similar to a junk journal. Anything can be added to them. You can include mail, book pages, clothing tags, etc to the pages. In my case, I like using up the scraps of cardstock I have laying around after finishing up a project. Like the title suggests you use glue to adhere everything to the pages. I hope this explanation helps.

Open journal page featuring a bright turquoise background adorned with white snowflake-like designs.

Now back to the project, I pulled from my stash a butterfly chipboard piece, frame and key. I lightly applied Rose Gold Luster Wax to the frame.

A butterfly chipboard piece, a vintage key, and a jar of Sizzix Rose Gold Luster Wax displayed on a white paper towel with a decorative gold frame.

I adhered the frame and butterfly to the cover. I glued the key to the center of the butterfly to finish. I hope to share the inside of the glue book later with a blog post and a flip through.

A decorated journal cover featuring a turquoise embossed design, with a butterfly embellishment and a key positioned at the center of a glittery frame.

If you haven’t been by Eileen Hull’s blog lately you can find the latest posts HERE and HERE. Also if you have any questions or comments please leave them below.

A decorative journal with a turquoise embossed cover, featuring a butterfly embellishment in the center and colorful eyelets on the spine.

Supplies

Sizzix/Eileen Hull: Keys 3D Embossing Folder

Sizzix/Eileen Hull: Notepad Diecut (retired)

Rose Gold Luster Wax

Diecut Machine

Mat Board

Acrylic Paint

Various Plain and Patterned Cardstocks

Butterfly, Key and Frame Embellishments

Eyelets

Crop-A-Dile

Elastic Cording

Blank Journals

Paper Cutter

Scissors

Beacon Adhesives: Zip Dry Adhesive

(Products listed above are Affiliated Links for your convenience)

DISCLAIMERS

This blog is compensated to provide opinion on products, services, websites, and various other topics. Even though the owner(s) of this blog receives compensation for our posts or advertisements. I always give my honest opinions, findings, beliefs, or experiences on those topics or products. The views and opinions expressed on this blog are purely my own. Any product claim, statistic, or quote should be checked with each manufacturer. Verify other representations about a product or service with the provider or party in question.This blog contains affiliate linksClicking these links helps to support Tonya Trantham Designs – Creative Paper Addiction. It’s at no additional cost to you. Today’s features are Sizzix, Eileen Hull and Scrapbook.com Products. 

A brightly colored teal journal cover featuring a butterfly embellishment with intricate details and a vintage key accent, surrounded by a golden decorative frame.

Thanks for stopping by, I hope your Friday is wonderful and enjoy creating!

A vintage-style graphic featuring a bird amidst colorful flowers with the name 'Tonya' displayed in an elegant font.