How to Make a Gift Bag Using the Field Notes and Specimen Diecut
Hi everyone! I’m back with my first project of the month for Eileen Hull. I created a gift bag using the Field Notes and Specimen Diecut, Envelope, Folder and Flowers Thinlits and Floral Silhouette Thinlits (only at Scrapbook.com) along with a few other dies and thinlits by Eileen. So let’s get started!

First, I covered Chipboard with Adhesive Sheets on both sides, cut and placed the oranges…or maybe they are peaches…cardstock onto the front and a lime green cardstock onto what will be the inside of the gift bag. Also the orange cardstock is from the Sunny Days Collection. I placed the covered chipboard onto the Field Notes and Specimen Diecut, sandwiched between the cutting plates and run through the Diecut Machine. I cut two of these out and punched a total of four holes in the top of the “bag”.

I used the “pocket” from the Ornament Box Diecut to create the sides for the gift bag. I cut chipboard a little larger than the size of the pocket, applied adhesive sheets to inside of where the flaps a total of will be exposed. I cut strips of cardstock and placed over the adhesive areas and cut out three pockets. I cut one of the pockets in half and this will make up the sides.

Next, I “peeled” two of the “folds” from the bottom of the bag.

I adhered the flaps to each side of the bag.

The area I peeled the cardstock and some of the chipboard from I glued both sides together. I measured the inside of the wall and cut cardstock to fit. Next, I adhered the Cardstock to the inside. the excess I folded over and glued to the outside of the bag. I cut cardstock to fit the outside and adhered in place.


For the large flower I cut out four flowers, for the smaller flowers I cut out two flowers per flower, one large and two small flower centers and one large and two small leaves from the Envelope, Folder and Flowers Thinlits. I used a Stylus to shape all.

For the larger flower I layered and glued four of the flowers and a large flower center together. The two smaller flowers I glued two together and added a center to each. I love the fact that you can make these dimensional or leave them flat if you so choose to.

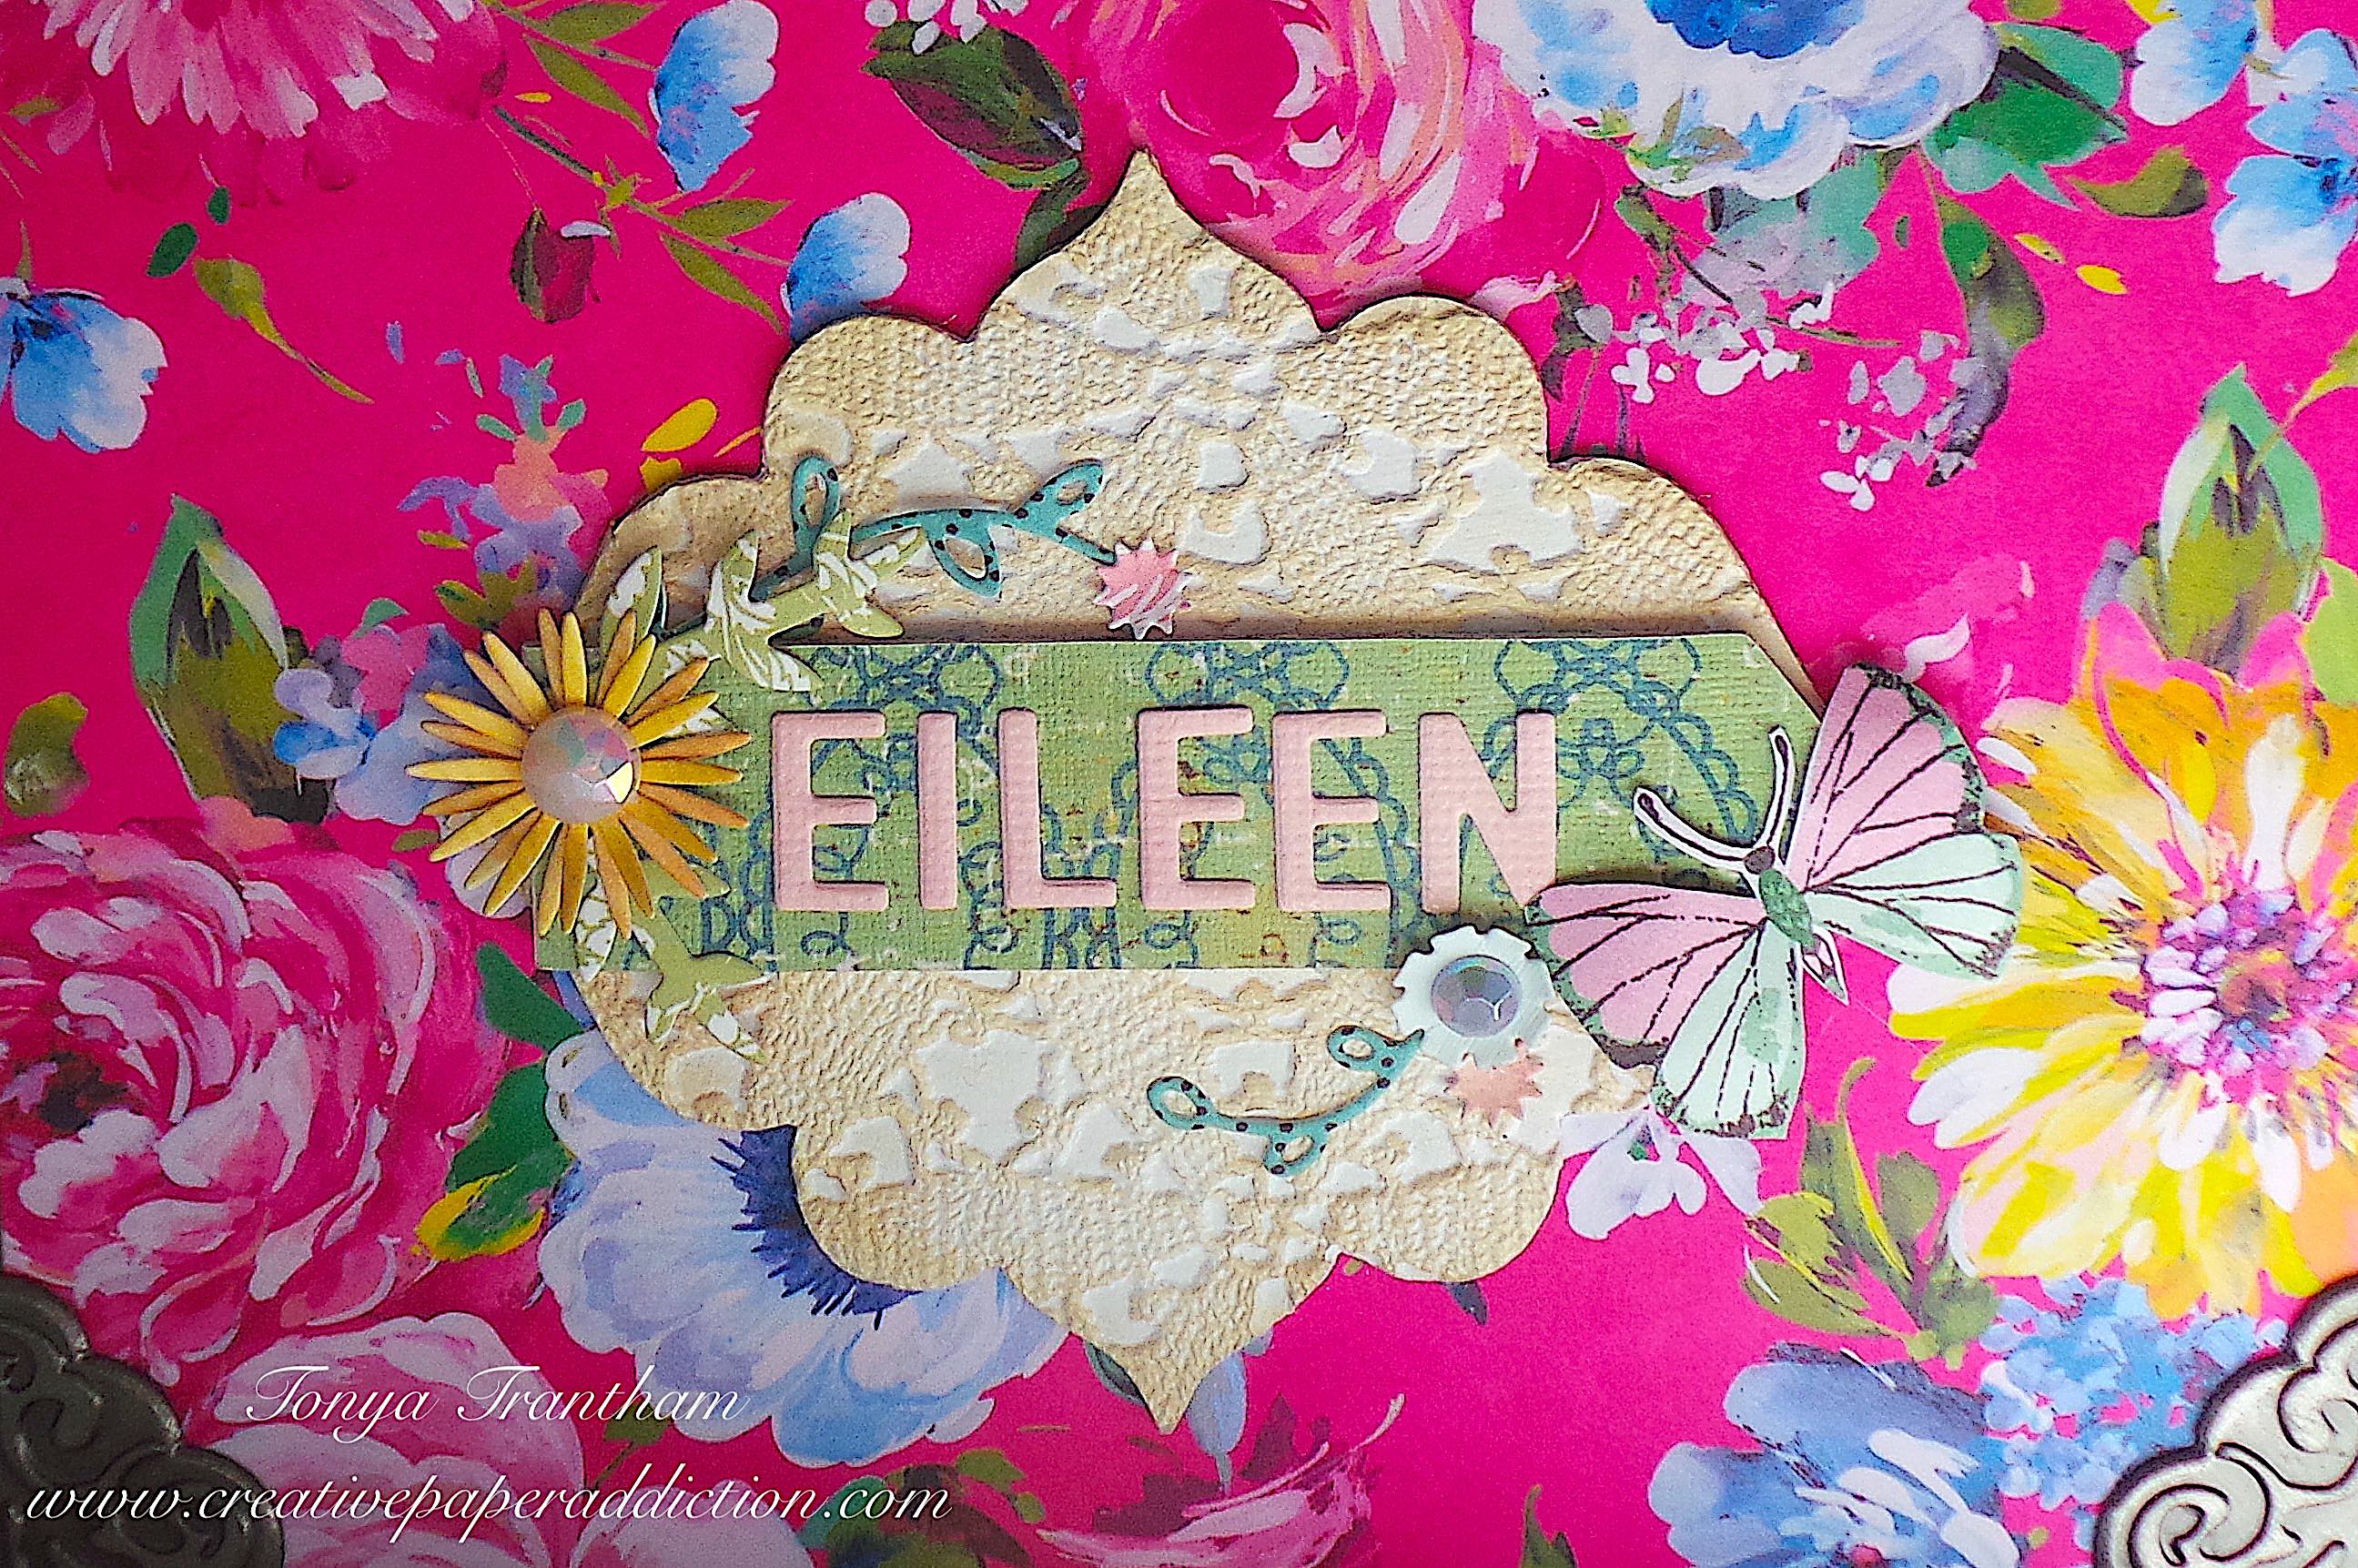
I cut the oval from the Journaling Card, Envelope and Windows Thinlits and adhered to the top of the bag. I cut two flowers, shaped and glued together from the Floral Silhouette Thinlits. From my stash I pulled shaped flowers and vines from the Shadow Box Elements Thinlits. I placed all flowers, leaves and vines onto the oval area of the bag.

I tied ribbon to both sides of the gift bag to finish. Even though this die was intended to create a journal it’s perfect to create a gift bag too. What do you think?
Also if you haven’t been by Eileen’s blog in a while you can find her latest posts HERE and HERE.

Supplies
Scrapbook.com/Eileen Hull: Floral Silhouette Thinlits
Sizzix/Eileen Hull: Field Notes and Specimen Diecut
Sizzix/Eileen Hull: Envelope, Folder and Flowers Thinlits
Sizzix/Eileen Hull: Ornament Box Diecut
Sizzix/Eileen Hull: Journaling Card, Envelope and Windows Thinlits
Sizzix/Eileen Hull: Shadow Box Elements Thinlits
Various Patterned and Plain Cardstocks
Ribbon
Beacon Adhesives: Zip Dry Adhesive
(Products listed above are Affiliated Links for your convenience)
DISCLAIMERS
This blog is compensated to provide opinion on products, services, websites, and various other topics. Even though the owner(s) of this blog receives compensation for our posts or advertisements. I always give my honest opinions, findings, beliefs, or experiences on those topics or products. The views and opinions expressed on this blog are purely my own. Any product claim, statistic, quote or other representation about a product or service should be verified with each manufacturer, provider, or party in question.This blog contains affiliate links, clicking and shopping through these links helps to support and run Tonya Trantham Designs – Creative Paper Addiction at no additional cost to you. Today’s features are Sizzix, Eileen Hull, Scrapbook.com and A Cherry on Top Store Products.

Thanks for stopping by, hope your Wednesday is wonderful and enjoy creating!