Creative Cards with North Pole Friends Simon Hurley and Spellbinders
Hi everyone! The month of July has flown by. I haven’t had a chance to share some of the projects I created for Spellbinders. I want to share a couple of completed of cards using Simon Hurley’s North Pole Friends Collection for Spellbinders.

The first card I created I used the Santa’s Elves Etched Dies to create this fun holiday scene.

The base of the card is 5″x 7″. I used an assortment of plain and patterned cardstocks to put these elves together.

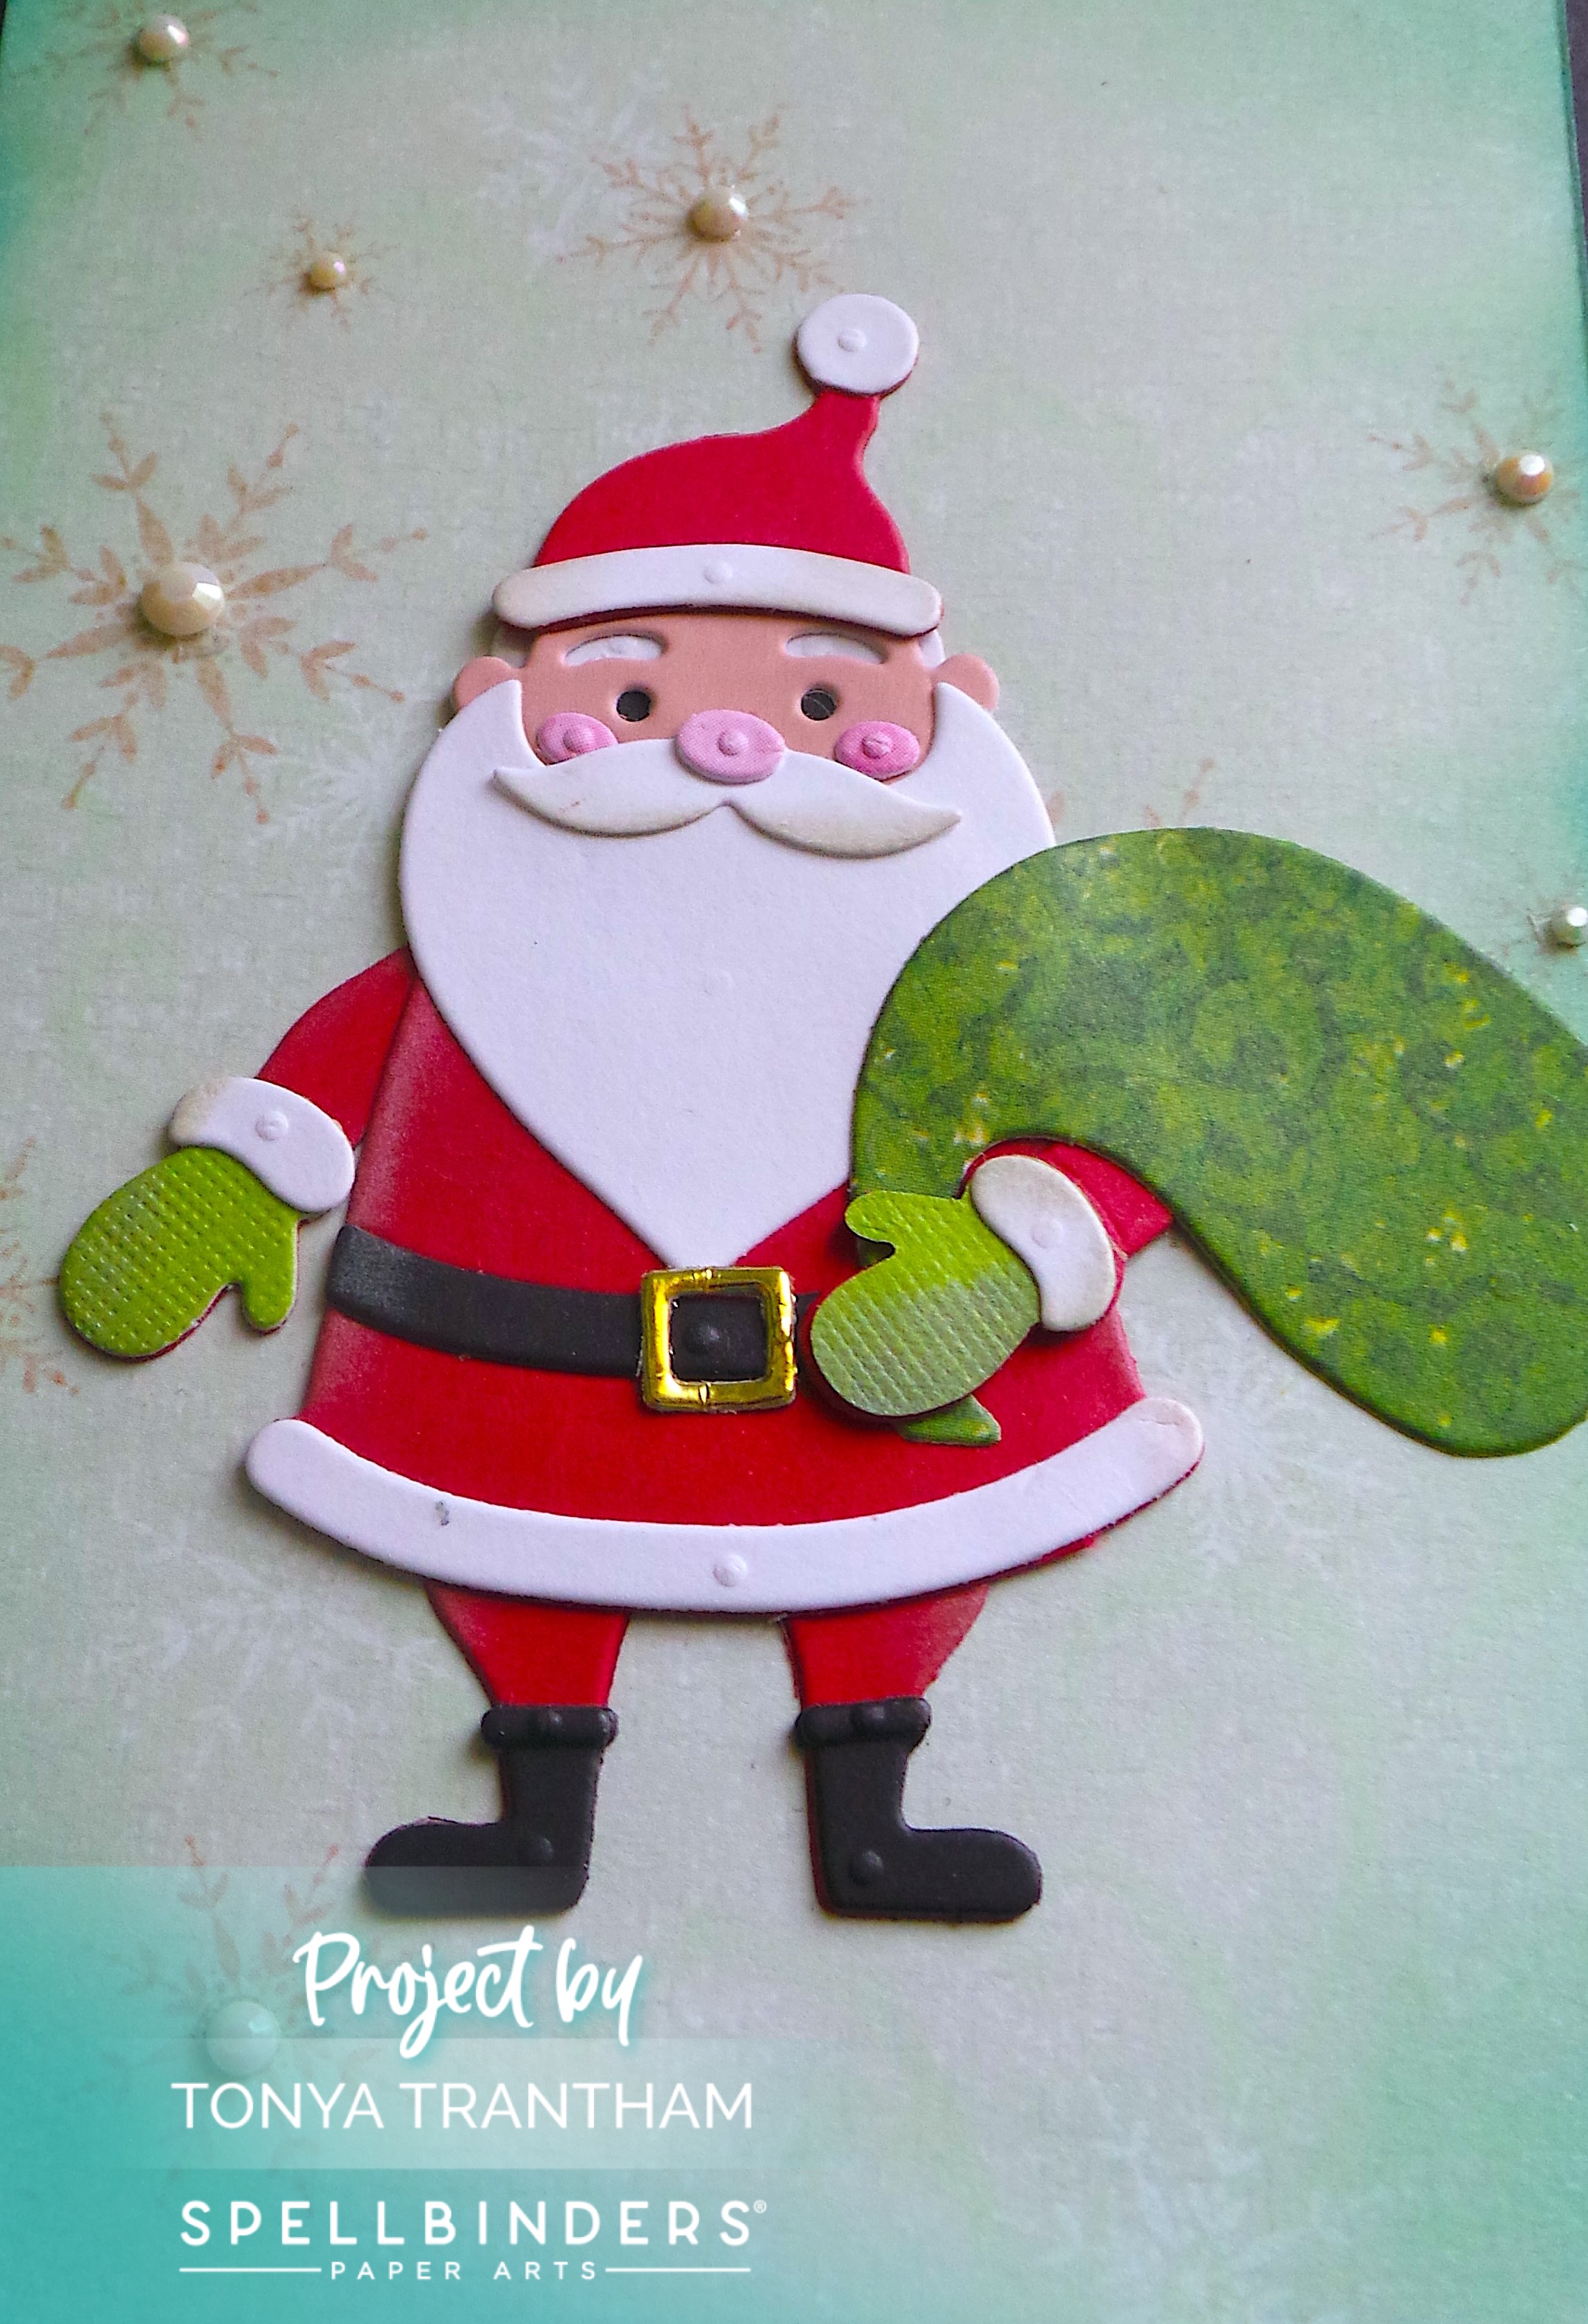
The second card, the base is 4 1/4″ x 5 1/2″. I used The Clauses Etched Dies for Mrs. Claus and for the Santa card below.
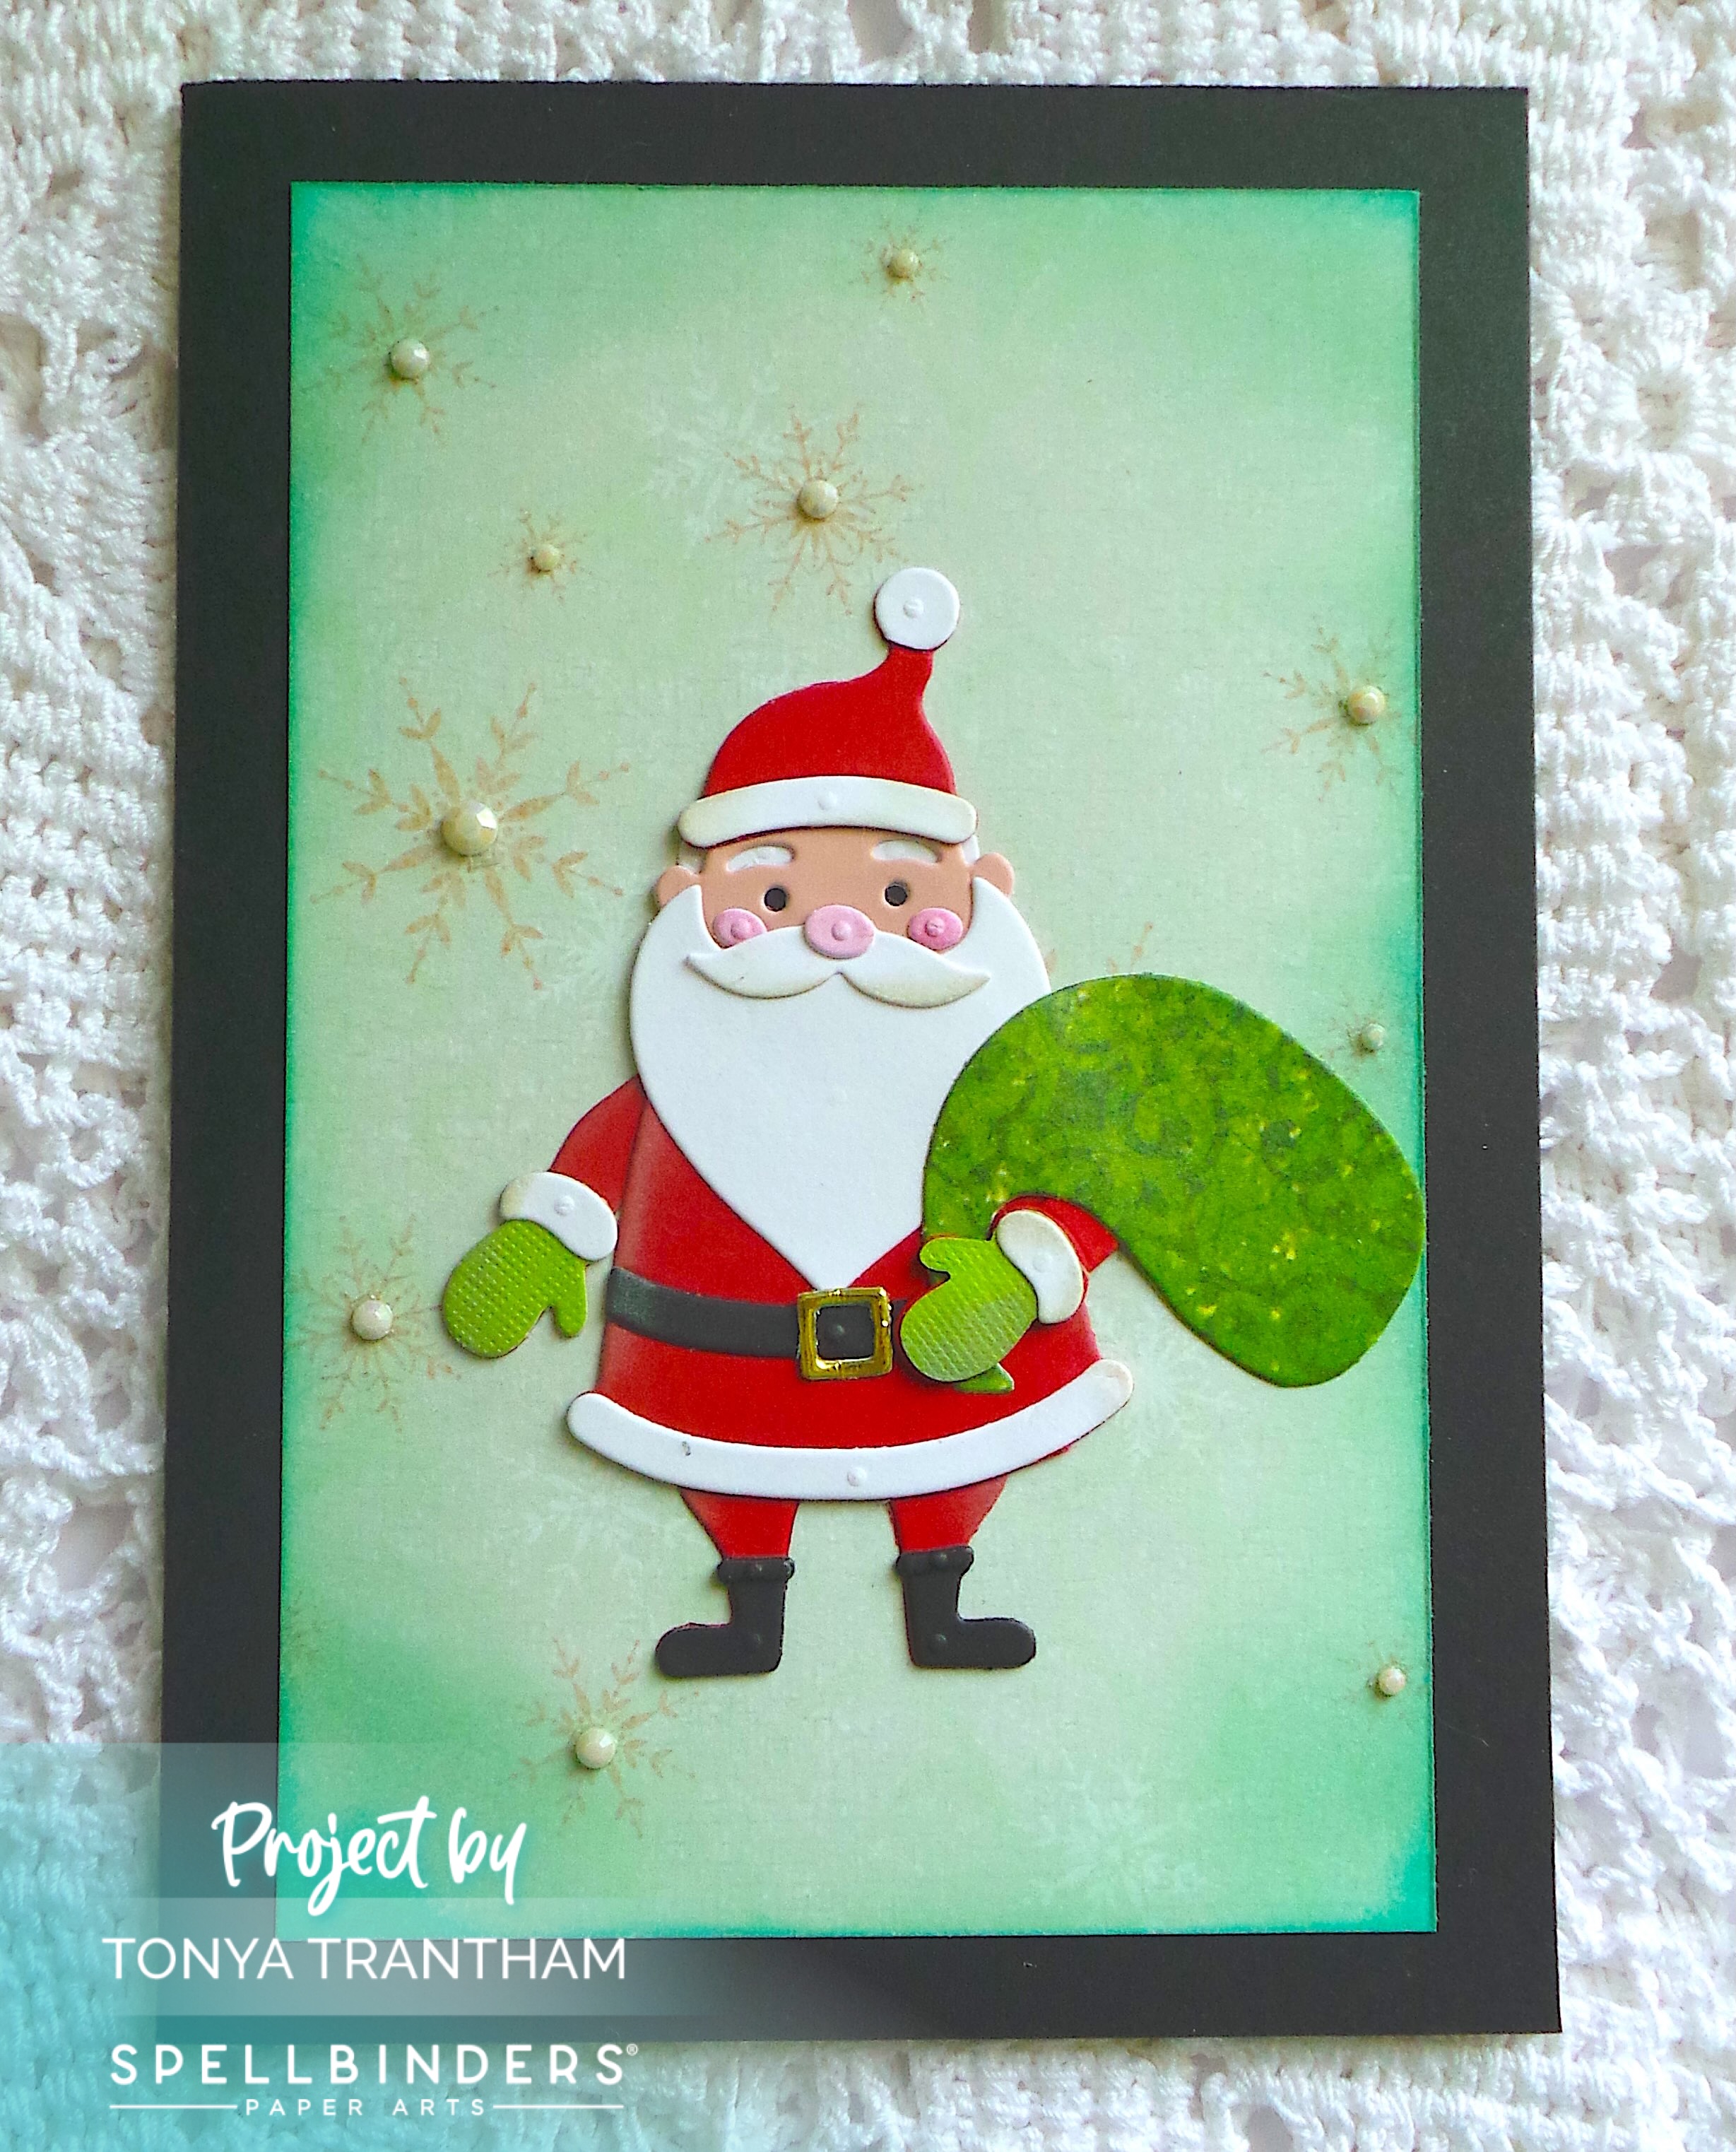
And like the Elves card I used an assortment of cardstock. A side note, I use Adhesive Roll to back all pieces of cardstock. Since all diecut pieces are very small this makes it much easier to put the images together.
If you have any questions or comments about these cards please leave them below.
Supplies
Spellbinders/Simon Hurley: North Pole Friends Collection
Spellbinders/Simon Hurley: Santa’s Elves Etched Dies
Spellbinders/Simon Hurley: The Clauses Etched Dies
Various Plain and Patterned Cardstocks
Blue Chalk Ink
Beacon Adhesives: Zip Dry Adhesive
(Products listed above are Affiliated Links for your convenience)
DISCLAIMERS
This blog is compensated to provide opinion on products, services, websites, and various other topics. Even though the owner(s) of this blog receives compensation for our posts or advertisements. I always give my honest opinions, findings, beliefs, or experiences on those topics or products. The views and opinions expressed on this blog are purely my own. Any product claim, statistic, or quote should be checked with each manufacturer. Verify other representations about a product or service with the provider or party in question.This blog contains affiliate links. Clicking these links helps to support Tonya Trantham Designs – Creative Paper Addiction. It’s at no additional cost to you. Today’s features are Spellbinders, Simon Hurley and Scrapbook.com Products.

Thanks for stopping by, I hope your Thursday is great and enjoy creating!


