Once in a While Card

Hi everyone! After taking a mini craft break this past week I’m back to share a quick card I created using Robin’s Nest Wedding {in love} Collection.
The card was very simple and quick to put together. The base of the card is Silver on Cream Classic Swirl Cardstock and I added vellum over the top of the base to soften the look of the card. I cut the dancing couple from the Wedding Cut-Outs Cardstock which is two sided and cut a suit and shoes out from the  Dark Vanilla Silver Glitter Cardstock for the gentleman dancer.  I embossed the silver chipboard and framed with the backside of the Dark Vanilla Silver Glitter Cardstock, cut a banner and adhered all to the card along with lace and dew drops. I also used the “Once in a while” sentiments which is from the Wedding Cut-Outs Cardstock which I thought was the perfect saying to go along with the dancing couple.

I cut a frame for to the sentiment and added pop dots to add dimension and a medallion diecut to finish off the card. 

Robin’s Nest: Silver on Cream Classic Swirl Cardstock, Dark Vanilla Silver Glitter Cardstock, Wedding Cut-Outs Cardstock, Irredescent Classic Glitter Swirl Vellum, Wedding Swirl Glitter Cardstock, Silver Glitter Chipboard, Dark Vanilla Dew Drops
Other supplies Used:
Lace
Sizzix- Brenda Walton: Medallion and Dancers Diecuts, Tim Holtz: French Script Embossing Folder
Chalk Ink
Sequin 


If you have any questions please let me know. Thanks for stopping by, hope your Monday is wonderful and enjoy creating!!!

Artsy Stuff Folio~Part 2

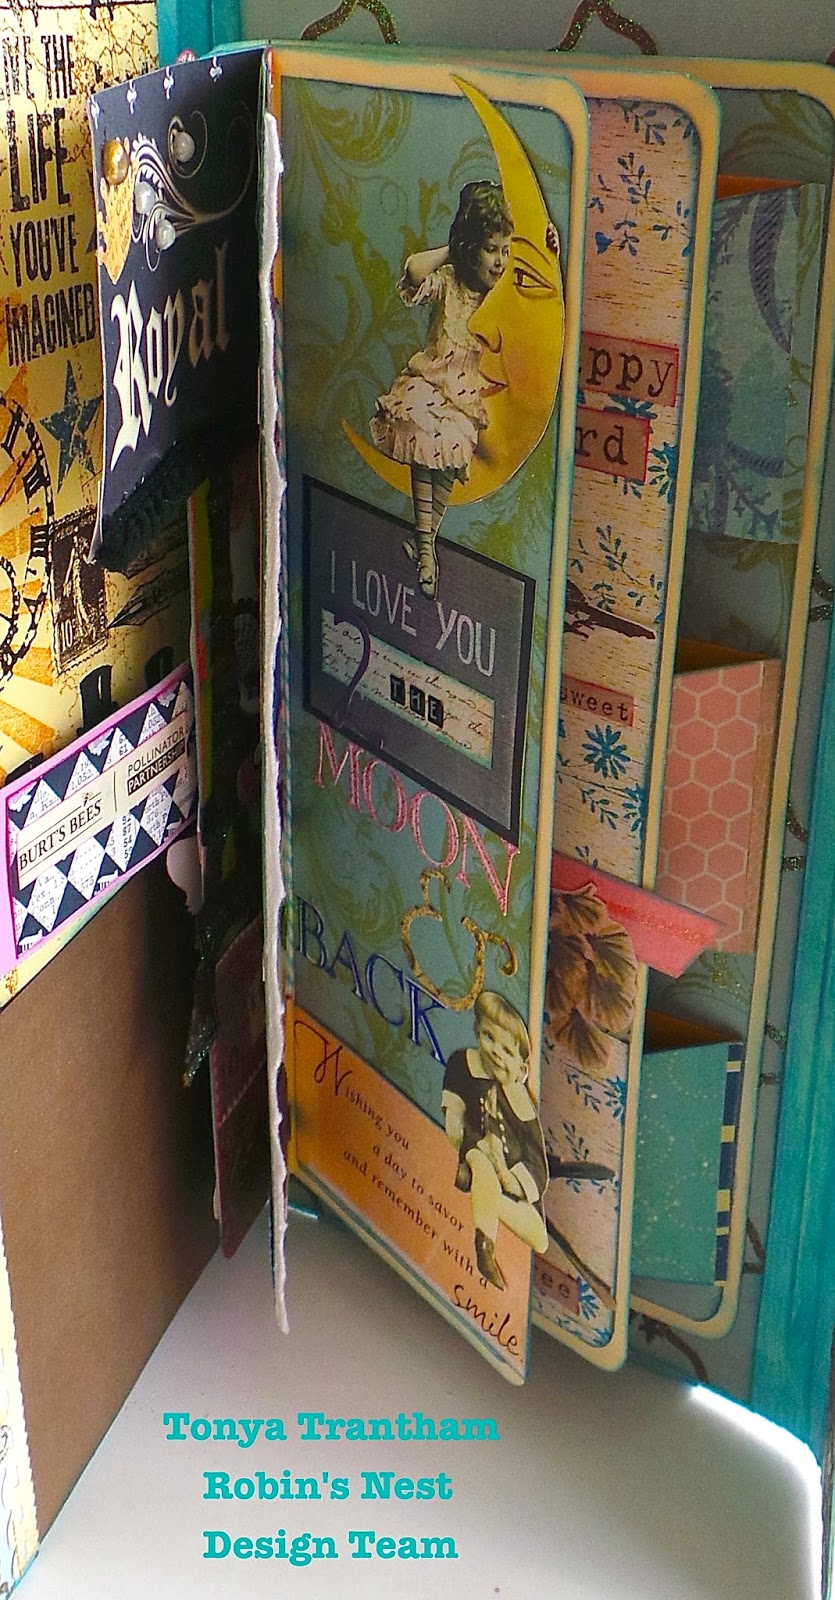
Hi everyone! I’m here to share the inside of my finished folio with you. If you didn’t see last Sunday’s post of how I I created this folio you can find it here. I created it using the Paris Collection by the Robin’s Nest which is 20% off this month. It is simply a gorgeous paper collection and I had some much fun creating this folio with it.

Since I have tons of scraps of paper, embellishments, print-outs, stamped images and stickers I decided I really needed to use up some of my stash thus the name, artsy stuff folio. 🙂 You can check out the rest of my post over at the Chattering Robin’s blog to see how it came out.

Thanks for stopping by, hope your Sunday is awesome and enjoy creating!!!

You Will Forever be My Always ATB

Hi everyone! Can you believe this month is almost over and July is just around the corner??? I keep asking myself where did June go??? I have had a crazy June to say the least, emergency room, a hospital stay and now a rash that my husband says is shingles…I say no way cause I don’t hurt just itch. I have felt like I just don’t have enough hours in the day to get everything accomplished that is on my to do list. Maybe July will be good to me…fingers crossed. 🙂
 I’m here to share a ATB I created using Eileen Hull’s Scoreboards XL Die Box Square. I used from the Robin’s Nest Wedding {in love} Collection, Light Ale Dew Drops, Pearl Dew Drops and Peach Glitter Cardstock to make an adorable block that could be used as a table decoration at a wedding.

I love the cut a parts that the Robin’s Nest now has in the Wedding {in love} Collection. All I had to do was cut out one of the sayings and add leaves, flowers, that I shaped and dew drops.

I used a Copper Shimmer Mist to add color to both bird cages that are on the ATB.

This sentiment I especially love! I can honestly say this is truly how I feel about my husband.

The top view I decorated with diecuts, buttons, dew drops, pearl spray and flower.

In all this was a quick ATB to put together other than shaping flowers and leaves. 🙂

Also I’m playing along with Eileen Hull’s The Art with Heart June Challenge that is still going on for only two more days. So please be sure to stop by and check out what everyone else has created.

Supplies Used:

Sizzix: Eileen Hull-Scoreboards XL Die Box Square, Sizzlets-Little Leave 
Robin’s Nest: Wedding {in love} Collection, Light Ale Dew Drops, Pearl Dew Drops, Peach Glitter Cardstock
Flower Punches
Gina’s Design: Bird Cages
Pearl Sprays
Mint green Cardstock
Melon Chalk Ink
Copper Shimmer
Spellbinders Nestabilities: Splendid Circles

If you have any questions please let me know. Thanks for stopping by, hope your Saturday is wonderful and enjoy creating!!!


Artsy Stuff Folio ~ Part 1

Hi everyone! I’m here to share this month’s project for the Robin’s Nest using the Paris Collection which is 20% off this month.
I had seen a video of the Tim Holtz folio a few weeks ago and thought, “Hey! I can create my own!” So this is what I came up with.


To see the rest of my project I created please stop by the Chattering Robin’s blog.
 Also please be sure to mark your calendars and come back to the Chattering Robin’s blog next Sunday, June the 29th to see how I finish up the inside of this adorable folio. 🙂

Thanks for stopping by, hope your Sunday is wonderful and enjoy creating!!!


When Your Giddy Up has Got Up and Left

Hi everyone! I’m here to share a card I created for the Crafty Card Gallery blog. This months theme is animals and this is what I came up with.
I used a pre-cut card base from K & Company’s Julianne collection. I love the fact its cut to size and all you have to do fold. I stamped the Da Vinci Horse from Stampendous! onto a piece of Vanilla Fleur Glitter Cardstock  and adhered to the top of the card base  Next I cut out the “Old Dan” horse which is a free printable from Eclectic Anthology. I roughed up the edges of the printable, added part of an old zipper along the bottom of the printable and glued to the base. I printed the sentiments from the computer, cut out my own banner, used an oval distressed metal pick to adhere both sentiments to the card. I used Dew Drops to finish up my card.

I think this is a fairly easy card to do if I do say so myself. 🙂

Thanks for stopping by, hope your Wednesday is awesome and enjoy creating!!!

Time Captured


Hi everyone! I’m back to share a project using the Lodge Collection from the Robin’s Nest. It is new and I simply love this collection!!! I can definitely see it being used for outdoor or Christmas themed projects in my future. 🙂
For this project I used two empty snus tins that my son (I dislike that my son uses this stuff…insert motherly frowning face) was going to throw away and crafty person that I am knew I could alter them and turn them into something fun and this is what I came up with.

First off you will need the bottoms from both of the tins.

I used a fine tip black Sharpie to mark the holes on the tin by using the hinge as a pattern. Next I used the bottle cap hole punch to punch holes in the tin.

I made sure the hinge worked and brads would fit through the holes of the tin.

I gessoed both tins, let dry and then painted with Folk Art Tapioca acrylic paint and once that dried I used Vintage Photo Distress Crackle Paint over the top of that.

Next I cut two 7 inch pieces of Natural Twine and adhered middle way on each side of the tin.

Next I cut a small piece of Forest Tree Specialty paper and a strip of Mens Plaid/Compass Cardstock which I folded to give it a pleated look. Also both of these paper/cardstock are double side which means you get more bang for your buck. 🙂

From the Lodge CutOuts Cardstock I cut one of the cards that has a clock on it. I roughed it up and inked the edges. I had this old watch that the paint was coming off around the edges  and didn’t work any more so I wound up adding just a little copper stain to it to add a vintage feel to it. I punched a circle from the Mens Plaid/Compass Cardstock and added beads and Beaches Dew/Tear Drops inside the watch face and adhered to the corner of the cutout.

I adhered the circle over the back of the watch and once dry I adhered the whole thing to the top of the tin.

To finish out the front I used a dew drop, sequin, buttons, ribbon, verbiage from Cassi’s Creations. I also punched two leaves from the Wrap Glitter Cardstock and inked and crumpled before adhering to the corner of the watch face.

Side view of tin with hinge.

Side view with Natural Twine used as a closure.

I cut two pieces of Mens Plaid/Compass Cardstock to fit the inside of the tin which I inked and the adhered to the inside. I didn’t like the way it looked and I decided to add Natural Twine around the edges. To finish it off and cover the ends of the twine I punched out more leaves from the Wrap Glitter Cardstock and adhered to the corners and then topped off with an acorn button and a mini pine cone that I had received from a swap.

This could either be used as a tiny trinket holder or you could add some mini photos inside.
Since I have two lids leftover from these snus tins I wonder what I create with them??? Be sure to check back in the future and see what I create with these. 😉

Supplies Used:

Robin’s Nest: Natural Twine, Forest Tree Specialty paper, Mens Plaid/Compass Cardstock,  Lodge CutOuts Cardstock, Beaches Dew/Tear Drops, Wrap Glitter Cardstock
Sequins
Beads
Buttons
Leaf Punch
Ribbon
Vintage Photo Distress Crackle Paint 
Folk Art Tapioca acrylic paint
Gesso
Chalk Ink
Bottle Cap Hole Punch
Old Watch Face
Tim Holtz Hinge
Cassi’s Creations: Verbiage Printable 

Be sure to stop by the Robin’s Nest and check out the new Lodge Collection. There is sooooo many different crafty projects you can use it for…just remember that you are only limited by your imagination 🙂
Thanks for stopping by, hope your Monday is awesome and enjoy creating!!!

A Day at the Beach

Hi everyone! I’m here to share an Altoid tin I altered using the Beach Collection from the Robin’s Nest which is 20% off this month. I was at the beach a few weeks ago and let me tell you I didn’t want to leave. The weather was perfect…sunny with ocean breezes. My type of weather for sure. 🙂 So I wanted to create something using the mini seashells I had collected while walking on the beach and this is what I came up with.

For this project you will need an empty and clean Altoids tin.

I sponged gessoed over the whole tin. Let dry and added a second coat.

Next I painted Americana Spa Blue Acrylic Paint around the outer and inside edges of the tin and let dry. Then  I painted over that with Ranger Picket Fence Distress Crackle Paint and let dry. You can speed up the process by using a blow dry. The paint should start cracking once it starts drying which gives it an old weathered look.

I cut from the Water Glitter Swirl cardstock four rectangles a little bit smaller than the tin, rounded, distressed and inked the edges. I adhered the striped side to the outside of the tin and water and wave side I adhered inside the tin.
I cut from the Sizzix Scoreboards XL Die Box Square three “frames”, two from Glitter Starfish Cardstock and one from the Vanilla Fleur Glitter Cardstock. I adhered the two to the outside and one to the inside of the tin.
The outside I fussy cut one of the images from Before Bikinis Collage Sheet and the bathing suit girl I found on the internet. Adhered to the tops of the diecuts and then added  sea life images I fussy cut from scrapbook paper, gauze, sequins, dew drops and real seashells. If you don’t seashells the Robin’s Nest has them in their shop for purchase.

I used some old alphabet stickers I have had forever to create the saying. Then I added sequins, dew drops, twine, gauze, cut outs, mini jar and real seashells to make the beachy little scene. 

I fussy cut another bathing suits girls from the Before Bikinis Collage Sheet and used pop dots to adhere to the inside of the tin.
I fussy cut “waves” from the Water Glitter Swirl Cardstock added Stickles and stacked one in front of the other and glued down to give depth.

I adhered a small seashell, sequin and dew drop to the top of the tin to finish it off. This was an easy project to complete and I have plans to create another one in the near future. 
Supplies Used:

Buttons
Sequins
Gauze
Crystal Stickles
Gesso
Mini Glass bottle
Americana Spa Blue Acrylic Paint
Ranger Picket Fence Distress Crackle Paint
Ocean Chalk Ink
Twine

 Be sure to stop by the  Robin’s Nest and check out the Beach Collection that is on sale this month. If you have any questions please let me know. Thanks for stopping by, hope your Sunday is wonderful and enjoy creating!!!


Beauty Tag

Hi everyone! I had to share today that a tag I created was selected to be in the May issue of Scrapbook Generation Create online magazine. My tag is on page 240 and also featured at the beginning to the readers gallery. 🙂 Since the magazine is free please go check it out. 

If you have any questions let me know. Hope your Tuesday is wonderful and enjoy created!!!

Lily Paper Doll and Some Exciting News!!!

Hi everyone!!! I’m back from vacationing at the beach. I wish there was some way we could live there permanently. I love the laid back, flip flops everyday and ocean breezes…maybe one day it will happen??? 🙂
I have some exciting news to share though…I have been asked to be a part of The Mailbox Muse Design Team and…of course…I said yes since I love ALL thing vintage!!! You can join the club for the Mailbox Muse kits which gives you a discount on the kits and product at Altered Page web site, video access and other specials for a year too. 

Also I would like to share a paper doll I created using the Lottie Stamp set from Pink Persimmon. I stamped out her head, arms and legs and then printed her body and dress pattern on white cardstock since I wanted her body to be sturdy. I cut everything out, used brads to attach the arms and legs to the body. Added a little blush to her cheeks and colors her lips with one of my markers.
Next I traced her dress onto Purple Flowers Glitter Cardstock and then cut out. I embossed the skirt with the flower embossing folder from Once Upon a Princess Cuttlebug set. I added lace, sequin and Purple Dew Drops to the dress and topped it off with a lily digis that I fussy cut and added Crystal Stickles to make it pop. I printed the lilies from the Altered Pages Vintage Easter Greeting college sheet. 

To attach the dress to the paper doll I used baker’s twine which I adhered underneath the lace on the sleeves of the dress. This way I can chance the clothes of my little paper doll. 

If you have any questions please let me know. Thanks for stopping by, hope your Monday is awesome and enjoying creating!!!

The Amazing Flying Boy

Hi everyone! I’m here to share a quick project I created using the Eileen Hull’s Sizzix-Scoreboards Food Jar 3D Spoon Diecut. I know it is a little bit quirky but I had a lot of fun creating this little Flying Boy. 🙂
I cut the jar twice from matt board and cardstock, inked all edges and then adhered together. Then I lightly inked over the cardstock with Sahara Sands chalk ink to give it that “old vintage look”. Next I stuffed tissue paper in the bottom of the jar, cut out rosettes, put together, adhered to the jar and then added gears, sprockets and dew drops to top it off. 

The fly boy I fussy cut and chalked his outfit and then outlined him with a black fine tip pen. I then fussy cut bug wings out and adhered to the boy’s back, added two dress pins as antennas to his head and glued him inside the jar.

I printed the verbiage from the computer, cut, inked and adhered to the banner along with an airplane that I fussy cut. I adhered the banner to the stick pin and glued to jar.

Supplies Used:

Sizzix:Eileen Hull: Scoreboards Food Jar 3D Spoon Diecut
Matt Board
Other Sizzix Dies: Brenda Walton’s Medallion and Ampersands & Banner
Tim Holtz: Gears and Sprockets
Robin’s Nest: Airplane Cardstock, Belgian Chocolate Cardstock, Mens Plaid/Compass Cardstock, Beaches Dew Drops/Tear Drops, Natural Twine, Special Delivery Boy Cardstock
Stick Pin from Art.i.cakes
Lace
Ocean Depth and Sahara Sand Chalk Ink
Airplane from K & Company  
Bugs Wings are from Graphic Fairy Web site
Crystal Stickles
Two Dress Pins

Cassi’s Creations: Digital Collage Sheet Vintage Children 2 Fairies 

I hope you enjoyed this little project as much as I enjoyed creating it.
Thanks for stopping by, hope your Wednesday is wonderful and enjoy creating!!!