Snowmen and Mittens Chapter 3 Release Party Blog Hop with Eileen Hull!
July 1, 2020
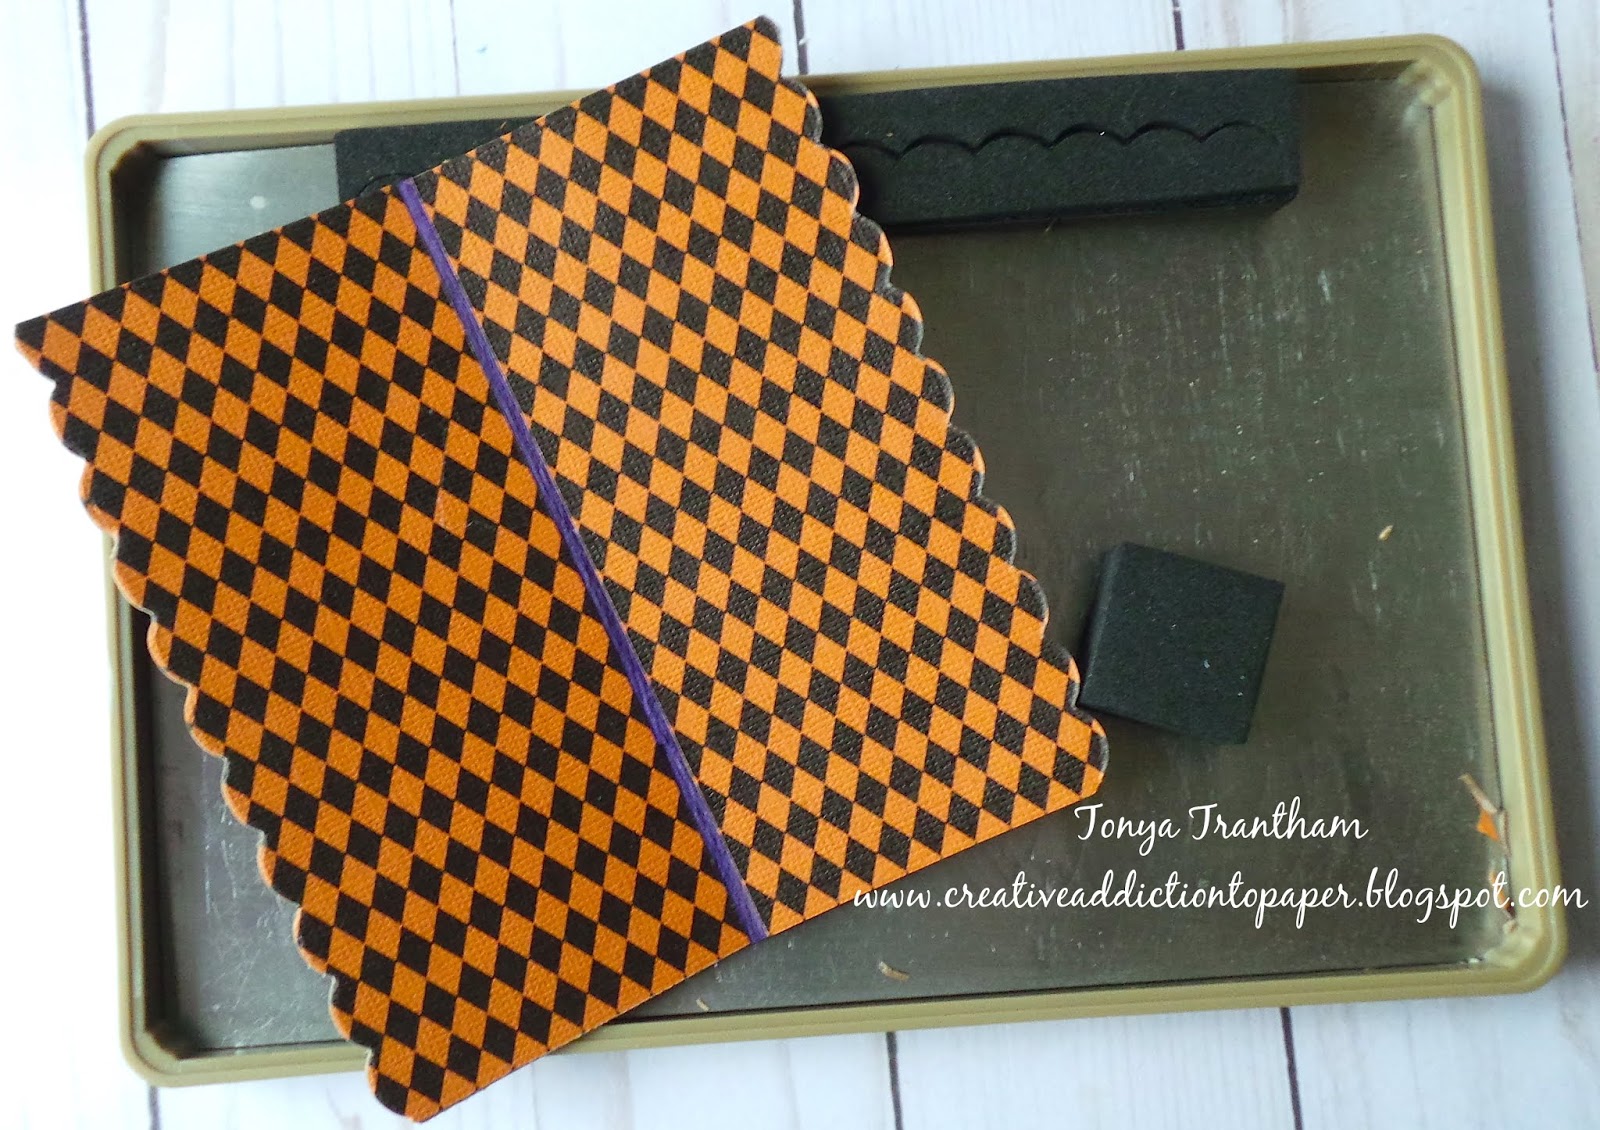
Hey everyone! I’m so excited to share a peek at my project for Eileen Hull/Sizzix Chapter 3 Release Party Blog Hop! Full reveal /blog post of my project will be later this month.

Be sure to check out the creative ways the Inspiration and Education Teams have used the Mitten and Snowman dies! We hope that you will be inspired too and share how you use the dies in the Eileen Hull Fan Club.
But wait- there’s more- the Release Party continues! You won’t want to miss the Facebook Live at Eileen Hull Designs at 12:00 noon Eastern time on Wednesday, July 1! Join the chat- and a random commenter will win the Snowman die. We are so glad you joined us to celebrate the Chapter 3 release.

Please hop with us through all of the projects and leave comments on the different designers’ blogs. A lucky commenter will win the Mitten Box die…
Thanks everyone!
Blog Hop Participants

Supplies Used
Eileen Hull/Sizzix: Christmas Box Snowman Diecut
Beacon Adhesive: Zip Dry Adhesive
Patterned Cardstock
(Products listed above are Affiliated Links for your convenience)
DISCLAIMERS
This blog is compensated to provide opinion on products, services, websites, and various other topics. Even though the owner(s) of this blog receives compensation for our posts or advertisements. I always give my honest opinions, findings, beliefs, or experiences on those topics or products. The views and opinions expressed on this blog are purely my own. Any product claim, statistic, quote or other representation about a product or service should be verified with each manufacturer, provider, or party in question.This blog contains affiliate links, clicking and shopping through these links helps to support and run Tonya Trantham Designs – Creative Addiction to Paper Blog at no additional cost to you. Today’s features are Eileen Hull, Sizzix and Scrapbook.com Products.
Thanks for stopping by, hope your Wednesday is wonderful and enjoy creating!