My Favorite Top 5 Eileen Hull Projects

Hi everyone! I’m back today to share my favorite top five projects that I have created using Eileen Hull’s Diecuts! Under each photo I have linked the blog post that goes with each project. Also you can find this month’s blog post from Eileen’s Inspiration Team HERE.


Thanks for stopping by, hope your Friday is awesome and enjoy creating! 


Mom’s Little Book of Recipes

Hi everyone! Can you believe Christmas Day is only a week away? If you are still searching for gift ideas I would like to share a recipe book I created!


I started by placing  Mat Board on top of the Passport Diecut and place between two plate and run through Diecut Machine. I cut the front/back cover twice and cut a total of four covers from patterned cardstock and adhered those to the front and inside covers. Next I loaded an Art Dauber with Cattail Dyestress Blendable Dye Ink and inked the spine of recipe book and let dry. I adhered the front and back covers to the spine.


I placed the following stamps from the Cookies Clear Stamp Set onto an acrylic block: Mixing Bowl (stamp twice), Wooden Spoon (stamp twice) and ink with Wicked Black Archival Dye Ink, stamped onto various patterned cardstock and fussy cut all  images out. I placed the”Merry”, Cookies, and Swirl Cookie onto an acrylic block. Ink the “M” (stamp twice), “S” (stamp once) and Swirl Cookie with Wicked Black Archival Dye Ink onto patterned cardstock and fussy cut both “M”s, “S” and Swirl Cookie out.


I printed from the computer “Little Book of Recipes” and cut each word and ink edges with Scuba Dyestress Blendable Dye Ink along with two scraps of patterned cardstock. I adhered the scraps of cardstock, the letters and swirl cookie to spell out Mom’s Little Book of Recipes and Mixing Bowl and Wooden Spoon image on the cover. Next I embellished the “M”‘s and “S” and Swirl Cookie with Clear Glitter Glue.


I strung and tie off elastic cording in the spine.


I cut patterned cardstock to fit the fronts and backs of three notebooks and adhered. I placed the doily stamp from the Cookie Clear Stamp Set onto an acrylic block and ink with Wicked Black Archival Dye Ink and stamped onto a piece of patterned cardstock. I stamped the doily three times and fussy cut each doily out and adhered to the front of each notebook. I placed the Cookies stamp onto an acrylic block, inked with Wicked Black Archival Dye Ink and stamp onto a piece of patterned cardstock and cut out.  


I also stamped the heart and gingerbread man stamps onto a piece of kraft cardstock with Leather Archival Dye Ink and fussy cut both images out. I adhered the gingerbread man to the front of the “Cookies” notebook. I forgot to mention that before adhering one of the doily to the cover I stamped the “Baked with Love” sentiment onto the doily. I adhered the heart to the corner of the sentiment and embellished both the gingerbread and heart with clear glitter glue. I adhered one mixing bowl and wooden spoon images to the center of the doily of the last notebook.


I placed each recipe book underneath elastics cording and if I wanted to I could add a couple of my favorite recipes and a few cookies cutters before giving as a gift. 

If you do have any questions about this project please let me know.


Thanks for stopping by, hope your Tuesday is wonderful and enjoy creating!


ClearSnap: Woodsy Autumn Planner

Hi everyone! I’m back with another project this week that I created using the Wrapped Journal Diecut and an assortment of inks from ClearSnap.

I started by cutting one Wrapped Journal Diecut from Mat Board and emboss both flaps with Woodgrain Embossing Folder.

I inked my glass tray with Nutmeg Blends Ink ,add water and painted the outside of the journal and both inside spines with watered down ink and let dry. Next I loaded several Art Daubers with the following inks: Mercantile: Candied Yam and Red Barn, Cornucopia: Pumpkin Spice Inks and lightly rub over the outside/inside in random spots on the journal to emulate woodgrain texture on the cover. I inked the glass tray with Flagstone and Coconut Blends Inks,added water to each color and loaded a paint brush with watered down Flagstone ink and splatter on the outside cover and inside spine and let dry. I completed the same steps as with the Flagstone ink with the Coconut ink and let dry.

I cut and adhere patterned cardstock to the inside of journal and strung elastic cording to the inside of the spine and tie off.

I cut from watercolor paper a set of leaves from the Journaling Cards, Flowers and Leaves Diecuts and took one small leaf diecut and ink with Coral and Dandelion Premium Dye inks and shape. Once dry I inked with the Clear Embossing Pad and add Copper Embossing Powder to the clear embossing and set with the heat tool. I completed this step again for each of the following embossing powders:  Gold Sparkle and Opalescent

I cut three pieces of cardstock in various sizes to create a flap for the front smaller cover and adhered. I punched a small hole in the center and at the end of the flap and add decorative brad. I cut two more pieces of cardstock to cover the back of the brad on the inside cover. 

I cut out one small wreath diecut, one circle punch and one seal circle punch and adhered to the cover. I adhered a doll head to the corner of the wreath, loop hemp cording, embossed leaf and two mini flowers next to the doll head and added mini gems to the flowers.

I cut 28 inches of hemp cording and fold in half and tied securely around brad.

I wrapped cording around journal and tie a knot about an inch under the brad, add three beads and tie off. Cut off excess cording. As always I welcome comments or questions about this project.

I would also like to submit this project for the following challenges:

Mini Album Makers Challenge: October

Thanks for stopping by, hope your Tuesday is wonderful and enjoy creating! 

Eileen Hull: Mushroom Wrapped Journal

Hi everyone! I back today with my Eileen Hull’s Inspiration Team project! The challenge for this month was to create a project in a Halloween/Autumn theme. It has been hard to get excited about Fall since the temperatures have been in the upper 80’s to lower 90’s so I decided to use the new DCWV Okey Dokey Paper Pad and go with a black and white leaves, flowers and mushroom theme…you could say kinda Autumn themed. 😁

First I cut the Wrapped Journal Diecut from Mat Board and inked the inside and outside spines with ColorBox Blends Ebony Ink. Once it was dry I splattered ColorBox Blends Coconut and Flagstone onto the outside and inside spines.

I cut the inside cover with one of the black and white speckled cardstock from the Okey Dokey Paper Pad and adhered inside.
From the same paper pad I picked out the black and white line drawings of leaves, flowers and mushroom and cut and adhered to the outside cover. From the internet I found a vintage black and white drawing of a mushroom. I printed and fussy cut the mushroom out. I adhered a piece of patterned cardstock to the smaller cover and the mushroom. On the larger cover I applied a piece of Adhesive Sheet to the back of patterned cardstock. I placed the “Journal” Diecut from the Journaling Words Diecuts and  ran through the diecut machine. I peeled the backing off of the adhesive and added the “Journal” diecut to the cover. I poked a small hole in the center of the spine and ran white elastic cording through the hole and tied off to create a closure. I also strung black elastic cording in the spine to hold journaling notebooks.

I cut the stitching out of a mini notebook. You can find these in packs of three at the Dollar Tree. 

I got four booklets with six pages each from the one mini notebook.
From the Okey Dokey Paper Pad I cut covers for each of the notebooks and then stitched all pages and covers together. I also added my initial  and “Journal” diecut to the cover of two of the notebooks.
I also cut dash boards to cover some of the notebooks and some will hold sticky notes.

I plan on adding more to the journal and will share once I finish those projects. 😀 Also be sure to stop by Eileen Hull’s blog to see the latest projects the Inspiration Team has created. You can find those post HERE and HERE. As always if you have any questions about this project please let me know.

I would also like to submit this project for the following challenge.

Mini Album Makers Challenge: September

Thanks for stopping by, hope your day wonderful and enjoy creating! 

Baby Wrapped Journal Cover Part One

Hi everyone! It has been a crazy and insane month and I am barely getting in a project for Eileen Hull’s Inspiration Team…EEK!!! 😰 I decided since I will have a new grandson in nine weeks I would create a little baby album using the Wrapped Journal Diecut.

I started by cutting the Wrapped Journal Diecut from a piece of Mat Board and I embossed both end with a cloud embossing folder that I had picked up at Joann’s. Next I inked a glass tray with ColorBox Blends Bay Ink, added water, painted both outside and inside ends of the journal and the same for the spines and I let dry. I adhered a patterned cardstock on the back of the journal since I accidentally bled on it. 😔

I lightly inked the edges of the journal and the embossed images with ColorBox Blends Uniform Ink. Next I inked the glass tray with ColorBox Blends Coconut Ink and with a paint brush I lightly painted a wash over the clouds, let dry and then I dry brushed around some of the clouds.

I cut a couple of stars from the Bookplate, Hinges and Label Diecut and inked with ColorBox Blends Tutu Ink and once dry I added Stickles to each star.

I cut the “baby” journaling card from the Simply Stories Hello Baby Paper Pad and added a star brad before adhering to the smaller journal flap. I glued the star diecuts and mini gems to the cover.

I punched a hole at the end of the baby journaling card and added a brad which will be used as a closure. I cut a piece of cording which I folded in half making it 14 inches long before tying it around the brad. I wrapped the cording around the brad, then tied a knot in the cording and added three beads before tying the end of the cording and cut the excess cording off.

The inside of the journal I added patterned cardstock from the Simply Stories Hello Baby Paper Pad. I also covered the back of the baby journaling card with a piece of wood patterned cardstock to hide the back of the brad. I strung the journal with elastic cording and waa laa…finished! I will follow up next month with the inside of this baby album so stay tuned for a full reveal! 😀
If you haven’t checked out Eileen Hull’s blog this month to see what the Inspiration Team has created you can find those posts HERE and HERE.  Also if you have any questions about this project please let me know.

Also I would like to submit this project for the following challenge:
Word Art Wednesday Challenge: #344-#345 Anything Goes

 Thanks for taking the time to stop by, hope your day is wonderful and enjoy creating!

Eileen Hull: Nature Wrapped Journal

Hi everyone! I’m back with another wrapped journal I created using Eileen Hull’s newest diecut collection called Book Club 2. I started by cutting a Wrapped Journal from Matboard

Before cutting and adhering patterned cardstock to the outside and inside of the journal I inked both spines inside and out with Peeled Paint Distressed Stain. Once dry I inked the edges of the spines with a light green chalk ink. I inked my glass tray with ColorBox Blends Coconut Ink and added a small amount of water. I loaded a paint brush and splattered both spines with paint. Once dry I added patterned cardstock to the cover and inside.

I cut the Flowers and Leaves Journaling Cards and embossed before inking with Peeled Paint Distressed Stain. Once dry I lightly inked over the embossed images with a brown chalk ink. I cut a piece of kraft cardstock and patterned cardstock slightly larger width wise for the cover flap and slightly larger than the Flowers and Leaves Journaling Cards. Before adhering the journaling card to the cover I backed with another piece of patterned cardstock, punched a small hole in the flap, added a green gem brad to the clear button and attached to the flap before adhering ALL pieces to the cover. I printed the word Nature from the computer and I cut the “journal” verbiage from the  Journaling Words Diecuts, lightly inked both and adhered to the cover.
I cut grid paper slightly smaller than the journal, folded and marked and punched holes before stitching each signature into the journal.

I tied off each signature on the inside of the journal. Also I forgot to add that I used jewelry cording as a closure for my journal. I dug into my stash of beads and added a few to the end of the cording. 

This journal can be used to document vegetable or flower gardening or drawing doodles from days spent outside.
If you haven’t stopped by Eileen’s blog to see what the Inspiration Team has been up to you can find those posts HERE, HERE and HERE. As always if you have any questions please let me know.

I would like to submit this project for the following challenges:
Word Art Wednesday Challenge Anything Goes: #340-#341
Simon Says: Work it Wednesday June: The Great Outdoors!
Thanks for stopping by, hope your Wednesday is awesome and enjoy creating!

ClearSnap: Father’s Day Mustache Pocket Box

Hi everyone! I’m back to share a quick Father’s Day project I created for ClearSnap. Before cutting out the Flower Pocket Diecut I applied a total of four Adhesive Sheets to the front and back sides of the Mat Board. I cut 7 Gypsies Archtextures: Painted Door Cardstock to fit the front of the mat board, peeled the protective sheet off of the adhesive and placed the cardstock onto the mat board. On the back side of the mat board I cut 7 Gypsies Vintage Varsity: Stubs Cardstock (retired) and repeated the same steps as for the other cardstock. Once cut out I put together according to the directions on the packaging.

I cut from Kraft Cardstock a Medallion from the Medallion Diecut. Put together and inked with ColorBox Pigment Platinum Ink. I stamped the Mustache Rubber stamp onto a piece of white cardstock with ColorBox Archival Dye Wicked Black Ink. I fussy cut one of the mustache images out and adhered to the center of the medallion. Next I punched a circle out, embossed with the Starburst Embossing Folder and inked with the Platinum ink. I added a cording bow and sequins to finish off the pocket. Now all I need is some shaving supplies such as a razor, shaving cream, aftershave, etc. and its ready to give as a gift!

As always if you have questions please let me know. 
Also I would like to submit this project for the following challenge:

Word Art Wednesday: Anything Goes: #336-#337

Thanks for stopping by, hope your Sunday is awesome and enjoy creating! 

Beach Disc Junk Journal

Hi everyone! I am here to share my Inspiration Team project I created this month for Eileen Hull. The weather has been so cold in my neck of the woods that my project has a warm weather beach theme to it.


I decided to gather up all of my beach theme cardstock, stickers, embellishments and things I had put back from my trips to the beach along with the Book Binding Movers and Shapers Magnetic Diecut, Base Tray, burlap covered matboard, Book and Pages, Trinket Box and Frame Diecut and Medium Discs to create this journal.


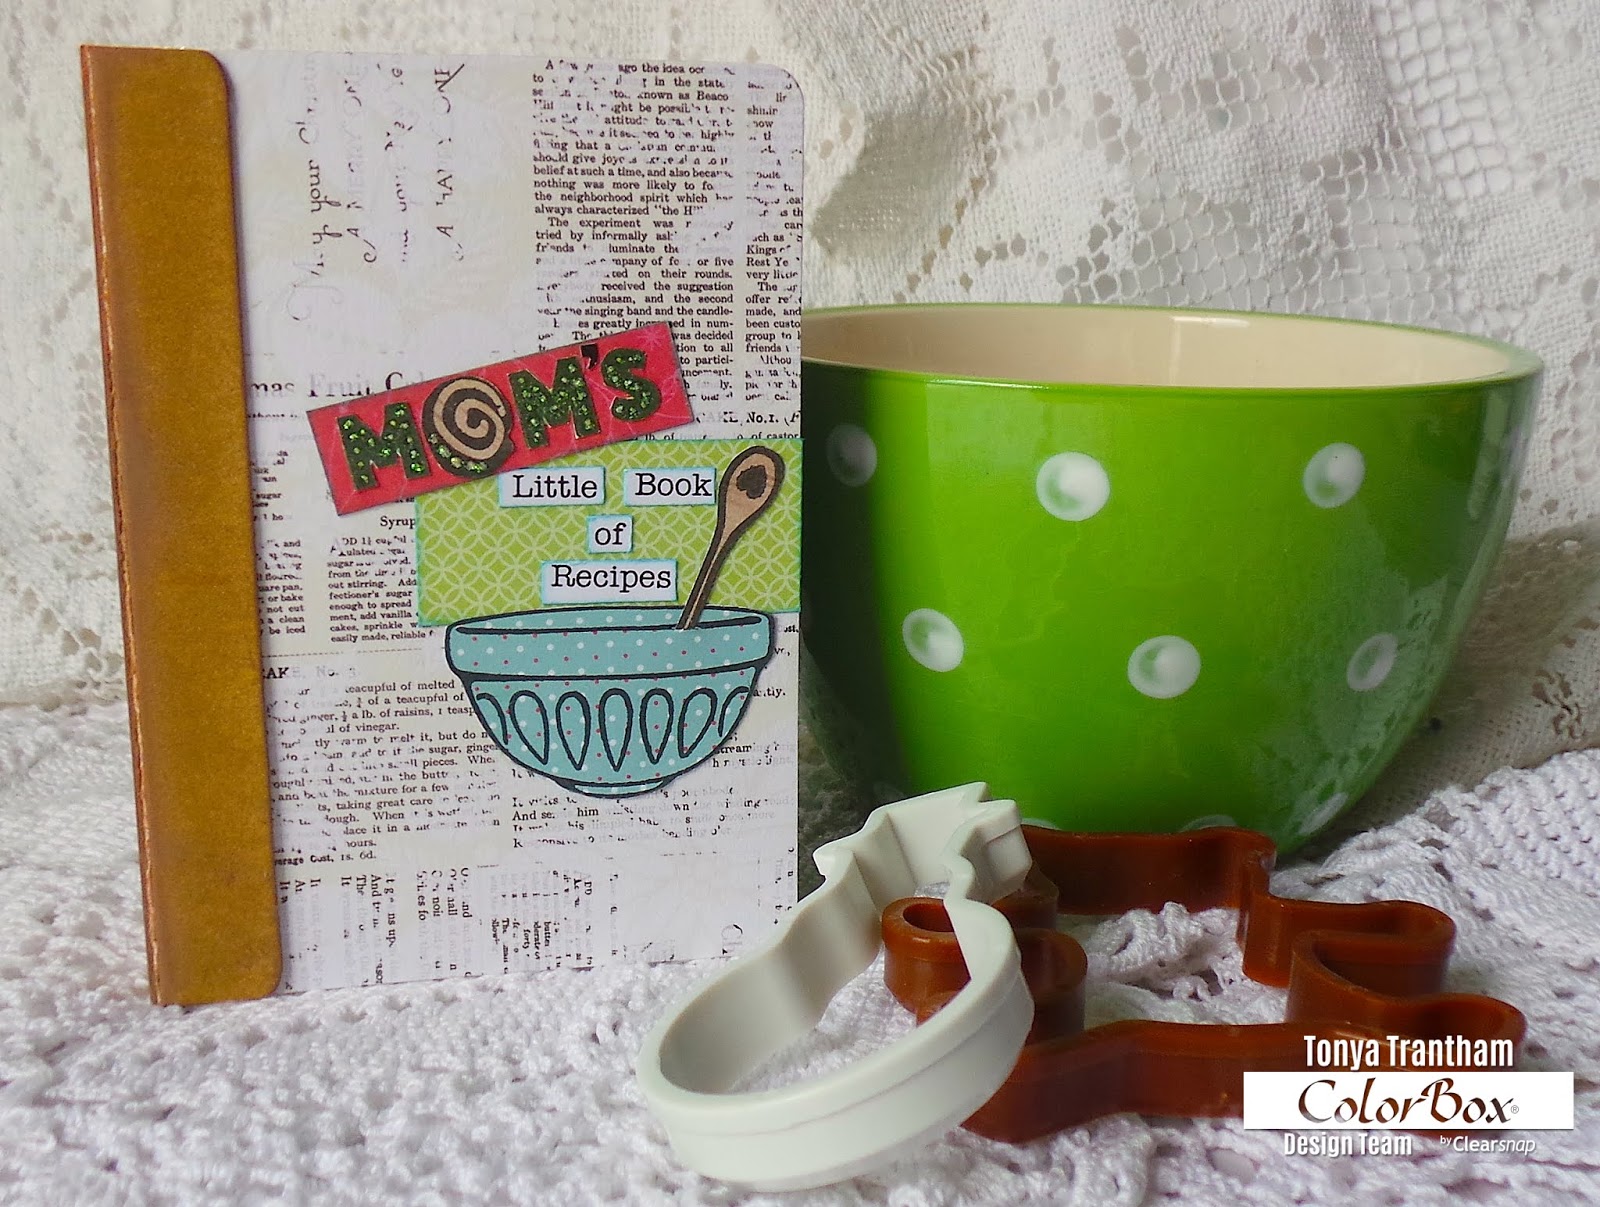
I got so carried away that I didn’t photograph a before photo of the cover which I cut from burlap covered matboard using the Book and Pages, Trinket Box and Frame Diecut. I backed the cover with a patterned cardstock and inked the edges.  I fussy cut sand dollars from scrapbook paper and adhered to the bottom corner of the opening of the cover along with a button and added a pearl and gem to the center of each sand dollar.  I adhered gems around the oval of the opening. A side note use a heavy duty adhesive to hold the gems in place. I used Zip Dry Adhesive at first but wasn’t holding so I reapplied Fabri-Tac and that seems to be holding them in place.


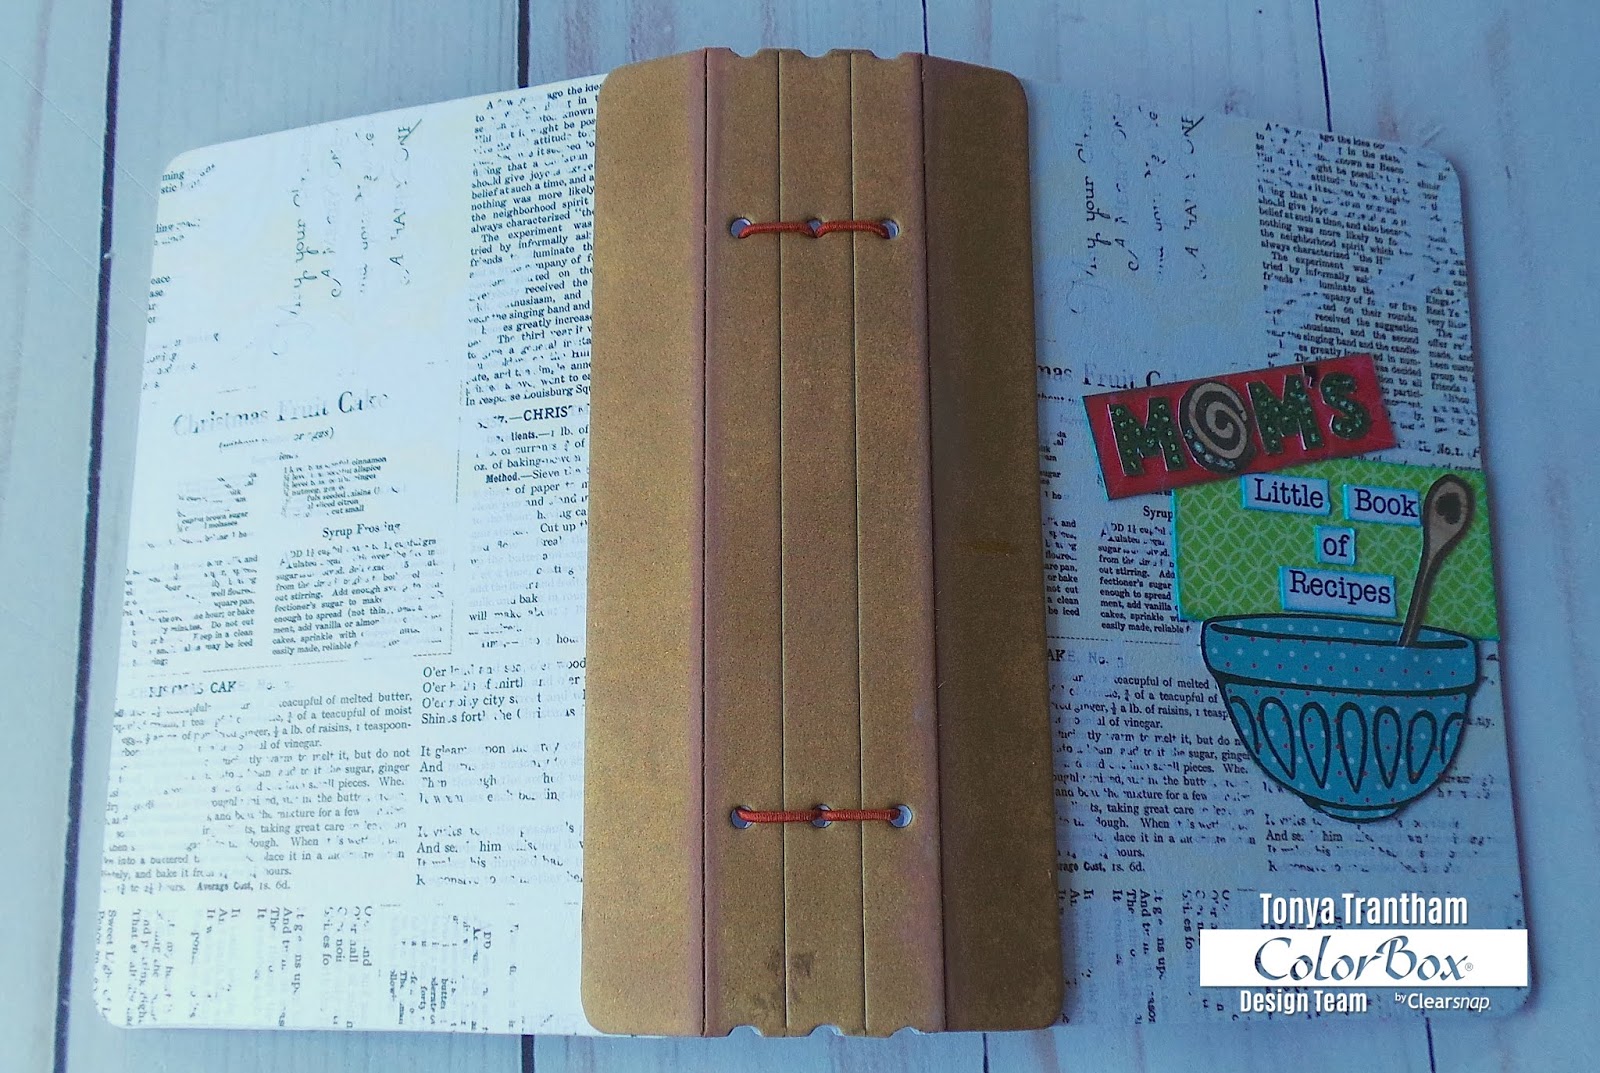
I love the Book Binding Movers and Shapers Magnetic Diecut! There is so many possible uses for it! My journal has a total of 35 pages, plus the front and back covers. So this is one packed journal and the best part I can take it with me on my vacation already assembled. No, taking a load of cardstock, embellishments, etc. which nine times out of ten I won’t fool with that much because…well…you know..I’m on vacation. 😎


I added a business card (Chick A Fil is a favorite place to eat at) and sacks/bags to the journal too.


I love the fact that you can move pages around or add or even take out completely.


I also made pages from a pamphlet I had picked up.


I used a hotel note pad for some pages in my journal too.


I threw in some paint chips in a beach theme.


The map I wanted to include was too large so I cut it down and folded and used a paper clip to keep it from flopping around.


Coffee sleeves work well as pockets to hold tags or receipts.


I added a drink coaster from my favorite restaurant to the journal.


I saved this bag from an order I received. I folded it over to create a flap, added some ric rac and a clip to keep ephemera safe.


Since the discs have a small heart in the center of each one I added an assortment  of fiber, seam binding, ribbon and charms to the top disc on the journal.


There you have it! One junk journal ready to go to the beach with me…hopefully this year…all I’ll need is an ink pen, Insta Printer and a small stash of embellishments and I am ready!
Be sure to check out these posts from Eileen’s team: HERE, HERE and HERE. As always if you have any questions about this project please let me know.


Also I would like to submit this project for the following challenges:
Word Art Wednesday Anything Goes: Challenge #318-#319
Mini Album Makers Challenge: January Challenge


Thanks for stopping by, hope your Monday is awesome and enjoy creating!

Christmas Time Disc Mini Album

Hi everyone! I am back to share the full reveal of my Christmas Time mini album using Eileen Hull’s newest Book Club Diecut Collection! 


I used the Book and Pages, Trinket Book and Frame Diecut to cut the covers, from Mat Board and the inside pages from the Merry and Bright Cardstock Pad. Also I used four Happy Planner Mini Disc for the binding.


I used Moss Glimmer Mist on the outside and inside of the both covers and once dry I added patterned cardstock, a scalloped circle from the Bookplate, Hinges and Label Collection and the number 25 was cut from the Billboard diecut. I finished off with three square gems and fiber, ribbon and twine on one of the disc.


The inside cover I adhered a two of the corners of the pocket from the Bookmark, Tag and Pocket Collection to create another pocket to hold a label, which I folded, from the Bookplate, Hinges and Label Collection.


I created a belly band which I added a seal diecut to the band and added a label diecut as a tag which can be used as a journaling card or for mini photos. On the opposite page I added the word “moments” from the Floral Arch and Words Collection for a simple embellishment.


The top of the page I added a label and dress it up with a sentiment and sequin. I adhered a wooden joy frame to the bottom corner of the page as a pocket to hold a label diecut and a mini tag.


The opposite page I free handed a tree and inked and glued the star from the Bookplate, Hinges and Label Collection to the top of the tree.


The next two pages are simple I created another belly band which I used an old Christmas present label as a tag and a piece of ric rac and a button dressed up the other page.


I adhered a bookmark to the bottom corner of the page to create a pocket.


I added label diecuts and a Christmas present tag to the bookmark and the inside cover I finished off with patterned cardstock and a Santa from my stash.
For more inspiration hop on over to Eileen Hull’s blog where to can see what the team has created with this awesome collection of diecuts! You can find those posts HERE, HERE and HERE.
As always if you have any questions about this project please let me know.


Also I would like to submit this project for the following challenges:
Word Art Wednesday: Challenge #312-#313
Mini Album Makers Challenge: December Challenge


Thanks for stopping by, hop your Thursday is awesome and enjoy creating!


Floral Jewelry Box

Hi everyone! I am back with another project using Eileen Hull’s newest diecut from the Book Club Diecut Collection. I created this jewelry box from the Book and Pages, Trinket Box and Frame Diecut.

I started by cutting all the pieces from Mat Board and the sides of the “drawer” I cut two pieces from patterned cardstock. I embossed the top and bottom of the box with the Rosebud Embossing Folder (retired Eileen Hull). Next I used the Hydrangea ColorBox Blends to add color to the box. I applied the ink to a piece of glass watered down and added a wash to each piece. Before putting together I adhered a piece of plastic on the back side of the oval opening.

The drawer I cut from mat board along with patterned cardstock to cover both the inside and outside of the drawer. I put together according to the directions. 

I added a drawer pull and added trim inside the drawer to finish it off.

I cut from white cardstock a vine and flower from the Floral Arch and Words Diecuts. I inked and adhered to the drawer. I also added a button and Dew Drop to the flower.

I added flatback pearls to the outside of the drawer to finish it off. Be sure to hop on over to Eileen’s blog to check out the latest projects from the rest of the Inspiration Team! You can find Eileen’s blog HERE. As always if you have any questions about this project please let me know.

I also would like to submit this project for the following challenge:
Word Art Wednesday Challenge: #306-#307 Anything Goes

Thanks for stopping by, hope your Tuesday is awesome and enjoy creating!