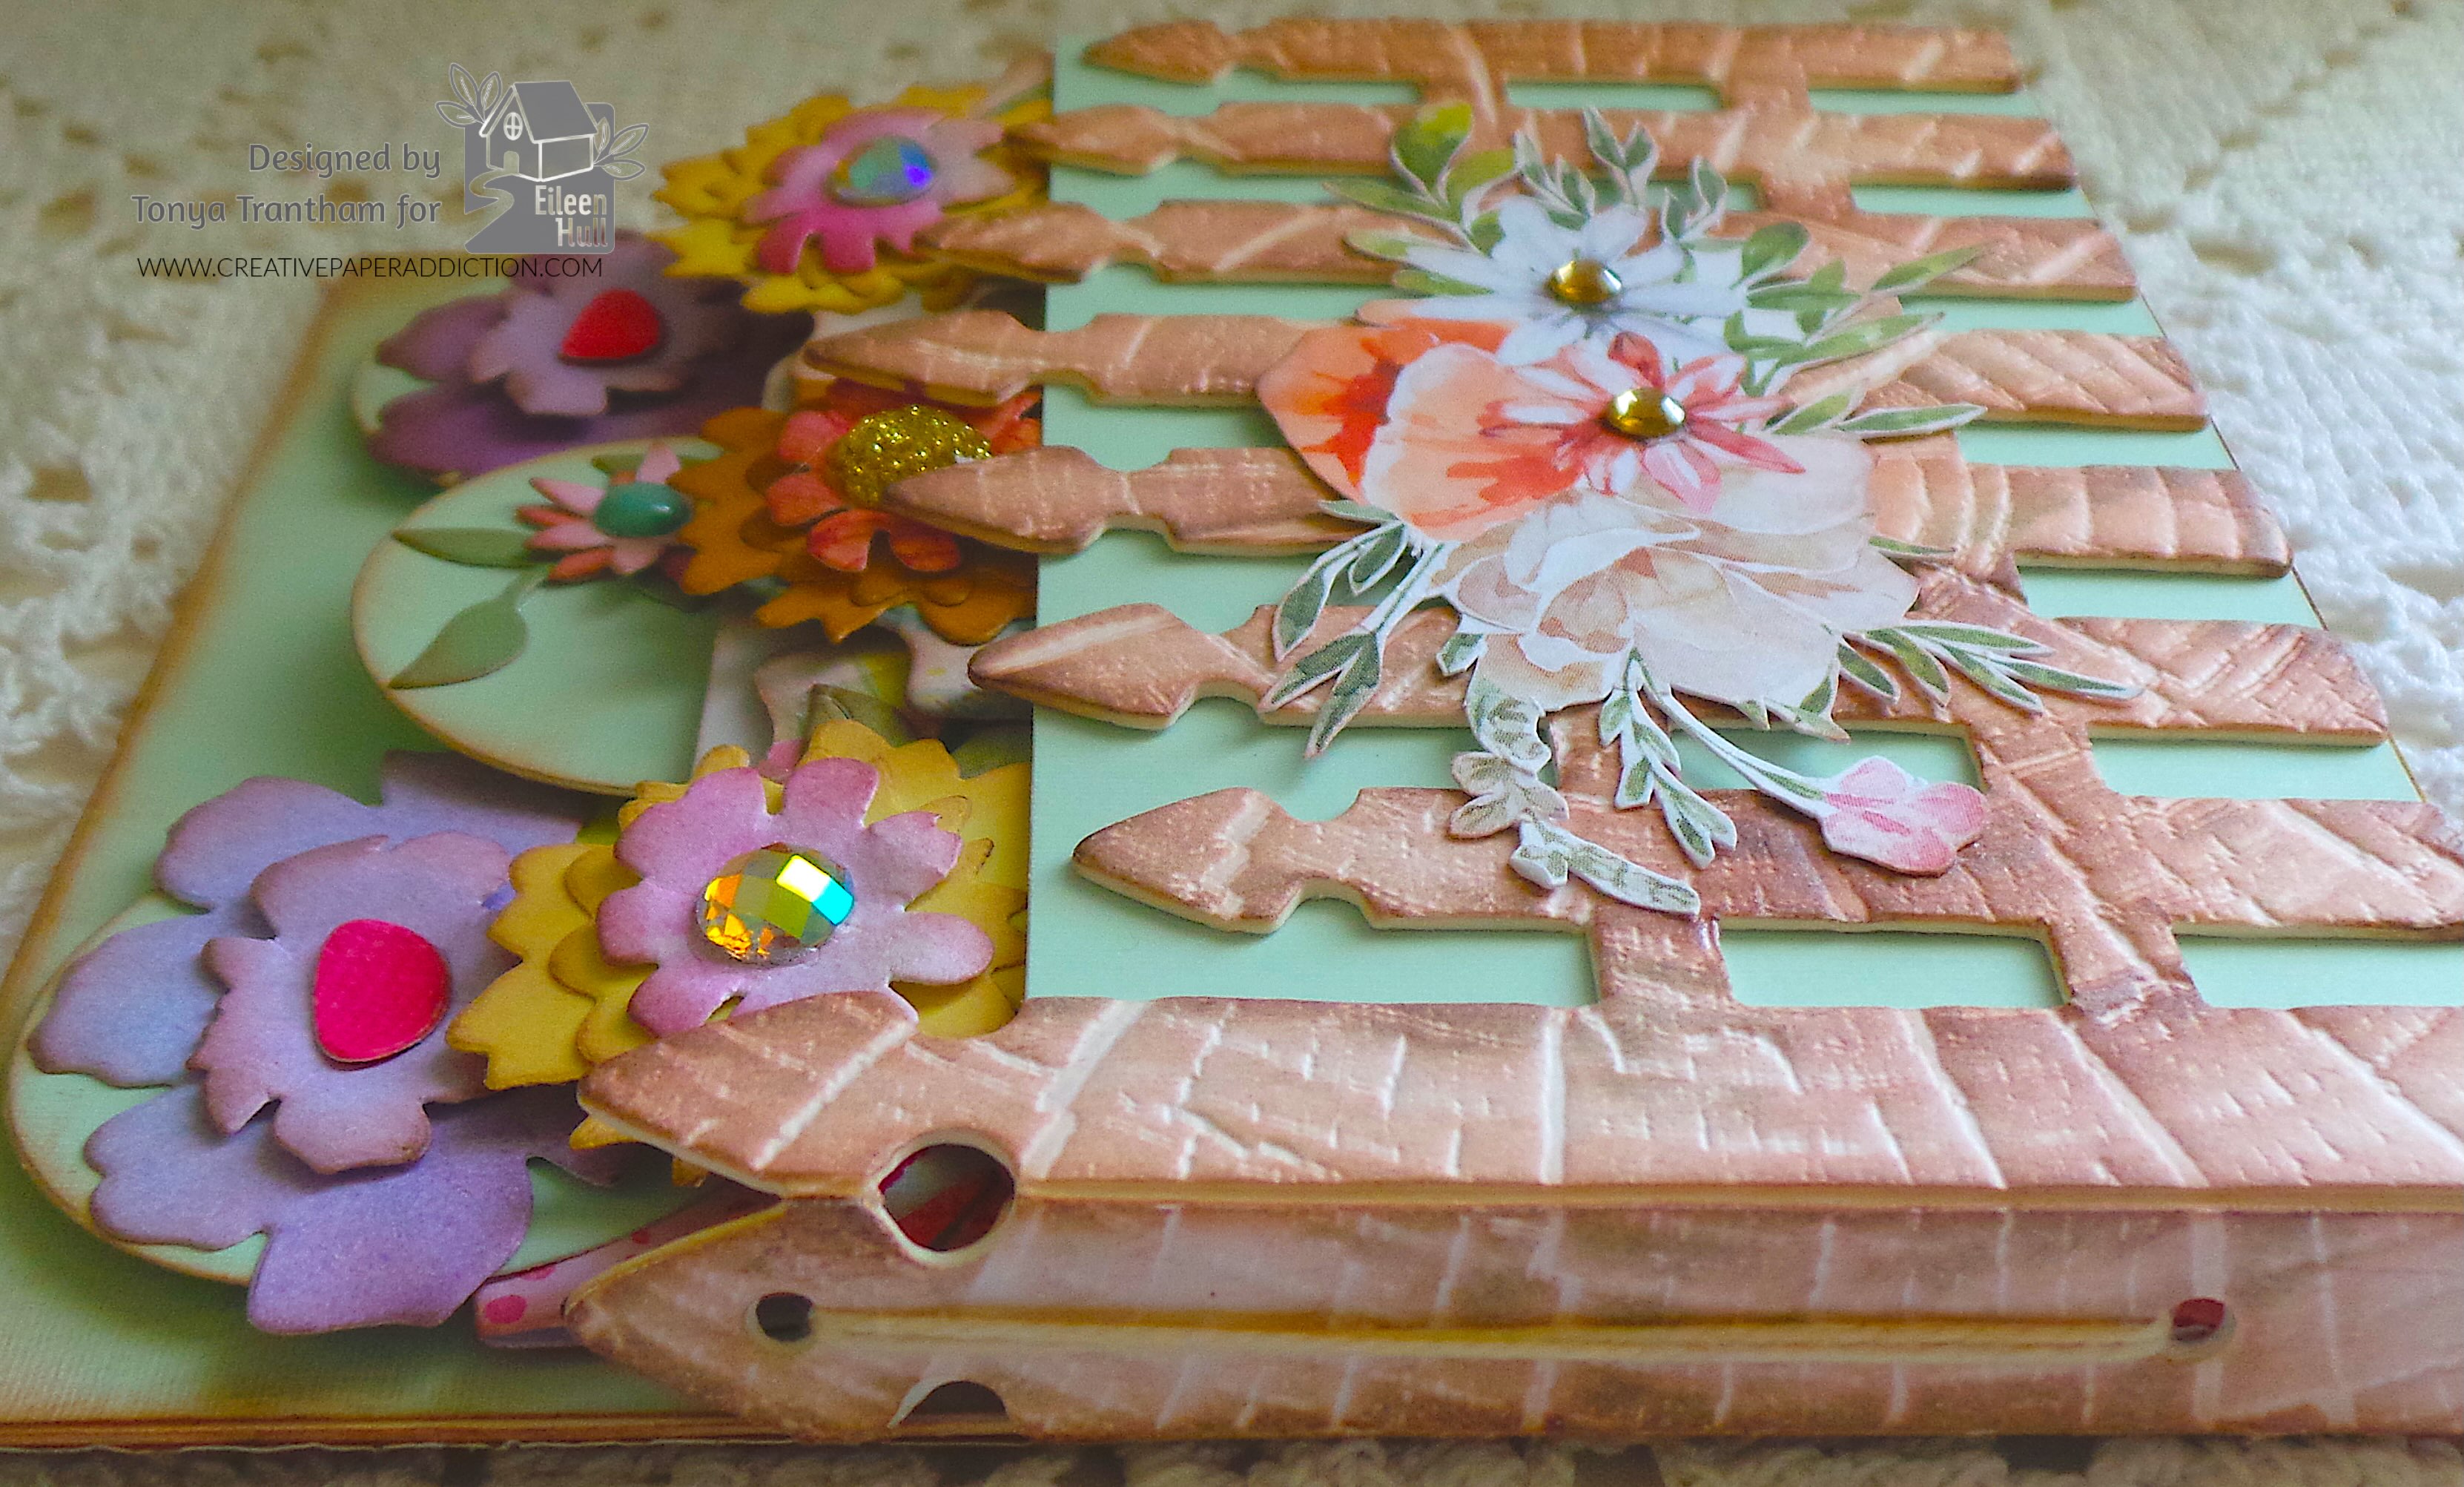
Garden Gate Journal Pocket and Tags Part Two

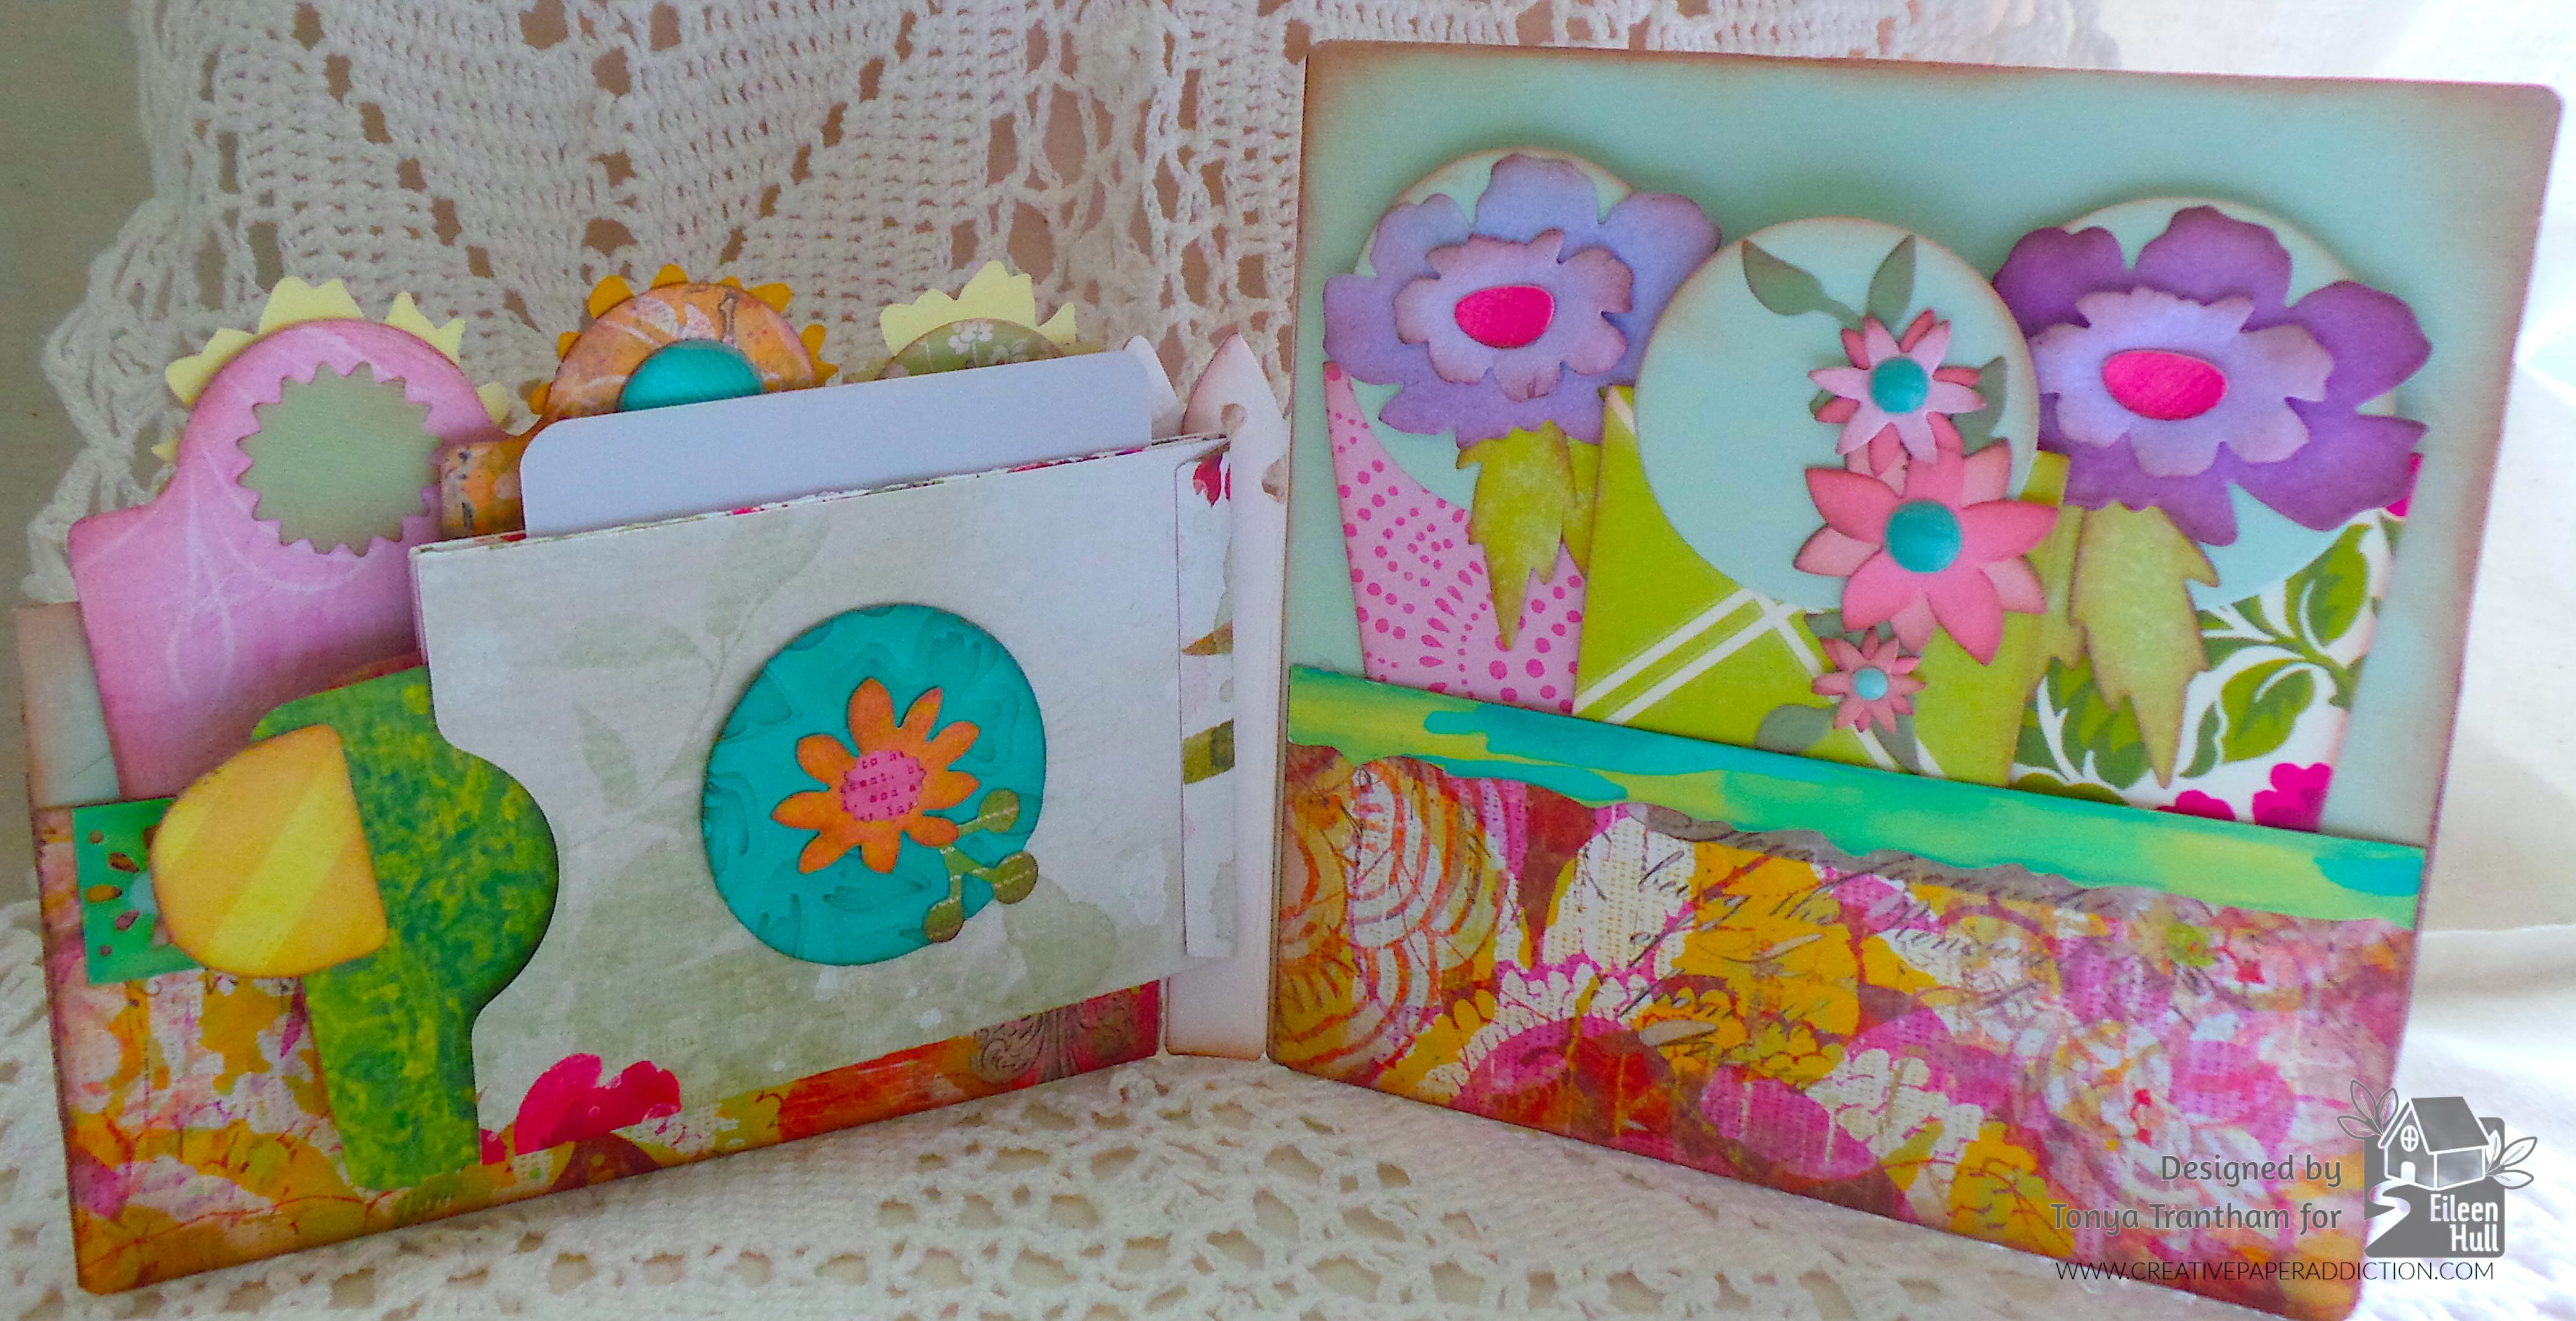
Hi everyone! I’m back with part two of my journal and today I will share how I added the pocket to the inside spine using the Pocket and Tags Thinlits. I also used the largest tags from the same dies along with a few others. If you missed part one of this project you can find that post HERE. Anyways, let’s get started!

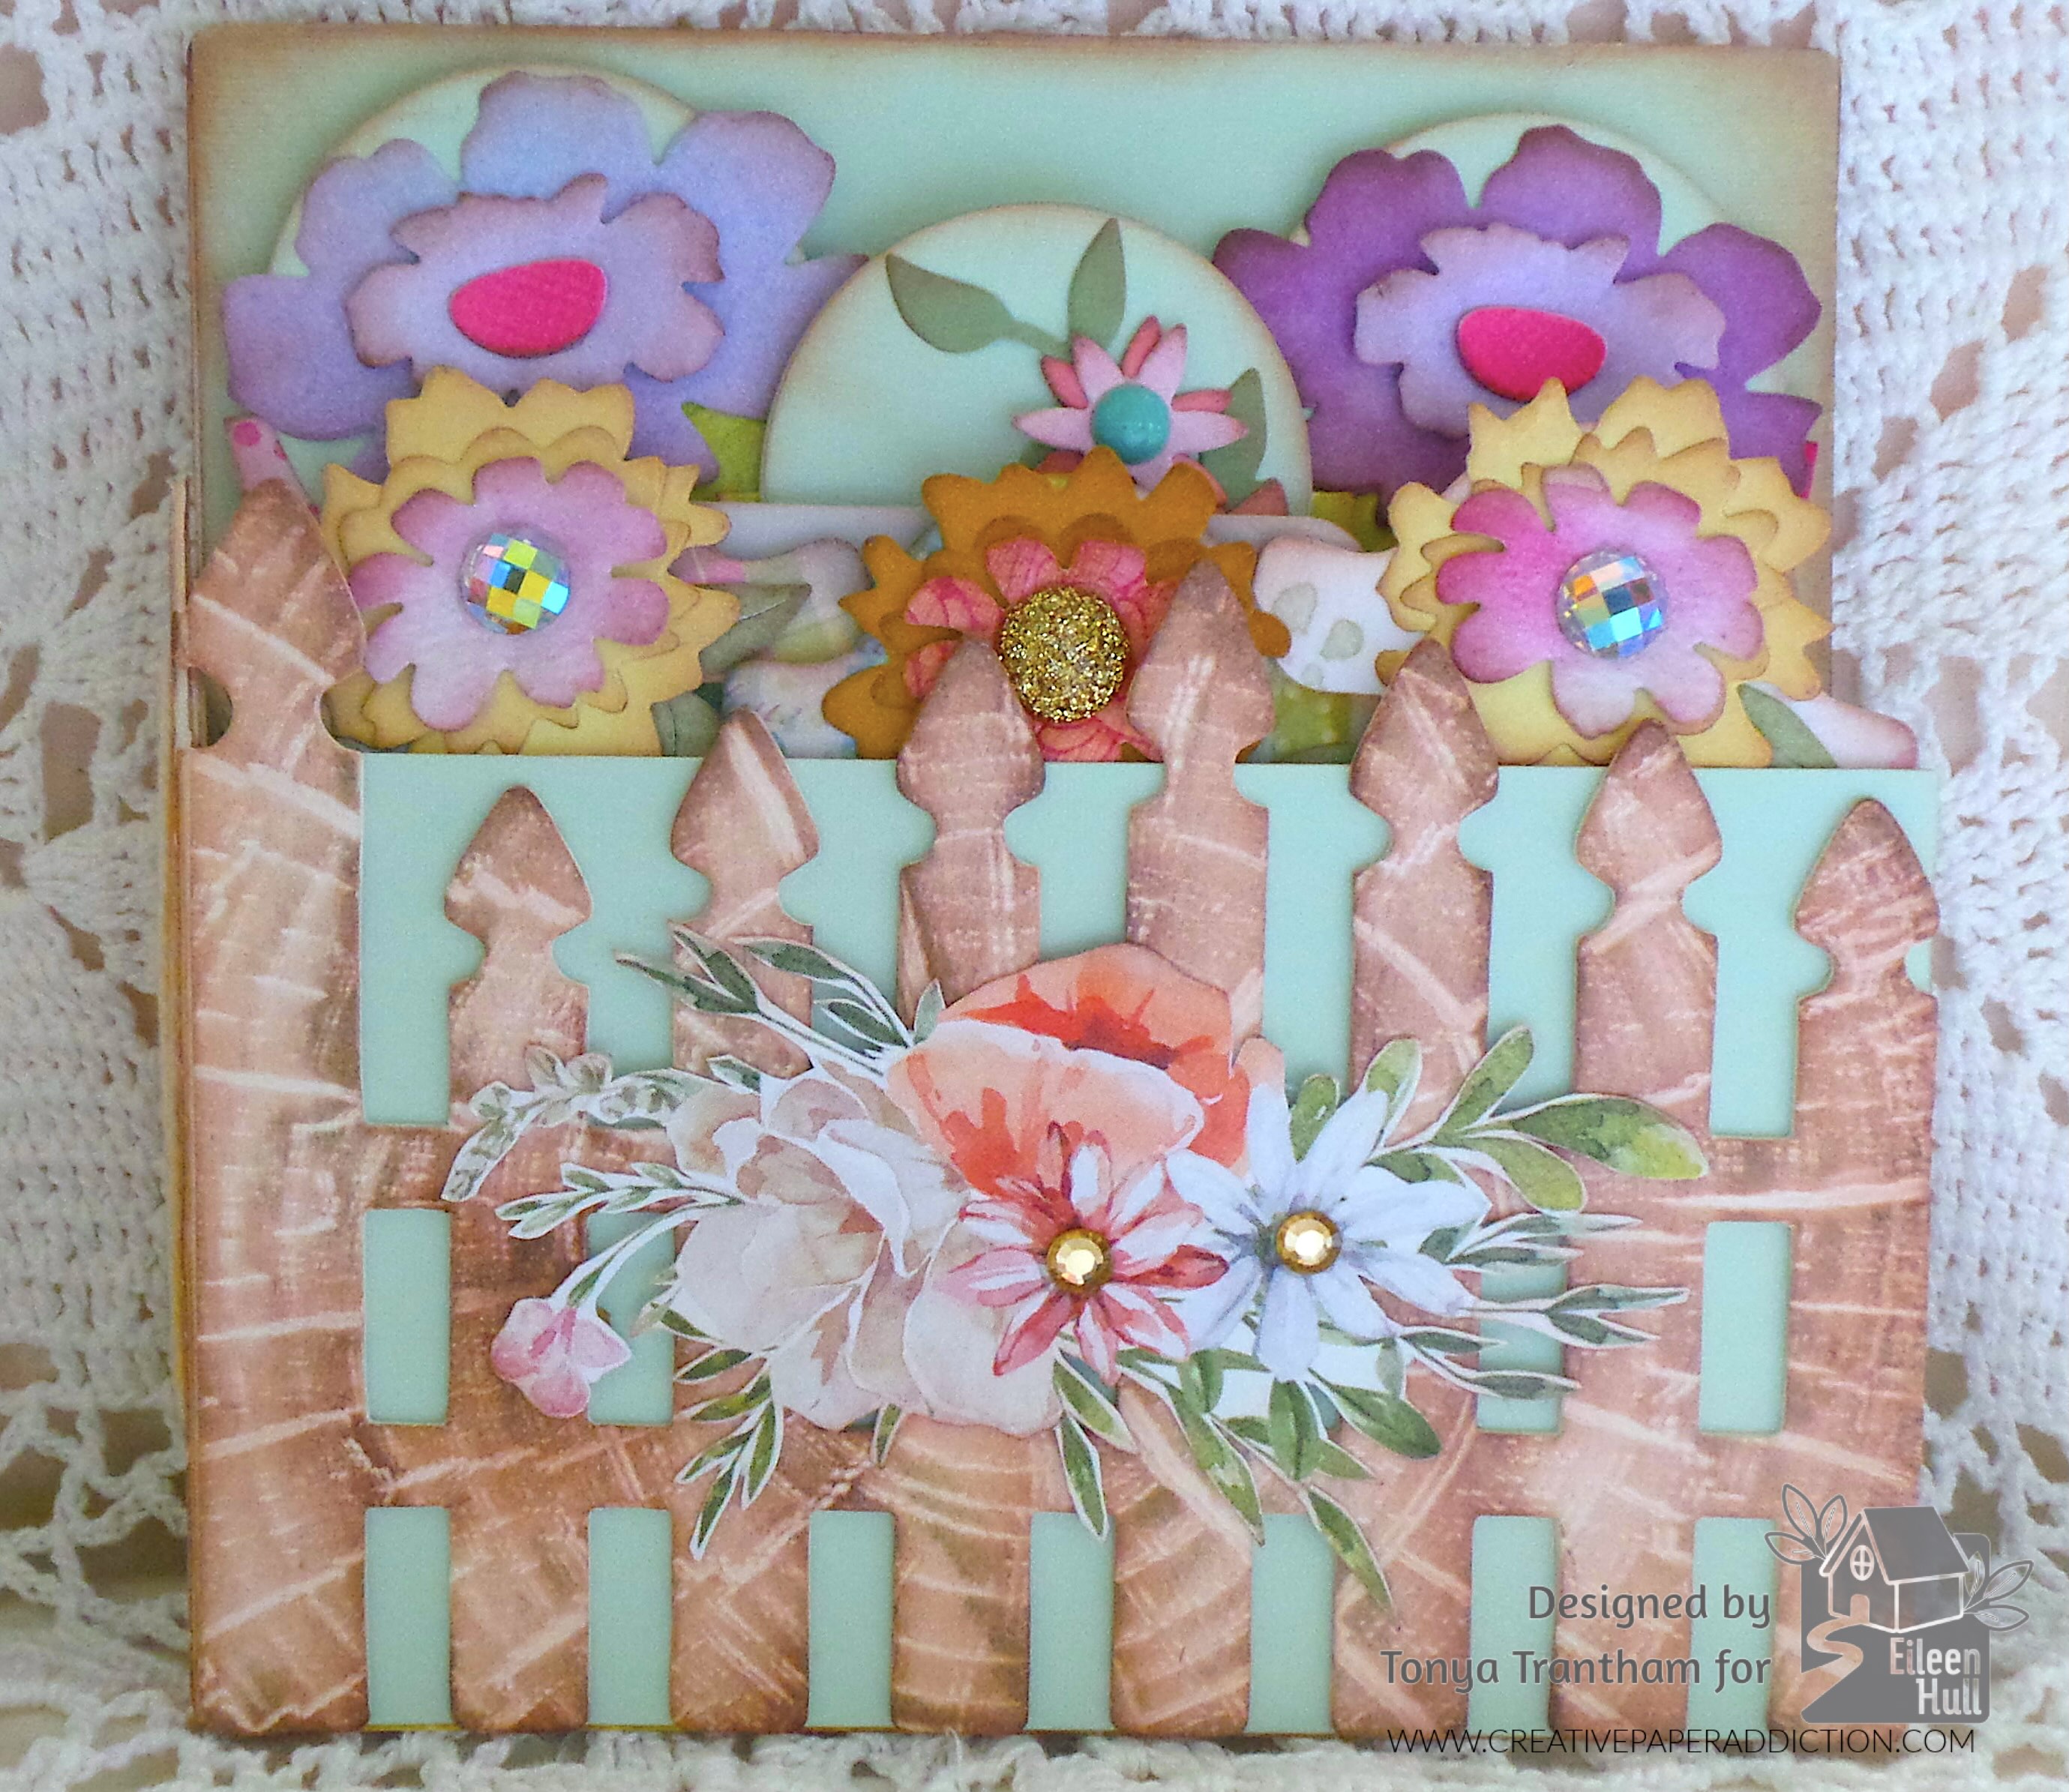
A decorative craft project featuring a pastel green wooden fence design filled with colorful paper flowers, some adorned with gems, and a floral arrangement at the base.

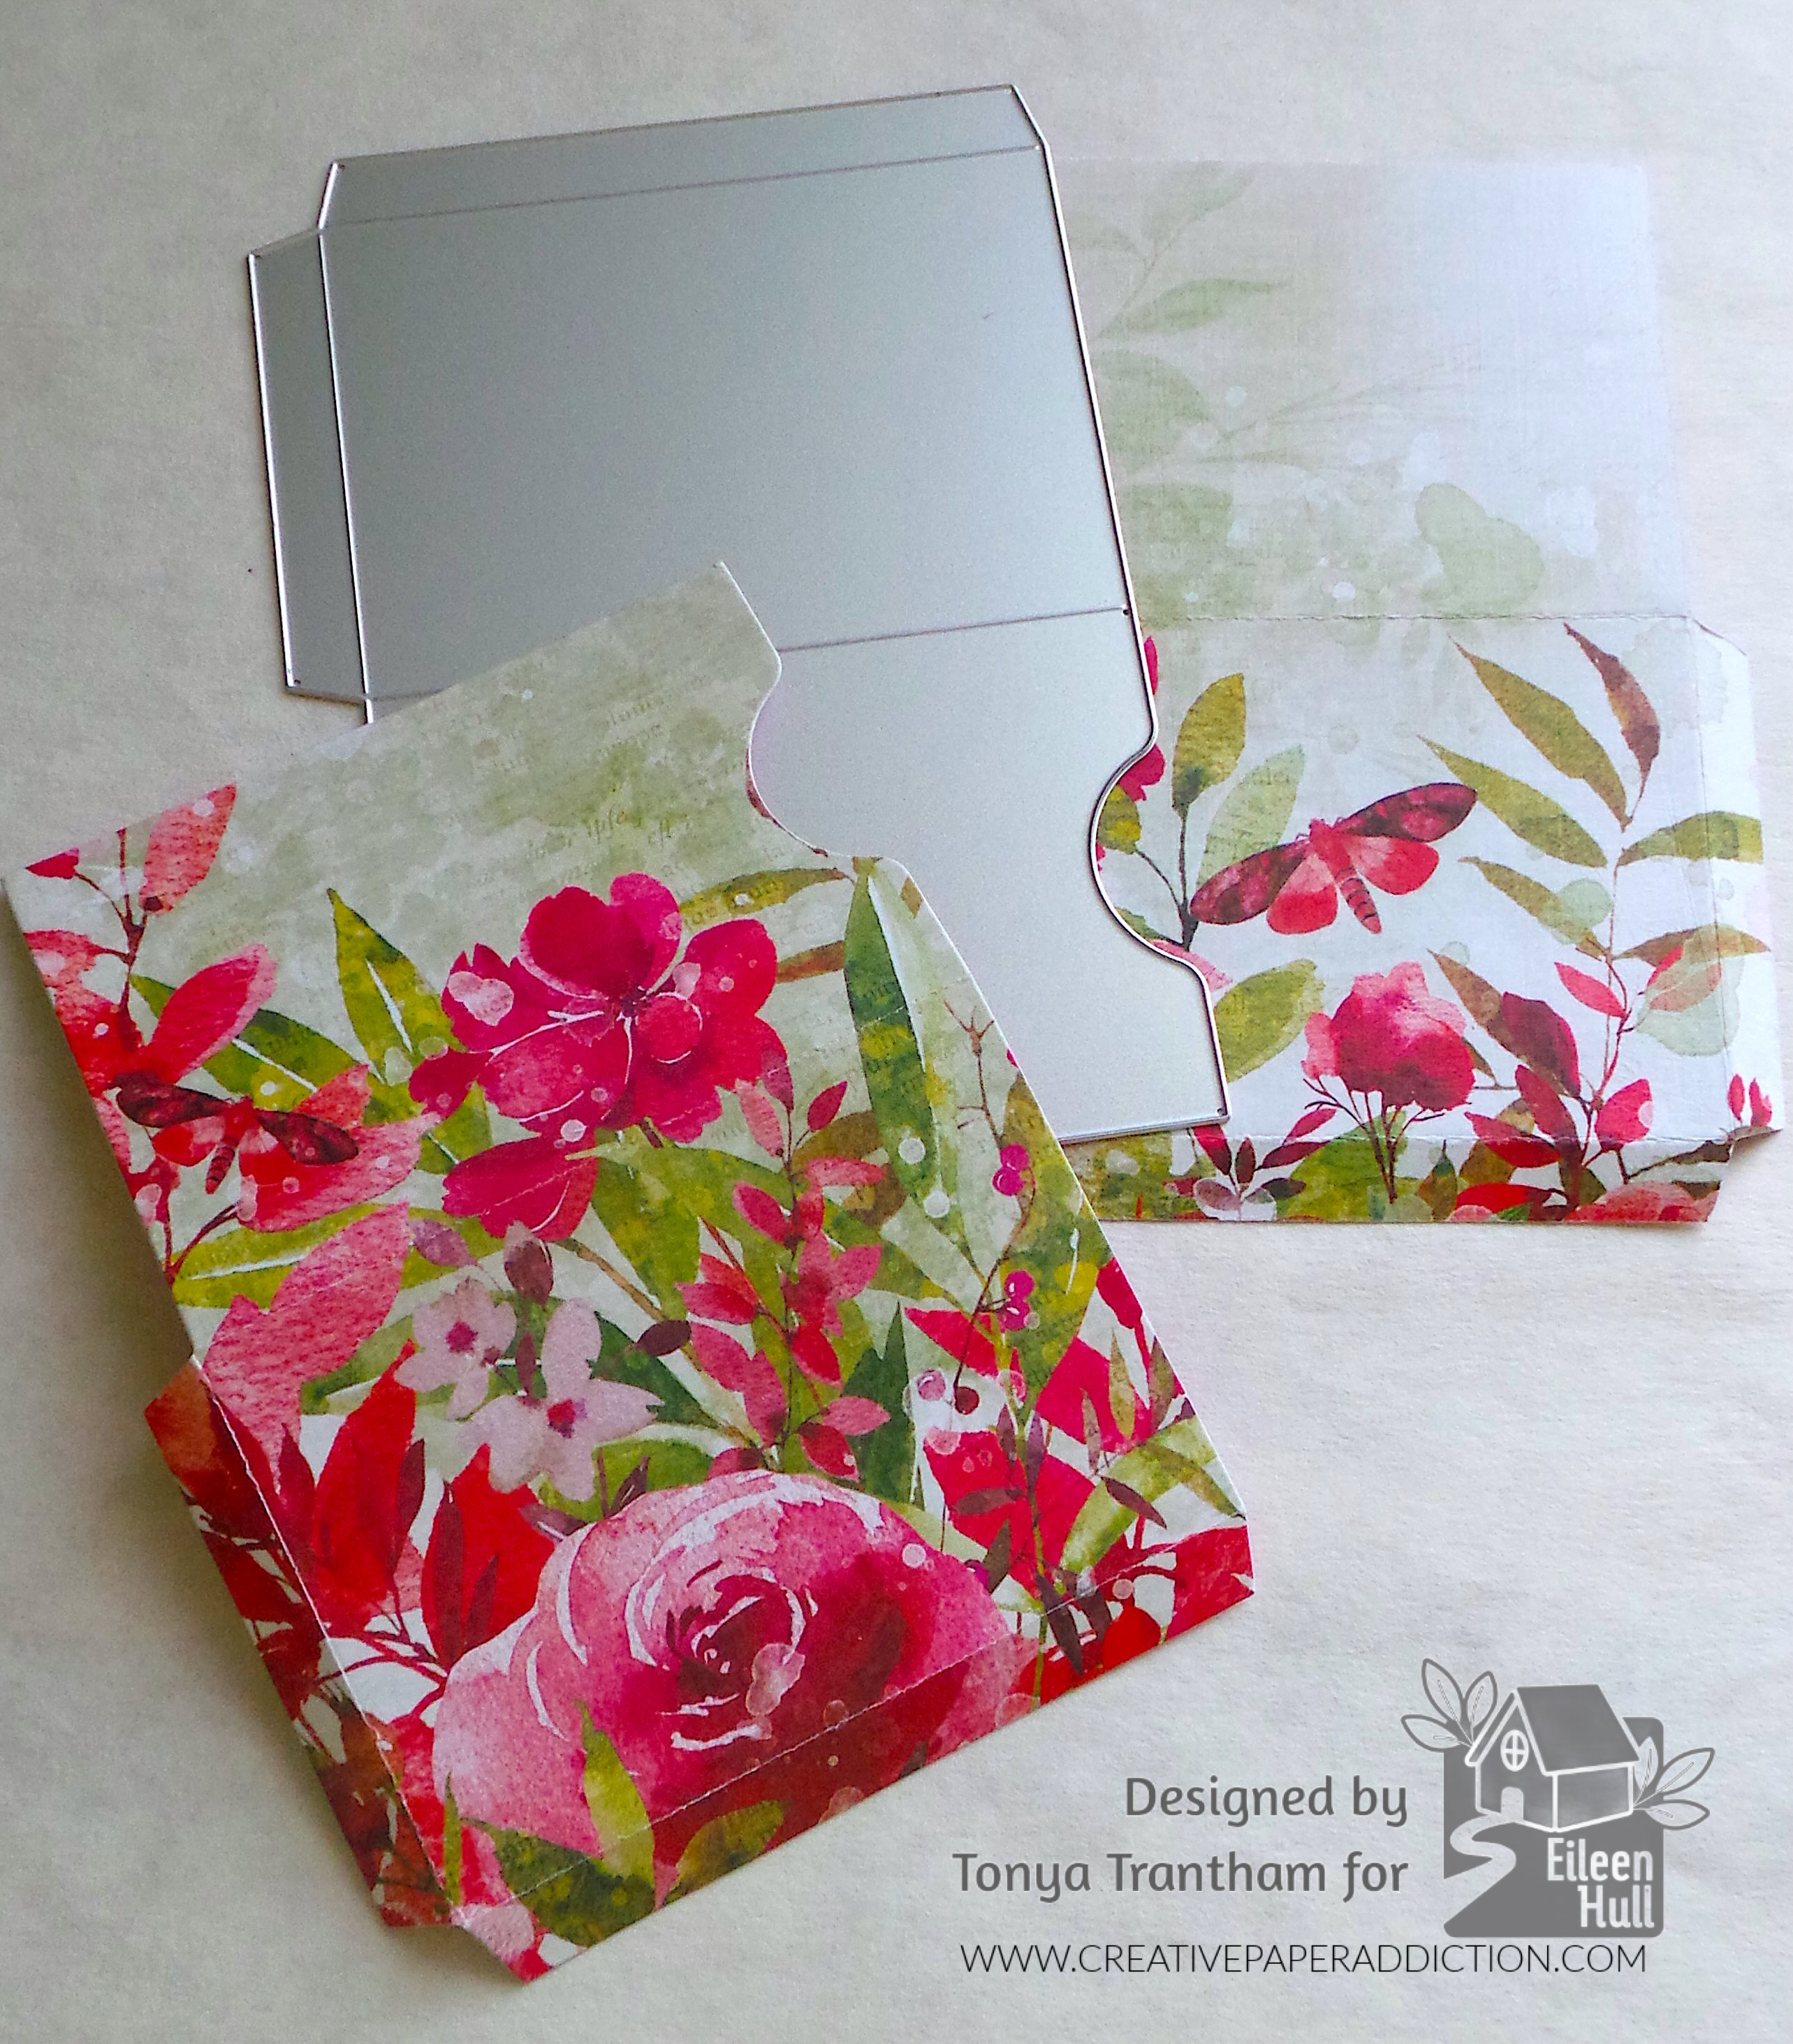
I cut out two of the pockets from the Pocket and Tags Thinlits.

Two floral patterned envelope templates with vibrant pink and green designs, one partially cut out, placed on a light background.

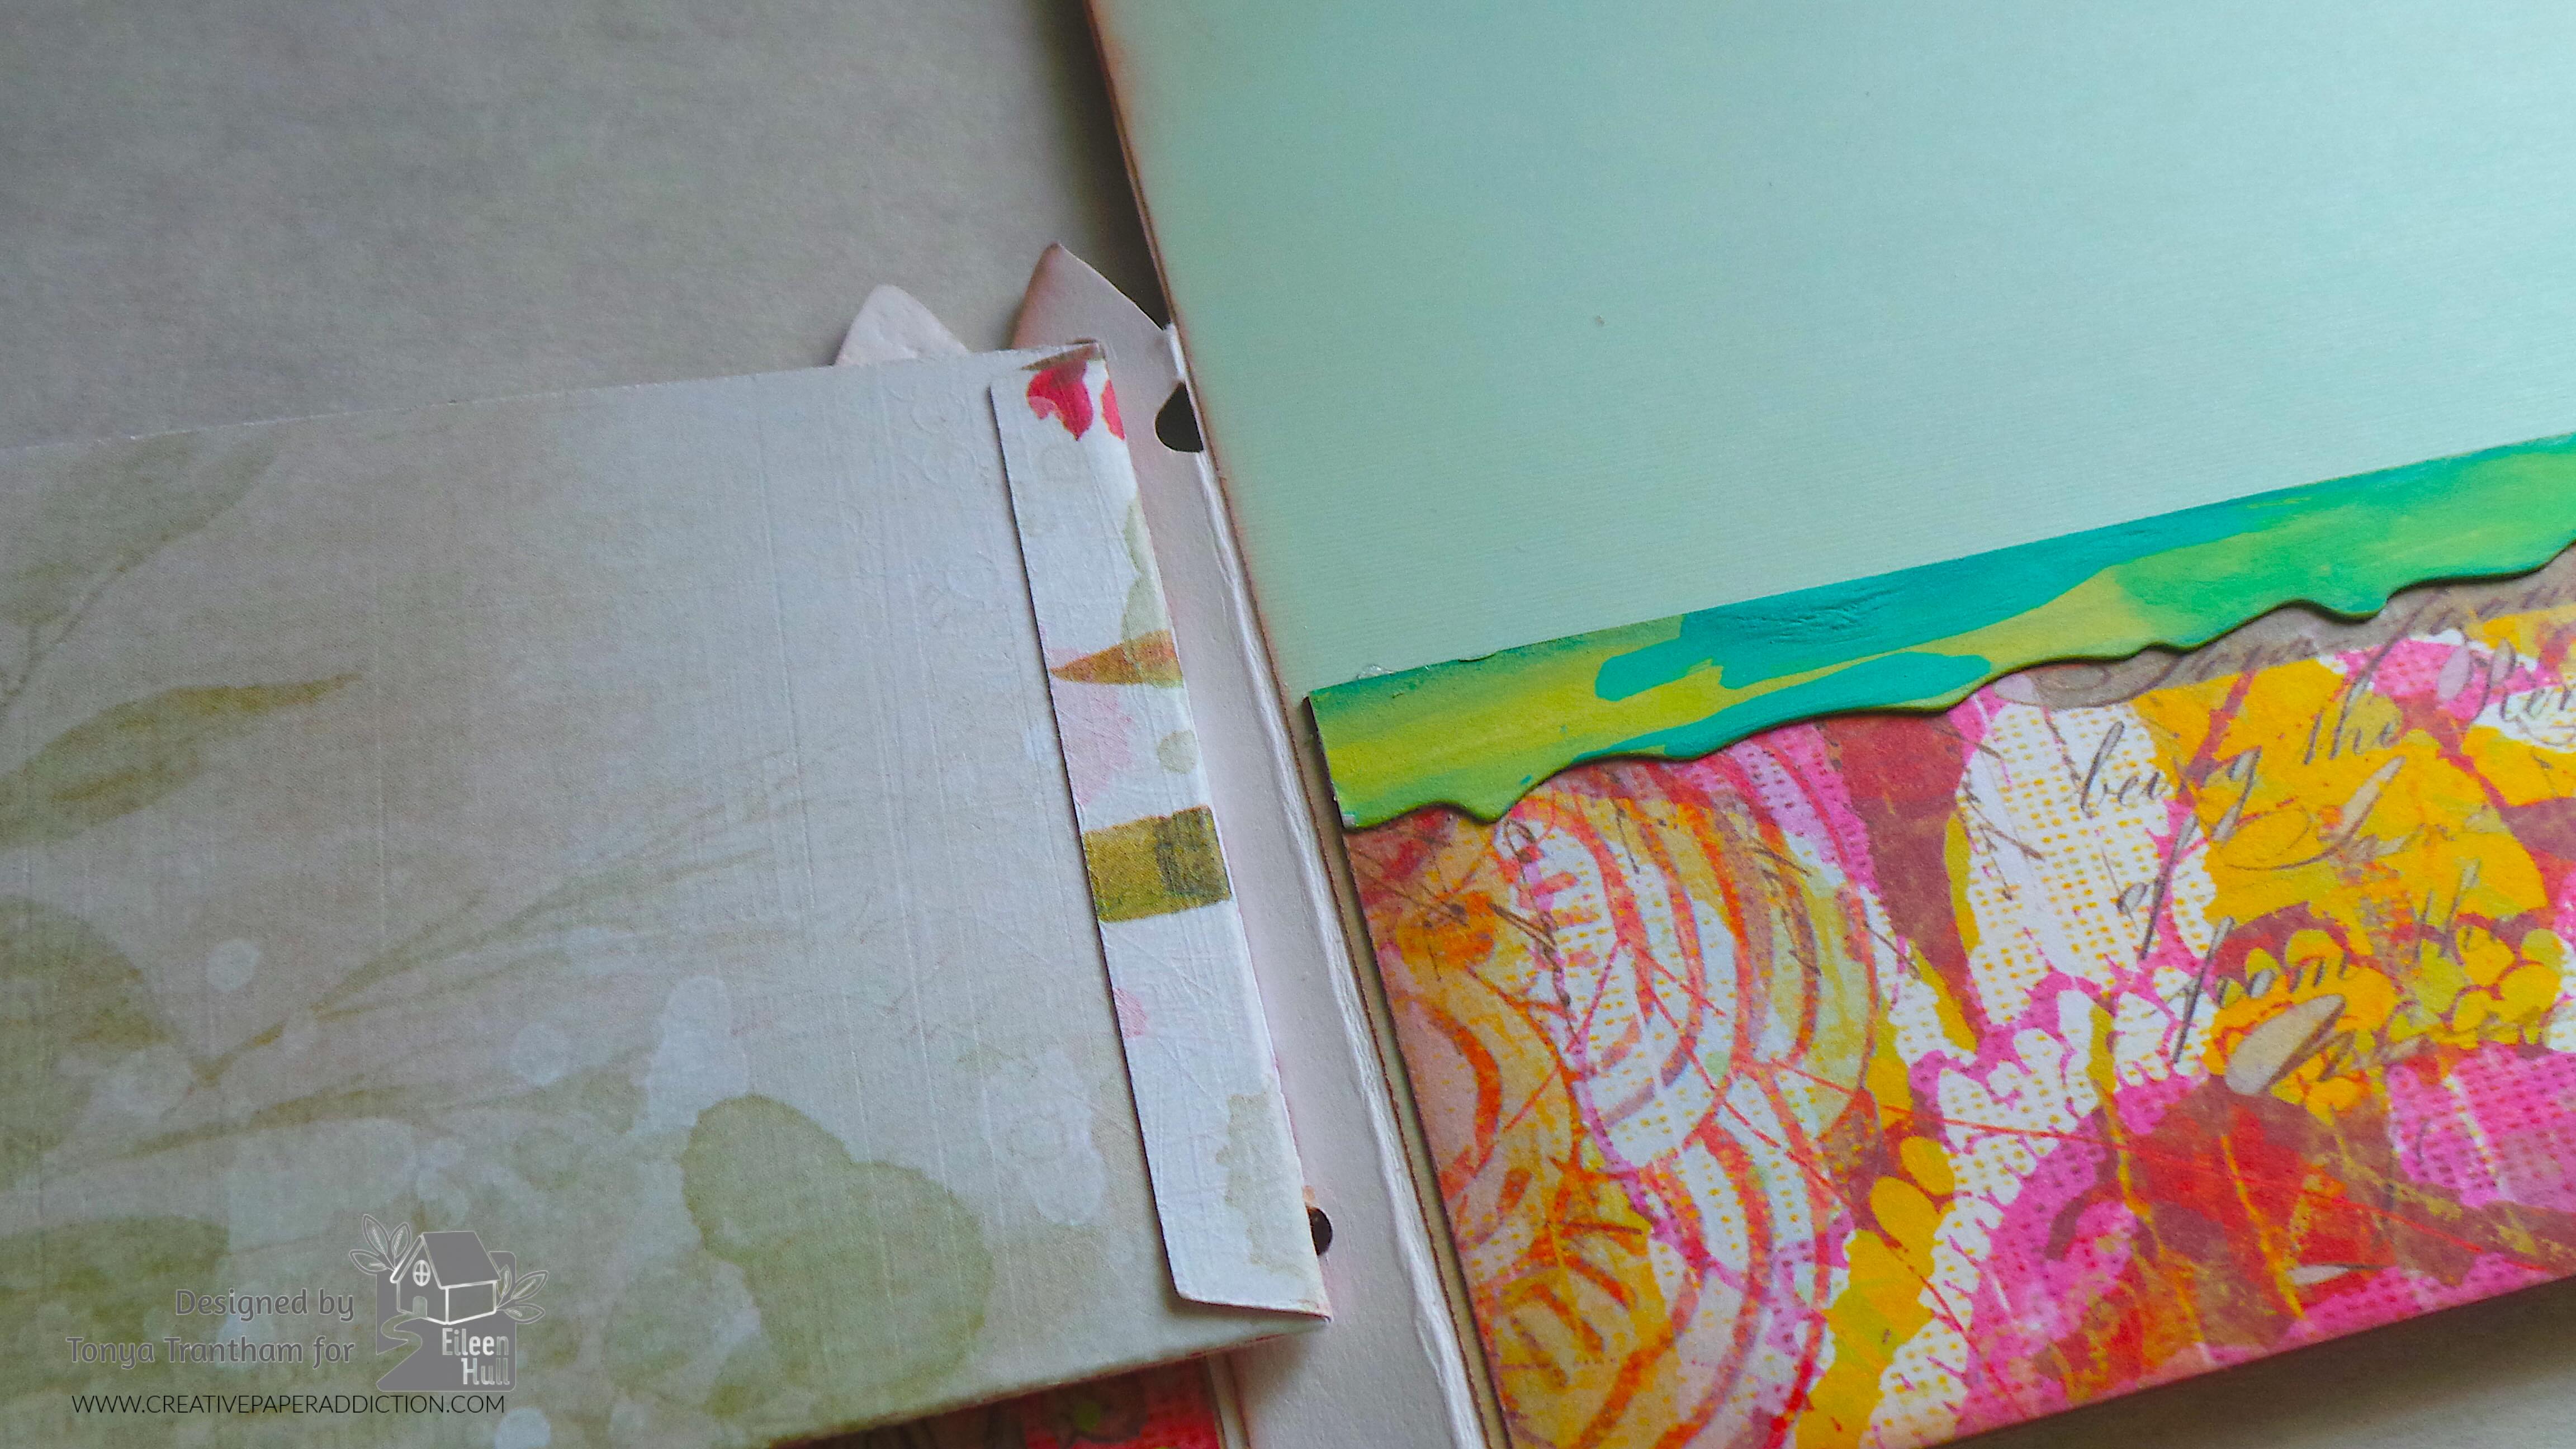
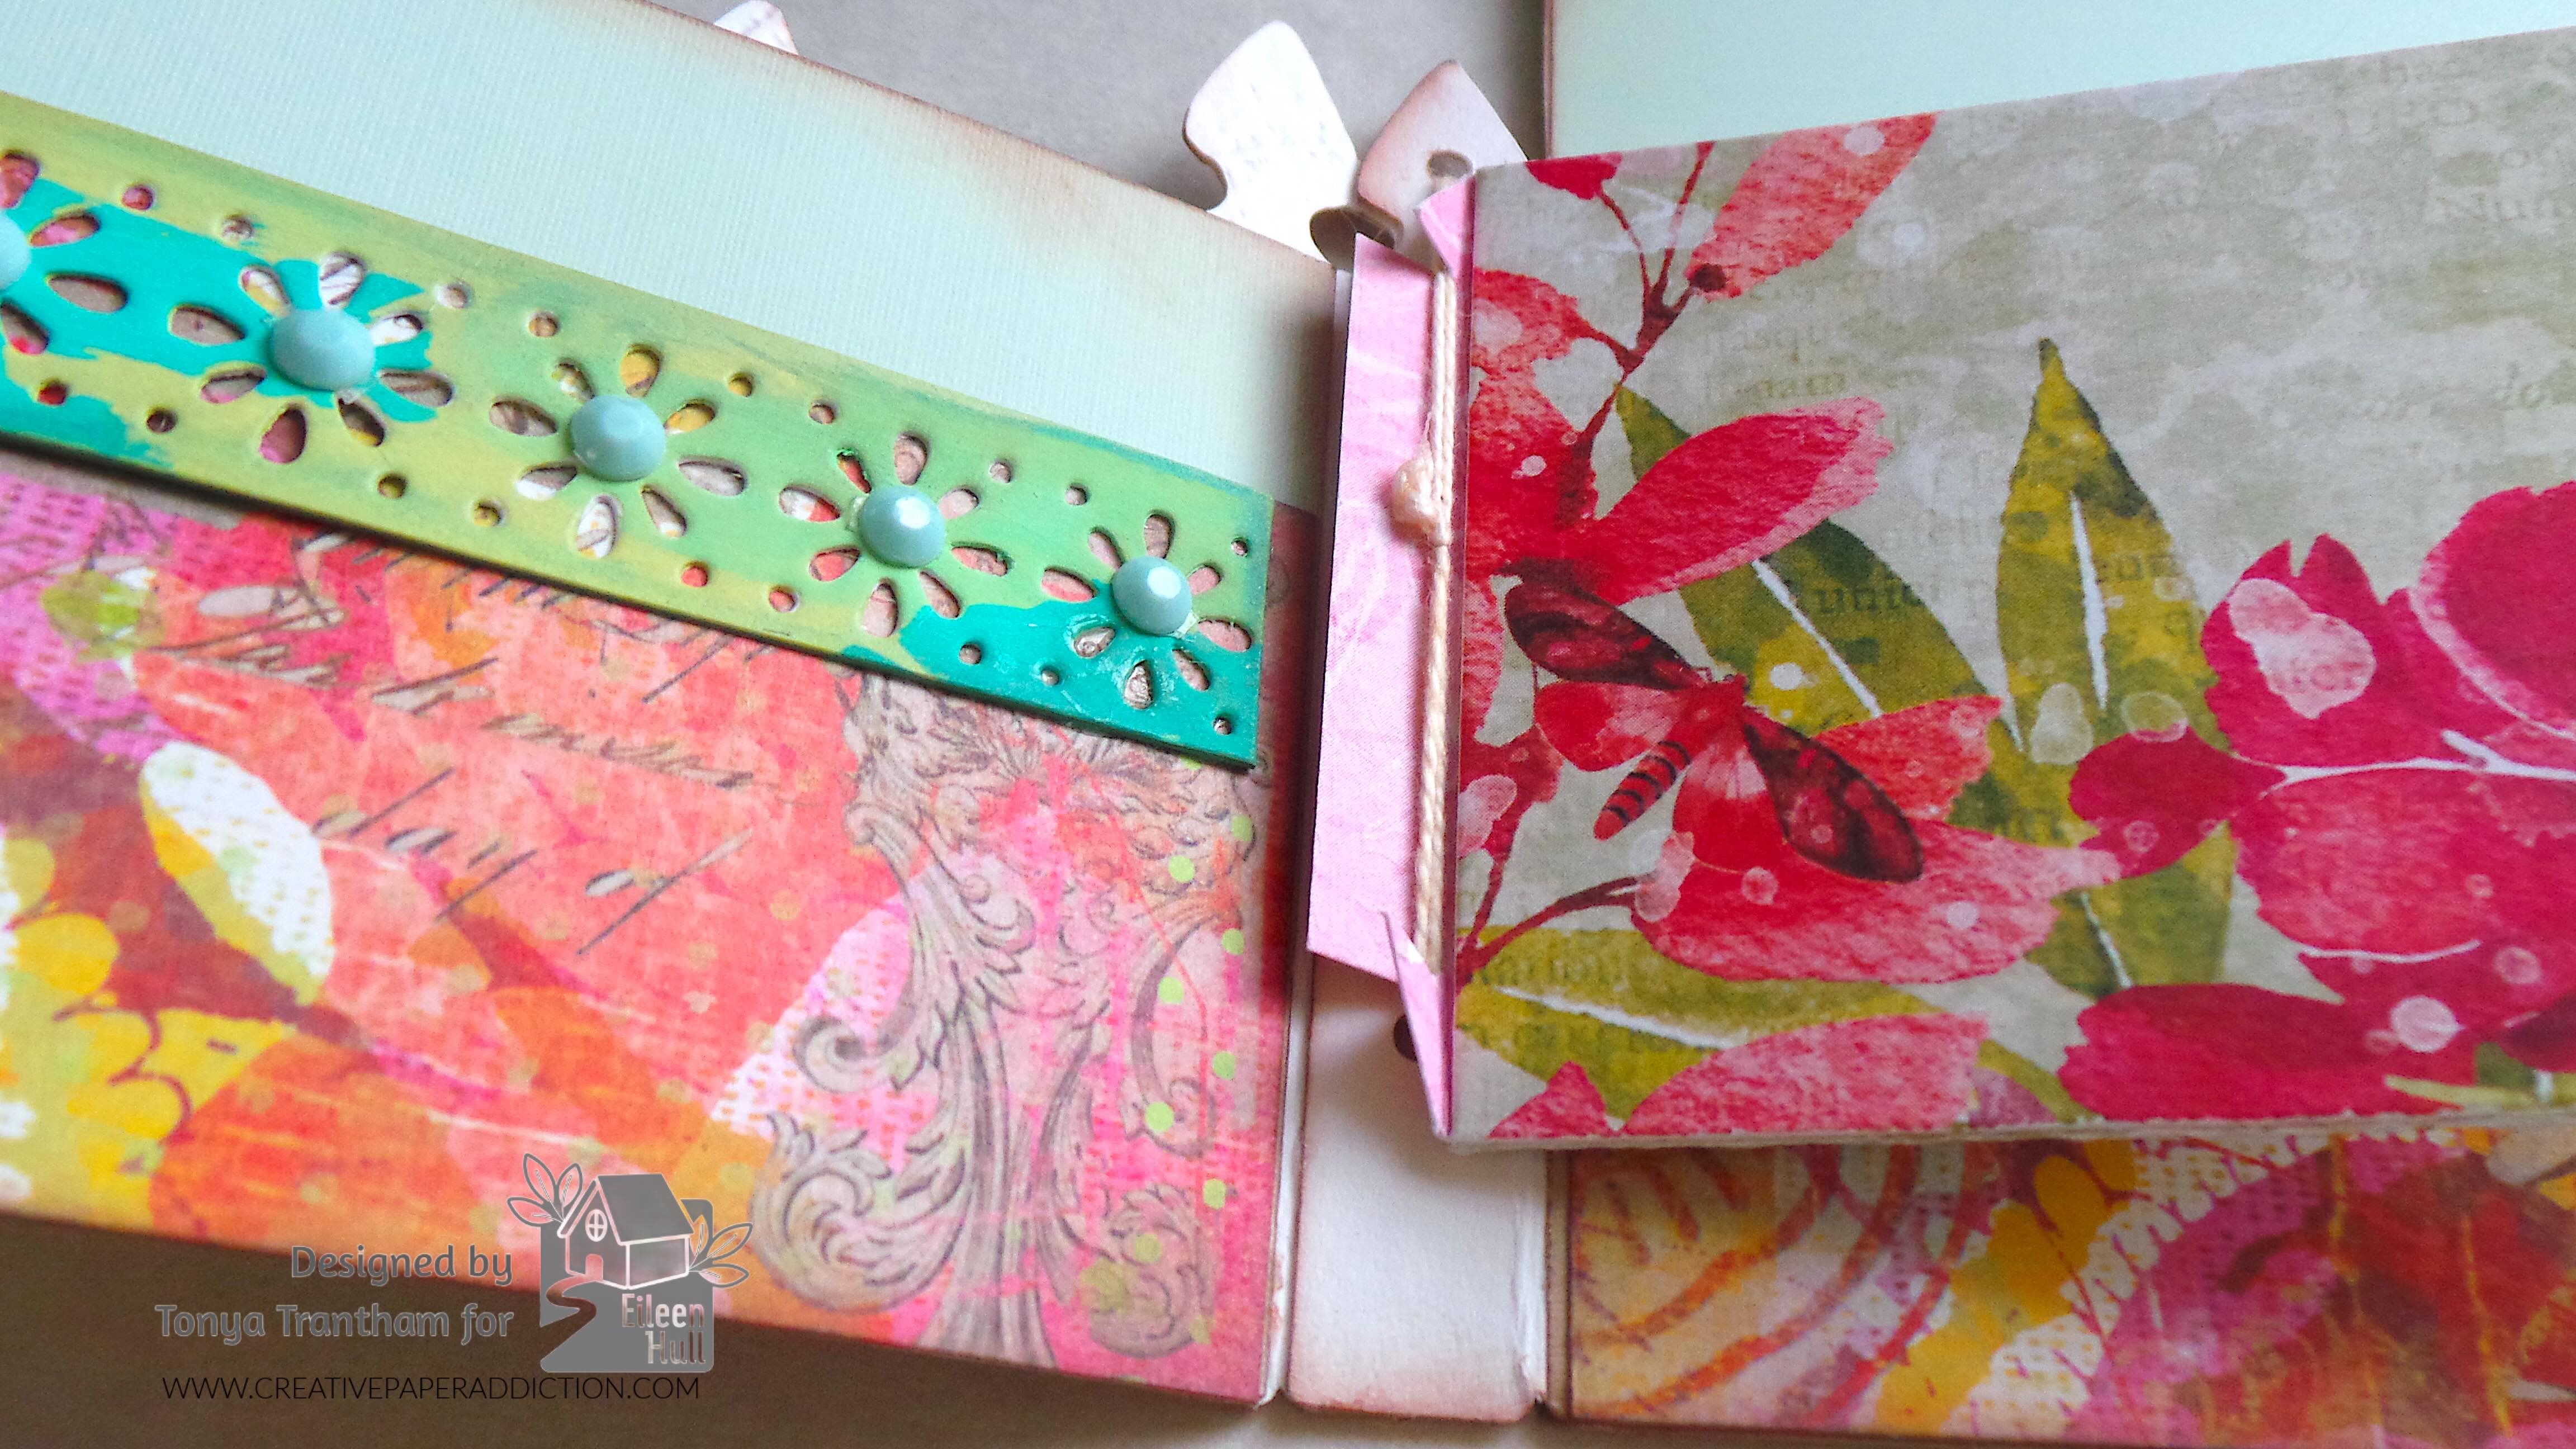
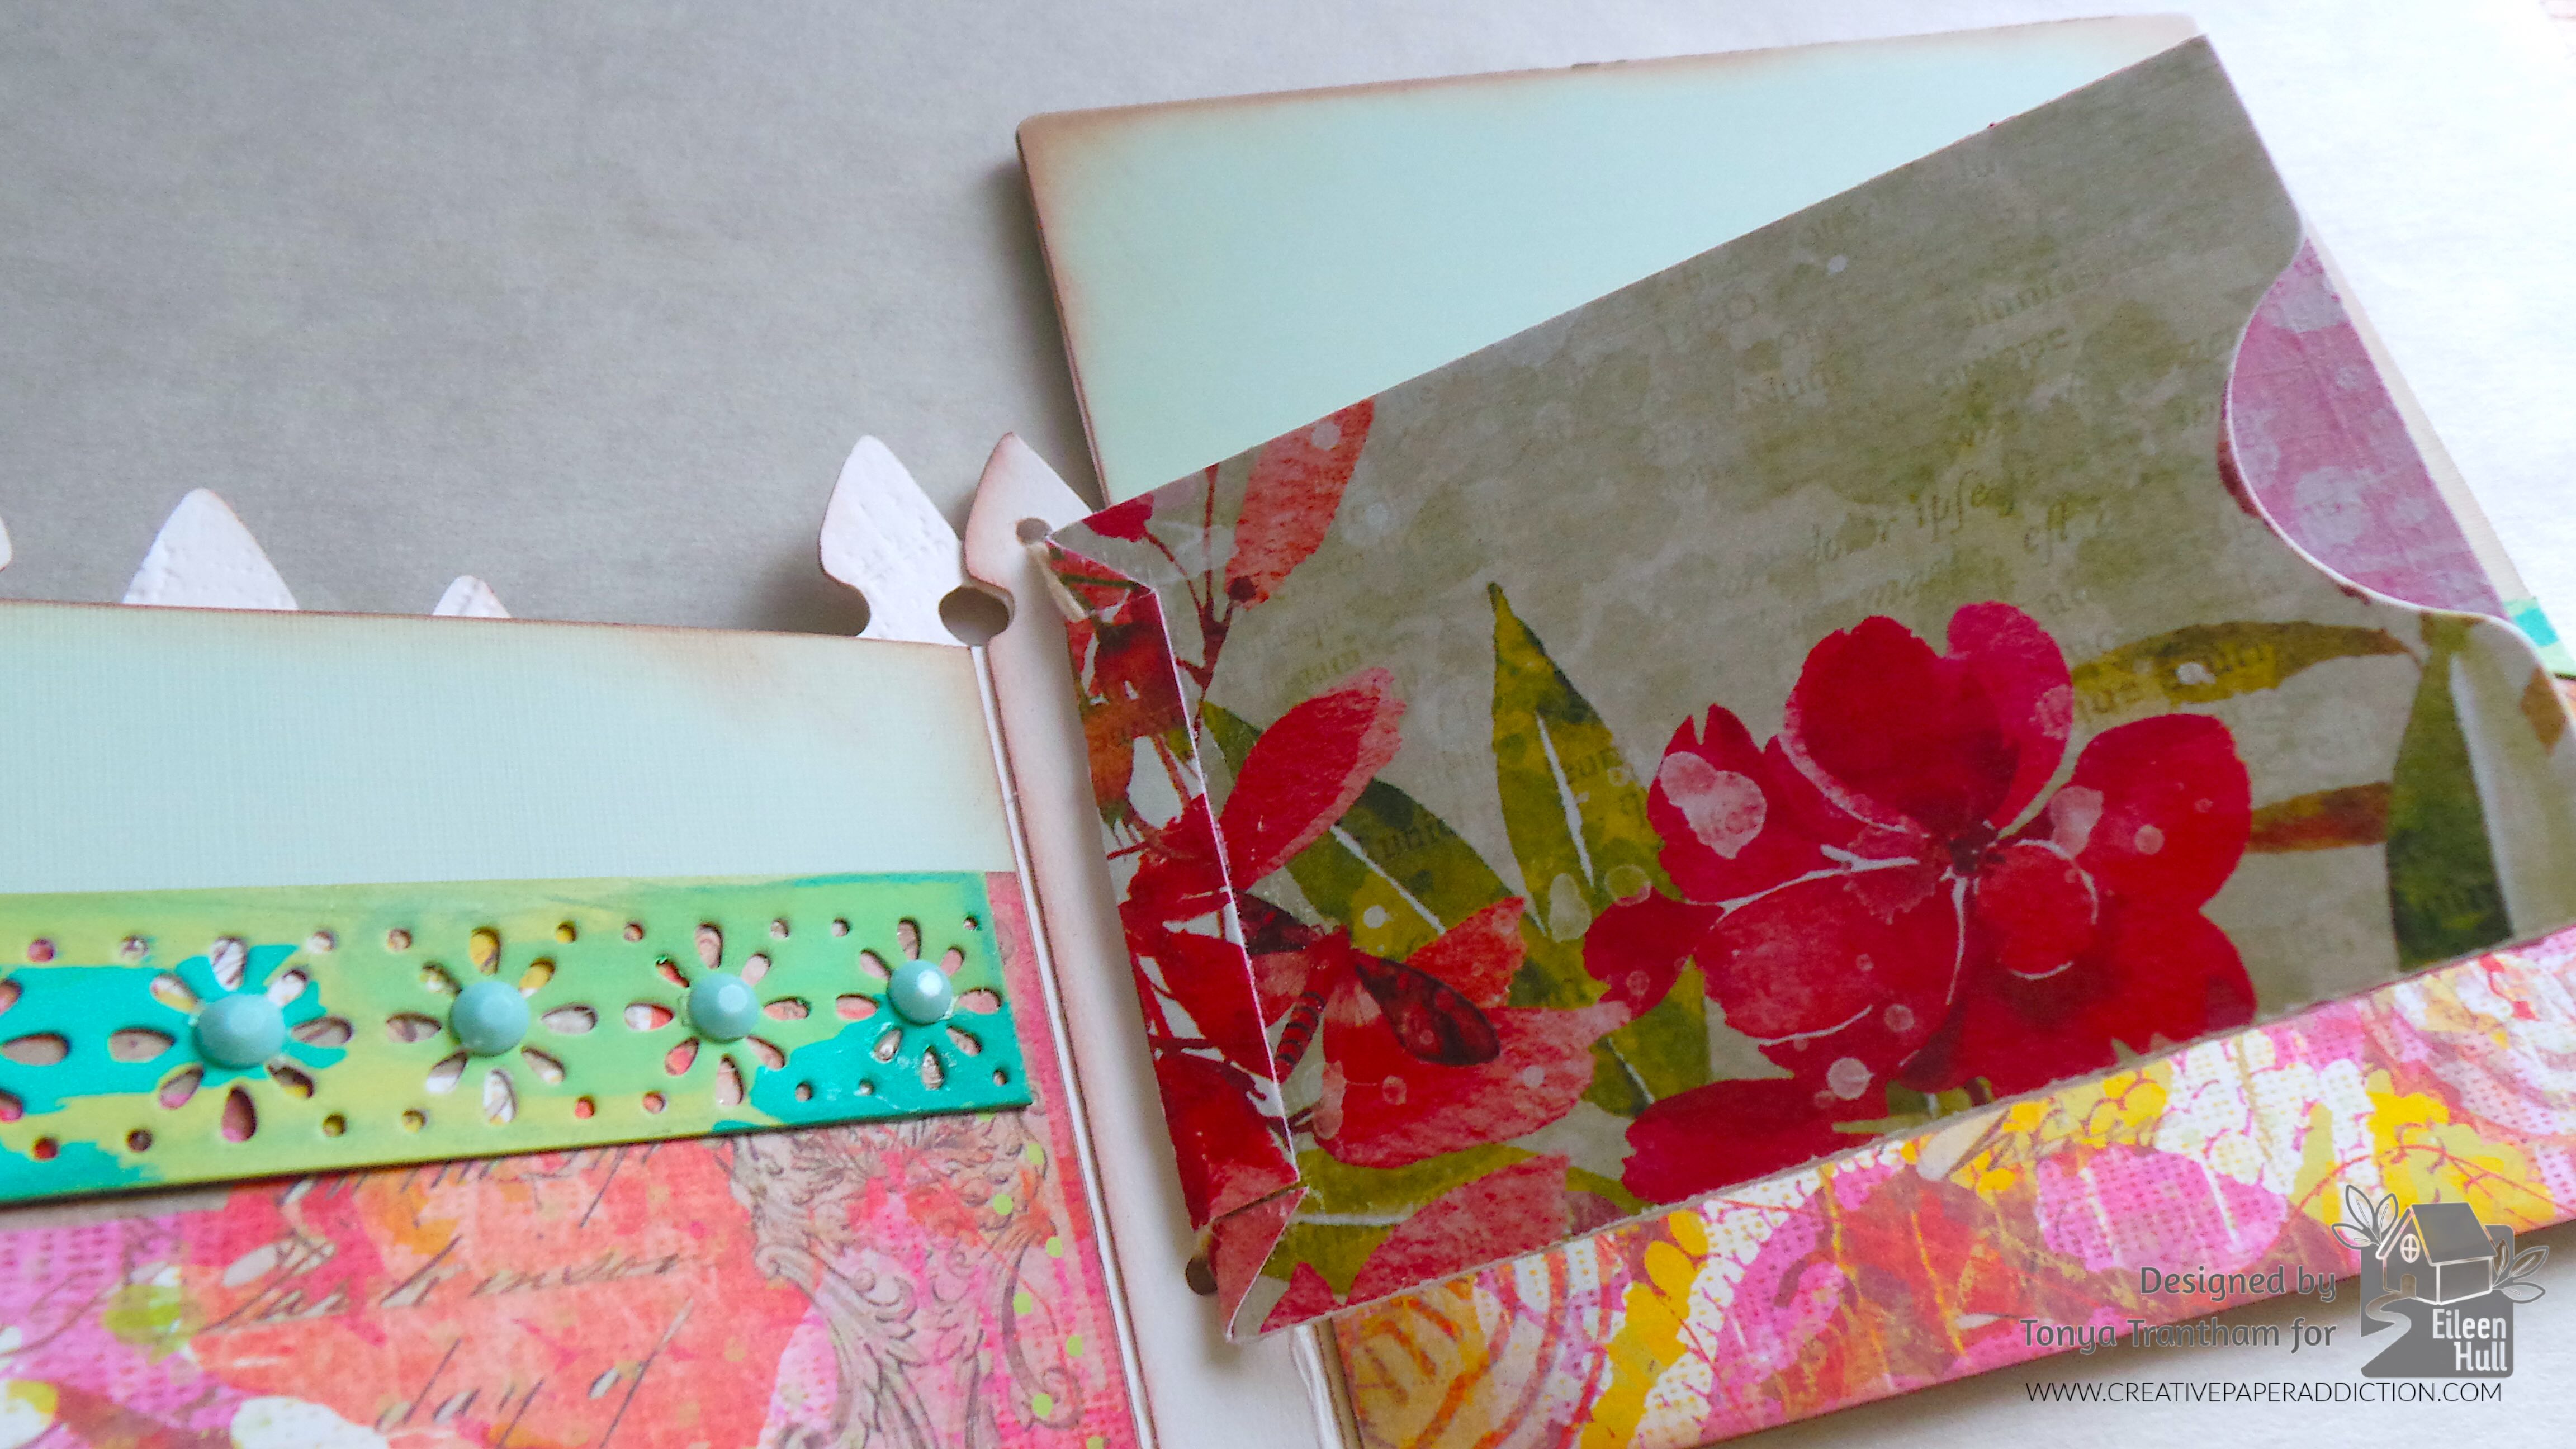
The first thing I did was string thread through the holes of the spine and tie off. Next I glued the first pocket together except for the bottom flap. I cut the ends of the flap, as shown in the photo below, and placed under the thread.

Close-up of a colorful scrapbook page featuring floral patterns, decorative elements, and layered paper designs.

I added adhesive to the flap and glued over the thread.

Close-up of decorative paper featuring floral designs and colorful patterns, along with embellishments like flower cutouts and buttons.

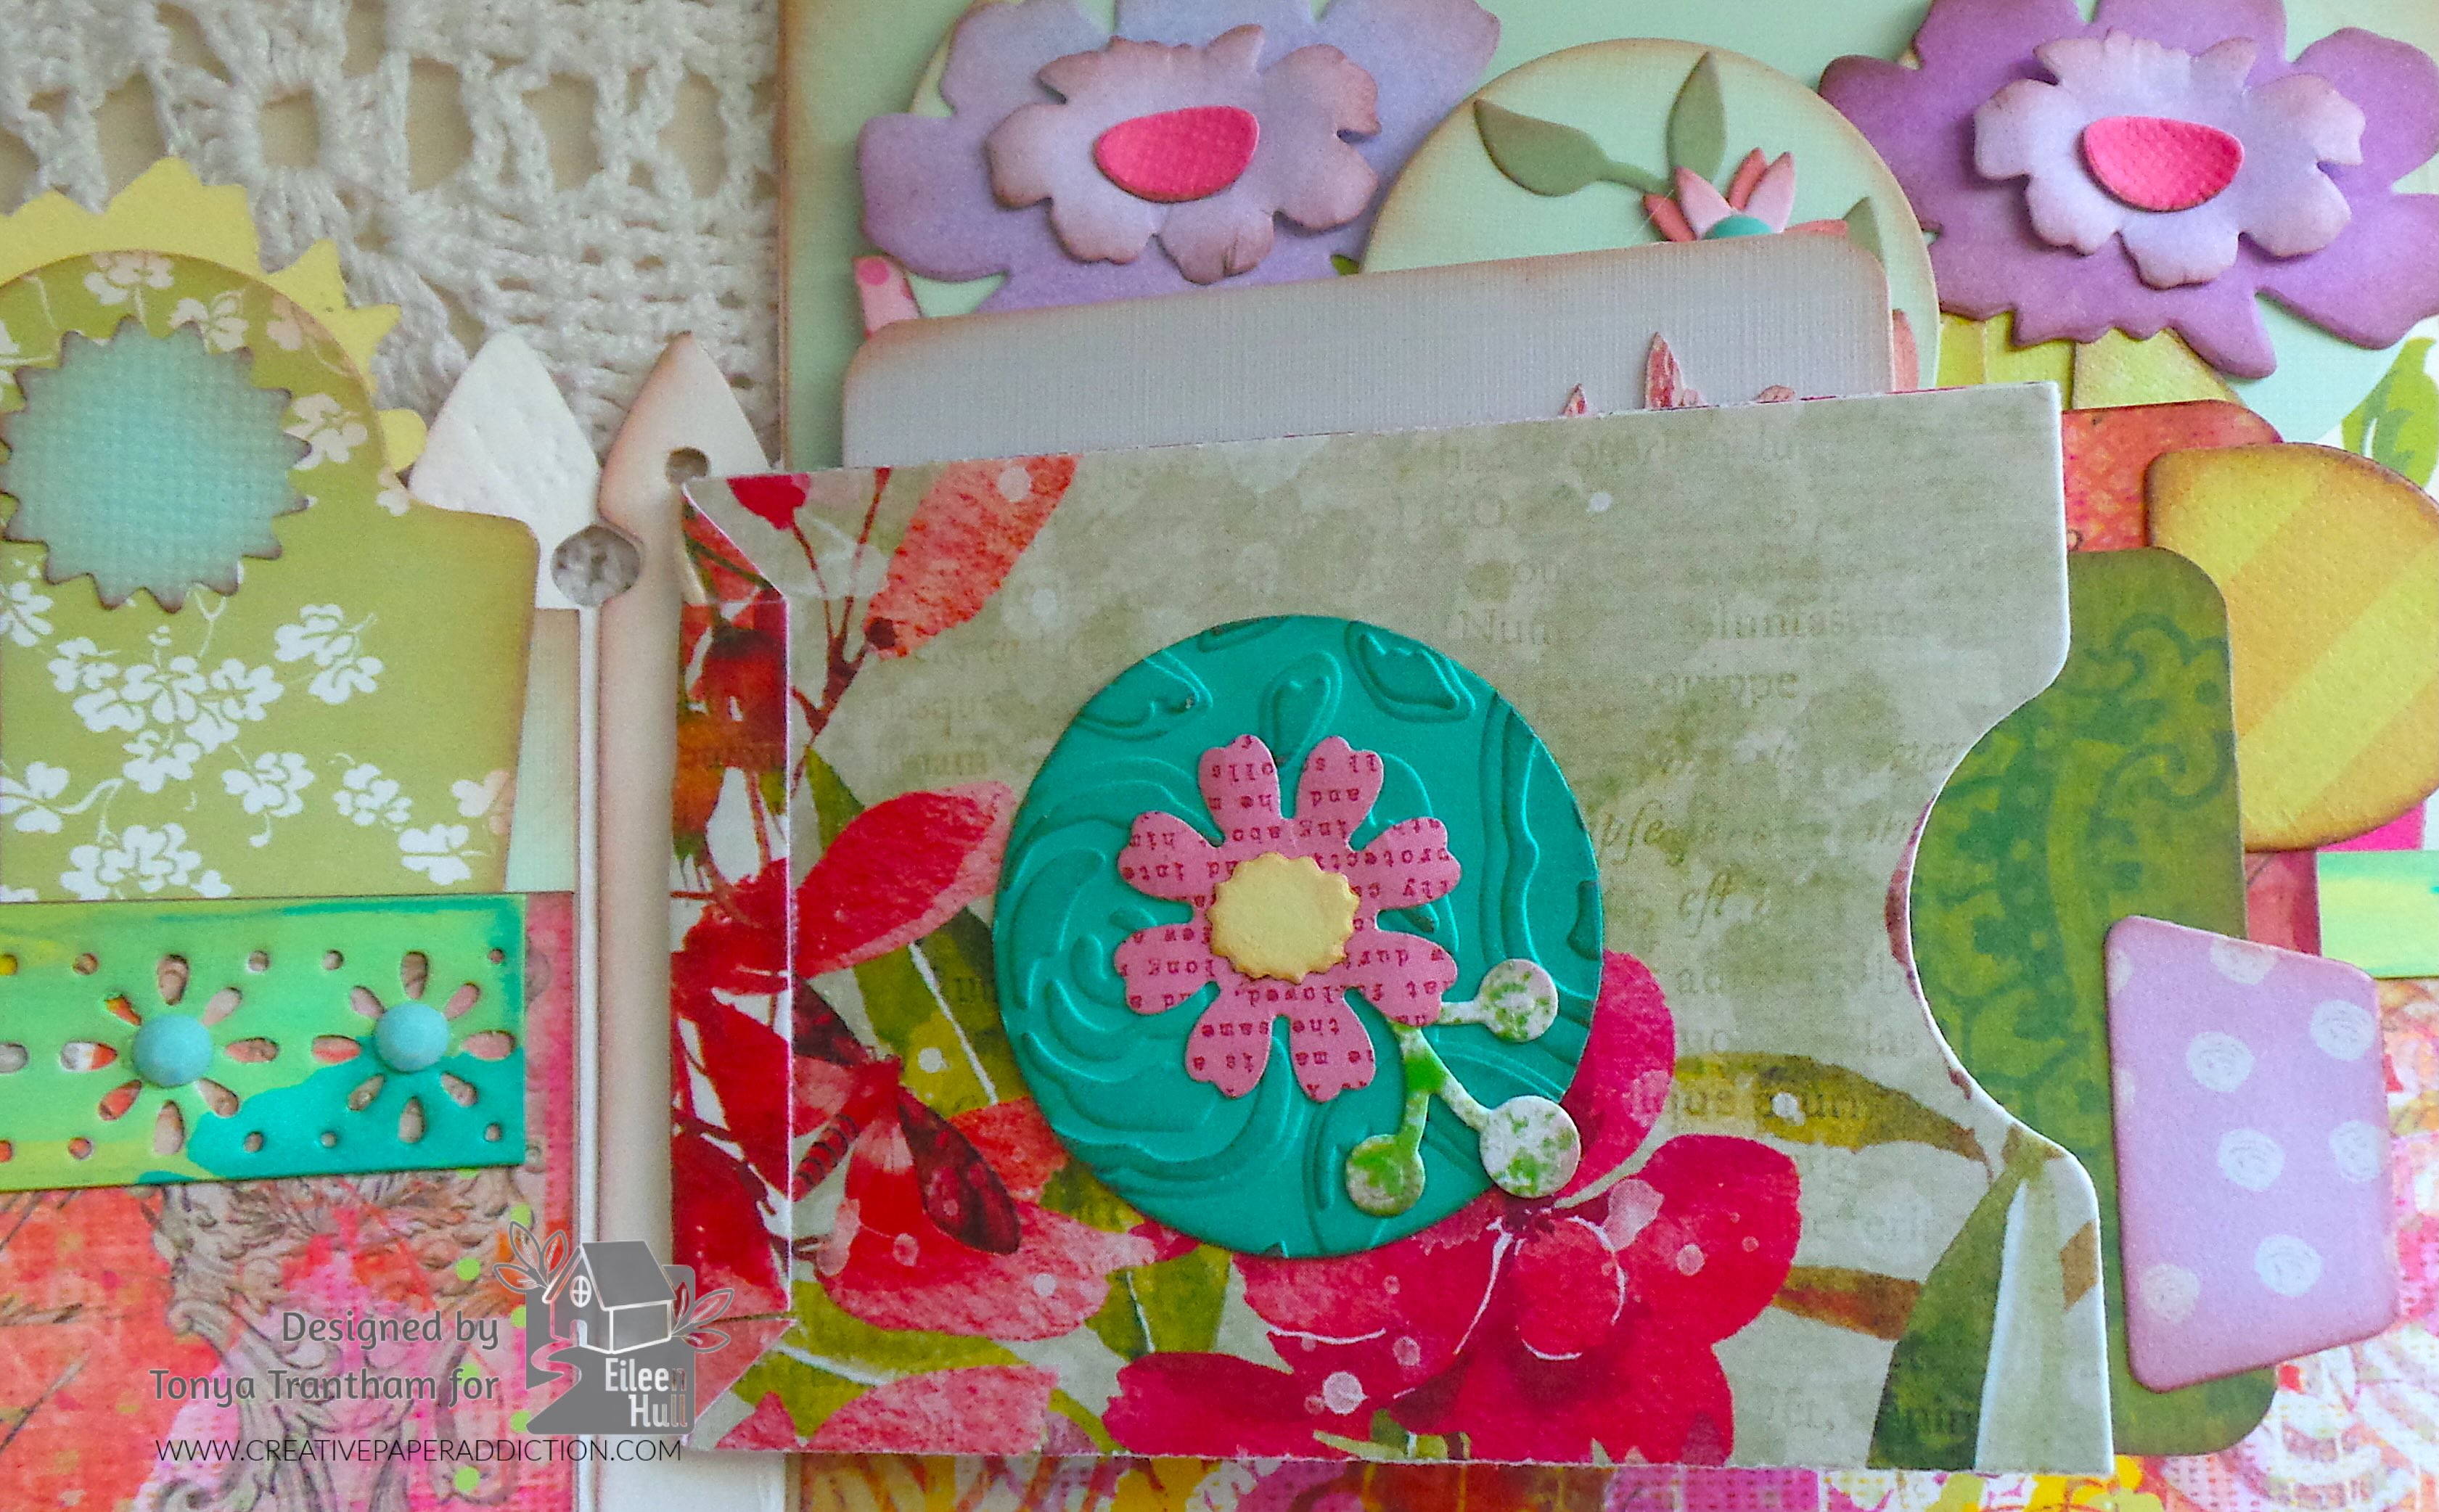
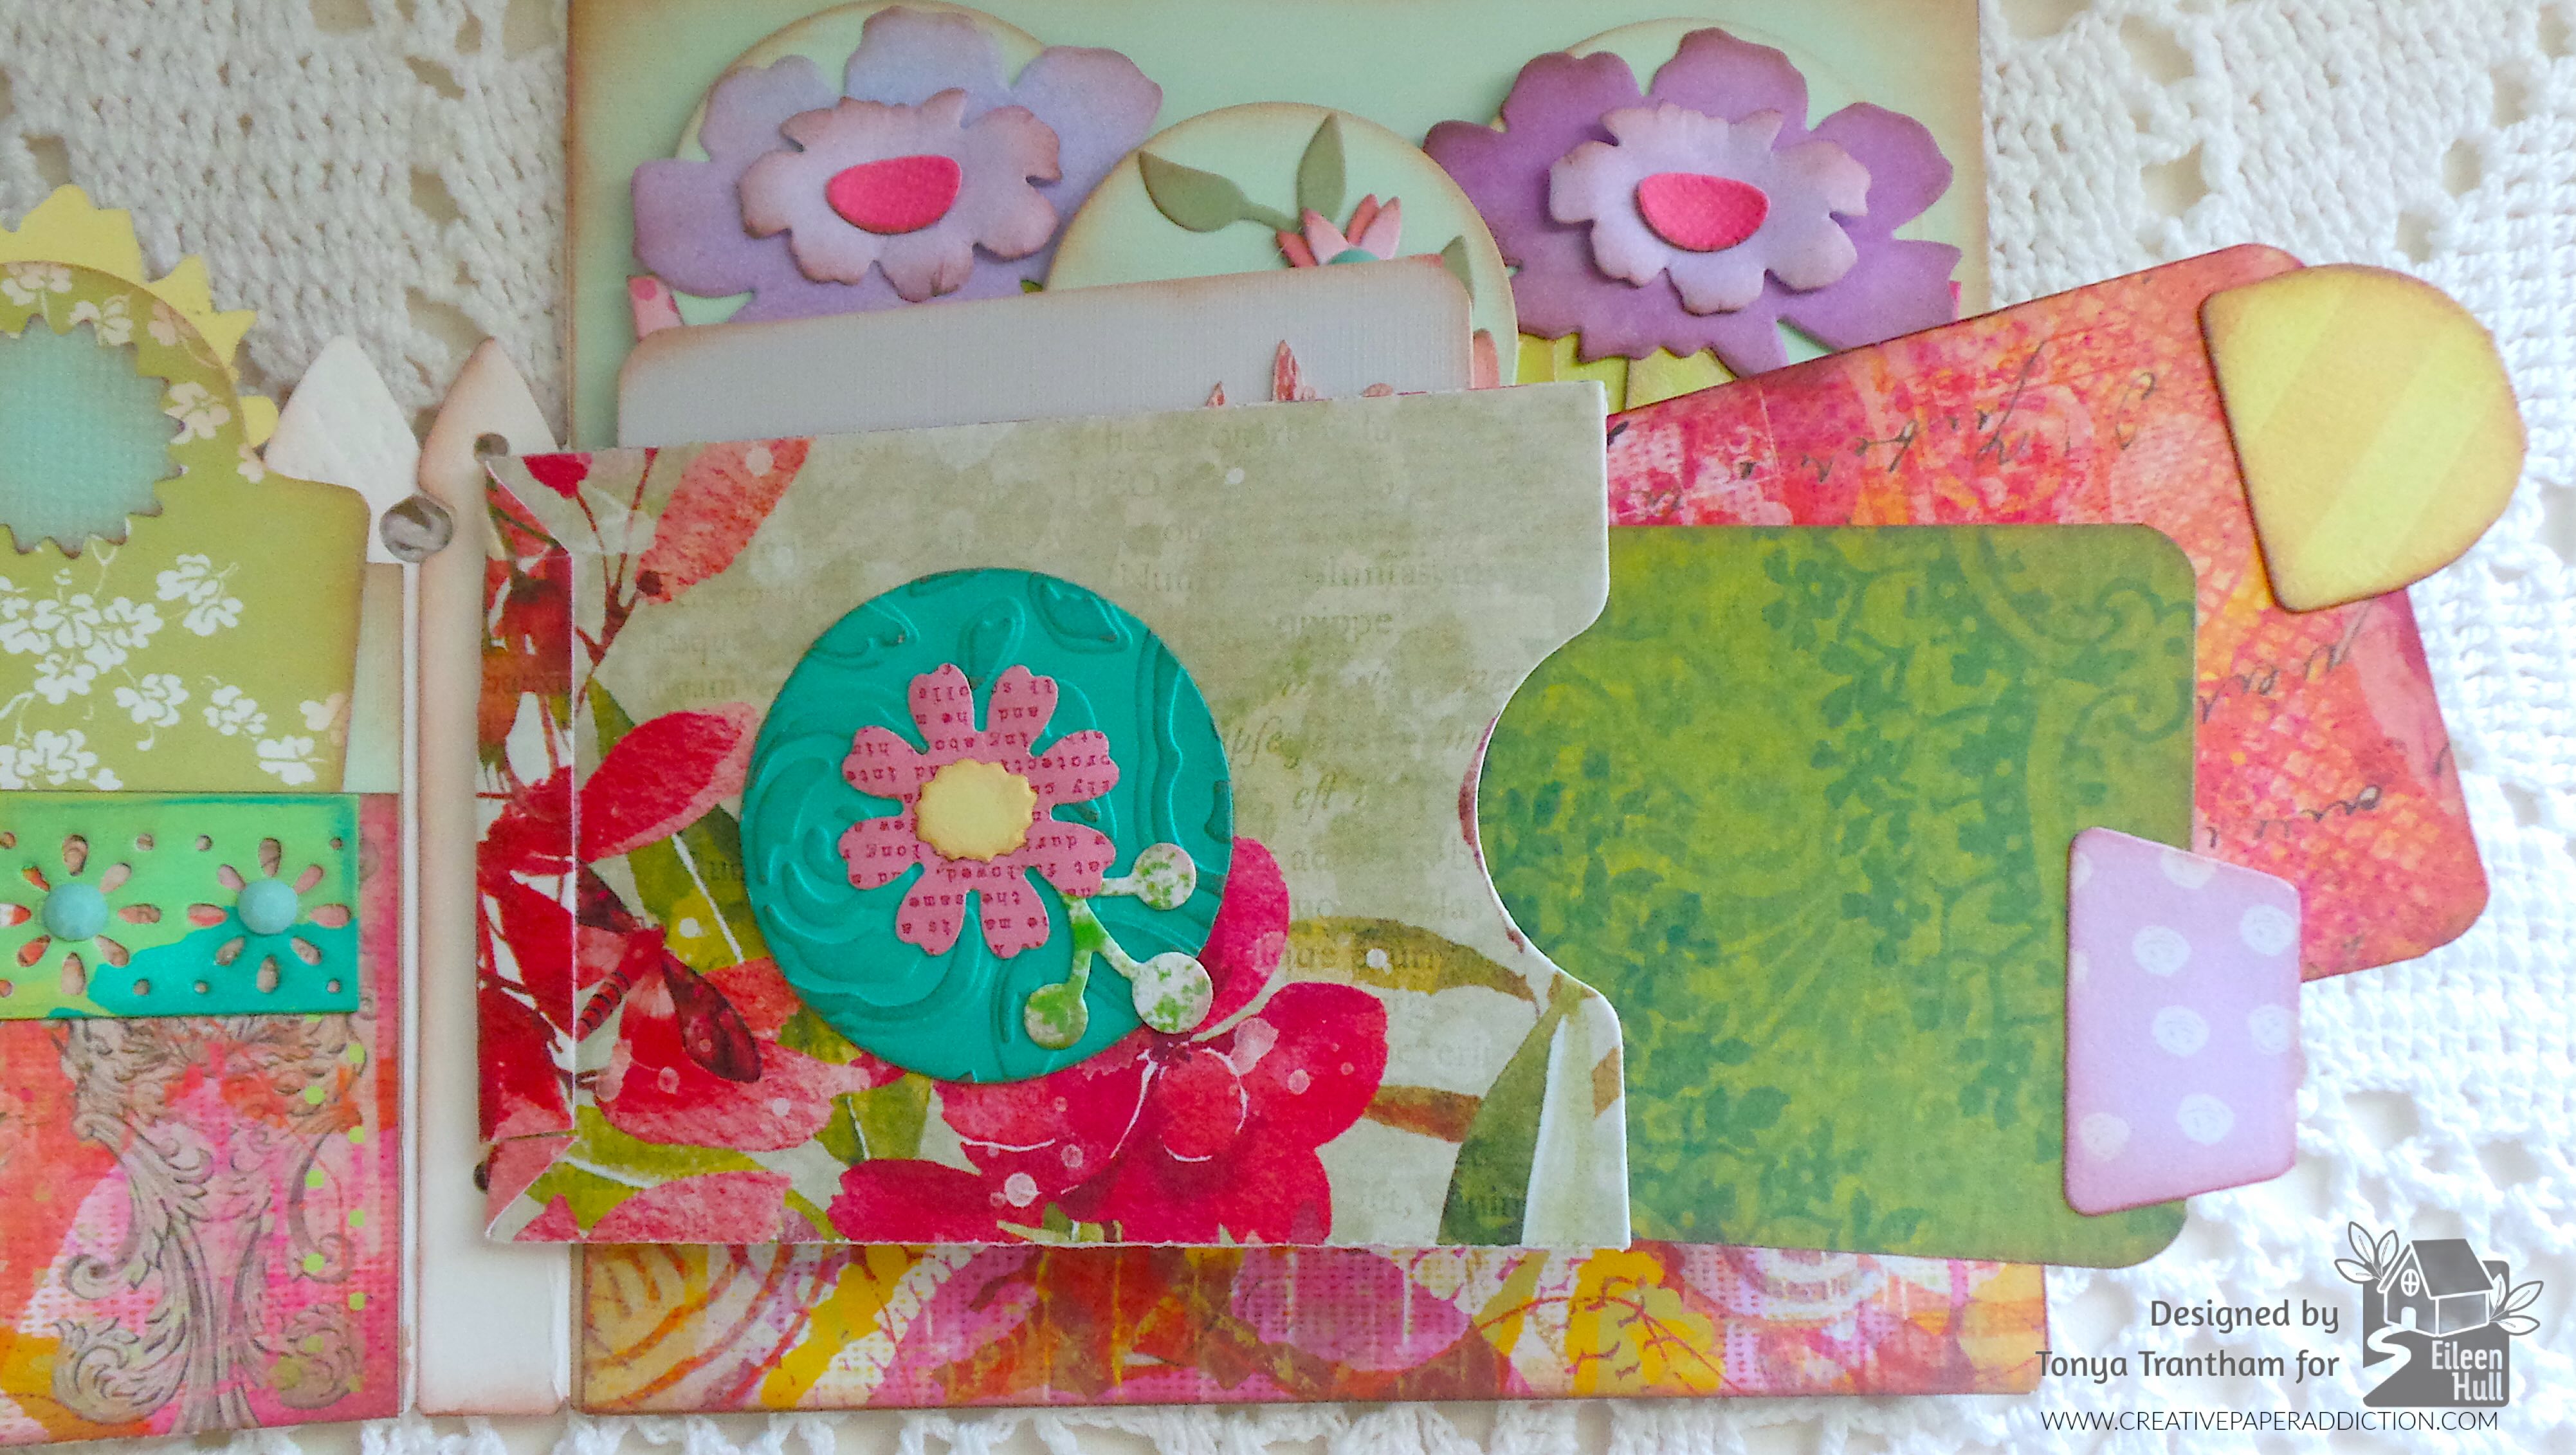
I put the other pocket completely together. Next I applied adhesive to both sides and the bottom and placed on the back side of the first pocket to create a tuck spot.

Close-up of layered colorful scrapbook pages featuring floral patterns and textures, with a light blue background.

The inside cover pocket I cut three of the largest tags from the Pocket and Tags Thinlits

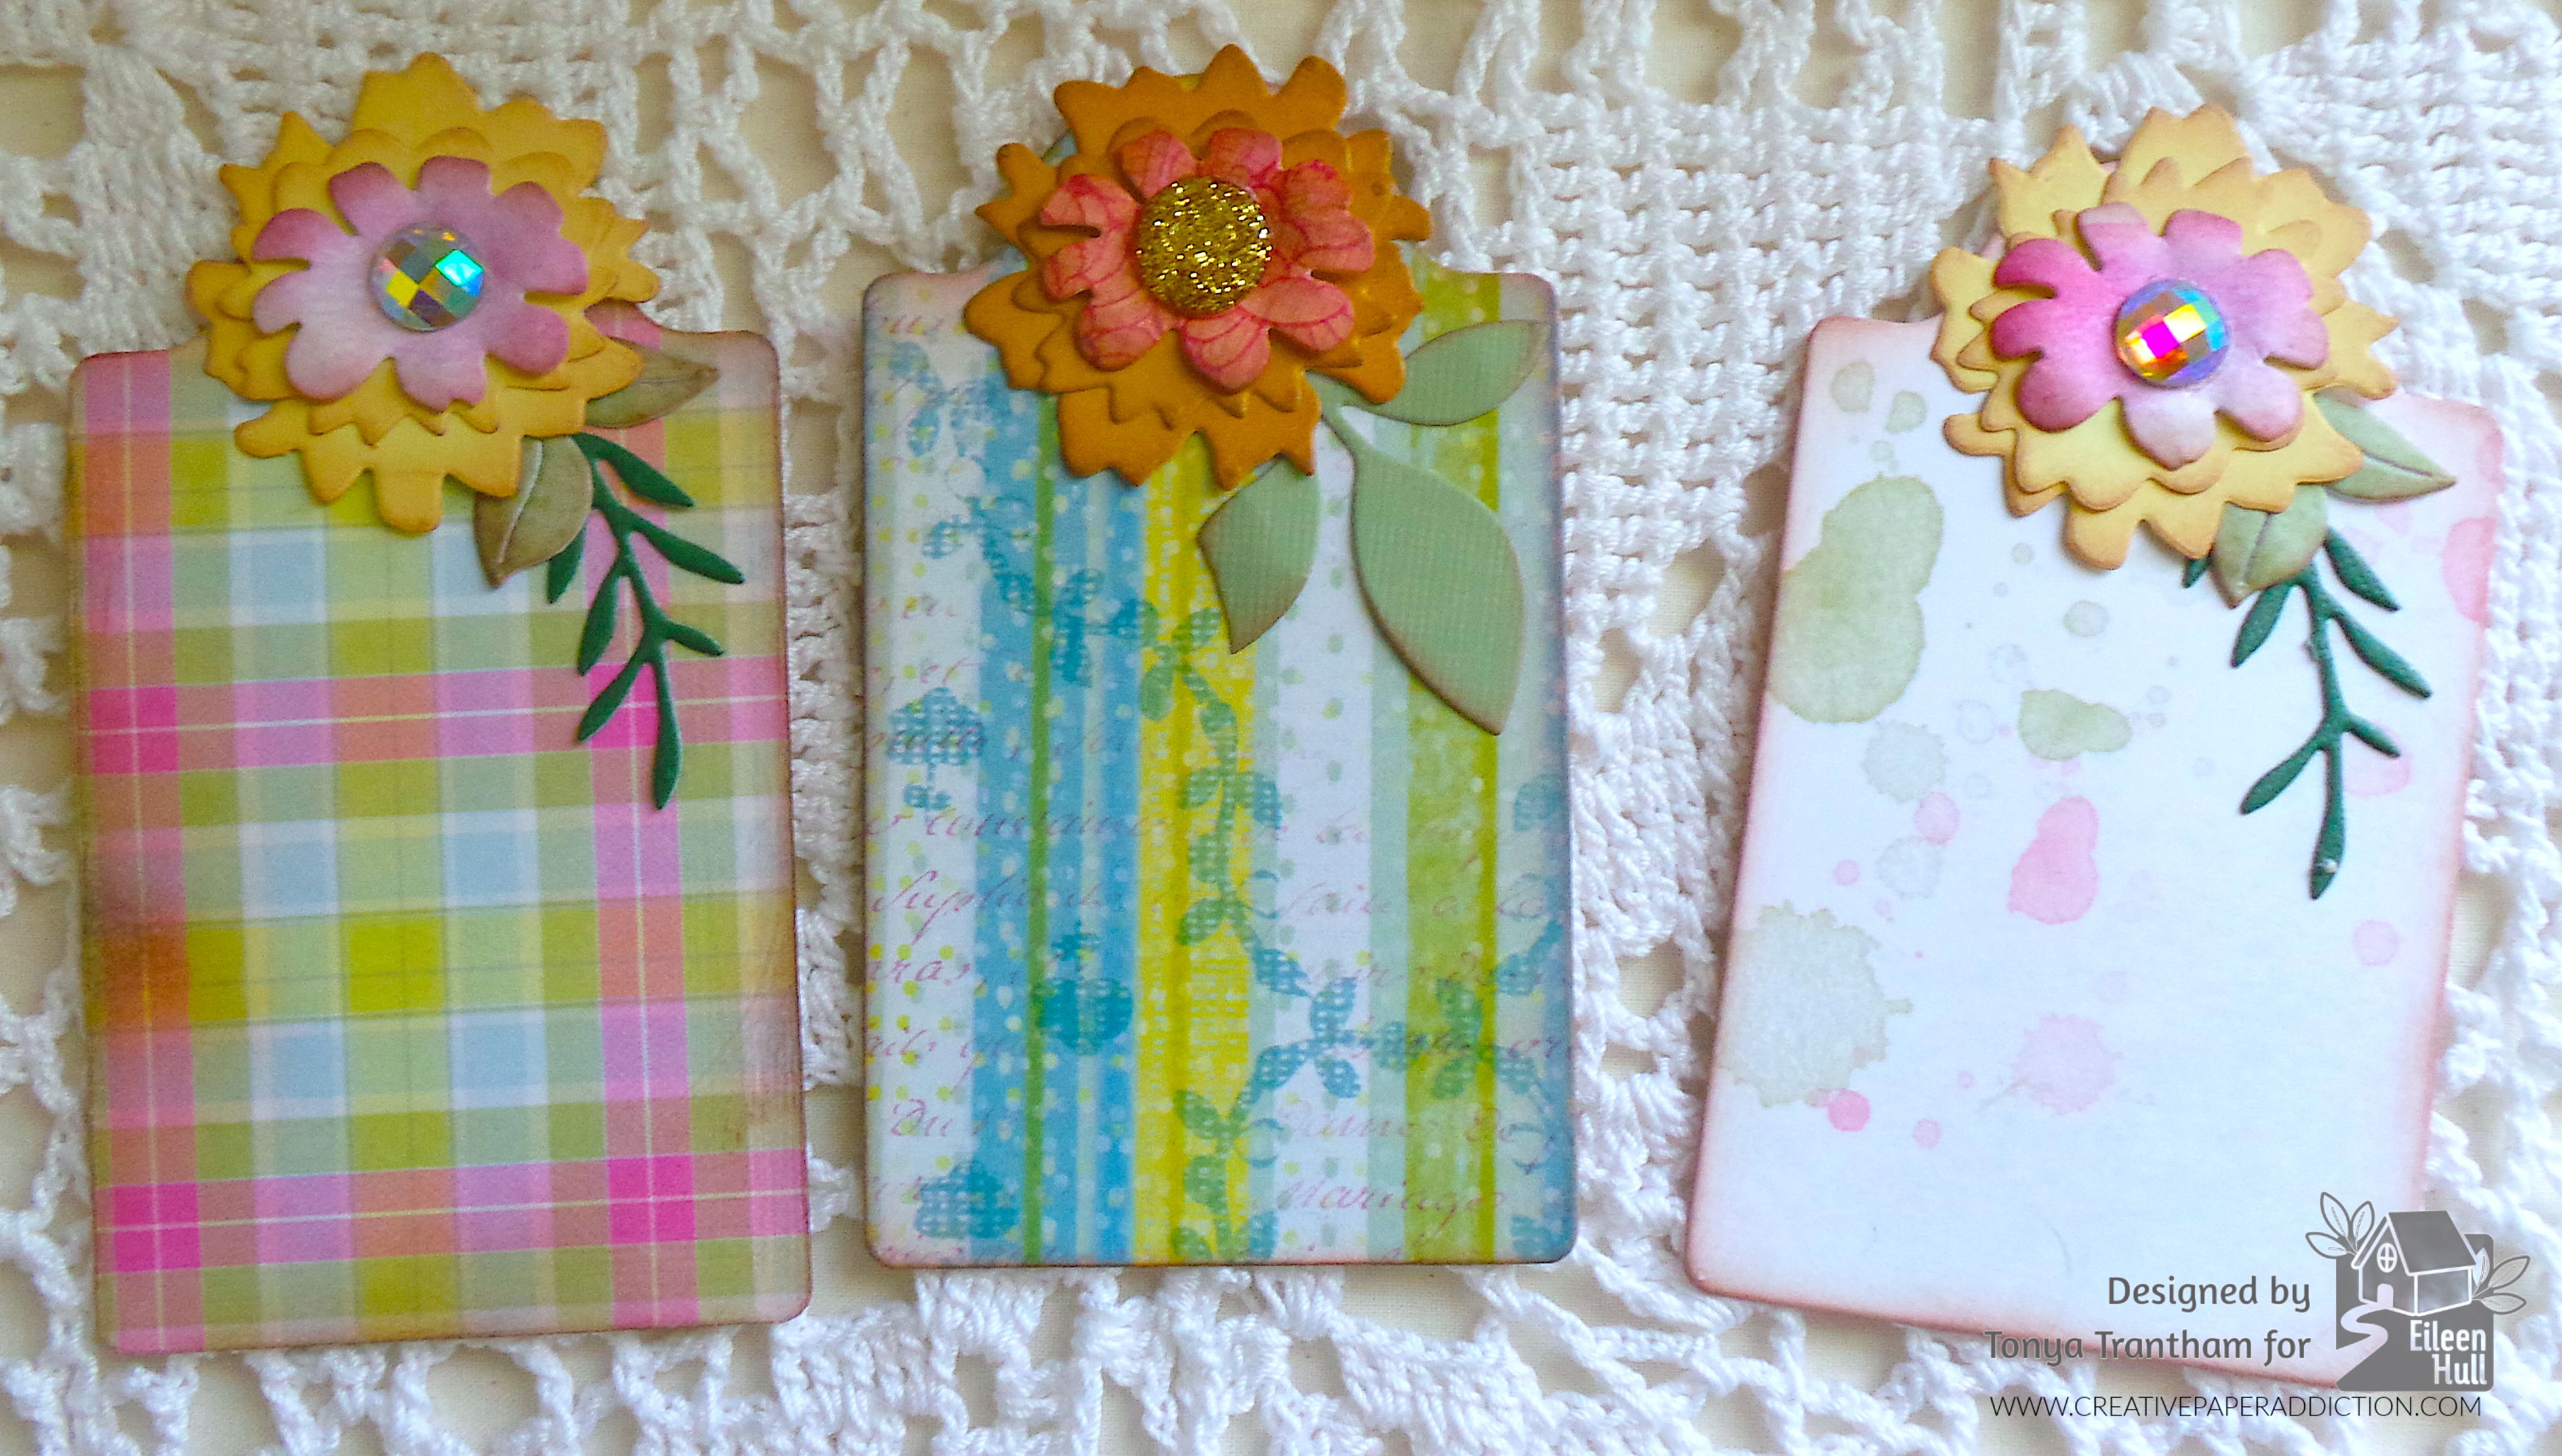
I used an assortment of the flowers and leaves on all the tags from the following dies: Bookmark, Pocket and Toppers Thinlits, Envelope, Folder and Flowers Thinlits, Everyday Tags and Labels Thinlits (Scrapbook.com Exclusive), Wreath and Snowflake Thinlits and Windowsill Vase and Flowers Thinlits.

I inked the flowers with brown chalk ink and shaped with a Stylus before putting together and gluing to the top of each tag. I found the seal and small circle dies in my stash so I adhered those over the small hole that’s on the top of each tag.

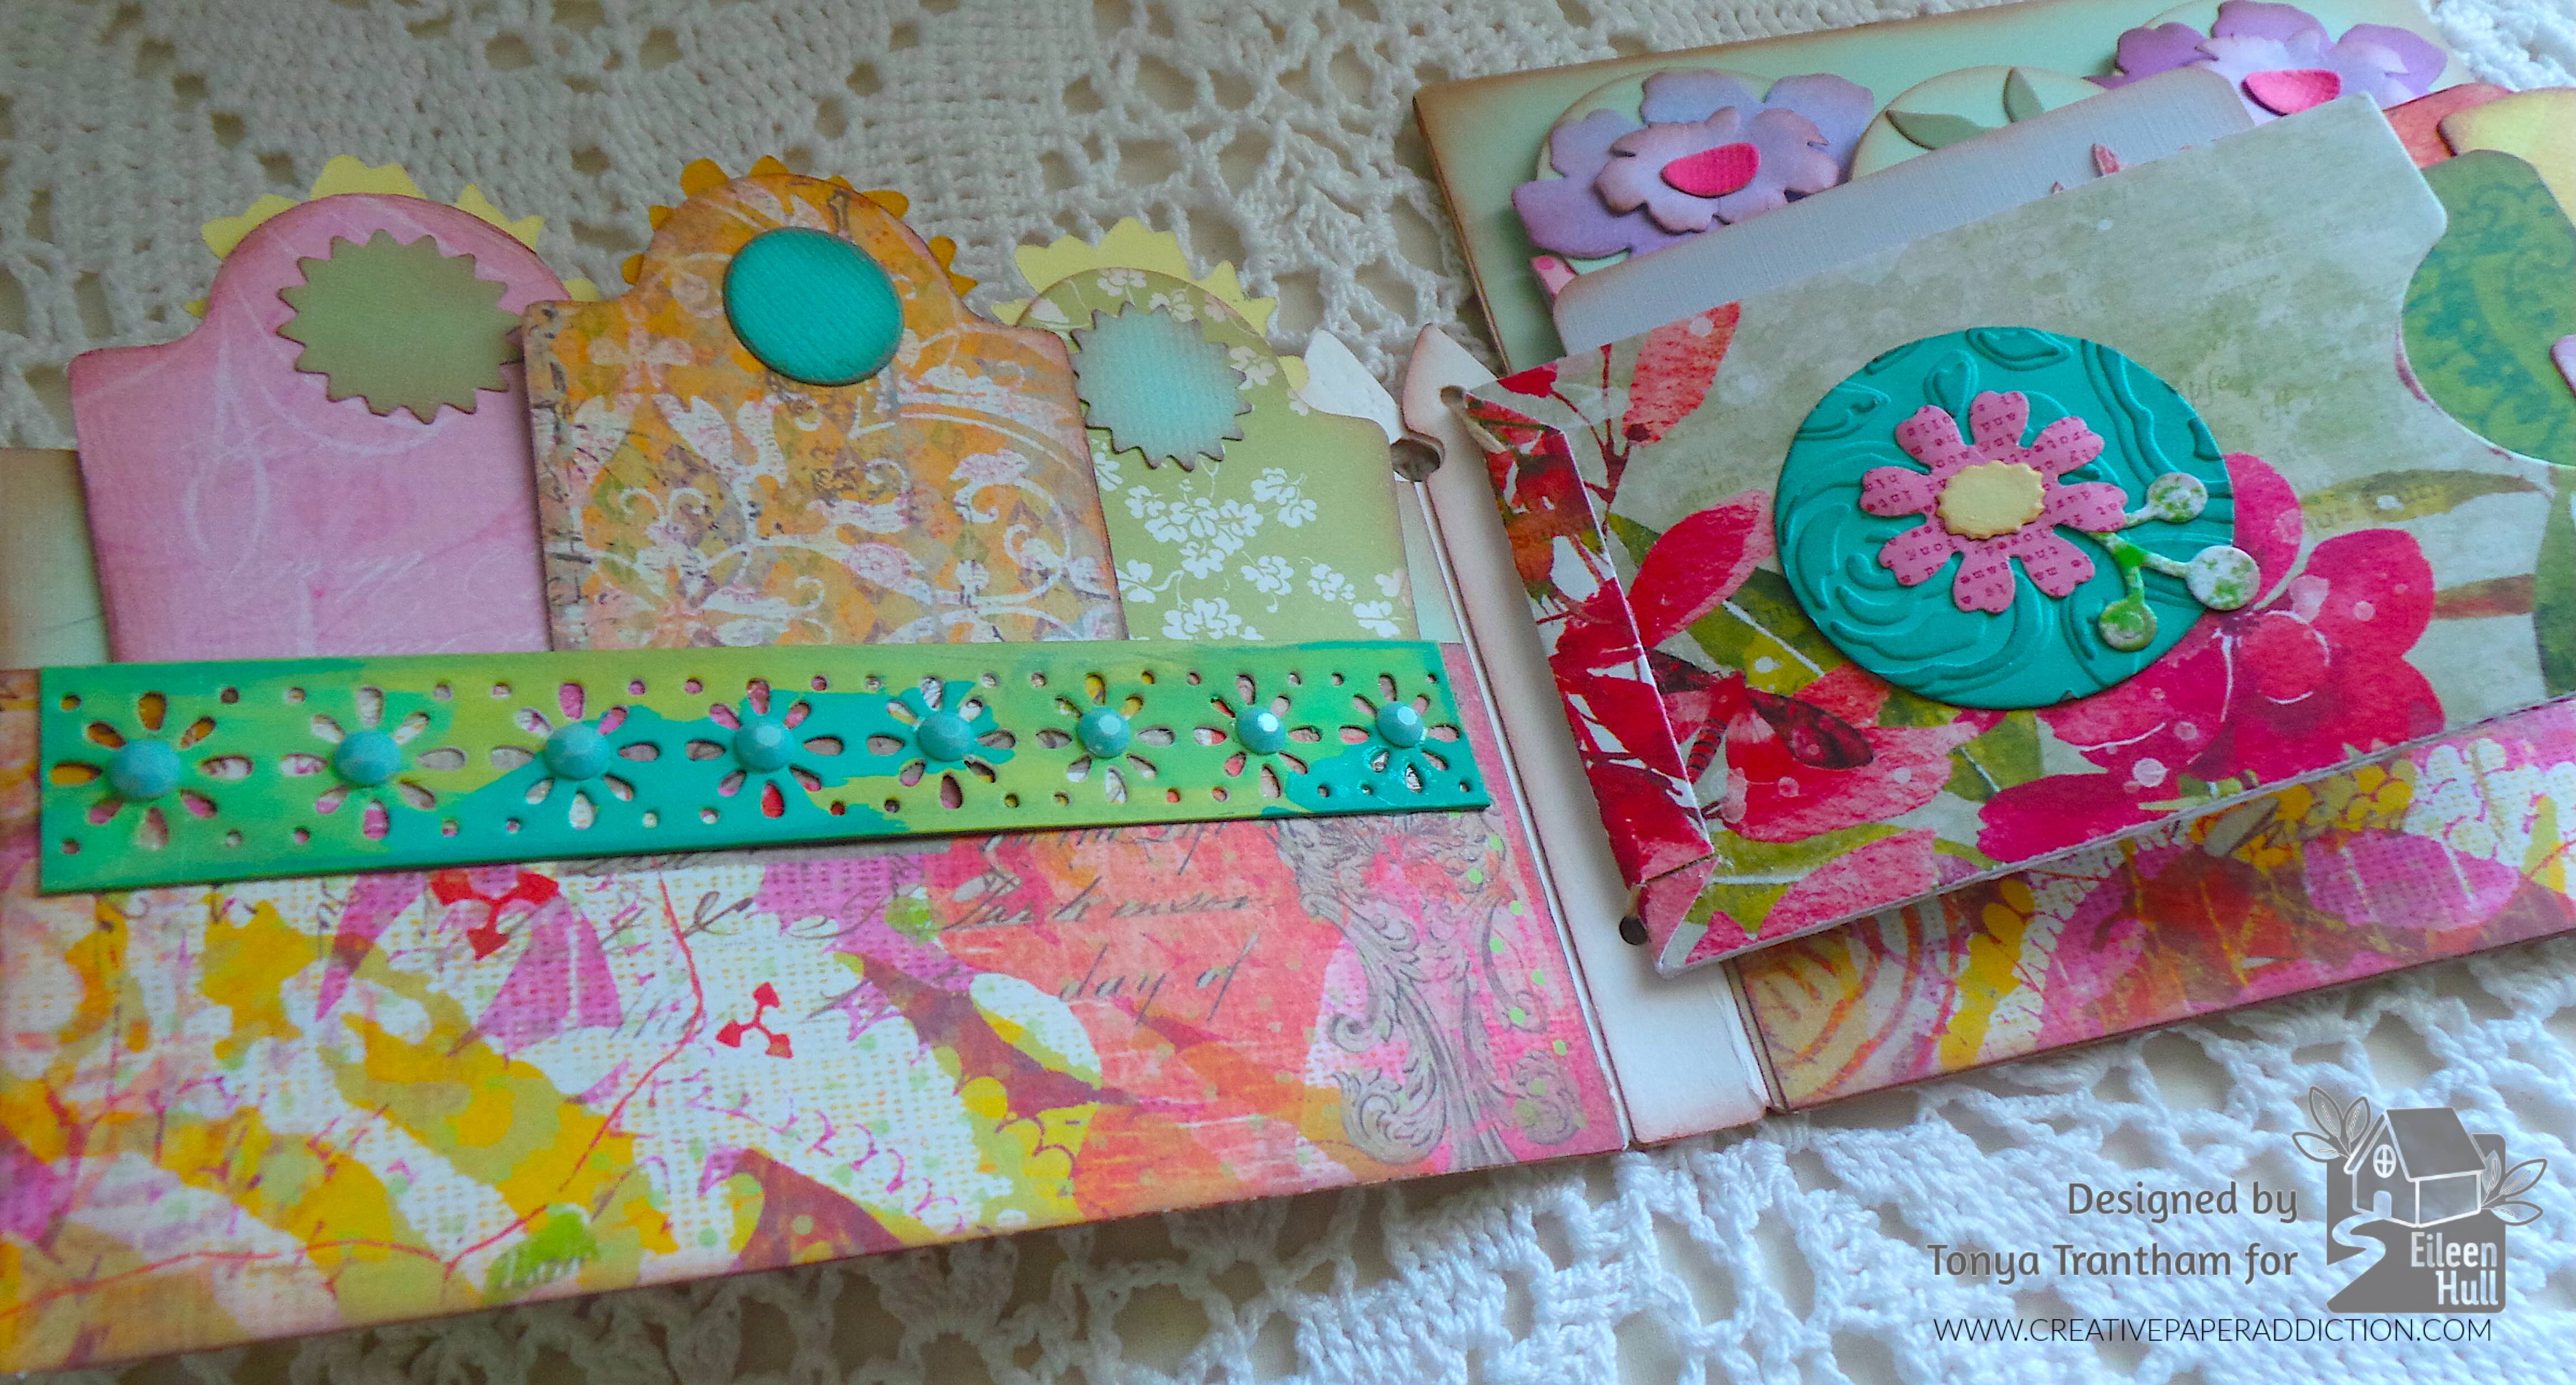
I embossed two small circles from my stash with the Watercolor Bouquet Embossing Folder. I lightly inked each one before gluing one on each side of the middle pocket. I added a flower and leaves to the center of each circle.

I cut two tabs from the Library Pocket, ATC Cards and Tabs Thinlits and two pieces of patterned cardstock to fit the pockets. I adhered the tabs to the top of each piece of cardstock and added to the pocket. Also I cut a piece of cardstock to fit the middle pocket. Apparently I forgot to take a photo of that step.

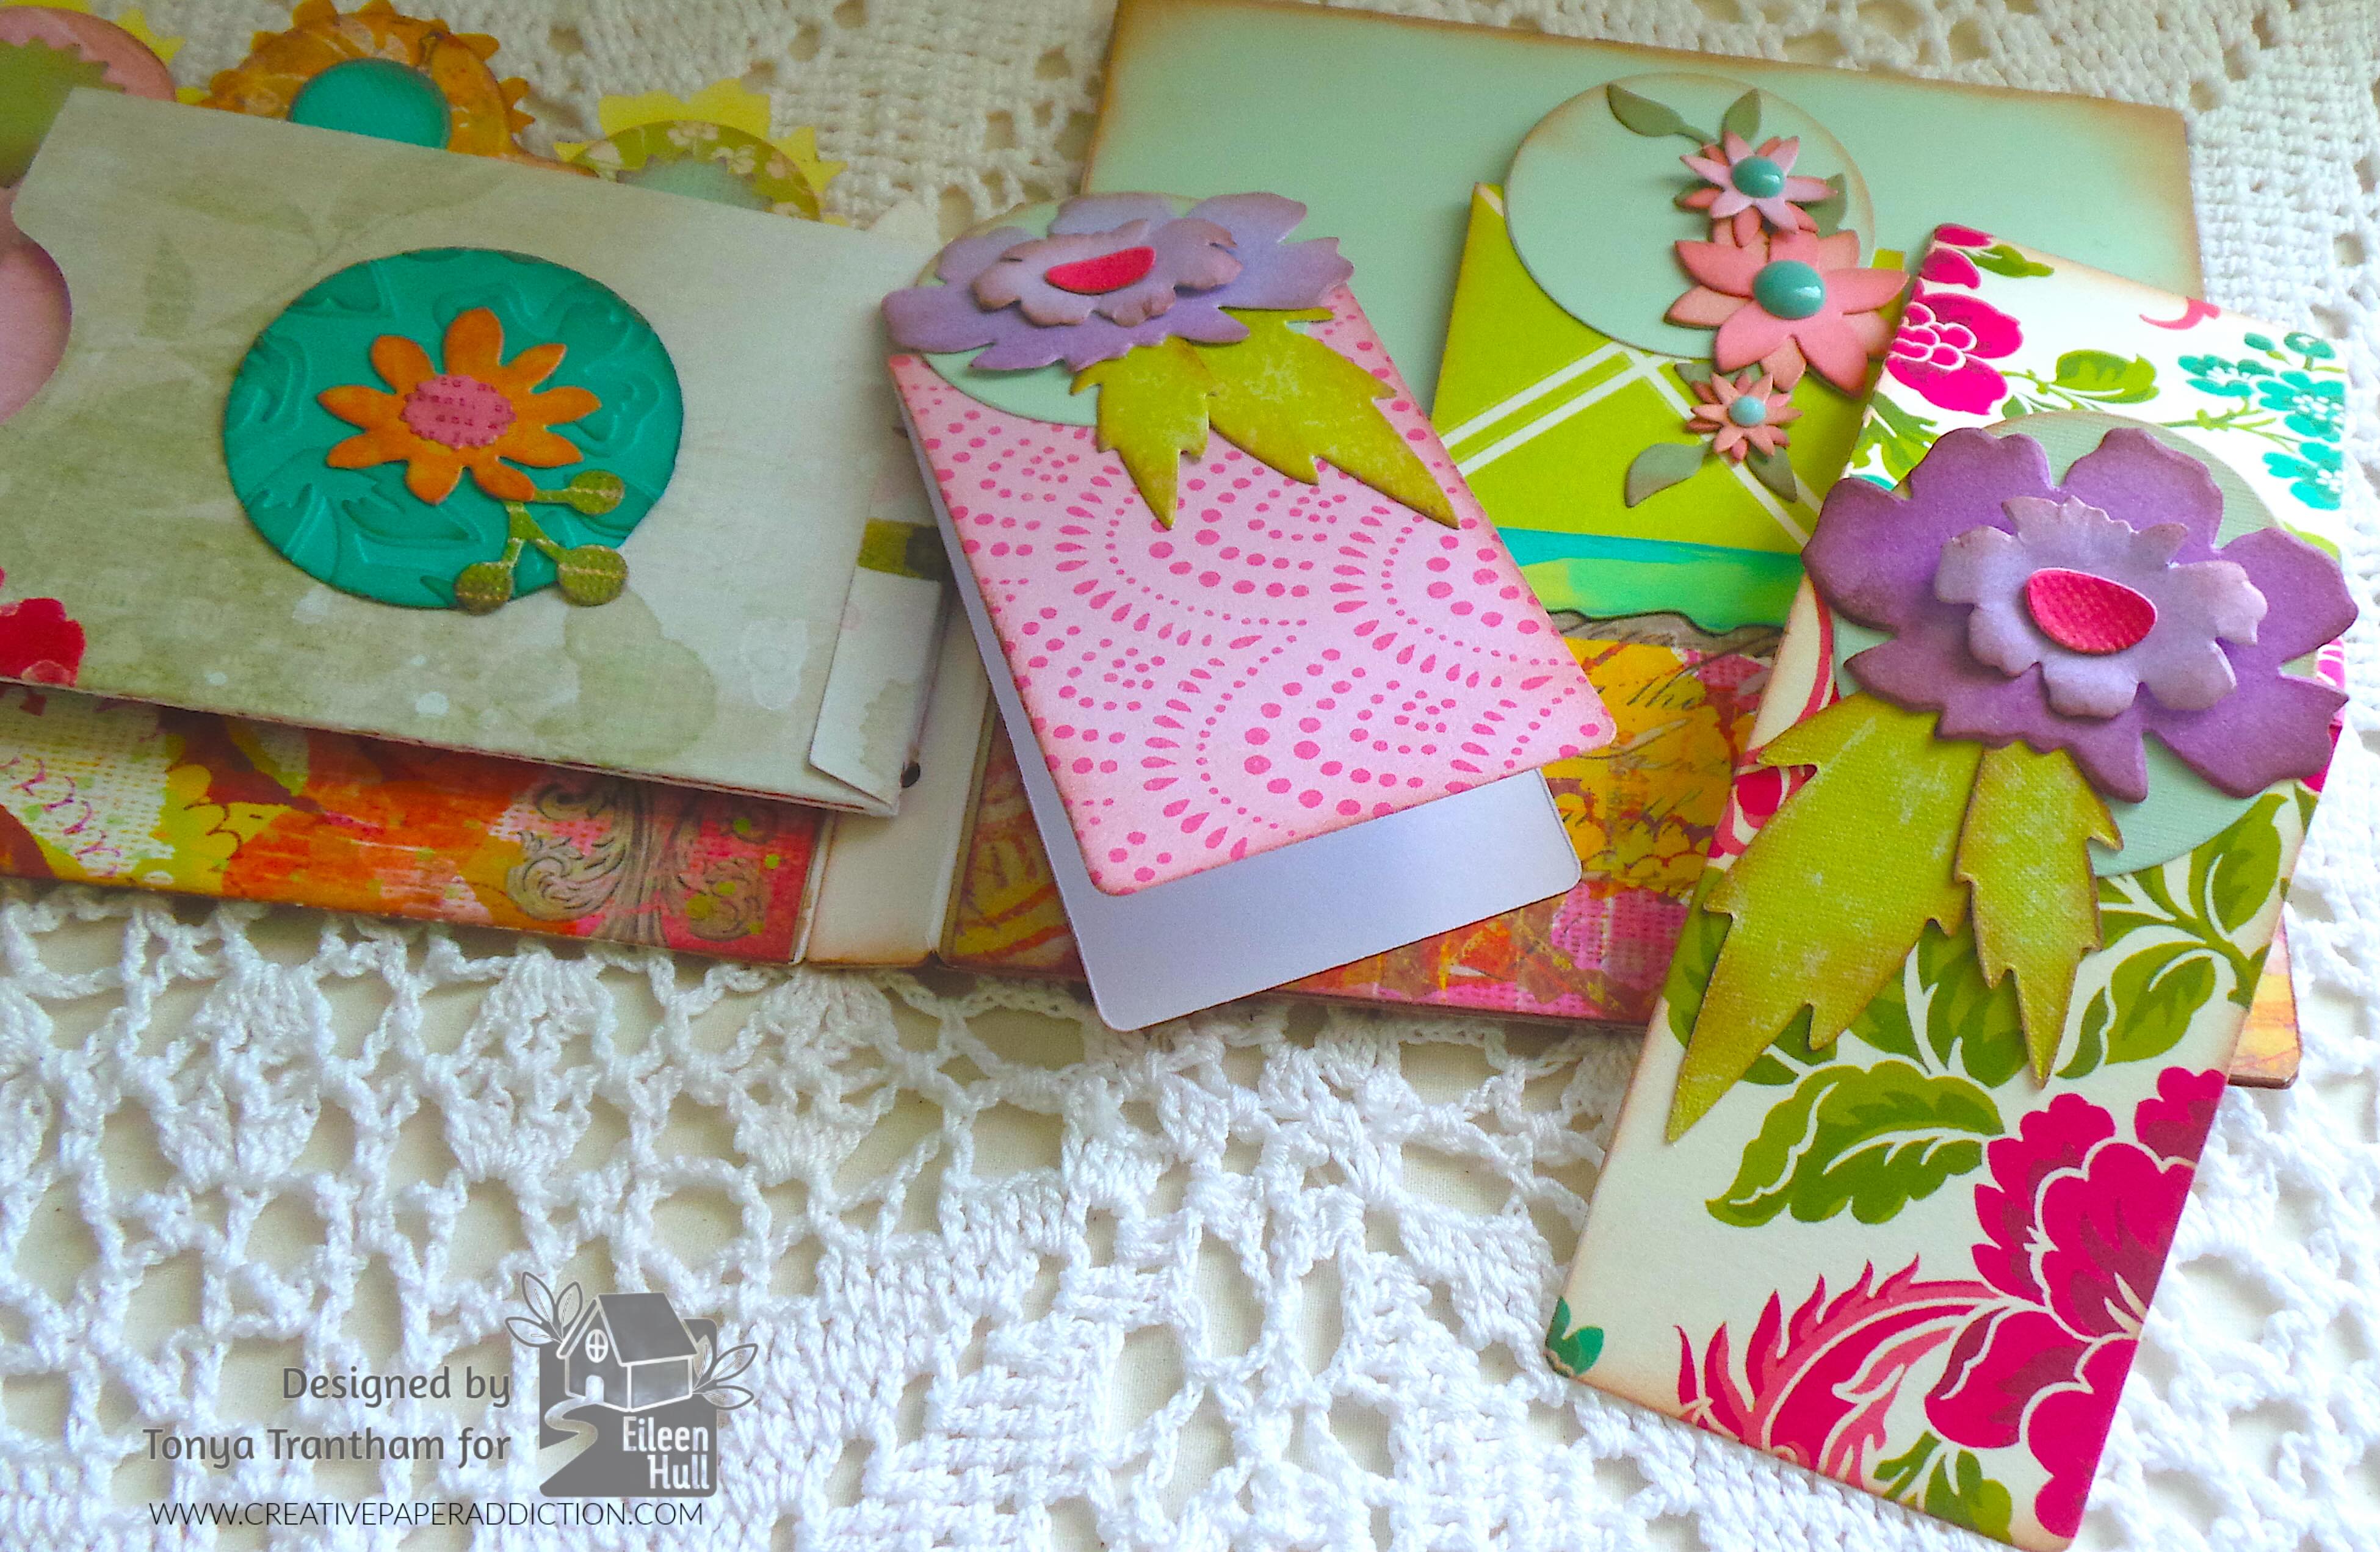
For the back pocket I cut three bookmarks from the Bookmark, Pocket and Toppers Thinlits.

I cut three of the circles from the Bookmark, Pocket and Toppers Thinlits. I folded the bookmarks in half and added adhesive to half of each circle and placed on each bookmark to create a tab.

I added flowers and leaves to each bookmark before placing in the pocket to finish.

If you have any questions or comments about this project please leave them below. Also if you haven’t been by Eileen’s blog lately you can find the latest post HERE.
Supplies

Sizzix/Eileen Hull: Garden Gate Journal Diecut

Sizzix/Eileen Hull: Watercolor Bouquet Embossing Folder

Sizzix/Eileen Hull: Page Edges Thinlits

Sizzix/Eileen Hull: Pocket and Tags Thinlits

Sizzix/Eileen Hull: Waterfall and Tags Thinlits

Sizzix/Eileen Hull: Bookmark, Pocket and Toppers Thinlits

Sizzix/Eileen Hull: Envelope, Folder and Flowers Thinlits

Sizzix/Eileen Hull: Everyday Tags and Labels Thinlits (Scrapbook.com Exclusive)

Sizzix/Eileen Hull: Library Pocket, ATC Cards and Tabs Thinlits

Sizzix/Eileen Hull: Wreath and Snowflake Thinlits

Sizzix/Eileen Hull: Windowsill Vase and Flowers Thinlits

Diecut Machine

Paper Cutter

Scissors

Various Plain and Patterned Cardstocks

Various Colored Gems

Stylus

Thread and Needle

Brown Chalk Ink

Beacon Adhesives: Zip Dry Adhesive

(Products listed above are Affiliated Links for your convenience)

DISCLAIMERS

This blog is compensated to provide opinion on products, services, websites, and various other topics. Even though the owner(s) of this blog receives compensation for our posts or advertisements. I always give my honest opinions, findings, beliefs, or experiences on those topics or products. The views and opinions expressed on this blog are purely my own. Any product claim, statistic, or quote should be checked with each manufacturer. Verify other representations about a product or service with the provider or party in question.This blog contains affiliate linksClicking these links helps to support Tonya Trantham Designs – Creative Paper Addiction. It’s at no additional cost to you. Today’s features are Sizzix, Eileen Hull and Scrapbook.com Products. 

Thanks for stopping by, I hope your Friday awesome and enjoy creating!

Garden Gate Journal Cover Part One

Hi everyone! Did you catch Eileen Hull‘s release party Monday? She showed off her newest collection and the team’s projects from the show floor at Creativation. If you missed the live and would like to see what you missed you can find that video HERE.

This was one of the projects that Eileen shared Monday. I created the journal cover featuring the Garden Gate Journal Diecut, along with a couple other diecuts from the same collection. Anyways, let’s get started!

A decorative paper craft featuring a fence design with colorful flower embellishments in a pastel color scheme.

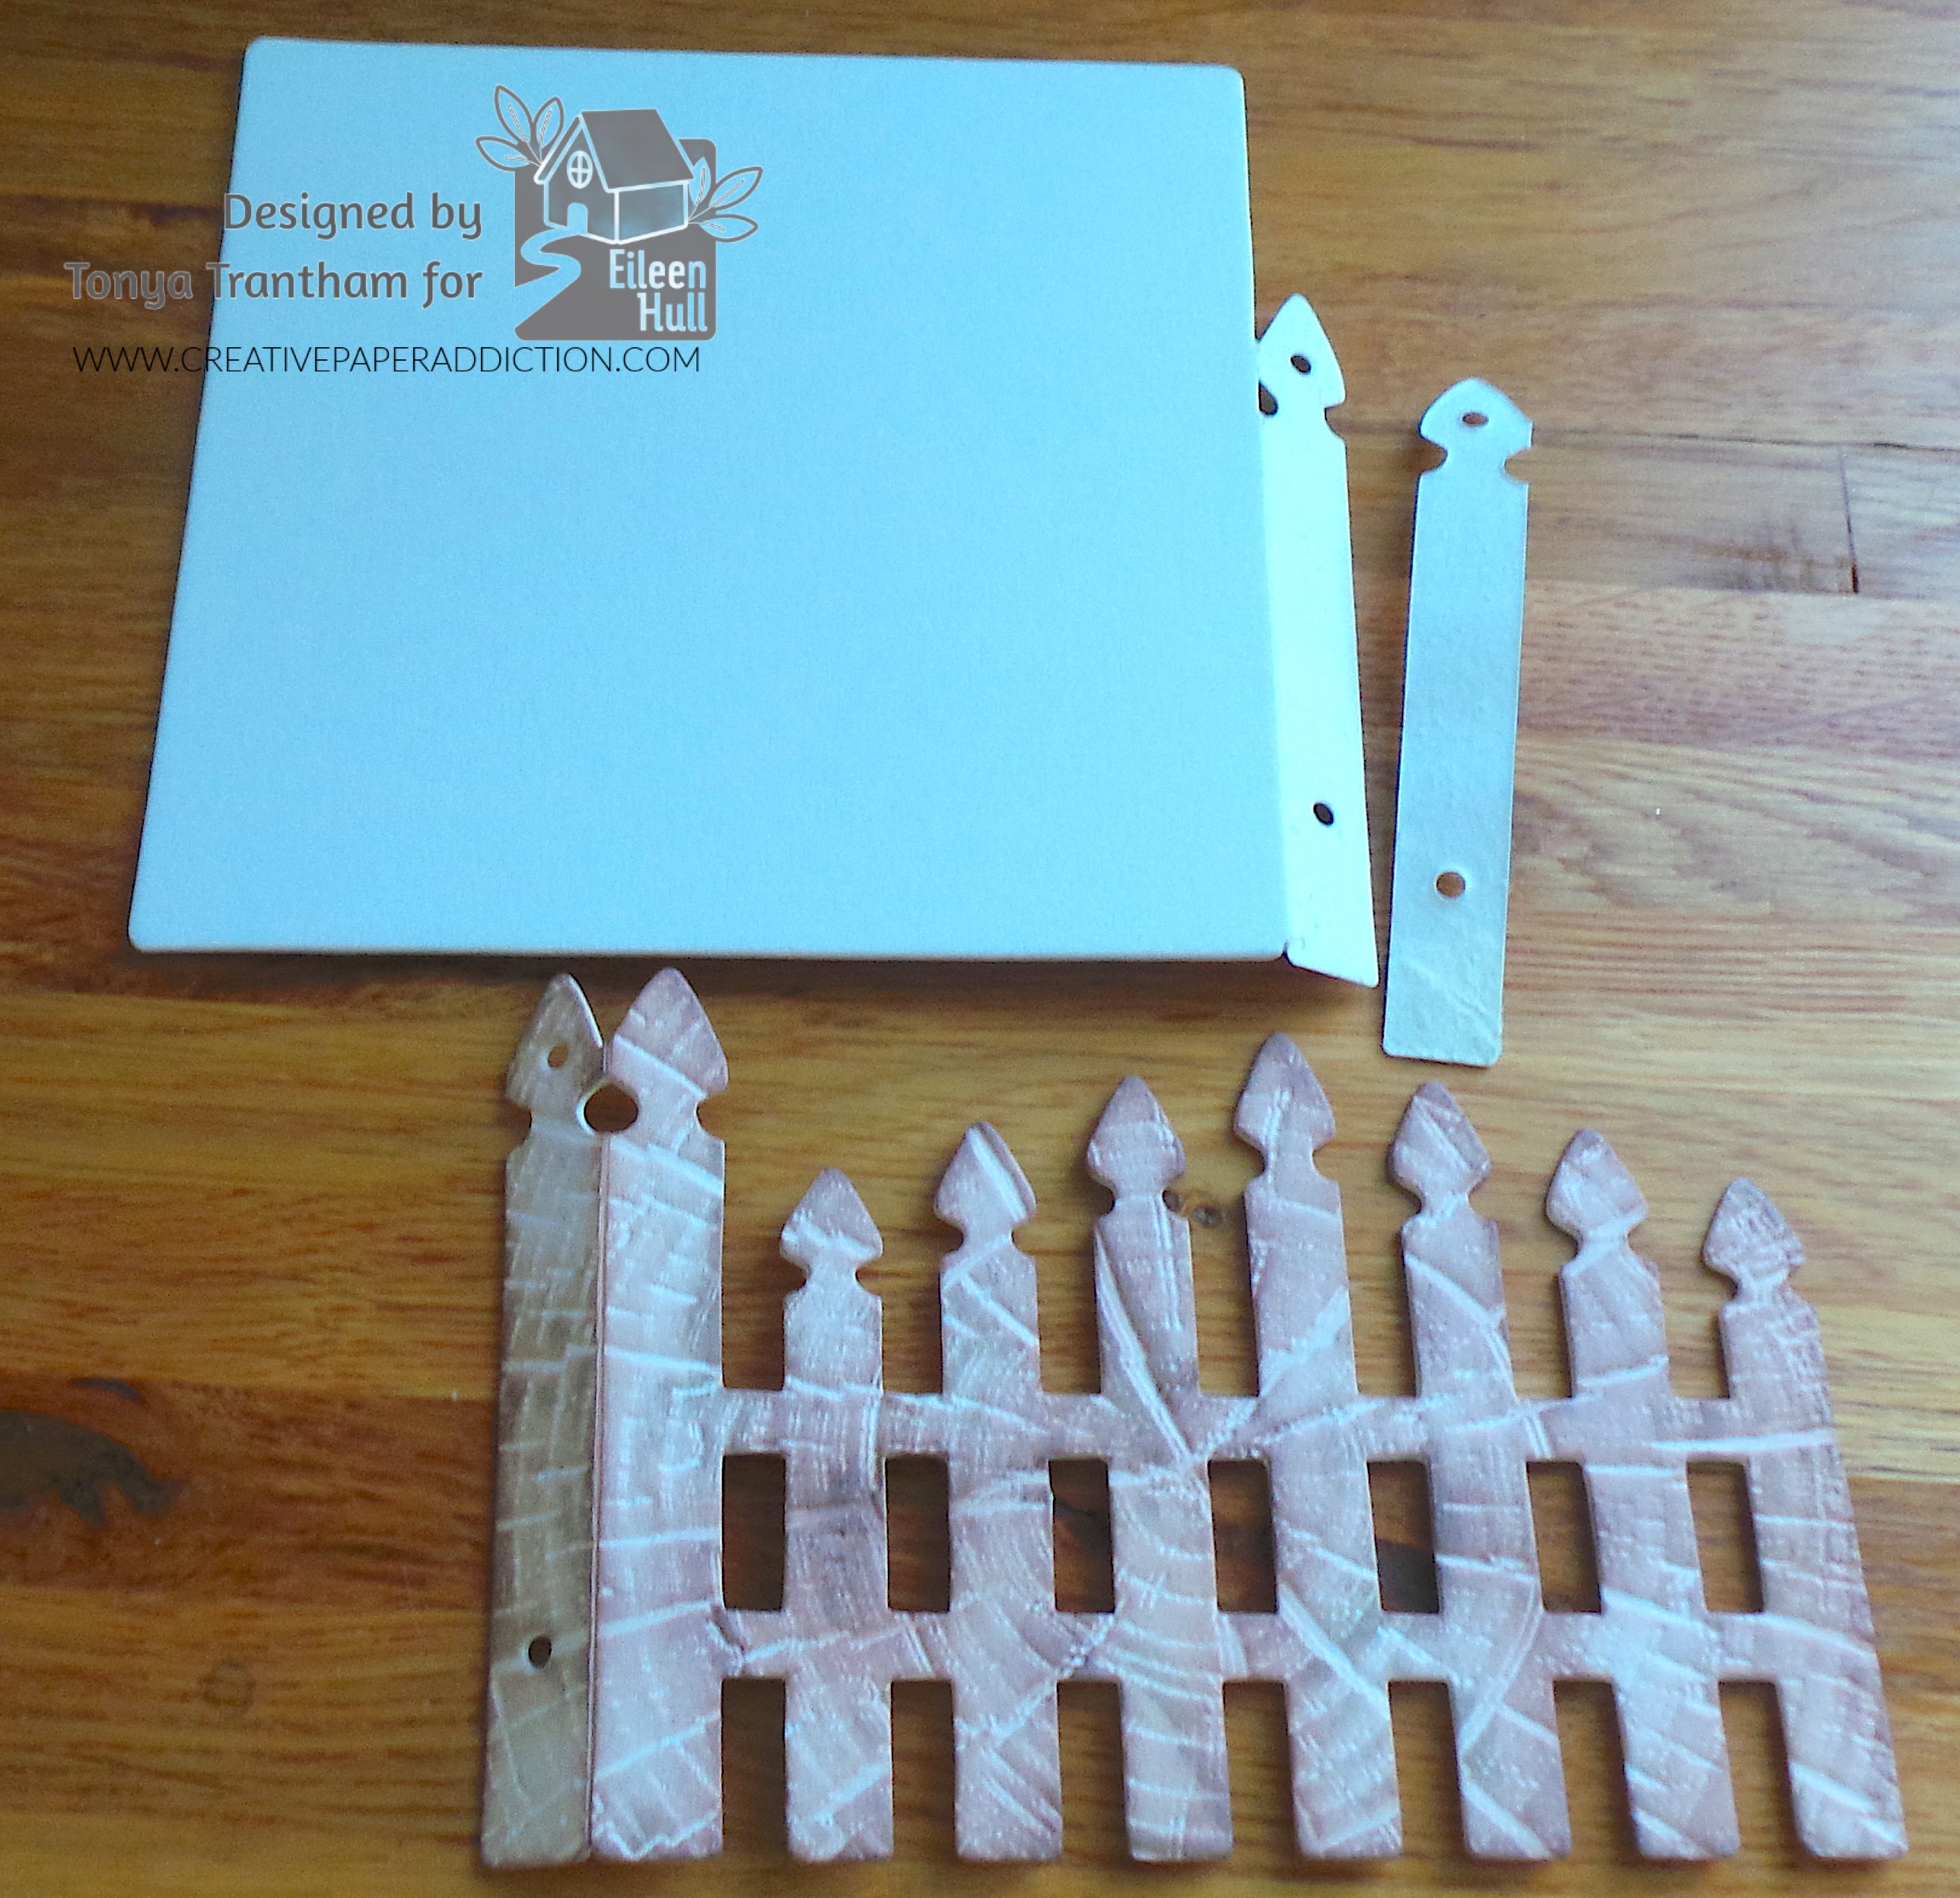
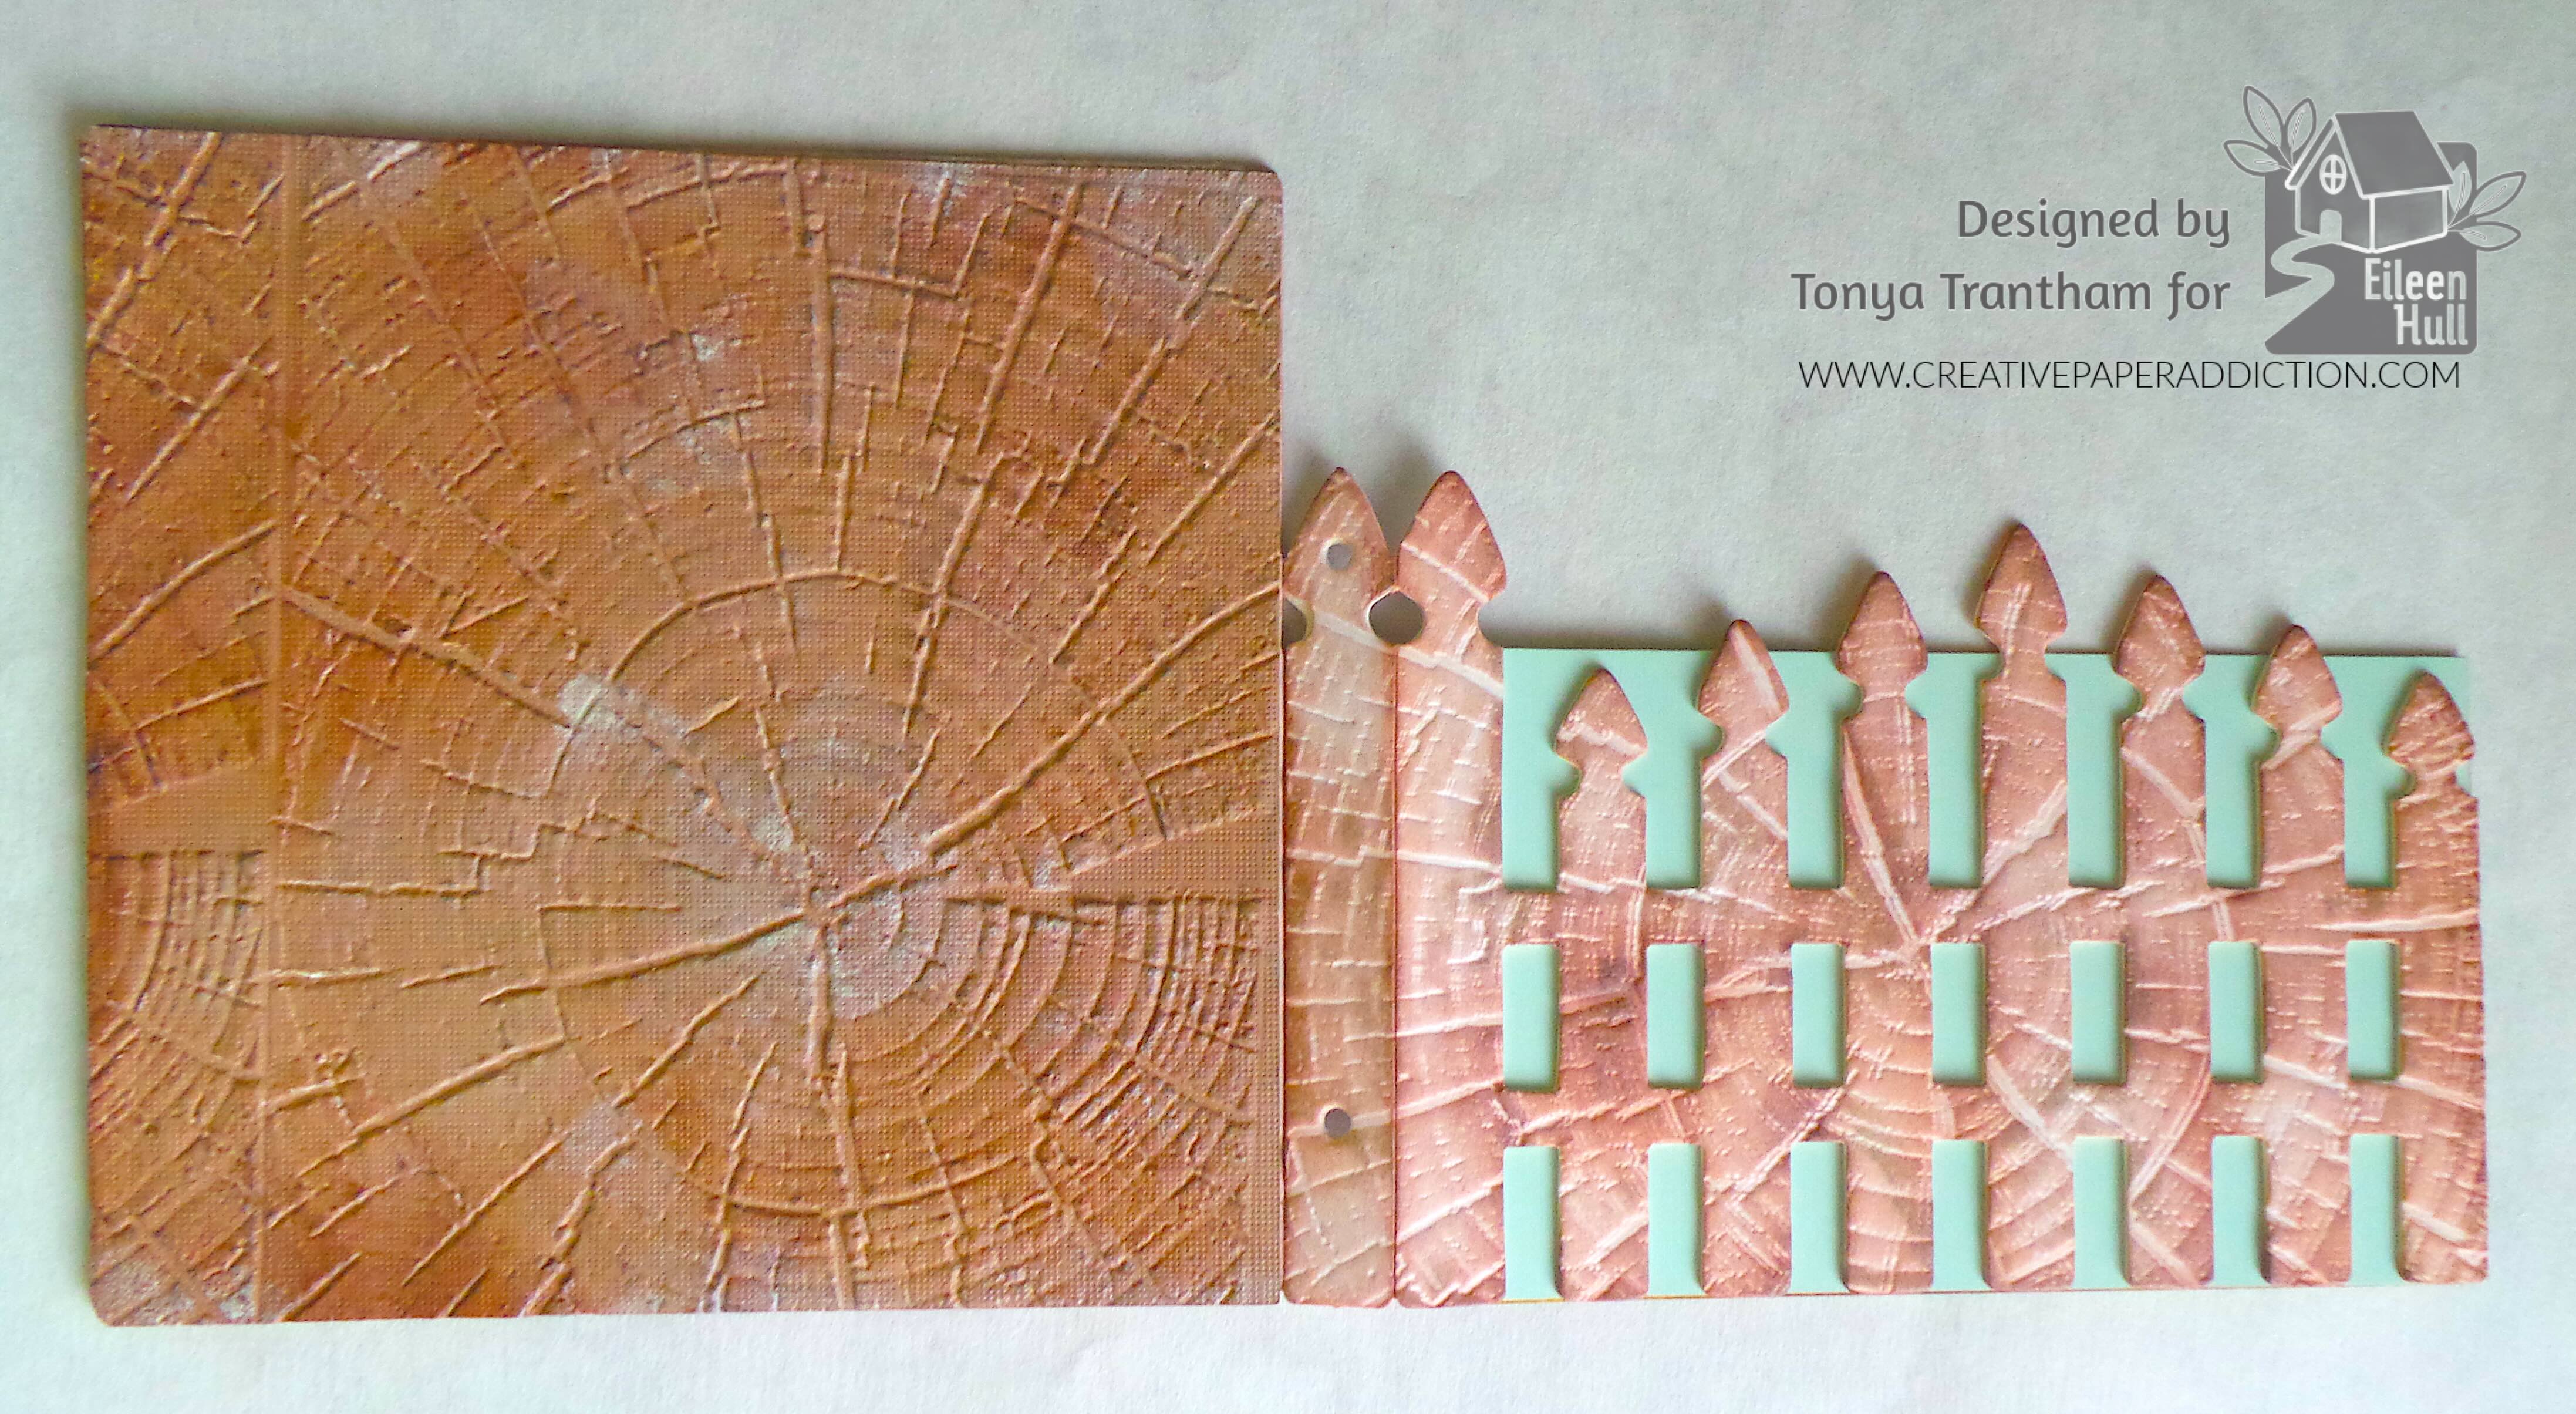
I cut a front and a back of the journal from Matboard using the Garden Gate Journal Diecut. I embossing the covers with the with a retired embossing folder by Tim Holtz. Side note, I did adhere a brown cardstock to the back outside of the cover before embossing. The embossing folder has a wood texture like the inside of a tree. The packaging didn’t have the name but had the item number 666049 if you are interested.

A white square crafting board with two white fence pieces and a pink decorative wooden fence segment on a wooden surface.

I inked over the embossed areas with an assortment of different shades of brown and black chalk inks. That is my preference of inks to use. I’m a firm believer in using what you have on hand and if you have something different use it.

Craft project featuring two rectangular panels with decorative edges, one larger and one smaller, set on a wooden surface.

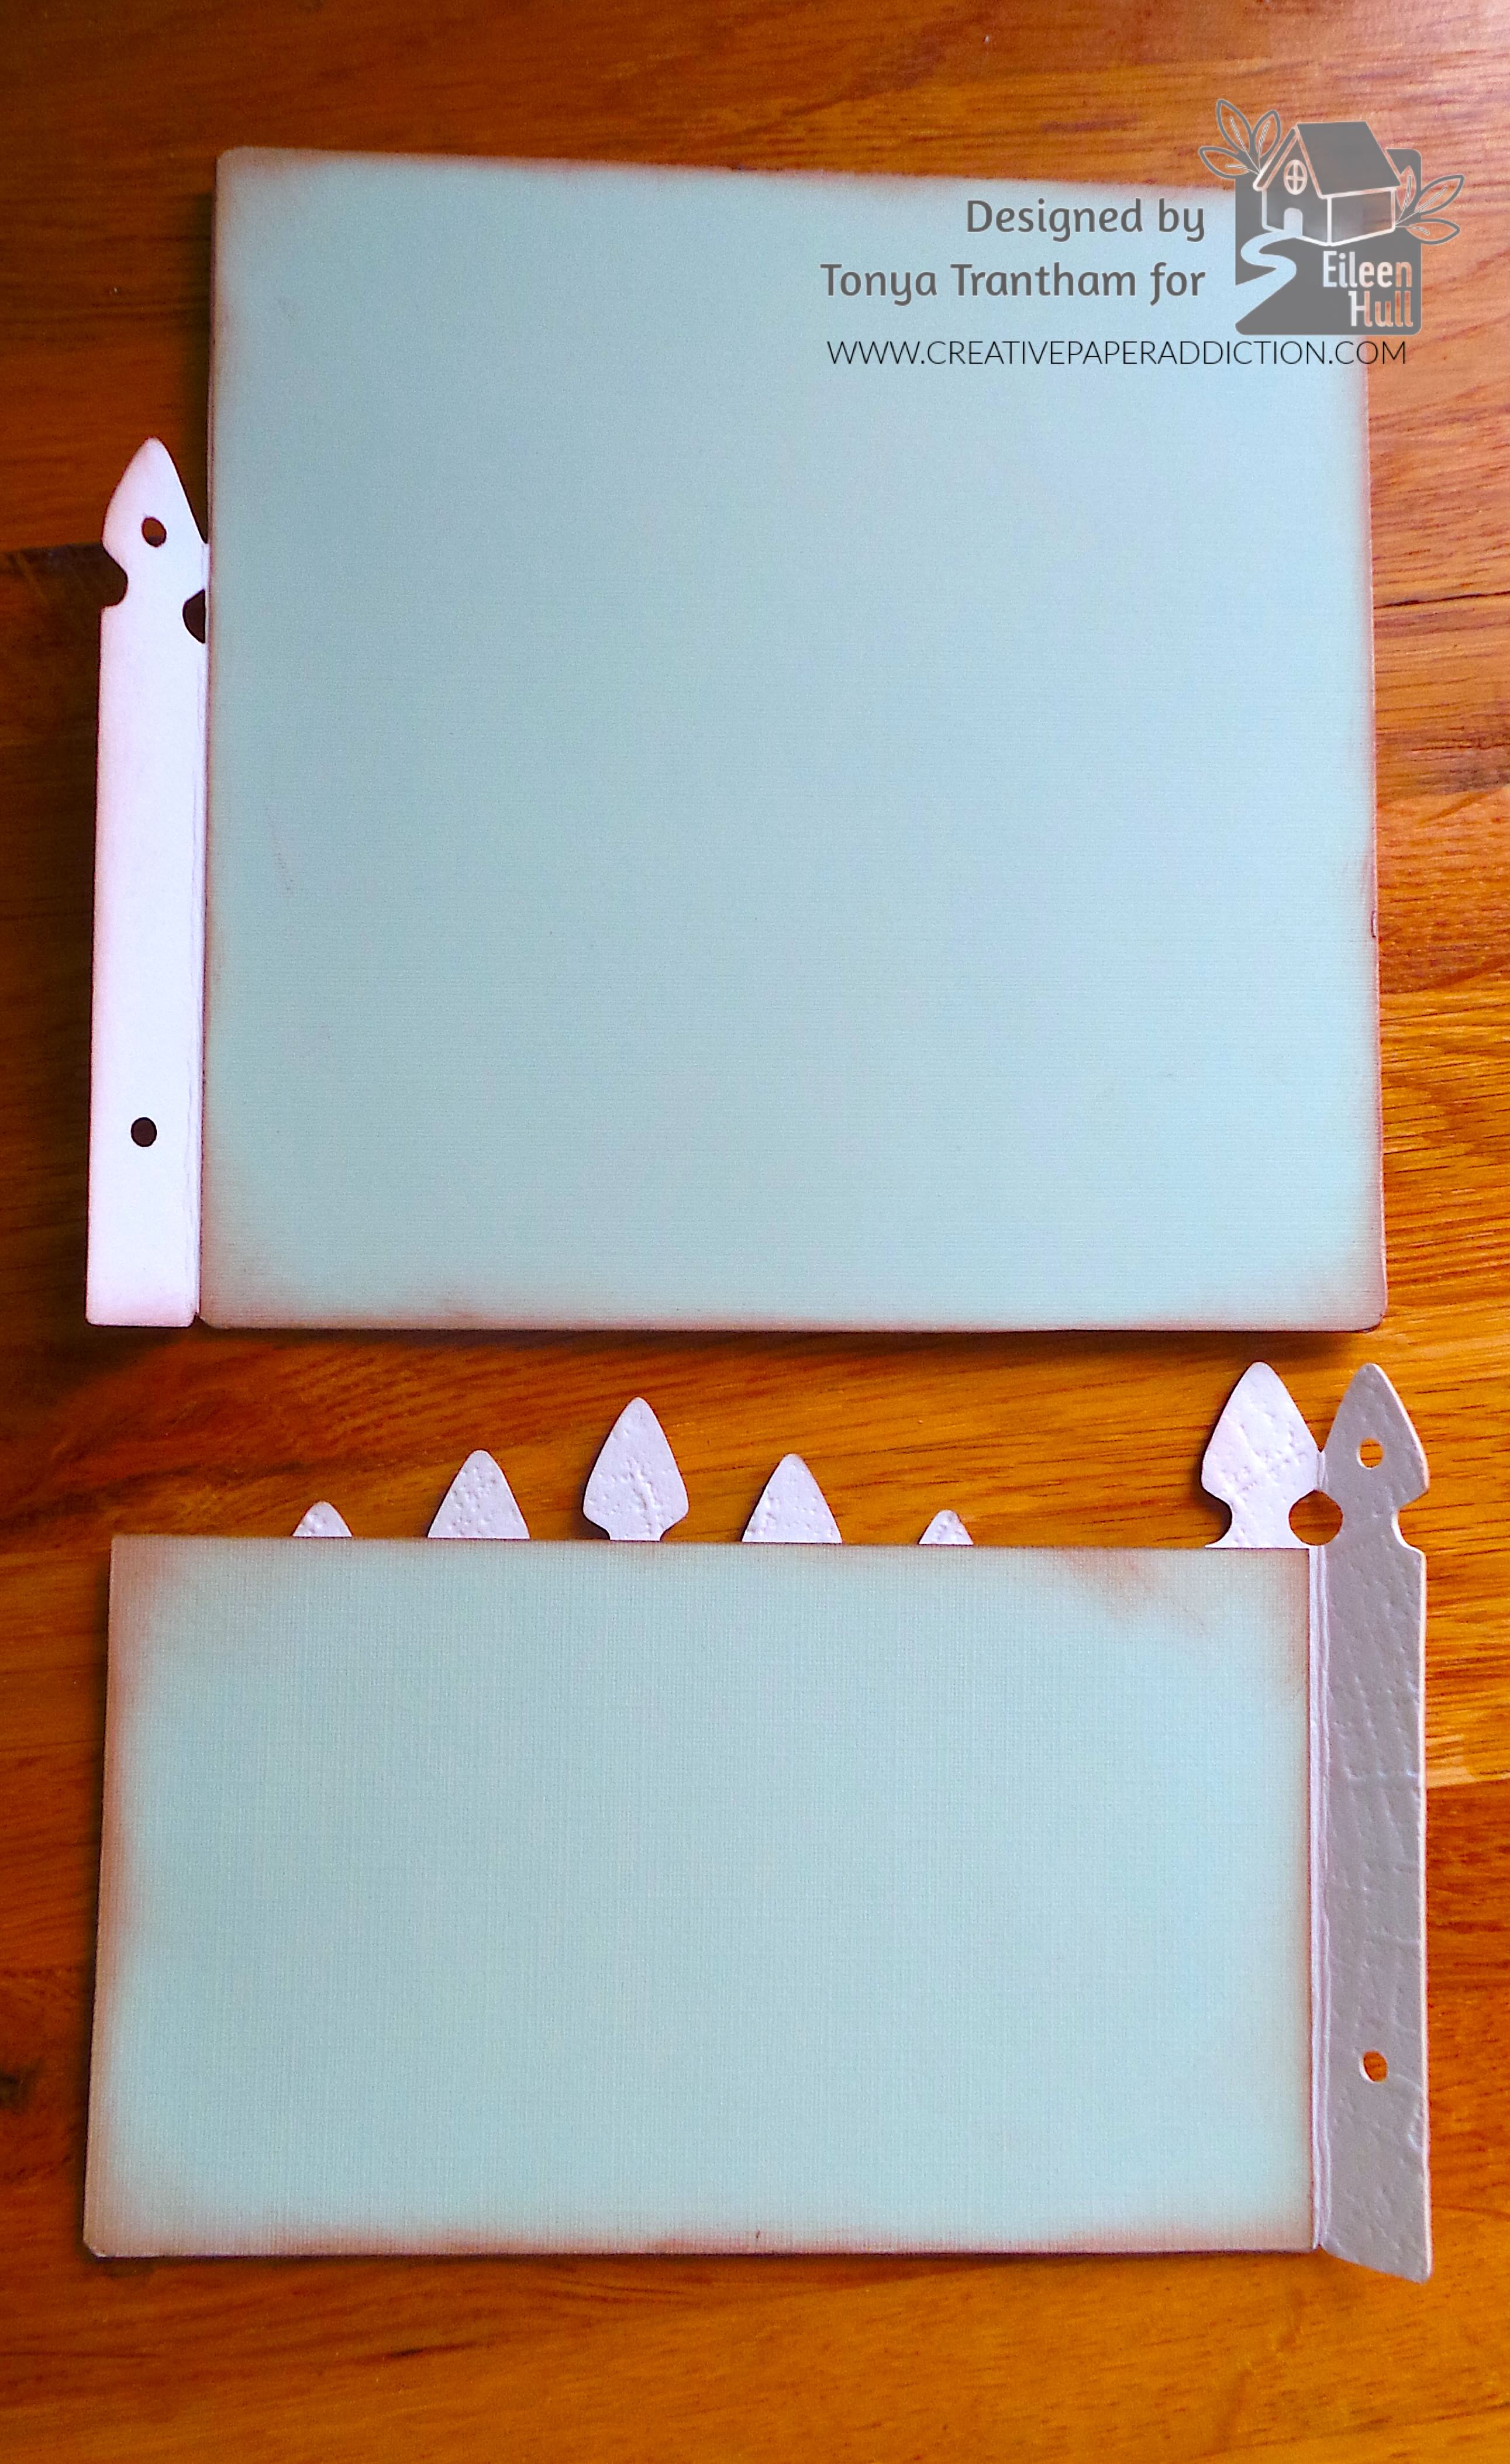
I also cut cardstock for the back inside cover of the journal. I inked the edges with a brown chalk ink and glued to the journal. For the front I cut cardstock slightly shorter than the tallest picket of the garden gate. I inked the edges of the cardstock. Then I added adhesive and placed onto the gate.

A textured brown cardstock resembling tree rings on the left, and a decorative fence cutout in a light color on the right, designed by Tonya Trantham for Eileen Hull.

The spine I “peeled” off some of the Matboard to make it thinner. I applied glue and adhered together. The “peeling” of some of the Matboard flattens out the spine.

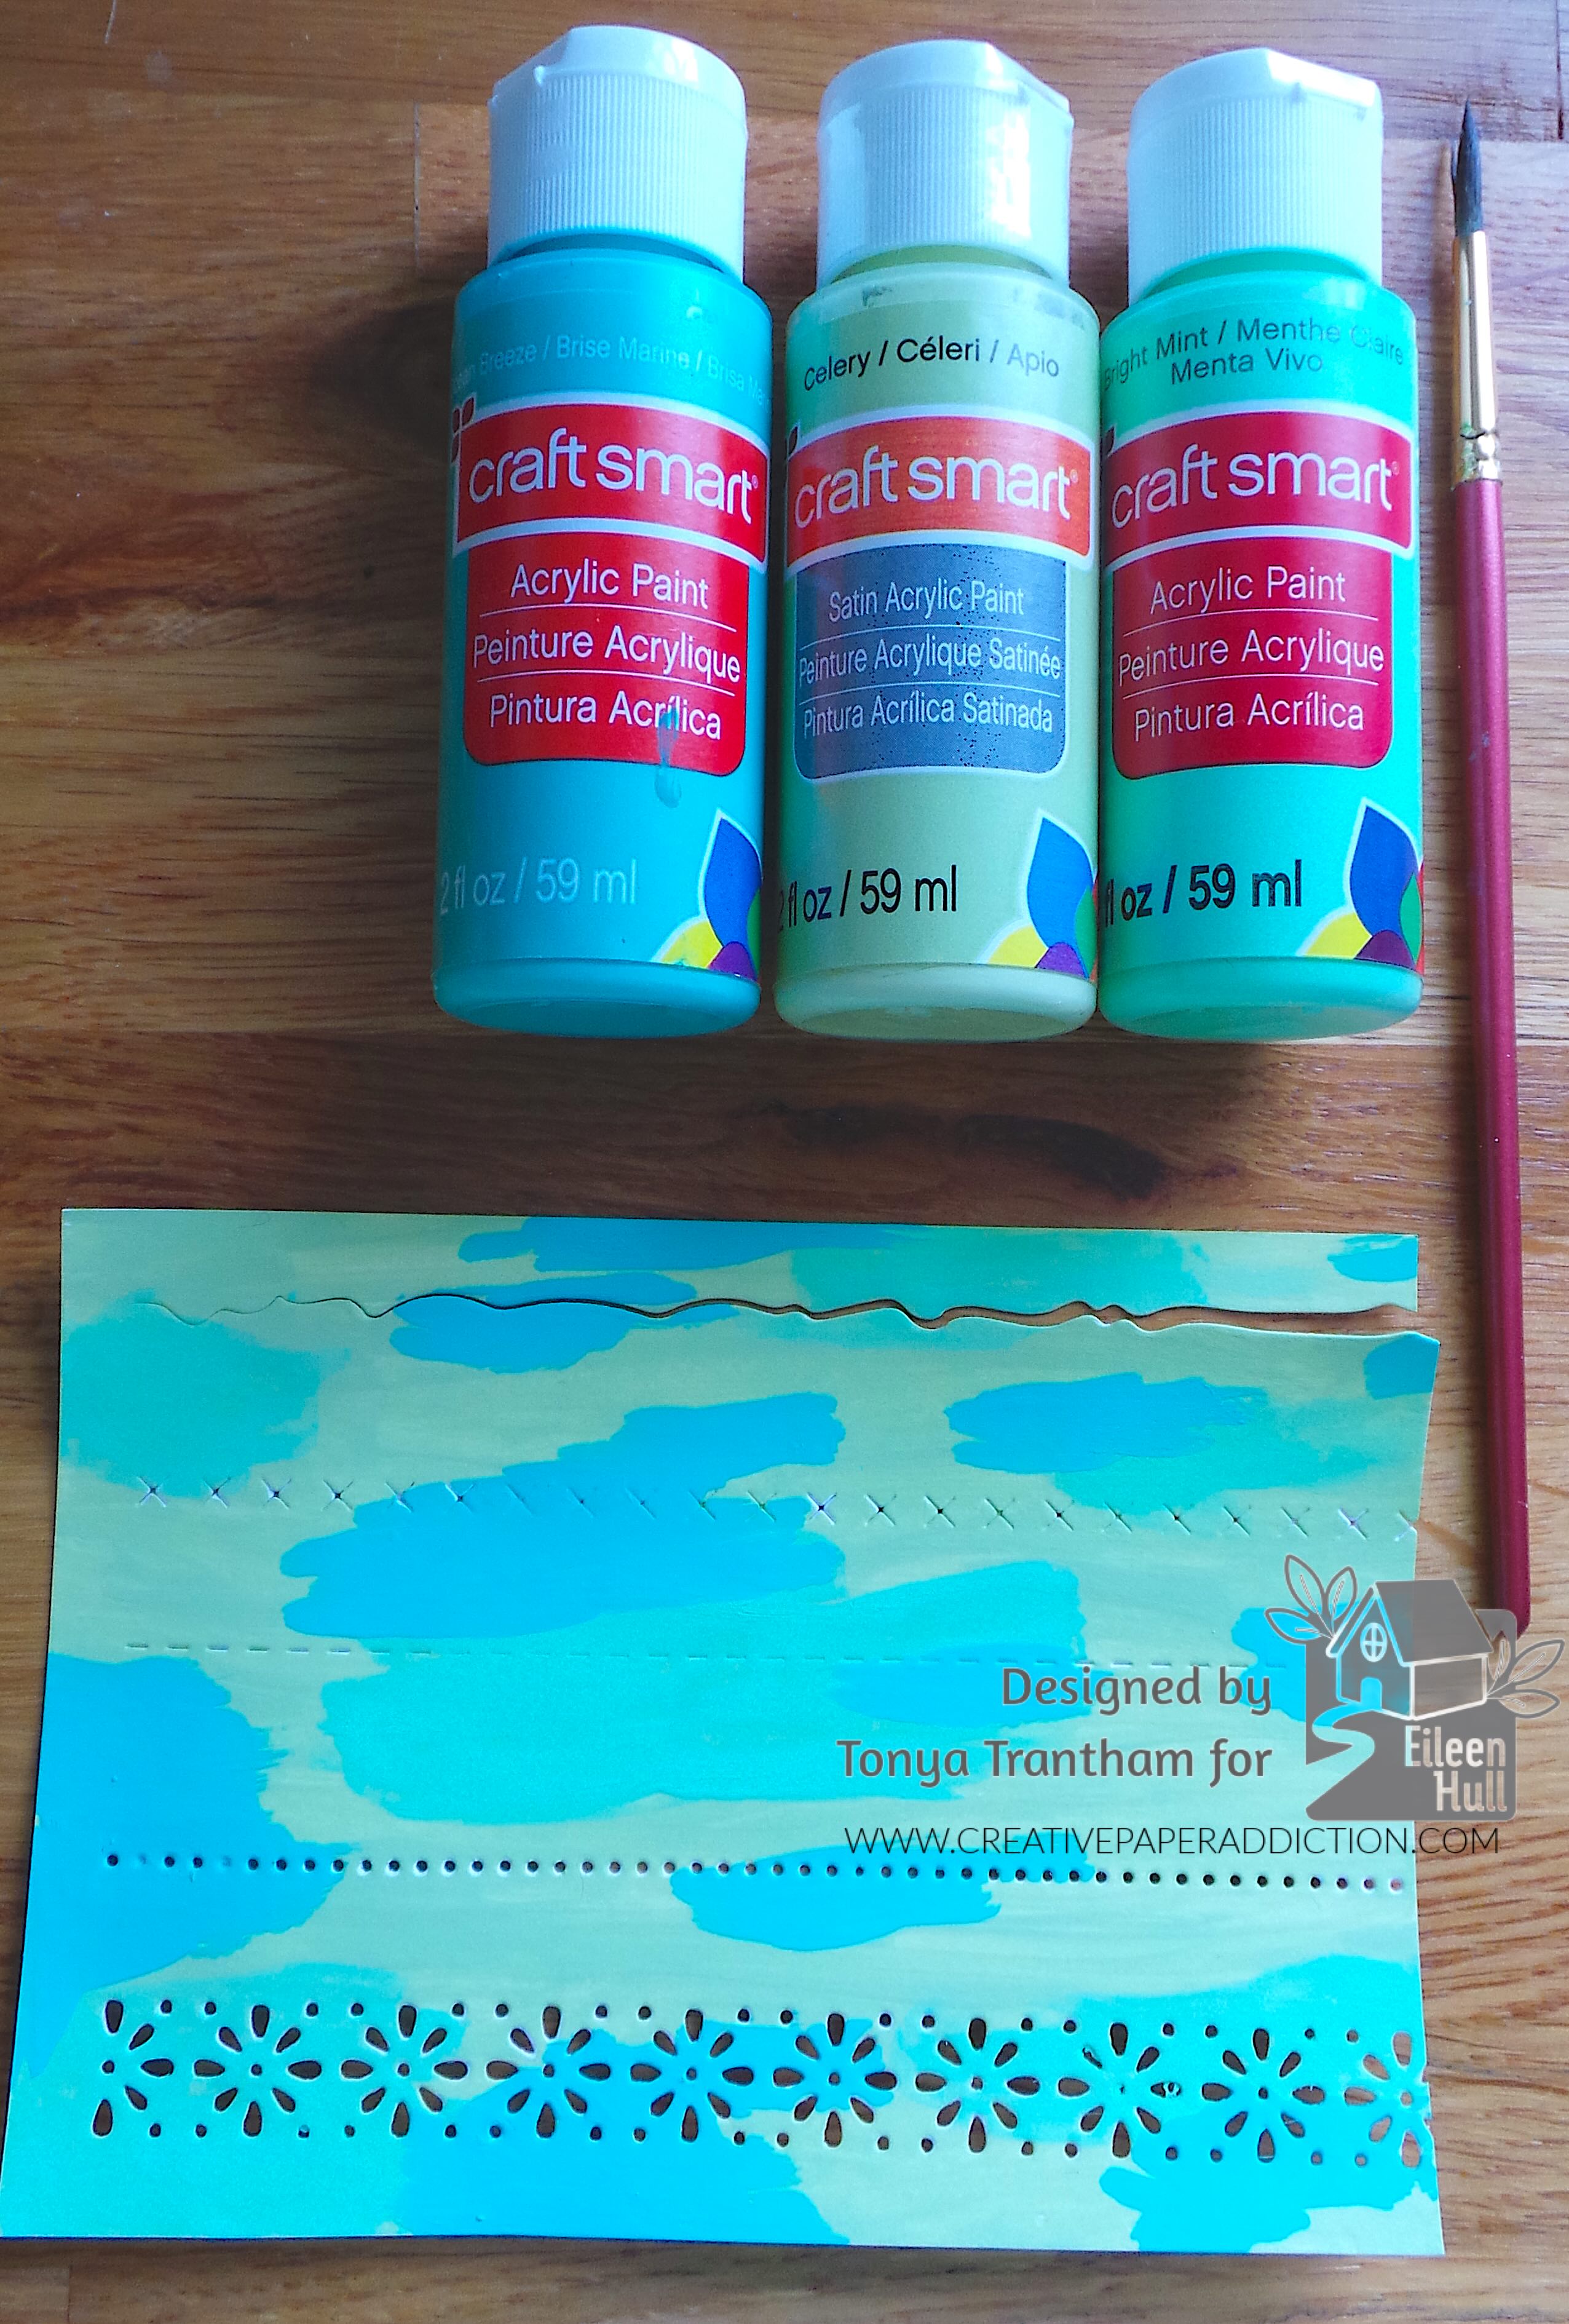
Three bottles of Craft Smart acrylic paint in blue, green, and mint colors, alongside a paintbrush, placed on a wooden surface. Below, there's a painted cardstock with a blue and green watercolor design and decorative cut-out patterns.

I had received cuts of the Page Edges Thinlits on white cardstock so I painted it with some of my favorite paint colors and let dry.

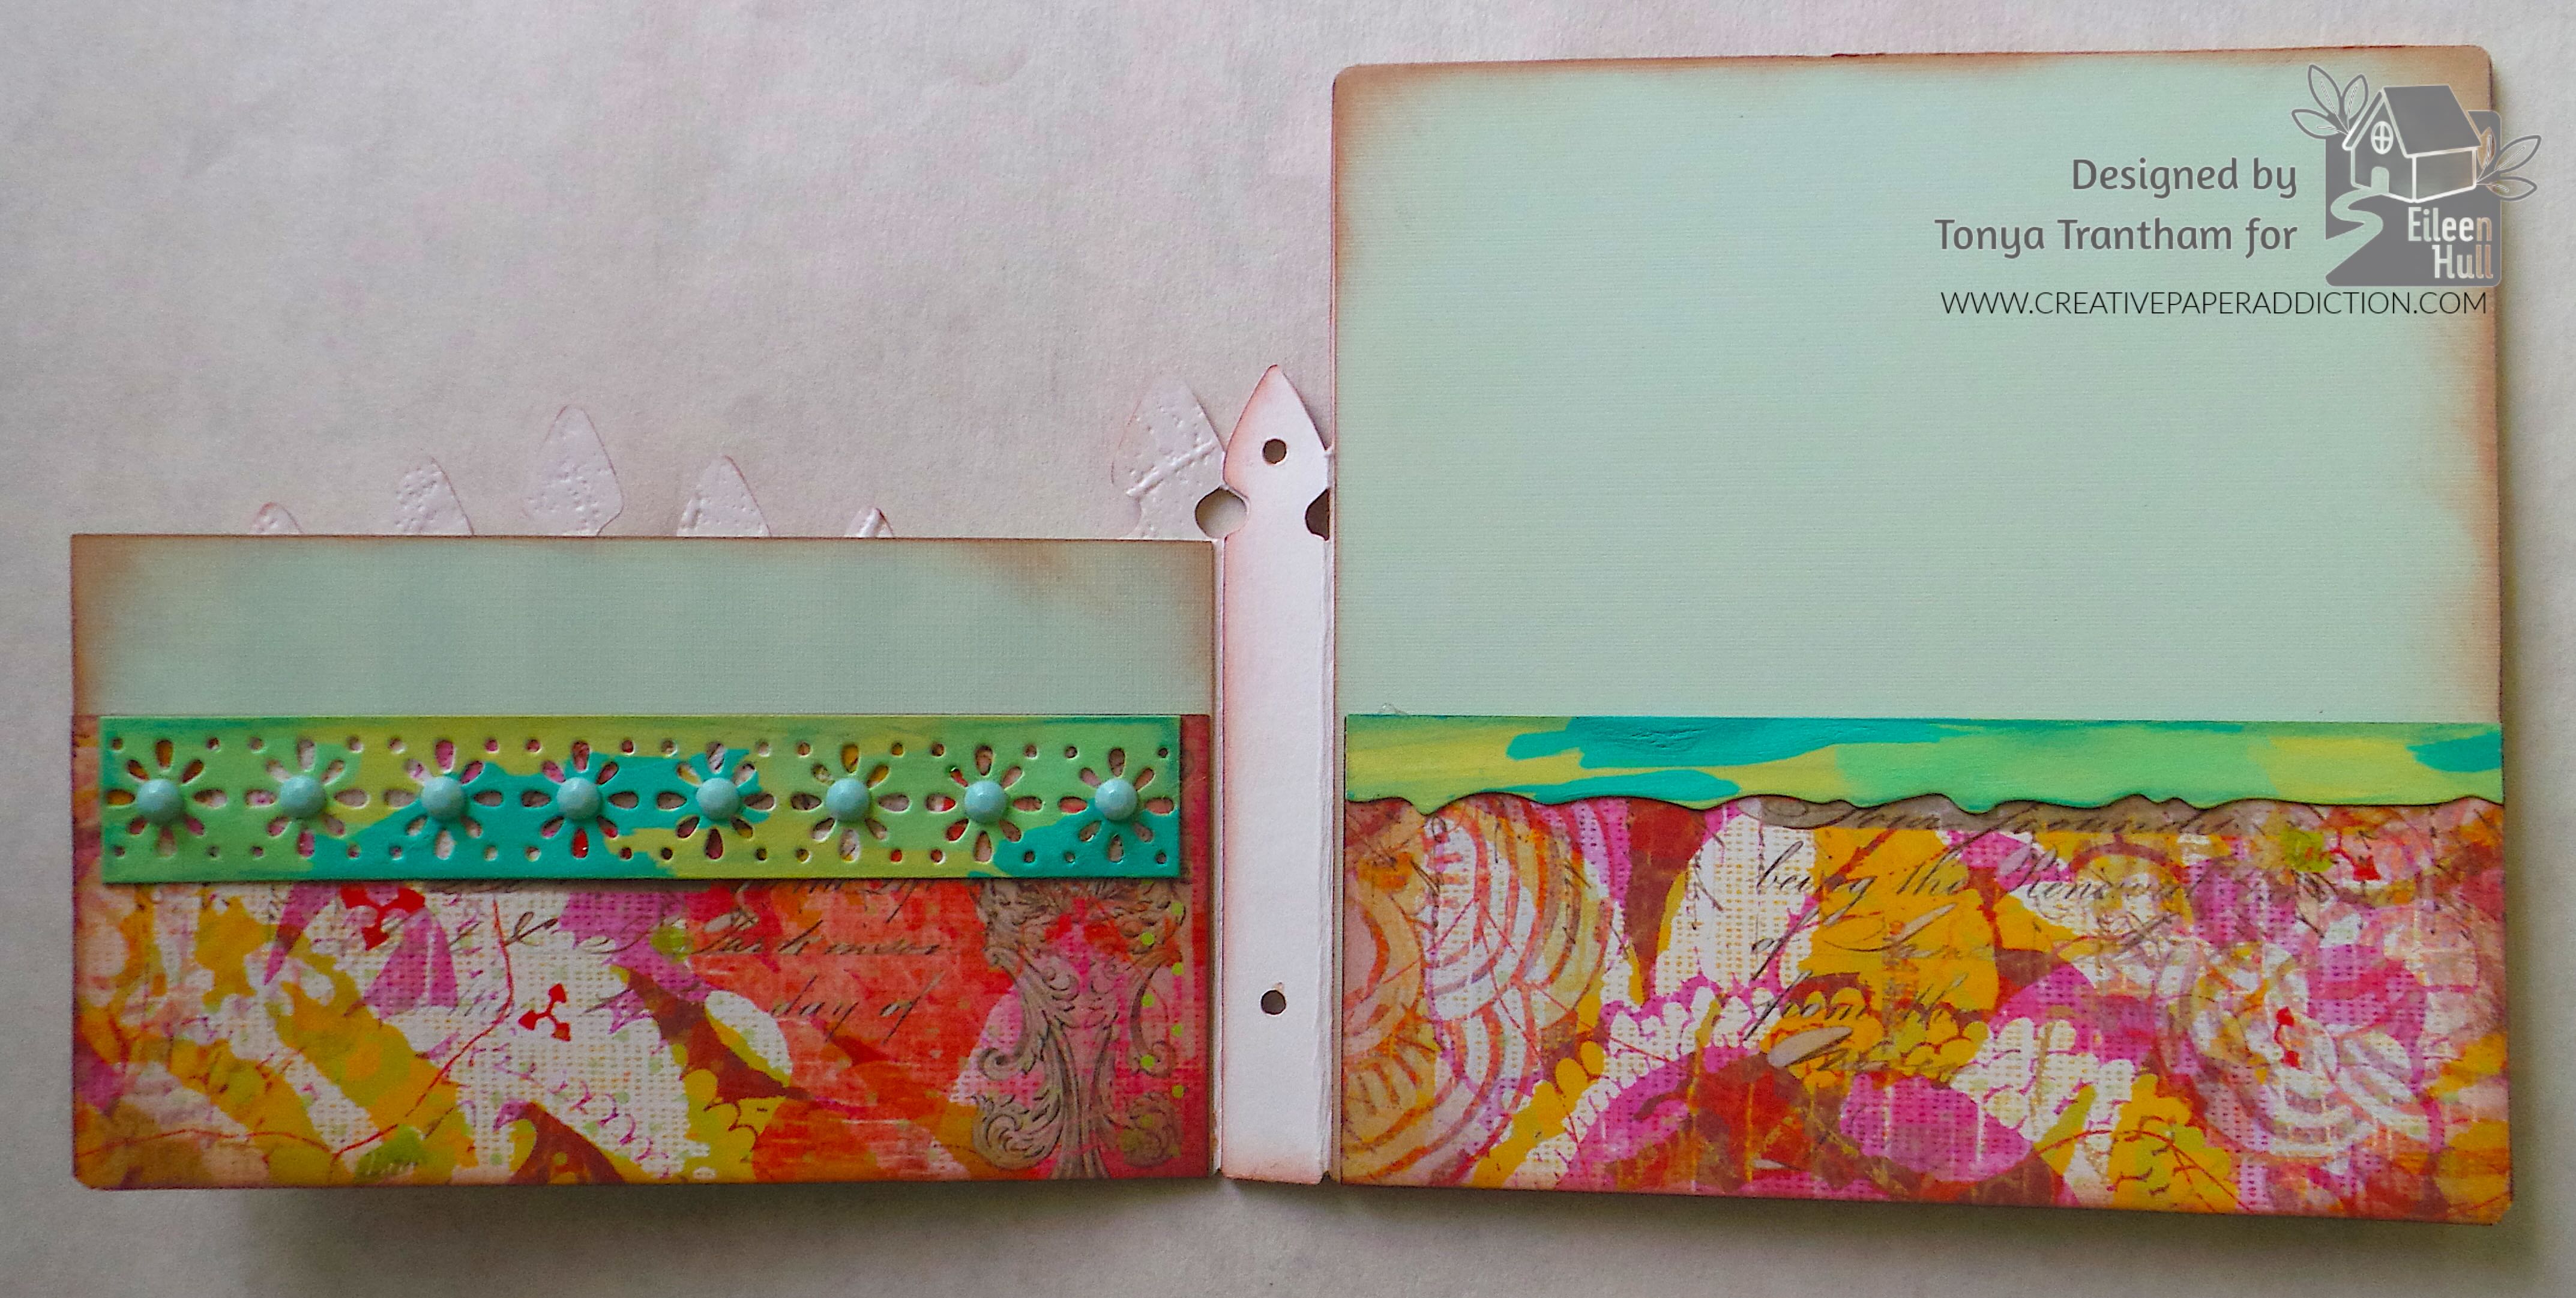
A colorful scrapbook page featuring layered patterned paper with floral designs, decorative borders, and a light blue background area ready for writing or additional embellishments.

I cut two pieces of patterned cardstock an inch high (I think…I forgot to measure) and 5 inches wide. I applied glue to both sides and the bottom of each piece of cardstock and placed on the inside of the front and back cover to create pockets. I selected two of the page edge dies and adhered to the top of each pocket. I added light blue gems to the center of each flower on the page edge die.

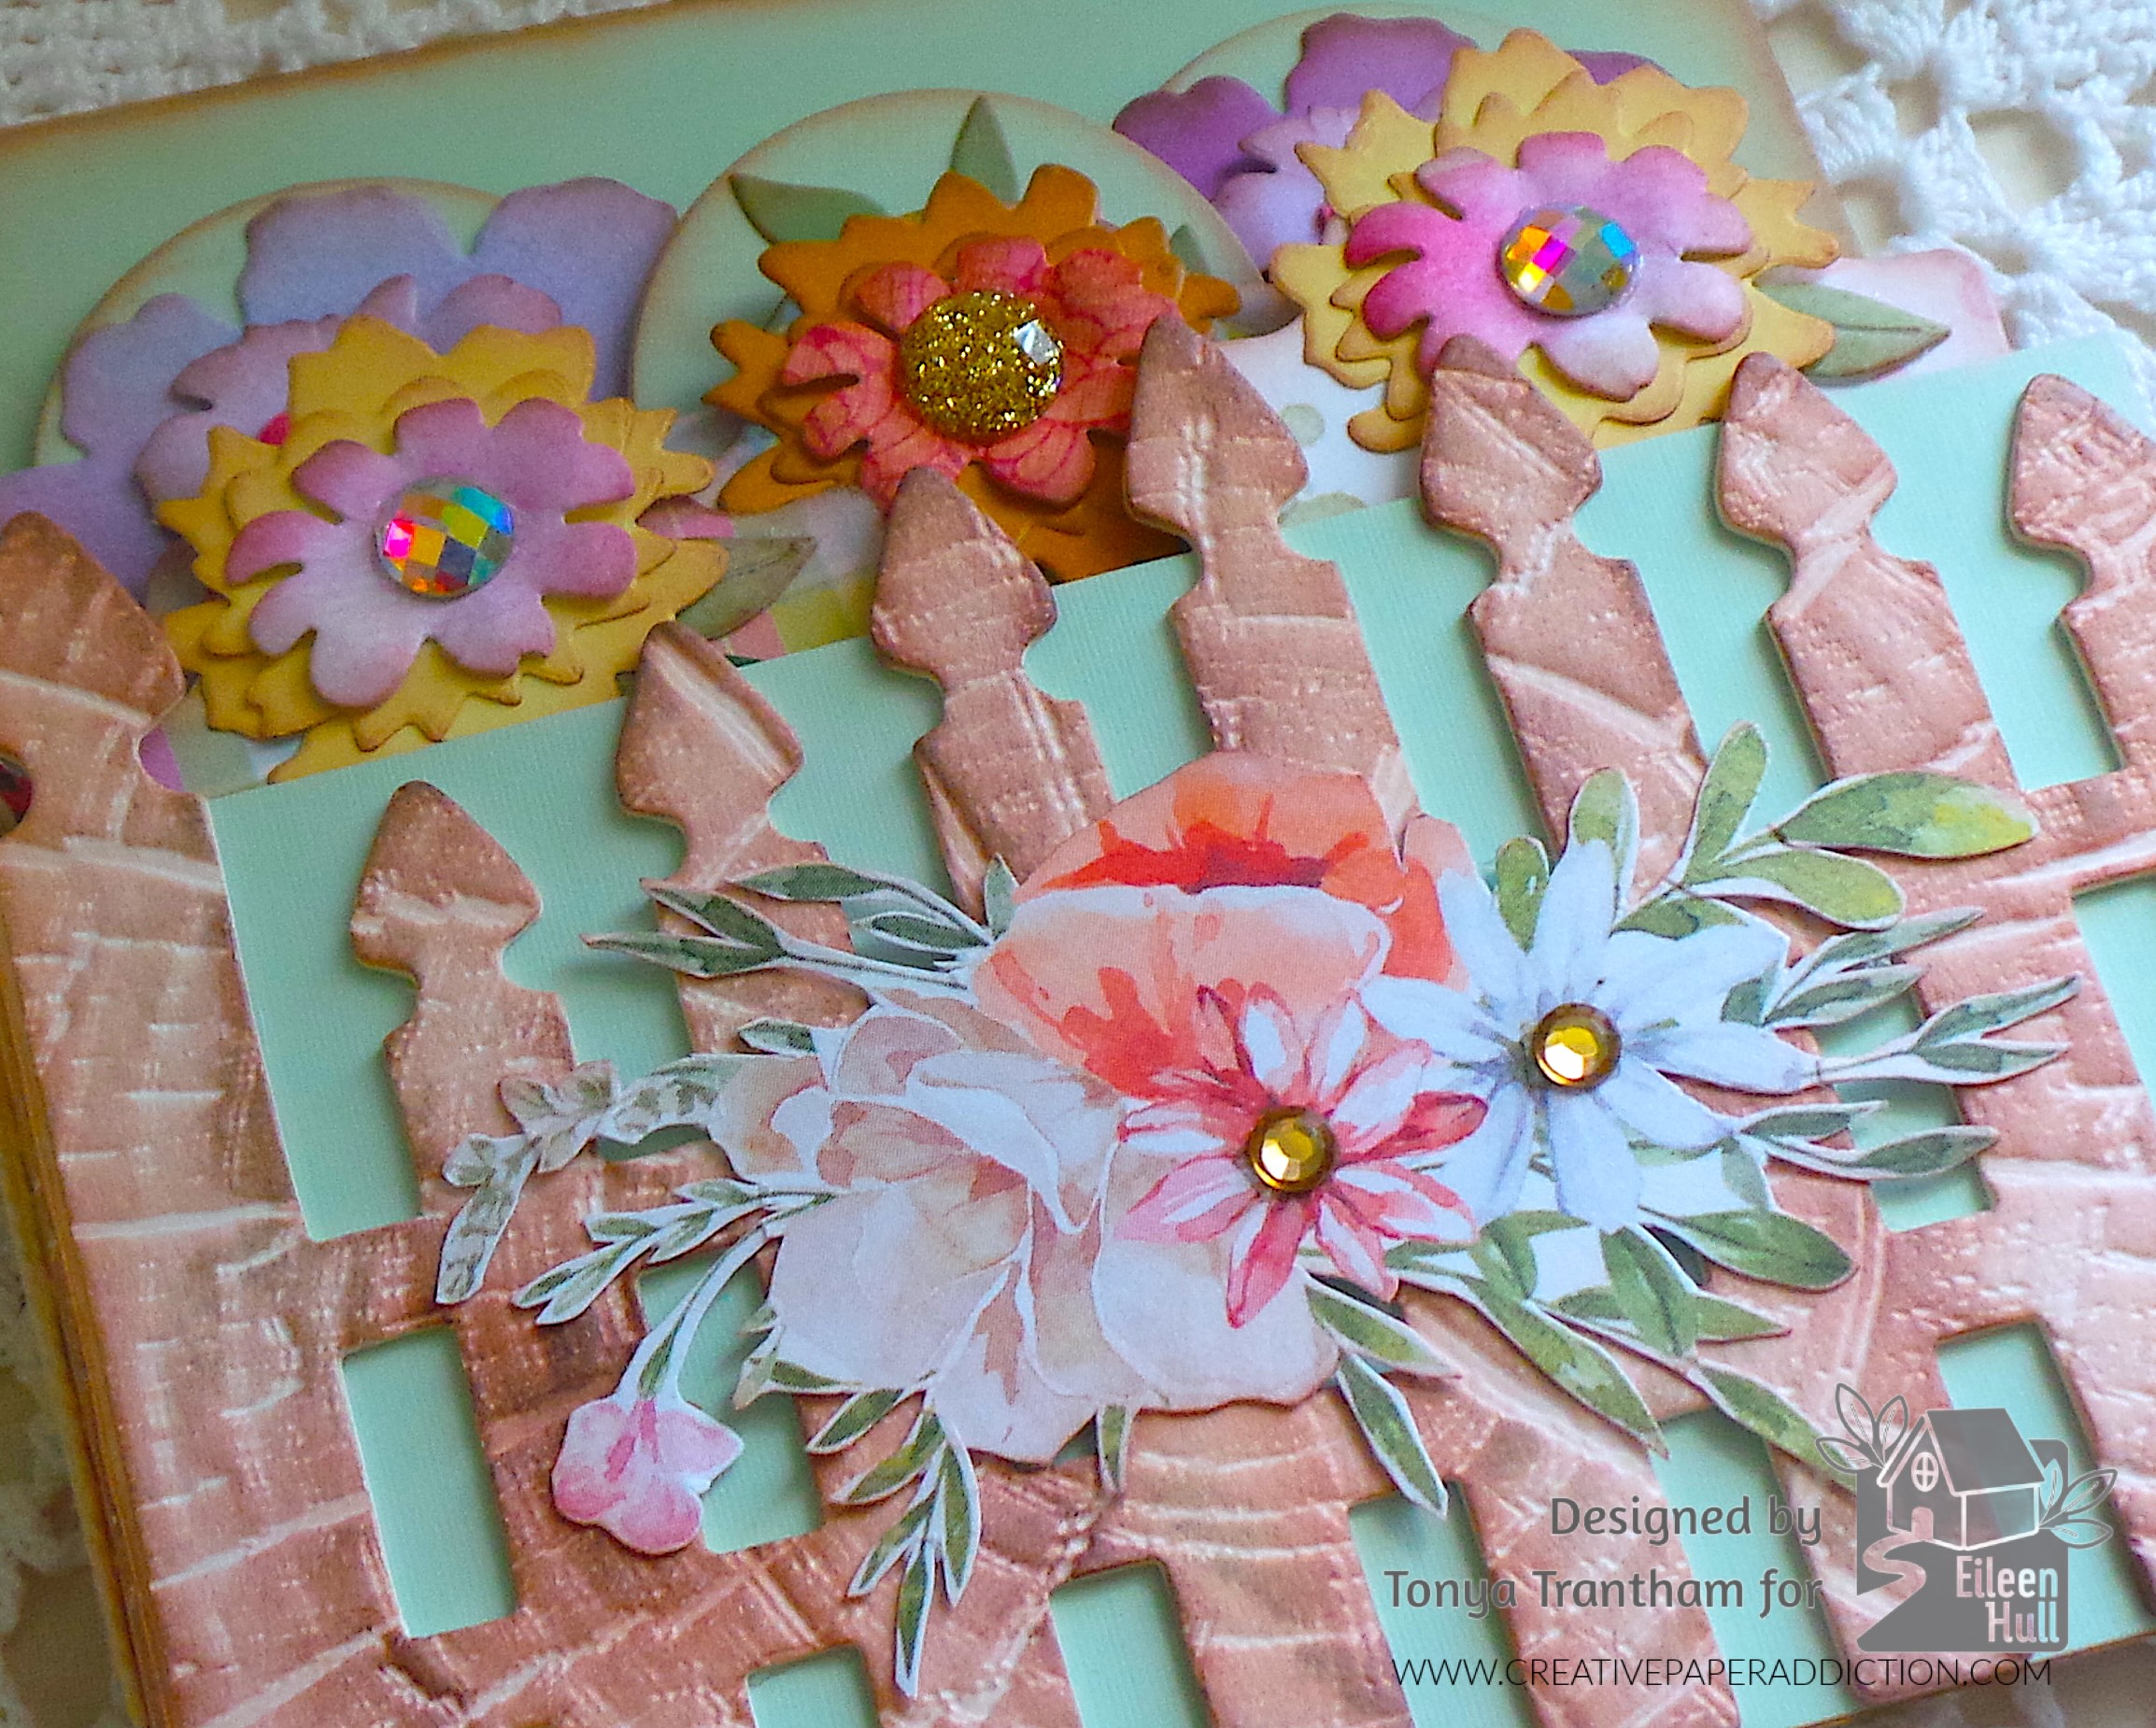
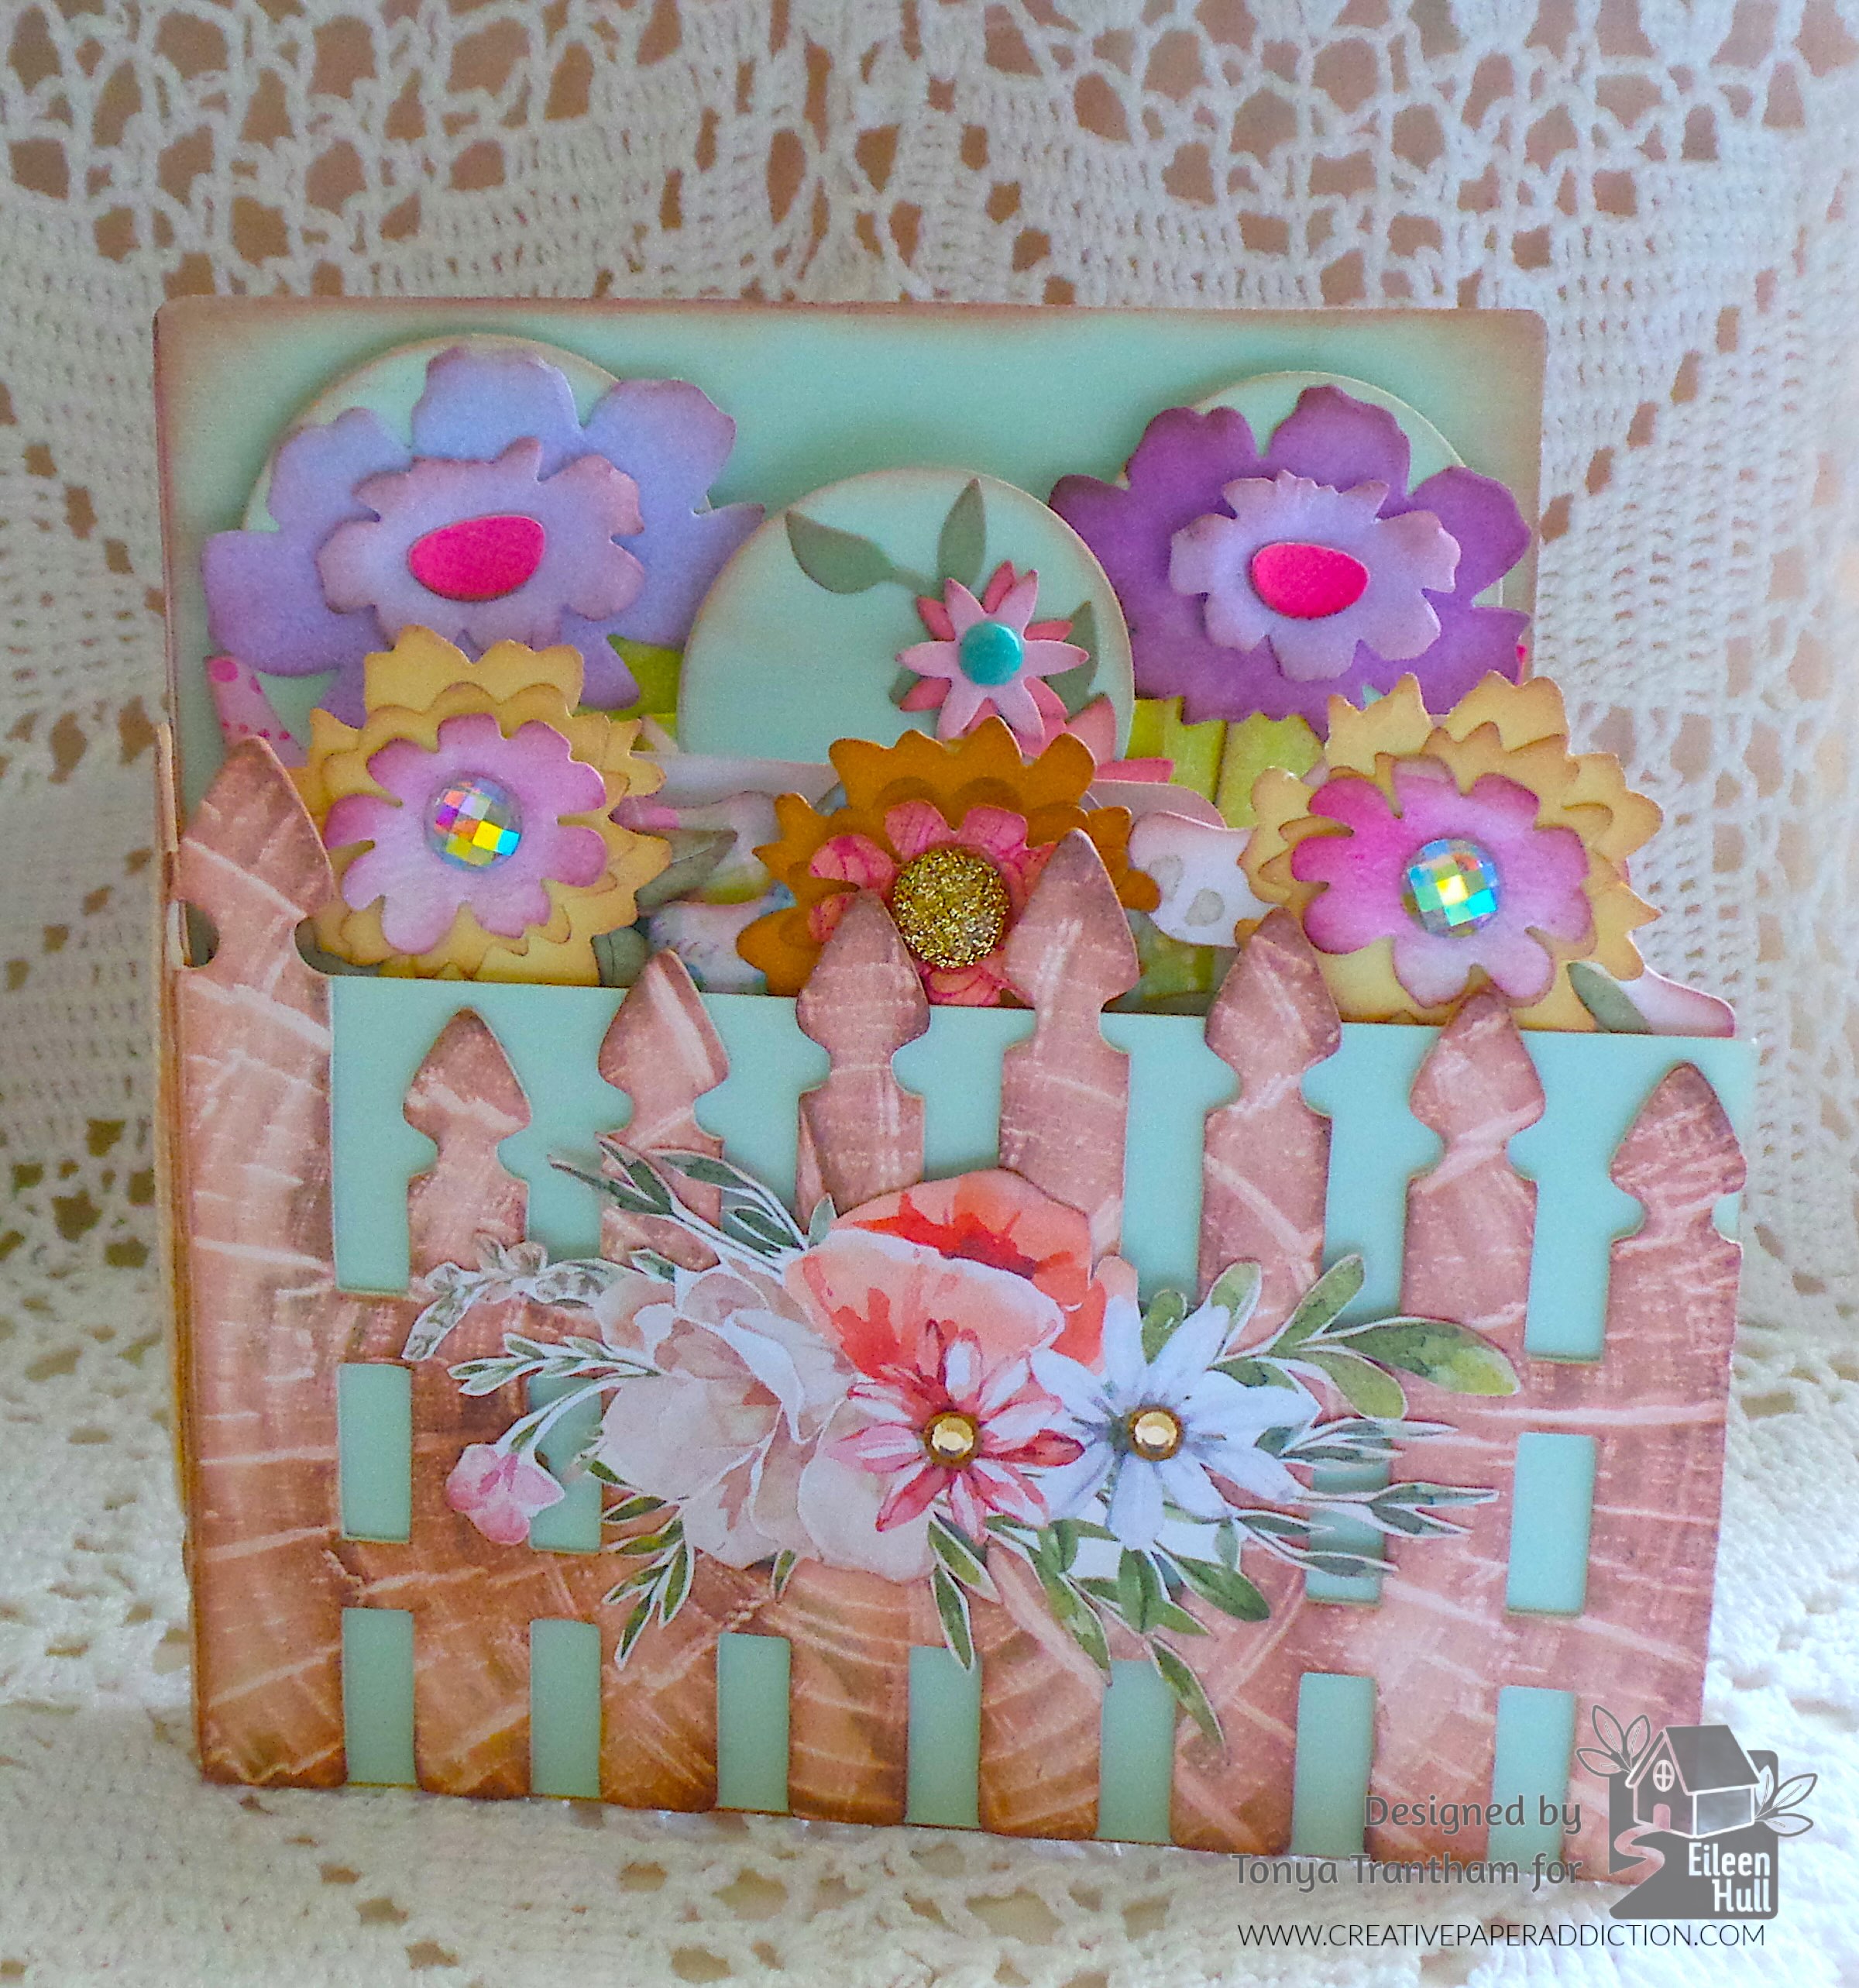
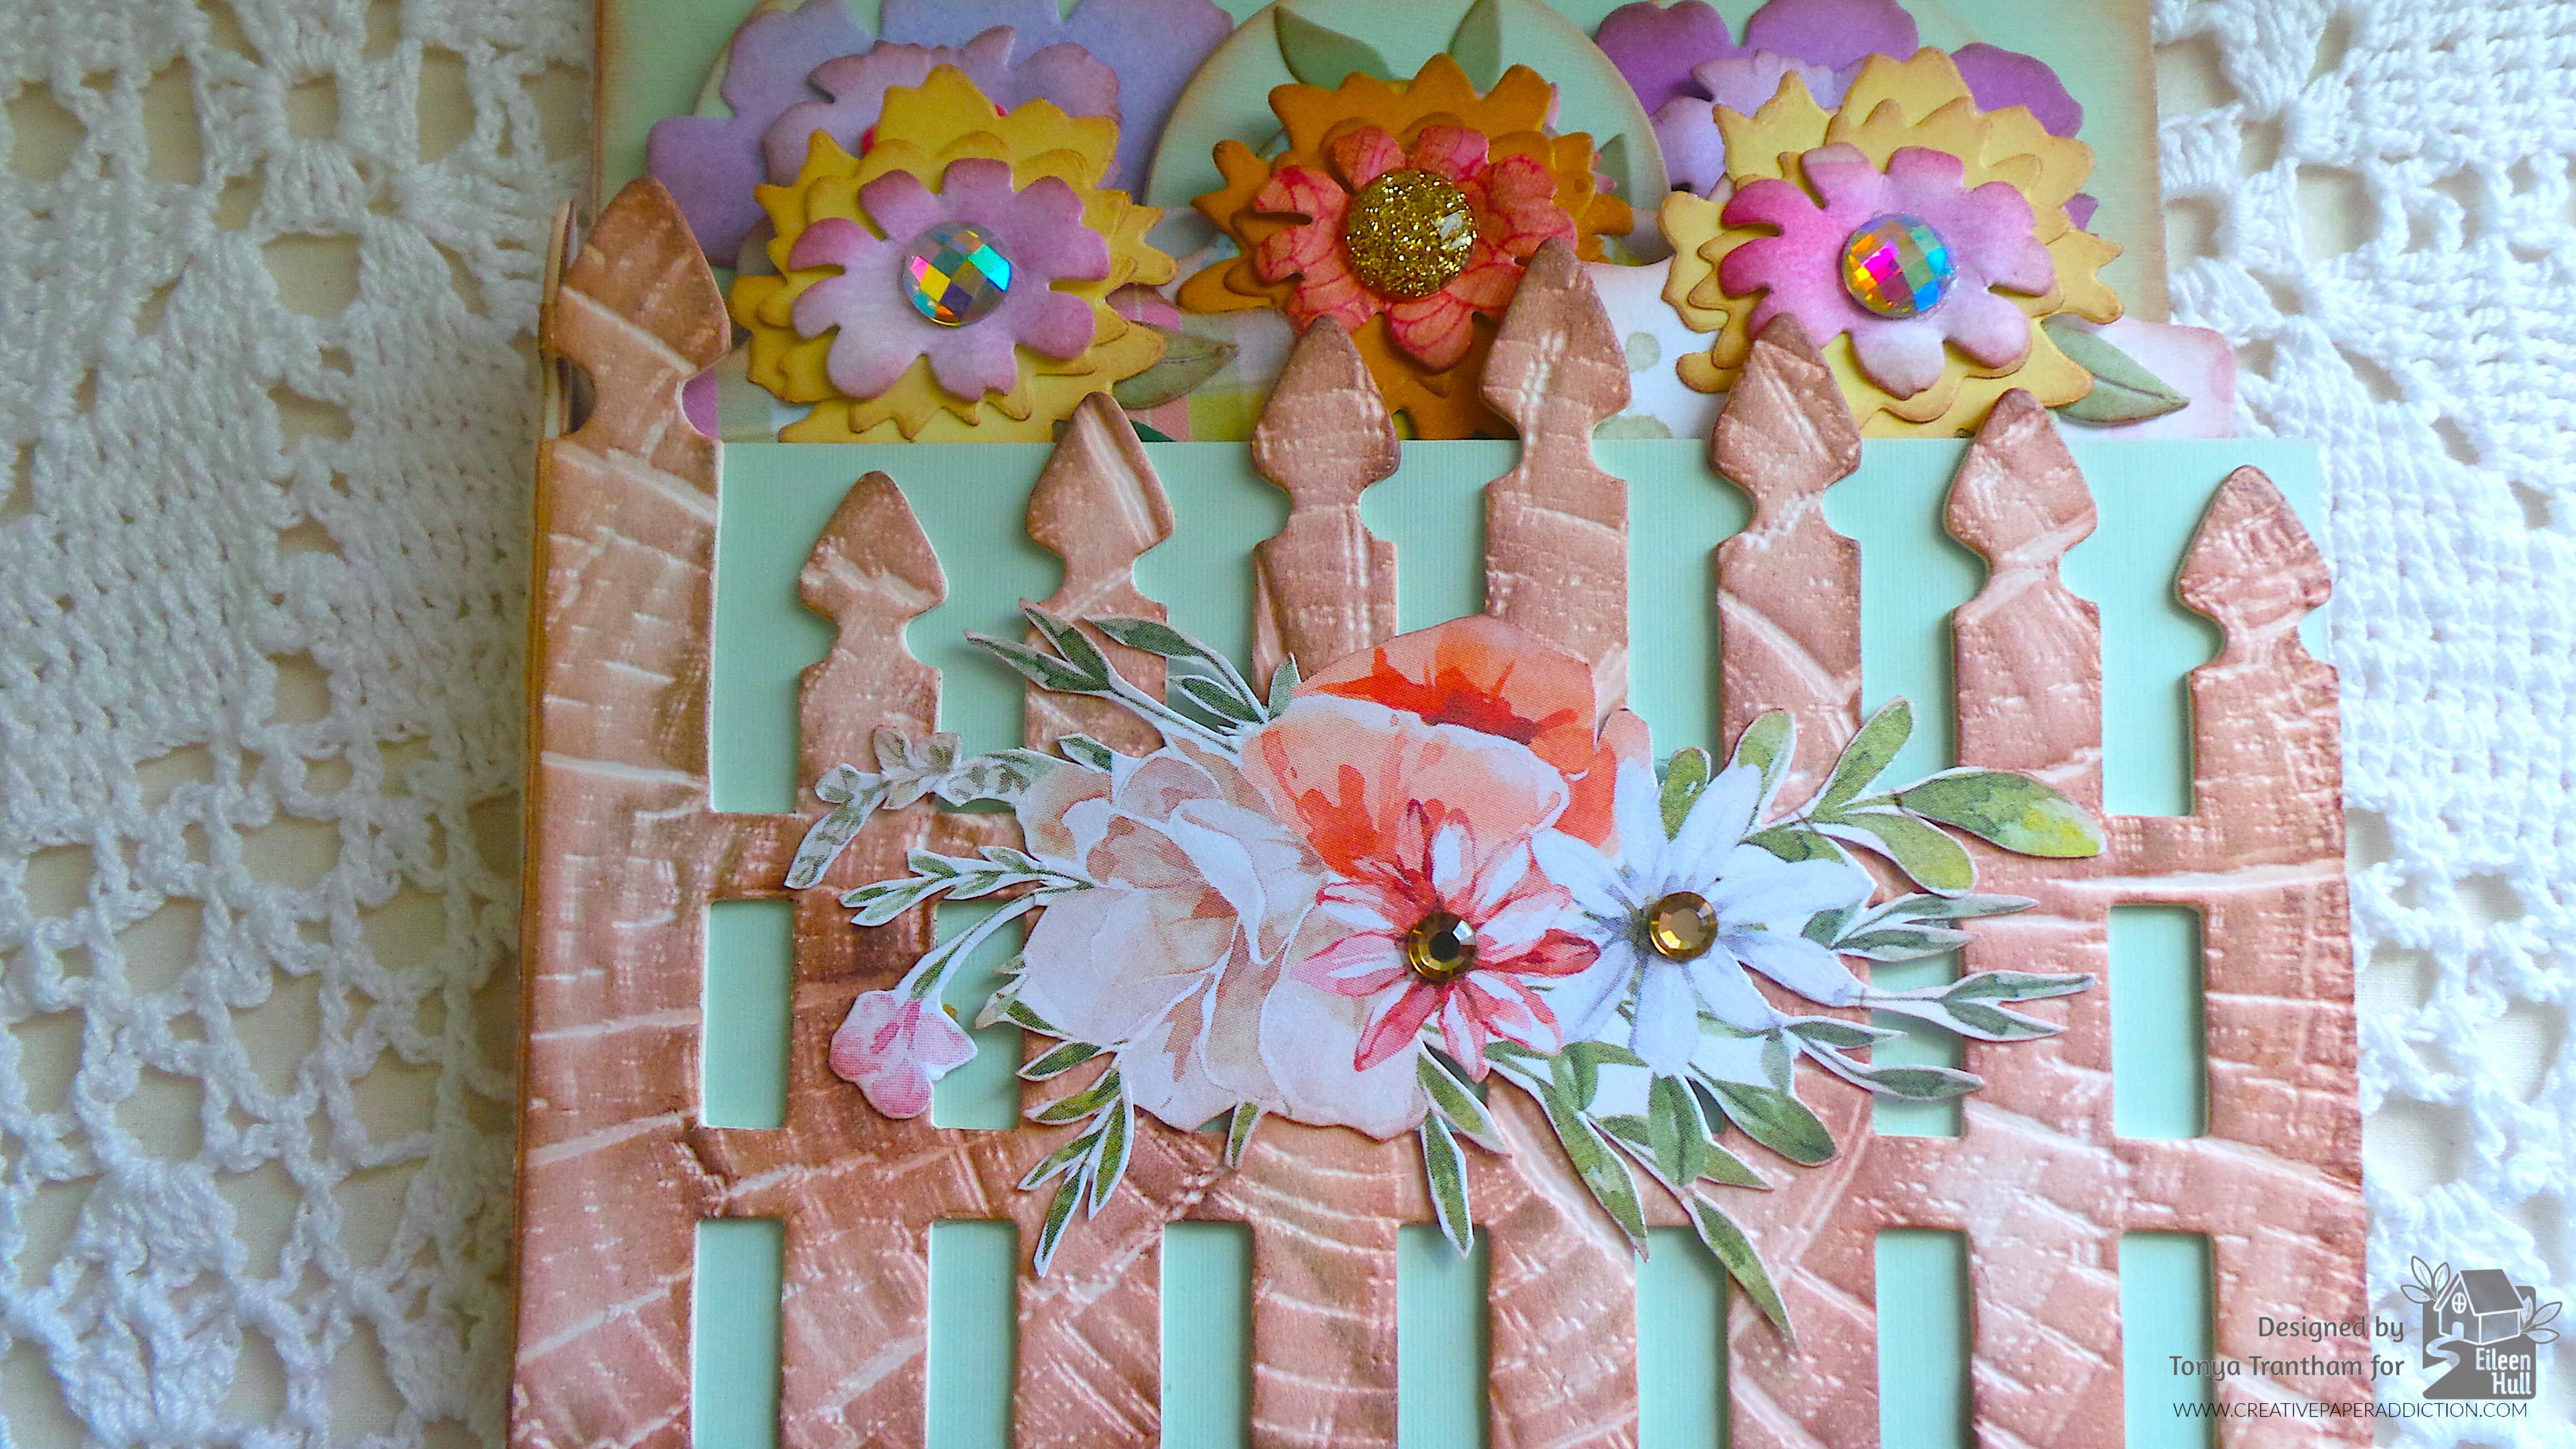
For the outside of the cover I dug into my stash and found this bouquet of flowers that I had fussy cut from some patterned cardstock. I added that to the garden gate and glued two gold gems to the center of the flowers to finish the cover.

If you have any questions or comments please leave them below. If you haven’t been by Eileen’s blog lately you can find the latest post HERE. Also be sure to come back Friday for part two of how I add the pocket to the inside of the spine and create tags.

A decorative paper craft featuring a peach-colored picket fence adorned with floral decorations, including pink, purple, and yellow flowers, along with a cluster of roses and greenery, set against a pastel background.

Supplies

Sizzix/Eileen Hull: Garden Gate Journal Diecut

Sizzix/Eileen Hull: Page Edges Thinlits

Diecut Machine

Paper Cutter

Matboard

Scissors

Sizzix/Tim Holtz: Wood Embossing Folder (item number 666049)

Light Blue and Gold Gems

Various Plain and Patterned Cardstocks

Brown and Black Chalk Inks

Acrylic Paint: Celery, Bright Mint, Ocean Breeze

Paint Brush

Thread and Needle

Beacon Adhesives: Zip Dry Adhesive

(Products listed above are Affiliated Links for your convenience)

DISCLAIMERS

This blog is compensated to provide opinion on products, services, websites, and various other topics. Even though the owner(s) of this blog receives compensation for our posts or advertisements. I always give my honest opinions, findings, beliefs, or experiences on those topics or products. The views and opinions expressed on this blog are purely my own. Any product claim, statistic, or quote should be checked with each manufacturer. Verify other representations about a product or service with the provider or party in question.This blog contains affiliate linksClicking these links helps to support Tonya Trantham Designs – Creative Paper Addiction. It’s at no additional cost to you. Today’s features are Sizzix, Eileen Hull and Scrapbook.com Products. 

A decorative box featuring a lattice design on the front, embellished with colorful paper flowers and gems, resting on a lace background.

Thanks for stopping by, I hope your Wednesday is great and enjoy creating!

A decorative design featuring a colorful bird perched among vibrant flowers, with the name 'Tonya' elegantly displayed in a stylized font against a soft blue background.

March in Miniature: Spring Altered Spool Project

Hi everyone! I’m back with my first project of the month for Eileen Hull. The theme for the month is March in Miniature. I used the Home Sweet Home Thinlits, Windowsill Flowers and Vase Thinlits and the Bookmark, Pocket and Toppers Thinlits to altered a mini ribbon spool. Anyways, let’s get started!

A decorative paper spool featuring a cute rabbit and colorful flowers, designed by Tonya Trantham for Eileen Hull.

After I had used up the ribbon that was on this spool I saved it. I thought there has to be a way to alter it into something useful.

A decorative black and white spool for ribbon designed in a flower shape, featuring the text 'ribbon' and 'the Paper Studio'.

I traced the top and bottom onto a scrap piece of patterned cardstock.

A black flower-shaped ribbon holder with 'Ribbon' text and a pen placed on a wooden surface next to a label featuring cloud shapes and a barcode.

I cut out the cardstock and glued to the top and bottom of the spool. I also inked the edges with a brown chalk ink. I cut a strip of cardstock to go around the center piece of the spool, inked and adhered around the center piece.

A decorative paper spool with a light blue and white scalloped top, placed next to a patterned strip of paper featuring pastel colors, on a wooden surface.

I cut the rabbit out of brown cardstock. Before cutting out the nose and the inside parts of the ears I applied an Adhesive Sheet to the back of a scrap of pink cardstock before cutting. I used Detail Tweezers to place the noses and the inside parts of the ears onto the rabbit. I inked the back and the belly of the rabbit with white chalk ink. I added an eye with a black marker.

A brown paper bunny cutout next to a silver metal die cut bunny, on a wooden surface with a pair of tweezers.

The first thing I did was apply glue along the bottom edge of the rabbit. I placed on top of the spool. I propped in-between a pair of Scissors and Detail Tweezers. This helped keep the rabbit upright while the glue dried.

Next I cut an assortment of leaf sprigs and flowers from the following diecuts: Home Sweet Home Thinlits, Windowsill Flowers and Vase Thinlits and the Bookmark, Pocket and Toppers Thinlits.

A handmade card featuring a brown rabbit sitting next to a pink flower and green leaves, placed on a decorative base.

I shaped all the flowers and leaf sprigs with a Stylus before adhering onto the spool. I added Gold and White Gems and Pearls Dots to the center of each flower. To finish I cut the top of a Q-Tip off and glued to the tail of the rabbit.

A small, decorative paper craft featuring a bunny surrounded by colorful flowers and green leaves, held in a person's hand.

I think this little rabbit will be the prefect shelf sitter and I can’t wait to create more. Also if you haven’t been by Eileen’s blog lately to see what her team has been up to you can find the latest post HERE.

If you have any questions or comments please leave them below.

A decorative paper craft featuring a small rabbit surrounded by colorful flowers and leaves, placed on a floral patterned spool. Designed by Tonya Trantham for Eileen Hull.

Supplies

Sizzix/Eileen Hull: Home Sweet Home Thinlits

Sizzix/Eileen Hull: Windowsill Flowers and Vase Thinlits

Sizzix/Eileen Hull: Bookmark, Pocket and Toppers Thinlits

Diecut Machine

Scissors

Paper Cutter

Adhesive Sheet

Stylus

Detail Tweezers

Gold and White Gems and Pearls Dots

Brown and White Chalk Inks

Black Marker

Plain and Patterned Cardstocks

Empty Ribbon Spool

Q -Tip

Beacon Adhesives: Zip Dry Adhesive

(Products listed above are Affiliated Links for your convenience)

DISCLAIMERS

This blog is compensated to provide opinion on products, services, websites, and various other topics. Even though the owner(s) of this blog receives compensation for our posts or advertisements. I always give my honest opinions, findings, beliefs, or experiences on those topics or products. The views and opinions expressed on this blog are purely my own. Any product claim, statistic, or quote should be checked with each manufacturer. Verify other representations about a product or service with the provider or party in question.This blog contains affiliate linksClicking these links helps to support Tonya Trantham Designs – Creative Paper Addiction. It’s at no additional cost to you. Today’s features are Sizzix, Eileen Hull and Scrapbook.com Products. 

A decorative paper spool featuring a cute brown bunny surrounded by colorful paper flowers and green leaves, set against a textured background.

Thanks for stopping by, I hope your Tuesday is wonderful and enjoy creating!

A decorative illustration featuring a bird perched among colorful flowers with the name 'Tonya' artistically displayed in a stylish font.

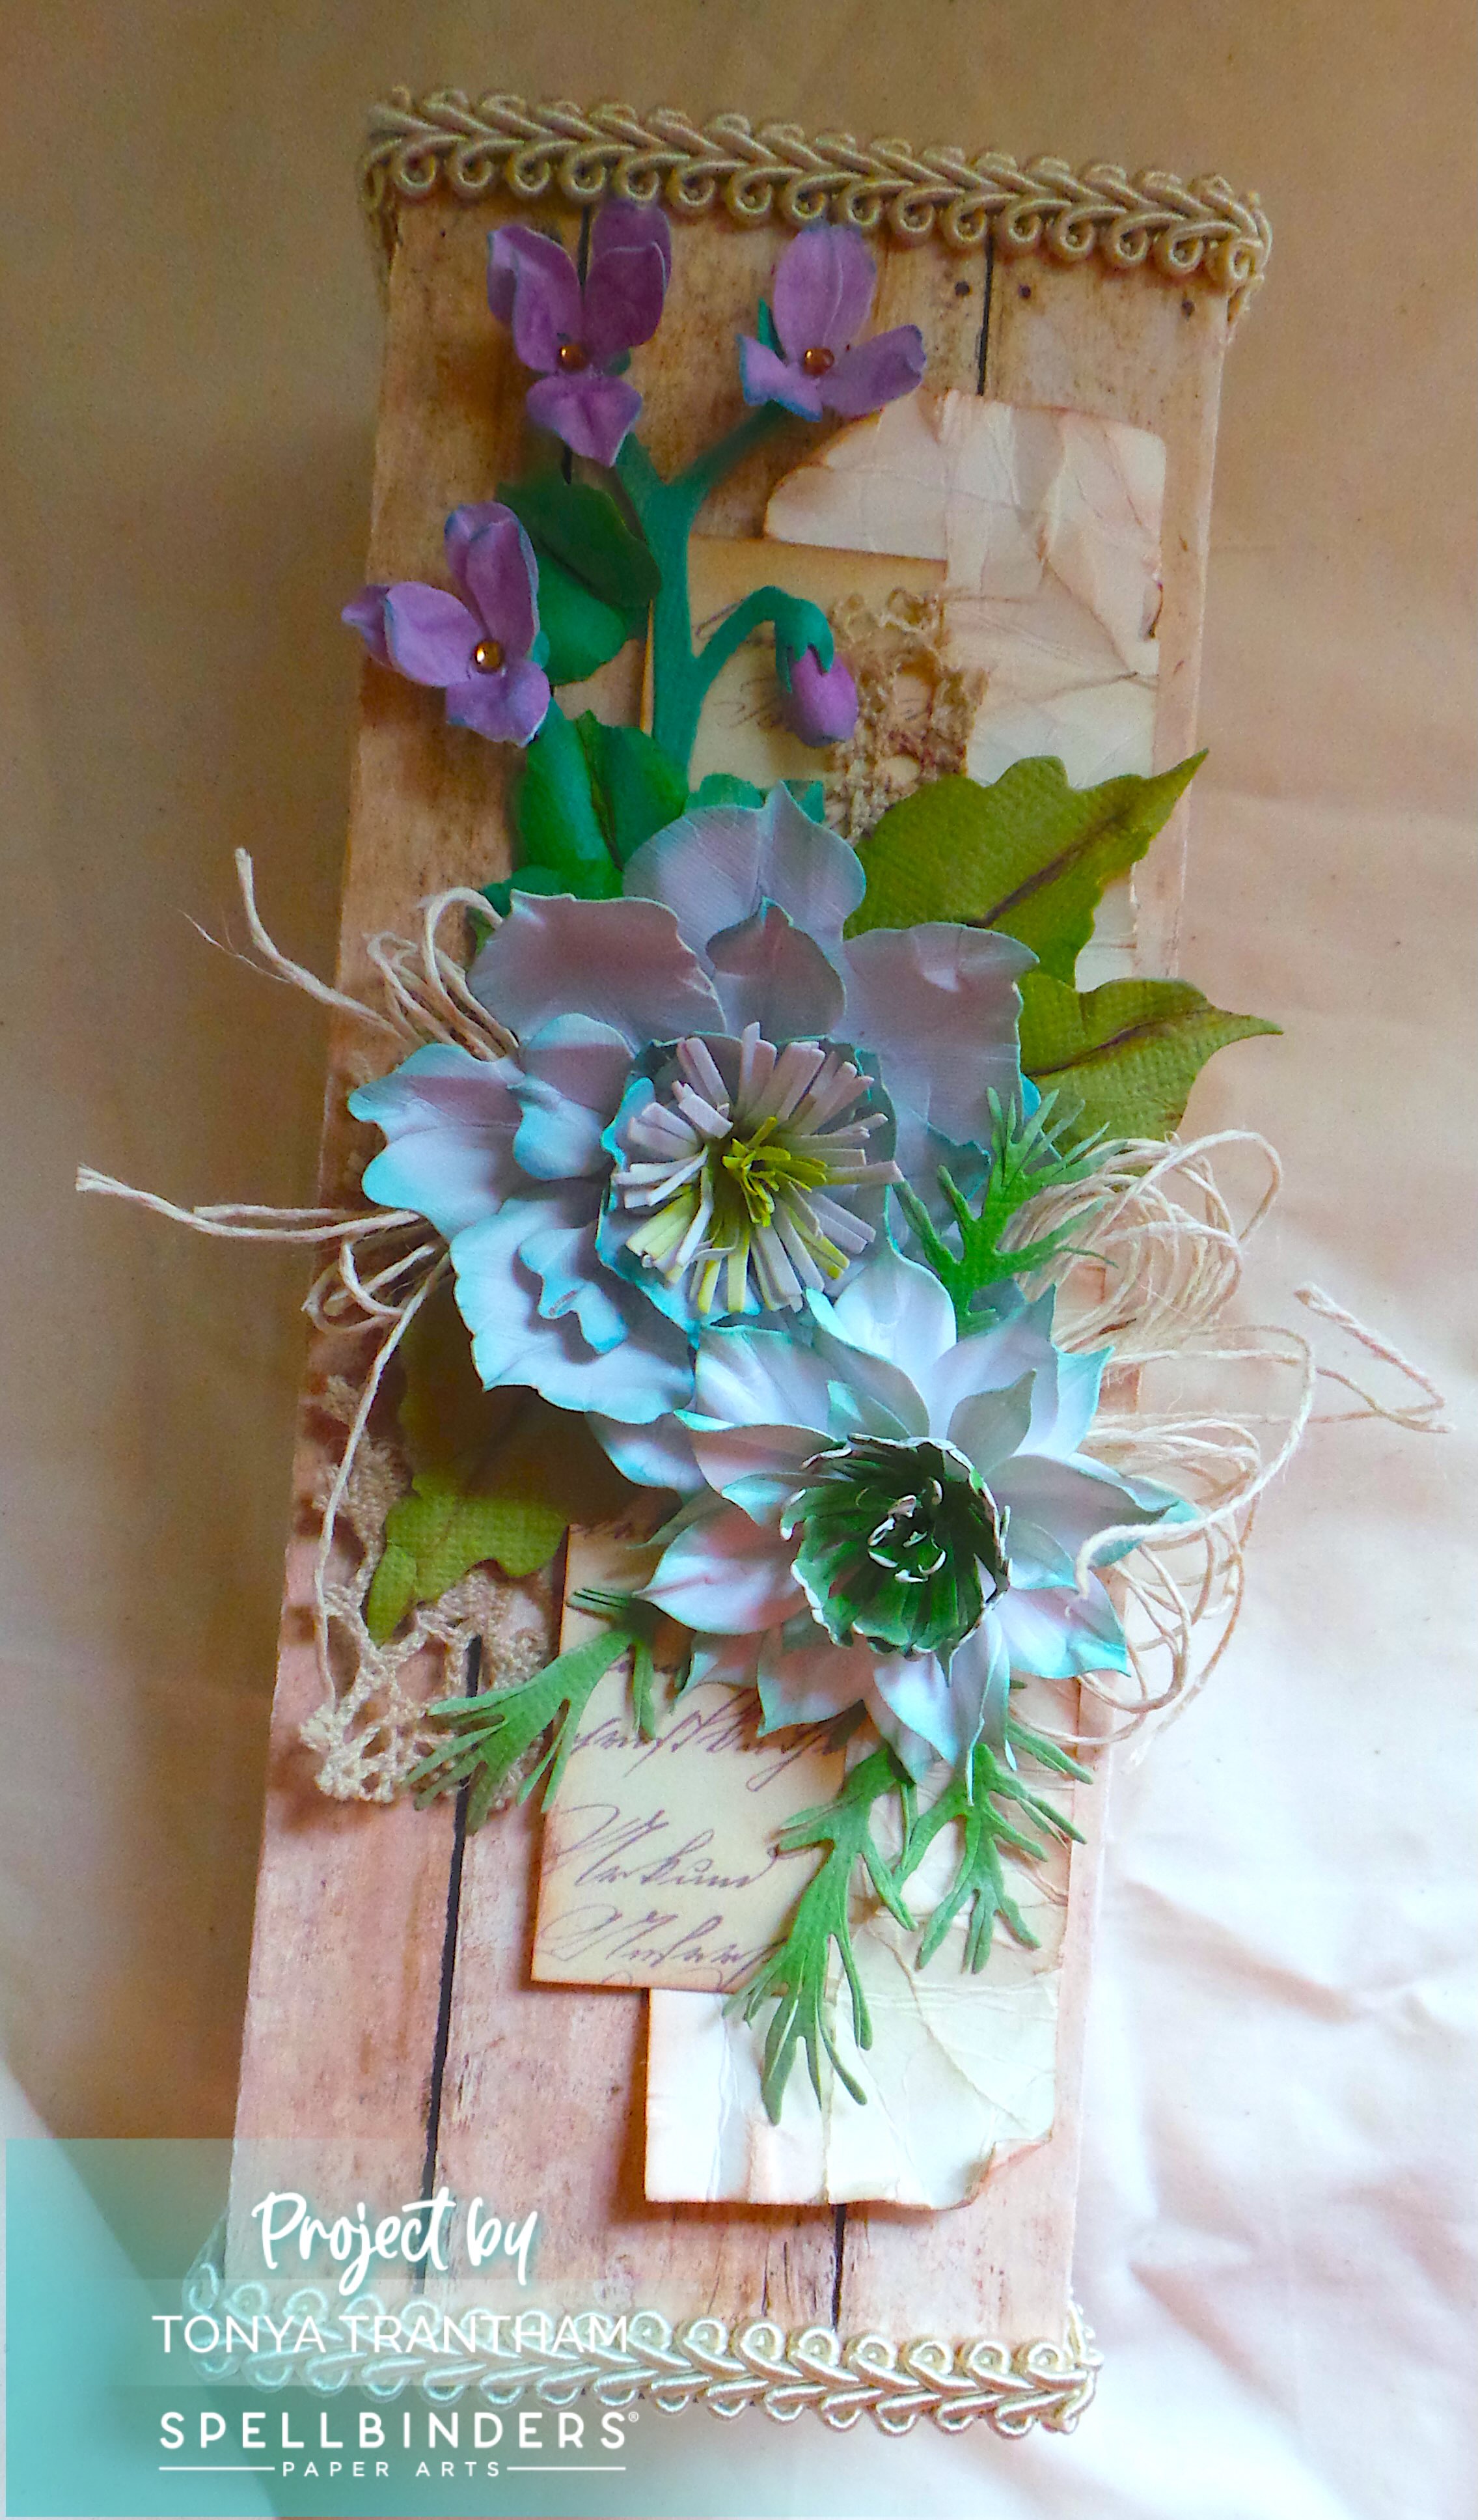
Creating an Up-cycled Box Using The Poet’s Garden Diecuts

Hi everyone! I’m back with my first project of the month using The Poet’s Garden Collection by Susan Tierney-Cockburn and Spellbinders. This collection contains Love-in-a-Mist Etched Dies, Clematis Poet Etched Dies, Wild Violet and Ladybugs Etched Dies and The Poet’s Garden Sentiments Press Plus Plate and Die Set. I used all the die sets except for the press plus plate die set. Anyways, let’s get started!

Mixed media craft project featuring vibrant paper flowers, including blue and purple blossoms, arranged on a wooden background with vintage elements.

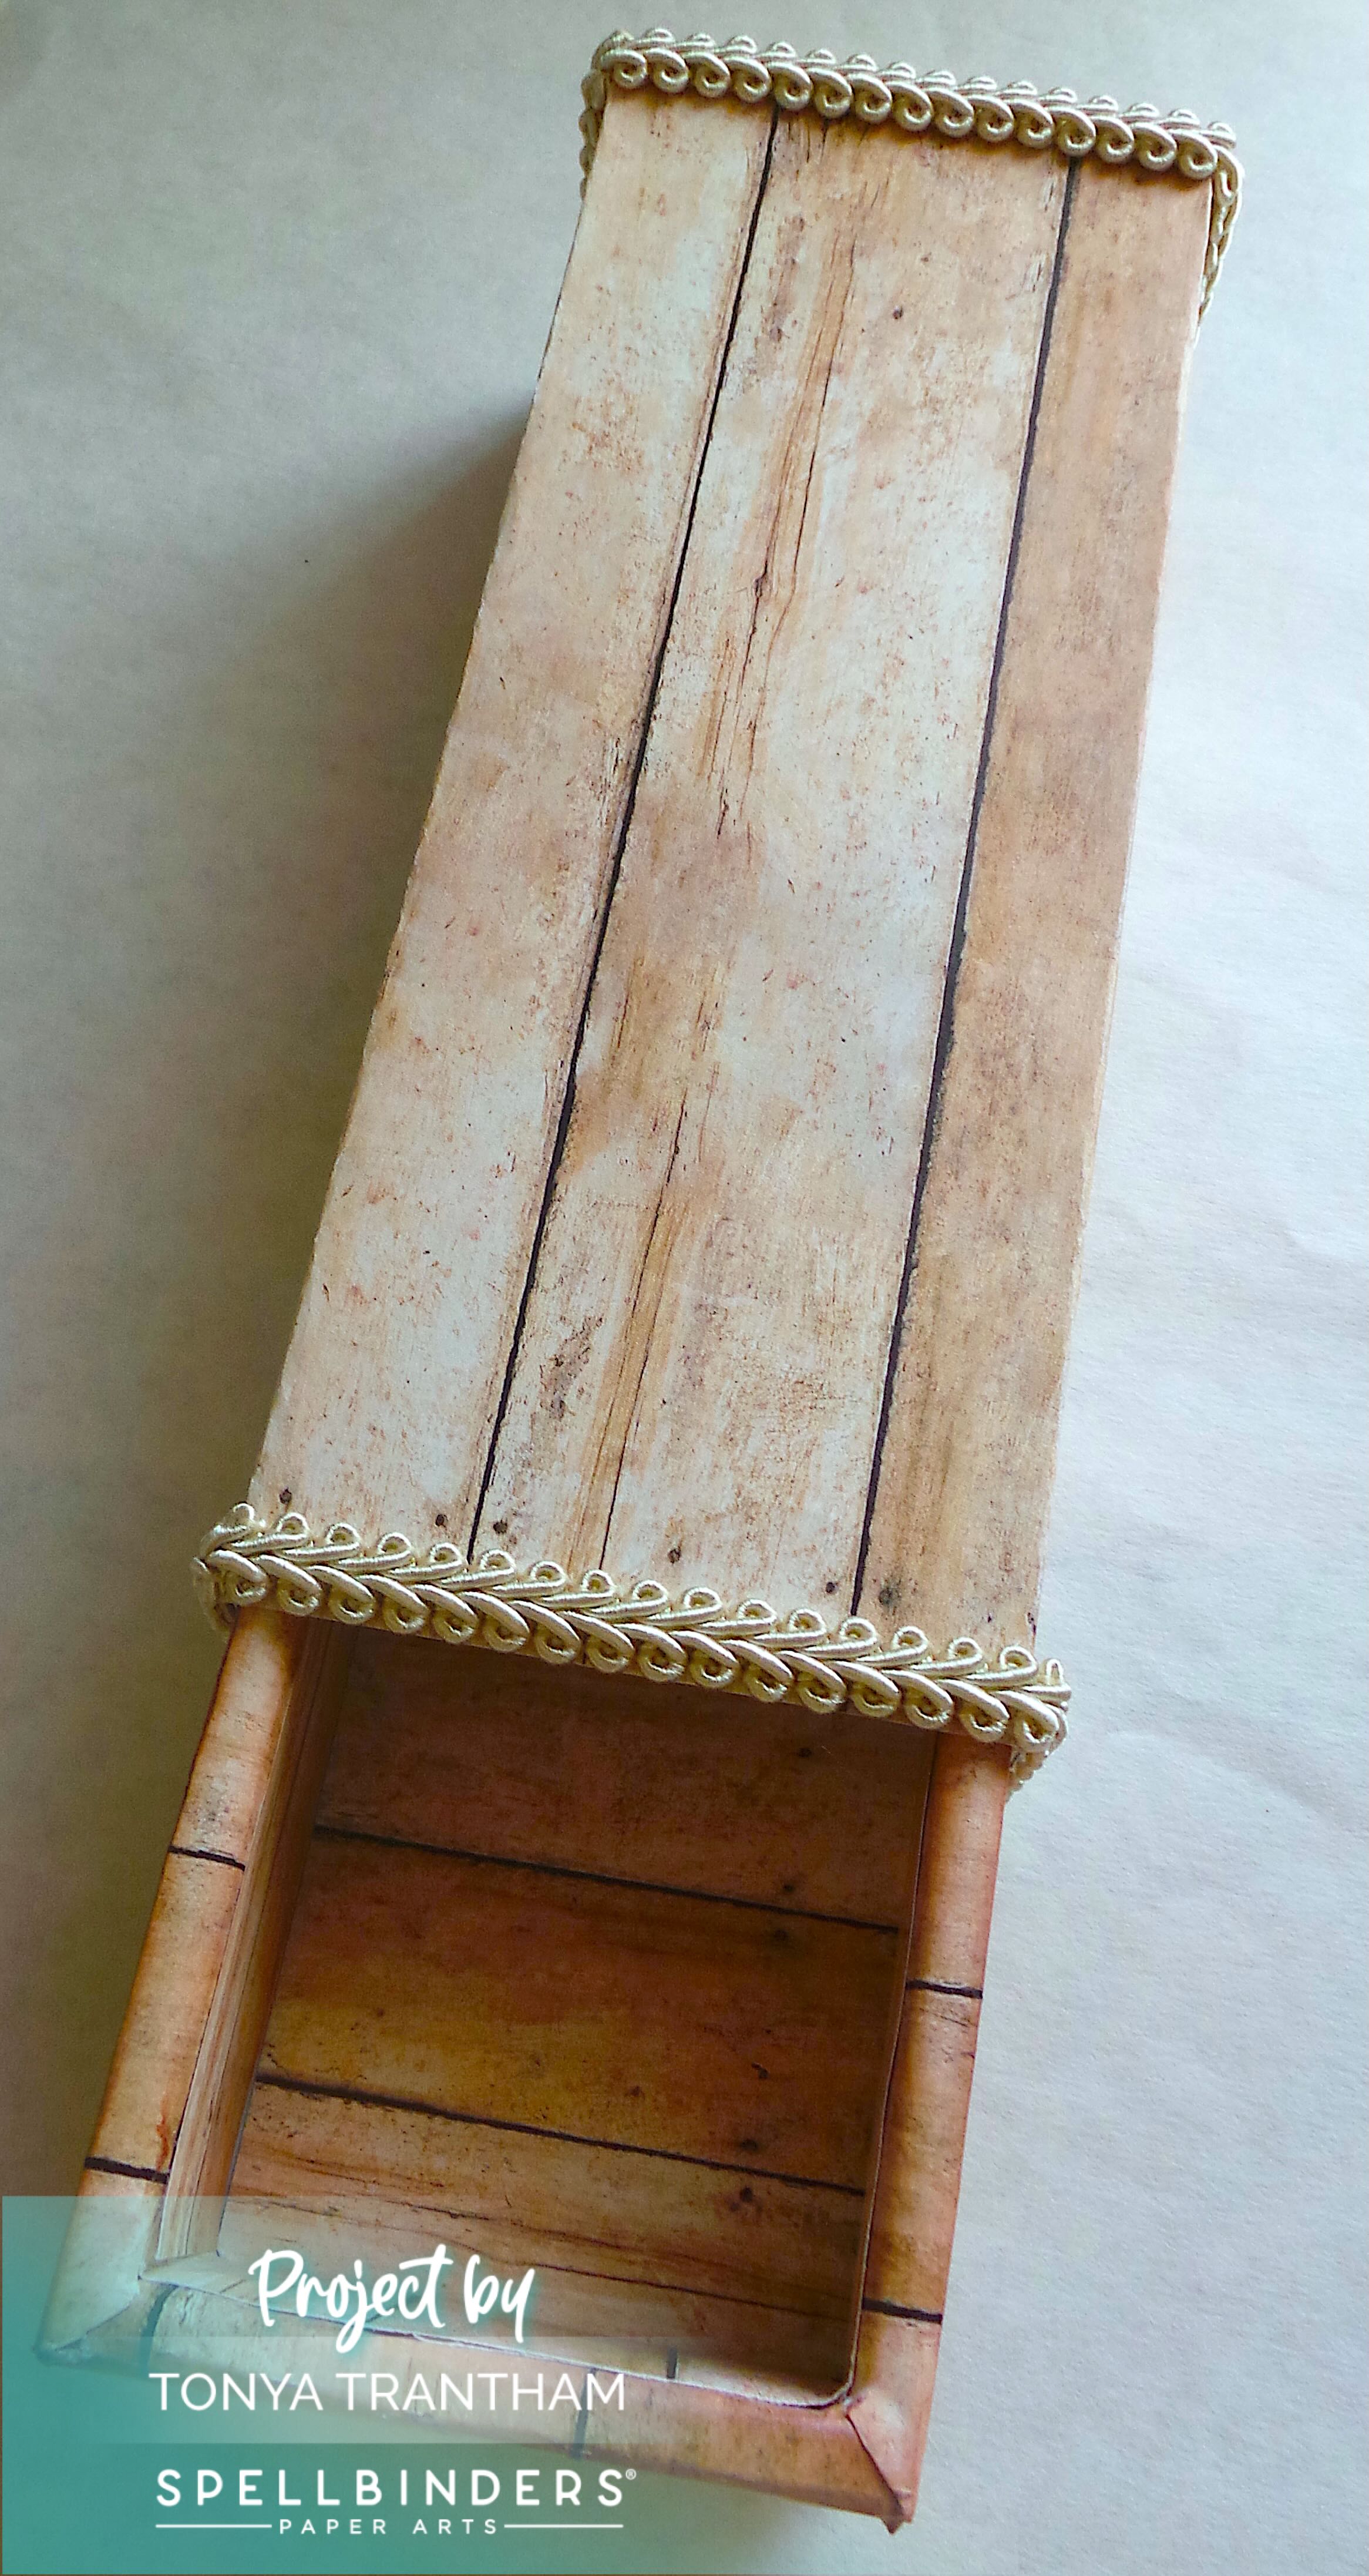
I will need a present in the upcoming months so I dug into my stash of small boxes I keep on hand and found this small box. I covered the outside and the inside portion that slides out with a cardstock that looks like wood. I also added trim to both outside ends of the box.

A rustic wooden box with a decorative trim, featuring a drawer partially pulled out.

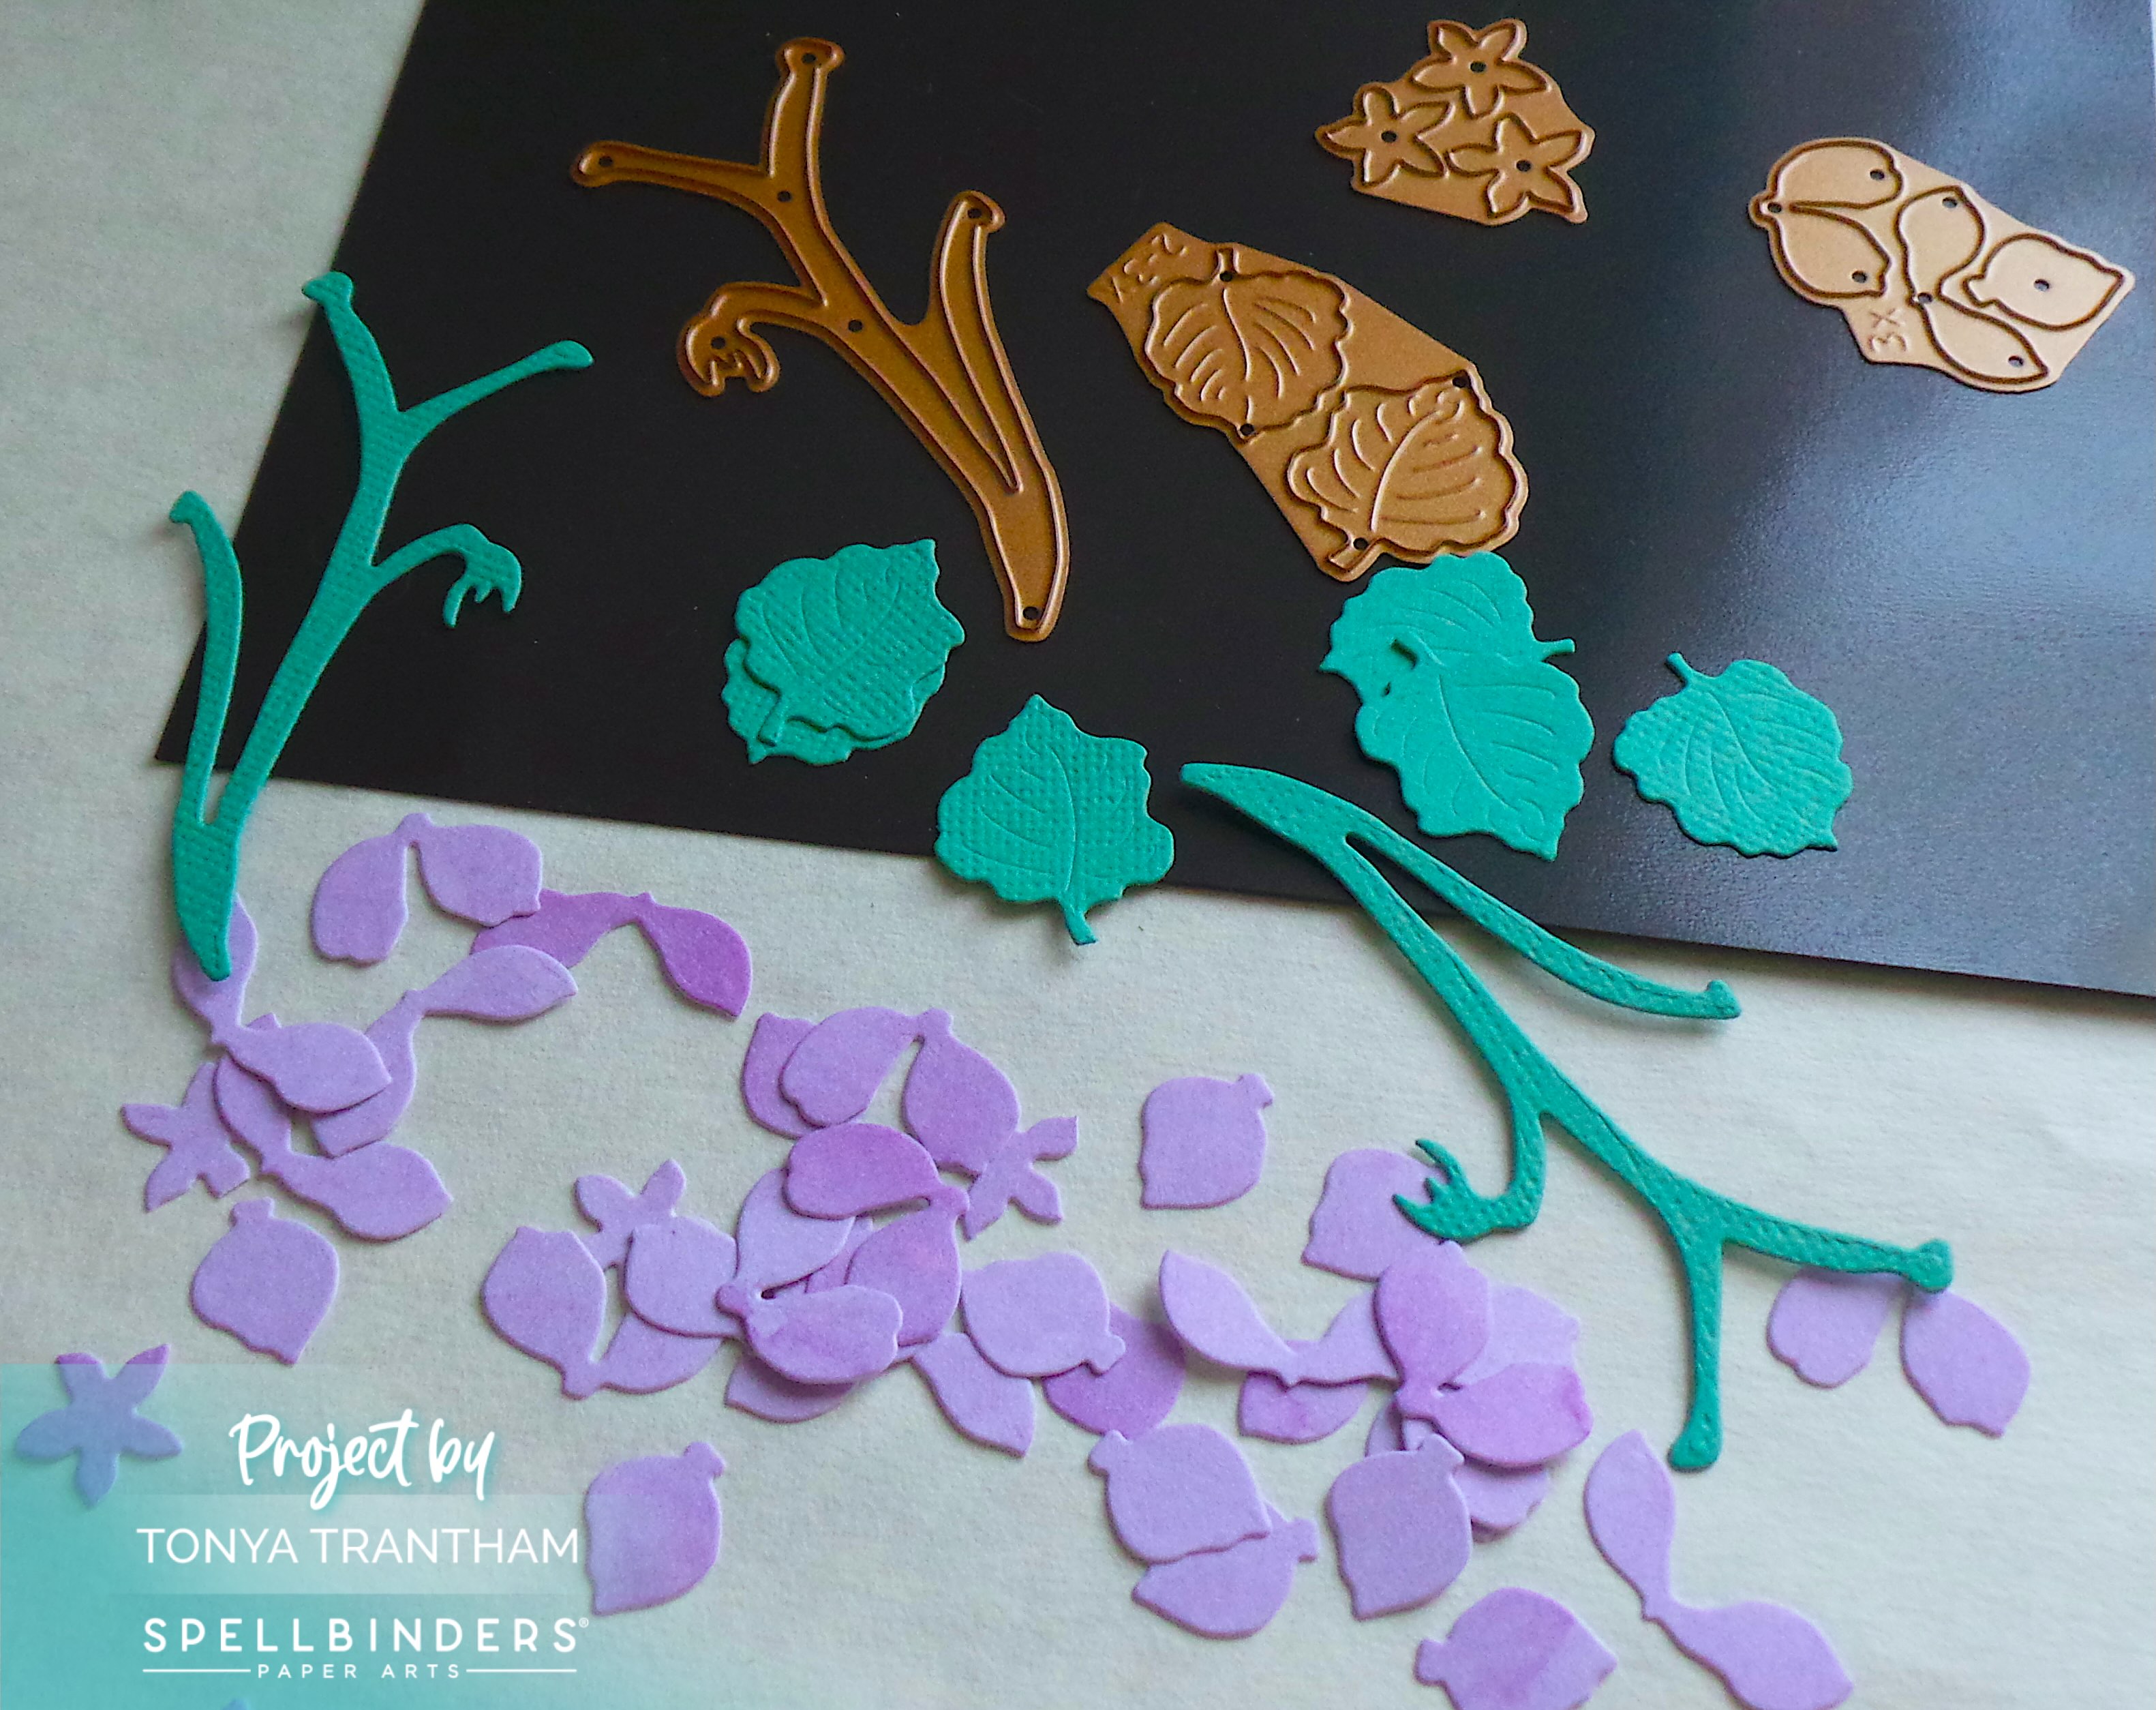
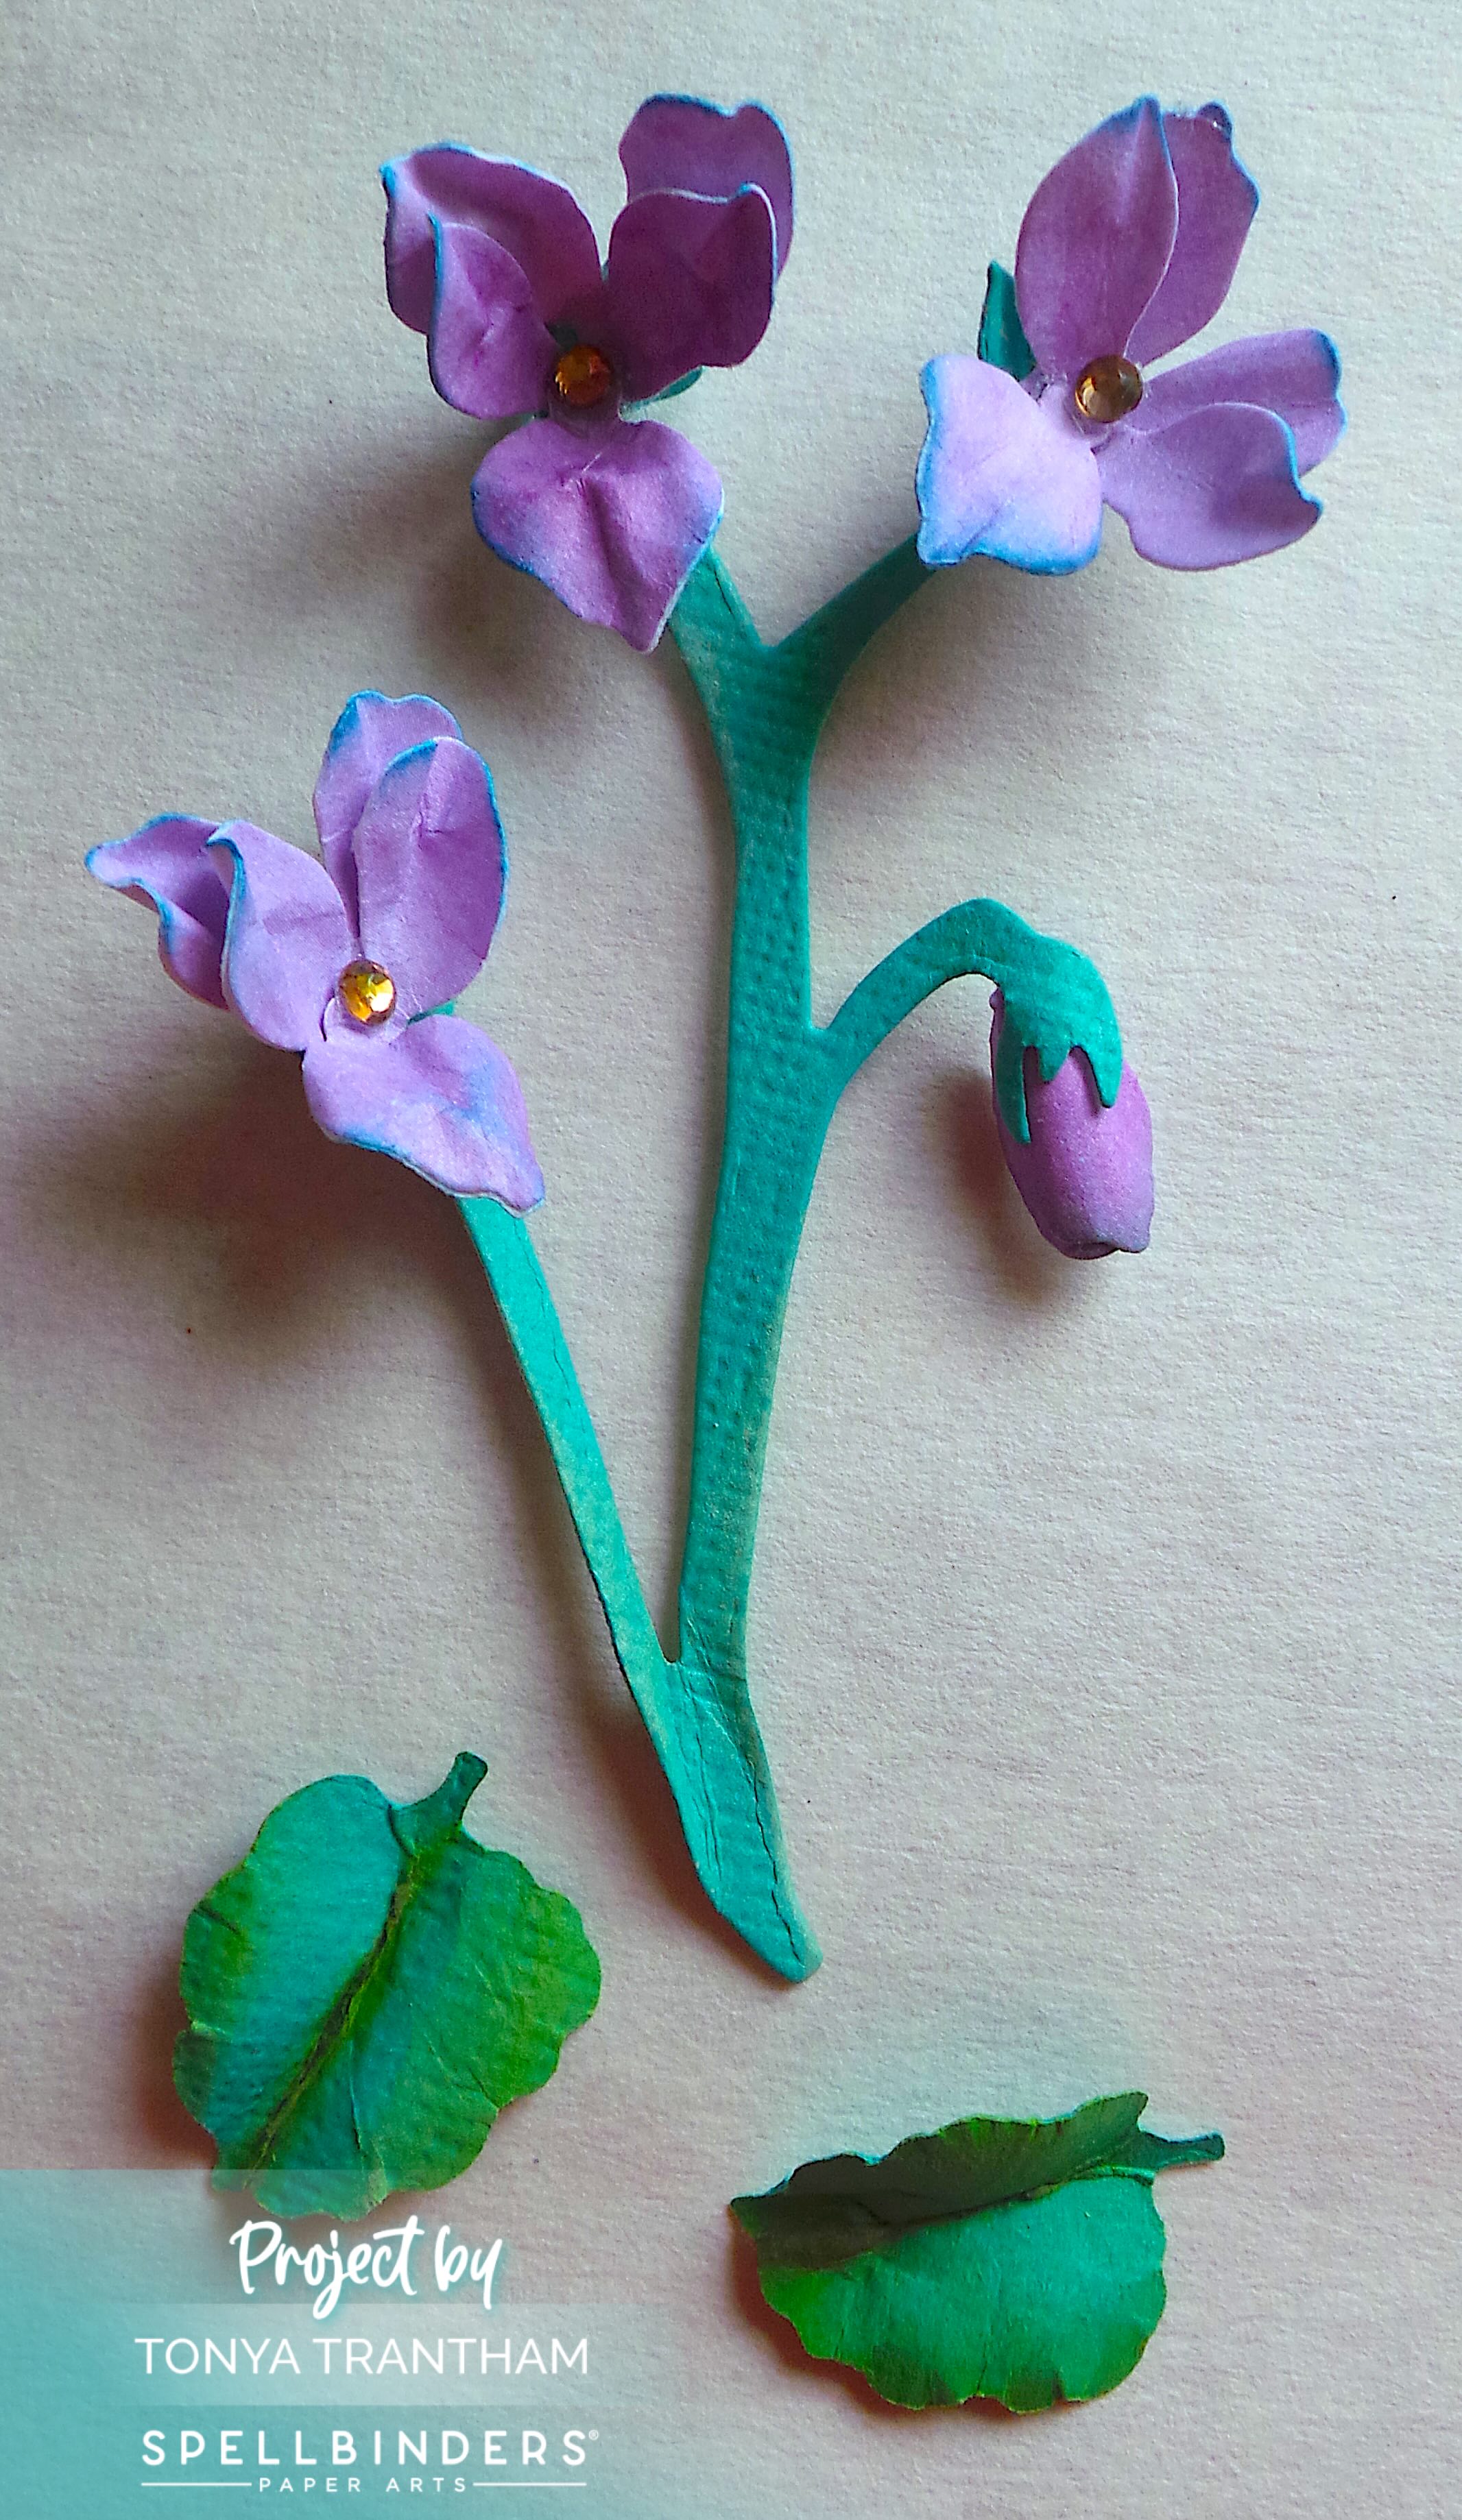
There are videos for each set of dies on how to put together. For the first set of diecuts I used is the Wild Violet and Ladybugs Etched Dies. You can find that video HERE.

A collection of die cut shapes including leaves and flowers in various colors, with teal, purple, and metallic copper elements displayed on a black background.

These videos explain how to put these florals together so much better than I could.

Paper flowers with purple petals and green stems accompanied by green leaves on a beige background.

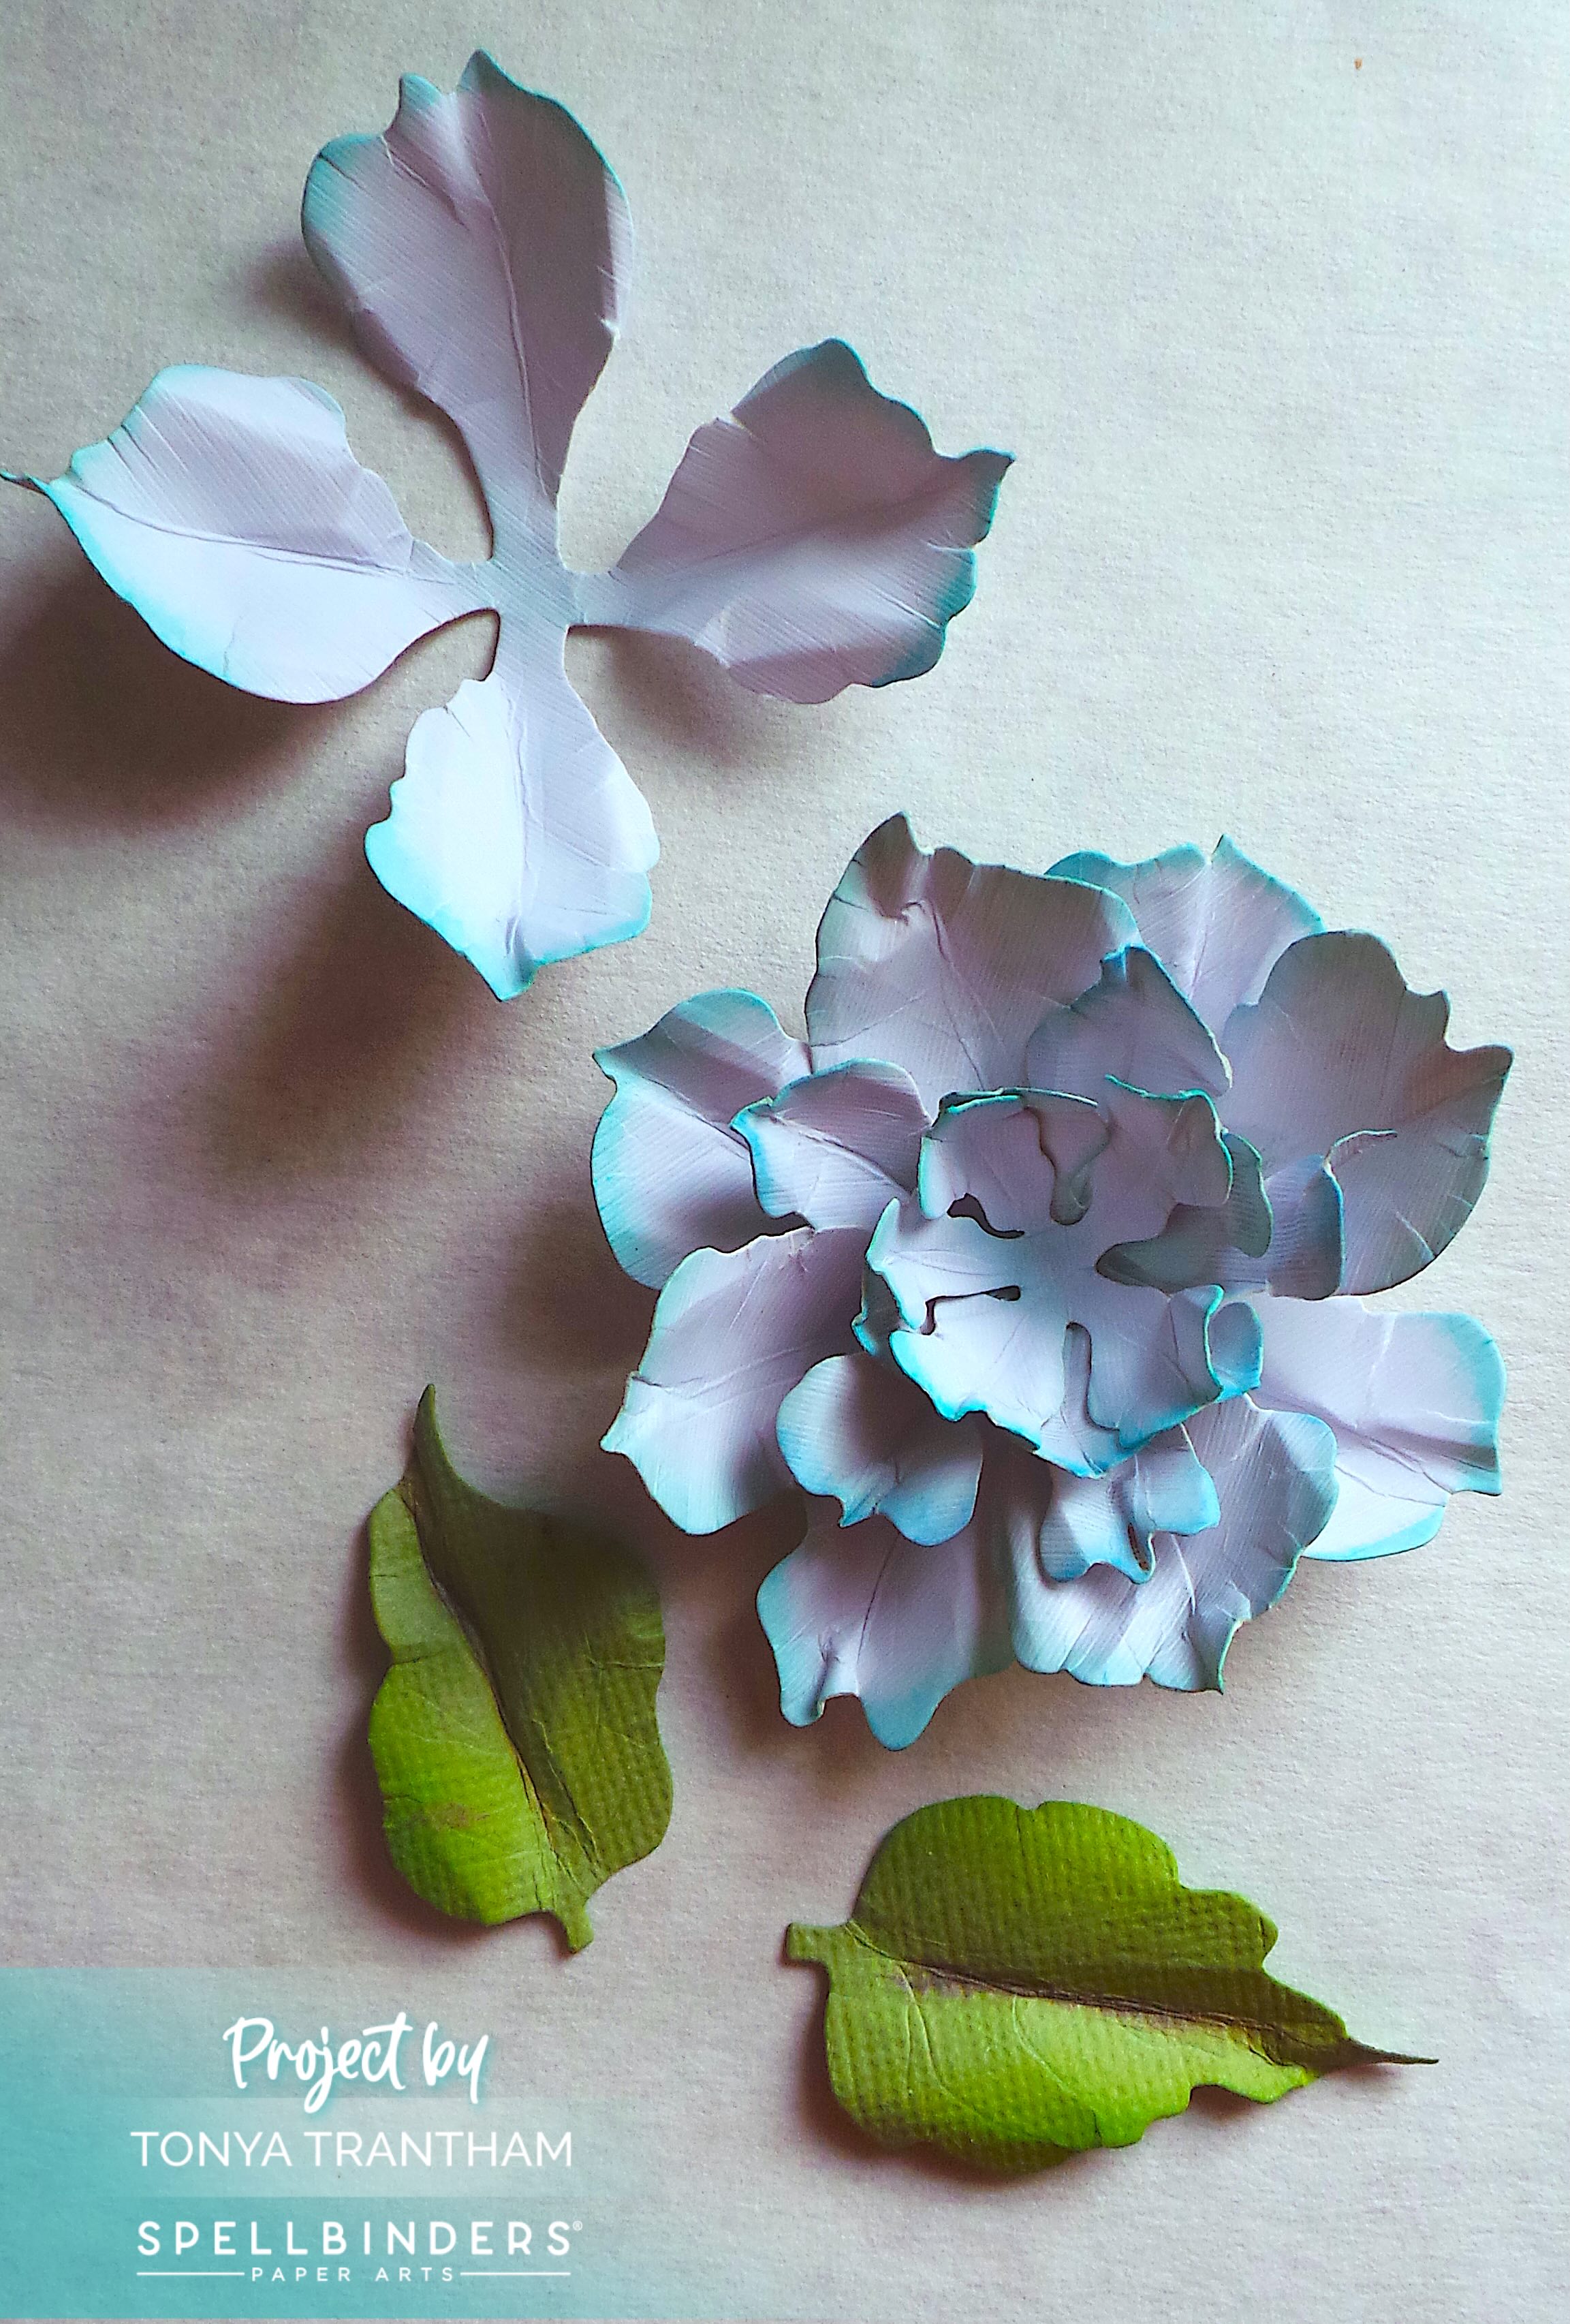
The second set of diecuts are the Clematis Poet Etched Dies and you can find that how to video HERE. The third set of diecuts are the Love-in-a-Mist Etched Dies and you can find that video HERE.

Various paper flower parts including petals and leaves in pastel colors, arranged on a light background.

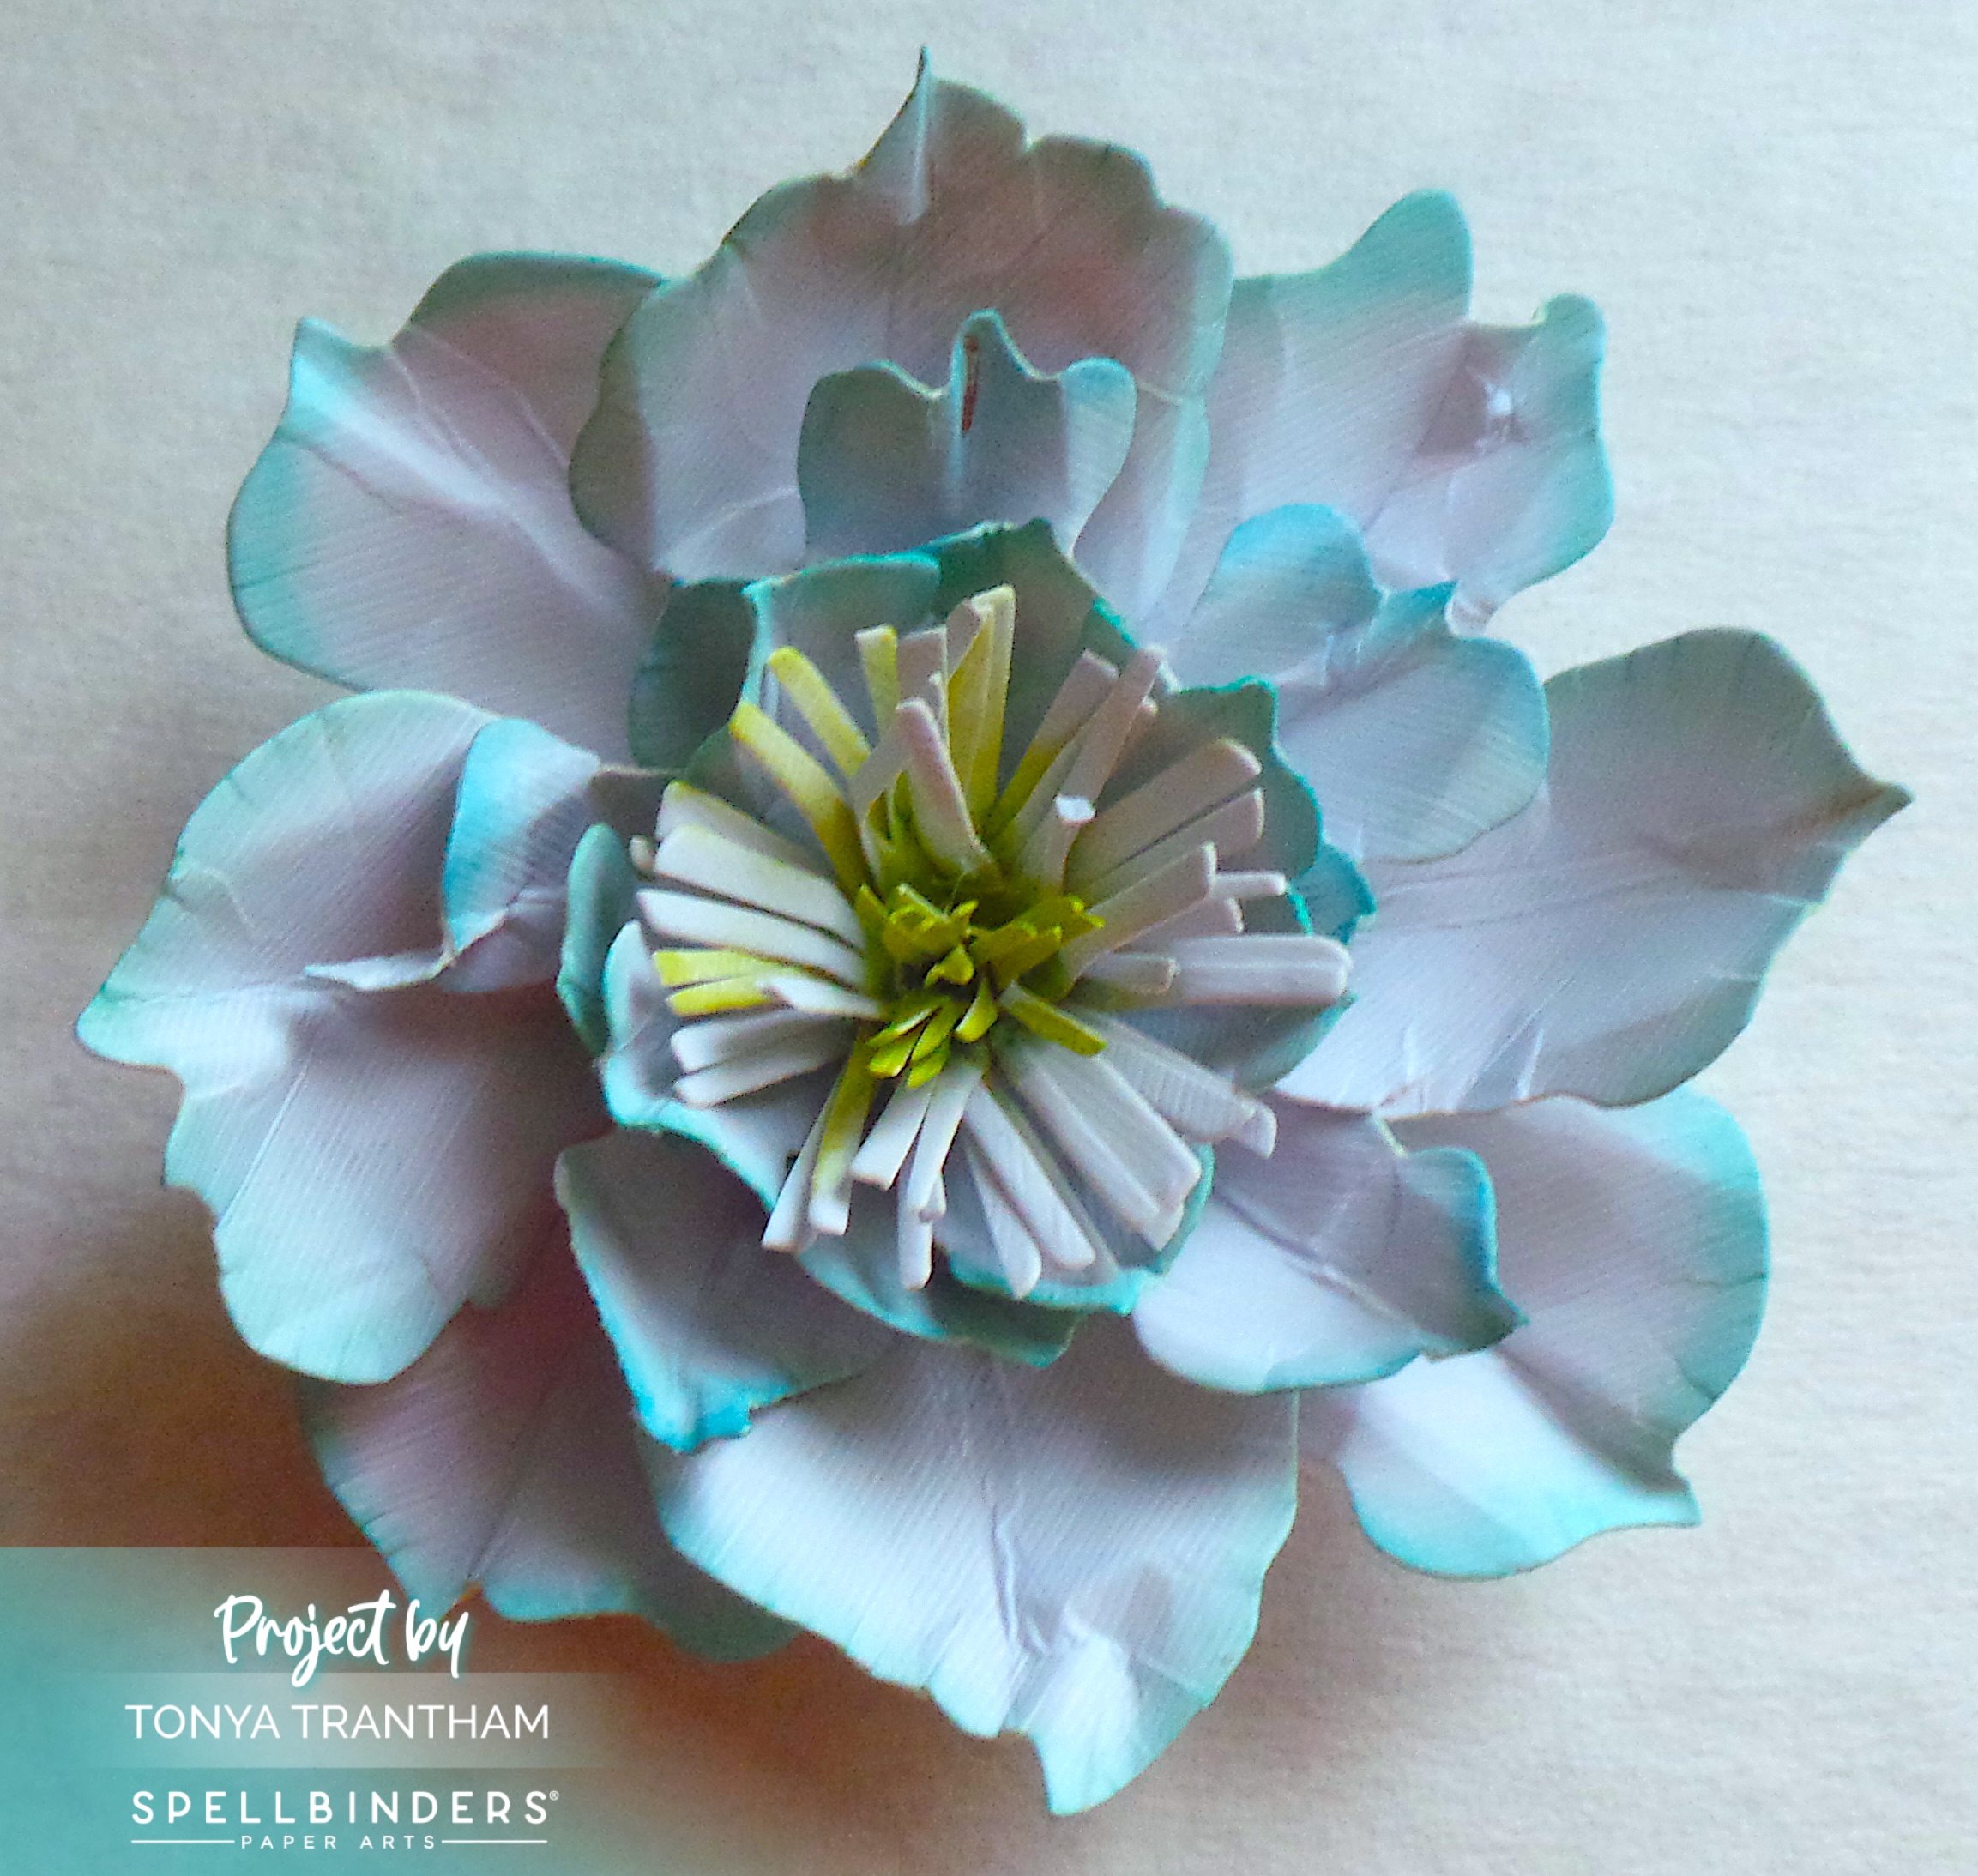
I thought I had taken a couple of step out photos of the Love-in-a-Mist flower but apparently not. So here is another photo of the Clematis.

A handcrafted paper flower featuring soft pastel colors, with intricate layered petals and a detailed center. The flower showcases shades of light blue, white, and hints of green.

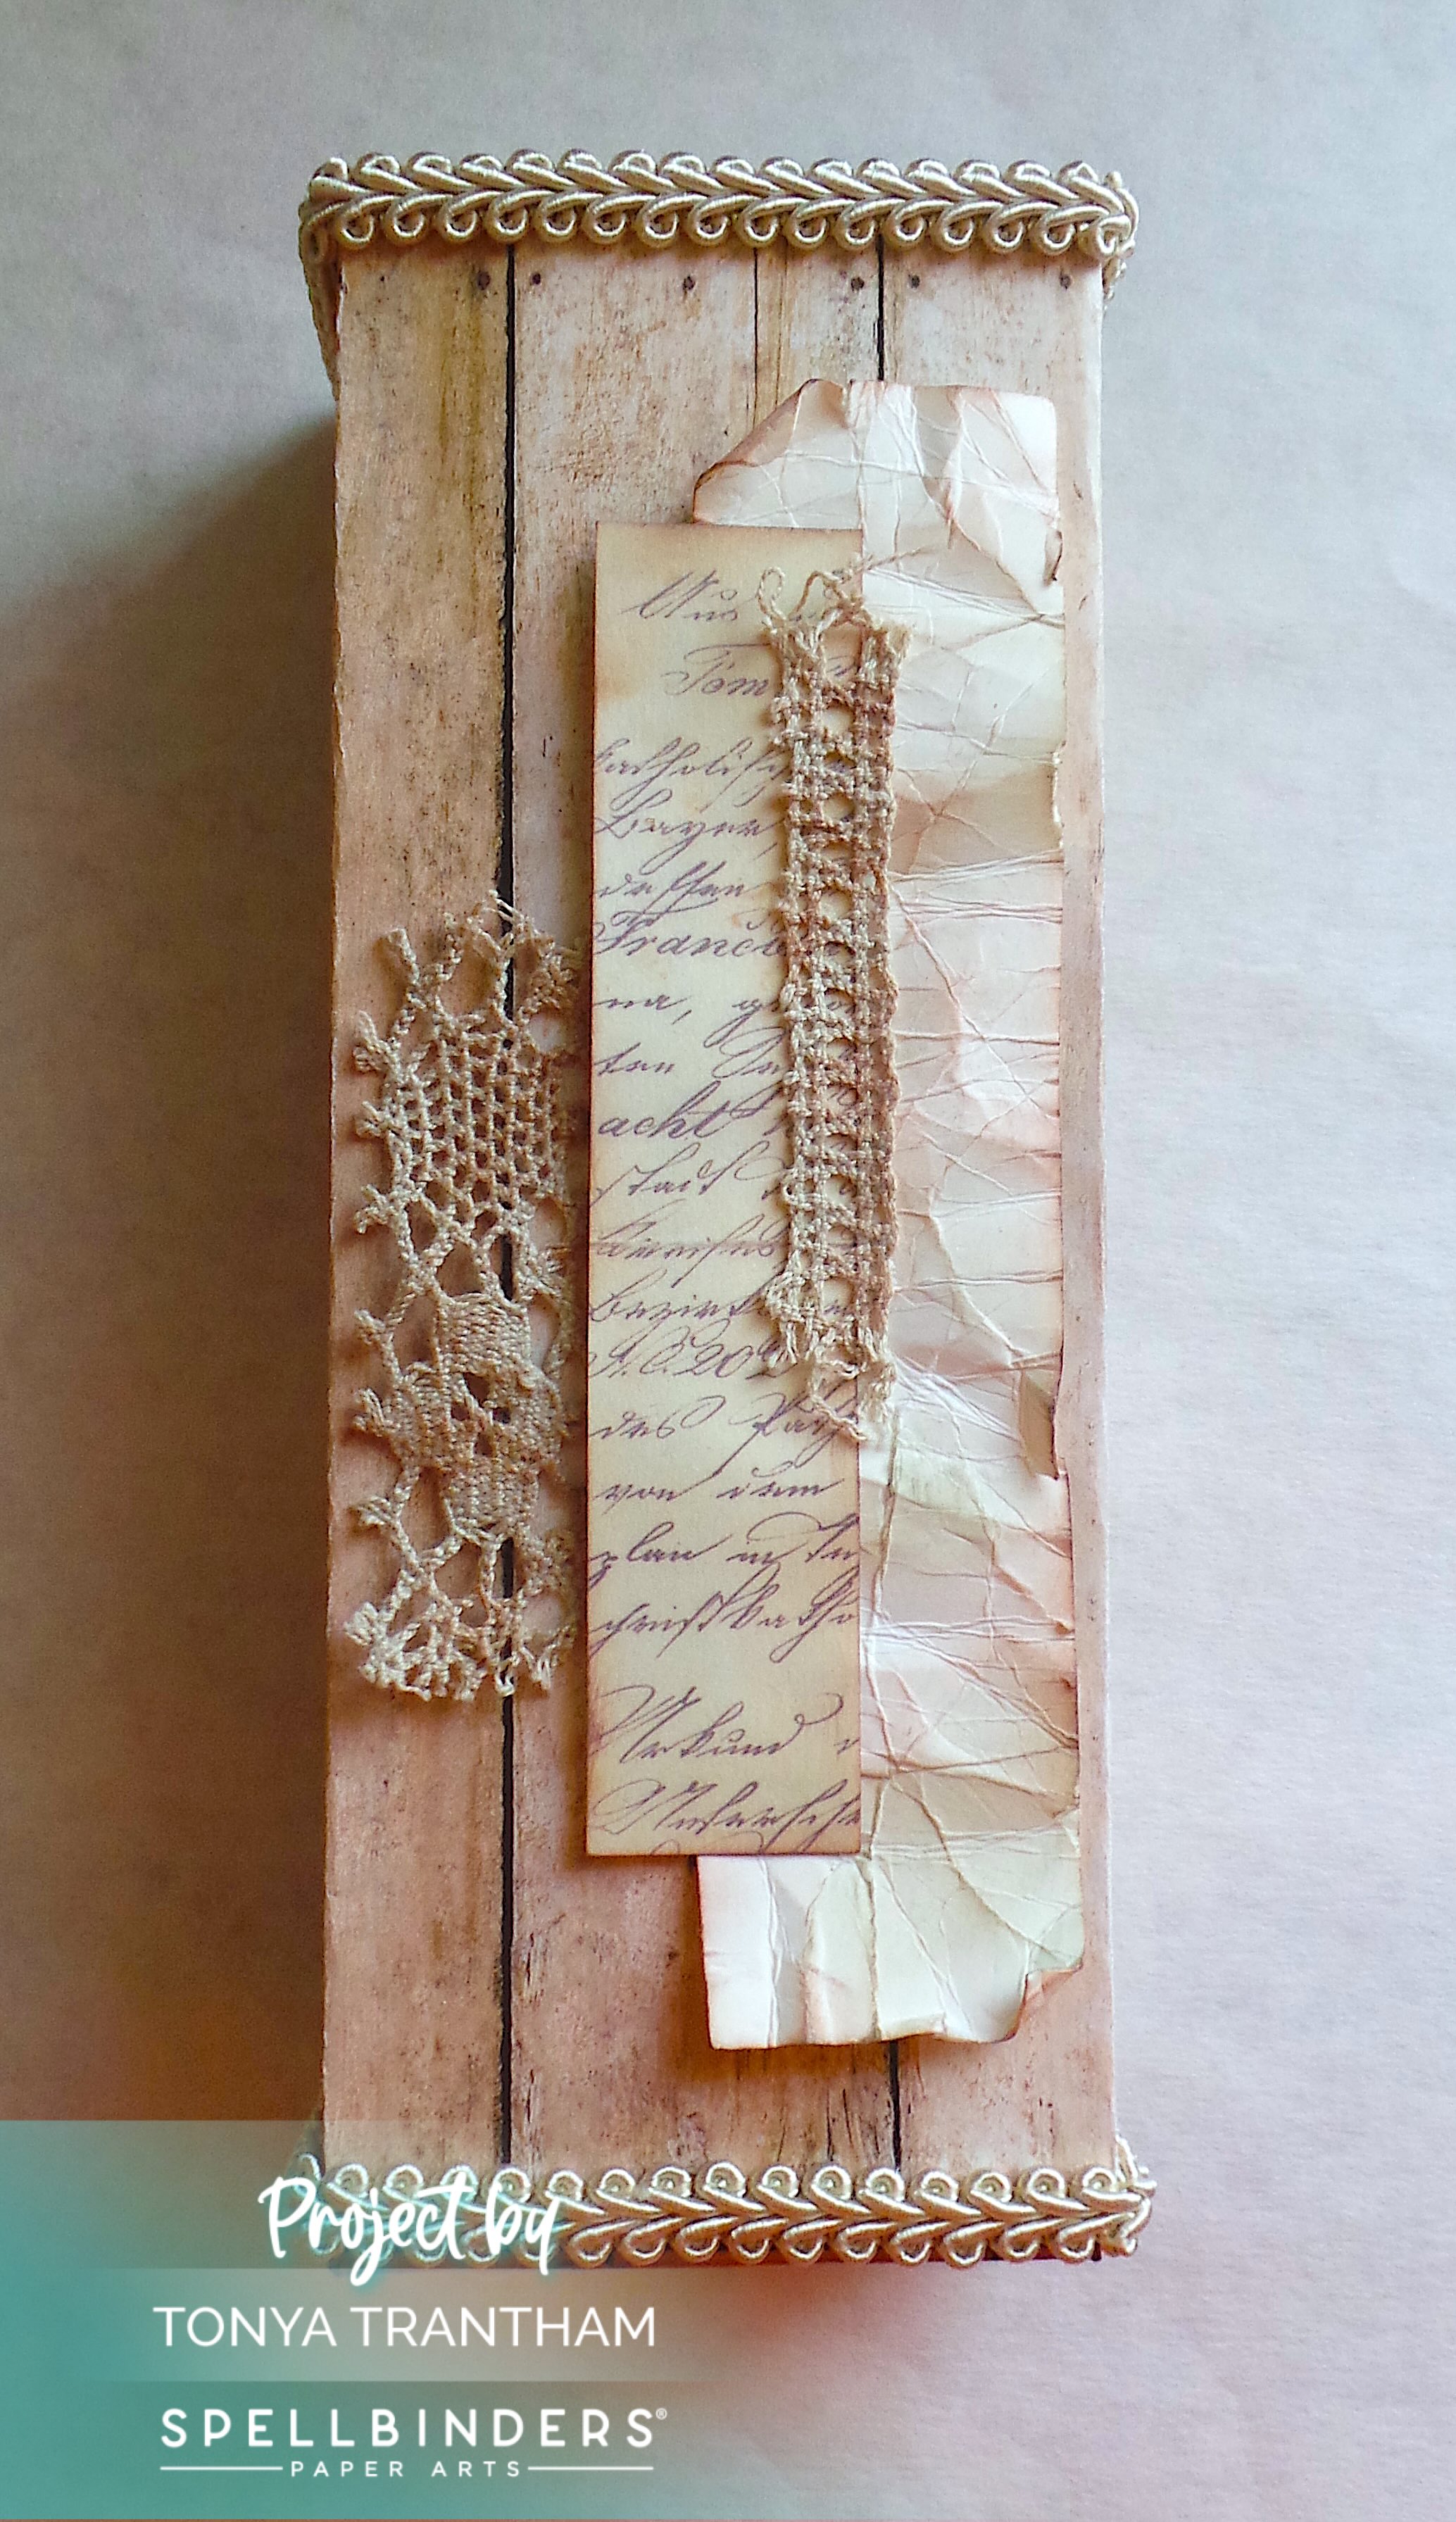
I glued to the top of the box sleeve, cardstock that I had inked with brown chalk ink and lace.

A wooden box decorated with textured paper, lace, and vintage-style elements, featuring a light wood finish and a decorative trim on top.

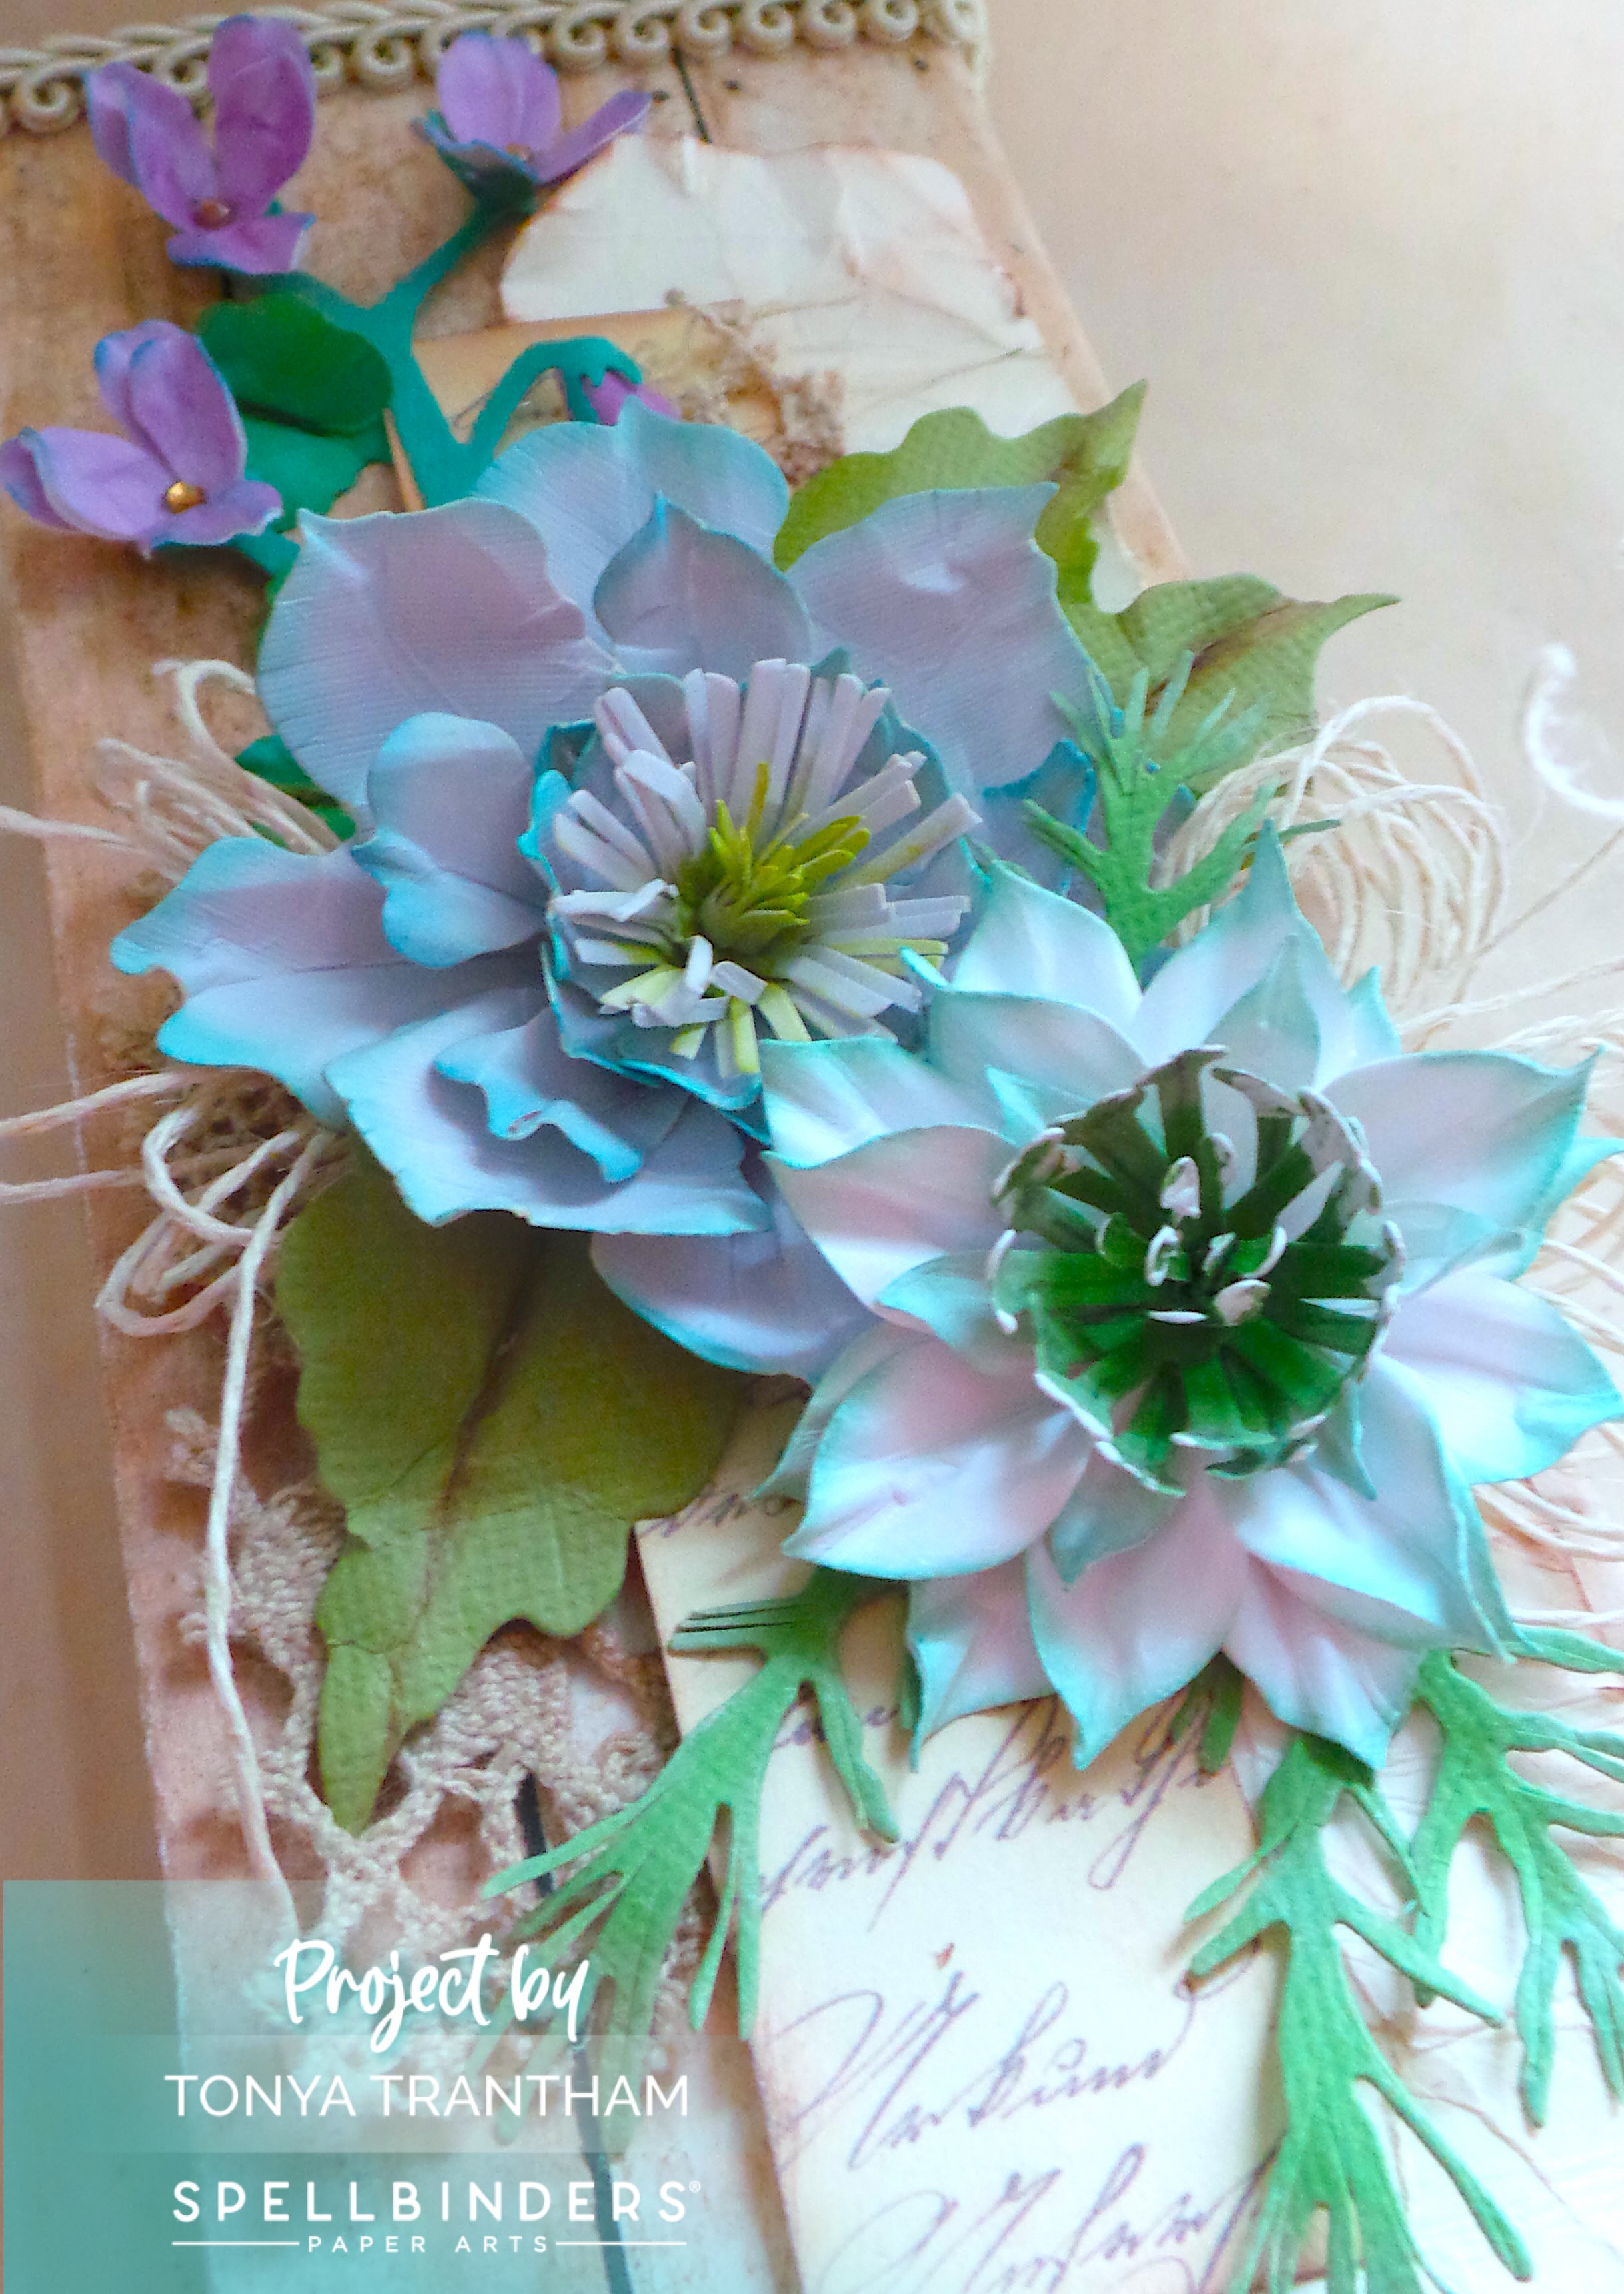
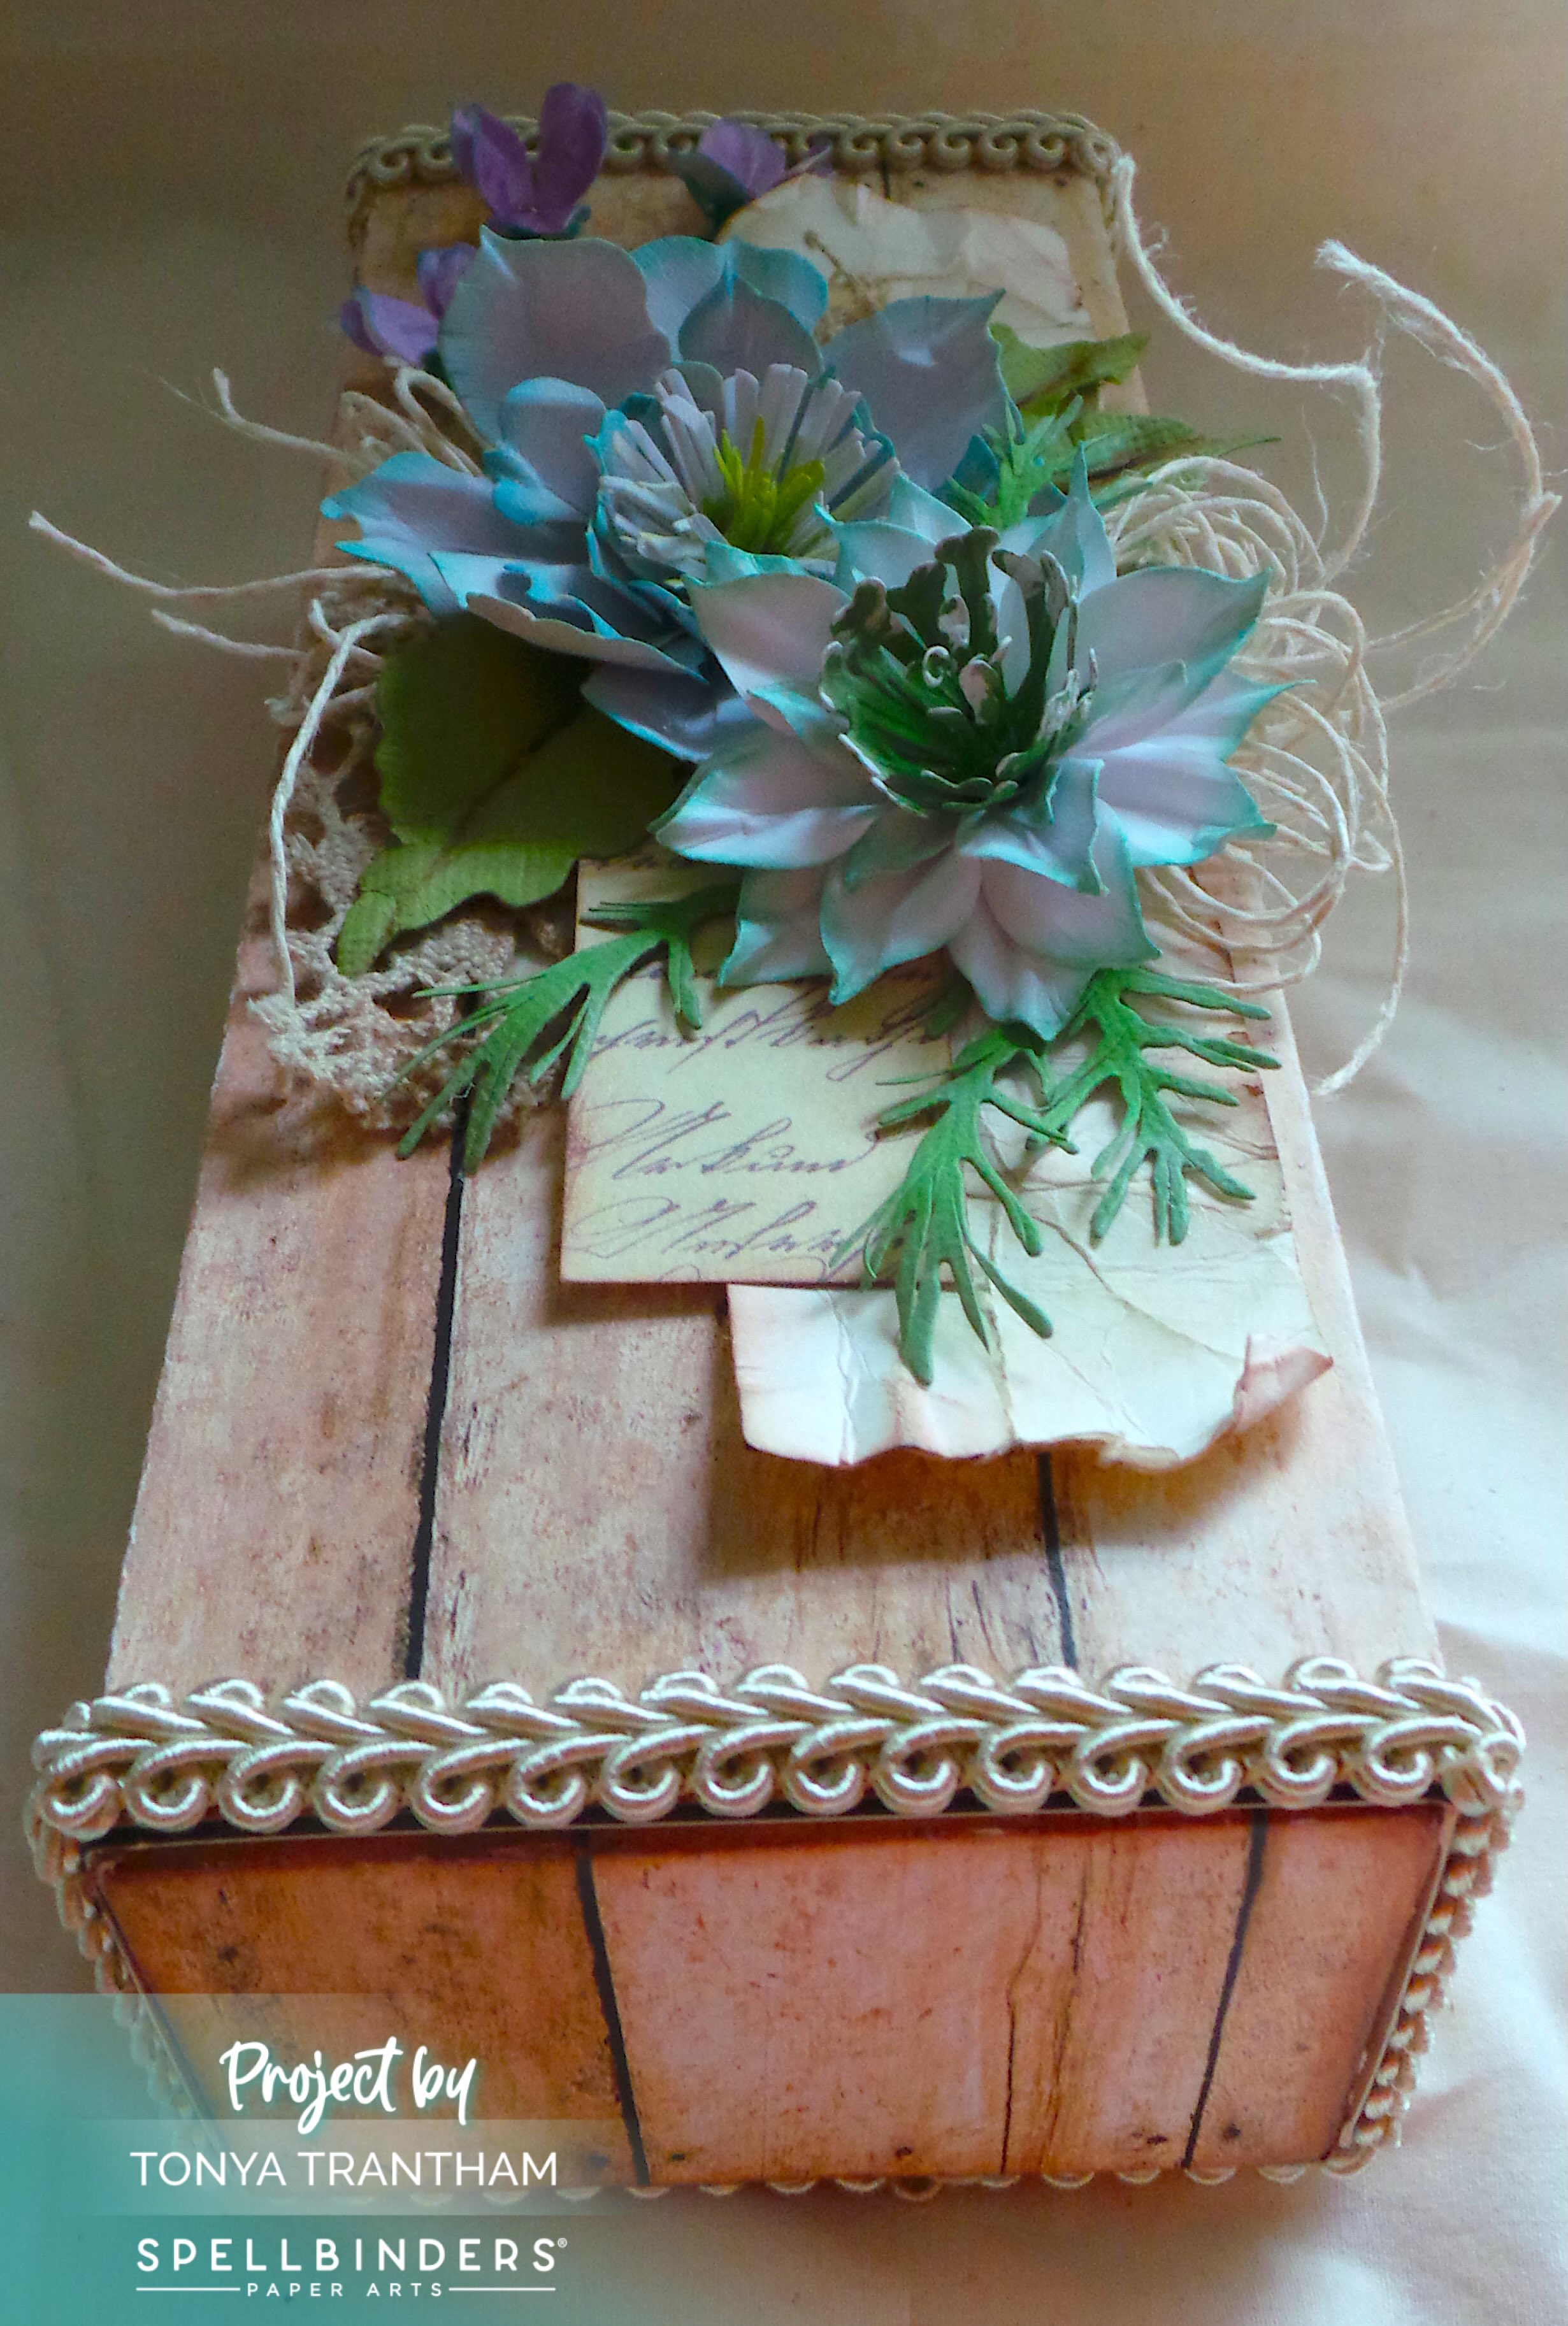
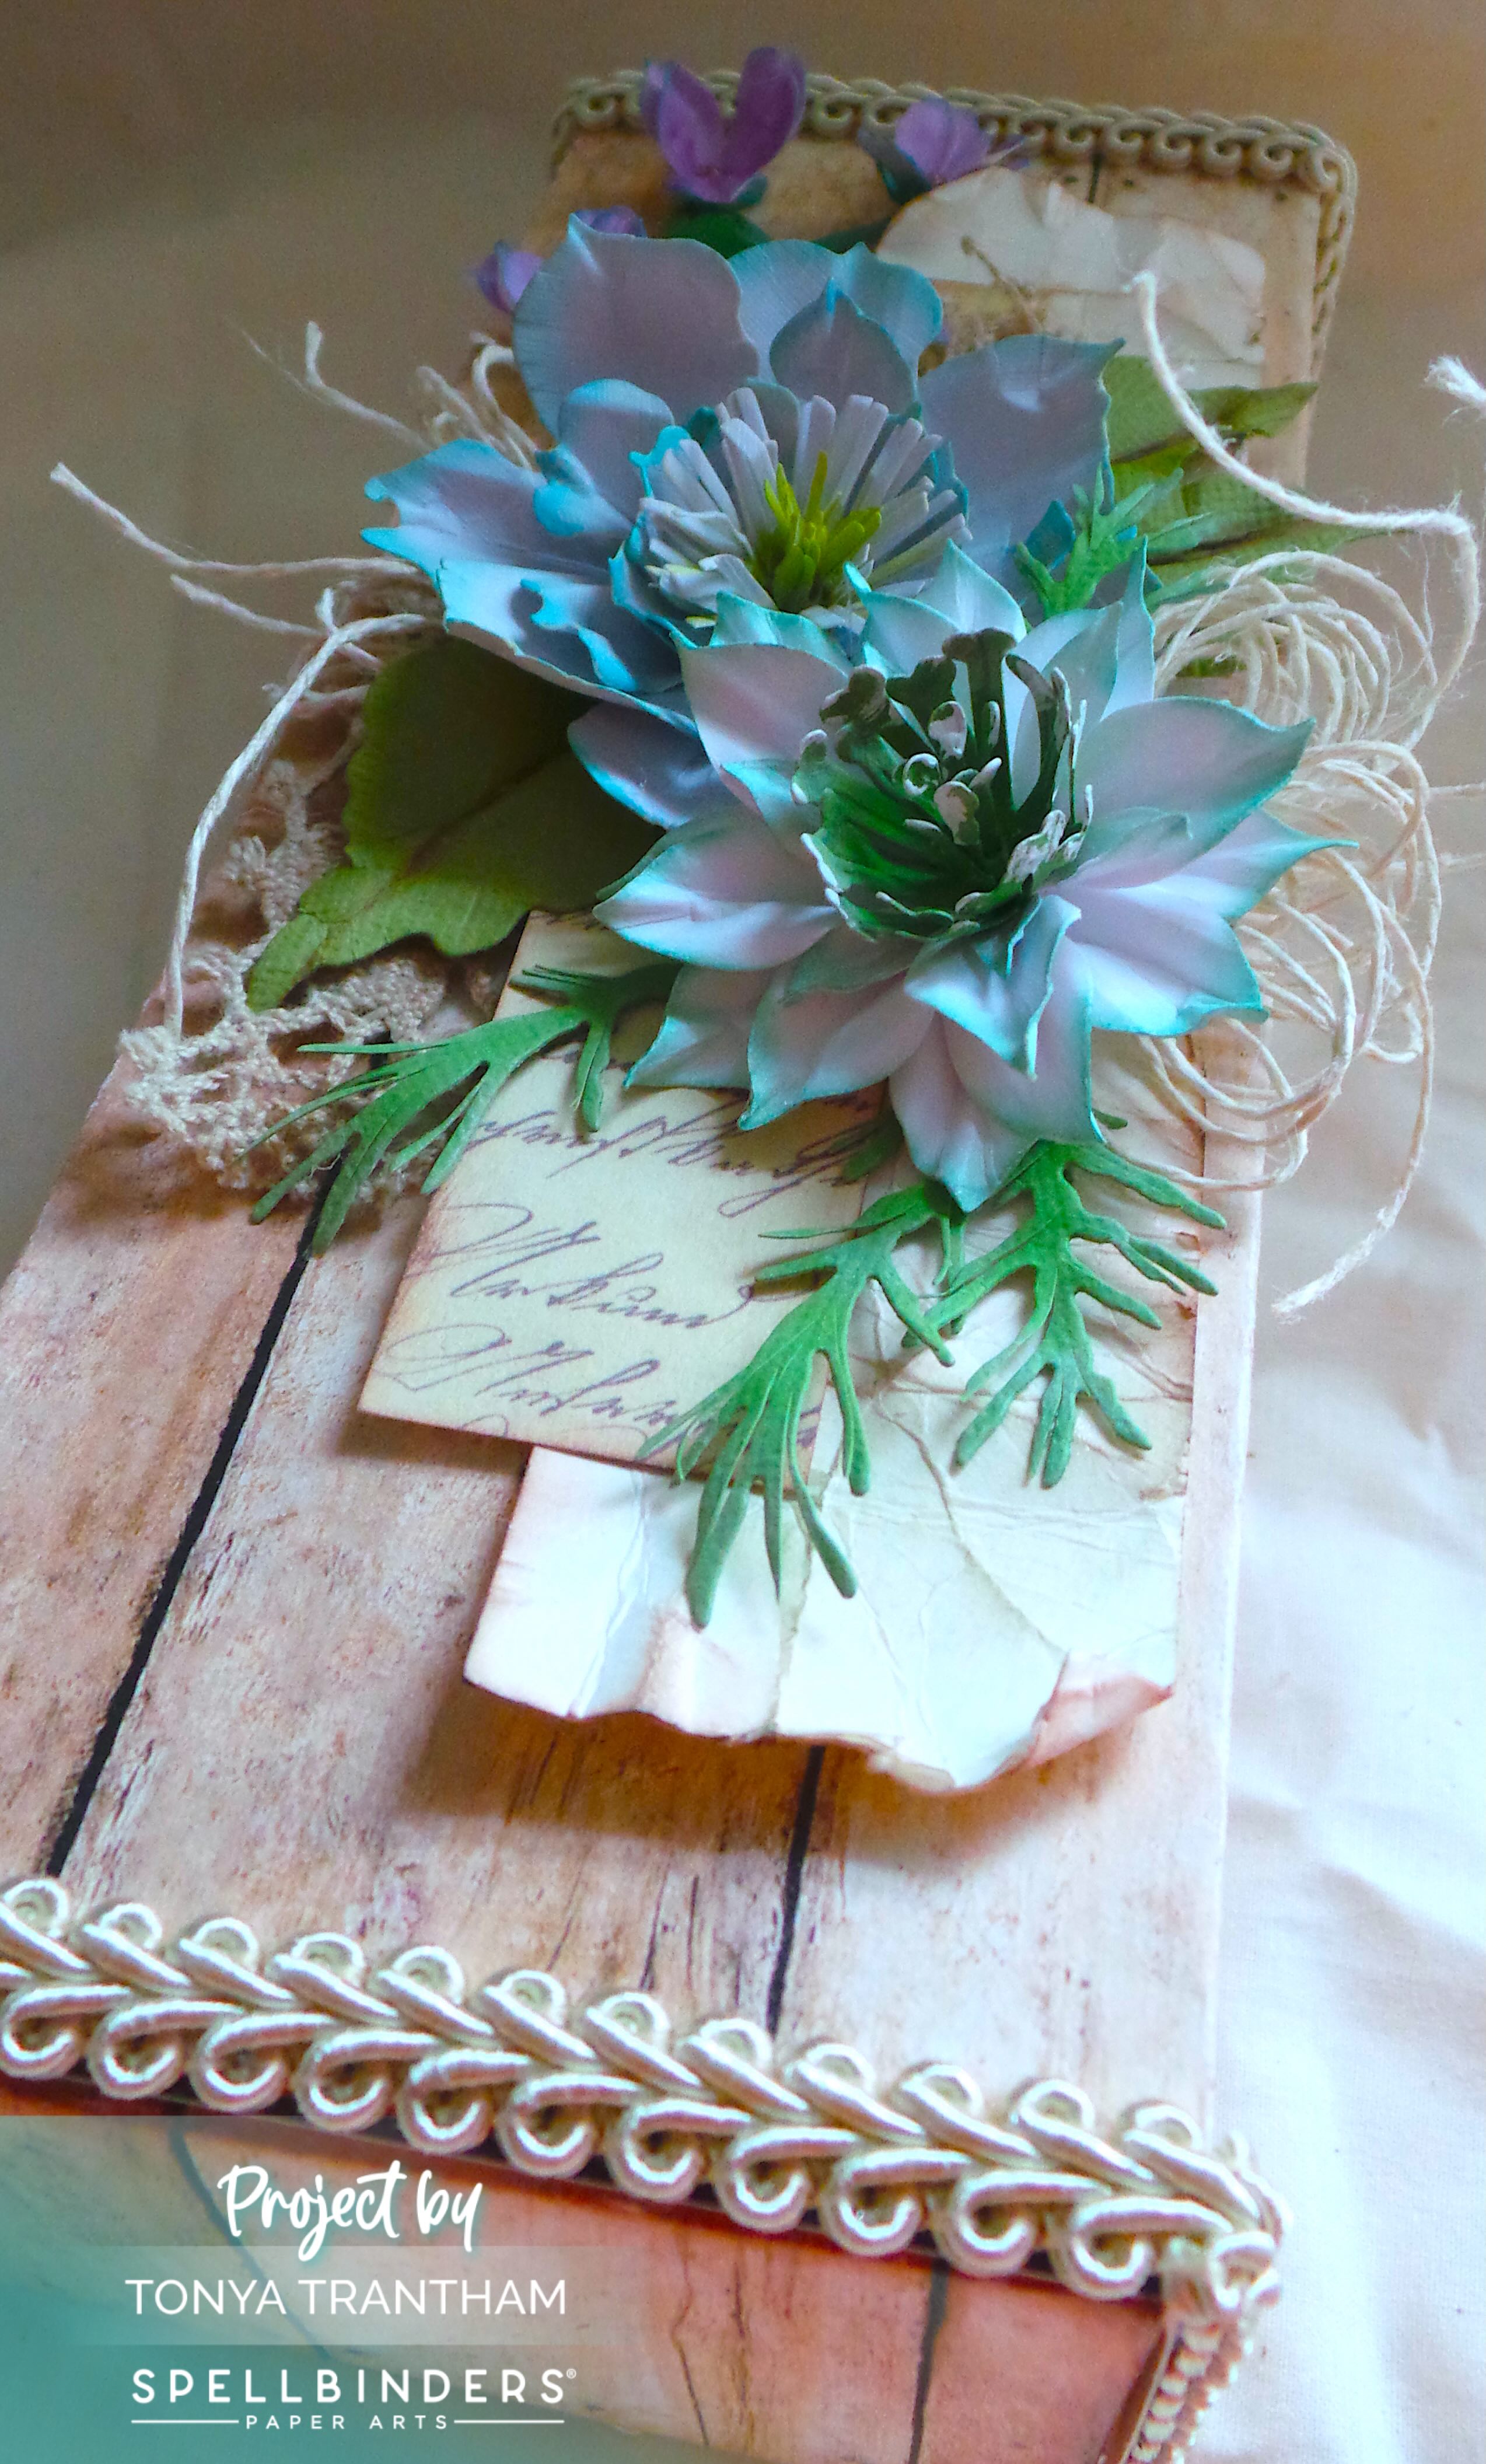
I arranged and adhered all flowers to the top of the box sleeve.

Close-up of colorful paper flowers in shades of blue and green, adorned with leaves, against a textured background.

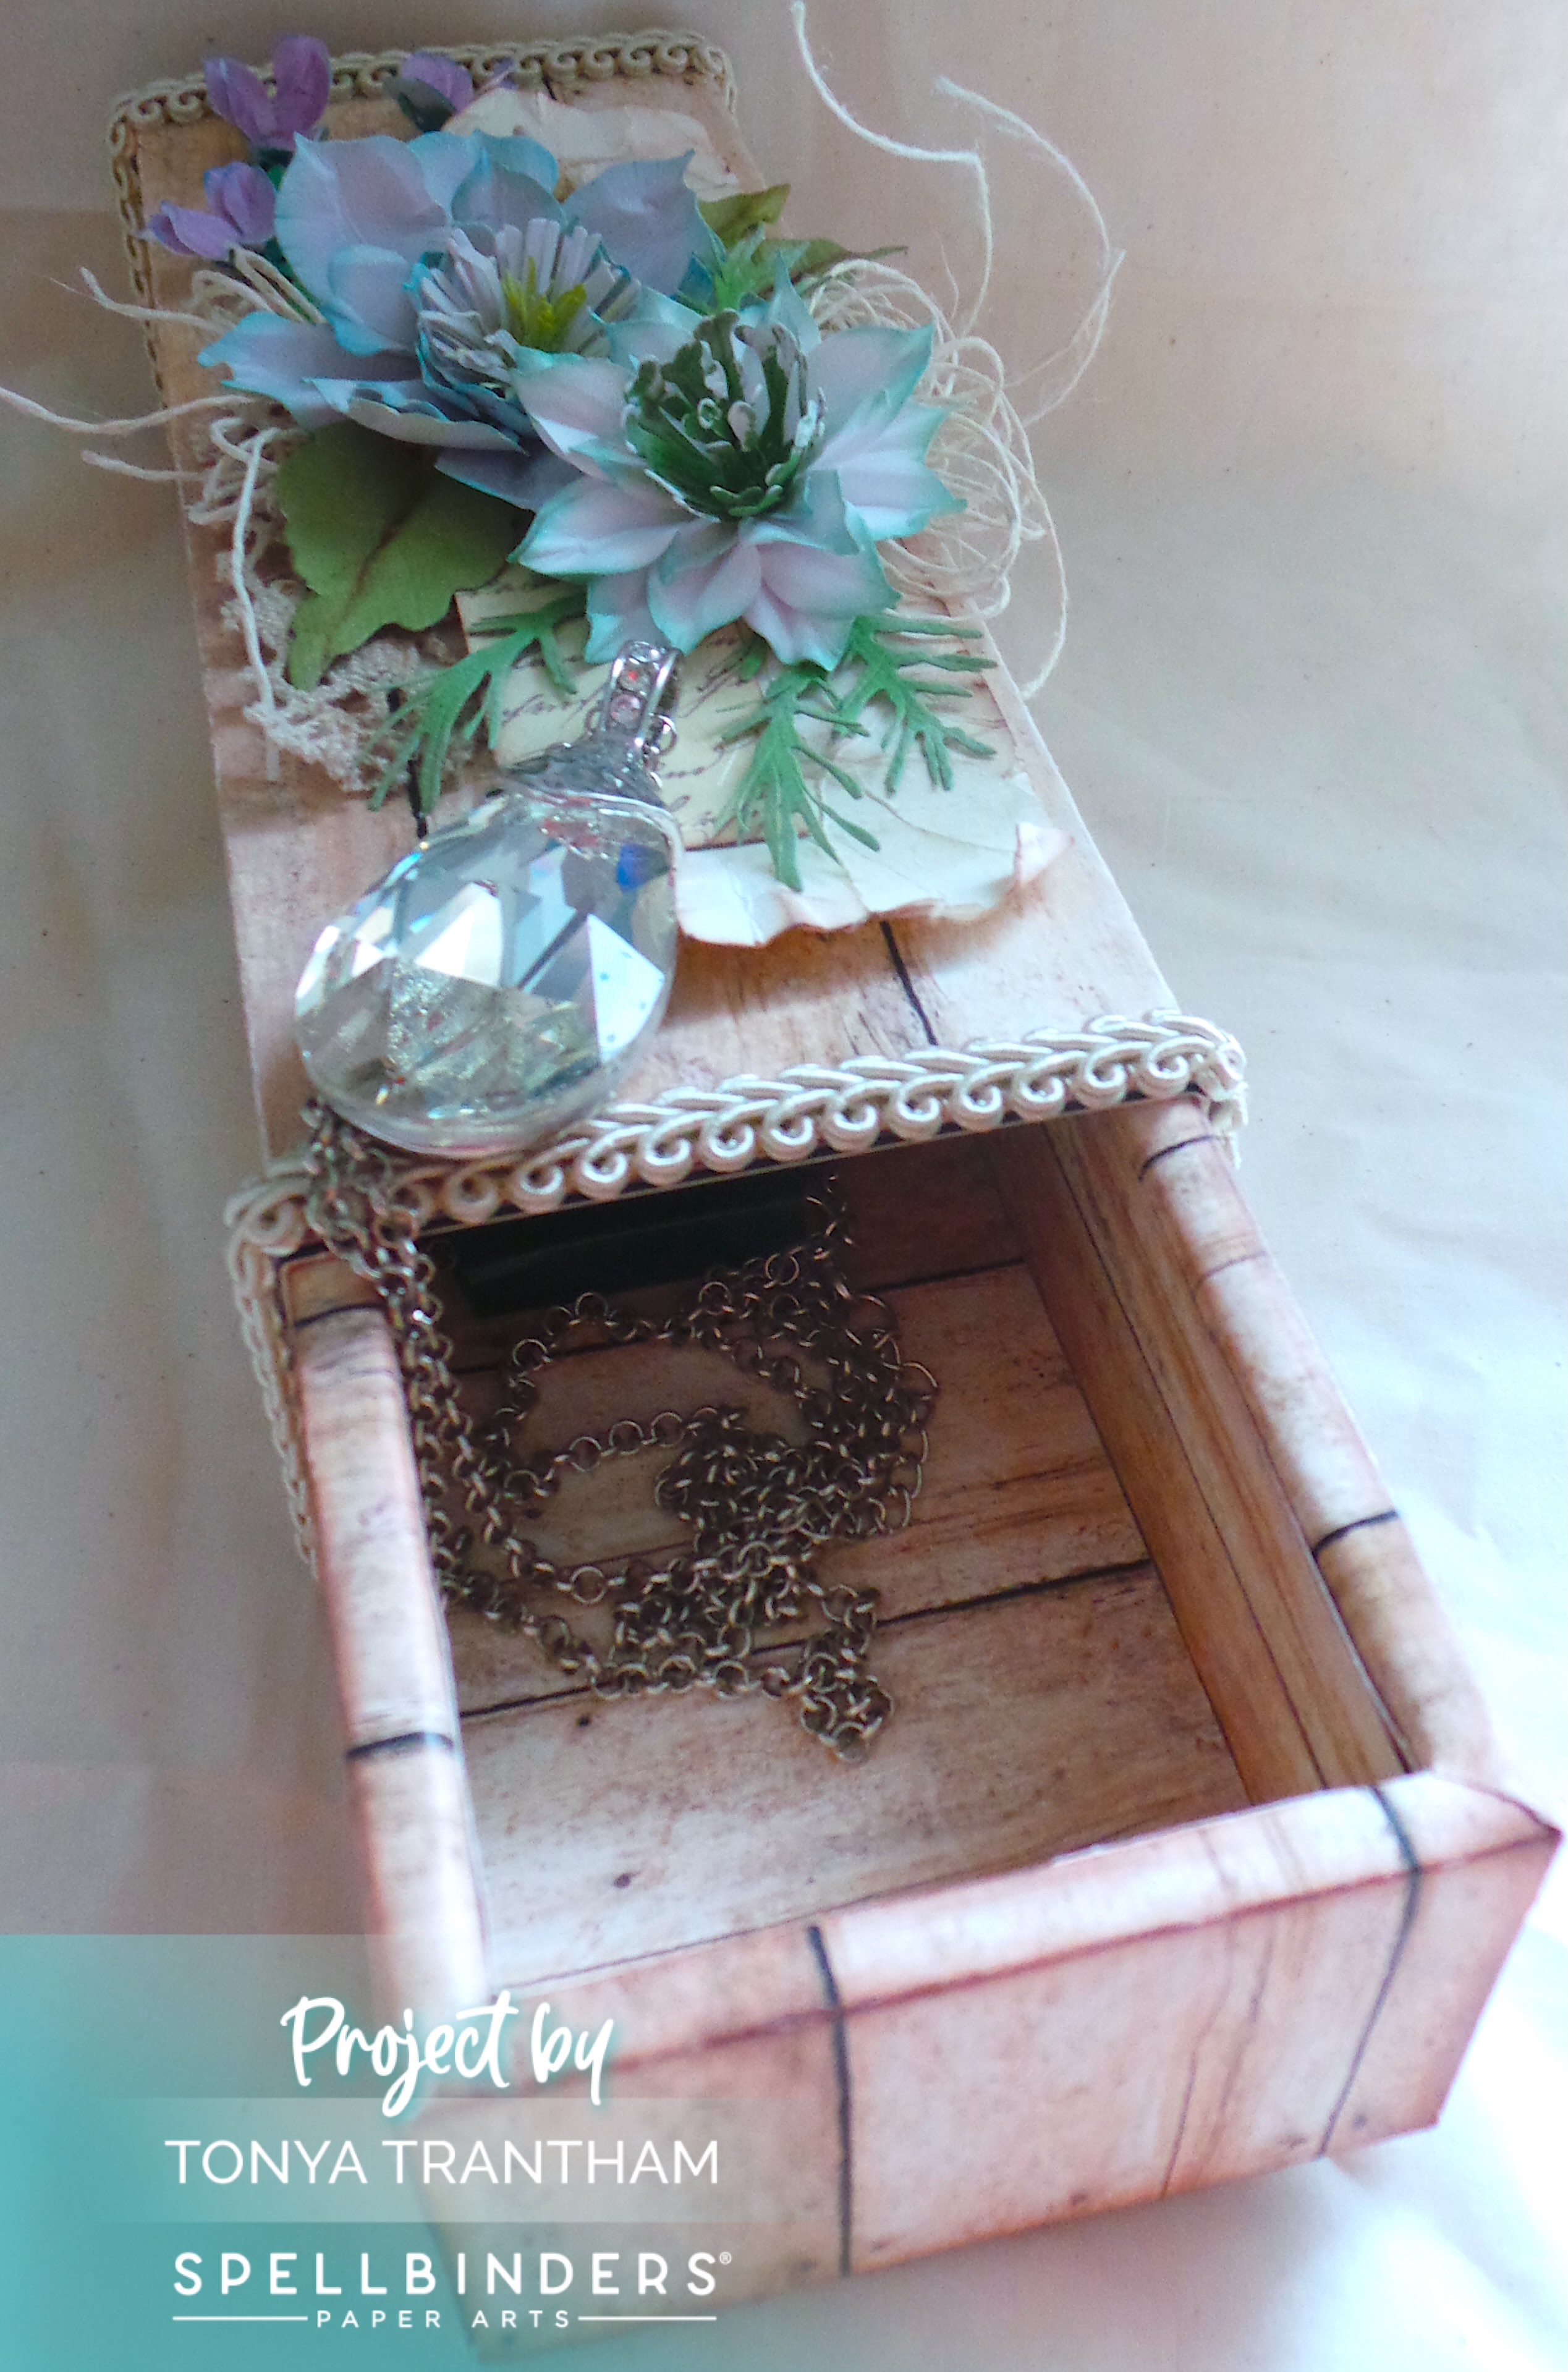
I made bows out of cording and places under the Clematis and Love-in-a-Mist to finish.

Decorative box topped with flowers and greenery, featuring a faceted crystal pendant and a chain inside.

Now this box is ready for gift giving and it can be used as a home decor piece too.

If you have any comments or questions about this project please leave them below.

A decorative box adorned with artificial flowers, featuring shades of blue and green, along with a small vintage note peeking out from underneath the greenery.

Supplies

Spellbinders: Love-in-a-Mist Etched Dies

Spellbinders: Clematis Poet Etched Dies

Spellbinders: Wild Violet and Ladybugs Etched Dies

Spellbinders: The Poet’s Garden Sentiments Press Plus Plate and Die Set

Diecut Machine

Tool ‘n One

Detail Tweezers

Stylus Set

Paper Cutter

Gold Gems

Various Plain Cardstocks and Patterned Cardstocks

Various Chalk Inks

Lace, Trim and Cording

Empty Box

Beacon Adhesives: Zip Dry Adhesive

(Products listed above are Affiliated Links for your convenience)

DISCLAIMERS

This blog is compensated to provide opinion on products, services, websites, and various other topics. Even though the owner(s) of this blog receives compensation for our posts or advertisements. I always give my honest opinions, findings, beliefs, or experiences on those topics or products. The views and opinions expressed on this blog are purely my own. Any product claim, statistic, or quote should be checked with each manufacturer. Verify other representations about a product or service with the provider or party in question.This blog contains affiliate linksClicking these links helps to support Tonya Trantham Designs – Creative Paper Addiction. It’s at no additional cost to you. Today’s features are Spellbinders Products. 

A decorative craft project featuring blue and green flowers, leaves, and a vintage-style note on a wooden-textured background, accentuated with a white decorative trim.

Thanks for stopping by, I hope your Monday is wonderful and enjoy creating!
A stylized image featuring a bird perched near vibrant flowers, with the name 'Tonya' elegantly displayed in cursive font against a soft blue background.

Step-by-Step Upcycled Phone Box Using Eileen Hull Diecuts

Hi everyone! I’m back with my project for Eileen Hull this month. This month theme is mix and match and I’ve definitely used an assortment of dies for this project. Anyways, let’s get started!

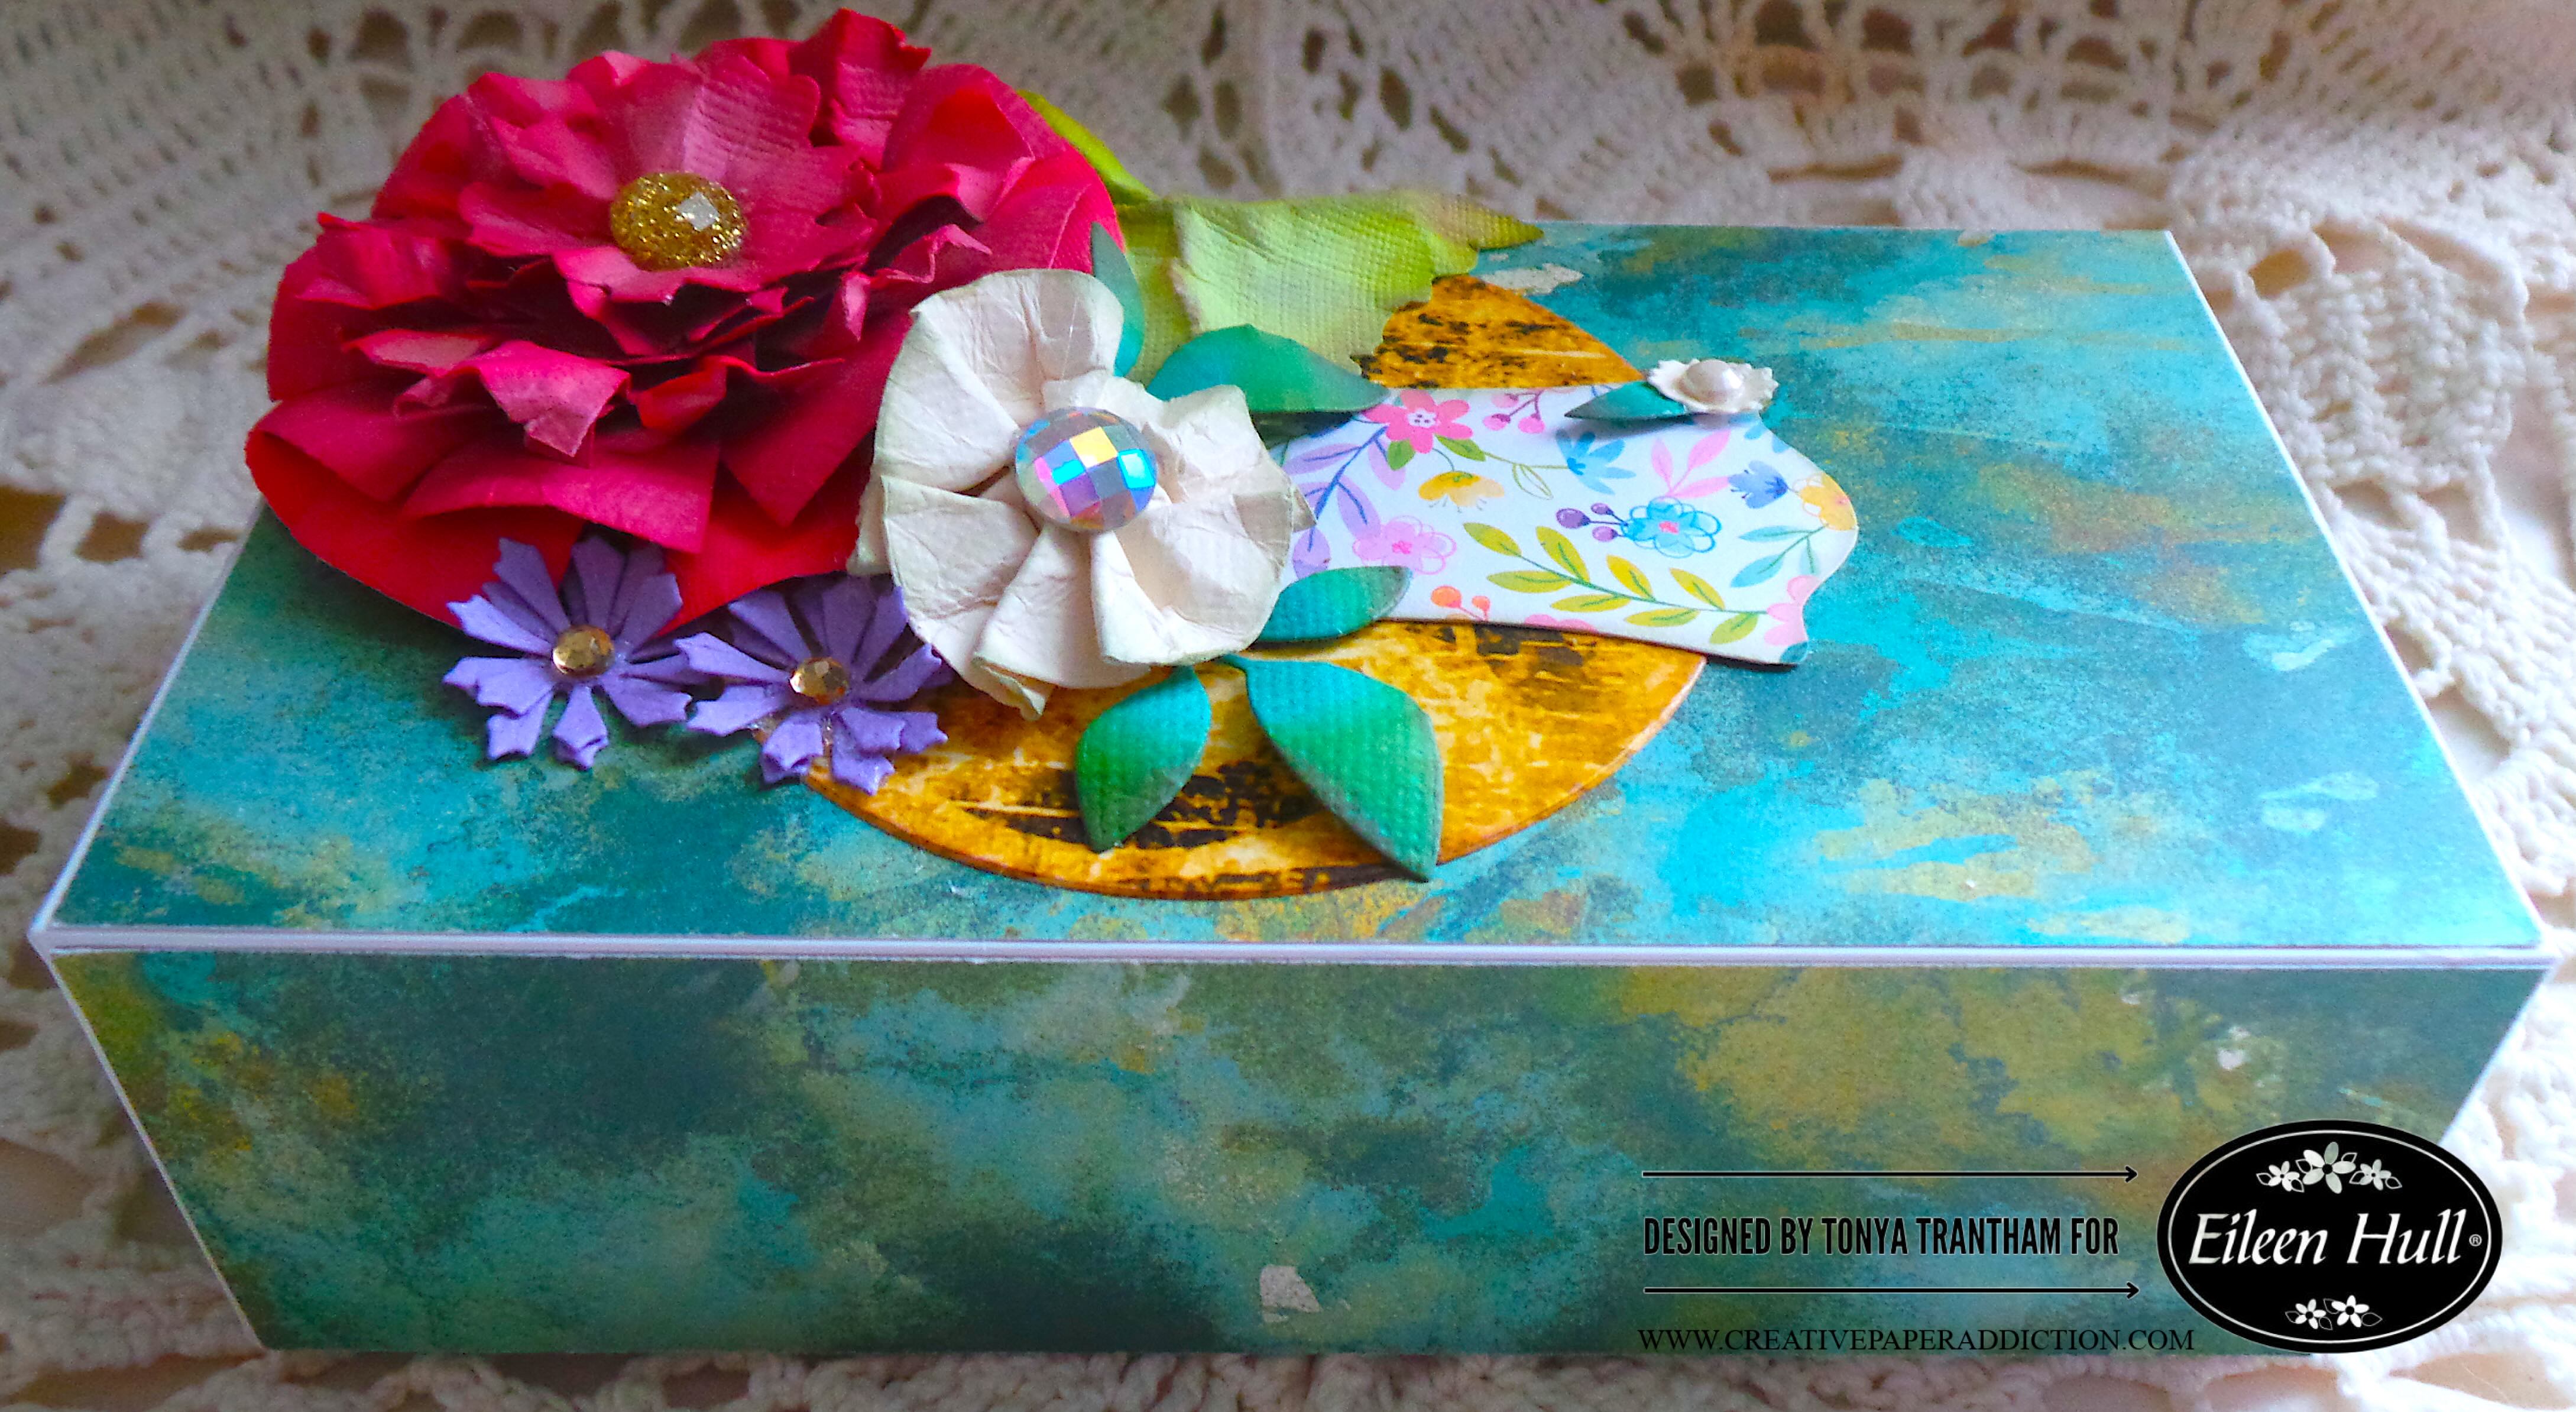
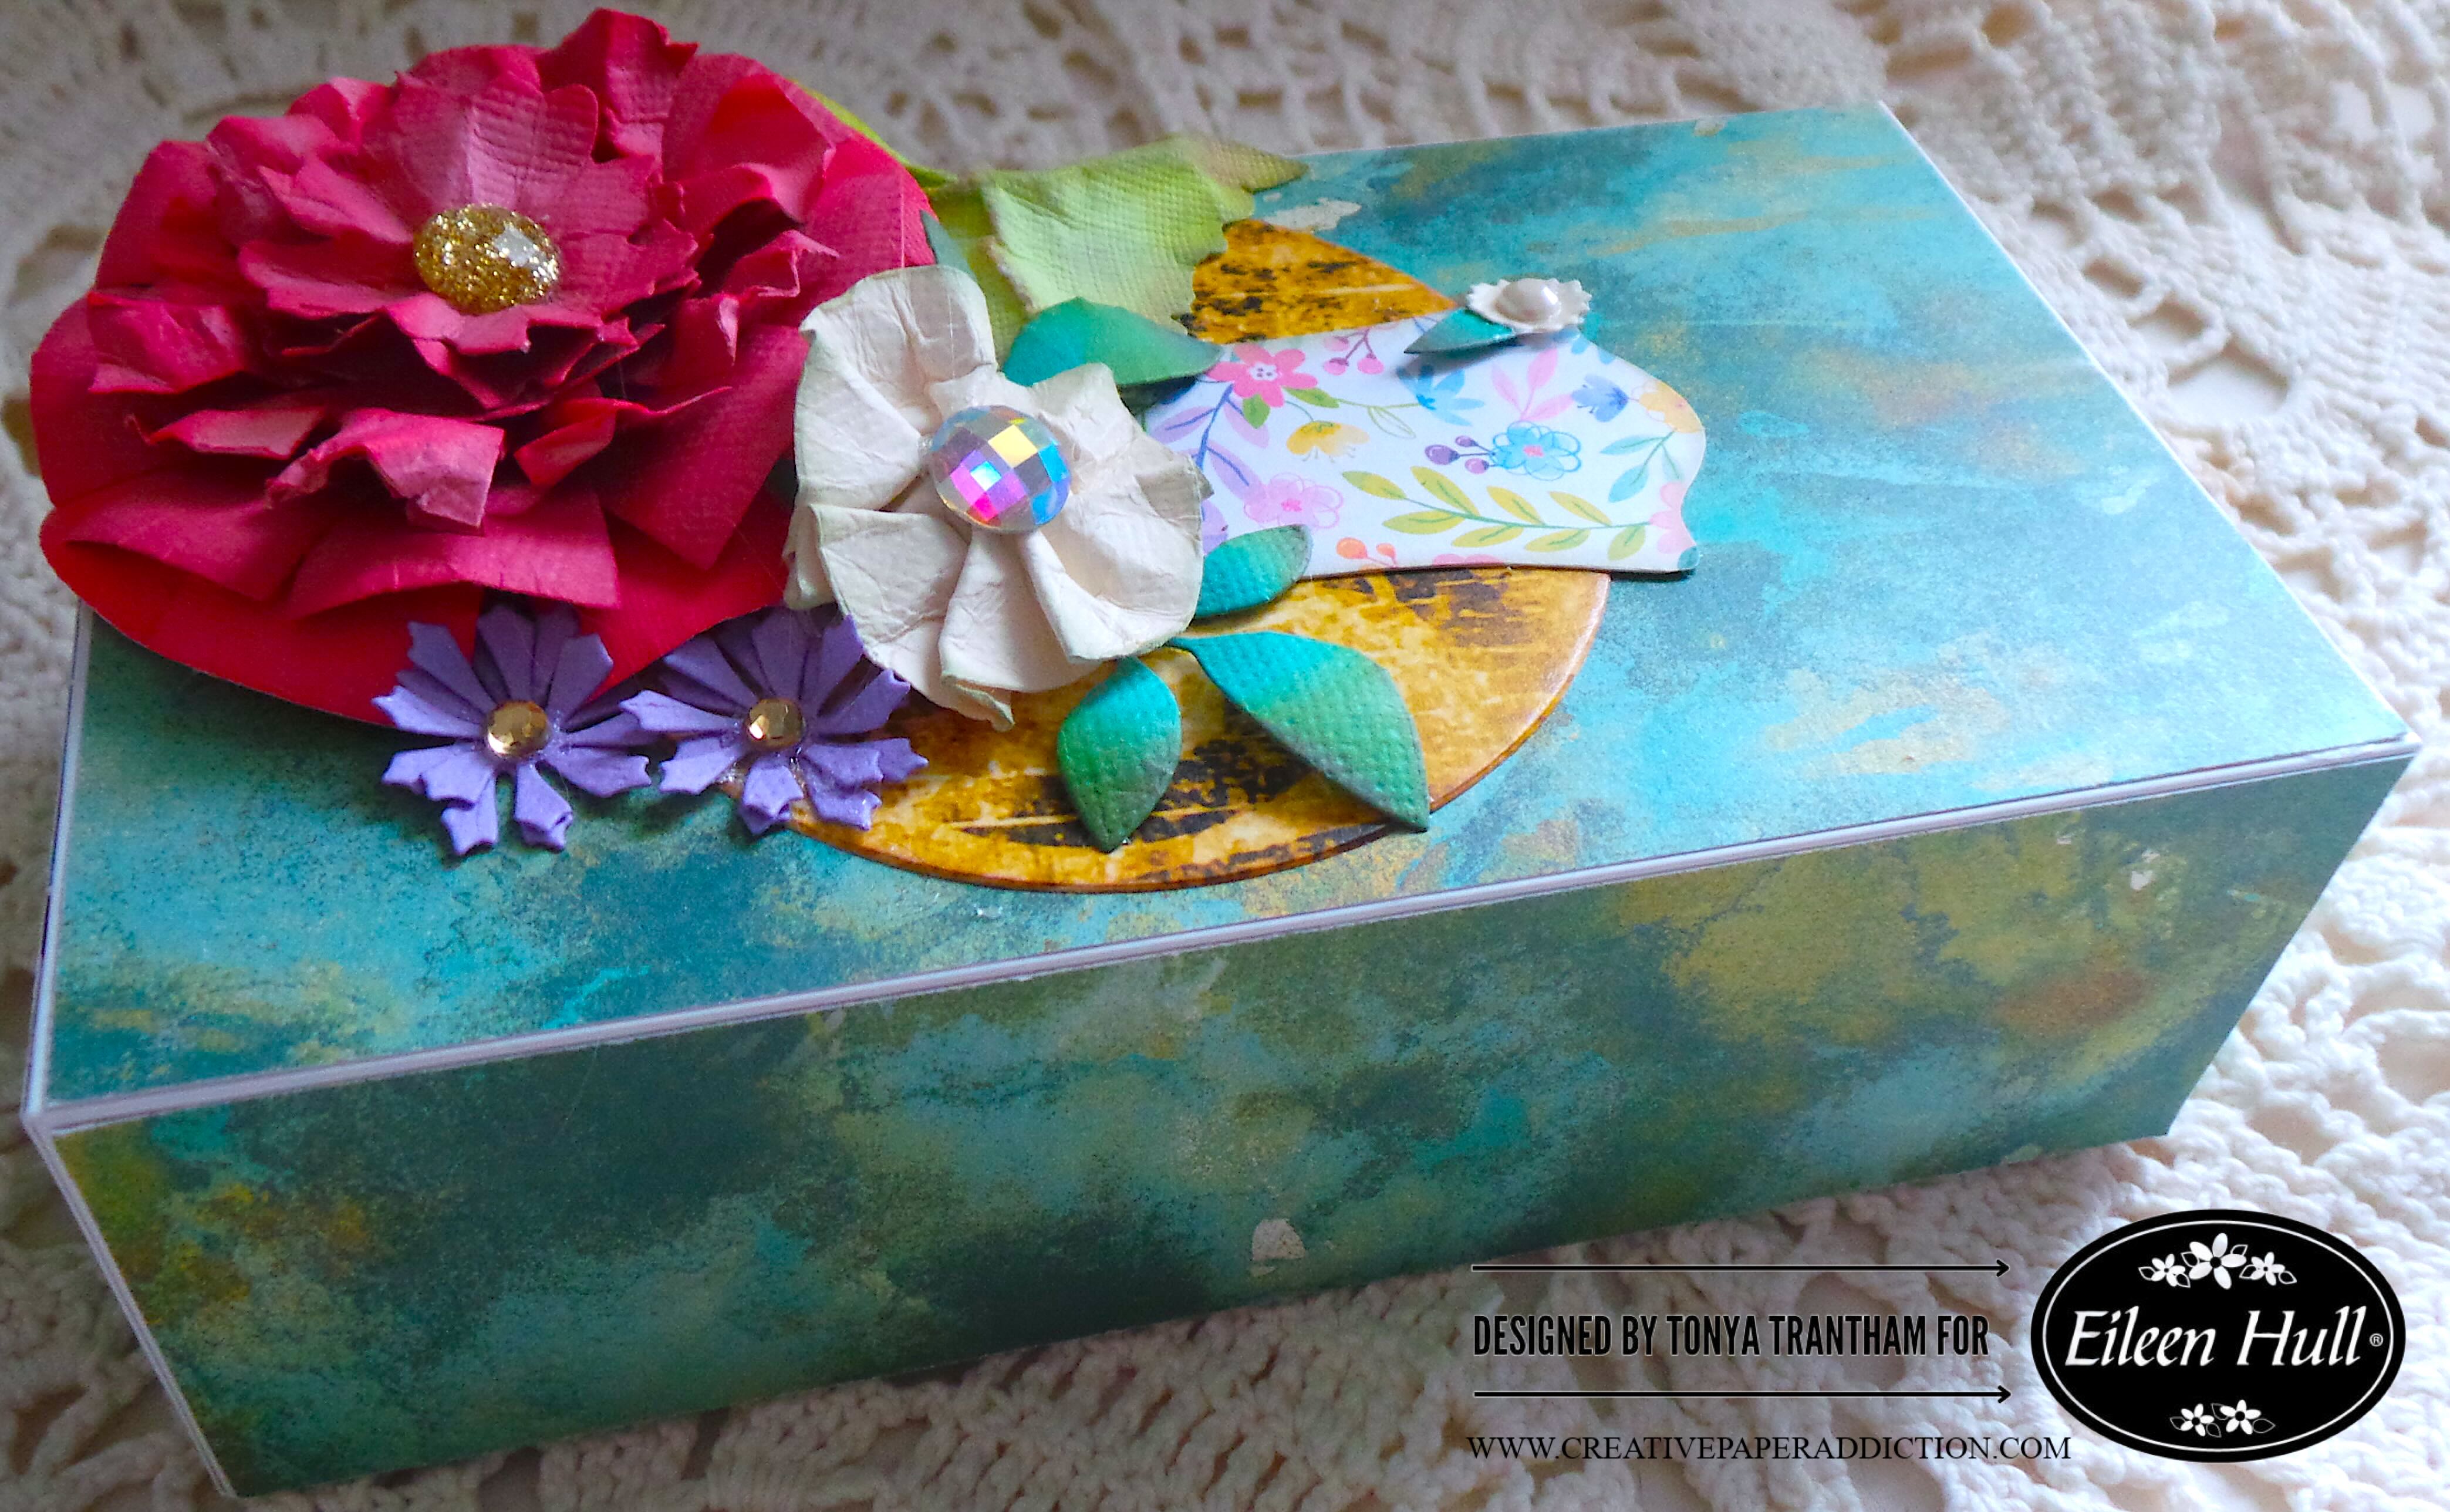
A colorful gift box adorned with large paper flowers in shades of red and cream, featuring green leaves and a decorative floral tag, set against a textured teal background with golden accents.

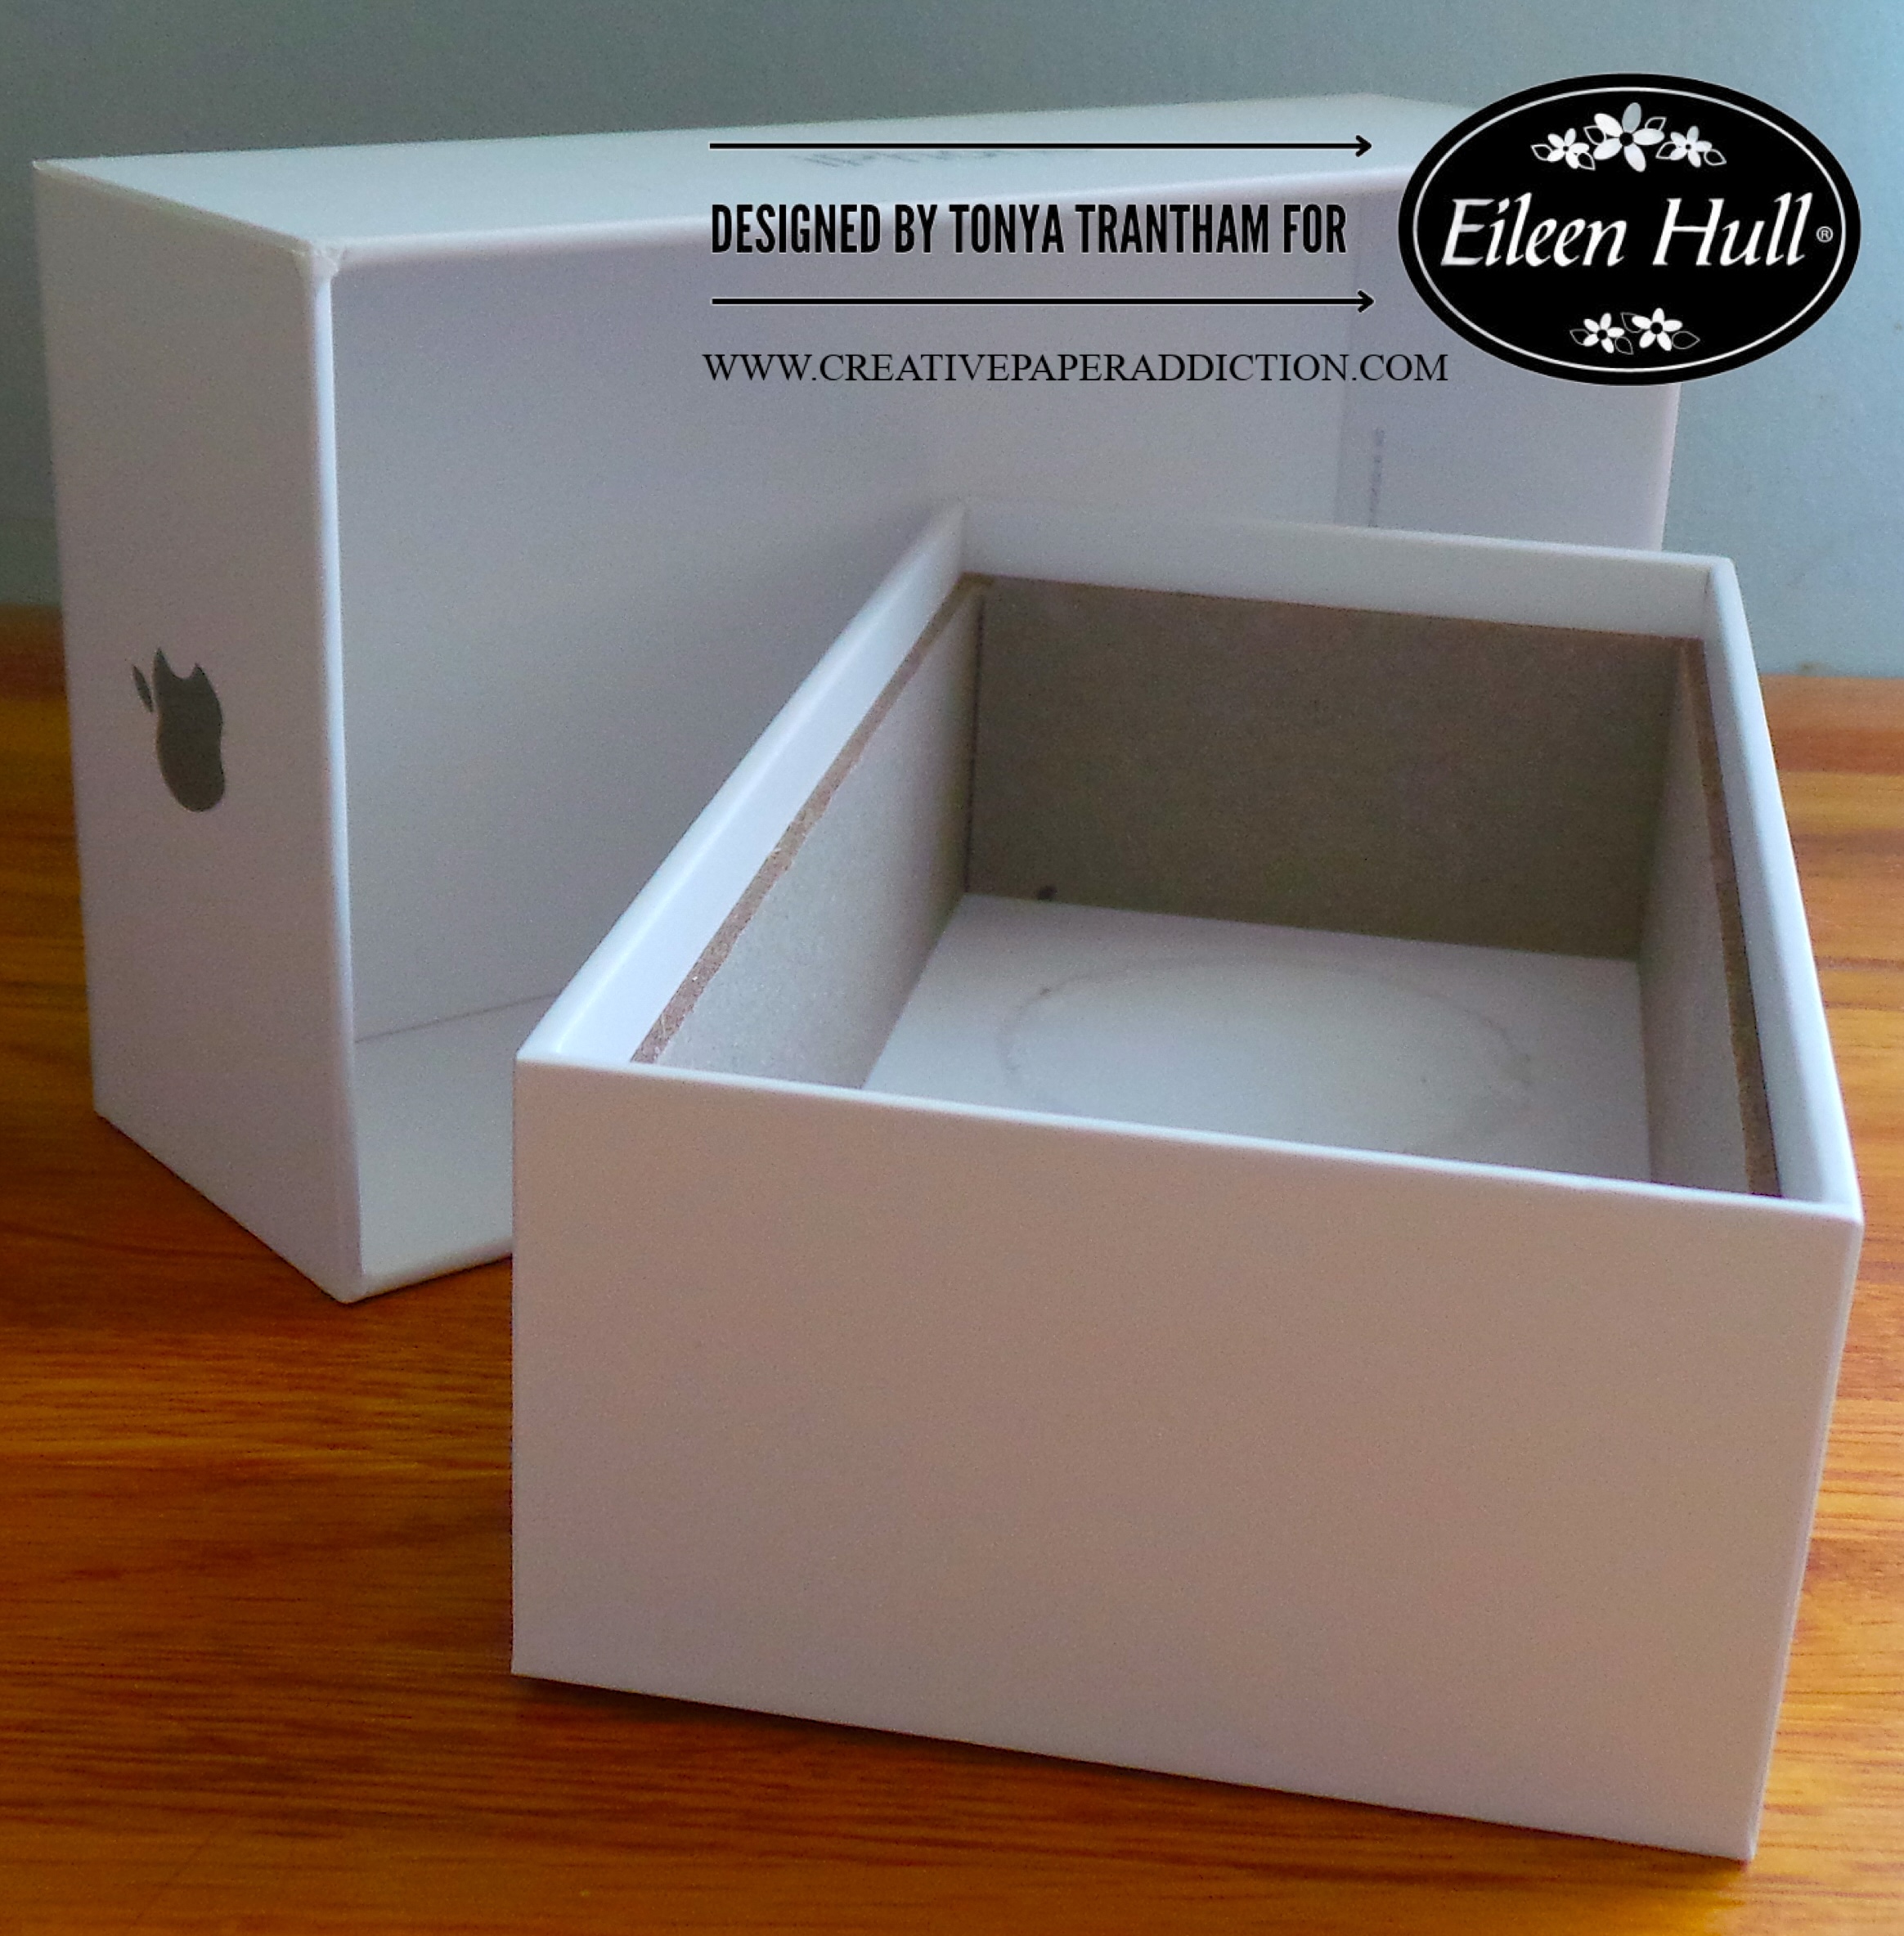
I have a collection of phone boxes in my stash. Since they are sturdy I decided to up-cycle and turn one into a gift box. The first thing I did was remove the plastic piece that is in the bottom of the box.

An empty white phone box on a wooden surface, with the lid removed, showcasing its interior.

Next I cut and covered the outside of the box with a patterned cardstock. I also cut and covered the inside of the box to cover up where I removed the plastic.

A decorated gift box with a colorful, textured lid, featuring shades of blue, green, and gold. The box is open to reveal a simple interior.

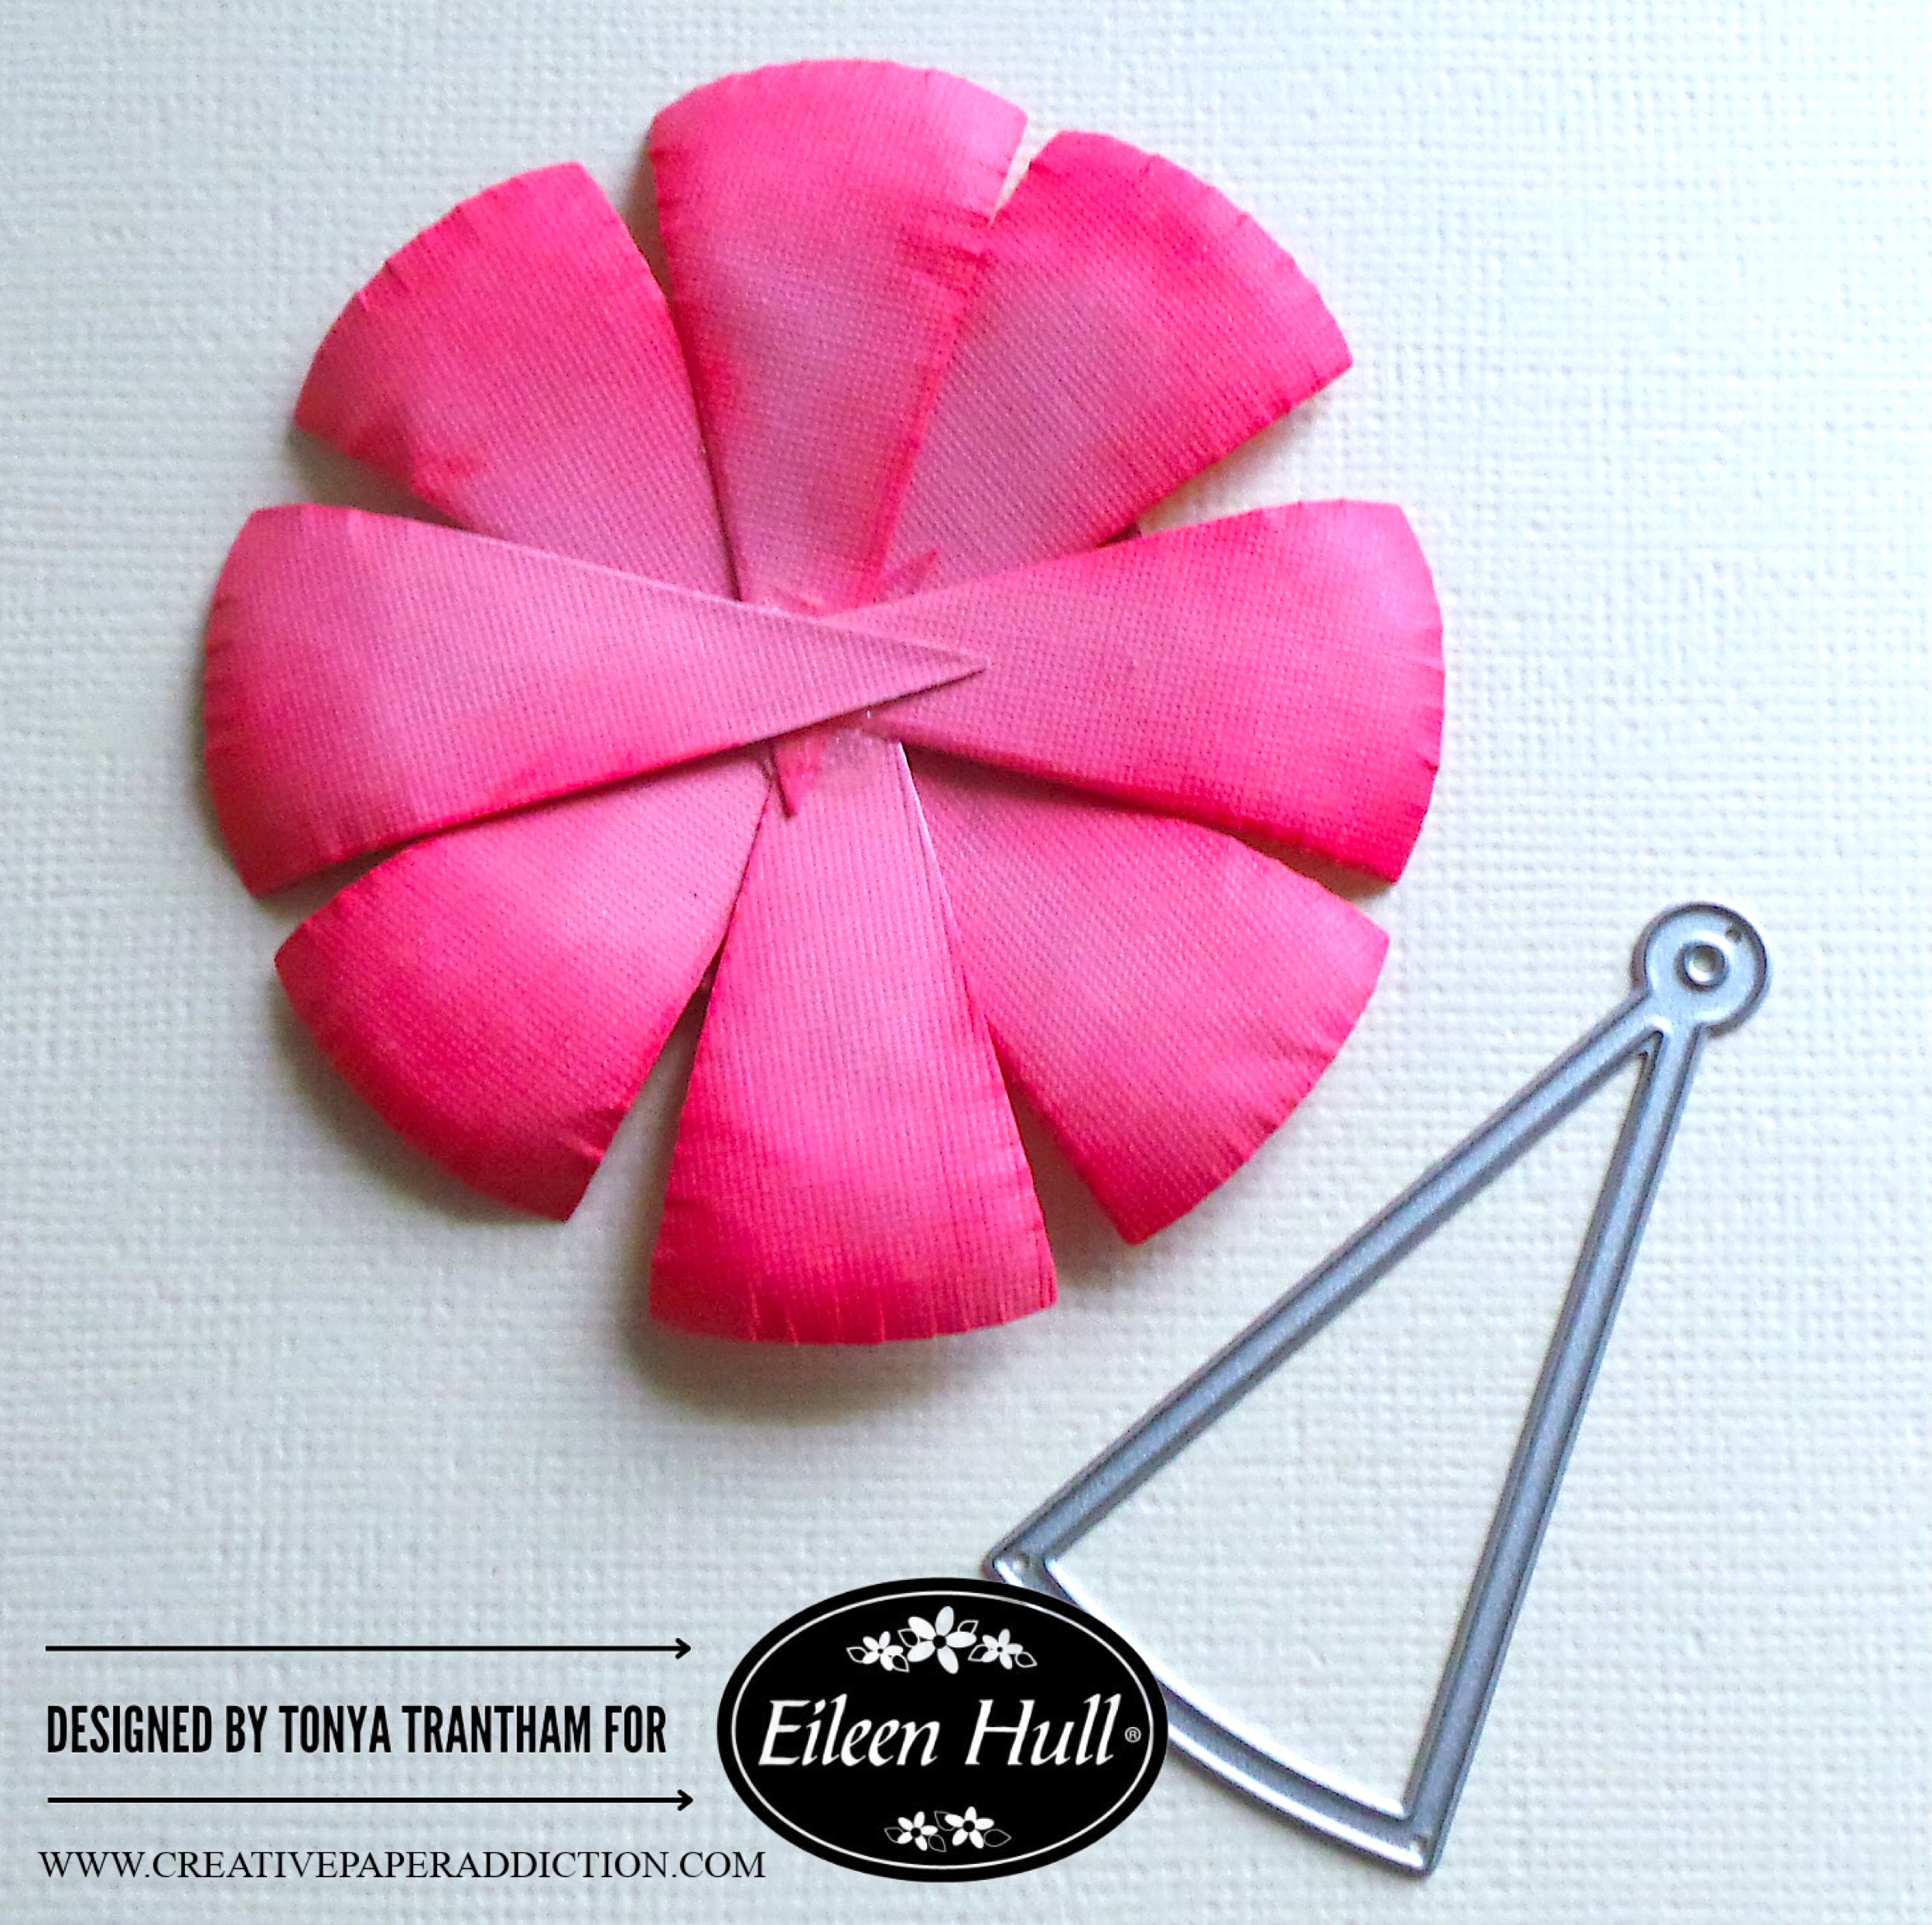
To create the largest flower on the box I cut over twenty of the triangles from the Rainbow Wheels Thinlits. I lightly inked the edges with a pink chalk ink and shaped with a Stylus.

A layered pink paper flower made from various sized petals, next to a metal die cut in the shape of a triangle, on a textured background.

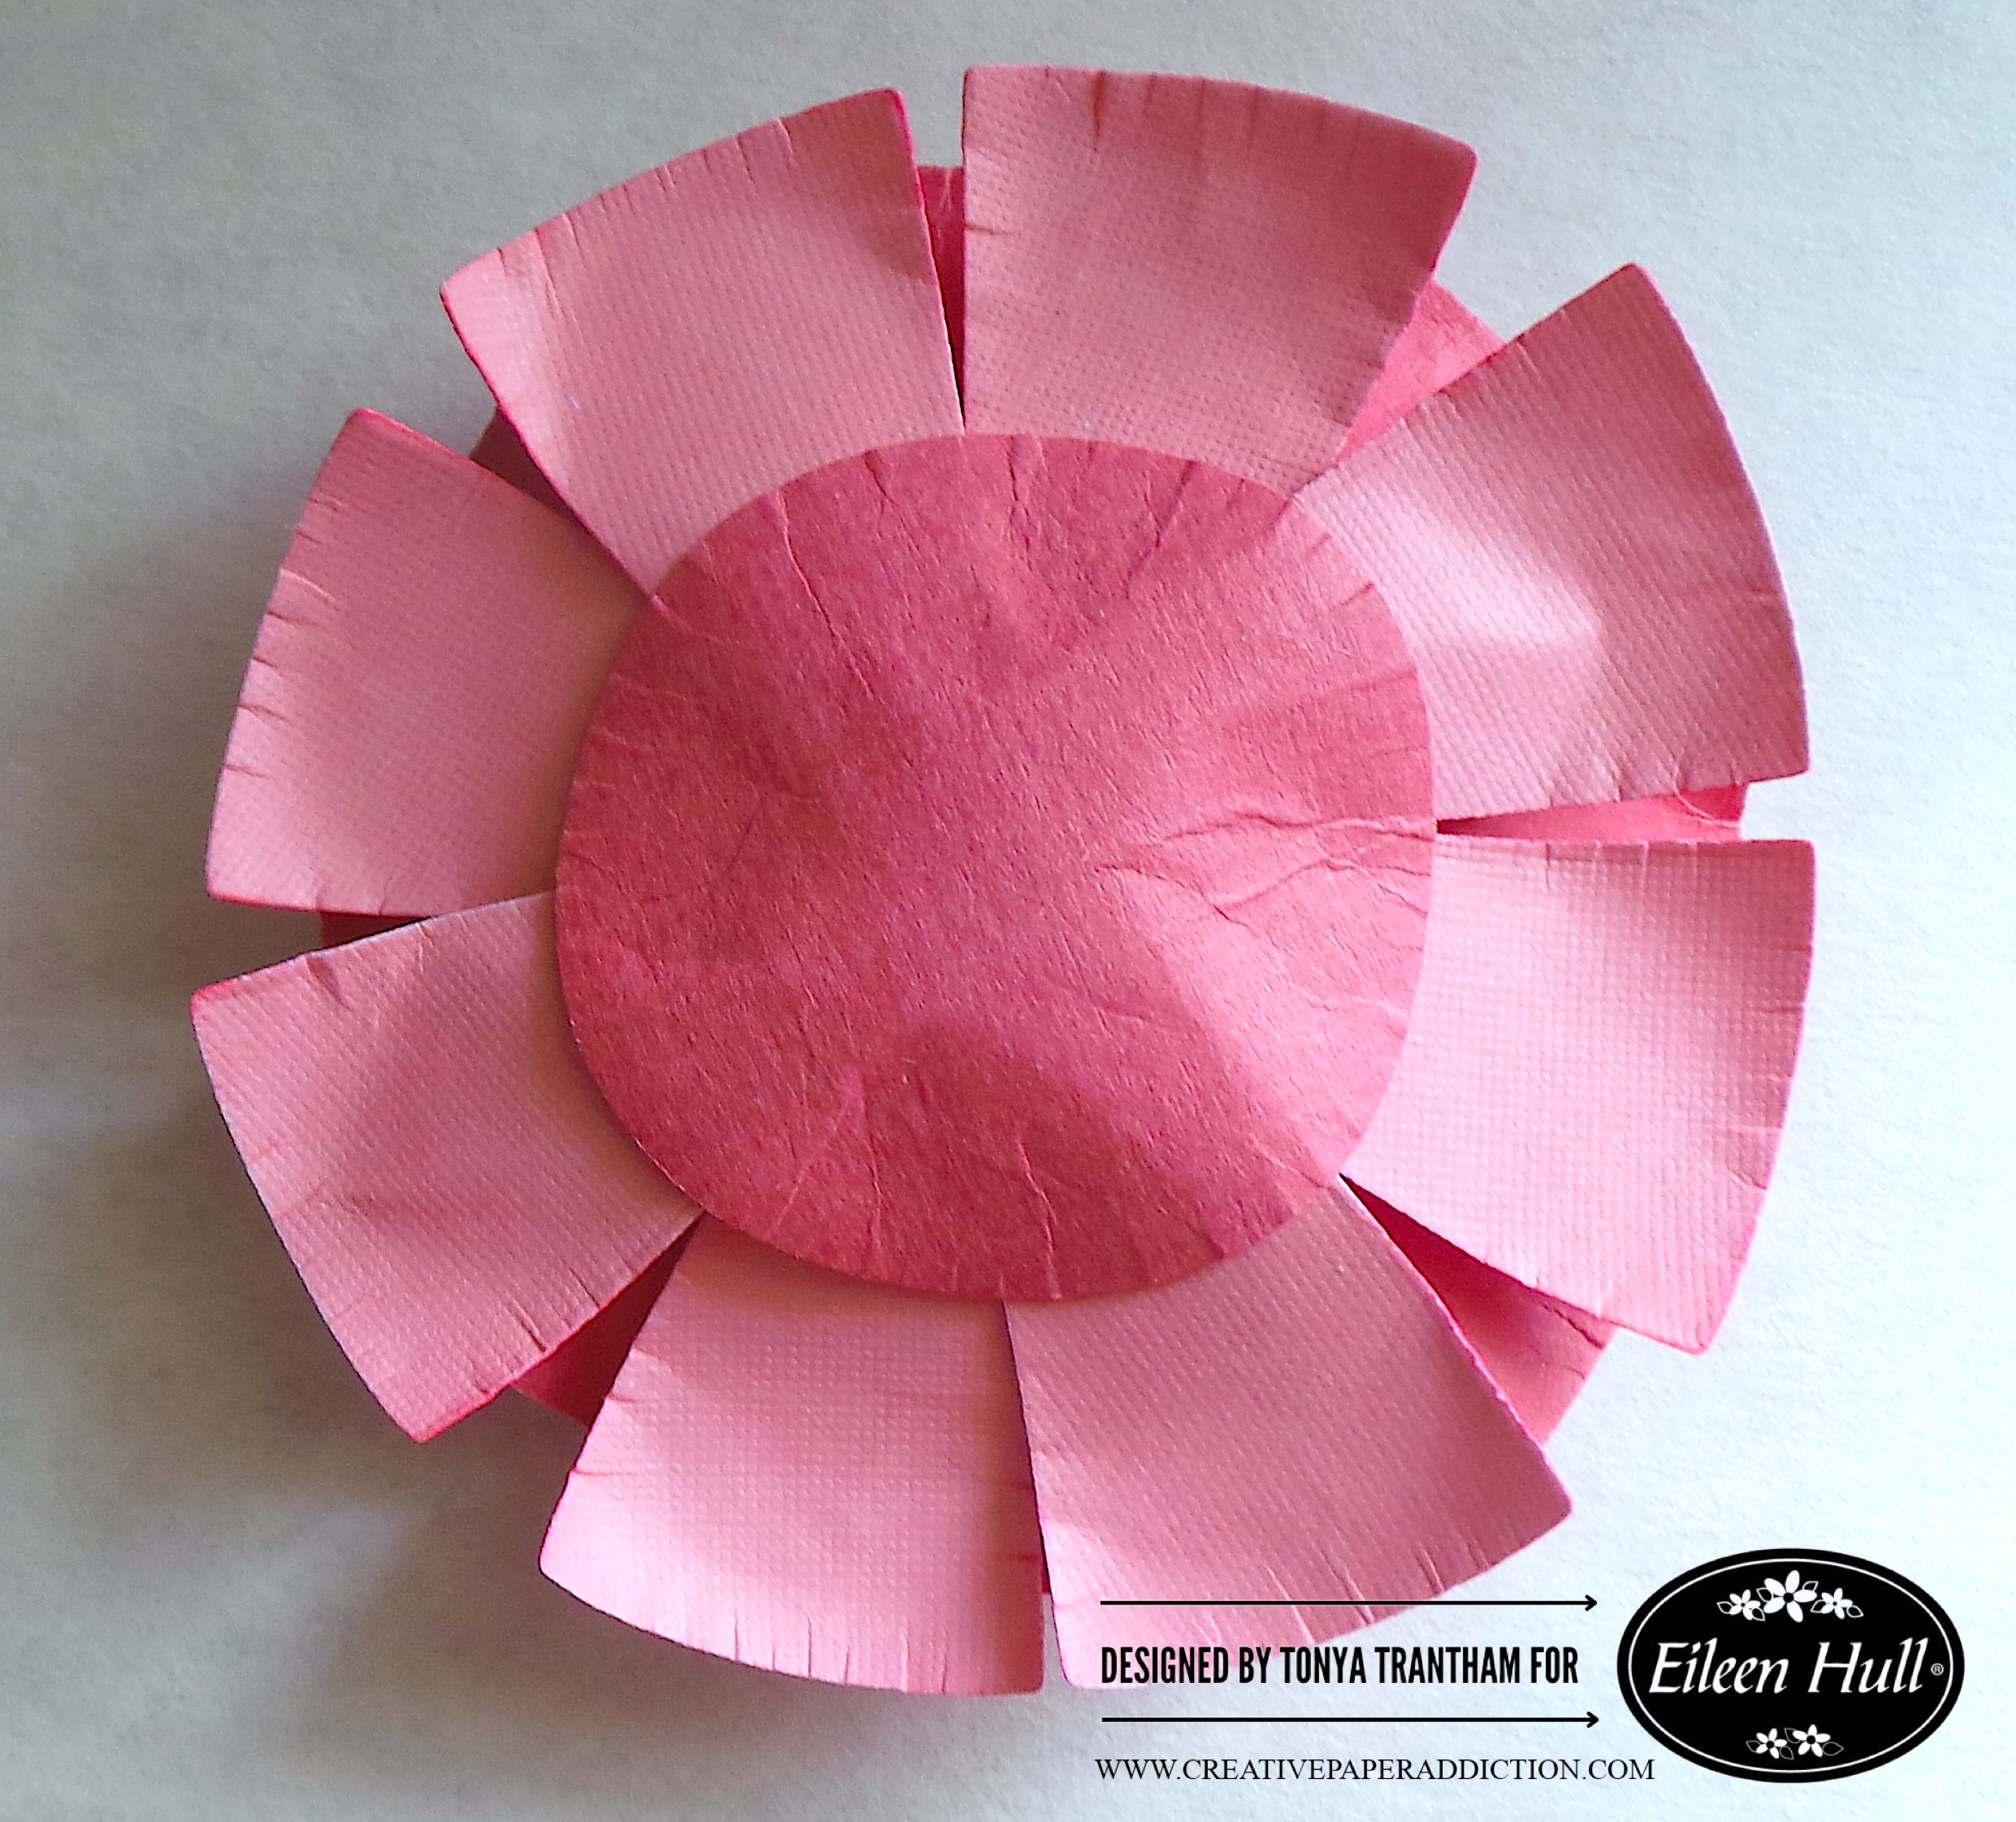
I also cut the smallest circle from the Rainbow Wheels Thinlits and shaped with a Stylus. I started adhering the triangles to the circle. I added two layers of the regular size triangles dies to the circle.

A handcrafted pink flower made from paper, featuring layered petals and a textured center.

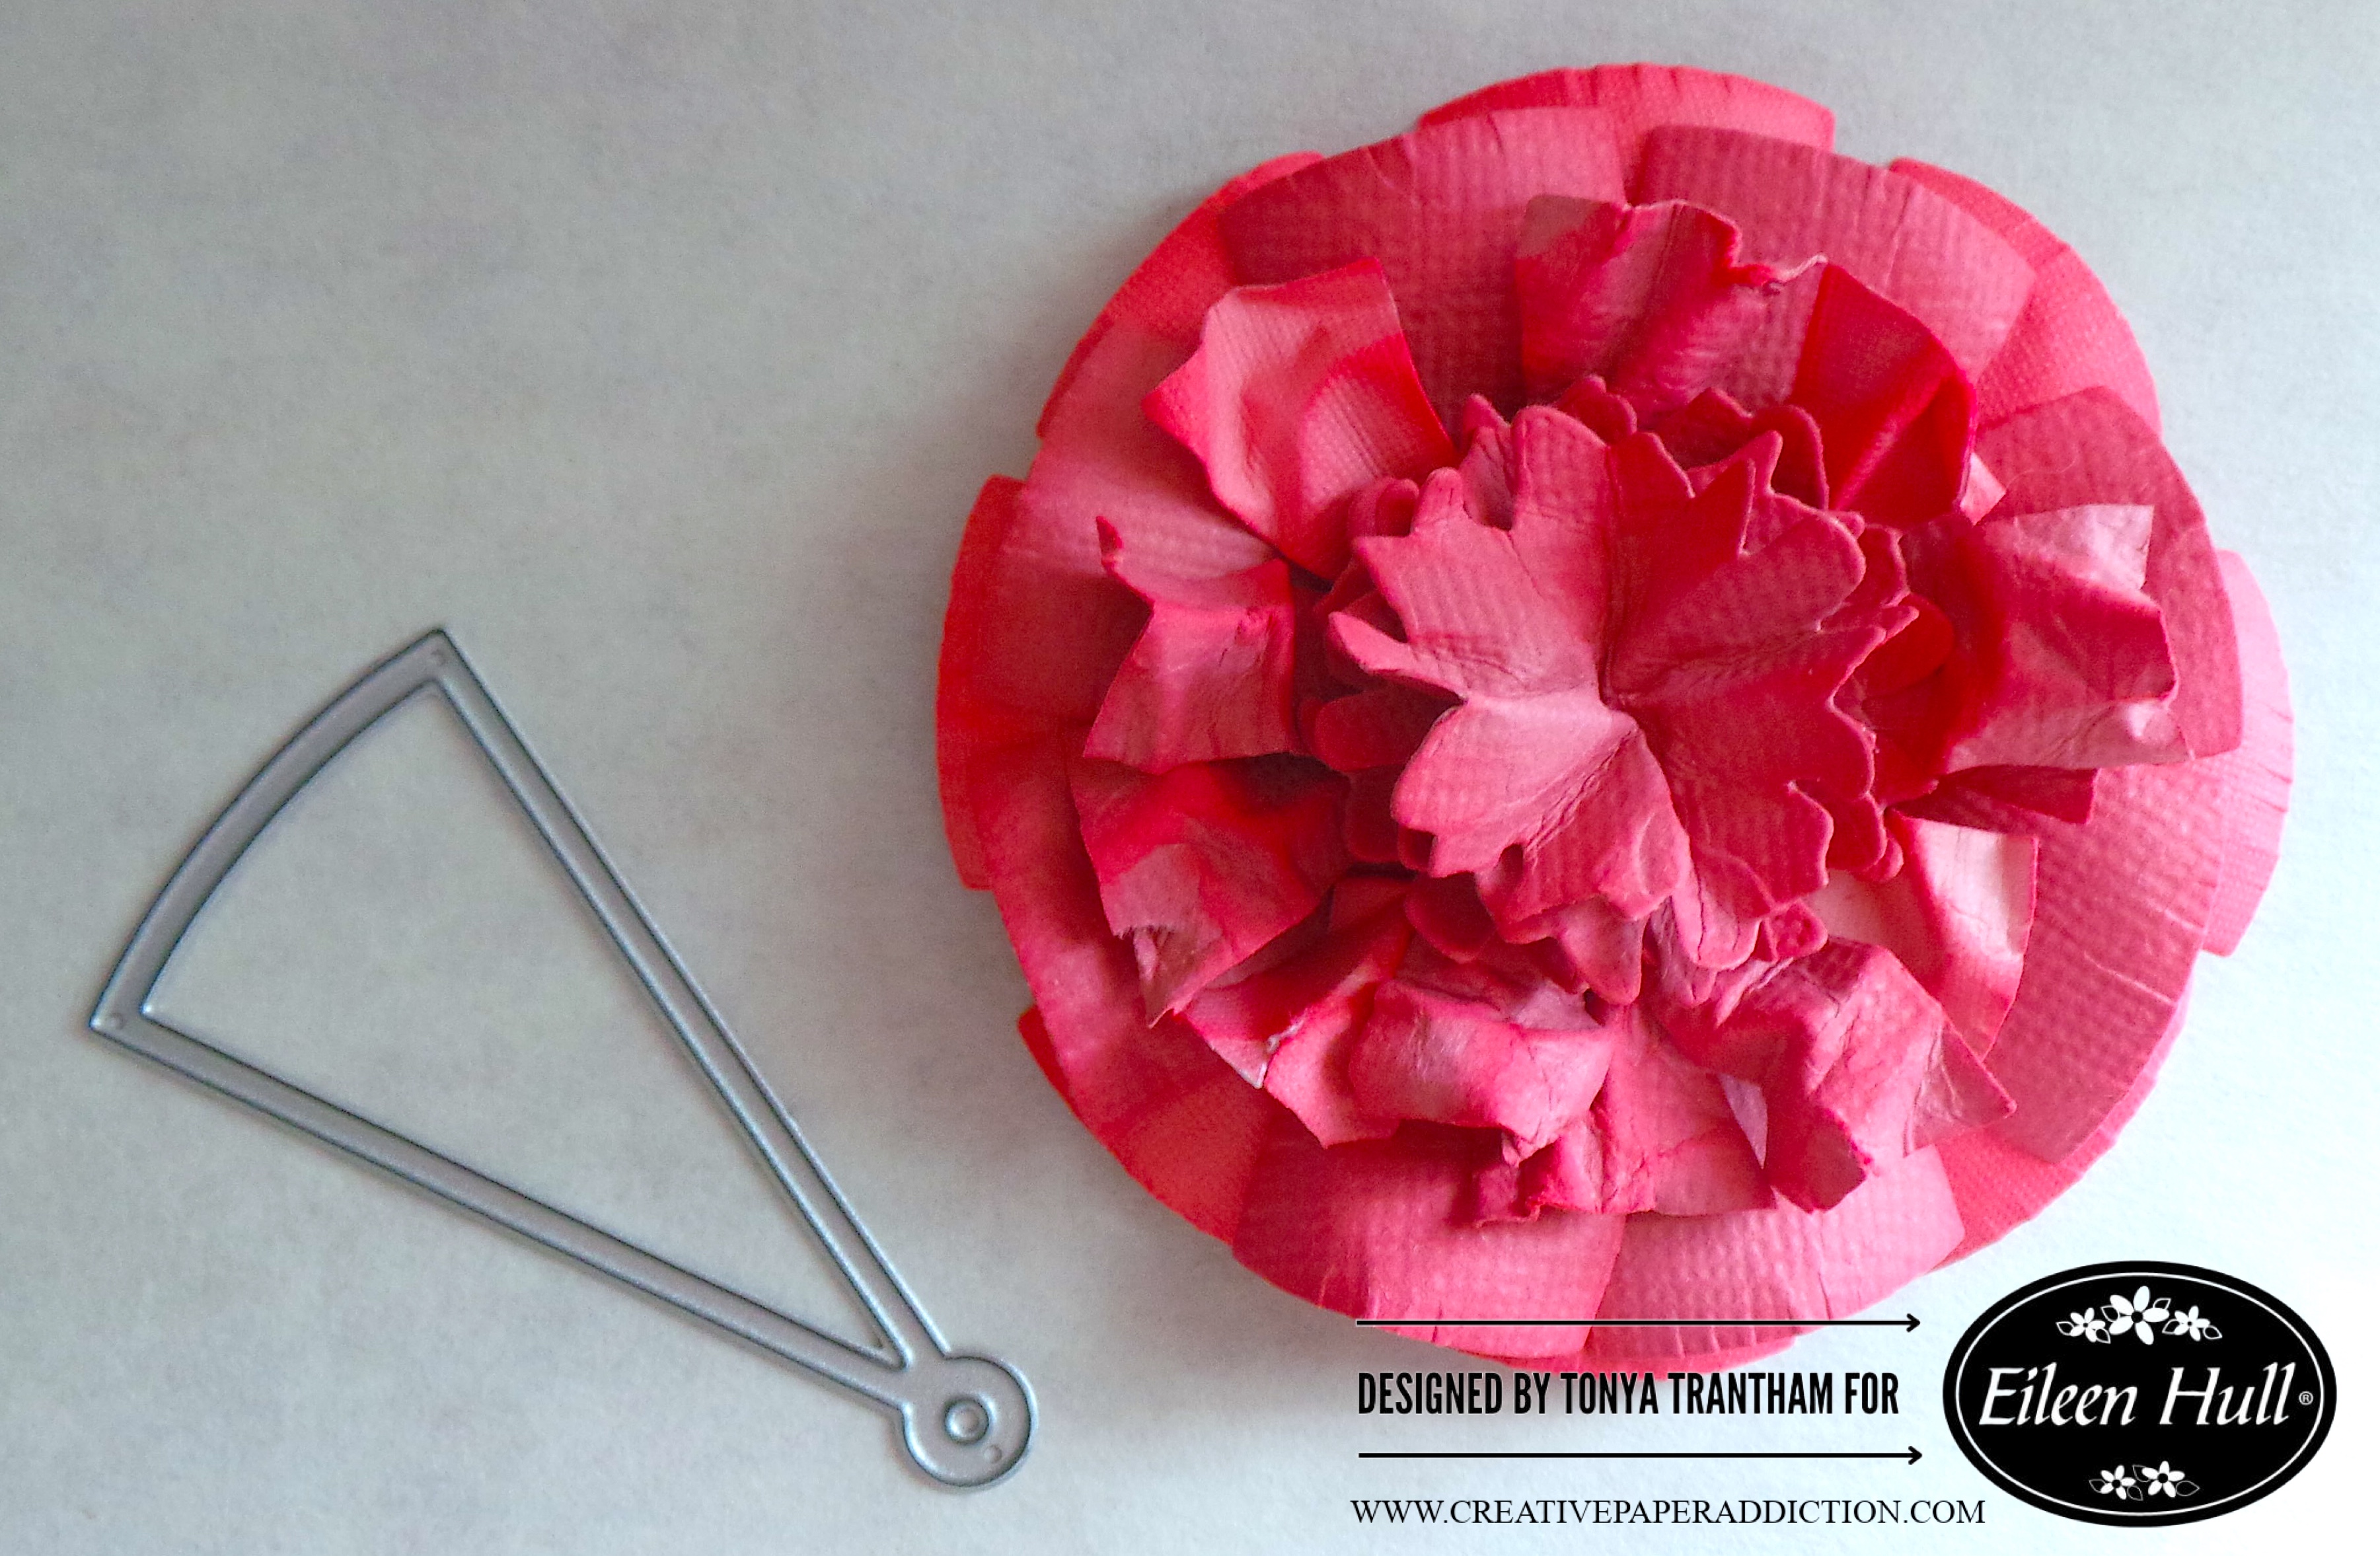
I cut the “v” end off ten triangle dies and crunched up in my hand before adding to the flower. I cut out three flowers from the Bookmark, Pockets and Topper Thinlits. I inked with pink chalk ink and shaped with a Stylus and my hand. I glued each on top of each other before adding to the flower.

A layered paper flower in shades of pink alongside a metal die cut in a semi-circle shape, designed by Tonya Trantham for Eileen Hull.

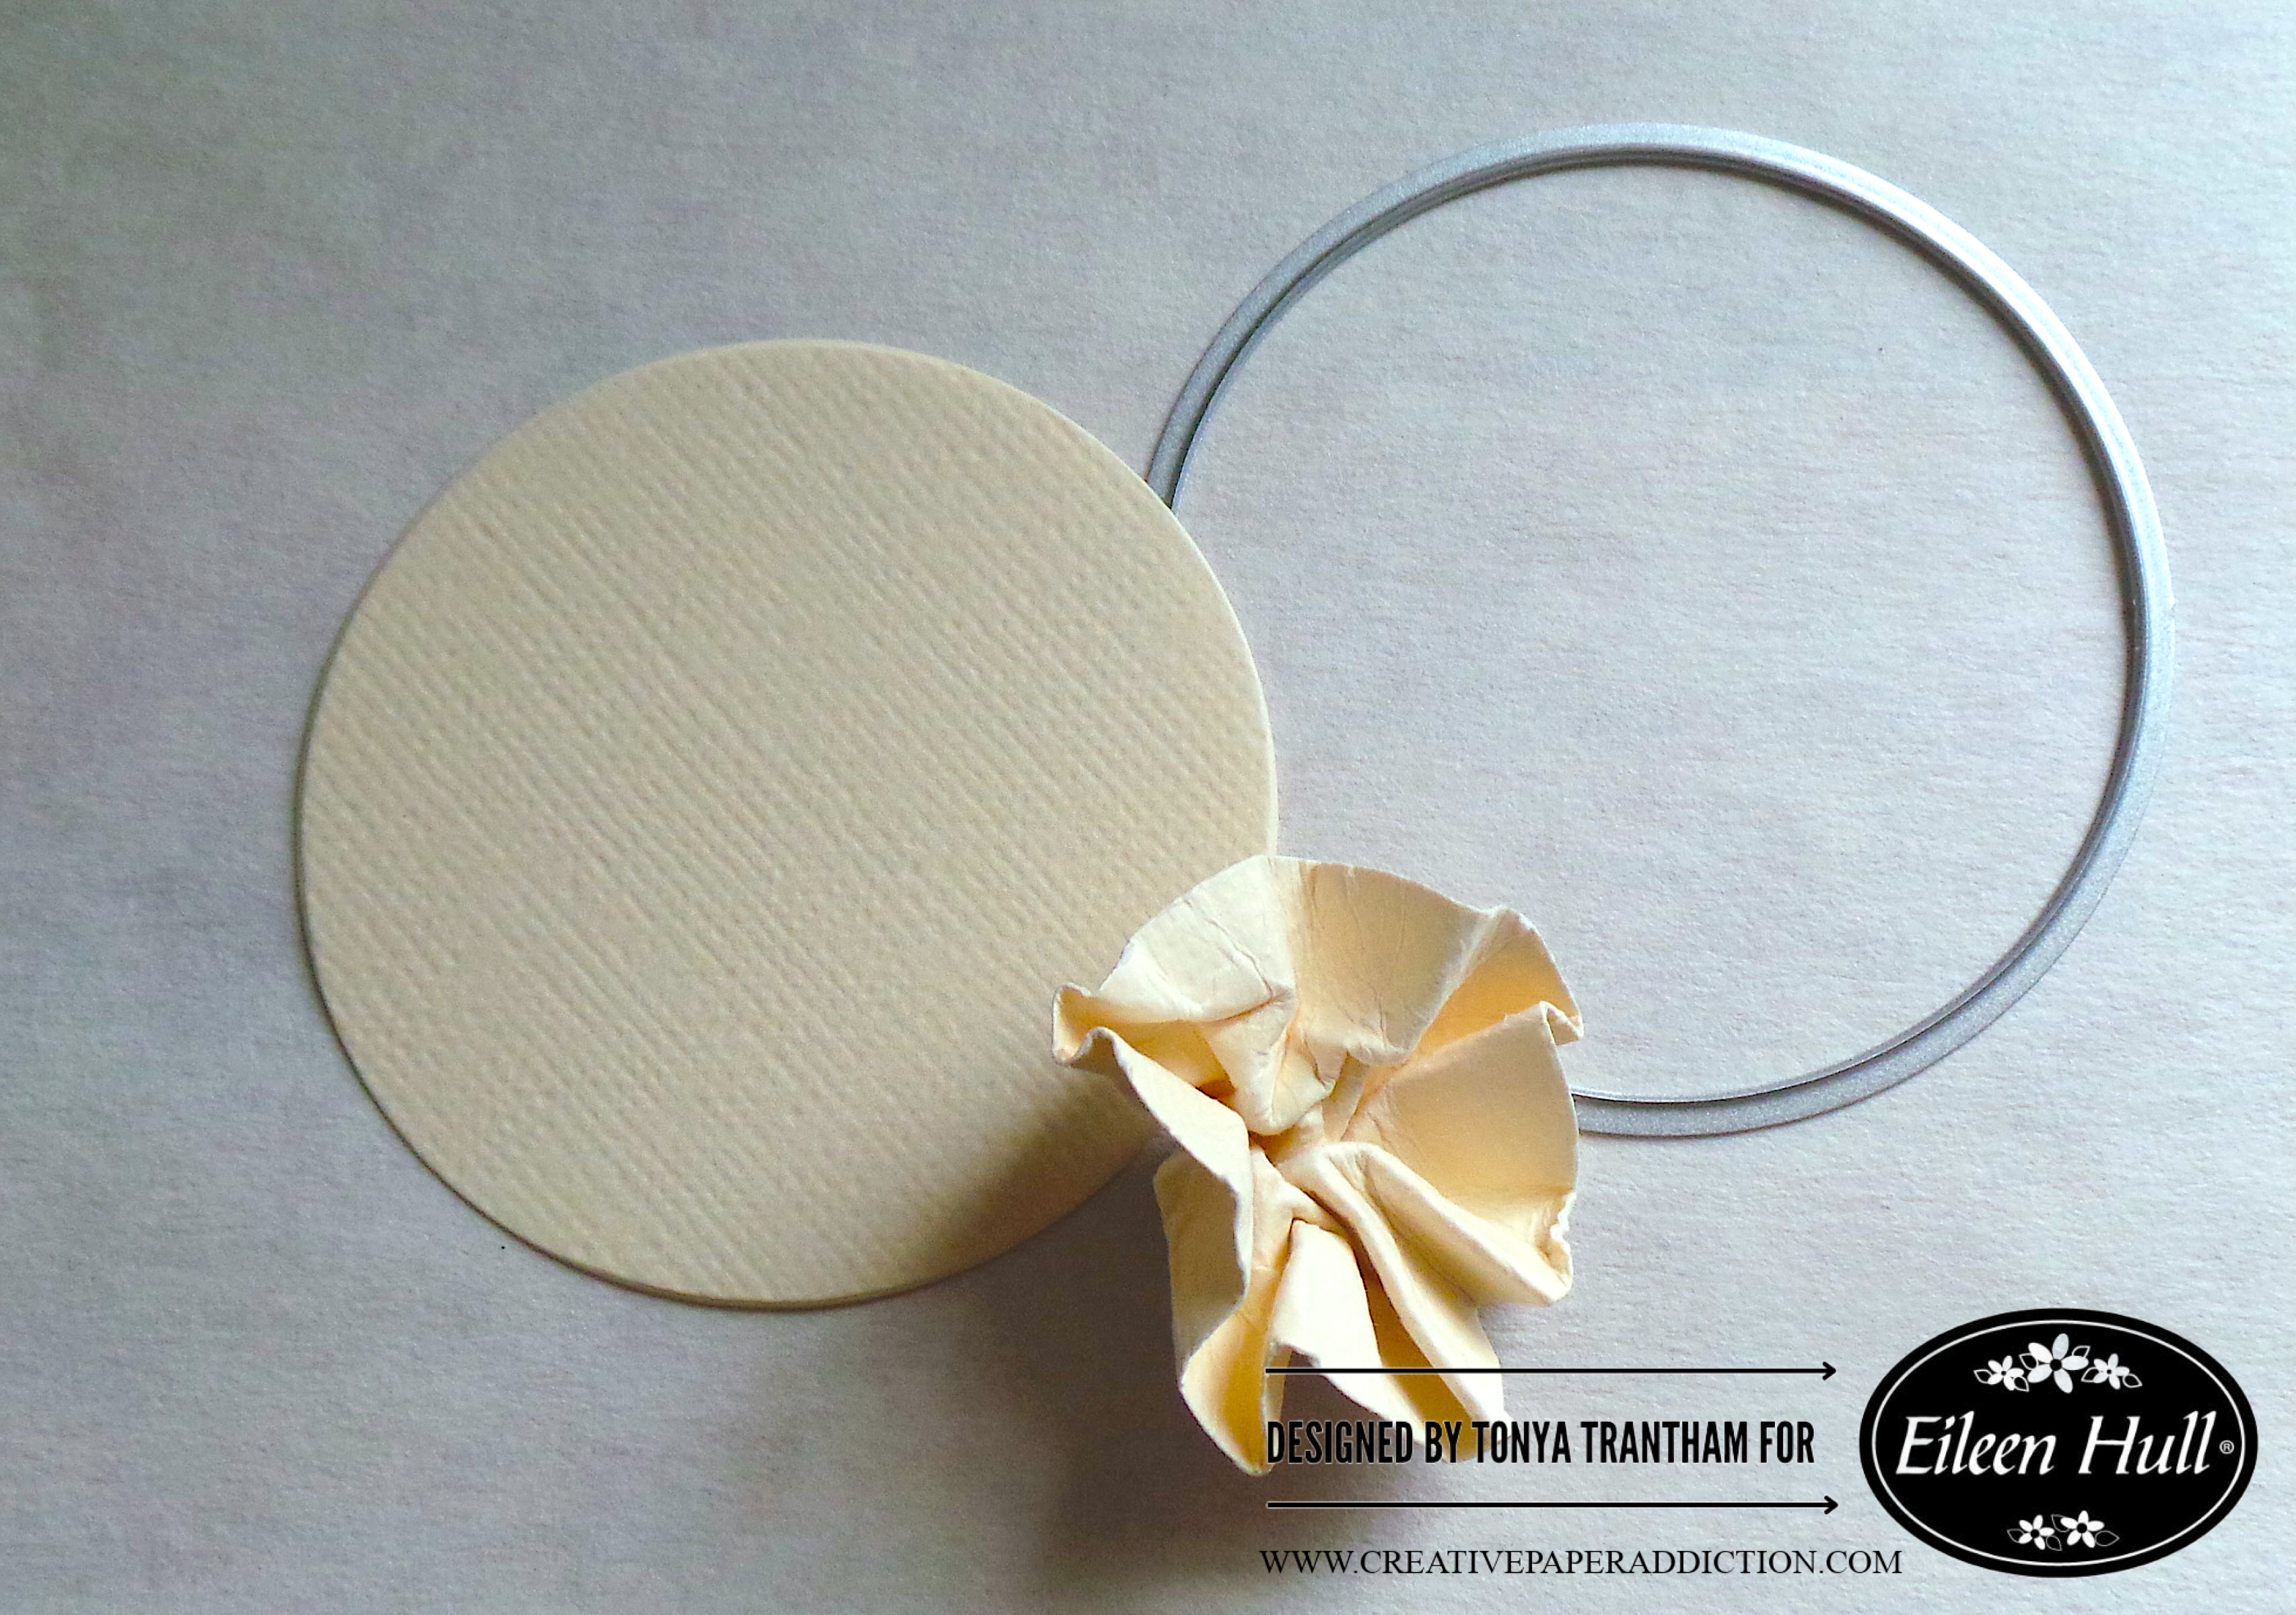
I cut the smallest circle from the Rainbow Wheels Thinlits. I lightly wet the circle with water and crunched, shaped in my hand and let it dry.

A circular piece of off-white cardstock alongside a silver die-cutting ring and a crumpled, light-colored paper flower, designed for a crafting project.

I cut the largest circle from the Rainbow Wheels Thinlits and adhered to the center of the box. I cut one of the labels from the Journal Hardware Diecut and glued onto the large circle.

Close-up of a decorated gift box featuring large multicolored flowers, green leaves, and embellishments.

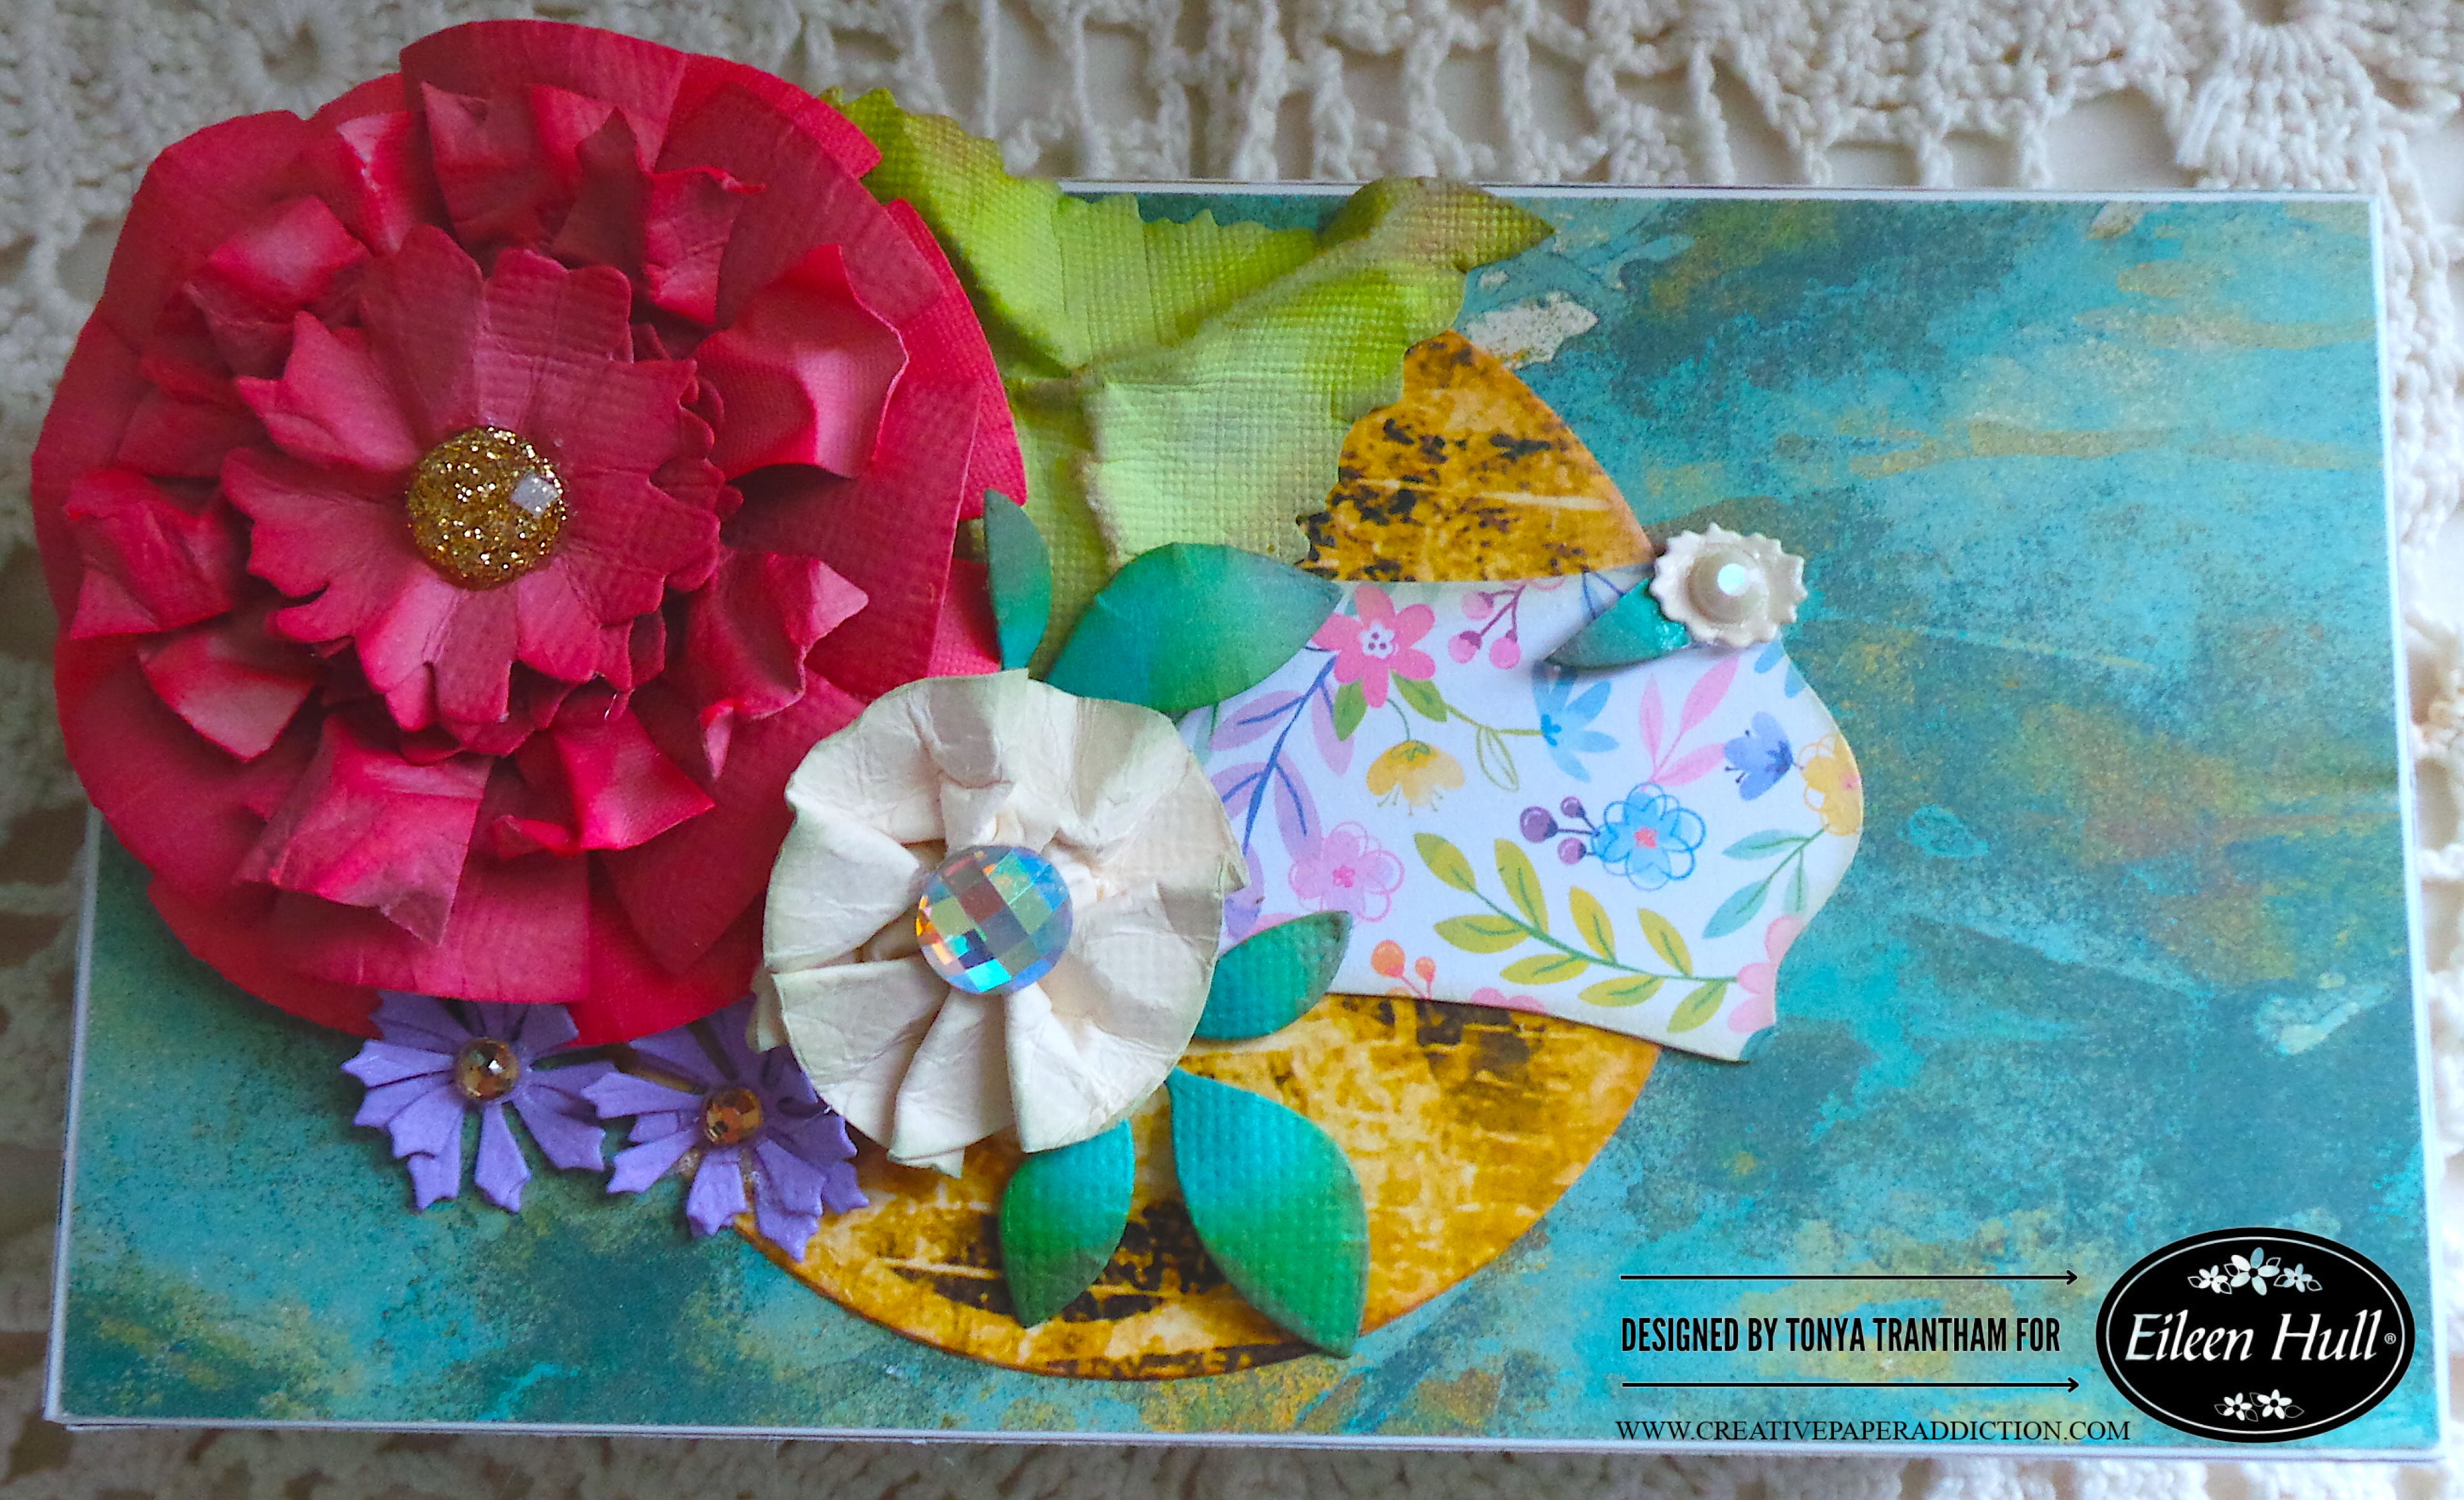
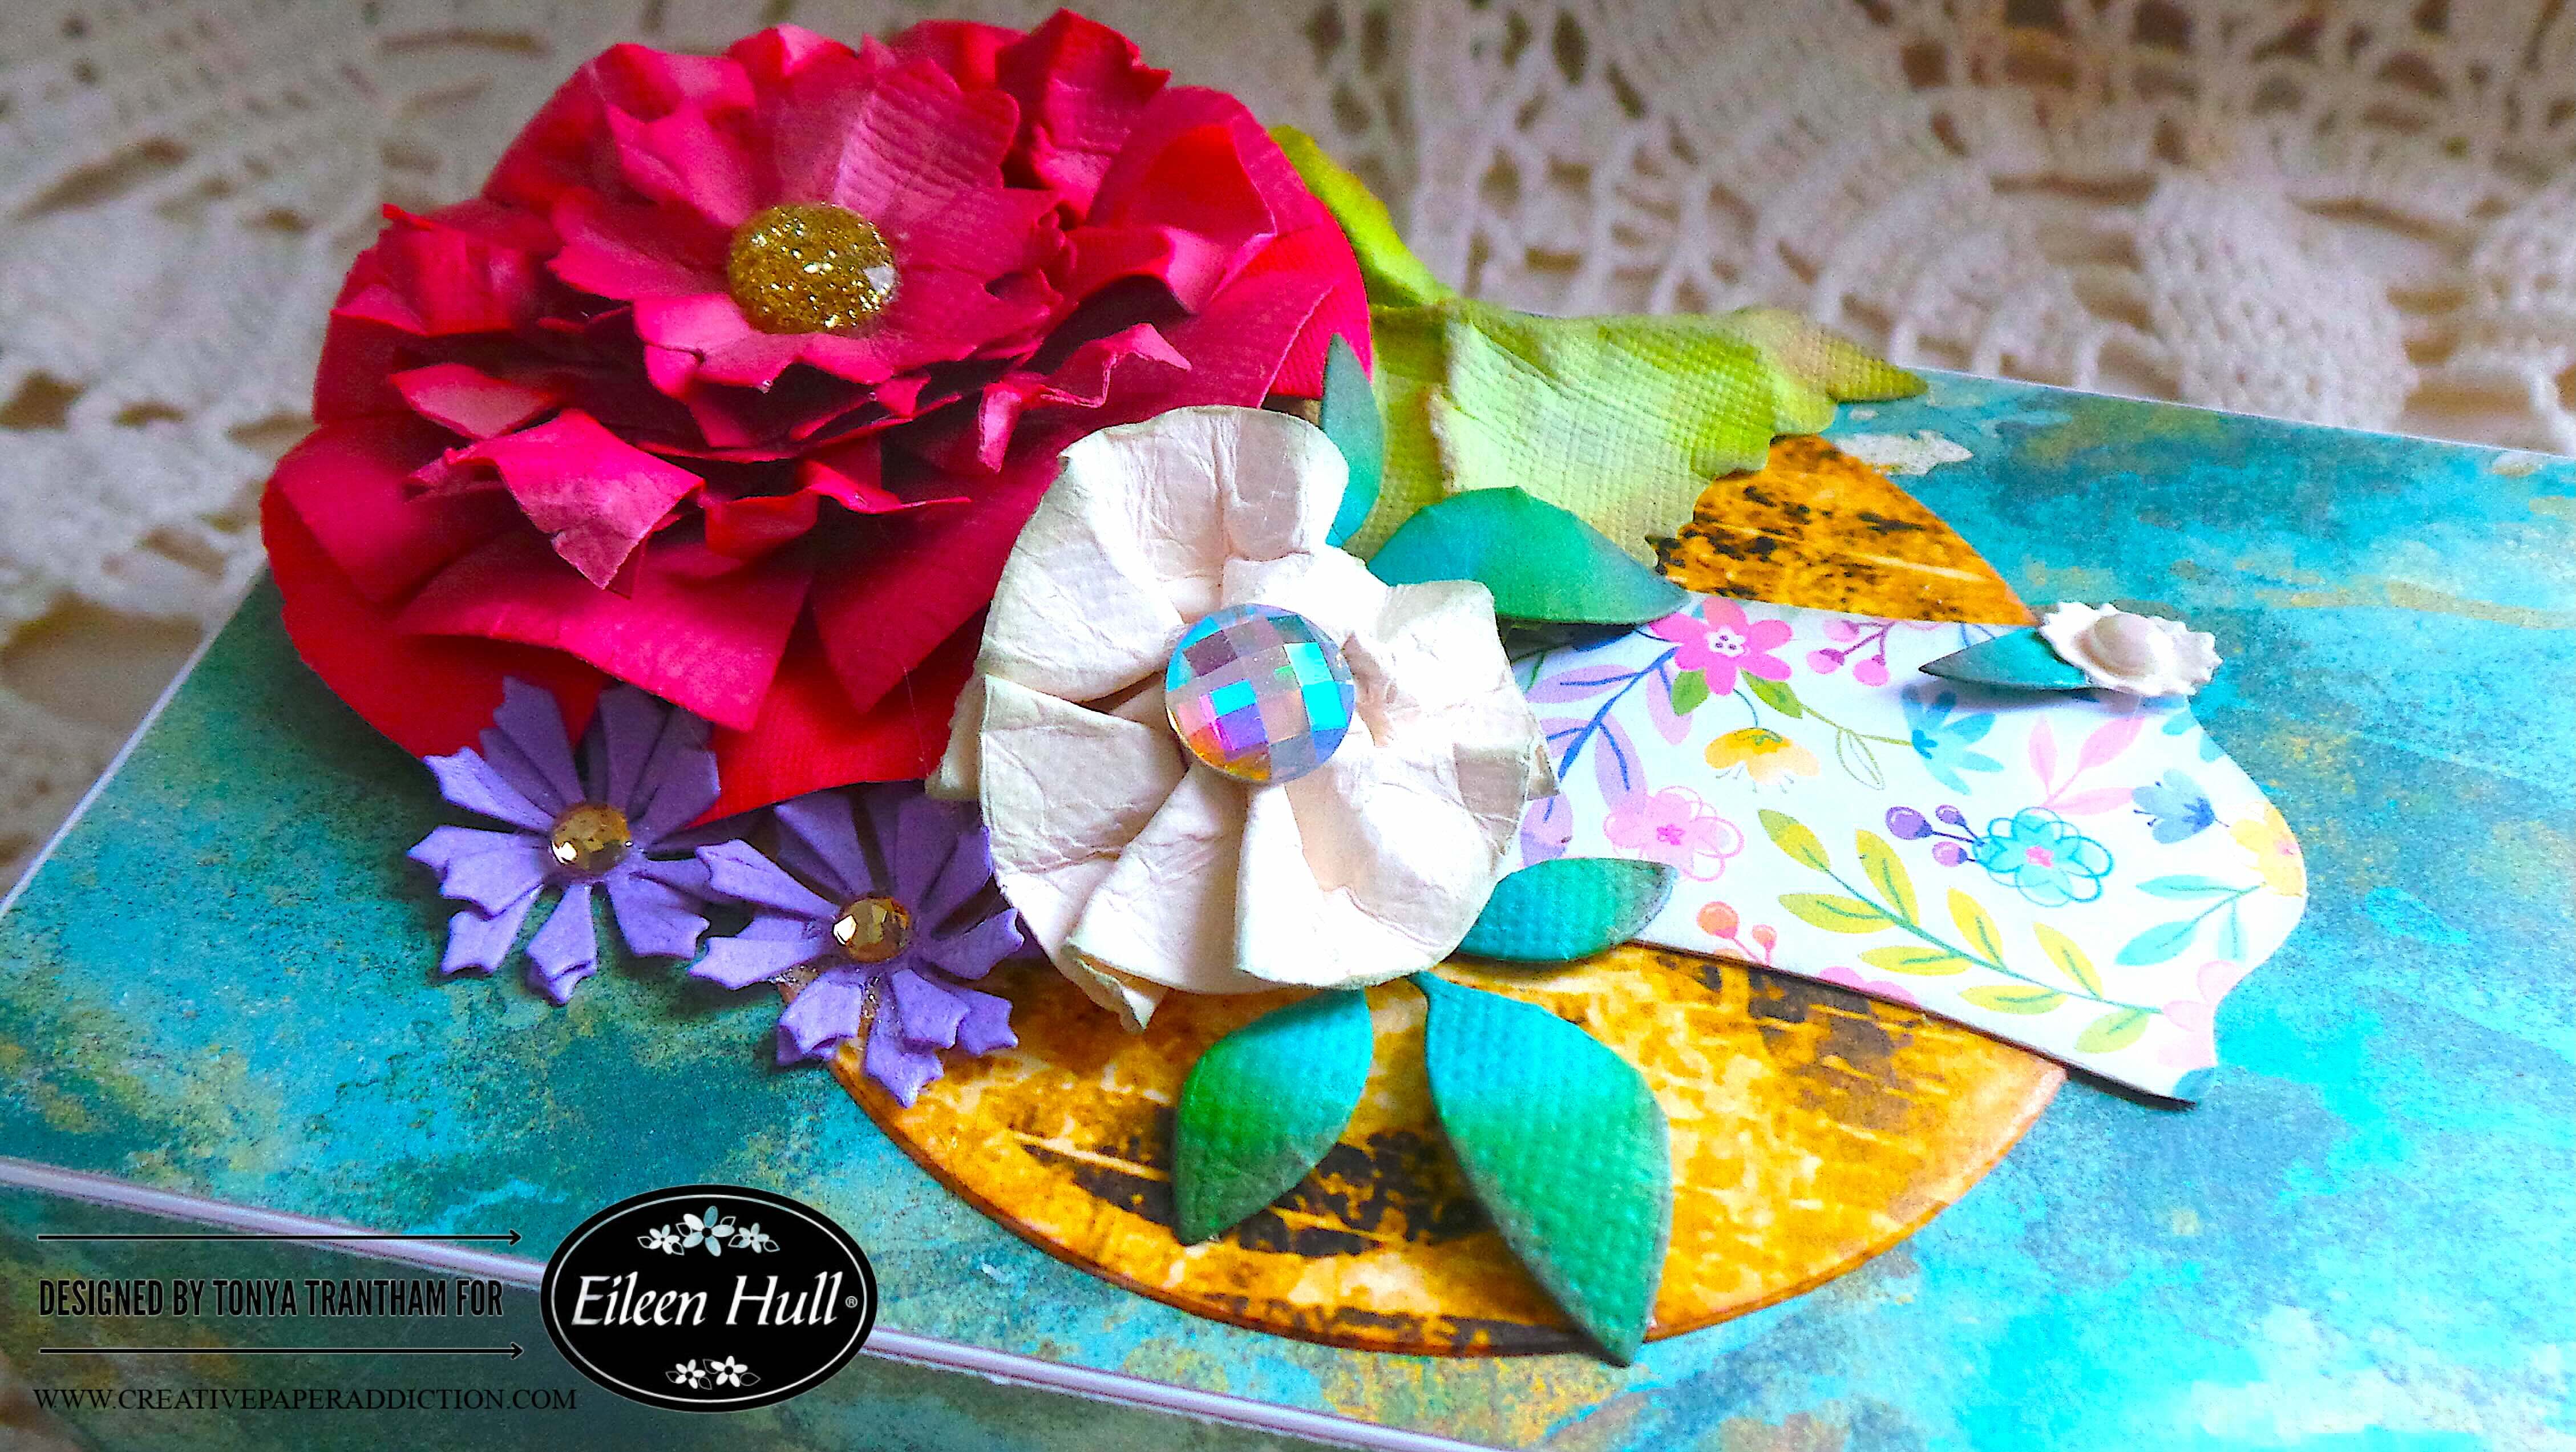
I glued the largest flower to the upper corner of the lid. Next I dug into my stash and found a leaf from the Sunflower Diecut (retired). I inked, shaped and adhered underneath the larger flower. I glued the white flower next to the large flower. I cut and shaped two leaf sprigs from the Bookmark, Pockets and Topper Thinlits and adhered underneath the white flower.

A decorated gift box featuring colorful paper flowers in red, pink, white, and purple on a textured teal background.

I cut four of the purple and one small flowers from the Bookmark, Pockets and Topper Thinlits. I shaped all flower with a Stylus. I glued a purple flower on top of each other and added to the lid. The white flower I adhered to the corner of the label along with a single leaf from a leaf sprig.

Close-up of a decorated gift box featuring various paper flowers, including a large red flower, a white flower, and purple accents, alongside green leaves and a floral patterned piece.

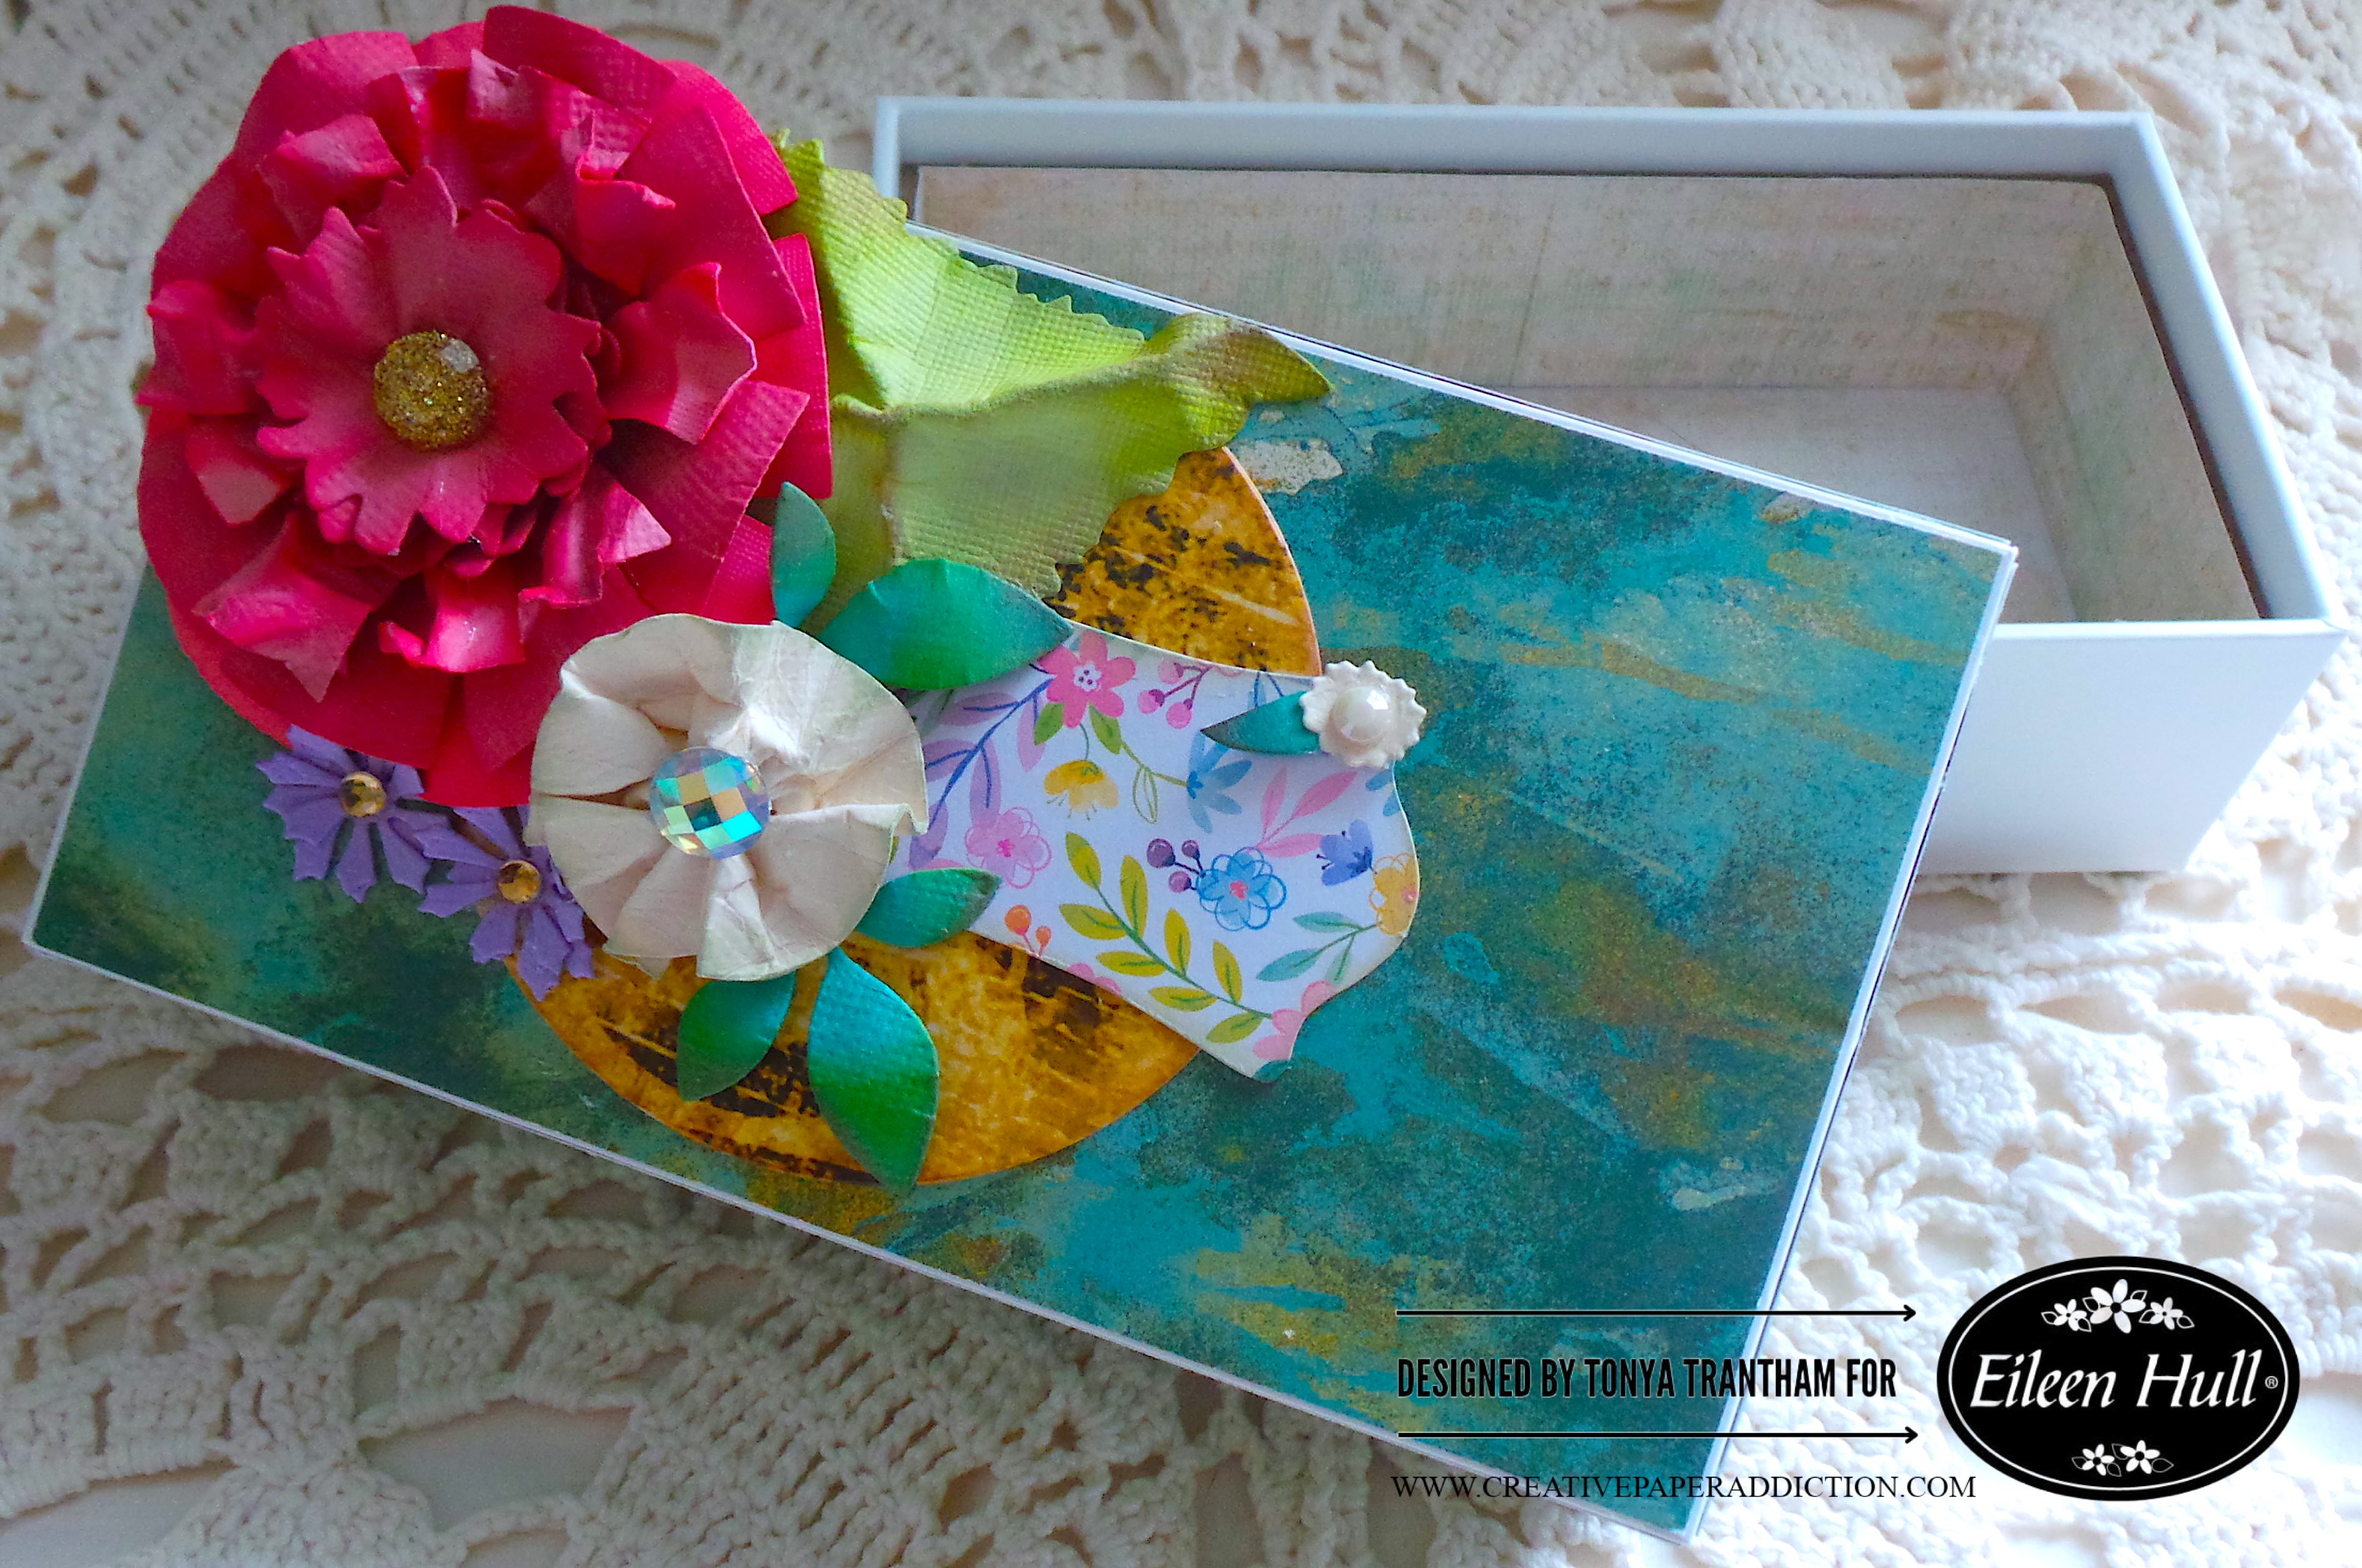
I added Gold and White Gems to the center of each flower to finish. This box makes a beautiful home decor piece or a gift to a special someone.

If you haven’t been by Eileen Hull’s blog lately you can find the latest post HERE. Also if you have any questions or comments please leave them below.

Colorful decorated gift box featuring various paper flowers, including a large pink flower, with a floral design on the box and a plain white interior.

Supplies

Sizzix/Eileen Hull: Rainbow Wheels Thinlits

Sizzix/Eileen Hull: Journal Hardware Diecut

Sizzix/Eileen Hull: Bookmark, Pockets and Topper Thinlits

Sizzix/Eileen Hull: Sunflower Diecut (retired)

Various Plain and Patterned Cardstocks

Empty Phone Box

Pink and Green Chalk Ink

Diecut Machine

Paper Cutter

Scissors

Gold and White Gems

Stylus

Beacon Adhesives: Zip Dry Adhesive

(Products listed above are Affiliated Links for your convenience)

DISCLAIMERS

This blog is compensated to provide opinion on products, services, websites, and various other topics. Even though the owner(s) of this blog receives compensation for our posts or advertisements. I always give my honest opinions, findings, beliefs, or experiences on those topics or products. The views and opinions expressed on this blog are purely my own. Any product claim, statistic, or quote should be checked with each manufacturer. Verify other representations about a product or service with the provider or party in question.This blog contains affiliate linksClicking these links helps to support Tonya Trantham Designs – Creative Paper Addiction. It’s at no additional cost to you. Today’s features are Sizzix, Eileen Hull and Scrapbook.com Products. 

A decorated gift box with colorful paper flowers, including large red and white flowers, smaller purple flowers, and green leaves, atop a teal and gold patterned surface.

Thanks for stopping by, I hope your Monday is wonderful and enjoy creating!
A decorative digital artwork featuring a bird and a variety of colorful flowers, with the name 'Tonya' artistically displayed in script.

Step-by-Step Guide to a Friendship-Themed Craft

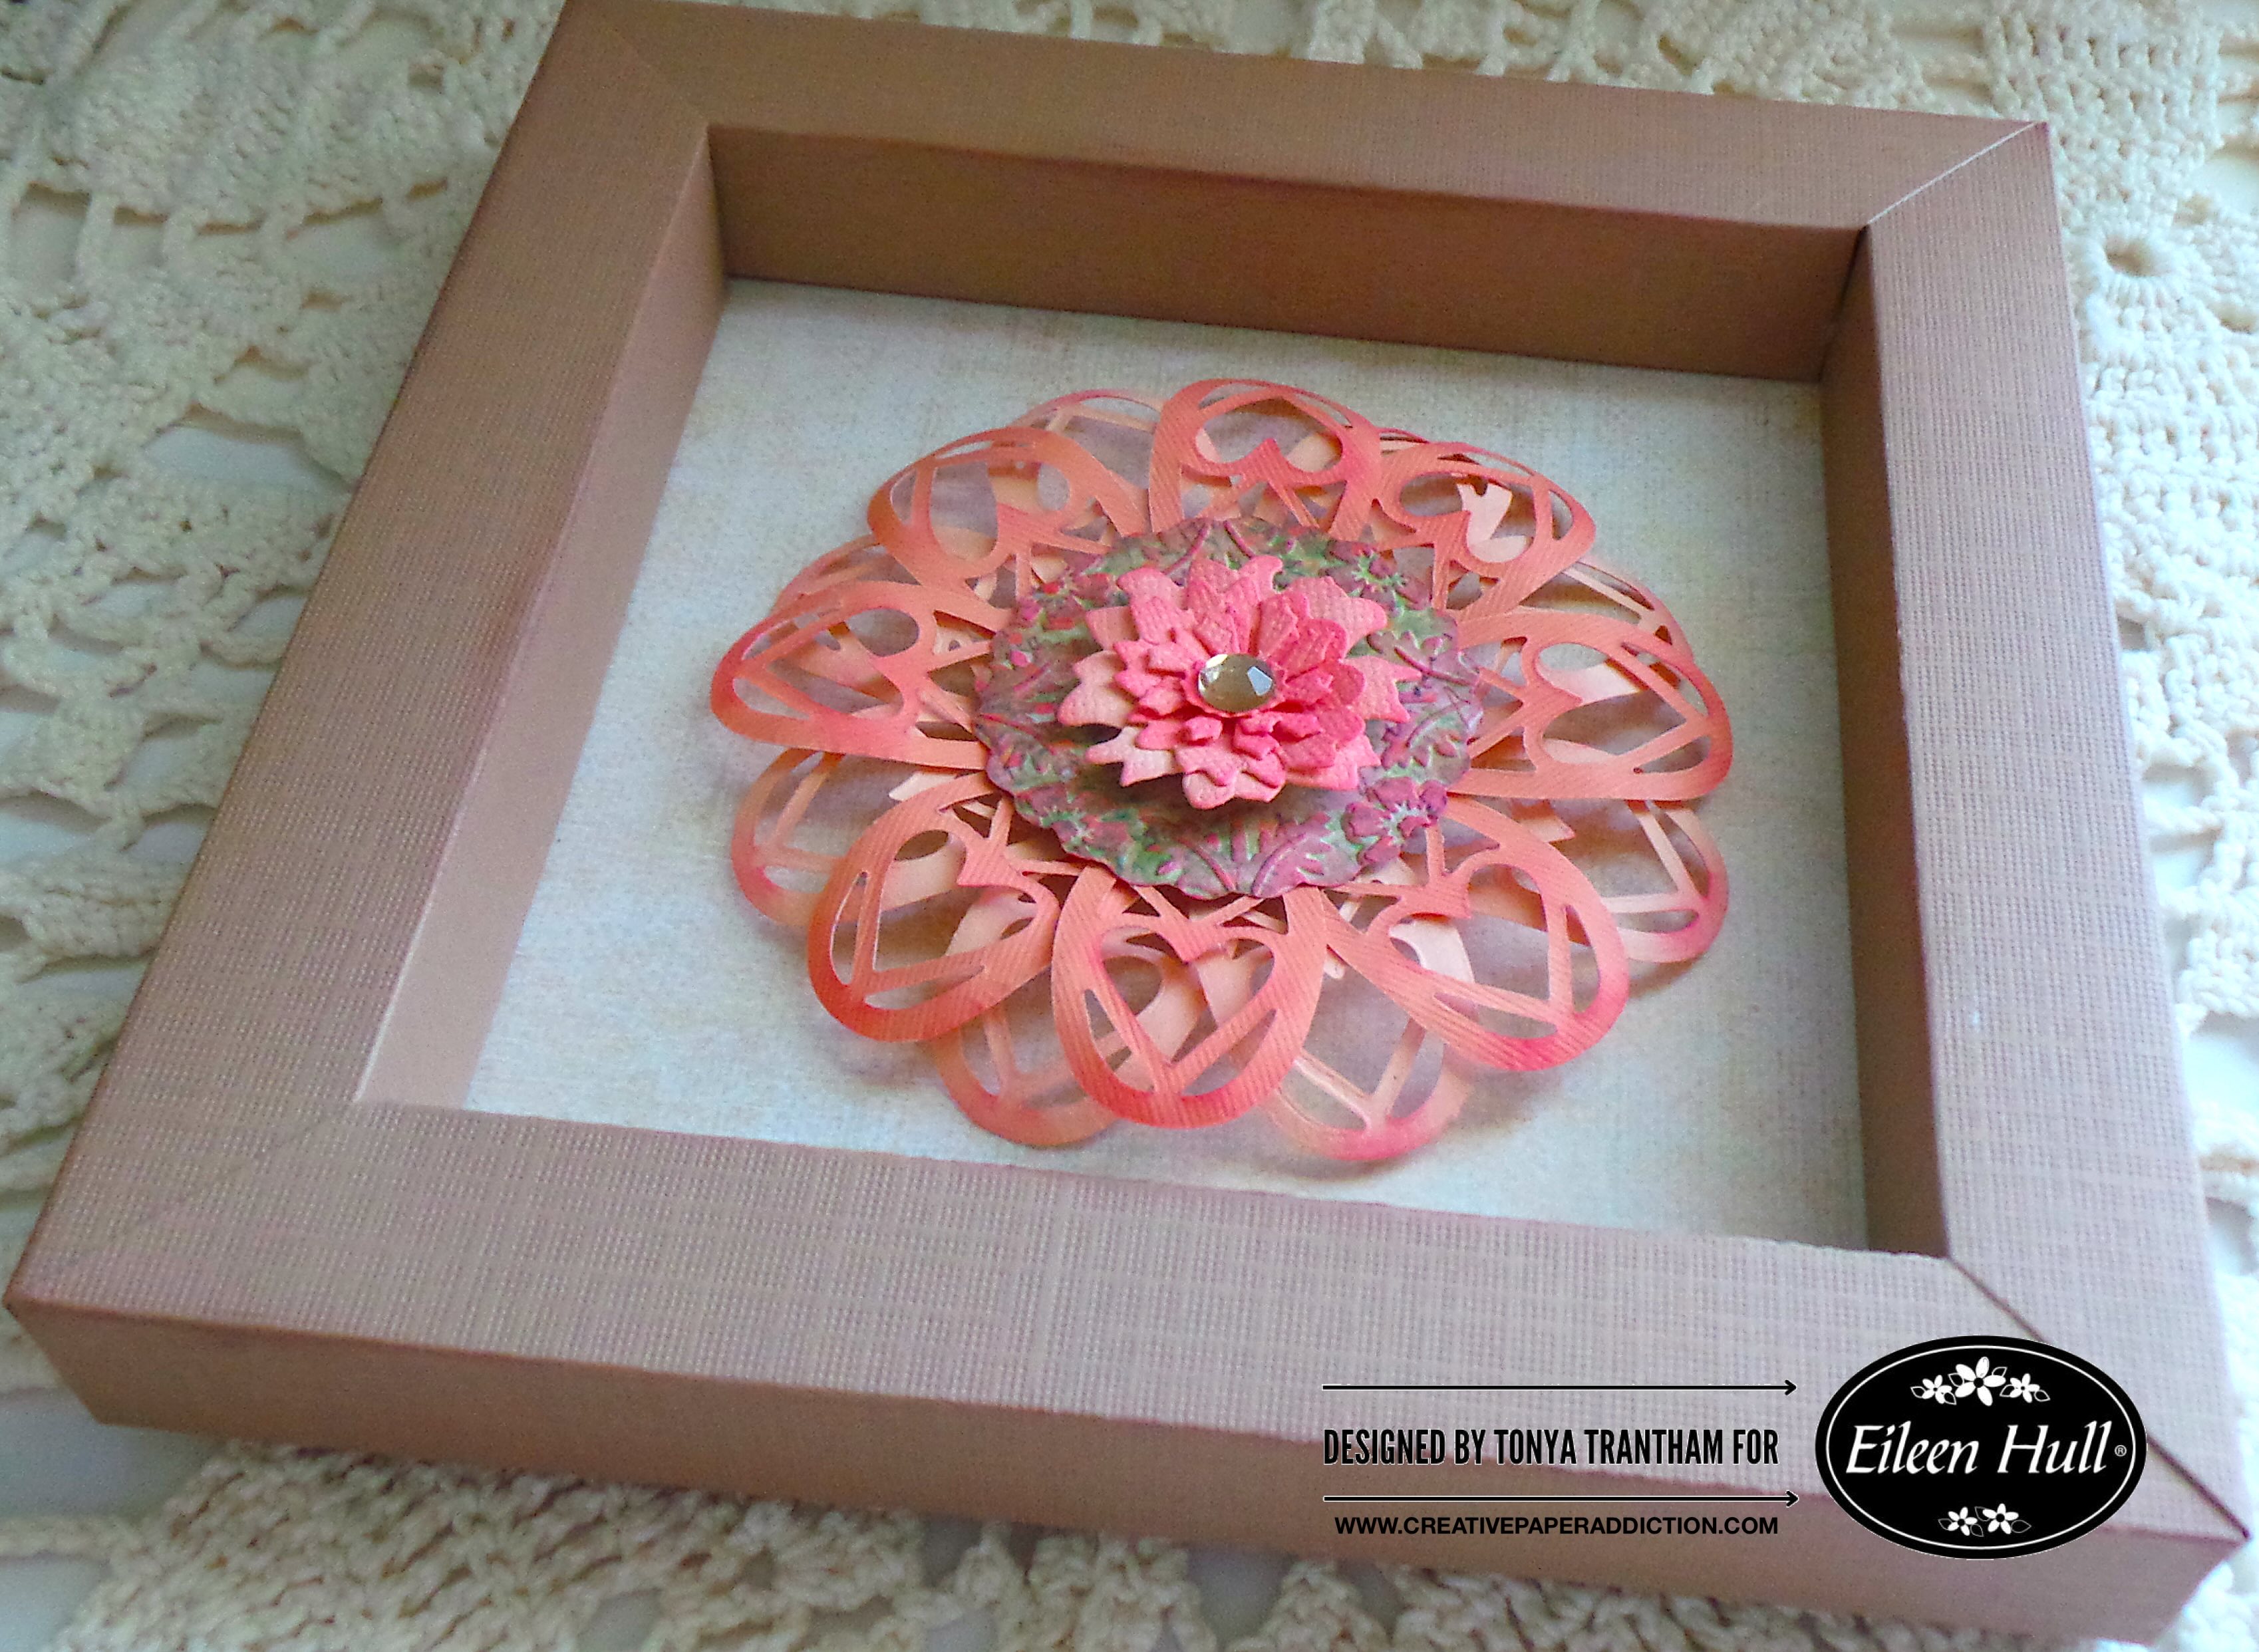
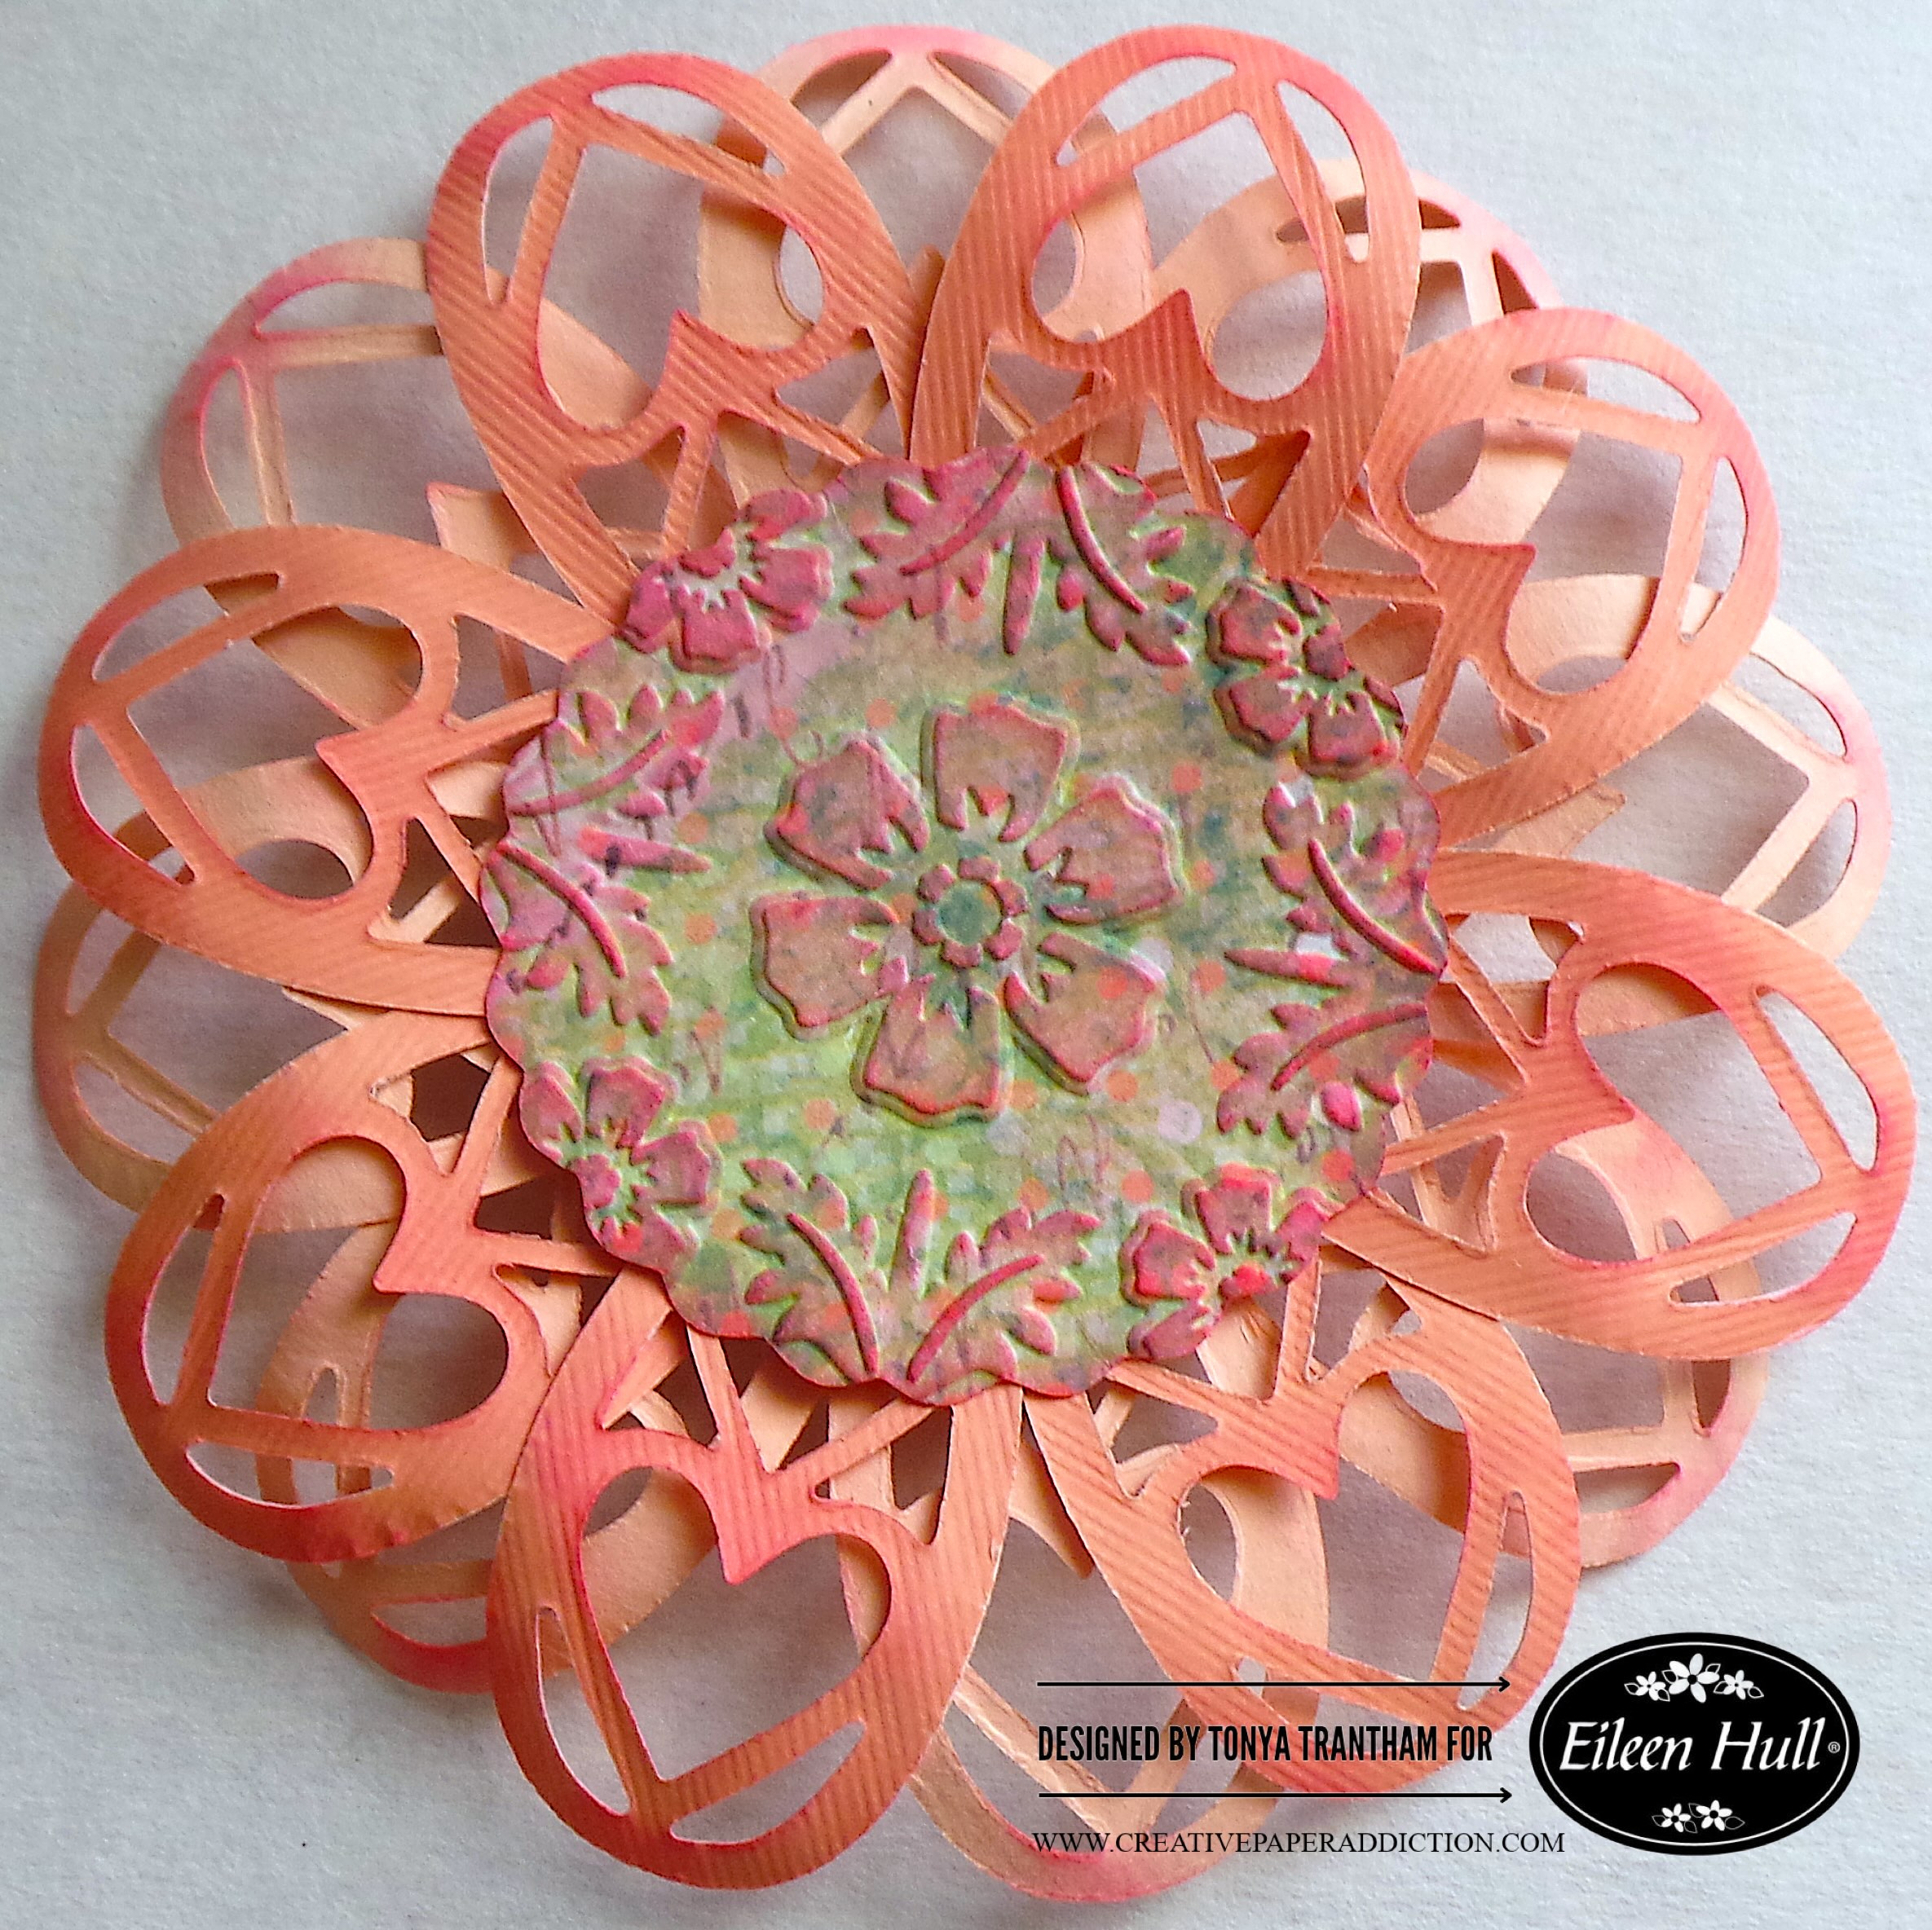
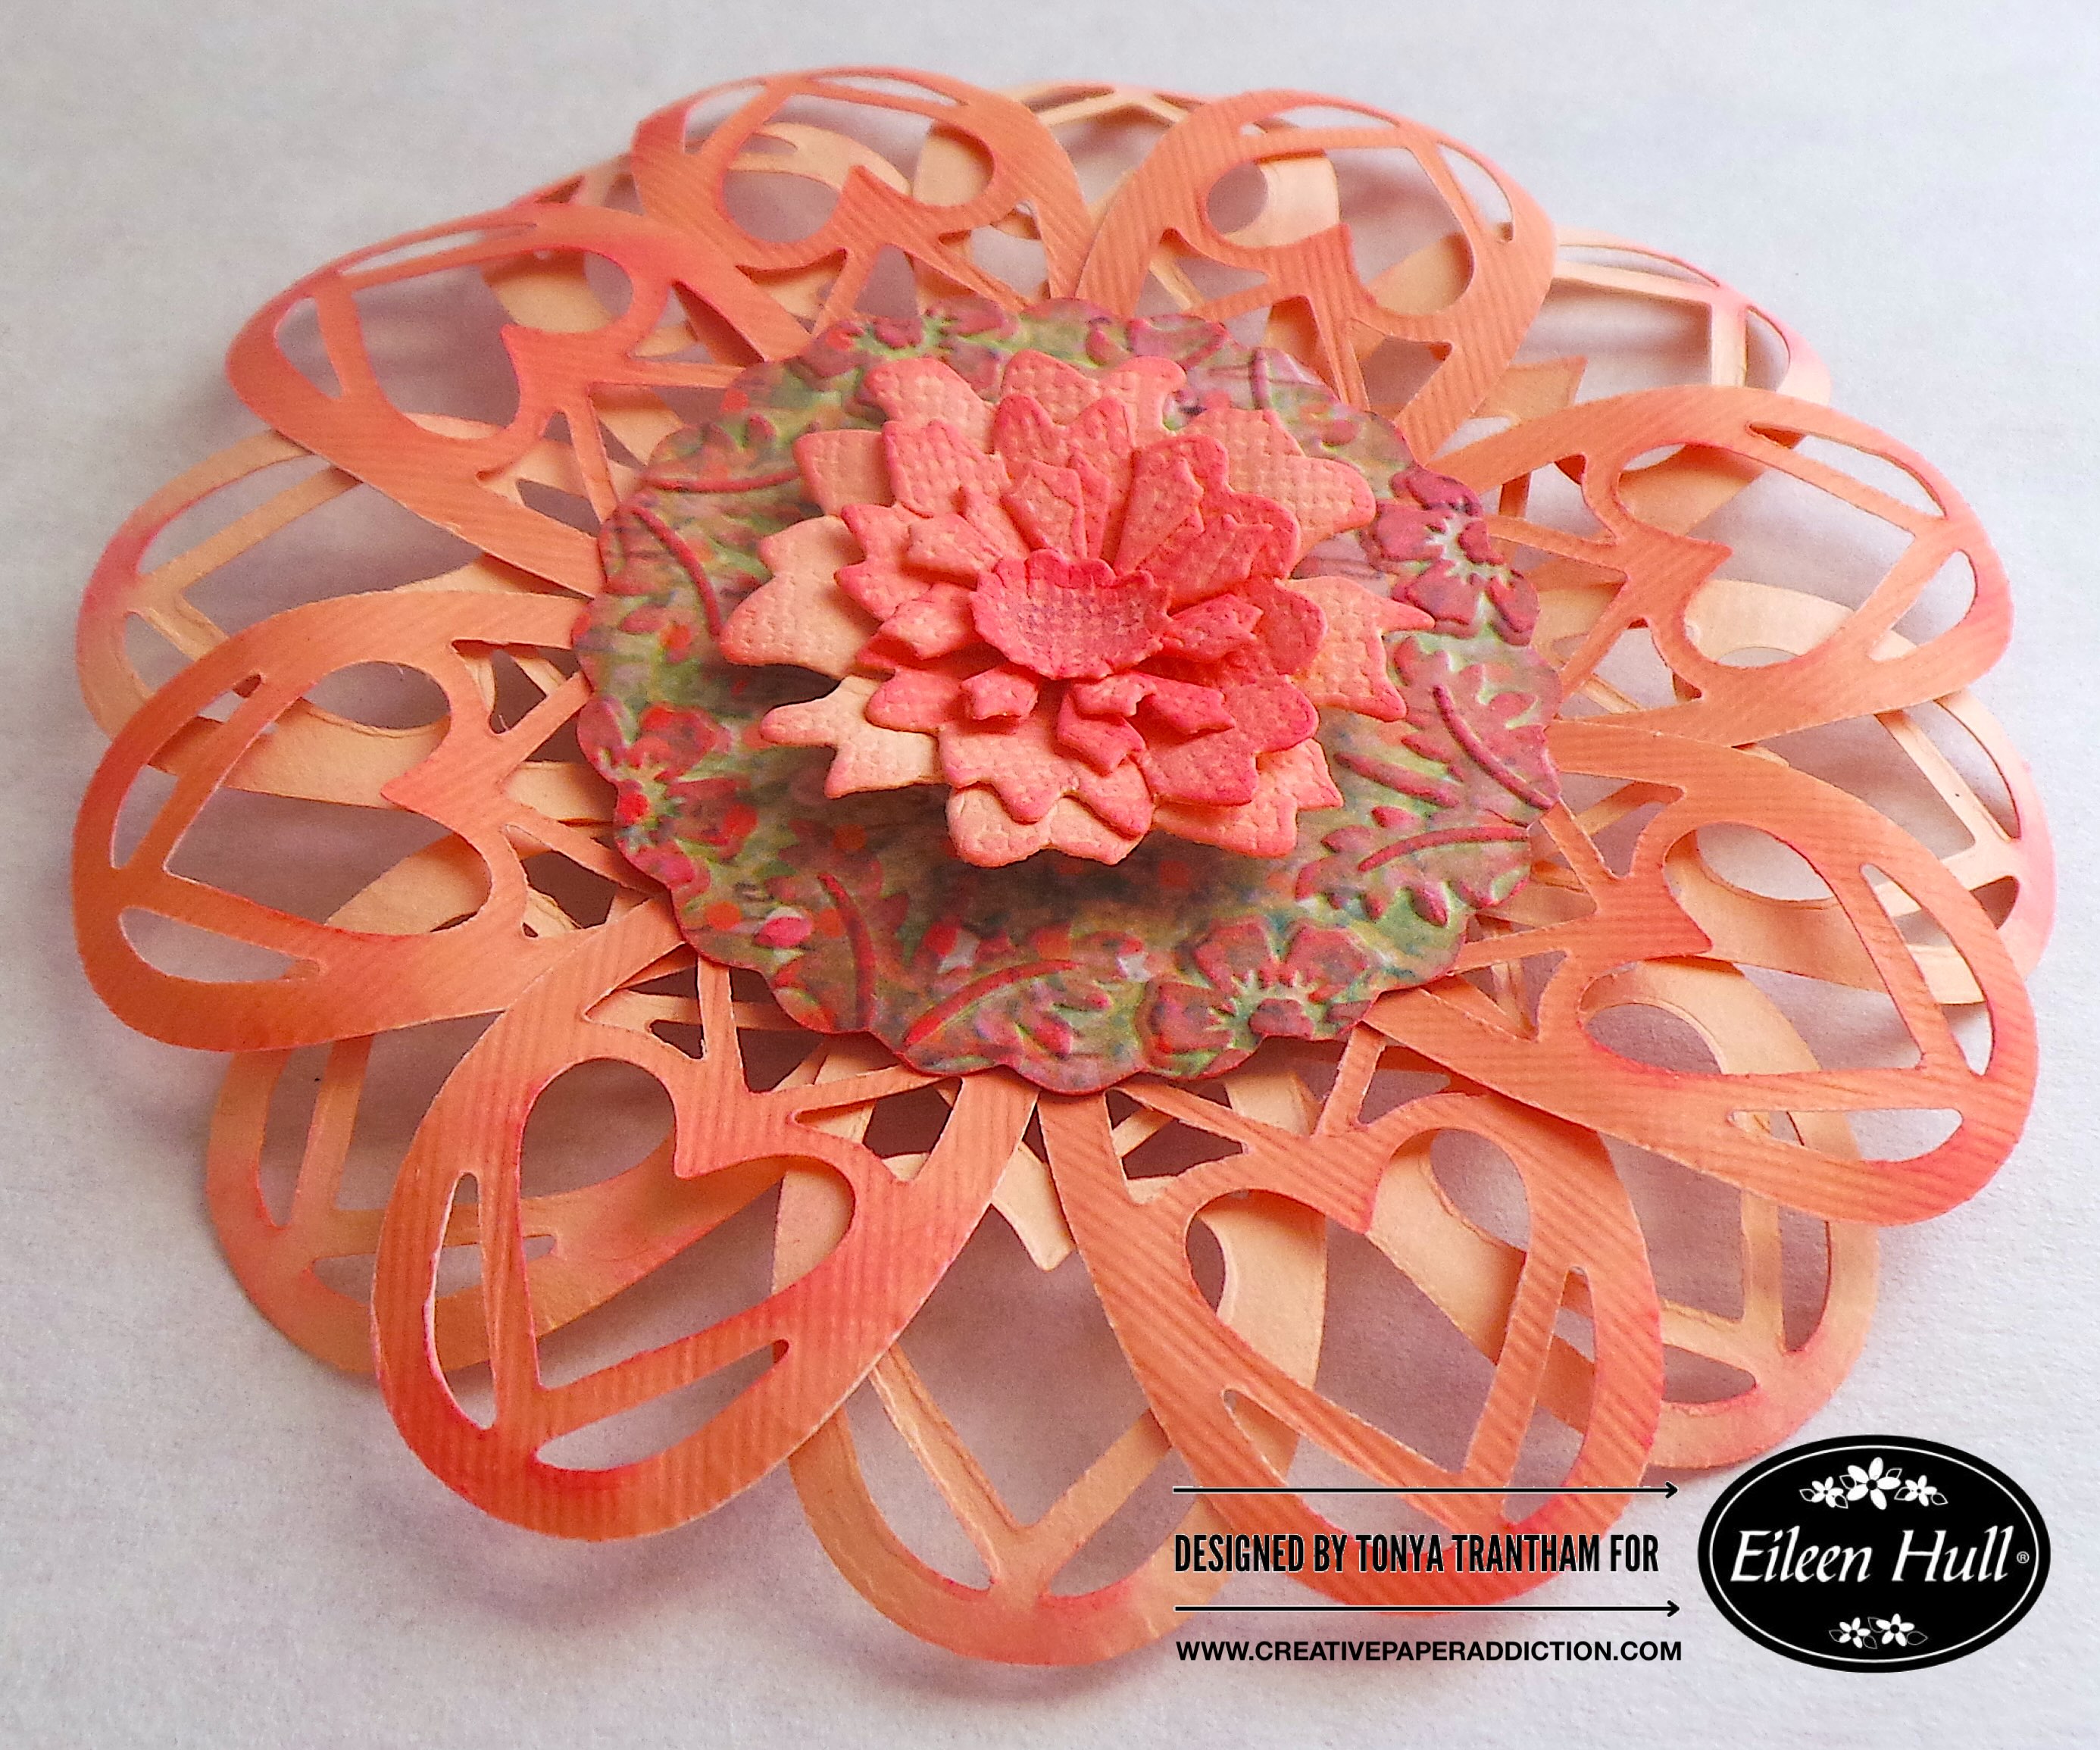
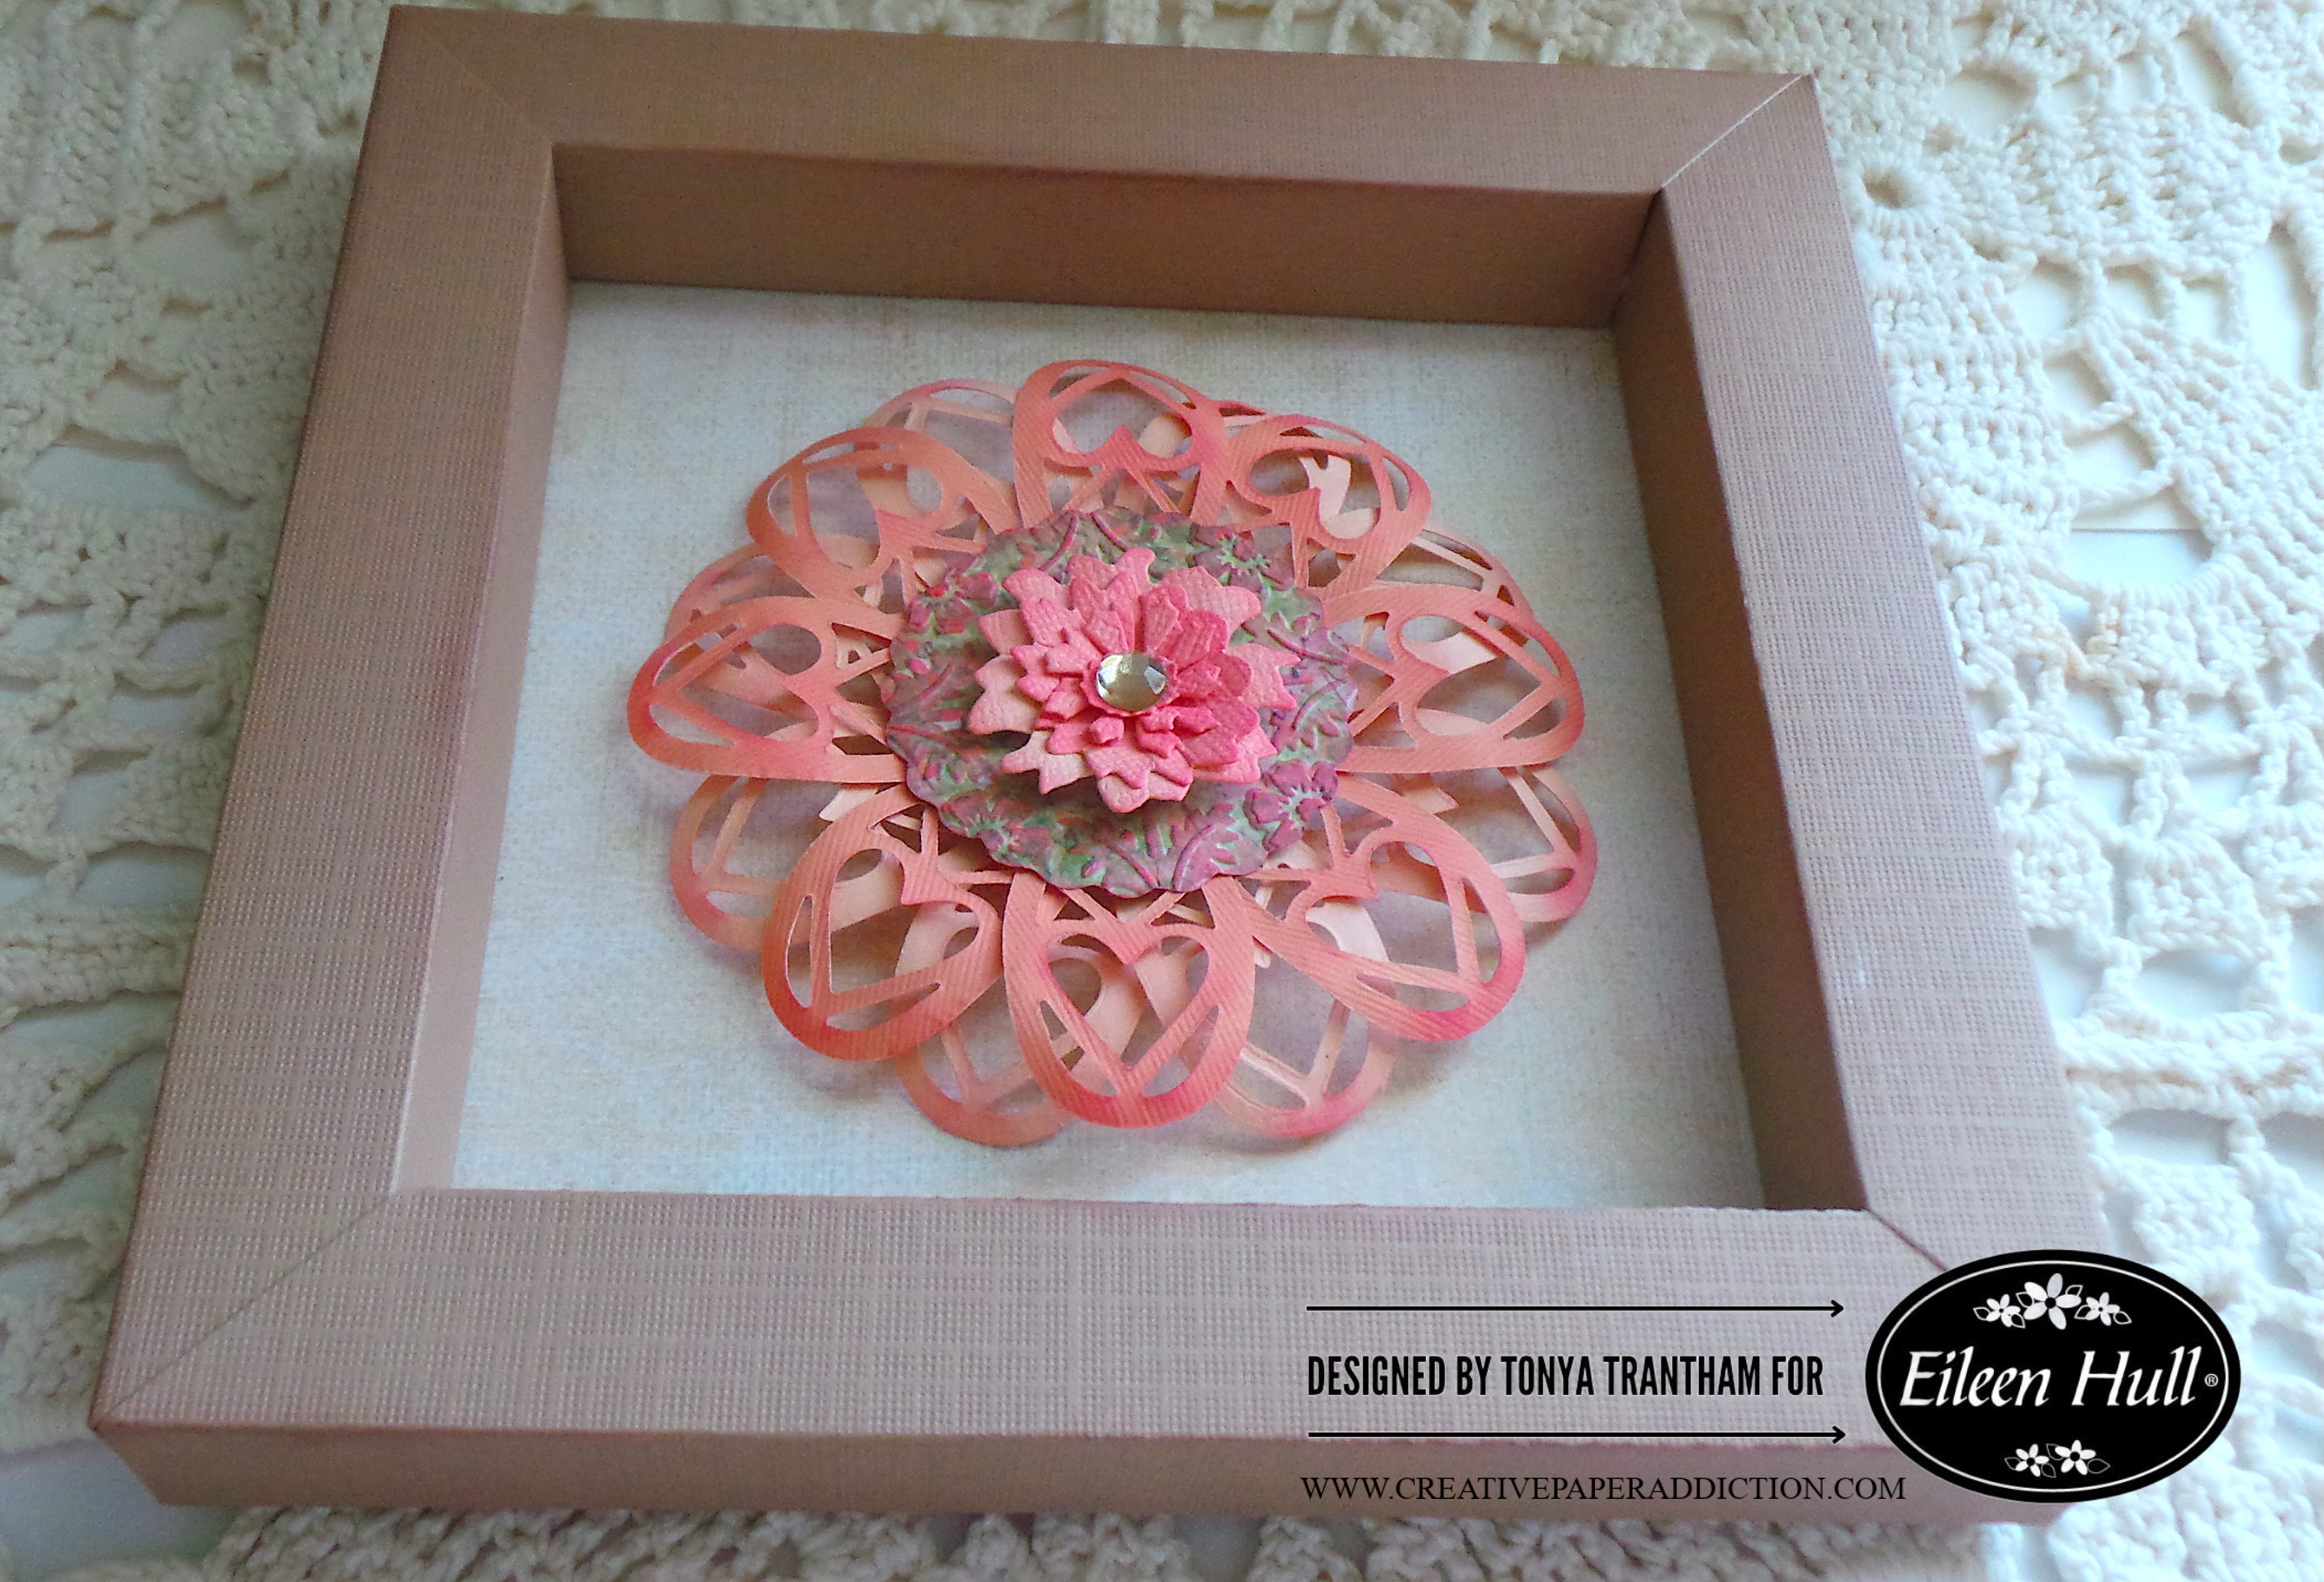
Hi everyone! I am back after a break from the holidays and ready to share my first Eileen Hull project of 2025. This month’s theme is friendship. For this post I’ll be sharing how to create this floral frame using the Charms Thinlits. Along with several of Eileen’s dies and embossing folder. Anyways, let’s get started!

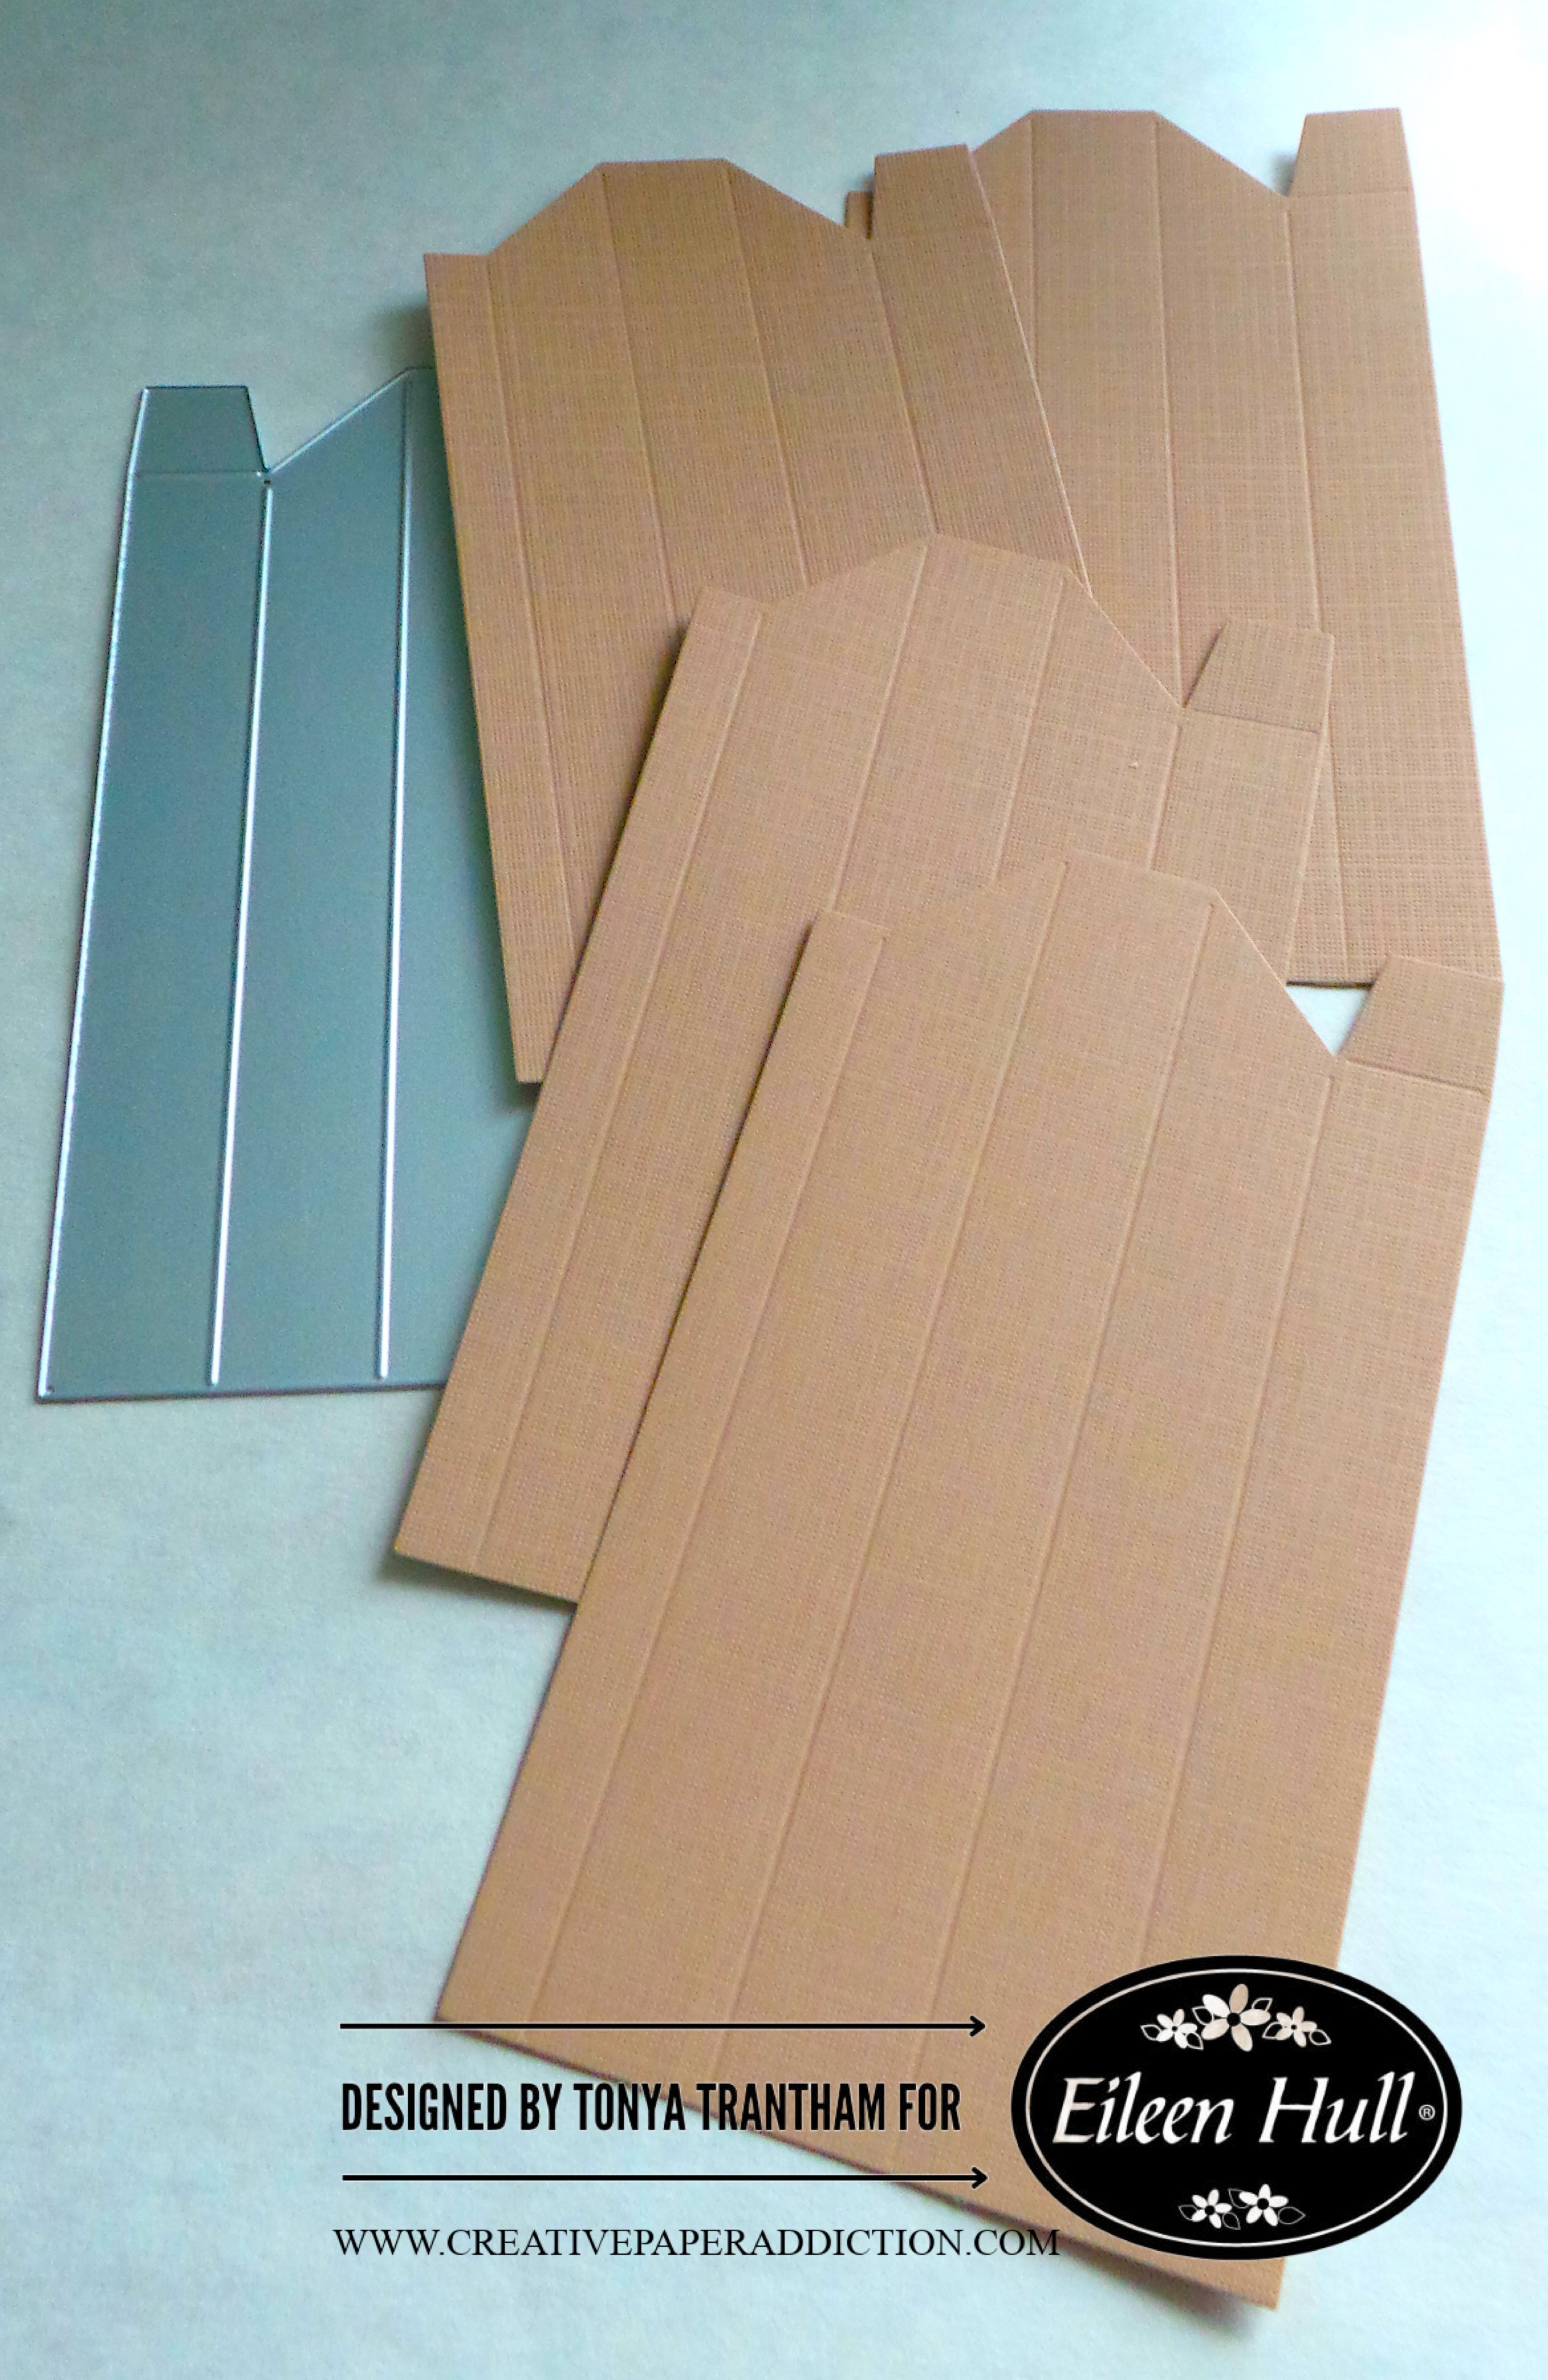
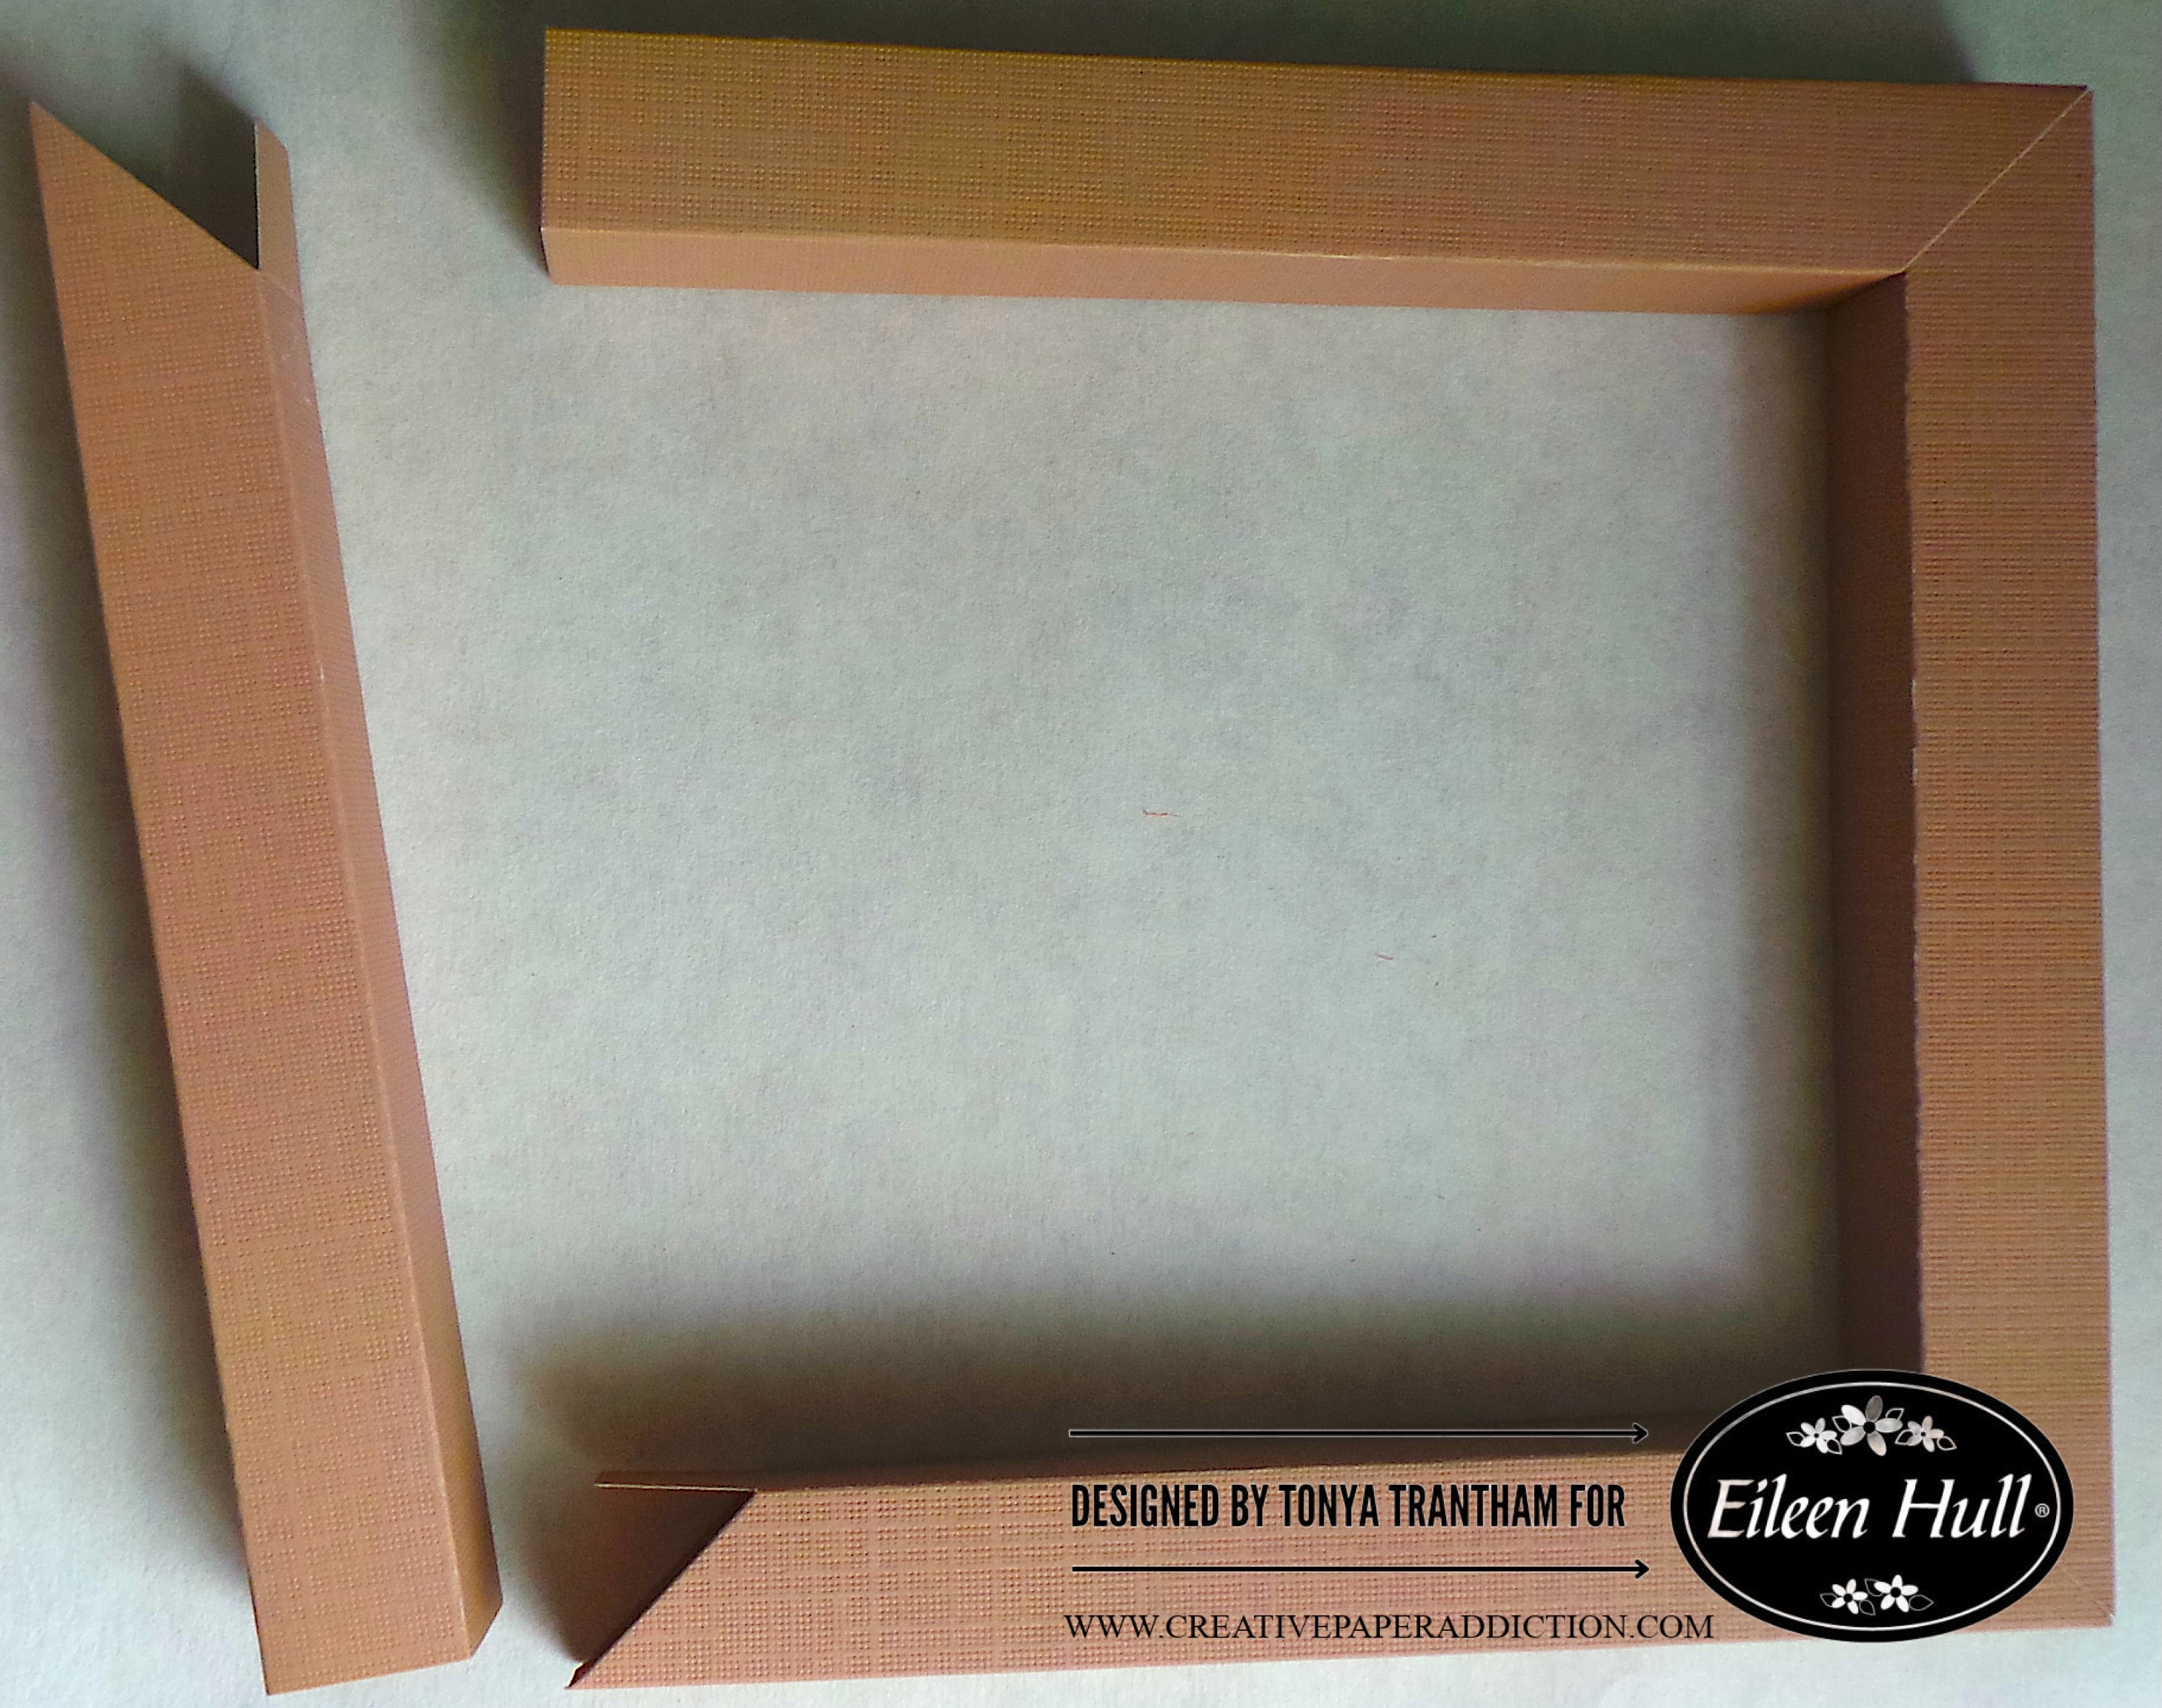
First, I picked out the brown cardstock from the Sizzix Making Essentials Cardstock for the frame. And I cut four frames from the Shadow Box Frames Set 02 Thinlits.

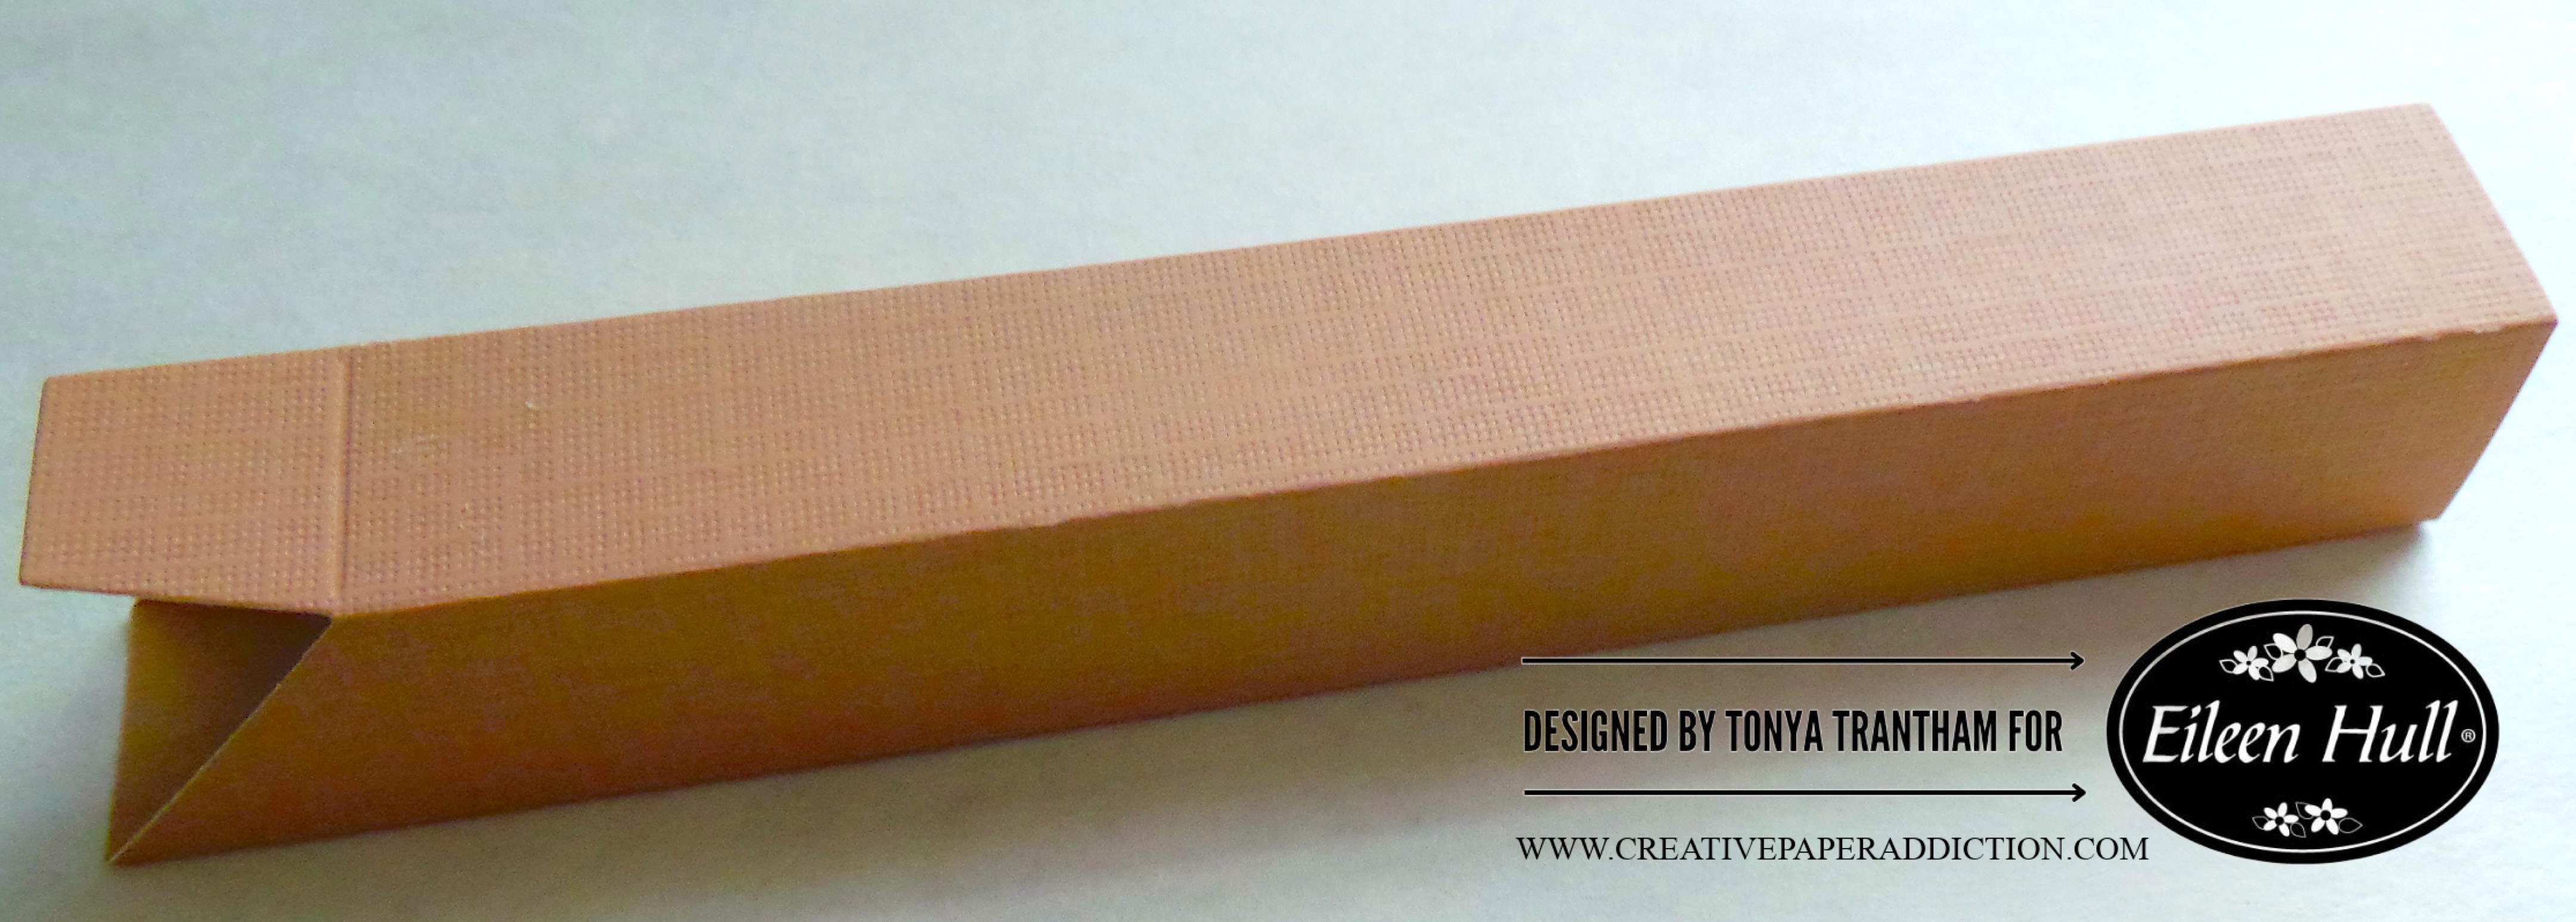
I folded and glued each frame.

I added adhesive inside the opening that has a tab. And placed it into the straight edge of the next frame. I did hold these while the glue set before adding glue to the next one. I cut and adhered a piece of cardstock to the back of the frame to give the frame stability.

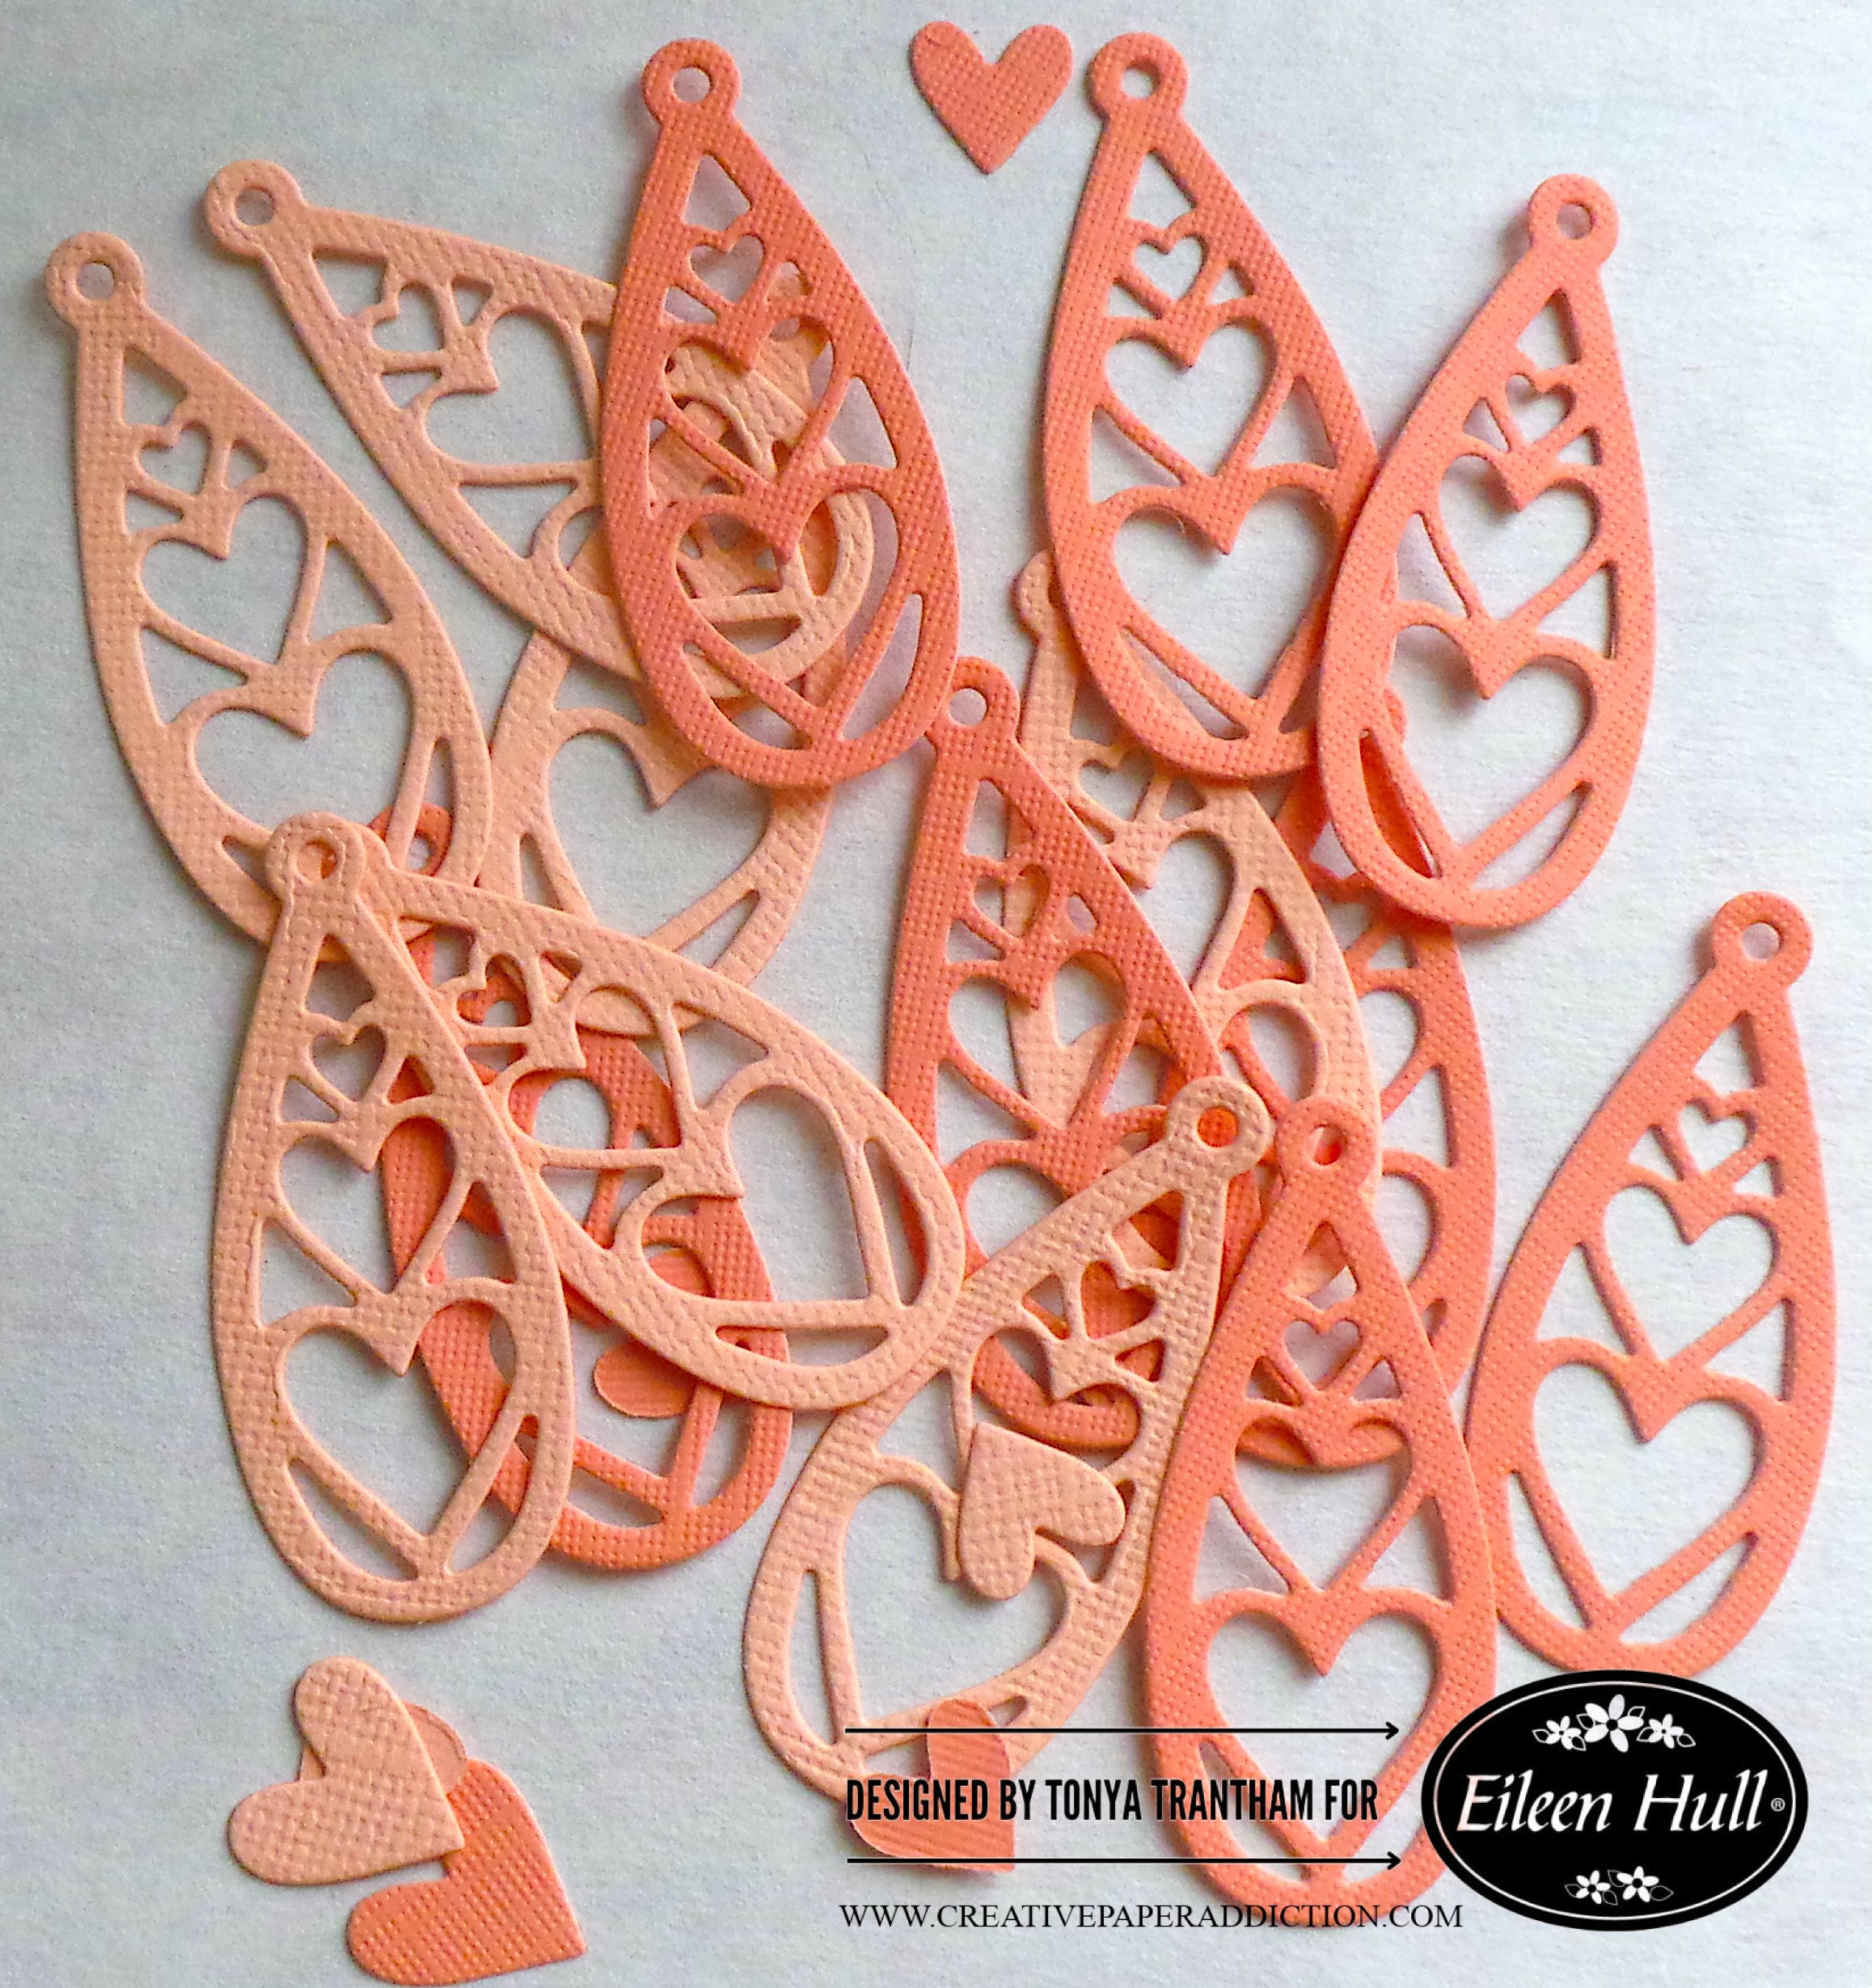
I cut out fifteen of the teardrop heart charms from the Charms Thinlits.

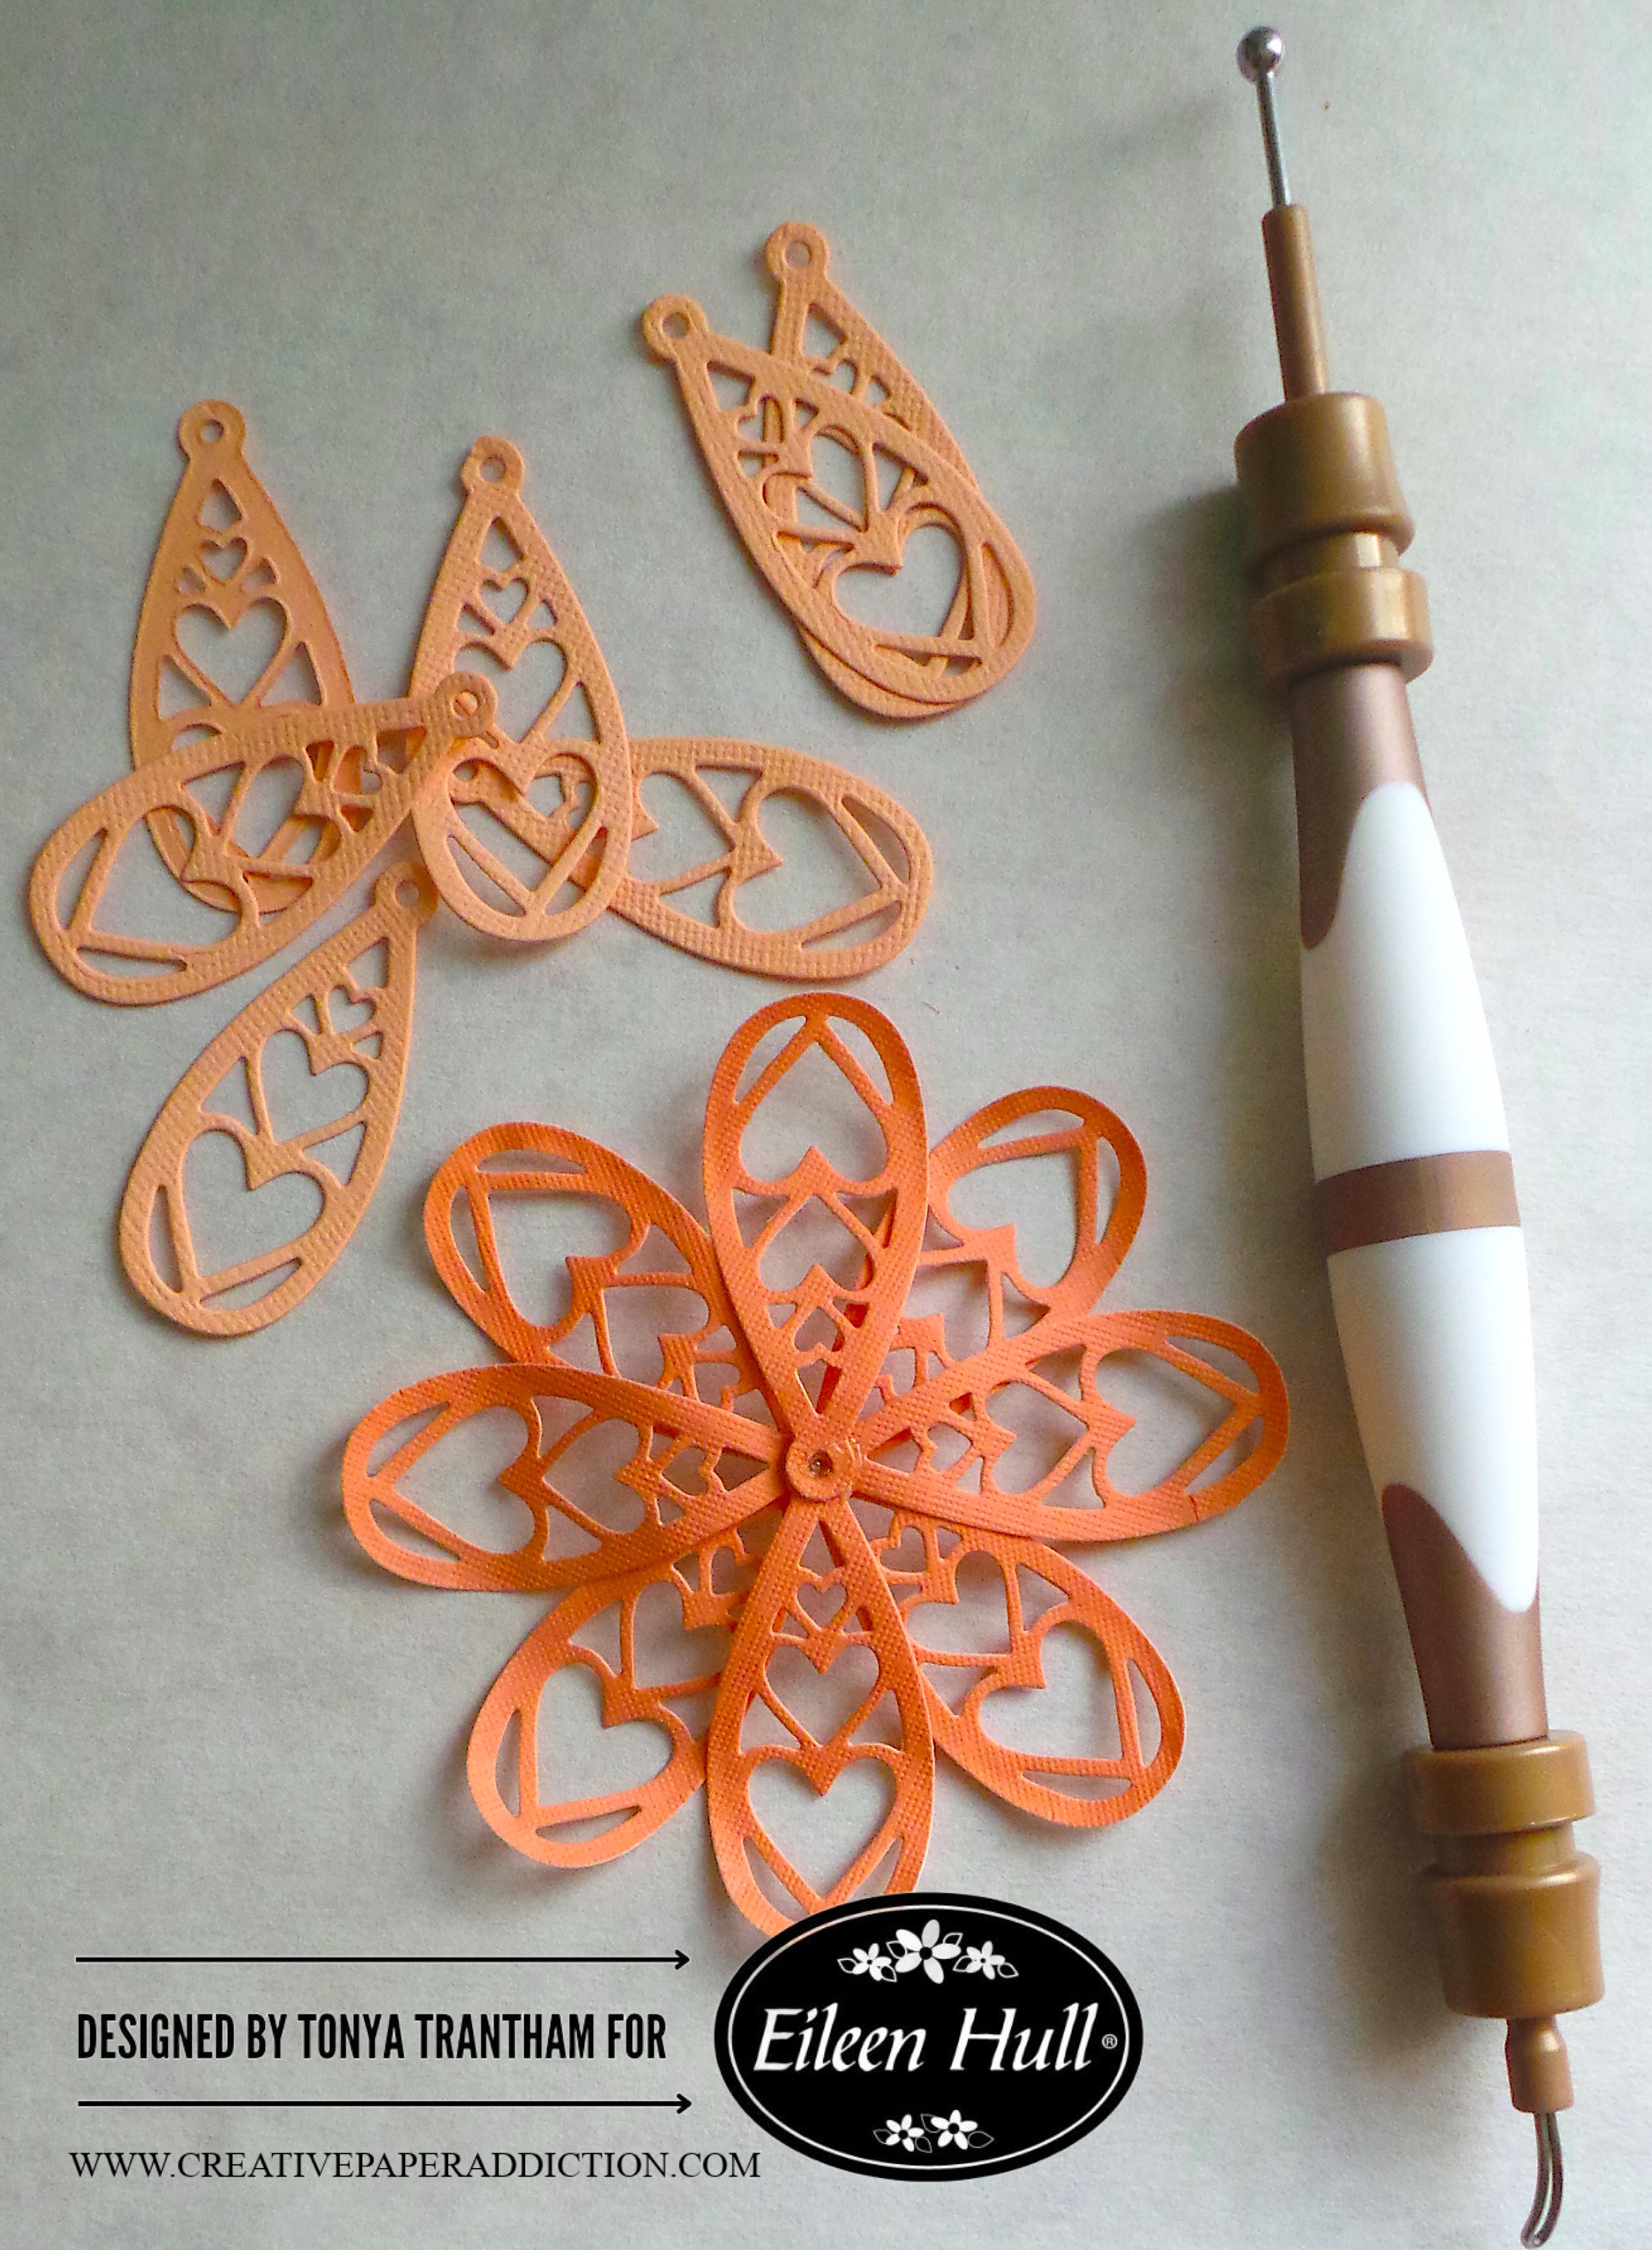
I shaped each teardrop charm with a Stylus.

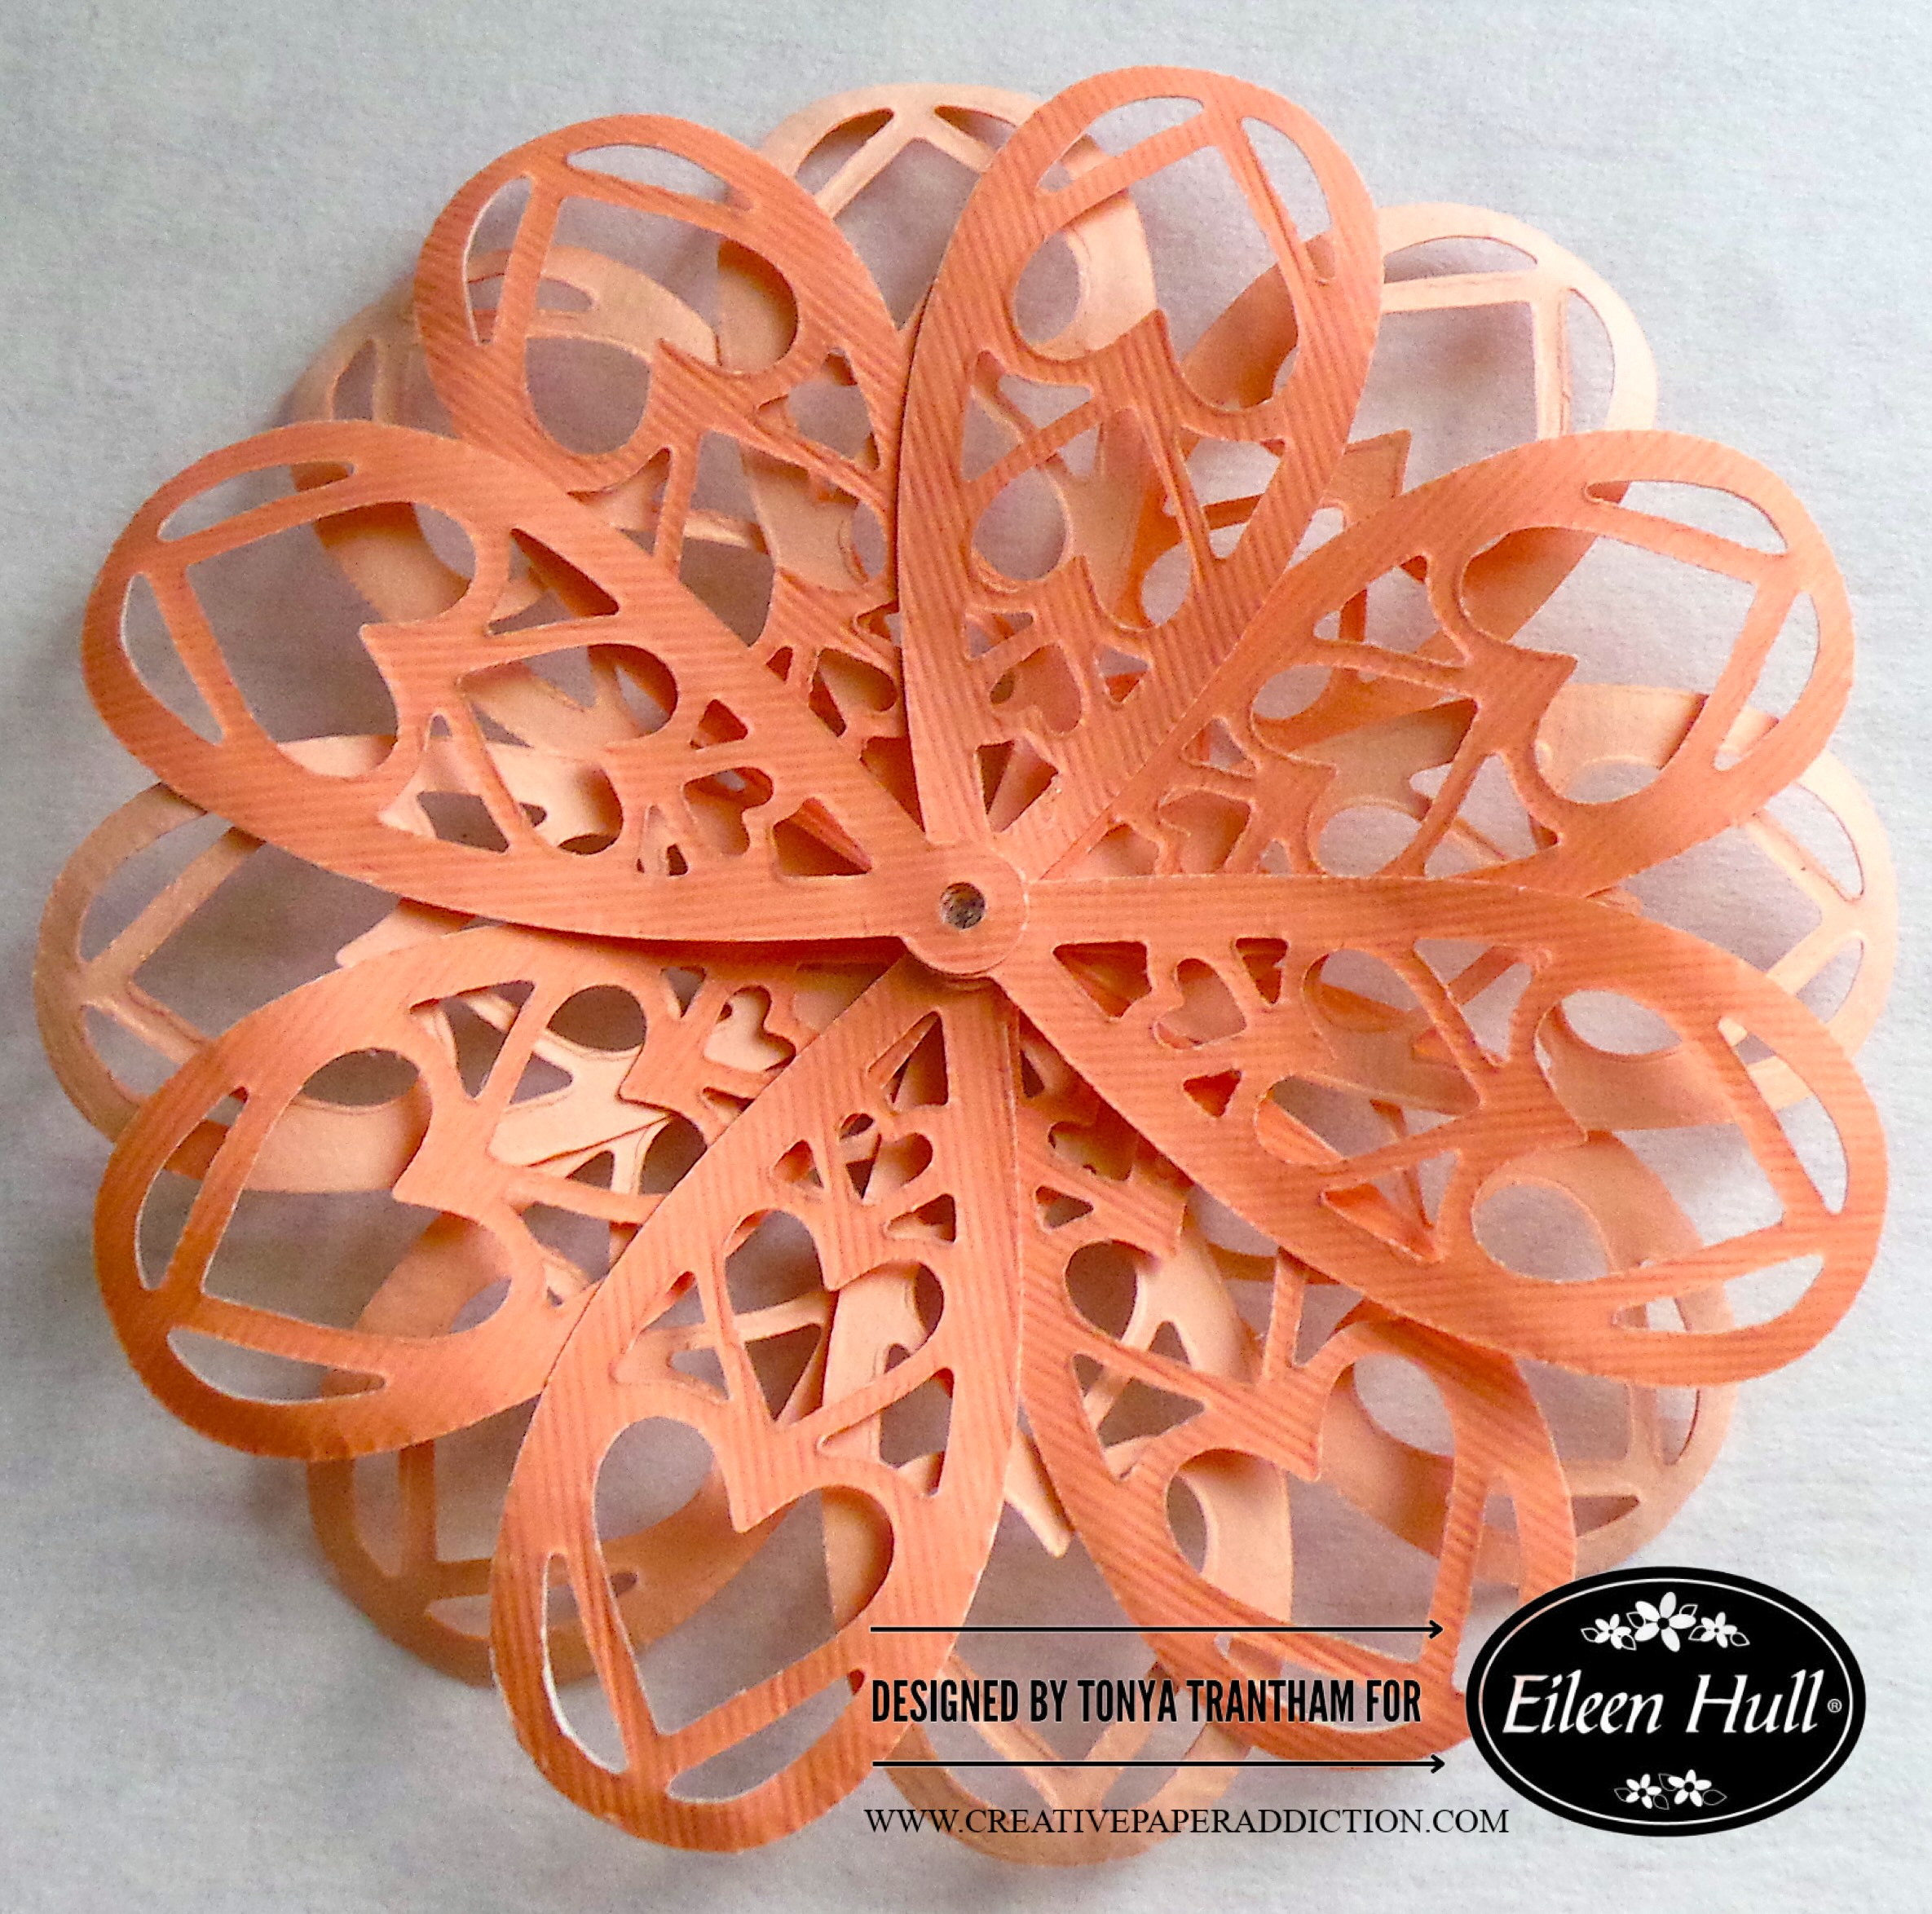
I glued the center of each teardrop charm on top of each other.

I cut a center from the Sunflower Diecut and embossing that with the Floral Damask Embossing Folder. I inked the center and petals with a Pink Chalk Ink.

I cut an assortment of flowers from the Bookmark, Pockets and Topper Thinlits. I shaped and inked each flower. I adhered on top of each other before gluing to the center of the teardrop flower.

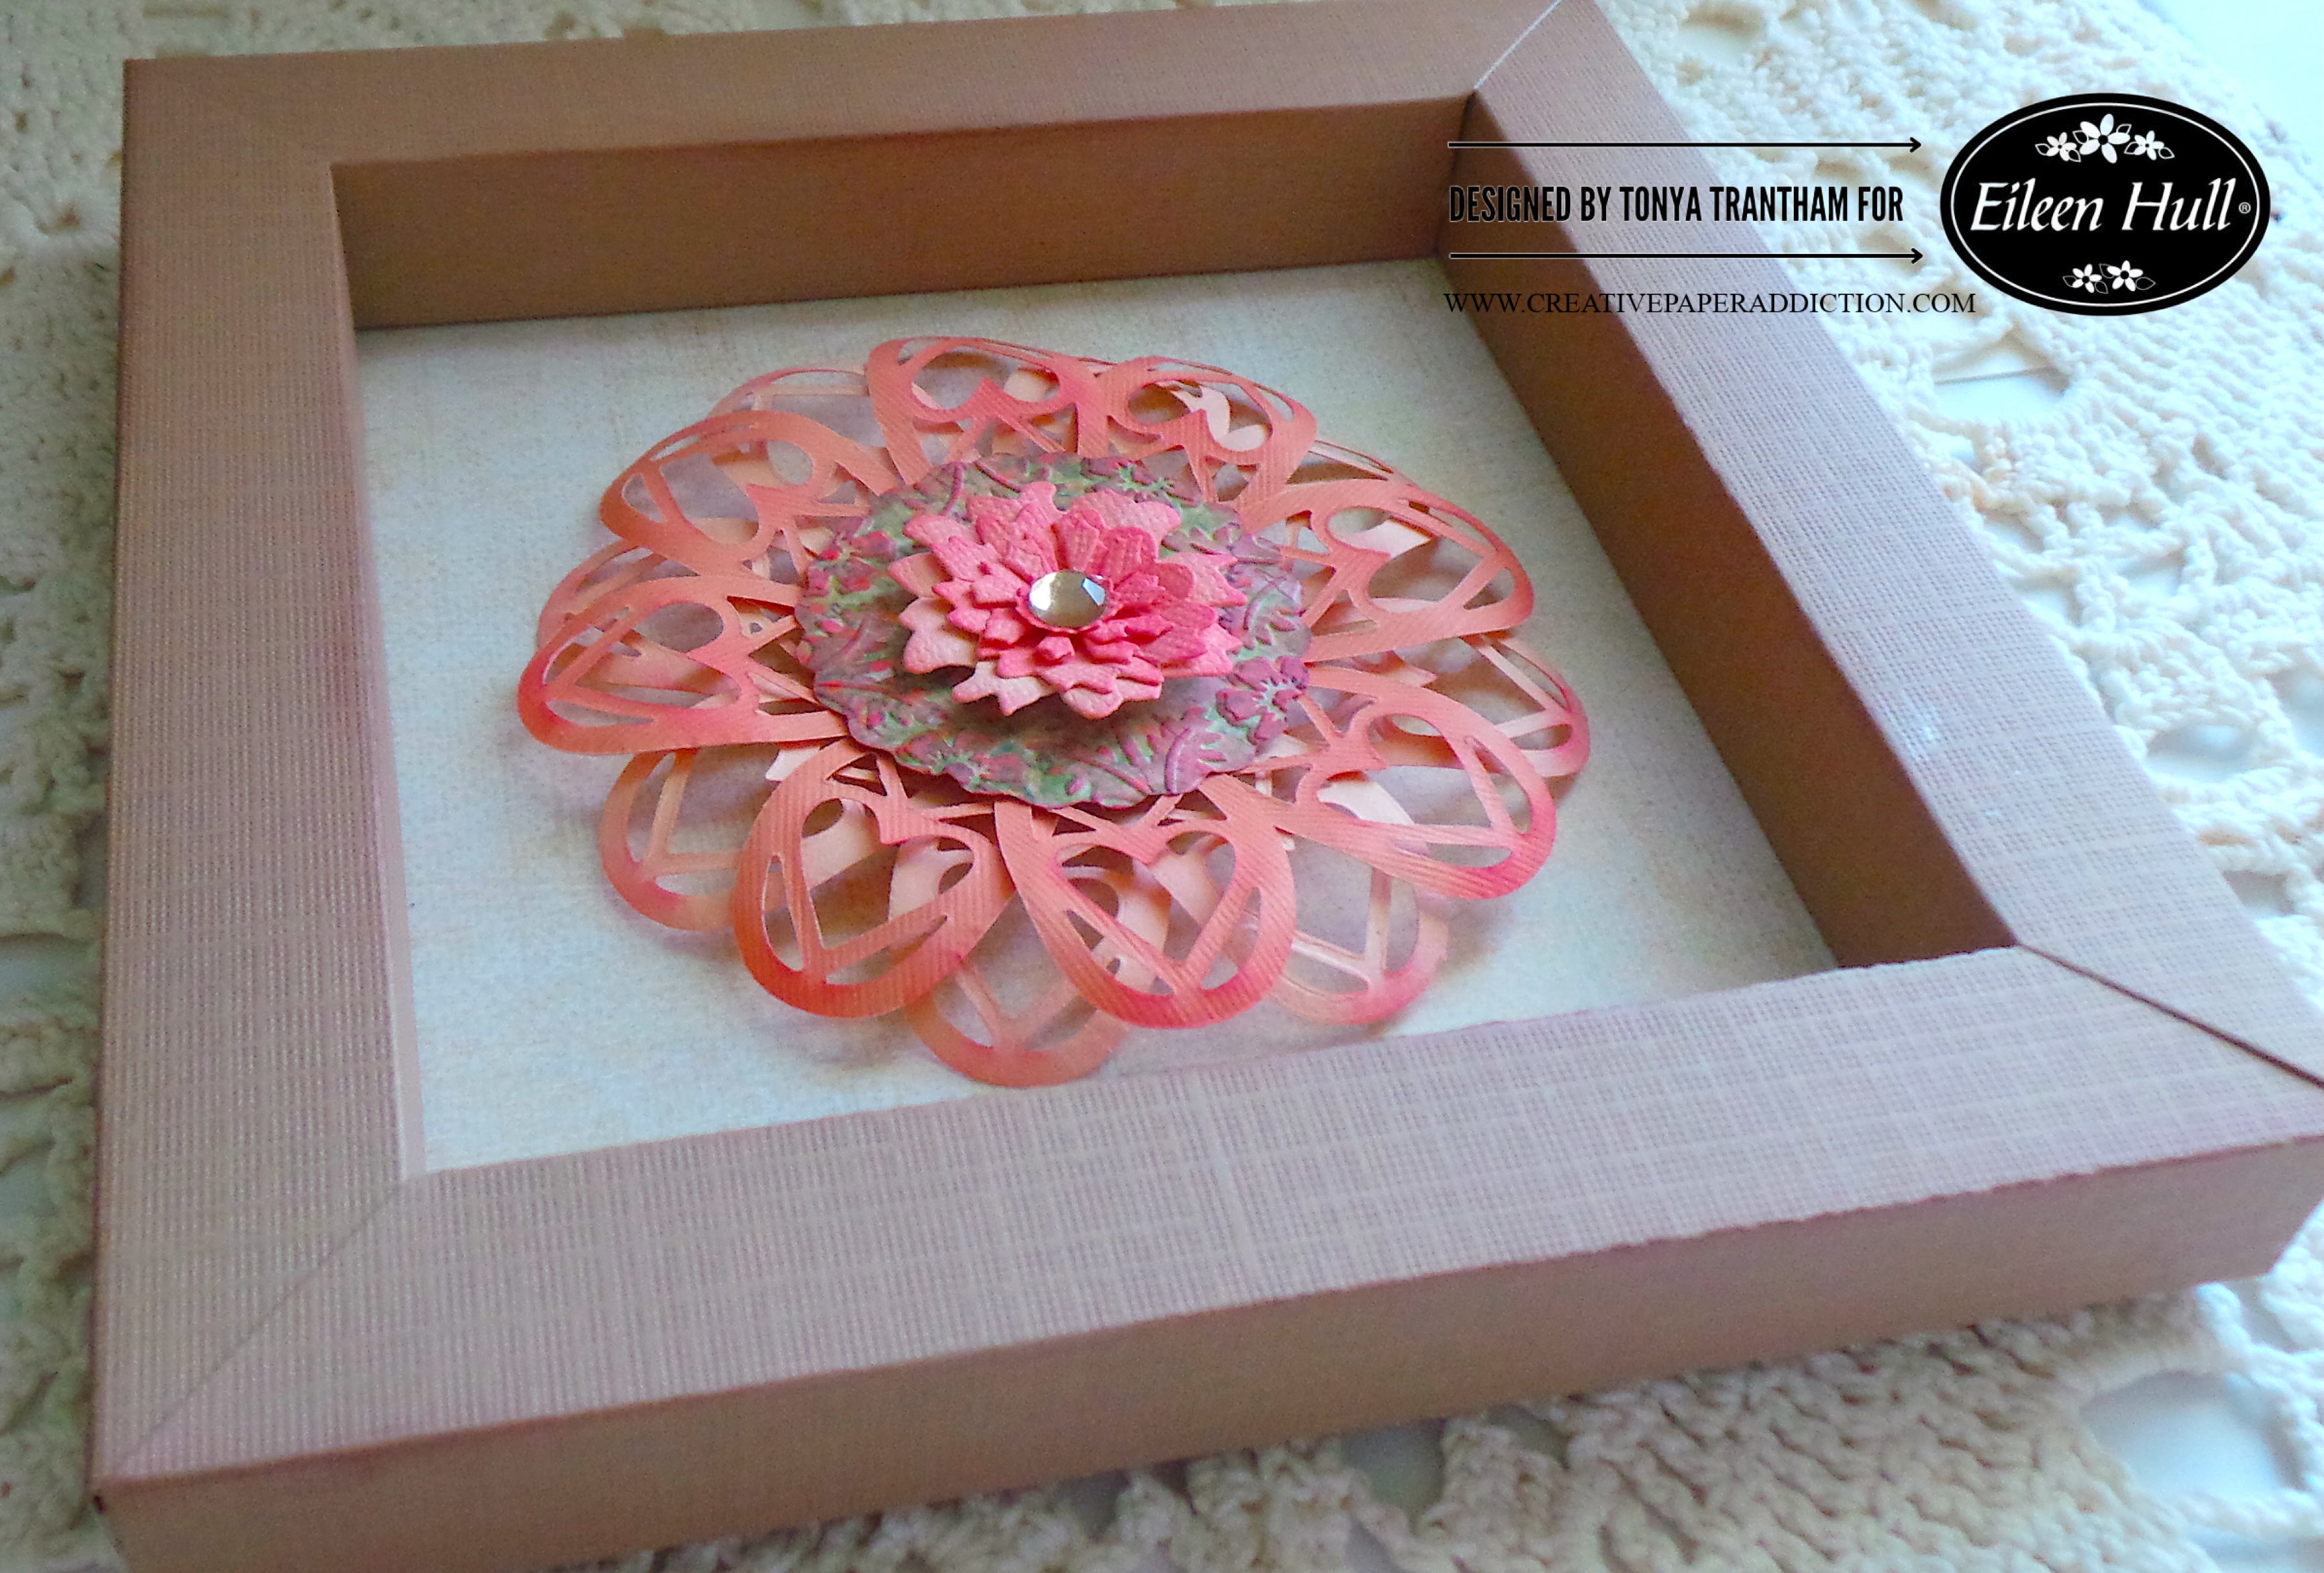
I added two Foam Pop Dots to the back of the flower. I also added a Green Gem to the center of the flower. I placed the flower in the center of the frame. This would make a great gift for a special friend. It can also be displayed as a home decor piece.

If you have any questions or comments about this project please leave them below.

Supplies

Sizzix/Eileen Hull: Charms Thinlits

Sizzix/Eileen Hull: Floral Damask Embossing Folder

Sizzix/Eileen Hull: Bookmark, Pockets and Topper Thinlits

Sizzix/Eileen Hull: Shadow Box Frames Set 02 Thinlits

Sizzix/Eileen Hull: Sunflower Diecut

Diecut Machine

Sizzix Making Essentials Cardstock

Paper Cutter

Scissors

Stylus

Scraps of Cardstock

Foam Pop Dots

Green Gem

Pink Chalk Ink

Beacon Adhesives: Zip Dry Adhesive

(Products listed above are Affiliated Links for your convenience)

DISCLAIMERS

This blog is compensated to provide opinion on products, services, websites, and various other topics. Even though the owner(s) of this blog receives compensation for our posts or advertisements. I always give my honest opinions, findings, beliefs, or experiences on those topics or products. The views and opinions expressed on this blog are purely my own. Any product claim, statistic, or quote should be checked with each manufacturer. Verify other representations about a product or service with the provider or party in question.This blog contains affiliate linksClicking these links helps to support Tonya Trantham Designs – Creative Paper Addiction. It runs at no additional cost to you. Today’s features are Sizzix, Eileen Hull and Scrapbook.com Products. 

Thanks for stopping by, hope your Monday is great and enjoy creating!
Ephemera Book Journal Tutorial with Notebook Diecut and Painterly Blooms by Eileen Hull

Hi everyone! I’m back this week with a journal I created using the Notebook Diecut and Painterly Blooms and Background Thinlits by Eileen Hull. I love using the notebook diecut because it’s so quick and easy to put together. So, let’s get started!

I used the Flowers and Lace Cut and Create Ephemera Book by Calico Collage for the cover, pages and ephemera for the inside of the journal. If you don’t have a printer or your printer is on the fritz this is an easy solution. Everything is printed for you but in book form. The only thing you need to do is be “careful” when taking the book apart.

First, I took apart the book and selected the pages I wanted to use in my journal. Next I applied Adhesive Sheets to the front and back of a piece of Chipboard, placed the selected pages on top of the adhesive sheets. I placed the chipboard on top of the Notebook Diecut, placed in-between the cutting plates and ran through the Diecut Machine.

I cut papers from the ephemera book along with an envelope . I also used an old book page and grid paper for the inside pages.

I punched holes in all the papers and in the spine of the journal and sewed all five papers along with an envelope to the inside spine and tied off. Then I glued the envelope together.

There are several cut a parts in the ephemera book. I tucked cards in a floral pocket that I had fussy cut from the book and glued to the page.

Some of the cut a parts I “wrapped” around the page to create a flap and pocket to hold journaling cards.

I had fussy cut a doily which was actually too big for the journal so I folded one end up to create a little pocket to hold journaling cards.

There’s more tuck spots for ephemera and the backside of the envelope!

I chose to add some folded papers from the book along with a journaling card to the envelope. The opposite page I dressed up with cut a parts and washi tape.

I think this is my favorite spread in the whole journal! I love the “be fearless” and butterfly and on the opposite page I created a mini journal with one of the cut a parts…so many tiny bits and pieces in it.

I turned a banner from my stash into a tuck spot.

I kept these page pretty simple with a few cut a parts and a bit of pom pom trim.

The last page and inside cover I kept plain for journaling or adding photos.

The cover I decorated with an assortment of laces, scraps of cardstock, corrugated cardboard, and fussy cut pieces from the book. I also had two flowers and a leaf cut from the Painterly Blooms and Background Thinlits. I shaped with a Stylus before gluing the flowers on top of each other and adding a leaf to the back of the flower. This was the perfect finishing touch to the cover.

I absolutely love using the ephemera book to create this journal. Everything coordinated and took a lot of the guess work out of does this go together or not. Also if you haven’t been by Eileen’s blog lately you can her latest post HERE.

Supplies

Sizzix/Eileen Hull:Notebook Diecut

Sizzix/Eileen Hull: Painterly Blooms and Background Thinlits

Calico Collage: Flowers and Lace Cut and Create Ephemera Book

Diecut Machine

Adhesive Sheets

Chipboard

Crop-A-Dile

Stylus

Paper Cutter

Scissors

Various Plain and Patterned Cardstocks, Book Page and Grid Paper

Lace and Pom Pom Trim

Needle and Thread

Washi Tape

Beacon Adhesives: Zip Dry Adhesive

(Products listed above are Affiliated Links for your convenience)

DISCLAIMERS

This blog is compensated to provide opinion on products, services, websites, and various other topics. Even though the owner(s) of this blog receives compensation for our posts or advertisements. I always give my honest opinions, findings, beliefs, or experiences on those topics or products. The views and opinions expressed on this blog are purely my own. Any product claim, statistic, quote or other representation about a product or service should be verified with each manufacturer, provider, or party in question.This blog contains affiliate links, clicking and shopping through these links helps to support and run Tonya Trantham Designs – Creative Paper Addiction at no additional cost to you. Today’s features are Sizzix, Eileen Hull, Scrapbook.com and Calico Collage Products. 

Thanks for stopping by, hope your Wednesday is great and enjoy creating!
DIY Watercolor Flowers and Lattice Stencils Notebook

Hi everyone! I’m back with my first post of the month using the Painterly Blooms and Back Ground Thinlits, Watercolor Flowers and Lattice Stencils, Notebook Diecut, along few others dies and a embossing folder, all by Eileen Hull. Have you ever had a project that didn’t turn out the way you envisioned it? This notebook was a complete “train wreck” and nothing turned out the way it was supposed to. But I was determined to make it work and not trash what I had started. Anyways, let’s get started!

First, I used washi tape to place the lattice stencil from the Watercolor Flowers and Lattice Stencils onto a piece of Watercolor Paper. I inked an Art Dauber with Brown Chalk Ink and inked over the stencil.

Second, this is where the “train started to derail”, I had to move the stencil so I could cover all the watercolor paper. Guess what? I didn’t realize I didn’t line up the stencil.

Third, I had another idea on how I wanted to do the cover but I had to switch it up. Maybe I will do another notebook with the lattice with the original idea I had. Anyways, I decided to use a box cutter knife and cut out the messed up area on the stencil along with some random areas to make it look intentional. But before I cut anything out I placed an Adhesive Sheet onto the back of the watercolor paper. Side note…the adhesive sheet and the watercolor paper is very thick which made it hard to cut through everything. Will I do anything like this again? Hopefully not, my hand hurt from all the cutting.

Fourth, I peeled the backing from the adhesive sheet and placed in onto a piece of patterned cardstock.

Fifth, I placed the cardstock/watercolor paper onto the Notebook Diecut. Guess what I did? I placed the watercolor paper side “up” on the diecut so my “creases” were on what should be the inside cover. Ugh! I folded against the creases and that is why the spine looks a little ragged.

Sixth, I adhered a patterned cardstock to the inside since it didn’t exactly match the cover. But guess what? I didn’t cut the patterned cardstock to completely cover the inside cover.

Seventh, So, I embossed plain cardstock with the Lace 3D Embossing Folder and glued those to both inside covers. I glued a bit of ribbon to add detail to the inside.

I had a plain notebook that I removed the cover and punched holes with a Crop-A-Dile into the notebook and spine.

Eighth, I tied the notebook to the spine with jute. I added a little adhesive before placing the button from the Card Case Diecut and securing and tying to the spine.

Ninth, I gathered tulle, trim and lace and glued to the lower corner of the notebook. I had the label from the Card Caddy Diecut in my stash. I inked the edges of it with gold ink and placed on top of the trim.

Tenth, I cut three flowers and leaves from the Painterly Blooms and Back Ground Thinlits and shaped with a Stylus . I adhered the three flowers on top of each other and the leaves to the back before gluing to the label. I finished by adding a gem to the center of the flower and loops of thread.

This notebook is easy to make and the perfect size to fit in your purse for quick note taking or lists. Also if you haven’t been by Eileen Hull’s blog you can find the latest posts HERE.

Supplies

Sizzix/Eileen Hull: Painterly Blooms and Back Ground Thinlits

Sizzix/Eileen Hull: Watercolor Flowers and Lattice Stencils

Sizzix/Eileen Hull: Notebook Diecut

Sizzix/Eileen Hull: Lace 3D Embossing Folder

Sizzix/Eileen Hull: Card Case Diecut

Sizzix/Eileen Hull: Card Caddy Diecut

Diecut Machine

Watercolor Paper

Various Plain and Patterned Cardstocks

Brown and Gold Inks

Jute, Thread, Tulle, Lace and Trim

Gem

Adhesive Sheet

Art Daubers

Scissors

Paper Cutter

Stylus

Xacto Knife

Notebooks

Crop-A-Dile

Beacon Adhesive: Zip Dry Adhesive

(Products listed above are Affiliated Links for your convenience)

DISCLAIMERS

This blog is compensated to provide opinion on products, services, websites, and various other topics. Even though the owner(s) of this blog receives compensation for our posts or advertisements. I always give my honest opinions, findings, beliefs, or experiences on those topics or products. The views and opinions expressed on this blog are purely my own. Any product claim, statistic, quote or other representation about a product or service should be verified with each manufacturer, provider, or party in question.This blog contains affiliate links, clicking and shopping through these links helps to support and run Tonya Trantham Designs – Creative Paper Addiction at no additional cost to you. Today’s features are Sizzix, Eileen Hull and Scrapbook.com Products. 

Thanks for stopping by, hope your Thursday is great and enjoy creating!
Create Vibrant Drawers with Eileen Hull Dies – Easy Tutorial

Hi everyone! I’ve been under the weather this past week and wasn’t even sure I would get a blog post up by Friday. But I’m feeling better and wanted to share this colorful set of drawers I created. I used the Stacking Drawer Diecut, Painterly Blooms and Background Thinlits, Watercolor Flowers and Lattice Stencils and the Folio Page, Pocket and Flowers Thinlits, all by Eileen Hull. So let’s get started!

First, I applied Adhesive Sheets to both sides of Mat Board, then plain and patterned cardstock on either side of the mat board and placed onto the Stacking Drawer Diecut. I sandwiched between cutting plates and run through the Diecut Machine. Side note, I cut three drawers, six bottoms and two sleeves. The two sleeves I did not cover the outside with patterned cardstock but I did add a plain cardstock to the inside before cutting. The outside step will come later.

Second, I “peeled” the tabs so once I put the drawers together they would lay flat. The bottom inside of the drawer I applied glue to the tabs and placed one of the bottoms on top and once dry I applied adhesive to the tabs on the bottom of the drawer and covered with another bottom.

Third, I glued each sleeve together. Side note, I did add a “shim” of cardstock to either side of each sleeve. This keeps the drawer from falling out. I adhered all sleeves on top of each other.

Fourth, I cut two sleeves from patterned cardstock and adhered around the set of drawers.

Fifth, I used the Watercolor Flowers and Lattice Stencils to create violets. I taped the first stencil to a piece of Watercolor Paper and used a Blending Tool to apply a violet ink. The second stencil I placed over the inked area and used a darker purple ink. The third stencil I completed the same steps but this time used a light green for the leaves and centers of the flowers.

Sixth, I placed the Painterly Blooms and Background Thinlits onto the stenciled flowers and leaves and run through the diecut machine.

Seventh, I shaped four of the flowers and a few of the leaves from the Painterly Blooms and glued three on top of each other. I cut two snippets of lace and adhered to the top of the drawers and placed the shaped flowers and leaves on top of that.

I cut two of the large and one small circle flowers from the Folio Page, Pocket and Flowers Thinlits, shaped and adhered around the Painterly Blooms. I added gems and Pearls to the centers of the circle flowers. I finished by adding bows made of thread.

You could add trinkets to each of the drawers and give as a gift. There are so many possibilities with this diecut! What would you add if you made one?

Also if you have any questions about this project please let me know and if you haven’t been by Eileen Hull’s blog lately you can find the latest post HERE.

Supplies

Sizzix/Eileen Hull: Stacking Drawer Diecut

Sizzix/Eileen Hull: Painterly Blooms and Background Thinlits

Sizzix/Eileen Hull: Watercolor Flowers and Lattice Stencils

Sizzix/Eileen Hull: Folio Page, Pocket and Flowers Thinlits

Diecut Machine

Mat Board

Adhesive Sheets

Various Plain and Patterned Cardstocks

Watercolor Paper

Stylus

Lace and Thread

Shades of Purple and Green Inks

Blending Tool

Pearls and Gems

Paper Cutter

Scissors

Beacon Adhesives: Zip Dry Adhesive

(Products listed above are Affiliated Links for your convenience)

DISCLAIMERS

This blog is compensated to provide opinion on products, services, websites, and various other topics. Even though the owner(s) of this blog receives compensation for our posts or advertisements. I always give my honest opinions, findings, beliefs, or experiences on those topics or products. The views and opinions expressed on this blog are purely my own. Any product claim, statistic, quote or other representation about a product or service should be verified with each manufacturer, provider, or party in question.This blog contains affiliate links, clicking and shopping through these links helps to support and run Tonya Trantham Designs – Creative Paper Addiction at no additional cost to you. Today’s features are Sizzix, Eileen Hull and Scrapbook.com Products. 

Thanks for stopping by, hope your Friday is great and enjoy creating!
Get Inspired with Eileen Hull’s Latest Scoreboards Dies and Stencils

Hi everyone! It’s June and it’s time for a release by Eileen Hull and Sizzix! This collection combines three classic Eileen Hull Sizzix Scoreboards dies and two new designs- a four layer stencil and coordinating Thinlits that cuts a portion of the stencil!
The three Scoreboards dies are the Treasure Box, Stacking Drawer and Notebook. The fun thing about this set is that they work together but also stand alone.

I will be sharing sneak peeks of my upcoming projects with these dies, thinlits and stencils later this month.

The Treasure Box measures 3 1/4” x 5 1/4” x 4” and holds index cards, two stacks of ATC’s, a whole row of journaling cards and anything else you care to add.

The Stacking Drawer fits a set of three drawers perfectly inside the Treasure Box to create a great storage solution for desk supplies, hair accessories, small collections, jewelry and much more. It also makes a great little gift box for something special!

The Notebook is a favorite because of how quick and easy it is to create. One pass through the Big Shot and you have a book cover! It measures 5” x 3 1/2” x 3/4”. Cover with paper, fabric, metal or cut from leather. So many ways to use this.

 The Watercolour Flowers and Lattice Stencils is based on a watercolor I did. There are three stencil layers to give dimension and then a fourth layer versatile lattice design that can also be used to create a plaid pattern! 

Painterly Blooms and Background is a die that perfectly die cuts the flowers you have just stenciled so no fussy cutting needed plus there are extra flower shapes so you can layer them for dimensional florals. 

Eileen and her team hopes you will watch our release party on June 4 at noon Eastern to see lots of samples and alternate ideas for ways to use this die! There will be a GIVEAWAY! Also you can find the die bundles here in Eileen’s Etsy Shop.

Supplies

Sizzix/Eileen Hull: Treasure Box Diecut

Sizzix/Eileen Hull: Stacking Drawer Box Diecut

Sizzix/Eileen Hull: Notebook Diecut

Sizzix/Eileen Hull: Painterly Blooms and Background Thinlits

Sizzix/Eileen Hull: Watercolour Flowers and Lattice Stencils

Diecut Machine

Beacon Adhesives: Zip Dry Adhesive

(Products listed above are Affiliated Links for your convenience)

DISCLAIMERS

This blog is compensated to provide opinion on products, services, websites, and various other topics. Even though the owner(s) of this blog receives compensation for our posts or advertisements. I always give my honest opinions, findings, beliefs, or experiences on those topics or products. The views and opinions expressed on this blog are purely my own. Any product claim, statistic, quote or other representation about a product or service should be verified with each manufacturer, provider, or party in question.This blog contains affiliate links, clicking and shopping through these links helps to support and run Tonya Trantham Designs – Creative Paper Addiction at no additional cost to you. Today’s features are Sizzix, Eileen Hull and Scrapbook.com Products. 

Thanks for stopping by, hope your Tuesday is awesome and enjoy creating!