DIY Summery Journal from Altered File Folder
Hi everyone! Even though we are now in September. I want to share a file folder that I had altered and turned into a summery journal. I actually had this finished and ready to share a couple of months ago. My dad passed away, and it’s been hard to get back into the swing of things. But I’m getting there. I didn’t do any step out photos of the process…sorry. Anyways let’s get started!

The file folder I measured and folded. I folded the top of both sides into the inside of the cover. This created tuck spots. I glued the bottom edge of both tuck spots to the inside cover.

I tucked some notebook paper to the back cover. I had cut it down and added a rub on from the 49 and Market: Rouge Collection.

The front inside tuck spot. I added glue to either end of a cut a part. This was done after I had decorated the cover…details of the cover will come later.

I added a couple journaling cards to the belly band. I also added another piece of notebook paper with rub ons to the tuck spot.

The cover of journal measures 6″x11 1/2″ after folding the tuck spots to the inside of the journal. I gathered up an assortment of cardstock, grid paper, large doily and watercolor paper. I cut to fit and folded in half before punching holes, in the fold of all pages and the cover. I threaded a needle with cording and stitched all together. I tied off on the outside of the cover.

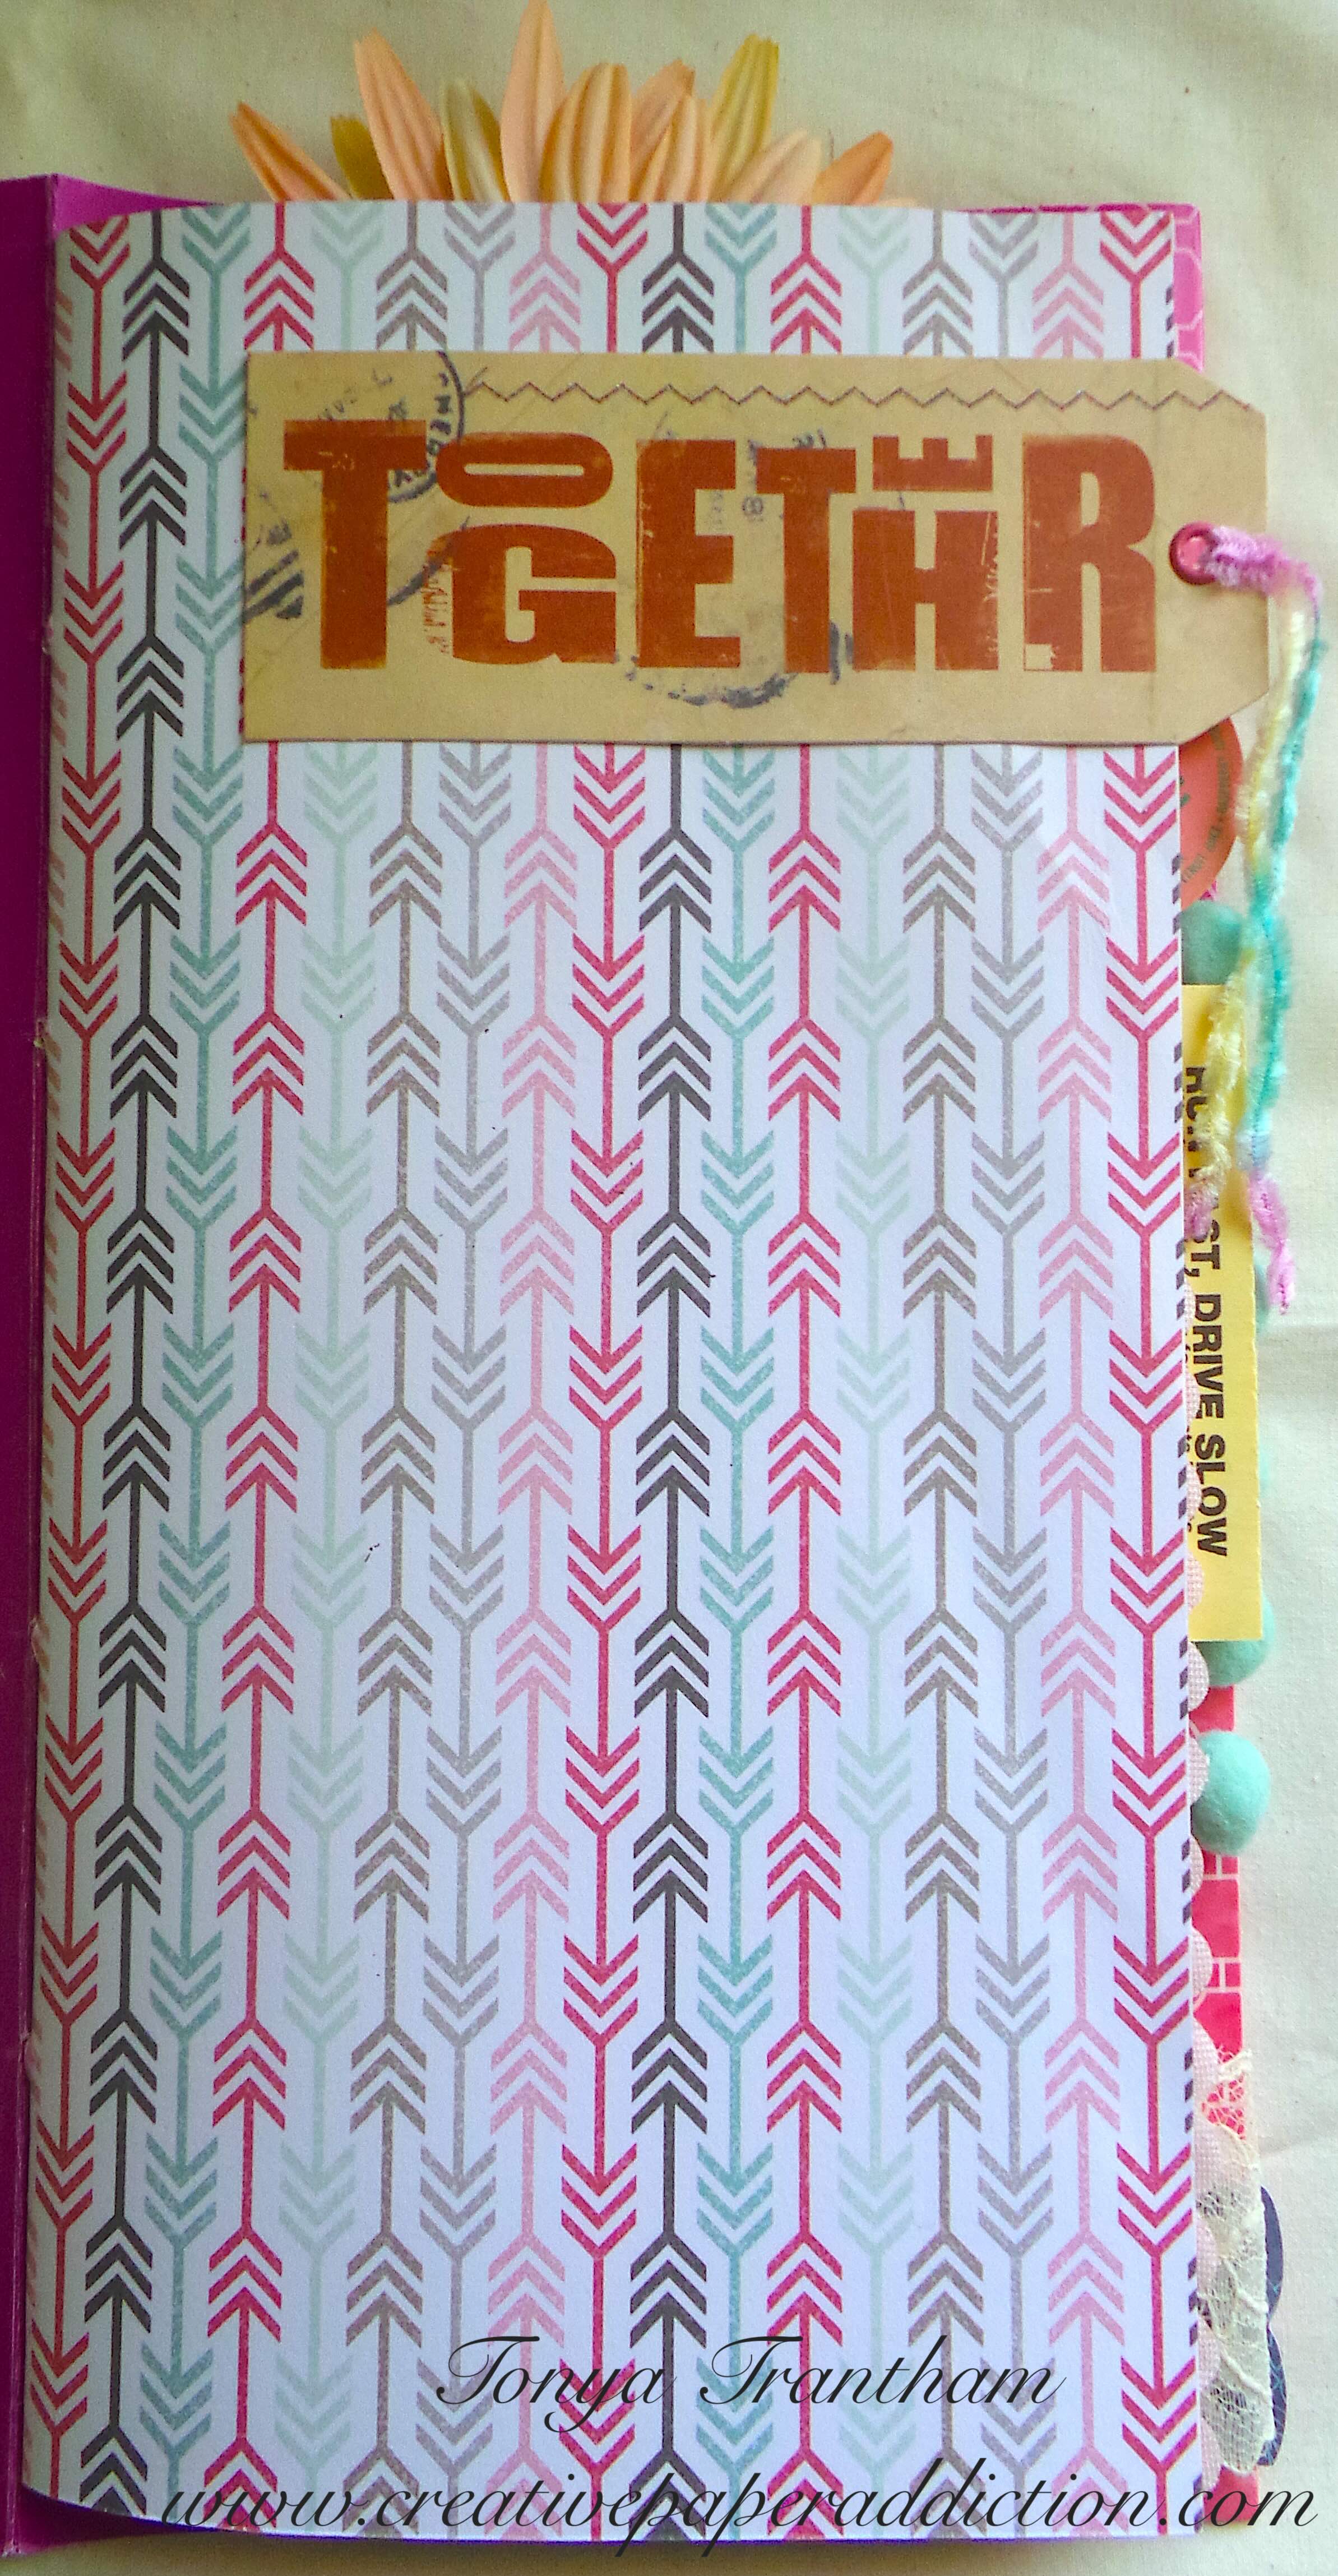
I tied seam binding and fiber to cover where I had tied off on the spine. I also adhered trim to the back and front cover.

The cover I adhered a rectangle doily that I glued to the cover. The extra bit of the doily I wrapped and glued to the tuck spot of the inside. I dug into my stash of paper diecuts. I added a bingo card, frame and a floral image to the cover.
For the inside pages, I used an assortment of paper diecuts and embellishments.


I used one of the journaling cards as a tuck spot.


The two pages in one I thought was pretty cool.


I loved adding the bright green doily as a page to the journal. I also used a parking garage ticket as a tab on a page.


I used a sheet of watercolor paper in the journal. On the back side of the page, I fussy cut out a floral image from a scrap piece of cardstock. I adhered two of the sides to the page to create a pocket. I added scraps of cardstock as journaling spots to the pocket.


I used a journaling card that had a perforated edge. Instead of tearing it from the booklet it was in I carefully removed it with the perforated edge intact. I adhered to the top of the page. I added a strip of cardstock to cover where I tore it from the booklet.


I glued a journaling card along the bottom and added to the middle of the page. I created a tuck spot. I added a scrap of cardstock. I also included a journaling card and a paint chip. I had picked up the paint chip in the paint department at Walmart. These items were added to the tuck spot.


I added glue to the bottom of the “Good Times” cut a part. I placed it on the bottom of the page to create a tuck spot. I added a scrap of cardstock to the pocket.


I added a small Polk a dot paper bag to the side of the page. I secured it by adding washi tape to the page and bag. I glued a sentiment to the bag along with a butterfly embellishment. I placed a decorative journaling card inside of the bag.


I created another tuck spot with a decorative card from my stash.

I filled the tuck spot with journaling cards and scraps of cardstock.


More tuck spots and a flip up card for journaling or adding photos.


I dug into my stash and found this little felt flower and paper leaves I had not used. I thought it was a perfect addition to the page. On the opposite page, I glued another journaling card to the corner. I also added a scrap of cardstock with a sentiment.

The last page in the journal I adhered a butterfly diecut to the top of the page to finish.

This journal was so much fun to put together! If you don’t have file folders laying around your home, you can find them at places like Walmart and Target. You can also check your local office supply stores. For the rest, use what craft supplies you have on hand! You will be surprised how quick one of these journals comes together.

Supplies
File Folder
49 & Market: Rouge Collection
Various Plain and Patterned Cardstock, Notebook and Grid Paper and Paper Doilies
Various Embellishments and Diecuts
Needle and Cording
Seam Binding, Trim and Fiber
Washi Tape
Small Paper Bag
Beacon Adhesives: Zip Dry Adhesive
(Products listed above are Affiliated Links for your convenience)
DISCLAIMERS
This blog is compensated to provide opinion on products, services, websites, and various other topics. Even though the owner(s) of this blog receives compensation for our posts or advertisements. I always give my honest opinions, findings, beliefs, or experiences on those topics or products. The views and opinions expressed on this blog are purely my own. Any product claim, statistic, quote or other representation about a product or service should be verified with each manufacturer, provider, or party in question.This blog contains affiliate links, clicking and shopping through these links helps to support and run Tonya Trantham Designs – Creative Paper Addiction at no additional cost to you. Today’s features are Scrapbook.com Products.

Thanks for stopping by, hope your Friday wonderful and enjoy creating!


