Happiness Junk Journal

Hi everyone! I wanted to share a few photos and a video of  a junk journal that I created for myself…which is a rare thing…most of the time I create things for swaps or design team projects. 

I used a lot of scraps of cardstock from previous projects, embellishments I had received in swaps and used a few digital images I had found on the internet.

The cover is out of a file folder and there are 12 papers per signature with a total of 5 signatures and in all there are 240 pages front and back in this journal.

I received the butterfly image from Debbie-Anne who has Ephemera’s Vintage Garden on etsy. I love the zipper and dress pins I added to it to give it that quirkiness.

I am submitting this journal for the following challenges: 
Eileen Hull’s Art with Heart Challenge 
Paper Wings Productions Monthly Challenge

Hope you enjoy the video!

If you have any questions please let me know. Thanks for stopping by, hope your day is awesome and enjoy creating!

Crafty Card Gallery: Just a Note of Thanks!

Hi everyone! I’m here to share a quick card I created for the Crafty Card Gallery. For this month’s challenge we had to come up with a thank you card.   
I started with a folded 3″x6″ piece of cardstock as my base and cut a piece of typewriter cardstock slightly smaller than the base of the card.

I  dug through my mass collection of scraps and then cut various sizes of cardstock which I adhered to the bottom half of the card. The vintage typewriter is a digital image I found online and can’t remember where I found it. Just do a google/bing search for vintage typewriters and there’s a ton of images out there. 

I printed and then fussy cut the the typewriter out, used a little chalk ink to give it an old look. I also cut a slit in the typewriter so I cut add the “Just a note of thanks!”(printed off the computer) in and make it look like it was actually typed out. I finished off the card with two little hand cut banners, button, sequin and a dew drop. 
The hardest thing about this card is the fussy cutting. 🙂 If you have any questions please let me know.

Thanks for stopping by, hope your Sunday is wonderful and enjoy creating!

Bundle Up Cause it’s Cold Outside!

Hi everyone! I’m here to share a project I created using a folded 6″x6″ piece of Winter Retreat Glitter Swirl Cardstock. I printed this free digital image from Land of Nod Studio. I love the fun colors of the clothing on the children in this photo.

I added burlap as a mat to the photo along with a crumpled piece of Brown on Brown Glitter Cardstock and beige scalloped tulle which I gathered, folded and tied off with thread.

 Also I cut a snowflake from some thin white chipboard, inked the edges with a light blue chalk ink. I adhered it to the card base and added sequins and dew drops. Next I added pop dots to the back of the digital image and then adhered to the card and lastly I made several bows from brown thread and glued around the image and then finished off with a  chipboard snowflake. And there you have it…I really love how this card turned out and hope you like it too.
If you have any questions please let me know.

Thanks for stopping by, hope your Tuesday is awesome and enjoy creating!

Dragons Lair Den: Jolly Ole St Nick Journal

Hi everyone! It’s me and I’m here to share my last post with Dragons Lair Den. I am thankful for the time I have been on the design team and being able to share a little bit of my take on DLD printables.
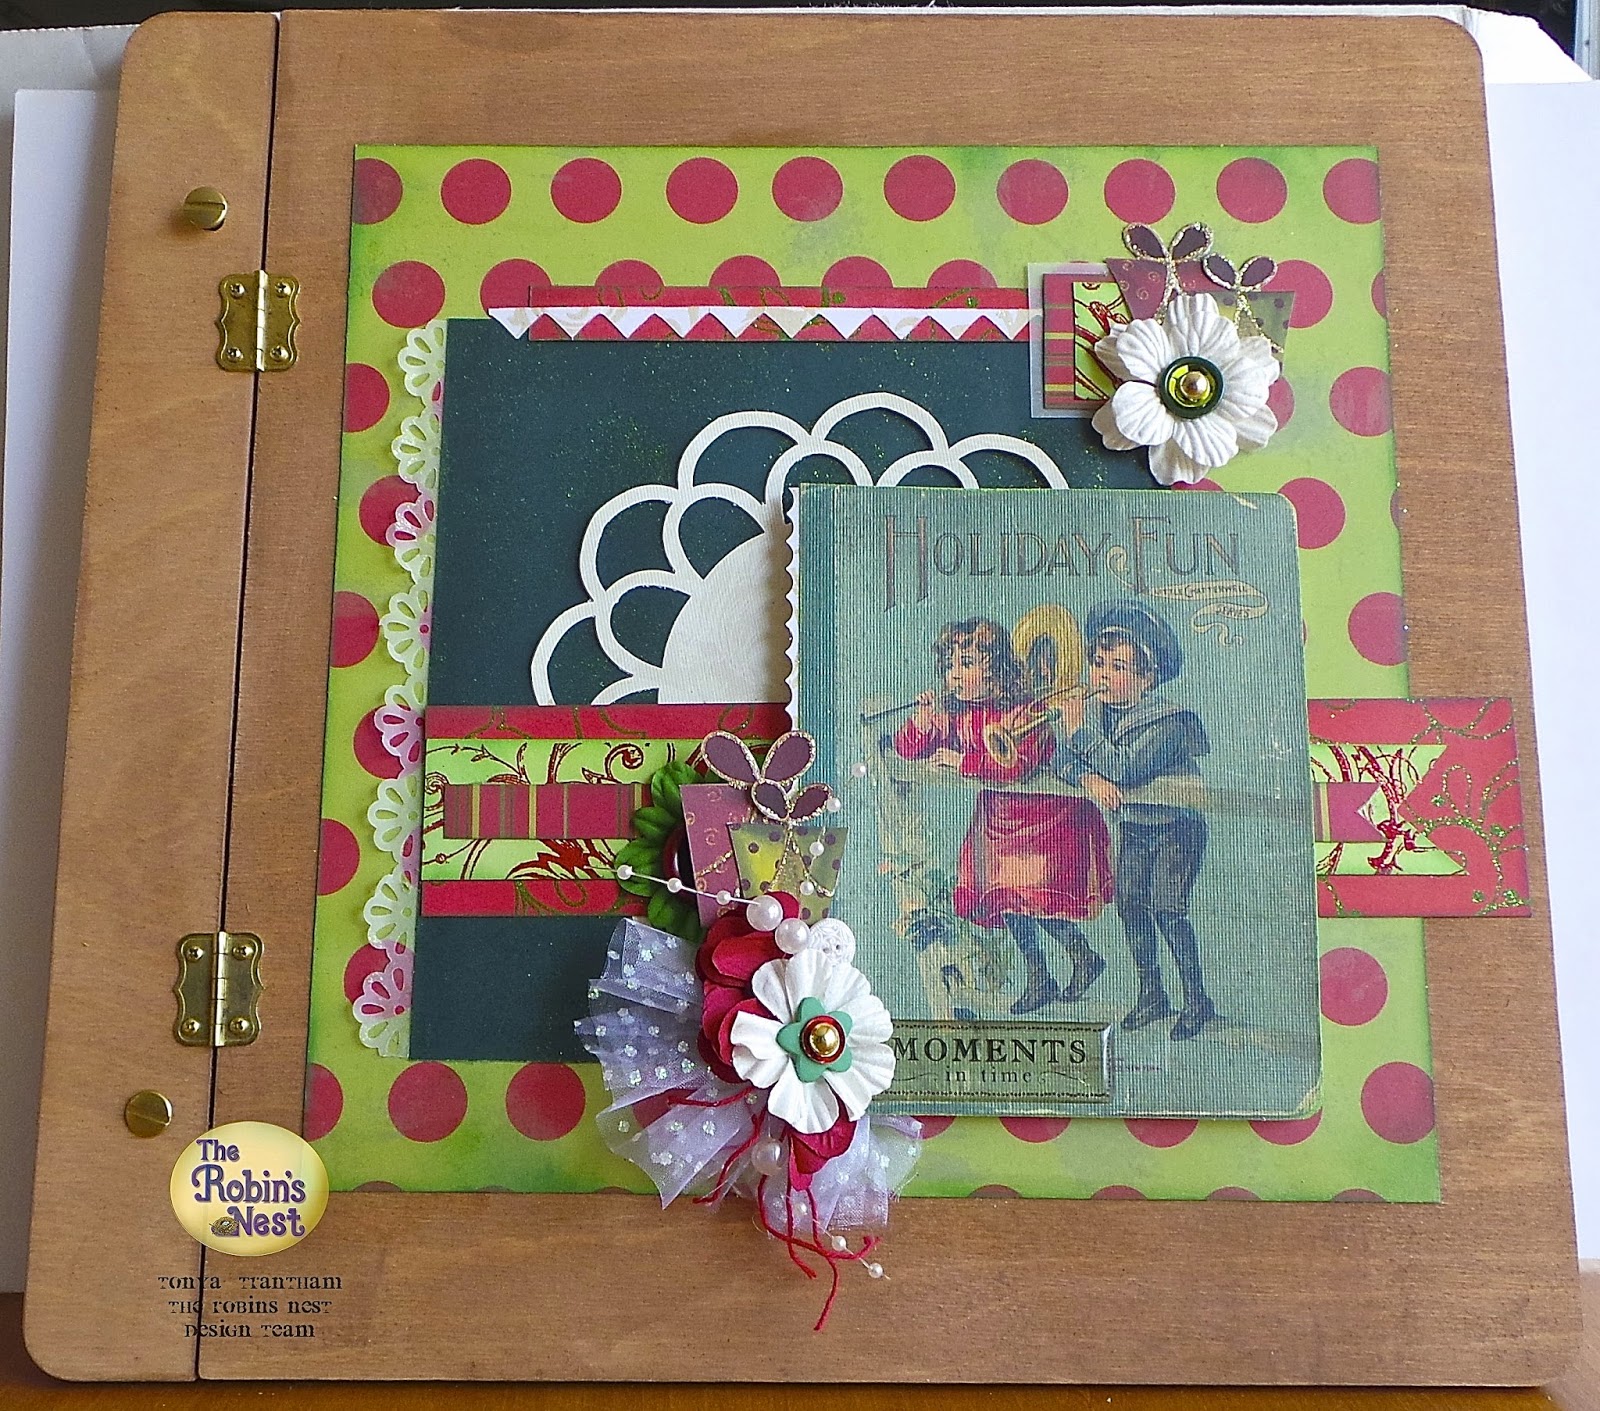
I created this mini Santa journal from a file folder which I cutdown and the finished size is a 3 1/2″x5″ and that measures from the “creases” or three folds in the file folder.

I inked the spine with a green ink, let dry and then measured and marked four small holes at 1″ intervals down the spine. I used a very thick needle to punch each hole.
I printed off the sage green sheet from the Victorian Christmas Collection-Card Papers and cut two 3 1/2″x5″ pieces to fit the front and the back of the journal. I used the Christmas Merriment embossing folder and embossed both pieces before adhering to the journal. Next I printed out the Vintage Santa Card Kit and cut one of the Santa’s out, inked the edges and then used pop dots to raise the image. I finished off the front with baker’s twine, button, sequins, dew drops, tulle and a metal star. I also applied Stickles to the Santa’s beard and hair.

I cut twenty sheets of notebook paper to fit the inside of the journal. Once folded in half I sewed the pages and tied off on the outside of the spine. I added fiber and ribbon also to make it more festive.

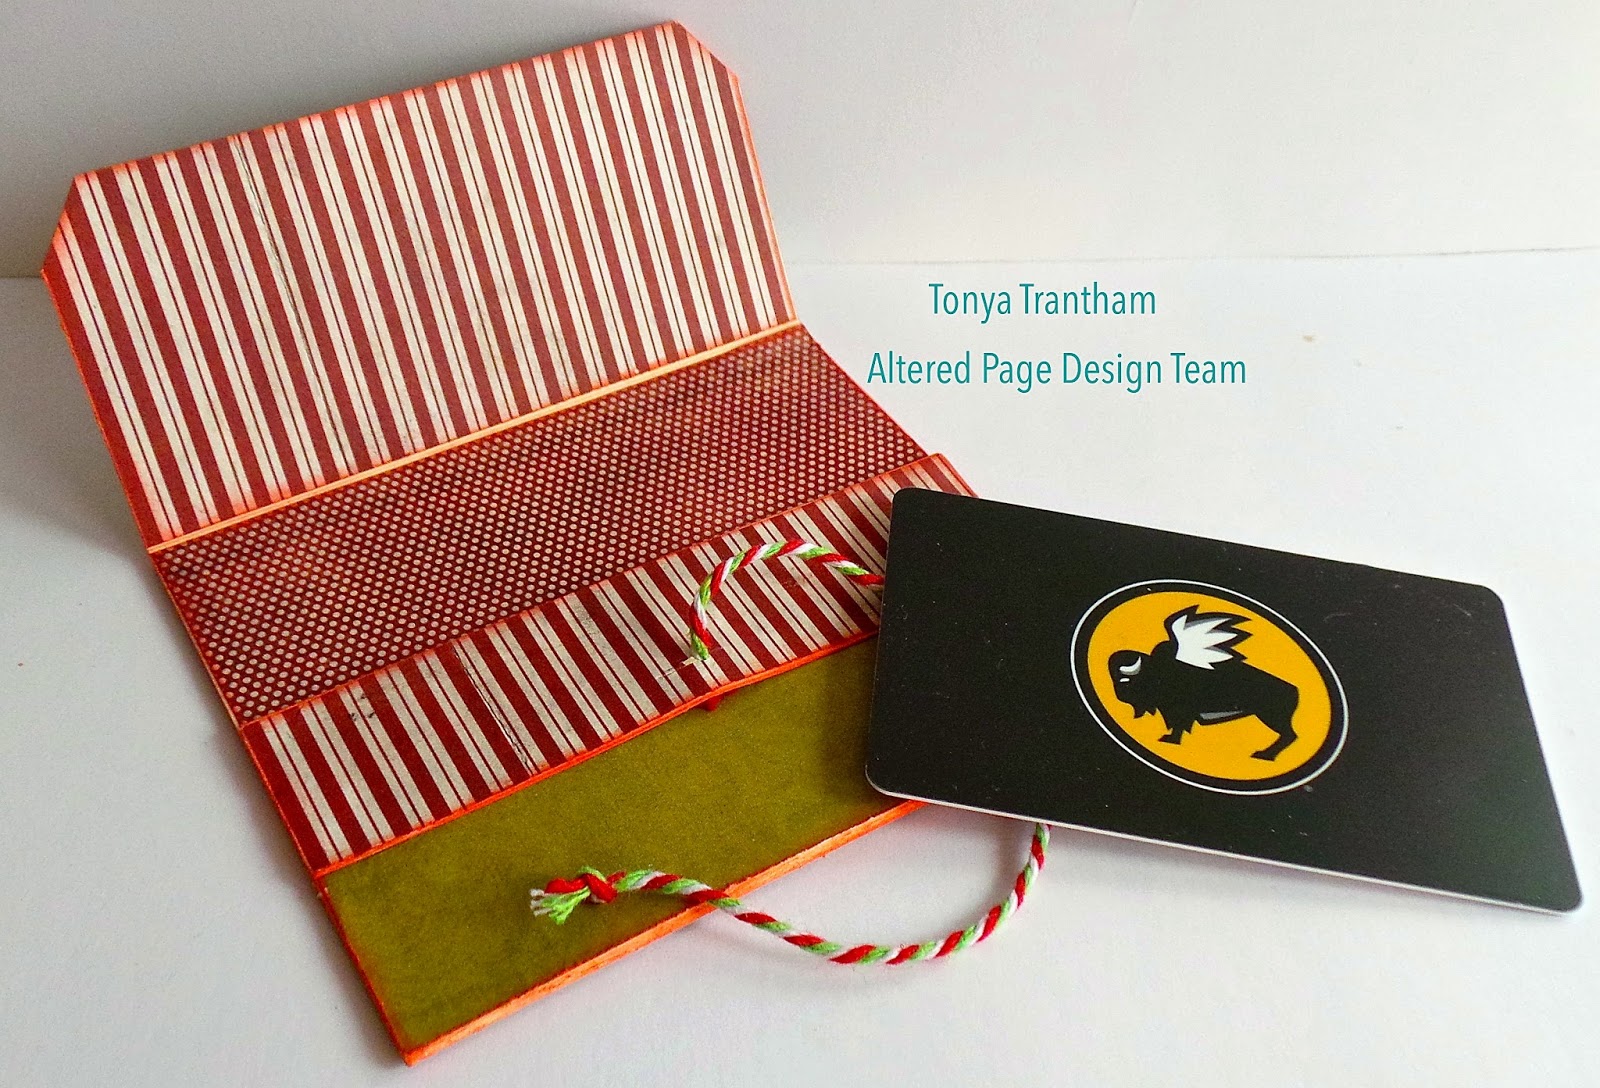
From the same Victorian Christmas Collection-Card Papers I printed off a burgundy sheet and cut it down to make an inside pocket. I added from the Vintage Santa Card Kit a label and flower to finish it off.

There you have it a simple little journal that can be used to jot down notes, keep up with receipts or whatever else you can think of. 🙂 Please be sure to check out the Dragons Lair Den for these printables and more. If you have any questions please let me know.

Supplies Used:

Other Supplies Used: Baker’s Twine, Sequins, Button, File Folder, Metal Star, Stickles, Notebook Paper, Tulle
Thanks for stopping by, hope your Saturday is awesome and enjoy creating!

A Merry Pink Christmas!

Hi everyone! I’m here to share a project I created for a swap I was in for my dear friend Lisa aka Lisa Laughs since she loves pink I found this snowman digital image to use as the bases for the matchbox. We had to alter a 300 count matchbox in a vintage Christmas theme and include three handmade items (which I have blogged about in pervious posts) and then fill up the rest of the box with goodies.

I am submitting this matchbox for the following challenges:

Eileen Hull’s Art With Heart Holiday Traditions Challenge
Paper Wing’s Productions December Challenge

If you have any questions about this project please let me know.

Thanks for stopping by, hope your Monday is wonderful and enjoy creating!

Festive Charlotte Doll

Hi there! I’m here to share a quick project with a Hello Dolly image I purchased on etsy. I printed it I believe at 40% and then fussy cut her out, adhering her head, arms and legs to her body.

I cut two cupcake liners a part and glued around the doll to create a skirt. I added baker’s twine, mini flat back pearls, a sequin and a dew drop. The plan is to attach these to some of my Christmas presents. 🙂
If you have any questions please let me know.

Thanks for stopping by, hope your Friday is wonderful and enjoy creating!

Christmas Tree, Angel and a Blog Hop Winner

Hi everyone! I’m here to share a two mini projects I created. First one I covered a mini spool with some left over cardstock, added sequins and a little Crystal Stickles and then topped it off with a tiny little tree from Fancy Pants.

The tag I had purchased a set of these from Target. I changed out the cord for lace, added a Tim Holtz Reinforcer, pom pom trim and a snow angel which I printed out and fussy cut. I adhered it to the tag and added Crystal Stickles to the angel’s coat.
Both project were super easy to do and didn’t take any time at all.

Also I want to announce the winner of the Christmas Dew Drops that was being given away for the Robin’s Nest Blog hop this past Saturday, November 29th. The winner is…..

Colleen aka Scrappingranny 
Congratulations Colleen!!! 🙂
If you have any questions please let me know. 
Thanks for stopping by, hope your Thursday is awesome and enjoy creating!

Santa’s Workshop

Hi everyone! I’m here to share a project I created for a swap I am in over on Swap-bot. For this swap we had to alter a 32 count matchbox with a Christmas theme and fill it with goodies.

I used the Cindy Lou Swirl Glitter Cardstock to cover inside and out the surfaces of the matchbox.

I also used one of the Santa tickets from the  Merry Christmas Digital Collage Ticket Sheet from the Cameo Shoppe. All digital images are 75% off through the 28th of November. Now would be a great time to stock up on images for upcoming projects.

This is all of the little bits and pieces of goodies I stuffed into this little matchbox.

It’s hard to believe I was able to stuff all of that into this little bitty matchbox but I did…here’s the proof 🙂 I hope my swap partner likes with I put together for her. 🙂
If you have any questions please let me know.

Supplies Used:
Robin’s Nest: Cindy Lou Swirl Glitter Cardstock, Cameo Shoppe: Merry Christmas Digital Collage Ticket Sheet, 32 count matchbox, Brad, jingle bell, dew drops, ribbon, paper flower, sequins, punches

Thanks for stopping by, hope your Wednesday is awesome and enjoy creating!

Robin’s Nest: Holiday Fun

Hi everyone! It’s me and I’m here to share my project I created for the Robin’s Nest using the Christmas Collection. Also the altered art design team is cross promoting with Walnut Hollow. I picked the Contemporary Memory Album as my project to alter and this is what I came up with. For more information and photos please check out the Chattering Robin’s blog.

Thanks for stopping by, hope your Sunday is awesome and enjoy creating!


Altered Pages: Santa Gift Card Holder

Hi everyone! I’m here to share a quick and simple project for this month using some of my favorite Altered Pages supplies and I got to try my creativity with some of the printable film from this month’s sponsor Craft Attitude.

For more info and photos on how to create this gift card holder stop on over at the Altered Pages blog.

Thanks for stopping by, hope your Thursday is awesome and enjoy creating!