Sugar and Spice

Hi everyone! I’m here to share a mini recipe album I created for Canvas Corp’s Save a Recipe Challenge. I started with two of the Black and Ivory File Folders as the cover of for my recipe album.
First I cut the tab off of the striped folder. 

Score at the fold 1/4″ three times on the back side of the striped folder.  

The diamond pattern folder cut one inch off the tab end and scored 1/4″ four times on the front side of the folder. Measure and mark 1 1/2″ three times down spine of folder and punch for a total of six tiny holes.

Run three Small Binding Rings through the holes.

Adhere the diamond folder on top of the striped folder.

Now for the fun part I decorated the cover with a doily, twine, flowers, a mini Recipe Card and black tulle along with a flour sack, baking powder and barely pears that I fussy cut from the General Store on Ivory Cardstock

I also used the following Tattered Angels Glimmer and Chalkboard Mists ( Moss, Mint Julip, Ruby Red Slipper, Monolith) to add a little to color to the images I fussy cut. The flour bag I also tied red burlap thread to the ends of the bag for a fun look. I added the fork and spoon from the Cutlery Set to finish off the cover.

I cut a sheet of the Bake and Can Recipe Cards a part, punched holes and added to the album and the inside cover is decorated with the Farmhouse Kitchen Stripe Cardstock.

Also I forgot to mention on the front cover I cut and adhered a 1 1/2″ x5″ piece of Black and Kraft Mini Dot Reverse Cardstock on top of the doily before I added all the other embellishments. I punched a hole on the overlapping tab and also punched a hole in the crease and threaded twine though both holes and tied off to create a closure.
If you have any questions about this recipe album please let me know.

Thanks for stopping by, hope your Monday is awesome and enjoy creating!

Mixing Bowls and a Cookie Box

Hi everyone and Happy Spring! It is finally warming up and I am so glad. I love that flowers have started blooming and the trees are starting to turn green. I want to share four projects I created using some of Eileen Hull’s newest diecuts.

With Easter being this Sunday I decided for my first project I would create a mini Easter basket from a sheet of Little Sizzles Mat Board, patterned cardstock and the Cookie Box diecut. I inked the inside, edges and creases of the basket with Broken China Distress Paint before putting it together. I adhered the patterned cardstock to the outside of the basket, added the mini pom pom trim and punched holes on either side and ran a pipe cleaner threw each side of the basket to create a handle.

I used the Brenda Walton’s Medallion diecut-658339 (which is retired) to added a fun twist to the front of the basket along with a vintage little chick sticker and I printed the Happy Easter sentiment from the computer to finish it off. Since I am on a 21 day no sweets or junk food ban I filled my little basket with crafty goodness.

My second project I have had this idea in my head since I first seen the cookie Box die but wasn’t sure it would work. Not all the ideas that swim around in brain translate like I want at times but I am happy to say I made it happen. I turned the Cookie Box Diecut on its side to create some storage for some of my many rolls of washi tape I have. As you can see I glued two halves together by using my hot glue gun and I adhered six of the tabs to the ends/sides and cut the rest off to create the lid.


I painted the edges of the scalloped circles with Mowed Lawn Distressed Paint and covered with patterned cardstock.

I punched two small holes so I could add twine and knob as a closure for the chest.

I added paper flowers…store bought and handmade along with twine, thread, pearl sprays and the paper leaves are cut from the Holiday Greenery Diecut.

I adhered lace on the back of the chest to cover the edges of the cardstock I cut to define the base and the lid.

I glued four small spools to the bottom of the chest and adhered lace around the bottom to create a skirt.

Now it is ready to store some of my washi tape. 🙂
My third and fourth projects I cut two bowls each from the Mixing Bowl Diecut  and I also used the 3D Food Jar and Spoon Diecut “pocket” to create an adorable arrangement. I printed these little girls and the other little girl with bowl for the other mixing bowl and then fussy cut out. I purchased these from Eclectic Anthology.

I used the Rose, 3D Diecut (558504) along with the Holiday Greenery Diecut, a few punched flowers, tulle, thread and moss to add finishing touches to the bowl. 

This little bowl I kept simply by adding a little moss, paper flowers and leaves and I finished off the outside with lace and flatback pearls.

I have you have enjoyed all of my projects I shared with you today and if you have any questions about any of them please let me know.
Thanks for stopping by, hope your Friday is awesome and enjoy creating!

Key to my Heart

Hi everyone! I here to share a quick rolodex I created using my Sizzix Card, Telephone and Address diecut to cut a rolodex card from one of the sheets of 6″x6″ Mad Tea Party papers from the Tea Time Nesting Components Mixed Media Kits. I used scraps of patterned red cardstock to hand cut and punch hearts. I inked around the edges of the hearts and along with two strips of patterned cardstock I adhered all to the rolodex front. I printed the “daisy girl”  and then fussy cut her out. I adhered her to the corner of the card and added Stickles and a mini flower gem to the daisy.

I used the key stamp from the Paper Wings Productions Vintage Elements stamp set  and stamped on textured cream colored cardstock, fussy cut, inked over with chalk ink to give the key an old and worn look. I printed the sentiment from the computer, cut out and inked also with chalk ink. I adhered to the card along with a sequin, dew drop and red twine to the smallest heart to finish off this rolodex card.

I am submitting this project for the following challenges: Paper Wings Productions and Word Art Wednesday #169If you have any questions about this project please let me know.

Thanks for stopping by, hope your Sunday is awesome and enjoy creating!

Snowman Fun!

Hi there! I’m here to share another 32 count matchbox I altered for a swap I am in. I love the soft vintage feel of this Bundled Up paper collection from Crate Paper!  

I wrapped and tied some red twine around the box and added snowflake sequin and button with another clear sequin and dew drop to finish off this adorable matchbox. Now all I have to do is fill it with tiny goodies and mail. Hope my swap partner likes it. 🙂
If you have any questions please let me know.


Thanks for stopping by, hope your Tuesday is awesome and enjoy creating!

S is for Santa

Hi everyone! I’m here to share my altered matchbox using the Robin’s Nest  Christmas  Collection for the Robin’s Nest “Christmas Blog Hop” linky party which is going on today.


 Please be sure to hop on over to the Chattering Robin’s Blog and checkout everyone else’s creations using Robin’s Nest products and be sure to become a follower of each blog  and leave a comment too for a chance to win a bottle of the  Christmas Dew Drops because each blog will pick a winner. 🙂 

For my project I altered a 300 count matchbox. I covered it with Cindy Lou Swirl Glitter Cardstock.

I printed the “Santa” image from a digital sheet I purchased from Pink Paislee. I inked the edges of the image and adhered it to a piece of red cardstock. 

I added bits of tulle, ribbon, holly and twine decoration to the top of the box. I finished off with some buttons and Christmas Dew Drops.  

The “drawer” I added a pull to make it easier to open.

I filled the inside with crafty bits of fun for my friend to use in some of her many craft projects.
If you have any questions about this project please let me know.
Also I am entering this in the Ellen Hull’s Art with Heart Challenge.

Supplies Used: Robin’s Nest: Cindy Lou Swirl Glitter Cardstock, Christmas Dew Drops, 300 count matchbox, drawer pull, Chalk Ink, Tulle, Buttons, Twine, Santa Digital Image, Holly 

Remember to leave a comment and follow each blog for a chance to win a bottle of Christmas Dew Drops
Thanks for stopping by, hope your Saturday is awesome and enjoy creating!

Holly and Gingerbread Men

Hi there! I’m here to share a really quick project I created using the Bigz XL Matchbox diecut which I had got several years ago from Stampin’ Up! As you can tell I’ve been on a matchbox kick. 🙂 I love decorating and filling them with crafty goodies. 
This one though I plan on filling with candy and adding it with other gifts for Christmas. I haven’t decided if it will be a stocking or what yet. Last year’s gifts I stuffed gloves with goodies and the year before that was oven mitts. I like things that can be used afterwards instead of being put away until the next Christmas. 🙂

Also I am submitting this project for Eileen Hull’s  November’s Art with Heart: Favorite Recipes Challenge. 

If you have any questions about this project please let me know.
Thanks for stopping by, hope your Friday is wonderful and enjoy creating!

Santa’s Workshop

Hi everyone! I’m here to share a project I created for a swap I am in over on Swap-bot. For this swap we had to alter a 32 count matchbox with a Christmas theme and fill it with goodies.

I used the Cindy Lou Swirl Glitter Cardstock to cover inside and out the surfaces of the matchbox.

I also used one of the Santa tickets from the  Merry Christmas Digital Collage Ticket Sheet from the Cameo Shoppe. All digital images are 75% off through the 28th of November. Now would be a great time to stock up on images for upcoming projects.

This is all of the little bits and pieces of goodies I stuffed into this little matchbox.

It’s hard to believe I was able to stuff all of that into this little bitty matchbox but I did…here’s the proof 🙂 I hope my swap partner likes with I put together for her. 🙂
If you have any questions please let me know.

Supplies Used:
Robin’s Nest: Cindy Lou Swirl Glitter Cardstock, Cameo Shoppe: Merry Christmas Digital Collage Ticket Sheet, 32 count matchbox, Brad, jingle bell, dew drops, ribbon, paper flower, sequins, punches

Thanks for stopping by, hope your Wednesday is awesome and enjoy creating!

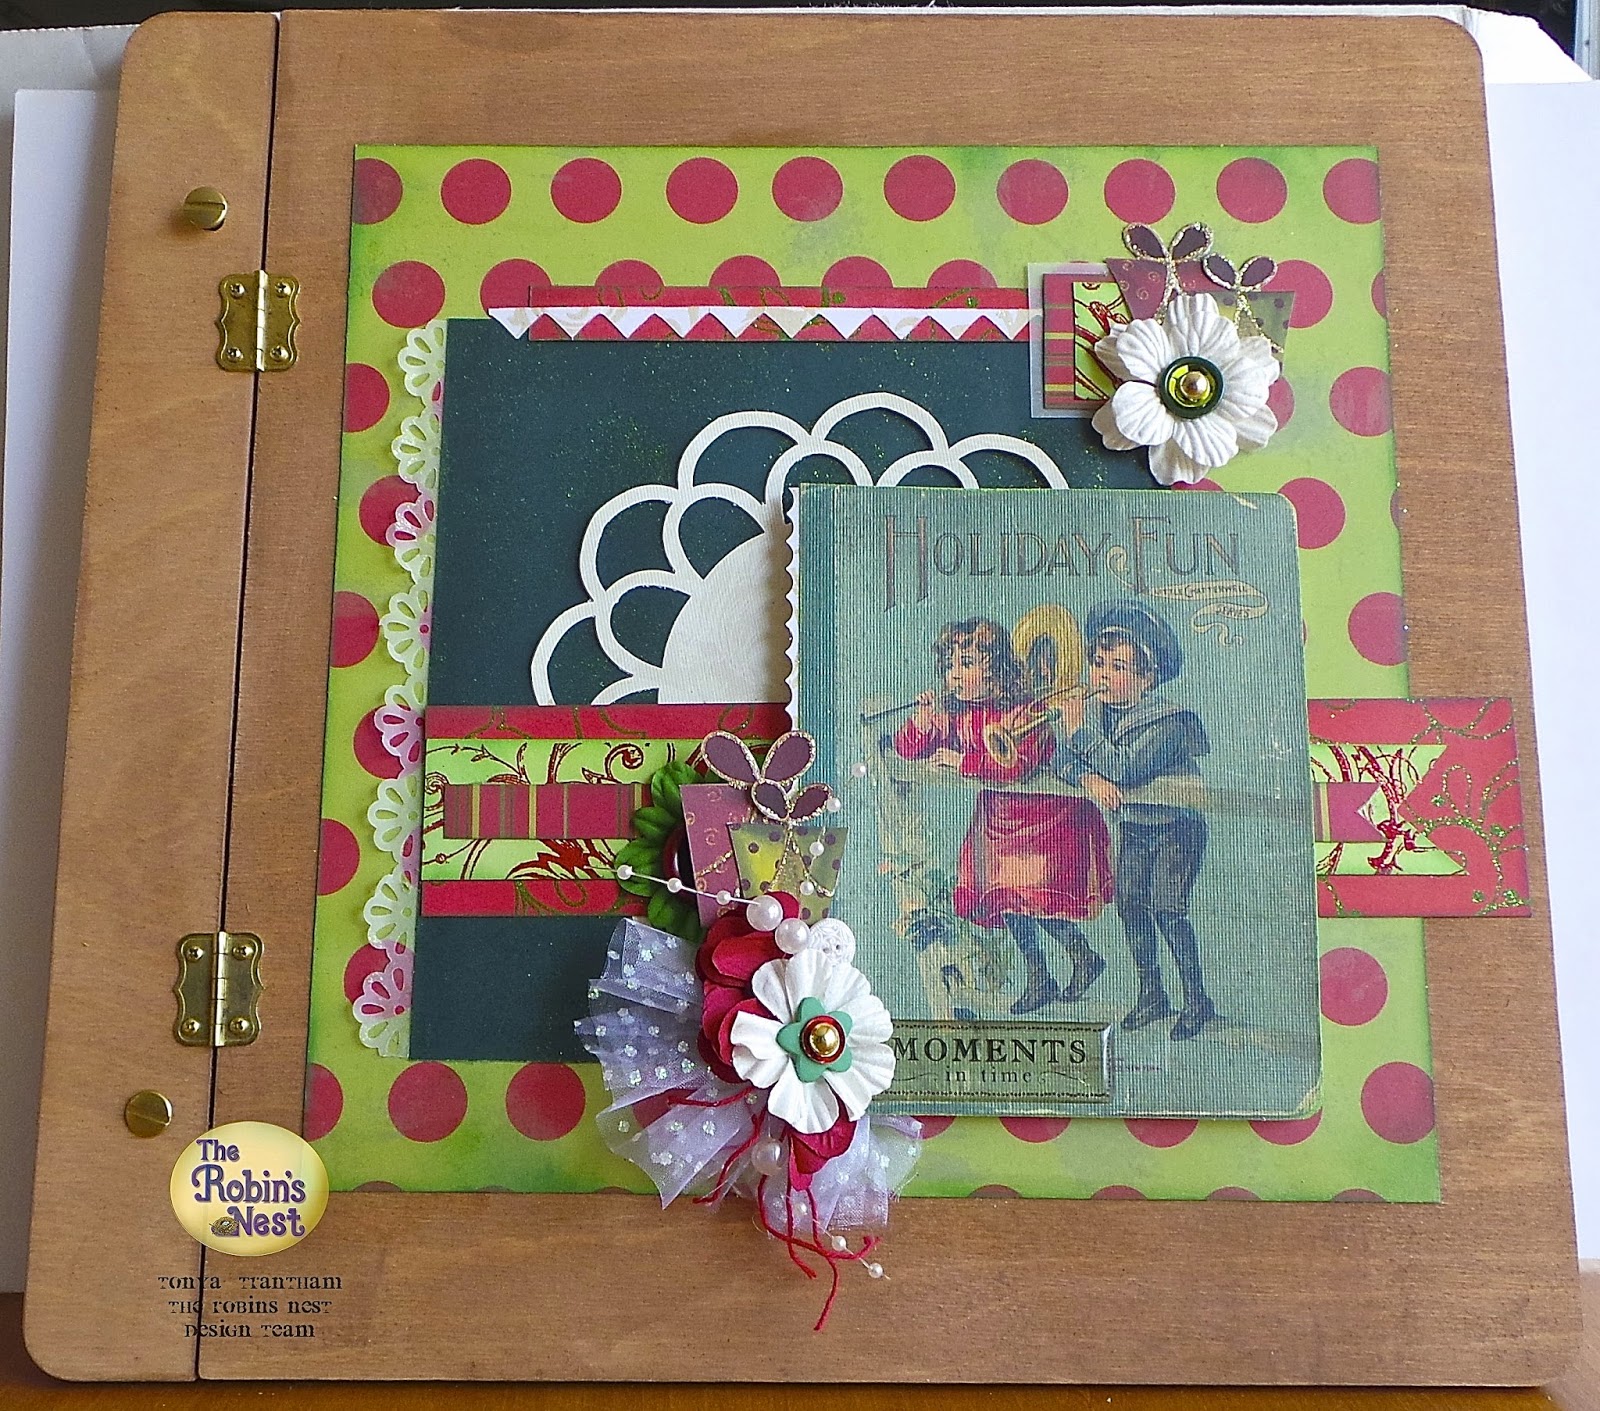
Robin’s Nest: Holiday Fun

Hi everyone! It’s me and I’m here to share my project I created for the Robin’s Nest using the Christmas Collection. Also the altered art design team is cross promoting with Walnut Hollow. I picked the Contemporary Memory Album as my project to alter and this is what I came up with. For more information and photos please check out the Chattering Robin’s blog.

Thanks for stopping by, hope your Sunday is awesome and enjoy creating!


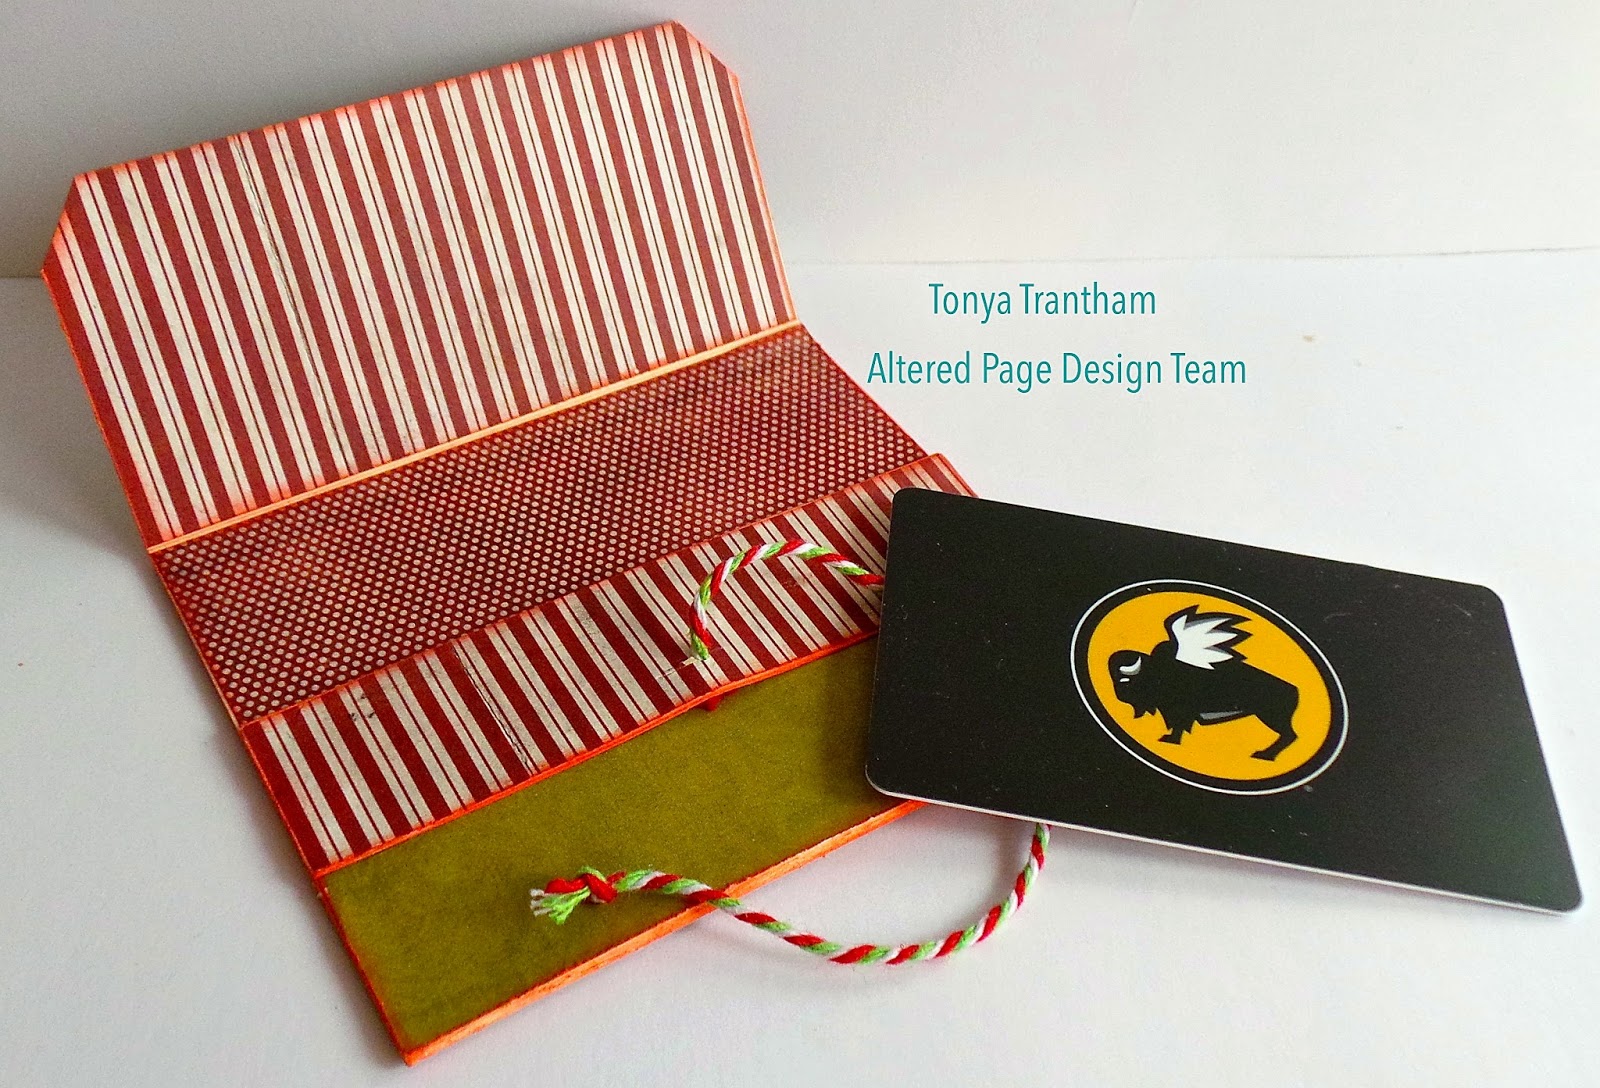
Altered Pages: Santa Gift Card Holder

Hi everyone! I’m here to share a quick and simple project for this month using some of my favorite Altered Pages supplies and I got to try my creativity with some of the printable film from this month’s sponsor Craft Attitude.

For more info and photos on how to create this gift card holder stop on over at the Altered Pages blog.

Thanks for stopping by, hope your Thursday is awesome and enjoy creating!

Music to my Ears

Hi everyone!  I’m here to share a jewelry box I altered for The Robin’s Nest Craft Engineer’s Contest.  The only requirement is to “create your most unique, imaginative and exciting project ever.  Just make sure that at least 75% of your project is made up of The Robin’s Nest Products.”  

There are some awesome projects up for grabs and I would love to be able to add more Robin’s Nest supplies to my craft room 🙂


October 1-November 15, 2014

Prize:  
1st Place Prize
$500 in Products from The Robin’s Nest Website
The 1st prize winner will also have $500 product donated to their local craft store
Great way to support your local Scrapbook store
2nd Place Prize
$250.00 in Product from The Robin’s Nest Website
3rd Place Prize
$100.00 in Product from The Robin’s Nest Website
Audience Choice Prize
$200 in Products from The Robin’s Nest Website

As I was cleaning and getting stuff up to take to Goodwill I came across this music jewelry box that one of my step-daughters had. It was missing a drawer but I decided there was potential in maybe altering this later on. Well, almost two years later this is what I came up with.

I started off by taking the doors and hardware off.

Also I pulled out the dirty and stained velvet fabric that was inside each drawer.

I sanded all pieces lightly and added a coat of house paint sample that I had got for free at Lowes.

Next I measured the drawer sides and fronts, sides and back of the jewelry box and cut from the Robin’s Egg Blue Glitter CardstockMoss Green Glitter CardstockAwning Spa Glitter Cardstock to fit which I adhered all with Antique Mod Podge.

The inside of the drawers I lined with Aquamarine Sorbet Cardstock which I embossed the bottom with the Geometric Ring folder and added a little lace around the edges.

The door inserts I cut from the Sour Apple Glitter Cardstock and embossed with the Polka Dot folder. I also added Metallic Teal Dew Drops and a sequins to each of the door knobs and drawer pulls.

The back I carefully cut an opening for the music wind up and then adhered the Awning Spa Glitter Cardstock to the back of the jewelry box.  

For the flowers I used Sky Blue Glitter CardstockSour Apple Glitter CardstockGoldenberry Dew DropsIrredescent Classic Glitter Swirl Vellum and a variety of Robin’s Nest scrap cardstock to create these beautiful flowers.

If you have any questions about this project please let me know. Also please stop by the The Robin’s Nest everyday to vote on my project. All votes would be greatly appreciated.

Supplies Used:
Other Supplies Used: Valspar Sprinkle House Paint, Sequins, Flower Punches, Martha Stewart Border Punch, Antique Mod Podge, Metallic Twine, Sprays, Pearl Dress Pins, Sizzix: Susan’s Garden Flower, Dahila, Sizzlets Little Leaves, Cuttlebug Polka Dot and Geometric Rings Embossing Folders, Lace

Thanks for stopping by, hope your day is wonderful and enjoy creating!