Hi everyone! It’s that time of year where Eileen Hull’s Inspiration Team shares their favorite projects for the 2024 year. I found it hard to decide which were my favorite but these are the three projects I choose.
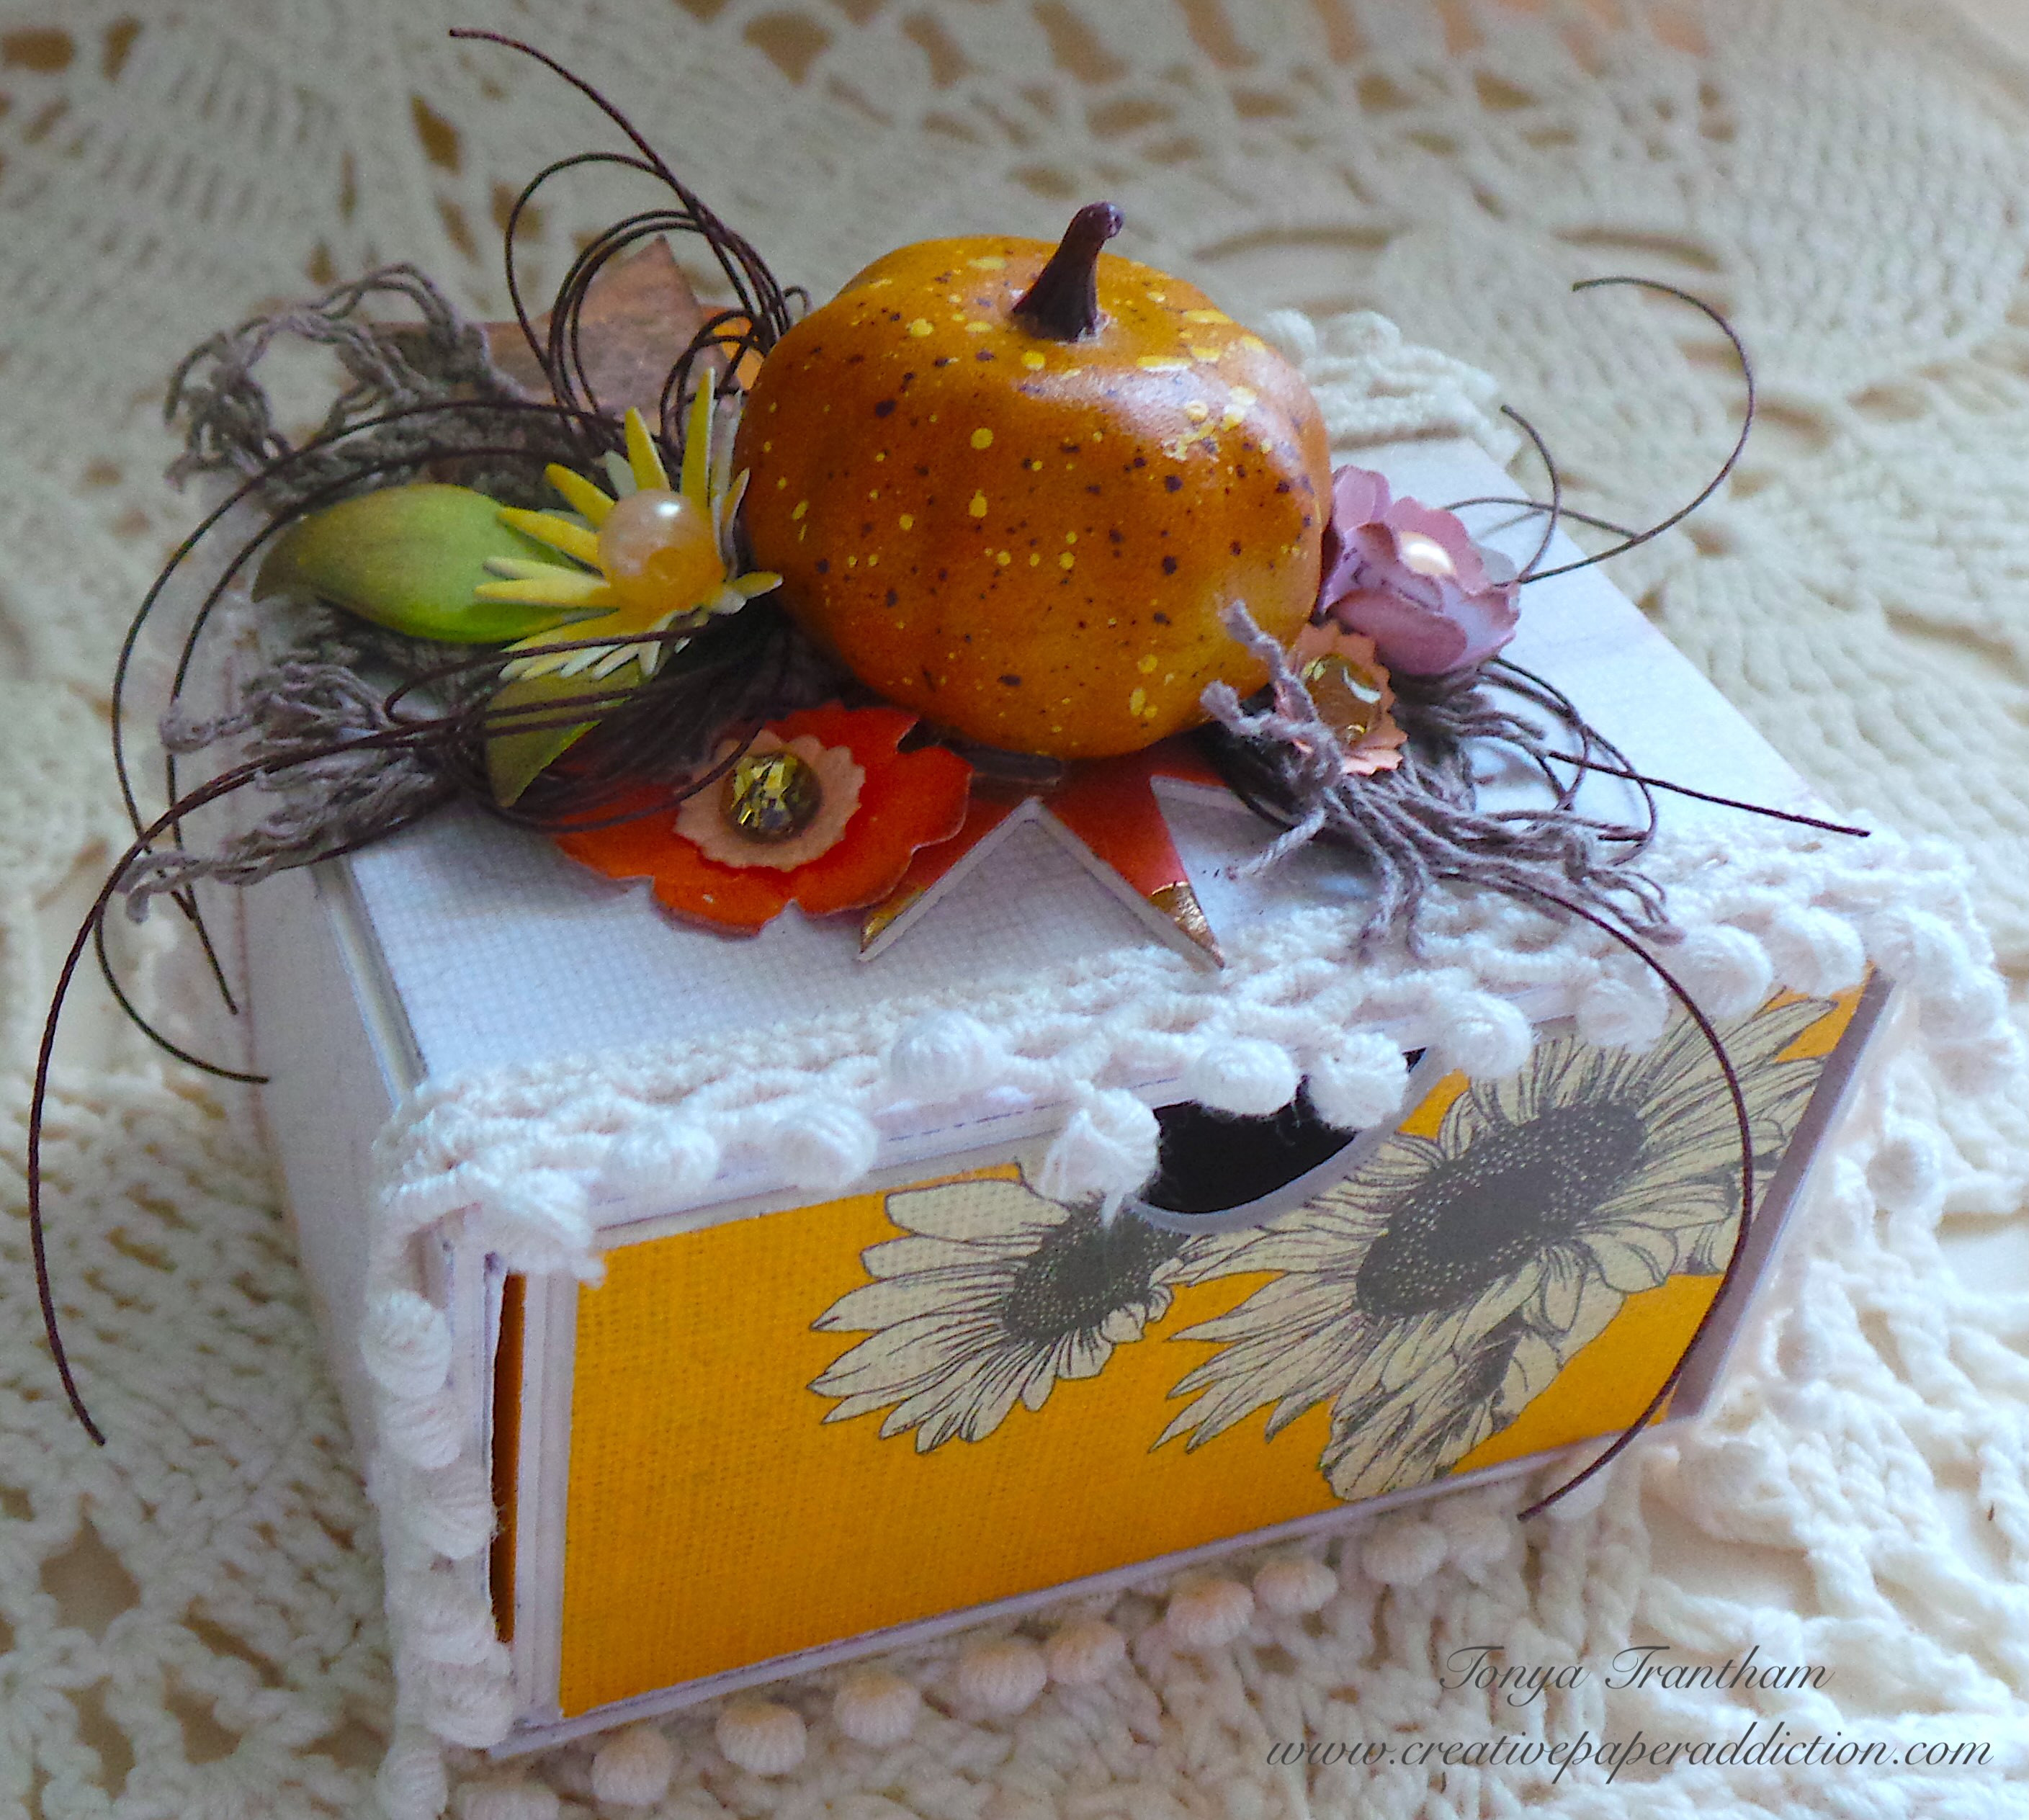
The first project was the extra long matchbox I created for the #12daysofsizzix challenge. I created it by “butting” two Stacking Drawers Diecuts together and covering with cardstock. You can find the blog post with all the details HERE.
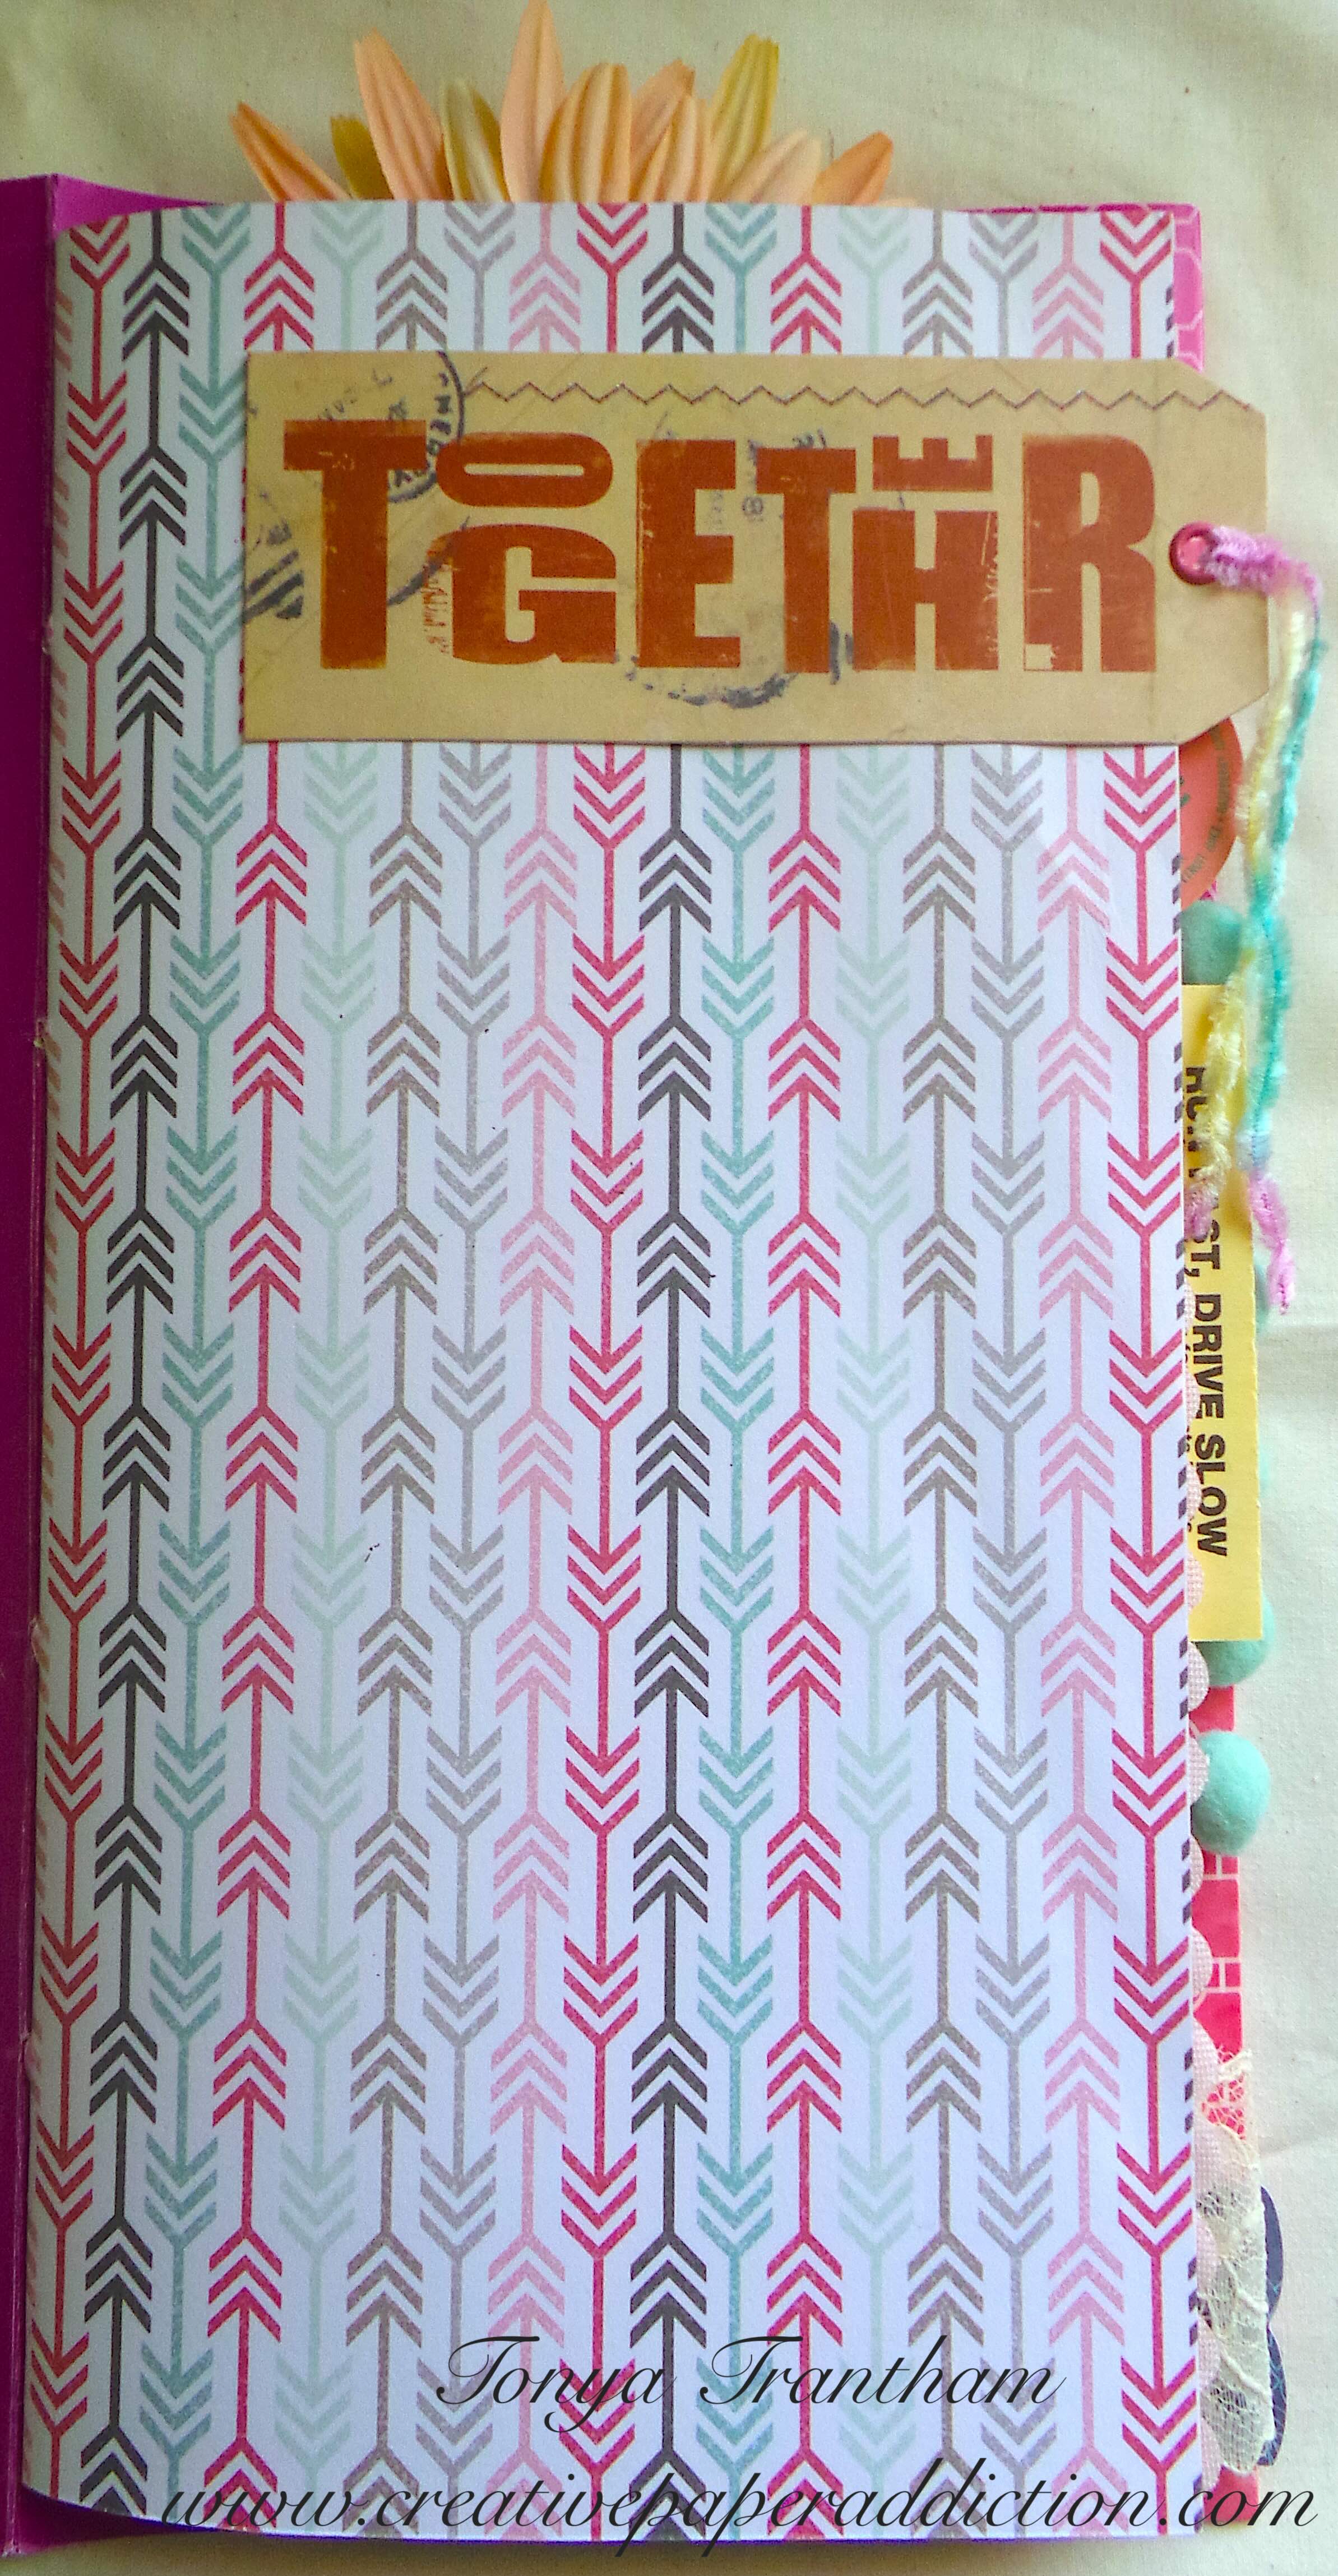
My second favorite project I created is a junk journal from the Notebook Diecut. I had fun adding all the bits and pieces to the pages of this journal. You can find the complete blog post HERE.
My third and final favorite project is the decorative box I created using the Storage Box Diecut. I loved using lots of lace and flowers on the lid. You can find the complete blog post HERE.
Would you have picked these as your favorite projects or do you have another project that’s your favorite? Let me know in the comments below.
(Products listed above are Affiliated Links for your convenience)
DISCLAIMERS
This blog is compensated to provide opinion on products, services, websites, and various other topics. Even though the owner(s) of this blog receives compensation for our posts or advertisements. I always give my honest opinions, findings, beliefs, or experiences on those topics or products. The views and opinions expressed on this blog are purely my own. Any product claim, statistic, or quote should be checked with each manufacturer. Verify other representations about a product or service with the provider or party in question.This blog contains affiliate links. Clicking these links helps to support Tonya Trantham Designs – Creative Paper Addiction. It runs at no additional cost to you.Today’s features are Sizzix, Eileen Hull and Scrapbook.com Products.
Thanks for stopping by, hope your Tuesday is wonderful and enjoy creating!
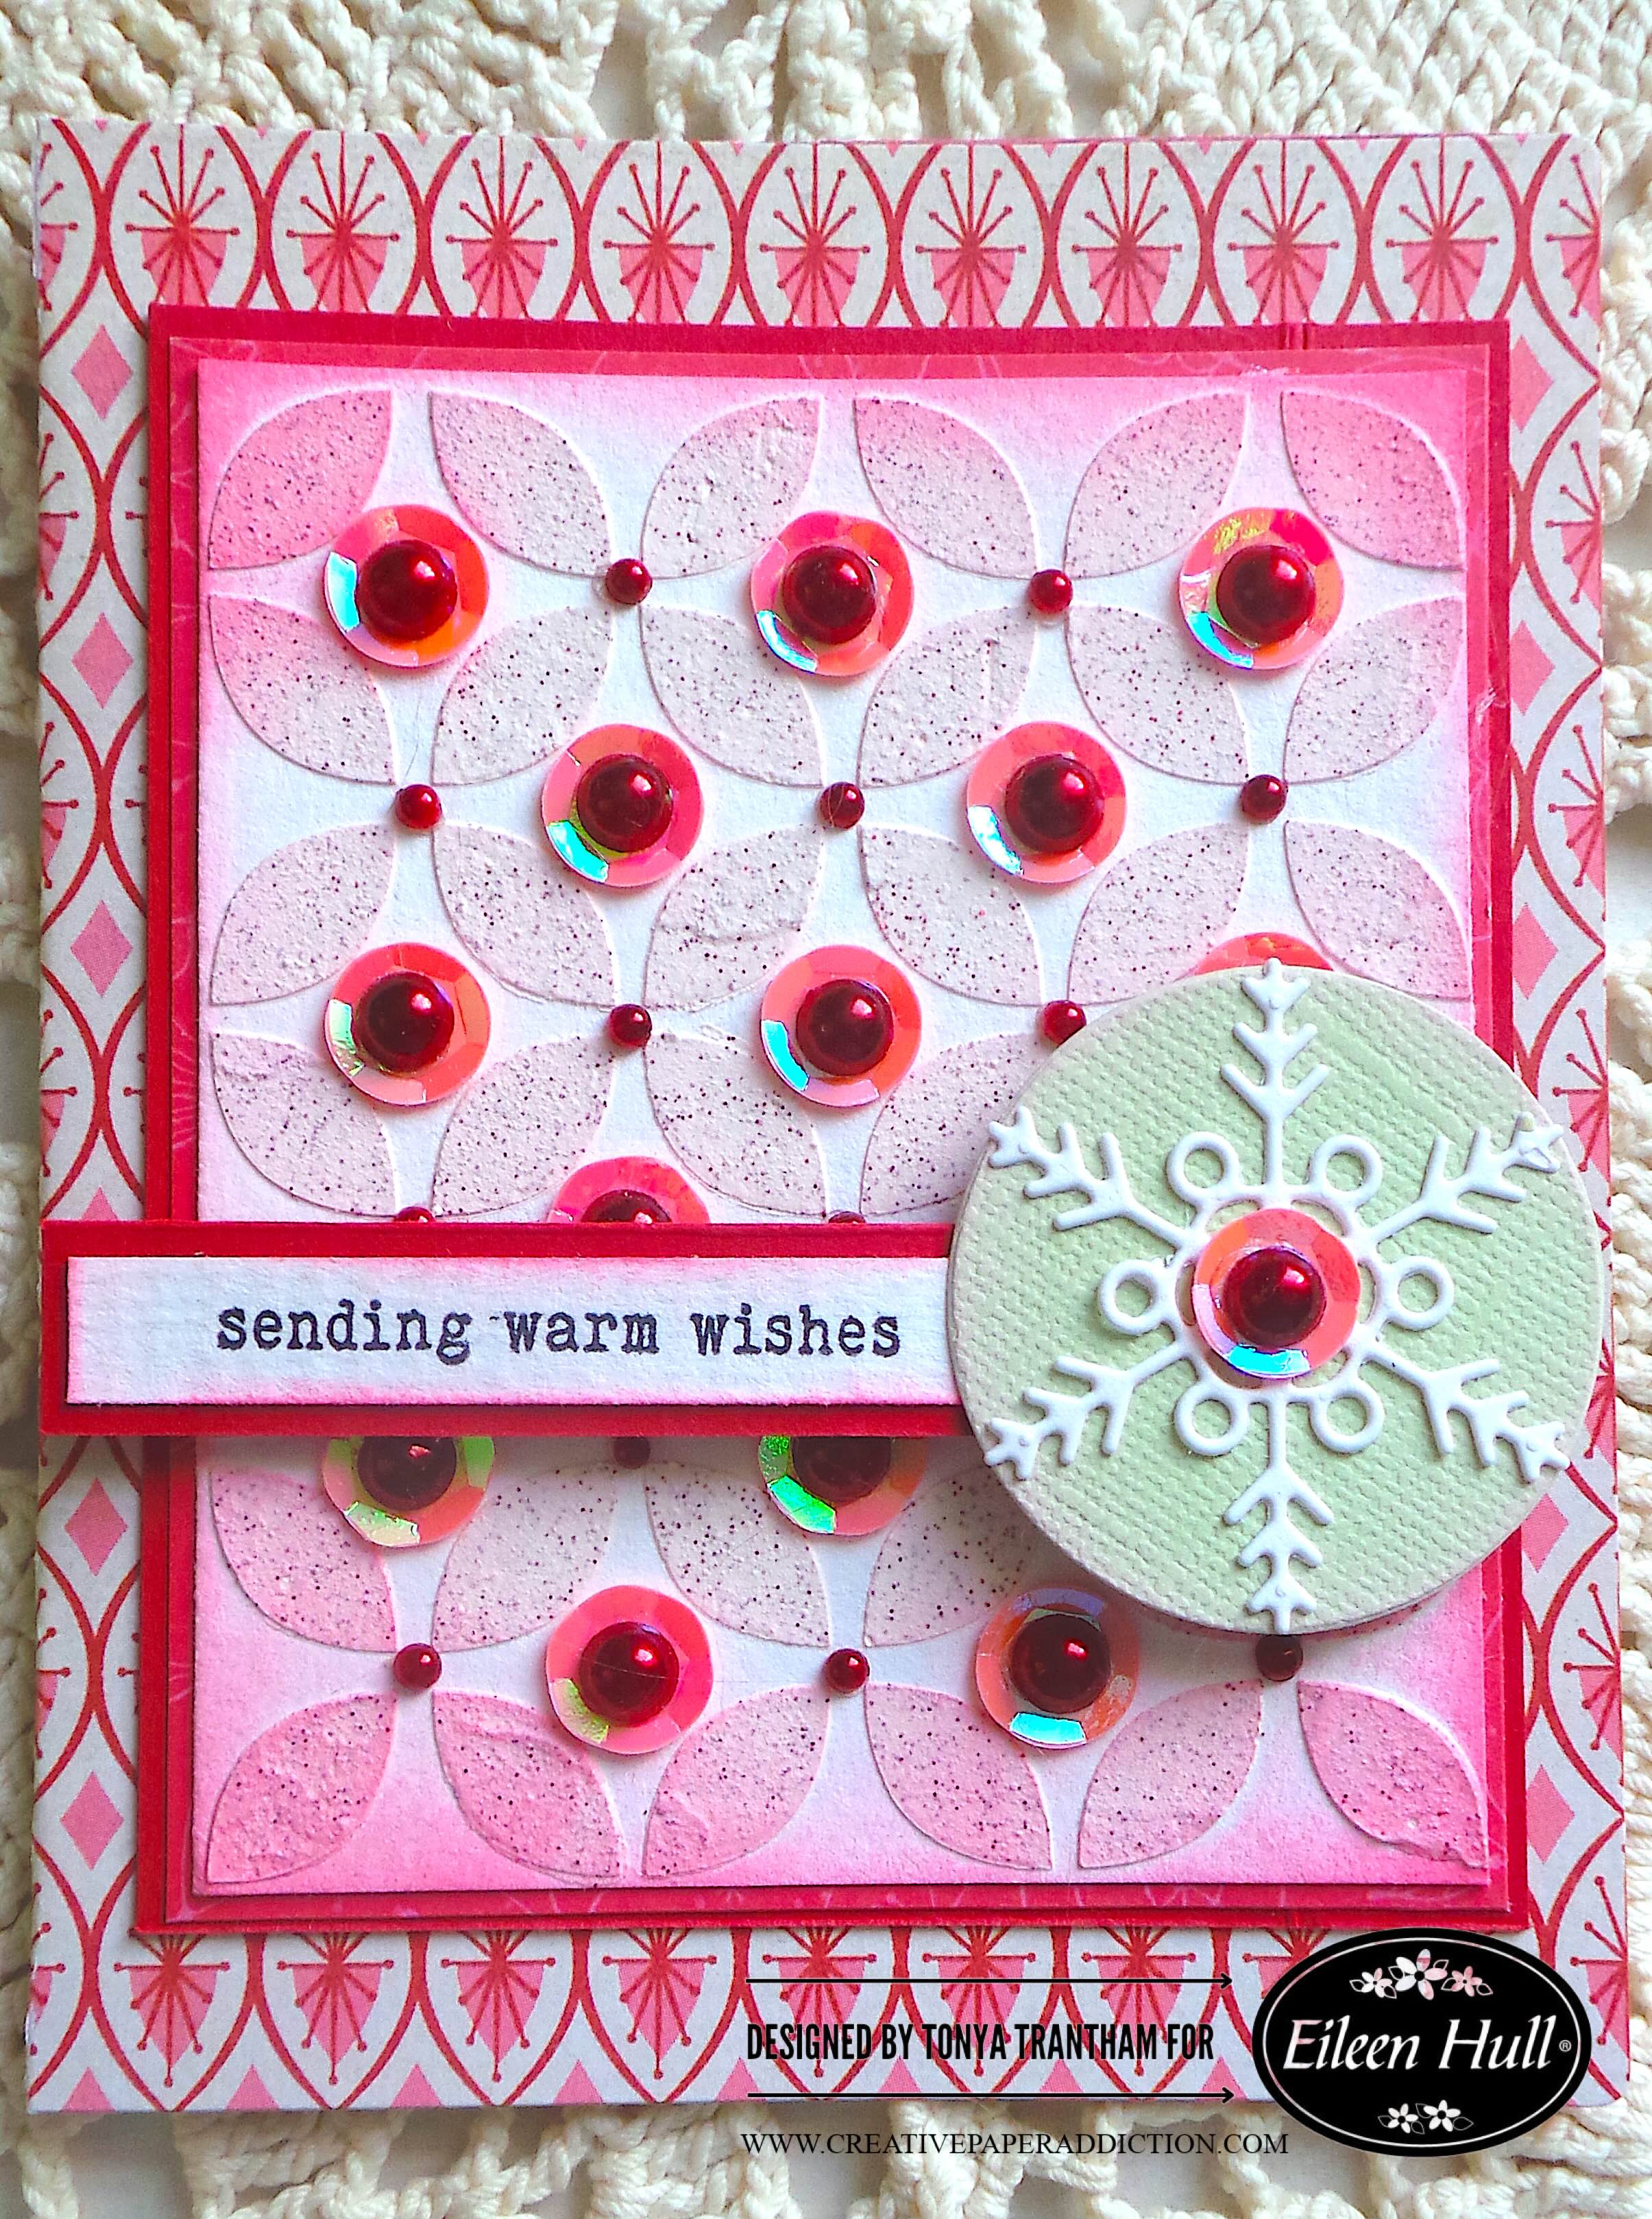
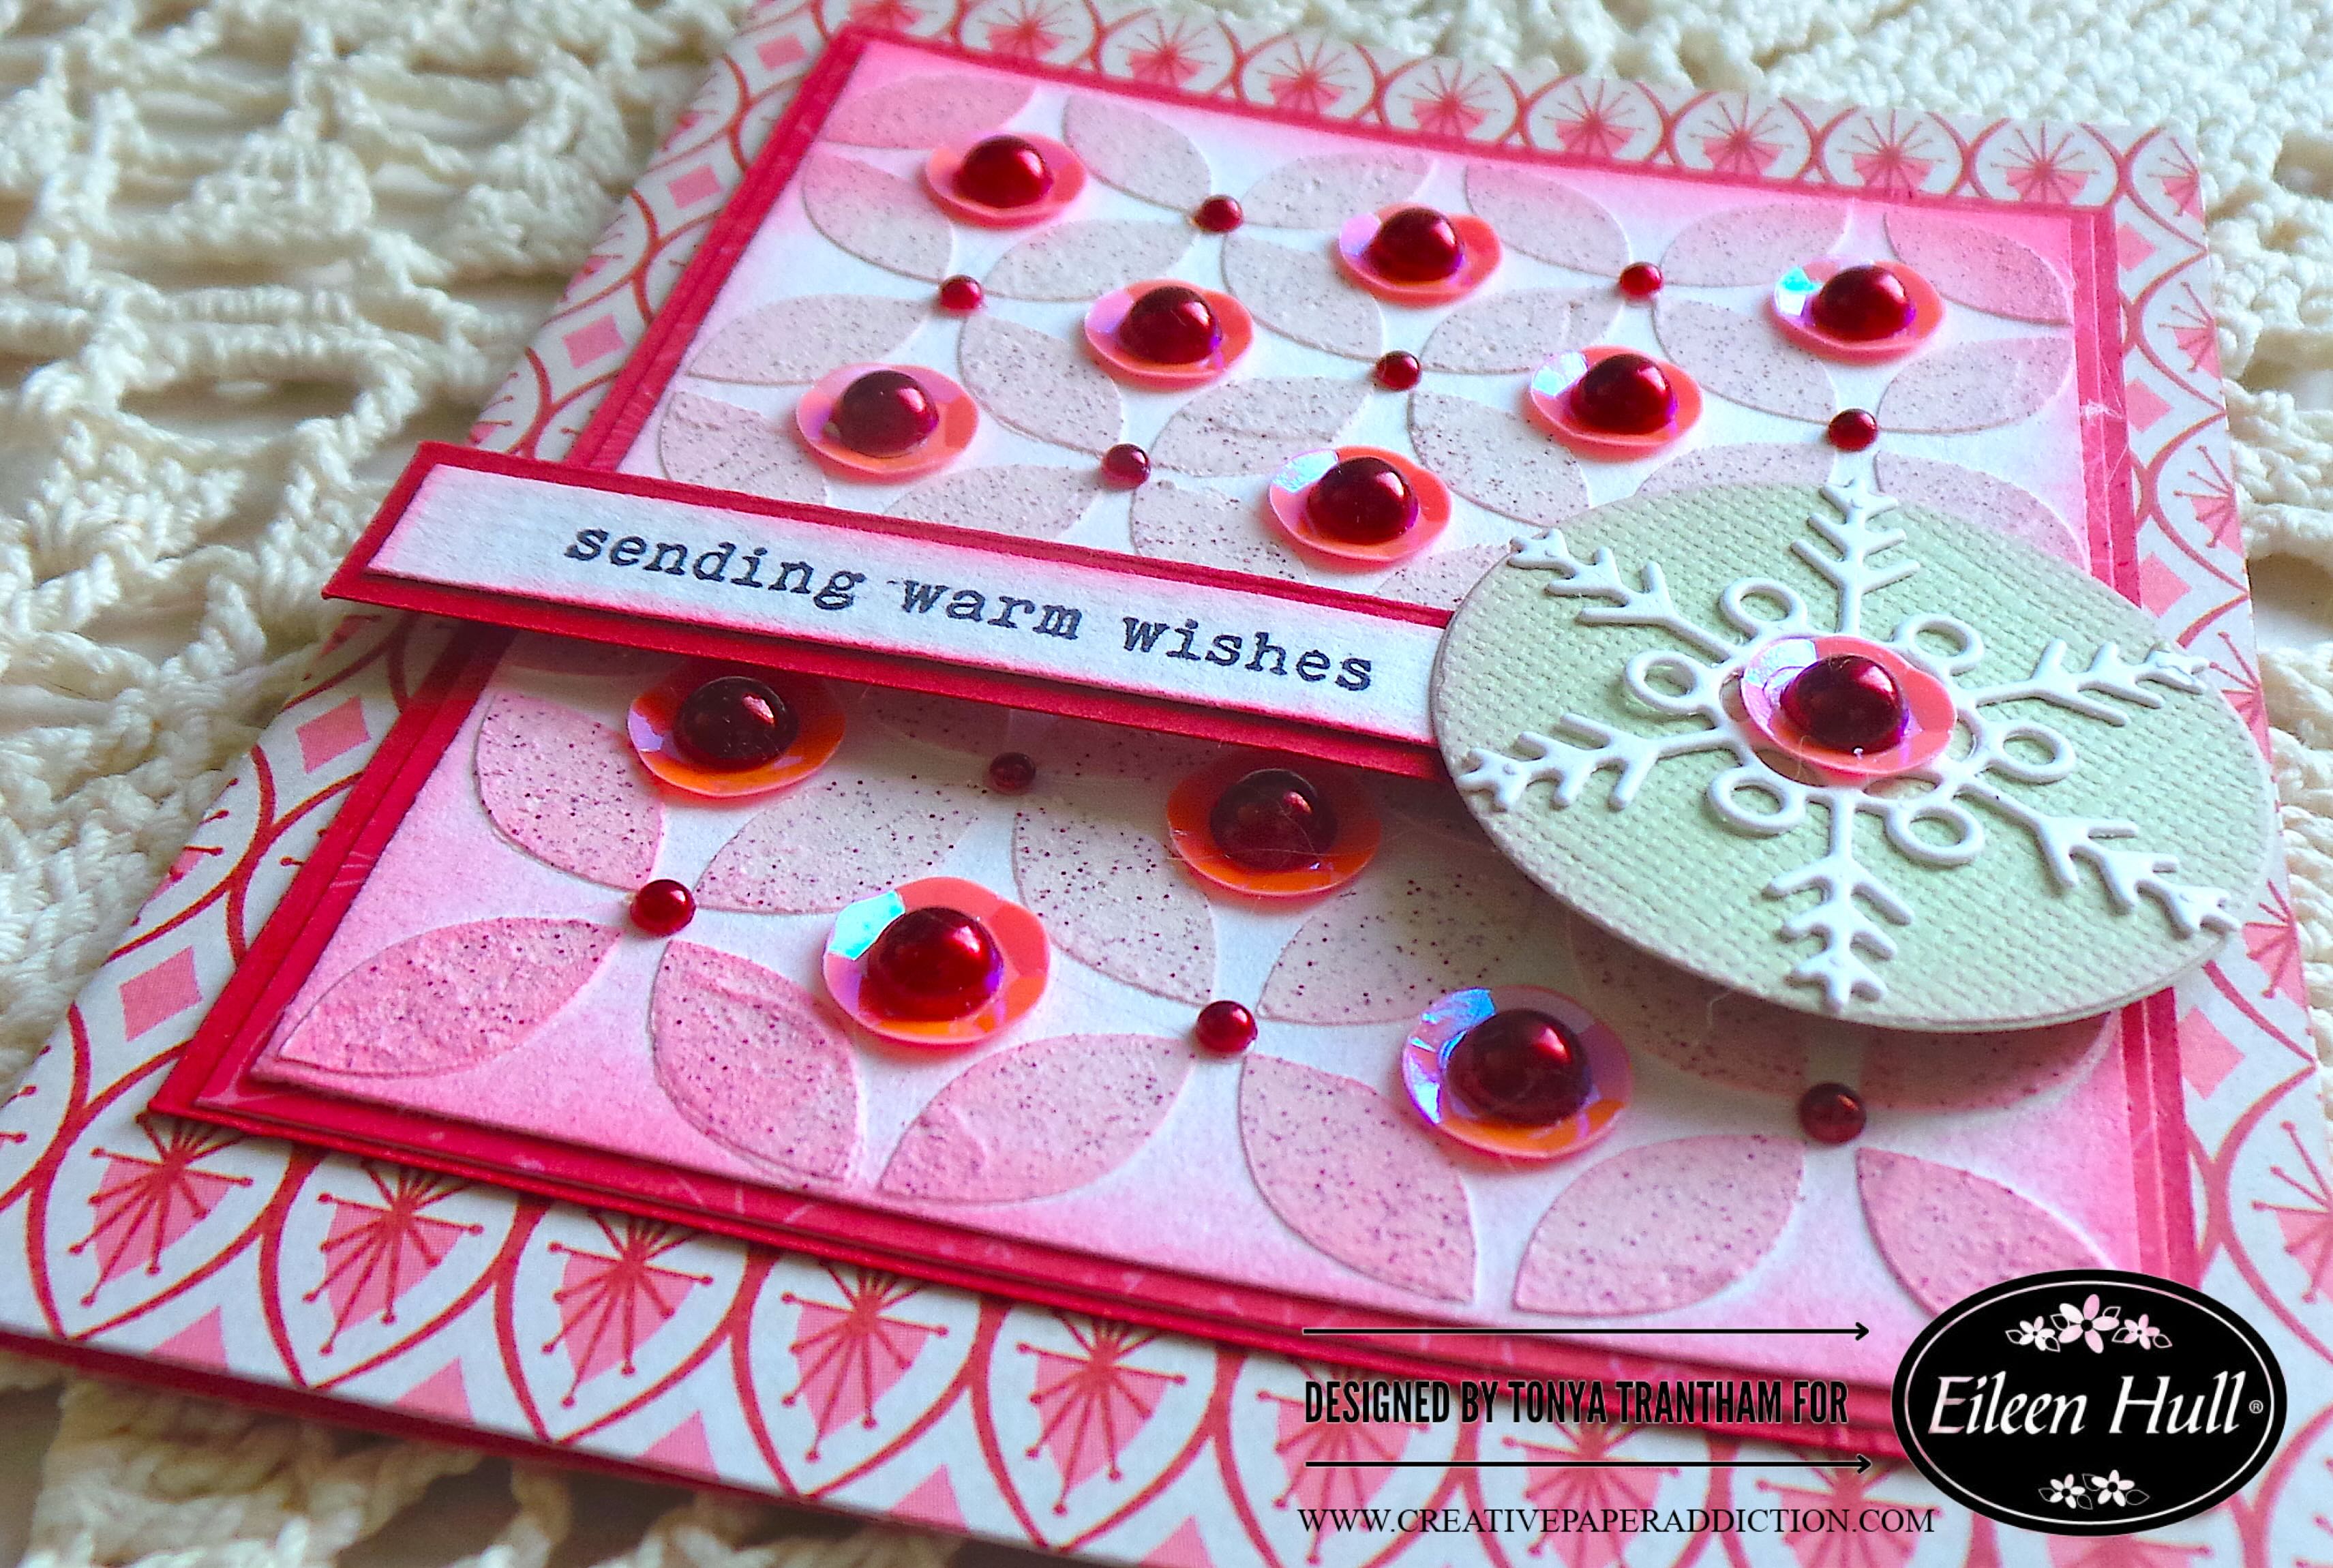
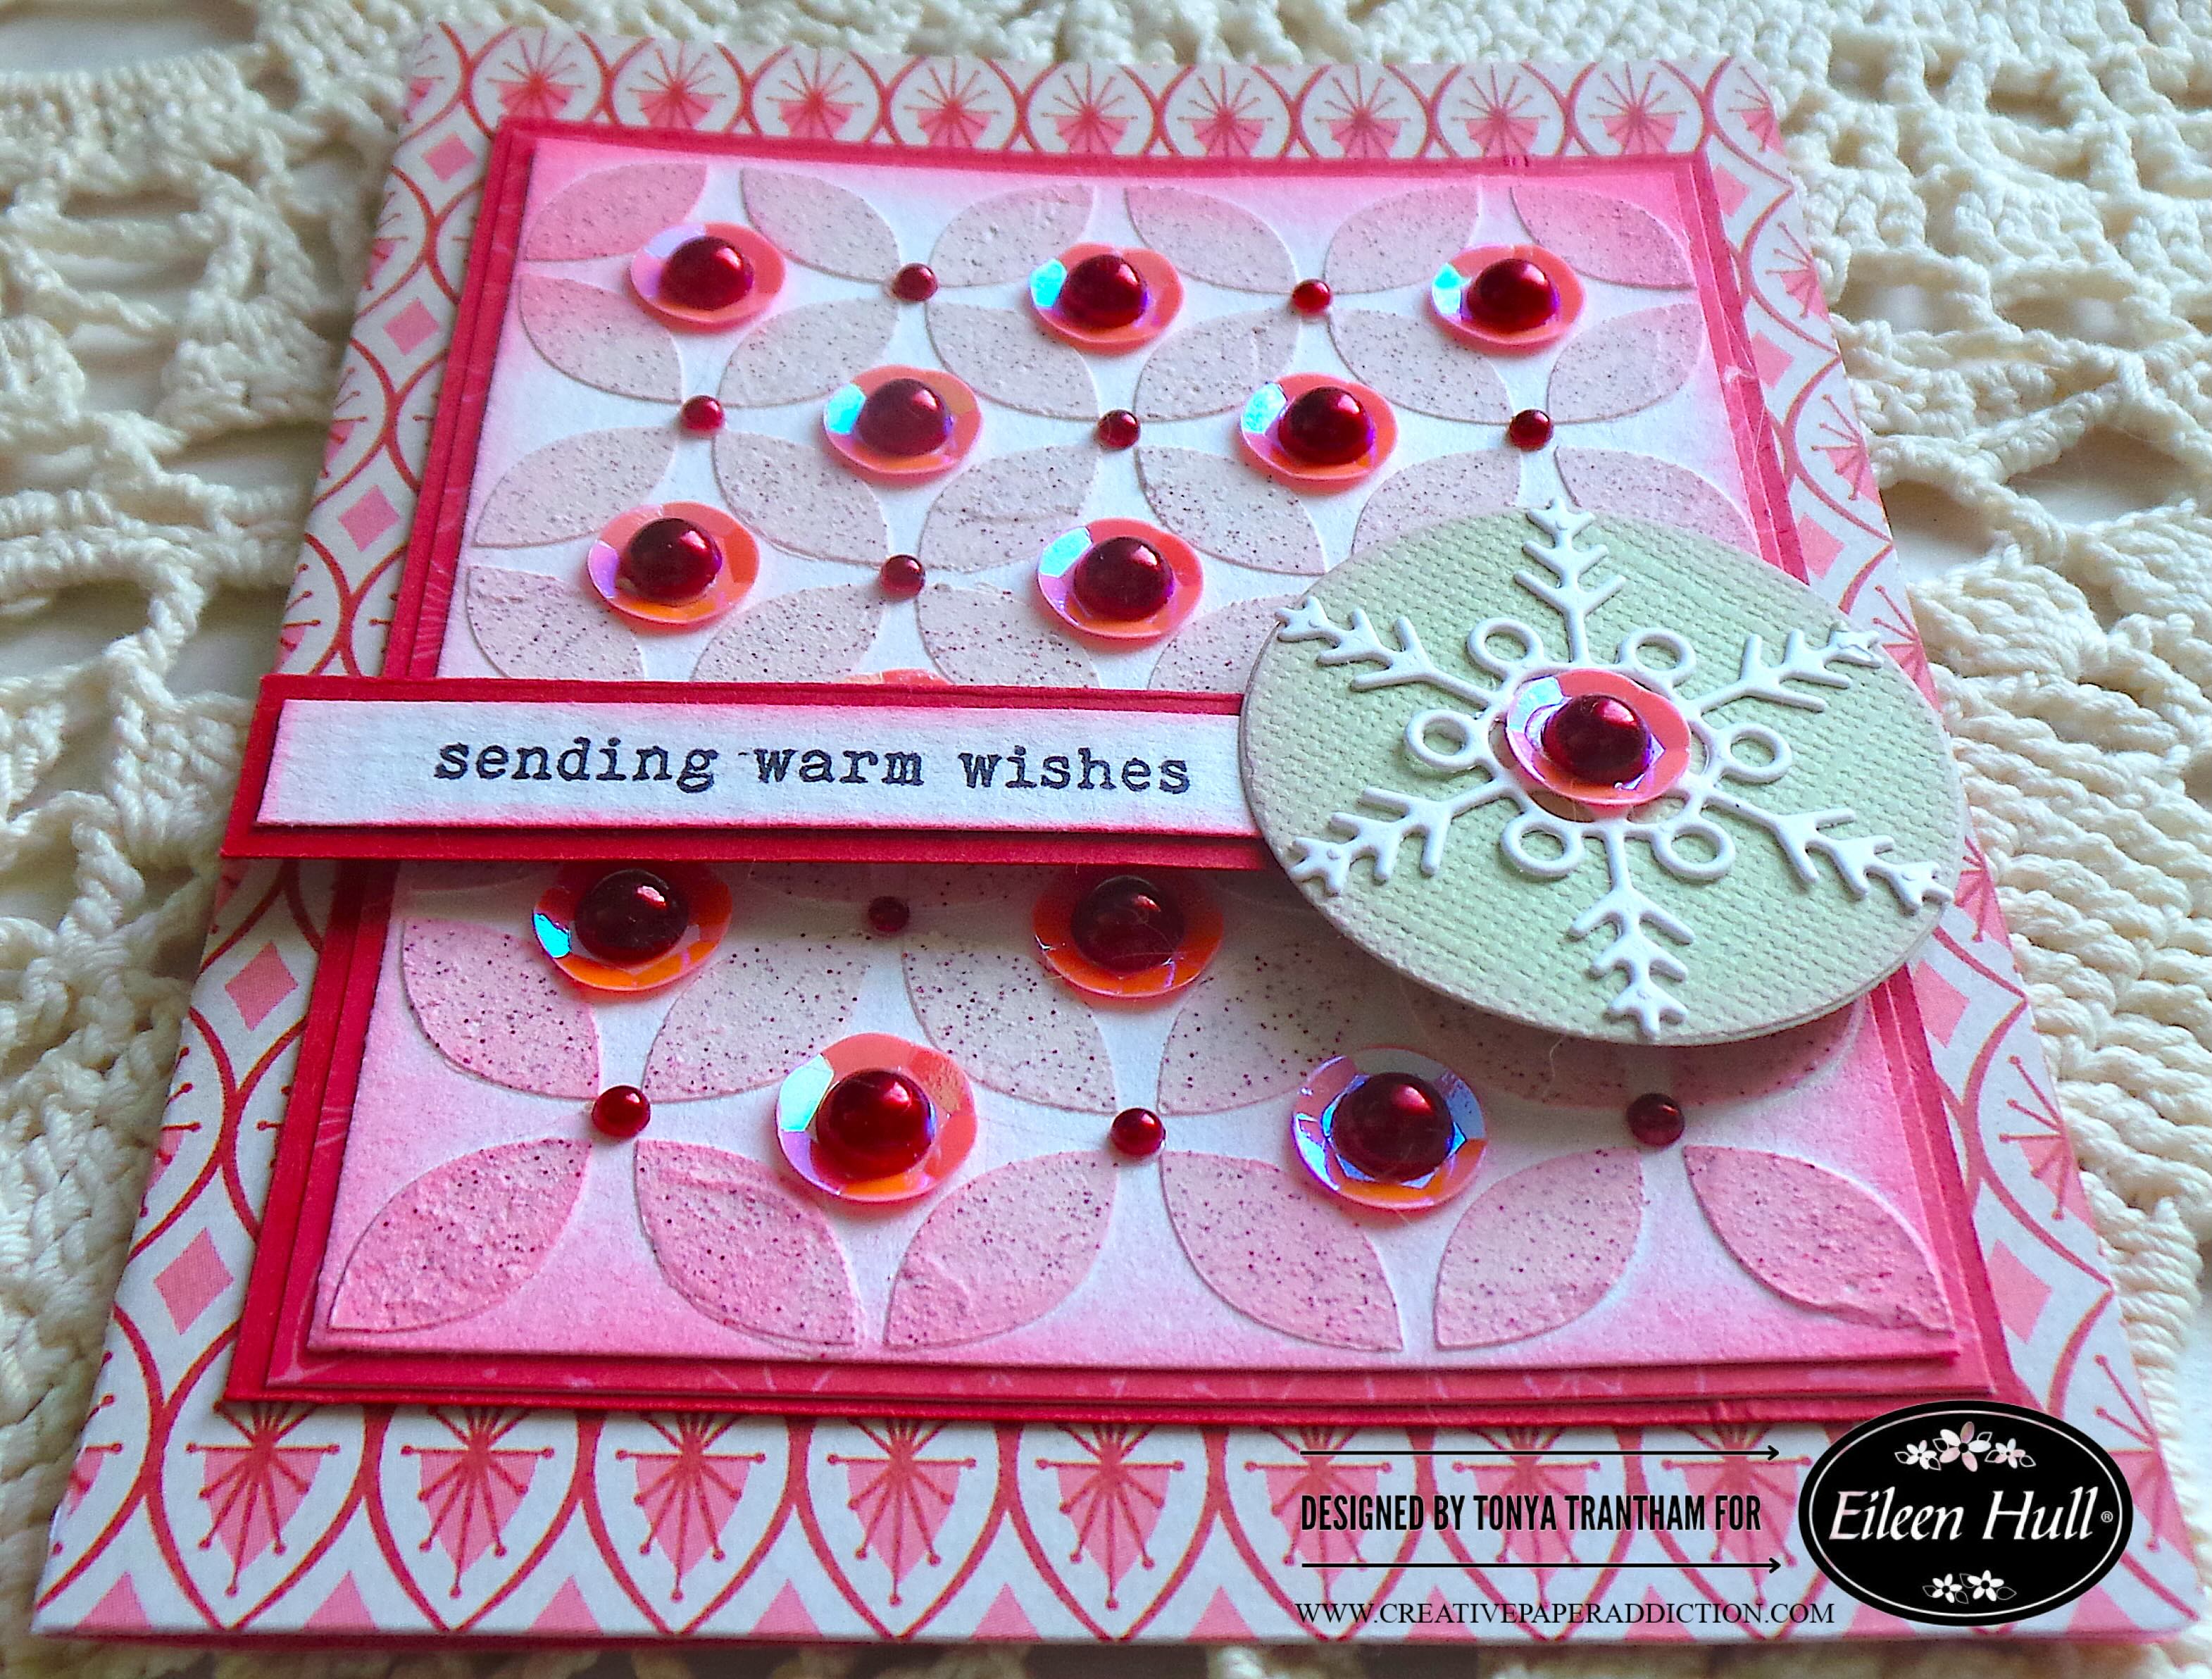
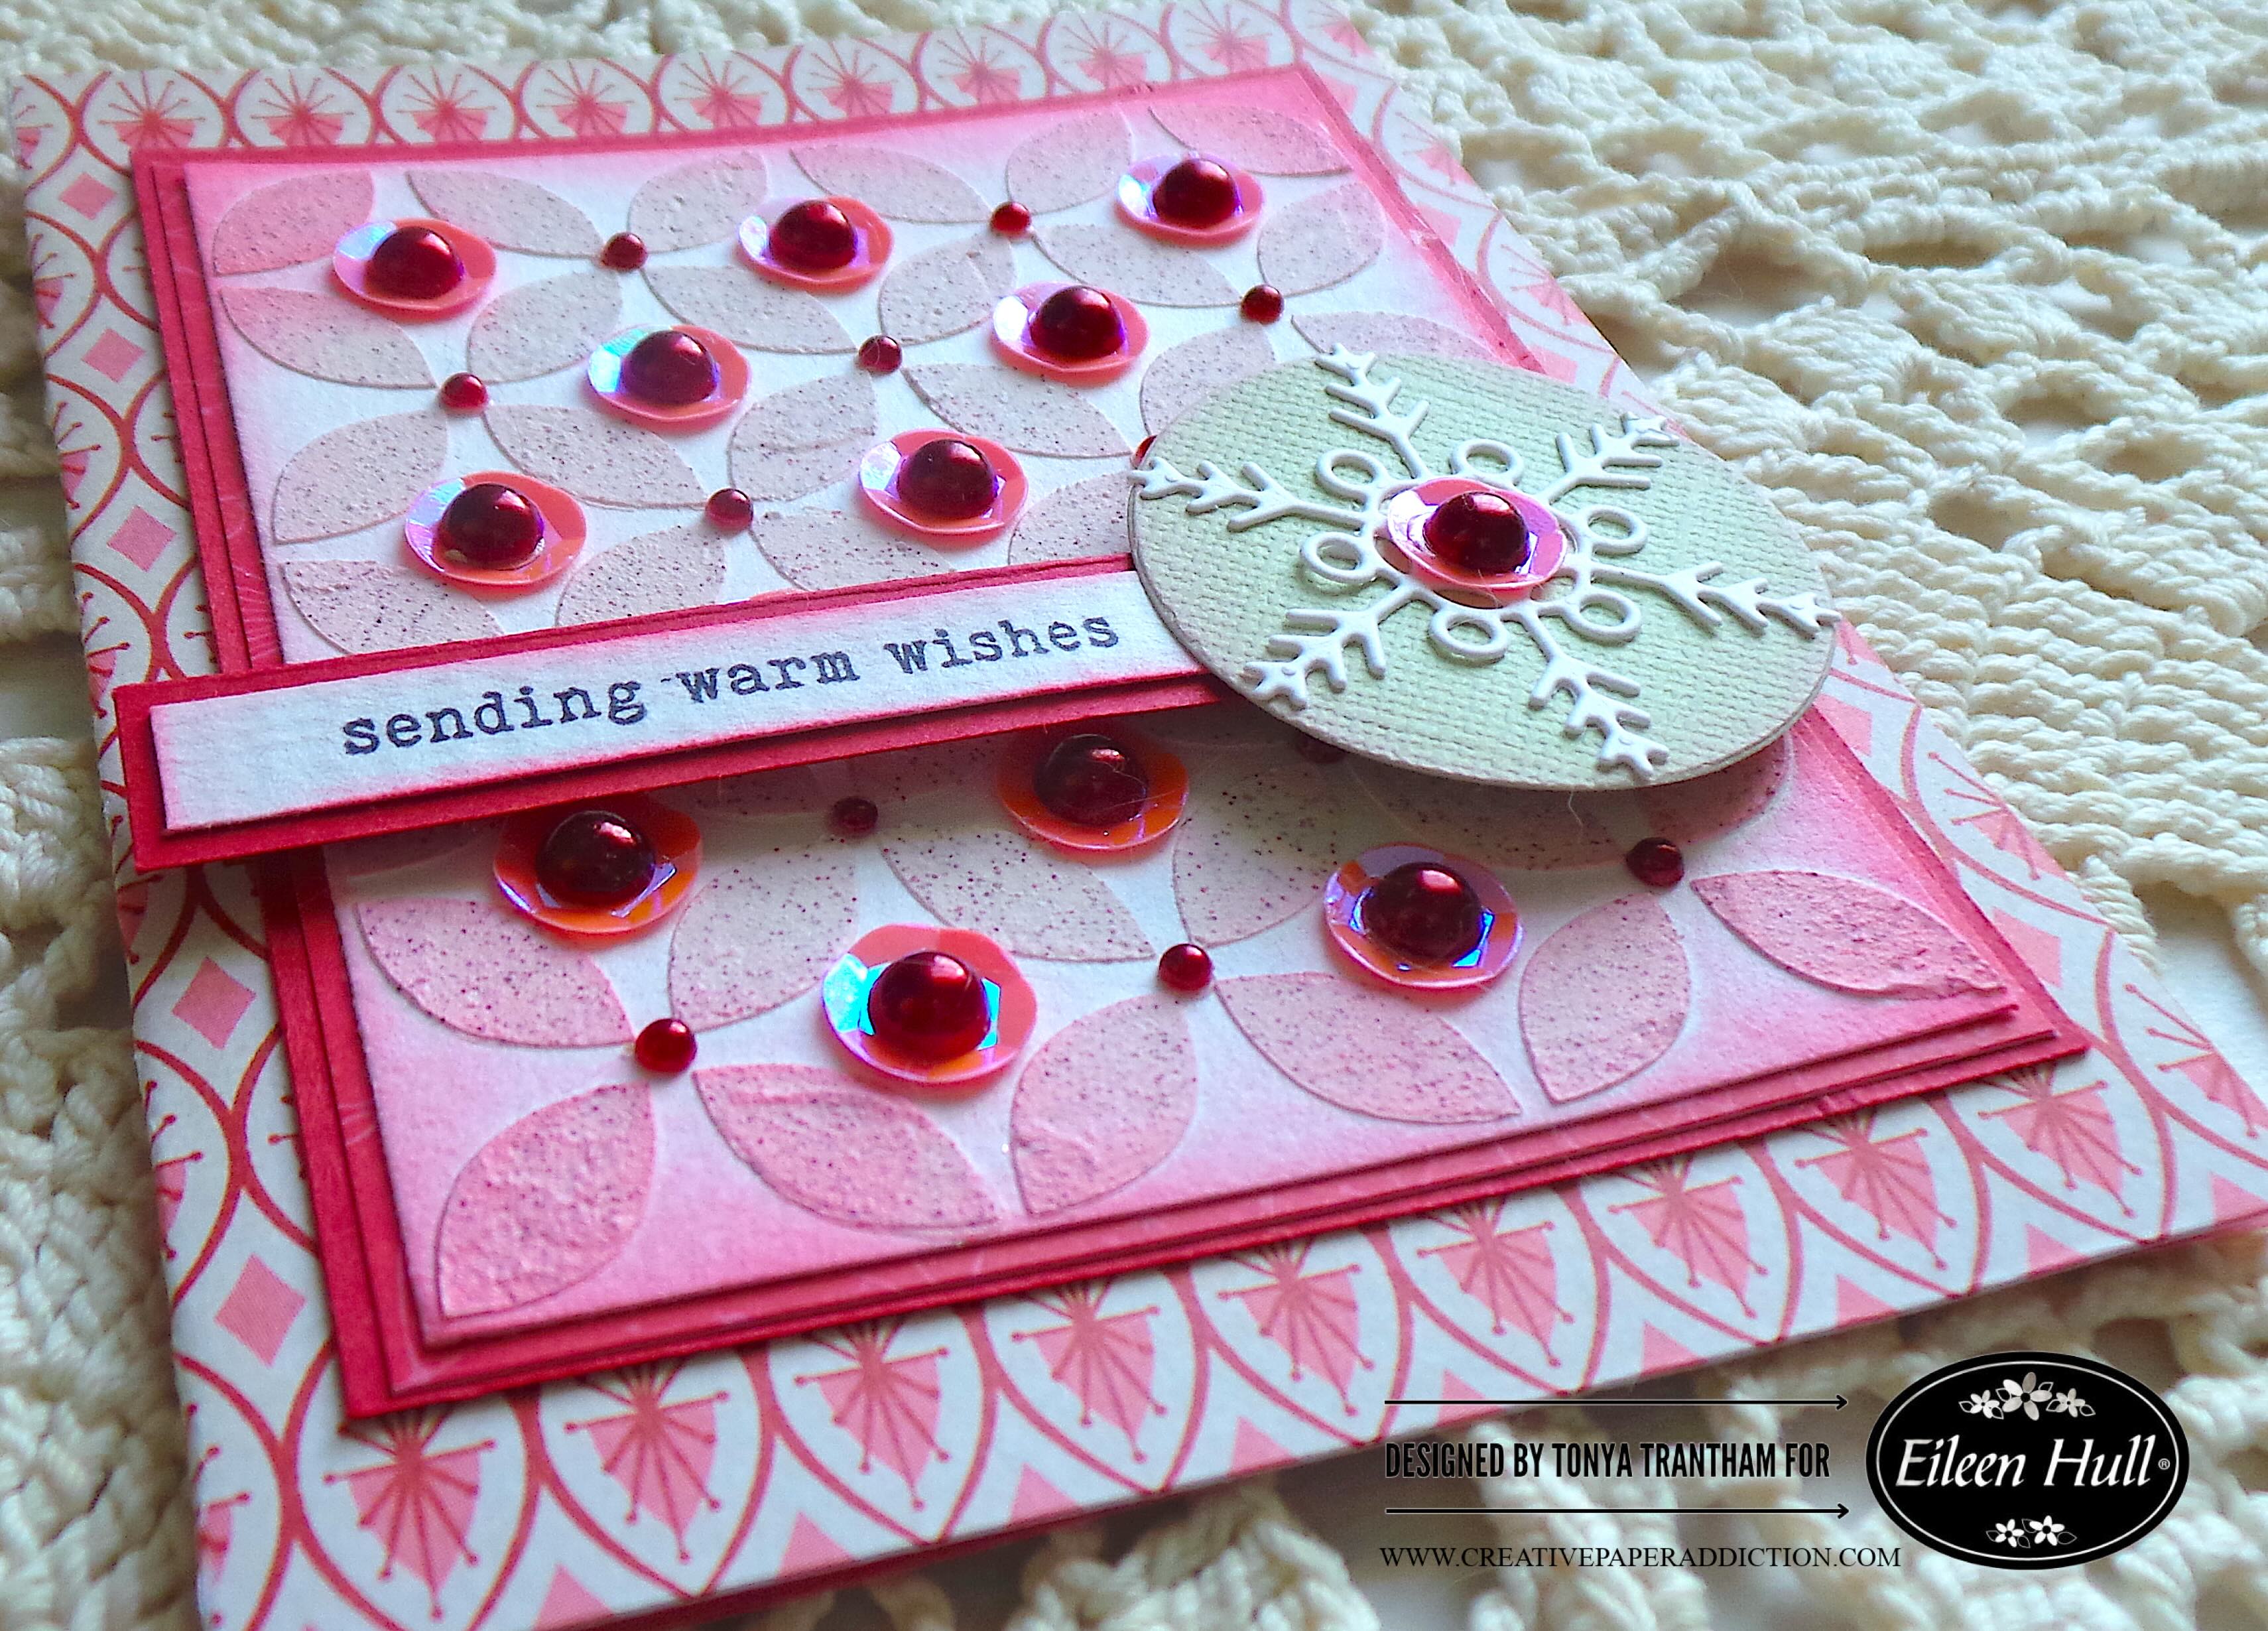
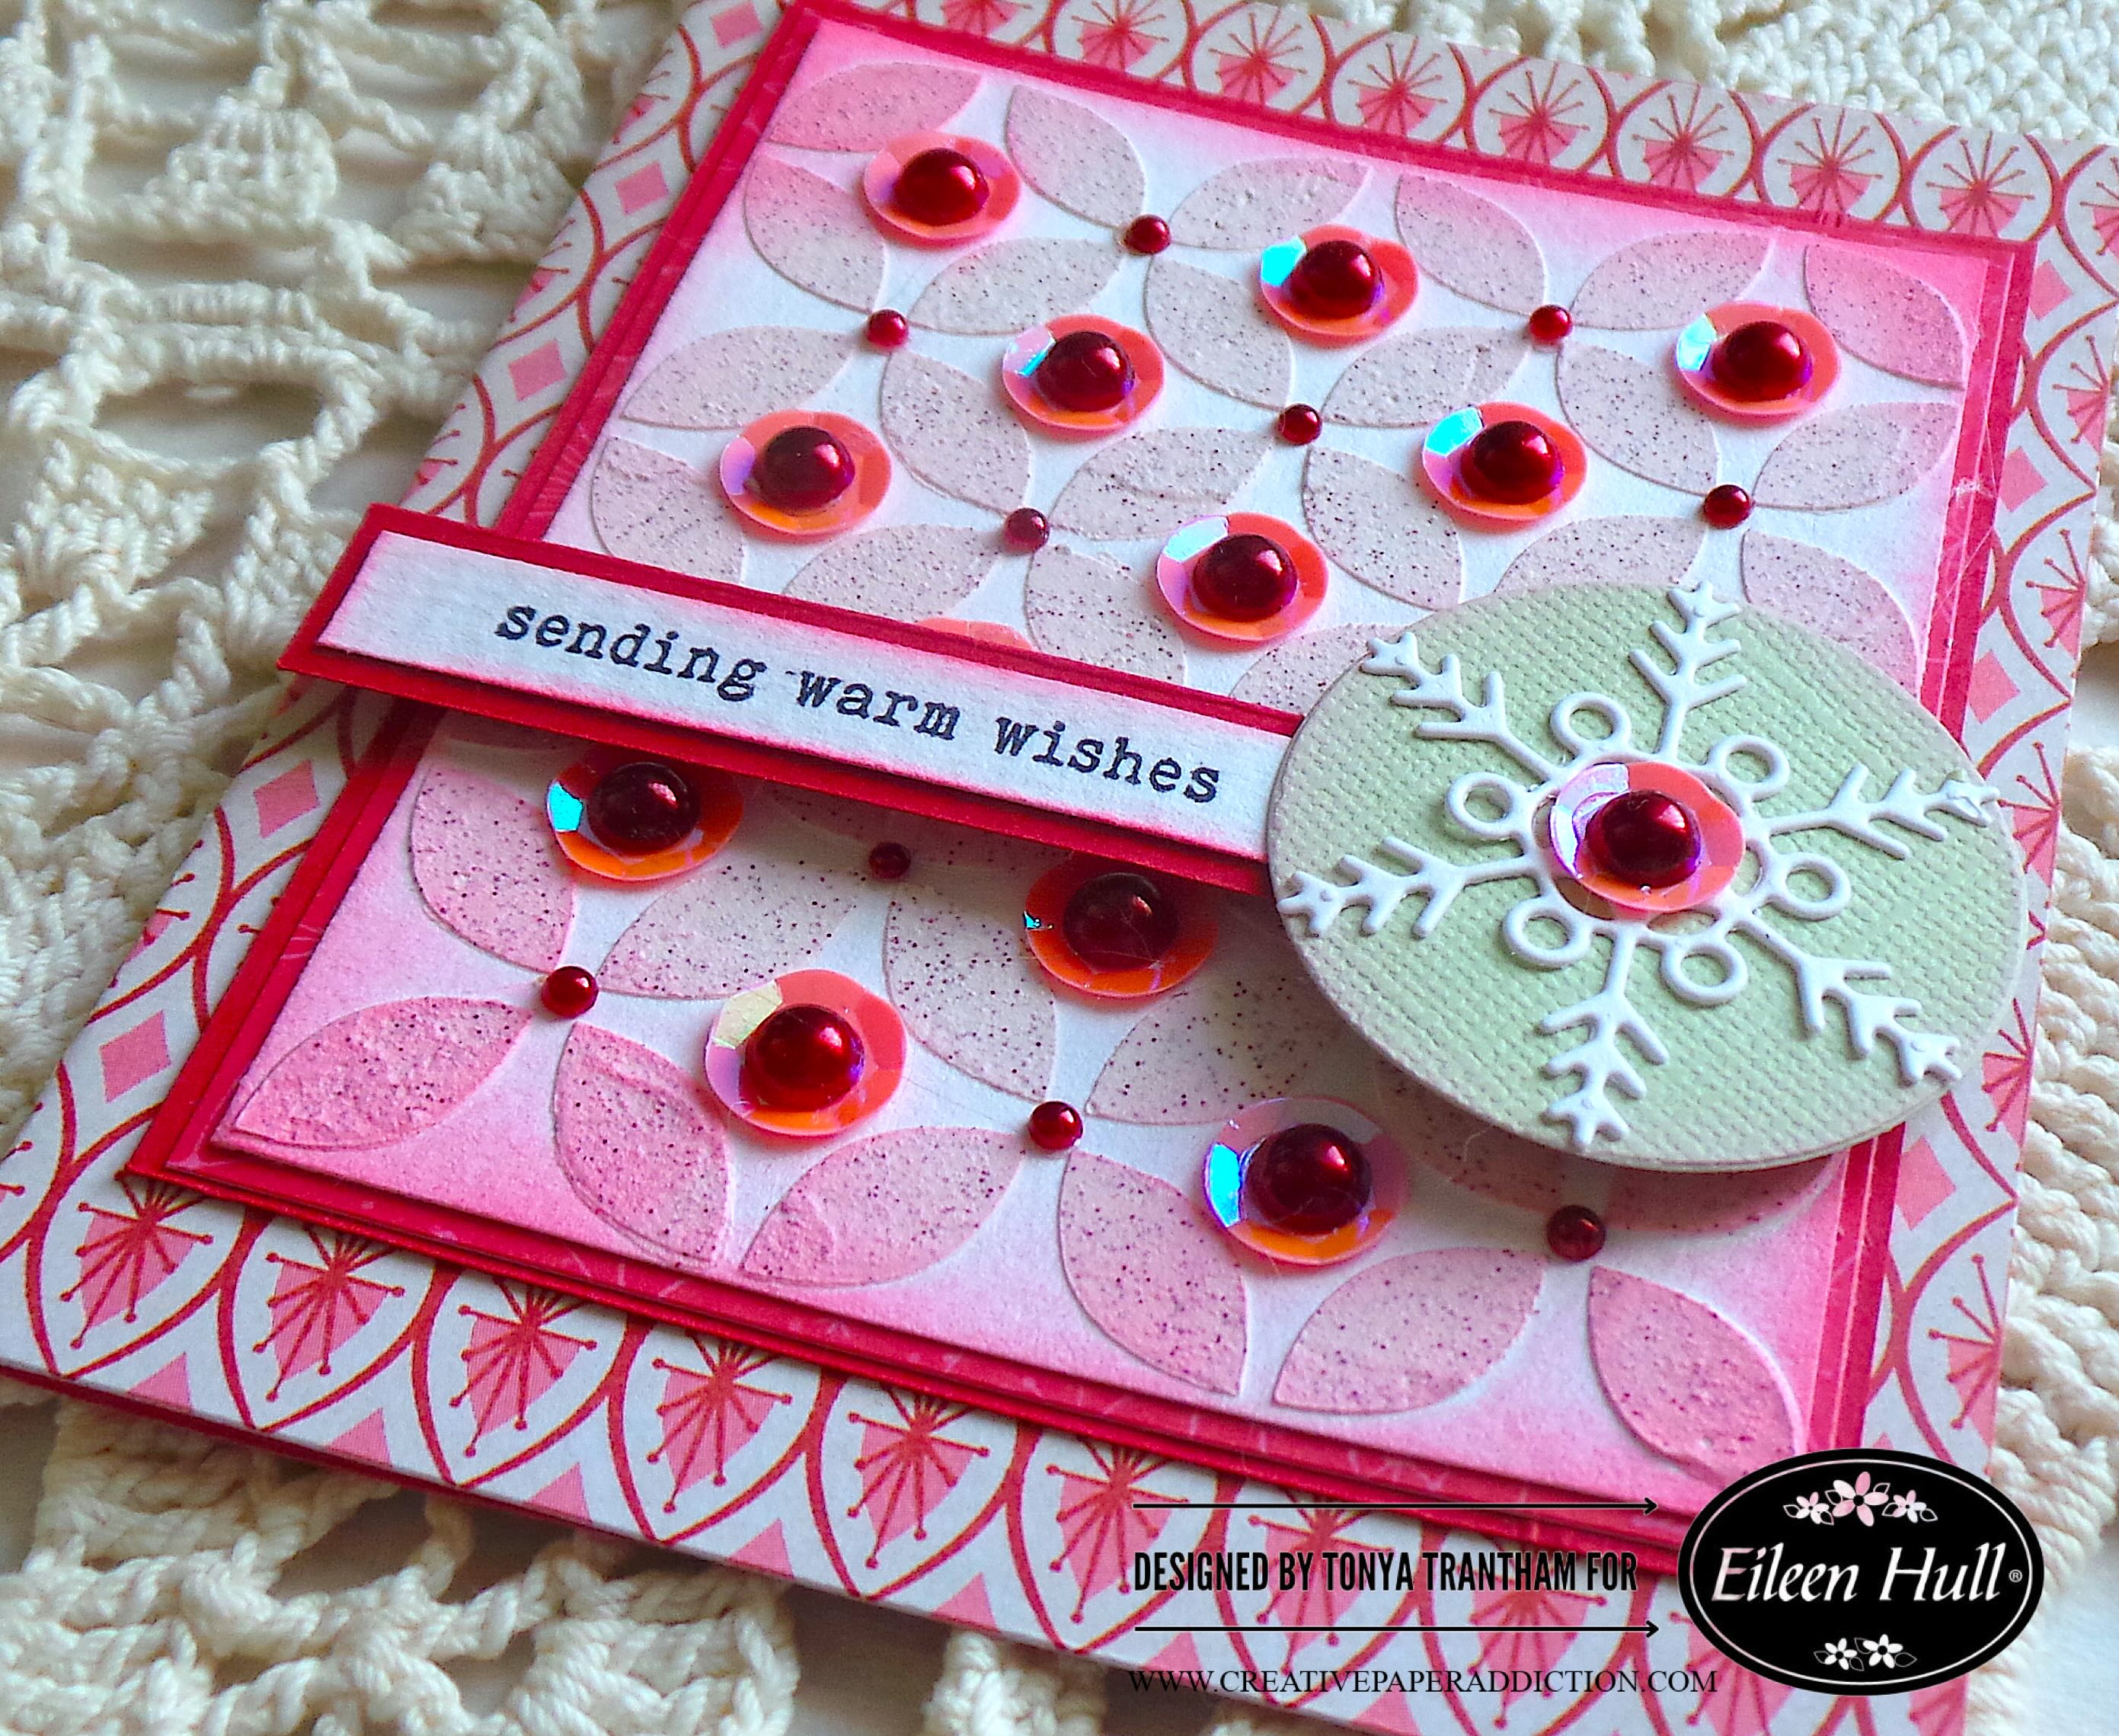
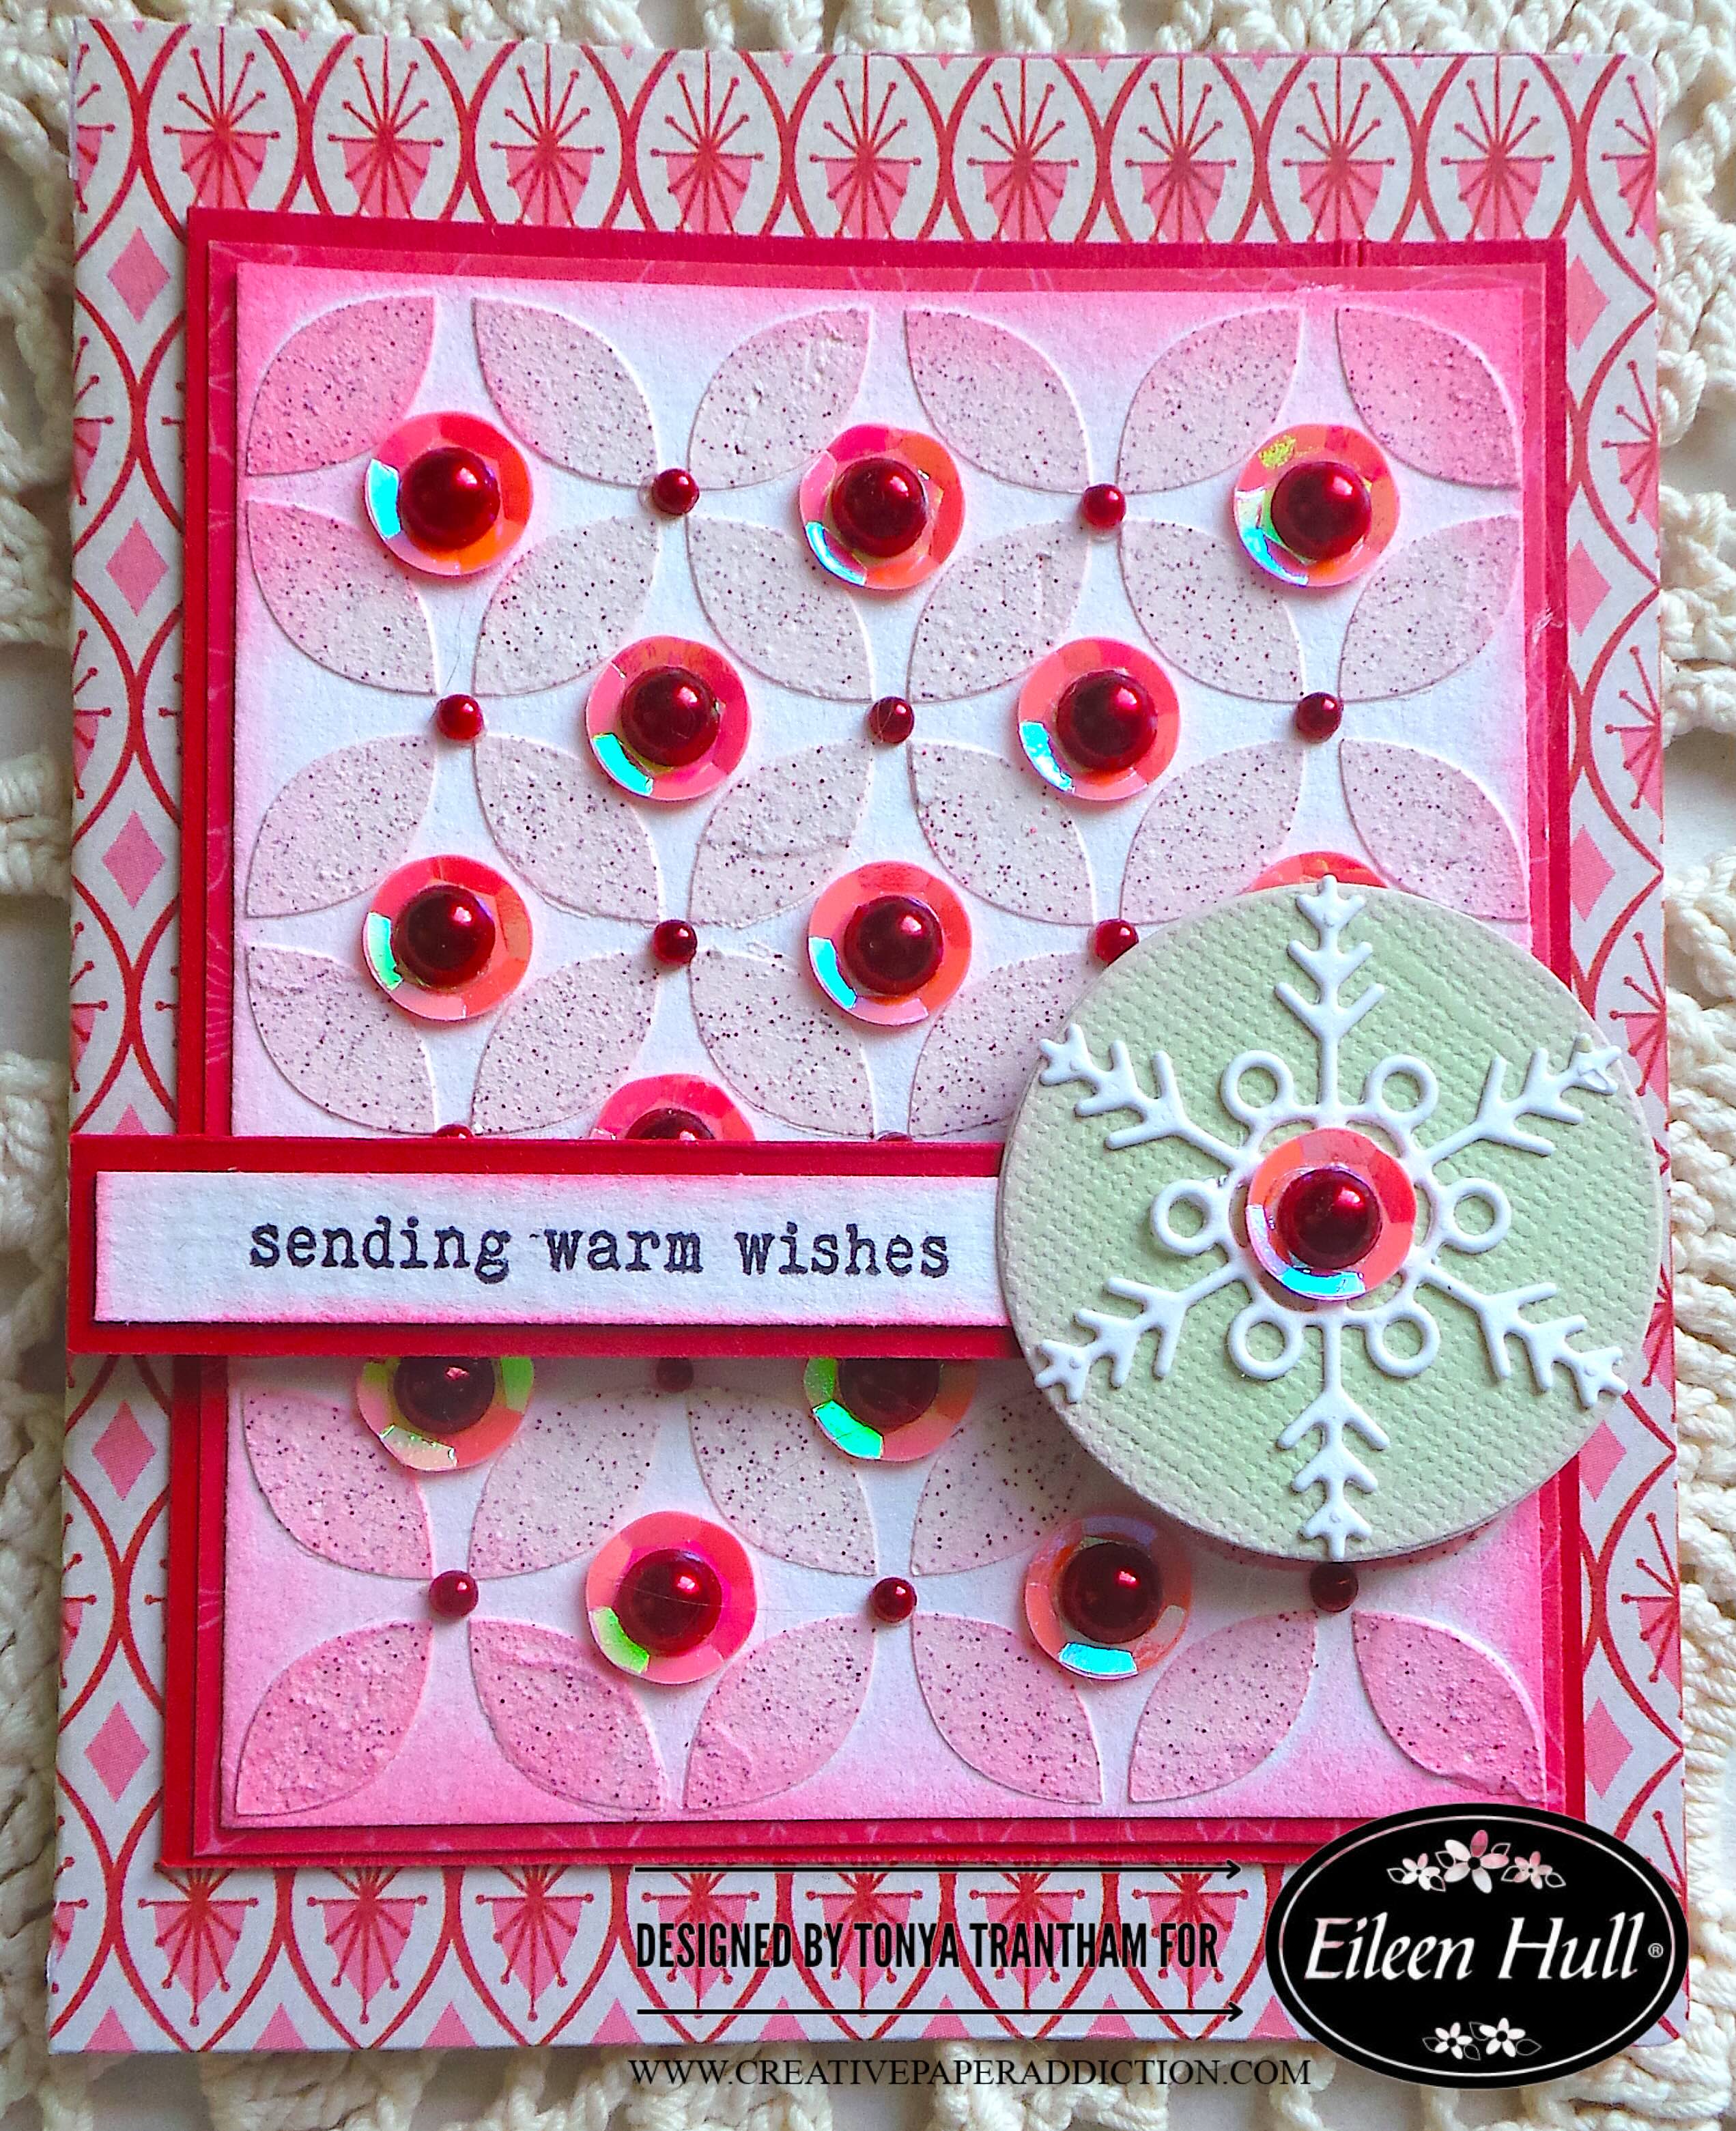
Hi everyone! I’m back with a card I created using the Notebook Diecut as the base for this Christmas card. I also used an assortment of thinlits, stamps and stencils all by Eileen Hull. Anyways let’s get started!
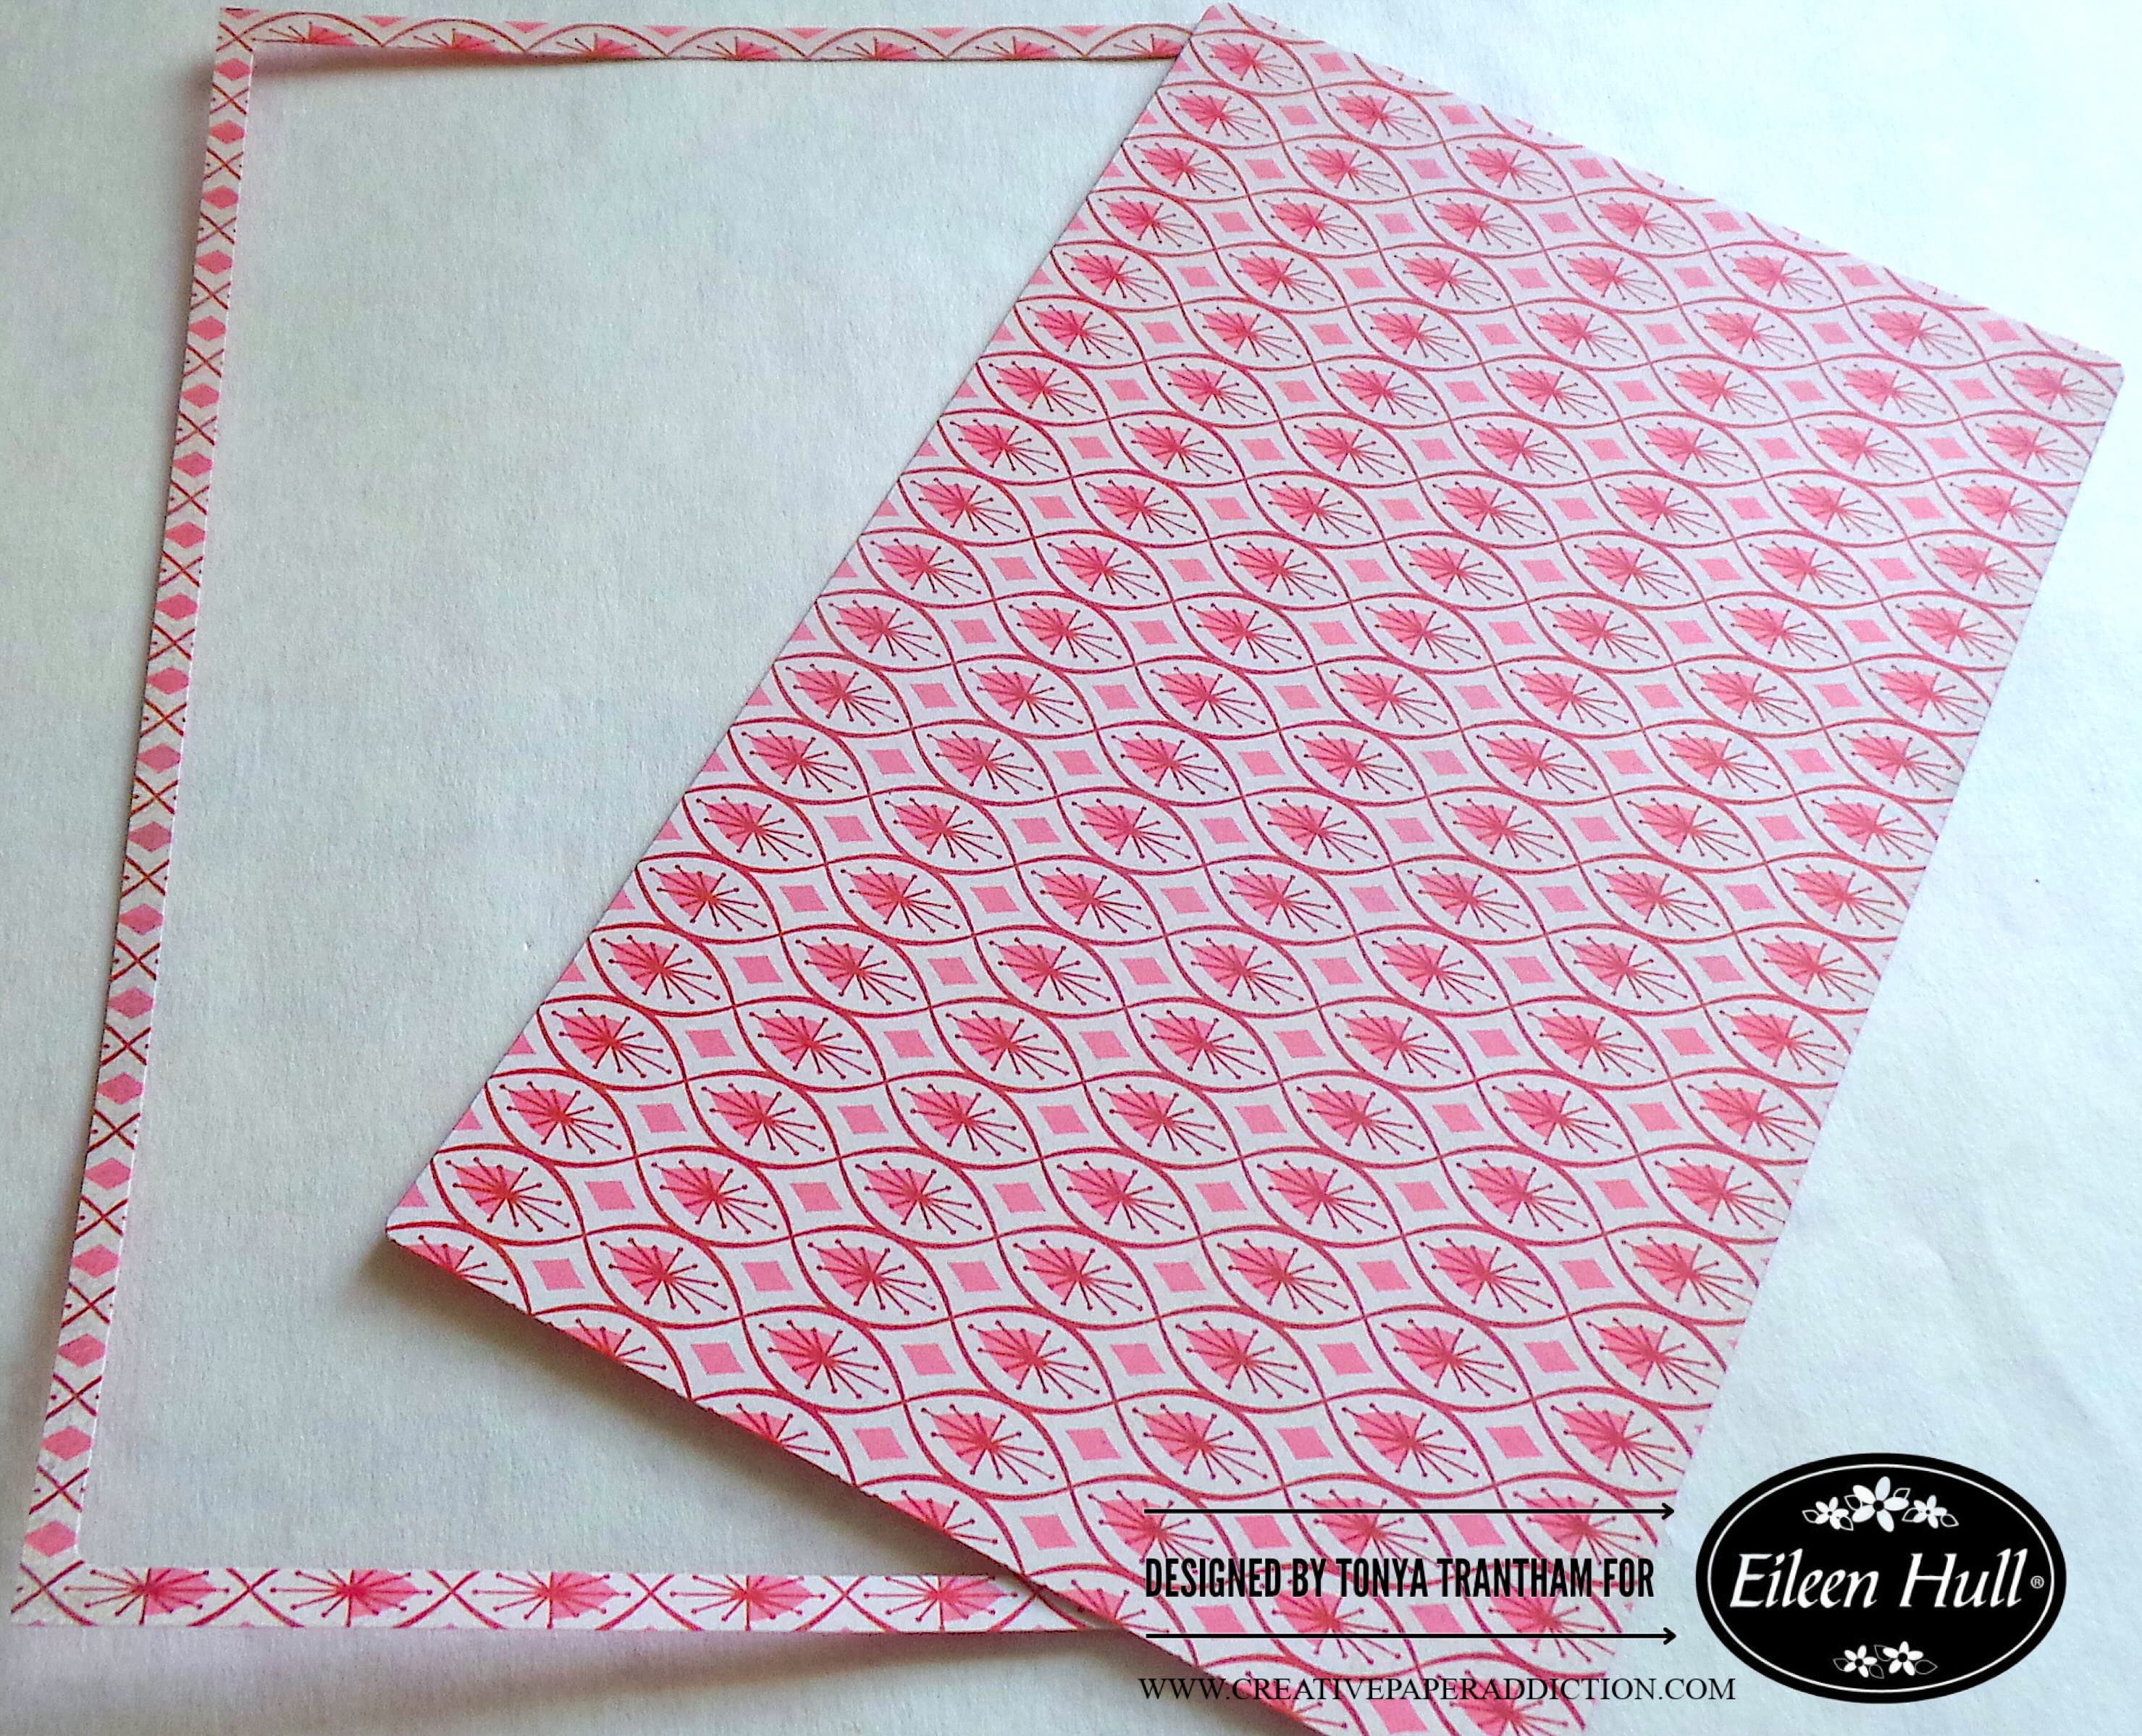
First, I cut a card base from the Notebook Diecut and folded in half.
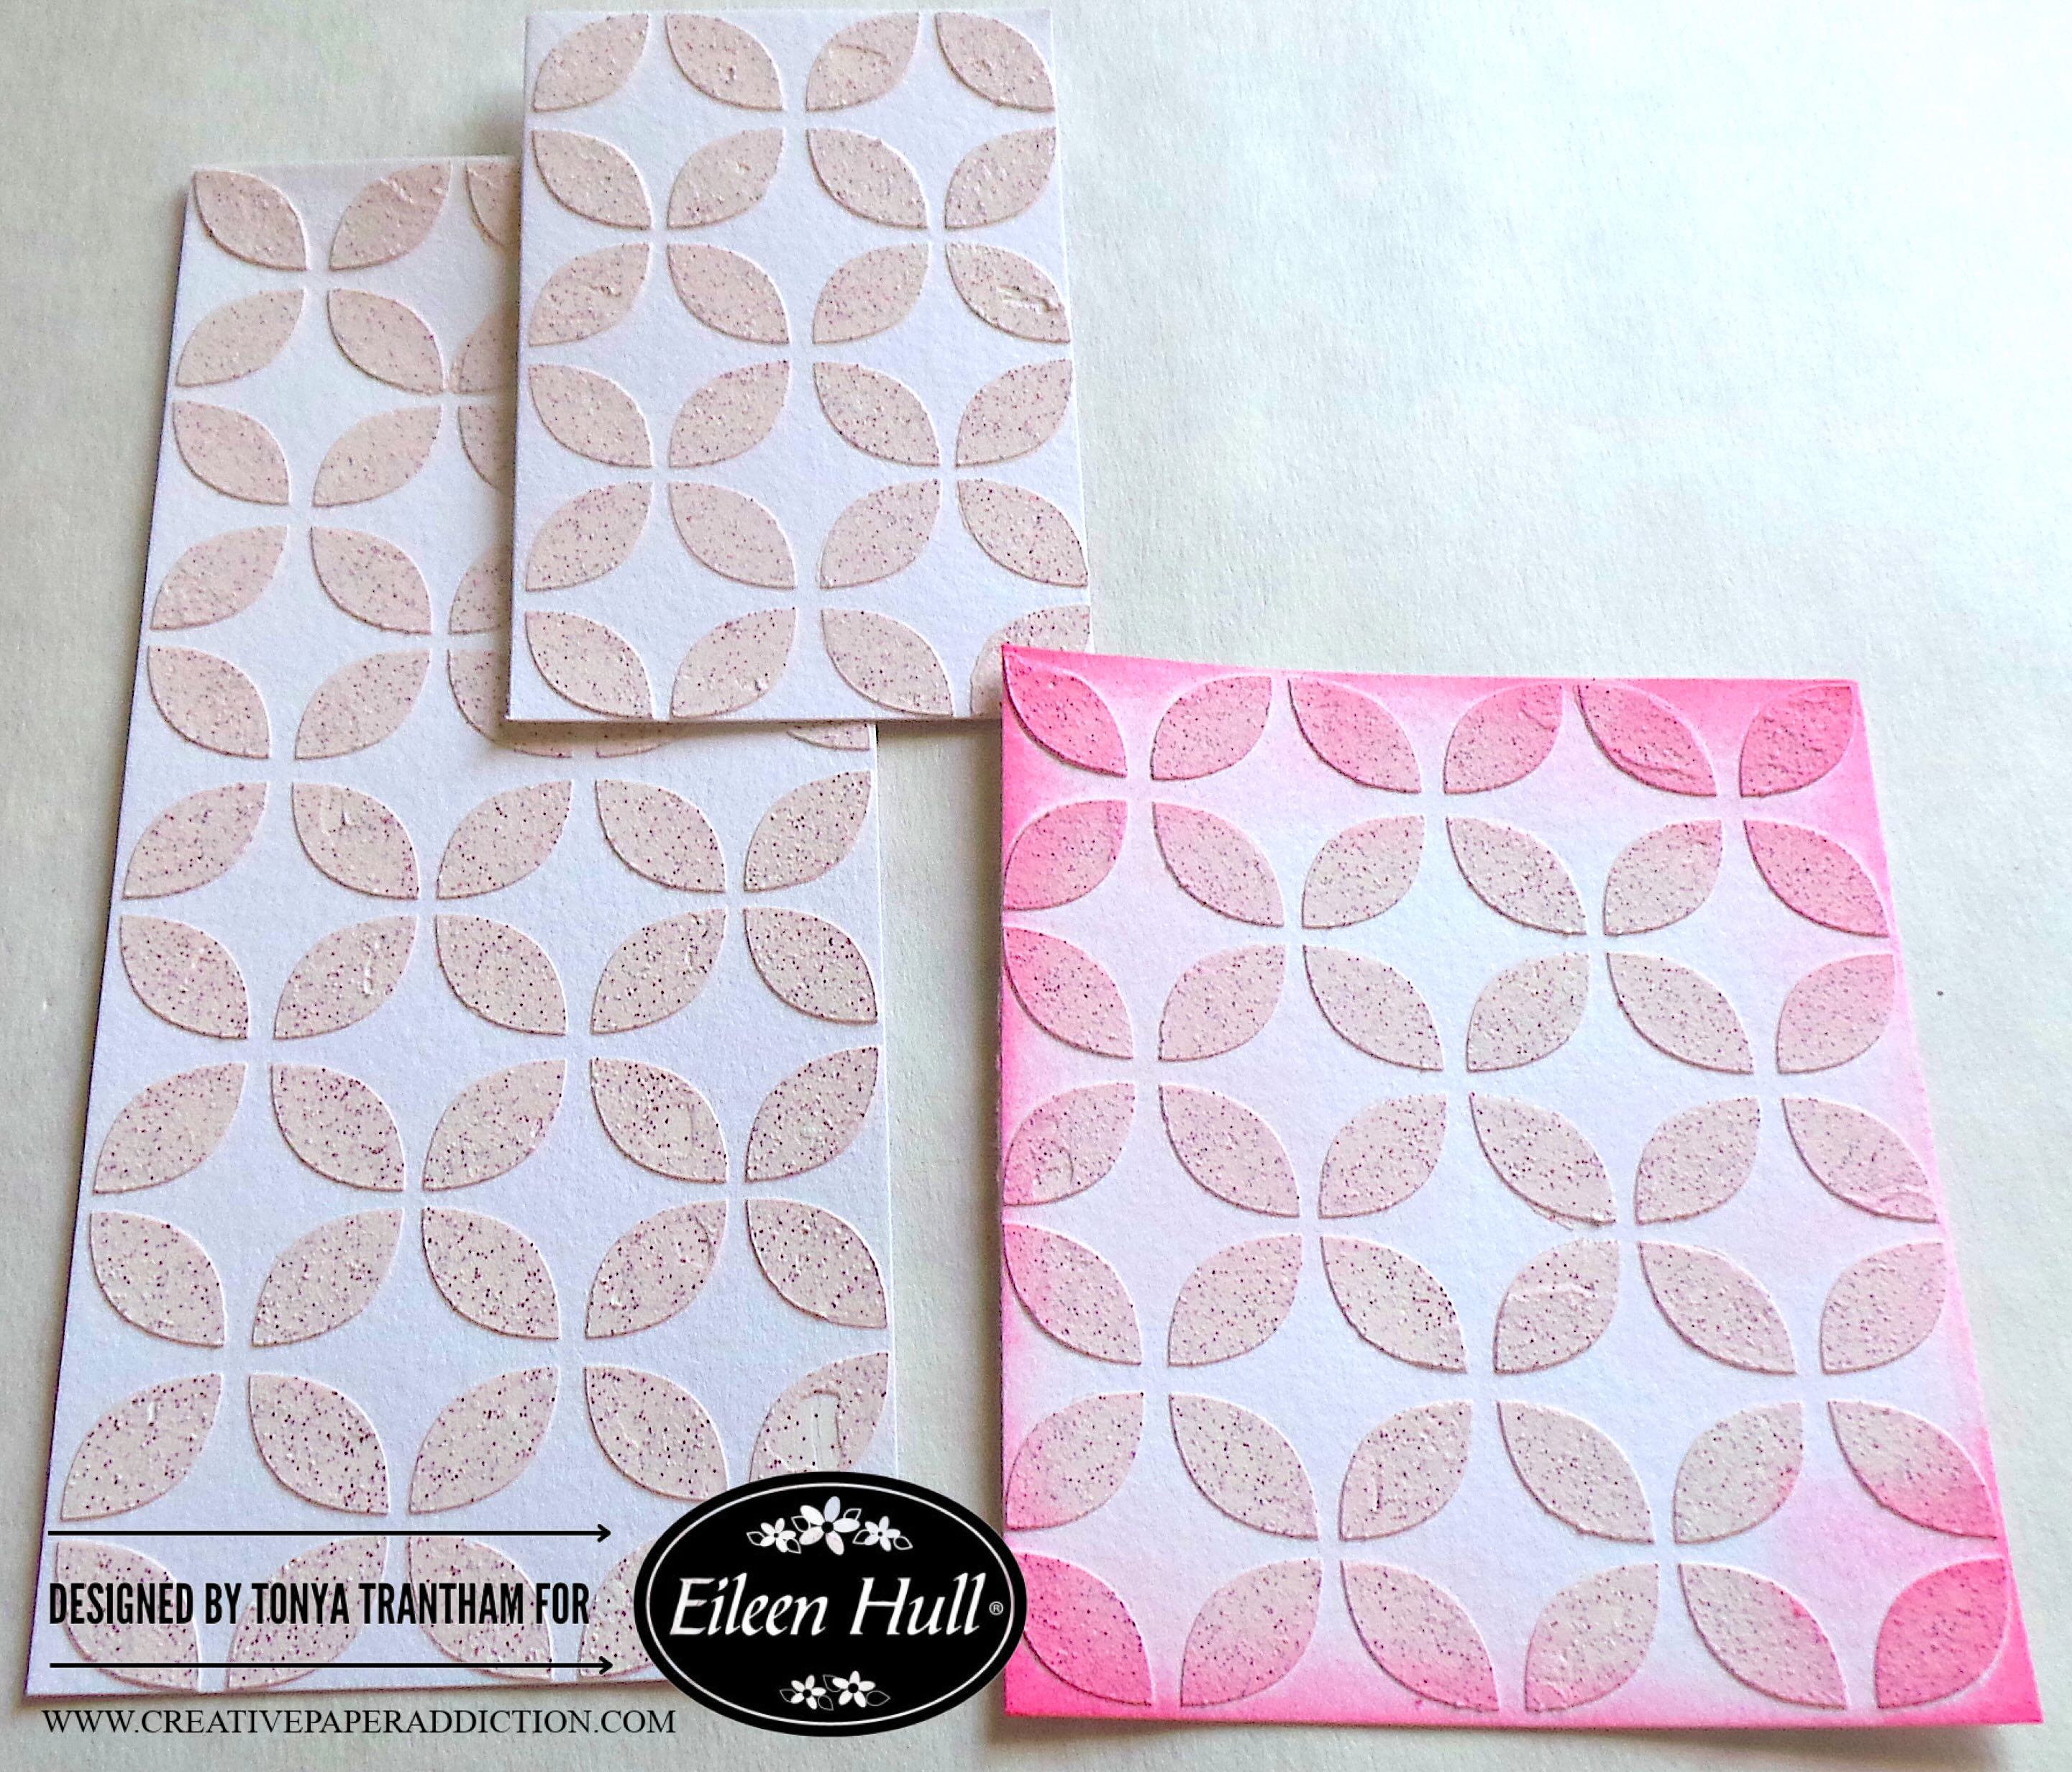
Second, I thought I had did a step out process photos. I did not.
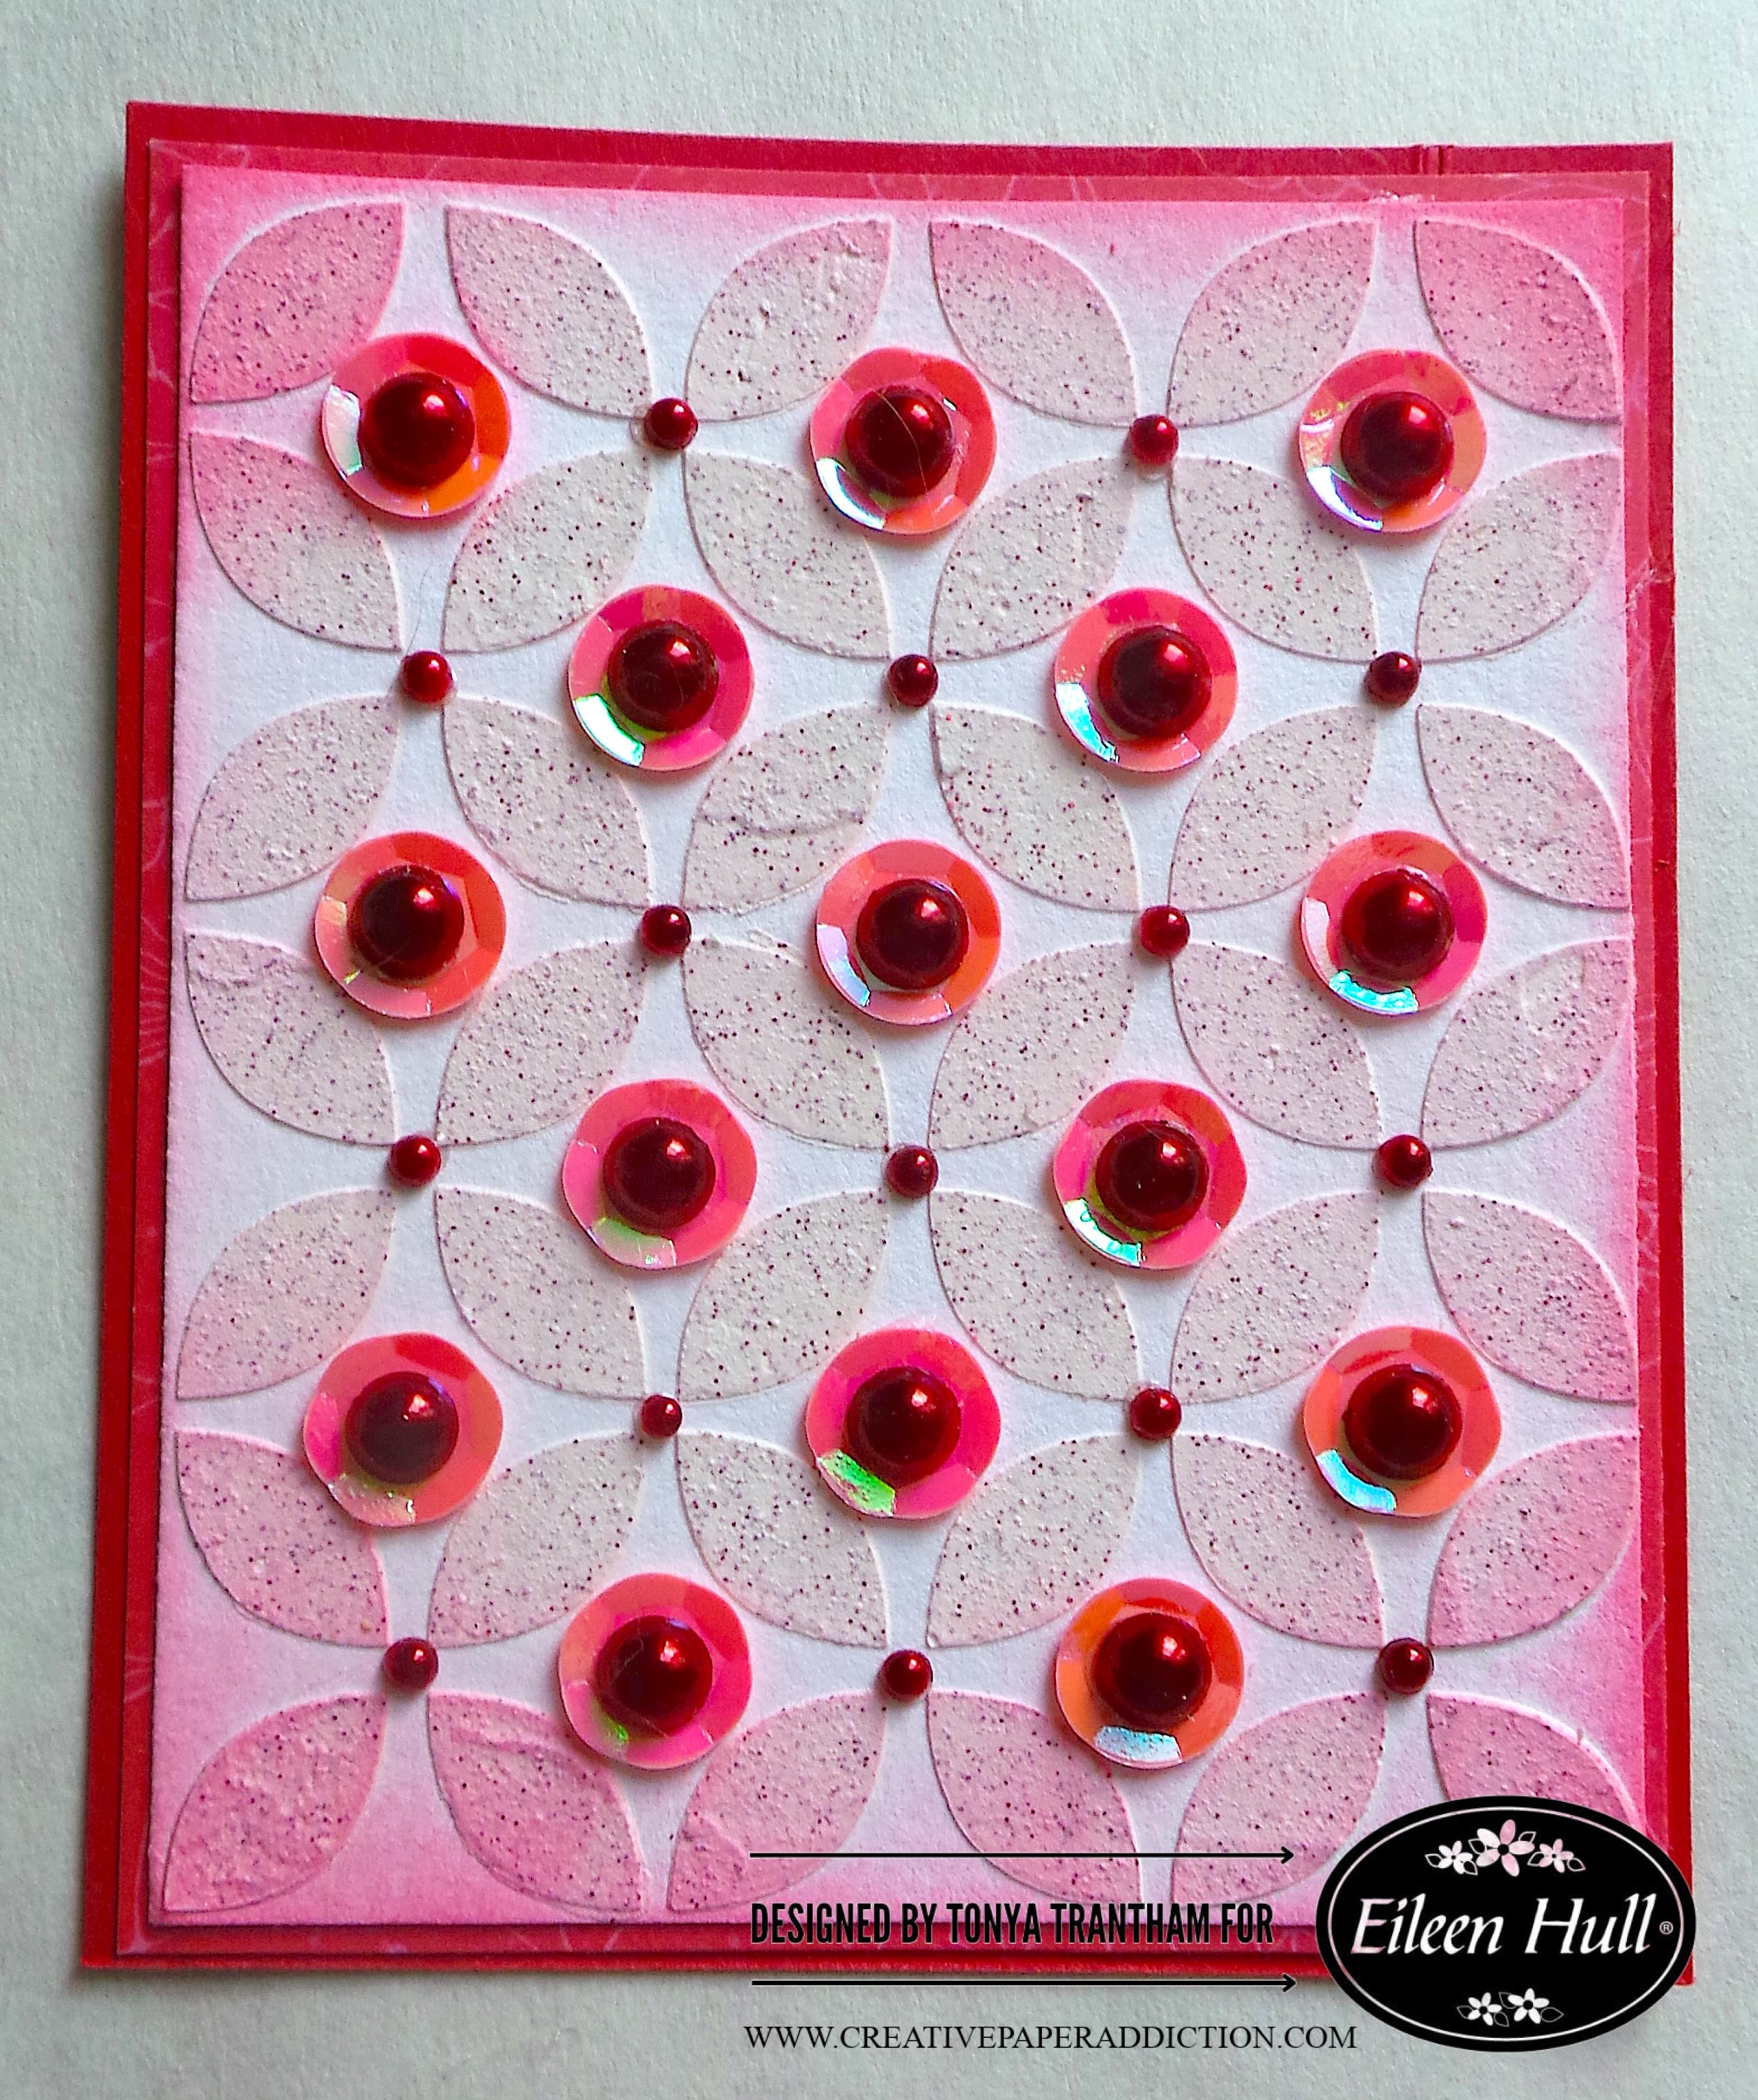
Seventh and last step, I adhered a sequin and a red flat back pearl to the center of the snowflake. I think the card has cool retro Christmas vibe to it. What do you think?
If you have questions about this card please let me know in the comment section below.
(Products listed above are Affiliated Links for your convenience)
DISCLAIMERS
This blog is compensated to provide opinion on products, services, websites, and various other topics. Even though the owner(s) of this blog receives compensation for our posts or advertisements. I always give my honest opinions, findings, beliefs, or experiences on those topics or products. The views and opinions expressed on this blog are purely my own. Any product claim, statistic, quote or other representation about a product or service should be verified with each manufacturer, provider, or party in question.This blog contains affiliate links, clicking and shopping through these links helps to support and run Tonya Trantham Designs – Creative Paper Addiction at no additional cost to you. Today’s features are Sizzix, Eileen Hull and Scrapbook.com Products.
Thanks for stopping by, hope your Monday is great and enjoy creating!
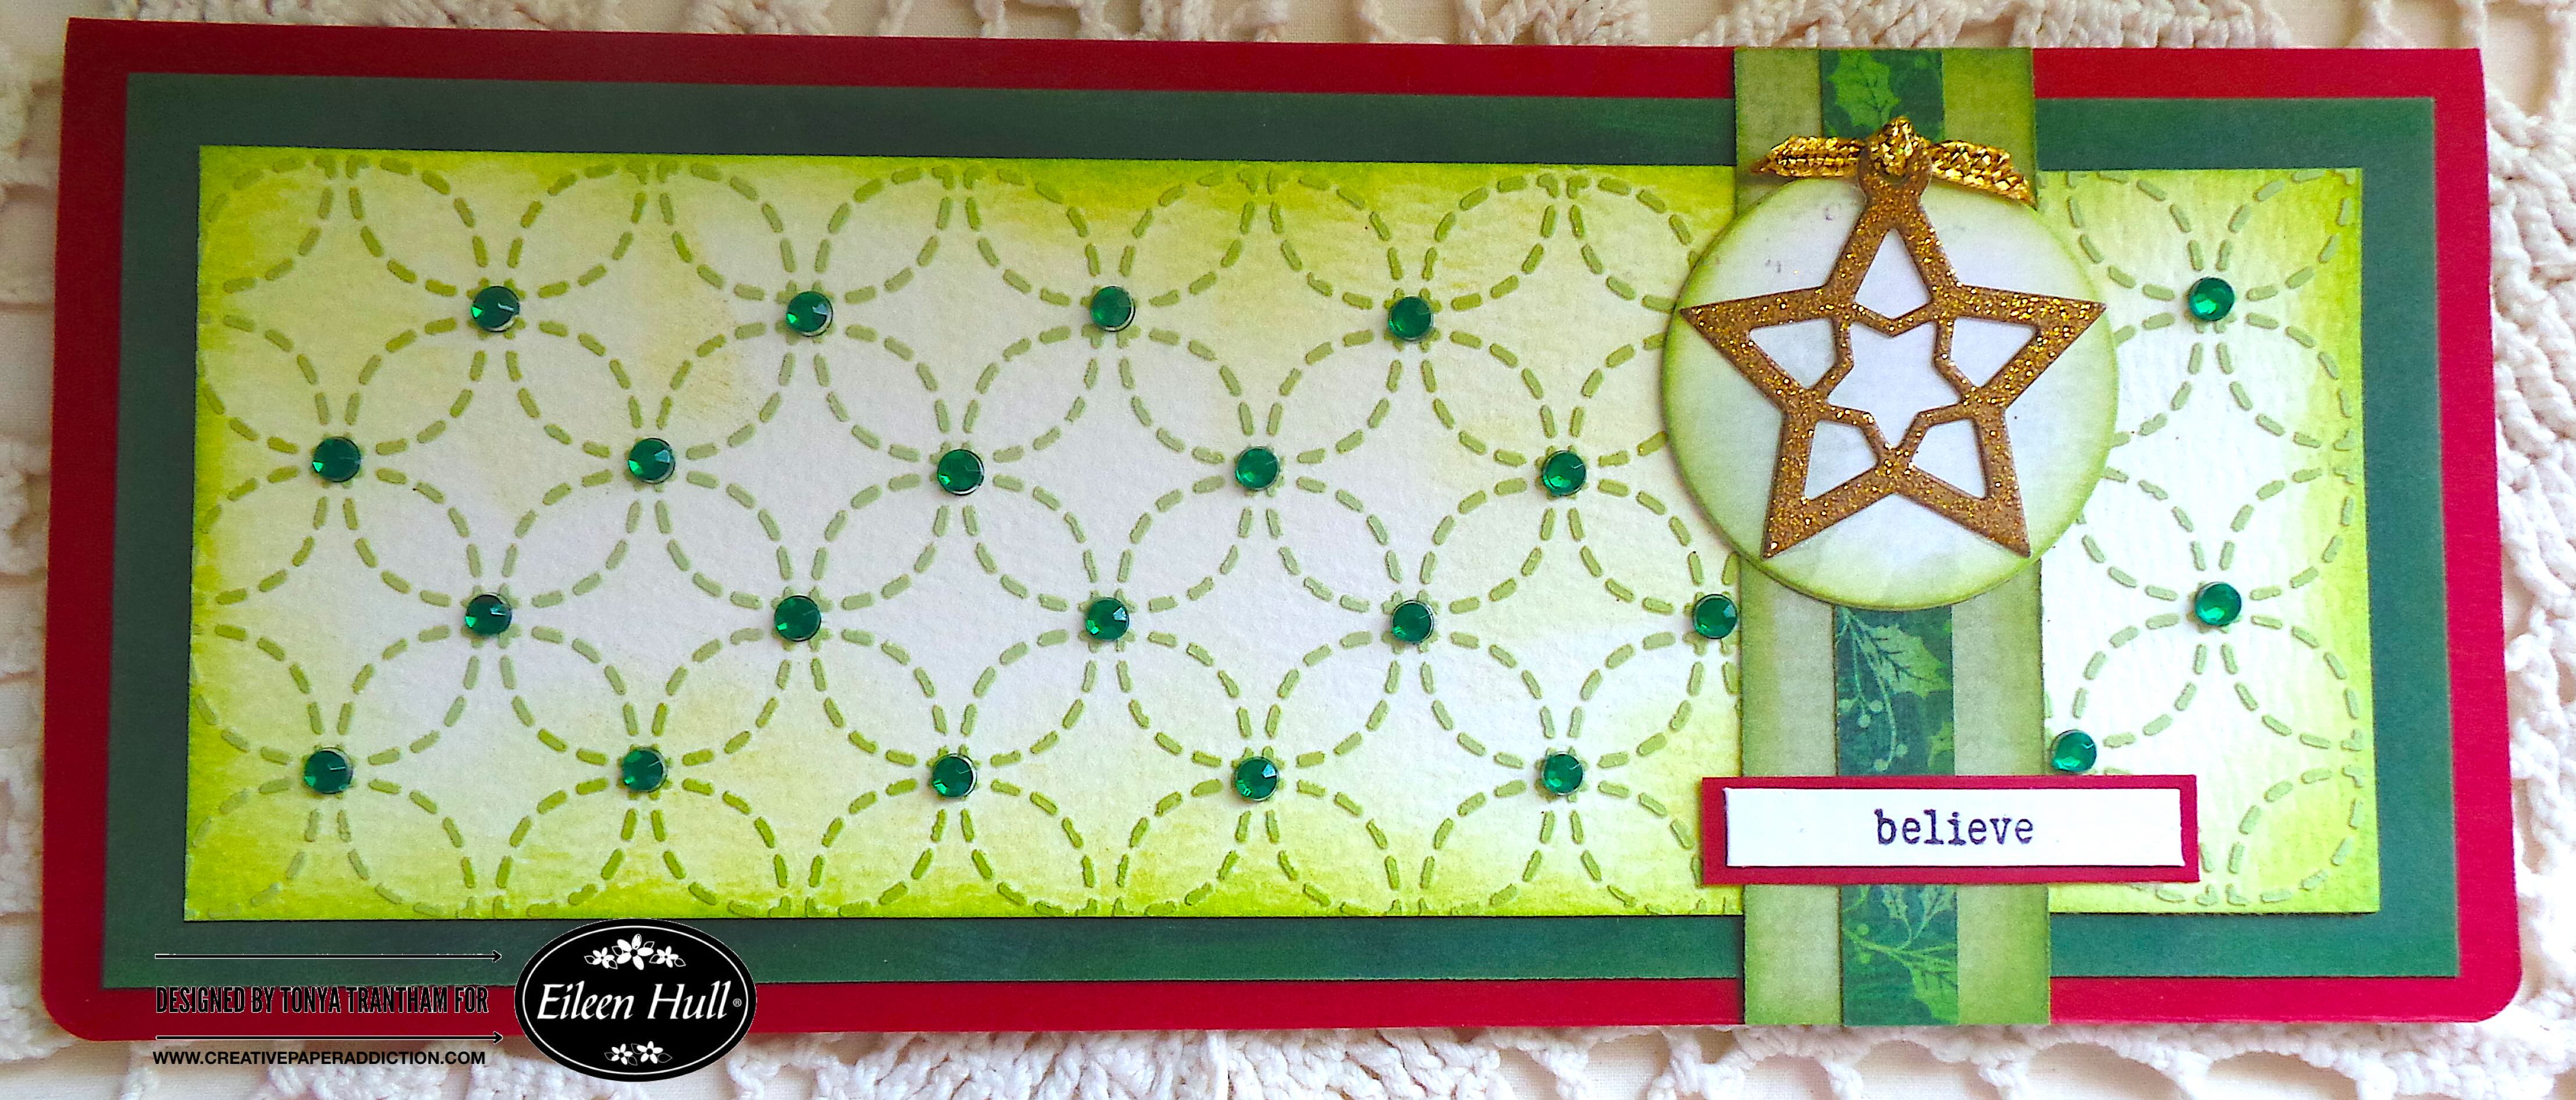
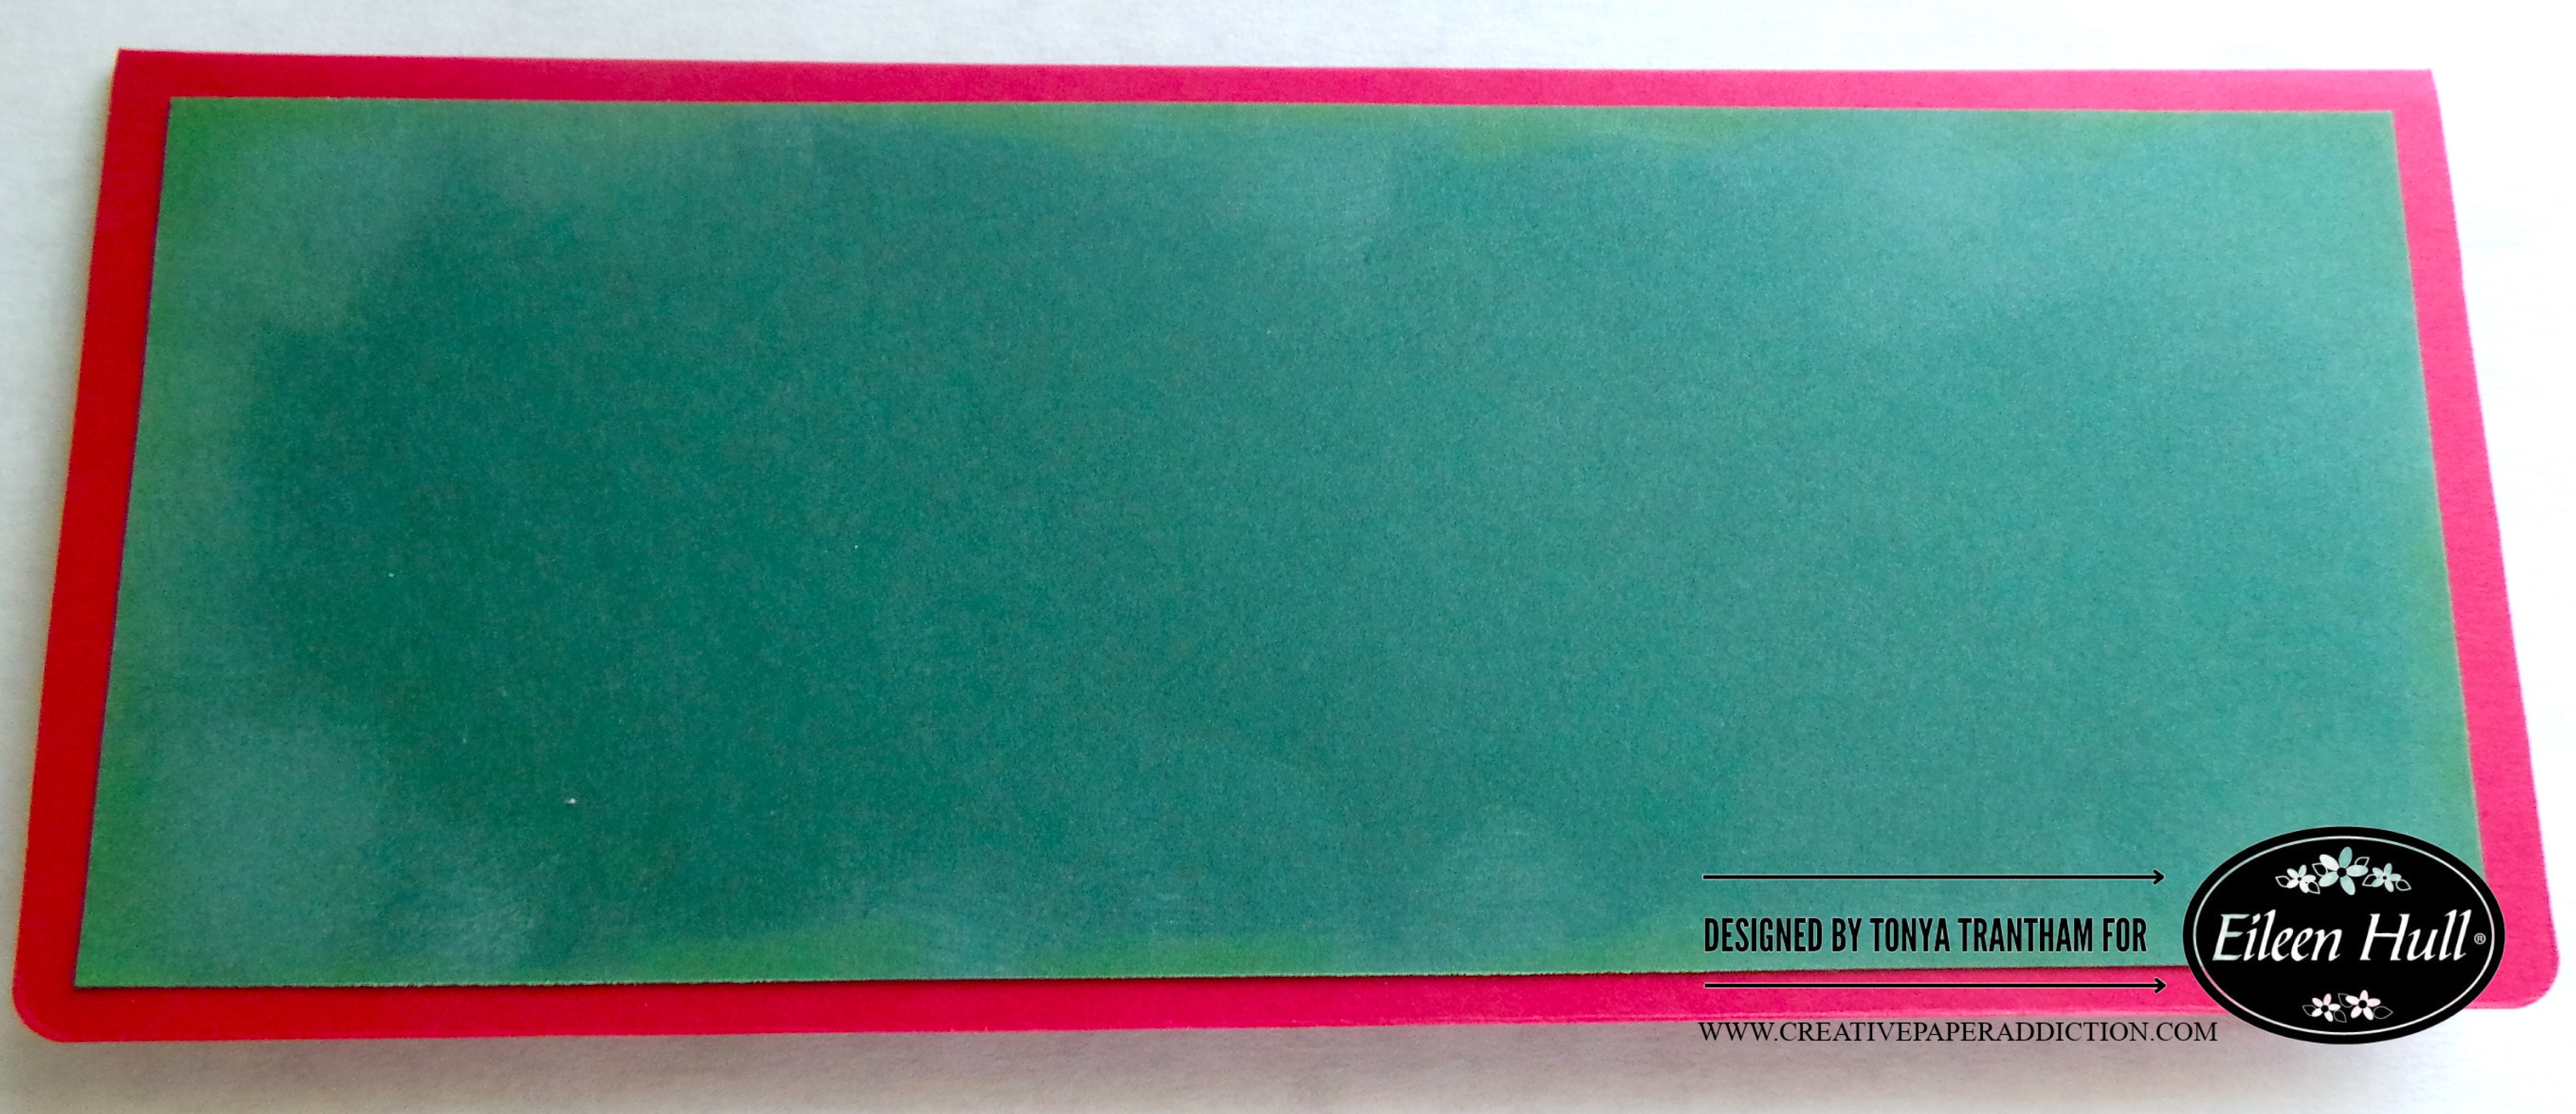
Hi everyone! December is finally here! And whether you like it or not Christmas is only a couple of weeks away. Today I want to share a Christmas slimline card I created. You ask “what is a slimline card”? It’s a long skinny card and the measures are, 3.5″x8.5″. For the base of the card I created, I used the Journal Diecut (retired) which is by Eileen Hull. Let’s get started!
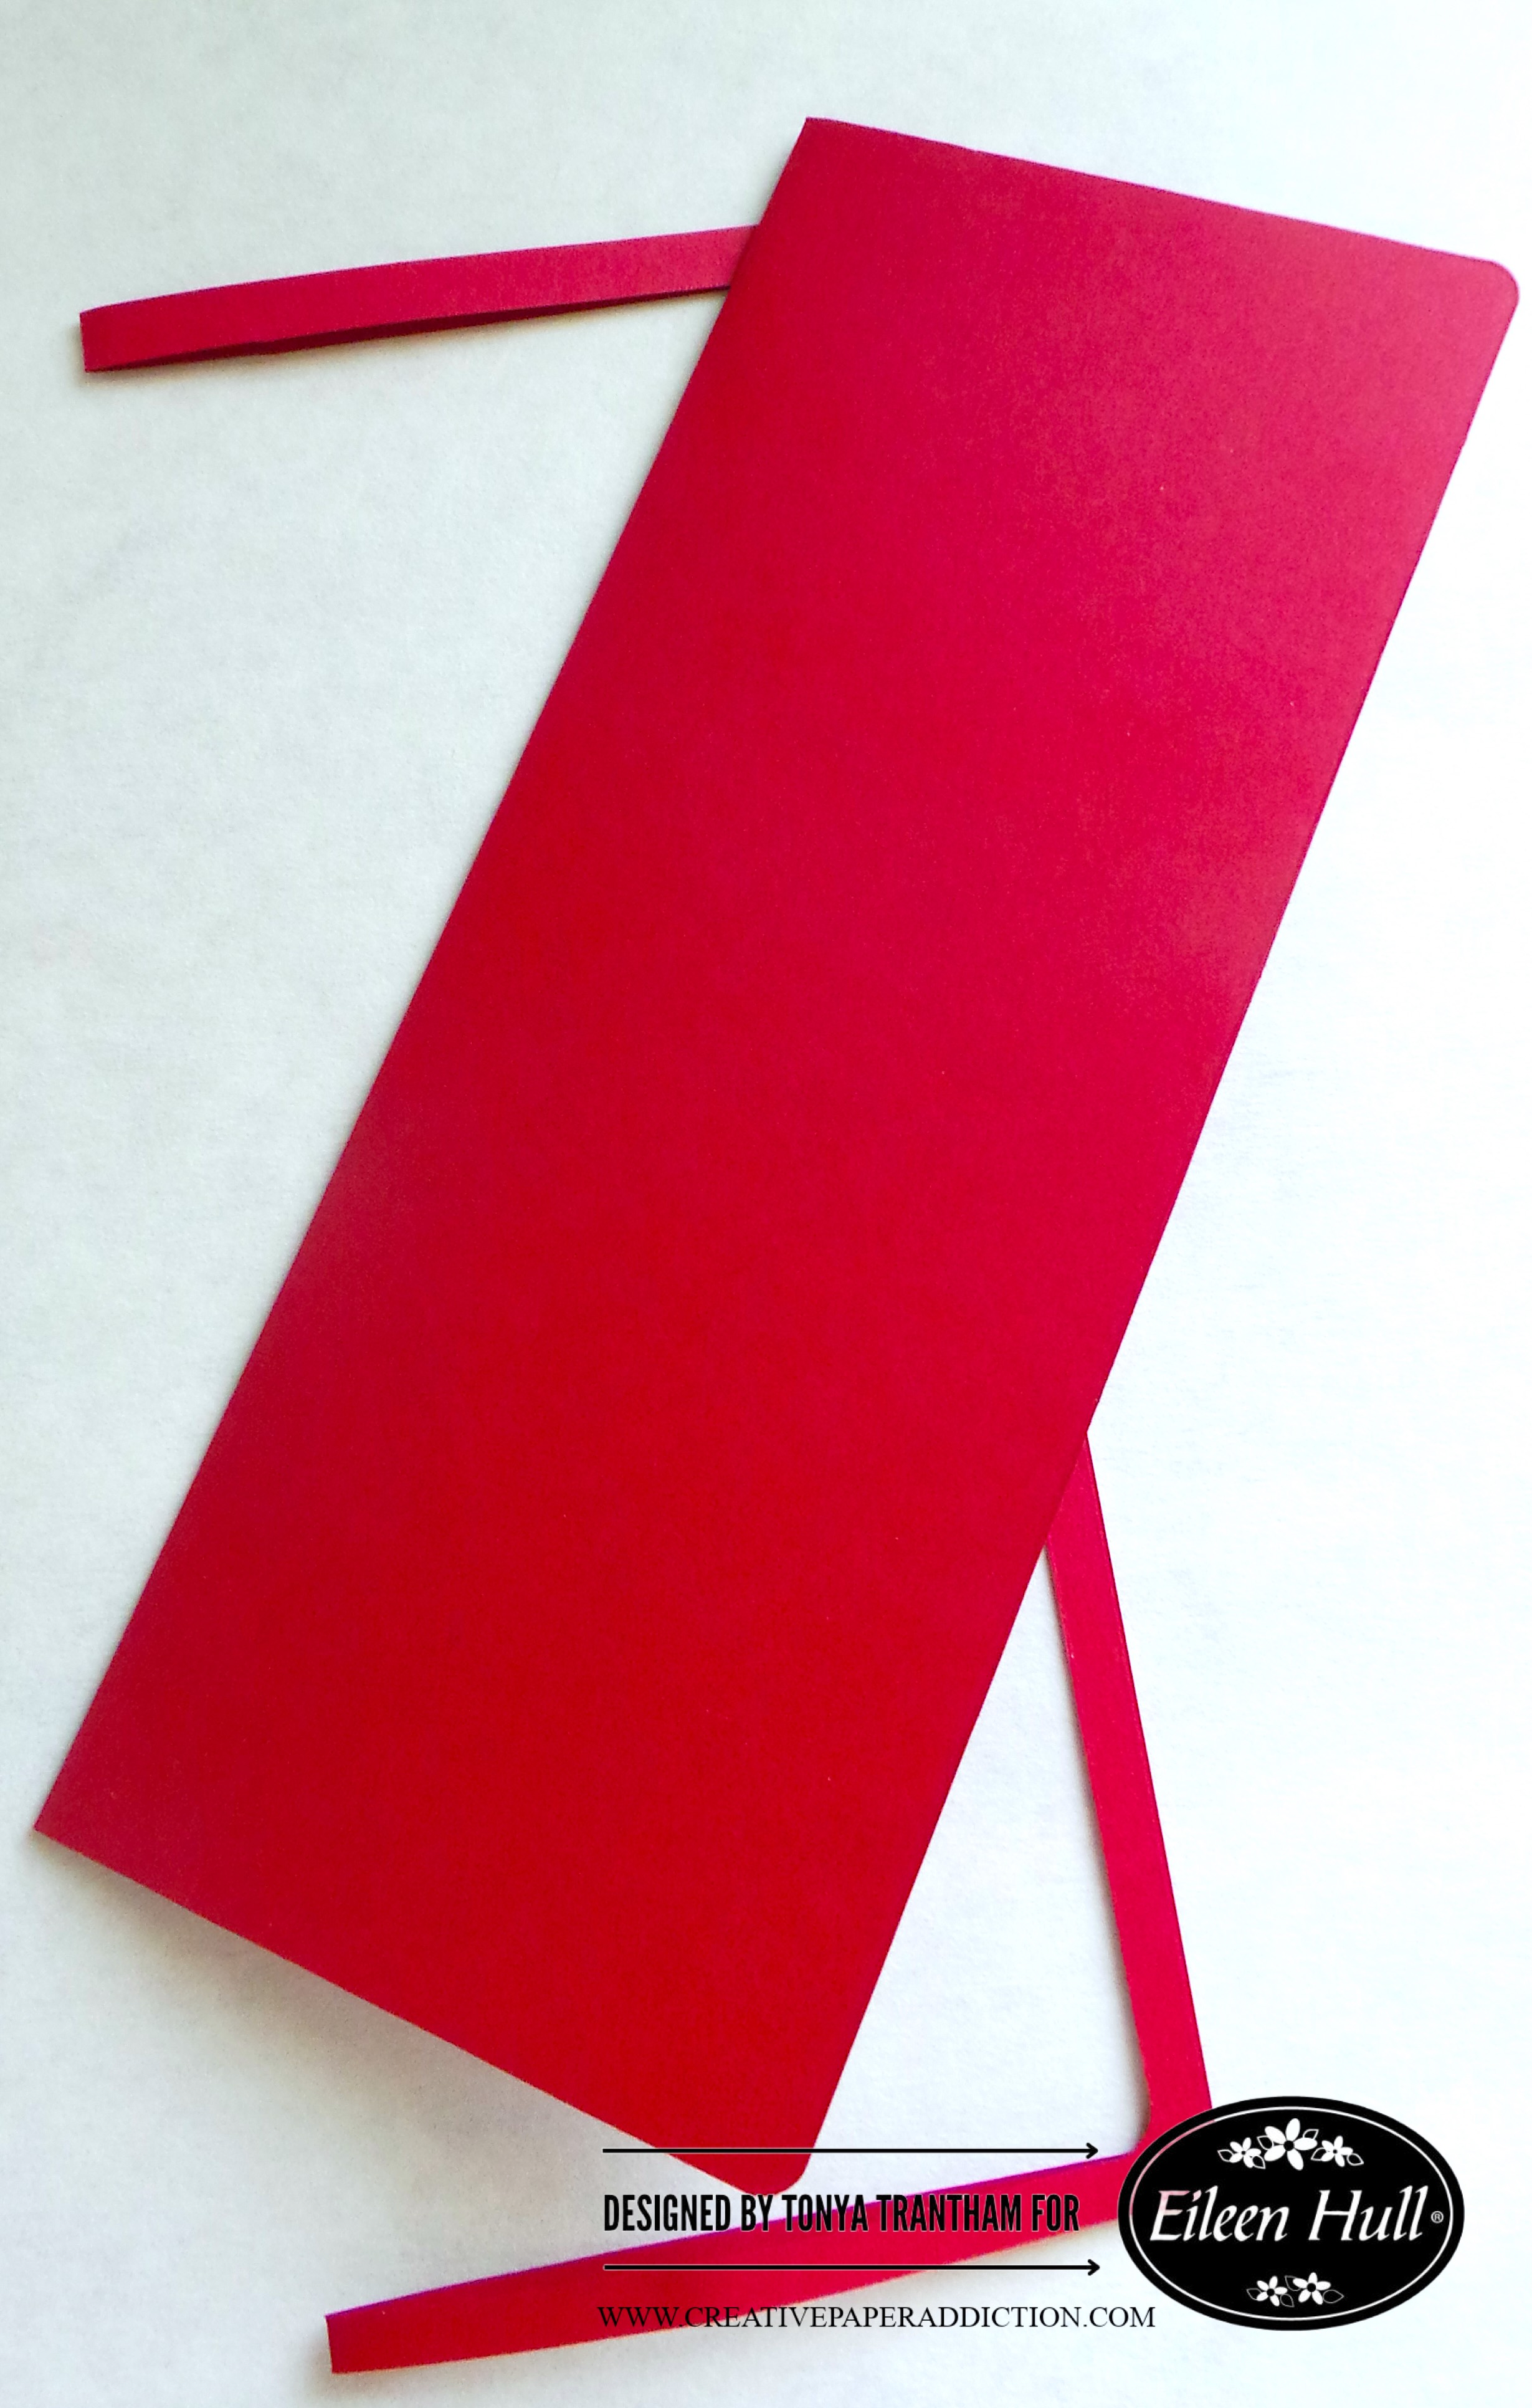
I folded a piece of cardstock in half and I placed it onto the Journal Diecut. The placement was slightly below the cut line of the spine. Then, I ran it through the Diecut Machine.
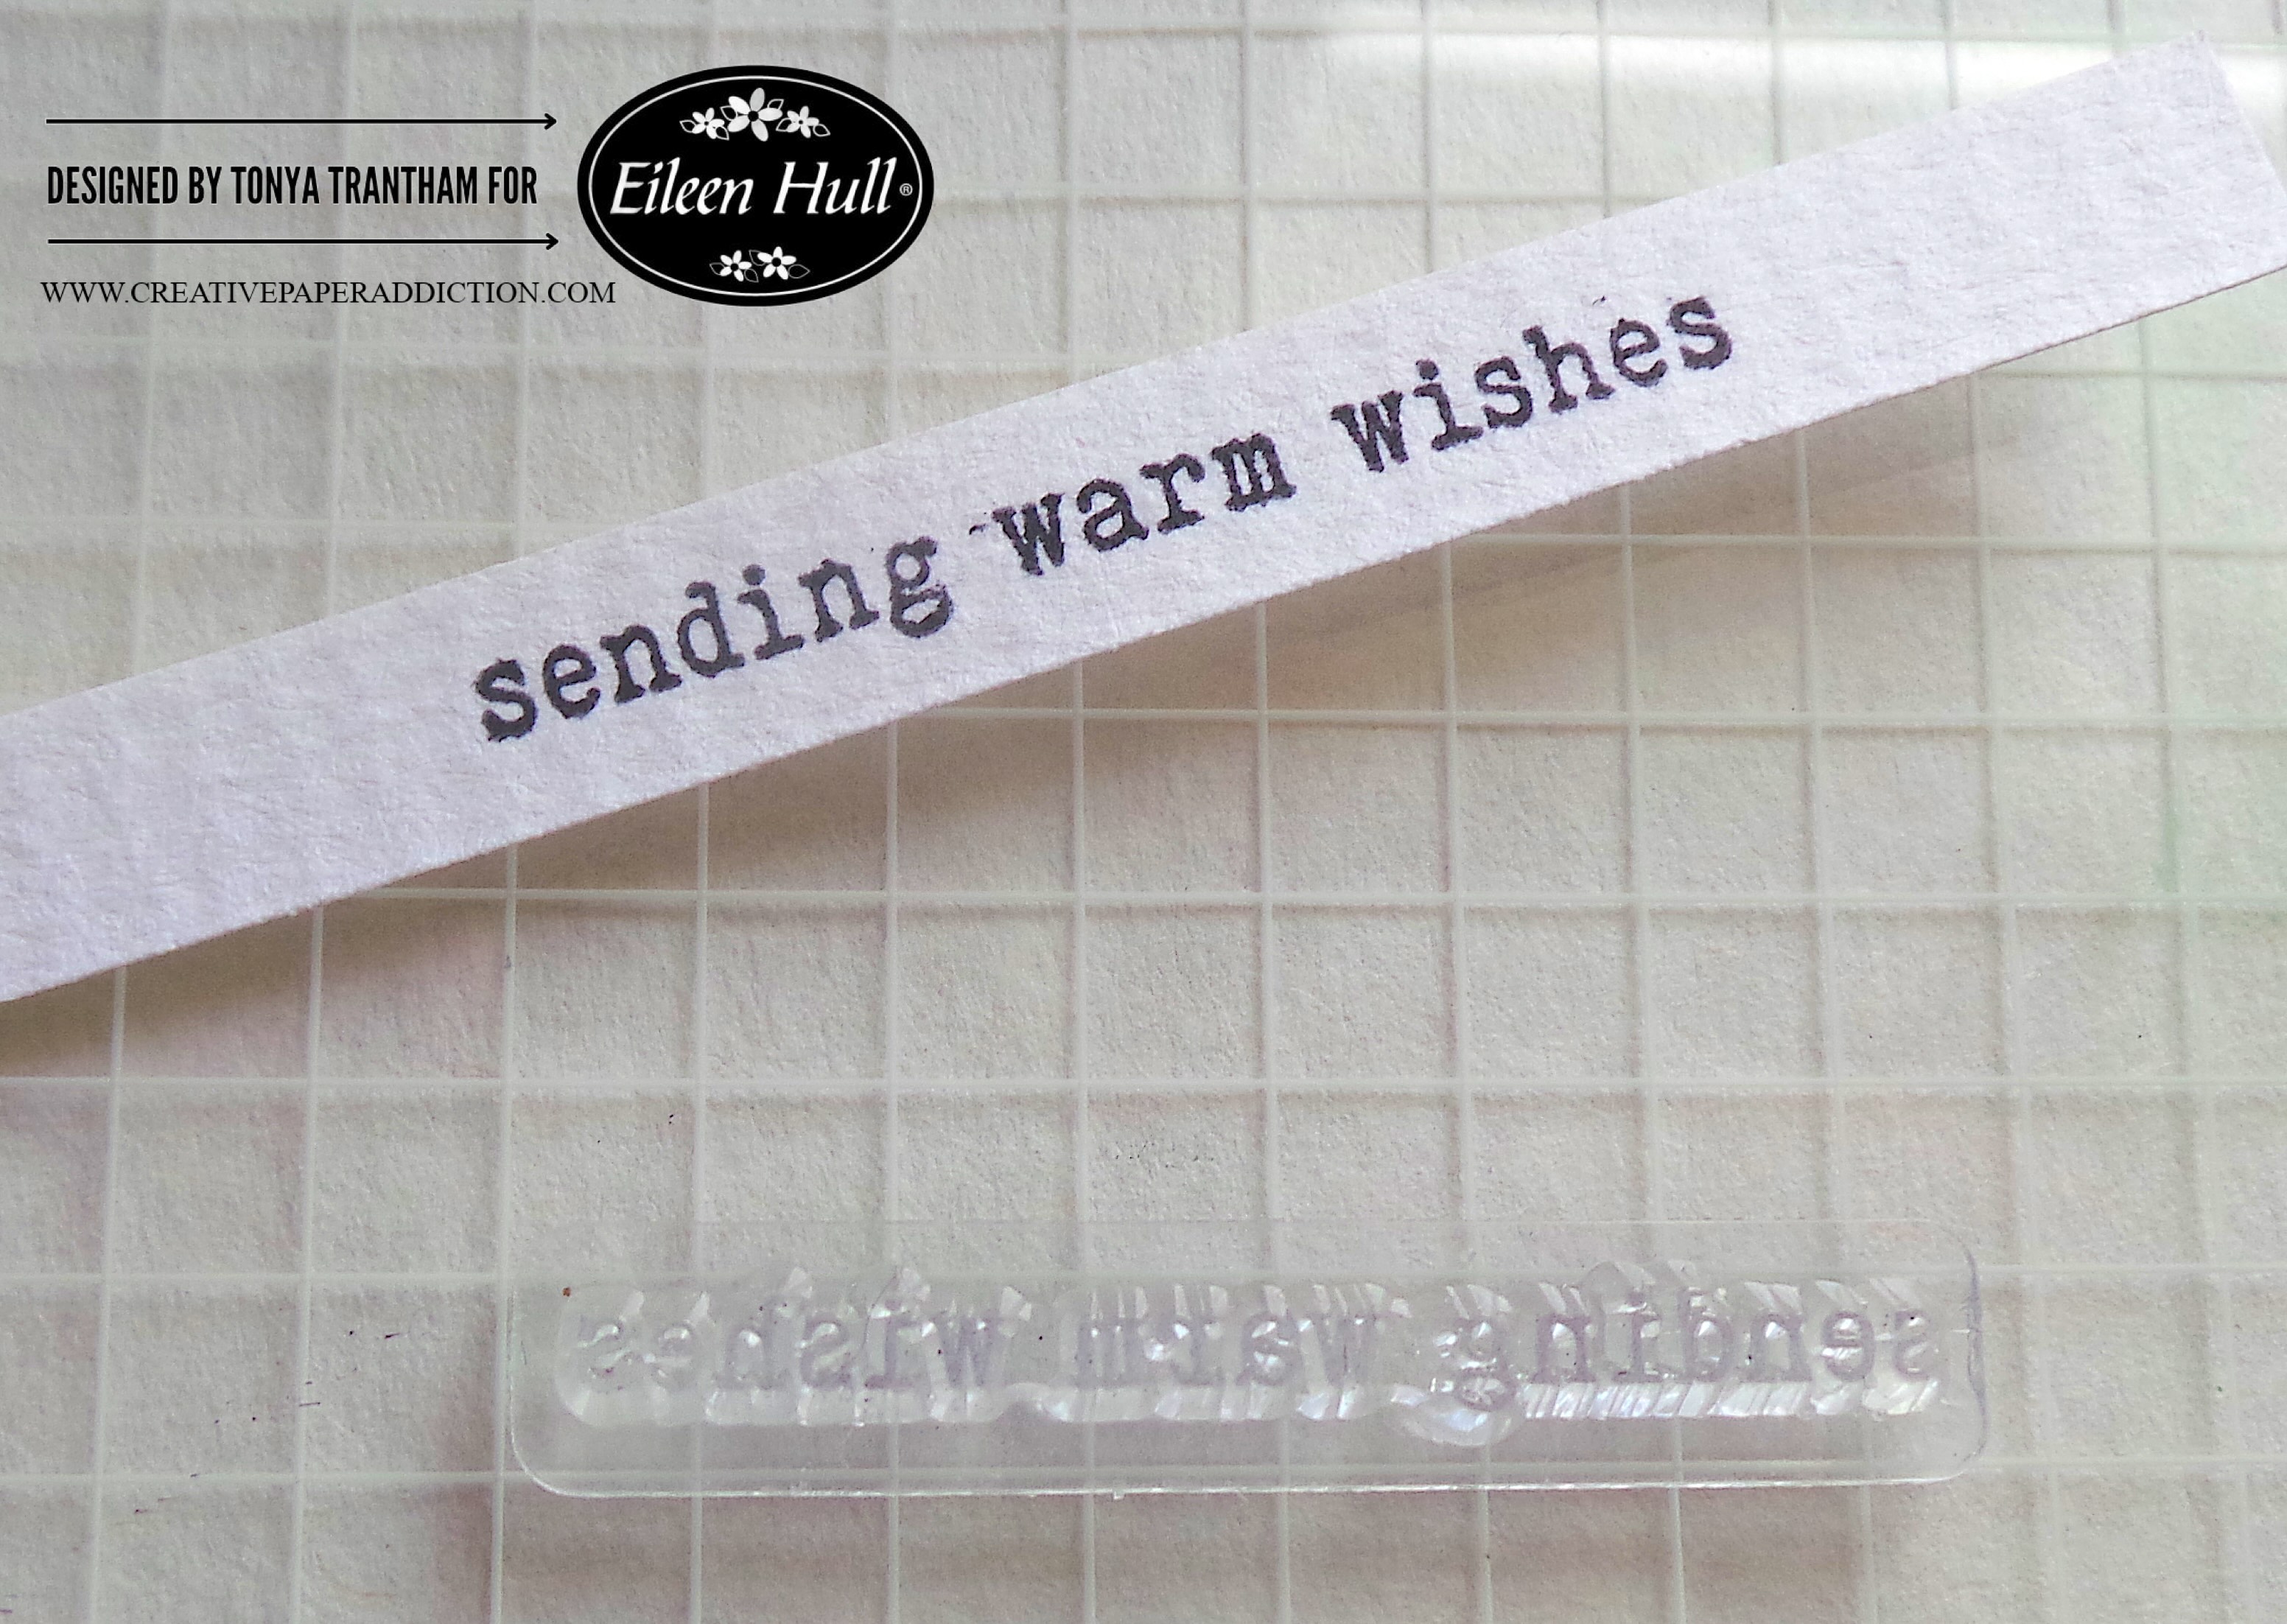
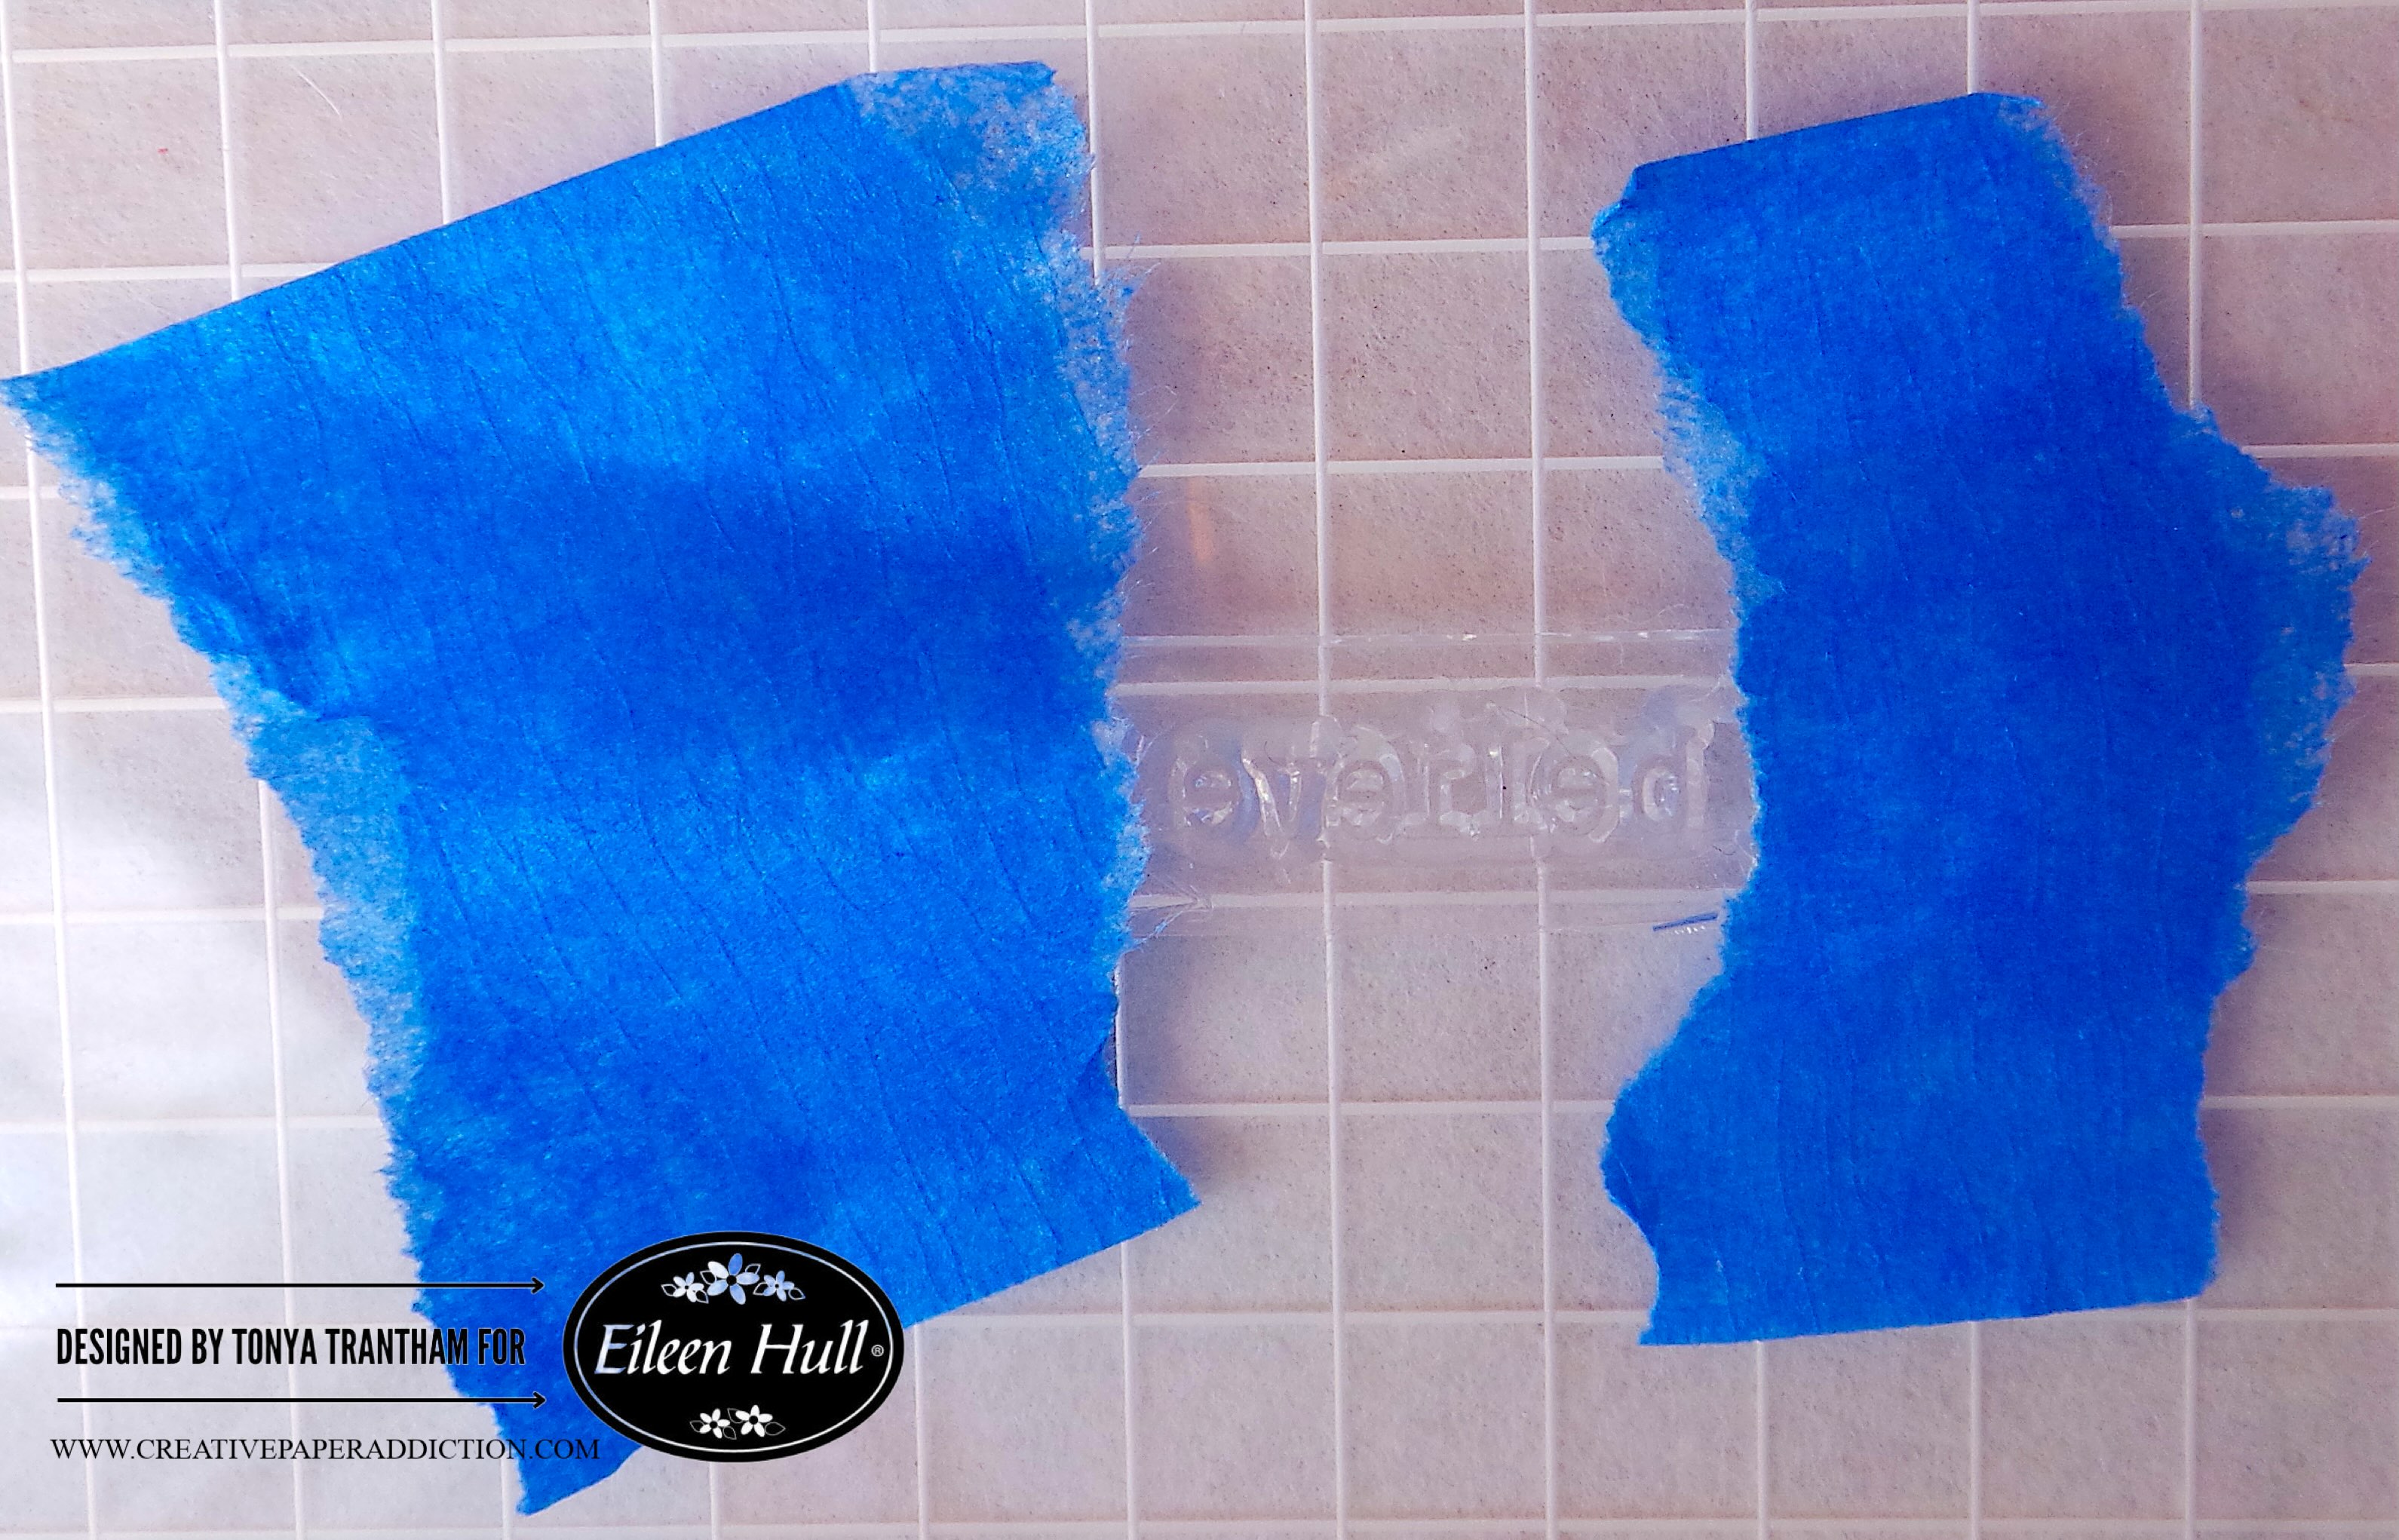
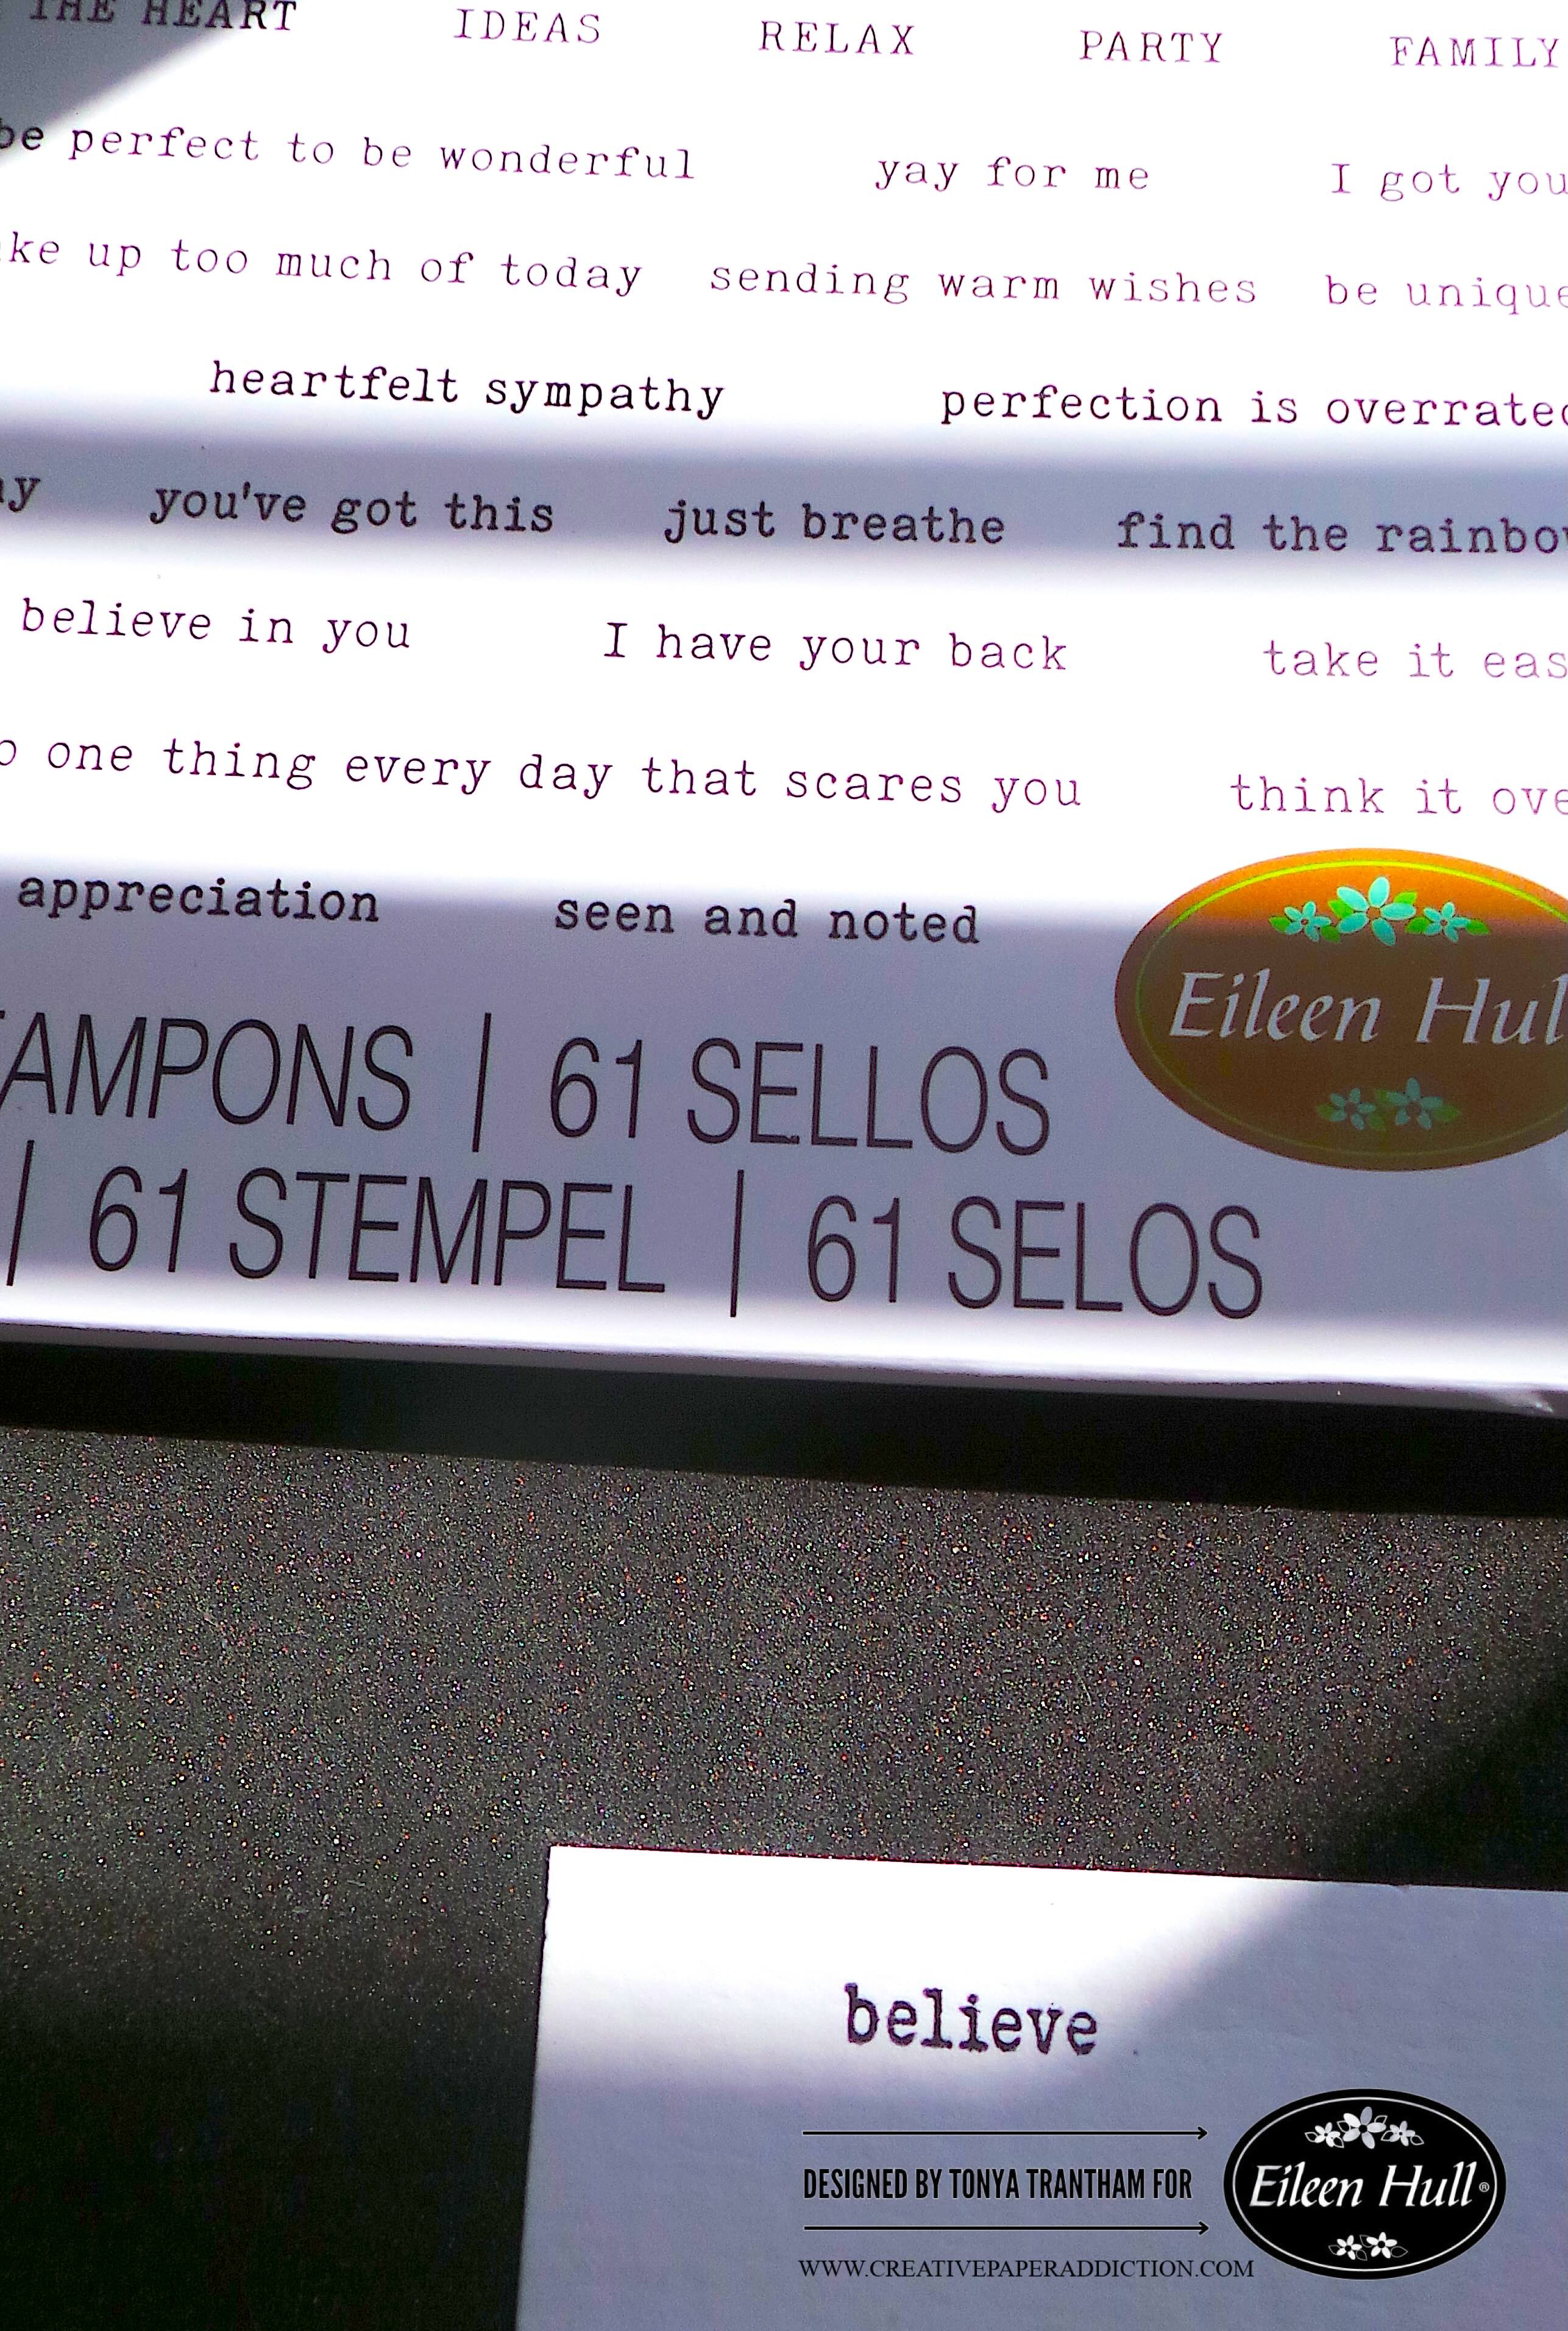
I placed painters tape over the “I” and the “in you” of the stamp. I inked the stamp, removed the painters tape and stamped onto a piece of cardstock.
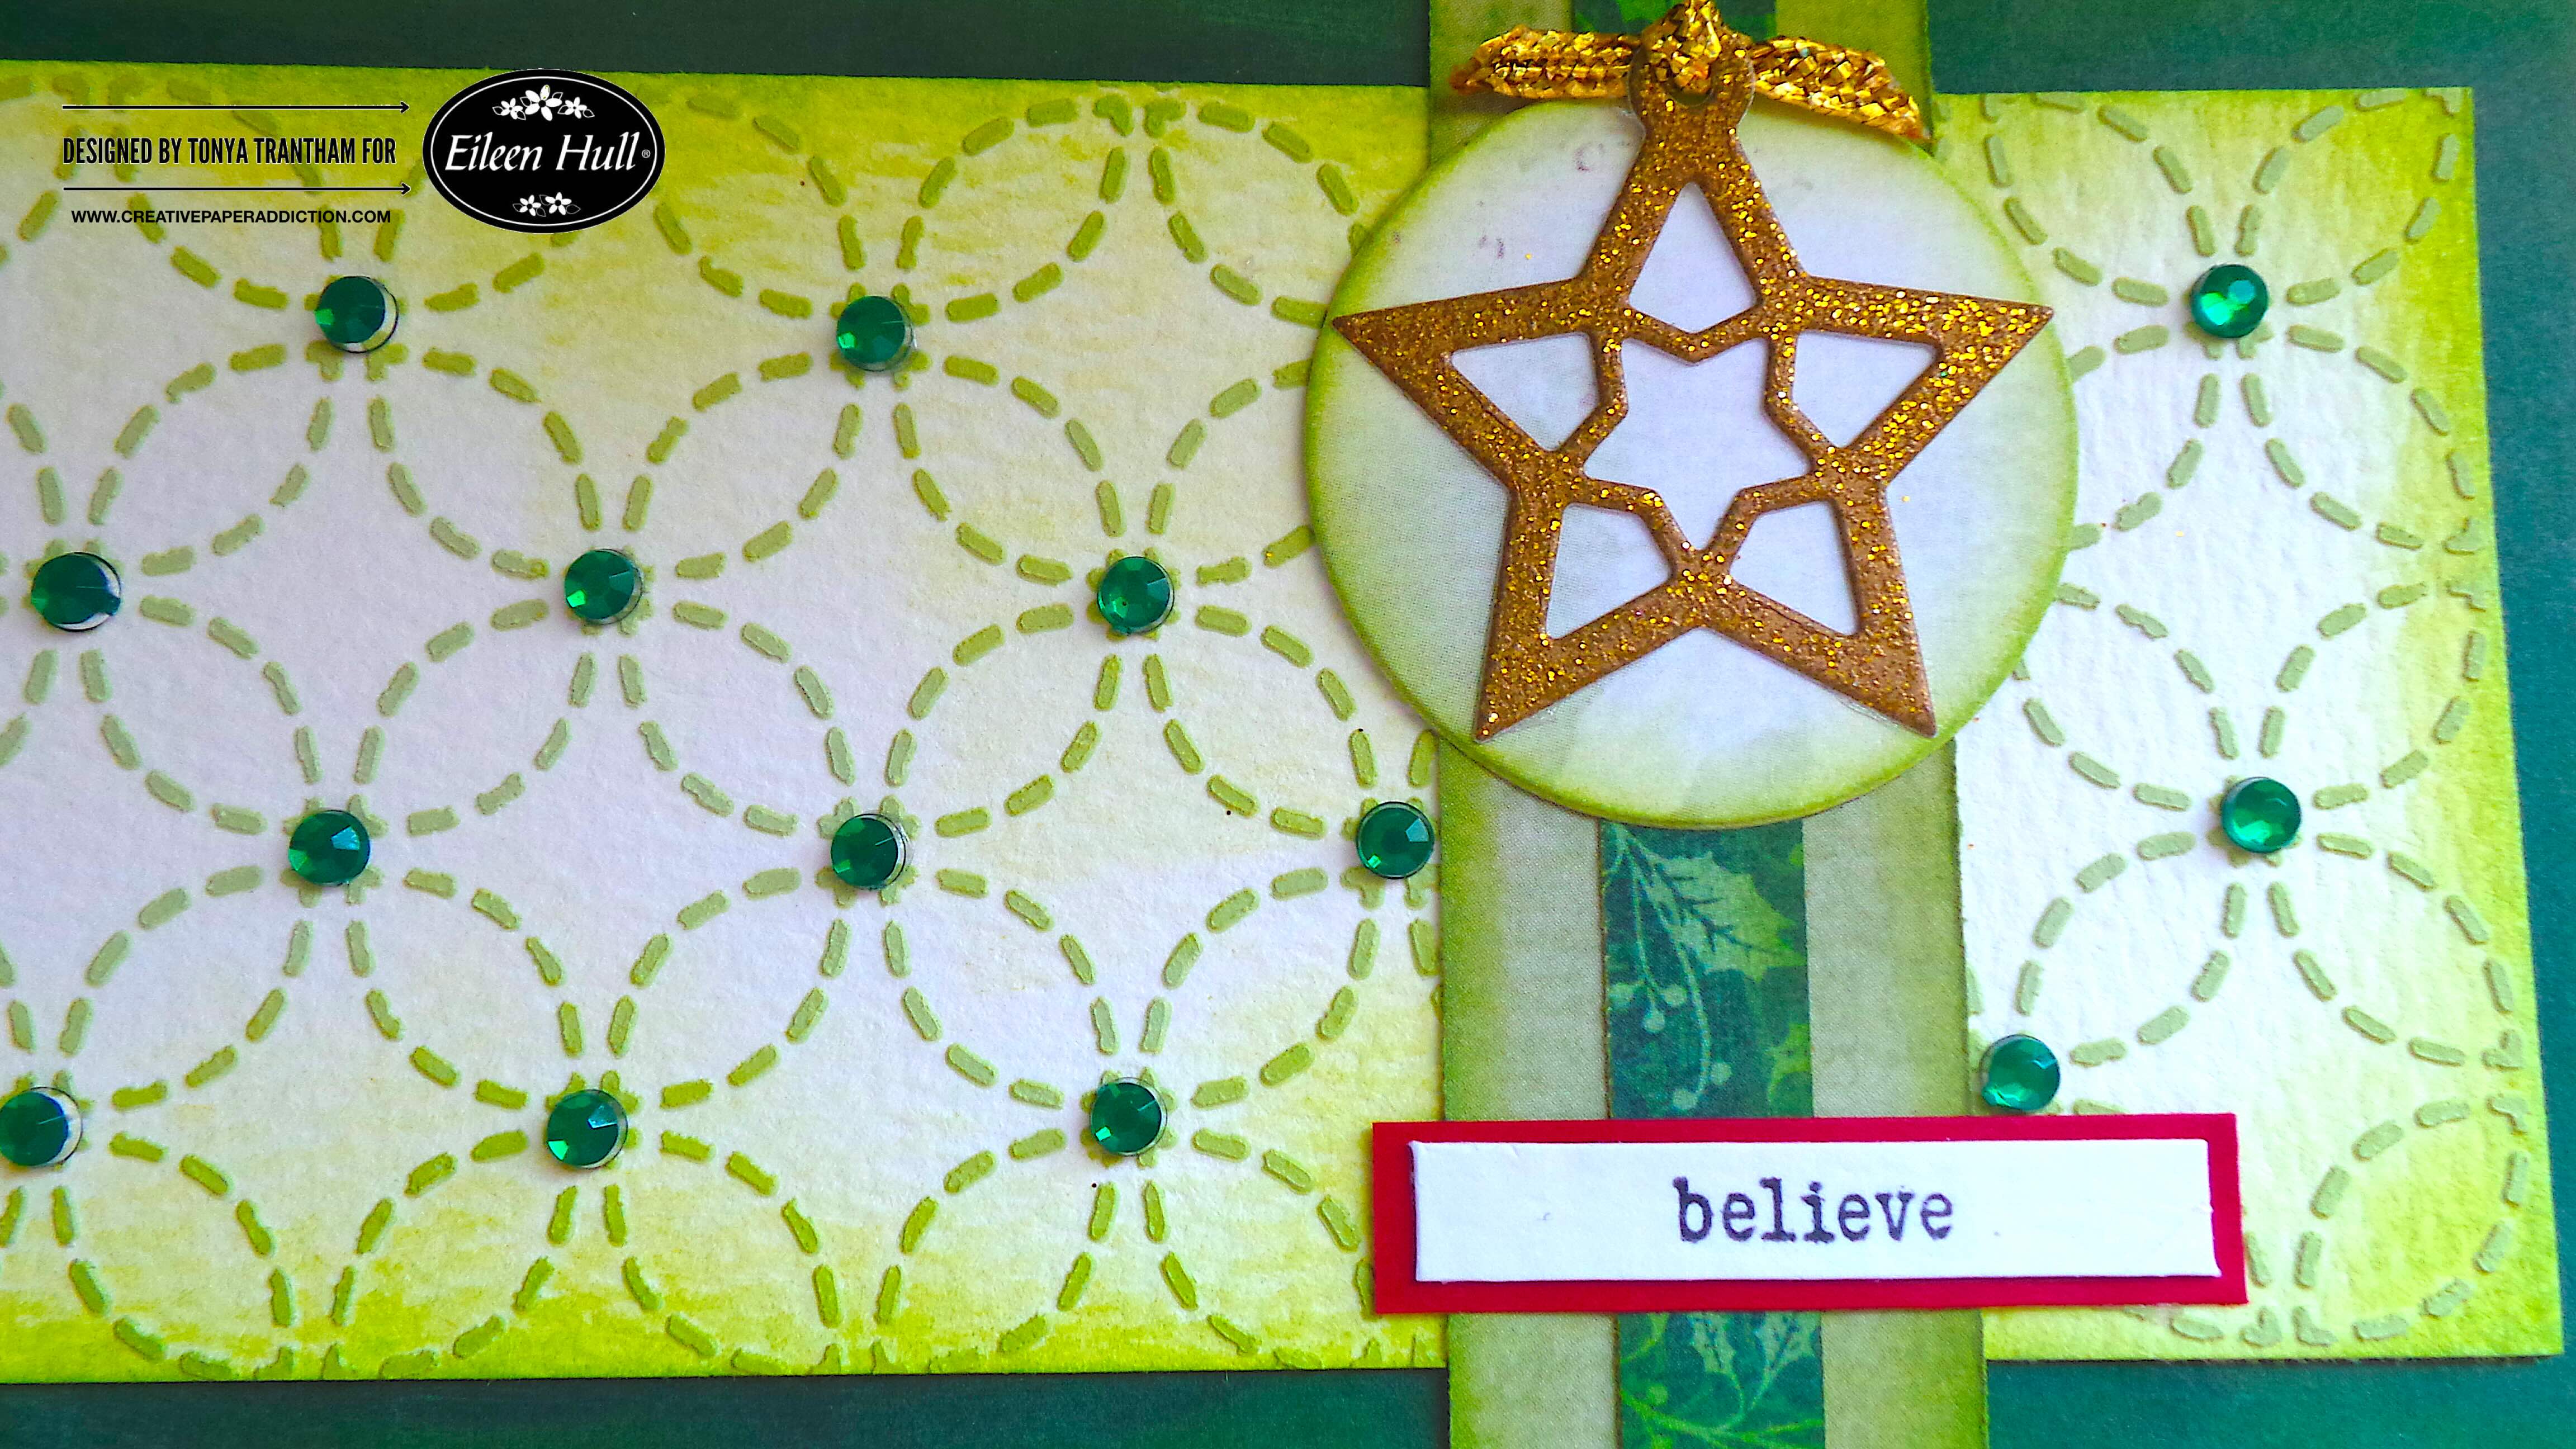
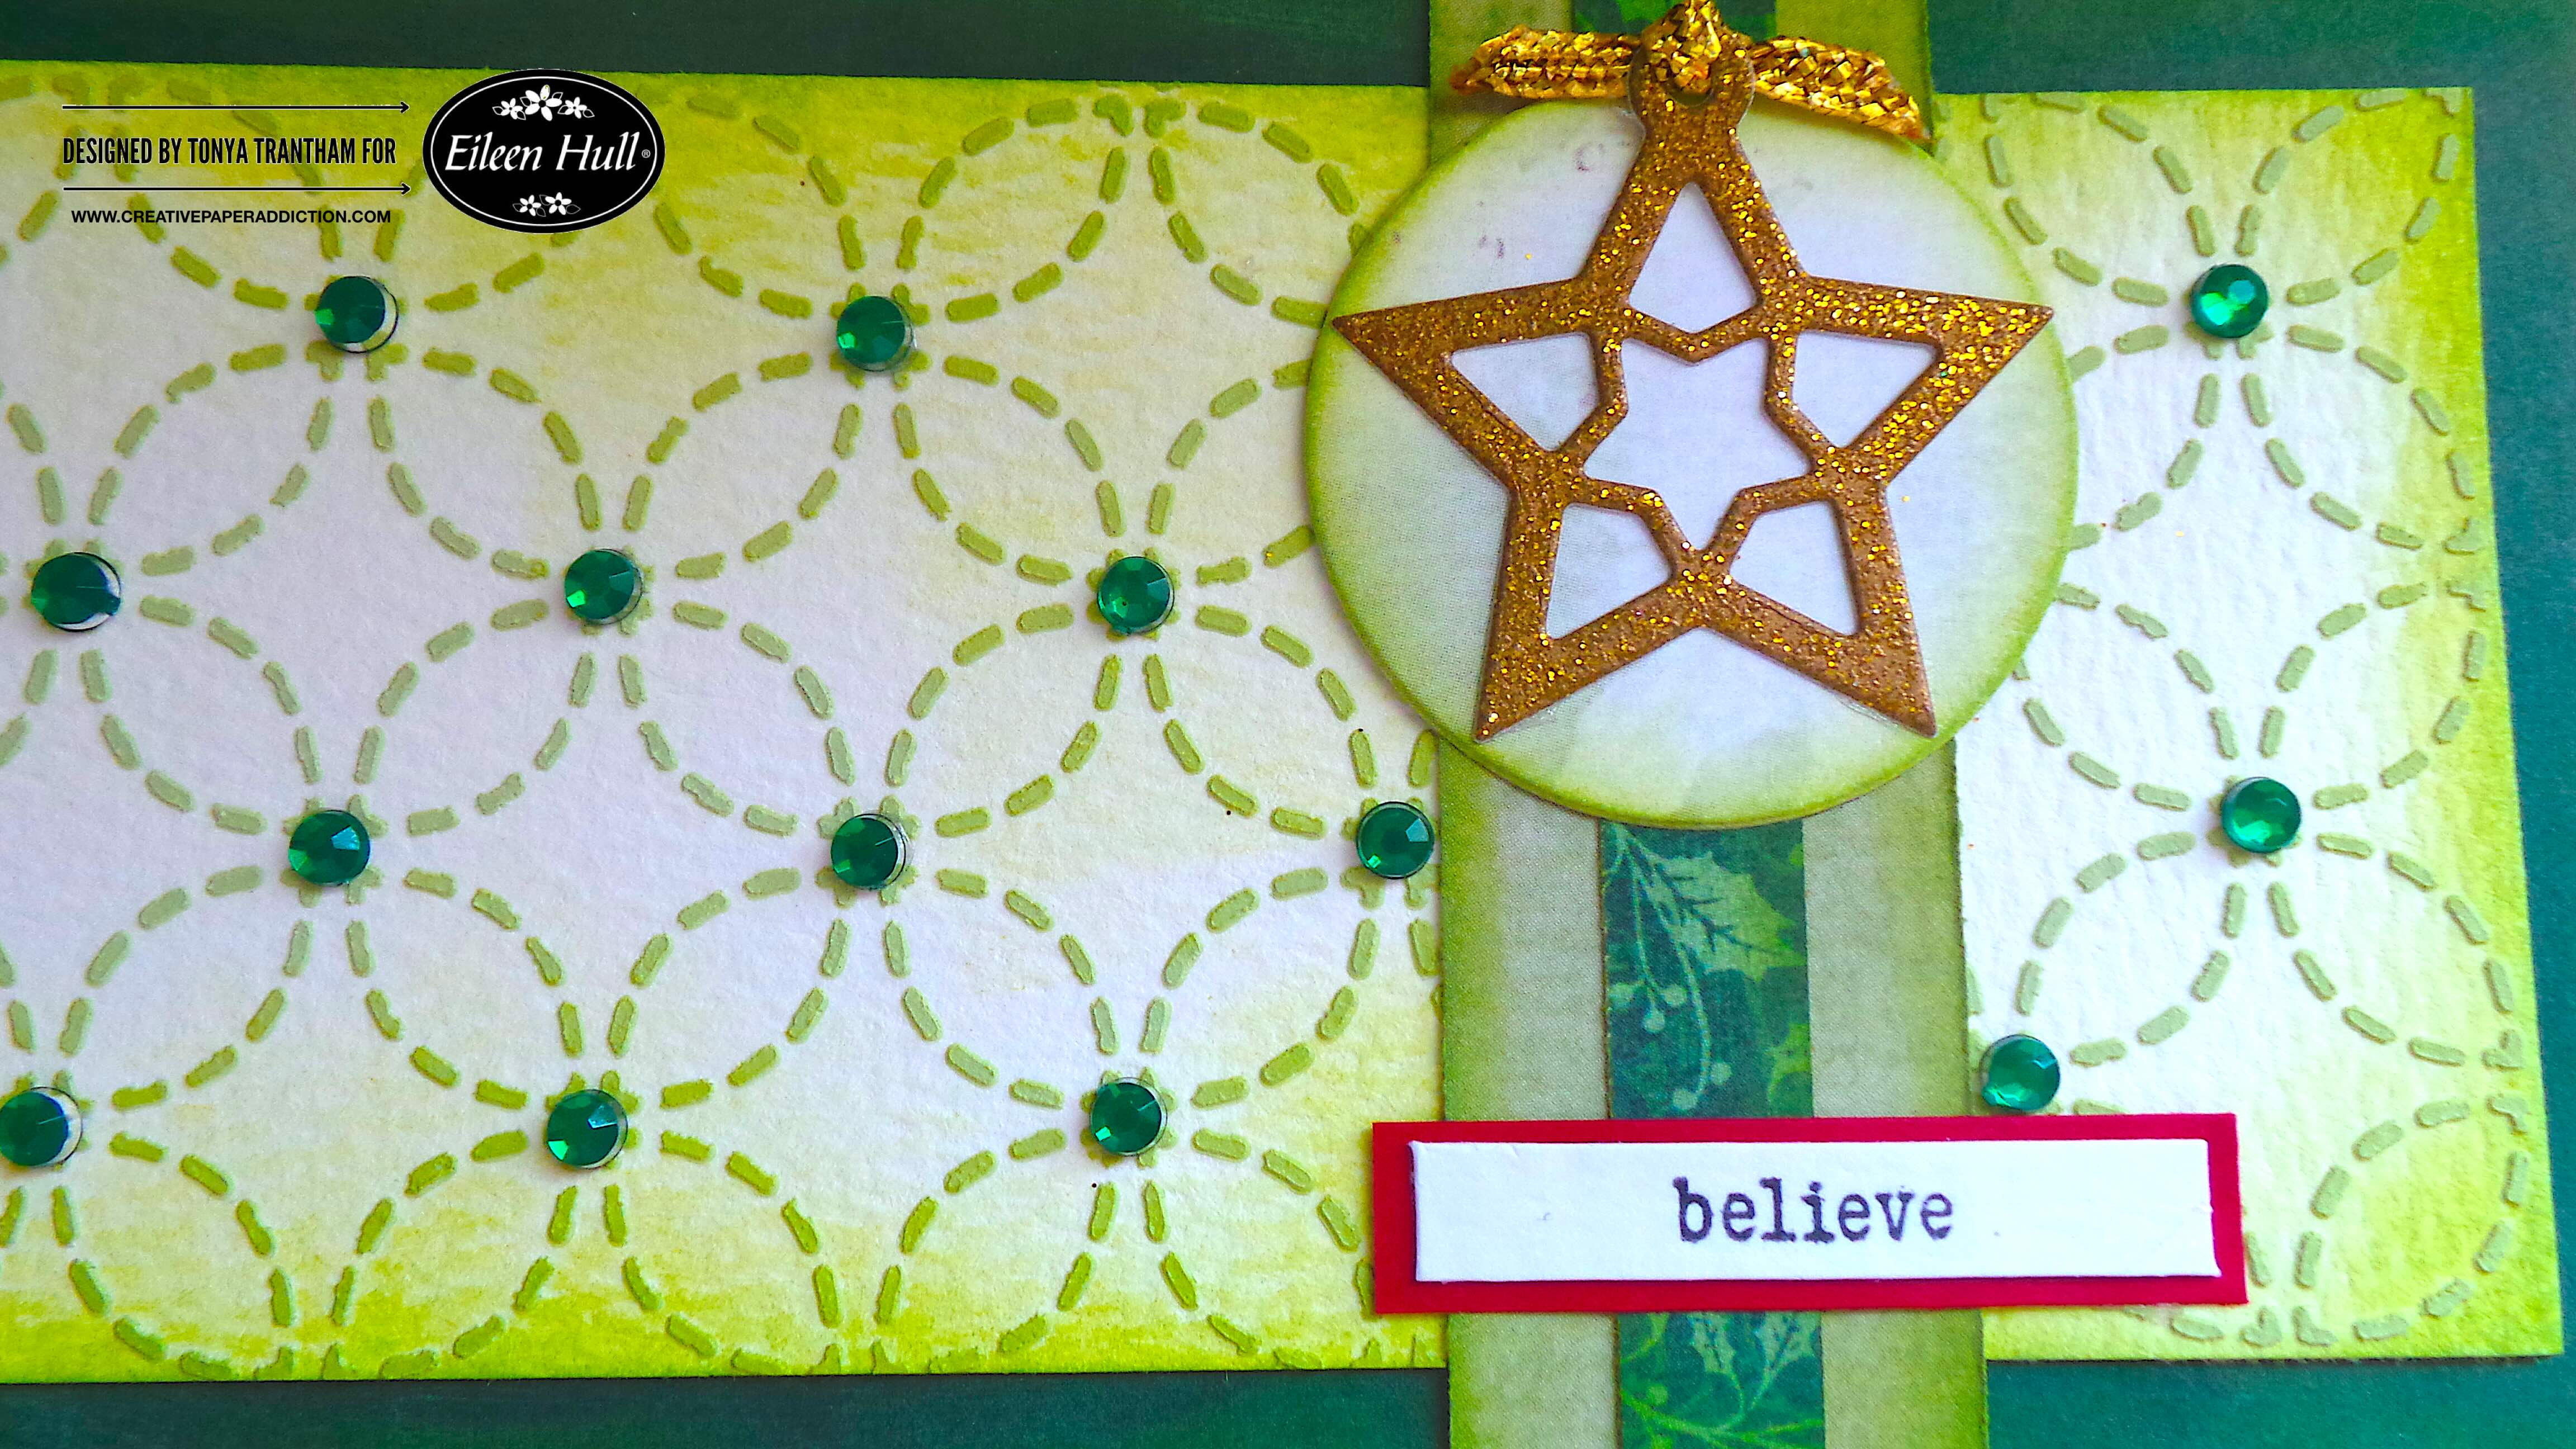
I cut and added a mat to the believe sentiment and glued to the card. I cut a star charm from the Charms Thinlits. Then, I added a piece of gold ribbon to the top of the star. Finally, I adhered it to the circle on the card.
Question, do you make cards or do you give store bought cards at Christmas time? Let me know in the comment section below. Also If you have any questions about this card leave a comment.
(Products listed above are Affiliated Links for your convenience)
DISCLAIMERS
This blog is compensated to provide opinion on products, services, websites, and various other topics. Even though the owner(s) of this blog receives compensation for our posts or advertisements. I always give my honest opinions, findings, beliefs, or experiences on those topics or products. The views and opinions expressed on this blog are purely my own. Any product claim, statistic, quote or other representation about a product or service should be verified with each manufacturer, provider, or party in question.This blog contains affiliate links, clicking and shopping through these links helps to support and run Tonya Trantham Designs – Creative Paper Addiction at no additional cost to you. Today’s features are Sizzix, Eileen Hull and Scrapbook.com Products.
Thanks for stopping by, hope your Sunday is wonderful and enjoy creating!
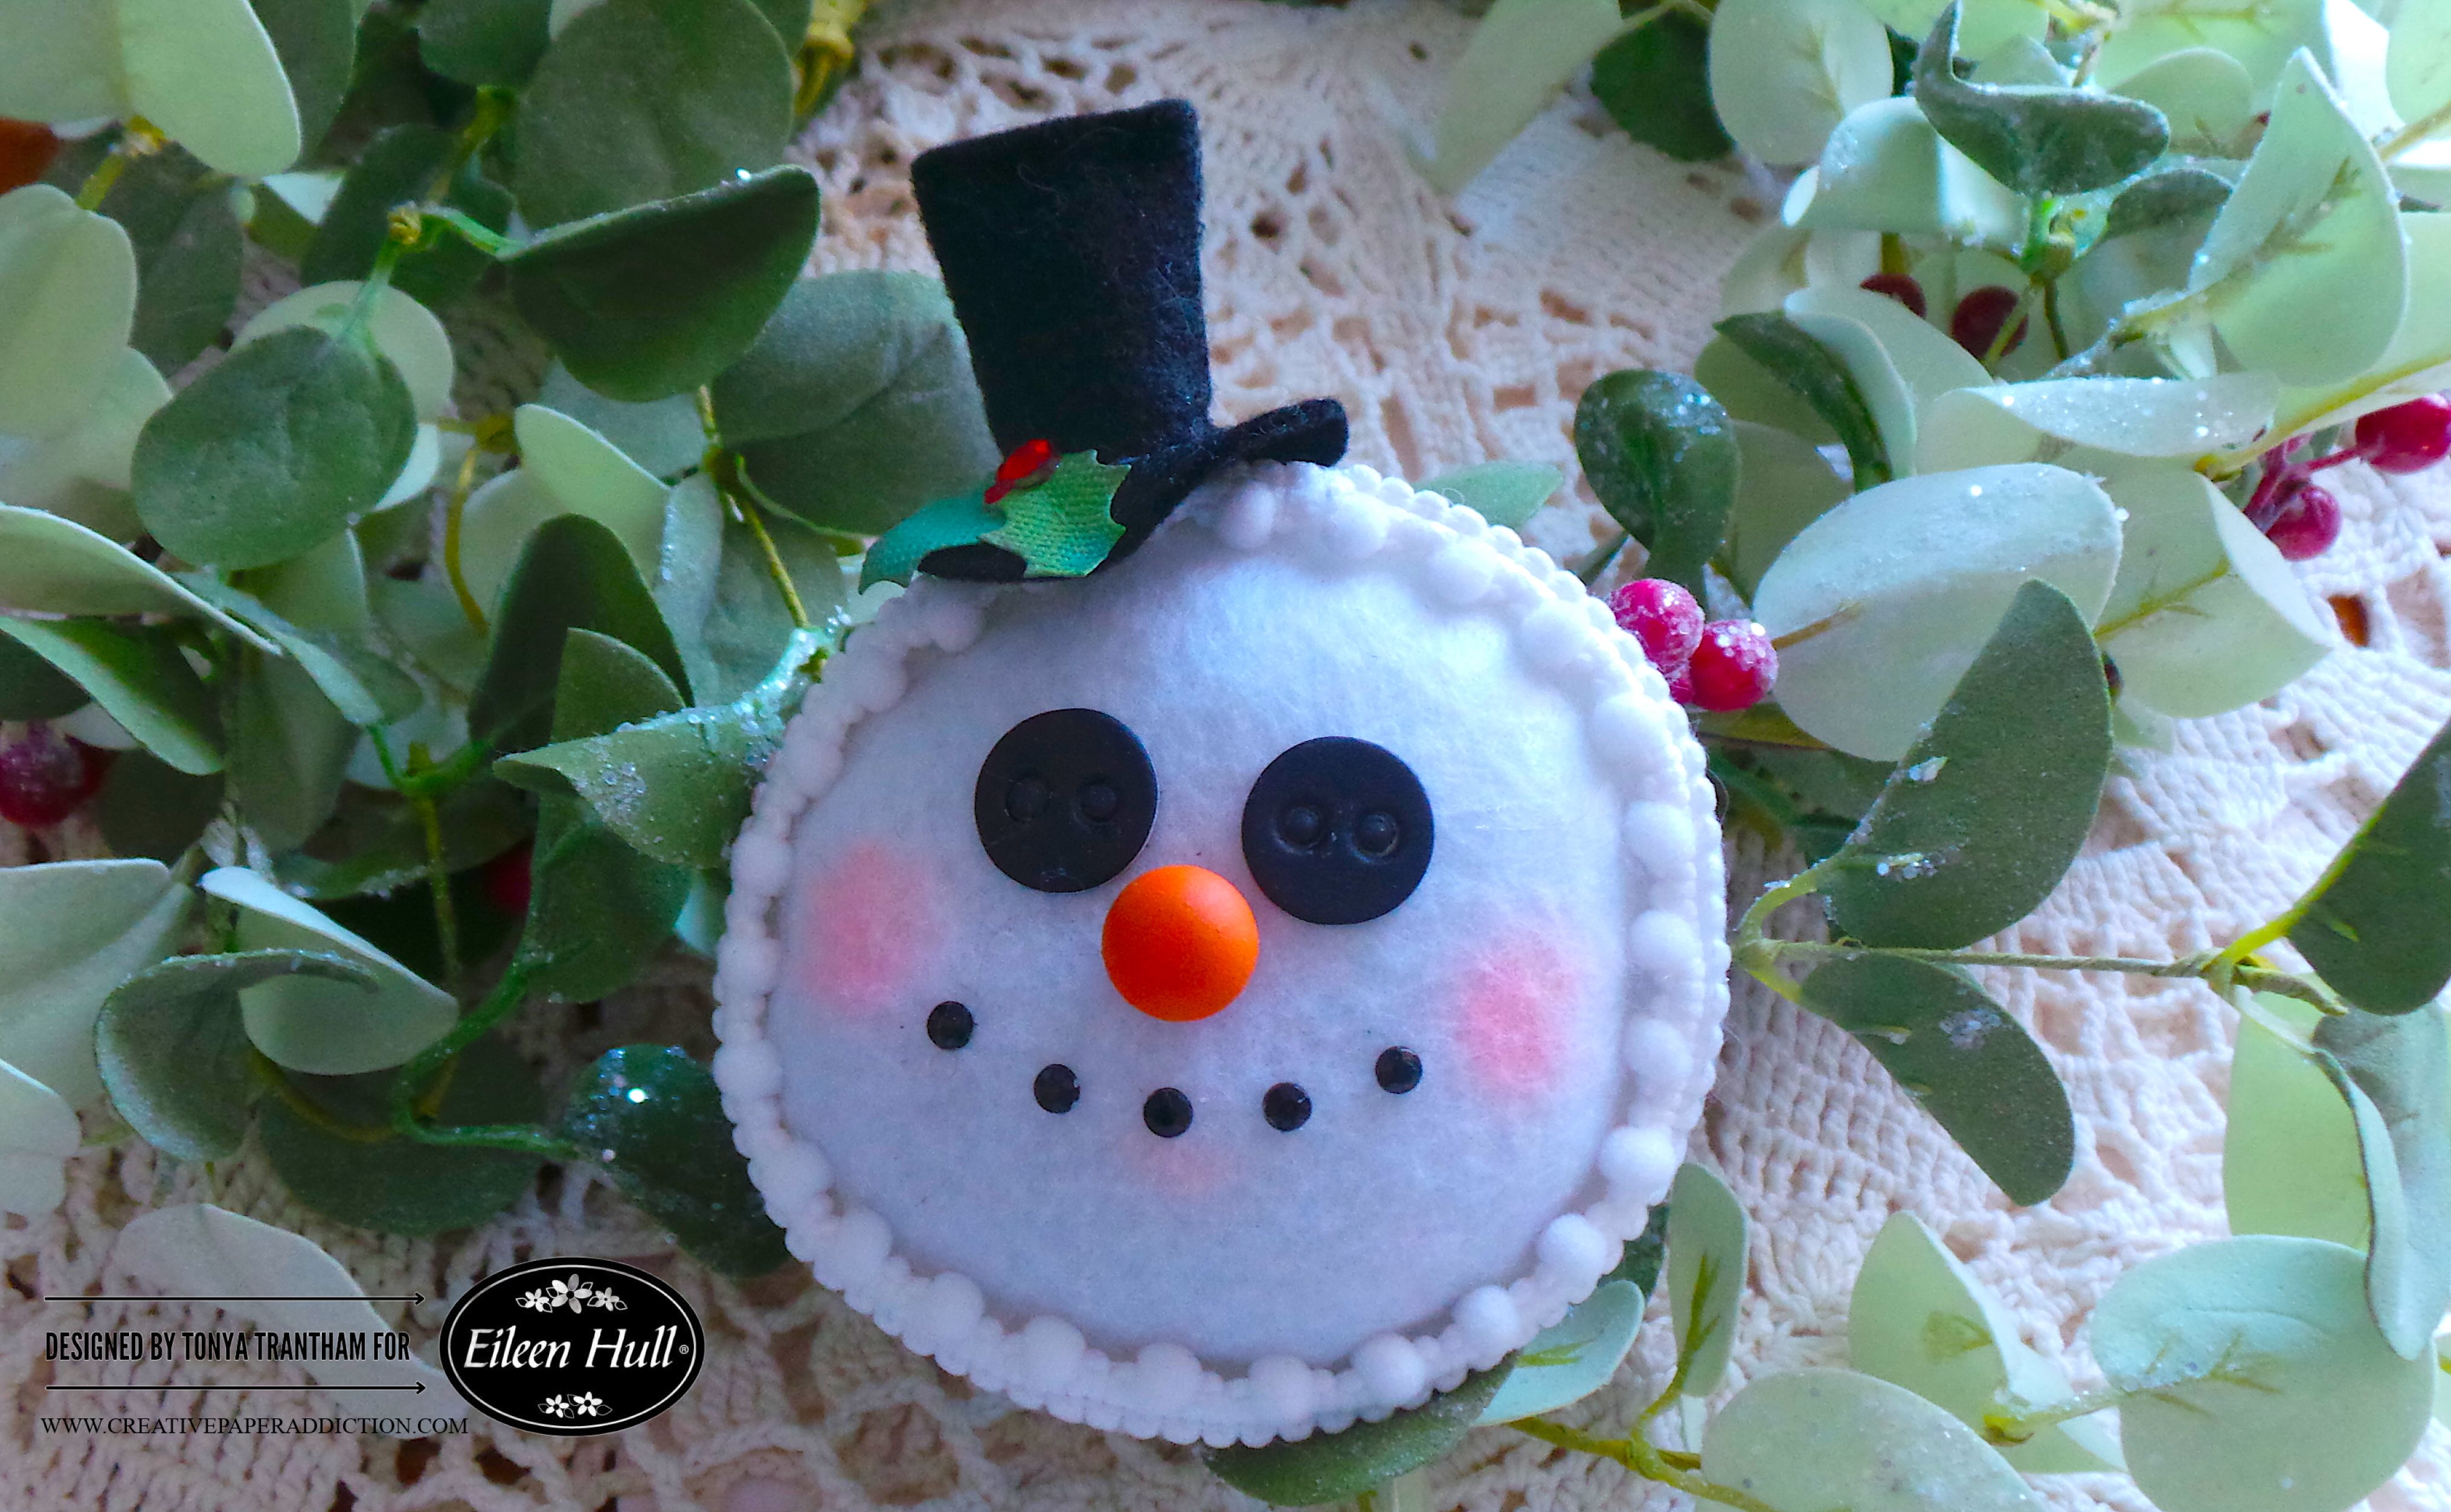
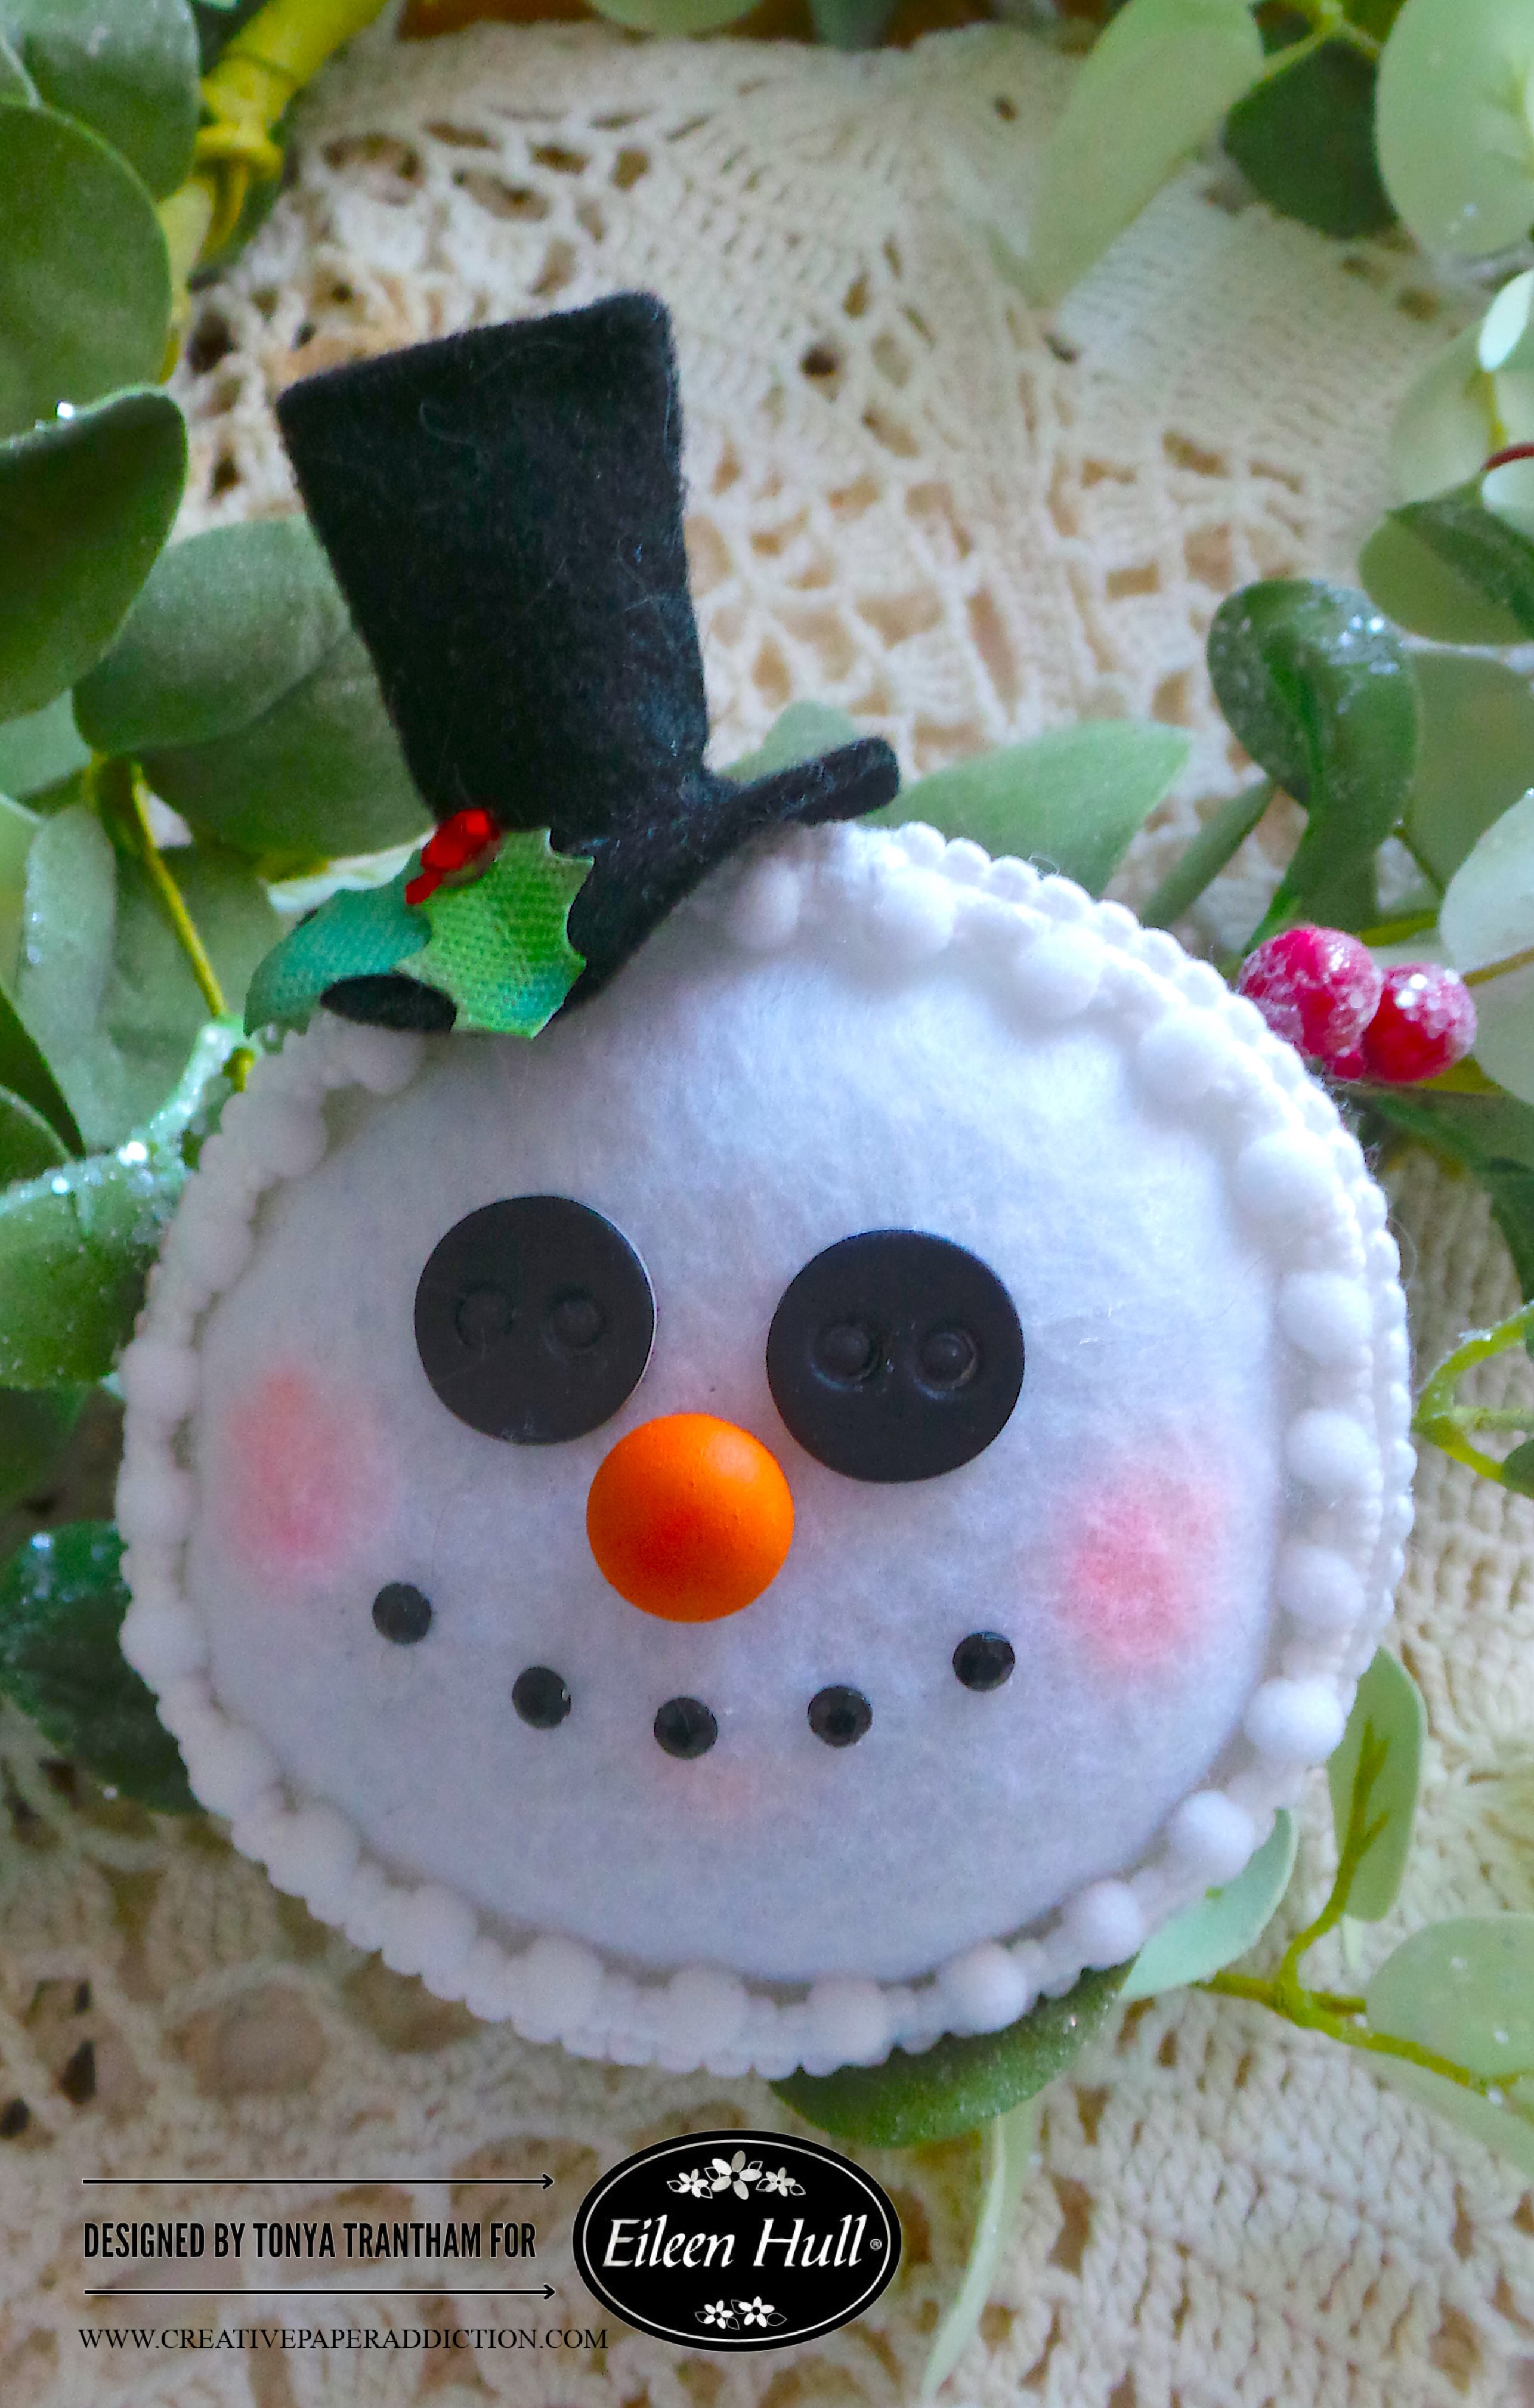
Hi everyone! If you haven’t heard, the Comfort and Joy Event hosted over on Eileen Hull’s Fan Club is still going on. Today, in the Fan Club Facebook group, I am sharing a how-to video. It provides a detailed guide on creating this snowman ornament. I used an assortment of diecuts and thinlits by Eileen Hull. In the group I have the complete supply so you can gather your supplies before watching the video.
The ONLY WAY to view this video is to be a member of Eileen’s fan club. If you aren’t a member of the fan club you can joinHERE (but sure to fill out the questions). It’s a fun group to share your Eileen Hull projects. You can ask questions and also see what craft projects Eileen will shares on her weekly Facebook Lives.
(Products listed above are Affiliated Links for your convenience)
DISCLAIMERS
This blog is compensated to provide opinion on products, services, websites, and various other topics. Even though the owner(s) of this blog receives compensation for our posts or advertisements. I always give my honest opinions, findings, beliefs, or experiences on those topics or products. The views and opinions expressed on this blog are purely my own. Any product claim, statistic, quote or other representation about a product or service should be verified with each manufacturer, provider, or party in question.This blog contains affiliate links, clicking and shopping through these links helps to support and run Tonya Trantham Designs – Creative Paper Addiction at no additional cost to you. Today’s features are Sizzix, Eileen Hull, Scrapbook.com and A Cherry on Top Crafts Products.
Thanks for stopping by, I hope your Thursday is great and enjoy creating!
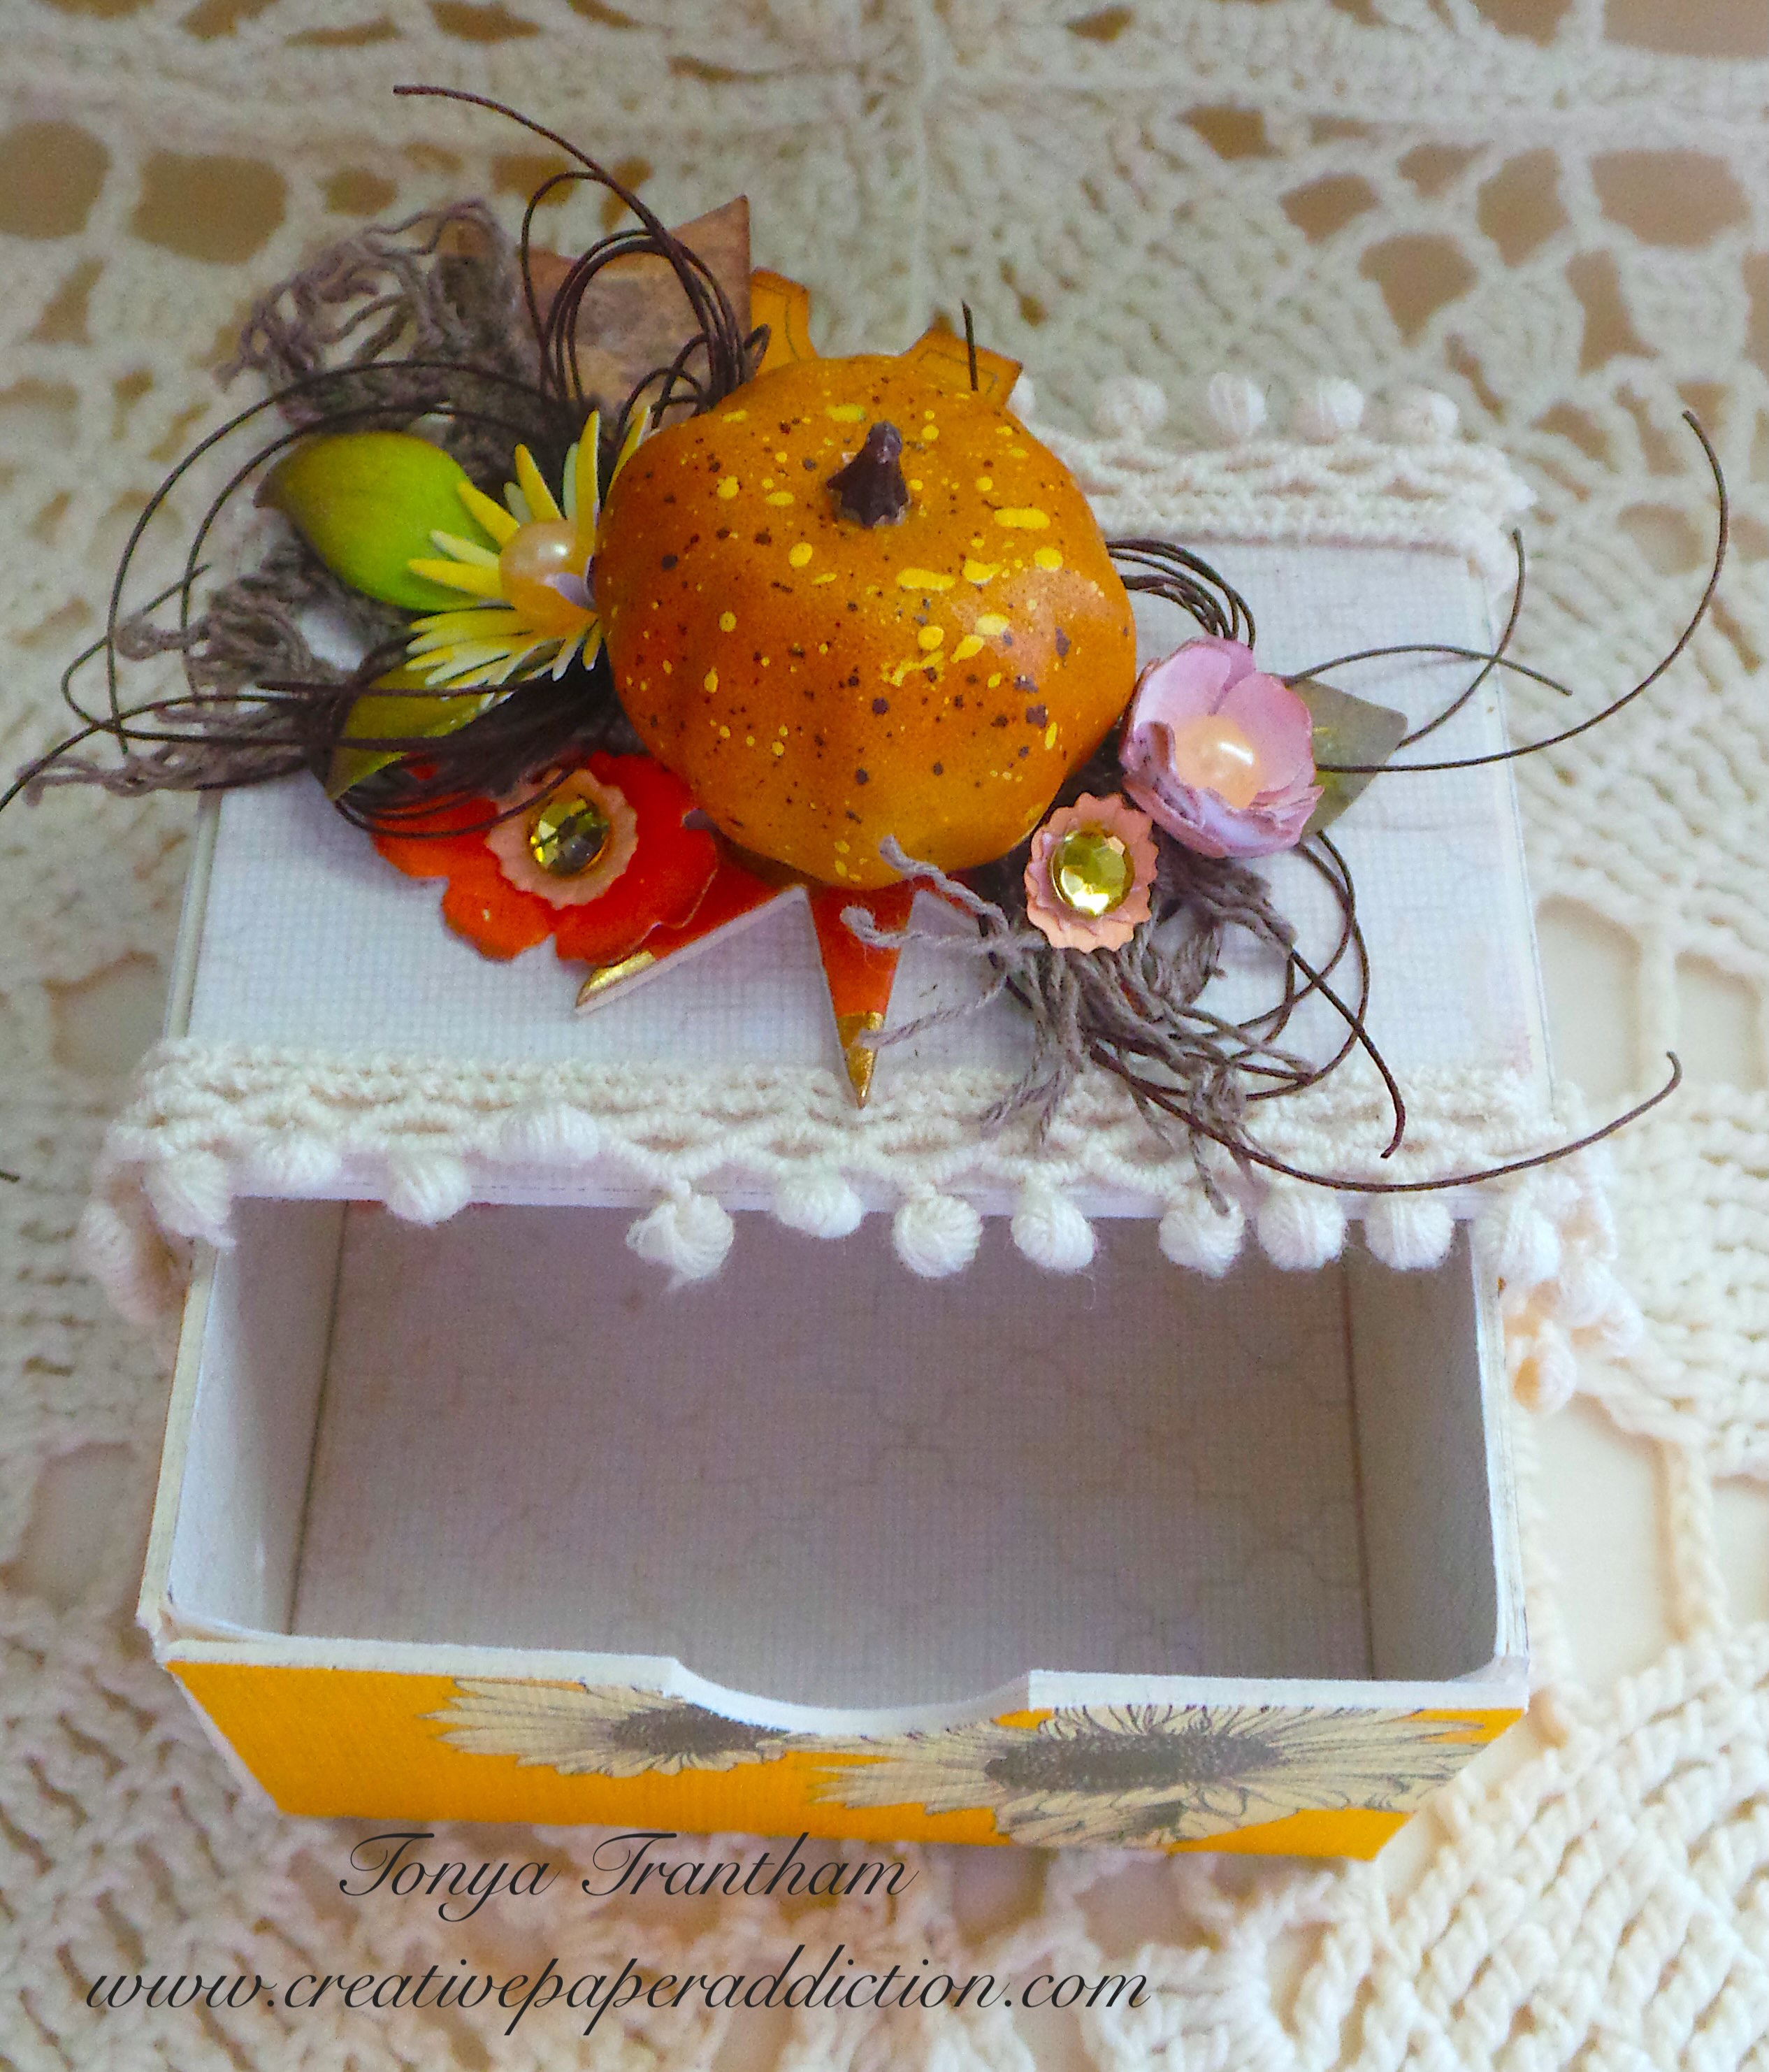
Hi everyone! I’ve been very busy behind the scenes doing things with family and working on upcoming projects for the Christmas season. I wanted to share a quick Autumn/Thanksgiving project. I created it using the Stacking Drawer Diecut and a few other dies by Eileen Hull. So let’s get started!
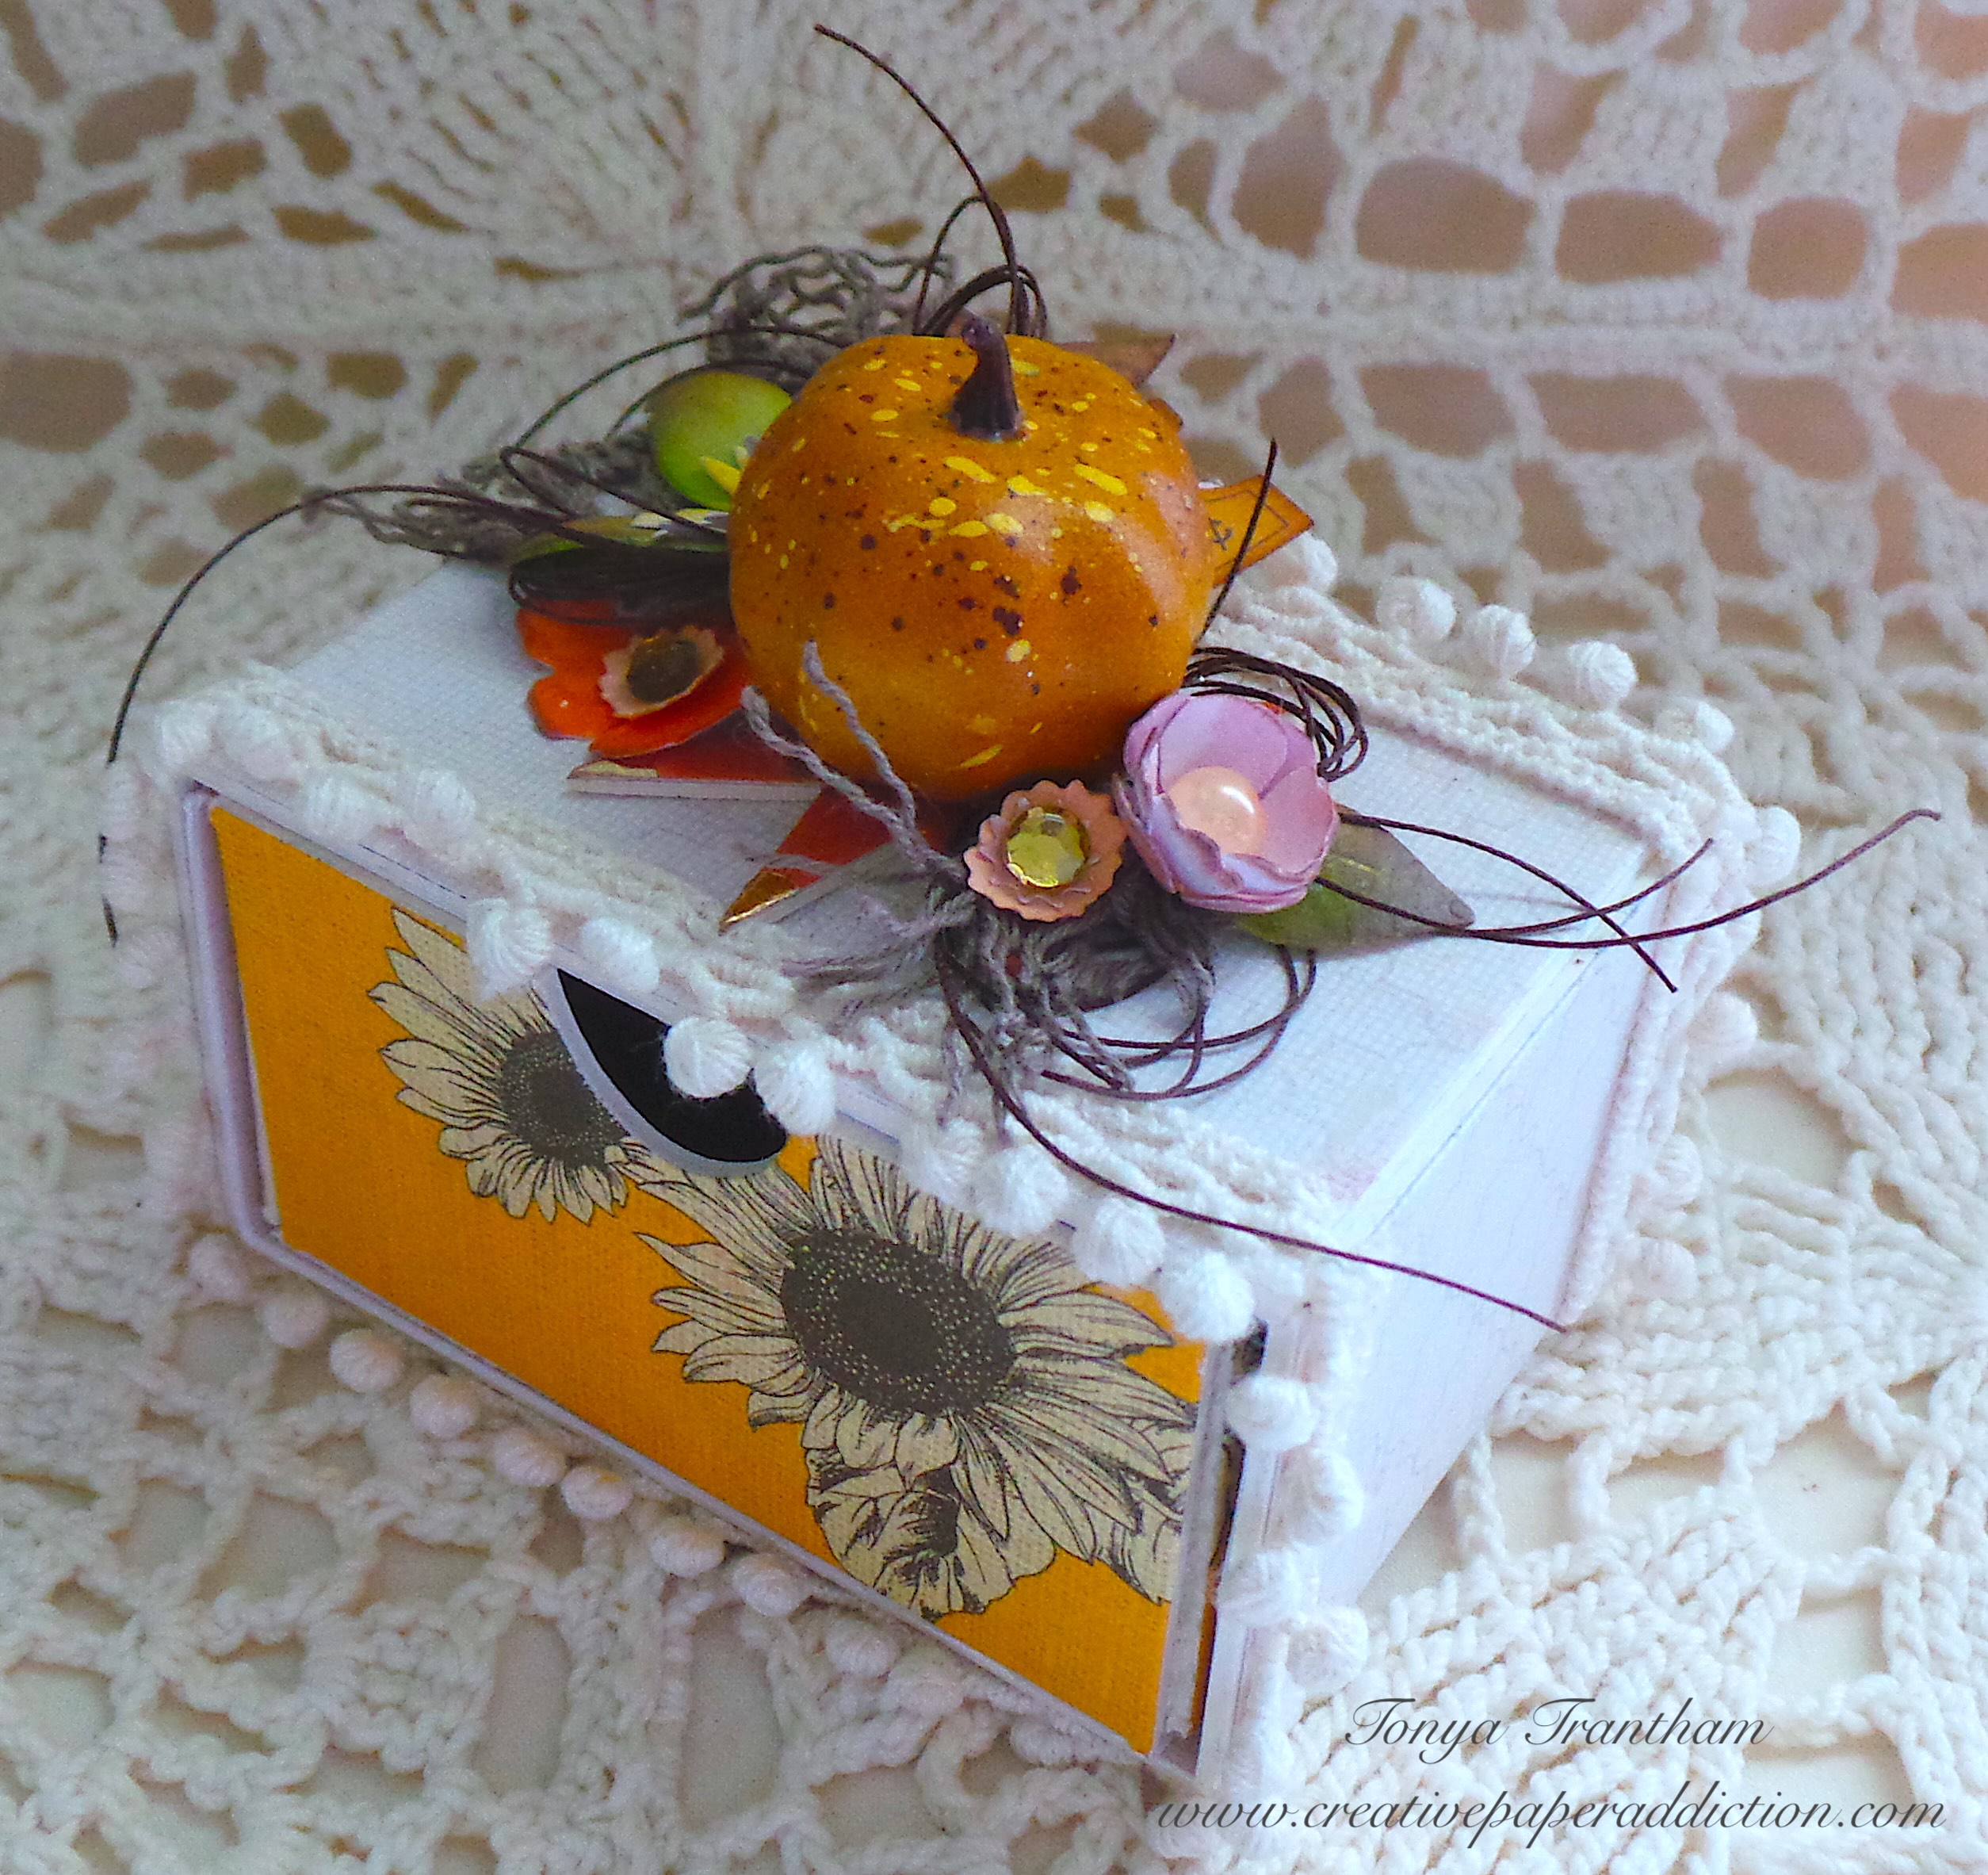
I covered a piece of Mat Board with some Adhesive. Then, I placed cardstock onto both sides of the mat board. I placed on top of the Stacking Drawers Diecut, sandwiched between the cutting plates and run through the Diecut Machine. I put it together with Zip Dry Adhesive and added Pom Pom trim to the sleeve of the drawer.
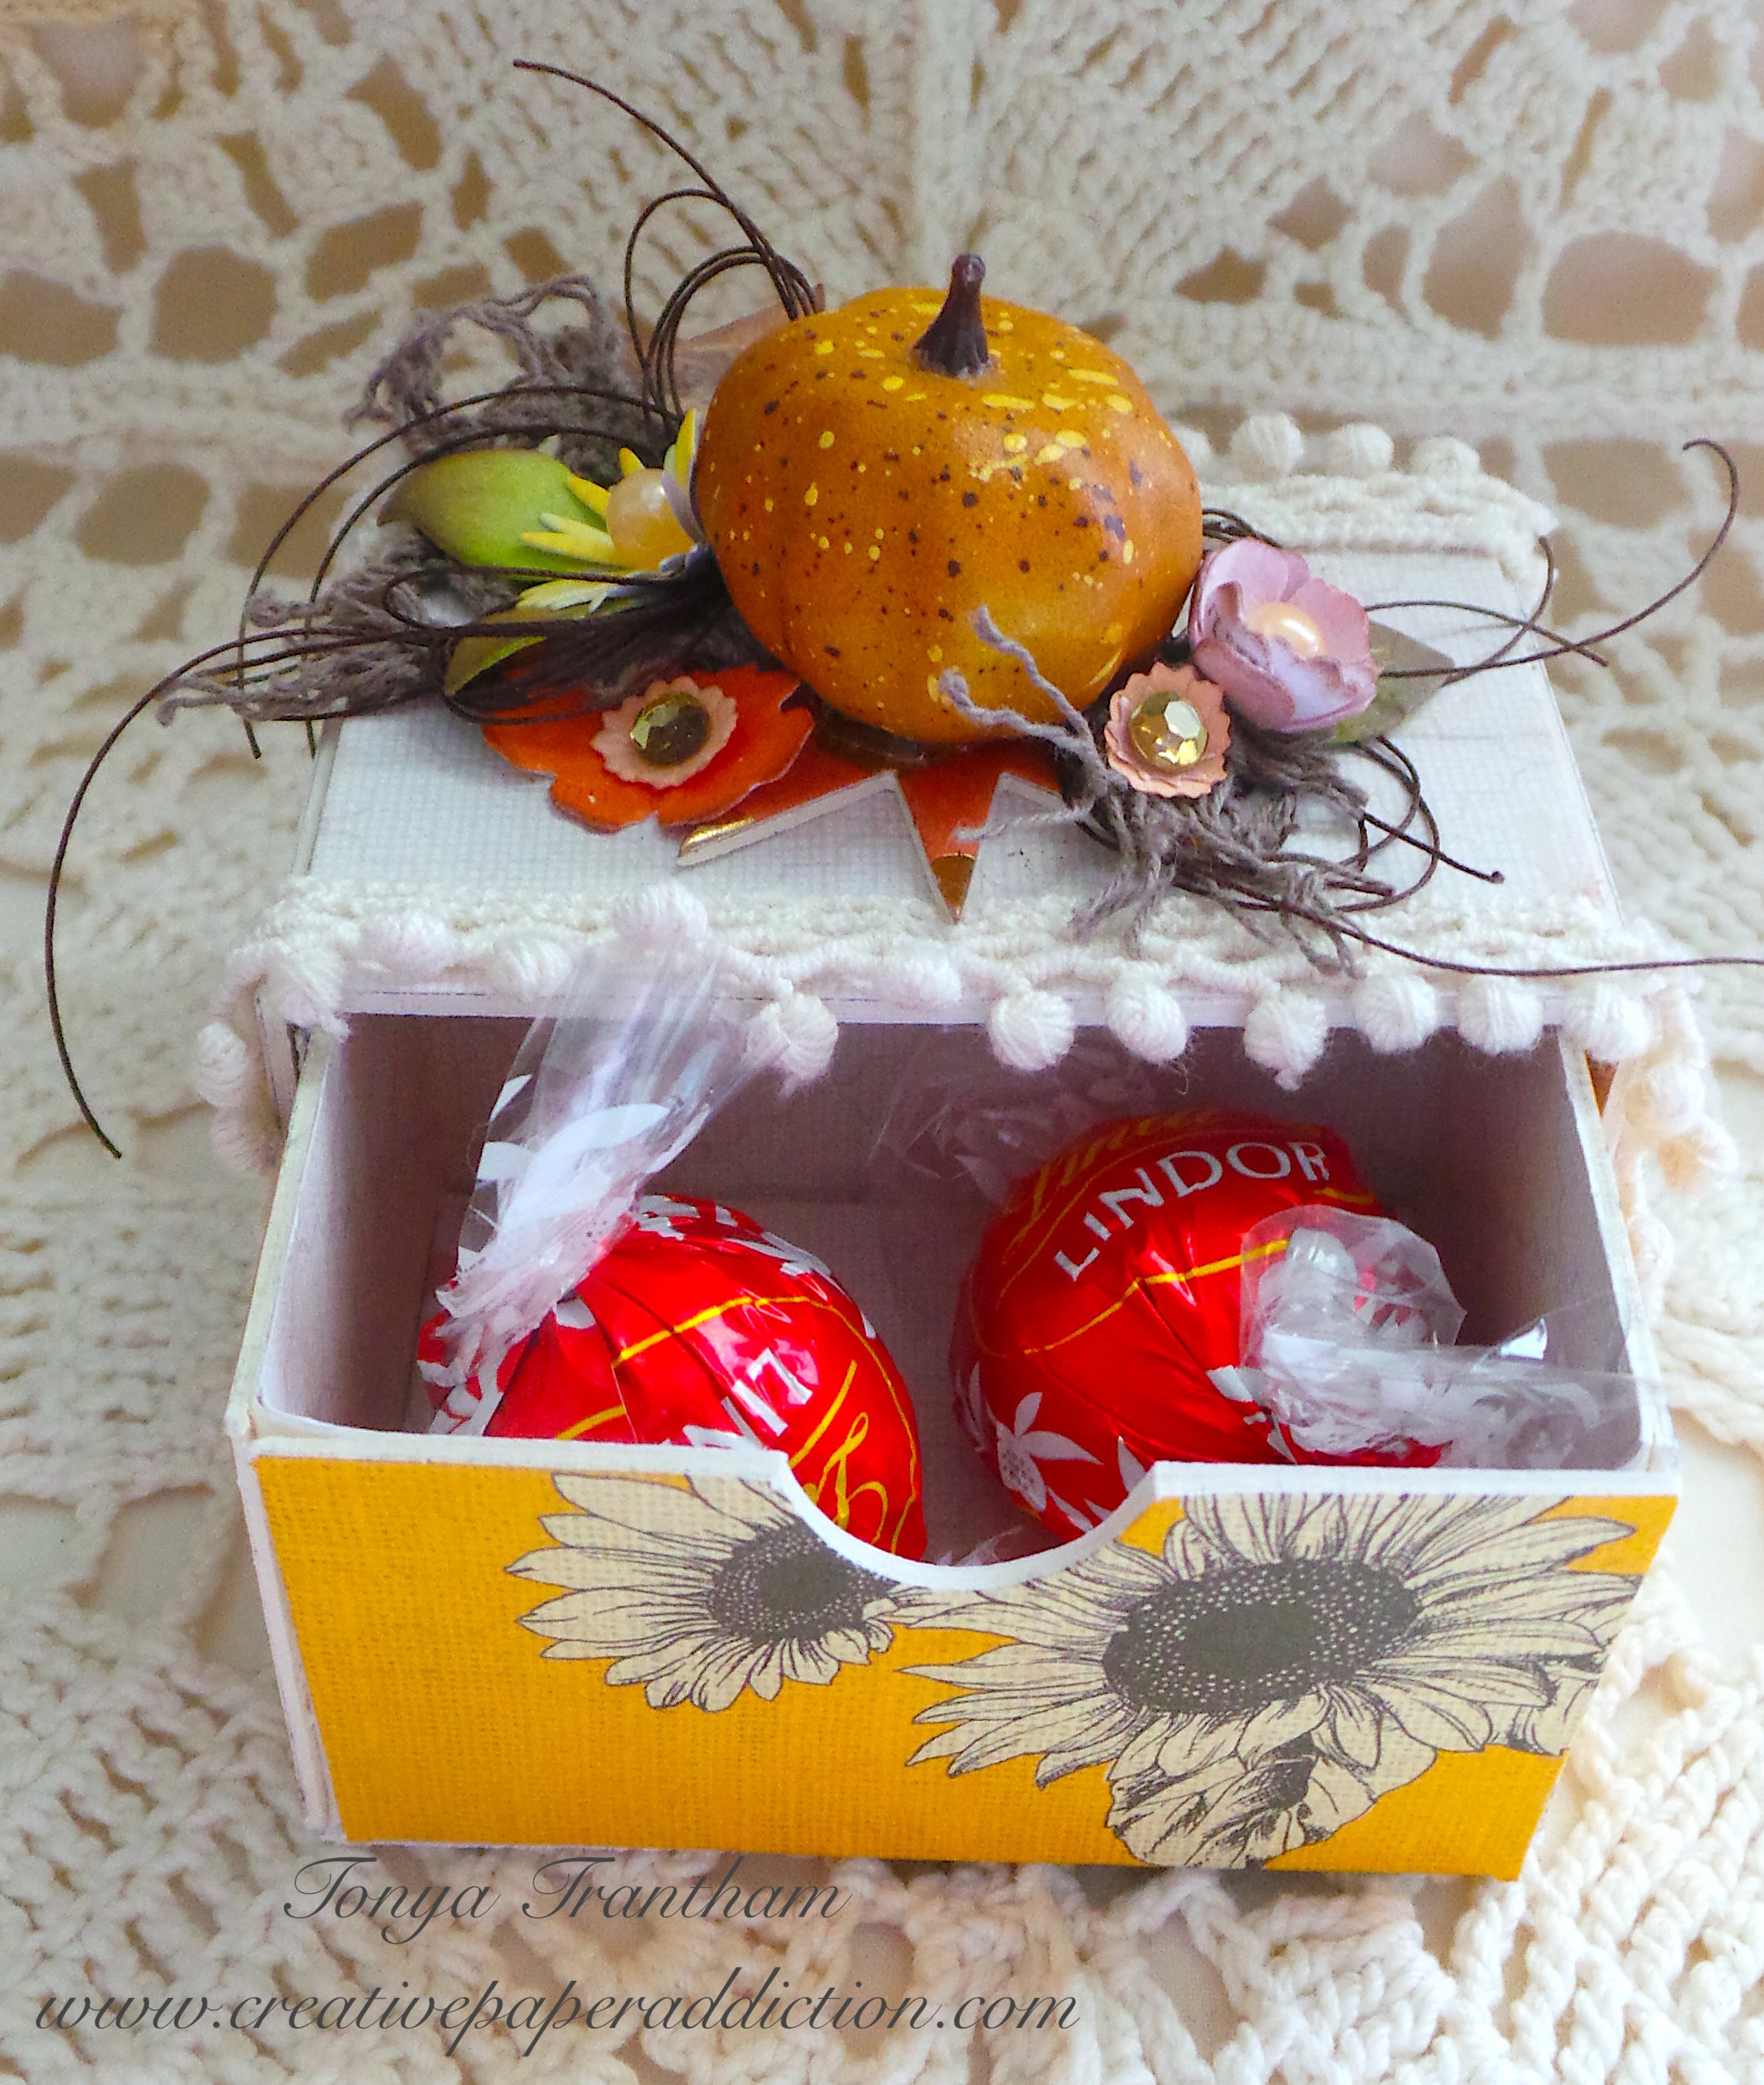
I glued the flowers and leaves together. I added a pronged diecut from the Geometric Box Diecut. Then, I adhered all flowers, leaves, lace, and thread to the top of the sleeves. I added gems and pearls to the center of each flower and a paper banner and ticket.
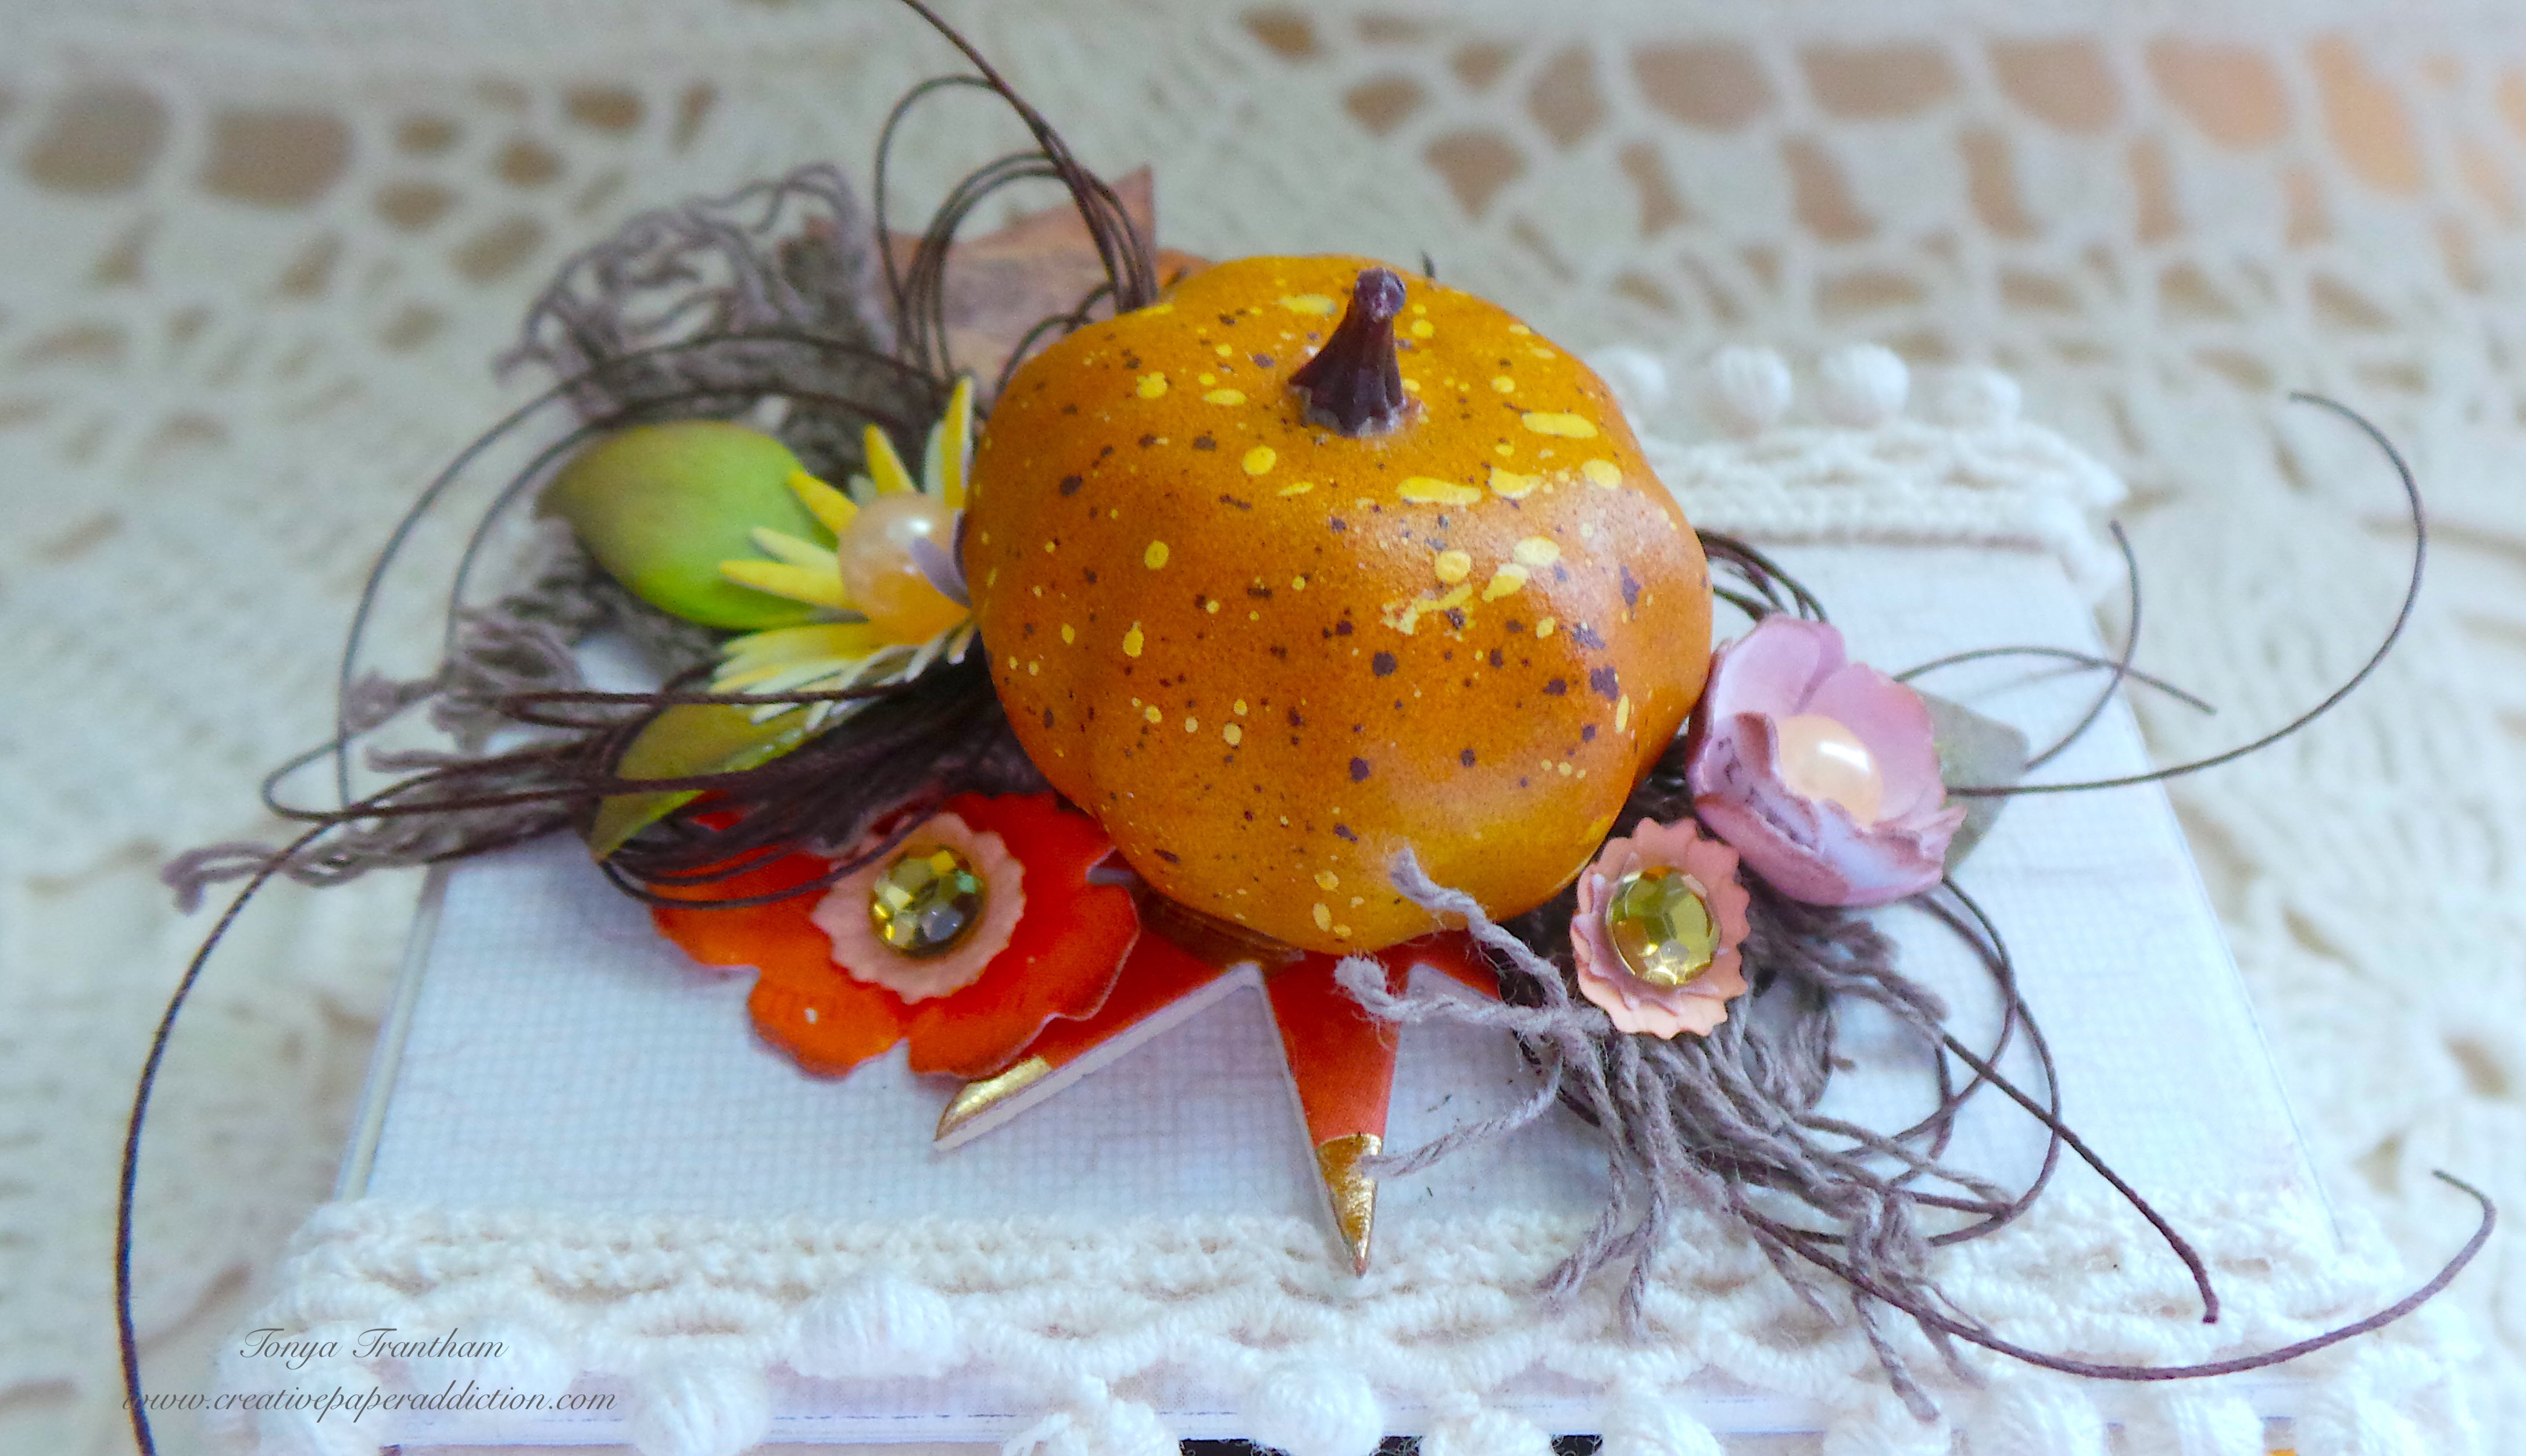
I added a tiny pumpkin from my stash to finish the sleeve.
It is the perfect size to add candy or other little goodies. It will look great as a place setting at a get together too.
This drawer is versatile and you can make these for any holiday or special occasion. If you have any questions or comments please leave them below.
(Products listed above are Affiliated Links for your convenience)
DISCLAIMERS
This blog is compensated to provide opinion on products, services, websites, and various other topics. Even though the owner(s) of this blog receives compensation for our posts or advertisements. I always give my honest opinions, findings, beliefs, or experiences on those topics or products. The views and opinions expressed on this blog are purely my own. Any product claim, statistic, quote or other representation about a product or service should be verified with each manufacturer, provider, or party in question.This blog contains affiliate links, clicking and shopping through these links helps to support and run Tonya Trantham Designs – Creative Paper Addiction at no additional cost to you. Today’s features are Sizzix, Eileen Hull and Scrapbook.com Products.
Thanks for stopping by, hope your Monday is awesome and enjoy creating!
It’s that time again! This Eileen Hull Sizzix release was designed with journaling in mind! If you have never journaled before, this collection of seven products is a great place to start! In it, you will find everything that you need to get going. If you have been journaling for a while, you will want to add these items to your stash. The pieces are very versatile. They will coordinate with many of the other dies you may already have. I’m also sharing some sneak peeks of projects I have created that will be shared in full later.
The base die is the 5” x 5” x 1” Mini Album Diecut. It is a Scoreboard die specially designed to cut and score thick material. It cuts in one pass, making it so easy and quick! You can also use this die to cut the pages that go inside.
They cut pockets, bookmarks, embellishments, paper clips, charms, and extras. These can be used to decorate the pages of the book.
There is a stamp set called Fan Favorites Stamps. It includes 61 words and phrases. You can use them inside the book, on cards, and tags!
Plate and Pattern Layered Stencils is a four layer stencil- each layer may be used separately or all together. Create page backgrounds or use on your gel plate. You can outline and stitch the design on fabric. Another option is to trace shapes and fill them in with watercolor. The Floral Damask 3D Embossing Folder is a multi-level 3D embossing folder. It creates a beautiful background. It’s useful for journal pages, cards, and tags!
Join me and the team in exploring these products at our Release Party on October 22 at noon Eastern Time. We will stream it on Facebook, Instagram and YouTube @eileenhull! You will see lots of great ideas and inspiration from the amazingly talented Team. You can also ask any questions you may have. If you miss it live, you can watch on replay. There will be prizes and lots of fun- please come!
We will also be working with these dies on weekly livestreams- Tuesdays at 6:00 ET and Thursdays at 4:00.
If you haven’t already signed up for the newsletter, please do. That’s where you’ll get all the latest news, upcoming events, coupon codes and special offers.
The first email newsletter went out tonight-please feel free to subscribe to get the latest links and inside scoop. You can sign up HERE for the newsletter.
(Products listed above are Affiliated Links for your convenience)
DISCLAIMERS
This blog is compensated to provide opinion on products, services, websites, and various other topics. Even though the owner(s) of this blog receives compensation for our posts or advertisements. I always give my honest opinions, findings, beliefs, or experiences on those topics or products. The views and opinions expressed on this blog are purely my own. Any product claim, statistic, quote or other representation about a product or service should be verified with each manufacturer, provider, or party in question.This blog contains affiliate links, clicking and shopping through these links helps to support and run Tonya Trantham Designs – Creative Paper Addiction at no additional cost to you. Today’s features are Sizzix, Eileen Hull and Scrapbook.com Products.
Thanks for stopping by, hope your Tuesday is great and enjoy creating!
Hi everyone! I’m back this week with a Christmas themed project using the Stacking Drawer Diecut by Eileen Hull. I am also playing along with Sizzix’s #12DaysofSizzix on Instagram. Each day on Instagram there’s a different theme and today’s theme is “Last Minute Gifts”. There is lots of inspiration being shared each day and the best part there will be prizes. Anyways, let’s get started!
I butted the “sleeves” openings against each other. Then, I glued a strip around the center to create an “extra long sleeve”.
I cut two strips of patterned cardstock and wrapped/glued around the “sleeve”.
I cut the circle from the Ornament Box Diecut (retired). I lightly inked it with brown chalk ink. Then, I adhered it to the top of the “sleeve”.
As the same steps as with the “sleeve” I cut two drawers and put those together. A side note, I “peel” the cardstock/chipboard from the tabs. This helps the tabs lay flatter when gluing the bottom into the drawer. I cut two bottoms from cardstock and glue one inside of each box.
I glued the drawers back to back. I measured and cut a piece of cardstock to cover the bottom of the drawers.
I cut out a Santa and all the coordinating pieces from the Doodle Christmas Thinlits. I used an adhesive sheet for the small pieces. It made putting the Santa together so much easier. I also lightly inked areas of the Santa to add a little dimension. I glued the Santa to the top of the “sleeve”.
I cut a few snowflakes from the Doodle Christmas Thinlits. I added them to the “sleeve” along with a gem and enamel dot to the center of each. I finished by adding some clear sequins around the Santa.
I added chocolate to the drawers but it would be great for jewelry and trinkets too. It’s the perfect last minute gift!
If you made one of these matchboxes, what would you put inside of it? Let me know in the comments below.
Reminder, check out and play along on Instagram with Sizzix. Be sure to use the hashtag #12DaysofSizzix if sharing a project on your Instagram page. And don’t forget about a chance that you could win some great prizes.
Also if you haven’t been by Eileen Hull’s blog lately you can find her HERE.
(Products listed above are Affiliated Links for your convenience)
DISCLAIMERS
This blog is compensated to provide opinion on products, services, websites, and various other topics. Even though the owner(s) of this blog receives compensation for our posts or advertisements. I always give my honest opinions, findings, beliefs, or experiences on those topics or products. The views and opinions expressed on this blog are purely my own. Any product claim, statistic, quote or other representation about a product or service should be verified with each manufacturer, provider, or party in question.This blog contains affiliate links, clicking and shopping through these links helps to support and run Tonya Trantham Designs – Creative Paper Addiction at no additional cost to you. Today’s features are Sizzix, Eileen Hull and Scrapbook.com Products.
Thanks for stopping by, hope your Tuesday is great and enjoy creating!
Hi everyone! I’m back with a quick and easy project this week! I created tags using the smallest tag from the Waterfall Card and Tags Thinlits by Eileen Hull. I was in the moment so there’s no step out photos of the project. Anyways, let’s get started!
I cut a total of three tags from the smallest tag die. I “backed” the floral tag with a pink tag since the cardstock was not double sided.
This is a great way to use up those tiny scraps of cardstock that you don’t want to throw away.
I add layers of paper scraps to the tag. Both sides of this tag I used the Mini Paper Dolls to adorn each tag. I dug into my stash. I added a mini flower with a Pink Gem and leaf to one side of the tag. The other side I placed a paper flower with an Enamel Dot to the center. I added a bow made of thread to finish the tag.
The tag with the little boy paper dolls I kept simple.
I glued an assortment of paper scraps to each side of the tag. On one side I did add three Gray Gems and the sticker “Henry”. I also used the sticker “my little girl” on the other tag.
I hope this inspires you to dig out those scraps and create your own tags. It’s so satisfying to use what you have instead of going out and buying more craft supplies. Also if you haven’t been by Eileen Hull’s blog lately you can find the latest post HERE.
(Products listed above are Affiliated Links for your convenience)
DISCLAIMERS
This blog is compensated to provide opinion on products, services, websites, and various other topics. Even though the owner(s) of this blog receives compensation for our posts or advertisements. I always give my honest opinions, findings, beliefs, or experiences on those topics or products. The views and opinions expressed on this blog are purely my own. Any product claim, statistic, quote or other representation about a product or service should be verified with each manufacturer, provider, or party in question.This blog contains affiliate links, clicking and shopping through these links helps to support and run Tonya Trantham Designs – Creative Paper Addiction at no additional cost to you. Today’s features are Sizzix, Eileen Hull and Scrapbook.com Products.
Thanks for stopping by, hope your Friday is wonderful and enjoy creating!
Hi everyone! Even though we are now in September. I want to share a file folder that I had altered and turned into a summery journal. I actually had this finished and ready to share a couple of months ago. My dad passed away, and it’s been hard to get back into the swing of things. But I’m getting there. I didn’t do any step out photos of the process…sorry. Anyways let’s get started!
The file folder I measured and folded. I folded the top of both sides into the inside of the cover. This created tuck spots. I glued the bottom edge of both tuck spots to the inside cover.
I tucked some notebook paper to the back cover. I had cut it down and added a rub on from the 49 and Market: Rouge Collection.
The front inside tuck spot. I added glue to either end of a cut a part. This was done after I had decorated the cover…details of the cover will come later.
I added a couple journaling cards to the belly band. I also added another piece of notebook paper with rub ons to the tuck spot.
The cover of journal measures 6″x11 1/2″ after folding the tuck spots to the inside of the journal. I gathered up an assortment of cardstock, grid paper, large doily and watercolor paper. I cut to fit and folded in half before punching holes, in the fold of all pages and the cover. I threaded a needle with cording and stitched all together. I tied off on the outside of the cover.
I tied seam binding and fiber to cover where I had tied off on the spine. I also adhered trim to the back and front cover.
The cover I adhered a rectangle doily that I glued to the cover. The extra bit of the doily I wrapped and glued to the tuck spot of the inside. I dug into my stash of paper diecuts. I added a bingo card, frame and a floral image to the cover.
For the inside pages, I used an assortment of paper diecuts and embellishments.
I used one of the journaling cards as a tuck spot.
The two pages in one I thought was pretty cool.
I loved adding the bright green doily as a page to the journal. I also used a parking garage ticket as a tab on a page.
I used a sheet of watercolor paper in the journal. On the back side of the page, I fussy cut out a floral image from a scrap piece of cardstock. I adhered two of the sides to the page to create a pocket. I added scraps of cardstock as journaling spots to the pocket.
User comments
I used a journaling card that had a perforated edge. Instead of tearing it from the booklet it was in I carefully removed it with the perforated edge intact. I adhered to the top of the page. I added a strip of cardstock to cover where I tore it from the booklet.
I glued a journaling card along the bottom and added to the middle of the page. I created a tuck spot. I added a scrap of cardstock. I also included a journaling card and a paint chip. I had picked up the paint chip in the paint department at Walmart. These items were added to the tuck spot.
I added glue to the bottom of the “Good Times” cut a part. I placed it on the bottom of the page to create a tuck spot. I added a scrap of cardstock to the pocket.
I added a small Polk a dot paper bag to the side of the page. I secured it by adding washi tape to the page and bag. I glued a sentiment to the bag along with a butterfly embellishment. I placed a decorative journaling card inside of the bag.
I created another tuck spot with a decorative card from my stash.
I filled the tuck spot with journaling cards and scraps of cardstock.
More tuck spots and a flip up card for journaling or adding photos.
I dug into my stash and found this little felt flower and paper leaves I had not used. I thought it was a perfect addition to the page. On the opposite page, I glued another journaling card to the corner. I also added a scrap of cardstock with a sentiment.
The last page in the journal I adhered a butterfly diecut to the top of the page to finish.
This journal was so much fun to put together! If you don’t have file folders laying around your home, you can find them at places like Walmart and Target. You can also check your local office supply stores. For the rest, use what craft supplies you have on hand! You will be surprised how quick one of these journals comes together.
(Products listed above are Affiliated Links for your convenience)
DISCLAIMERS
This blog is compensated to provide opinion on products, services, websites, and various other topics. Even though the owner(s) of this blog receives compensation for our posts or advertisements. I always give my honest opinions, findings, beliefs, or experiences on those topics or products. The views and opinions expressed on this blog are purely my own. Any product claim, statistic, quote or other representation about a product or service should be verified with each manufacturer, provider, or party in question.This blog contains affiliate links, clicking and shopping through these links helps to support and run Tonya Trantham Designs – Creative Paper Addiction at no additional cost to you. Today’s features are Scrapbook.com Products.
Thanks for stopping by, hope your Friday wonderful and enjoy creating!
Hi everyone! I’m back this week with part two of the “What’s in the box?”-The Treasure Box that is! I created a journal with the bottom half of the Treasure Box Diecut. It actually fits inside of the project that I shared last week. If you missed that post you can find it HERE. Anyways, let’s get started!
First, I cut out two of the bottom halves and a partial from the Treasure Box Diecut. I puzzled out how I was going to put the journal together. Then, I ditched the partial piece I cut out.
Next, I measured an inch from the tab, marked with a pencil and cut off.
I glued one of the side tabs to the other cover. This was when I realized I needed to cut down the height of the journal. I measured an inch from the crease in the cover, marked with a pencil and cut. I did this on both ends of the cover.
I glued the tabs to each end of the cover. I cut one of the flaps down even more. I did this so the closure with Brads would close.
I used the Bookbinding and Label Thinlits and cut one hinge out. I cut in half and use both to create the hinge for the inside of the journal.
I used an assortment of cardstock, vintage book pages and dies for the base of the inside pages.
I used the medium size tag from the Waterfall Card and Tags Thinlits through out the journal. I decorated with bits of lace, scraps of cardstock, and premade flowers. I also used leaves and a mini person from the Mini Paper Dolls.
I created a little pocket that I stuffed with a file folder and mini journaling cards.
I used the mini envelope as a pocket and stuffed with folded cardstock and tags.
I embossed a piece of cardstock with the Lace Embossing Folder. I lightly inked with chalk ink and added a circle punch and a button to the front and tags inside.
I love how all the pages turned out!
I used lace, ric rac, various cardstocks and a fussy cut feather to decorate the cover. I finished by adding loops of thread and a premade flower.
If you haven’t been by Eileen Hull’s blog lately, see what her team has created with the Treasure Box Diecut.
(Products listed above are Affiliated Links for your convenience)
DISCLAIMERS
This blog is compensated to provide opinion on products, services, websites, and various other topics. Even though the owner(s) of this blog receives compensation for our posts or advertisements. I always give my honest opinions, findings, beliefs, or experiences on those topics or products. The views and opinions expressed on this blog are purely my own. Any product claim, statistic, quote or other representation about a product or service should be verified with each manufacturer. You should also verify with each provider, or party in question. This blog contains affiliate links. Clicking and shopping through these links helps to support and run Tonya Trantham Designs. Creative Paper Addiction at no additional cost to you. Today’s features are Sizzix, Eileen Hull and Scrapbook.com Products.
Thanks for stopping by, hope your Friday is wonderful and enjoy creating!