DIY Autumn Stacking Drawer Project

Hi everyone! I’ve been very busy behind the scenes doing things with family and working on upcoming projects for the Christmas season. I wanted to share a quick Autumn/Thanksgiving project. I created it using the Stacking Drawer Diecut and a few other dies by Eileen Hull. So let’s get started!

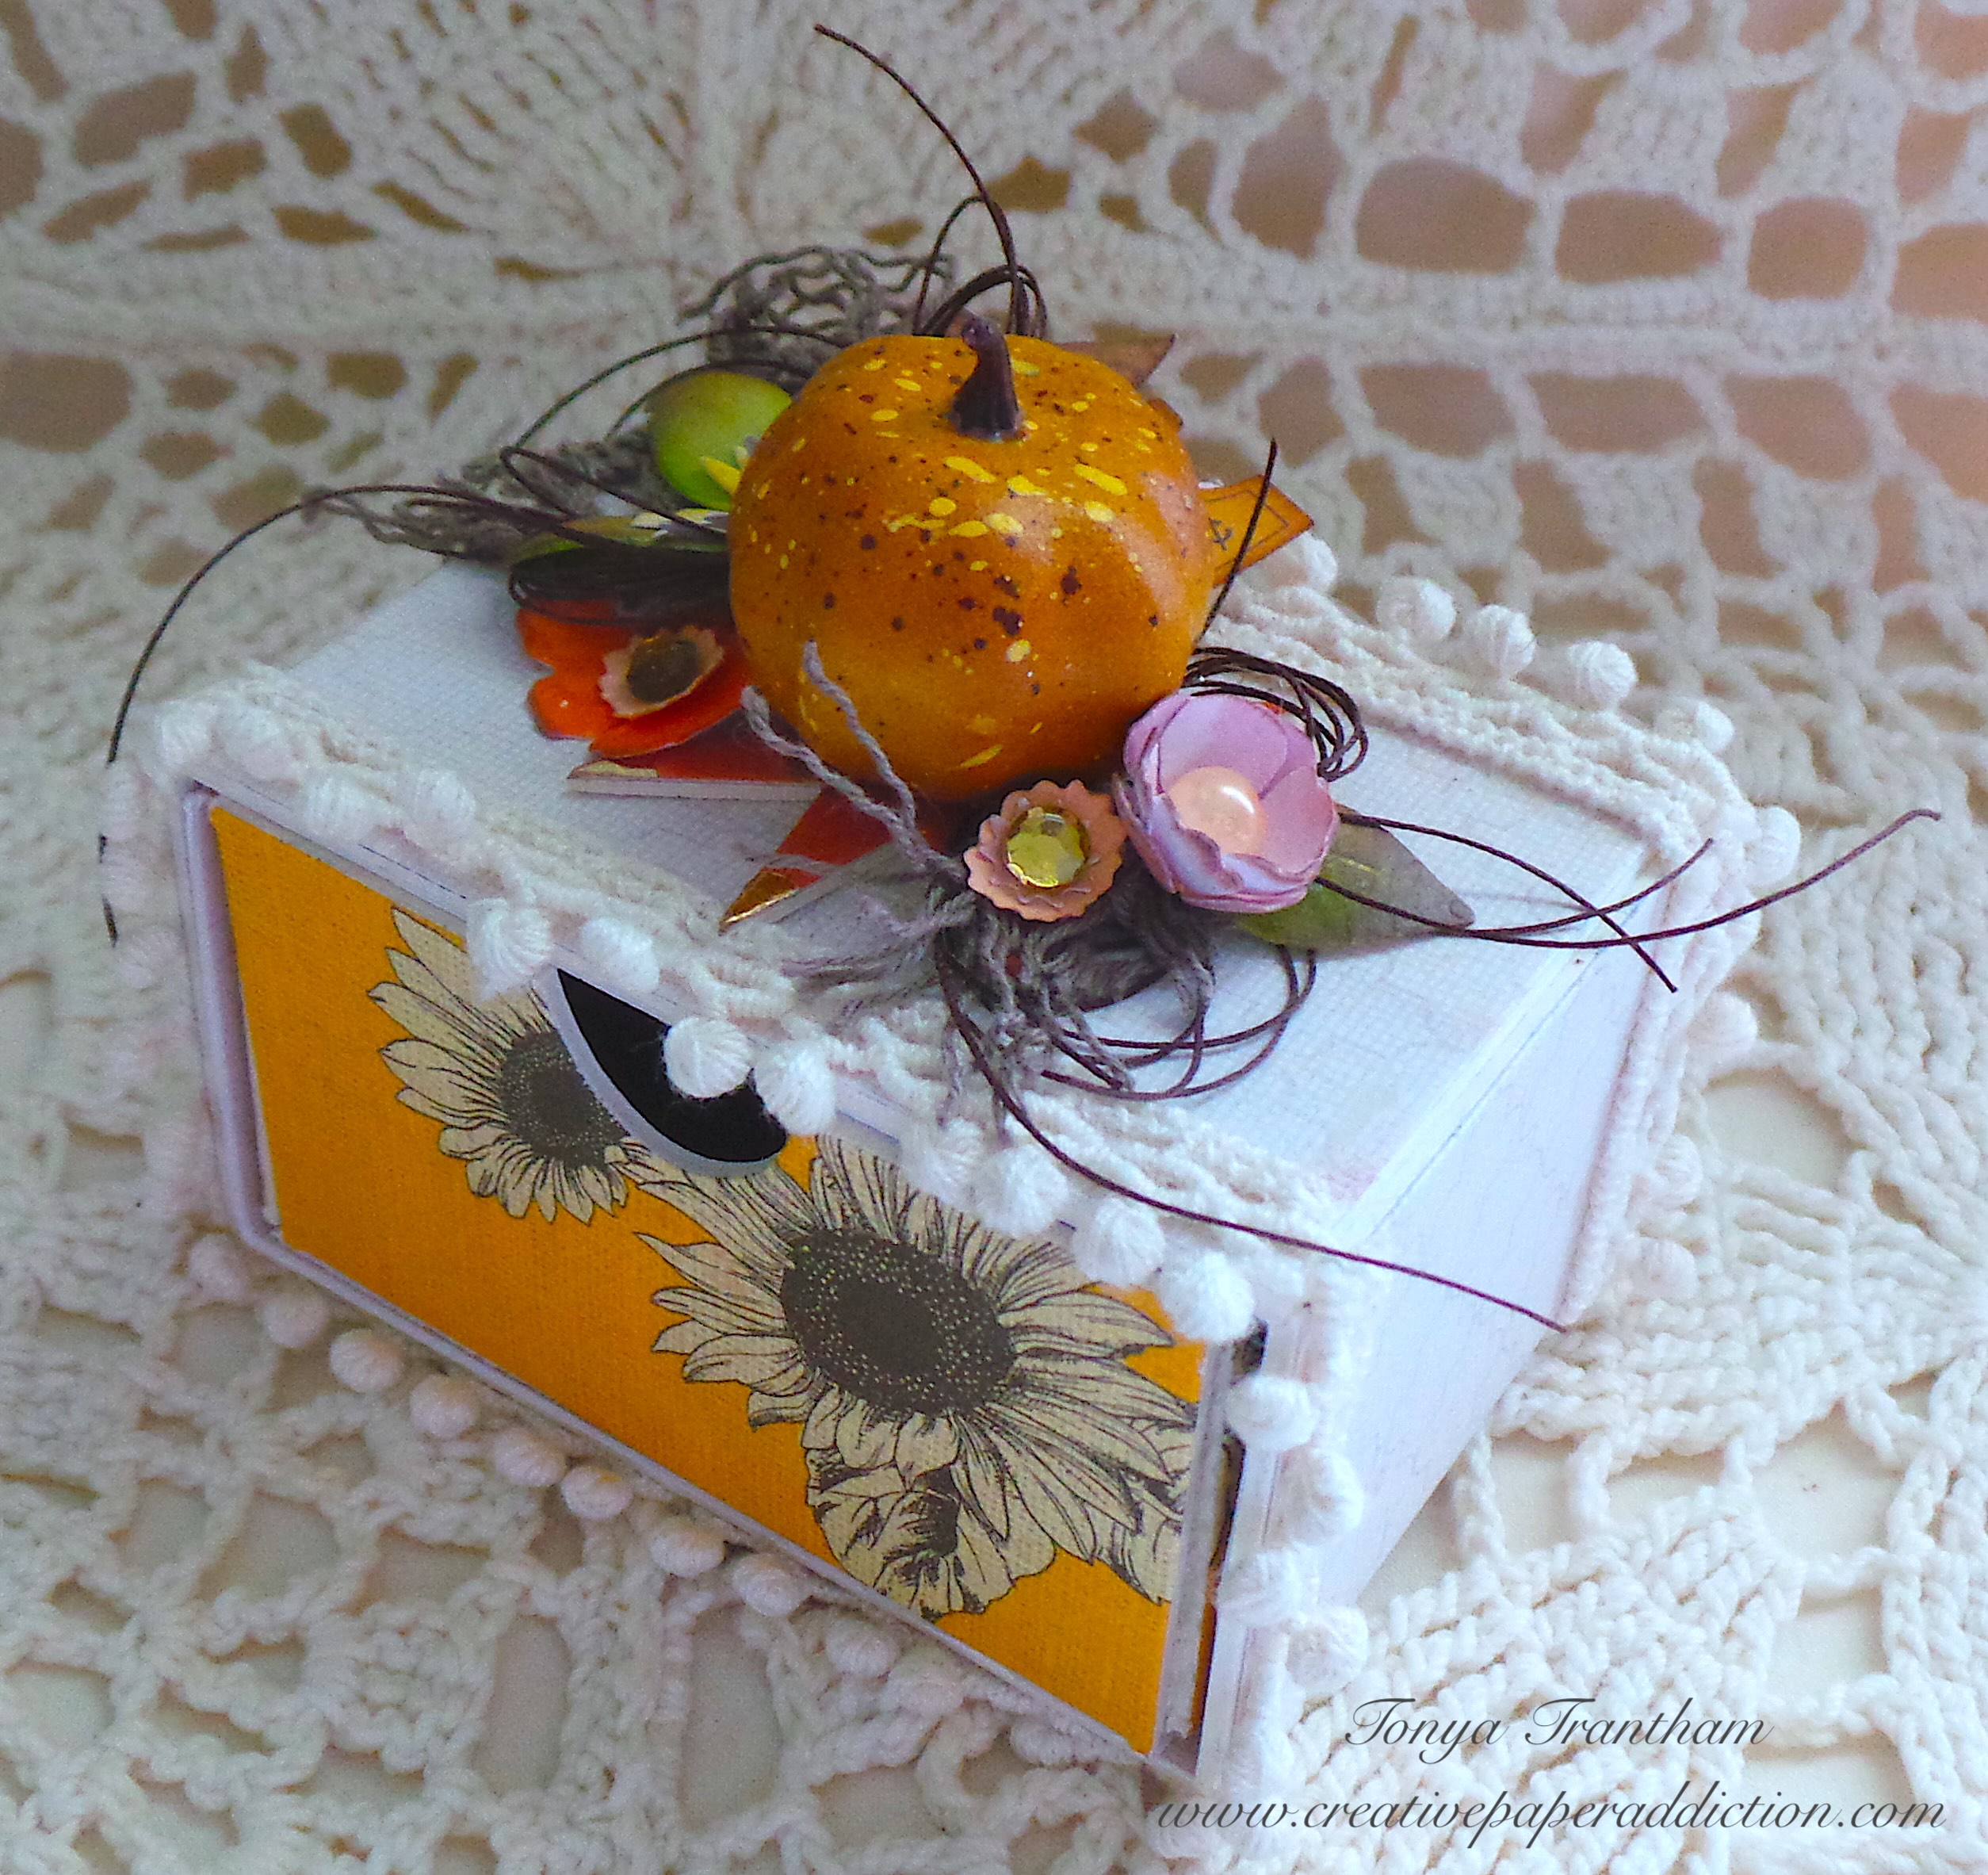
I covered a piece of Mat Board with some Adhesive. Then, I placed cardstock onto both sides of the mat board. I placed on top of the Stacking Drawers Diecut, sandwiched between the cutting plates and run through the Diecut Machine. I put it together with Zip Dry Adhesive and added Pom Pom trim to the sleeve of the drawer.

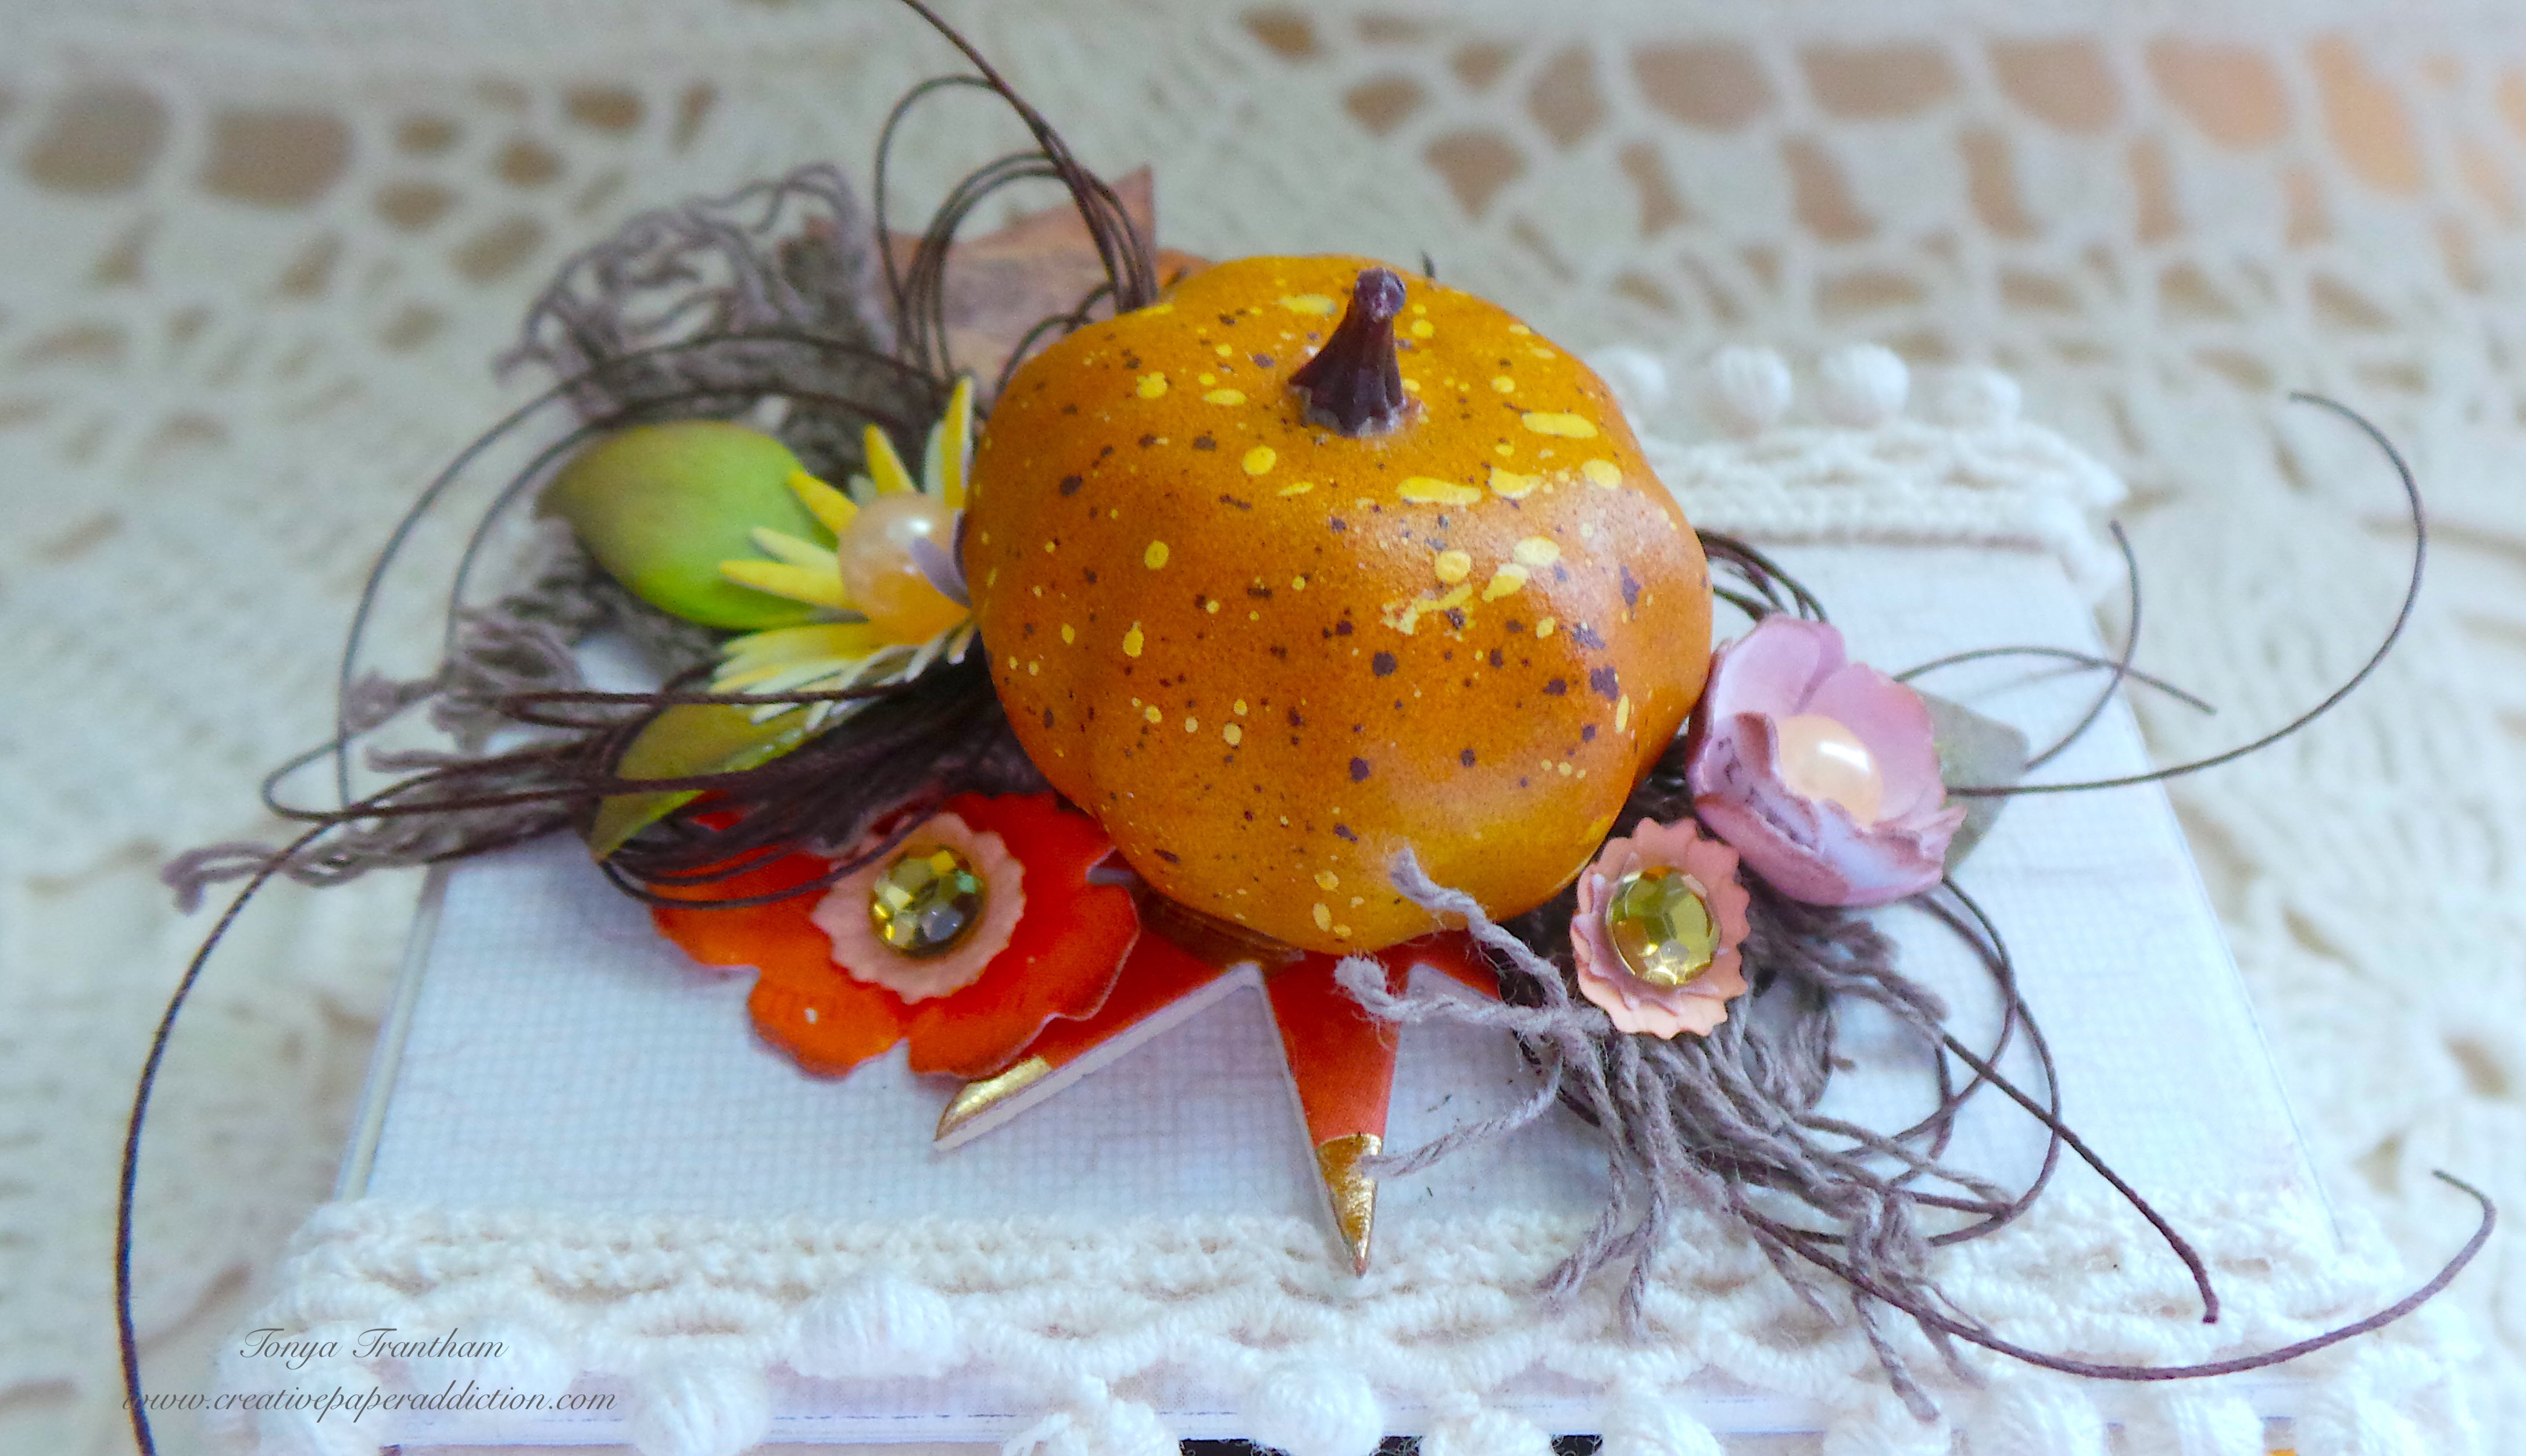
I used an assortment of flowers and foliage from the following thinlits: Painterly Blooms and Background Thinlits. I also used Folio Page, Pocket and Flowers Thinlits and Bookmark, Pockets and Toppers Thinlits. Additionally, I used Envelope, Folder and Flowers Thinlits and shaped them with a Stylus.

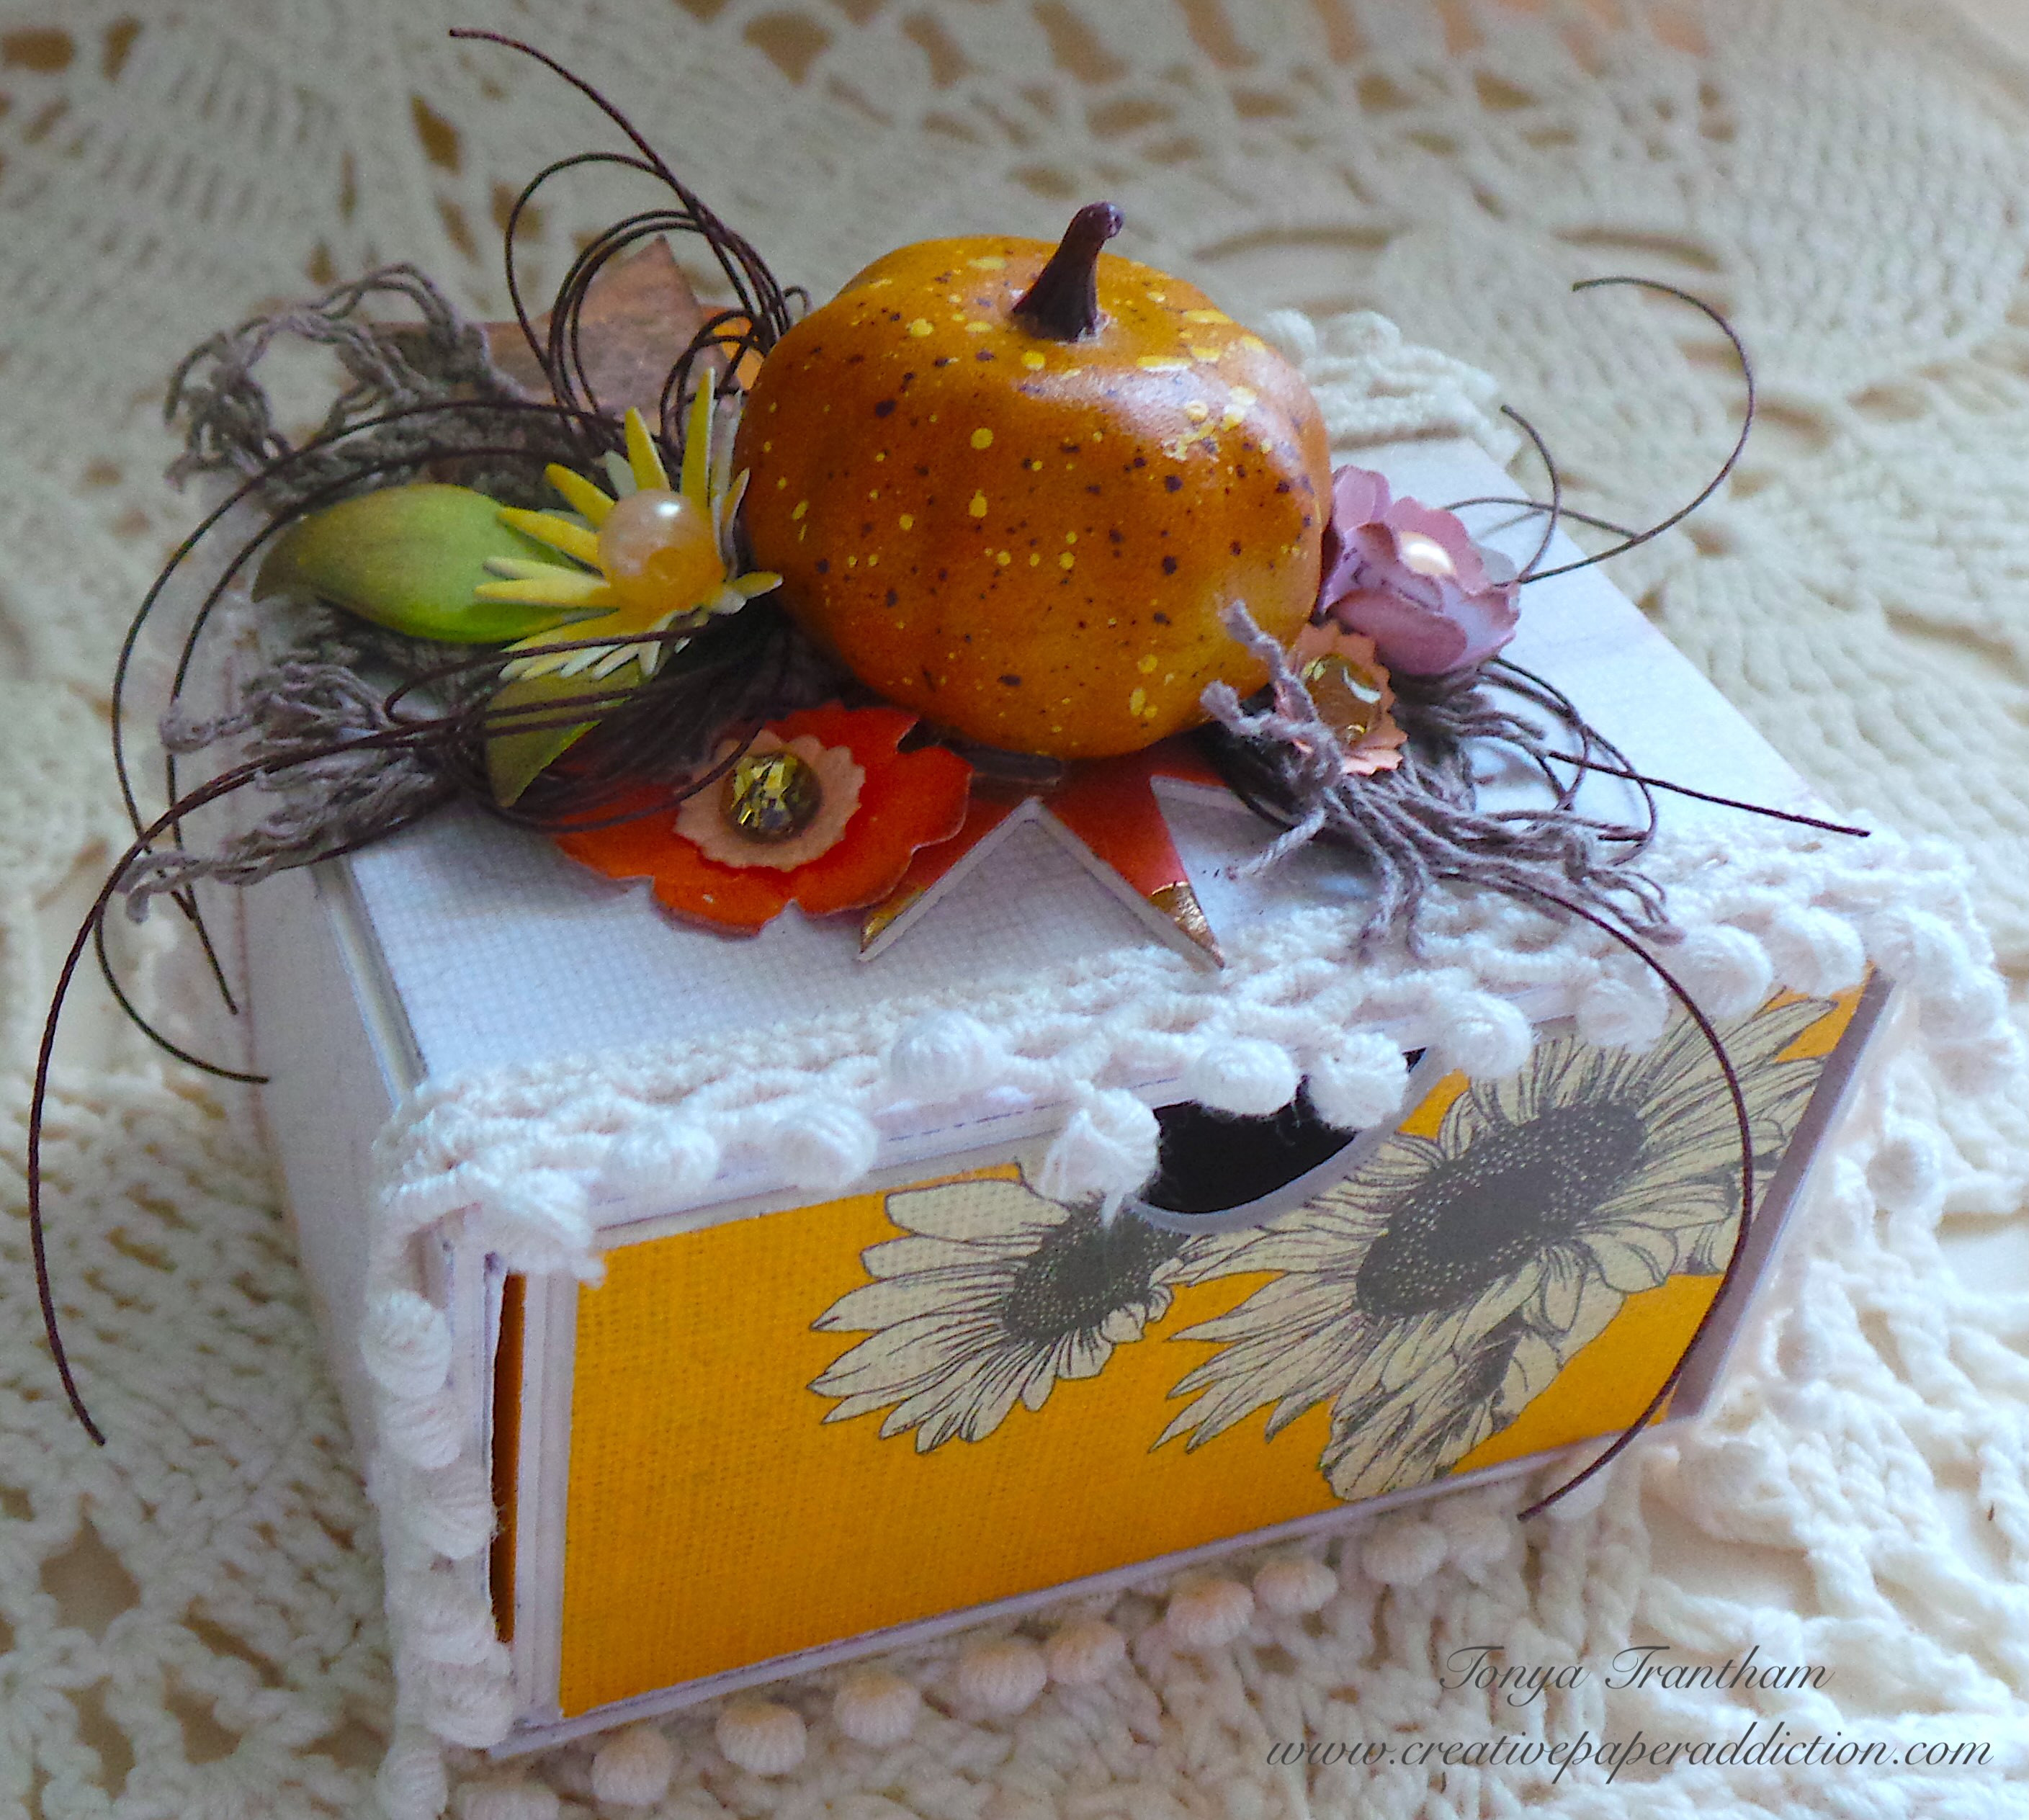
I glued the flowers and leaves together. I added a pronged diecut from the Geometric Box Diecut. Then, I adhered all flowers, leaves, lace, and thread to the top of the sleeves. I added gems and pearls to the center of each flower and a paper banner and ticket.

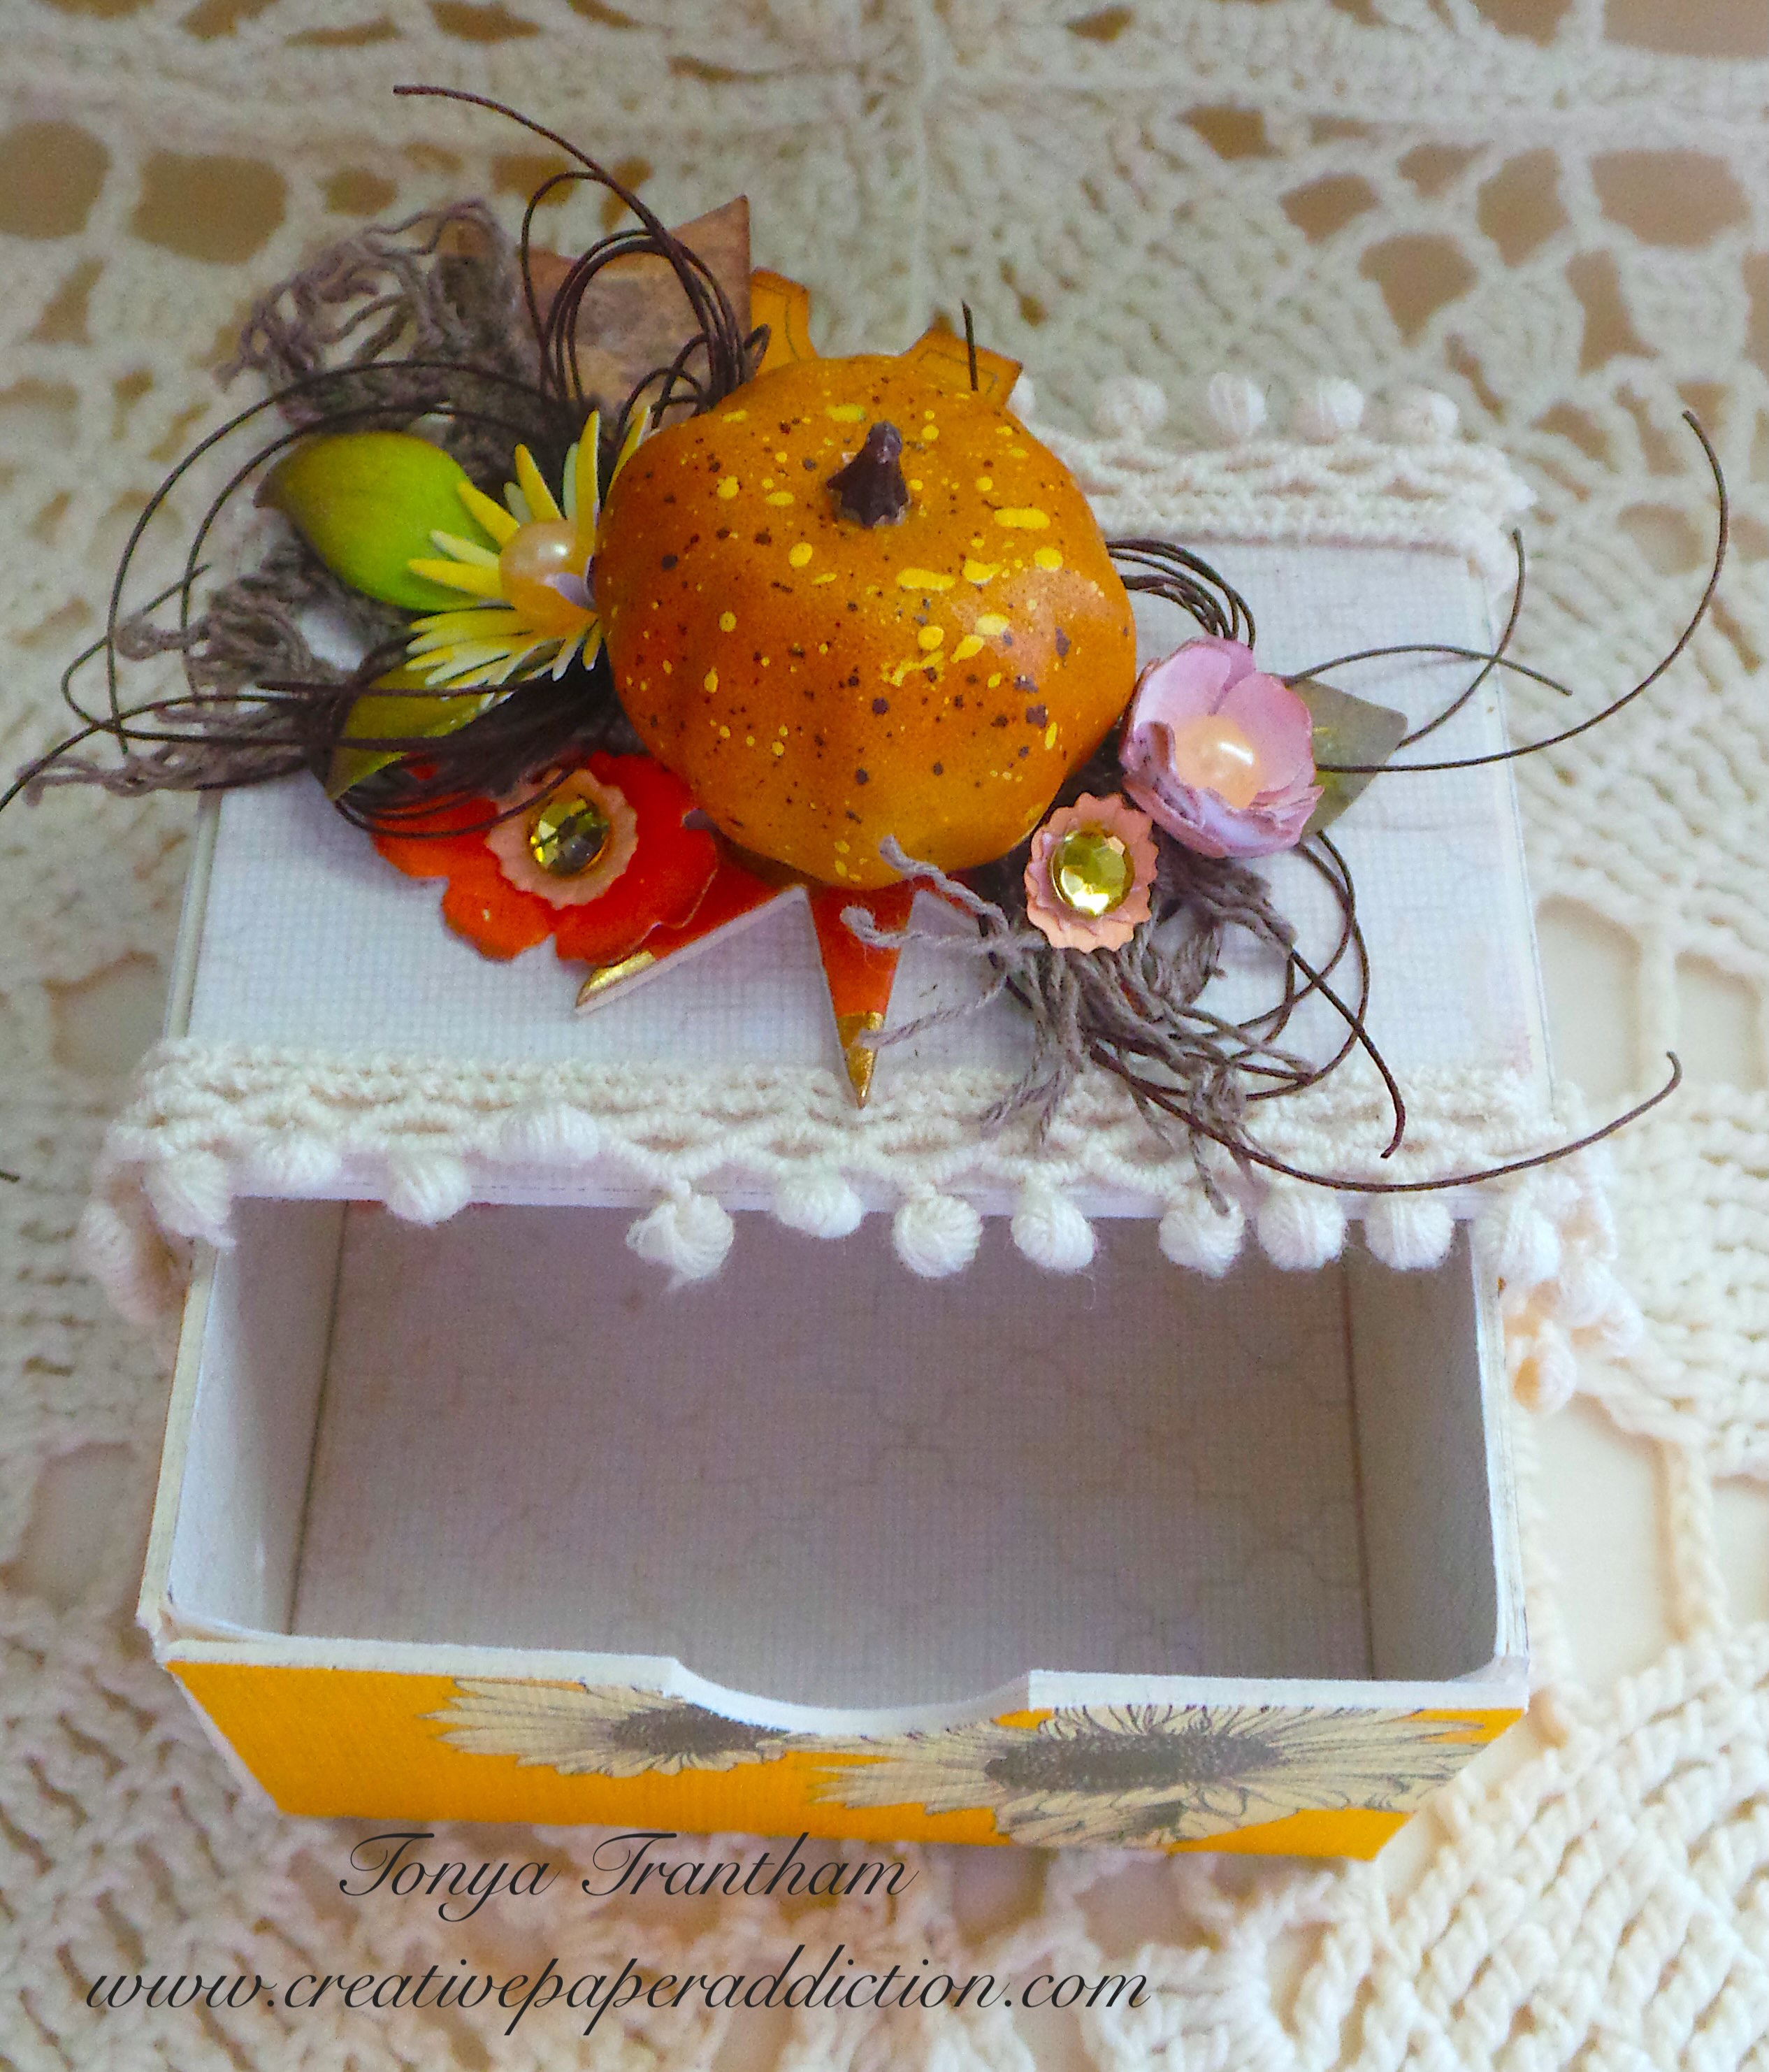
I added a tiny pumpkin from my stash to finish the sleeve.

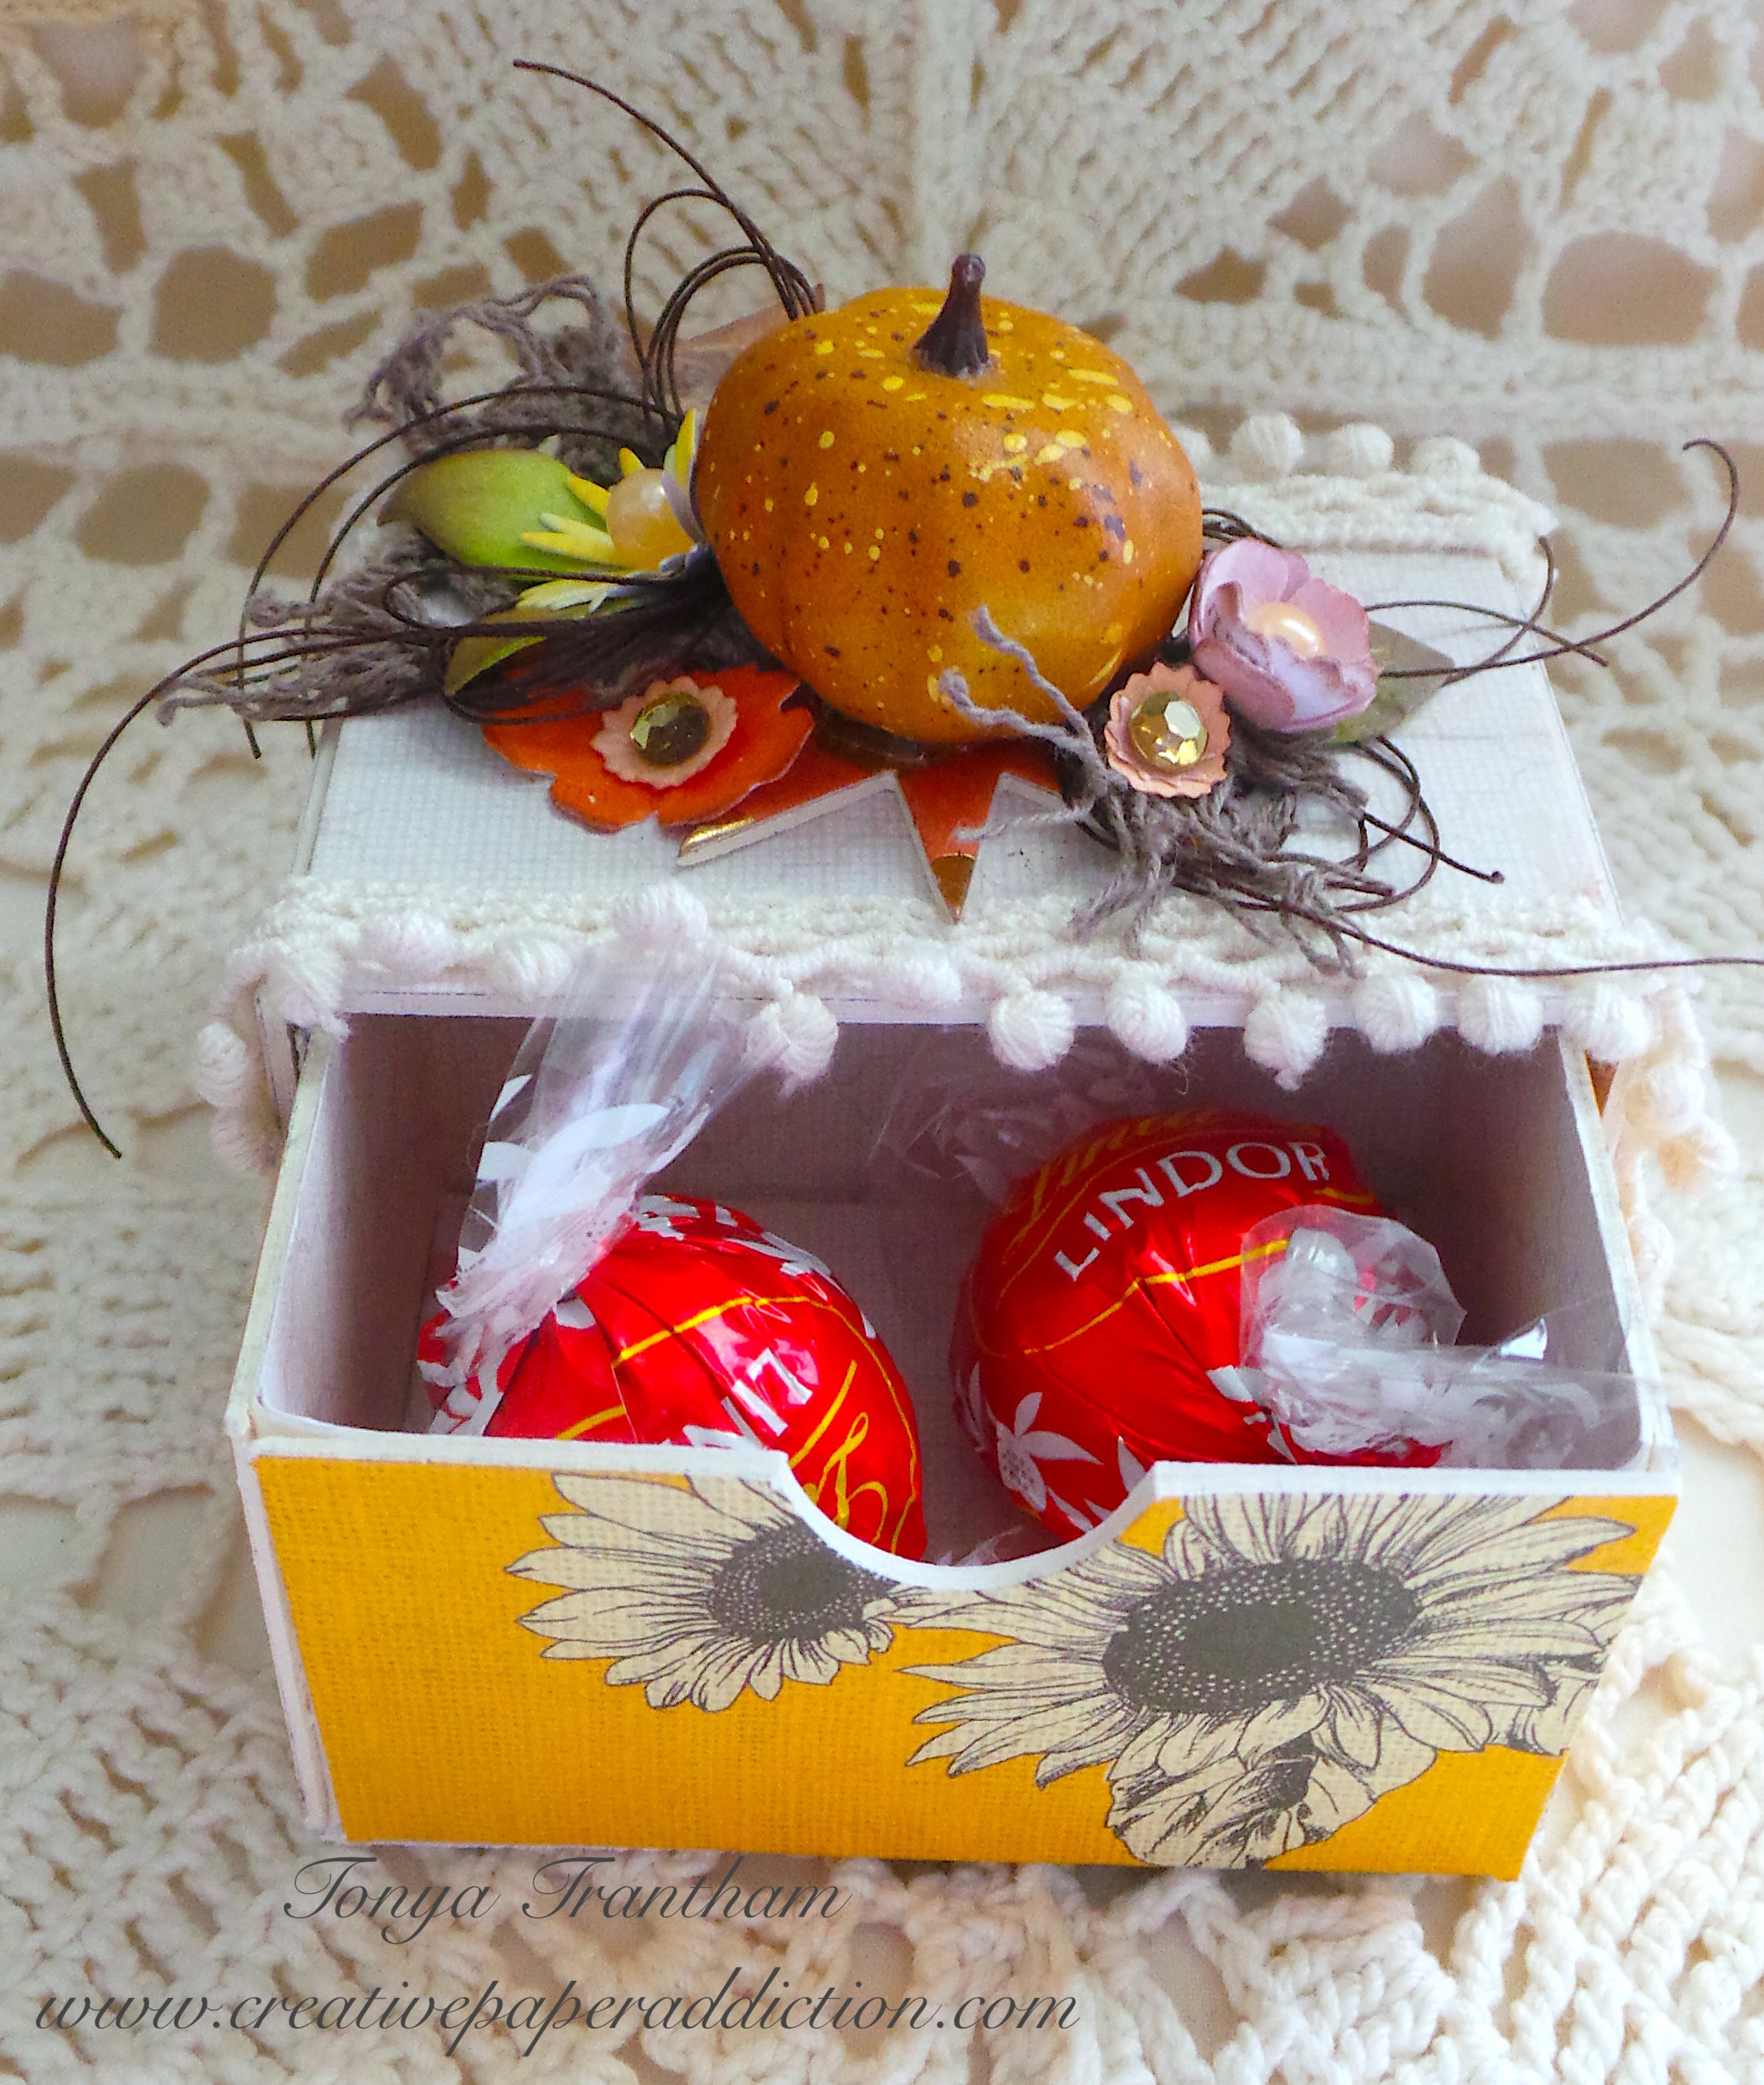
It is the perfect size to add candy or other little goodies. It will look great as a place setting at a get together too.

This drawer is versatile and you can make these for any holiday or special occasion. If you have any questions or comments please leave them below.

Supplies

Sizzix/Eileen Hull: Stacking Drawer Diecut

Sizzix/Eileen Hull: Painterly Blooms and Background Thinlits

Sizzix/Eileen Hull: Geometric Box Diecut

Sizzix/Eileen Hull: Folio Page, Pocket and Flowers Thinlits

Sizzix/Eileen Hull: Bookmark, Pockets and Toppers Thinlits

Sizzix/Eileen Hull: Envelope, Folder and Flowers Thinlits

Diecut Machine

Mat Board

Paper Cutter

Scissors

Adhesive Roll

Stylus

Various Plain and Patterned Cardstocks

Thread, Pom Pom Trim and Lace

Gems and Pearls

Beacon Adhesives: Zip Dry Adhesive

(Products listed above are Affiliated Links for your convenience)

DISCLAIMERS

This blog is compensated to provide opinion on products, services, websites, and various other topics. Even though the owner(s) of this blog receives compensation for our posts or advertisements. I always give my honest opinions, findings, beliefs, or experiences on those topics or products. The views and opinions expressed on this blog are purely my own. Any product claim, statistic, quote or other representation about a product or service should be verified with each manufacturer, provider, or party in question.This blog contains affiliate links, clicking and shopping through these links helps to support and run Tonya Trantham Designs – Creative Paper Addiction at no additional cost to you. Today’s features are Sizzix, Eileen Hull and Scrapbook.com Products. 

Thanks for stopping by, hope your Monday is awesome and enjoy creating!

Christmas Matchbox Tutorial with Stacking Drawer Diecut

Hi everyone! I’m back this week with a Christmas themed project using the Stacking Drawer Diecut by Eileen Hull. I am also playing along with Sizzix’s #12DaysofSizzix on Instagram. Each day on Instagram there’s a different theme and today’s theme is “Last Minute Gifts”. There is lots of inspiration being shared each day and the best part there will be prizes. Anyways, let’s get started!

I covered Chipboard with Adhesive Sheets and plain and patterned cardstock on both sides. I cut two “sleeves” out from the Stacking Drawer Diecut.

I glued the “sleeves” together.

I butted the “sleeves” openings against each other. Then, I glued a strip around the center to create an “extra long sleeve”.

I cut two strips of patterned cardstock and wrapped/glued around the “sleeve”.

I cut the circle from the Ornament Box Diecut (retired). I lightly inked it with brown chalk ink. Then, I adhered it to the top of the “sleeve”.

As the same steps as with the “sleeve” I cut two drawers and put those together. A side note, I “peel” the cardstock/chipboard from the tabs. This helps the tabs lay flatter when gluing the bottom into the drawer. I cut two bottoms from cardstock and glue one inside of each box.

I glued the drawers back to back. I measured and cut a piece of cardstock to cover the bottom of the drawers.

I cut out a Santa and all the coordinating pieces from the Doodle Christmas Thinlits. I used an adhesive sheet for the small pieces. It made putting the Santa together so much easier. I also lightly inked areas of the Santa to add a little dimension. I glued the Santa to the top of the “sleeve”.

I cut a few snowflakes from the Doodle Christmas Thinlits. I added them to the “sleeve” along with a gem and enamel dot to the center of each. I finished by adding some clear sequins around the Santa.

I added chocolate to the drawers but it would be great for jewelry and trinkets too. It’s the perfect last minute gift!

If you made one of these matchboxes, what would you put inside of it? Let me know in the comments below.

Reminder, check out and play along on Instagram with Sizzix. Be sure to use the hashtag #12DaysofSizzix if sharing a project on your Instagram page. And don’t forget about a chance that you could win some great prizes.

Also if you haven’t been by Eileen Hull’s blog lately you can find her HERE.

Supplies

Sizzix/Eileen Hull: Stacking Drawer Diecut

Sizzix/Eileen Hull: Ornament Box Diecut (retired)

Sizzix/Olivia Rose: Doodle Christmas Thinlits

Chipboard

Adhesive Sheets

Stacking Drawer Diecut

Diecut Machine

Gems, Enamel Dots and Sequins

Brown and White Chalk Inks

Paper Cutter

Scissors

Beacon Adhesives: Zip Dry Adhesive


(Products listed above are Affiliated Links for your convenience)

DISCLAIMERS

This blog is compensated to provide opinion on products, services, websites, and various other topics. Even though the owner(s) of this blog receives compensation for our posts or advertisements. I always give my honest opinions, findings, beliefs, or experiences on those topics or products. The views and opinions expressed on this blog are purely my own. Any product claim, statistic, quote or other representation about a product or service should be verified with each manufacturer, provider, or party in question.This blog contains affiliate links, clicking and shopping through these links helps to support and run Tonya Trantham Designs – Creative Paper Addiction at no additional cost to you. Today’s features are Sizzix, Eileen Hull and Scrapbook.com Products. 

Thanks for stopping by, hope your Tuesday is great and enjoy creating!

Create Vibrant Drawers with Eileen Hull Dies – Easy Tutorial

Hi everyone! I’ve been under the weather this past week and wasn’t even sure I would get a blog post up by Friday. But I’m feeling better and wanted to share this colorful set of drawers I created. I used the Stacking Drawer Diecut, Painterly Blooms and Background Thinlits, Watercolor Flowers and Lattice Stencils and the Folio Page, Pocket and Flowers Thinlits, all by Eileen Hull. So let’s get started!

First, I applied Adhesive Sheets to both sides of Mat Board, then plain and patterned cardstock on either side of the mat board and placed onto the Stacking Drawer Diecut. I sandwiched between cutting plates and run through the Diecut Machine. Side note, I cut three drawers, six bottoms and two sleeves. The two sleeves I did not cover the outside with patterned cardstock but I did add a plain cardstock to the inside before cutting. The outside step will come later.

Second, I “peeled” the tabs so once I put the drawers together they would lay flat. The bottom inside of the drawer I applied glue to the tabs and placed one of the bottoms on top and once dry I applied adhesive to the tabs on the bottom of the drawer and covered with another bottom.

Third, I glued each sleeve together. Side note, I did add a “shim” of cardstock to either side of each sleeve. This keeps the drawer from falling out. I adhered all sleeves on top of each other.

Fourth, I cut two sleeves from patterned cardstock and adhered around the set of drawers.

Fifth, I used the Watercolor Flowers and Lattice Stencils to create violets. I taped the first stencil to a piece of Watercolor Paper and used a Blending Tool to apply a violet ink. The second stencil I placed over the inked area and used a darker purple ink. The third stencil I completed the same steps but this time used a light green for the leaves and centers of the flowers.

Sixth, I placed the Painterly Blooms and Background Thinlits onto the stenciled flowers and leaves and run through the diecut machine.

Seventh, I shaped four of the flowers and a few of the leaves from the Painterly Blooms and glued three on top of each other. I cut two snippets of lace and adhered to the top of the drawers and placed the shaped flowers and leaves on top of that.

I cut two of the large and one small circle flowers from the Folio Page, Pocket and Flowers Thinlits, shaped and adhered around the Painterly Blooms. I added gems and Pearls to the centers of the circle flowers. I finished by adding bows made of thread.

You could add trinkets to each of the drawers and give as a gift. There are so many possibilities with this diecut! What would you add if you made one?

Also if you have any questions about this project please let me know and if you haven’t been by Eileen Hull’s blog lately you can find the latest post HERE.

Supplies

Sizzix/Eileen Hull: Stacking Drawer Diecut

Sizzix/Eileen Hull: Painterly Blooms and Background Thinlits

Sizzix/Eileen Hull: Watercolor Flowers and Lattice Stencils

Sizzix/Eileen Hull: Folio Page, Pocket and Flowers Thinlits

Diecut Machine

Mat Board

Adhesive Sheets

Various Plain and Patterned Cardstocks

Watercolor Paper

Stylus

Lace and Thread

Shades of Purple and Green Inks

Blending Tool

Pearls and Gems

Paper Cutter

Scissors

Beacon Adhesives: Zip Dry Adhesive

(Products listed above are Affiliated Links for your convenience)

DISCLAIMERS

This blog is compensated to provide opinion on products, services, websites, and various other topics. Even though the owner(s) of this blog receives compensation for our posts or advertisements. I always give my honest opinions, findings, beliefs, or experiences on those topics or products. The views and opinions expressed on this blog are purely my own. Any product claim, statistic, quote or other representation about a product or service should be verified with each manufacturer, provider, or party in question.This blog contains affiliate links, clicking and shopping through these links helps to support and run Tonya Trantham Designs – Creative Paper Addiction at no additional cost to you. Today’s features are Sizzix, Eileen Hull and Scrapbook.com Products. 

Thanks for stopping by, hope your Friday is great and enjoy creating!

Stars and Stripes Patriotic Girl Box

Hi everyone! I’m back this week with an easy 4th of July project I created using the newest Taos Petal Points Collection and the Mermaid Paintbox Collection by ColorBox. I also used some art screens, a rollagraph and Eileen Hull’s Stacking Drawer Diecut to create this fun little patriotic drawer. Lets get started!

I placed White Chipboard on top of Stacking Drawer Box Diecut and placed between cutting plates and run through the Diecut Machine.

I placed the Stars Art Screen on top of the “sleeve” of the Stacking Drawer Box Diecut and inked an Art Dauber with Peacock Pigment Ink from the Taos Petal Point Collection and ink over Stars Art Screen. Once I got the area I was stenciling covered I removed the art screen.

Next I placed the Lattice Art Screen on top of the front of the drawer diecut. I inked an art dauber with Chianti Pigment Ink from the Taos Petal Point Collection. I only inked the front of the “drawer” since that would be the only area seen. Once I completed that I removed the art screen.

I put the sleeve and drawer diecuts together according to directions on the diecut packaging. I cut cording long enough to tie a bow around drawer to keep closed. Next I cut s strip of blue cardstock and adhere around the center of sleeve and adhered red ric rac around blue cardstock.

I inked the Doll Faces Rollagraph with Wicked Black Pigment Dye Ink and rolled onto a piece of Watercolor Paper. I selected the side view face and cut out. I saved the other images for future projects. 😊

I inked the glass tray, added water and painted the face image with the following Inks: Mermaid Paintbox Collection: Face-Papaya Cream, Lips, highlight cheeks and side of nose with Berry. Taos Petal Point: Eyes-Turtle and Hair-Amber. 

I added a blue cardstock mat to the girl image and added Foam Pop Dots to back and place on top of drawer.

I adhered a piece of red tulle behind girl image and added buttons, stars, sequin and red flat back pearls to the top of drawer.  

I also added a cancelled U.S. postage stamp to upper corner of box for some visual fun. As always if you have any questions about this project please let me know.

SUPPLIES

ColorBox:Art Daubers

ColorBox: Stars Art Screen

ColorBox: Lattice Art Screen

Glass Tray
Sizzix/Eileen Hull: Stacking Drawer Box Diecut

Beacon Adhesive: Zip Dry Adhesive 
Buttons: Red, White and Blue
Red Ric Rac
Red Pearls
Cancelled Postage Stamp
Blue Sequin
Red Tulle
Clear Stars
Scrap of Blue Cardstock
Cording
(Products listed above are Affiliated Links for your convenience)

Thanks for stopping by, hope your Monday is wonderful and enjoy creating!

Doilies and Flowers Drawer

Hi everyone! I back with another project in the same week for Eileen Hull!  I used the Stacking Drawer Diecut, Flowers and Leaves Journaling Cards Diecuts and Eileen’s new Easy Cut Adhesive Sheets which are perfect for this type of project!

I started by applying the Adhesive Sheet to the Chipboard and adding the patterned cardstock (both sides) from the Best of Jillibean Soup Paper Pad (I think the paper pad is retired) before placing it on top of the Stacking Drawer Diecut and running it through the Diecut Machine. I put it together according to the directions on the packaging.

I cut flowers and leaves from the same paper pad using the Flowers and Leaves Journaling Cards Diecuts and shaped with a Stylus. I fussy cut two doilies from one of the cardstocks and two strips of patterned cardstock.

 Before adhering the strips of patterned cardstock around the cover I added cording, long enough to tie into a bow, around one side of the cover. I glued the doilies on top of along with the flowers, leaves and bows I made out of sewing thread. To finish off the flowers I added glossy dots and sequins to the center of each flower.

I dressed up the inside of the drawer with pink trim…I made a couple of mistakes which I won’t point out…that covered those and no one is the wiser. 😬

I packed all sorts of goodies inside since this is for a swap I am in…I should have taken a photo of all the things before packing it I know. But if I had unpacked it I would have never got it all fit back in the drawer. 😳  Be sure to hop on over to Eileen’s blog and see what the rest of the Inspiration Team has been up to. You can find this month’s blog posts HERE and HERE.
SUPPLIES:

Sizzix/Eileen Hull: Stacking Drawer Diecut
Eileen Hull: Easy Cut Adhesive Sheets
Beacon Adhesive: Zip Dry Adhesive 
Jillibean Soup: Best of Jillibean Soup Paper Collection
Cording
Thread
 Pink Trim
Glossy Dots 
Sequins

(Products listed above are Affiliated Links for your convenience)

 Thanks for stopping by, hope your Wednesday is great and enjoy creating!