Snowflake Snowman

Hi everyone! We are almost half way through August! Can you believe that??? Summer has sure flown for me. I have painted one of our bathroom and three coats of paint later I can say the walls are finished. Now all I need is to paint the trim and door, install the new light and flooring, vanity, mirror, faucet, make a curtain and I’m finished. 🙂
I want to share a snowman decoration I created. I received a box full of Smooth Foam ornaments last year for a blog hop and this is one of the leftovers I didn’t use in the hop.
First off I applied gesso to the ornament, let dry and then painted with white acrylic paint. While the ornament was drying I shaped a carrot nose from orange Sculpey Clay and baked according to the directions on the package. I also cut from a sheet of vintage sheet music a small hat. I rolled it into a cone and adhered together and glued silver tinsel along the bottom of the hat.

I adhered two black dew drops and carrot nose to the ornament shape, painted a dot for the mouth and then I applied Antique Mod Podge all over then covered in glitter.
I painted a chipboard snowflake white and once dry I applied antique Mod Podge and sprinkled glitter over the whole snowflake. I then adhered to the base of the ornament the snowflake, tied seam binding around the “neck” and finished off with dew drops to the bow and snowflake.

Lastly I glued the little hat to the snowman’s head. Easy peasy decoration to set out at Christmas or a super cute gift to give. 🙂

Supplies Used:

SmoothFoam: Ornament, Robin’s Nest: Dew Drops, Seam Binding, Glitter, Sculpey Clay, Tinsel, Vintage Sheet Music, Chipboard Snowflake, Black and White Acrylic Paint, Gesso
If you have any questions please let me know. Thanks for stopping by, hope your Thursday is wonderful and enjoy creating!

No Business Like Snow Business Card

Hi everyone! I’m here to share another quick 3″x6″ card I created using My Mind’s Eyes Merry 6″x6″ pad and the Inkadinkado Christmas Characters stamp set. I stamped the snowman on some lined cardstock from the paper pad and stamped the hat, scarf, red bird and carrot on scraps from the same pad and fussy cut out and adhered to the snowman image. I cut various sizes of rectangles and glued to the card along with the snowman image. I stamped the sentiment on a piece of cardstock and glued to the card. Easy peay 🙂

If you have any questions please let me know. Thanks for stopping by, hope your Tuesday is great and enjoy creating!!!

Snowman Treat Tin

Hi everyone! I have another quick project I created out of an empty little 4 oz. tin of peppers. It’s the prefect size to add some sweet treats for a friend or family member. I used cardstock  and embellishments from the Winter Collection (Russia) from the Robin’s Nest. 

I used the Snowflake and Snowman die cuts from Cuttlebug and the Medallion diecut from Sizzix. Along with snowflake stickers from Ecstasy Crafts and Dew Drops and there you have it…done!!!

Another idea use a bigger tin can, decorate and use it in place of a stocking. 🙂 

If you have any question let me know. Thanks for stopping by, hope your Thursday is wonderful and enjoy creating!!!! 

Snowman Love

Hi everyone! Can you believe Christmas is only nine days away?!!?!? YIKES!!! I have been shopping, wrapping presents and crafting up a storm and I’m still not finished. I decided to take a break and share a snowman I created using a Smooth Foam ball I had received in package of ornaments a month or so ago.
I started out by applying two coats of gesso to the ball and then painting with some white acrylic paint. I lightly penciled in the eyes and mouth. Painted the mouth with black and “pounced” the cheeks with a light pink acrylic paint, adhered two black Dew Drops to the ball for the eyes and shaped a carrot nose from Sculpey clay and then baked it.

The chipboard snowflake cut out I painted with white paint and then added a fine glitter to it. I gessoed a bottle cap which I used as the “neck” of my snowman.

I used an old sheet of music to make a cone hat for my little snowman fellow. Added some silver tinsel, button, mini snowflake and a white Dew Drop to it. I set the hat aside and then covered the whole snowman head and scarf with fine glitter. Let dry and then glue the cone hat to the snowman. 

I plan on adding this little fellow to my collections of other snowmen that I have on the  fireplace mantle.

Supplies Used:
Chipboard Snowflake Shape
Bottle Cap
Fine Glitter
Vintage Sheet of Music
Tinsel
Round and Snowflake Buttons
Orange Sculpey Clay 
Gesso
Antique Mod Podge

Black and Pink Acrylic Paint

If you have any questions please let me know and I’ll do my best to answer them. Hope you can stop by tomorrow…Tuesday…cause I have another quick project to share. 🙂 Thanks for stopping by today, hope your Monday is wonderful and enjoy creating!!!


Ornament Blog Hop: Wish Snow Globe

Hi everyone! It finally hit me that Christmas is just right around the corner. I have lots of projects and swaps that I’m working on and I’m running out of time…YIKES!!! But I do have this adorable project that I have just finished using a SmoothFoam snowman body and Robin’s Nest products that I would like to share. This snow globe is for the “An Ornament Blog Hop” linky party that The Robin’s Nest and SmoothFoam are hosting. So please be sure to hop on over to the Chattering Robin’s Blog and checkout everyone else’s creations using Robin’s Nest and SmoothFoam product and be sure to become a follower of each blog for a chance to win prizes…now who doesn’t love prizes??? I know I do. 🙂
I used an old Tostitos creamy spinach dip (1 lb. 7 oz.) jar which I had no problem cleaning out. 🙂 The lid I gessoed and once dry painted with turquoise paint and then seal with Mod Podge. Next I gessoed the snowman body twice and then painted white paint. I lightly penciled in eyes and mouth and then painted with black paint. Load pink paint on a brush and “pounce” most of the paint off onto a piece of paper and then “pounce” the rest on the snowman for cheeks. While all of that is drying I took a small piece of sculpey clay and created a “carrot” nose and then I followed the baking directions on the side of the package. Once the nose has baked and cooled adhere it to the snowman. I poked tiny holes and added a bit of glue to the twigs before I added to either side of the body and I glued three dew drops down the front of the body too.  Now comes the fun part…GLITTER!!! I sponged Mod Podge to all of the snowman and then sprinkled glitter all over. Let dry.

Next I cut a 1/8″ strip from AquaMarine Glitter Sorbet Cardstock to make a scarf. Cut to fit around the neck and glue. Now cut four small pieces and curl the ends with a pair of scissors and glue to the side of the neck and add a Pearl Dew Drop to top it off. Then lightly  Mod Podge the scarf and add glitter.

For the hat it needs to be cone shaped. I free handed a pattern and once I got it the size I wanted it I traced it onto a vintage sheet of music and cut out. Now roll up to make a cone and then adhere. Also add tinsel around hat and glue to the head.

Take the lid and adhere a smaller lid to the inside.

Draw a circle slightly bigger than the lib onto felt and cut out. Then adhere to the inside of lid over the smaller lid. Now adhere the snowman to the top of the smaller lid and then sprinkle shaved ice glitter over the felt.

Now screw the “globe” over the snowman, add shear ribbon around bottom and tie off.  Adhere dew drop, button and Winter Glitter Chipboard Snowflakes together. Once dry Mod Podge and sprinkle glitter over the snowflake and then glue to the middle of the bow.

I adhered together a wooden snowflake, medallion (made from AquaMarine Glitter Sorbet Cardstock), Winter Glitter Chipboard Snowflakes, button and jingle bell. Lightly Mod Podge and add glitter. I added a Pearl Dew Drop to the tip of the snowflake “arms” and then glued to the top of the “globe”.

Cut out four banners, Mod Podge, add glitter and let dry. Print the word WISH, cut apart and adhered to the banner. Thread onto baker’s twine alternating between beads and banner. I’m so please with how it turned out!!! I can’t wait to now display it on the mantel along with all my other Christmas decorations.

Supplies Used:

Glass jar with lid
Ceramcoat Turquoise Acrylic Paint
Anita’s White Acrylic Paint
Gesso
Antique Mod Podge
Twigs from a tree
Extra Fine Glitter
Shaved Ice Glitter
White Felt
Sheer Ribbon
Silver Bell
Wooden Snowflake
Vintage Sheet Music
Silver Tinsel
Blue Buttons
Blue Jewelry Beads
Spellbinders Nested Lacey Pennants
Sizzix Medallion 
Timeless Aqua and White Twine 
Sculpey III Oven Bake Clay
I do have more Christmas ornaments in the works and I will share once I’m finished.  Remember to follow each blog for a chance to win and if you have any questions please let me know. Thanks for stopping by, hope your day is wonderful and enjoy creating!!! 


January Altered Rolodex Swap

Hi everyone!!! Just wanted to share a quick post today of a Rolodex I created for a swap I’m in on Swap-bot. The theme of the rolo could be anything vintage so I choose to go with something along the lines of snow…since it has been cold around here…brrr 😉


I used my Sizzix Card, Telephone & Address die to cut out my Rolodex cards…I had to make one for myself too… to me this is a lot easier than trying to actually alter a rolo card that you purchase at a office supply place. 🙂 I also used cardstock, bits of scrapbook paper, lace, baker’s twine, old buttons and Dew Drops. The vintage sheet of music I used my Sizzlets Merry Details die to cut out snowflakes. The snowman image I got from Vintage Image Crafts on Facebook. If you are on Facebook go over to their page and like them. There is tons upon tons of images that you can download and the best part it is FREE 🙂

    
I also inked all of the edges and I used Crystal Stickles on the image to give it that snowy glittery look.


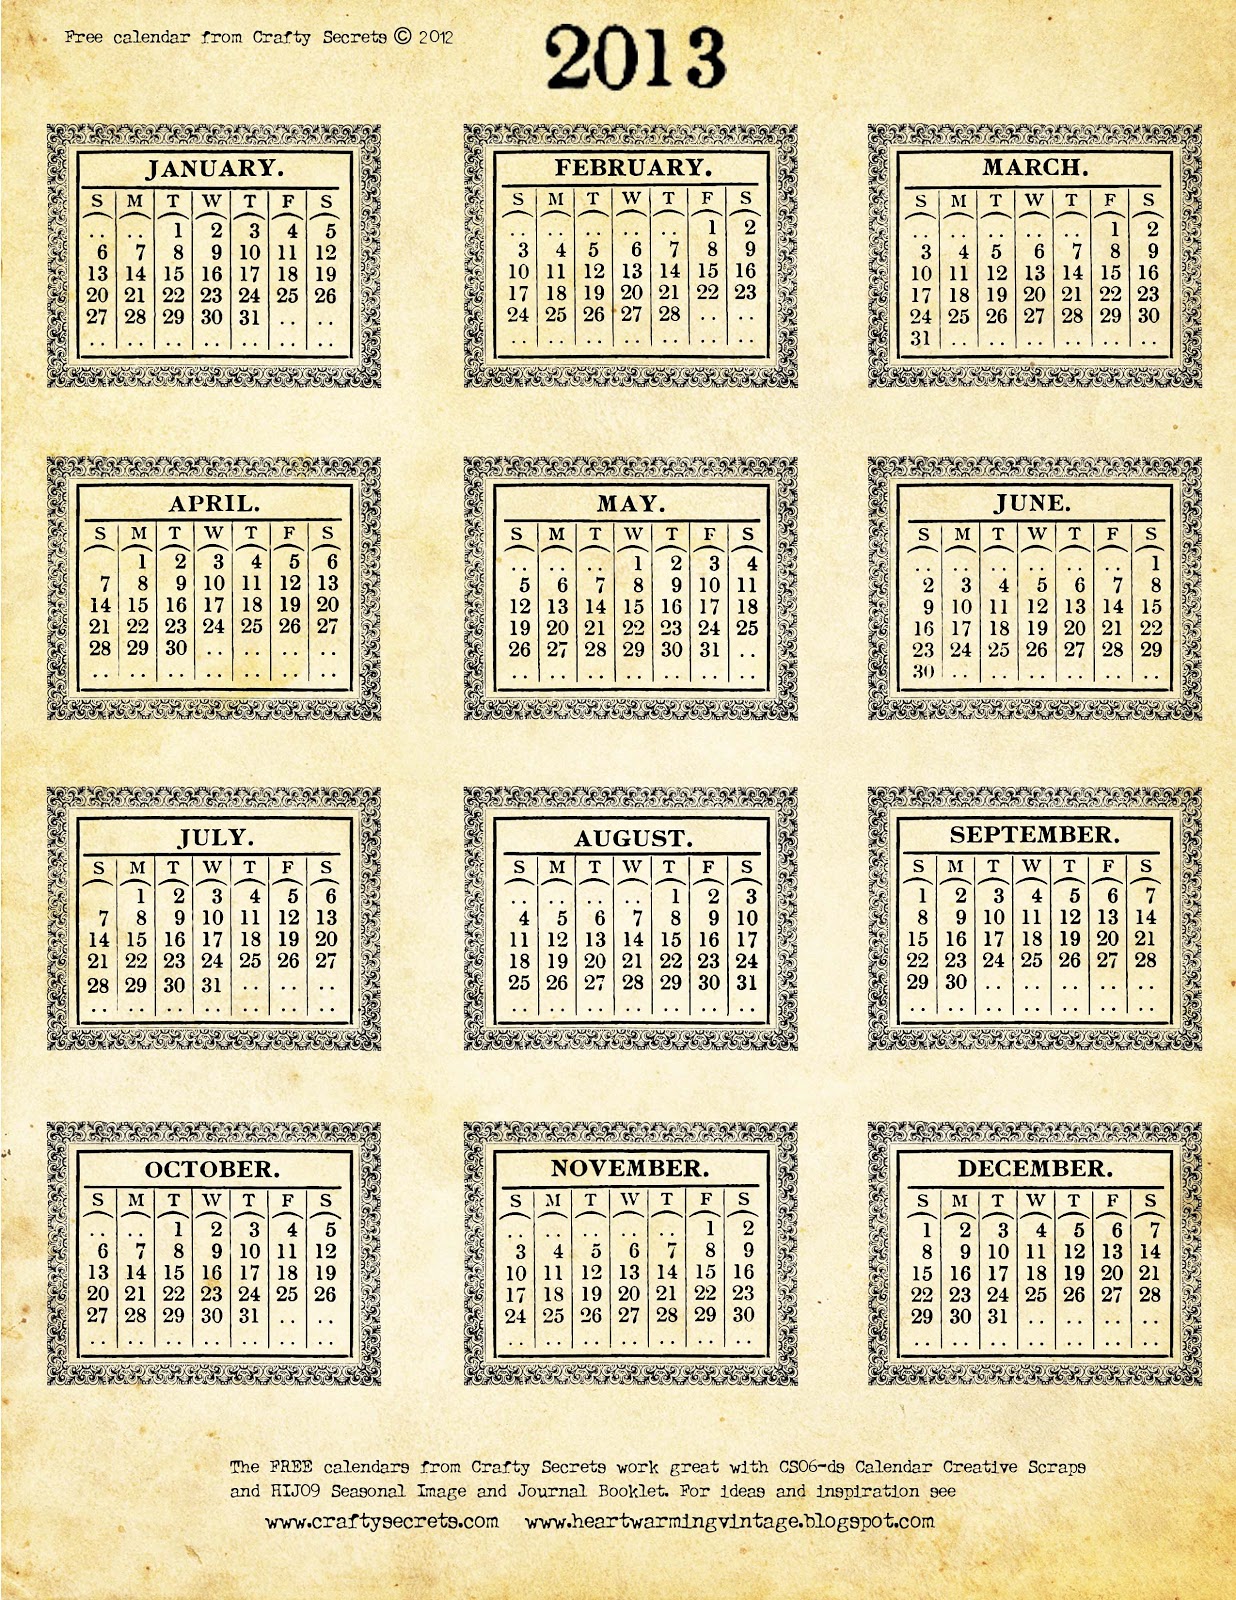
The back of the card I download the 2013 calendar from Crafty Secrets and cut out the January calendar. I used my printer to print out the words snow day and my name which I adhered to the rolo. Wa-laa!!! Finished!!! 🙂 Now all I need is a Rolodex holder!!! 🙂
Thanks for stopping by and I hope this inspires you to create something fun!!!

What’s on My Desk?

I would like to share my first project I created for the Crafty Card Gallery design team challenge of “What is on your desk?”. For this challenge we couldn’t go out and buy any scrapbook paper, embellishments or new stamps. The team had to use what we had on hand or on our desk. Since I have packed up almost all of my craft supplies I had to dig through boxes…I’m still in the middle of getting my dream craft/guest bedroom ready….once that is finished I will share photos 🙂
Below is the card I created…

 I used a 7×6 inch piece of My Mind’s Eye patterned paper which I folded in half to give me a 3 1/2 x 6 card. Since I always have scraps of cardstock and pattern paper laying around I cut various strips for the front of the card. I inked all of the edges with Versa Magic Dew Drop Chalk Ink  in Aquatic Splash and then adhered to the card front. Next I stamped the Inkadinkado snowman stamp with Versa Magic Dew Drop Chalk Ink in Sahara Sand and then cut the image out. For the snowflake I used chipboard and cut it out using my Sizzix snowflake die. I then inked it with Versa Magic Dew Drop Chalk Ink in Oasis Green. When it was dry I lightly Sprayed Tattered Angles Glimmer Mist in Pearl on the snowflake. Once dry I adhered the snowflake to the front of the card and then glue the snowman image to the corner of the snowflake. The finally touches I used some Prima swirly pearl bling…I’m not sure exactly what it is called but you get my drift and last but not less I added some Robin’s Nest Dew Drops in Fresh Mowed Grass to bling up the snowflake.  
 

Please check out the other design teams blogs and see what they had on their desk too when you get a chance.
Thanks for looking and I hope this inspires you to create something fun and enjoy creating!!!