Winter Cup of Tea

Hi everyone! I’m back to share one of my projects I had in the works for Christmas but just ran out of time to get it posted. The first time I seen one of these paper tea cups was one that Renea shared on her blog. Oh my gosh!!! It was absolutely stunning and I knew I had to created one of these for myself. It is easy peasy to create too!!! All I had to do was print the Paper Tea Cup and Saucer pattern off on Boy Polka Dot Stamp cardstock and cut out and adhere everything together.

I used Zip Dry glue to adhere all the tea cup and saucer pieces together. It is a strong glue and you don’t have to worry about your project coming apart either. Also I glimmer misted a paper doily and once dry I adhered on top of the saucer.

Now for the fun part…DECORATING!!!

I added a small amount of tissue paper inside the tea cup to give me something to adhere to. I googled vintage children images and found this sweet little girl all bundled up in her wintry finery and knew she would be perfect for my little tea cup. I printed her on hp soft gloss photo paper and then fussy cut her out. For her “wings” I cut a small section off of a snowflake Christmas ornament and added some more extra fine glitter. Once dry I glued to the back of my little girl and then I adhered her to the tissue paper.

I also used Silver Classic Glitter Cardstock to make the rosette, Winter Glitter Chipboard Snowflakes die cut and the Metallic Teal Dew Drops are all from the Robin’s Nest.

The cardstock doily is from Gina’s Designs which I cut in half.  I added different bits and pieces of lace inside the tea cup, sprigs of pearls and flowers. Next I added gesso here and there around on the lace and sprinkled glitter to give it a shimmery look.

I added another dew drop to some snowflake sequins on the handle and a flower bud with more pearl sprigs and I’m finished. I so love how this wintery tea cup fairy child turned out! I can see me making more of these in the future. 🙂

If you have any questions please let me know. Thanks for stopping by, hope your Wednesday is wonderful and enjoy creating!!!

Winter Fairy Ornament

Hi everyone!!! It’s me, Tonya!!! I’m here to share my design team project for the Robin’s Nest this month. I used the Winter Collection (Russia) which is 20% off this month over at their website and we are also cross promoting with Ecstasy Crafts this month too.
A couple of months ago I ate a cheese soufflé at Panara Bread. It was served in this cute little paper container that looked like a tart tin. Well I knew that I could alter it into something cute. 
Once I got it home I cleaned it, added a coat of gesso, let dry, painted with navy blue paint, let that dry and finally mod podge to seal. 

Next I used the 3D Precut Fairy Children sheet and punched out all the pieces which are numbered in the order they should be added to the main photo. Instead of using pop up dots I used the “extra leftovers” from the rubber stamps I cut out. It works perfectly, great way to recycle and, of course, save money too!!! Once I pieced the little fairy together I added a little bit of glitter to her wings and then I let dry.

Next I adhered a four inch doilie to the inside and back of the “tin” and glued the fairy child, which I rounded the top to fit inside the “tin”, on top of the doilie. I sewed a ruffle from lace and tulle. I didn’t measure either when sewing. I “eyeballed” until it looked right and then I adhered it to the inside corner. I then added gesso as snow here and there on the lace and tulle and then sprinkled glitter on top of that to give it a snowy look. I also added a little bird’s nest and some pearly sprigs. 
Next I punched out a bunch of flowers from Snow Angels Glitter Cardstock and Boy Polka Dot Stamp Cardstock scraps I had left over from other projects I had created. I inked some of the flowers in Ocean Depth Chalk Ink. While those dried I misted the other flowers with water and then shaped with a stylus. Once they have dried completely, adhered two together and add a pearl dew drop in the center. Next, the blue flowers I glue a Lakeside Dew Drop in the center of each. One of those blue flowers I added snowflake stickers to give it a wintery feel. Now the fun part…adhere them in and around the nest and fairy child and them add gesso on the doilie, flowers and edges of the photo and while still wet sprinkle glitter on everything. Once it is completely dry you can use a dry paint brush to remove the loose glitter.

I used one of the Winter Glitter Chipboard Snowflake, Silver Snowflake sticker from Ecstasy Crafts, Lakeside Dew Drop and snowflake die cut from White Snow Glitter Vellum. I adhered all together and then glued to the side of “tin”.

Also I punch two small holes in the center and threaded silver ribbon through the holes and tied off. This is what the front of my ornament looks like. 

The backside of the ornament I cut from the Circle, Scallop #2 die using the Winter Glitter Snowflakes Cardstock, White Snow Glitter Vellum, White Snow Glitter Cardstock, Glitter Chipboard and sticker Snowflakes, Lakeside Dew Drop and a sequin which I adhered to the back. Simply adorable!!! 

Supplies Used:

Ecstasy Crafts: Snowflake Stickers and 3D Precut Fairy Children
Gesso
Ceramcoat Navy Blue Acrylic Paint 
Two 4″ doilies
Mod Podge
Silver ribbon
Extra Fine Glitter
Cuttlebug Snowflake Diecut
Lace
Light Blue Tulle
Needle and Thread
Small Flower Punch
Small Bird’s Nest
Sizzix: Circle, Scallop #2

Be sure to stop by the Robin’s Nest and check out this month’s sale. If you have any questions please let me know. Thanks for stopping by and wishing you and your family the Merriest of Christmases and a very Happy New Year!!!


Snowman Treat Tin

Hi everyone! I have another quick project I created out of an empty little 4 oz. tin of peppers. It’s the prefect size to add some sweet treats for a friend or family member. I used cardstock  and embellishments from the Winter Collection (Russia) from the Robin’s Nest. 

I used the Snowflake and Snowman die cuts from Cuttlebug and the Medallion diecut from Sizzix. Along with snowflake stickers from Ecstasy Crafts and Dew Drops and there you have it…done!!!

Another idea use a bigger tin can, decorate and use it in place of a stocking. 🙂 

If you have any question let me know. Thanks for stopping by, hope your Thursday is wonderful and enjoy creating!!!! 

Snowflake Paperbag Card

Hi everyone!!! It’s me Tonya!!! Can you believe it is only a week and a day and it will be Christmas!?!!?!? Are you ready??? Me? I finished my shopping today so all I need to do is wrap presents and if possible knock out a few handmade projects for some extra special people on my list.
Well, I’m here to share a card I created using a mini paperbag. All you have to do is fold the end of the bag to were it fits under the flat of the “bottom” of the bag. Next cut cardstock to fit each fold/flap of your card. I inked all edges of the cardstock before adhering to the card.

I used my Cuttlebug snowflake diecut and cut one snowflake from velum and the other one from cardstock which all the cardstock and chipboard snowflake is from the Winter Collection(Russia) from the Robin’s Nest and the Deco Snowflake sticker are from Ecstasy Crafts.

Now if you want to you can add a sweet little goodie inside the bag. Won’t that be a sweet surprise???

Supplies Used:
Deco Snowflake sticker 
Versa Magic Ocean Depth Chalk Ink
Cuttlebug Snowflake Diecut
Mini Paperbag

If you have any questions let me know. Thanks for stopping by, hope your Wednesday is wonderful and enjoy creating!!!


Snowman Love

Hi everyone! Can you believe Christmas is only nine days away?!!?!? YIKES!!! I have been shopping, wrapping presents and crafting up a storm and I’m still not finished. I decided to take a break and share a snowman I created using a Smooth Foam ball I had received in package of ornaments a month or so ago.
I started out by applying two coats of gesso to the ball and then painting with some white acrylic paint. I lightly penciled in the eyes and mouth. Painted the mouth with black and “pounced” the cheeks with a light pink acrylic paint, adhered two black Dew Drops to the ball for the eyes and shaped a carrot nose from Sculpey clay and then baked it.

The chipboard snowflake cut out I painted with white paint and then added a fine glitter to it. I gessoed a bottle cap which I used as the “neck” of my snowman.

I used an old sheet of music to make a cone hat for my little snowman fellow. Added some silver tinsel, button, mini snowflake and a white Dew Drop to it. I set the hat aside and then covered the whole snowman head and scarf with fine glitter. Let dry and then glue the cone hat to the snowman. 

I plan on adding this little fellow to my collections of other snowmen that I have on the  fireplace mantle.

Supplies Used:
Chipboard Snowflake Shape
Bottle Cap
Fine Glitter
Vintage Sheet of Music
Tinsel
Round and Snowflake Buttons
Orange Sculpey Clay 
Gesso
Antique Mod Podge

Black and Pink Acrylic Paint

If you have any questions please let me know and I’ll do my best to answer them. Hope you can stop by tomorrow…Tuesday…cause I have another quick project to share. 🙂 Thanks for stopping by today, hope your Monday is wonderful and enjoy creating!!!


Postage Stamp Snowflake Rolodex Card

Hi everyone! Can you believe this is the first day of December and Christmas is only 24 days away??? YIKES!!! I did get out for about two and a half hours on Friday and did a little  Christmas shopping. There was just no way I could force myself to go out on Thursday and shop. For one thing it is just not right that people has to work on a holiday when they should be home eating and spending time with their family. I’m afraid next year retail stores will be open all day on Thanksgiving. Sigh… 🙁
I’m here to share a couple of rolodex cards I created for a swap I was in over at Swap-bot.  One is for my swap partner and the other is for me. 🙂 The theme was holiday with a postage stamp used in some way on the rolodex.
I hope you enjoy them!

Thanks for stopping by! If you have any questions let me know, hope your Sunday is wonderful and enjoy creating!!!


Christmas Junk Journal Part One

Hi everyone! Wow!!! Christmas is almost here and if you are like me you have good intentions of making gifts for everyone and then you run out of time. Well, I’m here to share a junk journal I created using the Christmas Collection (North Pole) which is 20% off this month over at the Robin’s Nest. These journals are really easy to make and you can knock out several in no time. 
The bases for a junk journal is to use what you have on hand. You can use old maps, wall paper, sheets of music, paperbags, pages from books, old ledgers pages, etc. You will need a variety of what I just listed (nine pieces) I started with a 9″x12″ envelope which I folded in half. The papers and bags I chose are smaller and fold those in half too.

Next make a guide on paper of where to poke holes in the spine of the journal and then mark your holes for each page. I have a bottle cap hole punch I used. It works perfectly when you punch each page folded. 

Next thread about a yard in a half of red and white baker’s twine on a needle and stitch all pages together and tie off on the spine.

The inside of the journal should look something like this before you start adding cardstock and embellishments.

The cover I used Black and White Holly cardstock which I cut just a little bit smaller than the outside cover. I then inked the cardstock with Powder Puff Limeade Chalking Ink to add just a little more color to it. Next cut a yard of green seam binding in half  and adhere to the front and back covers and then glue the Black and White Holly cardstock to the front and back covers. Also the little tag that is attached to the baker’s twine is from a Christmas present tag that I thought was too cute to throw away…which I have several I have saved through the years not knowing what I could use them on. Well, now I do. 🙂 
Next to add embellishments to the front cover!!! I added a glimmer misted paper doily with a snowflake ornament with Pearl Dew DropsSt. Nick printable from Ephemera’s Vintage Garden… I also used the backside of Black and White Holly cardstock to matt the St. Nick printout and I also used the Celtic Border Punch  from Purple Cows site which is one of our sponsors this month to make the “distressed” border around one of the corners of the matt. Pretty cool huh? So when you get a chance be sure to check out their website for some super fun punches and dies. I also used the Sizzix Medallion diecut is cut from the backside of Snow Covered Glitter Cardstock…which I inked with Limeade chalk ink, book plate, with dew drops and last but not least I cut a banner from Red Distressed Cardstock. There you have it the front cover decorated.   

A view of the journal tied.

The inside was so fun to decorate. I used a variety of found objects such as Christmas present tags, stickers and embellishments I received in swaps and also Robin’s Nest product too. The inside cover I used the backside of Red Snowflake Cardstock and the opposite page I used Jolly Dew Drops to decorate Sizzix Christmas Tree Album diecut that cut out from corrugated box and then painted with acrylic paint. 

I added a Black journaling block which I made into a pocket to hold the Christmas present tags I had saved. Since the tags had writing on the back I covered them with some scraps of cardstock. Also I used a digi image from Printable from Ephemera’s Vintage Garden and fussy cut it out and added it to the journaling block.

Close up of journaling pocket with Christmas present tags.

I cut a stripe of the Red Snowflake Cardstock and adhered on three side to the page to make a pocket, next I added sequins and dew drops to the center of each snowflake. The opposite page I added a few snowflake stickers with a dew drop in the center of each and spelled out North Pole using red alphabet stickers.

The pull out tag I cut from Flame Glitter Swirl cardstock is actually big enough to add several photos and journaling.

A close up of the North Pole page. I used a Alaska map for this page. Pretty cool huh? 🙂

I kept both of these pages simple. I used Spellbinder’s Oval die to cut Black and White Glitter Pine Tree cardstock die along with a wooden snowflake that I glimmer misted a wooden snowflake and added a Red snowflake, button and dew drop. The music sheet page I simple punched from the Red Distressed Cardstock a scalloped circle and used a cut out and wha-laaa!!!

This is where I am going to stop for now. I will share the rest of my junk journal on November the 30th so be sure to mark your calendar to see how everything turns out. 🙂 Be sure to stop by the Robin’s Nest and check out the awesome Christmas Collection that is on sell 20% off.  Also while you are at it be sure to check out the Purple Cows site and see their wonderful selection of dies and punches. 
Supplies Used:
Sizzix Christmas Tree Album Die
Baker’s Twine
Gina’s Designs Bookplate
Rumple Ribbon Green Leaves Seam Binding
Spellbinder’s Large Oval Die
Sequins
Buttons
Doily
Snowflake ornament and wooden cut out
Tattered Angels Chalkboard Mantis Glimmer Mist
Ceramcoat Green Tea Acrylic Paint

If you have any questions let me know. Thanks for stopping by, hope your Sunday is wonderful and enjoy creating!!!


Ornament Blog Hop: Wish Snow Globe

Hi everyone! It finally hit me that Christmas is just right around the corner. I have lots of projects and swaps that I’m working on and I’m running out of time…YIKES!!! But I do have this adorable project that I have just finished using a SmoothFoam snowman body and Robin’s Nest products that I would like to share. This snow globe is for the “An Ornament Blog Hop” linky party that The Robin’s Nest and SmoothFoam are hosting. So please be sure to hop on over to the Chattering Robin’s Blog and checkout everyone else’s creations using Robin’s Nest and SmoothFoam product and be sure to become a follower of each blog for a chance to win prizes…now who doesn’t love prizes??? I know I do. 🙂
I used an old Tostitos creamy spinach dip (1 lb. 7 oz.) jar which I had no problem cleaning out. 🙂 The lid I gessoed and once dry painted with turquoise paint and then seal with Mod Podge. Next I gessoed the snowman body twice and then painted white paint. I lightly penciled in eyes and mouth and then painted with black paint. Load pink paint on a brush and “pounce” most of the paint off onto a piece of paper and then “pounce” the rest on the snowman for cheeks. While all of that is drying I took a small piece of sculpey clay and created a “carrot” nose and then I followed the baking directions on the side of the package. Once the nose has baked and cooled adhere it to the snowman. I poked tiny holes and added a bit of glue to the twigs before I added to either side of the body and I glued three dew drops down the front of the body too.  Now comes the fun part…GLITTER!!! I sponged Mod Podge to all of the snowman and then sprinkled glitter all over. Let dry.

Next I cut a 1/8″ strip from AquaMarine Glitter Sorbet Cardstock to make a scarf. Cut to fit around the neck and glue. Now cut four small pieces and curl the ends with a pair of scissors and glue to the side of the neck and add a Pearl Dew Drop to top it off. Then lightly  Mod Podge the scarf and add glitter.

For the hat it needs to be cone shaped. I free handed a pattern and once I got it the size I wanted it I traced it onto a vintage sheet of music and cut out. Now roll up to make a cone and then adhere. Also add tinsel around hat and glue to the head.

Take the lid and adhere a smaller lid to the inside.

Draw a circle slightly bigger than the lib onto felt and cut out. Then adhere to the inside of lid over the smaller lid. Now adhere the snowman to the top of the smaller lid and then sprinkle shaved ice glitter over the felt.

Now screw the “globe” over the snowman, add shear ribbon around bottom and tie off.  Adhere dew drop, button and Winter Glitter Chipboard Snowflakes together. Once dry Mod Podge and sprinkle glitter over the snowflake and then glue to the middle of the bow.

I adhered together a wooden snowflake, medallion (made from AquaMarine Glitter Sorbet Cardstock), Winter Glitter Chipboard Snowflakes, button and jingle bell. Lightly Mod Podge and add glitter. I added a Pearl Dew Drop to the tip of the snowflake “arms” and then glued to the top of the “globe”.

Cut out four banners, Mod Podge, add glitter and let dry. Print the word WISH, cut apart and adhered to the banner. Thread onto baker’s twine alternating between beads and banner. I’m so please with how it turned out!!! I can’t wait to now display it on the mantel along with all my other Christmas decorations.

Supplies Used:

Glass jar with lid
Ceramcoat Turquoise Acrylic Paint
Anita’s White Acrylic Paint
Gesso
Antique Mod Podge
Twigs from a tree
Extra Fine Glitter
Shaved Ice Glitter
White Felt
Sheer Ribbon
Silver Bell
Wooden Snowflake
Vintage Sheet Music
Silver Tinsel
Blue Buttons
Blue Jewelry Beads
Spellbinders Nested Lacey Pennants
Sizzix Medallion 
Timeless Aqua and White Twine 
Sculpey III Oven Bake Clay
I do have more Christmas ornaments in the works and I will share once I’m finished.  Remember to follow each blog for a chance to win and if you have any questions please let me know. Thanks for stopping by, hope your day is wonderful and enjoy creating!!! 


December Daily Altered Book Cover

Hi everyone!!! I’ve always wanted to create a December Daily Journal but to be honest it has always been kinda overwhelming. One thing that stopped me dead was the thought, do you have to take a photo everyday and what if you don’t have anything to share for that day??? What to do??? Well, after scouring the internet…Pinterest especially…blogs, YouTube, kicking ideas around with a group on Facebook and my son paying for a December Daily online class to take…YAH!!! So I’m creating one for this year!!! 🙂
The December Daily I’m going to create is actually an old cookbook for teenagers dating back to 1969. 

The spine was intact and I could cut out the pages with no problem whatsoever.

  
After cutting the pages out this is what the inside looks like. Next I gessoed the outside cover twice and around the inside edges of the book too. 

Let dry and then paint all gessoed areas with Sea Breeze Americana Acrylic paint. Do two coats and once dry seal with Satin Mod Podge. 

I used a couple of scraps of cardstock I had leftover from other projects to decorate the cover along with Red Glitter Stripe cardstockLakeside Dew Drops  and Teal Mini Dew Drops and all this came from the Robin’s Nest online store.

The banners are printable from Ephemera’s Vintage Garden. It’s a simply adorable kit.

I cut scrapbook paper to fit the inside and then adhered. Next click on the Ring Binder link and this will take you to a past project I created showing how to attach the ring binder to the book spine. Be sure to use mod podge and I used binder clips to hold everything in place while it dries. I added book corners protectors to keep the edges of the book from being bent. Next I cut pockets from Red Glitter Stripe cardstock and adhered on three sides to the inside cover.

Next I used two #10 size tags which I cut 1 1/2″ off the bottom and decorated with Cindy Lou Dot Glitter AquaMarine Glitter and Eggs Glitter Cardstock on the tags below. I finished with diecuts, punches, paper doilies, glimmer mist and embossing folder. I also inked all the edges of my tags with Stem Green Chalk ink.

Now all I have to do is add pages which I can’t wait to do! 🙂

Supplies Used:
Doilies
Sizzix Snowball Embossing Folder
Sizzix Snowflake Diecut
Tim Holtz Ring Binder and Book Corner Protectors
Seal Punch
Stampin Up Tab punch
Tattered Angel Mantis Chalkboard Glimmer Mist
Sea Breeze Americana Acrylic paint 
Ric Rac
Round and Snowflake Sequins
Wooden Snowflake
Book Plate
Mod Podge
Gesso
Chalk Ink
Also be sure to stop by the Robin’s Nest and check out all their Christmas cardstock and embellishments. Thanks for stopping by, hope your Saturday is wonderful and enjoy creating!!!

January Altered Rolodex Swap

Hi everyone!!! Just wanted to share a quick post today of a Rolodex I created for a swap I’m in on Swap-bot. The theme of the rolo could be anything vintage so I choose to go with something along the lines of snow…since it has been cold around here…brrr 😉


I used my Sizzix Card, Telephone & Address die to cut out my Rolodex cards…I had to make one for myself too… to me this is a lot easier than trying to actually alter a rolo card that you purchase at a office supply place. 🙂 I also used cardstock, bits of scrapbook paper, lace, baker’s twine, old buttons and Dew Drops. The vintage sheet of music I used my Sizzlets Merry Details die to cut out snowflakes. The snowman image I got from Vintage Image Crafts on Facebook. If you are on Facebook go over to their page and like them. There is tons upon tons of images that you can download and the best part it is FREE 🙂

    
I also inked all of the edges and I used Crystal Stickles on the image to give it that snowy glittery look.


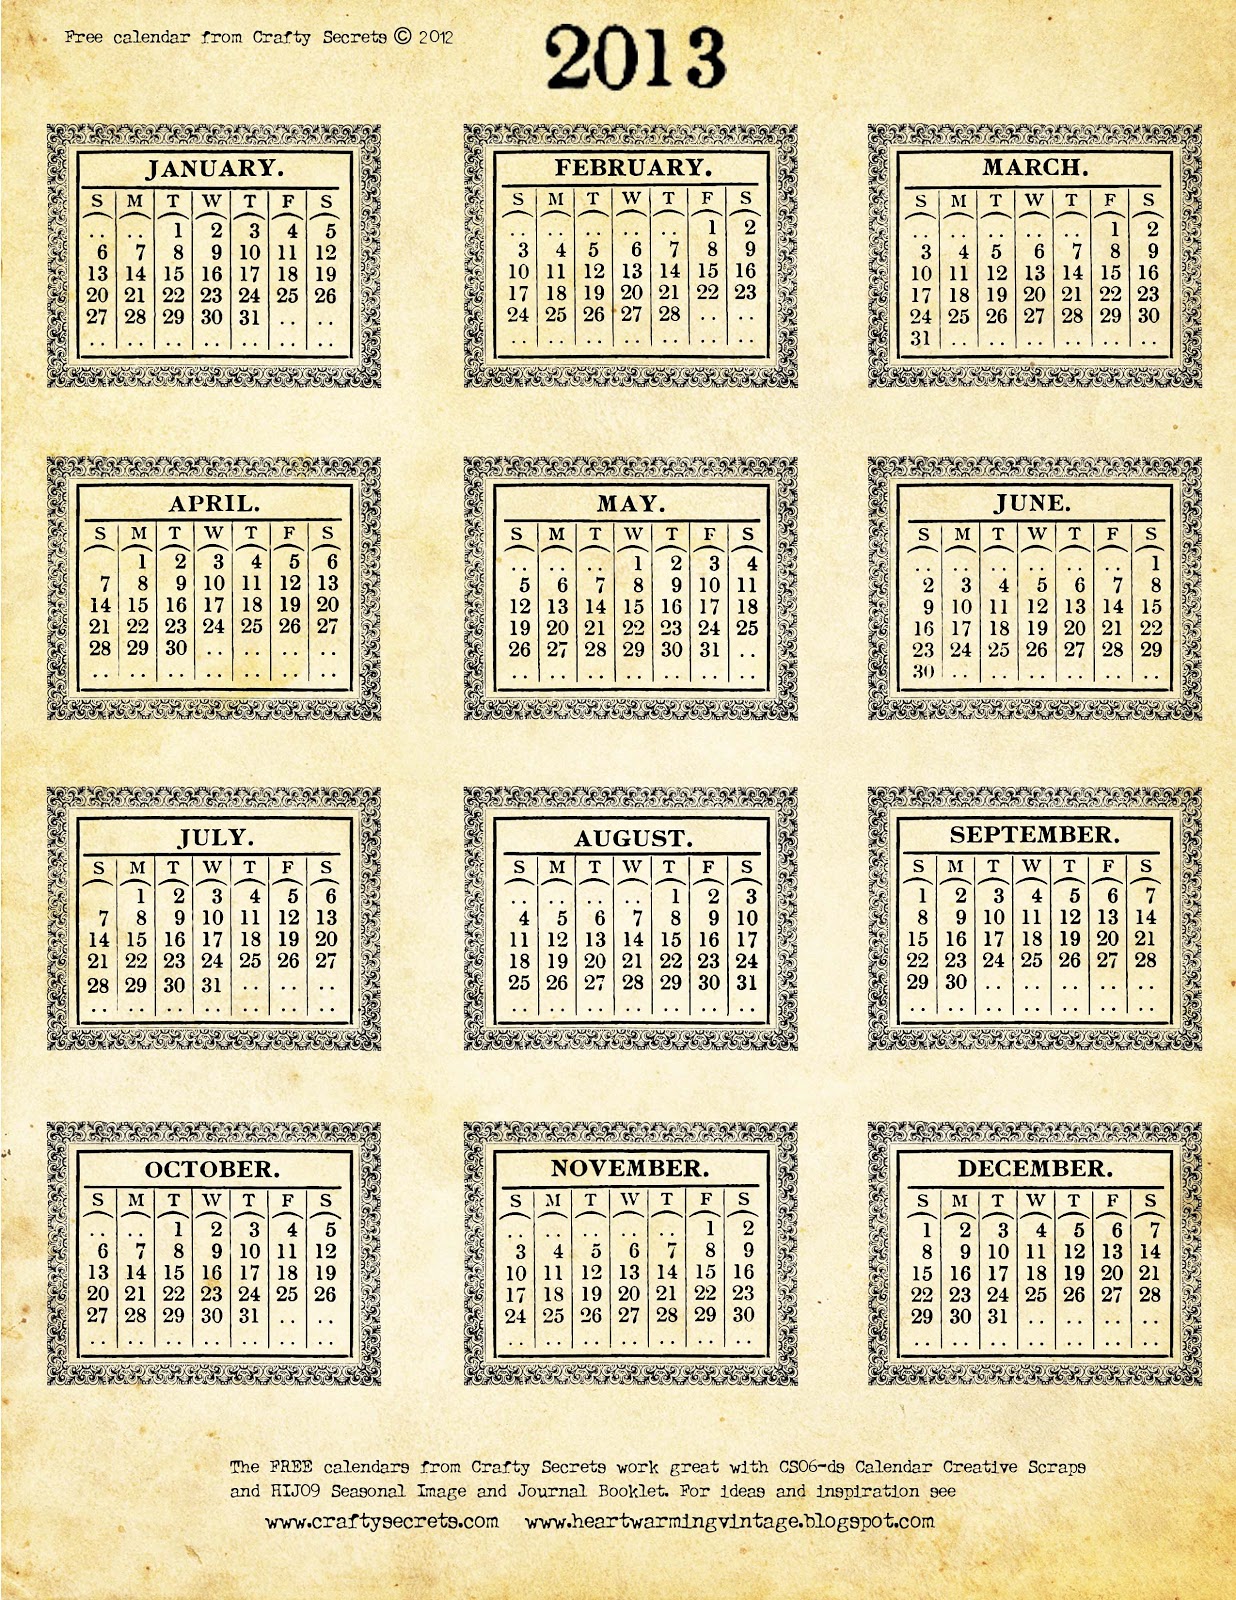
The back of the card I download the 2013 calendar from Crafty Secrets and cut out the January calendar. I used my printer to print out the words snow day and my name which I adhered to the rolo. Wa-laa!!! Finished!!! 🙂 Now all I need is a Rolodex holder!!! 🙂
Thanks for stopping by and I hope this inspires you to create something fun!!!