Vintage Girls and Flower Page

Hi everyone! I wanted to hop on today and share a page I created using stickers, scraps of cardstock and scrapbook paper I have laying around along with flowers and leave diecuts from the Floral Garden Diecuts Set…those where in my stash of scraps and leftovers.

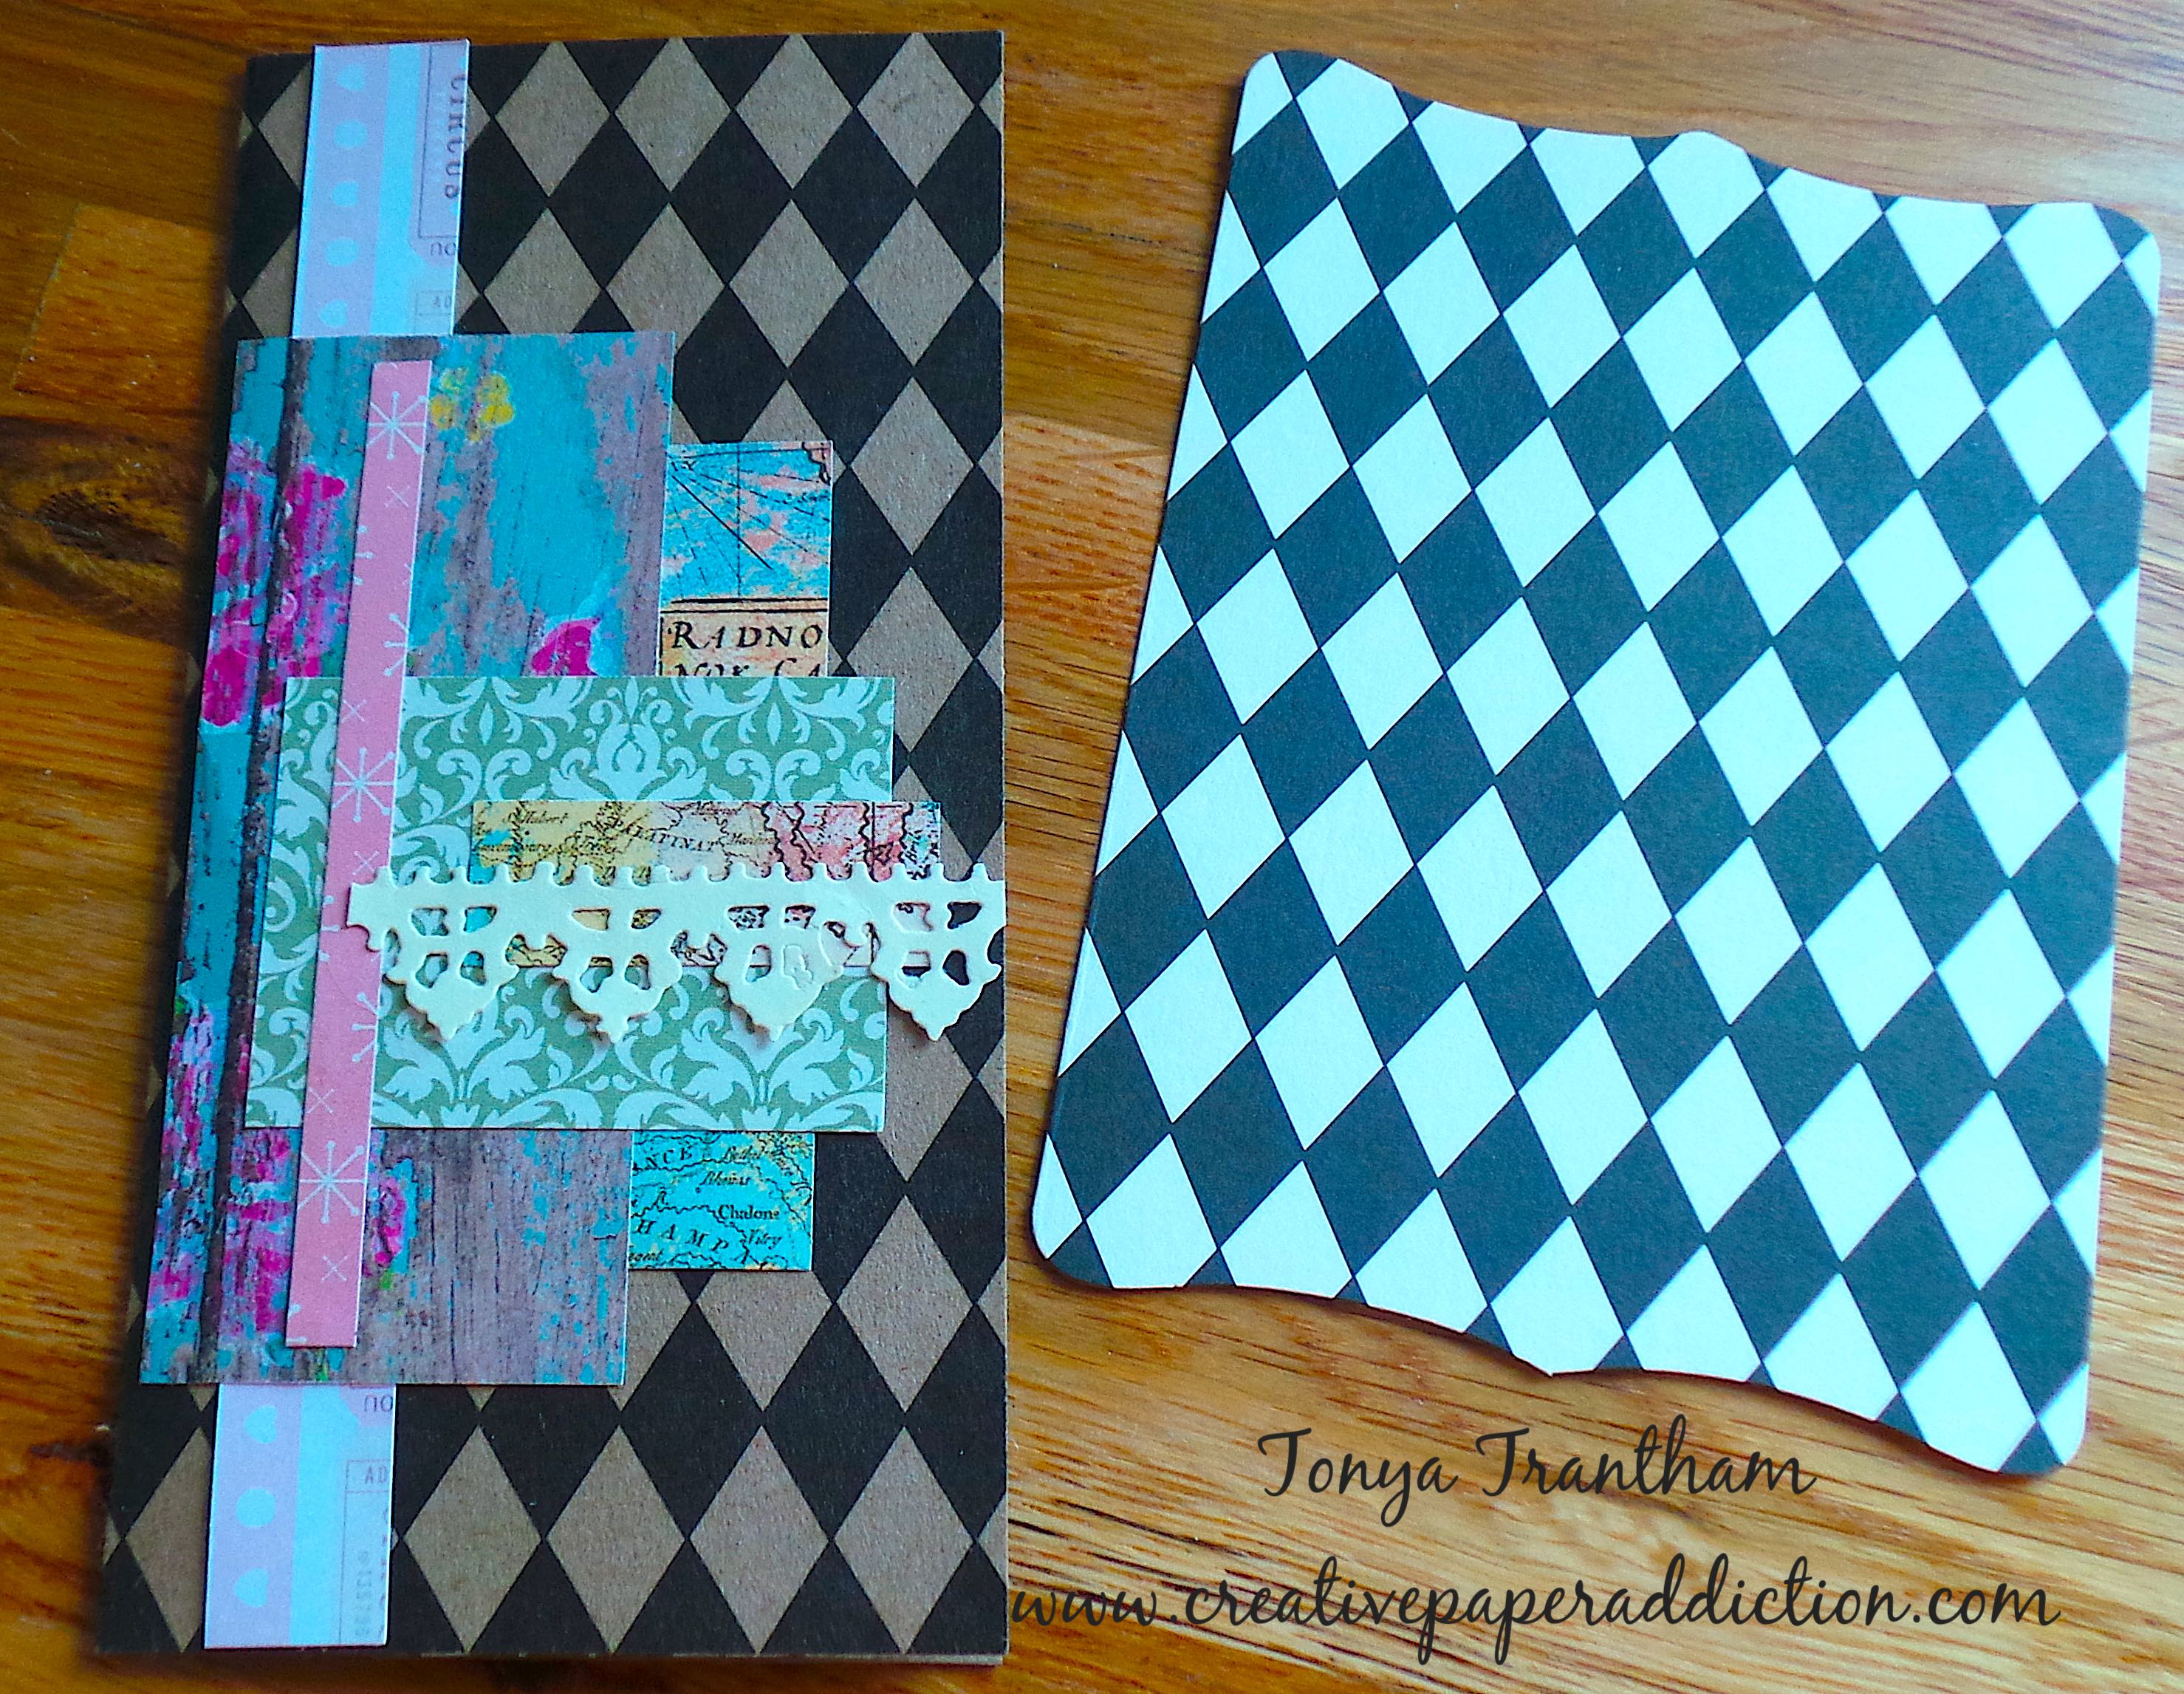
I started with a 3 3/8″x5 3/8″ patterned cardstock as the base for my page. Next I placed a circle punch that had been embossed onto the center of the base and a sticker down the side (Apologies for the dark looking photo I really thought I had taken a better photo than that.) It’s ok that the sticker is hanging off either side of the base because I will be adhering the finished project to a page in one of the journals that I have created…I’ll share more later on which journal I will be using.

The images of the vintage girls are from a piece of wrapping paper I had started fussy cutting but didn’t finish. I finished fussy cutting those out and then I went through my stash to figure out what scraps and stickers I wanted to include on the page.

I adhered bits of cardstock, banner diecuts, heart punch and diecut images to the base. I added an assortment of patterned paper to the girl images before applying Foam Pop Dots and placing on the base.

I shaped the flowers and leaves diecuts from the Floral Garden Diecuts Set and glued to the page along with thread bows, gems in the center of the flowers and a leftover gem swirl from my stash.

I can’t wait to add this to the first page in my journal! I’m still deciding if I ought to wait and do a complete reveal of what journal I chosen to work with or share again (hint this is a journal that I posted about last year). Also I’m going to add a couple more embellishments to the cover of my journal….to me it looks bland. Let me know in the comments below share now or wait for a completed journal reveal.

As always if you have any questions about this project please let me know.

Supplies

i-crafter: Floral Garden Diecuts Set

Paper Cutter

Scissors

Beacon Adhesive: Zip Dry Adhesive

Foam Pop Dots

Diecut Machine

Stylus

Various Plain and Patterned Cardstocks

Thread, Gems, Punches and Images

(Products listed above are Affiliated Links for your convenience)

DISCLAIMERS

This blog is compensated to provide opinion on products, services, websites, and various other topics. Even though the owner(s) of this blog receives compensation for our posts or advertisements. I always give my honest opinions, findings, beliefs, or experiences on those topics or products. The views and opinions expressed on this blog are purely my own. Any product claim, statistic, quote or other representation about a product or service should be verified with each manufacturer, provider, or party in question.This blog contains affiliate links, clicking and shopping through these links helps to support and run Tonya Trantham Designs – Creative Paper Addiction at no additional cost to you. Today’s features are Scrapbook.com Products. 

Thanks for stopping by, hope your Thursday is wonderful and enjoy creating!

Bird Folio Journal Reveal Part One

Hi everyone! I’m back with my project for Eileen Hull and the reveal (part one) of the inside of my journal I created using Eileen Hull’s Folio Journal Diecut and Folio Page, Pocket and Flowers Thinlits. If you missed the big Chapter 1 Release Party that Eileen hosted at the beginning of the month I have a blog post with details and more photos and instructions on how I created the cover of my folio journal. You can find that post HERE.

I placed a piece of folded patterned cardstock slightly past the cut line of the page diecut (from the Folio Page, Pocket and Flowers Thinlits), placed washi tape on the thinlit and cardstock before running through the Diecut Machine. I cut three pages/papers per signature for a total of nine pages/papers but today I’m only sharing the first set of pages.

I punched holes and added the claps with brads and then covered with a piece of patterned cardstock. This secures the clasps and brads in place. Side note…I forgot to include this step in the post where I shared how I created the cover….ooops!

I slide the pages up under the elastic cording in the spine and tied ribbon over the elastic before I started decorating the pages. The inside cover I adhered a pocket, shaped and added a flower and leaf to the pocket along with a gem to the center of the flower. The pocket is a great place to store journaling cards or photos. On the first page I added a glassine bag with washi tape. I dug into my stash and found this birdcage die which I adhered to the bag. I placed two tags inside the glassine bag and added flowers and sprigs, one to the tag and one to the corner of the birdcage.

On the inside of the glassine bag I added a bird and shaped punch and more flowers and a sprig along with a piece of trim at the bottom of the bag.

The next several pages I decorated with an assortment of tags, diecuts, stickers, thread, cheese cloth and the flowers, leaf and sprig thinlits. Most of the flowers I added gems or flat back pearls to the center, and I also shaped with a Stylus.

There you have it part one of the inside of my folio journal! If you haven’t been by Eileen’s blog to see what the Inspiration Team has been up to lately you can find this month’s blog posts HERE and HERE. As always if you have any questions about the pages or what products I used (I shopped my stash) please let me know. I’ll do my best to answer.

Supplies

Sizzix/Eileen Hull: Eileen Hull’s Folio Journal Diecut

Sizzix/Eileen Hull: Folio Page, Pocket and Flowers Thinlits

Diecut Machine

Various Patterned Cardstock

Various Diecuts, Stickers, Thread, Cheese Cloth, Ribbon, Trim, Gems and Flat Back Pearls

Stylus

Paper Cutter

Scissors

Beacon Adhesive: Zip Dry Adhesive

Crop-A-Dile

(Products listed above are Affiliated Links for your convenience)

DISCLAIMERS

This blog is compensated to provide opinion on products, services, websites, and various other topics. Even though the owner(s) of this blog receives compensation for our posts or advertisements. I always give my honest opinions, findings, beliefs, or experiences on those topics or products. The views and opinions expressed on this blog are purely my own. Any product claim, statistic, quote or other representation about a product or service should be verified with each manufacturer, provider, or party in question.This blog contains affiliate links, clicking and shopping through these links helps to support and run Tonya Trantham Designs – Creative Paper Addiction at no additional cost to you. Today’s features are Sizzix, Eileen Hull and Scrapbook.com Products. 

Thanks for stopping by, hope your Tuesday is great and enjoy creating!

Fifteen Minutes or Less Cards

Hi everyone! I’m back with two super quick cards I created! I know if you have been following me for any length of time you know I am the keeper of all paper scraps from my projects and you also know that I generally have several unfinished projects laying around. Since I have Eileen Hull’s newest diecuts, Foilio Page Pocket and Flowers Thinlits, I thought I would use the flowers from the set to finish these cards. I also used a few others diecuts by Eileen that are retired and some that can still be purchased. This is what I had laying around in my craftroom waiting to be finished.

I started with the kraft and black diamond cardstock, it was a piece of 6″x6″ cardstock that I folded in half to create a 3″x6″ card base, which I had already used scraps of patterned cardstock and a tiny piece of a lace diecut to decorate the front. That’s where I stopped on that card because at the time I really wasn’t sure how I wanted to finish it? I cut out a label from Eileen’s Kitchen Labels Thinlits (retired) and added the Hello diecut that I had leftover from a previous project and adhered to the front of the card.

I cut out two of the leaf sprigs and two of the flowers from the Folio Page Pocket and Flowers Thinlits. I shaped the flowers with a Stylus, glued under the hello sentiment and added a flatback pearl to the center of the flower.

The second card I had cut from the Needle Book Diecut (retired). I folded it and added an assortment of patterned cardstock to the front. I had one of the “fringe” flowers (Sweet Treats for You Set Diecuts) leftover from a previous project and cut out several more flowers and leaf sprigs from the Folio Page Set, shaped and adhered to the front of the card.

Also from my stash I had this mini cupcake image that I added with the flowers for something fun.

Do you think you could make these cards in less than 15 minutes ? Or maybe even 10 minutes? Let me know in the comments below.

Also be sure to stop by Eileen Hull’s blog for lots of creativity from her Inspiration and Educator Teams. You can find the latest blog posts HERE and HERE.

Supplies

Sizzix/Eileen Hull: Foilio Page Pocket and Flowers Thinlits

Sizzix/Eileen Hull: Kitchen Labels Thinlits (retired)

Sizzix/Eileen Hull: Needle Book Diecut (retired)

Sizzix/Eileen Hull: Sweet Treats for You Set Diecuts

Diecut Machine

Paper Cutter

Various Scraps of Patterned Cardstock

Gem and Flatback Pearls

Stylus

Scissors

Beacon Adhesive: Zip Dry Adhesive

(Products listed above are Affiliated Links for your convenience)

DISCLAIMERS

This blog is compensated to provide opinion on products, services, websites, and various other topics. Even though the owner(s) of this blog receives compensation for our posts or advertisements. I always give my honest opinions, findings, beliefs, or experiences on those topics or products. The views and opinions expressed on this blog are purely my own. Any product claim, statistic, quote or other representation about a product or service should be verified with each manufacturer, provider, or party in question.This blog contains affiliate links, clicking and shopping through these links helps to support and run Tonya Trantham Designs – Creative Paper Addiction at no additional cost to you. Today’s features are Sizzix, Eileen Hull and Scrapbook.com Products. 

Thanks for stopping by, hope your Friday is awesome and enjoy creating!