Mom Journal
April 15, 2019
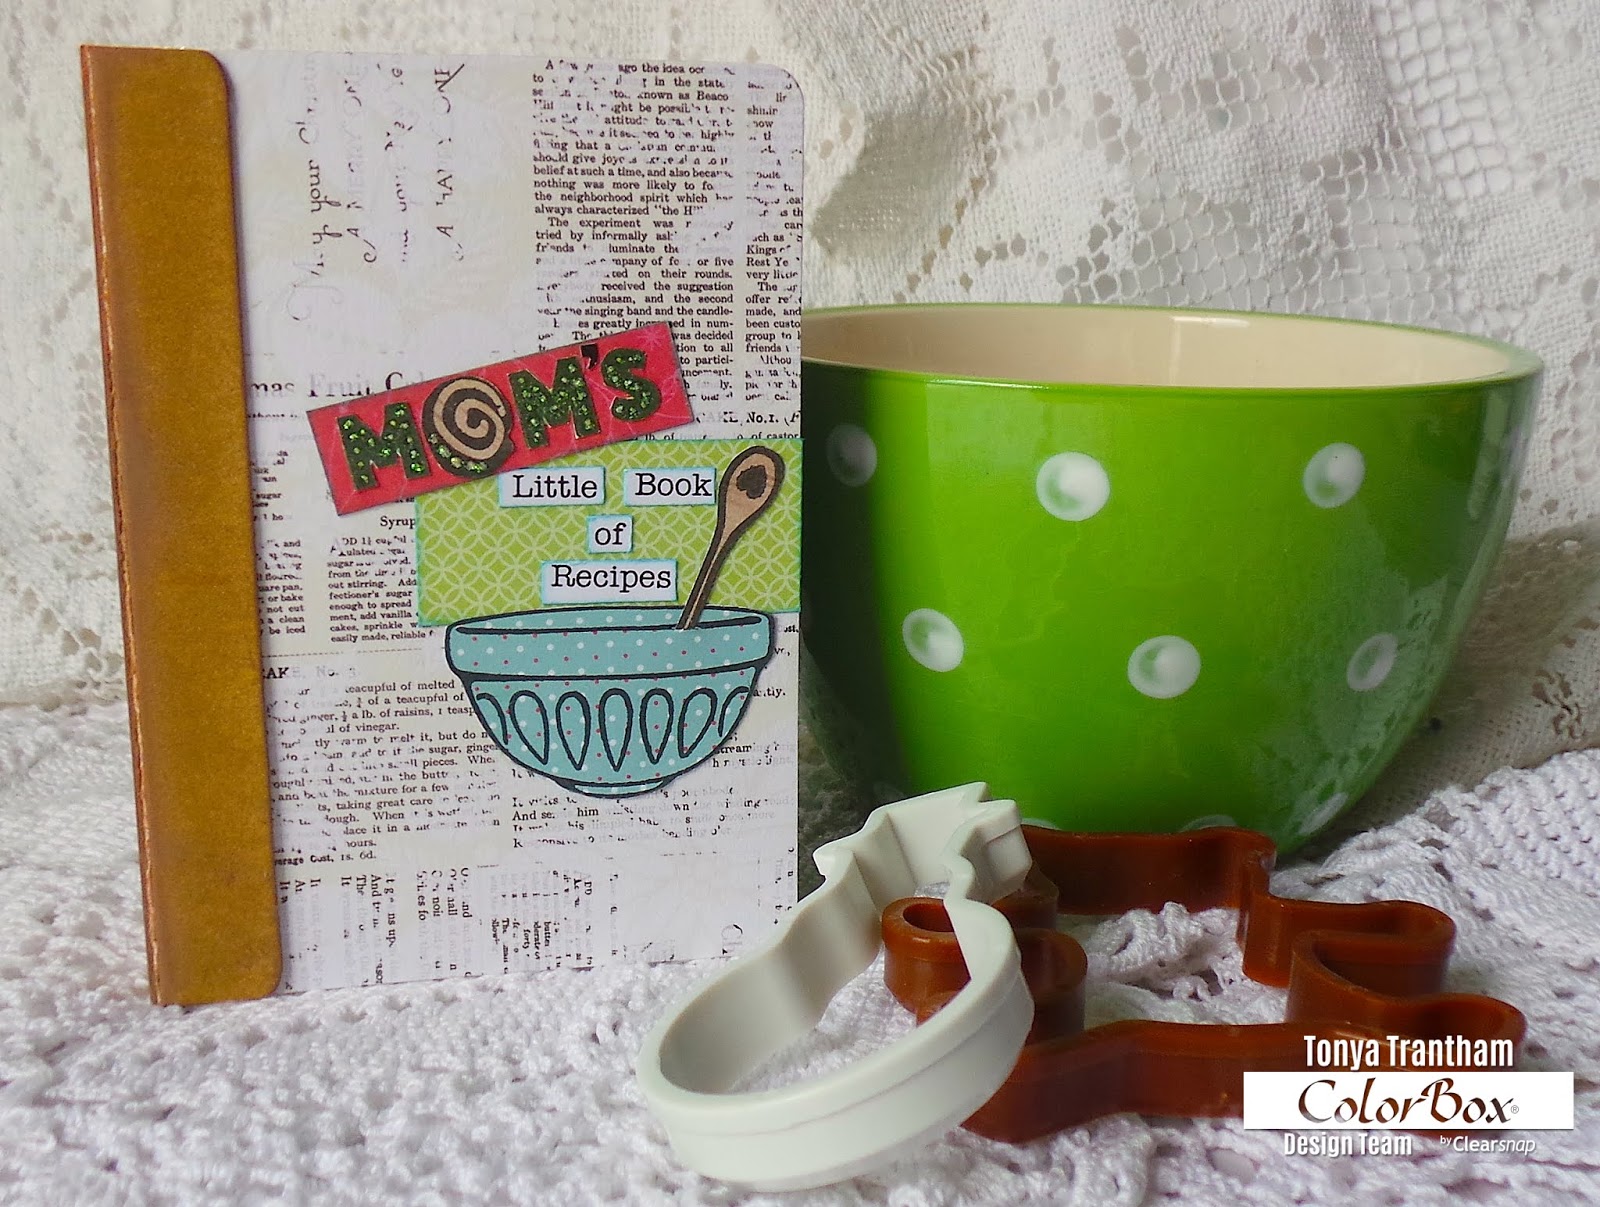
Hi everyone! With Mother’s Day right around the corner I wanted to share an easy project that you can make.

I started by placing the Doily/Scalloped Circle stamp from the Cookies Clear Stamps onto the MISTI Stamping Tool and ink with Wicked Black Archival Dye Ink. I stamped onto a piece of Watercolor Paper and fussy cut the stamped image out. I inked a glass tray with the following inks: Mulberry and Cabernet Dyestress Blendable Dye Inks and added water to each ink. I laid the stamped image into ink mixture and once the image is completely covered I removed and let dry.

I inked the Geranium Pot Wood Stamp with Wicked Black Archival Dye Ink and stamped onto a piece of watercolor paper. I inked the glass tray with the following inks: Princess, Cabernet, Tomato, Bumble Bee, Moss and Inchworm Dyestress Blendable Dye Inks. I added a little amount of water to each ink. Next I painted the Geranium Pot image. The leaves and stems…Inchworm and shade with Moss Dyestress Blendable Dye Inks. The flowers…Princess and the center of each flower with Cabernet Dyestress Blendable Dye Inks. The pot…Tomato and shade with Bubble Bee Dyestress Blendable Dye Inks. Once dry I fussy cut the geranium pot image out and add Clear Glitter Glue to the center of each flower.

I placed a piece of White Chipboard on top of the Stamp and Photo Storage Scoreboard L Diecut and placed between plates and run through Diecut Machine. I cut two out. I placed the diecut in the Honeycomb Embossing Folder (retired), between two plates and run through the diecut machine. Emboss second diecut too.

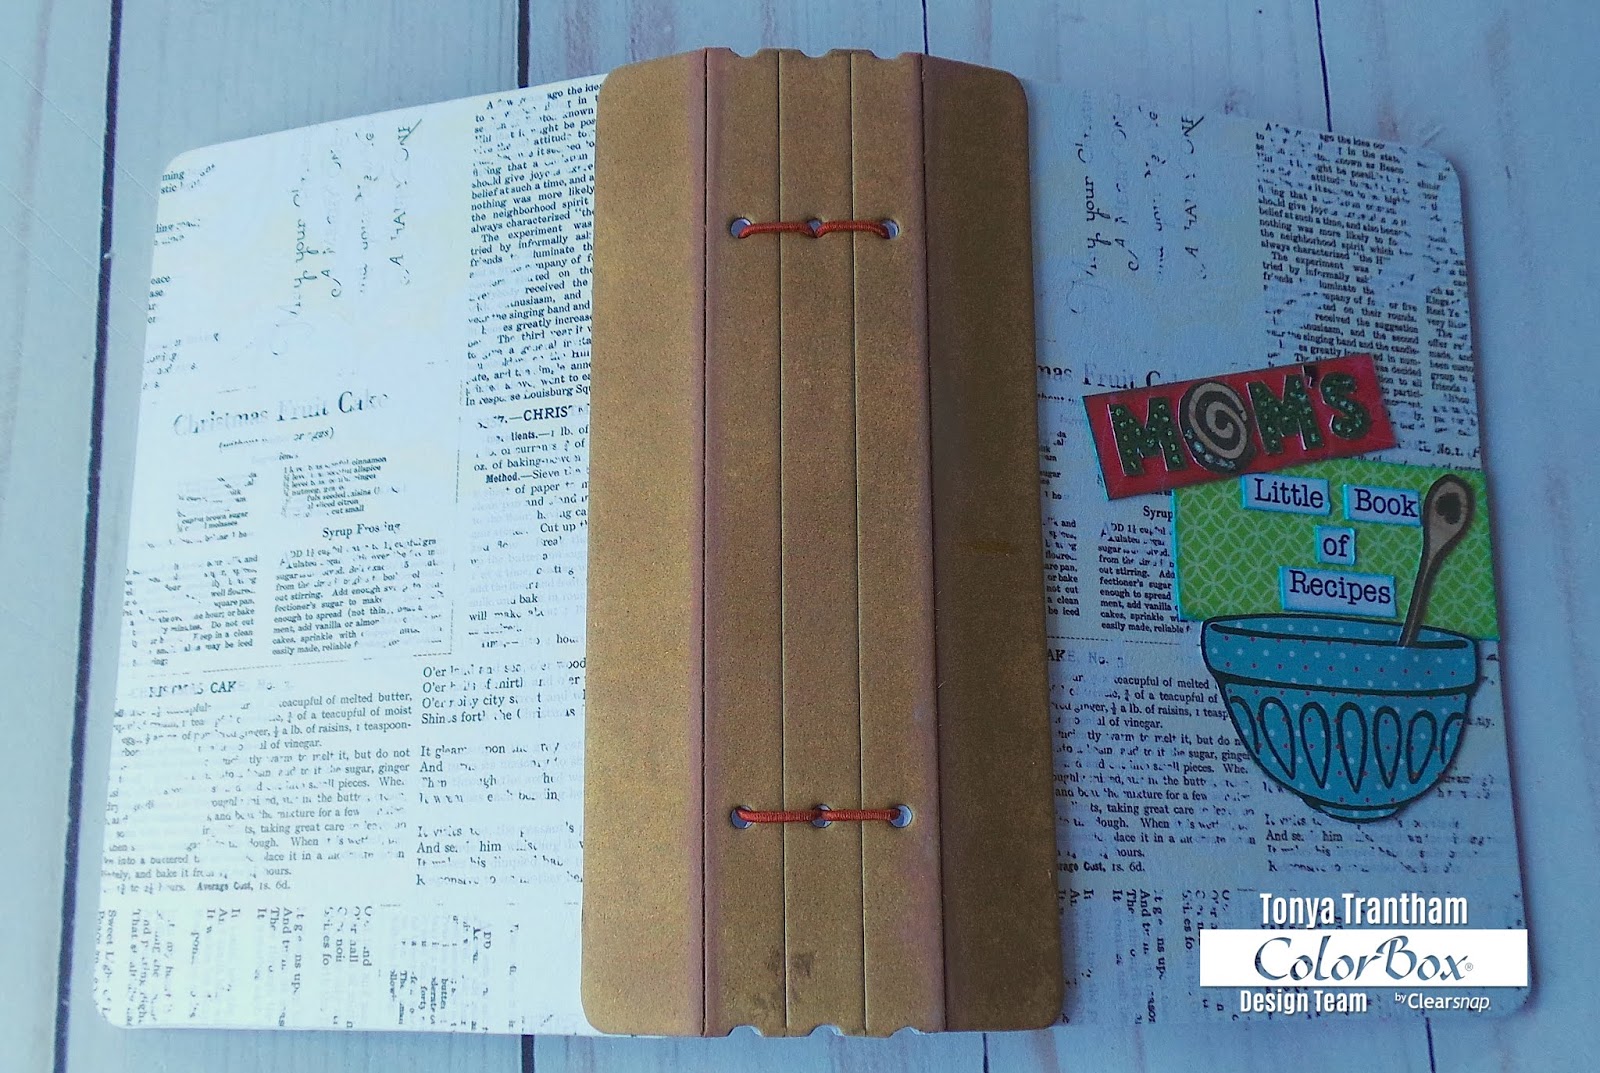
I cut the flap off the top of both diecuts and cut the first fold off the side of each diecut. I added adhesive to the remaining flap and glue to the other flap. This creates the spine of the notebook.

I measured one inch on either end of spine, mark and punched holes. I also measured one inch on either end of the back cover, marked and punch holes. I threaded elastic through the holes on the back cover and tie off inside.

I removed the cover from a store bought notebook (I found these notebooks at the Dollar Tree).

I lined up the notebook on the inside of the cover, marked and punch holes. Next I threaded a needle with thread and sewed the notebook to the inside cover and tied off on the inside. I adhered the doily/scalloped circle and geranium pot images to the front cover.


I placed a scrap of Adhesive Sheet on the back side of a piece of green cardstock and placed the piece of cardstock on top of the “Moments” diecut from the Floral Arch and Words Diecuts. I placed the diecut between plates and run through the diecut machine. I removed the backing from the adhesive and before placing on cover cut off the “ents”. The elastic can be placed around the front cover to keep closed when not in use.

As always if you have any questions about this project please let me know.

SUPPLIES USED:
ColorBox: Wicked Black Archival Dye Ink
ColorBox: Cookies Clear Stamps
ColorBox: Geranium Pot Wood Stamp
ColorBox: Inchworm Dyestress Blendable Dye Ink
ColorBox: Moss Dyestress Blendable Dye Ink
ColorBox: Tomato Dyestress Blendable Dye Ink
ColorBox: Bumble Bee Dyestress Blendable Dye Ink
ColorBox: Mulberry Dyestress Blendable Dye Ink
ColorBox: Cabernet Dyestress Blendable Dye Ink
ColorBox: Princess Dyestress Blendable Dye Ink
Sizzix/Eileen Hull: Stamp and Photo Storage Scoreboard L Diecut
Sizzix/Eileen Hull: Floral Arch and Words Diecuts
Sizzix/Eileen Hull: Honeycomb Embossing Folder (retired)
Sizzix: Adhesive Sheet
Notebook 4″x6″
Scrap of Green Cardstock
Beacon Adhesive: Zip Dry Adhesive
Glass Tray
Elastic 3MM
Studio g: Clear Glitter Glue
Needle
Thread

Thanks for stopping by, hope your Monday is awesome and enjoy creating!


