Happy Holidays Snowflake Mini Slimline Card

Hi everyone! I’m back with a very quick card I created. I was in the “moment” of making this card that I completely forgot to take any step out photos of the process. This card centers on a leftover “Happy Holidays” sentiment from my Holiday Snowman Mini Slimline Card I posted about a few days ago. Anyways, let’s get started!

First, I folded a piece of 6″x6″ snowflake patterned cardstock in half to create the base of the card. I cut the “Happy Holidays” sentiment down and inked the edges with a chalk ink. Also the sentiment is from my Sparkle Snowman Stamp Set which can be found at Blank Page Muse.

Second, I cut two labels and two snowflakes from the Everyday Tags and Labels Thinlits. I embossed the smaller label with the Tablecloth Embossing Folder, lightly inked with a chalk ink before gluing with the sentiment on top of the larger labels.

Third, I glued the first snowflake die to the corner of the label. The second snowflake I added a Foam Pop Dot to the back before placing on top of the other snowflake. I finished by adding a flat back pearl to the center of the snowflake and a couple of sequins to the card base.

If you have any questions or comments about this card please leave it in the comment section below. Also if you aren’t following Blank Page Muse on their social media site you can find them: Facebook. Instagram, Pinterest, Blank Page Muse Website and Blank Page Muse Blog.

Supplies

Blank Page Muse/Tonya Trantham: Sparkle Snowman Stamp Set

Sizzix/Eileen Hull: Everyday Tags and Labels Thinlits

Sizzix/Eileen Hull: Tablecloth Embossing Folder

Foam Pop Dot

MISTI Stamping Tool

Diecut Machine

Scissors

Black Ink

Various Plain and Patterned Cardstocks

Chalk Ink

Sequins and Flat Back Pearl

Paper Cutter

Beacon Adhesives: Zip Dry Adhesive

(Products listed above are Affiliated Links for your convenience)

DISCLAIMERS

This blog is compensated to provide opinion on products, services, websites, and various other topics. Even though the owner(s) of this blog receives compensation for our posts or advertisements. I always give my honest opinions, findings, beliefs, or experiences on those topics or products. The views and opinions expressed on this blog are purely my own. Any product claim, statistic, quote or other representation about a product or service should be verified with each manufacturer, provider, or party in question.This blog contains affiliate links, clicking and shopping through these links helps to support and run Tonya Trantham Designs – Creative Paper Addiction at no additional cost to you. Today’s features are Blank Page Muse, Sizzix, Eileen Hull, Scrapbook.com and A Cherry on Top Store Products. 

Thanks for stopping by, hope your Tuesday is great and enjoy creating!

Bountiful Harvest Tag

Hi everyone! I’m back with a quick tag I created. I had found this cardstock in my stash and since November is almost over I figured I ought to knock out a tag with the two 8″x8″ pieces of Graphic 45 cardstock I had. I enjoyed the crafting process so there’s no step out photos.

I used the largest tag from the Tag Collection Thinlits and cut a tag from the Graphic 45 cardstock. The other sheet of cardstock was cut a parts. I used an assortment of those and layered and glued to the tag base. The illustration of the children I added Foam Pop Dots to the back and placed onto the tag.

I cut leaves and pine needle sprig from the Funky Festive Thinlits. I know this set of diecuts are Christmas themed but I figured I could pull off an autumn vibe. I added a bow and loops of cording, sequins and a button to the leaves to finish the front of the tag.

The back side of the tag I kept it simple. I layered several of the cut a parts other than the “ohhhh Autumn” sentiment which I added foam pop dots to the back before placing onto the tag base. I finished this side off with sequins and a bow make from cording.

I would like to wish everyone a Happy Thanksgiving (if you celebrate this holiday) and if you have any questions or comments please leave those below.

Supplies

Graphic 45: Calendar Collection (retired)

Sizzix/Tim Holtz: Tag Collection Thinlits

Sizzix/Tim Holtz: Funky Festive Thinlits

Foam Pop Dots

Paper Cutter

Scissors

Cording and Sequins

Beacon Adhesives: Zip Dry Adhesive

(Products listed above are Affiliated Links for your convenience)

DISCLAIMERS

This blog is compensated to provide opinion on products, services, websites, and various other topics. Even though the owner(s) of this blog receives compensation for our posts or advertisements. I always give my honest opinions, findings, beliefs, or experiences on those topics or products. The views and opinions expressed on this blog are purely my own. Any product claim, statistic, quote or other representation about a product or service should be verified with each manufacturer, provider, or party in question.This blog contains affiliate links, clicking and shopping through these links helps to support and run Tonya Trantham Designs – Creative Paper Addiction at no additional cost to you. Today’s features are Sizzix, Scrapbook.com and A Cherry on Top Store Products. 

Thanks for stopping by, hope your Wednesday is great and enjoy creating!

I Love You Ma Cherie Artist Trading Card

Hi everyone! Did you know that Eileen Hull has a new set of thinlits called the Library Pocket ATC and Tab Thinlits? If you don’t know what an ATC it stands for it’s short for Artist Trading Card. They are 3.5″ tall by 2.5″ wide. They are a great way to use up scraps and embellishments to create little pieces of art. Also they are fun to trade with other artists. I created a card with no pocket since my ATC is a little on the bulky side. So let’s get started!

I cut out a couple of cards from the Library Pocket ATC and Tab Thinlits. The second blank the plan is to create another one later.

I had a leftover patterned piece of cardstock from another project that I adhered to the center of the card.

I dug into my stash and pulled out an image of teacups. I cut a slit in the top teacup, cut the saucer off and cut out the insides of the handles of both cups. I picked out a couple from the Mini Paper Dolls and placed into the slit at the top teacup.

I glued a circle punch and a decorative heart embellishment onto the card before adhering the mini couple into the cup before adding to the card.

I added layered flowers with a gem, from the Folio Page Pocket and Flowers Thinlits, and a leaf to the handle of the teacup. I glued the label to the bottom teacup along with two sequins and I finished by adding Stickles to the heart.

If you haven’t been by Eileen Hull’s blog in a bit to see what her teams have been up to you can find the latest post HERE.

Supplies

Sizzix/Eileen Hull: Library Pocket ATC and Tab Thinlits

Sizzix/Eileen Hull: Folio Page Pocket and Flowers Thinlits

Mini Paper Dolls

Stickles

Diecut Machine

Patterned Cardstocks, Gems, Sequins

Scissors

Paper Cutter

Beacon Adhesives: Zip Dry Adhesive

(Products listed above are Affiliated Links for your convenience)

DISCLAIMERS

This blog is compensated to provide opinion on products, services, websites, and various other topics. Even though the owner(s) of this blog receives compensation for our posts or advertisements. I always give my honest opinions, findings, beliefs, or experiences on those topics or products. The views and opinions expressed on this blog are purely my own. Any product claim, statistic, quote or other representation about a product or service should be verified with each manufacturer, provider, or party in question.This blog contains affiliate links, clicking and shopping through these links helps to support and run Tonya Trantham Designs – Creative Paper Addiction at no additional cost to you. Today’s features are Sizzix, Eileen Hull, Scrapbook.com and A Cherry on Top Crafts Products. 

Thanks for stopping by, hope your Tuesday is wonderful and enjoy creating!

Be Merry Santa Card

Hi everyone! I’m back today with a quick and easy Christmas card in not so traditional colors.

I have the Be Merry and Floral Frame Embossing Folders by Brenda Walton (retired). I’ve used the floral frame embossing folder in several past projects but have never used the be merry embossing folder so I thought I would try my hand at making a card with it.

I placed a Lime Cardstock into the folder and ran through the Diecut Machine. I used a combo of a plum and watermelon chalk inks and lightly inked over the raised image on the cardstock. Next I applied Glitter Glue to different raised areas on the cardstock.

I cut and folded a piece of patterned cardstock, 5″x7 1/8″, matted the embossed image with White Cardstock before adhering to the card base. I punched a circle from pink cardstock and fussy cut a Santa face from a scrap piece of cardstock and glued both to the bottom corner of the card. I finished off by adding Clear Sequins randomly to the card.

Supplies

Sizzix/Brenda Walton: Be Merry and Floral Frame Embossing Folders (retired)

Diecut Machine

Glitter Glue

Patterned Cardstock

Lime Cardstock

Plum and Watermelon Chalk Inks

White Cardstock

Paper Cutter

Scissors

Clear Sequins

Circle Punch

Zip Dry Adhesive

Products listed above are Affiliated Links for your convenience)

DISCLAIMERS

This blog is compensated to provide opinion on products, services, websites, and various other topics. Even though the owner(s) of this blog receives compensation for our posts or advertisements. I always give my honest opinions, findings, beliefs, or experiences on those topics or products. The views and opinions expressed on this blog are purely my own. Any product claim, statistic, quote or other representation about a product or service should be verified with each manufacturer, provider, or party in question.This blog contains affiliate links, clicking and shopping through these links helps to support and run Tonya Trantham Designs – Creative Paper Addiction at no additional cost to you. Today’s features are Scrapbook.com Products. 

Thanks for stopping by, hope your Sunday is wonderful and enjoy creating!

Poinsettia Gift Box

Hi everyone! Have you ever needed gift wrap, bag or a box for that last minute Christmas present? I have, so today I’m sharing a way to up-cycle a box that would be tossed in the trash and turn it into a beautiful way to present a gift to a family member or friend. So let’s get started!

The box I had laying around measured approximately 9 1/2″x3″. I cut and glued a total of six pieces of patterned cardstock slightly smaller than each panel of the box.

I cut out several poinsettia and leaves (I hope to create some more projects/presents…fingers crossed this month) from the Elegant Poinsettia Thinlits.

I shaped two of the largest, one of both the middle and smallest flower dies and two of the leaves with a Stylus. Once I had them shaped the way I wanted I adhered each on top of one another. The center piece of the flower…for the life of me I don’t remember the name…I rolled into itself and added a drop of glue to keep together. Once adhered in the center of the poinsettia I applied Gold Glitter Glue and let dry.

I adhered the poinsettia along with gold thread and ribbon to one end of the box to finish off the box. Easy peasy! You could change it up with a different type of flower and create a cool birthday present too.

Supplies

Small Box

Sizzix: Elegant Poinsettia Thinlits

Diecut Machine

Stylus

Gold Glitter Glue

Patterned Cardstock

Red Cardstock

Scissors

Paper Cutter

Gold Thread and Ribbon

Zip Dry Adhesive

(Products listed above are Affiliated Links for your convenience)

DISCLAIMERS

This blog is compensated to provide opinion on products, services, websites, and various other topics. Even though the owner(s) of this blog receives compensation for our posts or advertisements. I always give my honest opinions, findings, beliefs, or experiences on those topics or products. The views and opinions expressed on this blog are purely my own. Any product claim, statistic, quote or other representation about a product or service should be verified with each manufacturer, provider, or party in question.This blog contains affiliate links, clicking and shopping through these links helps to support and run Tonya Trantham Designs – Creative Paper Addiction at no additional cost to you. Today’s features are Scrapbook.com Products. 

Thanks for stopping by, hope Friday is great and enjoy creating!

Bunny Basket

Hi everyone! I’m back with my project this month for Eileen Hull! Since Easter is a less than a month away I wanted to show you how to create an Easter basket using the Folio Page Pocket and Flower Thinlits Dies and the Teacup and Spoon Diecut. Lets get started!

From the Folio Page Pocket and Flower Thinlits I cut two of the corner pockets with flaps and from the Teacup and Spoon Die I cut the “pocket” diecut out. I folded the “pocket” in half.

While still folded in half I cut a “v” out on either side of the flap.

While still folded I punched a hole at the top and added an eyelet on either side for the handle.

I adhered the corner pocket dies to each side of the flaps on the “pocket”.

I cut out two corner dies without flaps and glued to the inside of the pocket to cover the tabs and make it look neater.

I tied a 12 inch pipe cleaner to either side of the basket.

I placed Foam Pop Dots to the back of the bunny image and placed onto the front of the basket. Next I shaped flowers and sprig dies, placed a gem in the center of each flower and added to the bunny image.

I tied bits of lace to the handle and a shaped flower and a carrot sticker. Added Easter grass and bite size candies, a little bird and fake eggs to finish this adorable basket.

If you haven’t checked out Eileen Hull’s blog to see what the Inspiration and Educator Teams have been up to lately you can find the latest posts HERE and HERE. As always if you have any questions about this projects please let me know.

Supplies

Sizzix/Eileen Hull: Folio Page Pocket and Flower Thinlits

Sizzix/Eileen Hull: Teacup and Spoon Diecut

Easter/Spring Cardstock and Stickers (I used retired line of Authentique)

Foam Pop Dots

Diecut Machine

Paper Cutter

Scissors

Pipe Cleaner

Gems, Trim and Eyelets

Crop-A-Dile

Stylus

Beacon Adhesive: Zip Dry Adhesive

(Products listed above are Affiliated Links for your convenience)

DISCLAIMERS

This blog is compensated to provide opinion on products, services, websites, and various other topics. Even though the owner(s) of this blog receives compensation for our posts or advertisements. I always give my honest opinions, findings, beliefs, or experiences on those topics or products. The views and opinions expressed on this blog are purely my own. Any product claim, statistic, quote or other representation about a product or service should be verified with each manufacturer, provider, or party in question.This blog contains affiliate links, clicking and shopping through these links helps to support and run Tonya Trantham Designs – Creative Paper Addiction at no additional cost to you. Today’s features are Sizzix, Eileen Hull and Scrapbook.com Products. 

Thanks for stopping by, hope your day is wonderful and enjoy creating!

Leprechaun Kisses and Shamrock Wishes Tag

Hi everyone! I wanted to hop on and share a St. Patrick’s Day tag I created using the March cardstock set from the Authentique Calendar Paper Pad (I’m still shopping my stash).

First off I cut a tag out from the Tim Holtz’s Tag Diecut Set (largest diecut). I cut all the cut a parts from the March set in the paper pad out and even when further by fussy cutting certain images out. Next I shaped the shamrocks with a Stylus to add dimension, inked edges of the tag, a decorative diecut (from my stash) and cut a parts before assembling all the pieces together. I added Foam Pop Dots to the back of the leprechaun image and green thread bows before placing onto the tag.

There you have it! Do you celebrate St. Patrick’s Day? If you do please let me know in comments and as always if you have any questions please let me know.

Supplies

Authentique: Calendar Paper Pad

Sizzix/Tim Holtz: Tag Diecut Set

Stylus

Foam Pop Dots

Diecut Machine

Scissors

Paper Cutter

Beacon Adhesive: Zip Dry Adhesive

Chalk Ink

Green Thread

(Products listed above are Affiliated Links for your convenience)

DISCLAIMERS

This blog is compensated to provide opinion on products, services, websites, and various other topics. Even though the owner(s) of this blog receives compensation for our posts or advertisements. I always give my honest opinions, findings, beliefs, or experiences on those topics or products. The views and opinions expressed on this blog are purely my own. Any product claim, statistic, quote or other representation about a product or service should be verified with each manufacturer, provider, or party in question.This blog contains affiliate links, clicking and shopping through these links helps to support and run Tonya Trantham Designs – Creative Paper Addiction at no additional cost to you. Today’s features are (Sizzix and Scrapbook.com Products. 

Thanks for stopping by, hope your day is great and enjoy creating!

Fifteen Minutes or Less Cards

Hi everyone! I’m back with two super quick cards I created! I know if you have been following me for any length of time you know I am the keeper of all paper scraps from my projects and you also know that I generally have several unfinished projects laying around. Since I have Eileen Hull’s newest diecuts, Foilio Page Pocket and Flowers Thinlits, I thought I would use the flowers from the set to finish these cards. I also used a few others diecuts by Eileen that are retired and some that can still be purchased. This is what I had laying around in my craftroom waiting to be finished.

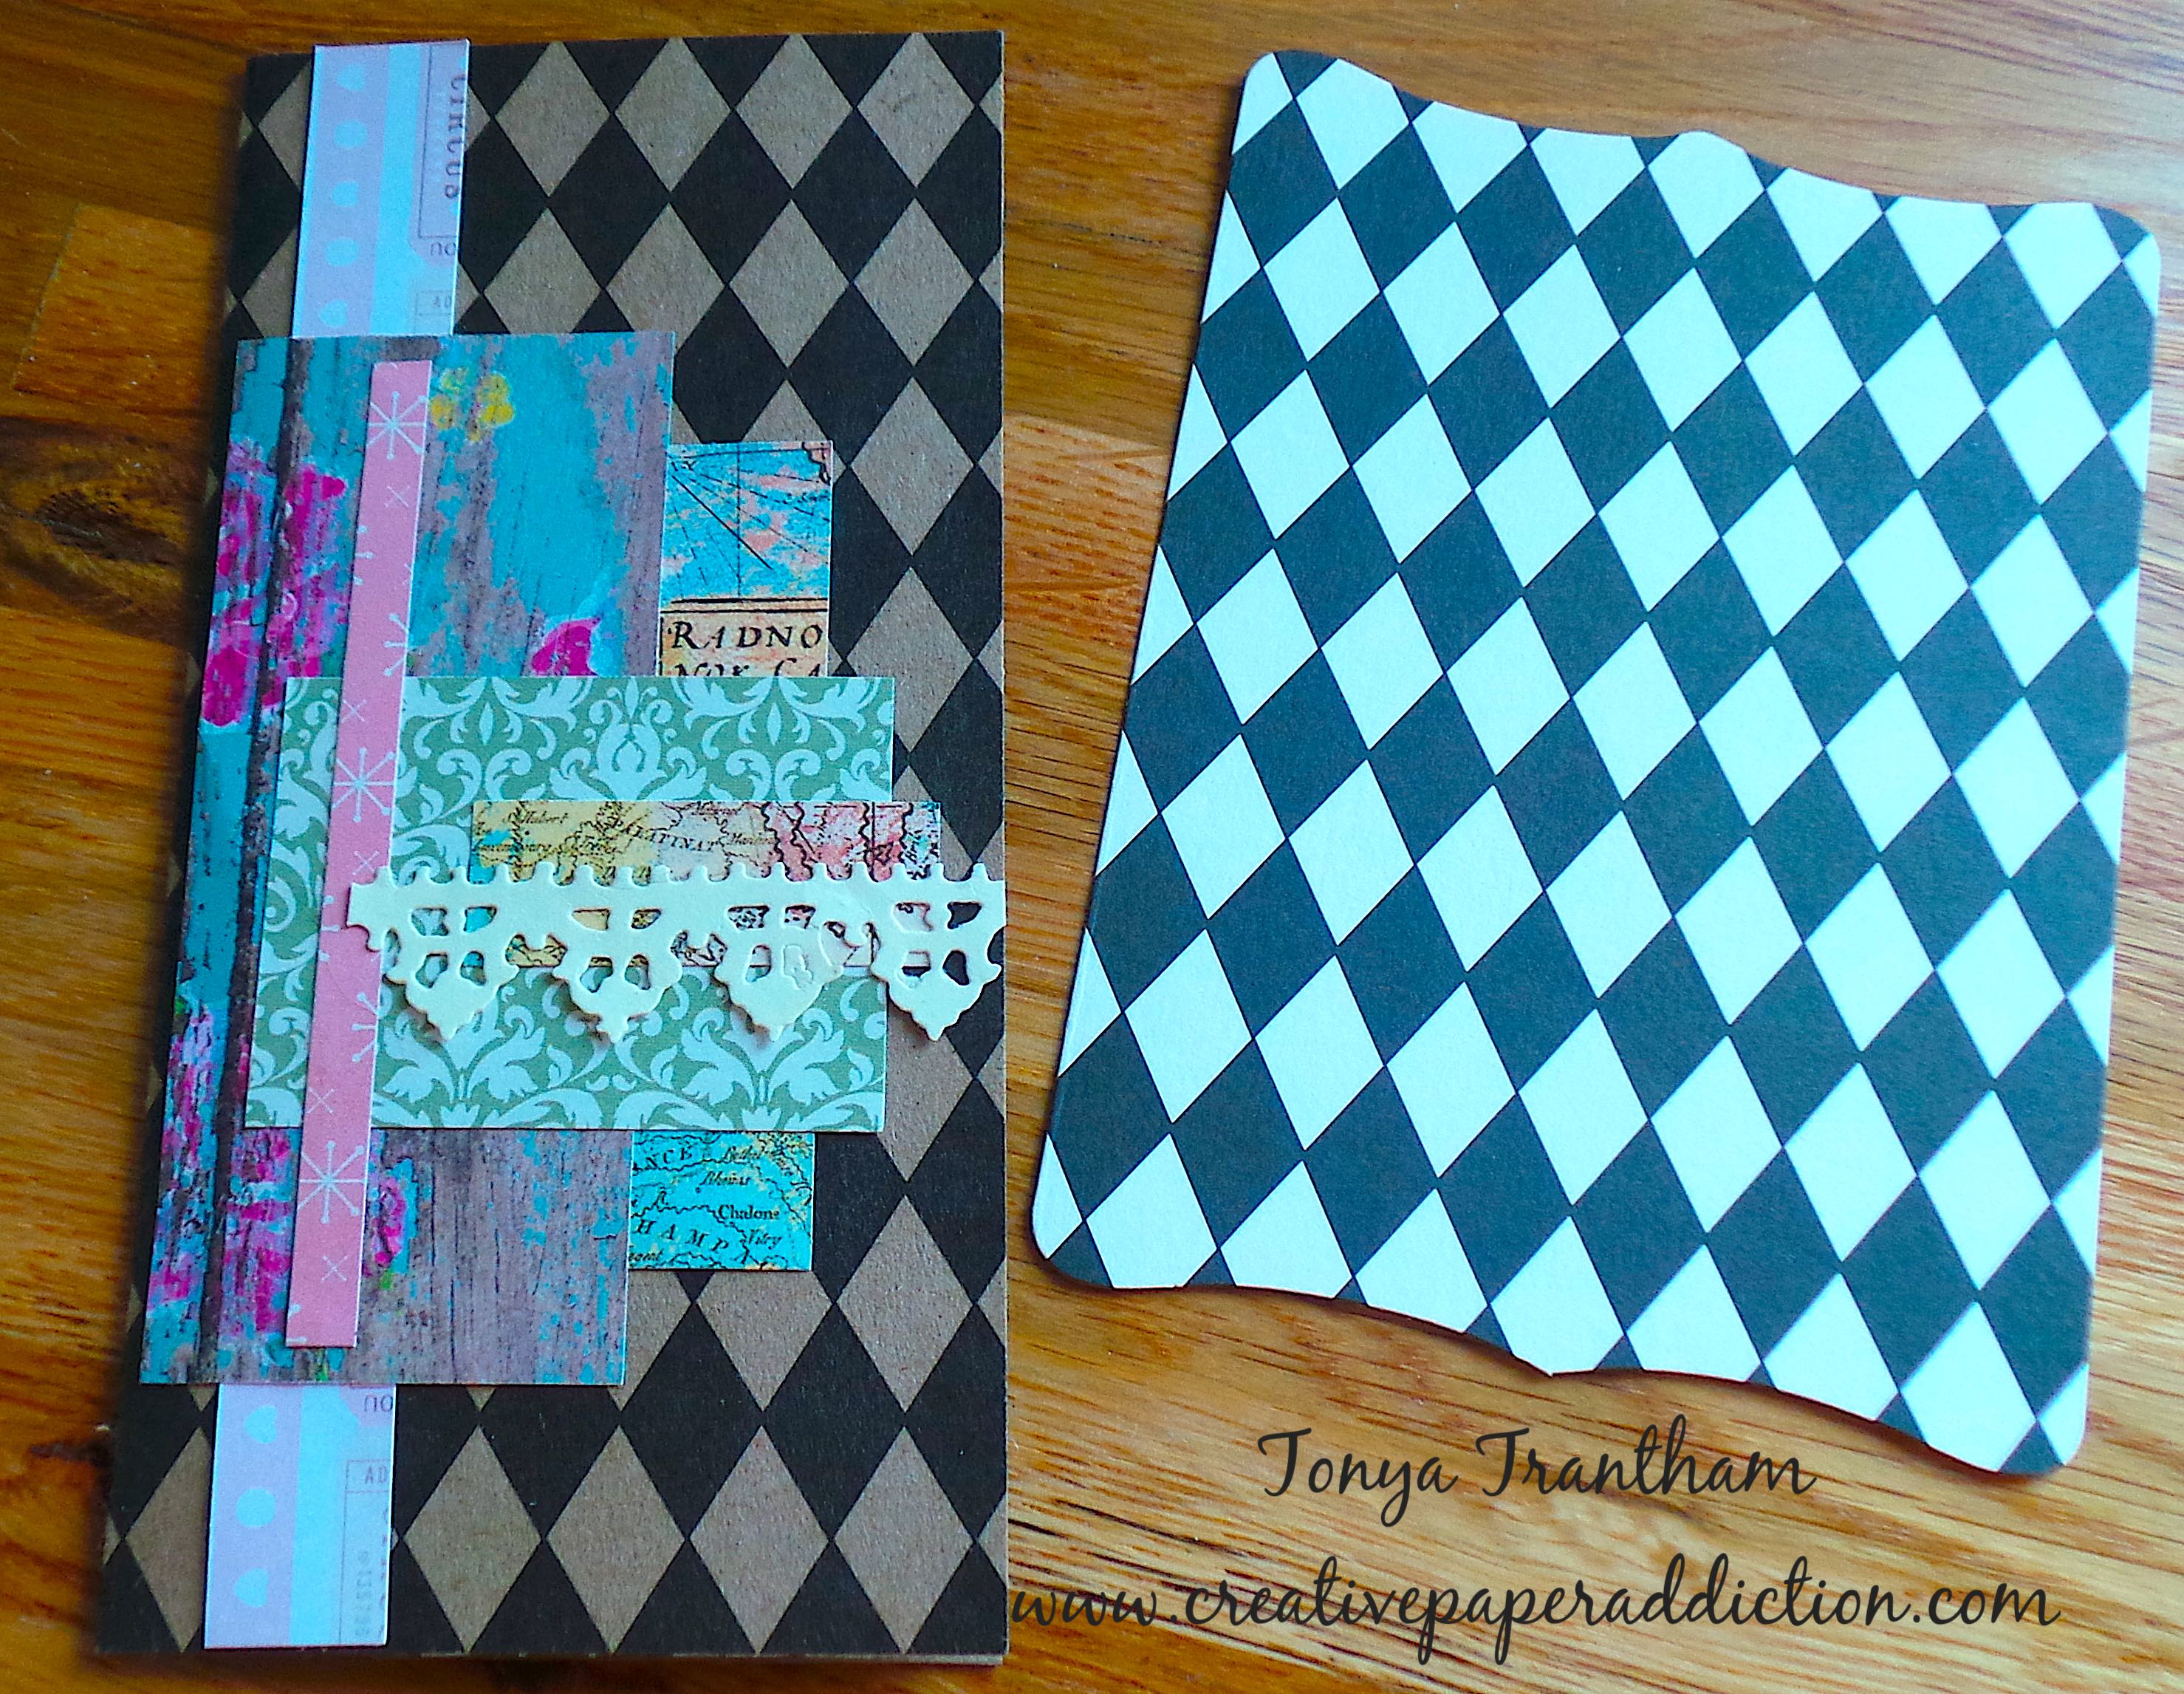
I started with the kraft and black diamond cardstock, it was a piece of 6″x6″ cardstock that I folded in half to create a 3″x6″ card base, which I had already used scraps of patterned cardstock and a tiny piece of a lace diecut to decorate the front. That’s where I stopped on that card because at the time I really wasn’t sure how I wanted to finish it? I cut out a label from Eileen’s Kitchen Labels Thinlits (retired) and added the Hello diecut that I had leftover from a previous project and adhered to the front of the card.

I cut out two of the leaf sprigs and two of the flowers from the Folio Page Pocket and Flowers Thinlits. I shaped the flowers with a Stylus, glued under the hello sentiment and added a flatback pearl to the center of the flower.

The second card I had cut from the Needle Book Diecut (retired). I folded it and added an assortment of patterned cardstock to the front. I had one of the “fringe” flowers (Sweet Treats for You Set Diecuts) leftover from a previous project and cut out several more flowers and leaf sprigs from the Folio Page Set, shaped and adhered to the front of the card.

Also from my stash I had this mini cupcake image that I added with the flowers for something fun.

Do you think you could make these cards in less than 15 minutes ? Or maybe even 10 minutes? Let me know in the comments below.

Also be sure to stop by Eileen Hull’s blog for lots of creativity from her Inspiration and Educator Teams. You can find the latest blog posts HERE and HERE.

Supplies

Sizzix/Eileen Hull: Foilio Page Pocket and Flowers Thinlits

Sizzix/Eileen Hull: Kitchen Labels Thinlits (retired)

Sizzix/Eileen Hull: Needle Book Diecut (retired)

Sizzix/Eileen Hull: Sweet Treats for You Set Diecuts

Diecut Machine

Paper Cutter

Various Scraps of Patterned Cardstock

Gem and Flatback Pearls

Stylus

Scissors

Beacon Adhesive: Zip Dry Adhesive

(Products listed above are Affiliated Links for your convenience)

DISCLAIMERS

This blog is compensated to provide opinion on products, services, websites, and various other topics. Even though the owner(s) of this blog receives compensation for our posts or advertisements. I always give my honest opinions, findings, beliefs, or experiences on those topics or products. The views and opinions expressed on this blog are purely my own. Any product claim, statistic, quote or other representation about a product or service should be verified with each manufacturer, provider, or party in question.This blog contains affiliate links, clicking and shopping through these links helps to support and run Tonya Trantham Designs – Creative Paper Addiction at no additional cost to you. Today’s features are Sizzix, Eileen Hull and Scrapbook.com Products. 

Thanks for stopping by, hope your Friday is awesome and enjoy creating!

Celebrate Today Card with Blank Page Muse

Hi everyone! Over on the Blank Page Muse Blog I share how I created this quick and easy birthday card. For the how to’s and more photos you can find that post HERE.

Supplies

BPM: Aster Creepy Cute Kid and Life is Short Rubber Stamps 

Watercolor Paper

Black Ink

Watercolors

Paint Brushes

Colored Pencils

MISTI Stamping Tool

Kraft Cardstock

Paper Cutter

Scissors

Beacon Adhesive: Zip Dry Adhesive

Googlie Eyes, Trim, Sequin, Thread

Various Patterned Cardstocks

Foam Pop Dots

Printed Sentiment from Computer

(Products listed above are Affiliated Links for your convenience)

DISCLAIMERS

This blog is compensated to provide opinion on products, services, websites, and various other topics. Even though the owner(s) of this blog receives compensation for our posts or advertisements. I always give my honest opinions, findings, beliefs, or experiences on those topics or products. The views and opinions expressed on this blog are purely my own. Any product claim, statistic, quote or other representation about a product or service should be verified with each manufacturer, provider, or party in question.This blog contains affiliate links, clicking and shopping through these links helps to support and run Tonya Trantham Designs – Creative Paper Addiction at no additional cost to you. Today’s features are Blank Page Muse and Scrapbook.com Products. 

Thanks for stopping by, hope your day is wonderful and enjoy creating!

Lovely Butterfly Girl Mini Book

Hi everyone! I’m back today with a super quick and easy project using Eileen Hull’s newest Tiny Book Diecut!
I started by applying Adhesive Sheets to the front and back of a piece of Chipboard, adding patterned cardstock to both sides before running through the Diecut Machine. 
I wrapped the spine with lace and added ric rac trim to both edges of the lace. I added a leftover oval diecut, from my stash, and a little vintage girl with a butterfly sticker that I placed on the back side of the girl to the cover. I adhered a piece of pom pom trim, a sentiment, metal piece, sloppy thread bow and heart gem to  finish the cover.
I cut a couple of sheets of accounting paper to fit the inside of the book. I punched holes in the spine of the paper and cover and sewed the pages together and added to the spine.
I covered the thread where I sewed the pages into the book with ribbon and ran the ribbon underneath  the decorations on the cover to create a closure.
Now how easy was that?!?! This little book is a great way to use up those little scraps of cardstock that you have laying around in your craft room. If you would like to see more creativity stop by Eileen Hull’s blog to see what her Inspiration Team has been up to. You can find those posts HERE, HERE and HERE.
Supplies

Eileen Hull/Sizzix: Tiny Book Diecut
Lace, Ribbon, Ric Rac and Pom Pom Trim
Beacon Adhesive: Zip Dry Adhesive 
Needle 
Thread
Heart Gem
Various patterned Cardstock
Stickers
Account Paper

(Products listed above are Affiliated Links for your convenience)

DISCLAIMERS

This blog is compensated to provide opinion on products, services, websites, and various other topics. Even though the owner(s) of this blog receives compensation for our posts or advertisements. I always give my honest opinions, findings, beliefs, or experiences on those topics or products. The views and opinions expressed on this blog are purely my own. Any product claim, statistic, quote or other representation about a product or service should be verified with each manufacturer, provider, or party in question.This blog contains affiliate links, clicking and shopping through these links helps to support and run Tonya Trantham Designs – Creative Addiction to Paper Blog at no additional cost to you. Today’s features are Eileen Hull, Sizzix and Scrapbook.com Products. 
Thanks for stopping by, hope your Wednesday is awesome and enjoy creating!