Explore the Beautifully Imperfect Collection for Card Making
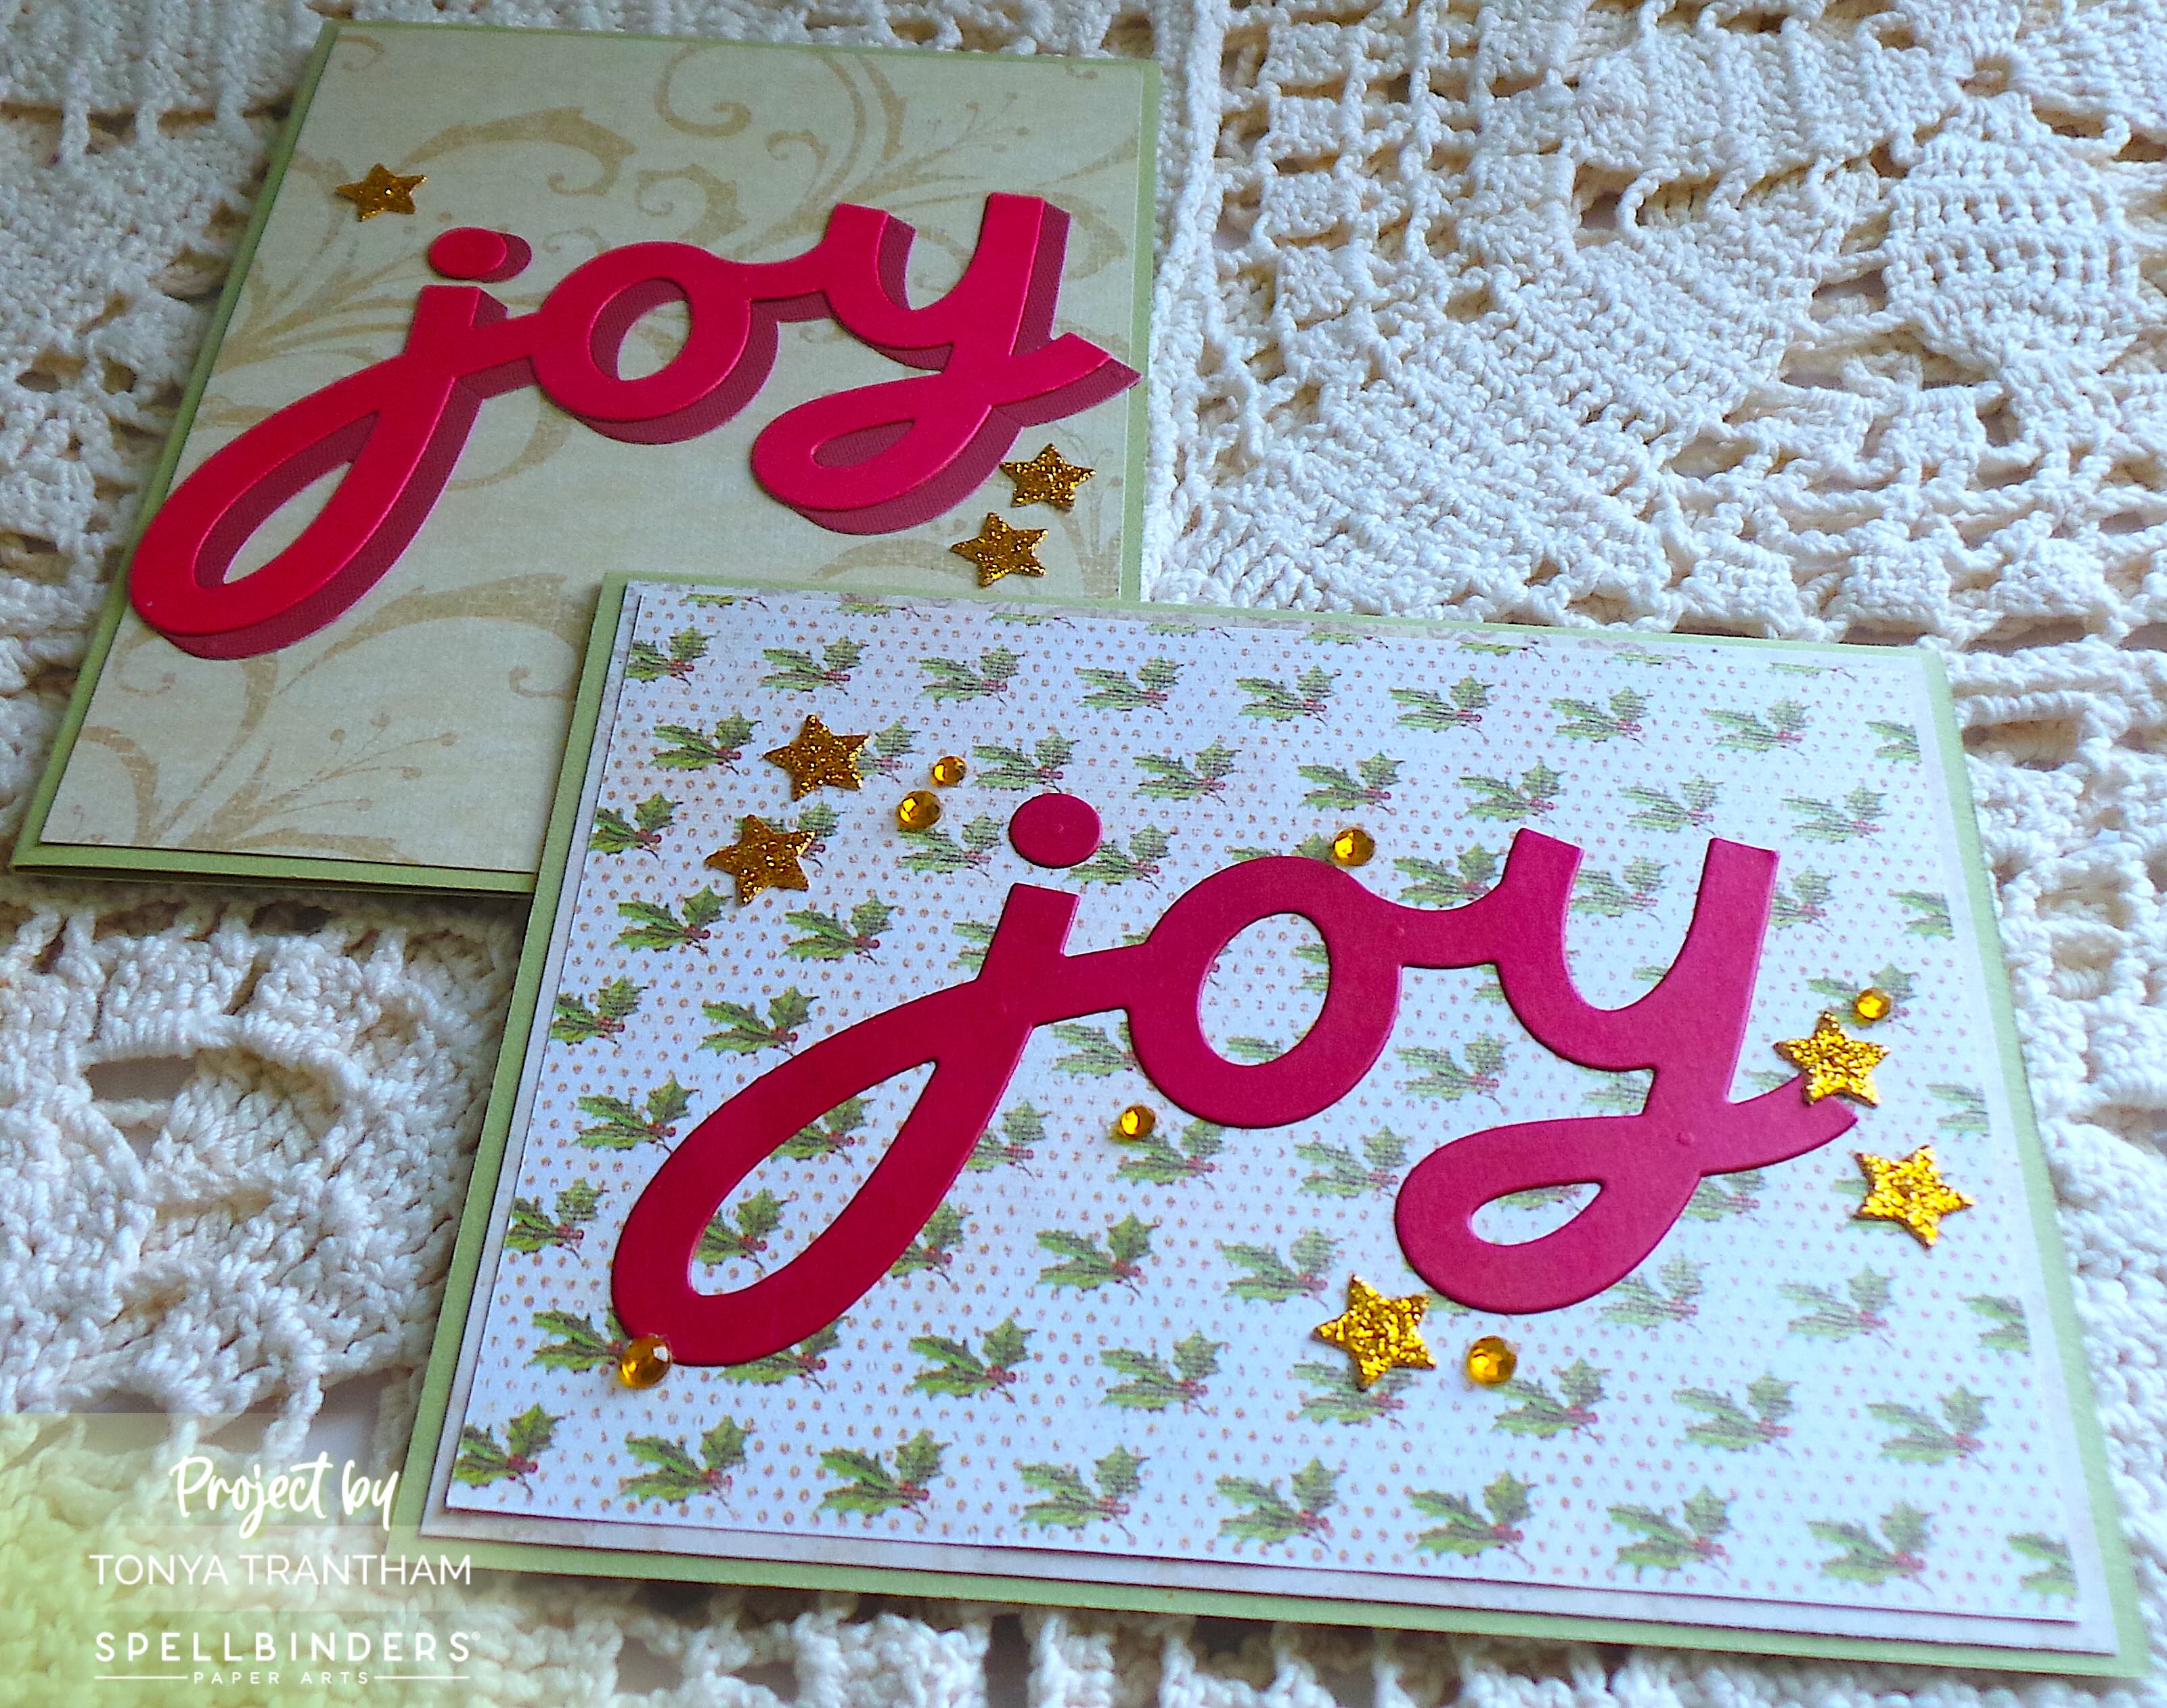
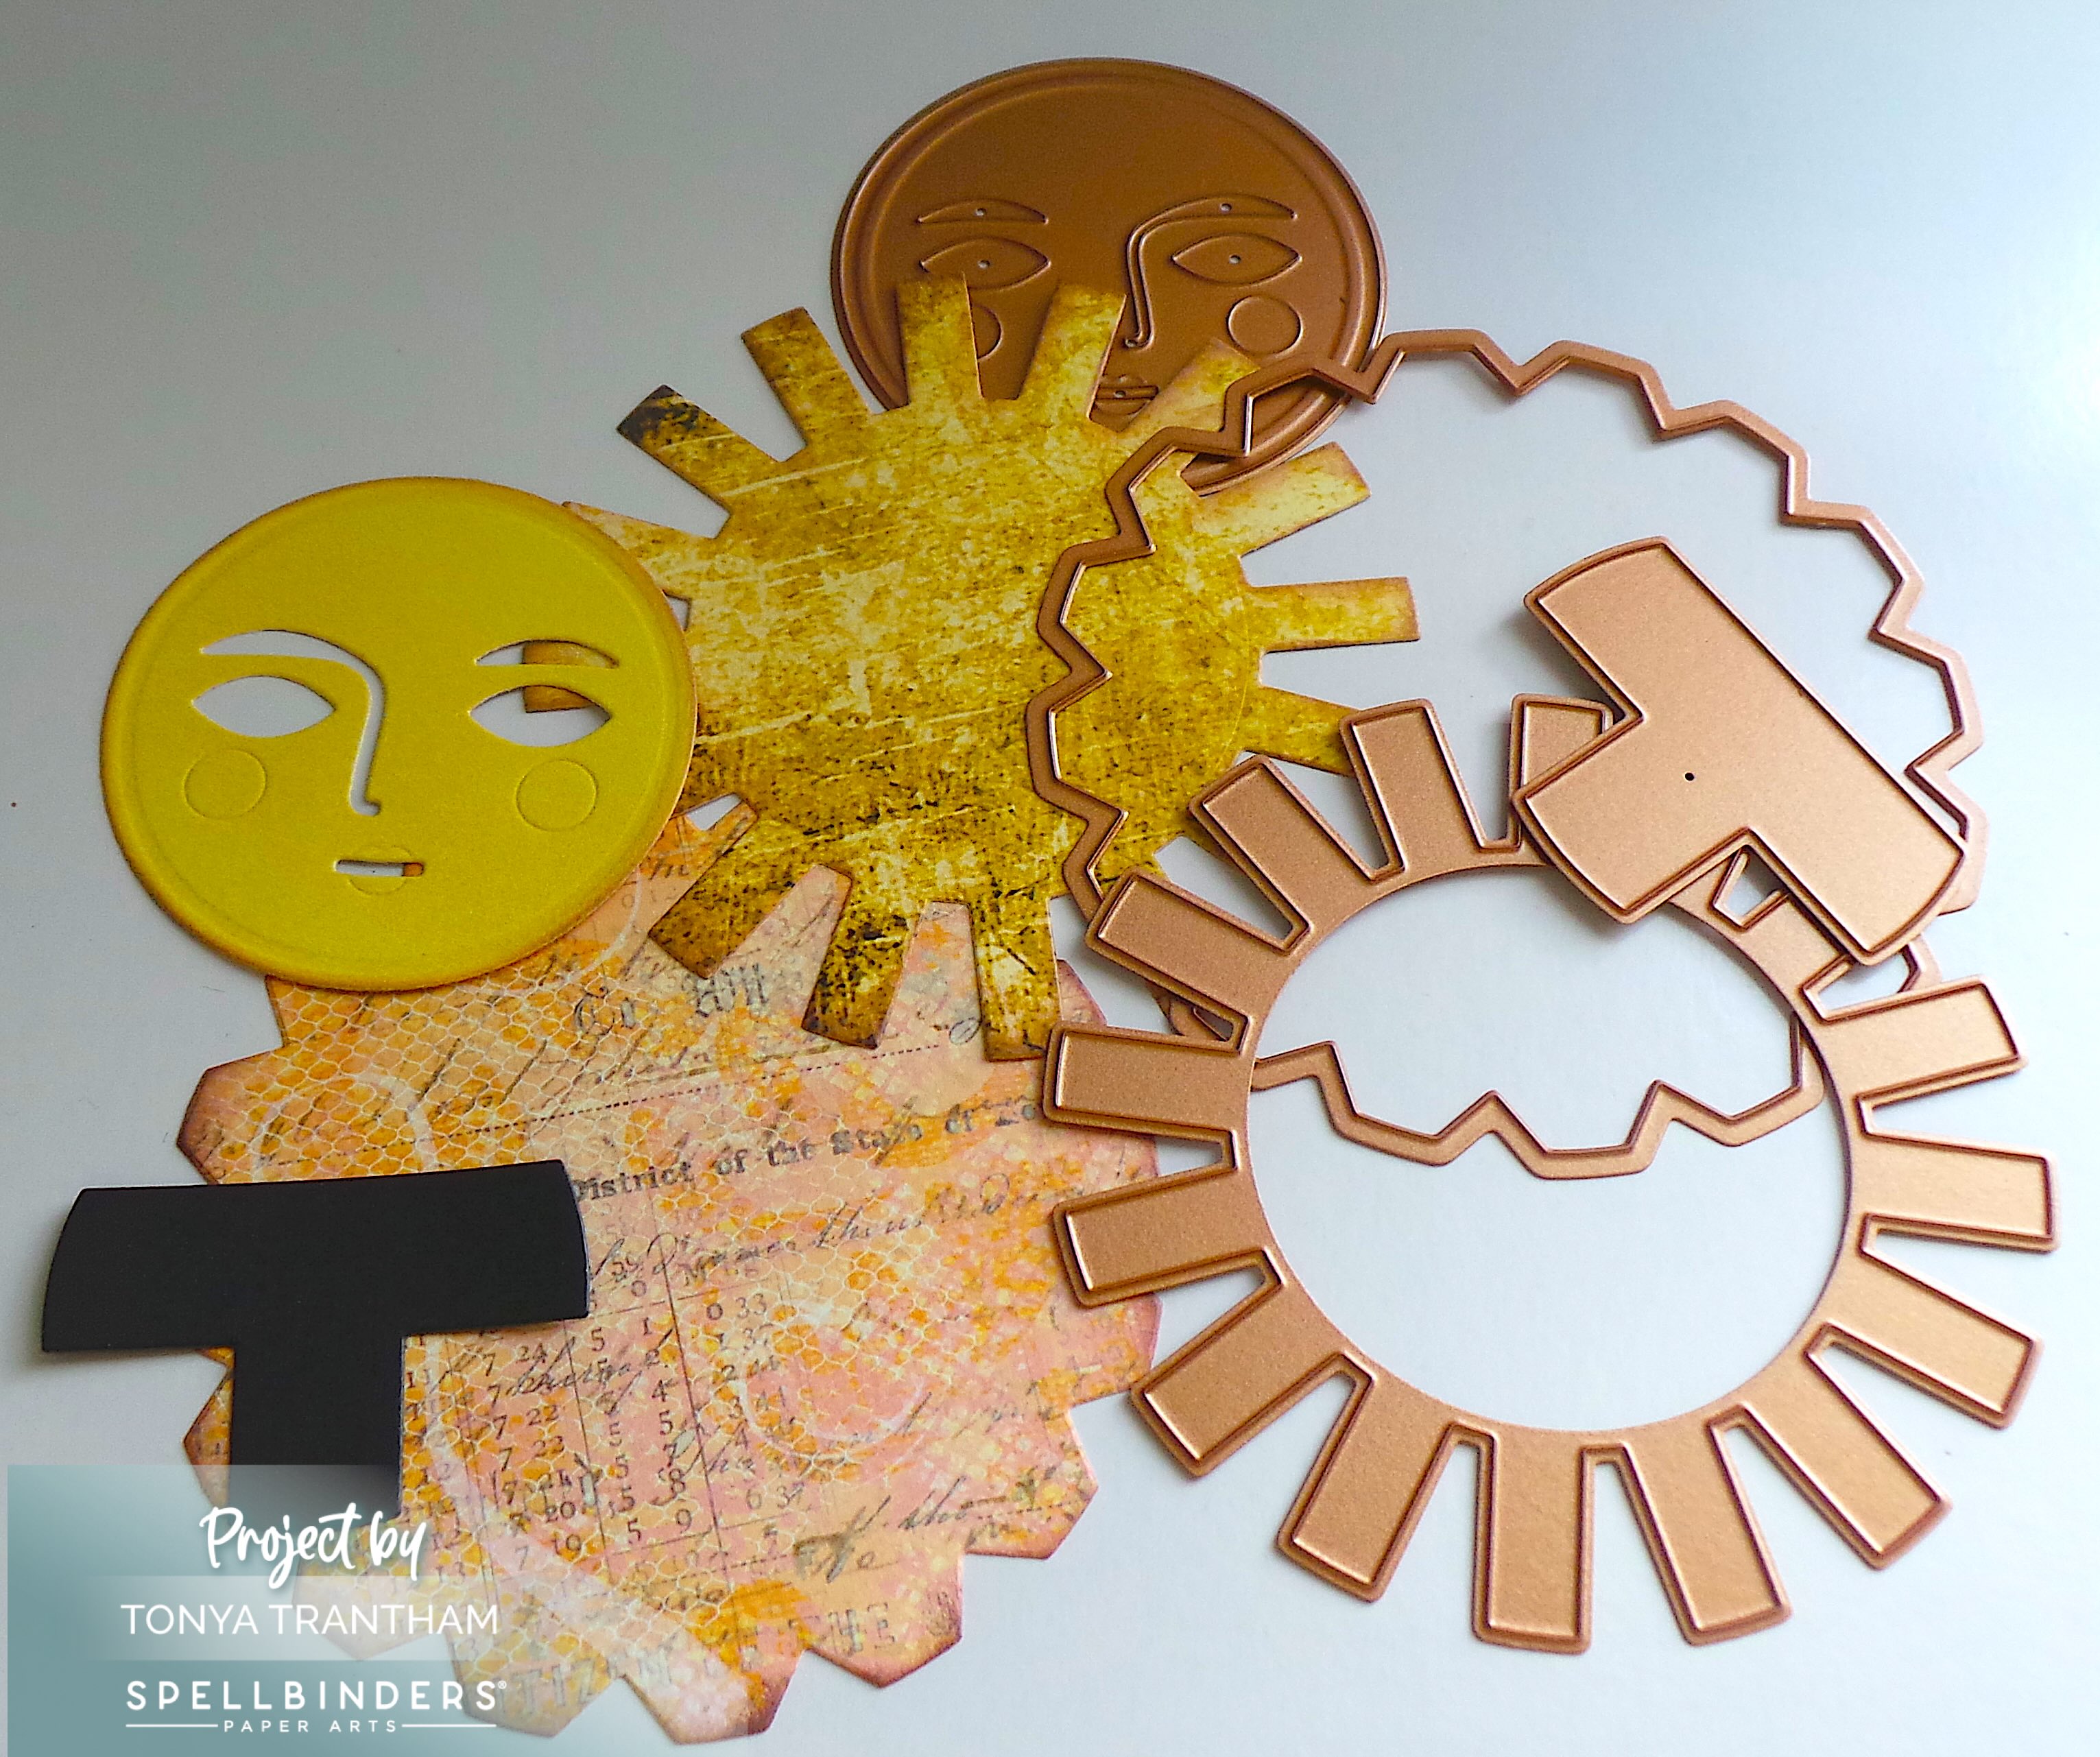
Hi everyone! I want to share two quick cards I created using the Deckled Edge Script Etched Dies, Tangled Threads Etched Dies and Tattered Stripes Stencils from the Beautifully Imperfect Collection by Spellbinders. I also used a few other dies and stamps from Spellbinders which I will list below.

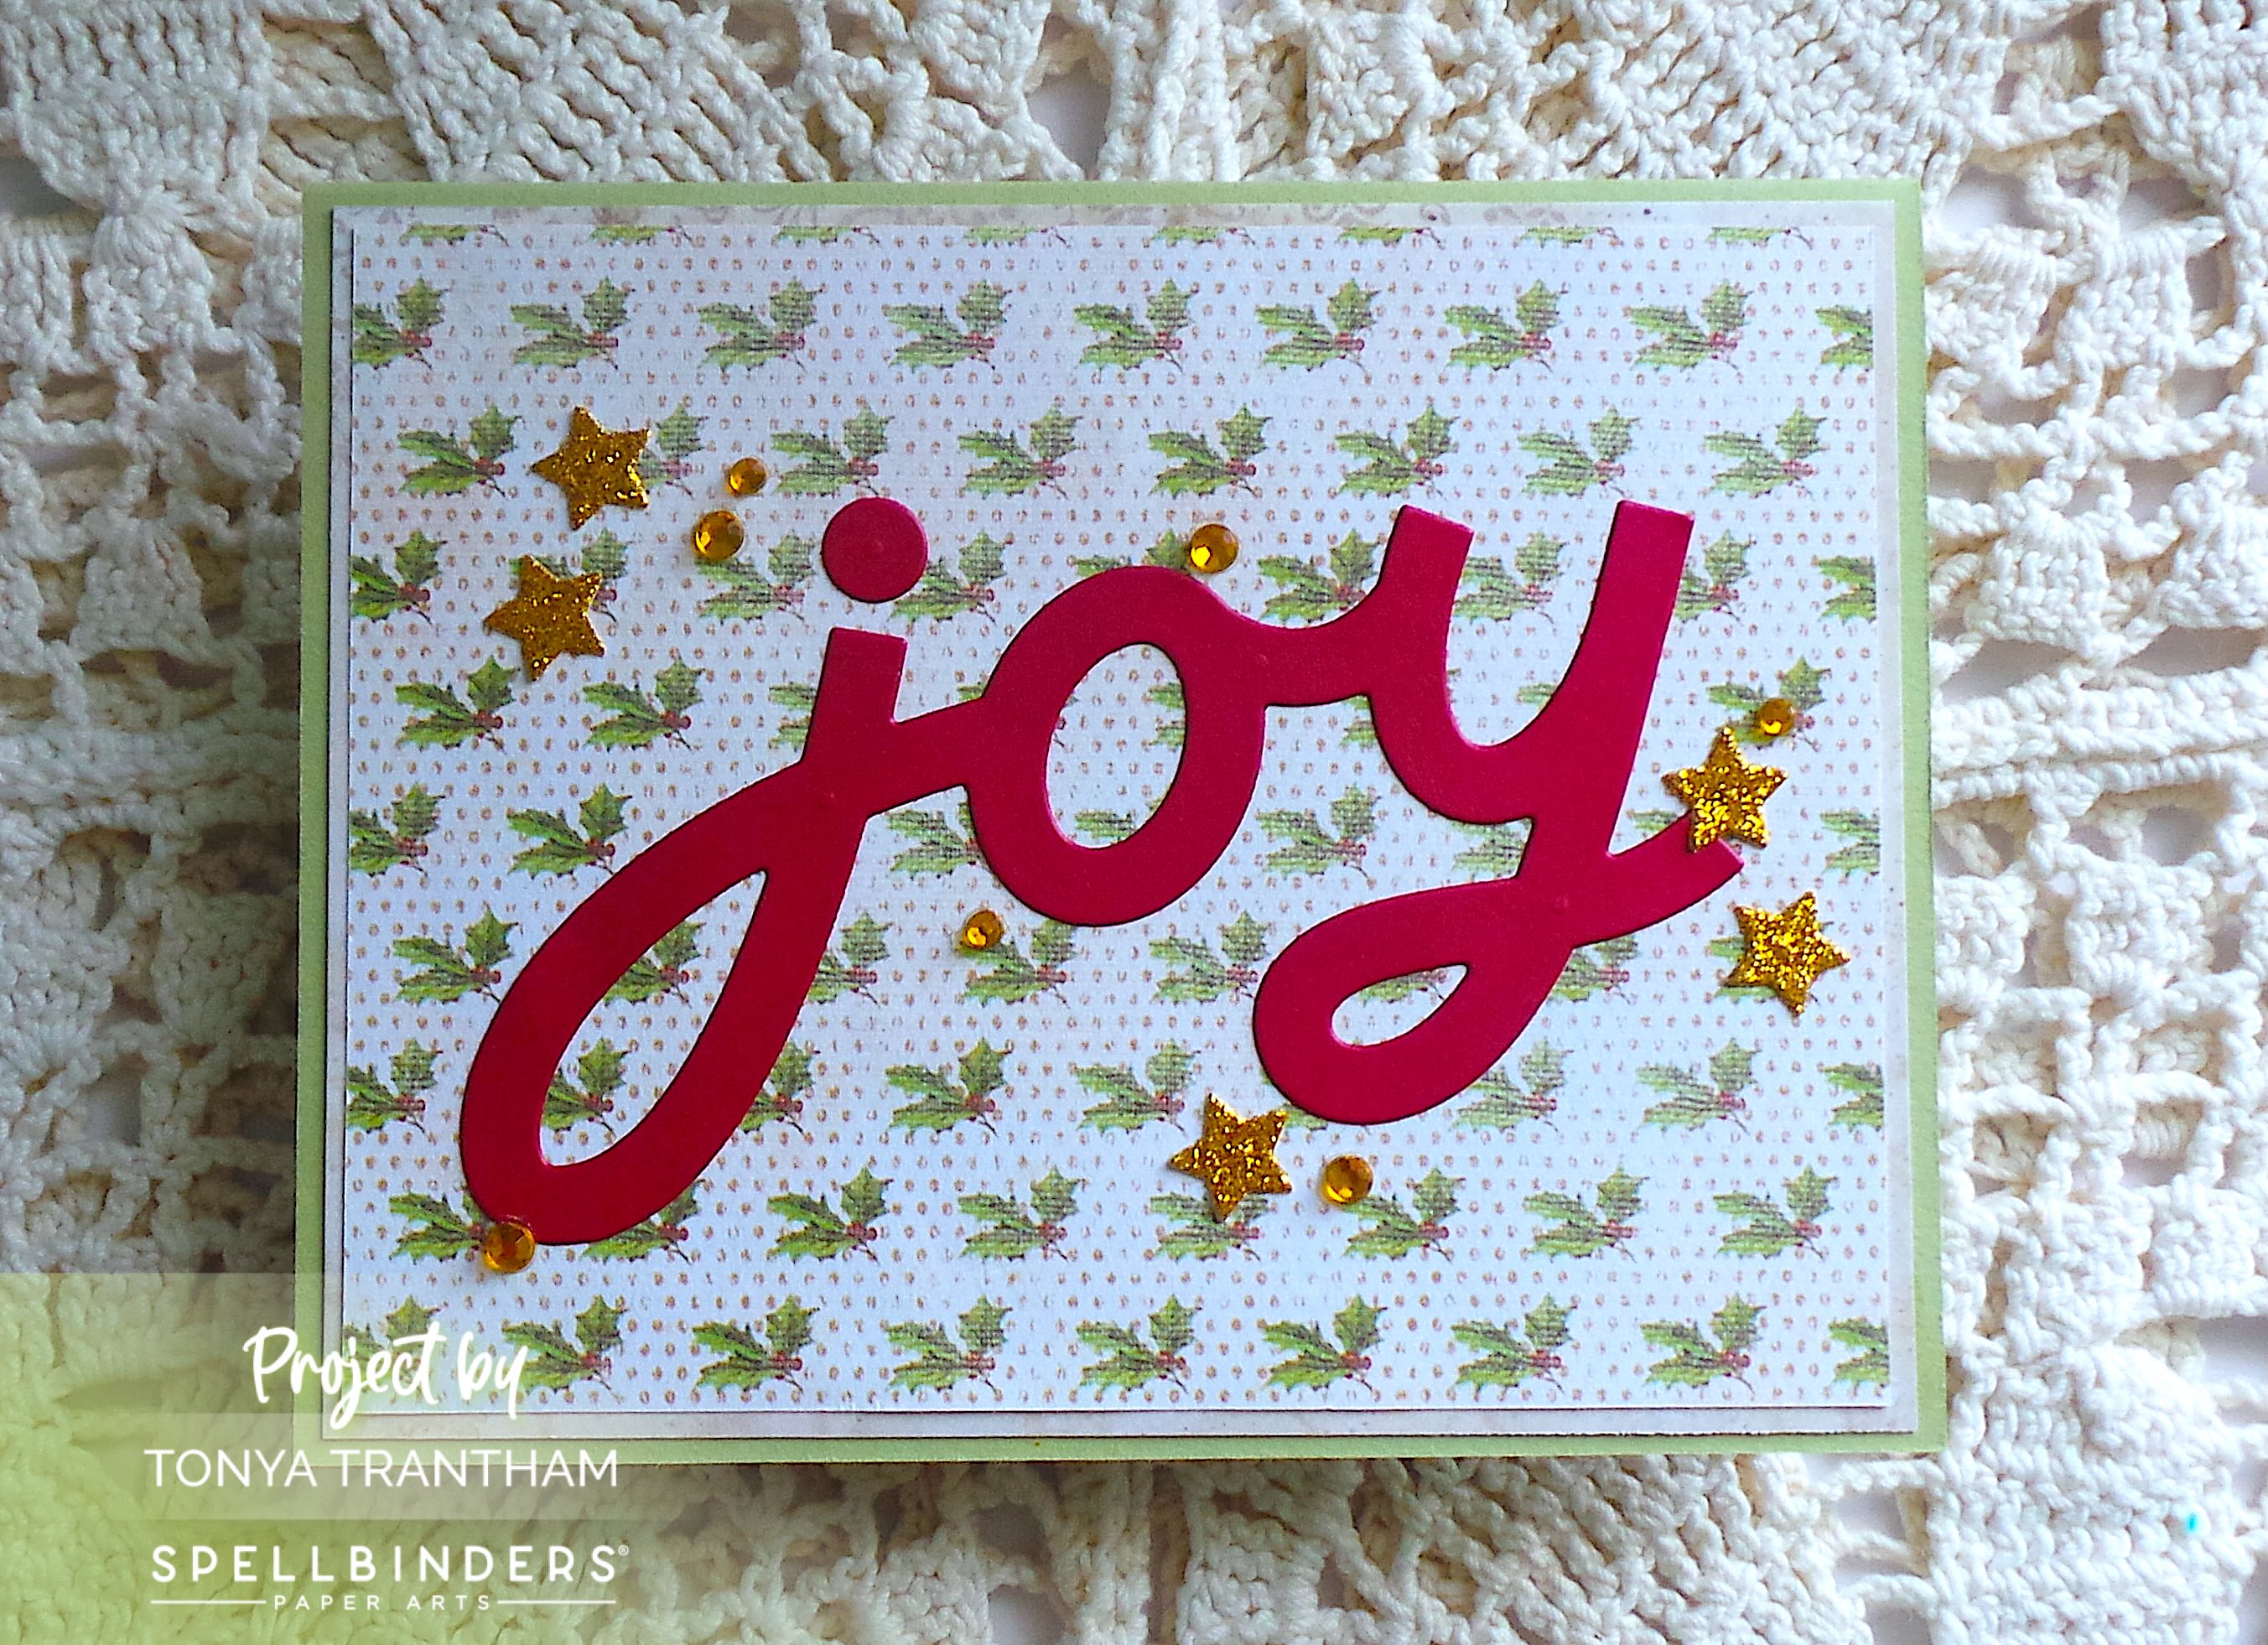
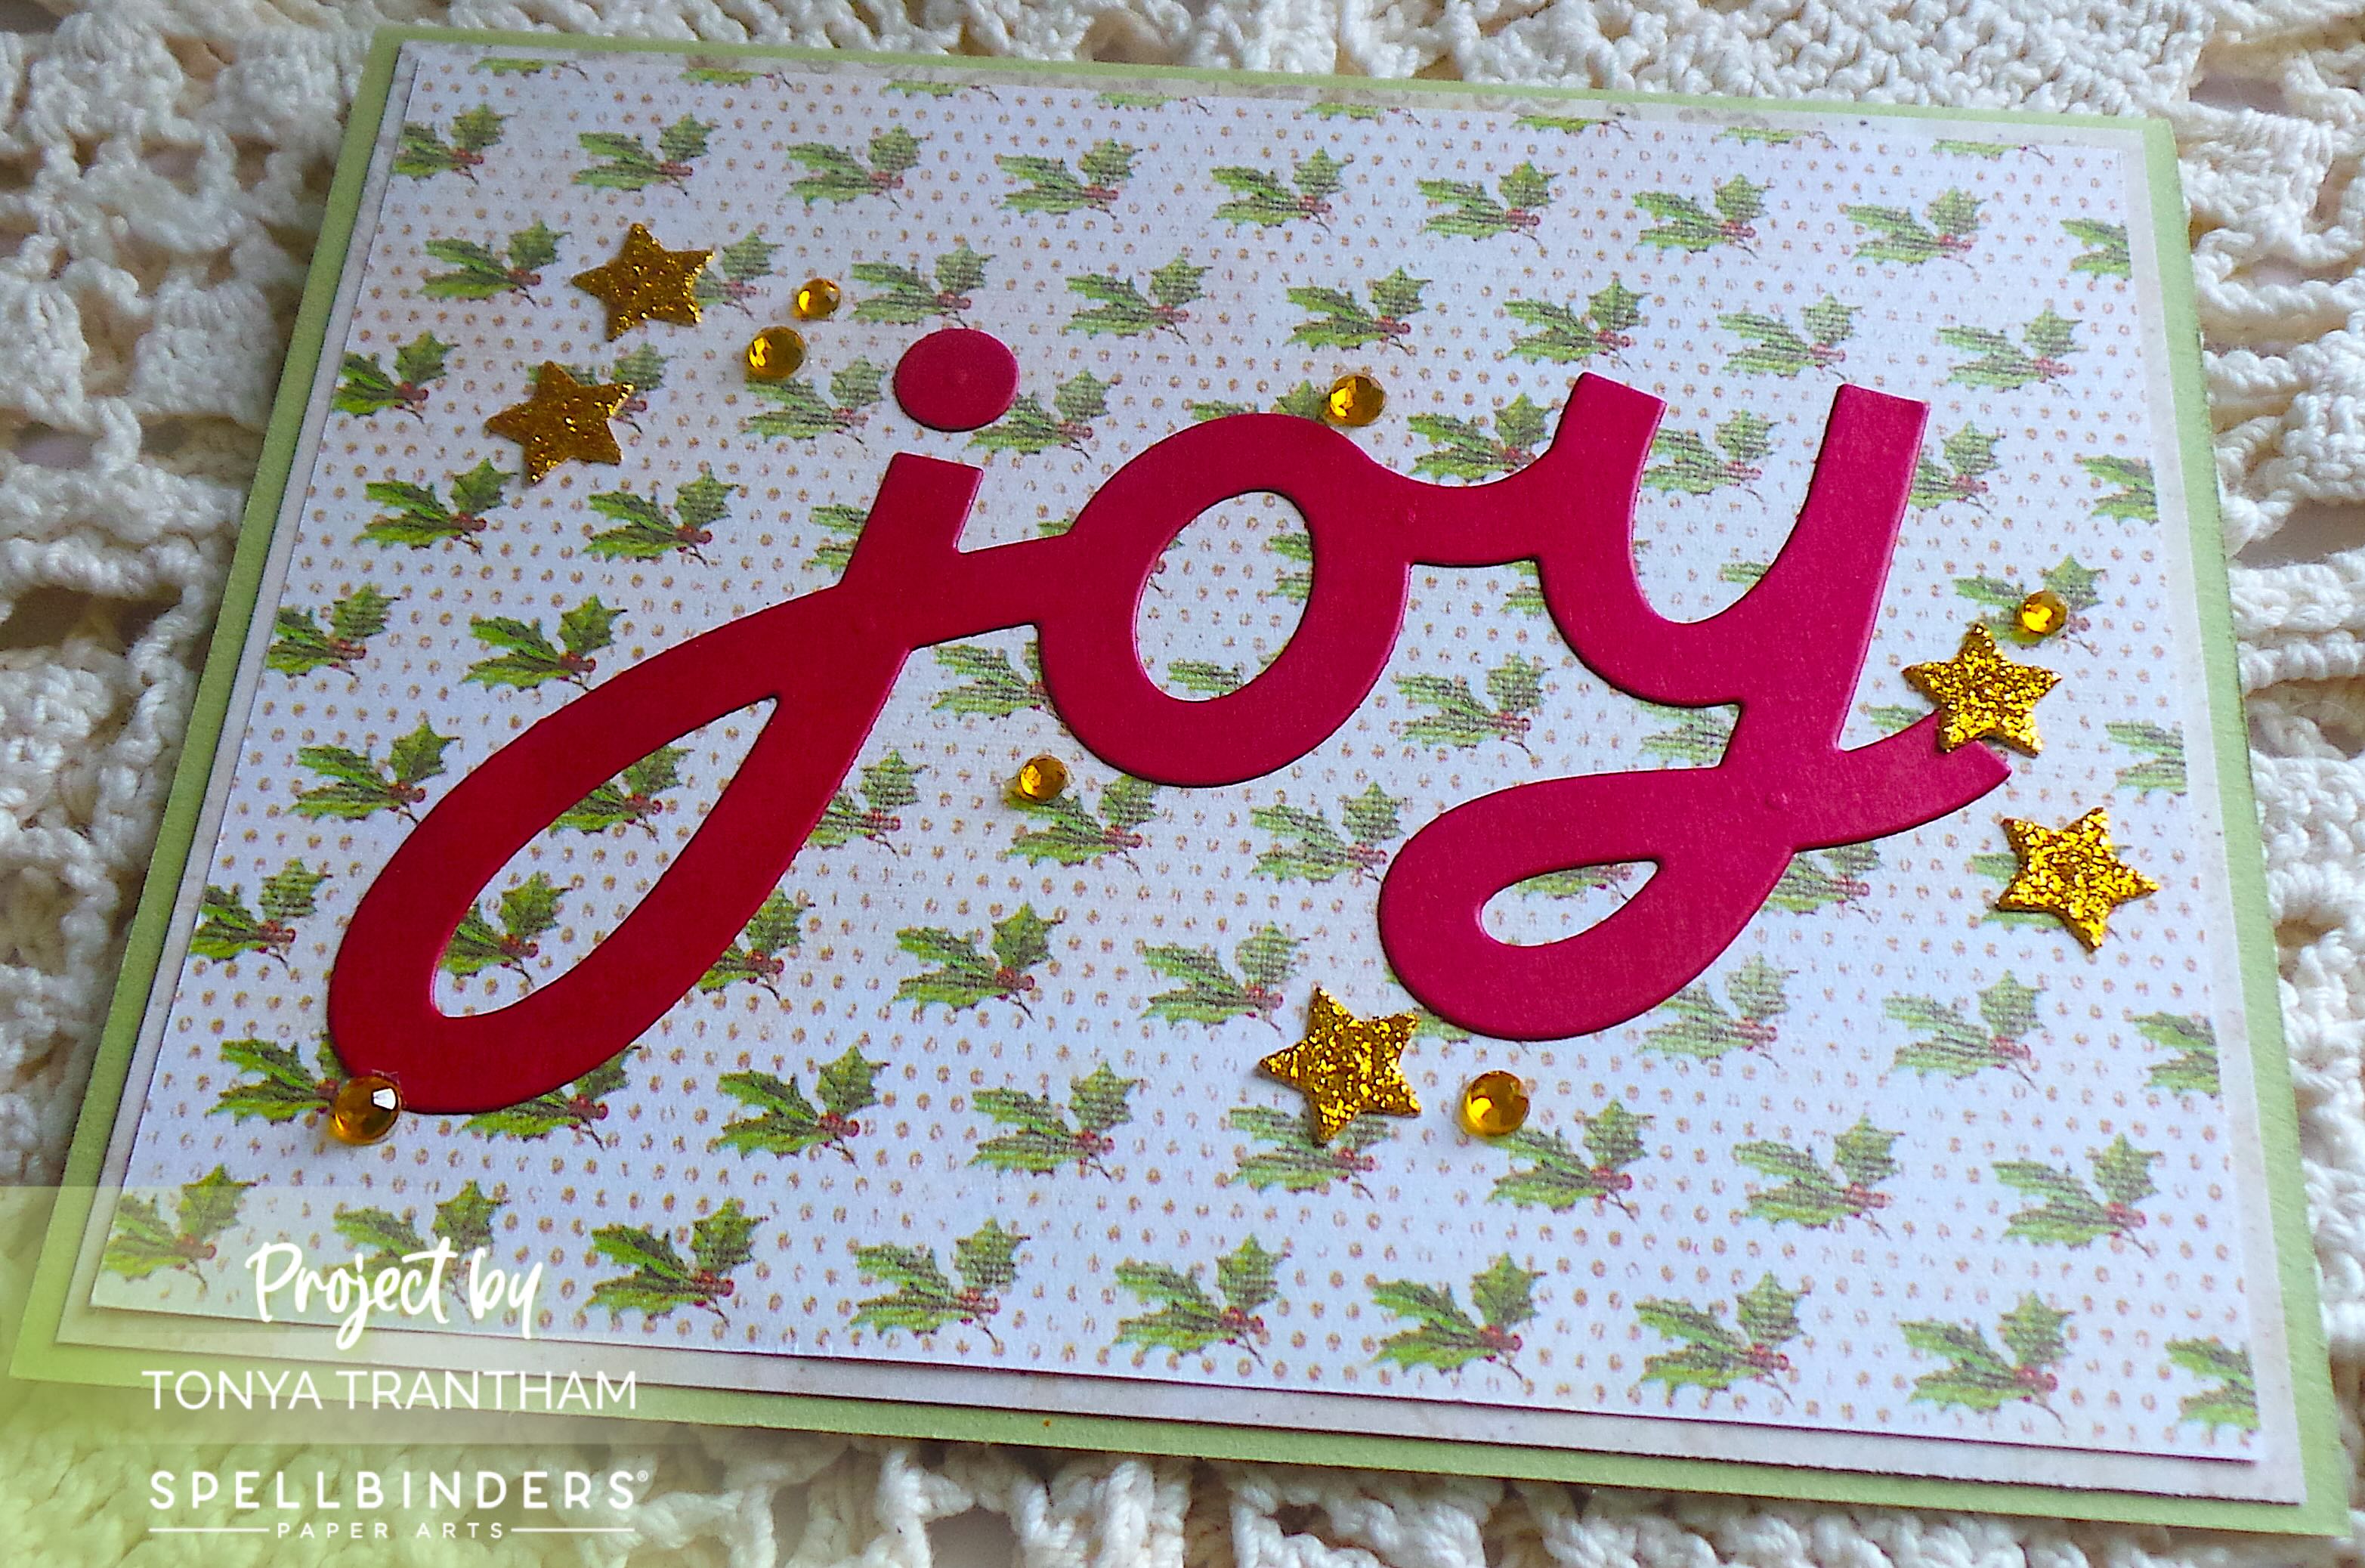
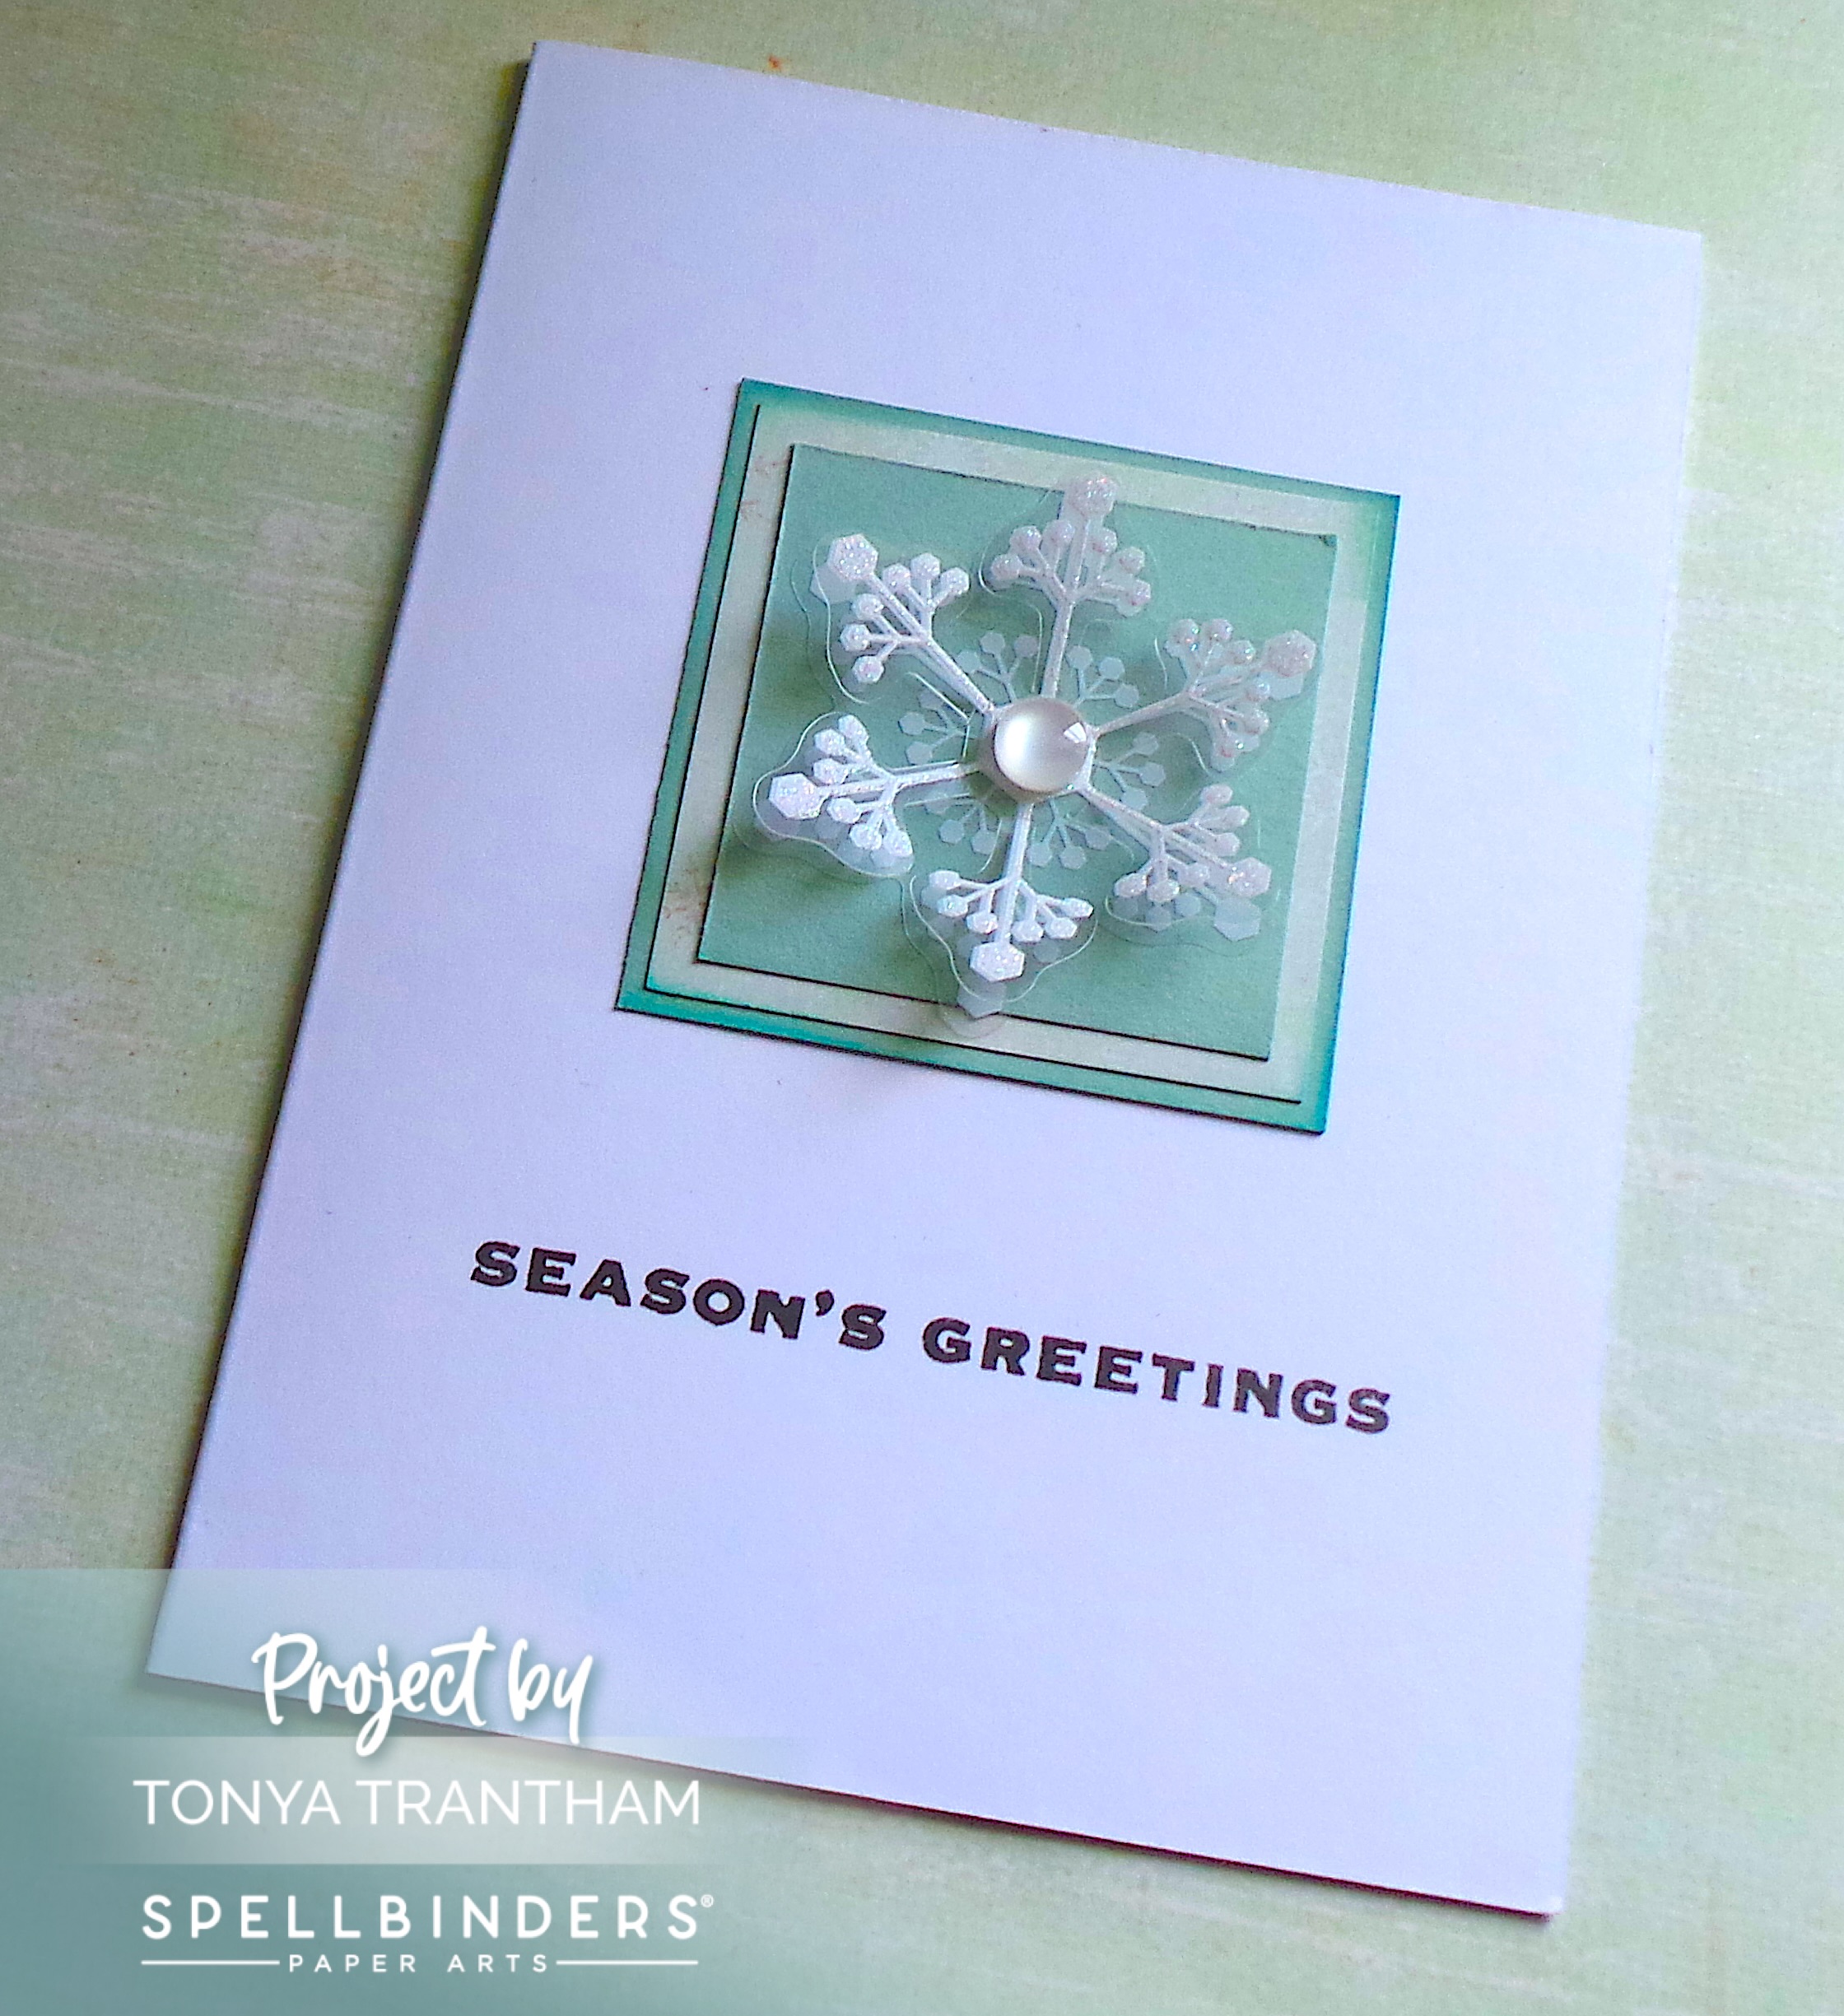
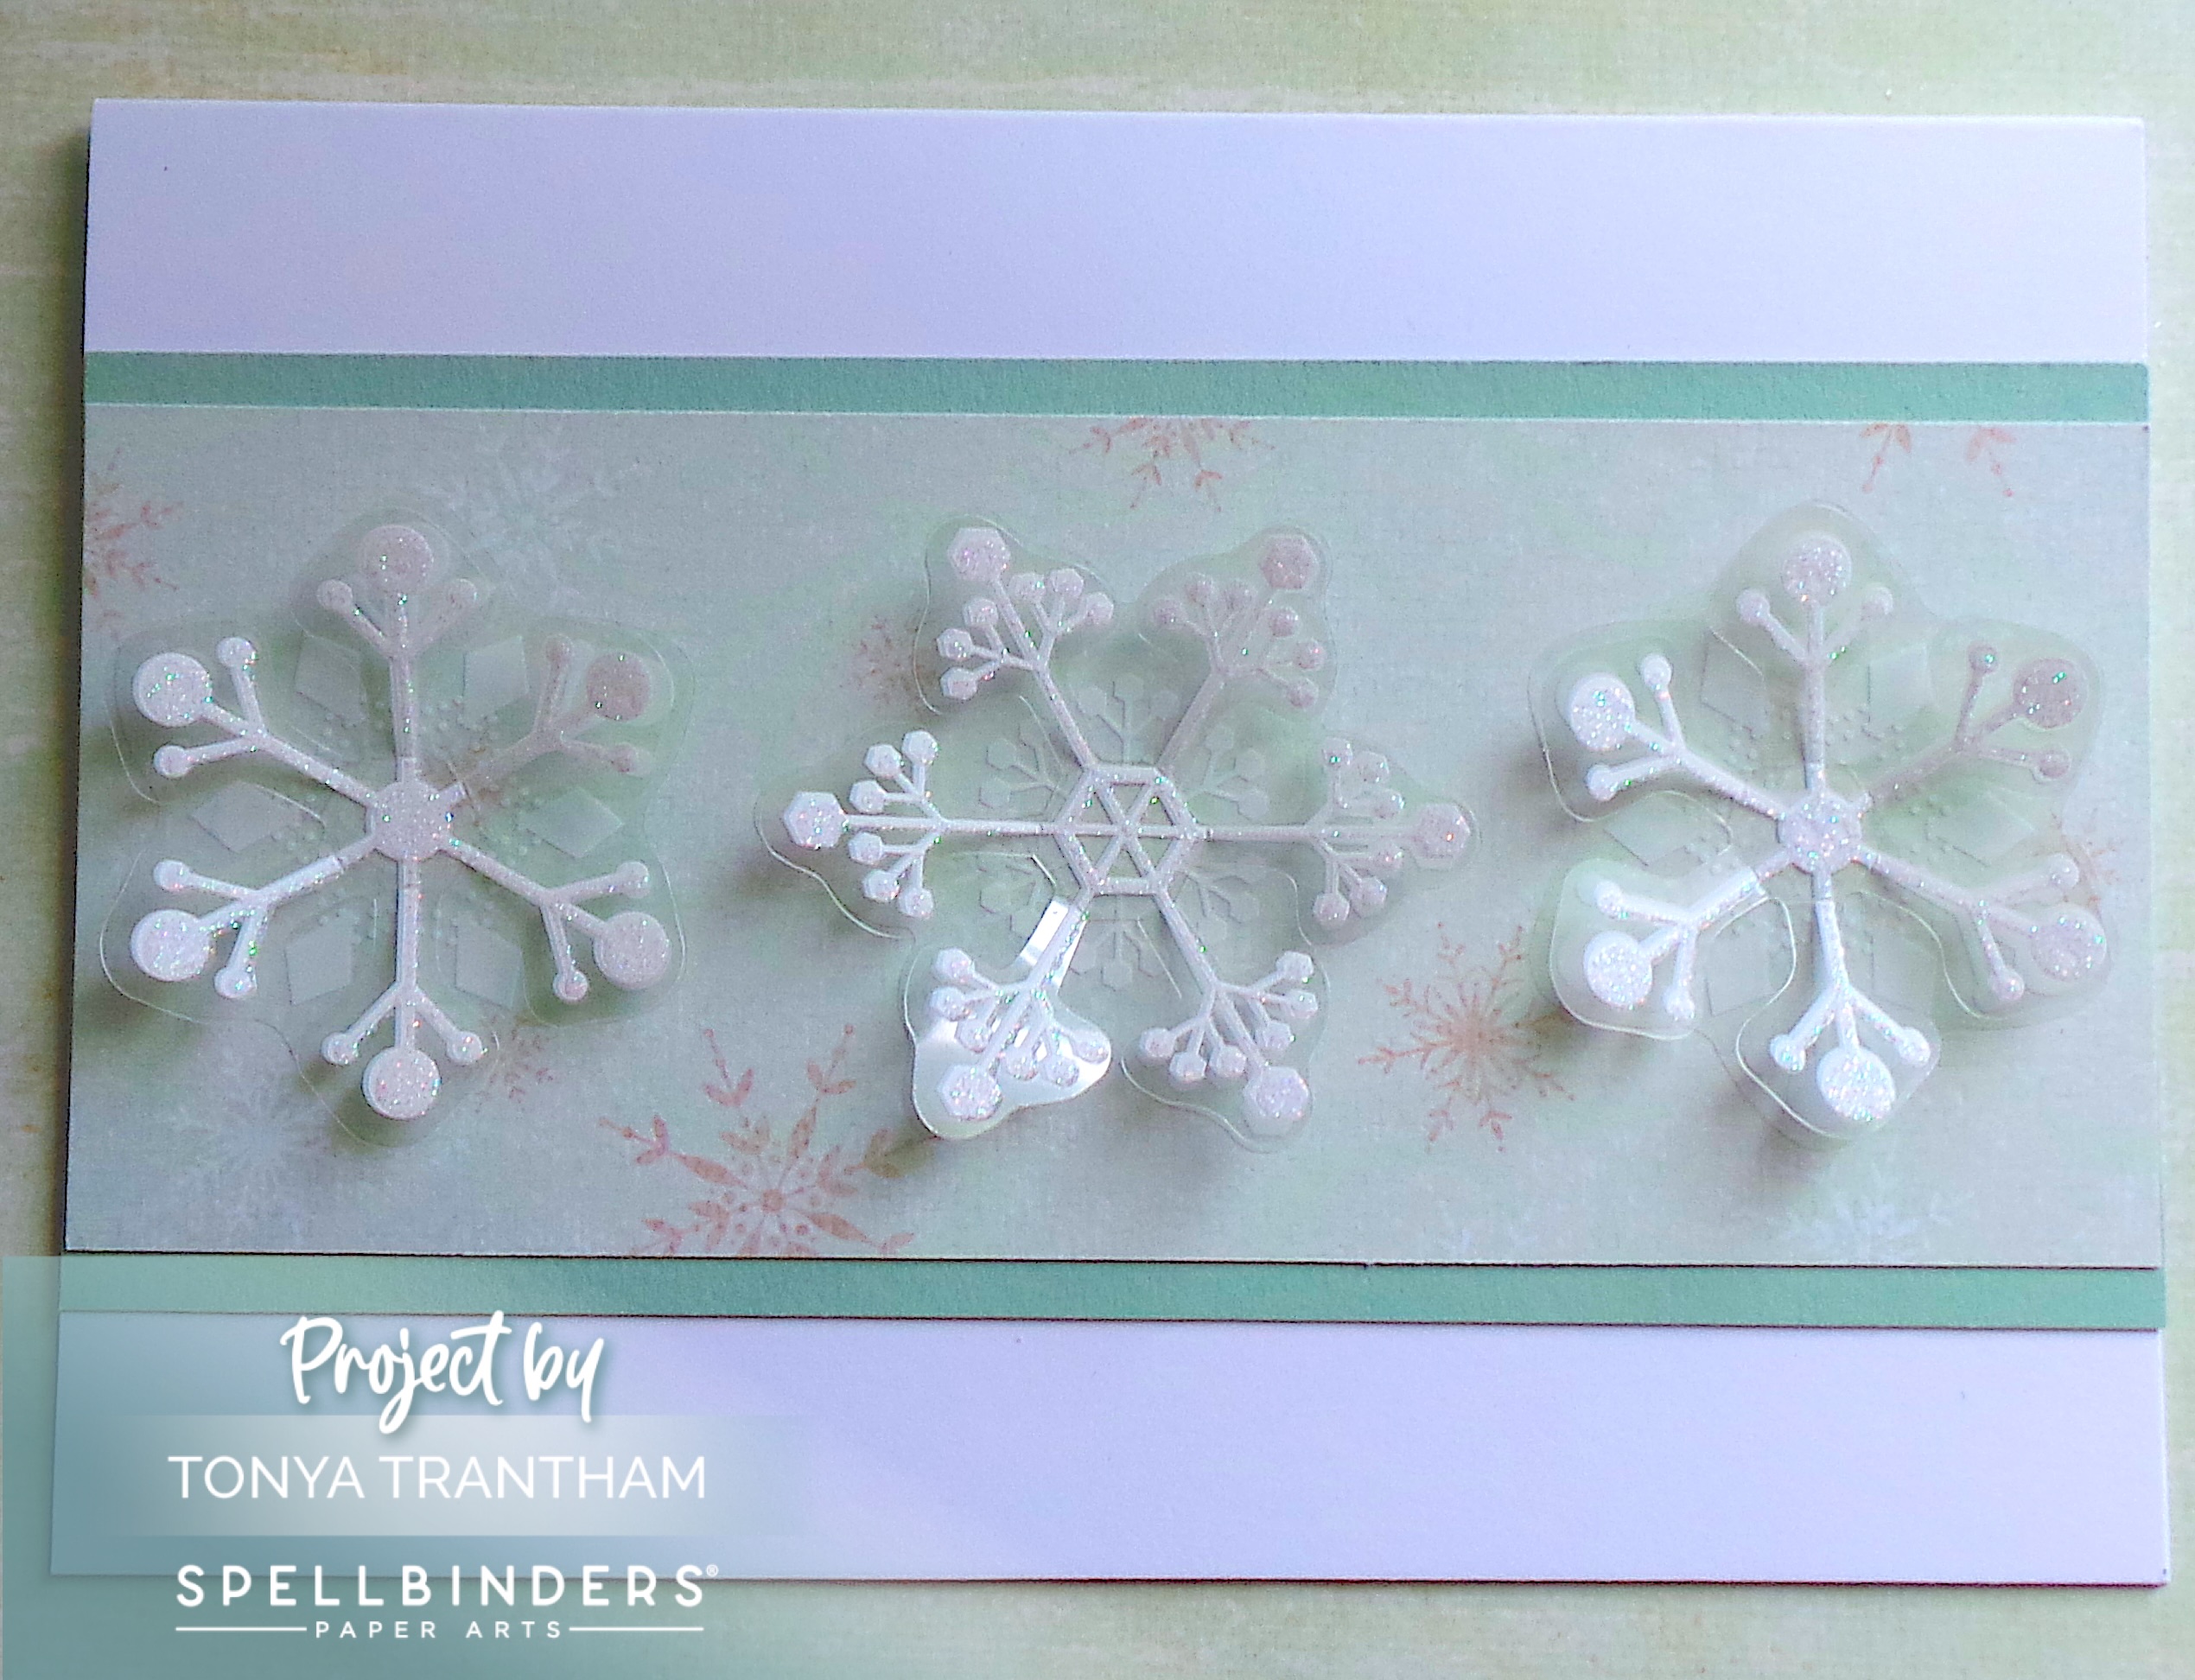
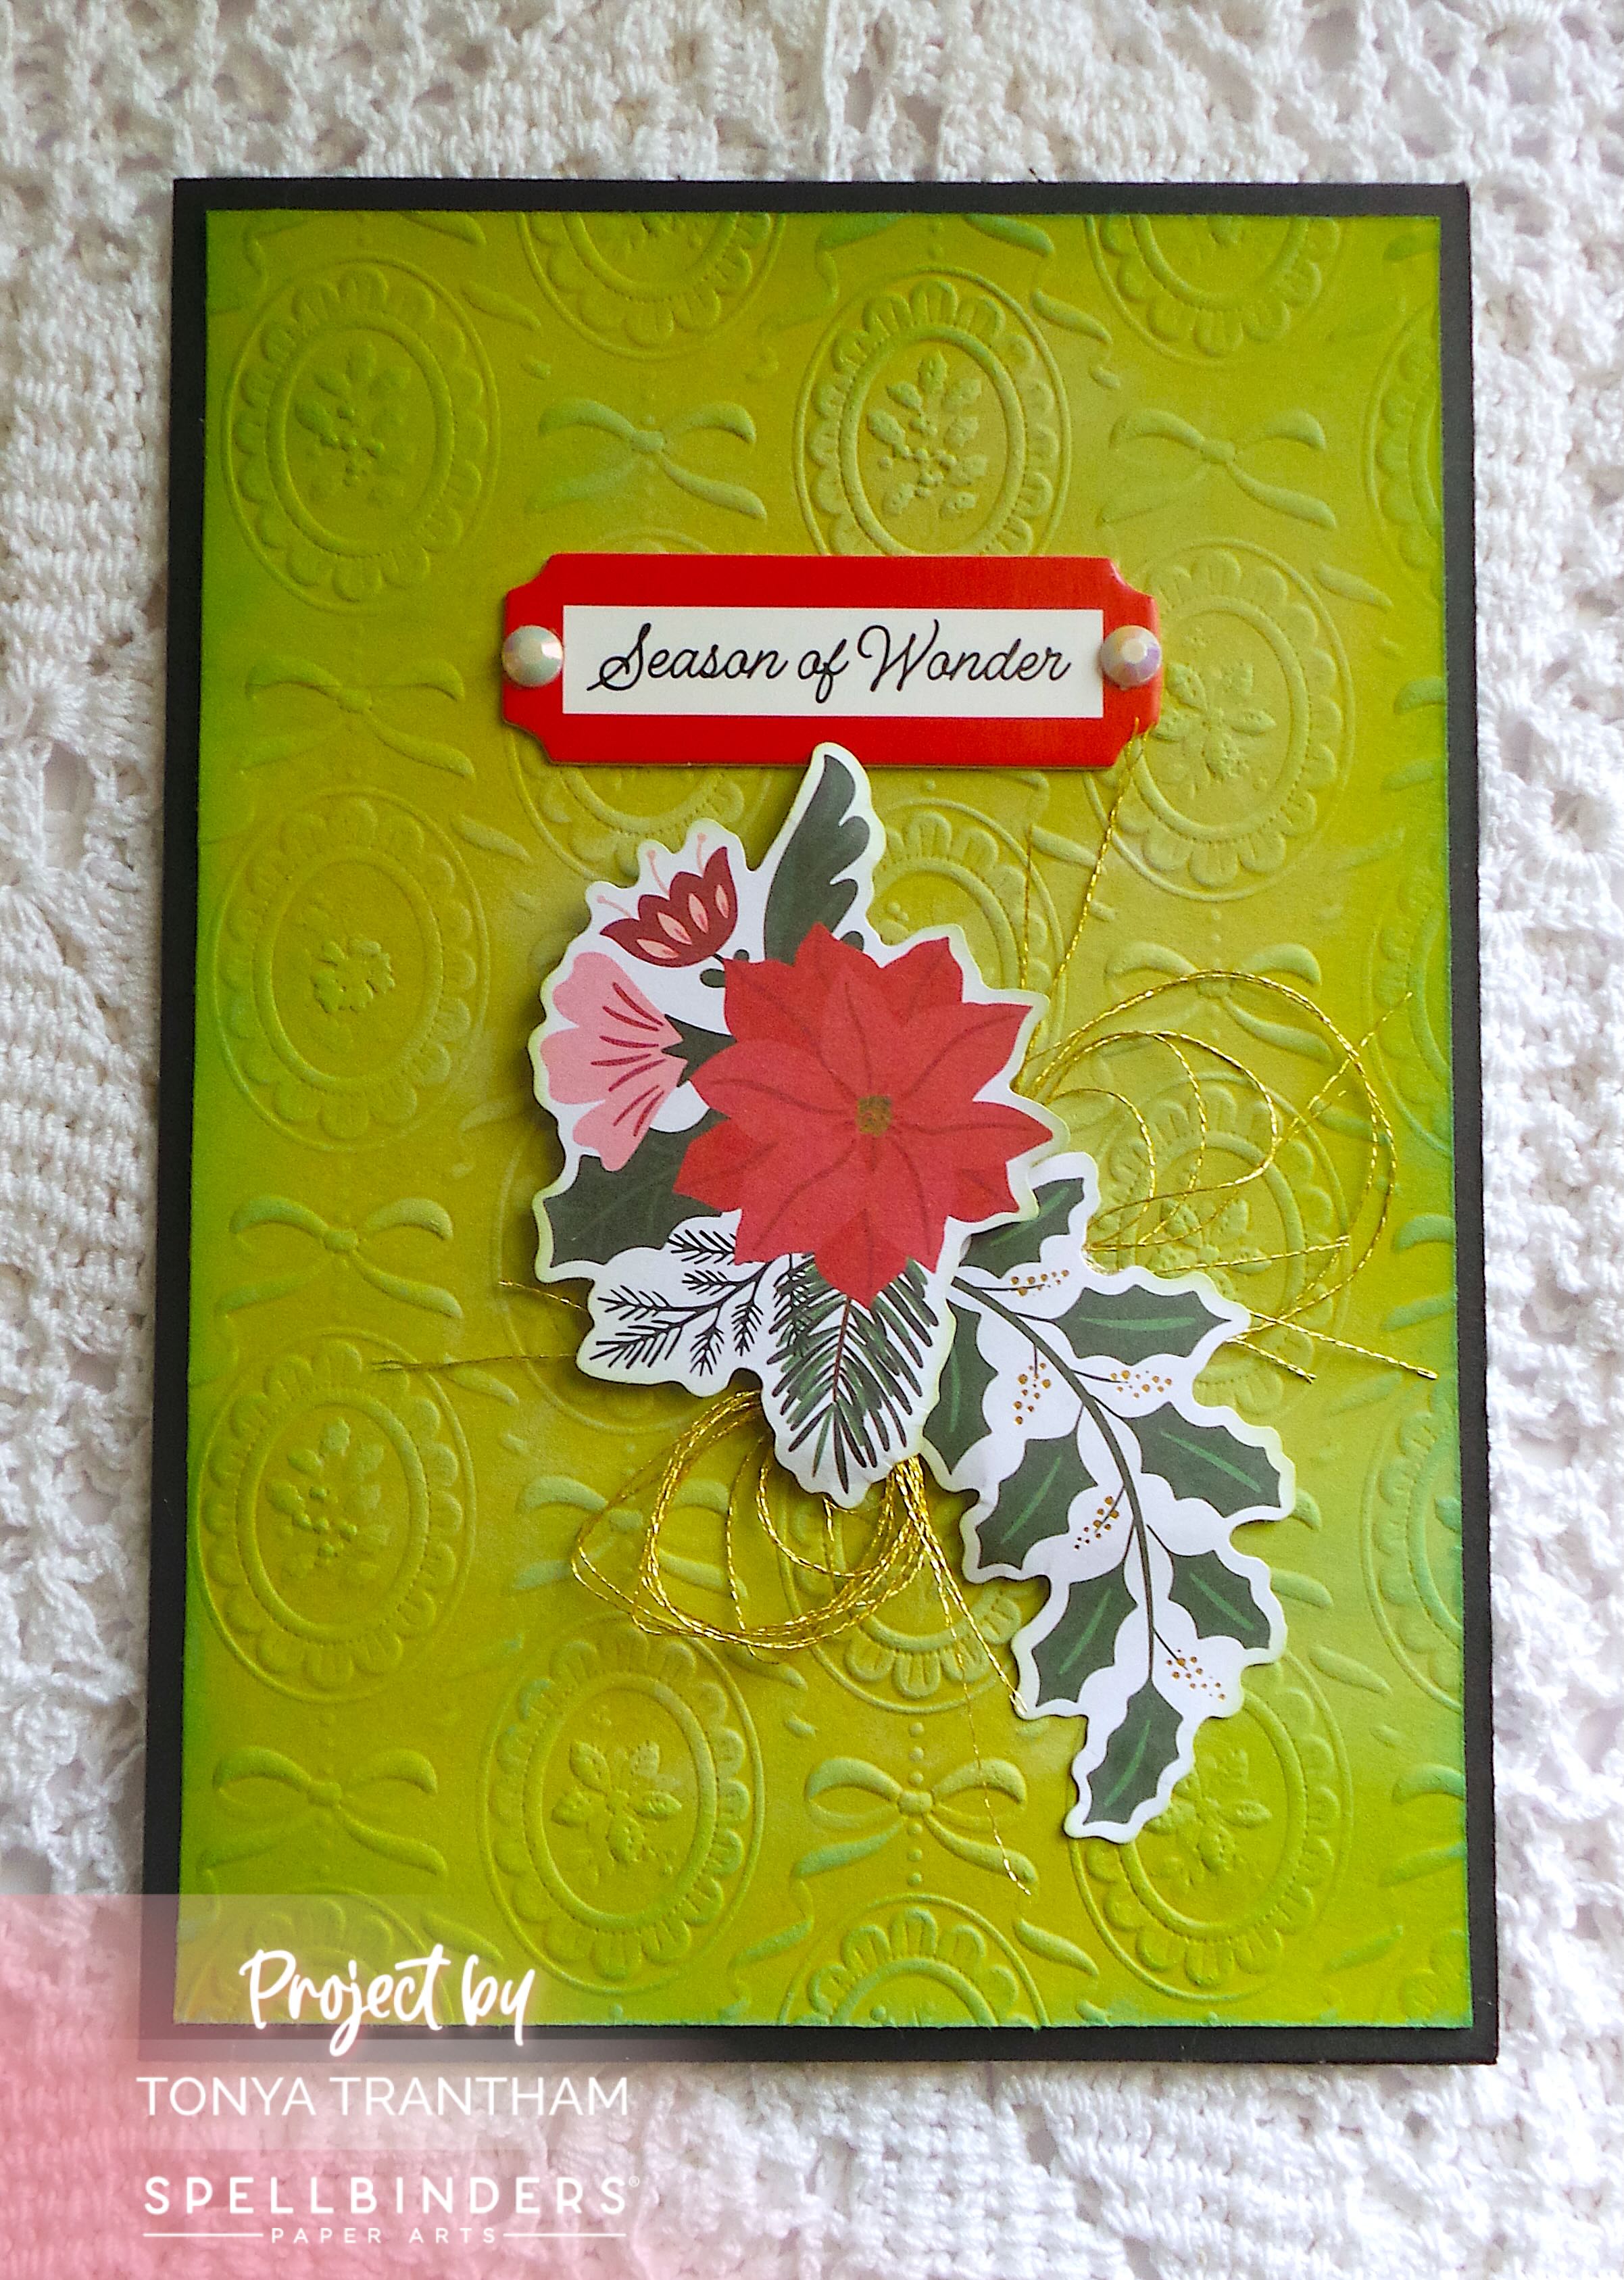
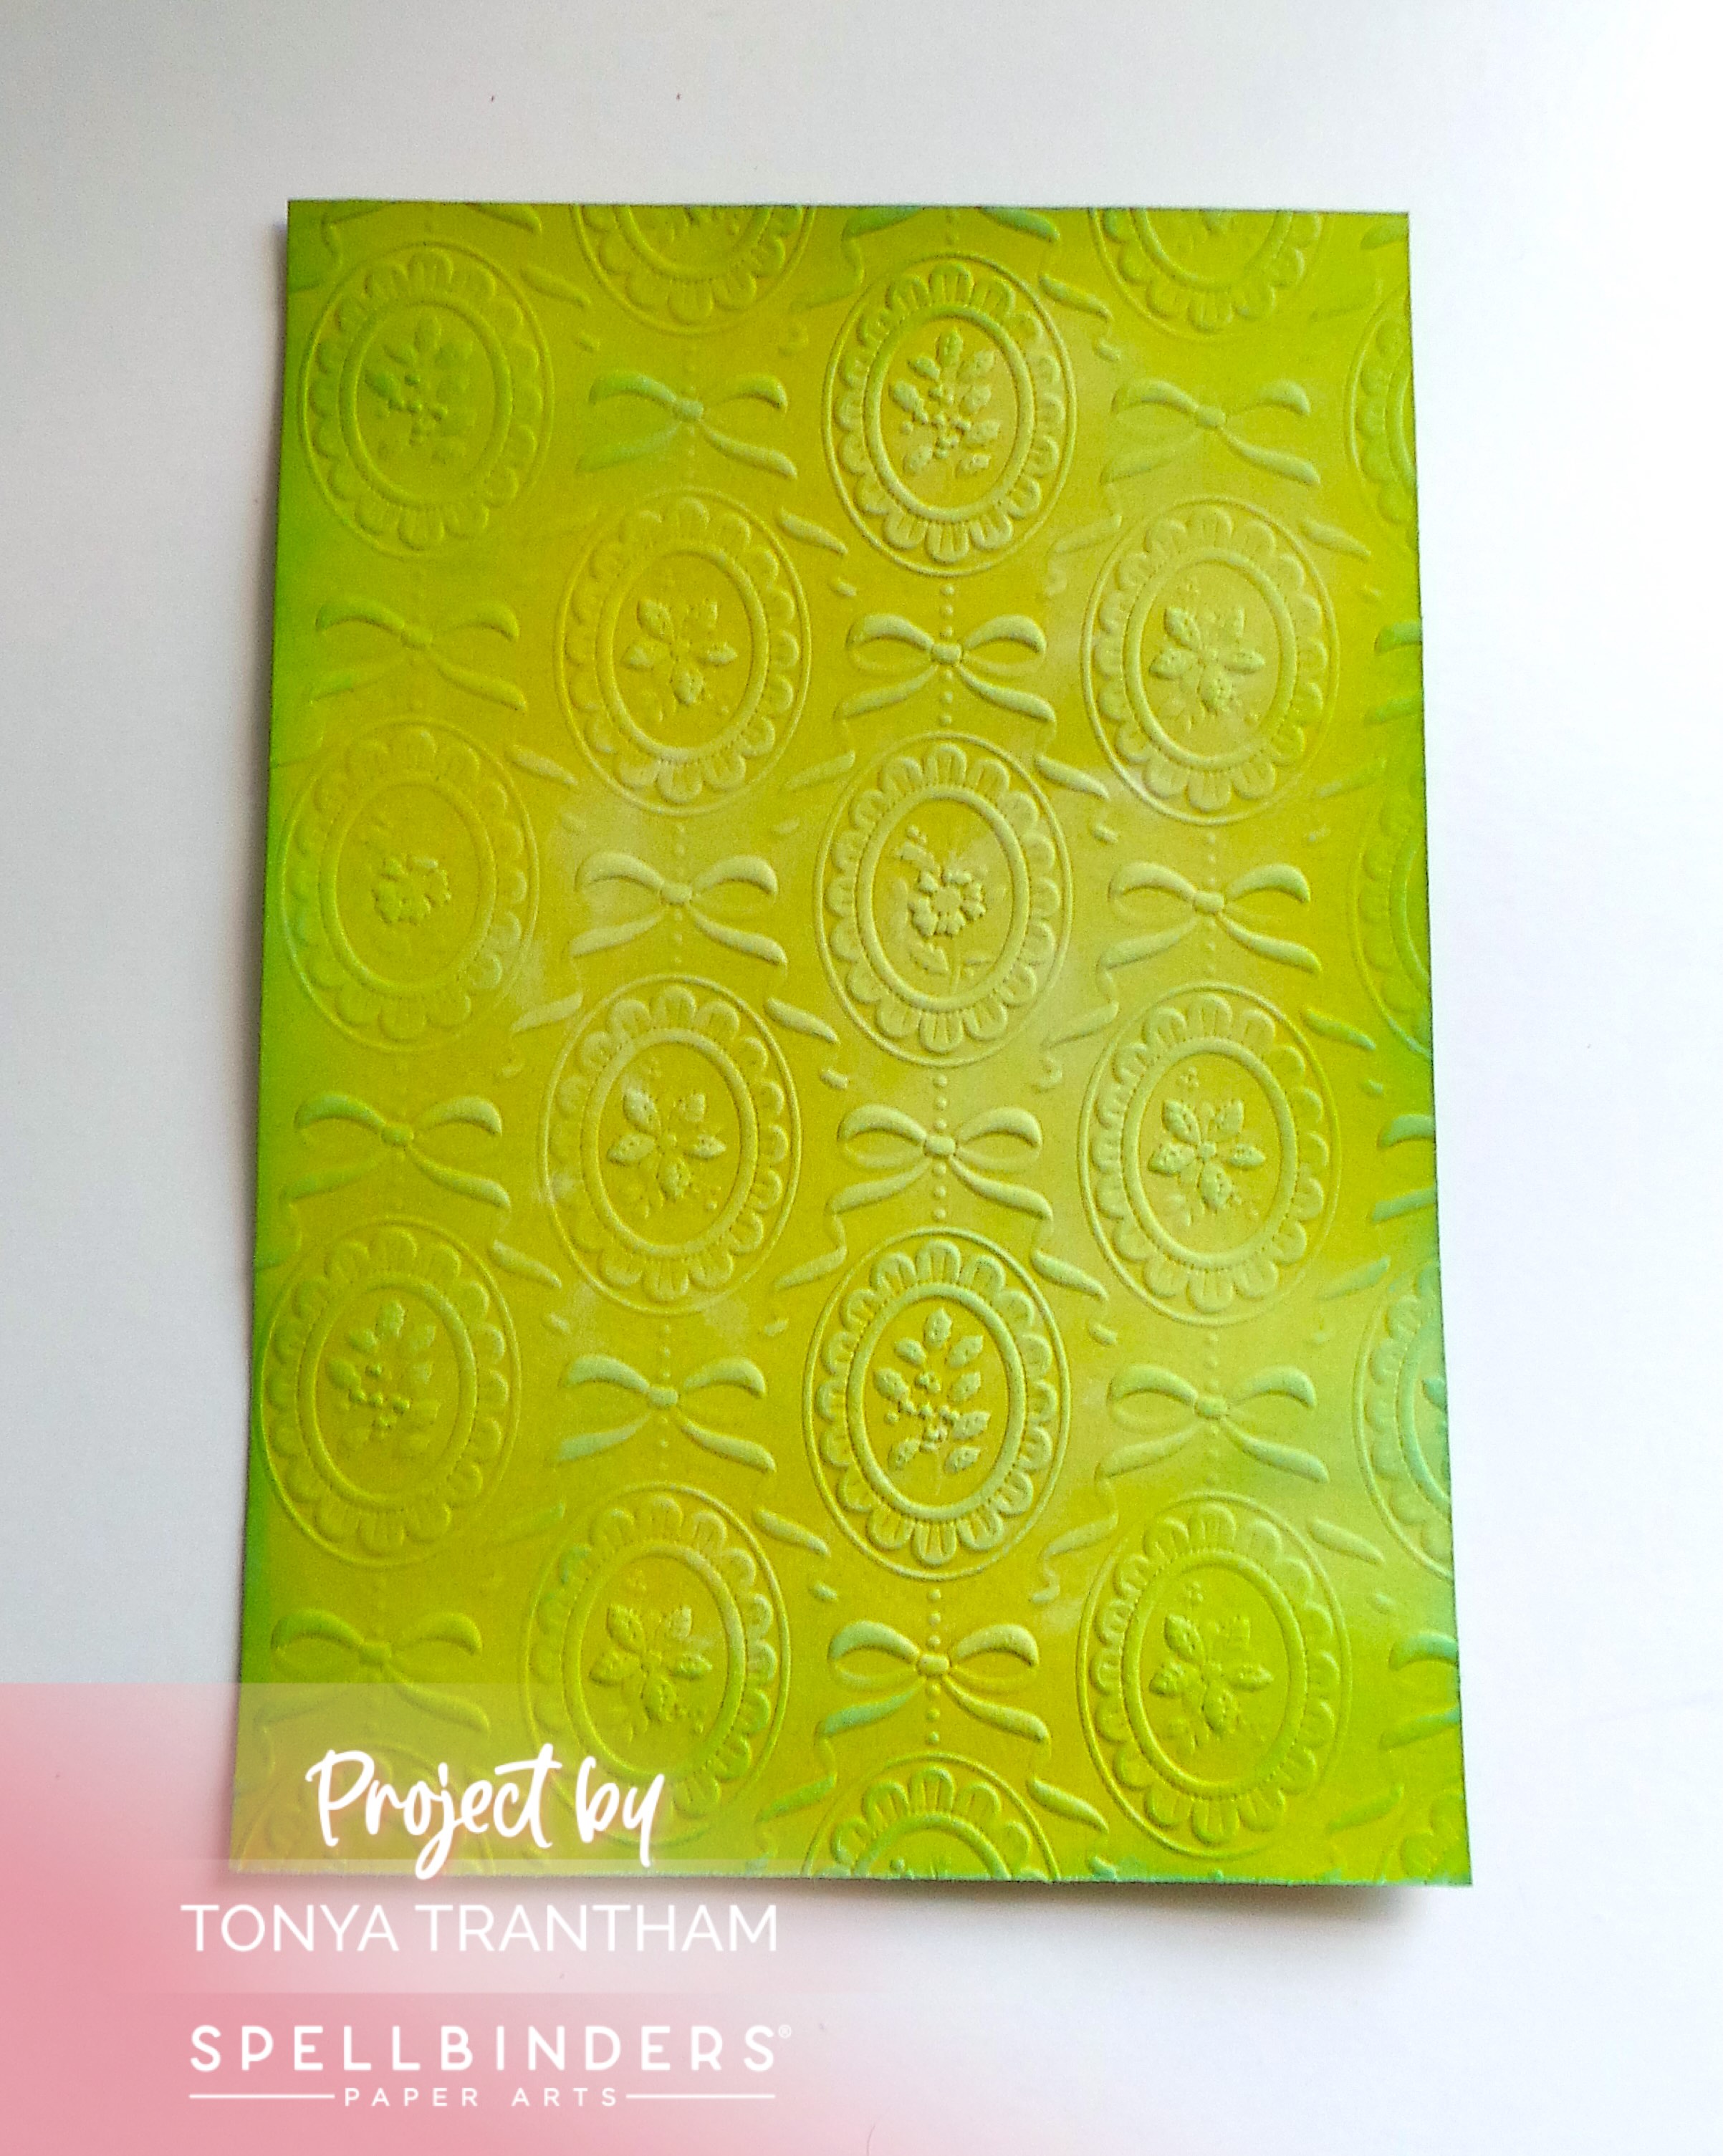
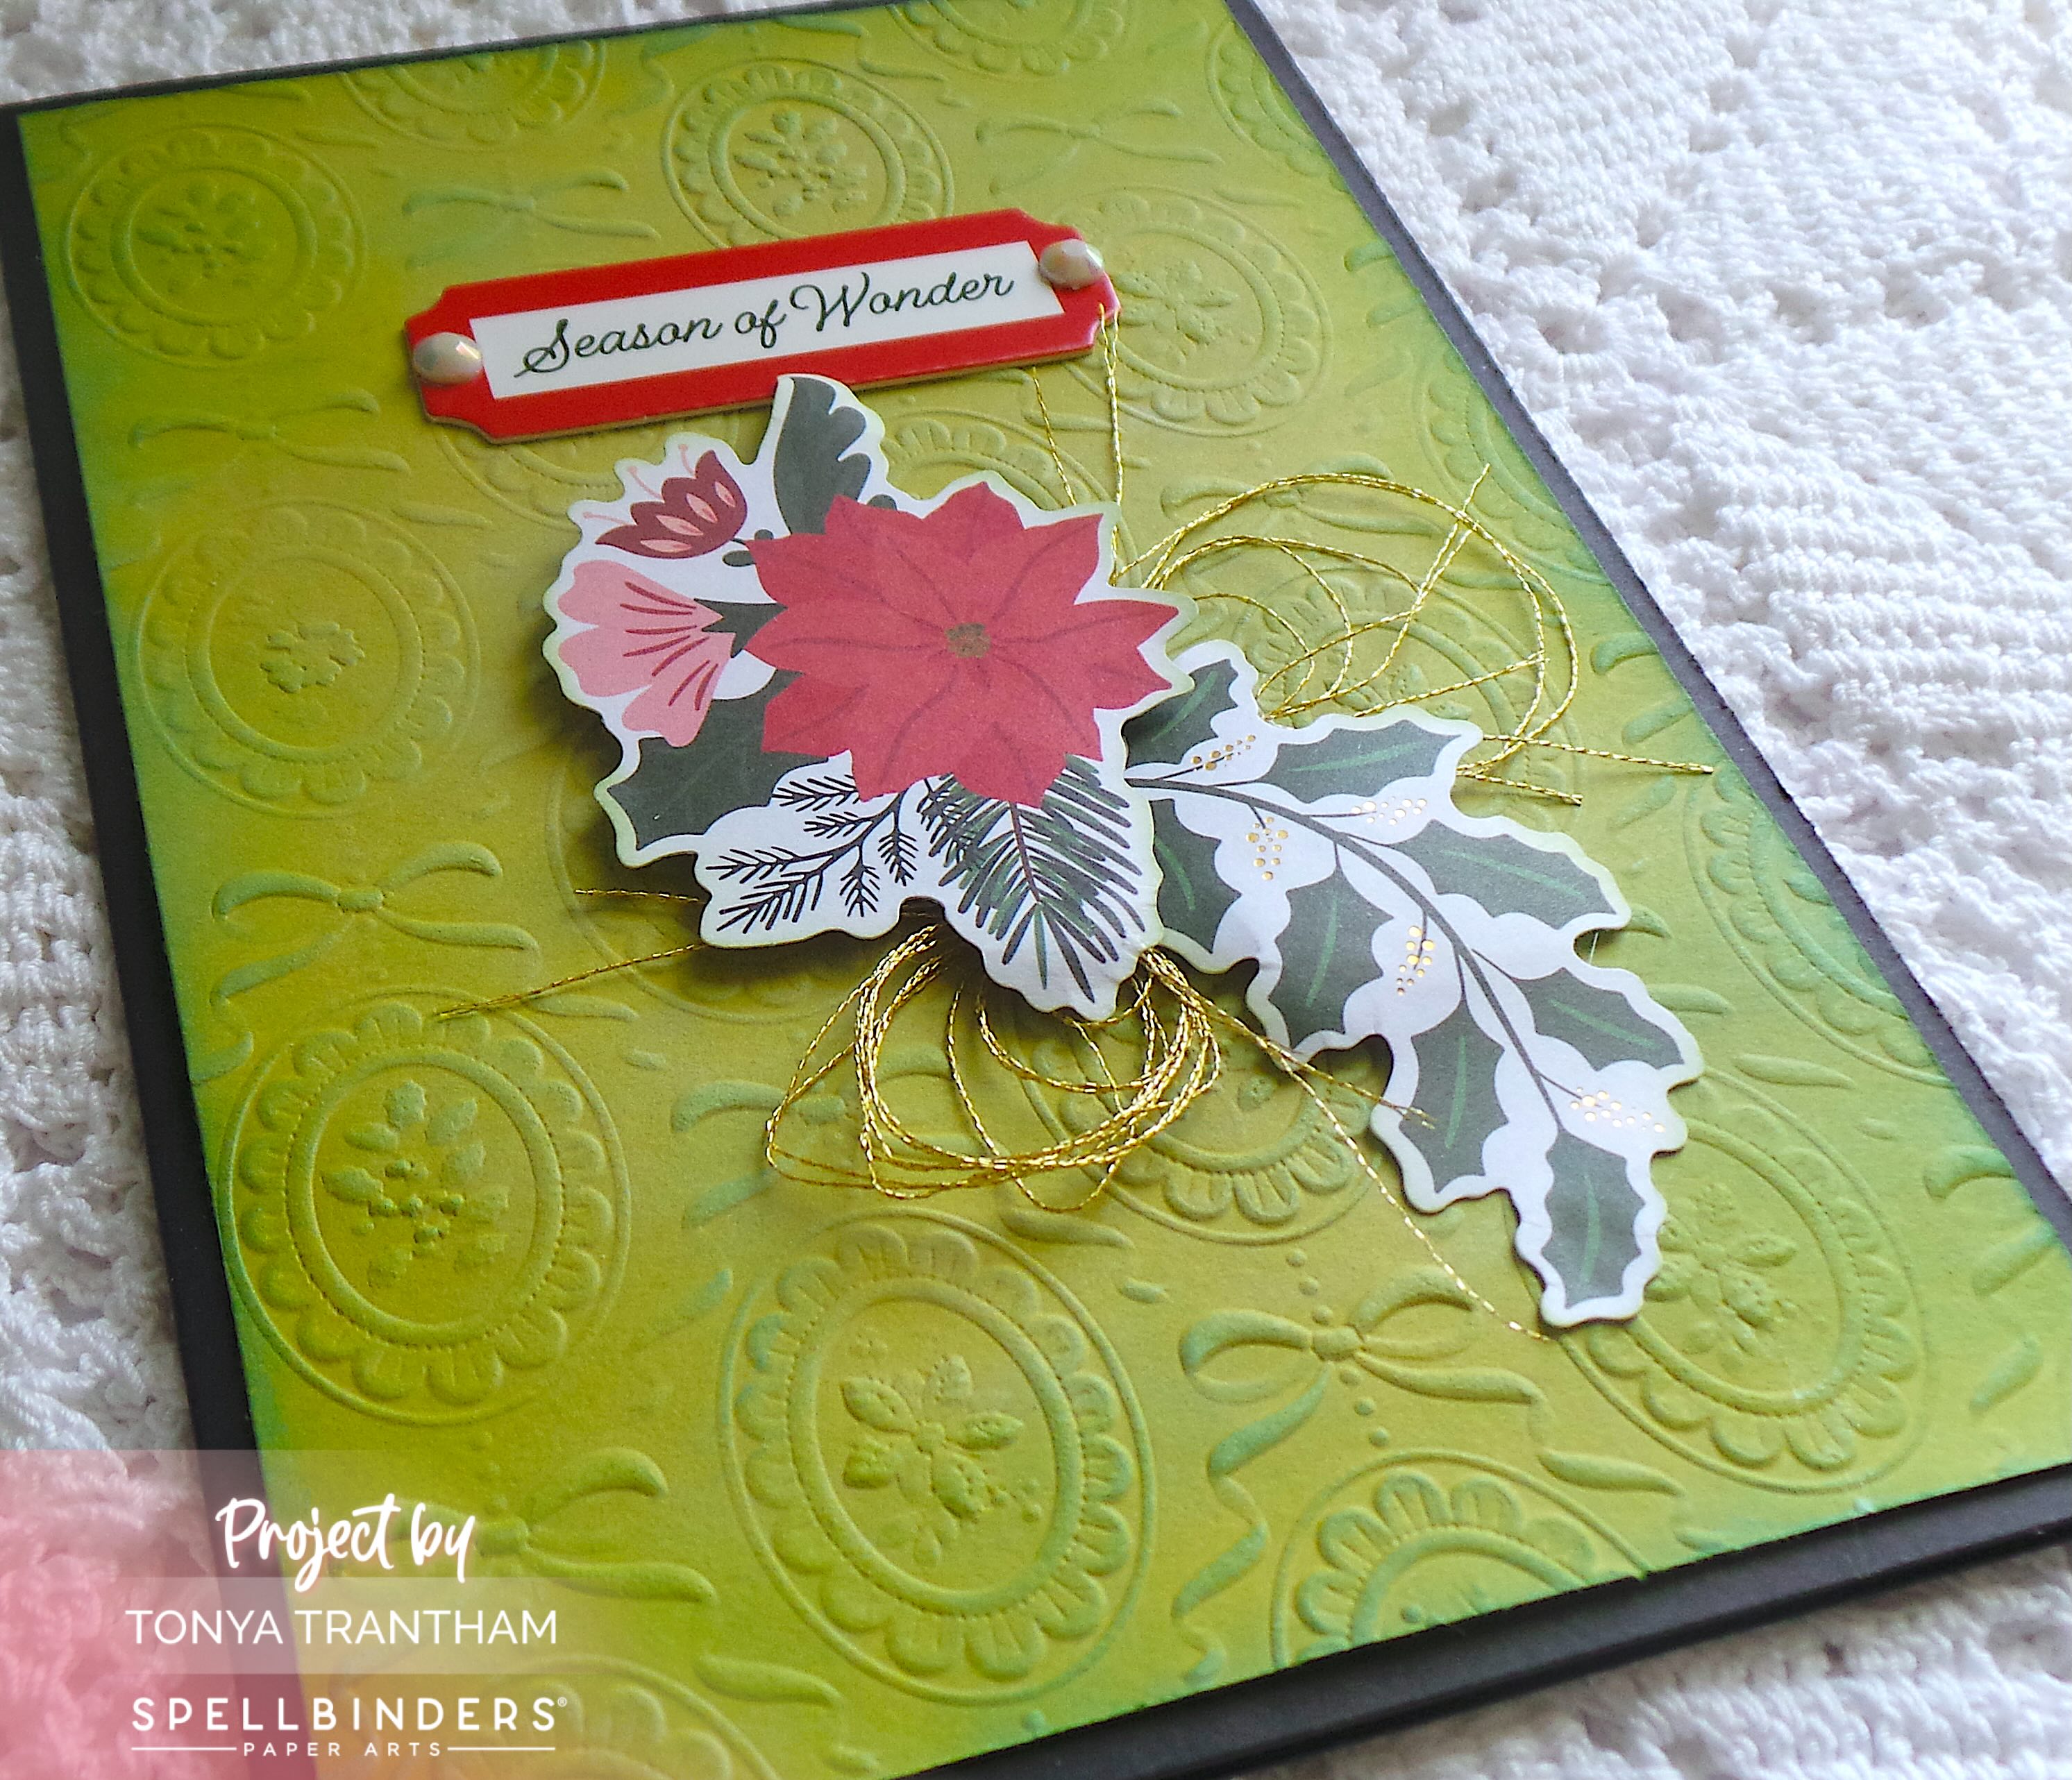
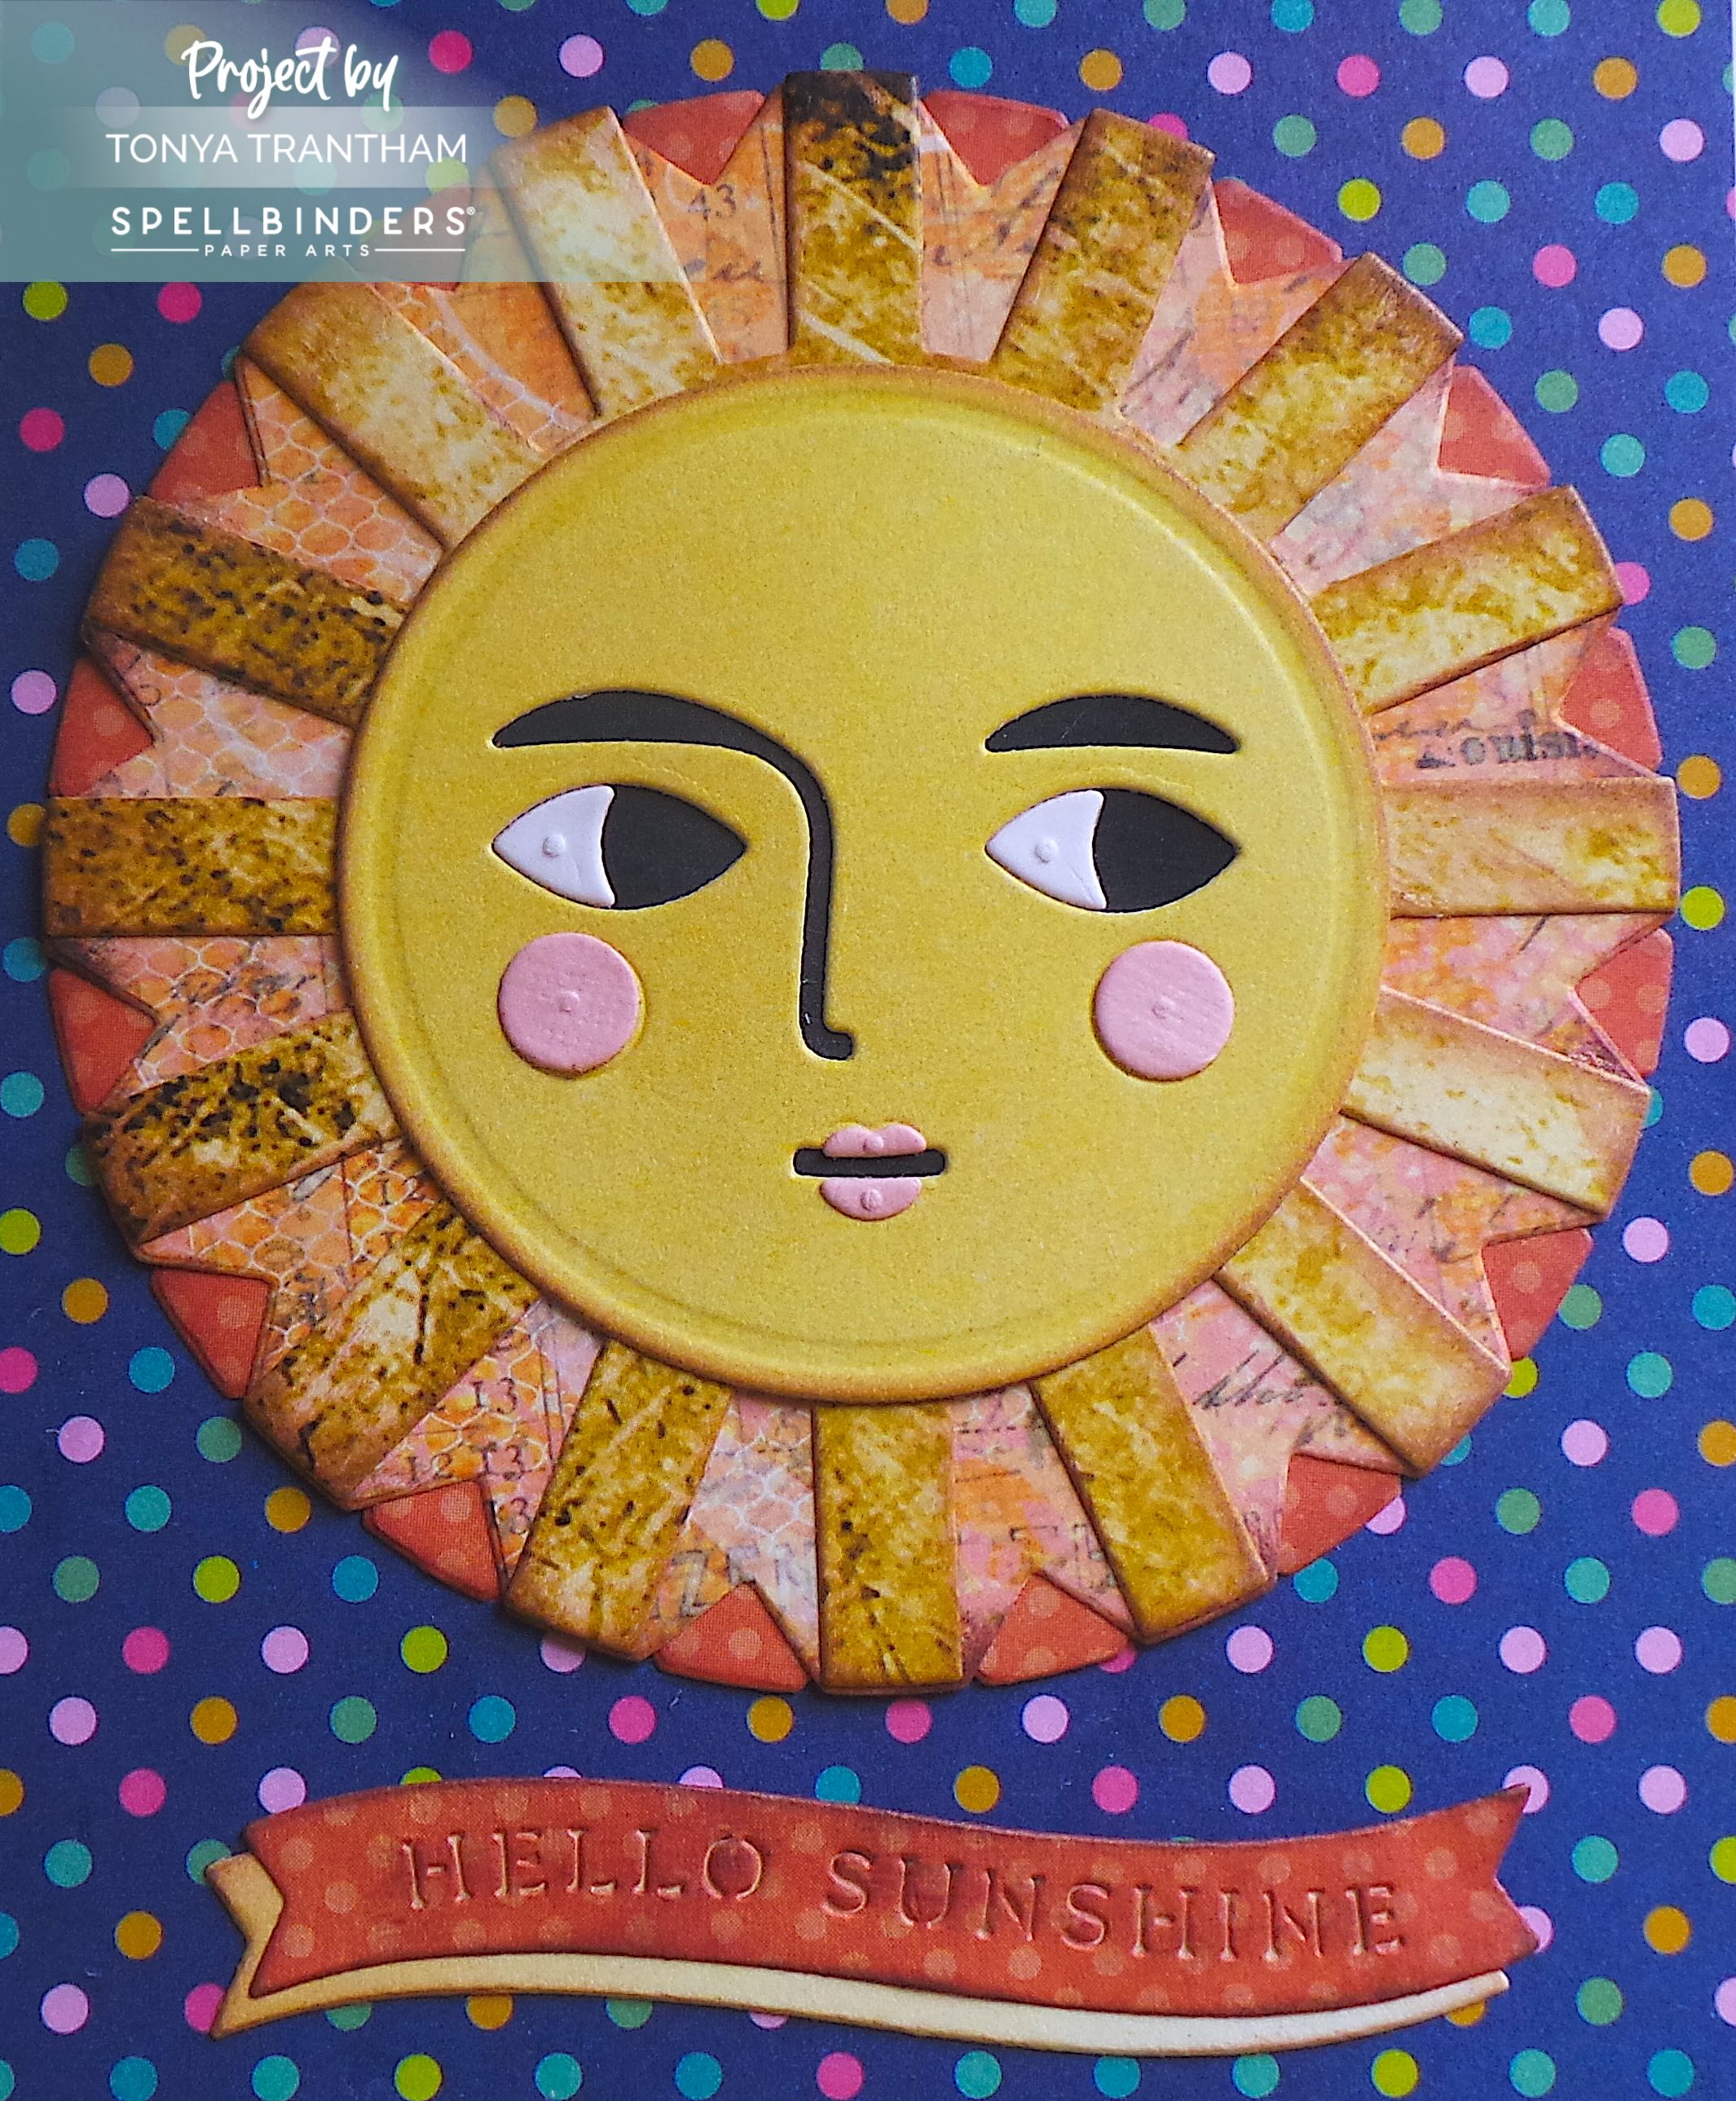
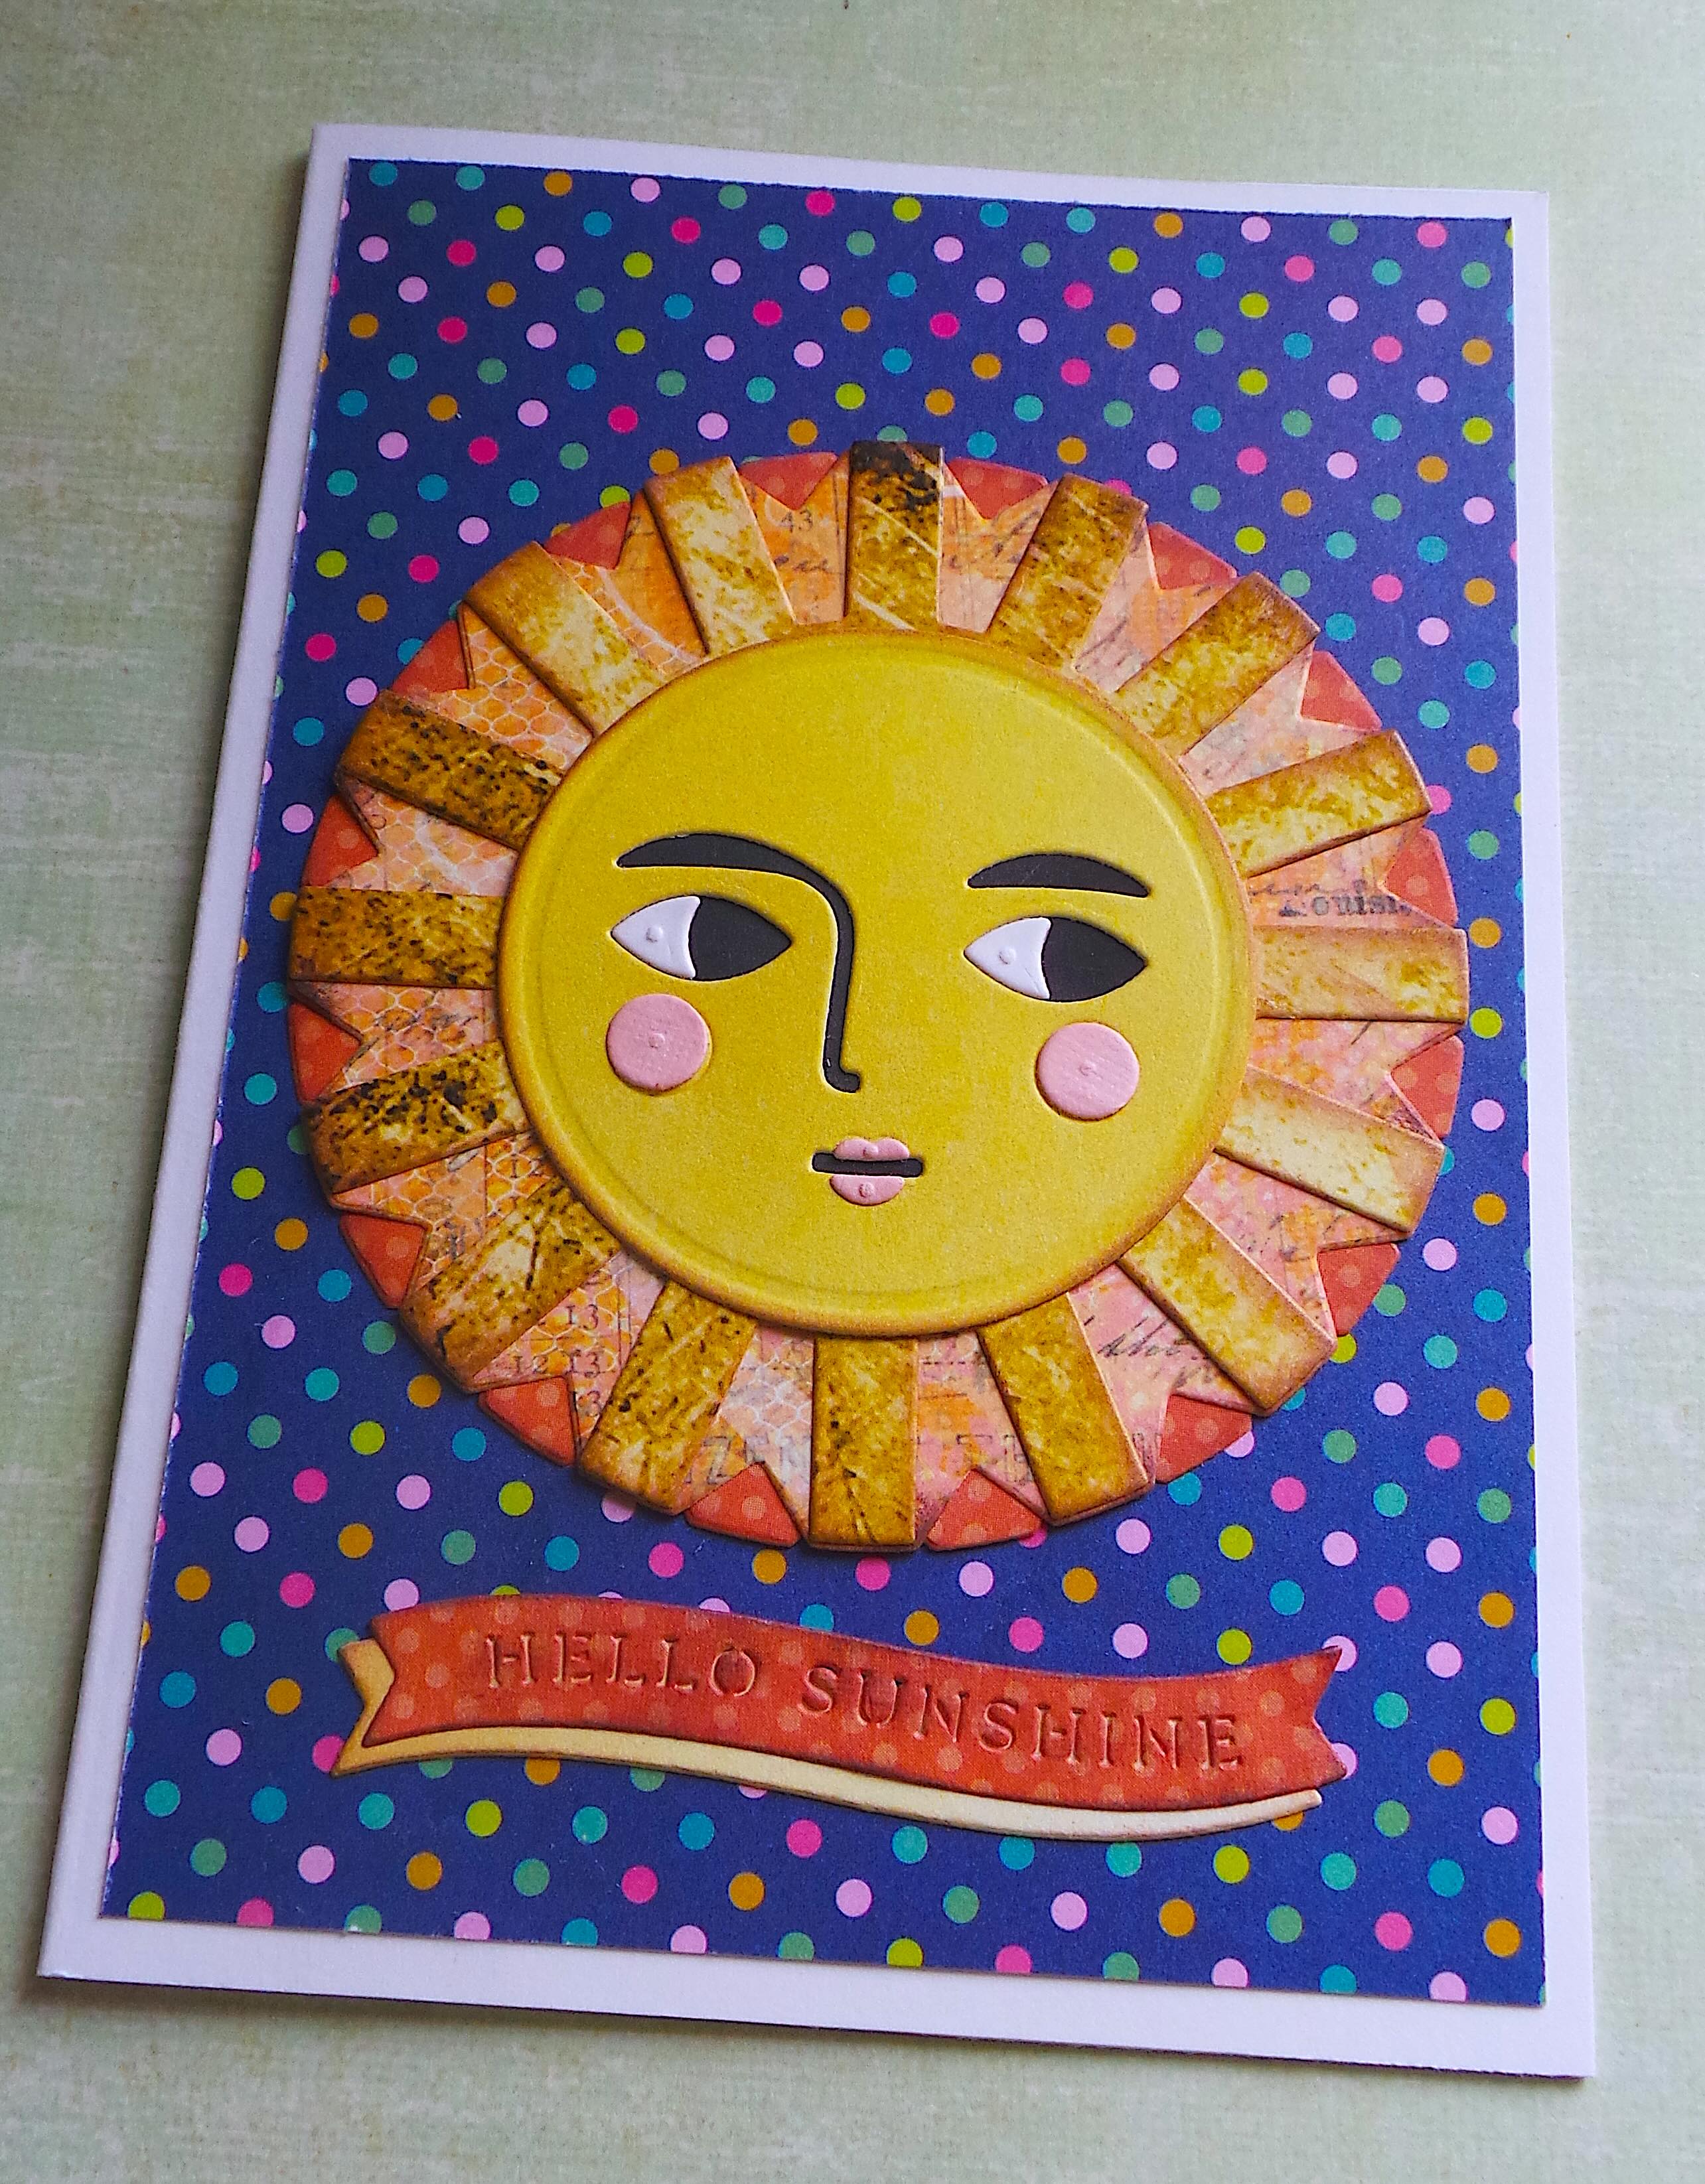
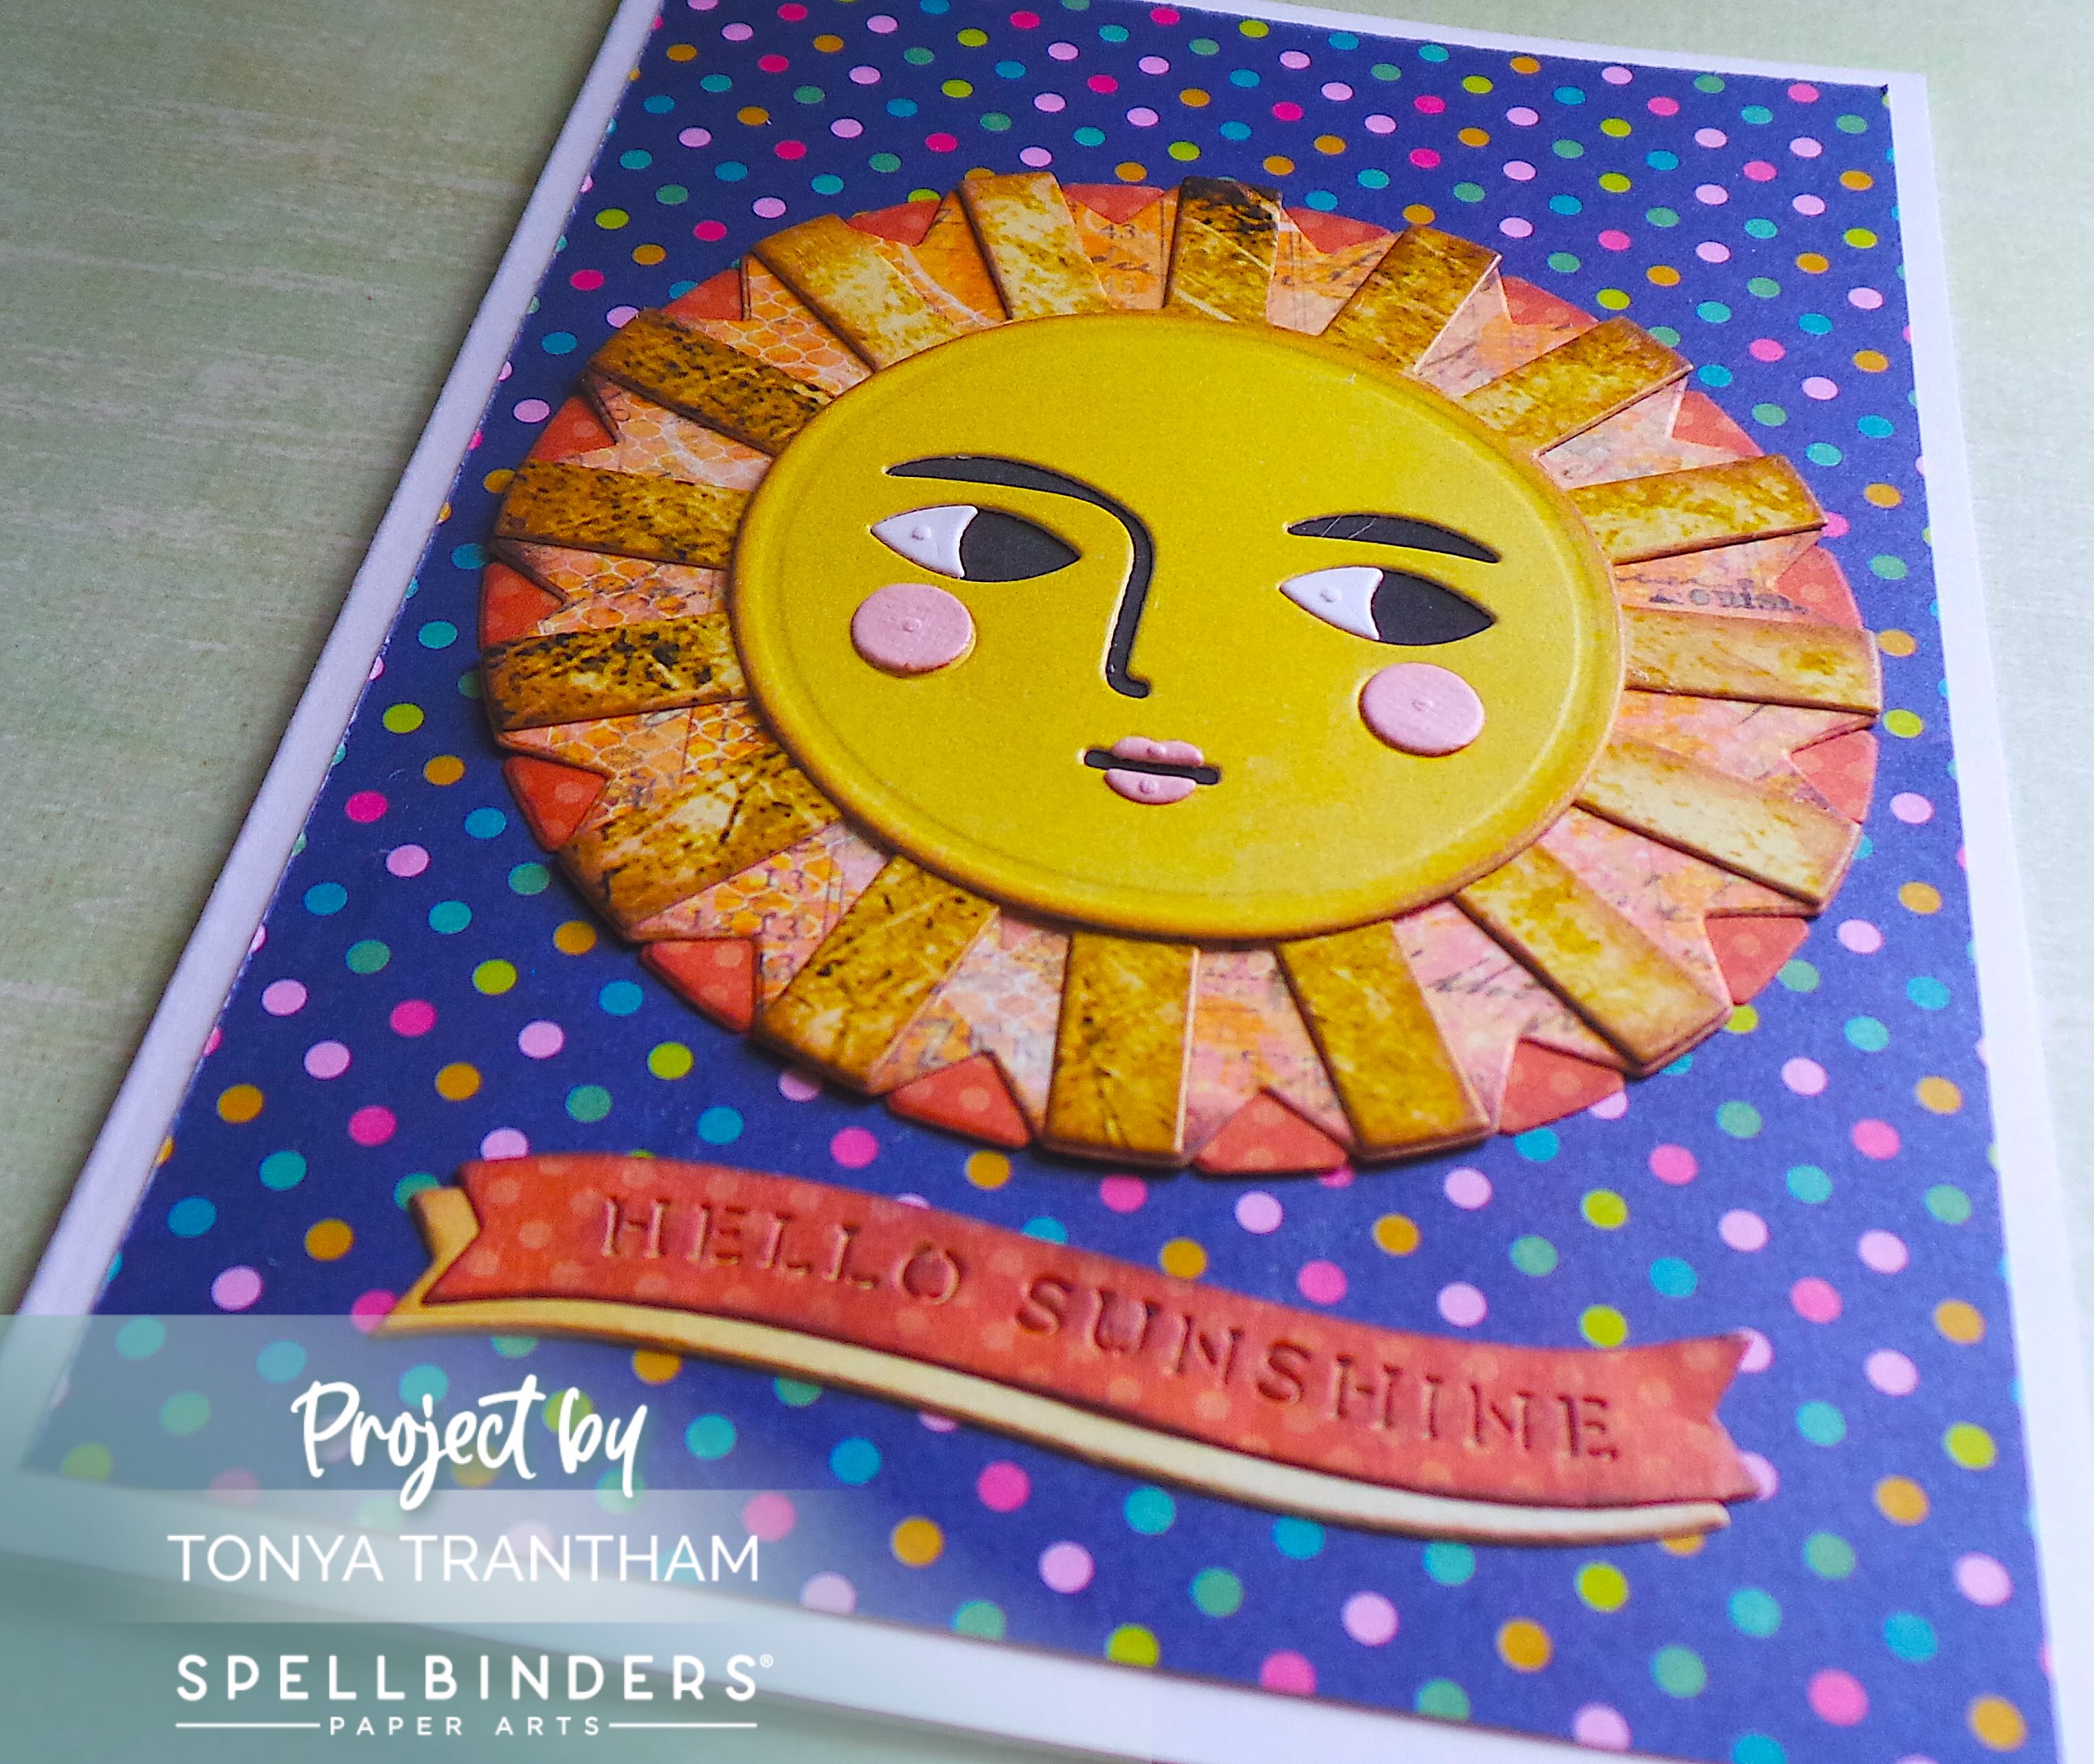
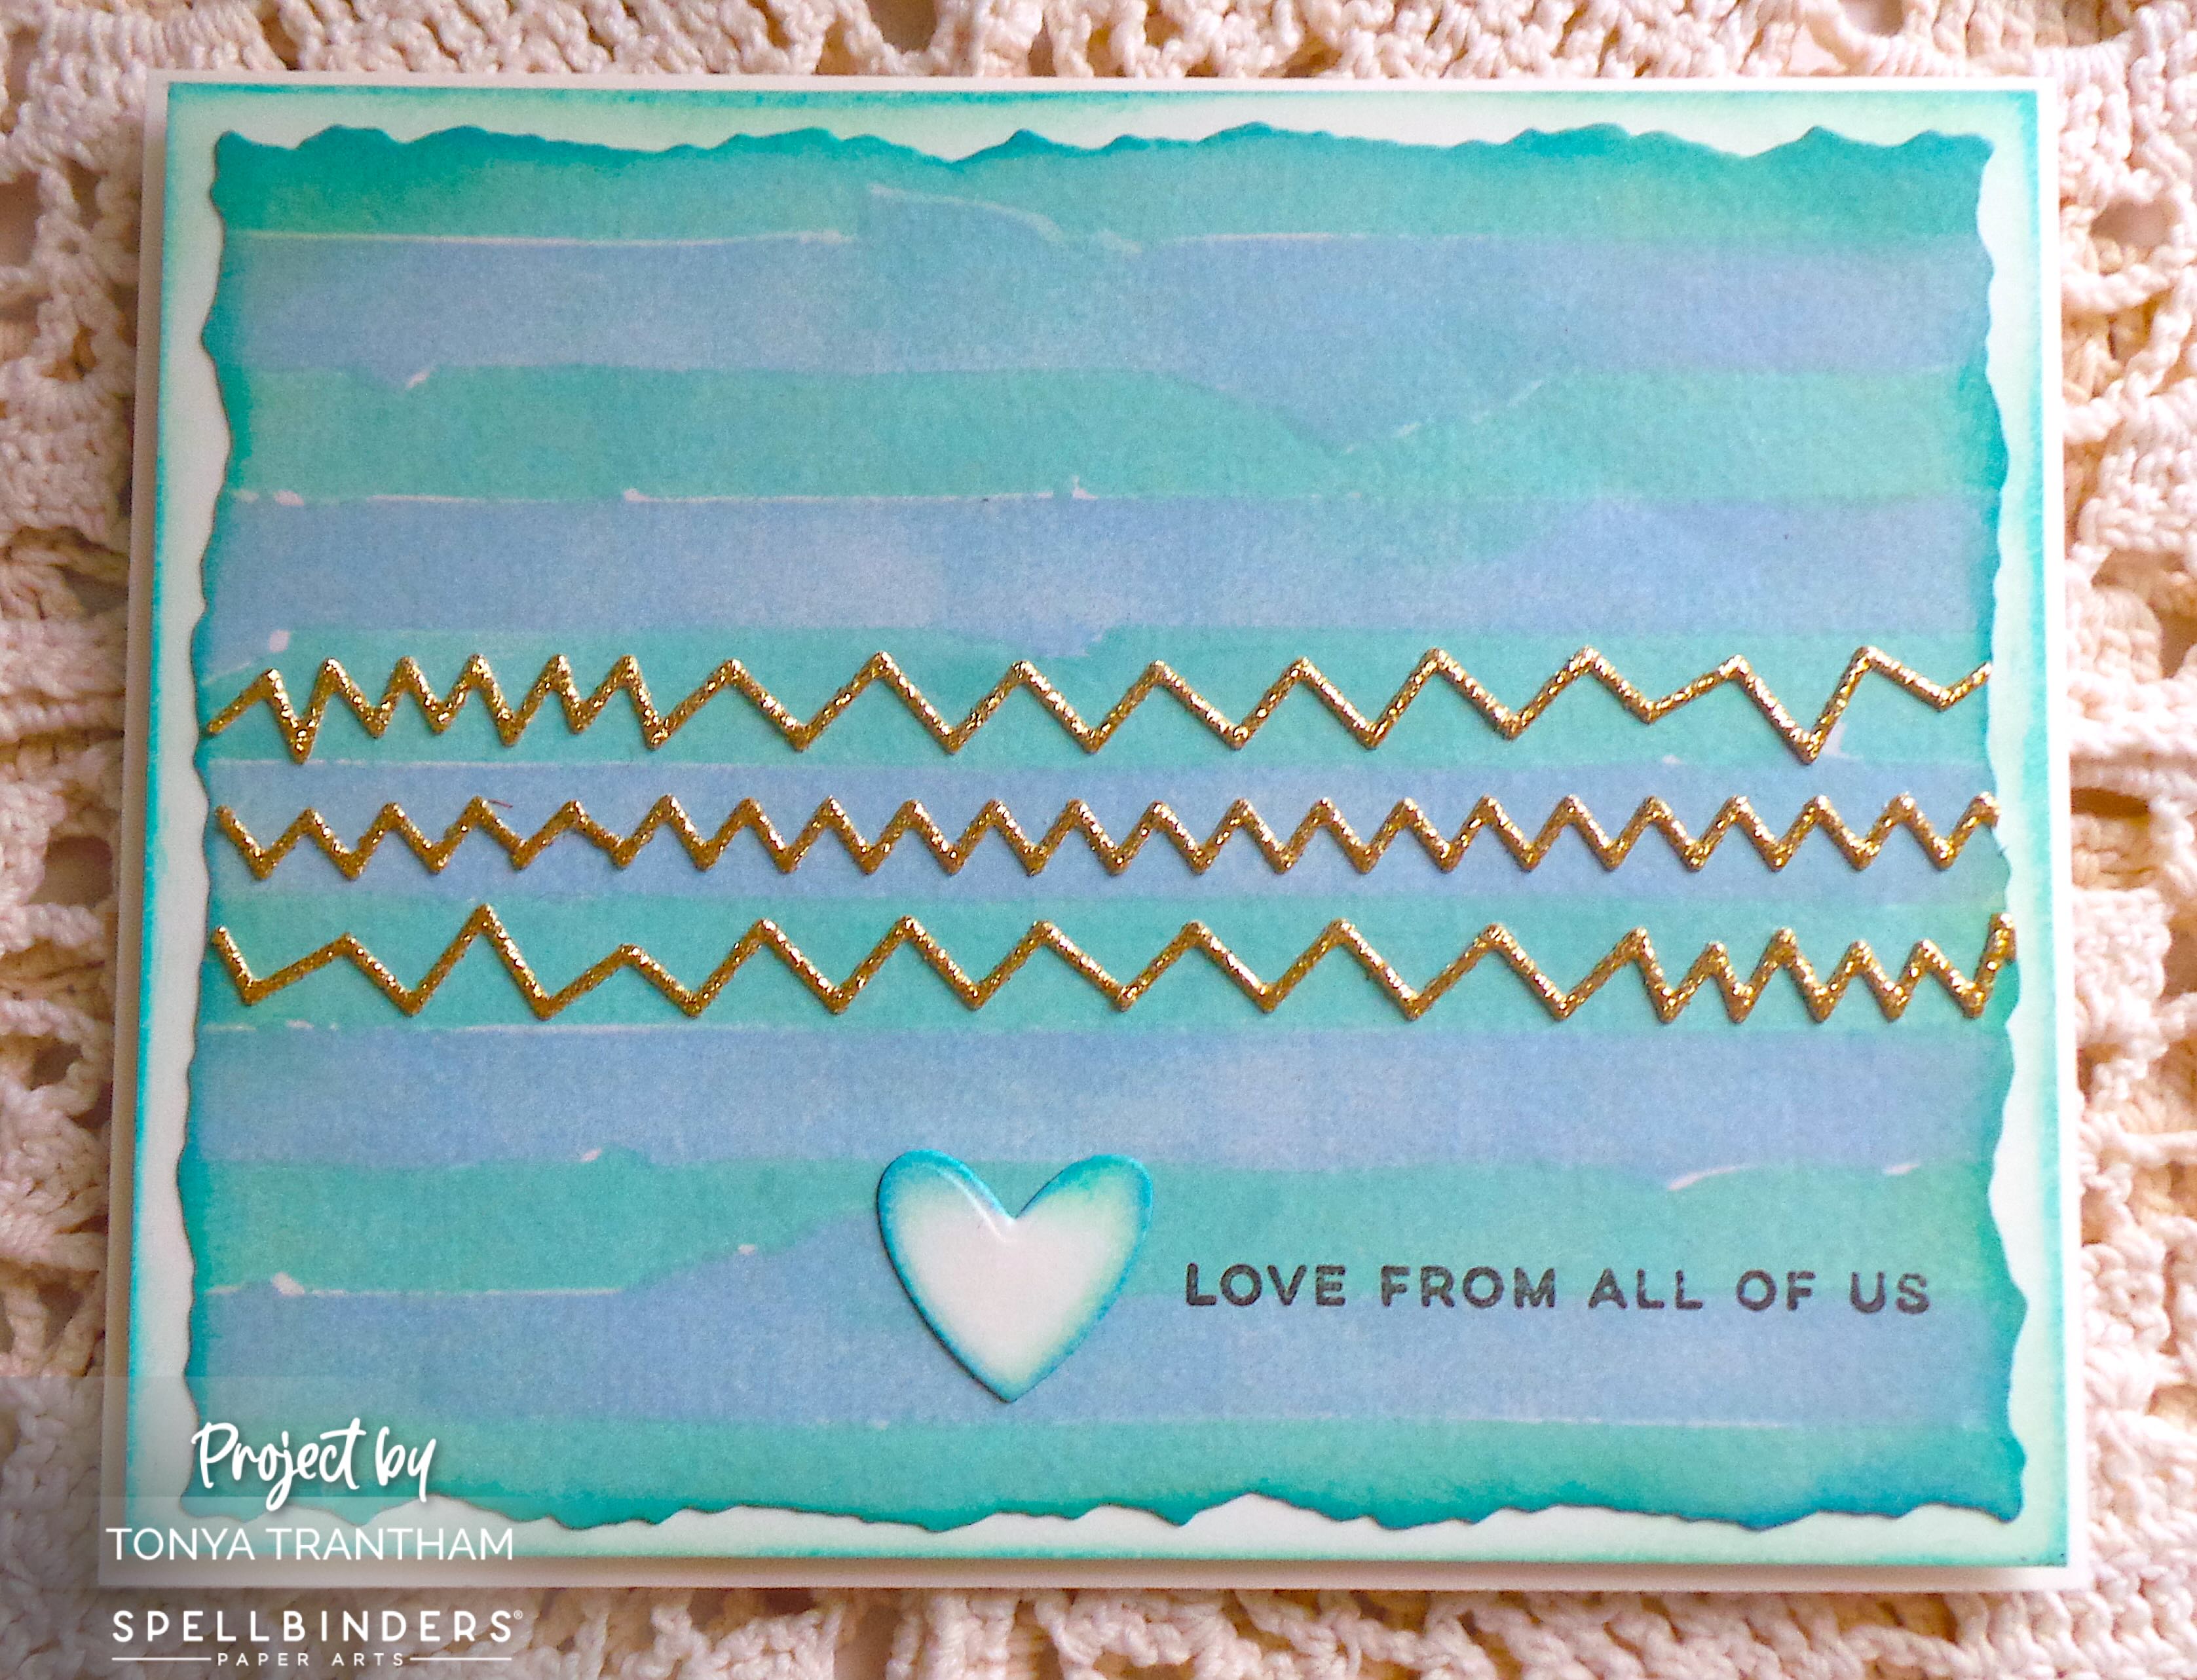
I haven’t many step out photos of each card because I was in the moment when creating these. Both cards measure 6″x4 1/2″ folded. I used the Tattered Stripes Stencils and stenciled the card with two different colors of blue ink from my stash.

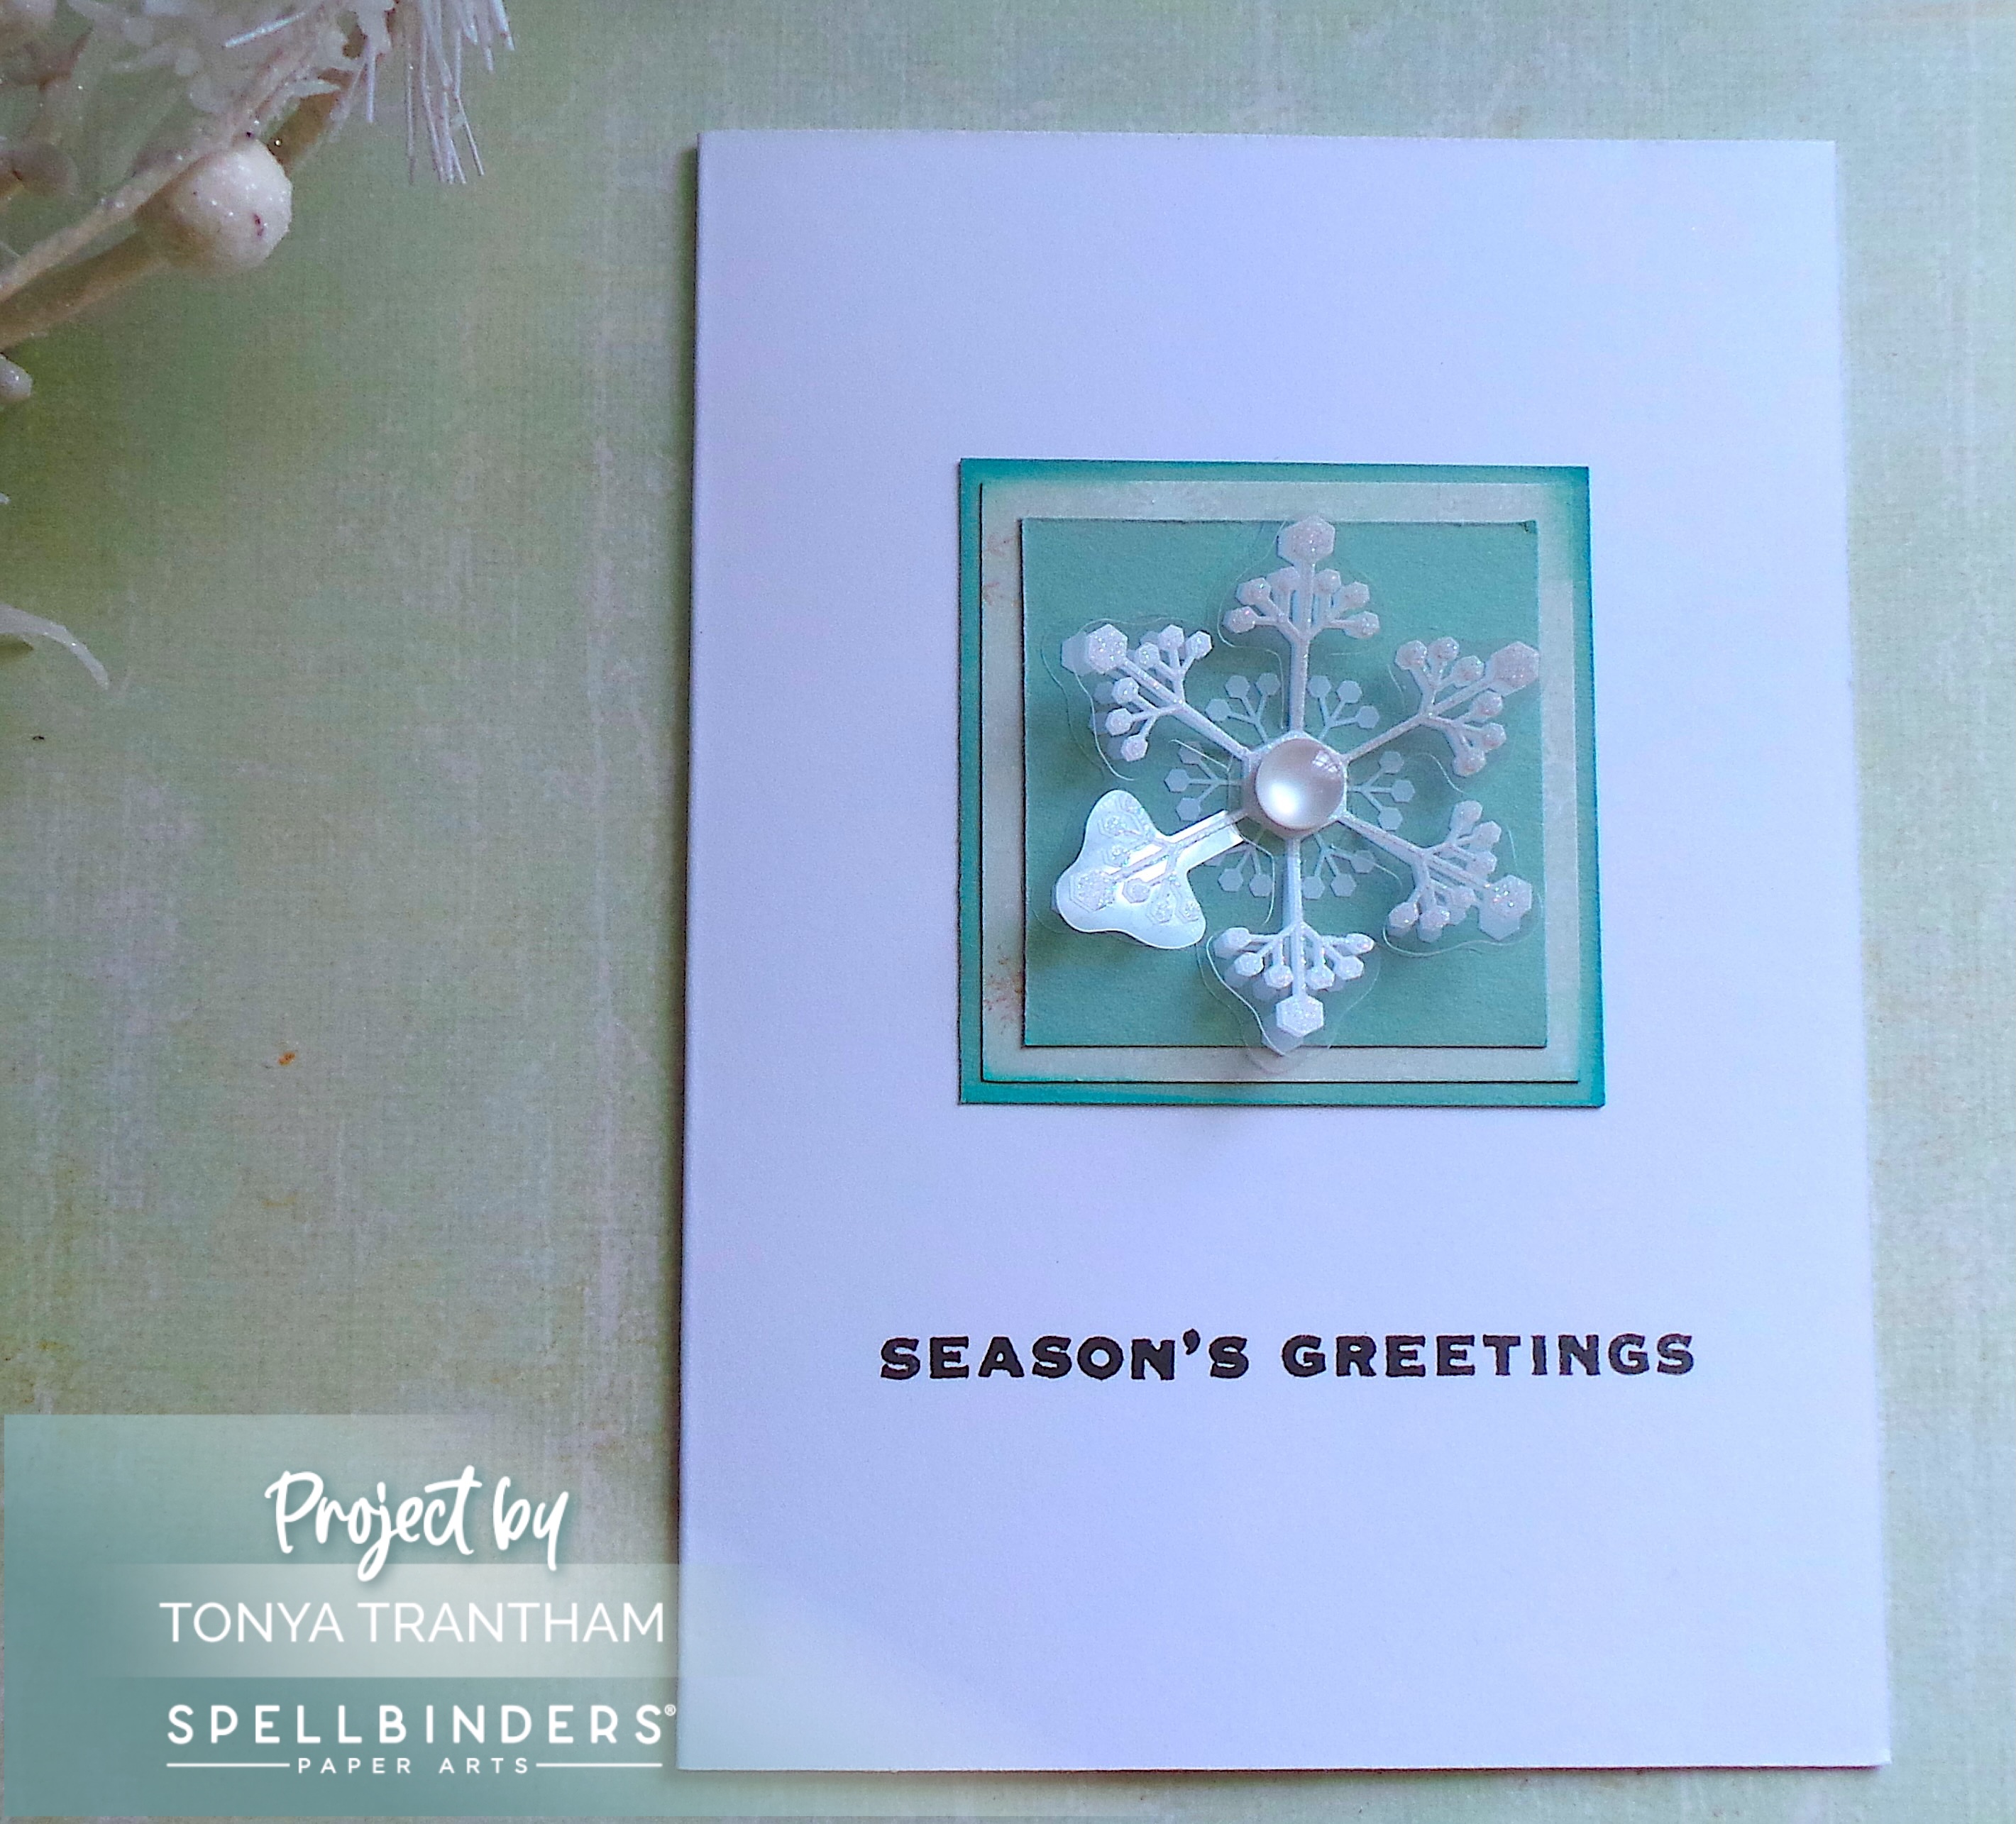
I used the outer die from the Deckled Edge Script Etched Dies on the stenciled image. I inked the edges with a blue ink and backed with a mat which I also inked. I placed the “love from all of us” stamp from the Christmas Memories Enclosed Clear Stamp Set onto MISTI Stamping Tool, inked with Black Ink and stamped onto the stenciled image.

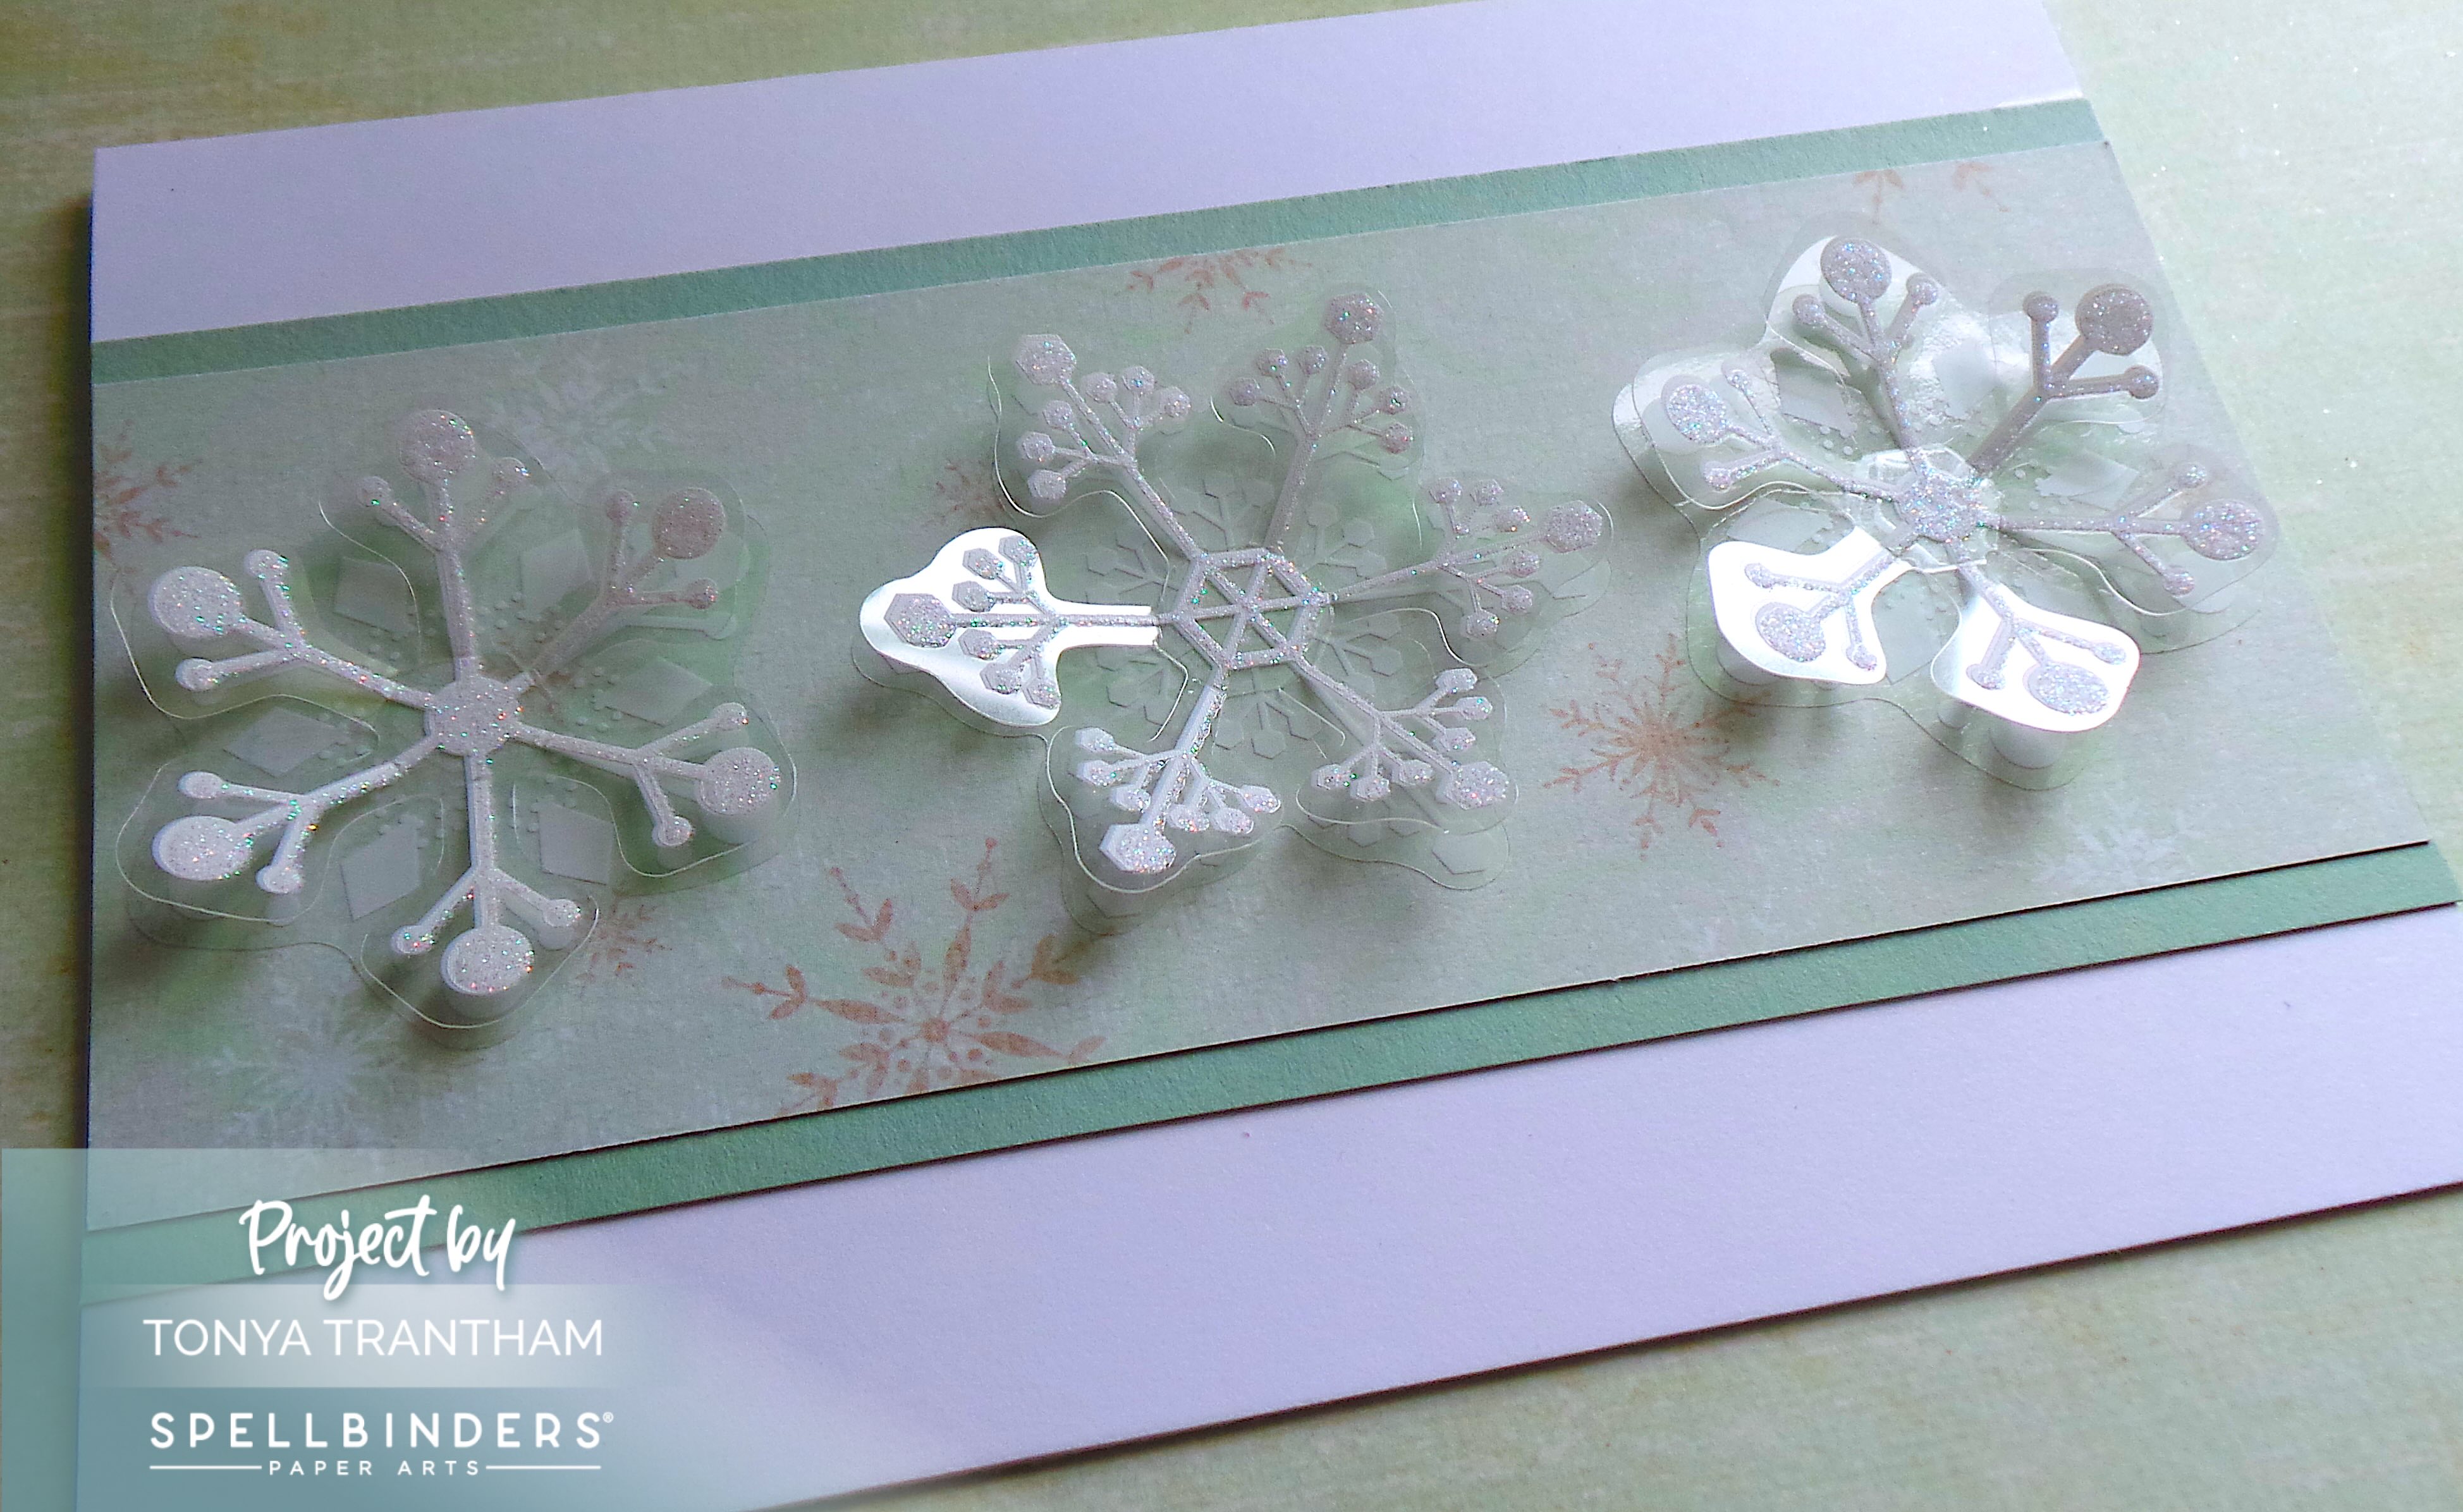
I added Foam Pop Dots on the back and placed onto the card base. I cut three of the zip zag dies from the Tangled Threads Etched Dies and glued to the card. I cut and used the heart center from the Crafty Babe Die Bundle to finish the first card.

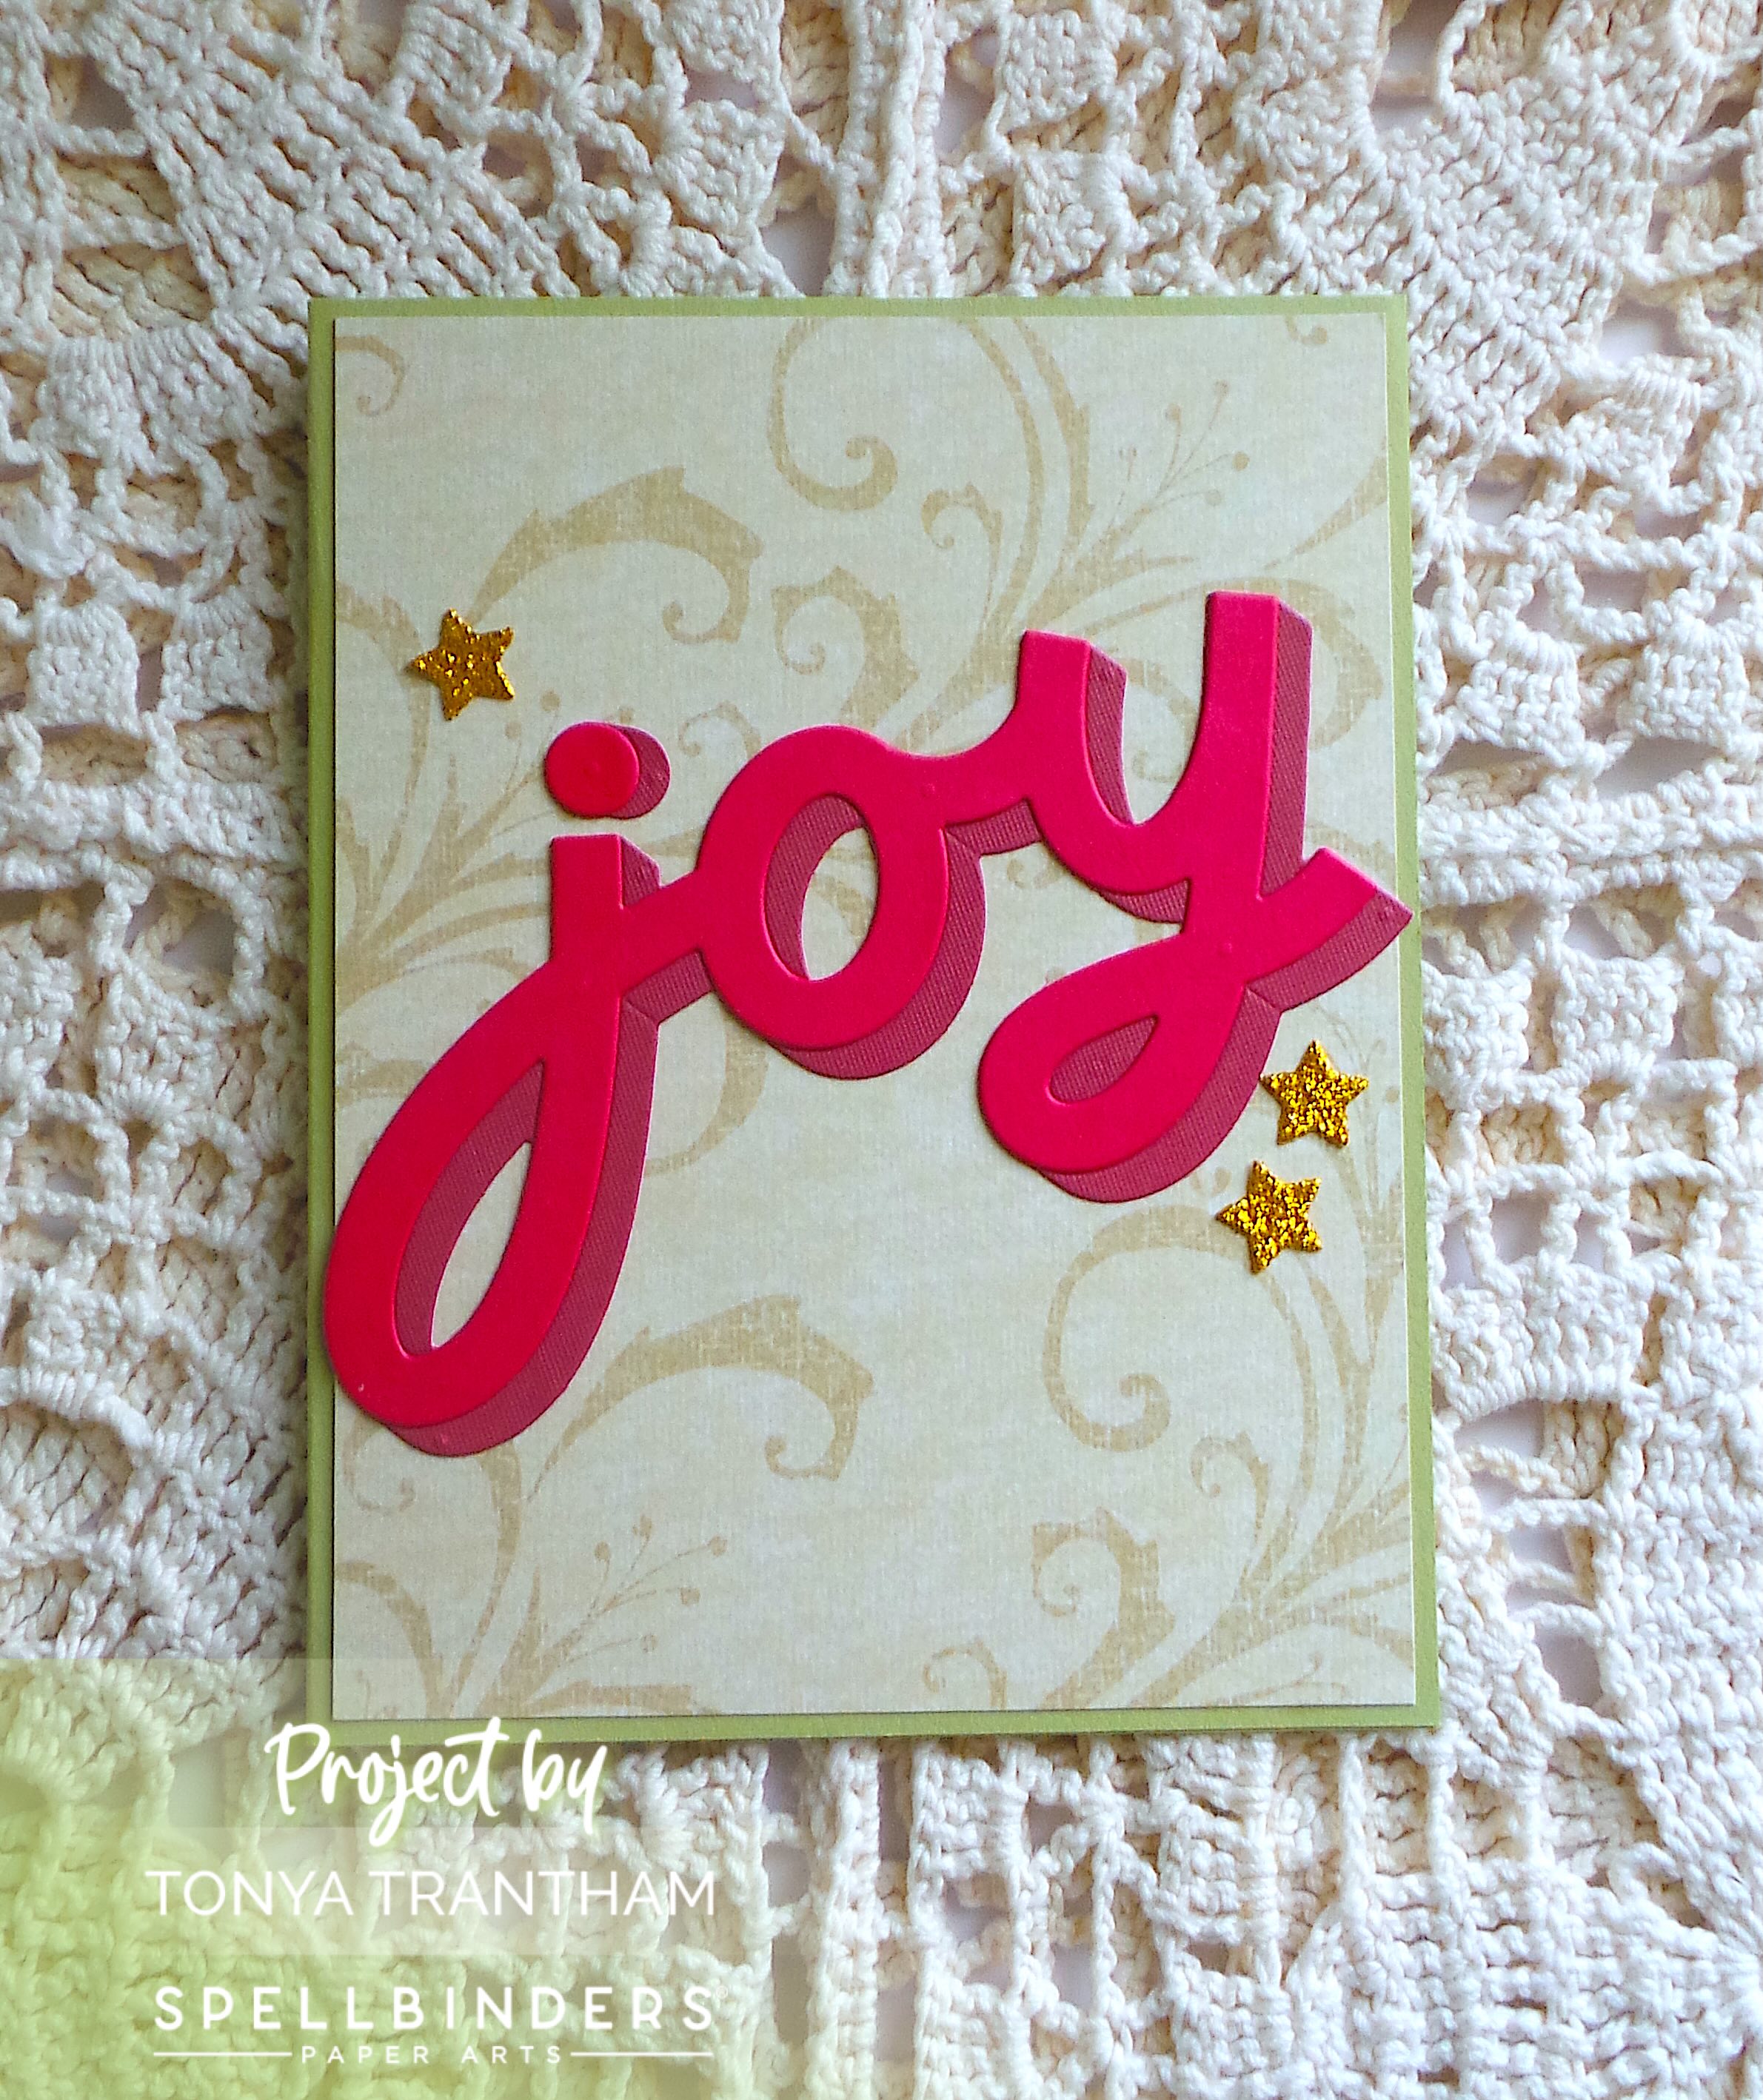
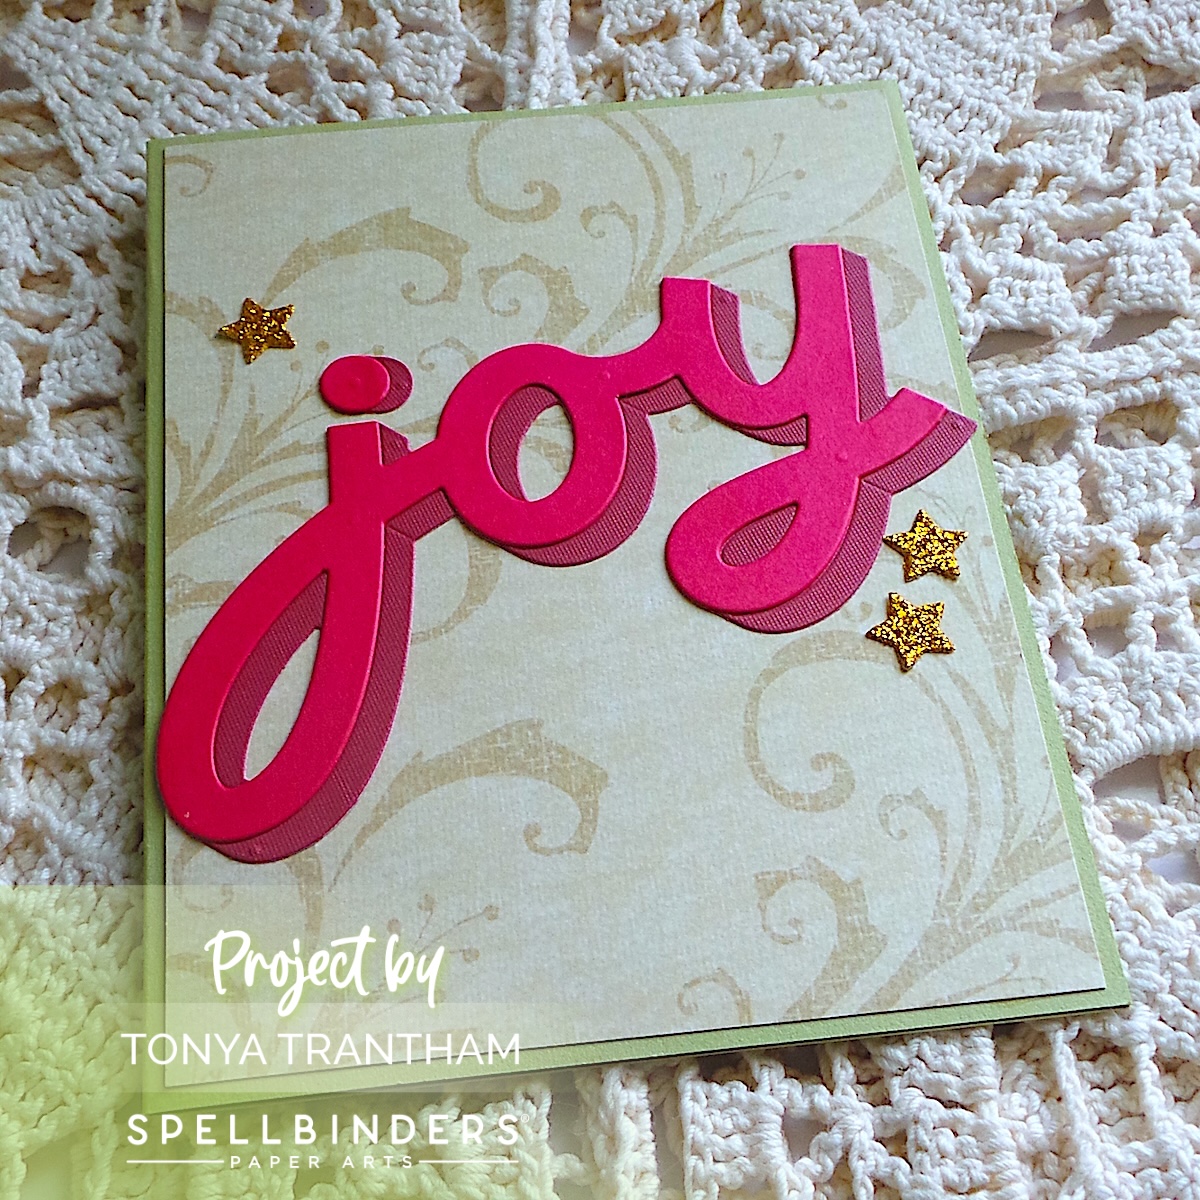
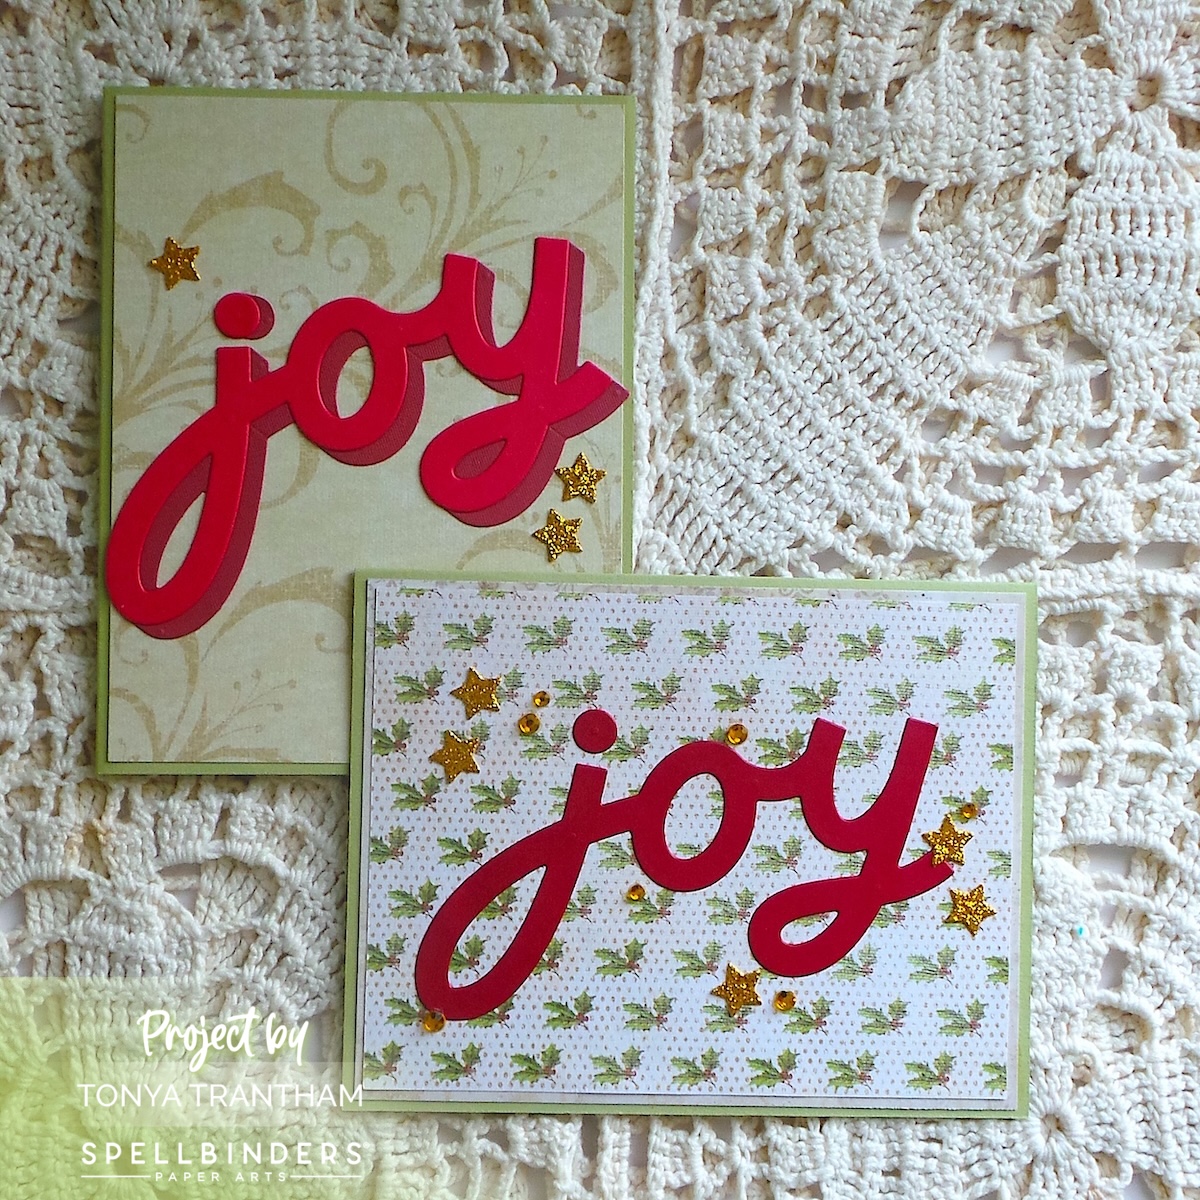
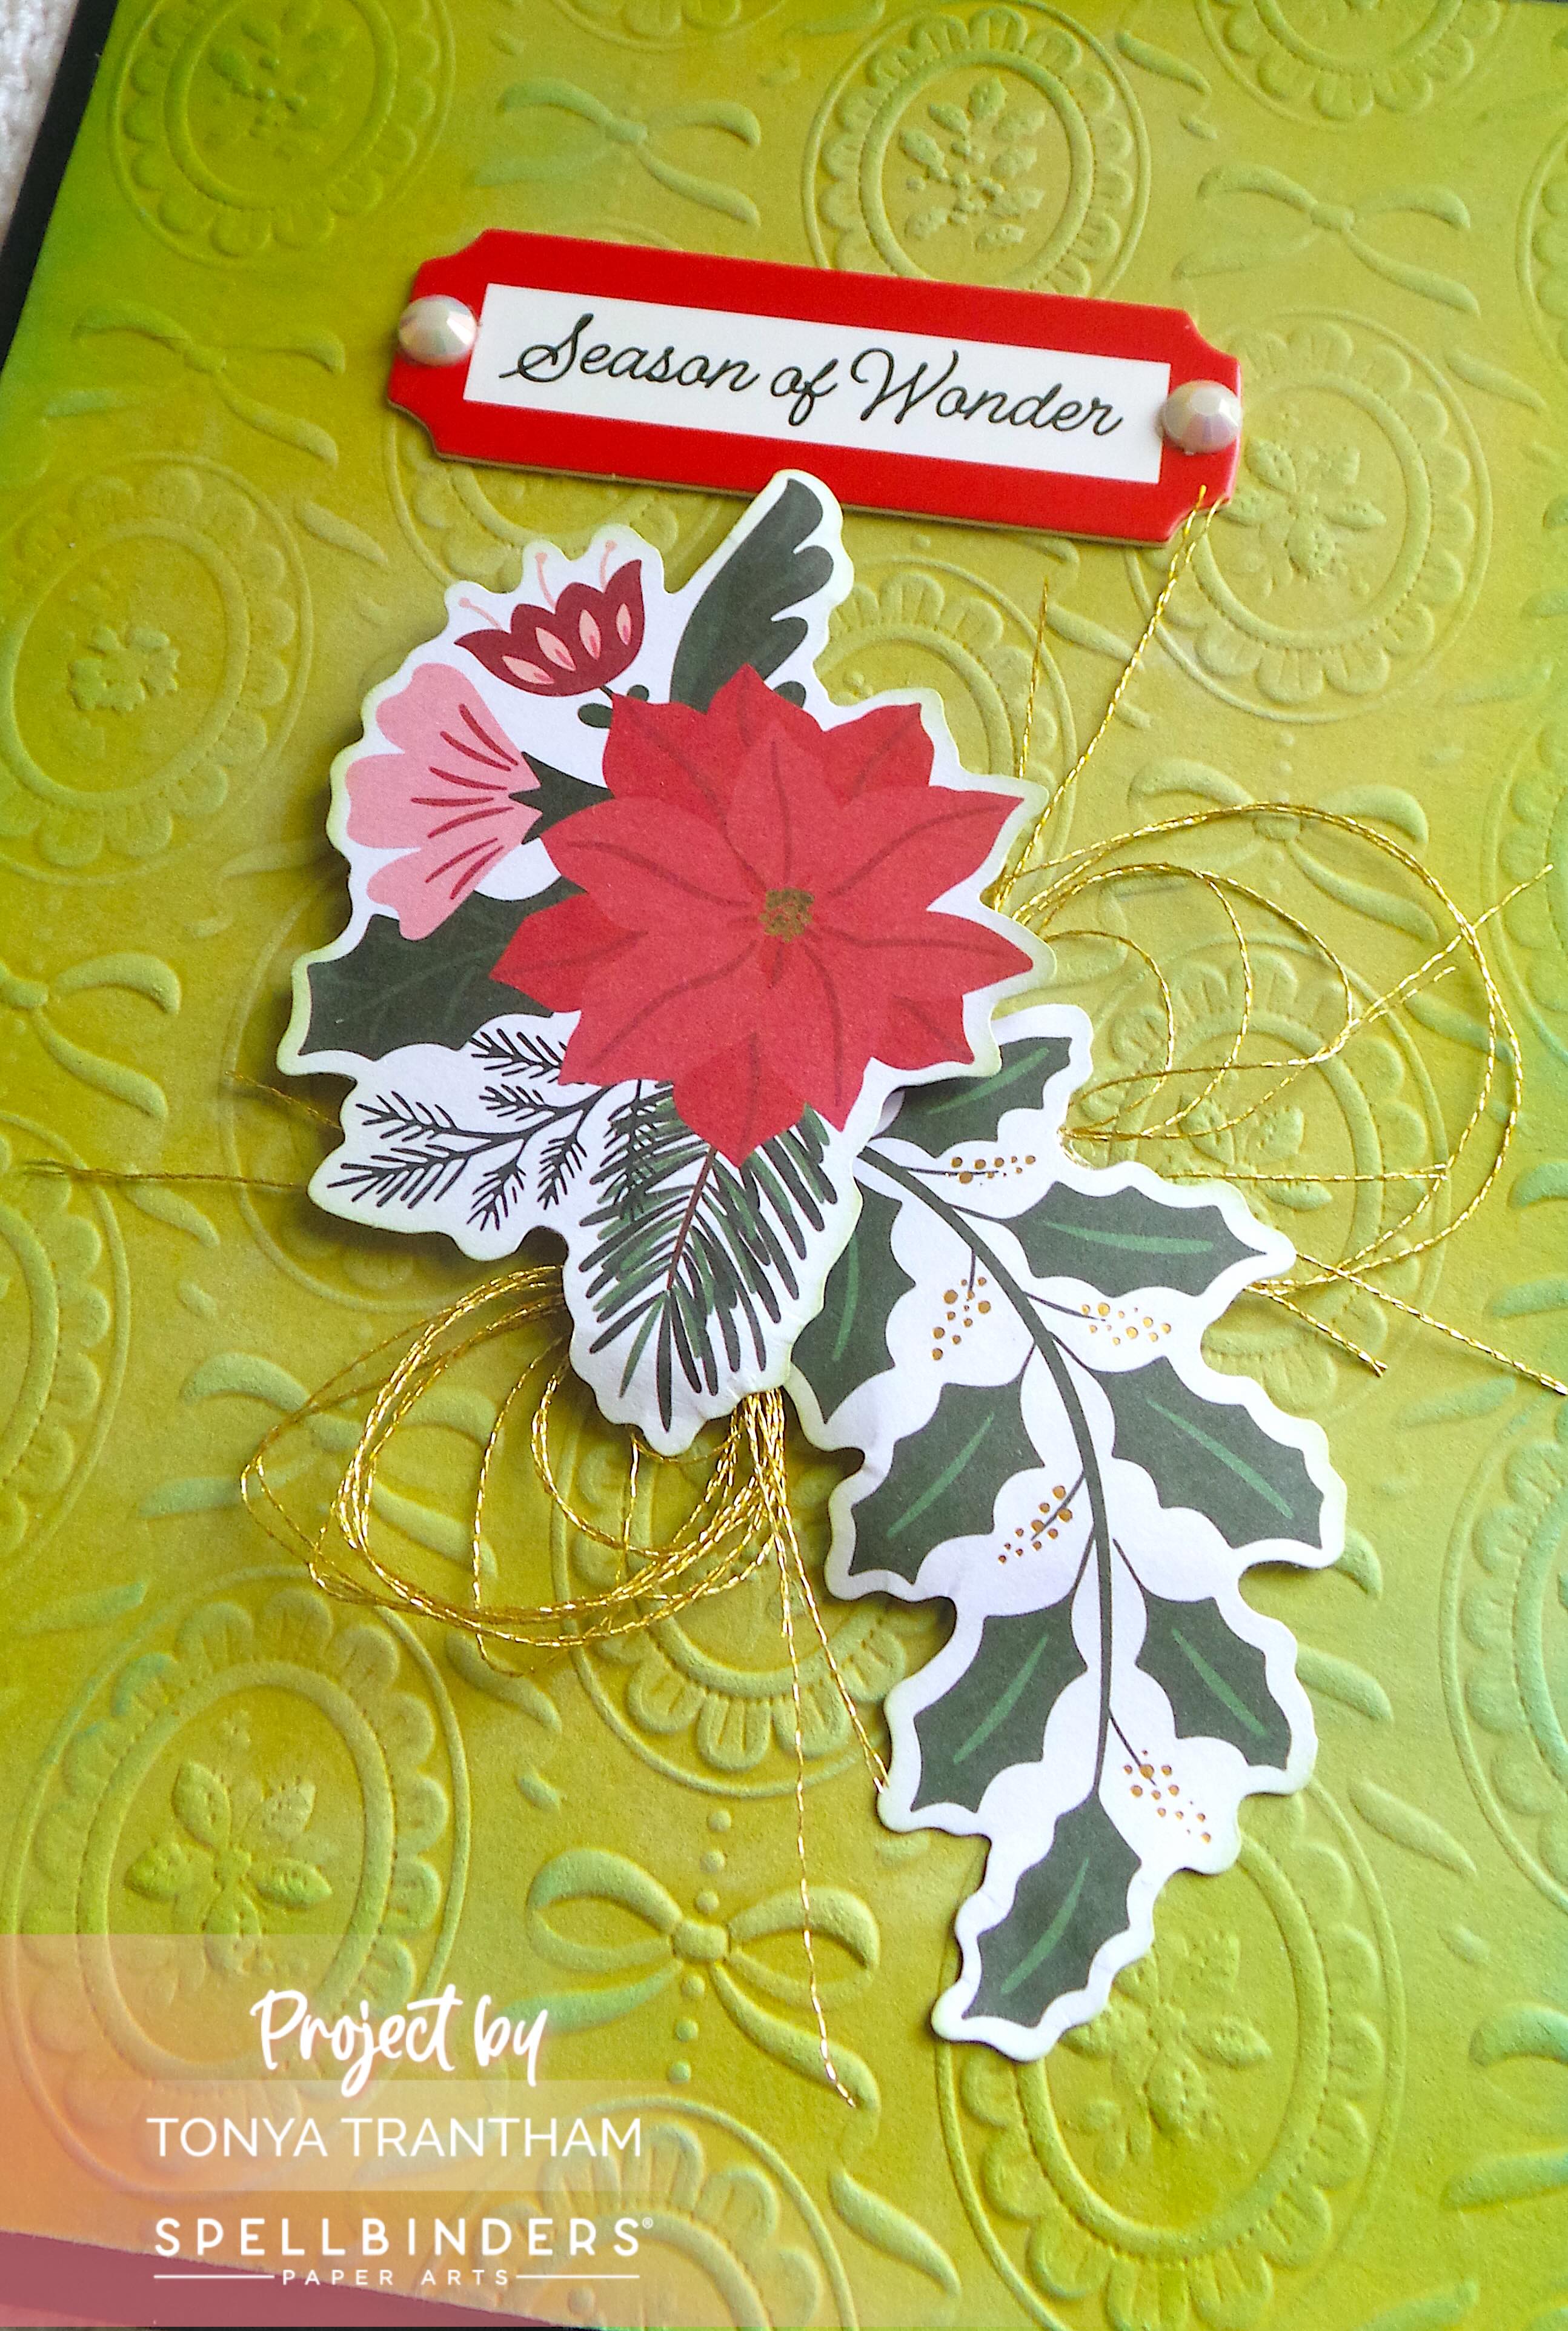
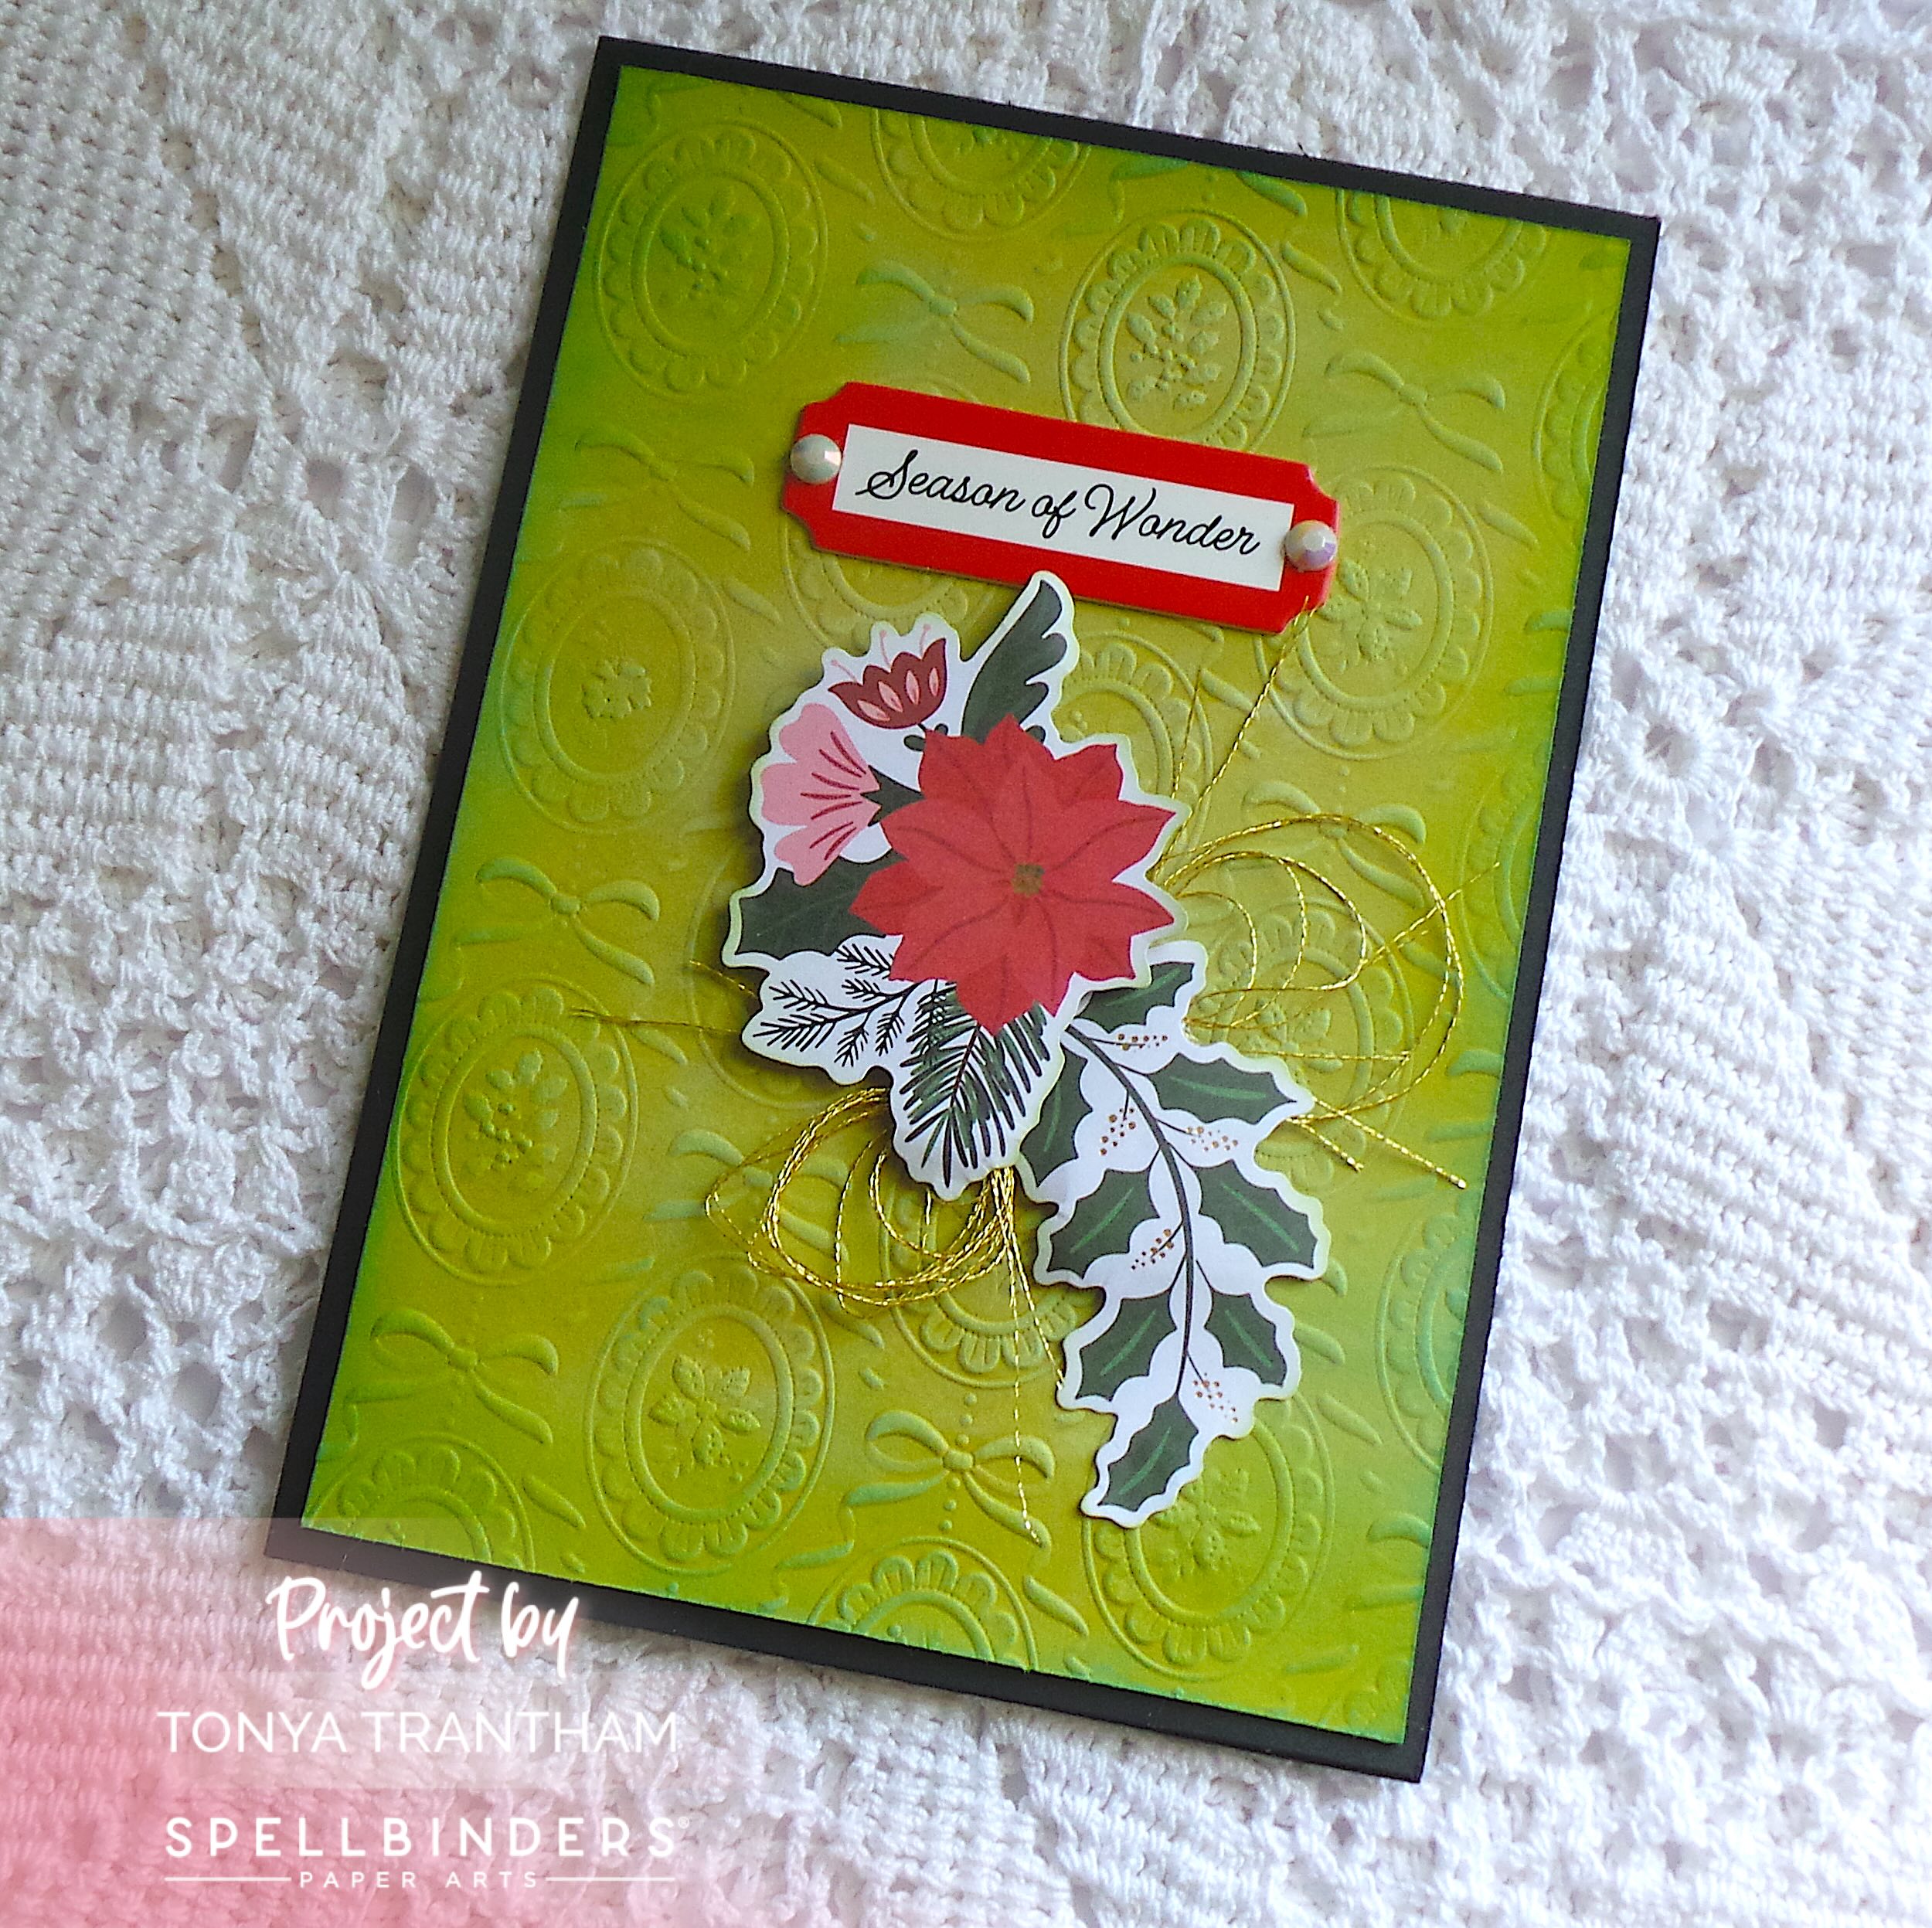
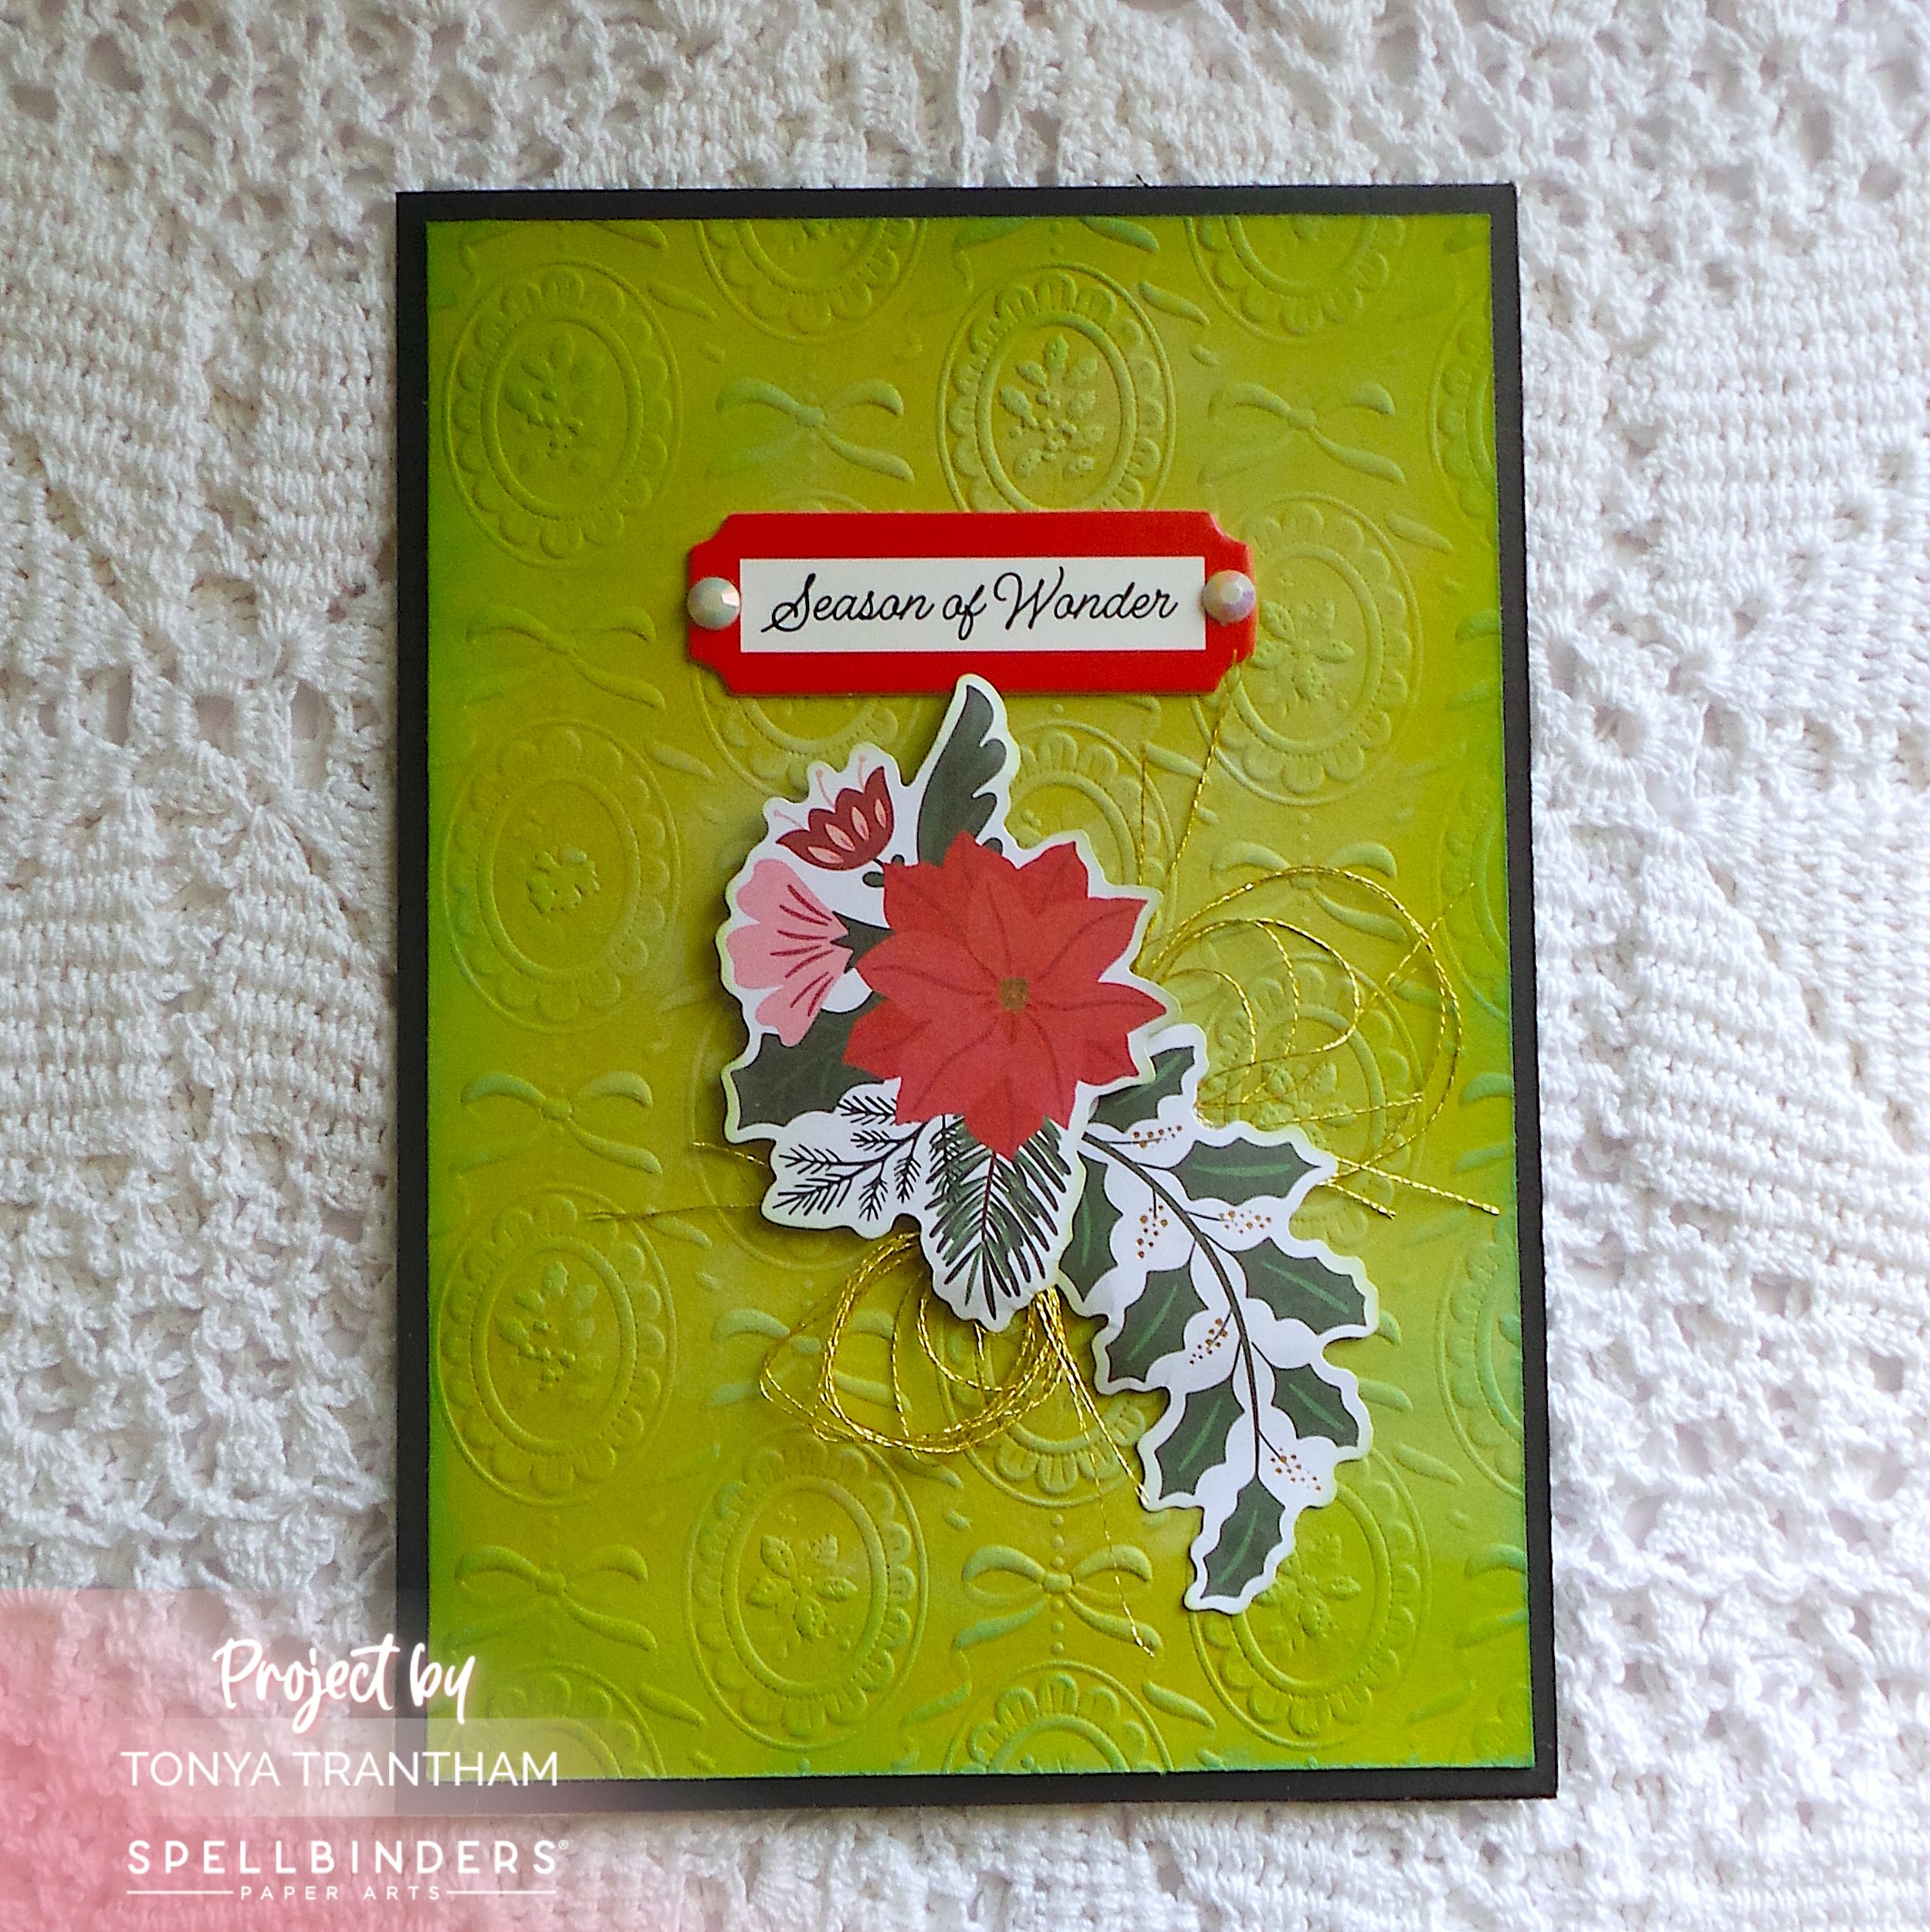
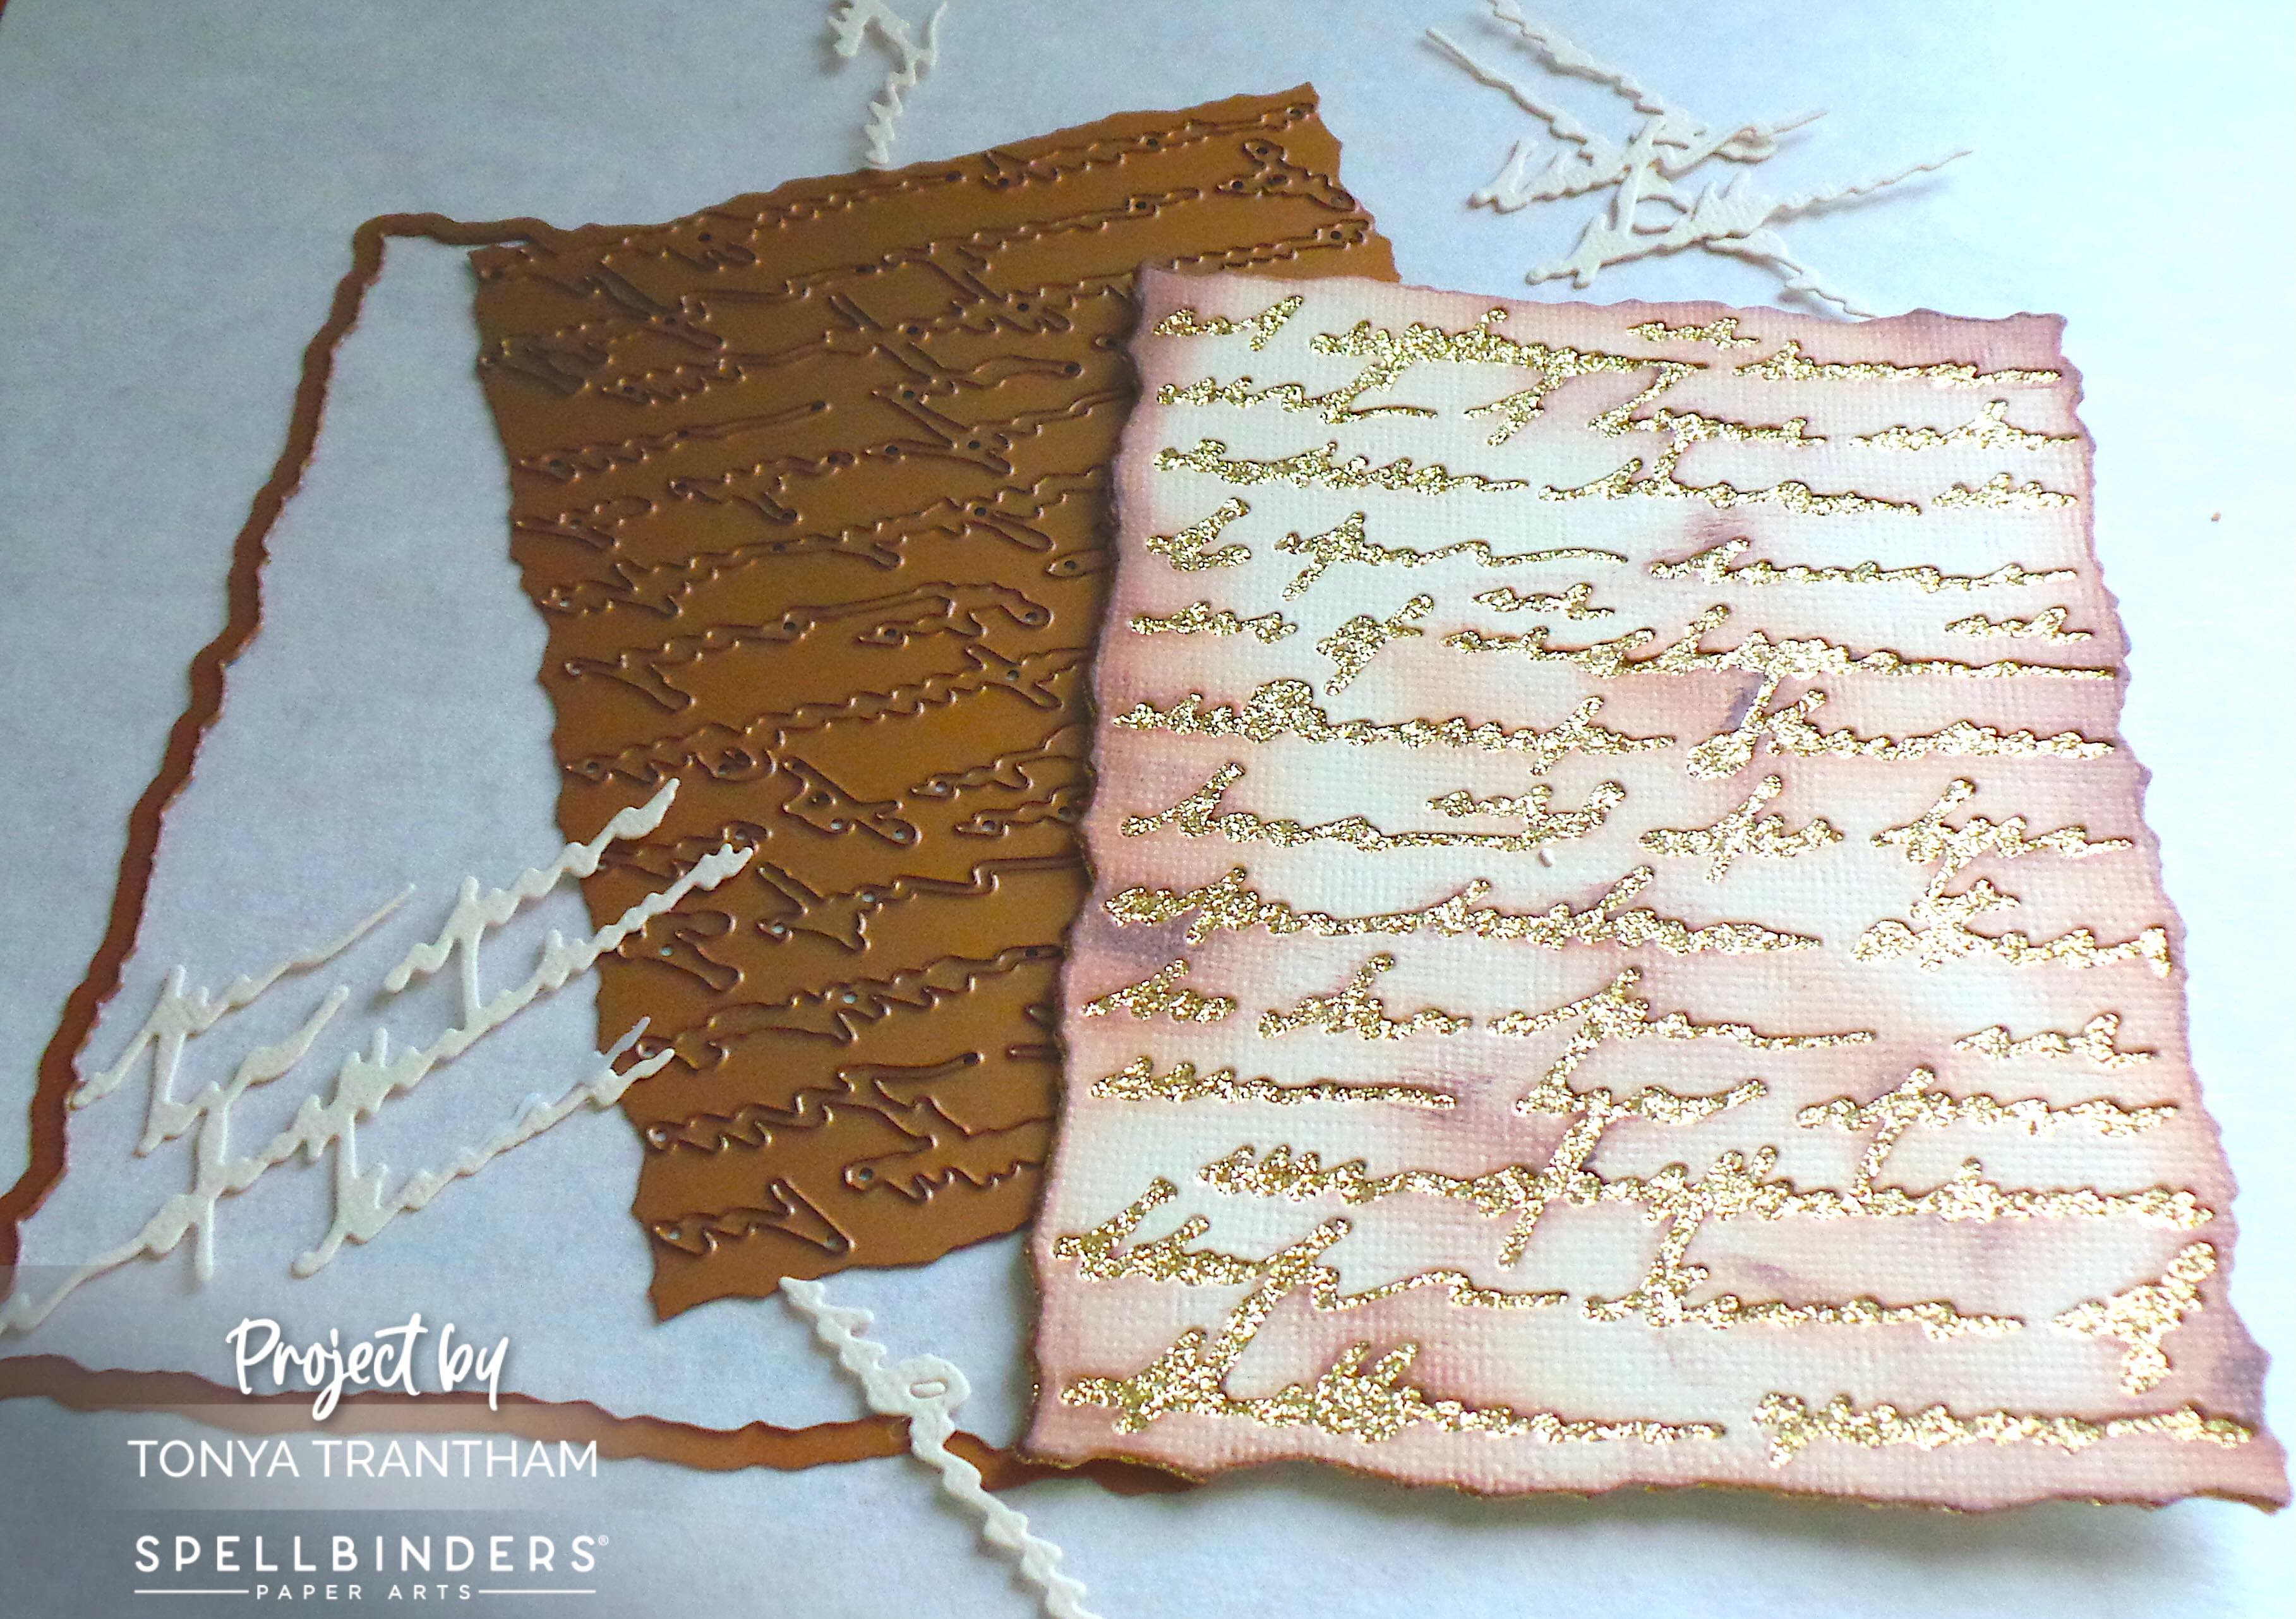
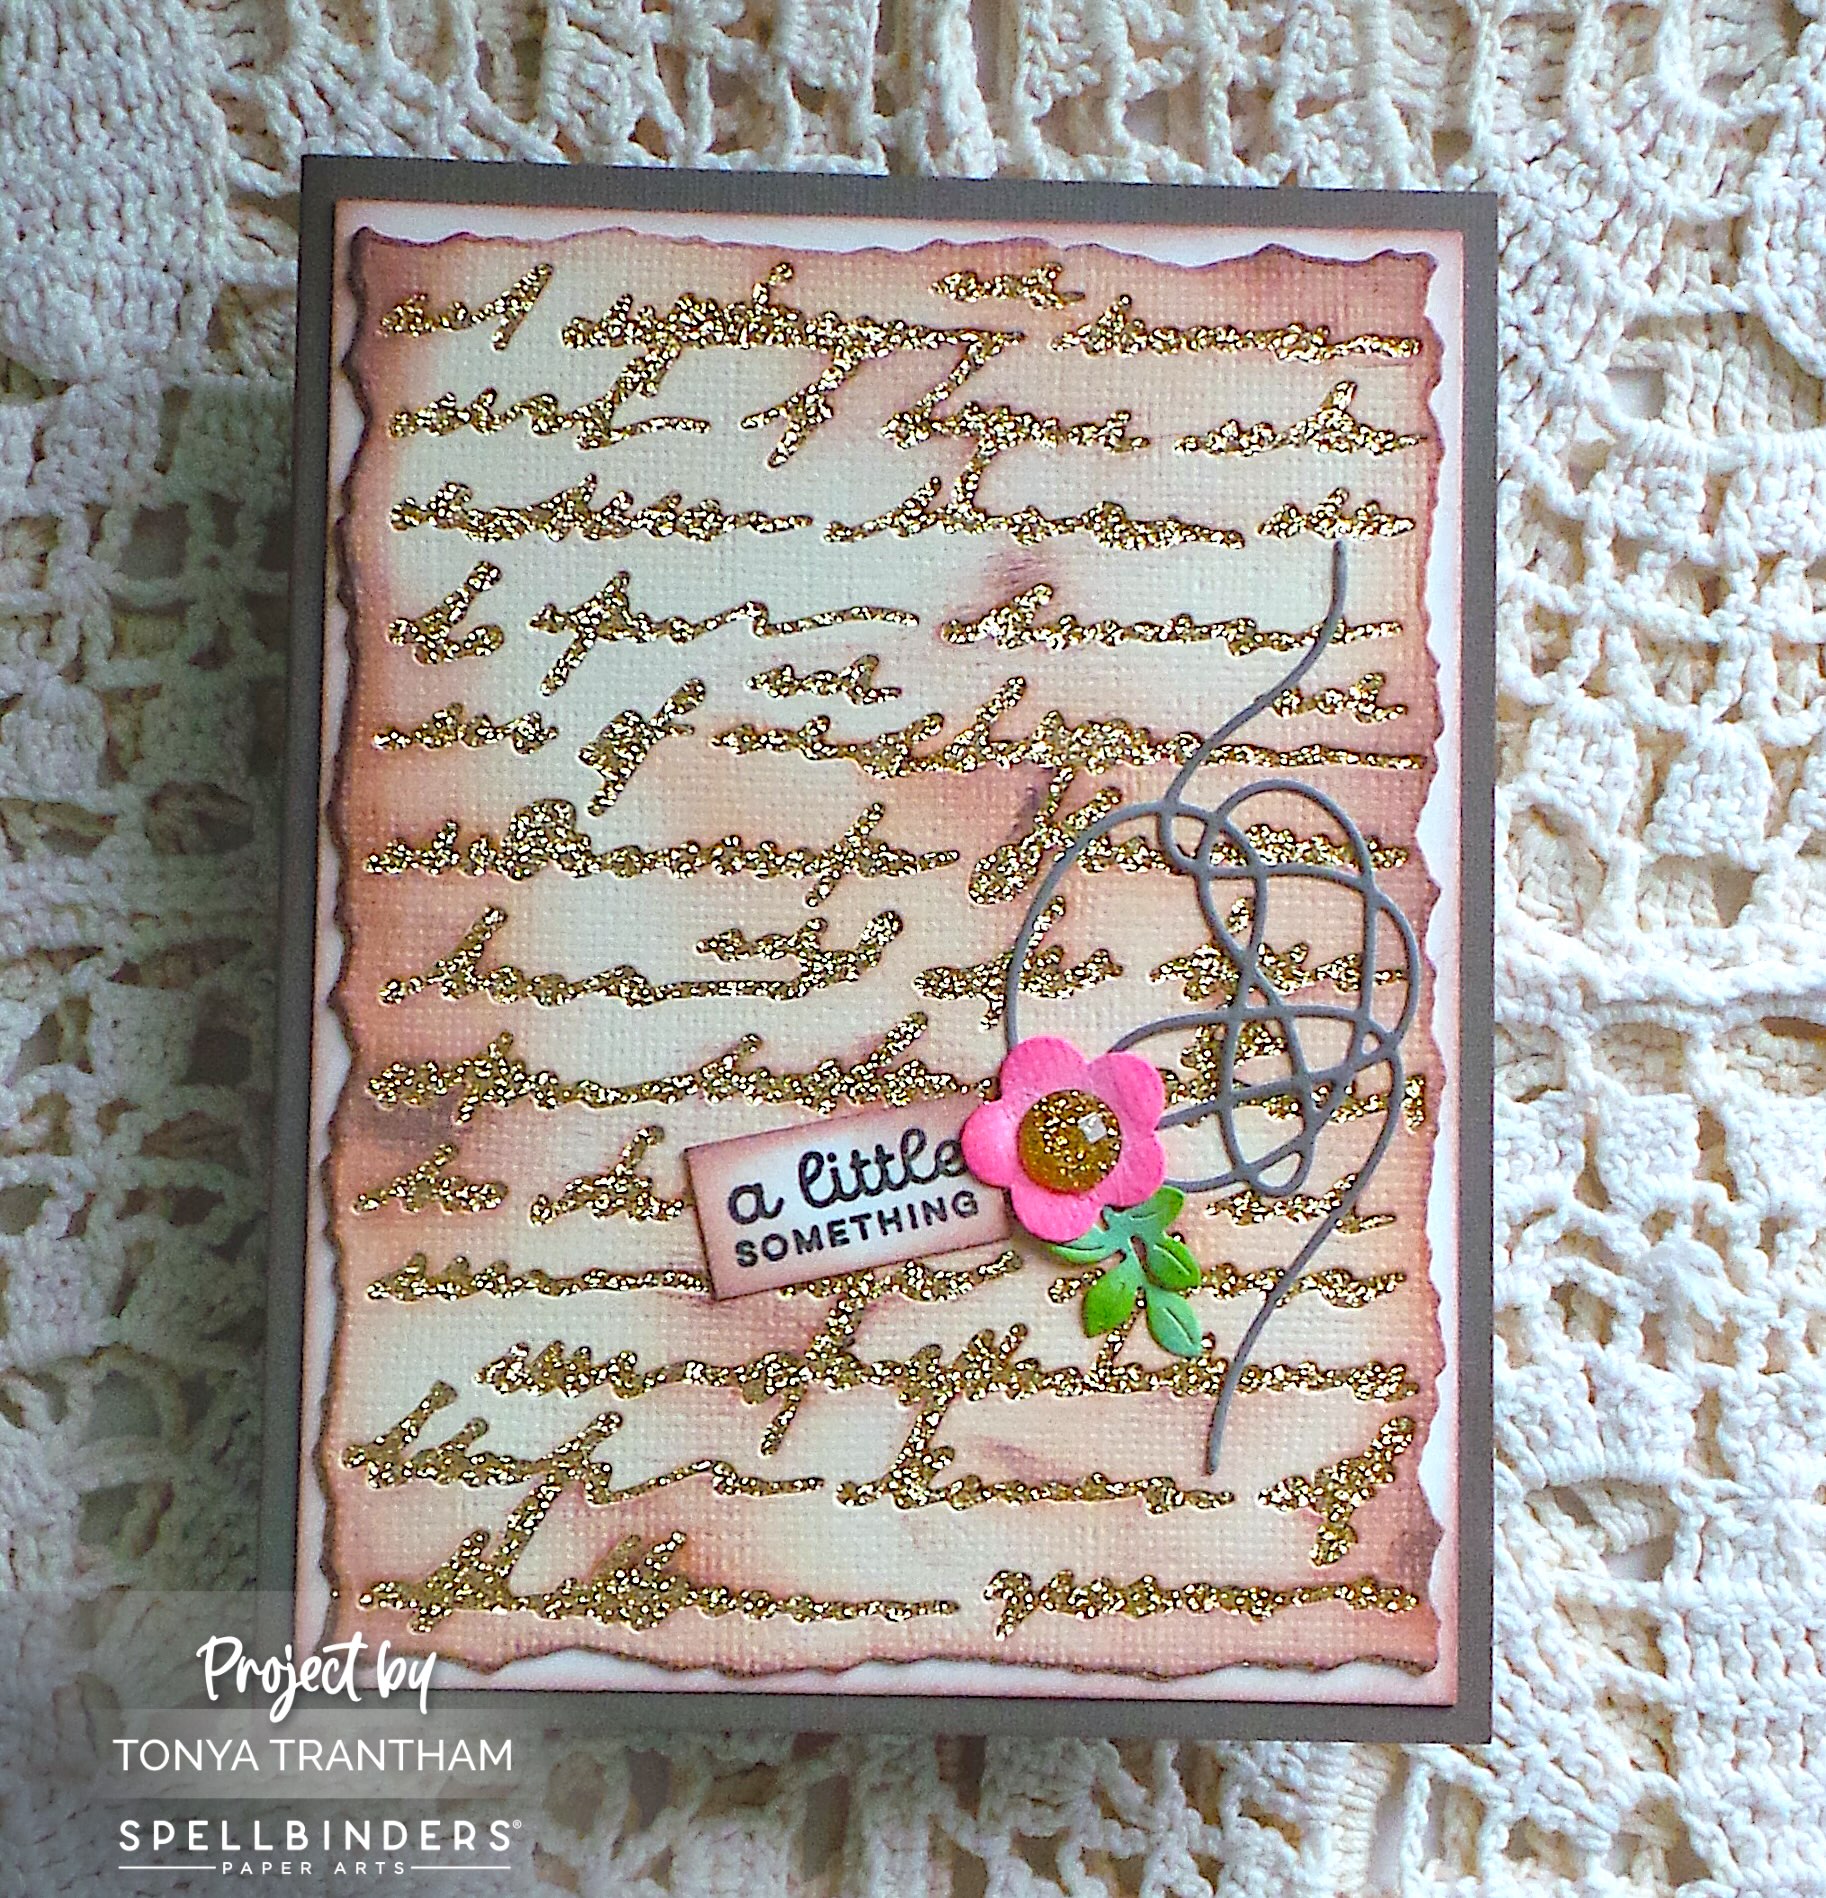
The second card I cut a background from Gold Cardstock and the script from an Alabaster Cardstock from the Deckled Edge Script Etched Dies. I inked over the script die with a brown ink. I adhered the script to the background. I added onto the card base.
I placed a tangled thread die from the Tangled Threads Etched Dies onto the card. I also added a flower from the Crafty Babe Die Bundle. I stamped “a little something”sentiment onto a piece of cardstock. I inked the edges and placed one edge of it under the flower. I added a Gold Gem to the center of the flower to finish.
If you have any comments or questions about both of these cards please leave below.
Supplies
Spellbinders: Deckled Edge Script Etched Dies
Spellbinders: Tangled Threads Etched Dies
Spellbinders: Tattered Stripes Stencils
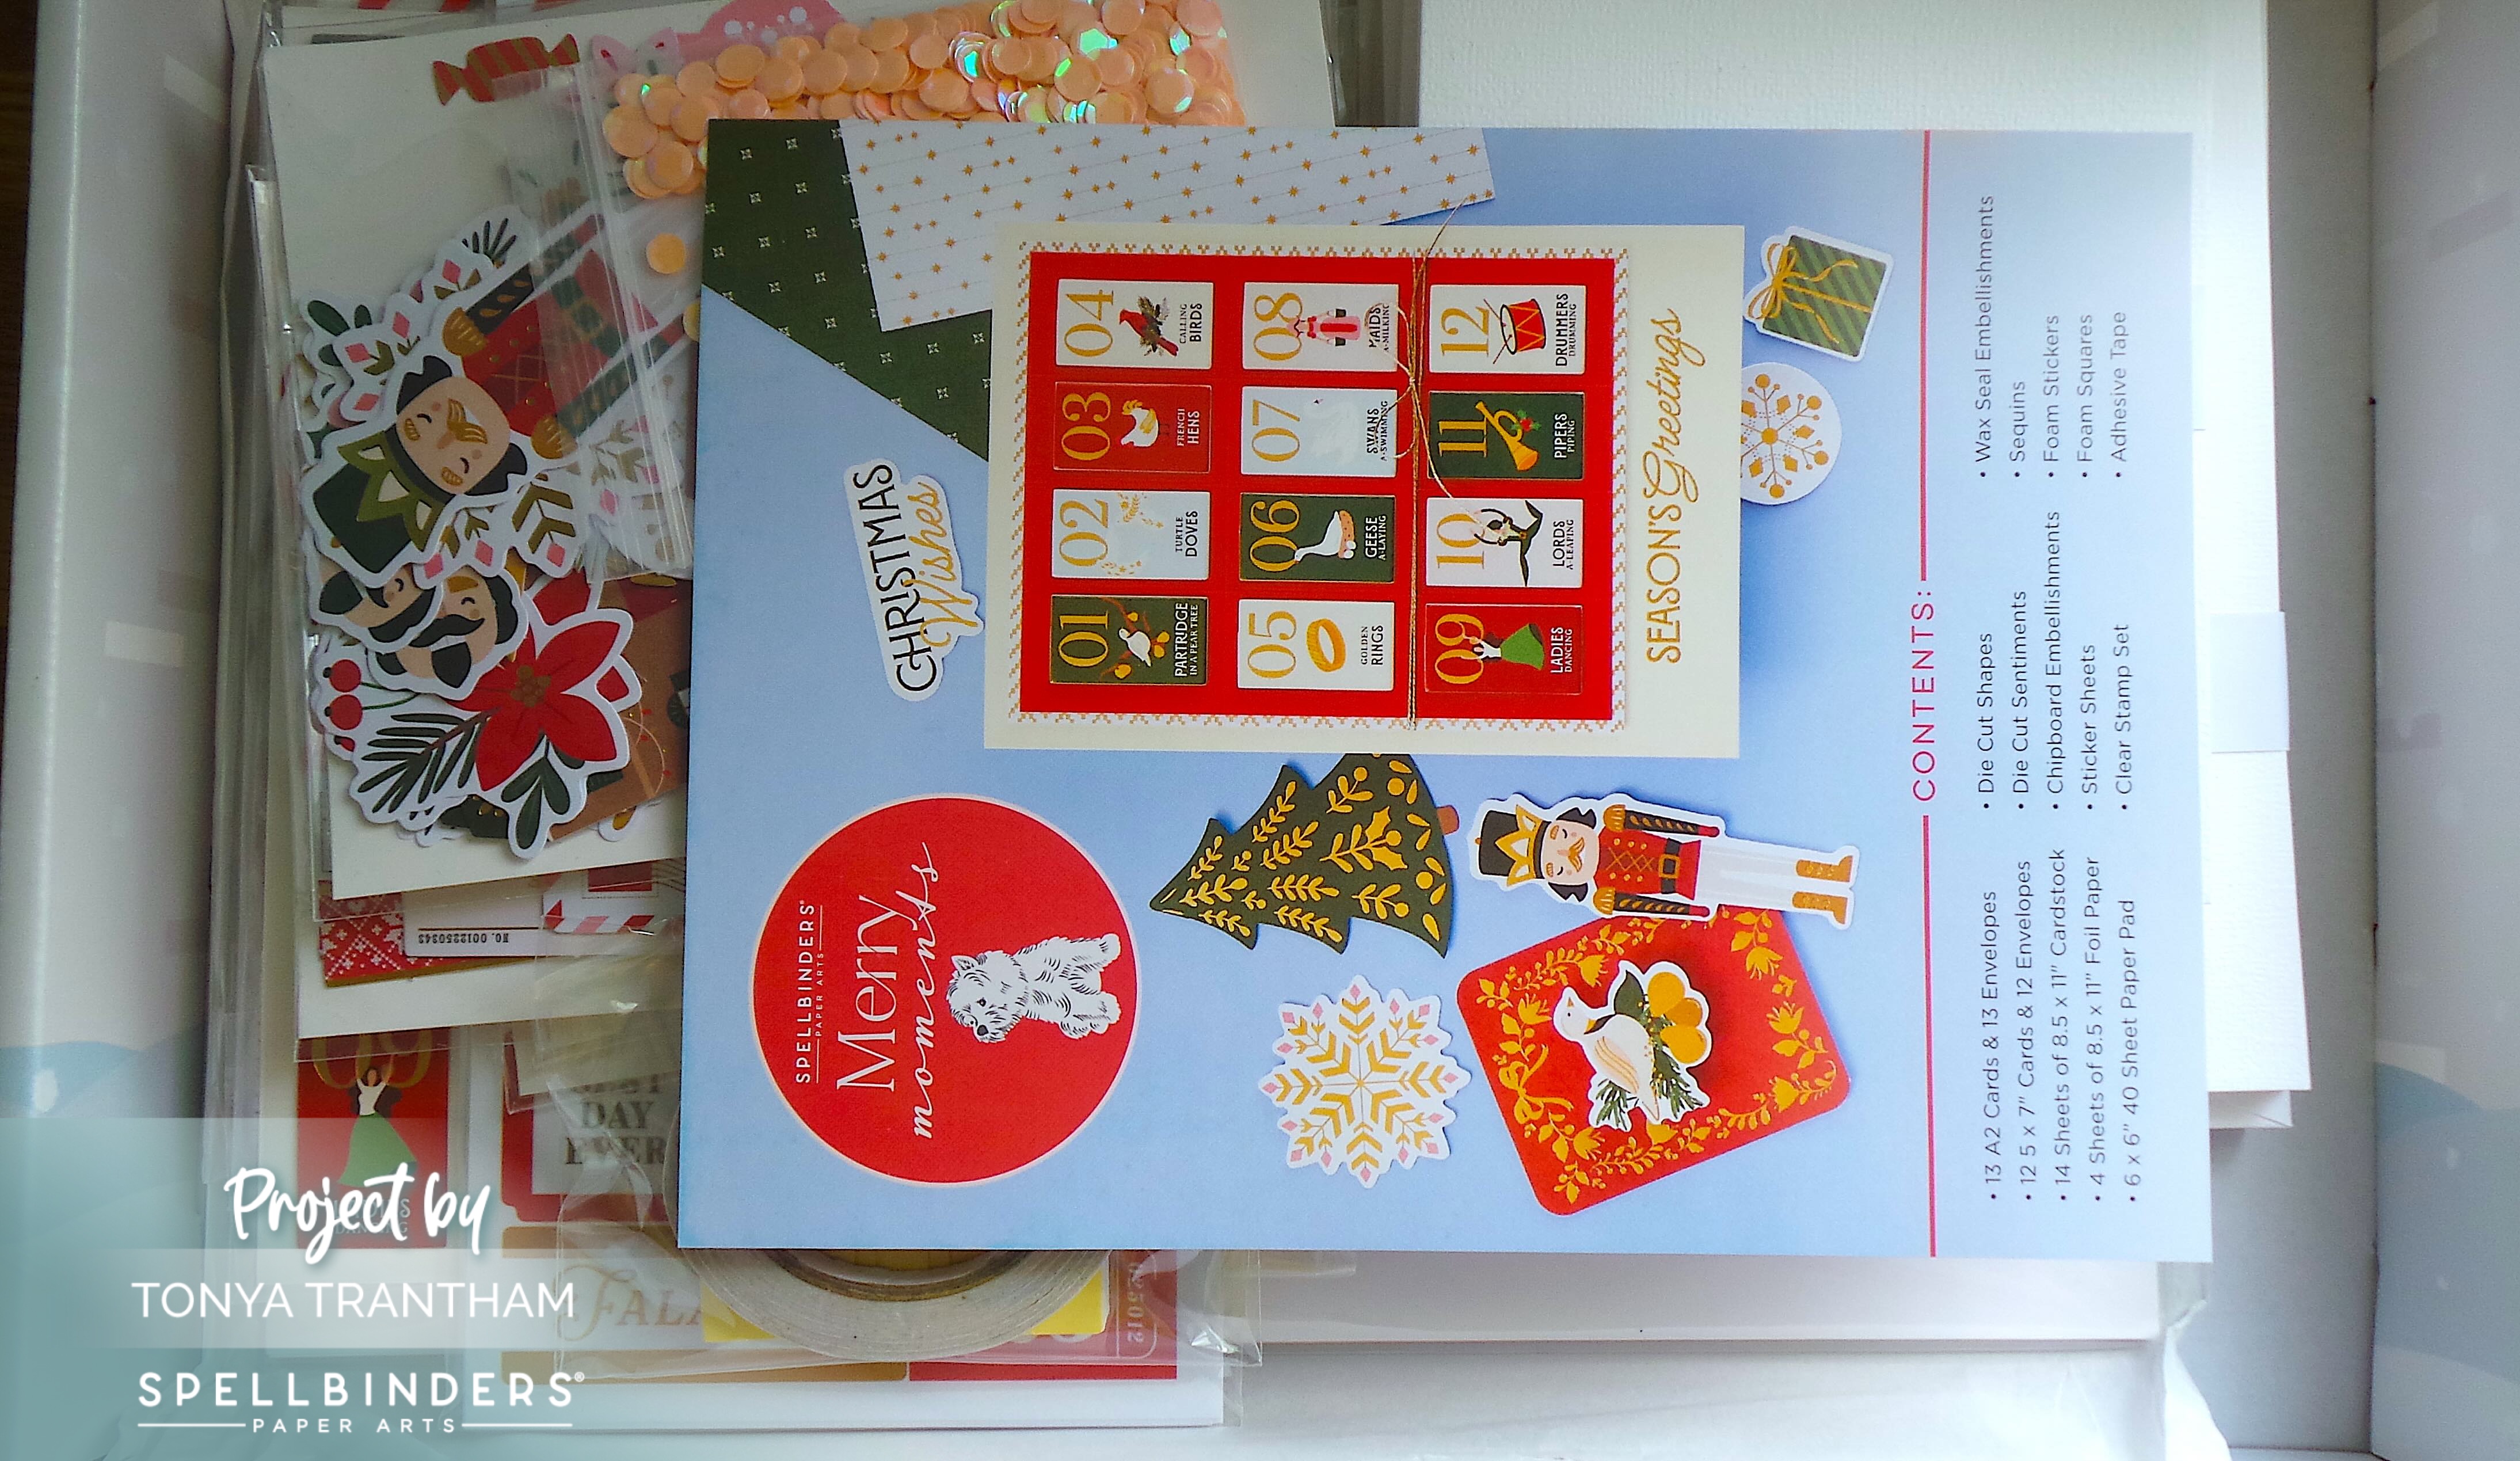
Spellbinders: Beautifully Imperfect Collection
Spellbinders/Simple Stories: Crafty Babe Die Bundle
Spellbinders: Christmas Memories Enclosed Clear Stamp Set
Beacon Adhesives: Zip dry Adhesive
(Products listed above are Affiliated Links for your convenience)
DISCLAIMERS
This blog is compensated to provide opinion on products, services, websites, and various other topics. Even though the owner(s) of this blog receives compensation for our posts or advertisements. I always give my honest opinions, findings, beliefs, or experiences on those topics or products. The views and opinions expressed on this blog are purely my own. Any product claim, statistic, or quote should be checked with each manufacturer. Verify other representations about a product or service with the provider or party in question.This blog contains affiliate links. Clicking these links helps to support Tonya Trantham Designs – Creative Paper Addiction. It’s at no additional cost to you. Today’s features are Spellbinders Products.
Thanks for stopping by, I hope your Wednesday is wonderful and enjoy creating!