4th of July Patriotic Heart Pocket

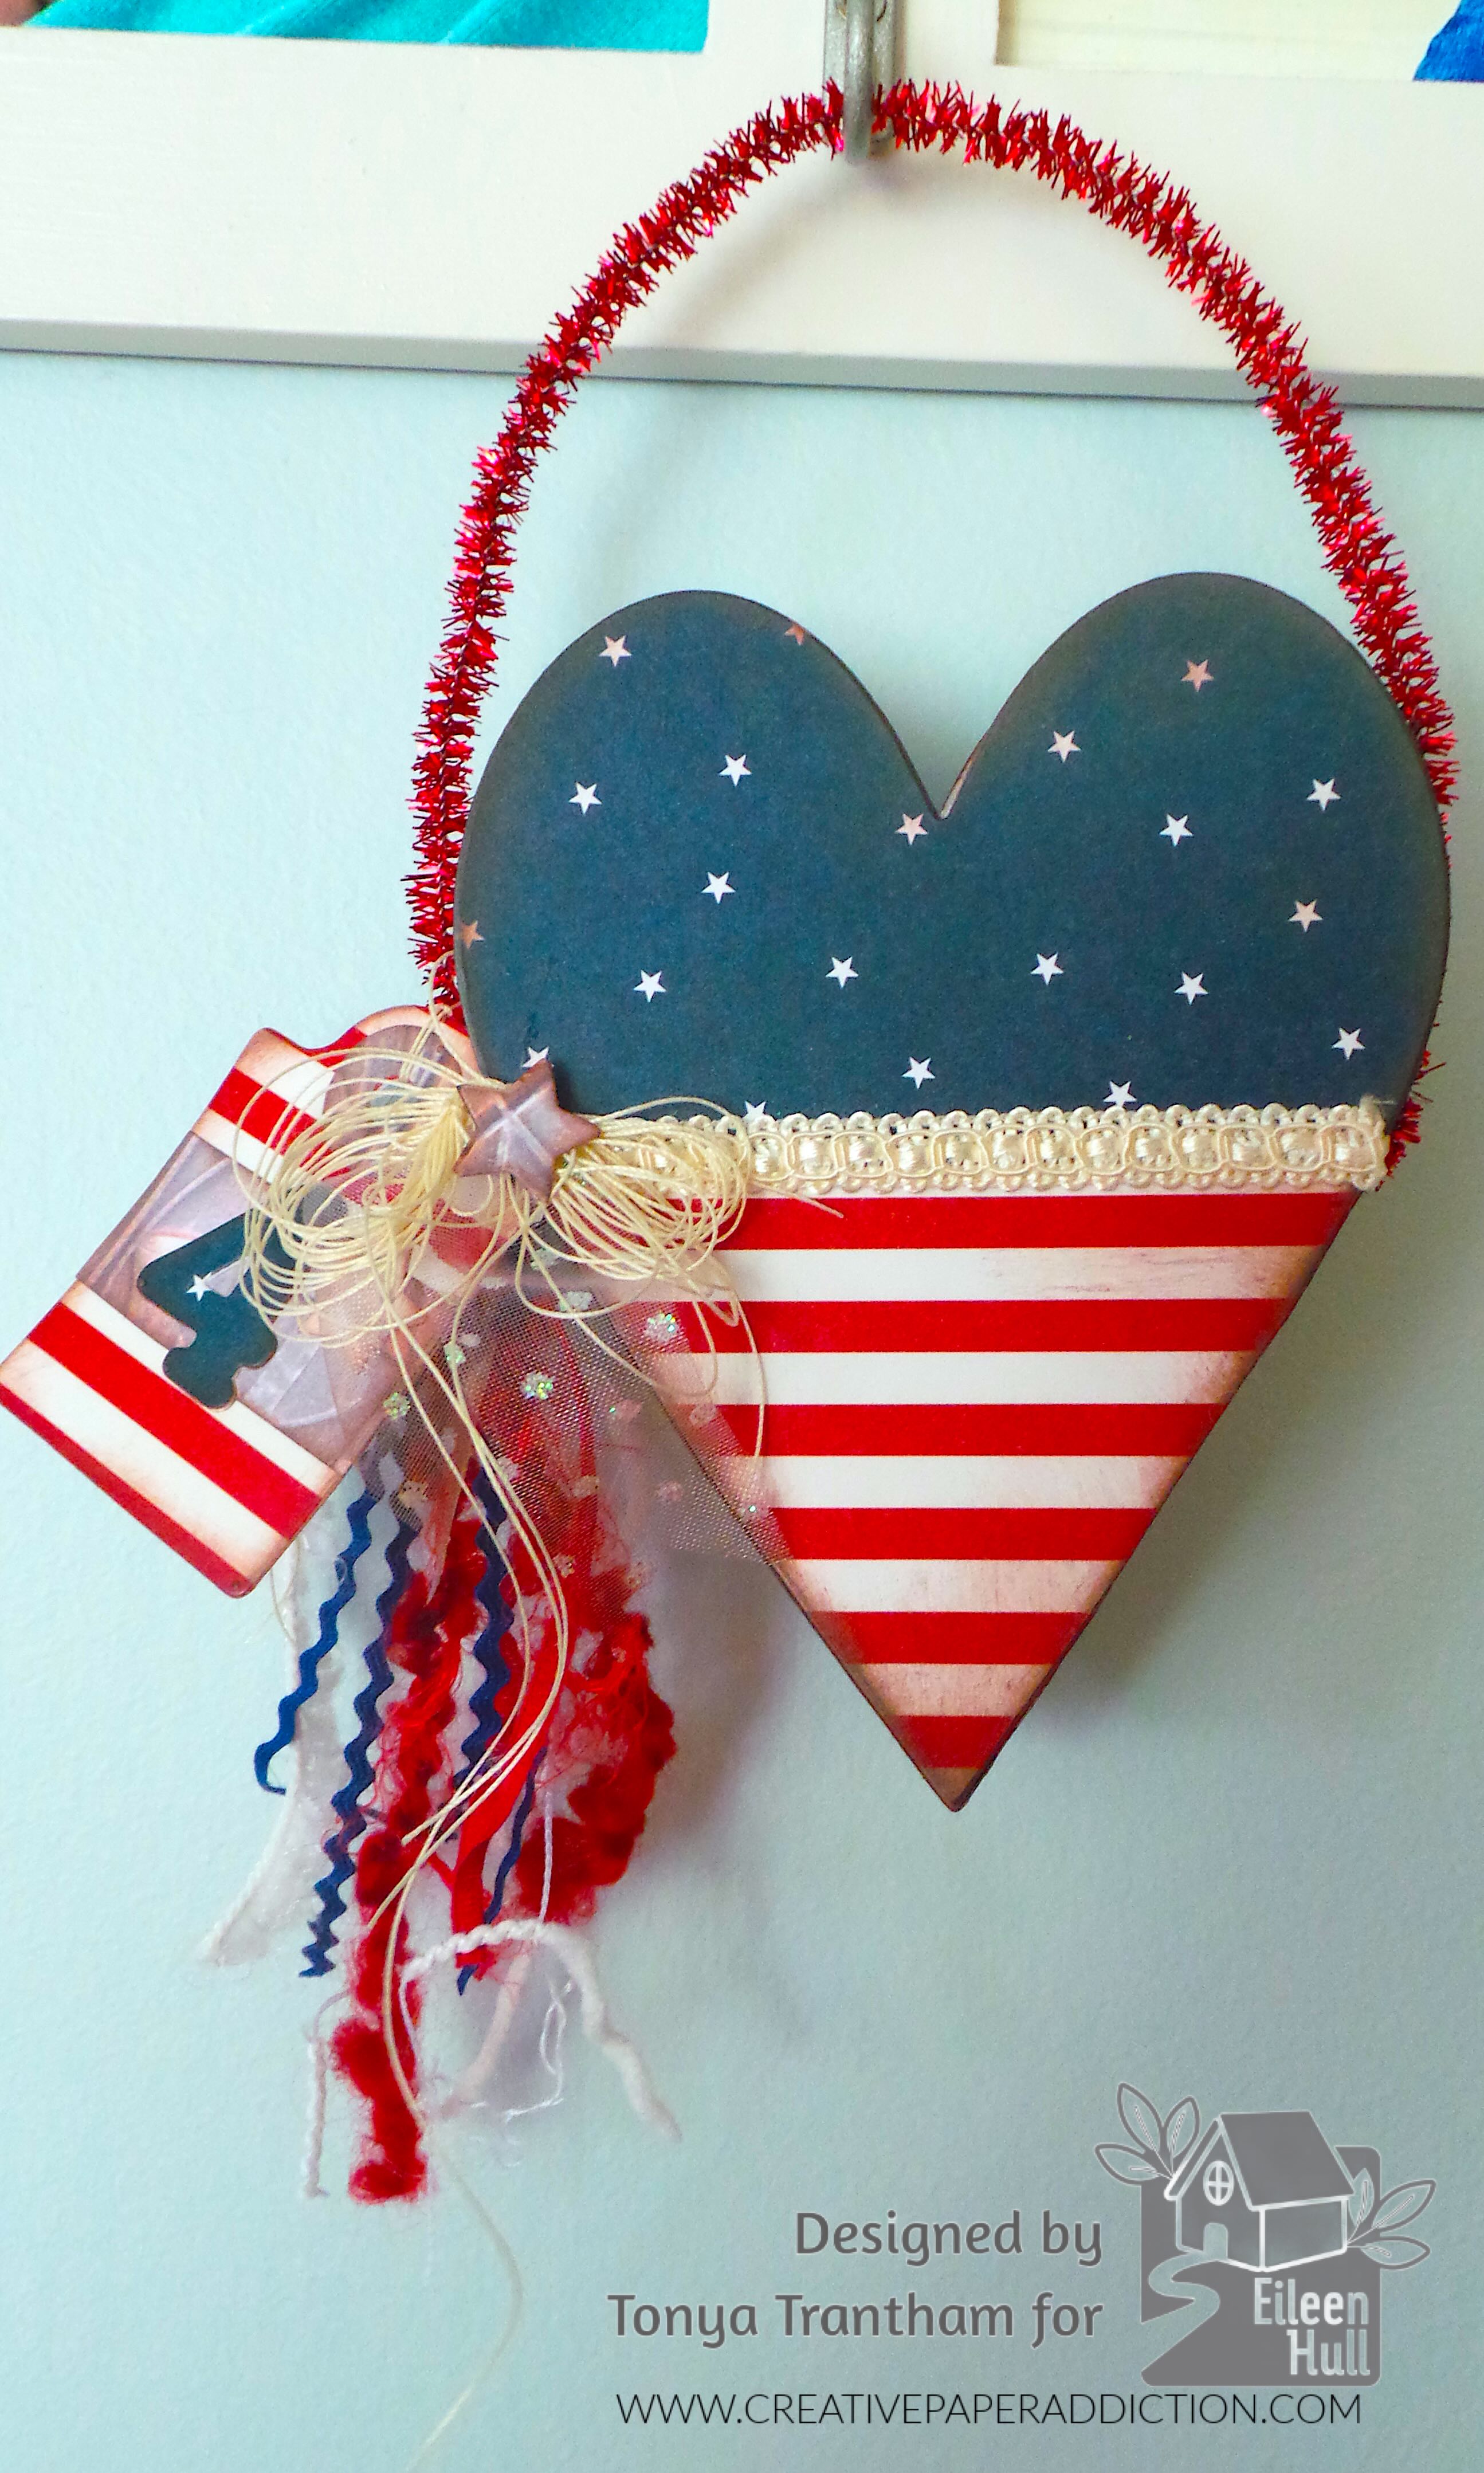
Hi everyone! I’m back with my first project of the month for Eileen Hull. The theme for this month is Alphabet Soup. I didn’t use the Nora Alphabet Thinlits on my project but I did use the number four from the Nora Numbers Thinlits. I wanted to create a Fourth of July project that I could display. So I’m going to pass this project off as this month’s theme…wink wink ;-). I also used the Stitched Hearts Thinlits, Ephemera Pocket and Tags Thinlits and the Bookbinding and Label Thinlits (retired) to create this project. Anyways, let’s get started!
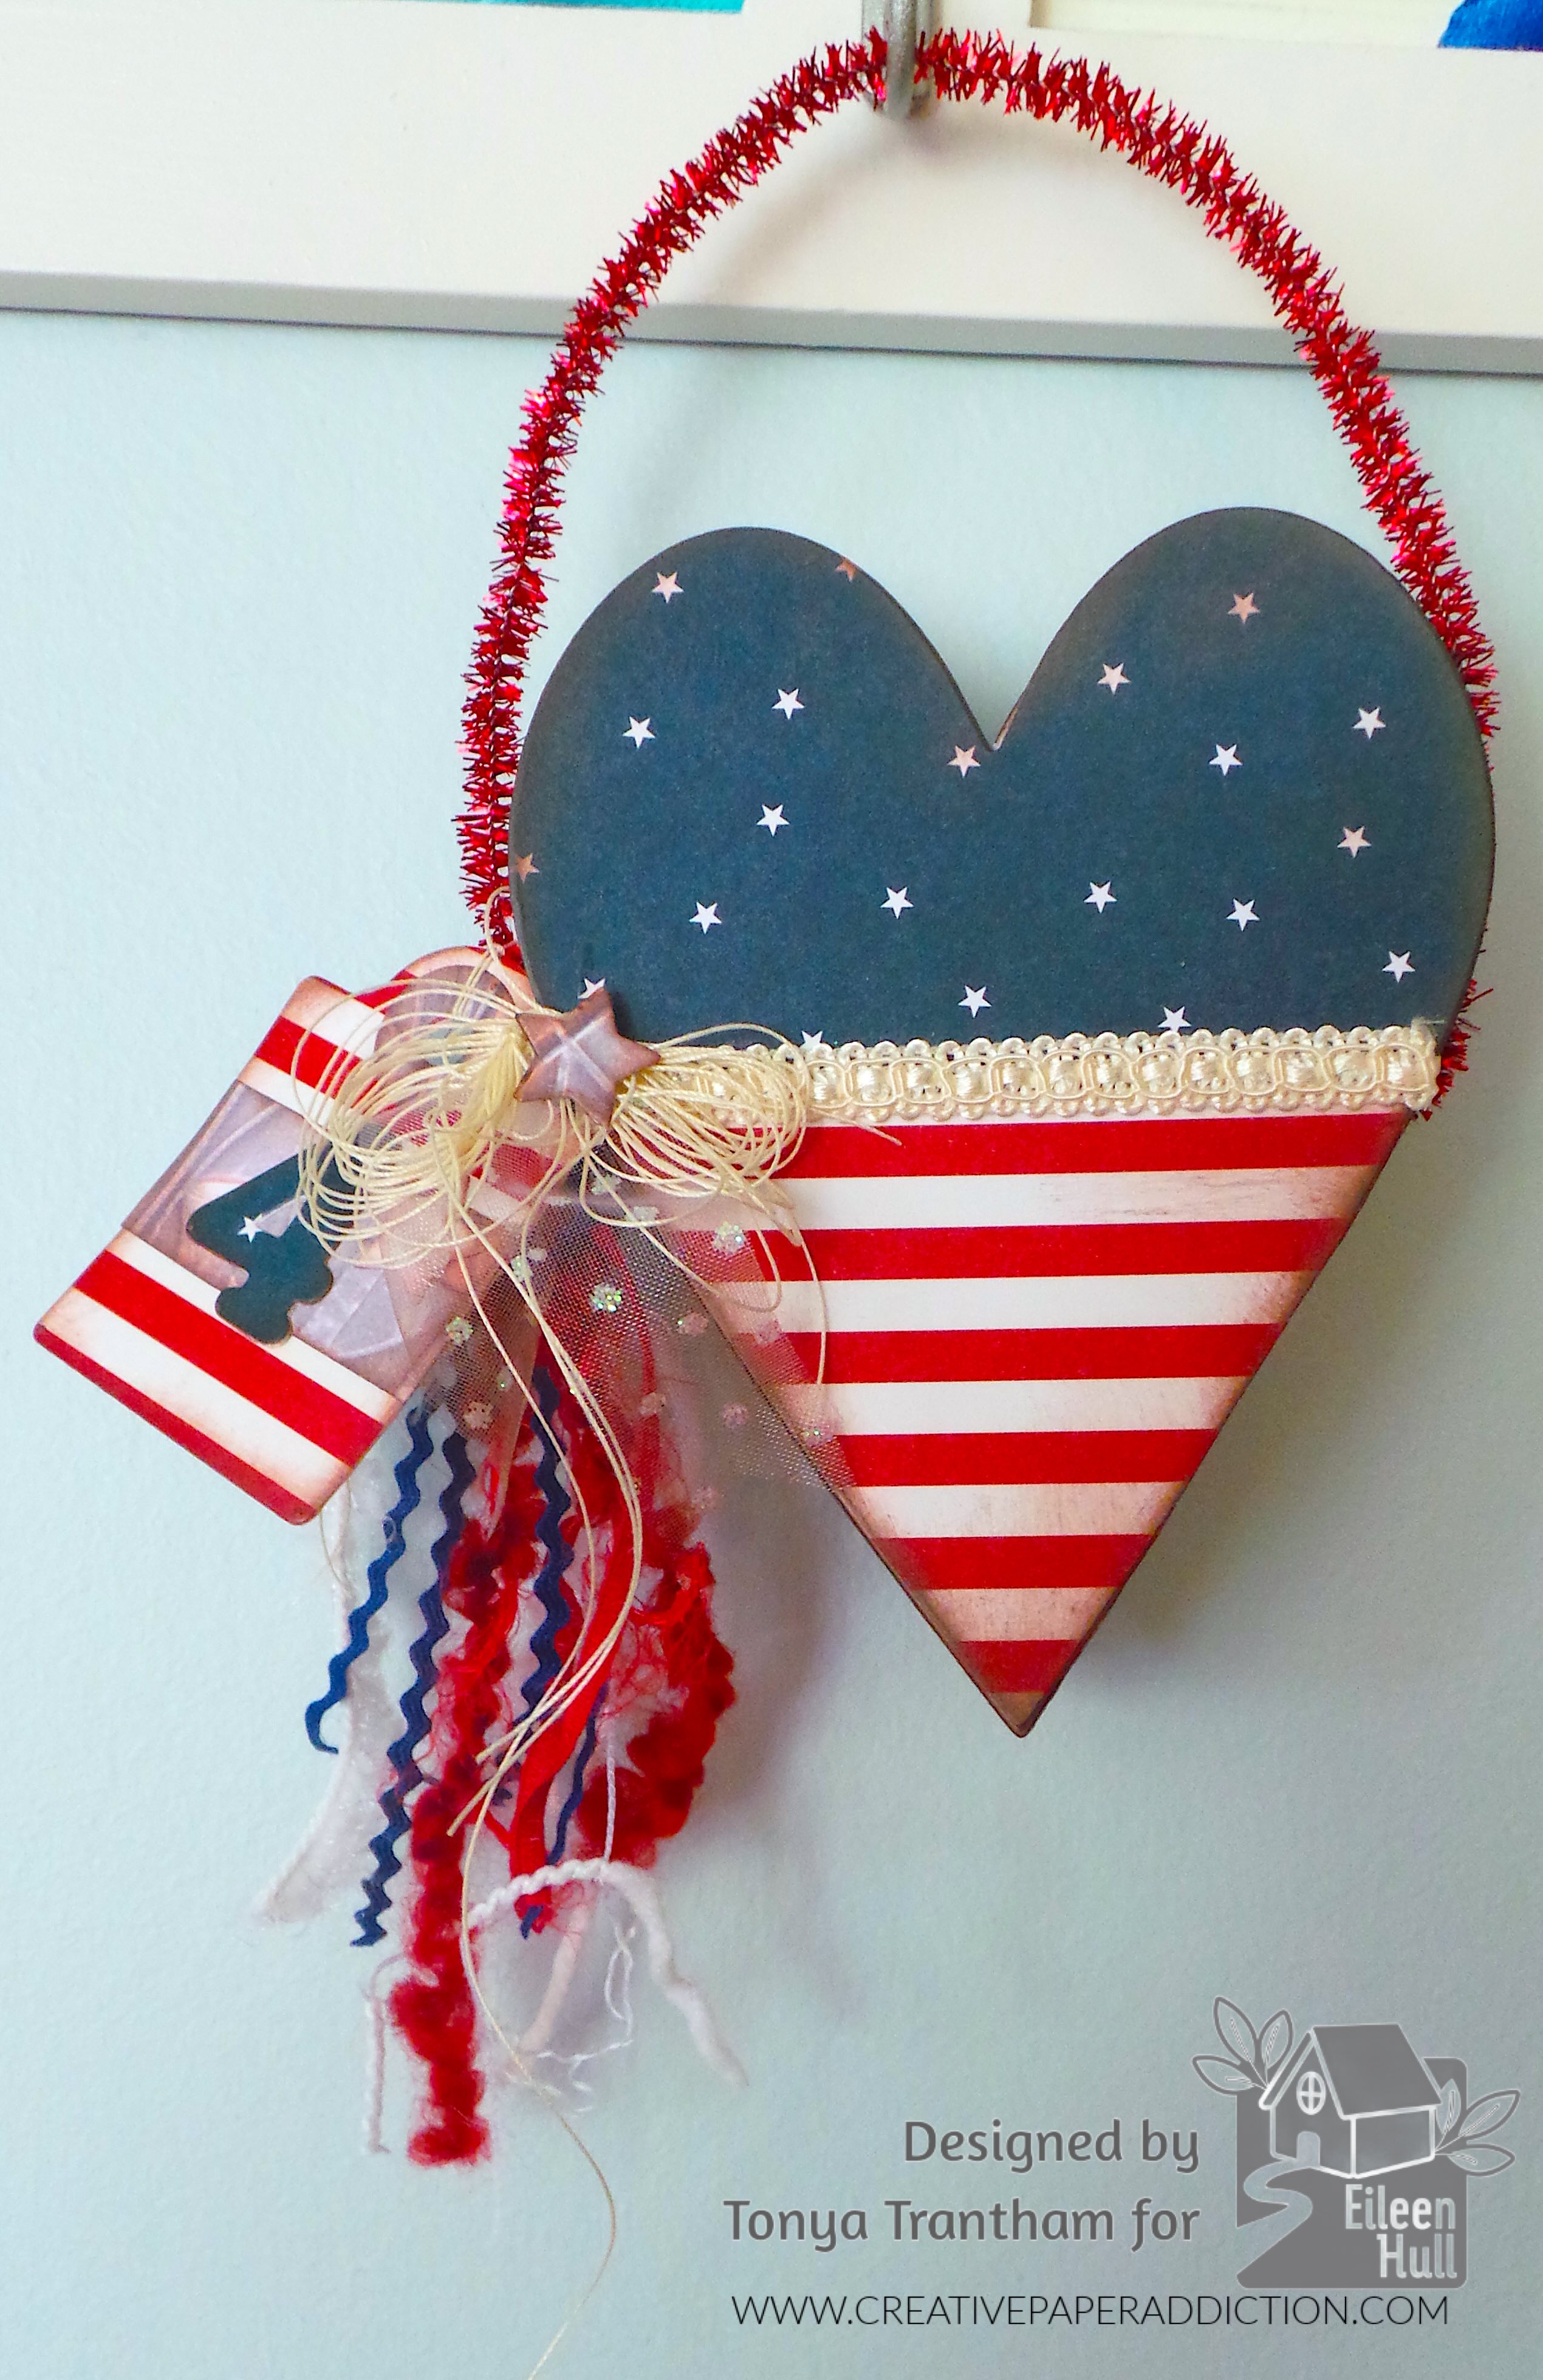
A decorative heart-shaped wall hanging featuring a dark blue section with stars and a striped red and white bottom. It is adorned with ribbons, a small photo frame, and a star accent.

First, I applied an Adhesive Sheet to one side of a piece of White Cardstock. I removed the backing from the adhesive sheet and placed a blue and white star patterned cardstock onto the upper half of the card. I did the same steps and placed a red and white striped cardstock onto the bottom half. I used the largest heart (without holes) from the Stitched Hearts Thinlits and cut two hearts out.
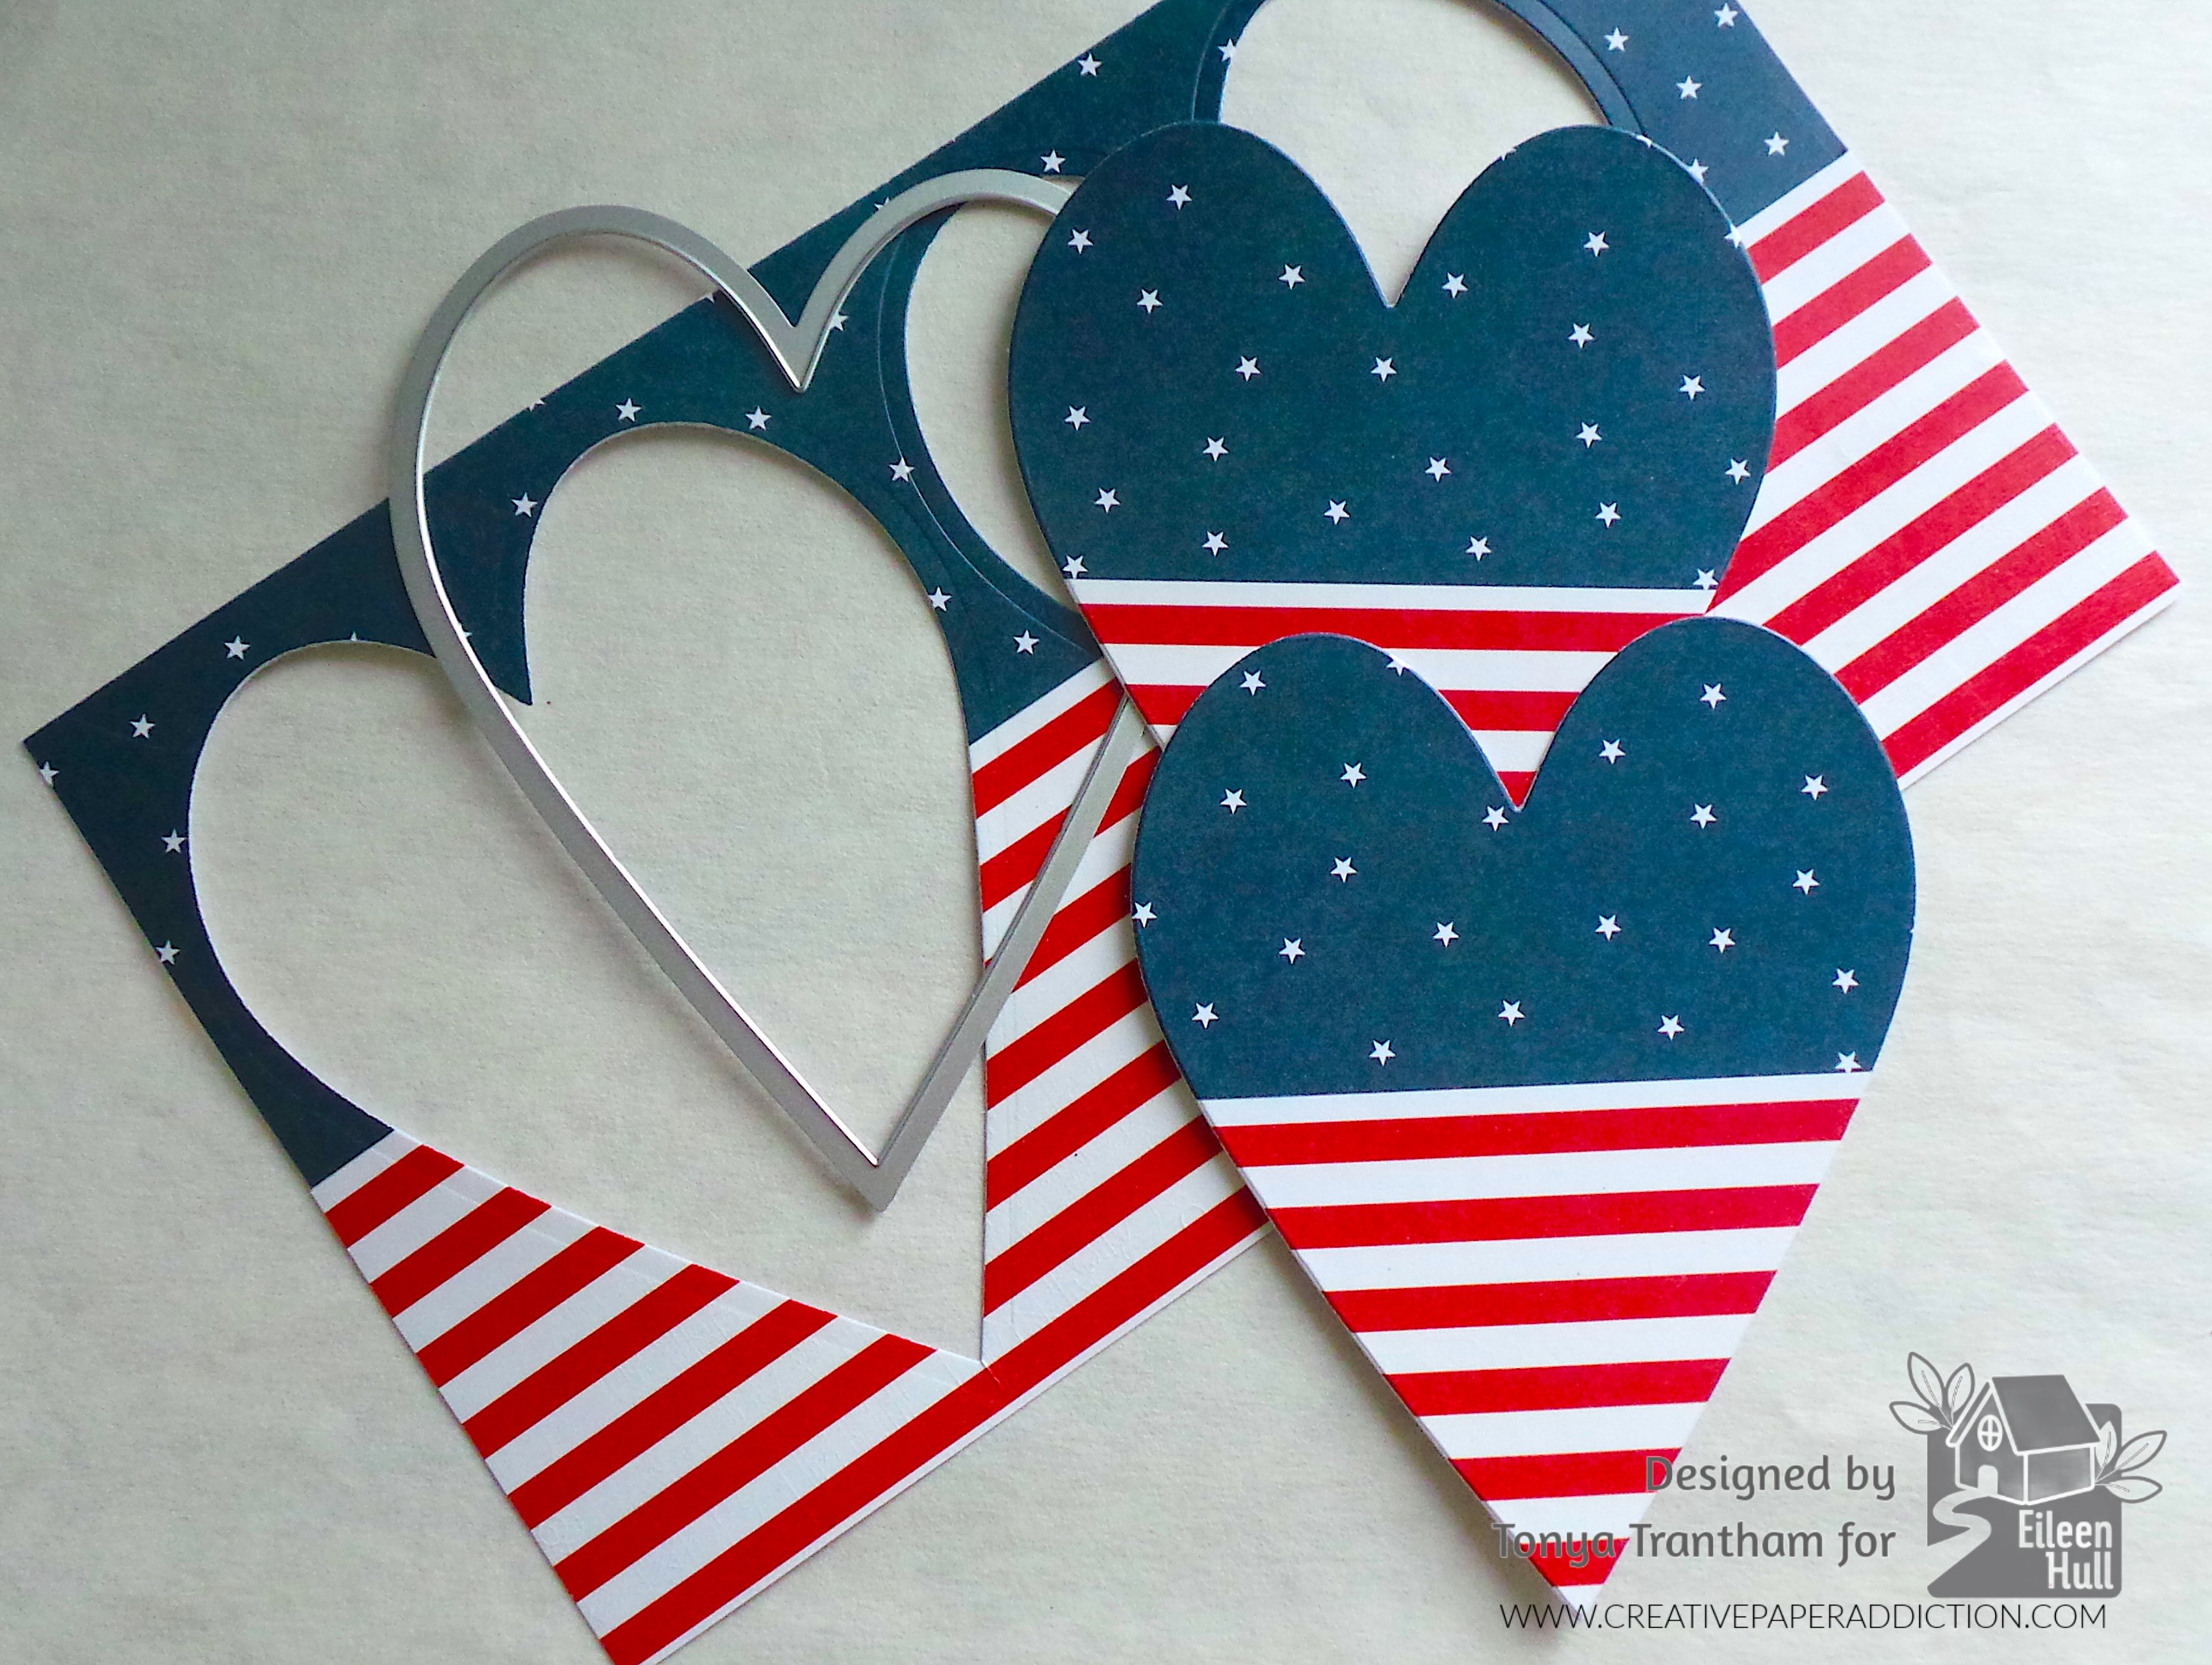
Collection of heart shapes made from patterned paper featuring stars and stripes, symbolizing patriotism.

Next I placed a small piece of white cardstock onto the Bookbinding and Label Thinlits (retired), placed between cutting plates and ran through the Diecut Machine.
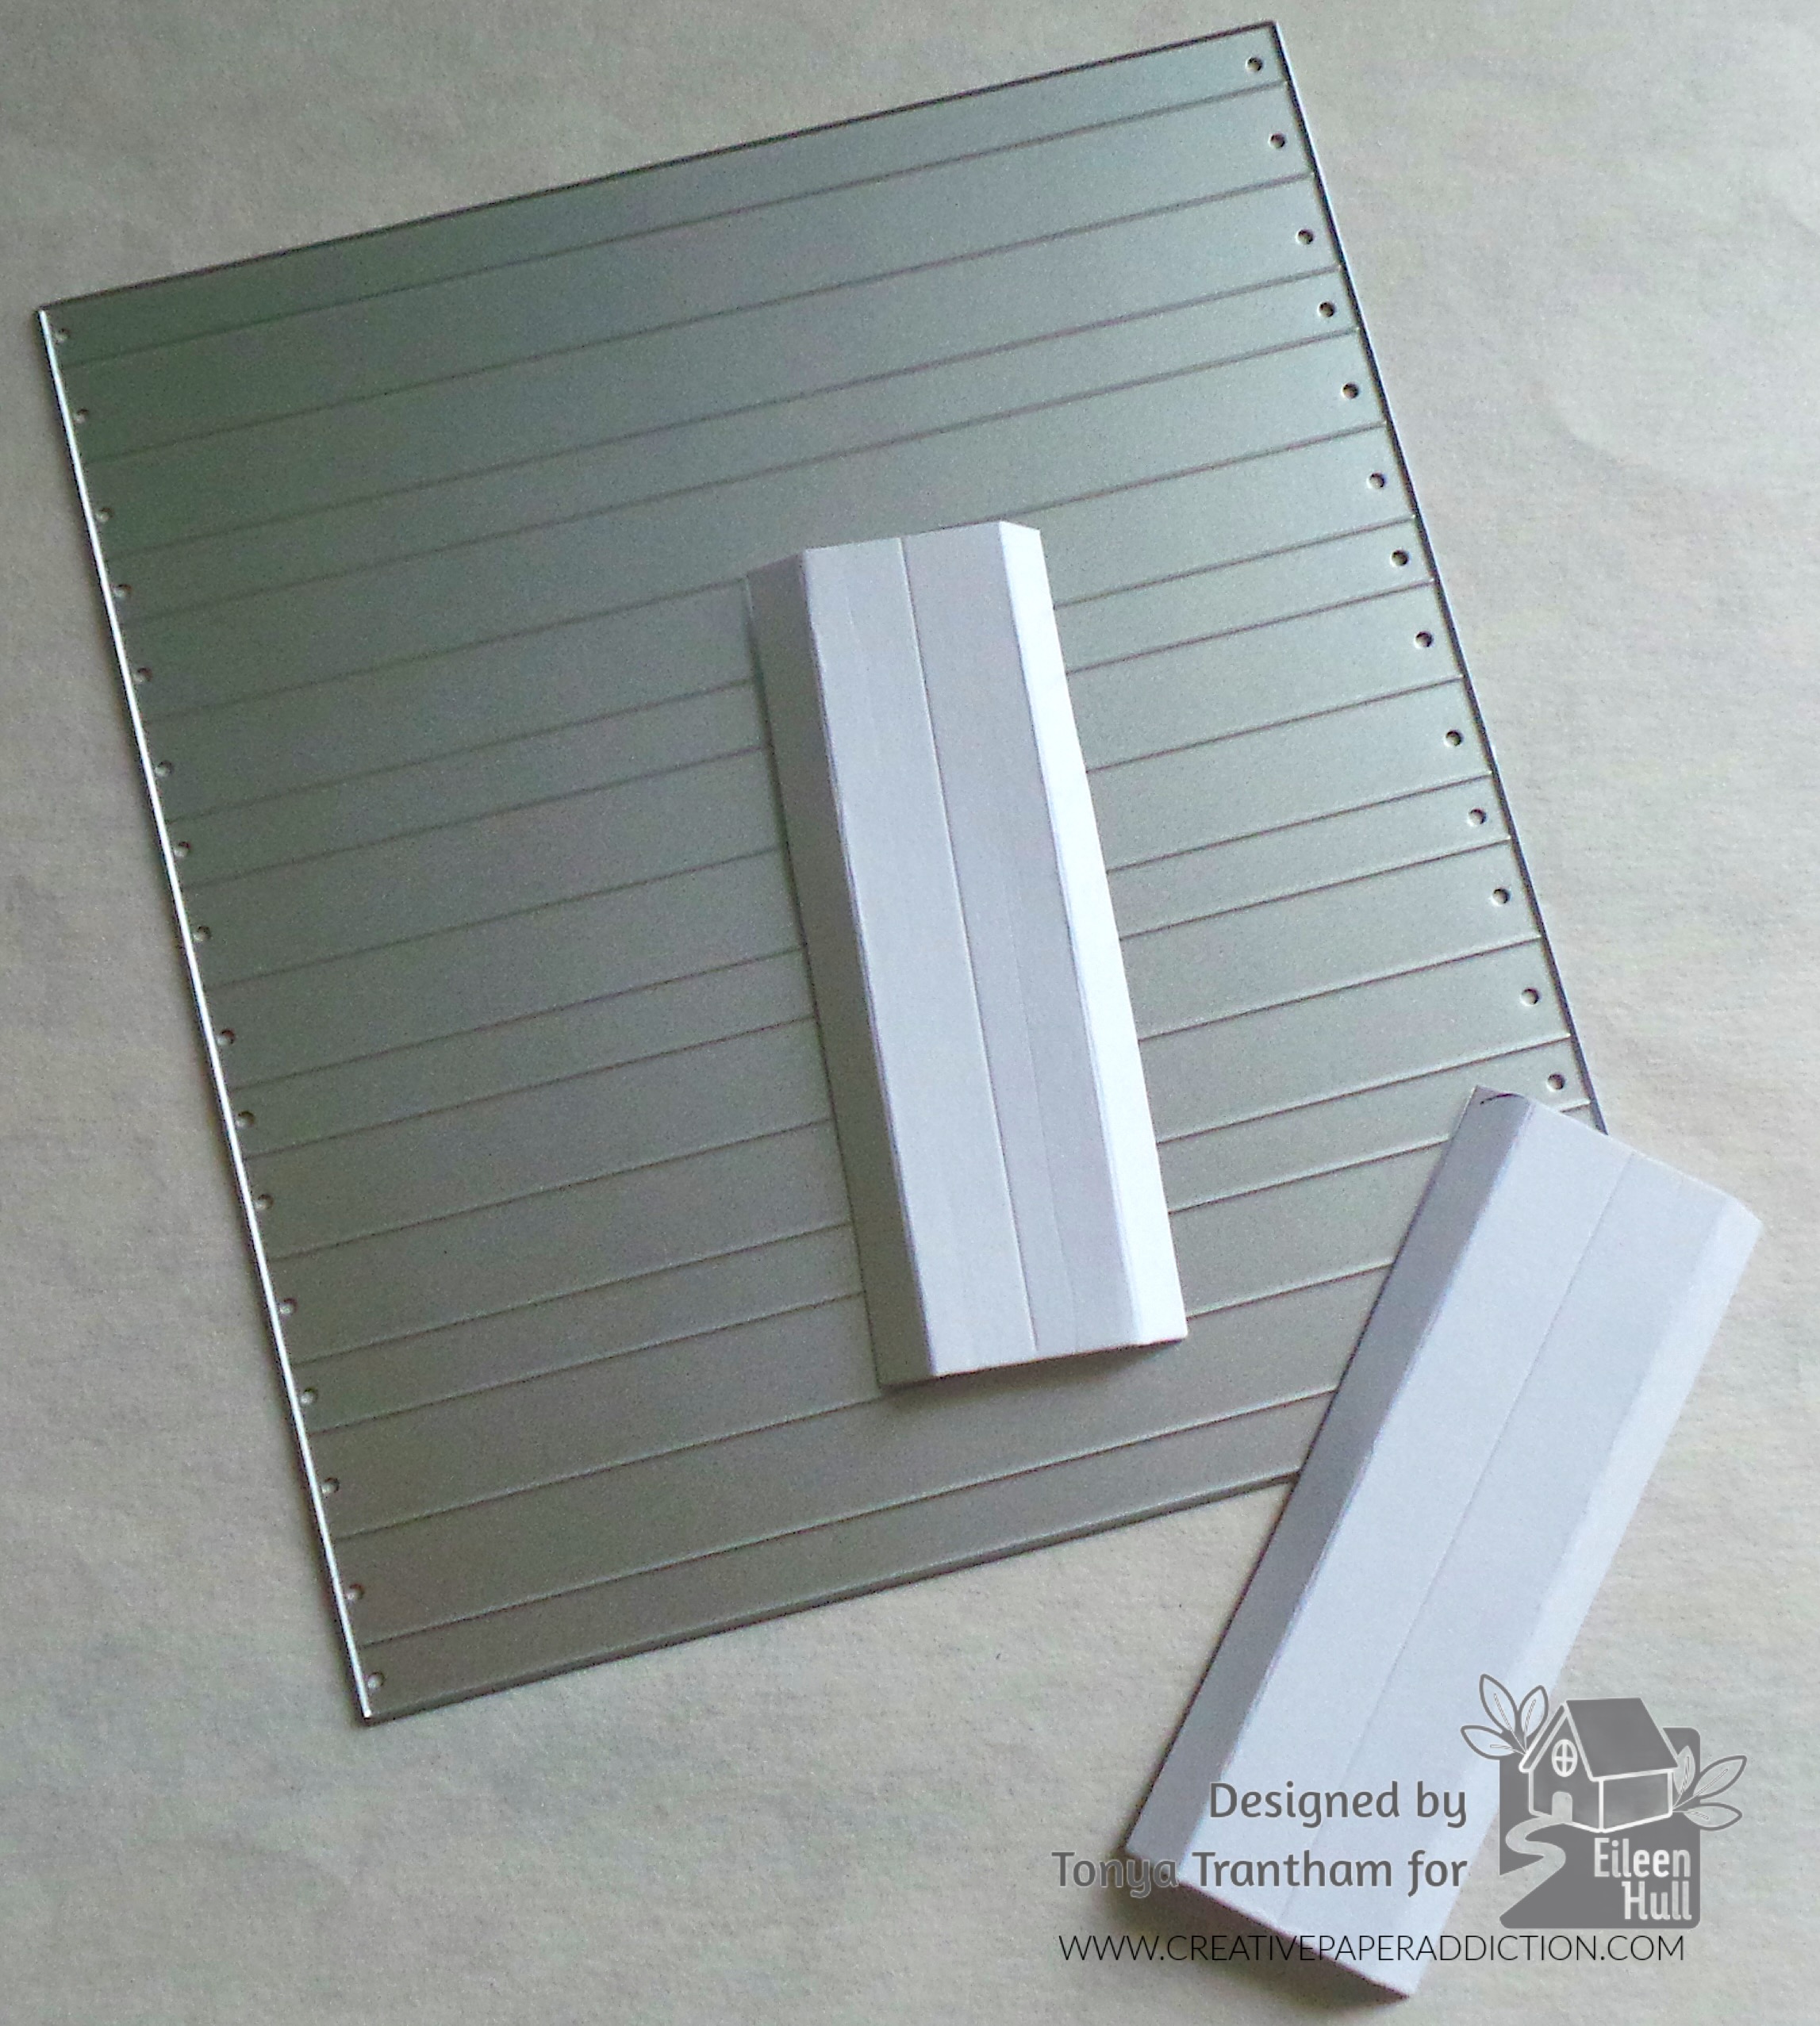
A silver embossing plate with horizontal lines and two white, rectangular strips placed on top.

I cut two of the of the bookbinding pieces into three inches lengths. I folded the smaller flap on either side of the two larger folds to create the sides for the pocket. I use a Crop A Dile and punched a hole at the top of each side of pocket.
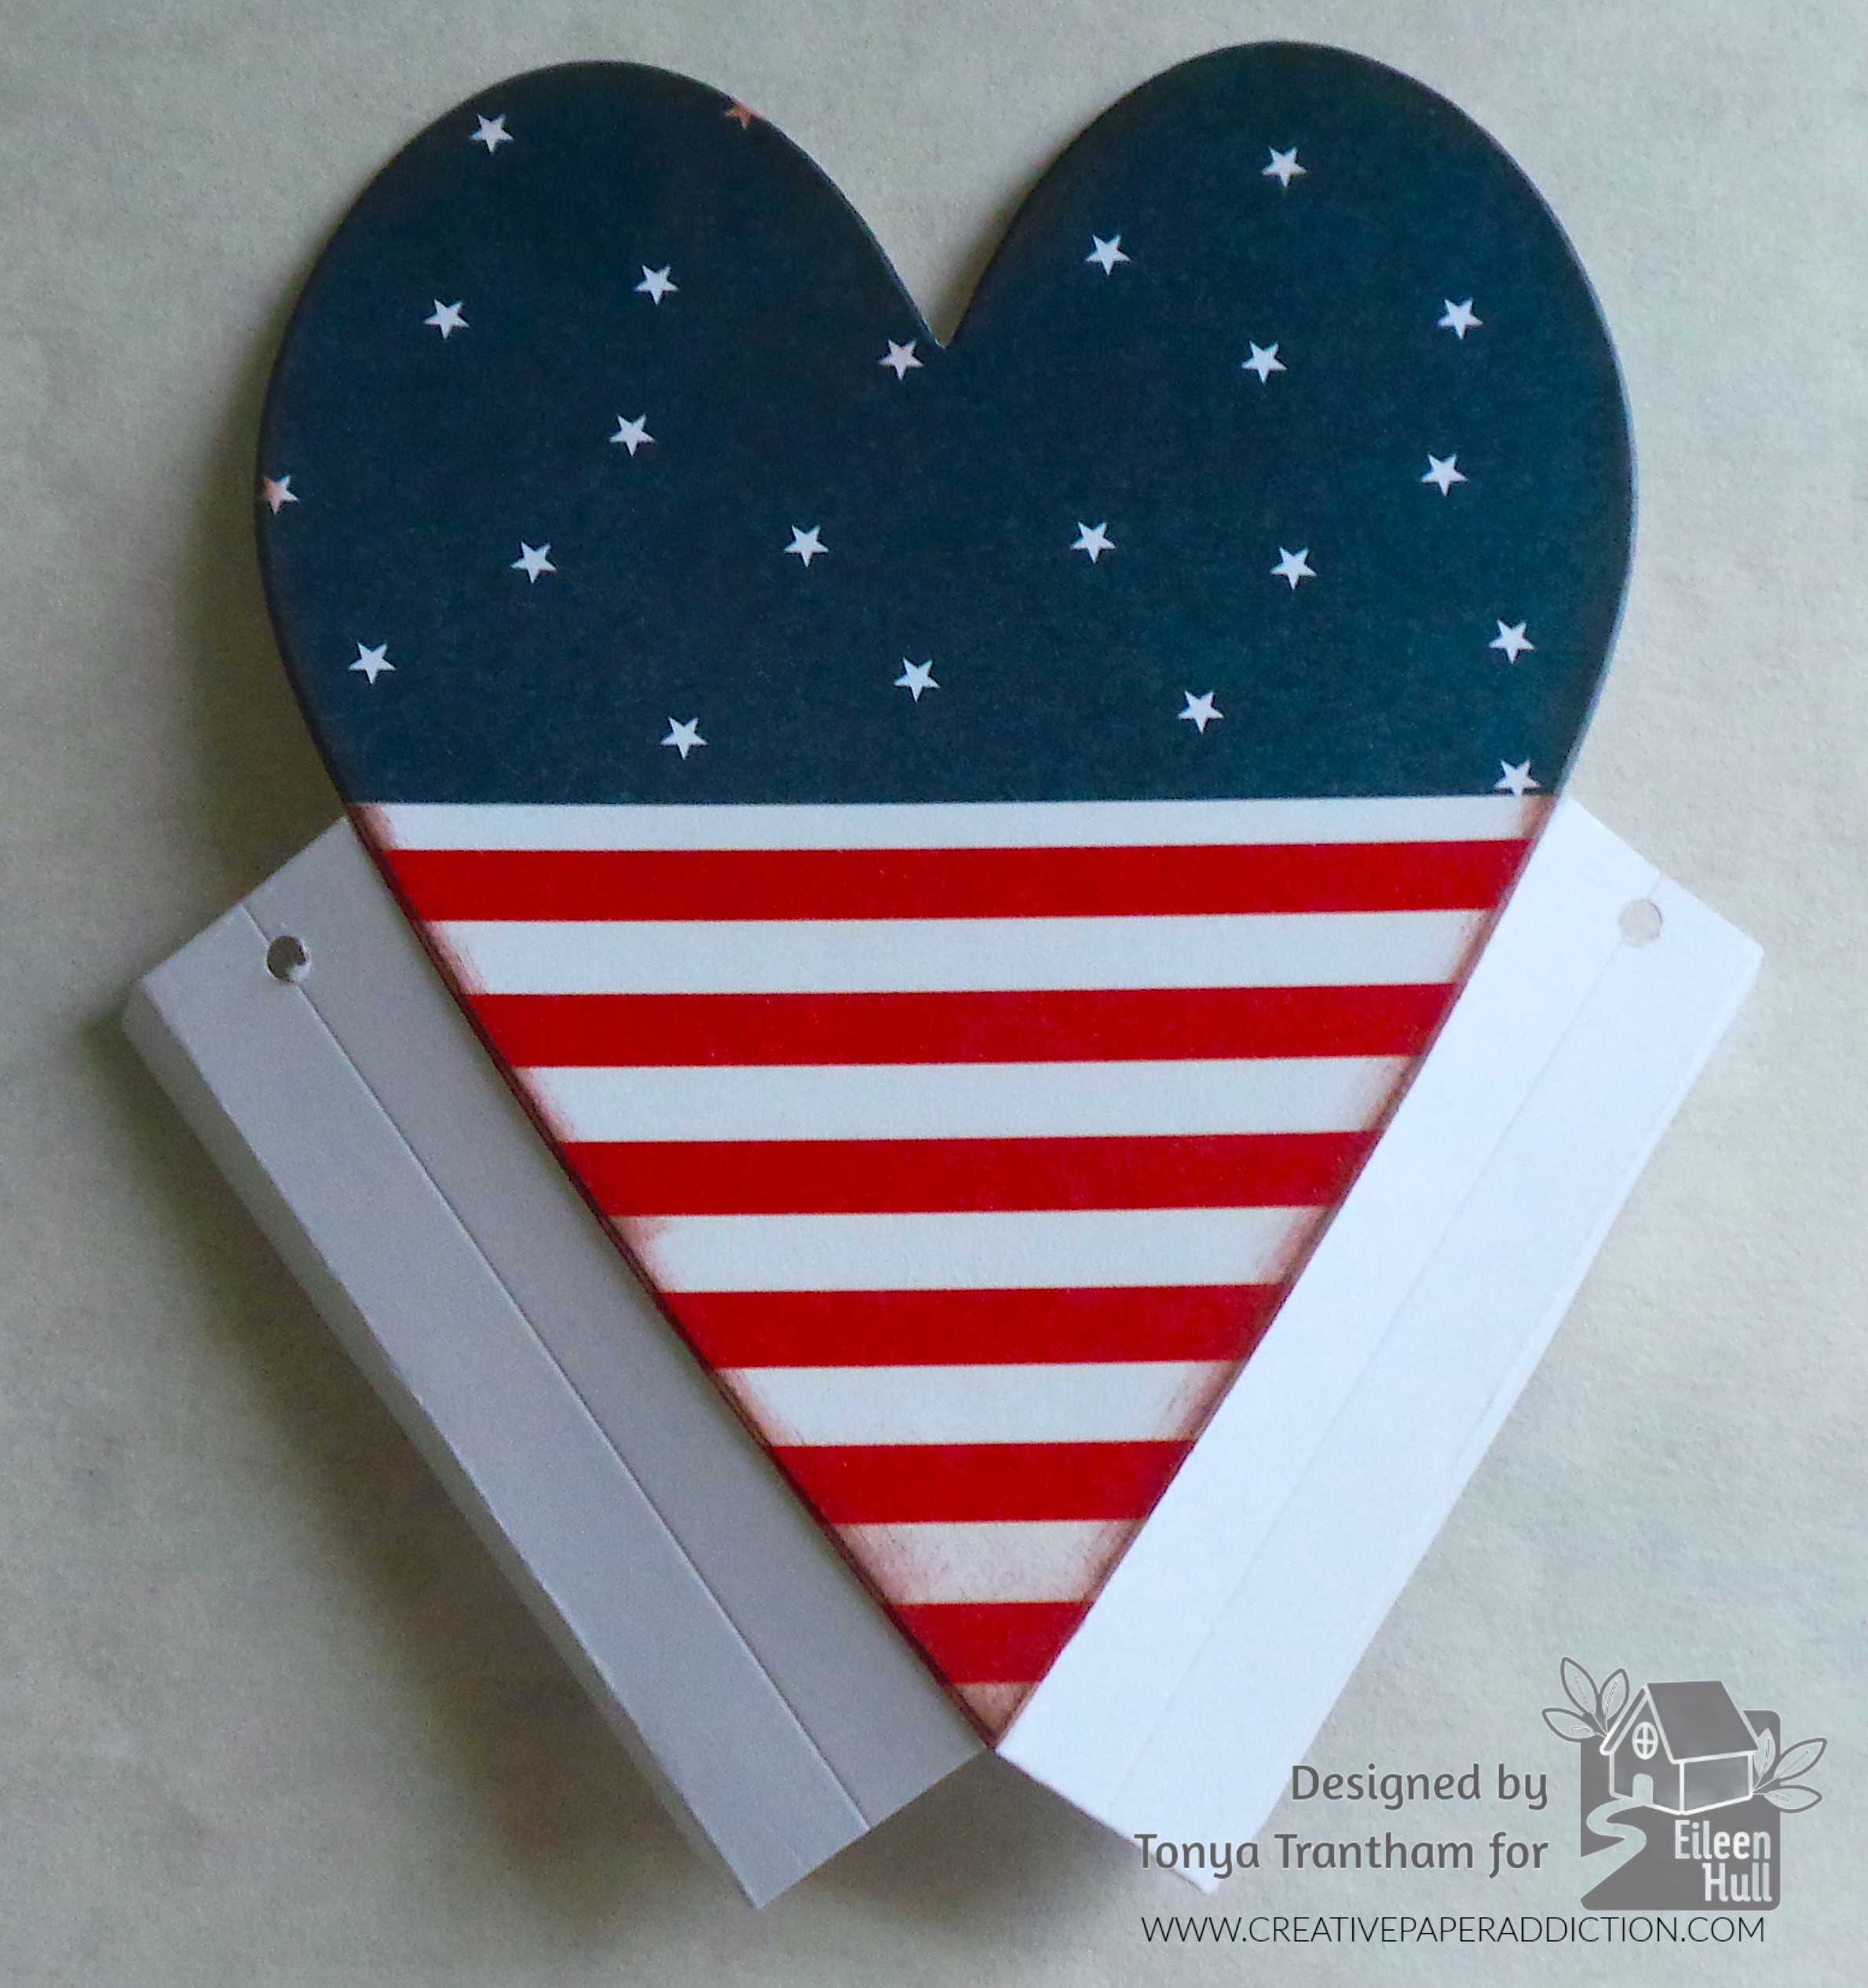
A heart-shaped decoration featuring a blue top with white stars and a bottom section with red and white stripes, resembling the American flag. The heart is positioned partially open, revealing white pages inside.

I adhered both pocket sides to the first heart. I cut the flaps at the bottom at an angle and added a drop on glue. I applied glue to the flaps and placed the other heart on top. I covered the sides of the pocket with a patterned cardstock to cover the fold indentions.
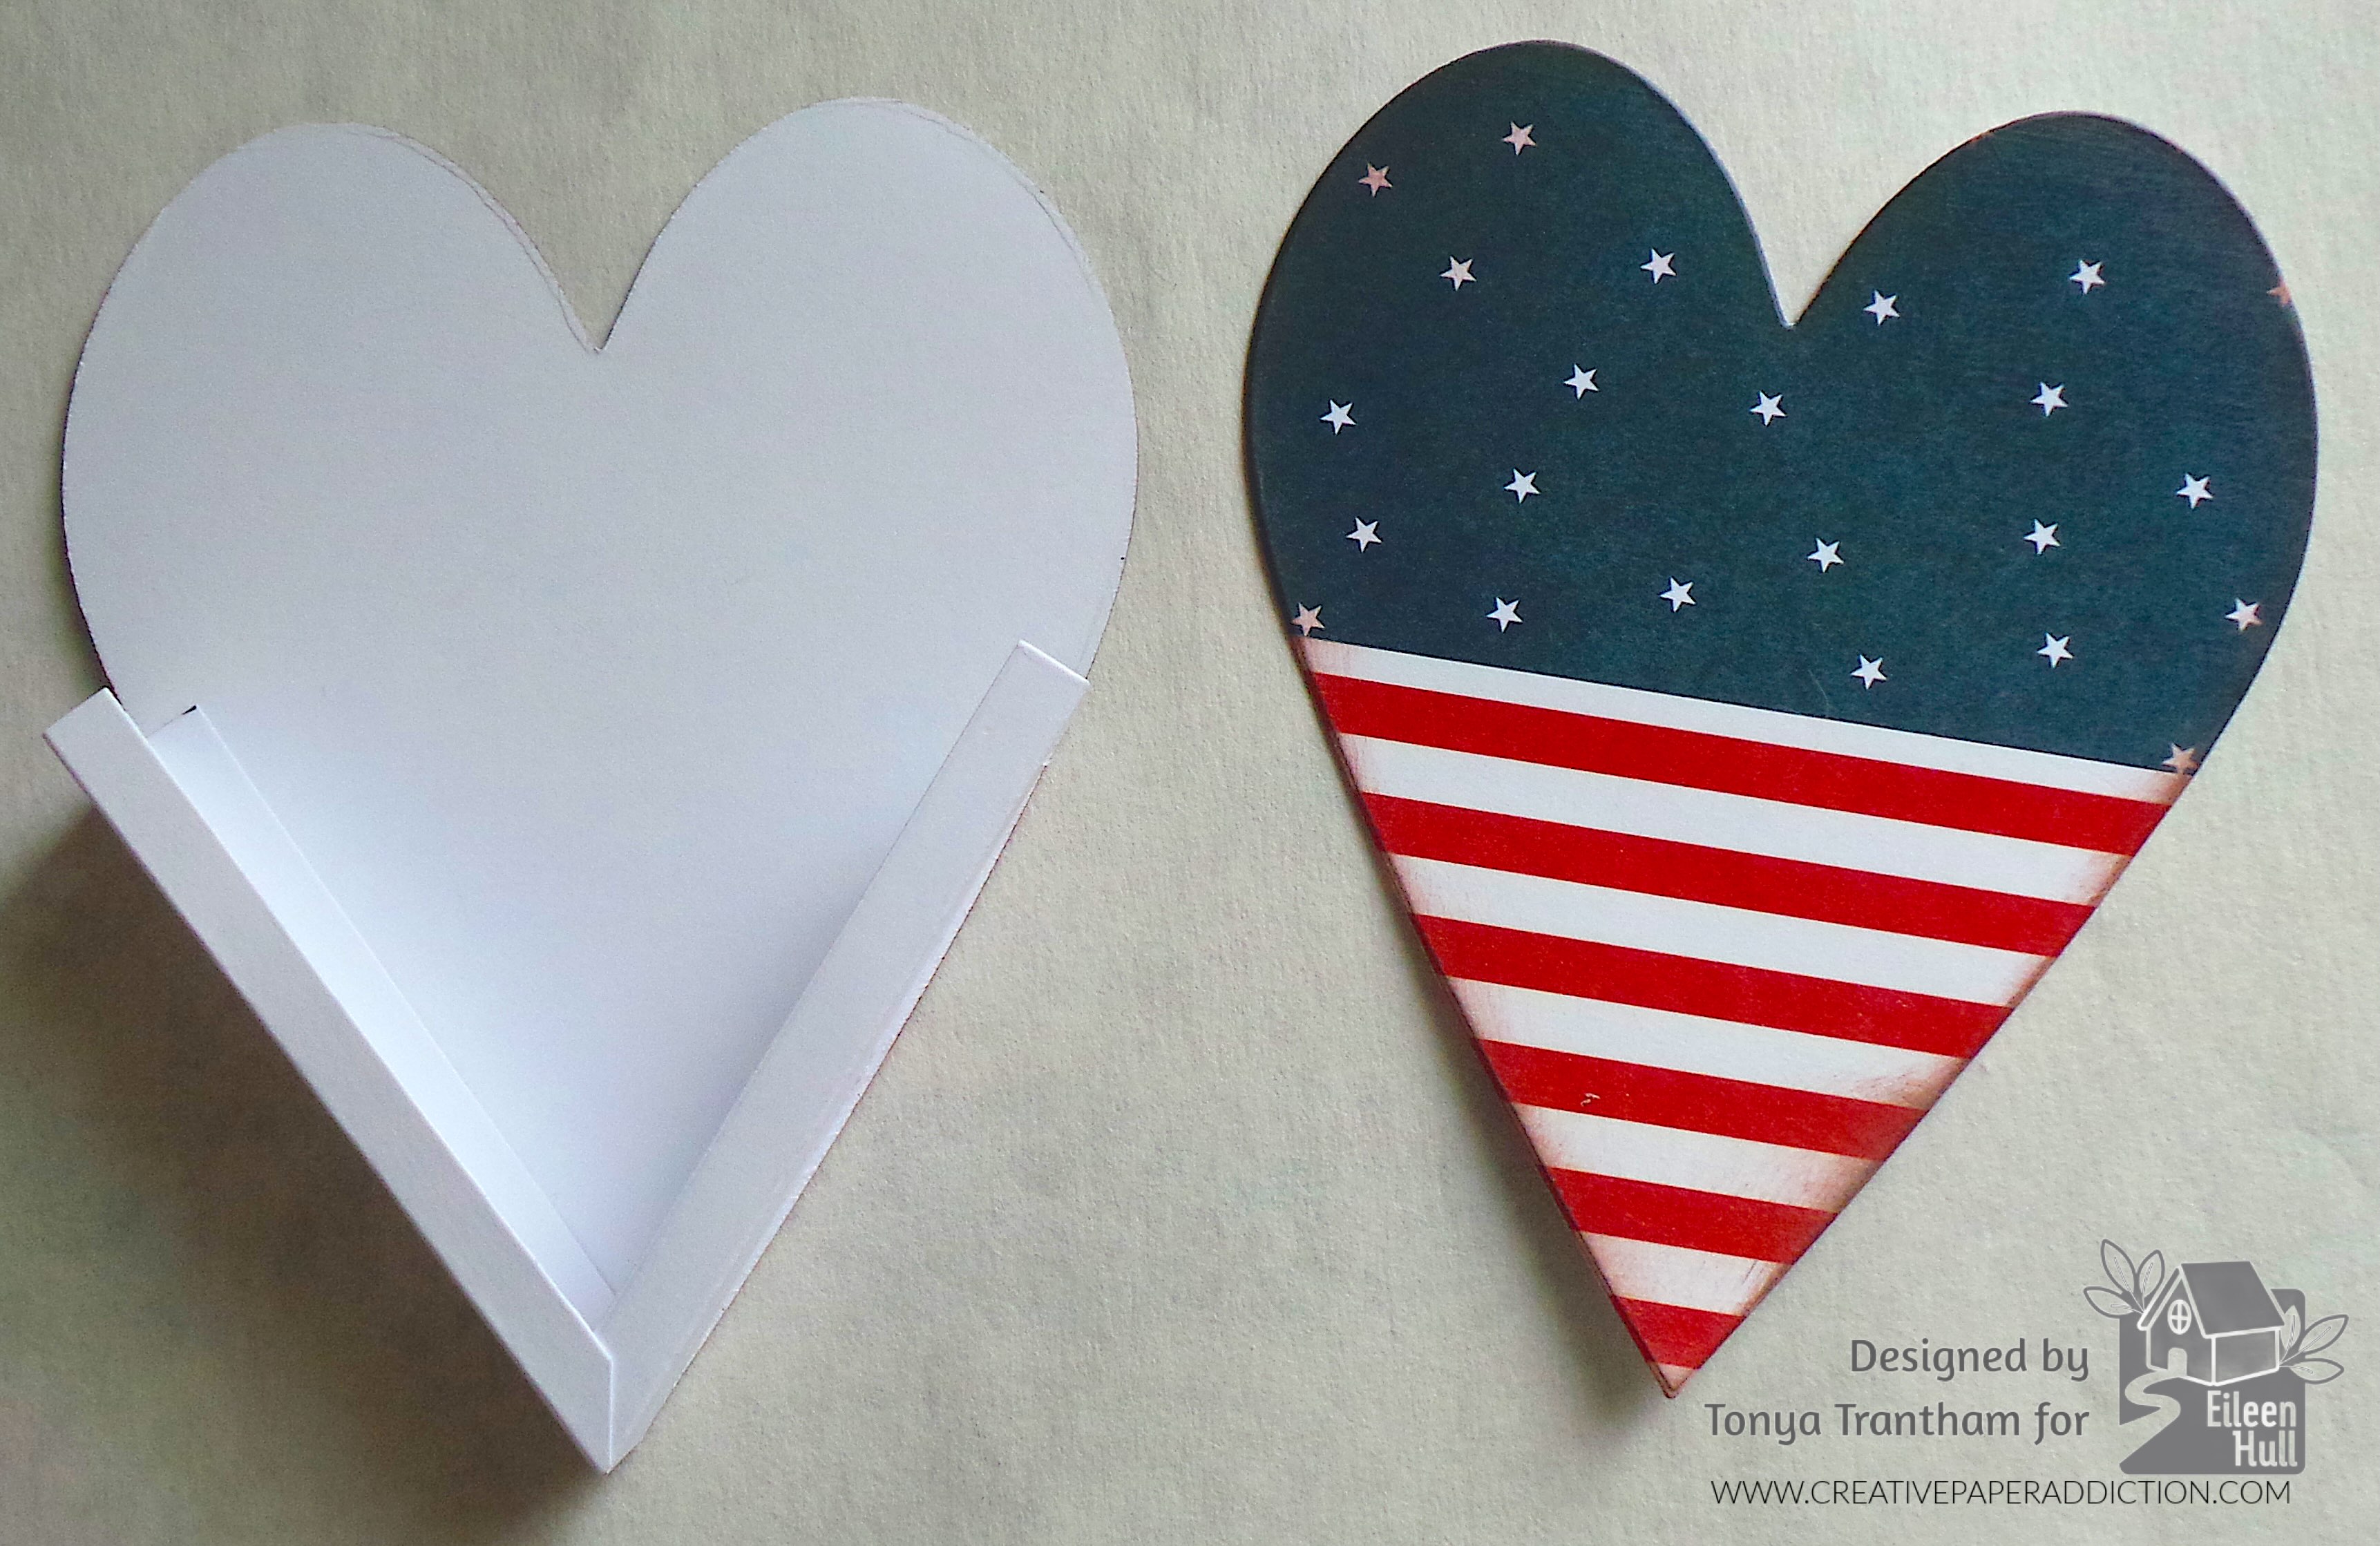
An empty white heart-shaped box on the left, and a decorated heart-shaped box with a dark blue background featuring white stars and a red and white striped pattern on the bottom, on the right.

I placed each end of the pipe cleaner through the holes and twisted to secure and create a handle. I adhered a piece of trim in-between the pieces of blue stars and stripe on both sides of the pocket.
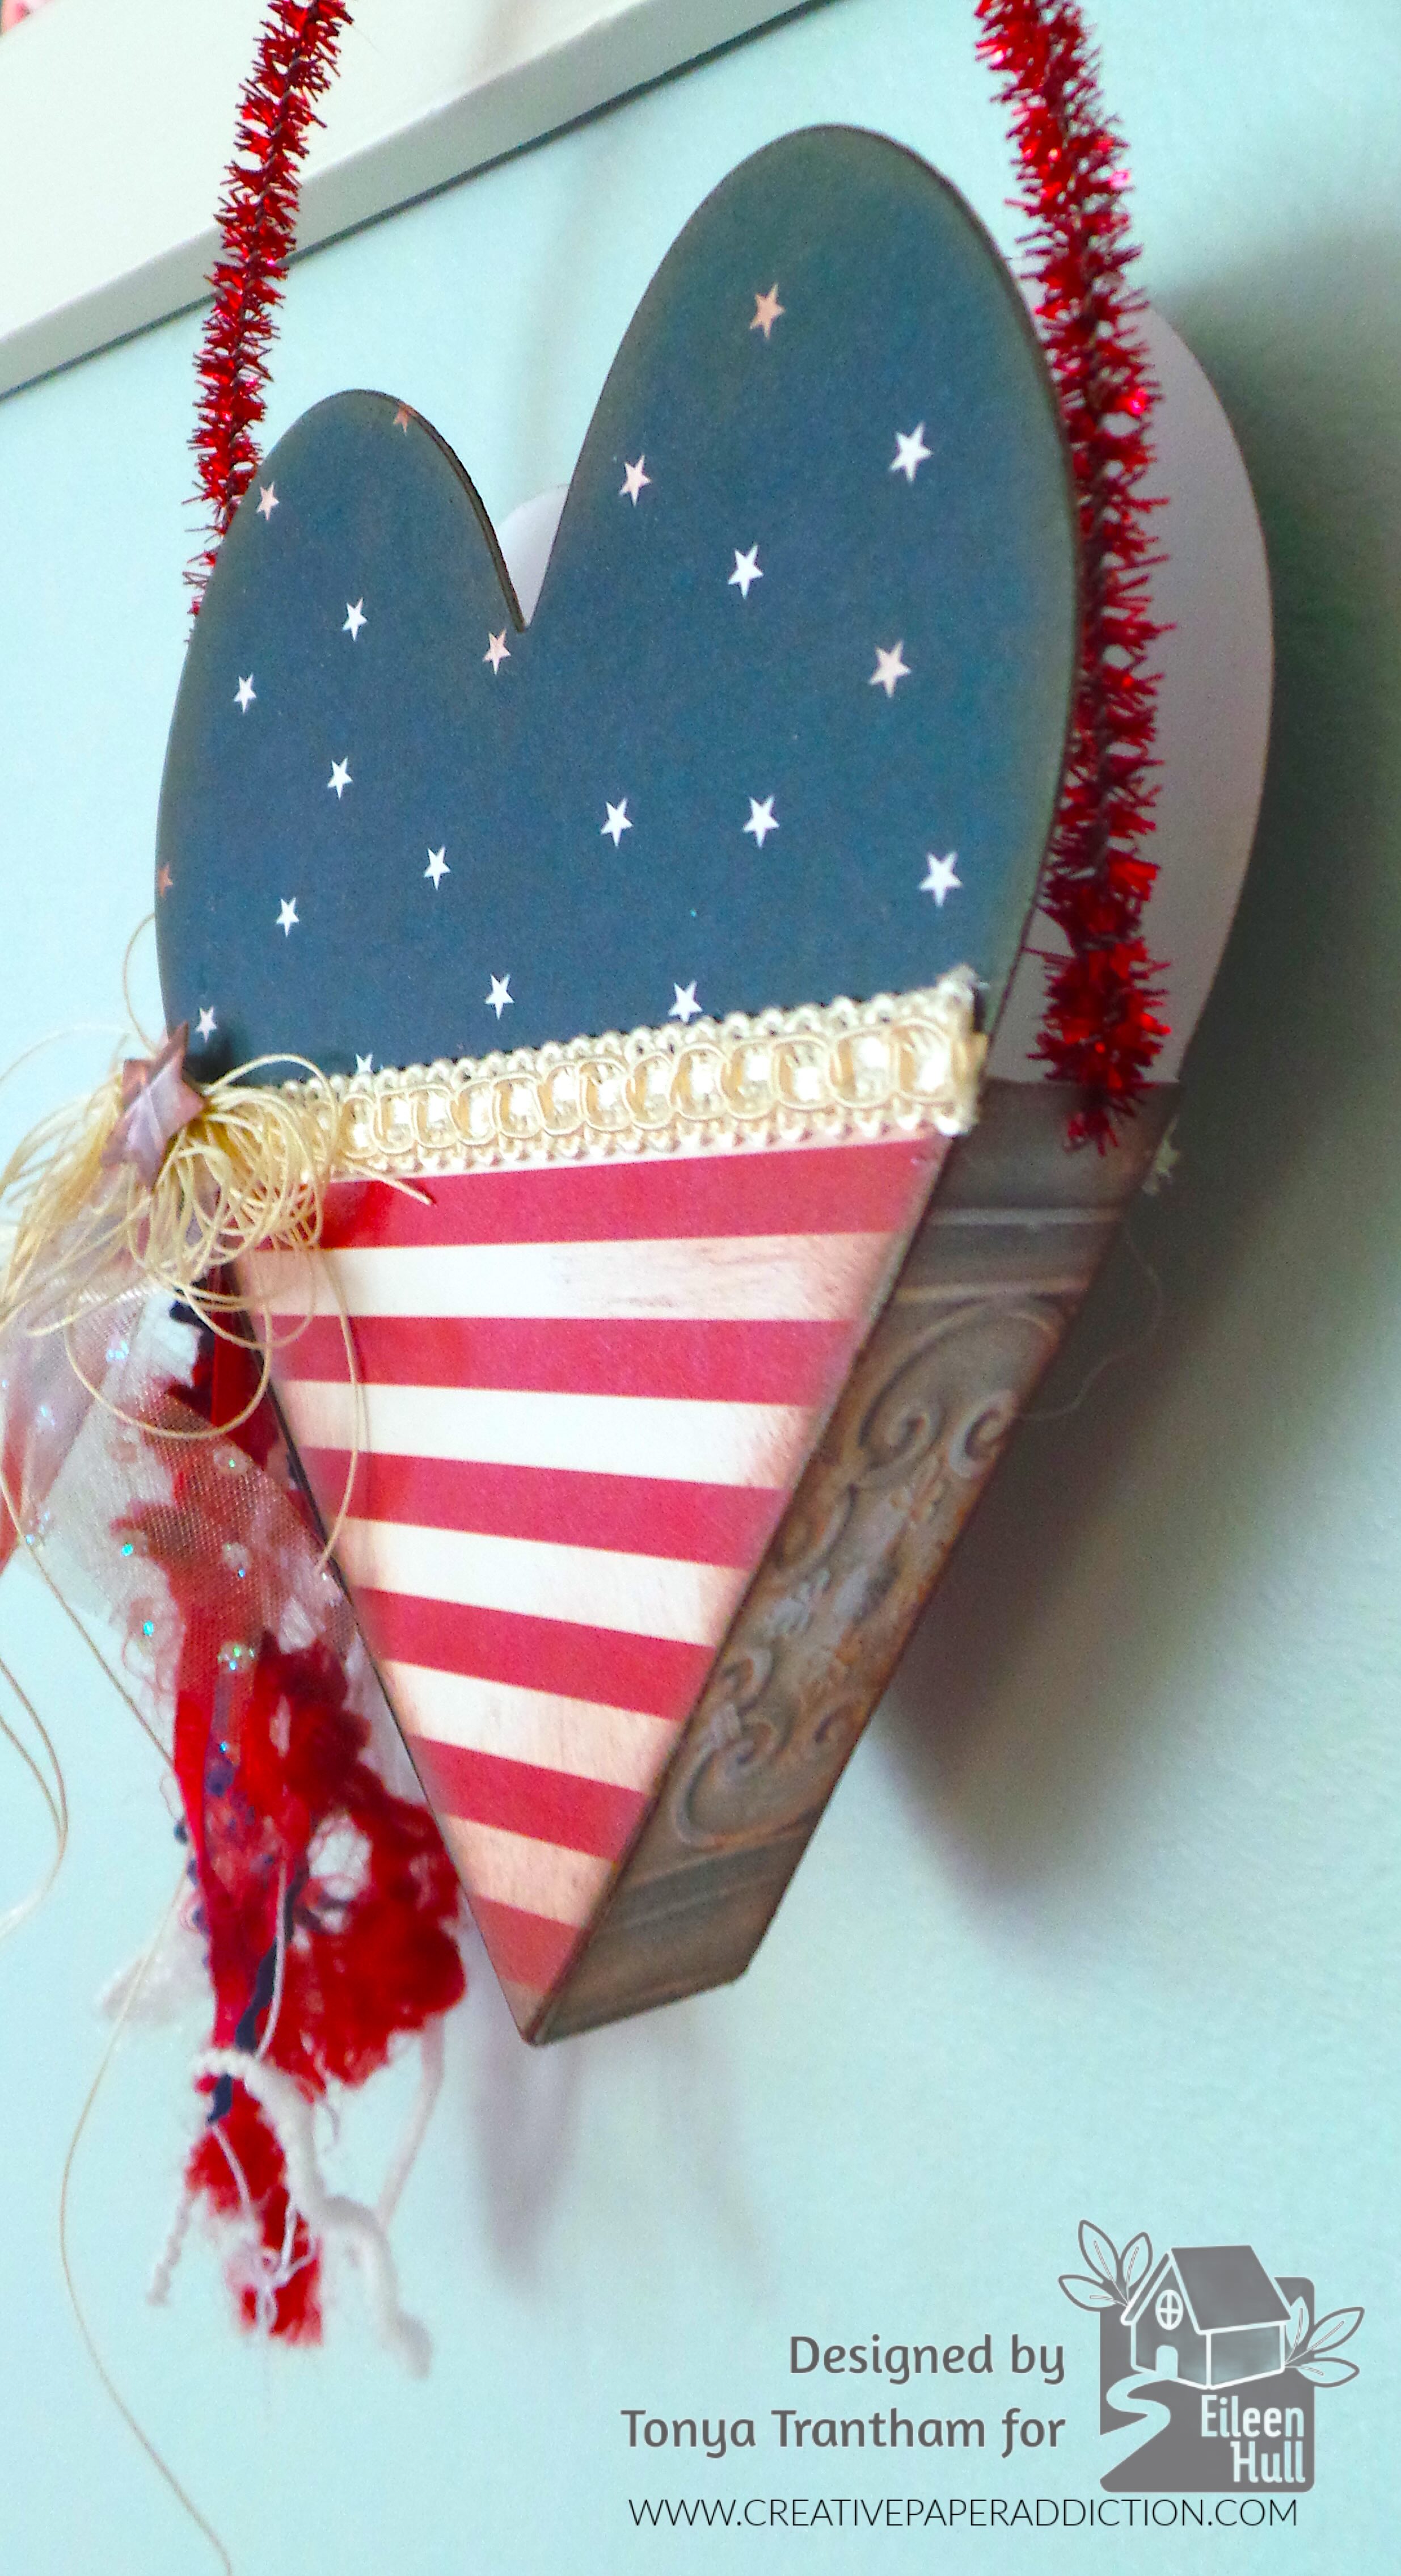
A decorative heart-shaped box featuring a dark blue top with white stars and a lower section with red and white stripes, adorned with a golden trim and colorful ribbons.

I cut the smallest tag from the Ephemera Pocket and Tags Thinlits. I also cut out a number four from the Nora Alphabet Thinlits. I added a patterned piece of cardstock to the center of the tag. I inked the tag and the edges of the heart with a brown chalk ink along with the number four. I glued the four to the tag. I cut several pieces of fiber, Ric Rac and tulle and tied to the handle along with the tag. I made a bow out of thread and adhered to the corner of the pocket and added a star from my stash to finish.
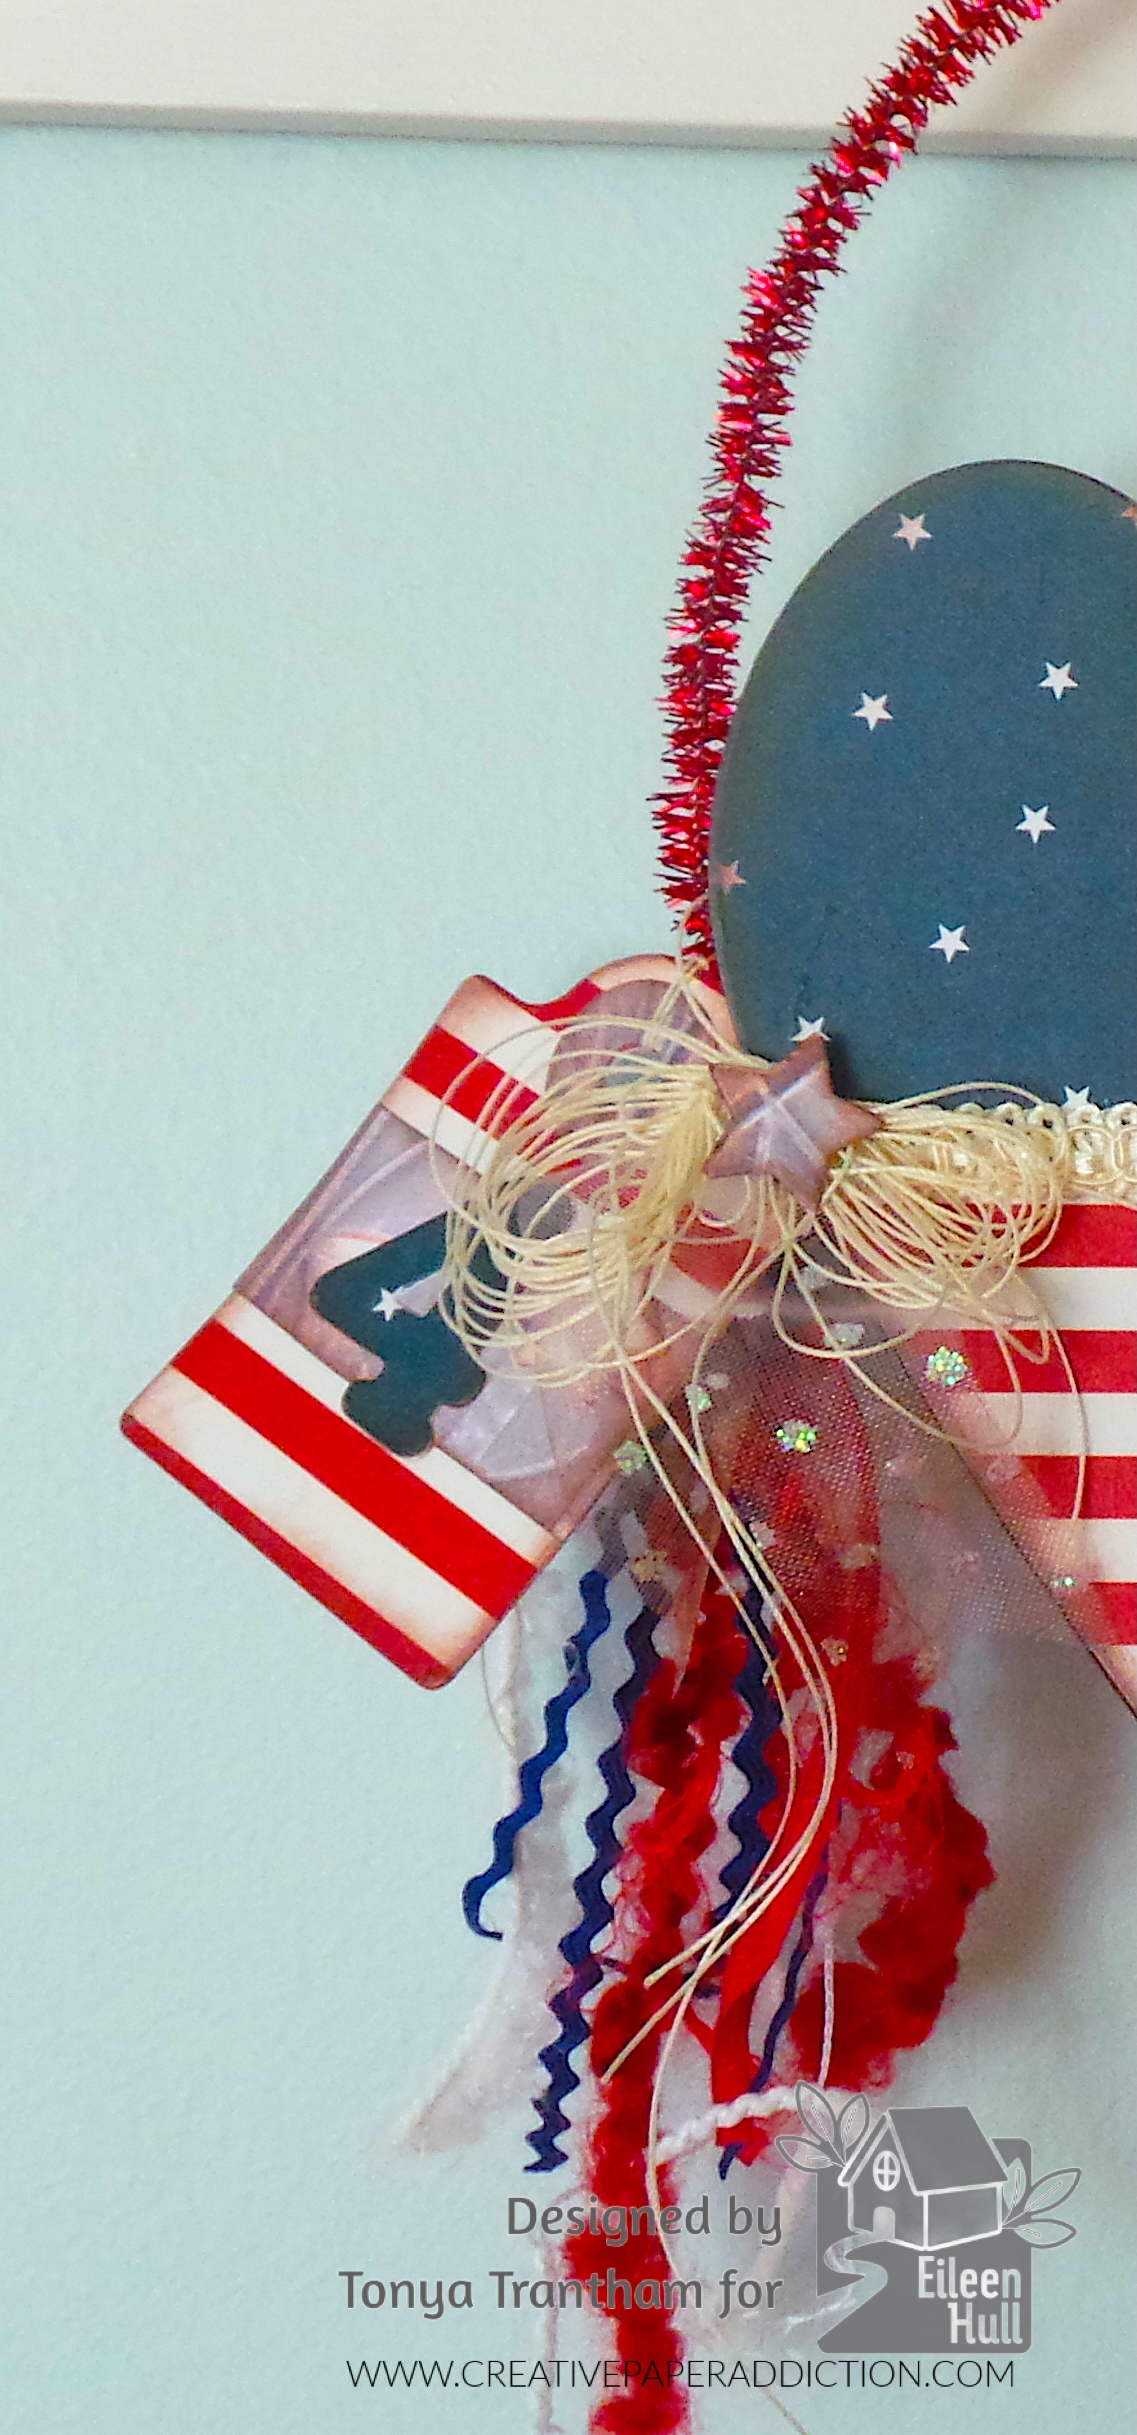
A decorative craft piece featuring red, white, and blue elements, including a starry oval shape, ribbons, and a tag with the number '4', symbolizing Independence Day or a patriotic theme.

You can change the theme of this pocket to any occasion. Example birthdays, weddings, all the holidays, etc. So many possibilities!

If you have any questions or comments please leave them below and if you haven’t been by Eileen’s blog lately to see what the team has been up to you can find the latest post HERE.
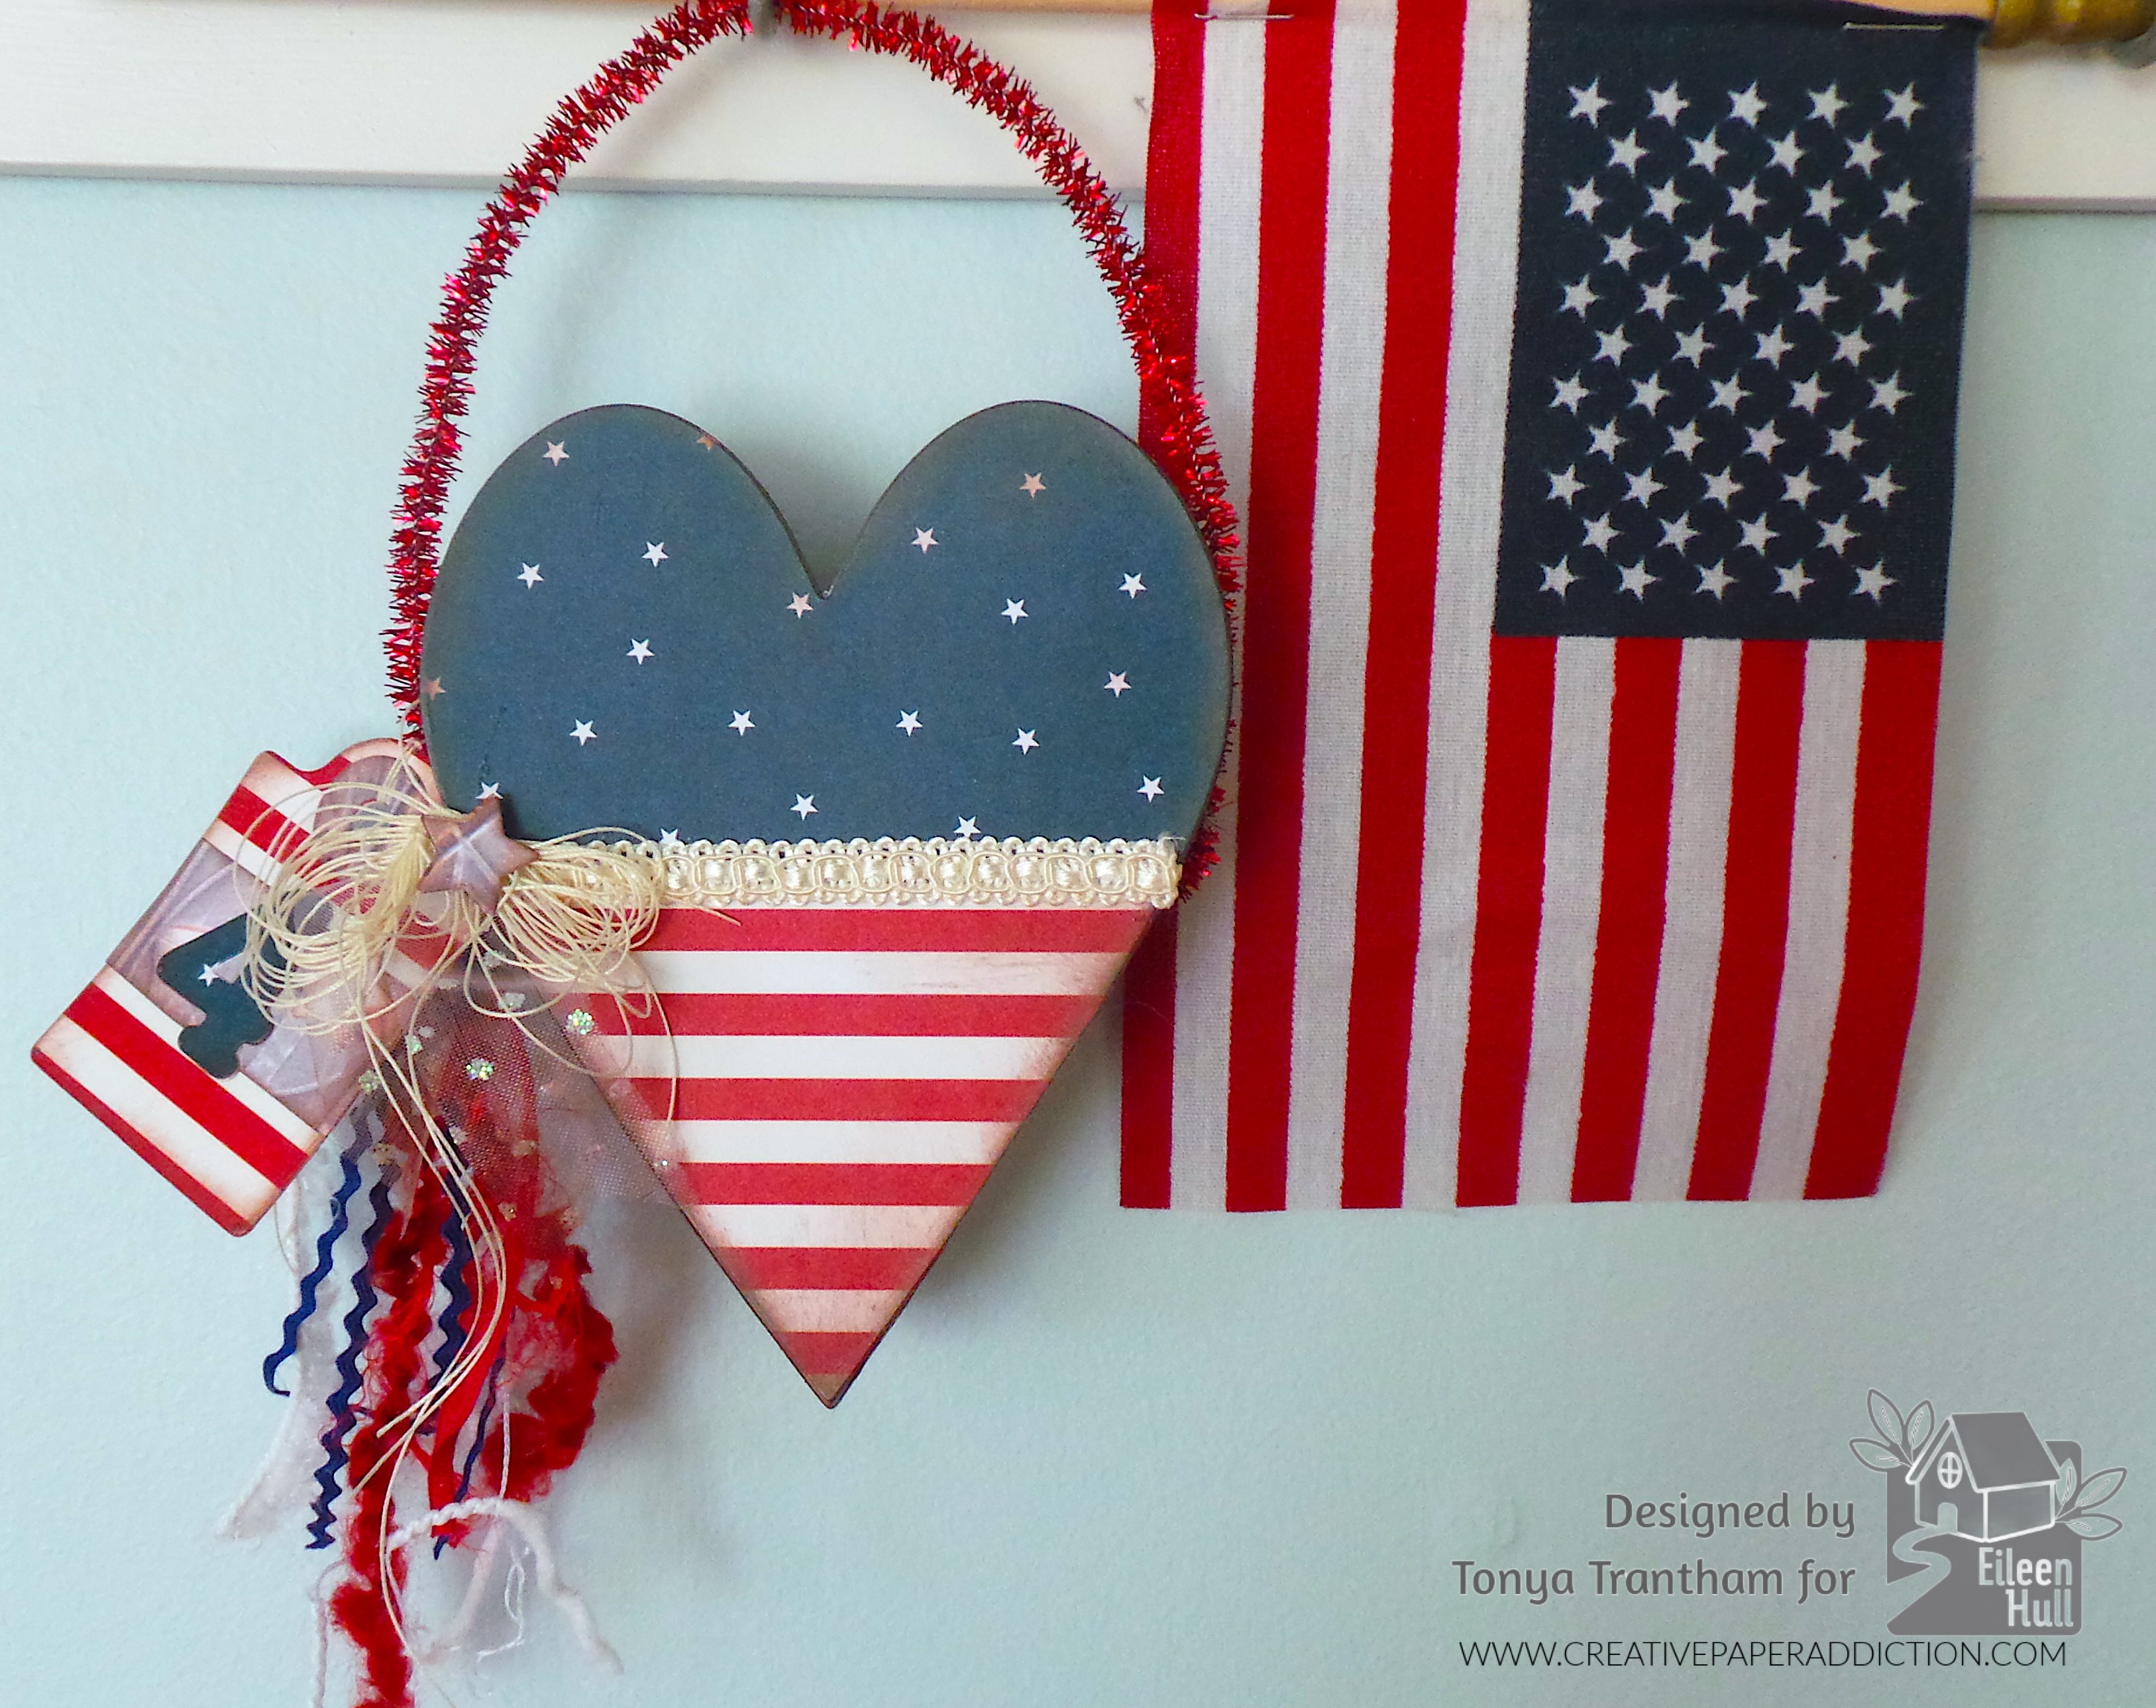
A decorative heart-shaped wall hanging featuring red, white, and blue colors with stars, accompanied by a small tag. It is displayed next to a small American flag.

Supplies

Sizzix/Eileen Hull: Nora Numbers Thinlits

Sizzix/Eileen Hull: Stitched Hearts Thinlits

Sizzix/Eileen Hull: Ephemera Pocket and Tags Thinlits

Sizzix/Eileen Hull: Nora Alphabet Thinlits

Sizzix/Eileen Hull: Bookbinding and Label Thinlits (retired)

Diecut Machine

Paper Cutter

White Cardstock and Patterned Cardstocks

Scissors

Crop A Dile

Adhesive Sheets

Fiber, Ric Rac, Tulle, Trim and Thread

Pipe Cleaner

Brown Chalk Ink

Beacon Adhesives: Zip Dry Adhesive

(Products listed above are Affiliated Links for your convenience)

DISCLAIMERS

This blog is compensated to provide opinion on products, services, websites, and various other topics. Even though the owner(s) of this blog receives compensation for our posts or advertisements. I always give my honest opinions, findings, beliefs, or experiences on those topics or products. The views and opinions expressed on this blog are purely my own. Any product claim, statistic, or quote should be checked with each manufacturer. Verify other representations about a product or service with the provider or party in question.This blog contains affiliate linksClicking these links helps to support Tonya Trantham Designs – Creative Paper Addiction. It’s at no additional cost to you. Today’s features are Sizzix, Eileen Hull and Scrapbook.com Products. 
Red, white, and blue decorative heart-shaped sign with stars, striped pattern, and ribbons, designed for patriotic occasions.

Thanks for stopping by, I hope your Tuesday is wonderful and enjoy creating!

A decorative design featuring a bird among vibrant flowers and the name 'Tonya' in elegant script.

Let Freedom Ring Tag

Hi there! How is everyone? Will you be doing anything special for the 4th of July? Are you staying cool in your neck of the woods? Here, we are in the upper 80’s to low 90’s with not much relief in sight…so glad my husband agreed to getting a swimming pool! Anyways, I want to share a patriotic tag I created for the 4th of July!

I used the July cardstocks from the Authentique: Calendar Collection (retired) to create both sides of this tag. I cut patterned cardstock to 5″x10 1/2″ to create the base for the tag.

The journaling cards/cut-a-parts in the collection I cut apart, adhered some to the base and added Foam Pop Dots to the back of a couple to give dimension to the tag.

I cut and adhered Patriotic Red, White and Blue Ribbon underneath the cut-a-parts, along with thread, stars, sequins and White Pom Pom Trim at the bottom of the tag.

There you have it! If you have questions about this project please let me know.

Supplies

Authentique: Calendar Collection (retired)

Foam Pop Dots

Gwen Studios: Patriotic Red, White and Blue Ribbon

Gwen Studios: Peach and White Pom Pom, Tassel and Ribbon

Paper Cutter

Scissors

Thread, Sequin and Stars

Beacon Adhesives: Zip Dry Adhesive

(Products listed above are Affiliated Links for your convenience)

DISCLAIMERS

This blog is compensated to provide opinion on products, services, websites, and various other topics. Even though the owner(s) of this blog receives compensation for our posts or advertisements. I always give my honest opinions, findings, beliefs, or experiences on those topics or products. The views and opinions expressed on this blog are purely my own. Any product claim, statistic, quote or other representation about a product or service should be verified with each manufacturer, provider, or party in question.This blog contains affiliate links, clicking and shopping through these links helps to support and run Tonya Trantham Designs – Creative Paper Addiction at no additional cost to you. Today’s features are Gwen Studios and Scrapbook.com

Thanks for stopping by, hope your Friday is great and enjoy creating!

Happy 4th of July Greetings Card

Hi everyone! Since the 4th of July is right around the corner I thought I would create a patriotic card for this month’s Blank Page Muse blog post! Details with the how to’s can be found HERE.

Facebook https://www.facebook.com/blankpagemuse/

Instagram: https://www.instagram.com/blankpagemuse/

Pinteresthttps://www.pinterest.com/blankpage…

Twitter https://twitter.com/BlankPageMuse

Websitehttps://blankpagemuse.com

Supplies

BPM: Sunshine Cherub Sun Flowers Art Rubber Stamp Sheet

BPM: Stars Slim Sized Mixed Media Stencil

Patterned and Plain Cardstocks

Watercolor Paper

Various 4th of July Images or Printables

 Extra Heavy Gel

Palette Knife

 Blue, White, Gray, Tan Inks

Ink Dauber

Black Waterproof Ink

Washi Tape

Scissors

Paper Cutter

Mix Media Brush

 Glass Tray

MISTI Stamping Tool

Thread and Gauges

 Foam Pop Dots

Beacon Adhesive: Zip Dry Adhesive 

(Products listed above are Affiliated Links for your convenience)

DISCLAIMERS

This blog is compensated to provide opinion on products, services, websites, and various other topics. Even though the owner(s) of this blog receives compensation for our posts or advertisements. I always give my honest opinions, findings, beliefs, or experiences on those topics or products. The views and opinions expressed on this blog are purely my own. Any product claim, statistic, quote or other representation about a product or service should be verified with each manufacturer, provider, or party in question.This blog contains affiliate links, clicking and shopping through these links helps to support and run Tonya Trantham Designs – Creative Paper Addiction at no additional cost to you. Today’s features are Blank Page Muse and Scrapbook.com Products. 

Thanks for stopping by, hope your day is wonderful and enjoy creating!

Stars on the 4th of July Card

Hi everyone! If you celebrated Independence Day like me and my family I hope you had a great time. Mine was spent lounging in the pool or on the lounge chair reading with a little eating on the side. 😎 I want to share a 4th of July card I created for Momenta.
I started by cutting and folding a piece of cardstock (retired Momenta 12″x12″ Basic Paper Pad Collection) 5 1/2″x4 1/4″ to create the base for the card. I selected a piece of blue cardstock from the Gemstones 8″x8″ Paper Pad and with the Star Confetti Metal Die Template I cut out one diecut. I adhered a piece of white cardstock to the back of the diecut before adding Foam Pop Dots and placing on the card base.

I used a 2″ Watercolor Doily but flipped it over on the back since it was white and adhered to the corner of the diecut. 
From the same blue cardstock I cut the number 4 with the Numbers Cut and Emboss Template and adhered to the doily. I cut the word July from red cardstock from the Metallic Paper Pad using the Months of the Year Cutting Template.

I finished the card by adding sequins, gems and a red twine bow to the card. Be sure to stop by Momenta’s website to see the latest projects! You can find their site HERE. As always if you have any questions about this card please let me know.

I would also like to submit this card for the following challenge:
Word Art Wednesday Anything Goes: #394-#395


SUPPLIES

Momenta: Metallic Paper Pad
Beacon Adhesive: Zip Dry Adhesive
Sequins
Red Gems
Red Twine

(Products listed above are Affiliated Links for your convenience)

Thanks for stopping by, hope your Saturday is awesome and enjoy creating!

Bless the USA Card

Hi everyone! I wanted to share a 4th of July card I created for ClearSnap with you all today! 

I started by inking  an Art Dauber with Peacock Pigment Ink from the Taos Petal Point Collection and ink over front of the Burlap Creative Card. 

I inked the Pledge Allegiance Stamp with Wicked Black Pigment Dye Ink and stamped onto a piece of white cardstock. I cut the stamped image to 4″x5″ and roughed up edges of stamped image. Next I inked an art dauber with Chianti Pigment Ink from the Taos Petal Point Collection and inked the edges of stamped image. I rolled the bottom edge of the stamped image under and adhered, added Foam Pop Dots to back and placed to the corner of card base.

I inked the letter “U” of the USA Wood Stamp with Abyss Pigment Ink and the “SA” with Chianti Pigment Ink from the Taos Petal Point Collection and stamped onto a piece of white cardstock. I cut a “v” in the end to create a banner and added foam pop dots to back and place on lower half of card base.

From the Thankful Clear Stamps Set I placed on the MISTI Stamping Tool and inked the “BLESS” stamp with Chianti Pigment Ink and the “HEART” stamp with Abyss Pigment Ink and stamp both onto a piece of white cardstock. I cut the “BLESS” image out and inked an art dauber with Chianti Pigment Ink and inked the edges of the “BLESS” image. I cut with a pair of scissors the “T”, “H” and “E” from the “HEART” image out and adhered above the USA banner. I added foam pop dots to back of “BLESS” image and place above the word THE.


I adhered red tulle, thread, star and a sequin with red pearl to USA banner. I adhered a star and red pearl to top of the pledge allegiance image and added three clear glossy dots to bottom corner of card.

And there you have it! What do you do for the 4th of July? Cookout? Spend the day at the beach or just enjoy the day with family and friends? Also always if you have any questions about this project please let me know.

SUPPLIES

ColorBox: Taos Point Petals Collection: Peacock, Abyss and Chianti Pigment Ink

ColorBox: USA Wood Stamp
ColorBox: Art Daubers
Stampabilities: Pledge of Allegiance Rubber Stamp
Blue Sequin
Clear Stars
Thread
Red Tulle
Red Pearls
Pink and Main: Clear Glossy Dots
Beacon Adhesive: Zip Dry Adhesive
(Products listed above are Affiliated Links for your convenience)

Thanks for stopping by, hope your Wednesday is awesome and enjoy creating!

Stars and Stripes Patriotic Girl Box

Hi everyone! I’m back this week with an easy 4th of July project I created using the newest Taos Petal Points Collection and the Mermaid Paintbox Collection by ColorBox. I also used some art screens, a rollagraph and Eileen Hull’s Stacking Drawer Diecut to create this fun little patriotic drawer. Lets get started!

I placed White Chipboard on top of Stacking Drawer Box Diecut and placed between cutting plates and run through the Diecut Machine.

I placed the Stars Art Screen on top of the “sleeve” of the Stacking Drawer Box Diecut and inked an Art Dauber with Peacock Pigment Ink from the Taos Petal Point Collection and ink over Stars Art Screen. Once I got the area I was stenciling covered I removed the art screen.

Next I placed the Lattice Art Screen on top of the front of the drawer diecut. I inked an art dauber with Chianti Pigment Ink from the Taos Petal Point Collection. I only inked the front of the “drawer” since that would be the only area seen. Once I completed that I removed the art screen.

I put the sleeve and drawer diecuts together according to directions on the diecut packaging. I cut cording long enough to tie a bow around drawer to keep closed. Next I cut s strip of blue cardstock and adhere around the center of sleeve and adhered red ric rac around blue cardstock.

I inked the Doll Faces Rollagraph with Wicked Black Pigment Dye Ink and rolled onto a piece of Watercolor Paper. I selected the side view face and cut out. I saved the other images for future projects. 😊

I inked the glass tray, added water and painted the face image with the following Inks: Mermaid Paintbox Collection: Face-Papaya Cream, Lips, highlight cheeks and side of nose with Berry. Taos Petal Point: Eyes-Turtle and Hair-Amber. 

I added a blue cardstock mat to the girl image and added Foam Pop Dots to back and place on top of drawer.

I adhered a piece of red tulle behind girl image and added buttons, stars, sequin and red flat back pearls to the top of drawer.  

I also added a cancelled U.S. postage stamp to upper corner of box for some visual fun. As always if you have any questions about this project please let me know.

SUPPLIES

ColorBox:Art Daubers

ColorBox: Stars Art Screen

ColorBox: Lattice Art Screen

Glass Tray
Sizzix/Eileen Hull: Stacking Drawer Box Diecut

Beacon Adhesive: Zip Dry Adhesive 
Buttons: Red, White and Blue
Red Ric Rac
Red Pearls
Cancelled Postage Stamp
Blue Sequin
Red Tulle
Clear Stars
Scrap of Blue Cardstock
Cording
(Products listed above are Affiliated Links for your convenience)

Thanks for stopping by, hope your Monday is wonderful and enjoy creating!