"Hope" Chest

Hi everyone! I am here to share another project I created for Breast Cancer Awareness month. I used Eileen Hull’s  Train Case Diecut for this hope chest. I cut the case from mat board and the following Canvas Corp cardstocks: Pink and Ivory Ribbon Stripe, Pink and Ivory Toile and Pink Lemonade Thickstock and put together according to the directions. The Pink Lemonade Thickstock was used for the top lid which I embossed with Brenda Walton’s Floral Tapestry Embossing Folder (retired).

Instead of using the diecut closure (hinges included too) that comes with the Train Case I added this closure that I purchased from Hobby Lobby.

The hinges I have had for several years and I am just now getting around to using them. I also adhered pom pom trim around the lid and base of the case. 

I glued trim and flat back pearls to the inside.

The top of the lid I decorated with two diecuts (Tim Holtz: Spring Greenery, Brenda Walton:Medallions…retired),store bought paper flowers, tulle and twine. I did punch out flowers from the Yellow and Ivory Mini Dot Reverse and 80 lb. Ivory cardstocks which I shaped added sequins and a  Dew Drop to the center of each one. The ivy and twigs are from the Spring Greenery Diecut which I cut from the Gypsy Moments: Take Our Breath Away Cardstock. I did ink the ivy with chalk ink for a deep green color around the edges of the leaves. The twigs I added sequins and Crystal Stickles to the center of each sequins. I foresee me creating several more of these little train case in the future. 
If you have any questions about this project please let me know.

Thanks for stopping by, hope your Tuesday is awesome and enjoy creating!

Thank You, Flowers and a Bird Nest

Hi everyone! I am here to share a quick card I created for a challenge over at Crafty Secrets August Challenge. I clipped from the Birds and Blossoms printable the little girl with bird nest image and  adhered to a 4″x6″ card base which I cut from the Heartwarming Vintage Collection Pastel Paper Pad. I glued a variety of strips of cardstock to the front of the card along with the little girl image.

I added paper flowers and other bits and baubles to finish of this adorable thank you card. If you have any questions please let me know.

Thanks for stopping by, hope your Sunday is awesome and enjoy creating!

Wedding Bliss

Hi everyone! I am here to share a mini album I created for a friend to give as a wedding gift. The colors of the wedding are a mix of mint green, pink, gold, cream and it also had to have a vintage feel to it.
The wooden frame I have had it for several years and finally found a use for it. I painted it with Tattered Angels Decor and DIY Ivory. This I used as the cover for the album. I used several different embellishments I had on hand. I so loved how the cover looks. 

I cut from both of the following collections:  7 Gypsies: Harmony and My Mind’s Eye: On Trend…12 pages…some I mounted to mat board with the Album Cover and Page diecut. I also used the Scalloped Envelope and Large Scalloped Square (both retired Sizzix) from Stamping’ Up. The Scallop Square was used as the back cover for the album.

I LOVE the dress form and how it turned out! I fussy cut that from the Harmony Collection and bunched up tulle which I tied off with thread and embellished with a tiny flower and a tiny heart shaped gem.

There are several pockets and tuck spots which I stamped tags with the Happy Ever After stamp set.

I used Small Antique Silver Rings to attach all of the pages together and finished off with ribbon and lace.
Here is a short video that shows all of the pages. 🙂
There you have it. I am really please with how it turned out.
If you have any questions please let me know.

Thanks for stopping by, hope your Wednesday is awesome and enjoy creating!

Collect Moments not Things

Hi everyone! I am here to share a project I created  from a 5″x7″ Kraft card and envelope for a friend who loves to journal. I turned the card base into a journal and the envelope into a cute little pocket which can be used as is or punch holes into the side and add to an album.

First I cover the envelope with the following cardstocks: Santa’s Journey: Comfort and Joy, American Vintage: Go and See and American Vintage: American Stamps (backside is decorated in this cardstock). I ran the denim fabric through the diecut machine and adhered vintage buttons, sequins and dew drops to the scalloped edge along with lace and Red Burlap on the corner of the envelope.
I added strands of Red Burlap, blue thread, lace,tulle, paper flower, pearl spray and a large button with a seal punch from Red and Ivory Mini Dot Reverse cardstock with a sentiment from the American Vintage: Go and See Cardstock and framed that with a piece of Navy and Ivory Mini Reverse Cardstock that I cut into a banner.

The 5″x7″ card I rounded the corners and from the fold of the card I measured 1/4″ two time on each side of the fold and then scored to create a flexible spine. Next I inked the edges and cut and adhered the following cardstock to the front: Epicurean: Pomodoro, Little Red Pages on Kraft and Navy and Ivory Mini Reverse Cardstock. To create the post card I cut from the following cardstocks: American Vintage: Wish You Were HereAmerican Vintage: American StampsAmerican Vintage: Go and See Cardstock and Red and Ivory Mini Dot Reverse cardstock to pull it together.

I took two of the American Vintage 4″x6″ Printed File Folders and cut the tabs off (I punched and added my own tabs) then I cut ten sheets of grid paper for each folder and pamphlet stitched into each one with bakers twine.

Next I measured the folders and marked places for holes in the “folds” (top and bottom) of the spine of the card cover and then punched holes in the spine. Then I ran elastic through the holes and tied off on the inside. Then take the back cover of each folder and slid under the elastic. You can create more folders which can be added if you like.

Also you could decorate a larger envelope and add smaller cards with envelopes for a great gift too.
If you have any questions about this project please let me know.

Supplies Used:
Chalk Ink
Paper Flowers
Lace
Buttons
Sequins
Dew Drops
Blue Thread
Bakers Twine
Hole Punch
Needle 
Elastic
Thanks for stopping by, hope your day is awesome and enjoy creating!

Everything is Better in Flip Flops!

Hi everyone! I am here to share a quick project I created for Eileen Hull’s Art with Heart Challenge which ends in a few hours…yeah I was at the last moment too the month before. 😉
I used the retired Sizzix Flip Flops Card diecut, Cookie, Box diecut and Mat Board to create this fun little container for a friend that loves all things Summer, flip flops and beach related stuff. 

The flip flop card I cut at the fold to create the top and bottom of the container and the cookie box “walls” I cut out one whole section and half of another which I used only three folds of that.

Here is a peak at the inside of the container. I used a variety of retired cardstock from My Mind’s Eye and Creative Imaginations…I love the vibrate colors.

I finished off with a paper flower which I embellished with a button, gem, sequins and dew drops…my favor go to’s. 🙂
Now all I have to do is add a little goodie inside and this will be ready to give to my sweet friend.

If you have any questions please let me know.
Thanks for stopping by, hope your Monday is awesome and enjoy creating!

Robin’s Nest: Love Makes my Tea Cup Over Flow

Hi everyone! I am back as a guest designer this month for the Robin’s Nest. I want to share a quick project I created using a sheet of the Lips Glittered Cardstock which I printed this  Tea cup and Saucer printable on to it. It is a very easy project to do. All you have to do is, of course, print and then cut the cup and saucer out and glue together. For more photos and how to please check out the Chattering Robin’s blog!

Thanks for stopping by, hope your Saturday is awesome and enjoy creating!

What is in your stocking?

Hi everyone! I’m here to share an ornament I had actually started last Christmas but with all the craziness and such that normally goes on around this time of year I didn’t finish it. Well I did get a complete of photos of me starting the process though. 🙂

The stocking ornament is from SmoothFoam which I had received last year for a blog hop that the Robin’s Nest and SmoothFoam was hosting together. 
I started by lightly sanding and applying a coat of gesso which once dry I painted the stocking with red acrylic paint. I cut the cuff of the stocking from White on White Classic Glitter Swirl Cardstock. I  applied antique Mod Podge to the stocking and then sprinkled glitter all over. Once dry I painted one of the packages, added some lace around the cuff and I put it away for the year.
I dug it out and this is how I finished it off. I used some Prima poinsettias and added a sequin and dew drop to the center for an elegant look.

I added a mini bottle brush tree, along with bells, pearl sprays and miniature Christmas lights.

I finished off with a little gold trim and a holly leaf.

Don’t you think it looks lovely on my four foot tinsel tree I got for 66% off at Hobby Lobby last year. It was a floor model and pre-lit. It reminds me of my great grandmother’s tinsel tree but hers had a color wheel with it. I remember sitting at her house at Christmas time watching the tree turn different colors…such great memories. 🙂

If you have any questions about this project please let me know.

Thanks for stopping by, hope your Monday is awesome and enjoy creating!

Holly and Gingerbread Men

Hi there! I’m here to share a really quick project I created using the Bigz XL Matchbox diecut which I had got several years ago from Stampin’ Up! As you can tell I’ve been on a matchbox kick. 🙂 I love decorating and filling them with crafty goodies. 
This one though I plan on filling with candy and adding it with other gifts for Christmas. I haven’t decided if it will be a stocking or what yet. Last year’s gifts I stuffed gloves with goodies and the year before that was oven mitts. I like things that can be used afterwards instead of being put away until the next Christmas. 🙂

Also I am submitting this project for Eileen Hull’s  November’s Art with Heart: Favorite Recipes Challenge. 

If you have any questions about this project please let me know.
Thanks for stopping by, hope your Friday is wonderful and enjoy creating!

Robin’s Nest: Holiday Fun

Hi everyone! It’s me and I’m here to share my project I created for the Robin’s Nest using the Christmas Collection. Also the altered art design team is cross promoting with Walnut Hollow. I picked the Contemporary Memory Album as my project to alter and this is what I came up with. For more information and photos please check out the Chattering Robin’s blog.
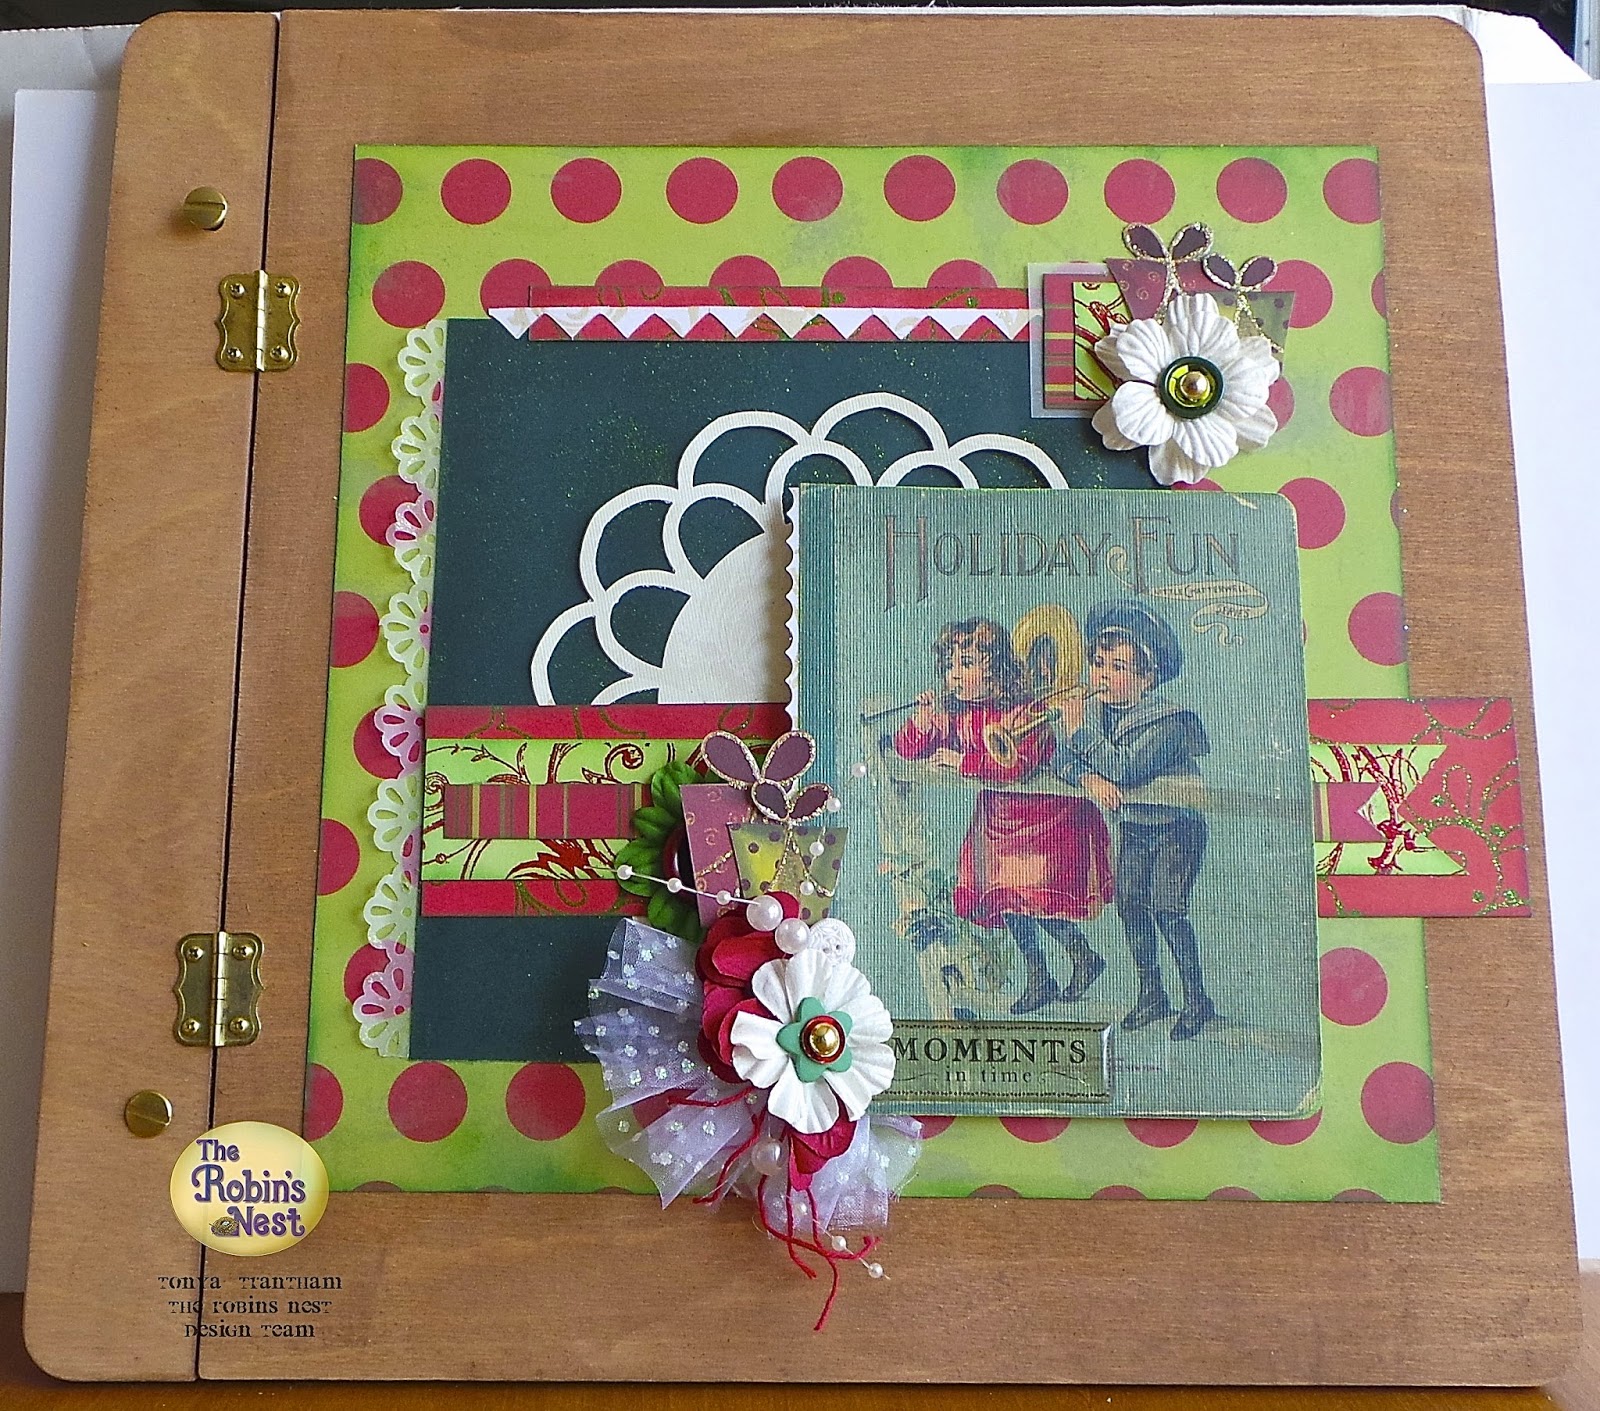
Thanks for stopping by, hope your Sunday is awesome and enjoy creating!