Step-by-Step Guide to an Embossed Glue Book Using Keys Folder

Hi everyone! I’m back with my first project of the month for Eileen Hull. The theme this month is anything embossed. I’ve had this book in my stash of unfinished projects which I started over two years ago. I’ve been plugging along on the inside pages and hopefully be finished soon. But I thought I could at least show how I completed the cover. I used the Notepad Diecut which is retired. The Keys 3D Embossing Folder I used to emboss the cover. This embossing folder can be found in Eileen Hull’s Etsy Shop. Anyways, let’s get started!
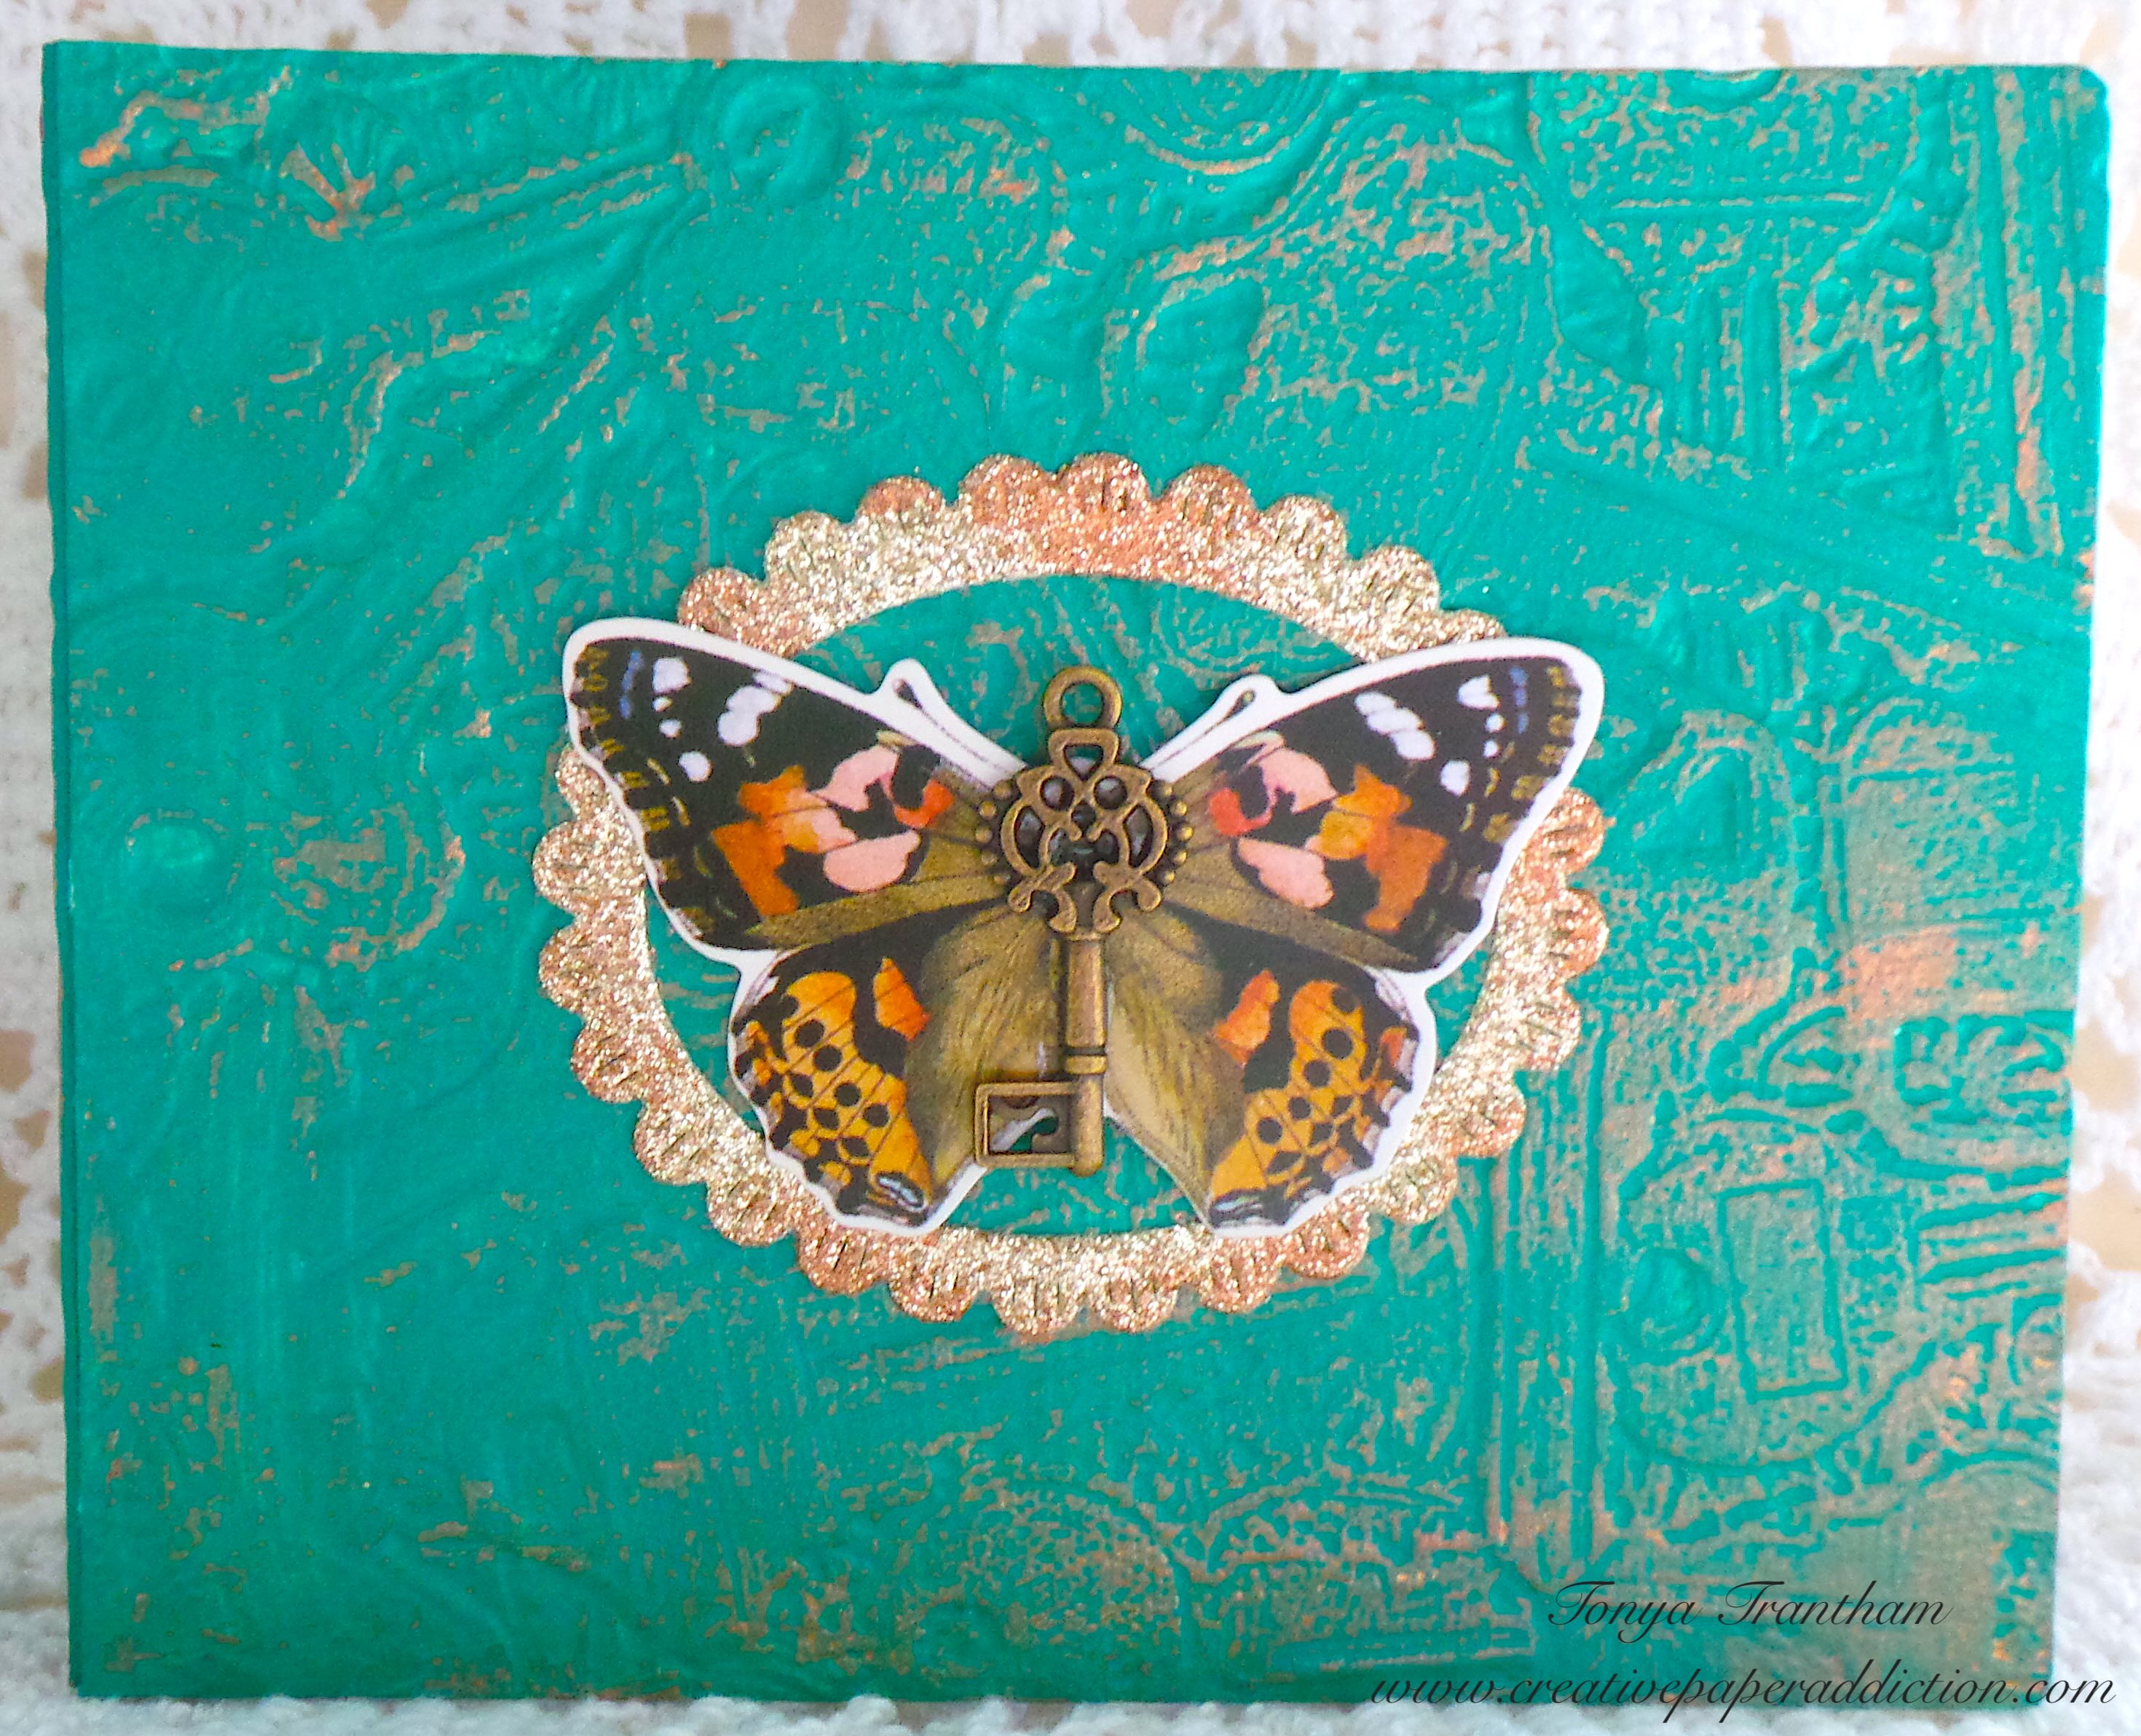
A decorated journal cover featuring an embossed teal background, with a butterfly embellishment and a key in the center, surrounded by a glittery frame.

First I cut two covers of the Notepad Diecut (retired) from Mat Board.

Two covers made from mat board for a notepad, one white and one a cream color, with visible score lines for folding.

I embossed both covers with the Keys 3D Embossing Folder.

Three embossed covers featuring intricate key designs, with a Sizzix packaging in the background.

I painted both sides of each cover with an acrylic paint. I have no idea of the color of the paint I used.

Two green book covers embossed with a key pattern, showcasing different angles of the embossed design.

I glued the covers together at the spine. I cut and adhered cardstock to the inside covers. I punched a total of four hole in each of the spine with a Crop-A-Dile.
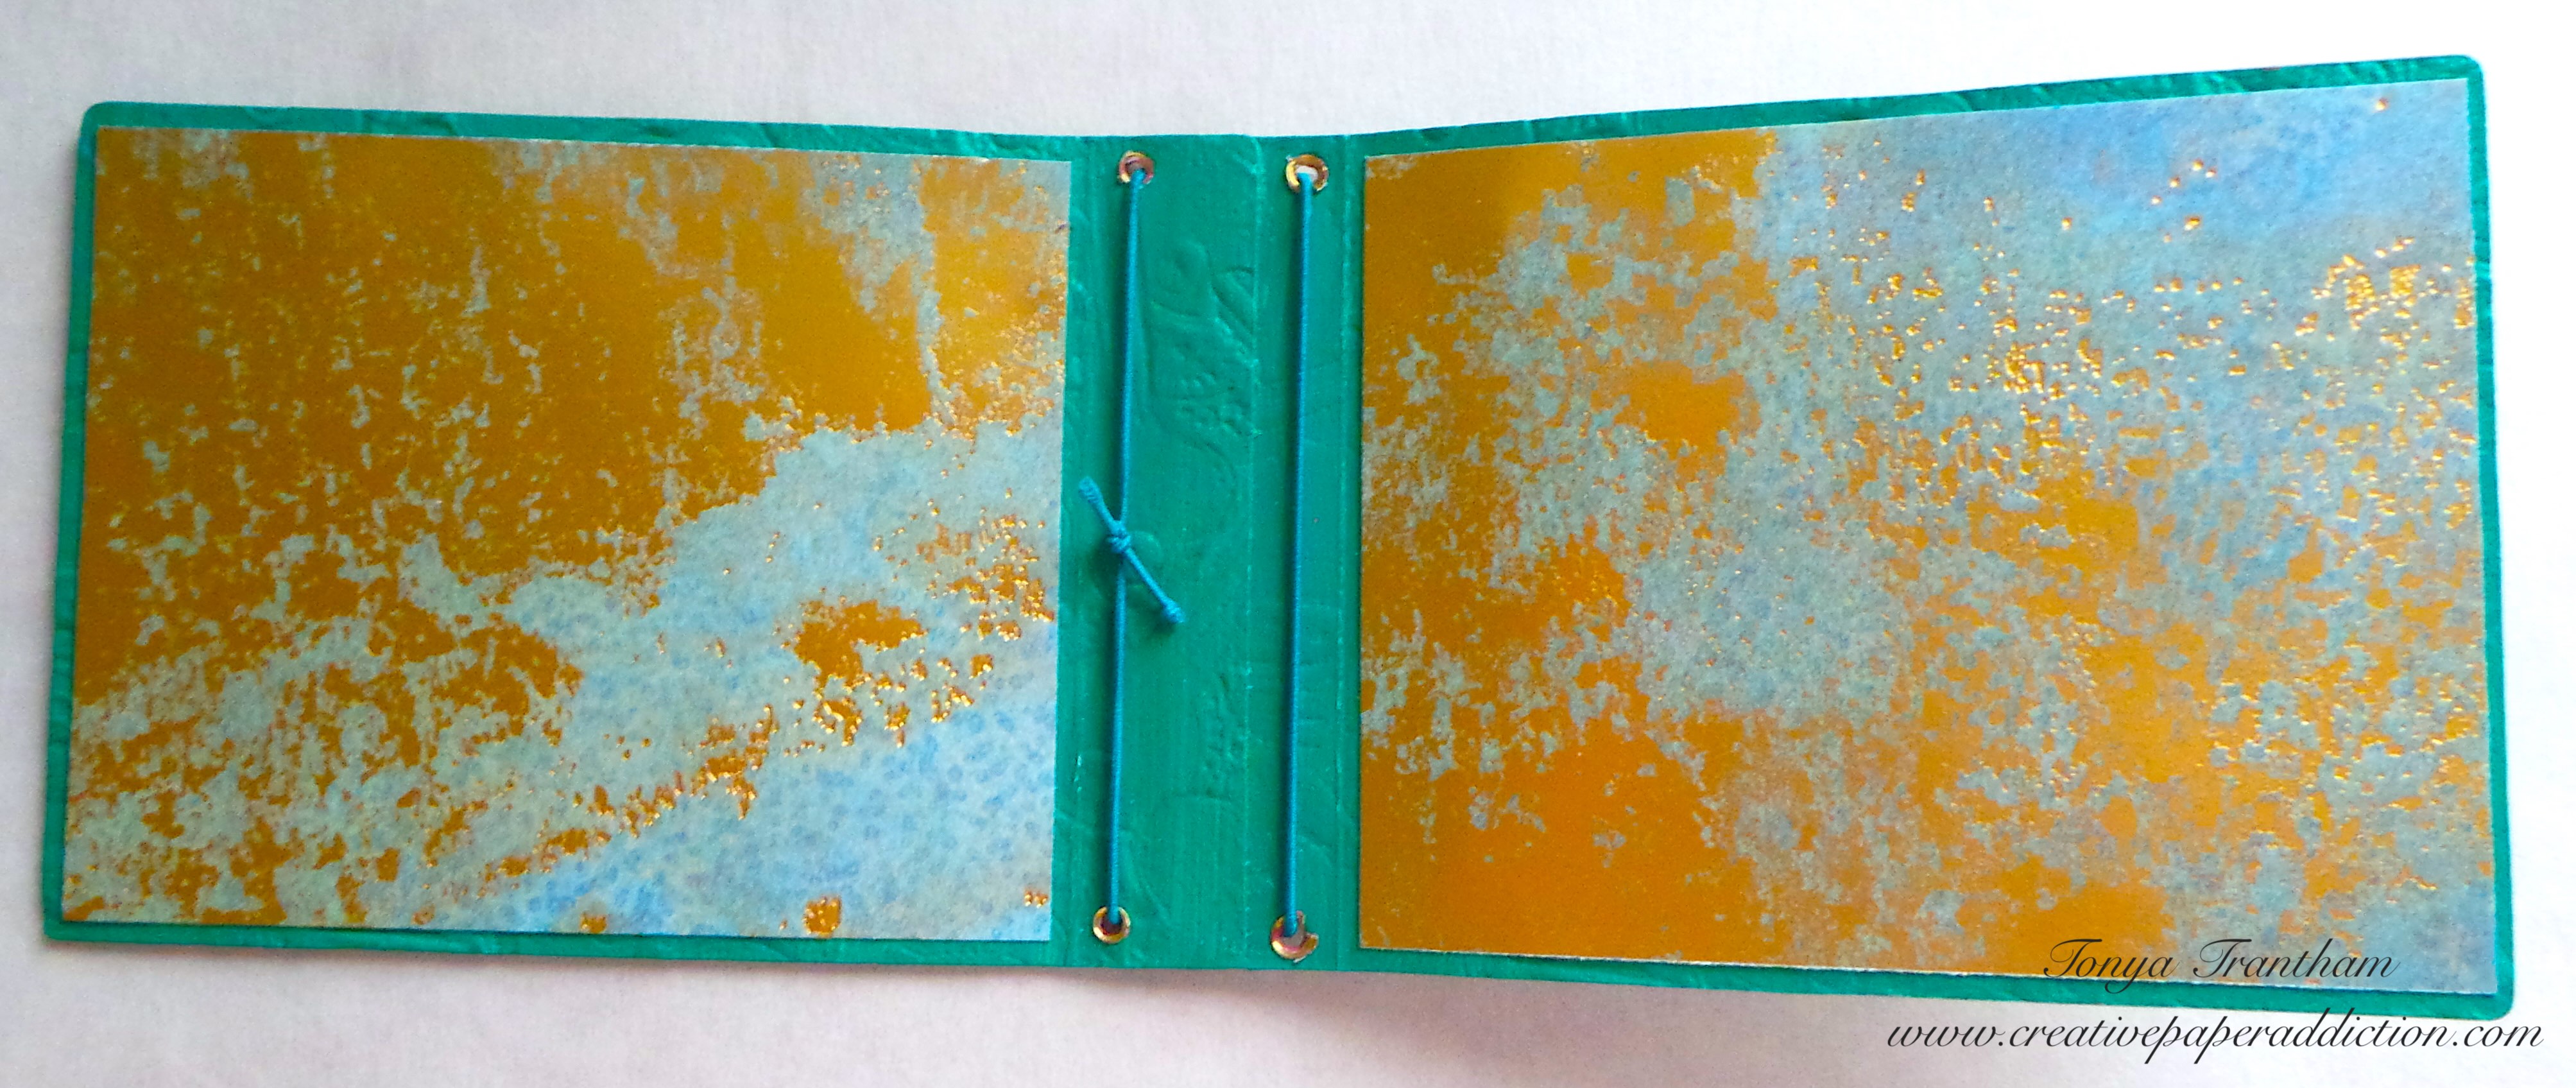
Opened journal cover with metallic gold and teal pages showcasing an artistic embossed design.

I set eyelets in each of the holes. I also cut elastic and strung through the holes and tied off on the inside of the spine. I applied Rose Gold Luster Wax over the embossed areas of the cover.
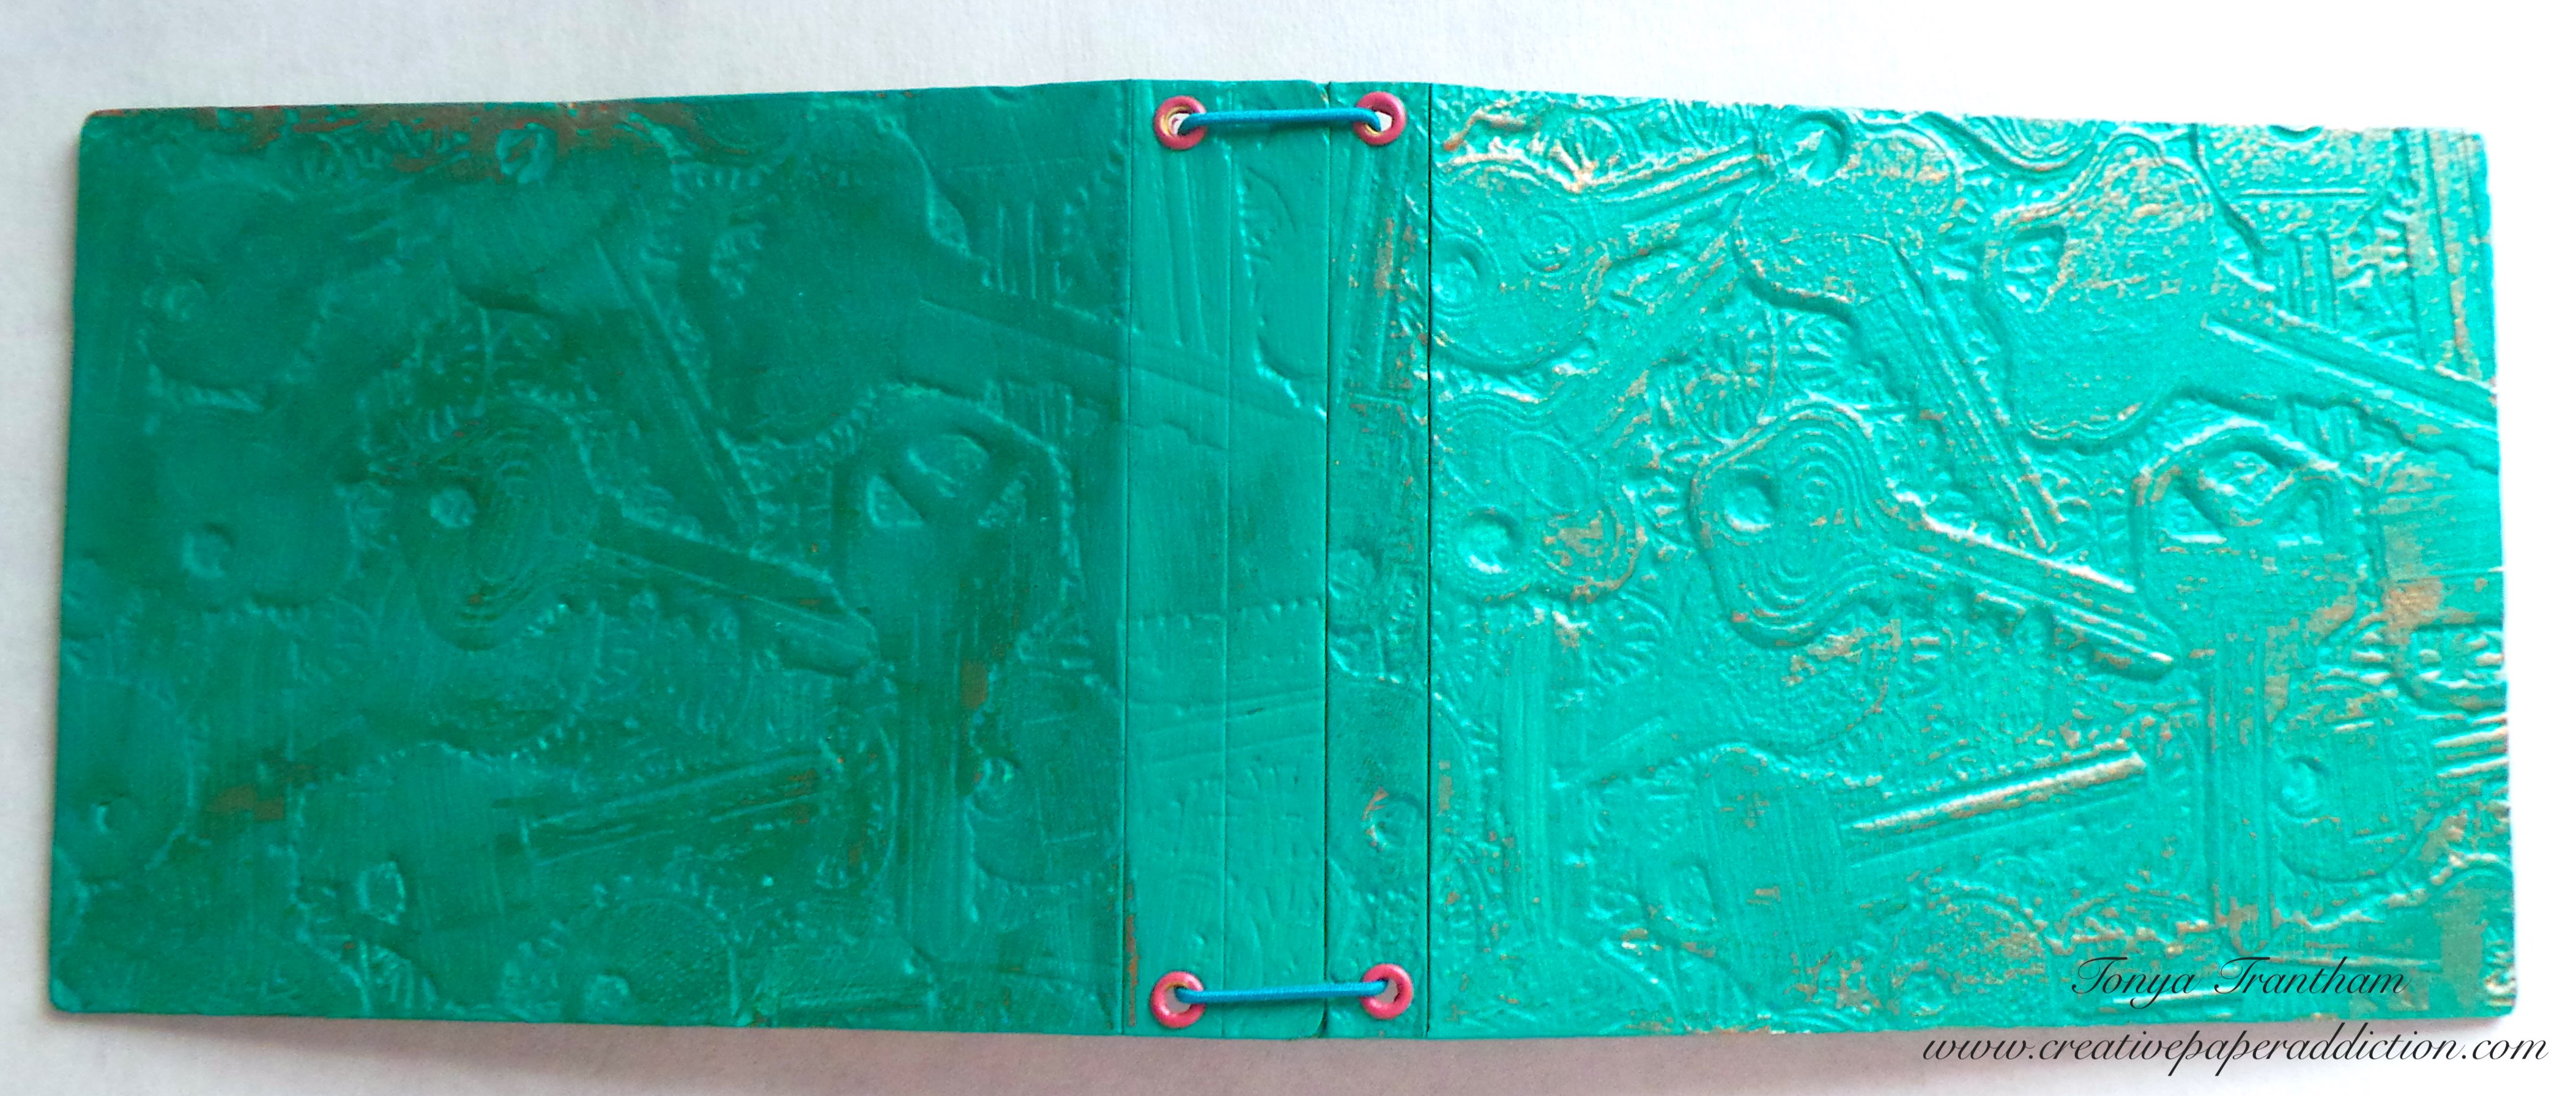
A completed book cover featuring a teal embossed design of keys, secured with pink eyelets.

I have blank journals that I had bought at Target several years ago. I cut two down to fit the inside.
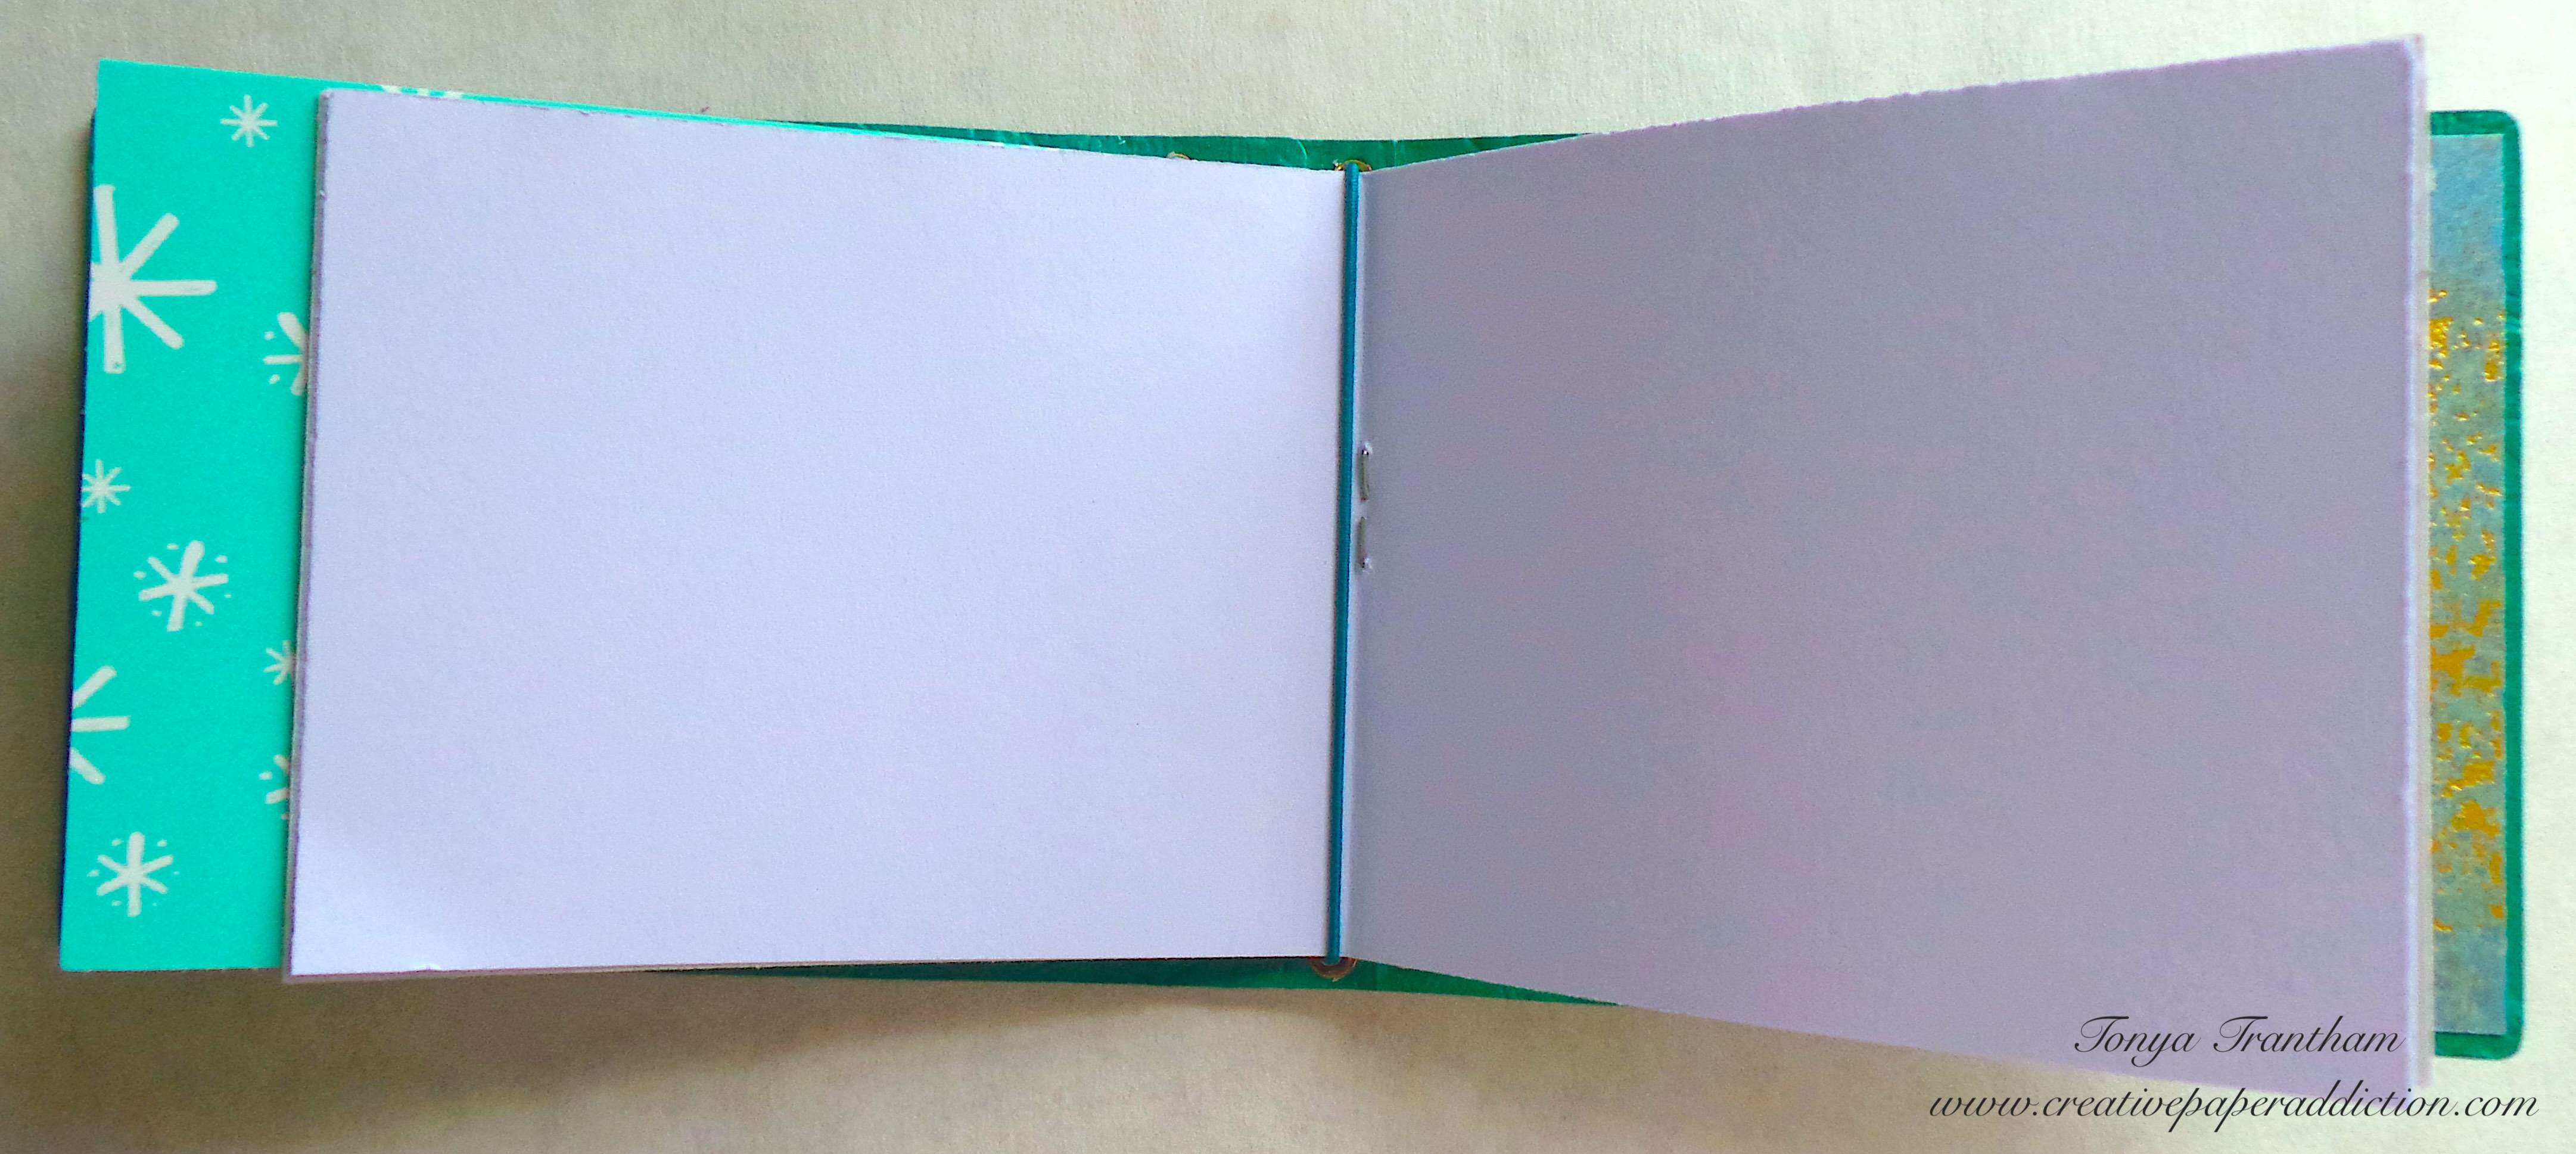
Open blank journal with patterned cover and white pages.

I opened the journals up to the center where it is stapled and slide under the elastic cording.

Side note, I know I have shared about making glue books in the past but would like revisit that thought. A glue book is similar to a junk journal. Anything can be added to them. You can include mail, book pages, clothing tags, etc to the pages. In my case, I like using up the scraps of cardstock I have laying around after finishing up a project. Like the title suggests you use glue to adhere everything to the pages. I hope this explanation helps.
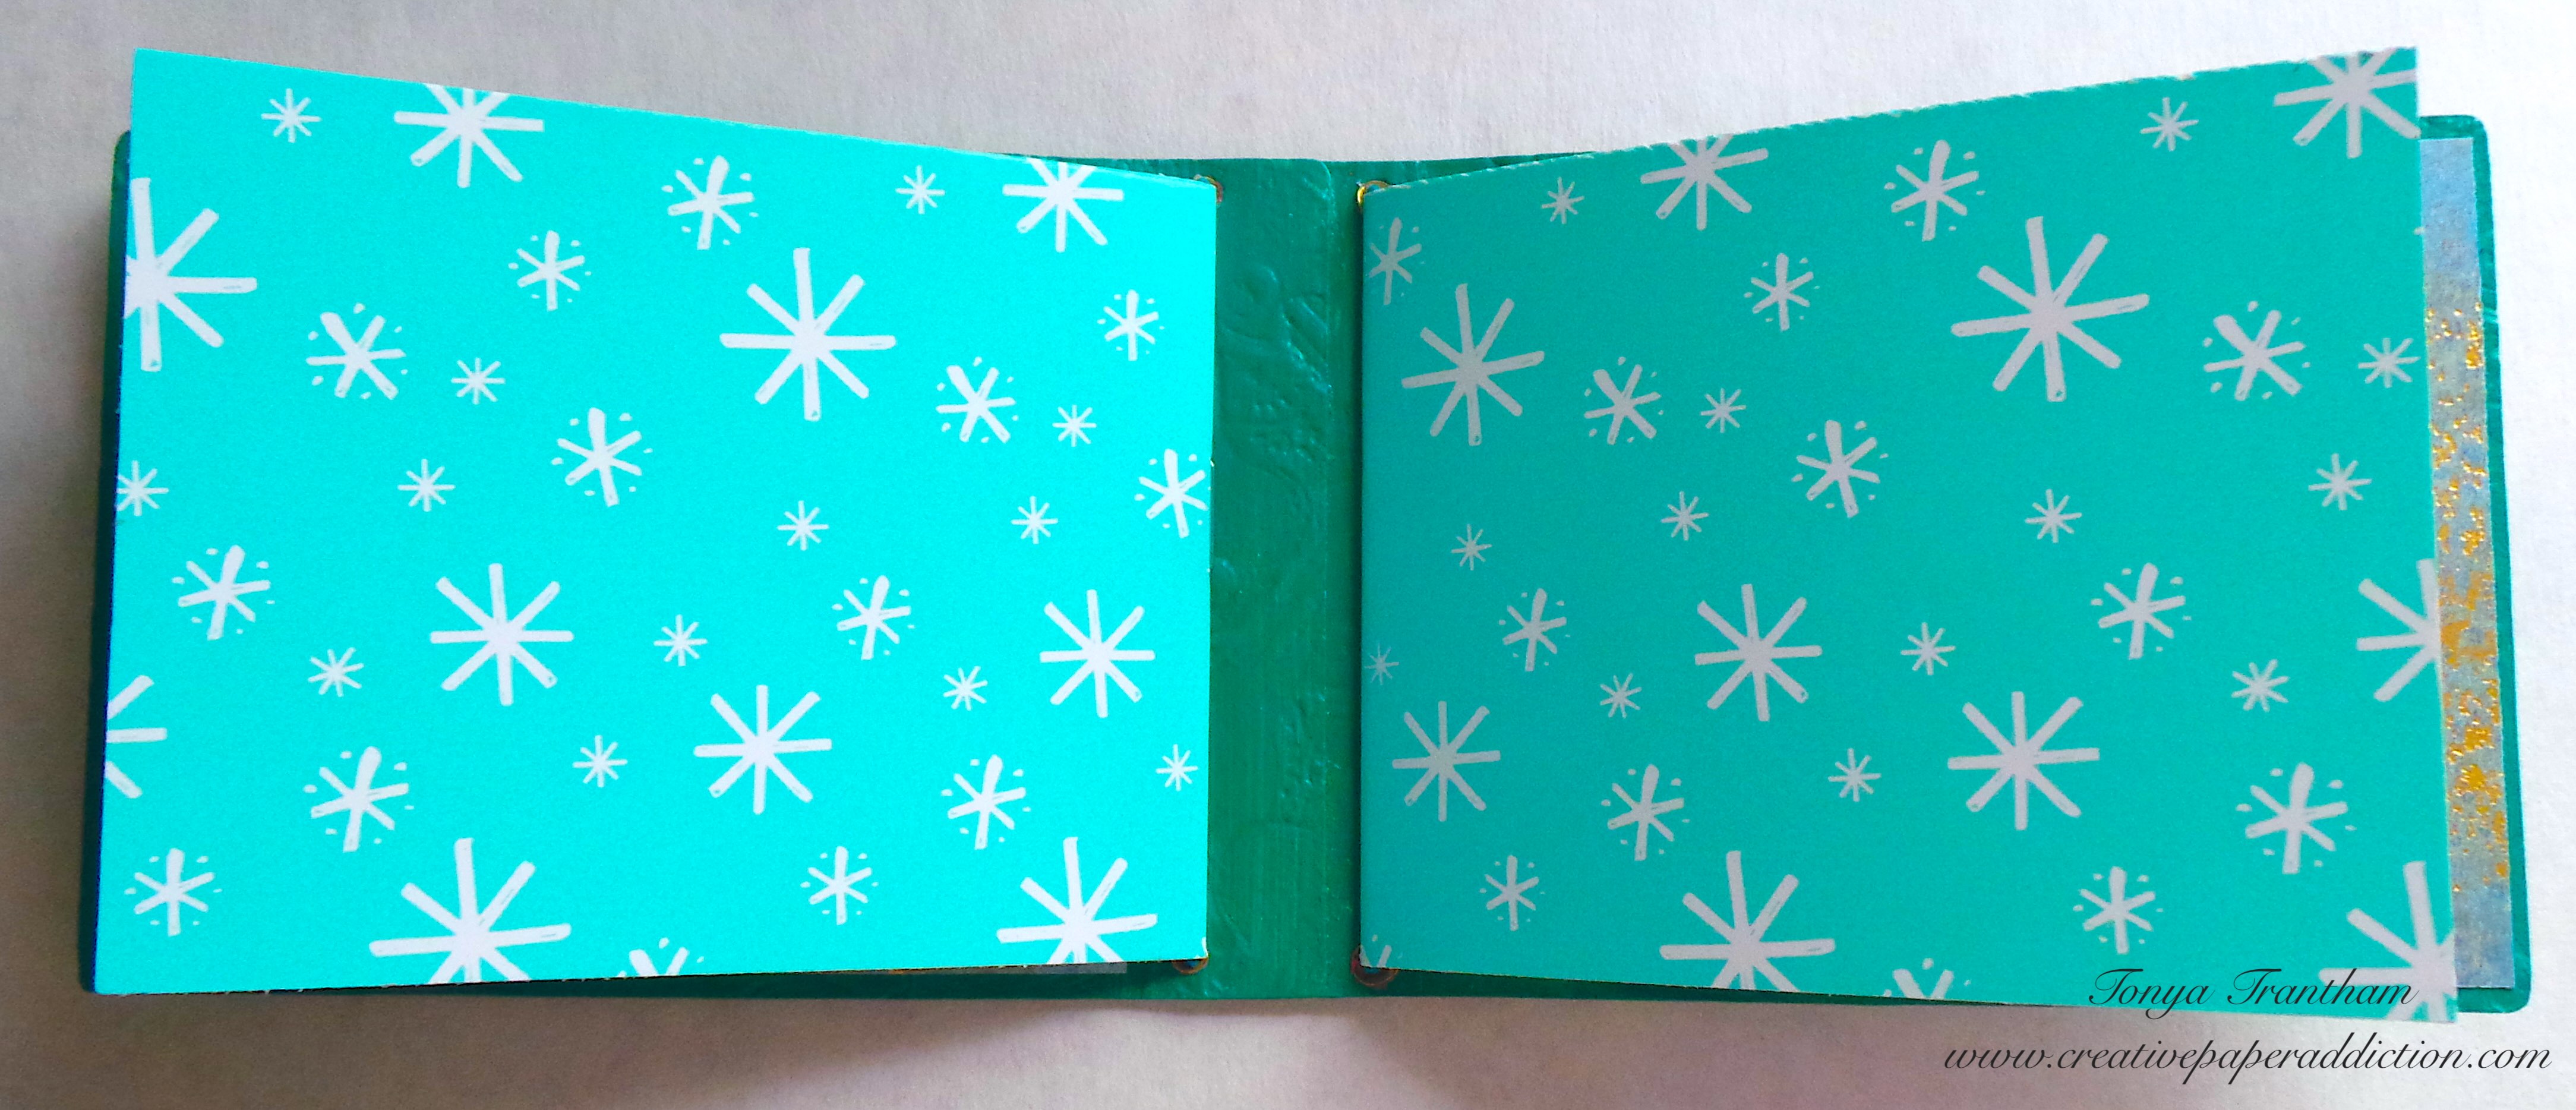
Open journal page featuring a bright turquoise background adorned with white snowflake-like designs.

Now back to the project, I pulled from my stash a butterfly chipboard piece, frame and key. I lightly applied Rose Gold Luster Wax to the frame.
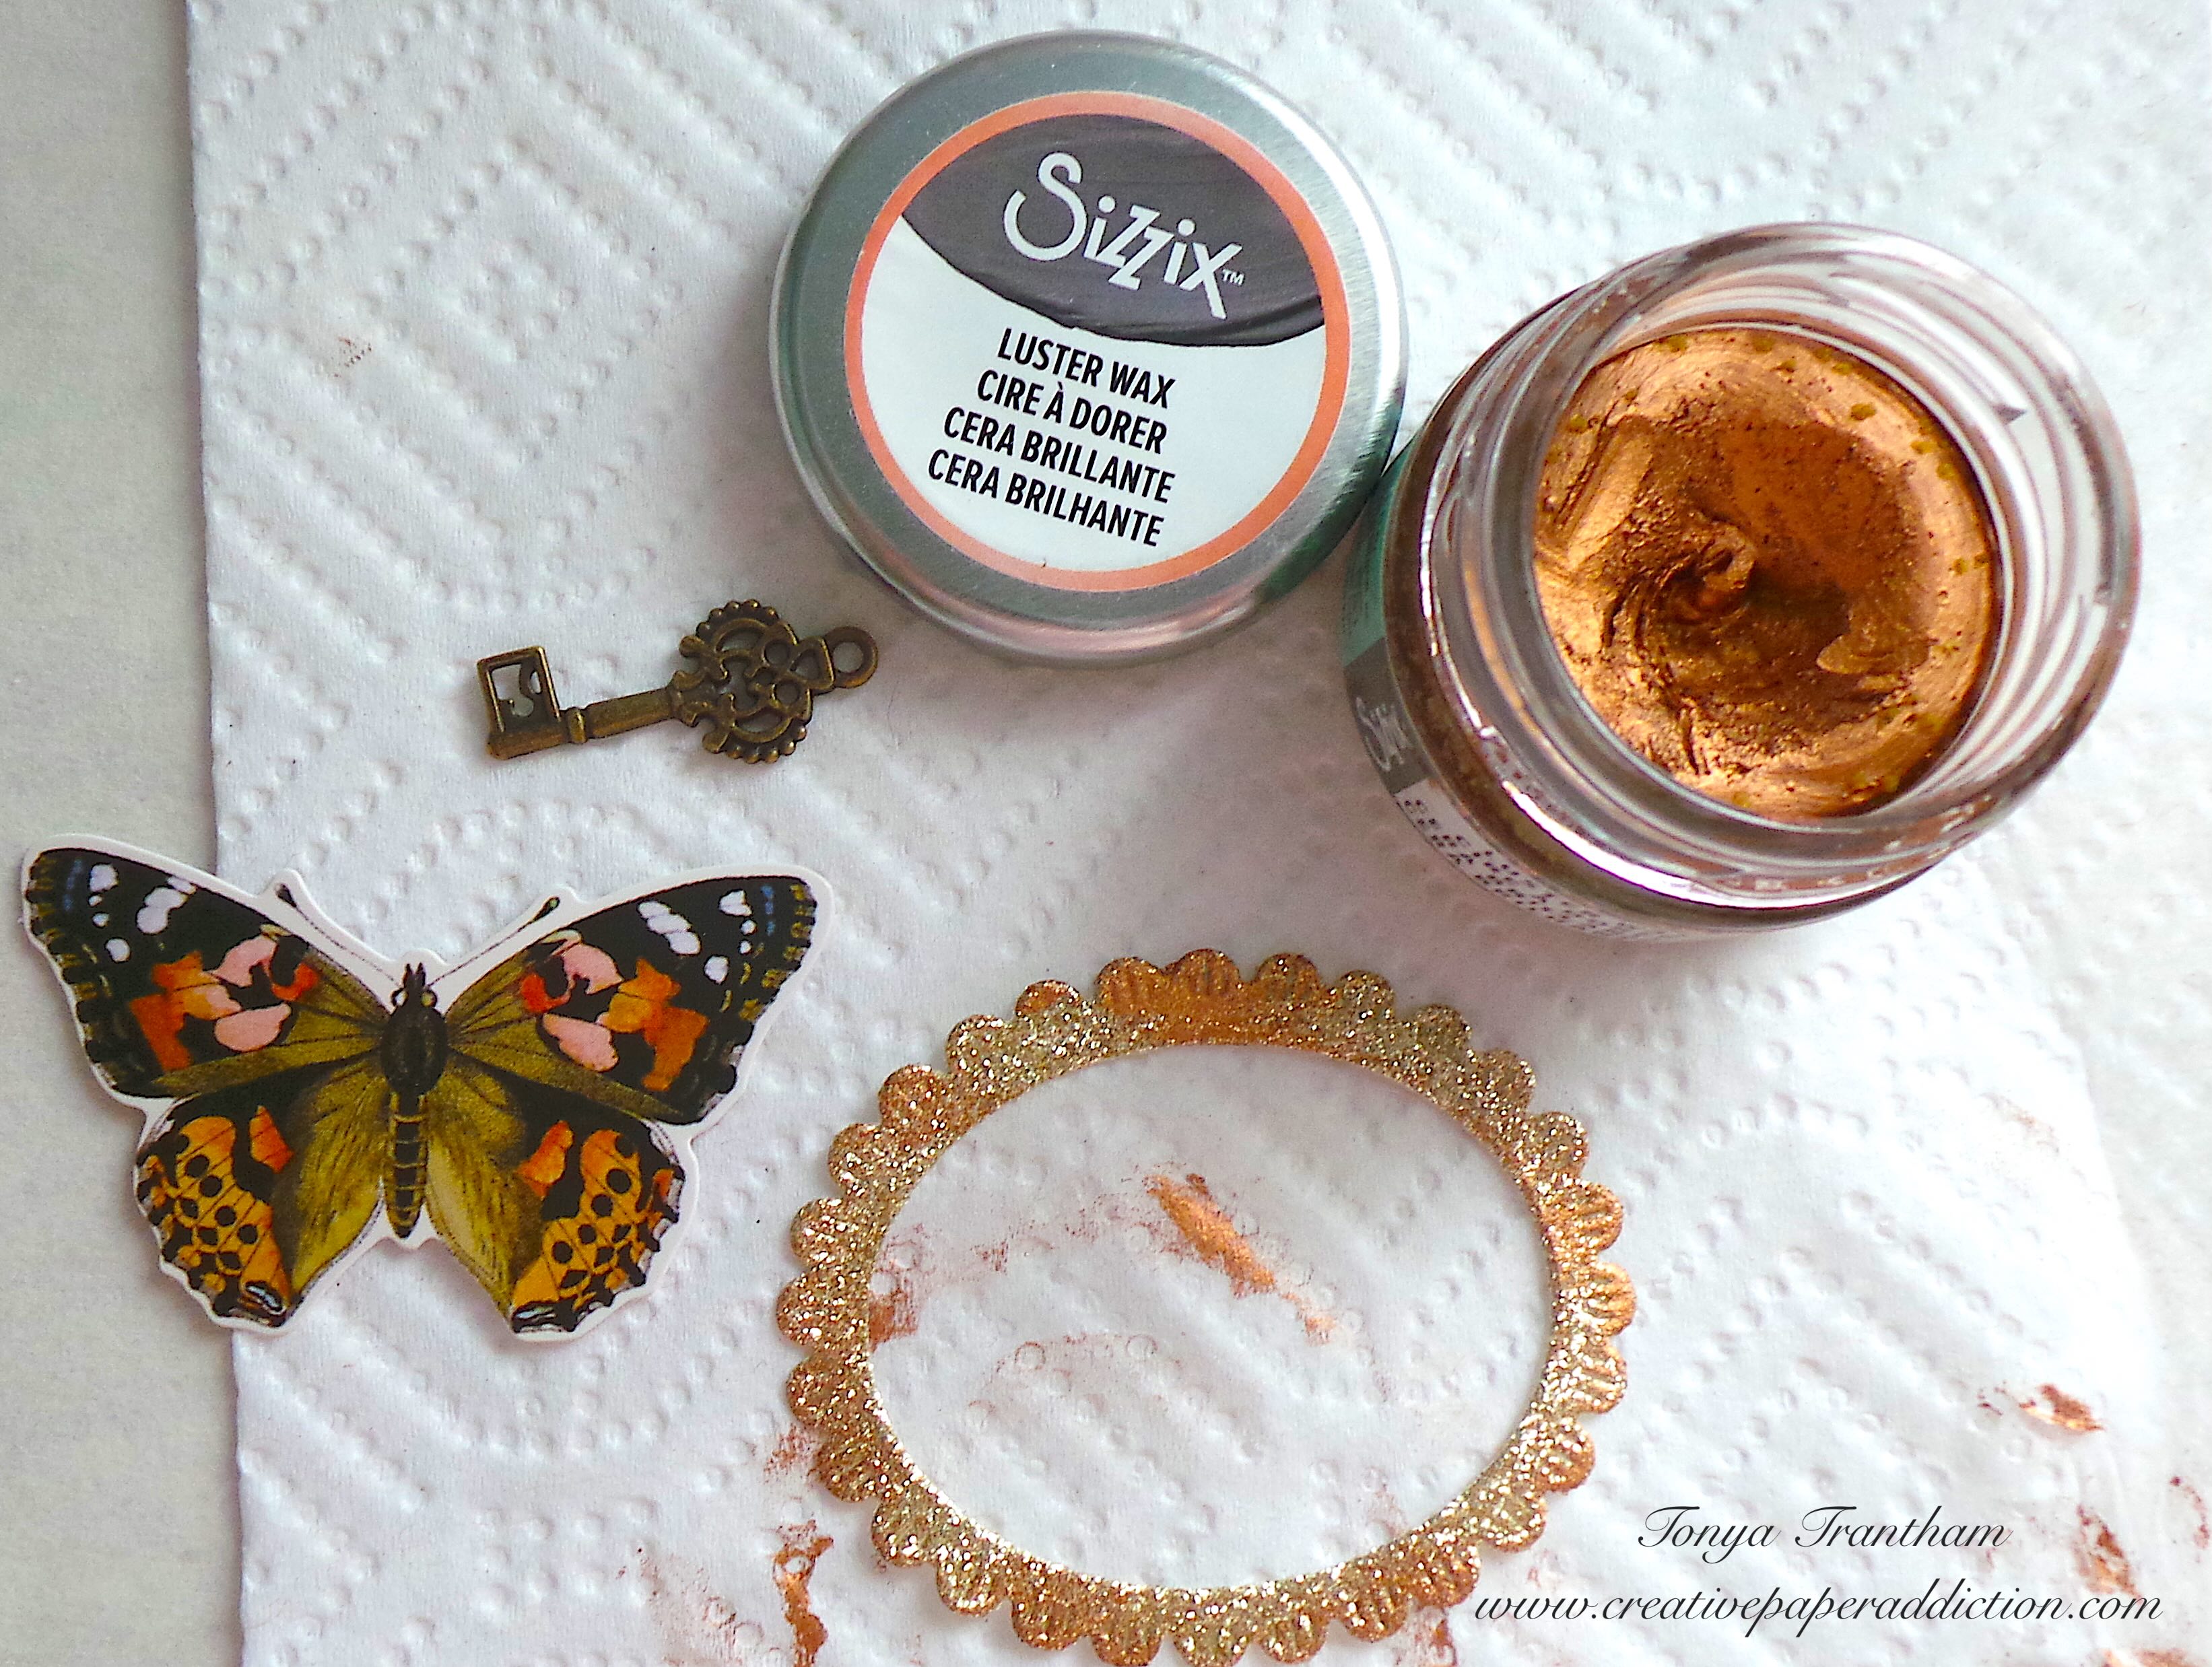
A butterfly chipboard piece, a vintage key, and a jar of Sizzix Rose Gold Luster Wax displayed on a white paper towel with a decorative gold frame.

I adhered the frame and butterfly to the cover. I glued the key to the center of the butterfly to finish. I hope to share the inside of the glue book later with a blog post and a flip through.
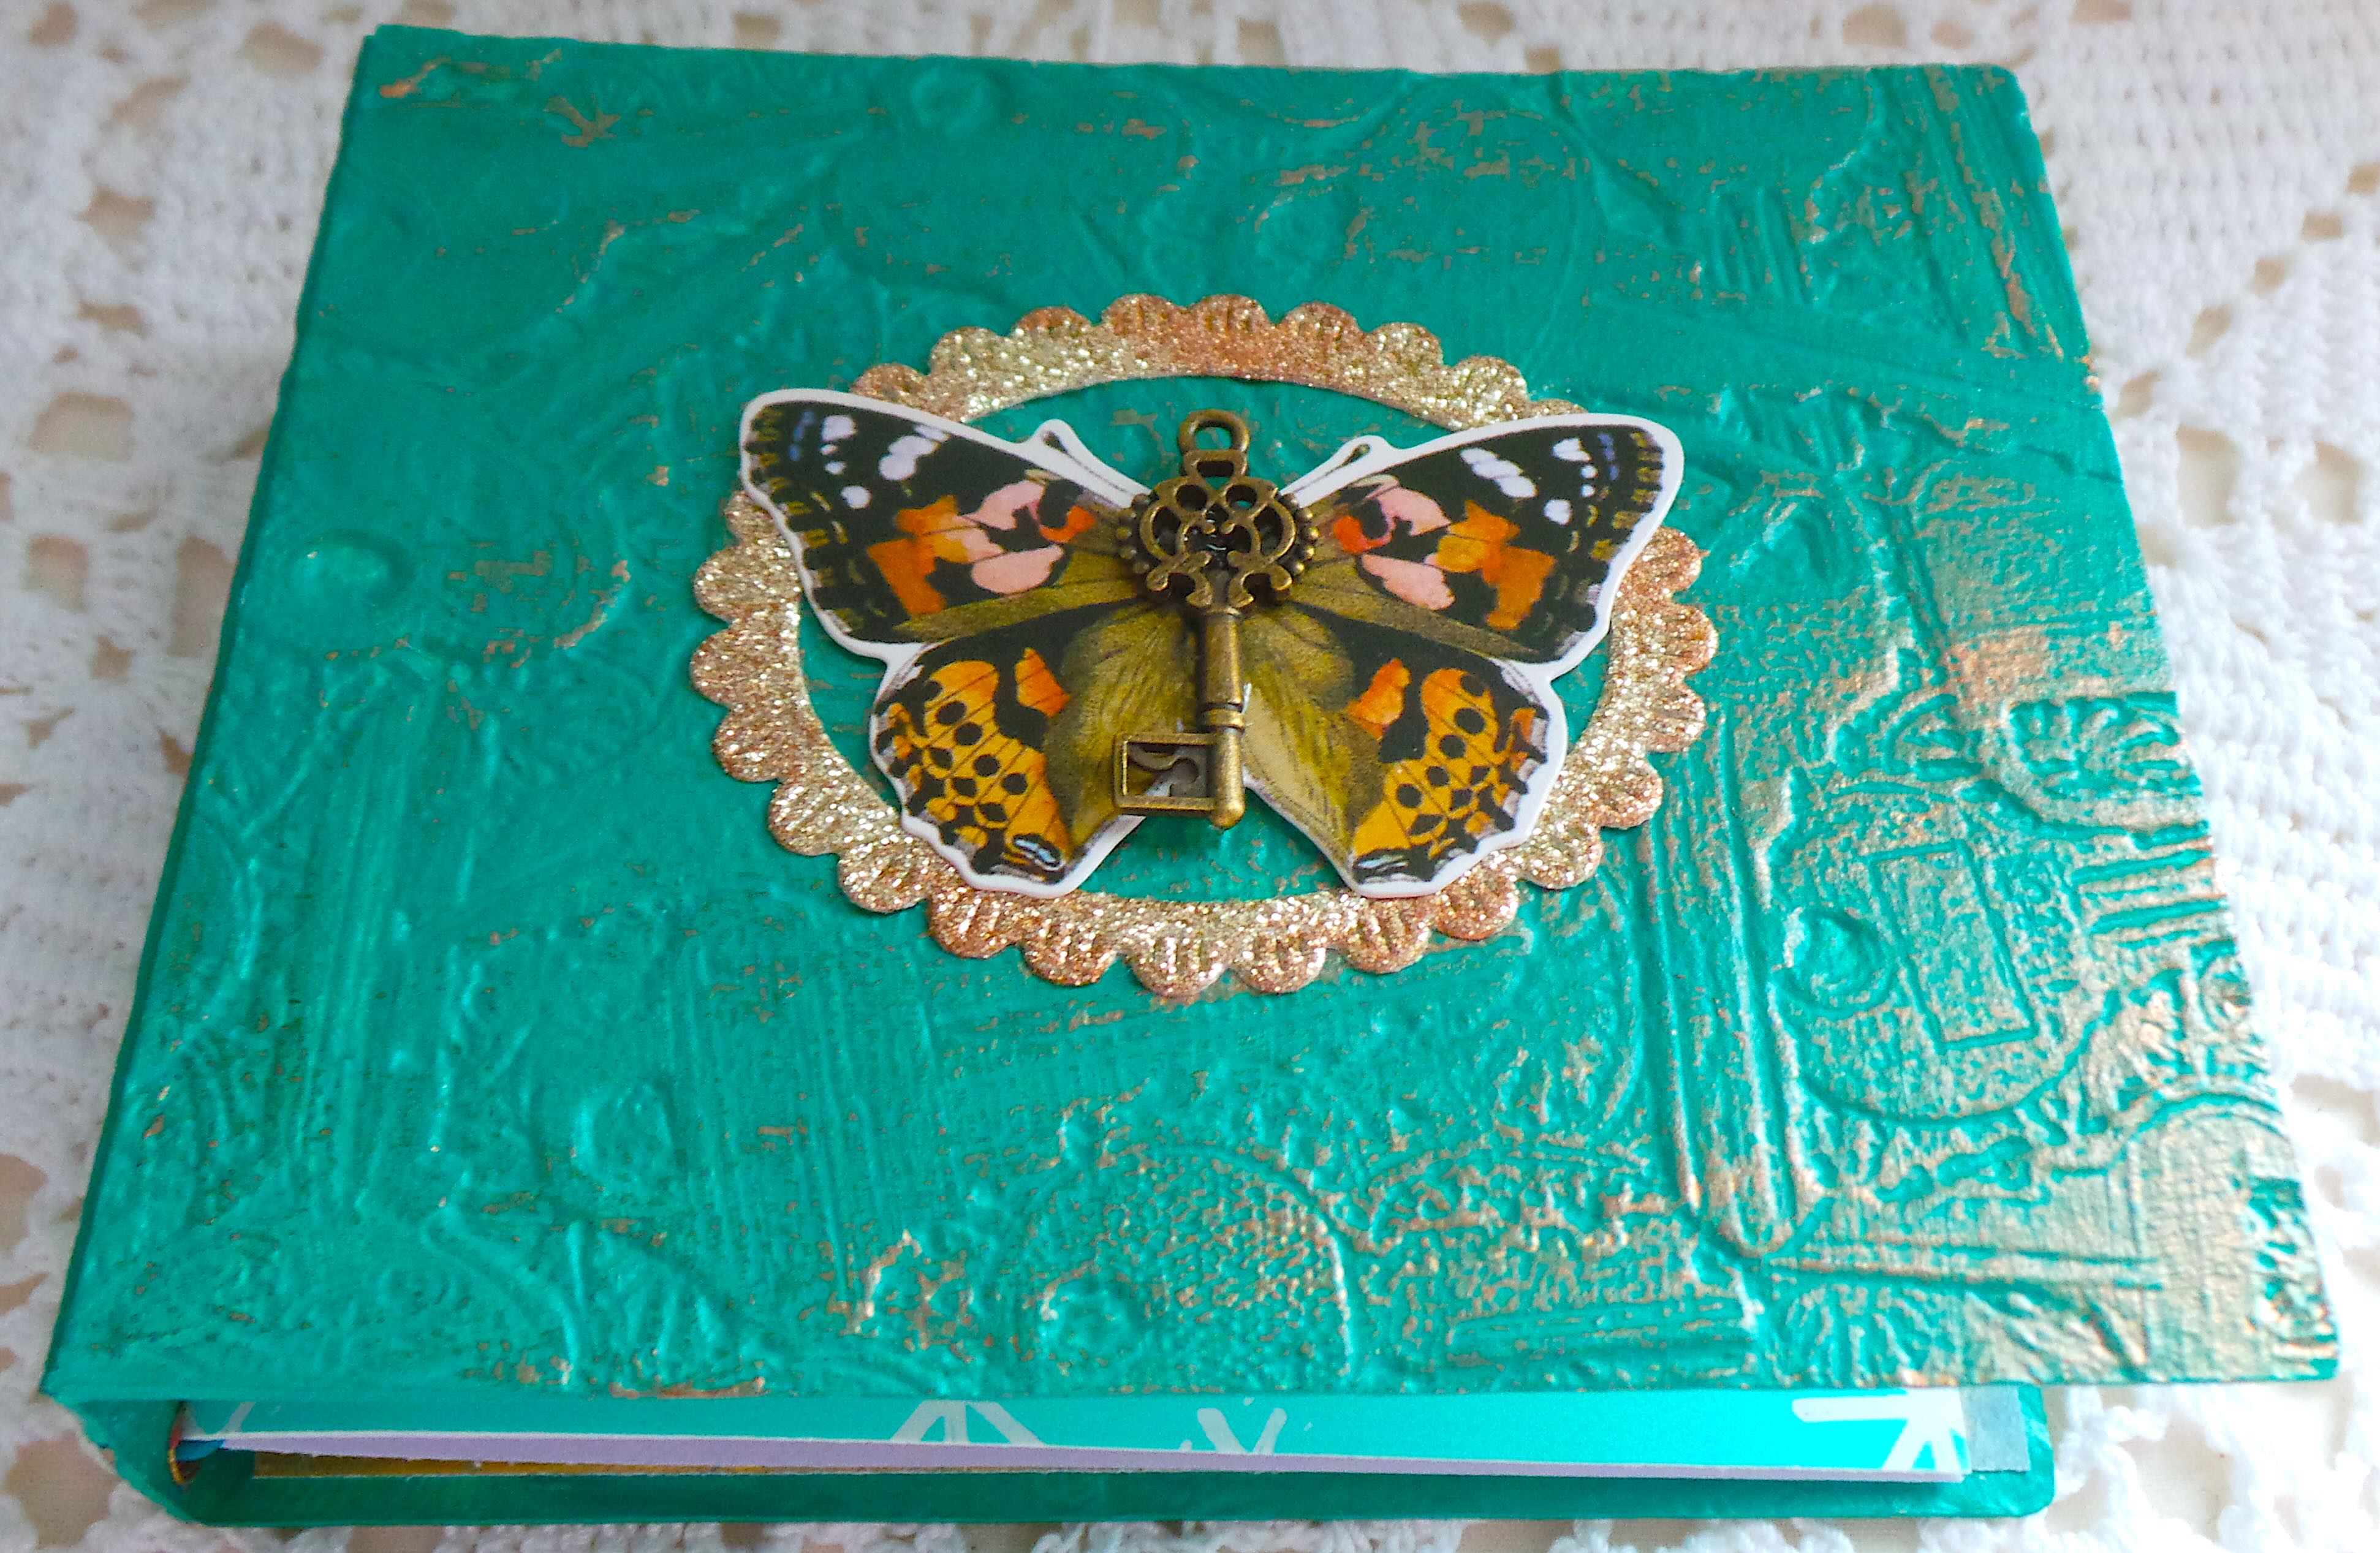
A decorated journal cover featuring a turquoise embossed design, with a butterfly embellishment and a key positioned at the center of a glittery frame.

If you haven’t been by Eileen Hull’s blog lately you can find the latest posts HERE and HERE. Also if you have any questions or comments please leave them below.
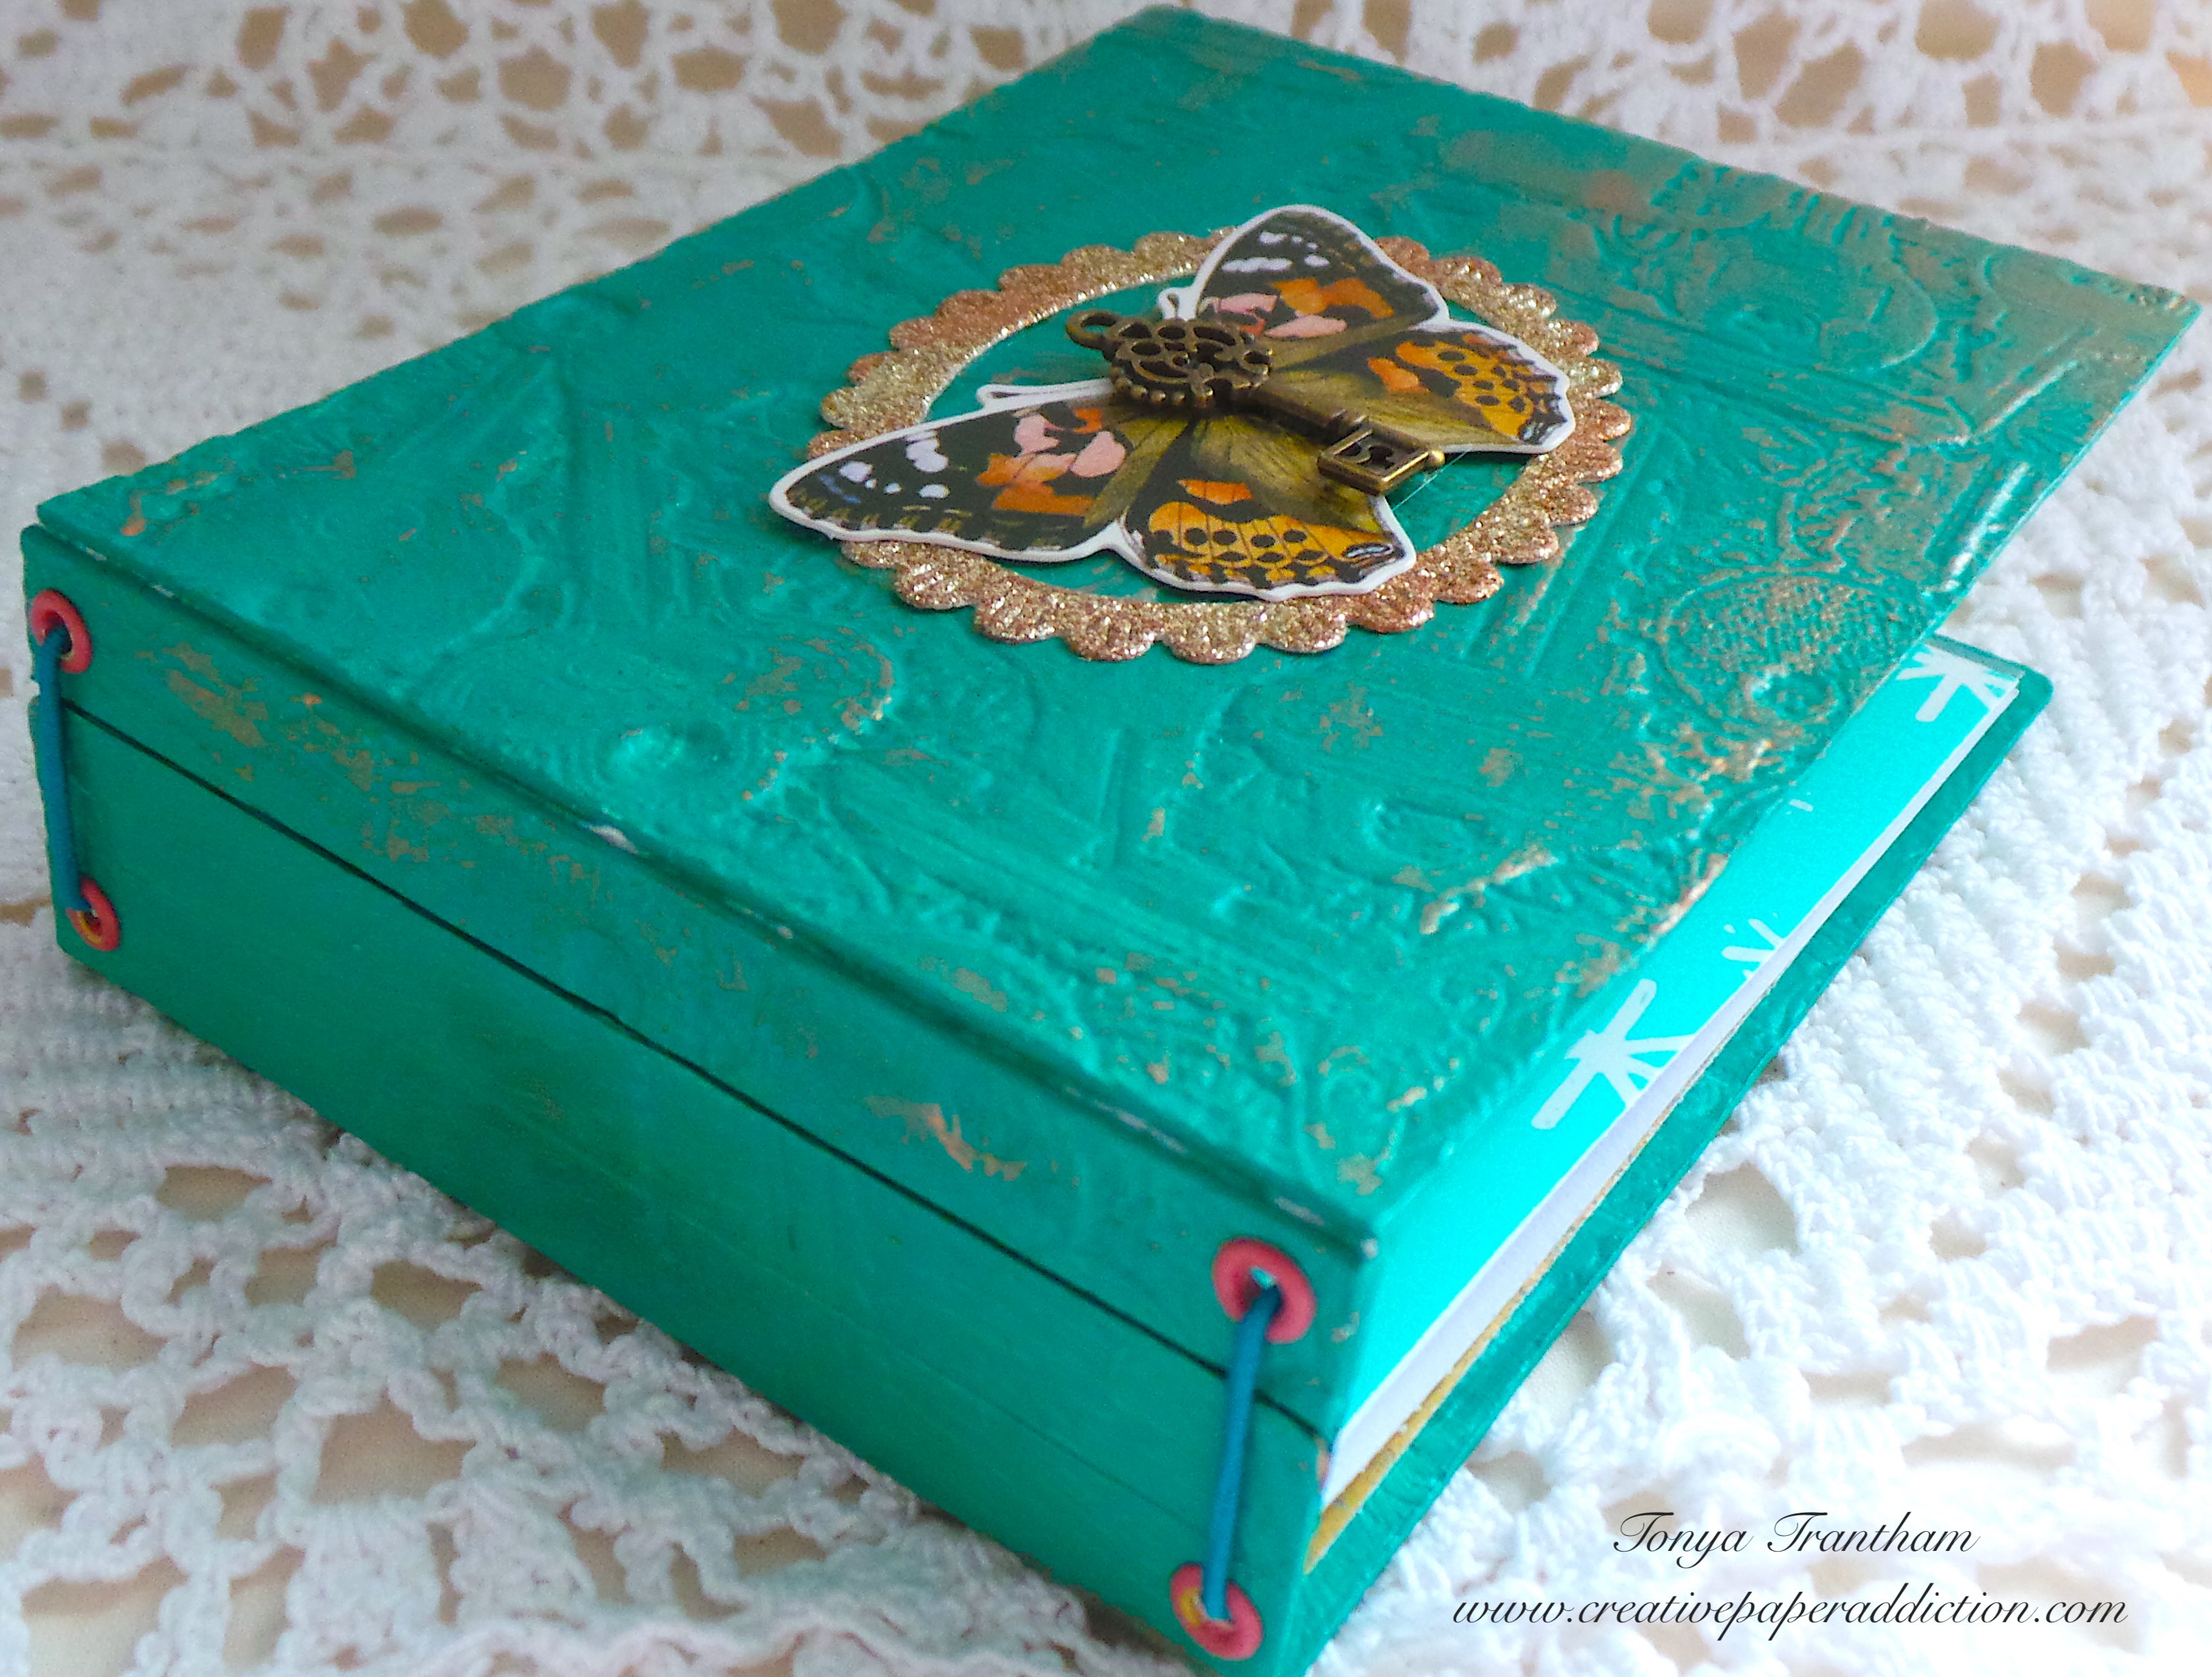
A decorative journal with a turquoise embossed cover, featuring a butterfly embellishment in the center and colorful eyelets on the spine.

Supplies

Sizzix/Eileen Hull: Keys 3D Embossing Folder

Sizzix/Eileen Hull: Notepad Diecut (retired)

Rose Gold Luster Wax

Diecut Machine

Mat Board

Acrylic Paint

Various Plain and Patterned Cardstocks

Butterfly, Key and Frame Embellishments

Eyelets

Crop-A-Dile

Elastic Cording

Blank Journals

Paper Cutter

Scissors

Beacon Adhesives: Zip Dry Adhesive

(Products listed above are Affiliated Links for your convenience)

DISCLAIMERS

This blog is compensated to provide opinion on products, services, websites, and various other topics. Even though the owner(s) of this blog receives compensation for our posts or advertisements. I always give my honest opinions, findings, beliefs, or experiences on those topics or products. The views and opinions expressed on this blog are purely my own. Any product claim, statistic, or quote should be checked with each manufacturer. Verify other representations about a product or service with the provider or party in question.This blog contains affiliate links. Clicking these links helps to support Tonya Trantham Designs – Creative Paper Addiction. It’s at no additional cost to you. Today’s features are Sizzix, Eileen Hull and Scrapbook.com Products. 
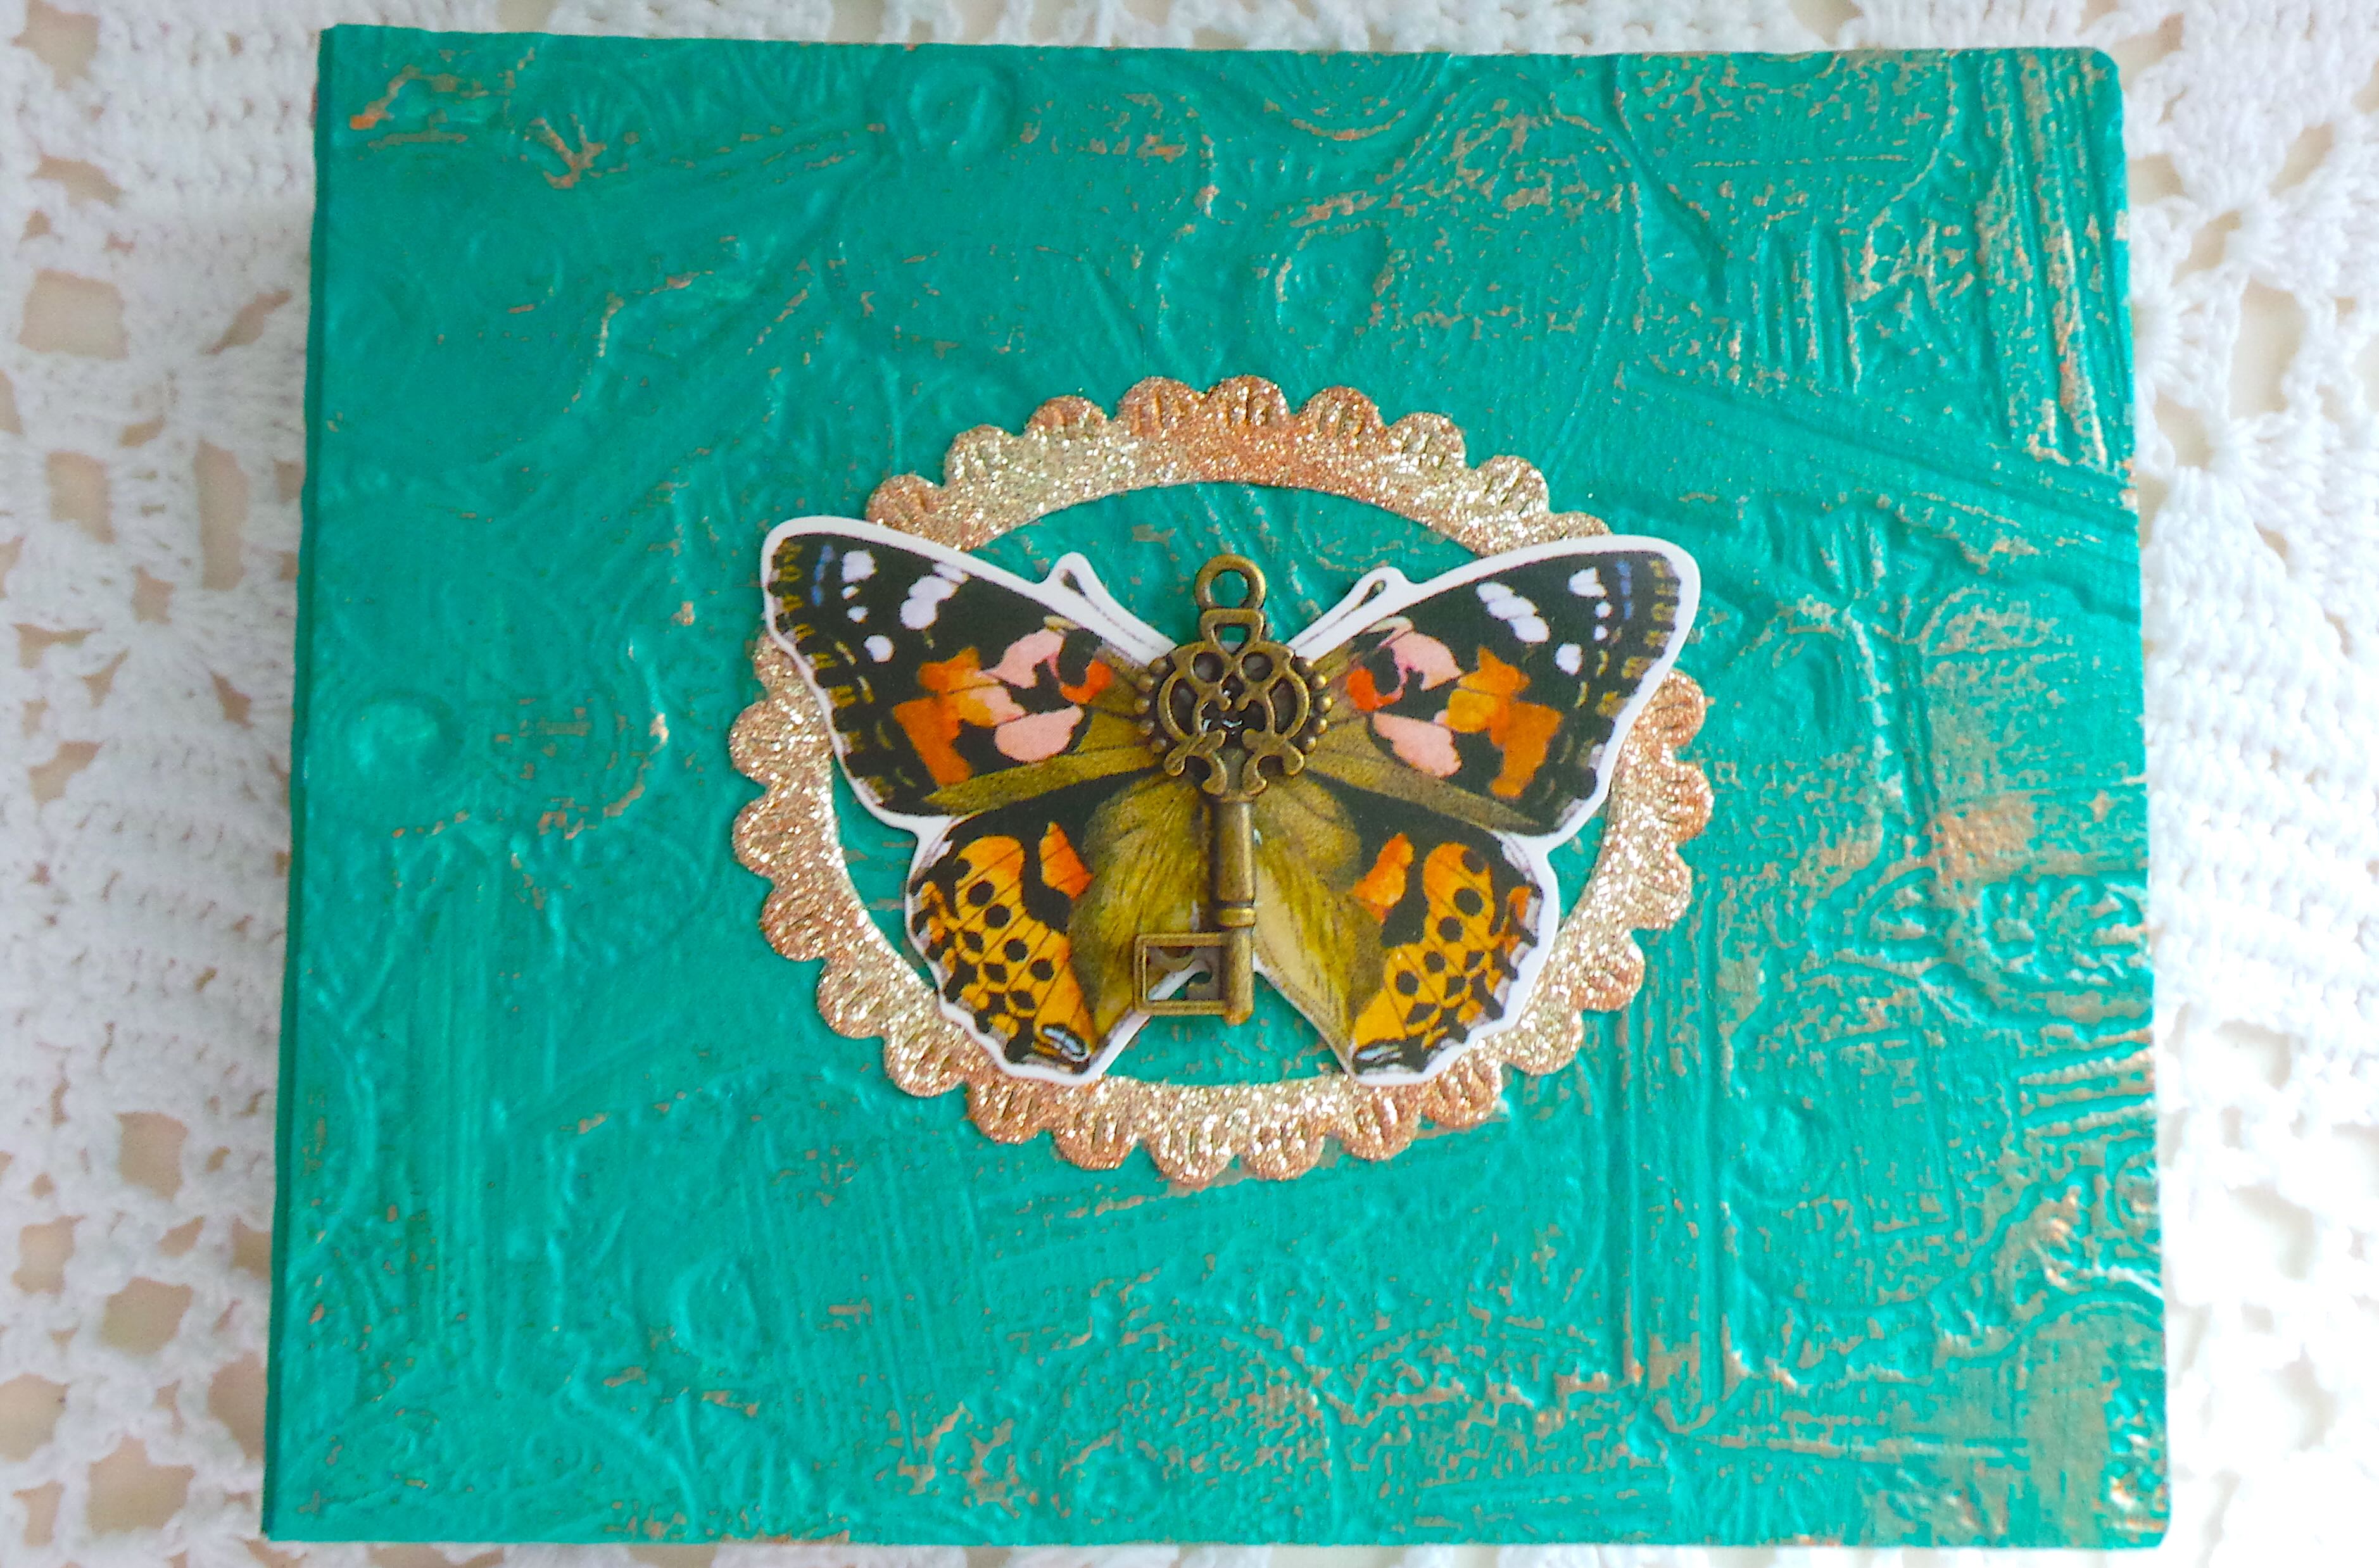
A brightly colored teal journal cover featuring a butterfly embellishment with intricate details and a vintage key accent, surrounded by a golden decorative frame.

Thanks for stopping by, I hope your Friday is wonderful and enjoy creating!

A vintage-style graphic featuring a bird amidst colorful flowers with the name 'Tonya' displayed in an elegant font.

Creative Ways to Personalize a Notepad

Hi everyone! I’m back with a quick easy project I created. I decorated the cover of a store bought notepad using an assortment dies and embossing folder by Eileen Hull. So let’s get started!

Confession time! I have a problem picking up notepads when I’m out shopping. I have a mass collection of notepads in different sizes and styles. It’s to the point that if I have to give a gift a notepad is added to their gift. Anyways, I dug into my stash and decided to use this 4″X 6″ notepad to decorate.

I cut a piece of elastic three inches long. I adhered one side of the elastic to the back of the notepad. I wrapped the other side of the elastic around an ink pen. I removed the ink pen before gluing on top of the other side of the elastic.

I cut to fit a piece of pink cardstock and glued to the back of the notepad.

I cut to fit another piece of pink cardstock and adhered to the front. I cut a bookmark from the Bookmark, Pockets and Toppers Thinlits. I embossed with the Floral Damask A5 Embossing Folder and applied Gold Luster Wax over the raised areas. I then adhered to the cover.

I cut a journaling card, bird and Parfum bottles from the Rose Parfum Collection (Discontinued). I cut two mats, each slightly larger than the other. I glued the journaling card and mats on top of each other before gluing to the cover.

I cut the “notes” die out from the Floral Pocket and Paperclips Thinlits. I cut a mat slightly larger than the die and lightly inked with Brown Chalk Ink. I glued both onto the cover. I finished by adhering Parfum bottles, a bird and Gold Gems to the cover.

There’s so many ways you can decorate these notepad. Add an initial, name and nice ink pen and poof you have a nice personalized gift.

If you haven’t been by Eileen Hull’s blog lately you can find out what the team is doing HERE. Also questions and comments are always welcome. Please leave those below.

Supplies

Sizzix/Eileen Hull: Floral Pocket and Paperclips Thinlits

Sizzix/Eileen Hull: Bookmark, Pockets and Toppers Thinlits

Sizzix/Eileen Hull: Floral Damask A5 Embossing Folder

Diecut Machine

Gold Luster Wax

Notepad and Ink Pen

Elastic

Paper Cutter

Scissors

Brown Chalk Ink

Gold Gems

Stamperia: Rose Parfum Collection (Discontinued)

Pink and Mint Green Cardstock

Beacon Adhesives: Zip Dry Adhesive

(Products listed above are Affiliated Links for your convenience)

DISCLAIMERS

This blog is compensated to provide opinion on products, services, websites, and various other topics. Even though the owner(s) of this blog receives compensation for our posts or advertisements. I always give my honest opinions, findings, beliefs, or experiences on those topics or products. The views and opinions expressed on this blog are purely my own. Any product claim, statistic, or quote should be checked with each manufacturer. Verify other representations about a product or service with the provider or party in question.This blog contains affiliate links. Clicking these links helps to support Tonya Trantham Designs – Creative Paper Addiction. It runs at no additional cost to you. Today’s features are Sizzix, Eileen Hull and Scrapbook.com Products. 

Thanks for stopping by, hope your Monday is great and enjoy creating!

Jolly Old St. Nicholas Notepad

Hi everyone! I’m back with a quick project I created for Eileen Hull using the Ornament Box Diecut, Woven Leather 3D Embossing Folder and leaf sprigs from the Wreath and Snowflake Thinlits. This would make a great gift along with a pretty ink pen for the person who likes to take notes or make lists. Anyways, let’s get started!

First, I measured the notepad to get the dimensions, my notepad measures 5″x8″ but I added around another 2 inches onto the 8 inch side before cutting a piece of Red Cardstock for the cover.

Next, I folded and glued the flap onto the back of the notepad. I had a strip of patterned cardstock leftover from another project that I added to the flap to dress it up.

For the cover I cut from a Mint Green Cardstock one Skinny Mini Elements Thinlit along with a piece patterned cardstock slightly larger than the die and adhered both to the cover. I punched a three inch circle from patterned cardstock and cut a circle from the Ornament Box Diecut and then embossed with the Woven Leather 3D Embossing Folder. I lightly sanded over the raised edges of the embossed edges.

Before gluing both circles to the flap I added two strips of cardstock, as banners down the side of the Skinny Mini Elements die.

I fussy cut a Santa from a piece of scrapbook paper and added him to the side of the embossed circle. A patterned piece of cardstock and the “Jolly Old St. Nicholas” sentiment (that I cut from scrapbook paper) I glued across the embossed circle.

I dug into my stash of Christmas embellishments and found pre-cut poinsettias. I cut out four leaf sprigs from the Wreath and Snowflake Thinlits, shaped with a Stylus and adhered around the side of the embossed circle along with the poinsettia which I added a gem to the center to finish off this project.

Hopefully this project will give you ideas not only for Christmas but for other occasions too.

Supplies

Sizzix/Eileen Hull: Ornament Box Diecut

Sizzix/Eileen Hull: Woven Leather 3D Embossing Folder

Sizzix/Eileen Hull: Skinny Mini Elements Thinlit

Sizzix/Eileen Hull: Wreath and Snowflake Thinlits

Diecut Machine

Stylus

Red Cardstock

Mint Green Cardstock

Notepad

3 inch Circle Punch

Various Patterned and Plain Cardstocks

Various Christmas Embellishments

Paper Cutter

Scissors

Beacon Adhesives: Zip Dry Adhesive

(Products listed above are Affiliated Links for your convenience)

DISCLAIMERS

This blog is compensated to provide opinion on products, services, websites, and various other topics. Even though the owner(s) of this blog receives compensation for our posts or advertisements. I always give my honest opinions, findings, beliefs, or experiences on those topics or products. The views and opinions expressed on this blog are purely my own. Any product claim, statistic, quote or other representation about a product or service should be verified with each manufacturer, provider, or party in question.This blog contains affiliate links, clicking and shopping through these links helps to support and run Tonya Trantham Designs – Creative Paper Addiction at no additional cost to you. Today’s features are Sizzix, Eileen Hull, Scrapbook.com and A Cherry on Top Crafts Products. 

Thanks for stopping by, hope your Friday is awesome and enjoy creating!