Create a Stunning Swatch Book with Eileen Hull’s Diecuts
Hi everyone! I am back with the complete reveal of my swatch book. I created it using the Hardbound Journal Diecut, Swatch Cards Stamps and a few other dies, all by Eileen Hull. This was a fun journal to create. It was a great way to showcase lace, ribbon, and trim that I have in my stash. Anyways, let’s get started!

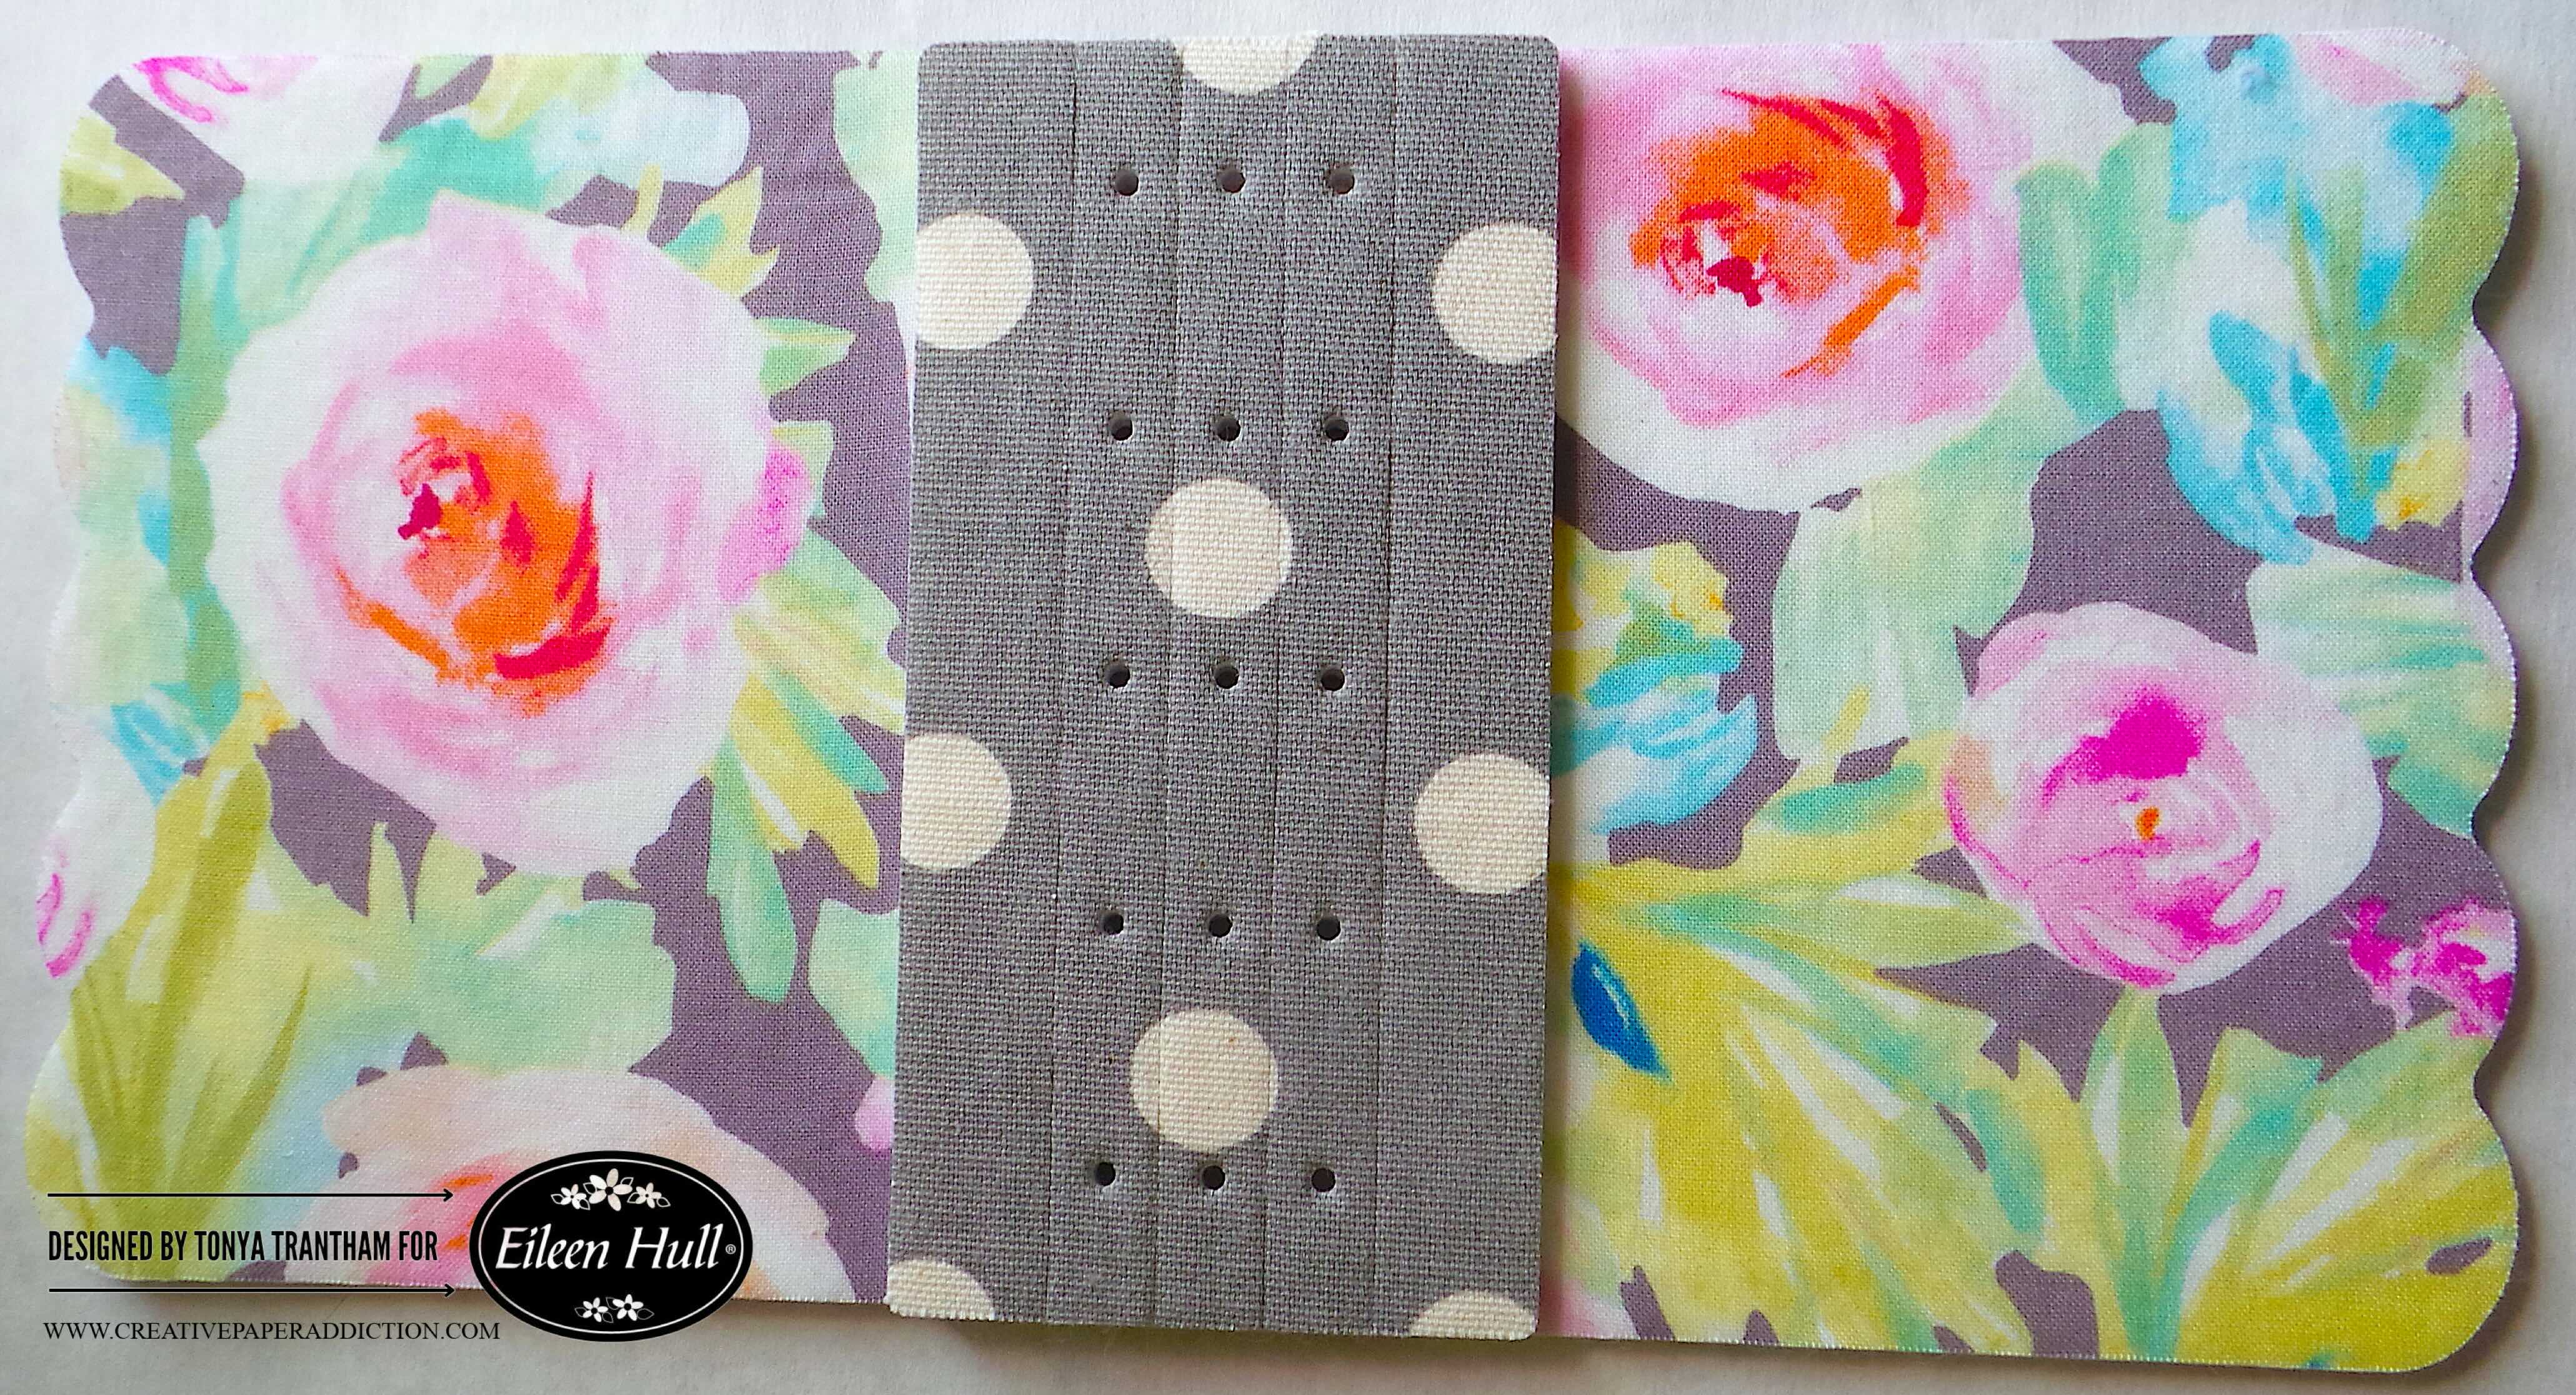
I didn’t take any step out photos of how I layered the covers and spine. So I did bullet points to break down the process. A side note… when creating the cover cut two covers and a spine with the diecut.
- I cut a piece of cardstock to fit the Hardbound Journal Diecut.
- I cut from the Adhesive Roll strips of adhesive and applied to both sides of the cardstock.
- I cut two pieces of felt the same size as the cardstock. I place the felt on either side of the cardstock.
- I did the same steps as above and applied strips of adhesive to both sides of the felt and burnished.
- I cut fabric and placed over the applied adhesive strips that’s covering the felt. I burnished well before placing onto the Hardbound Journal Diecut and running through the Diecut Machine.

I glued the end flaps to each straight side of the journal cover.
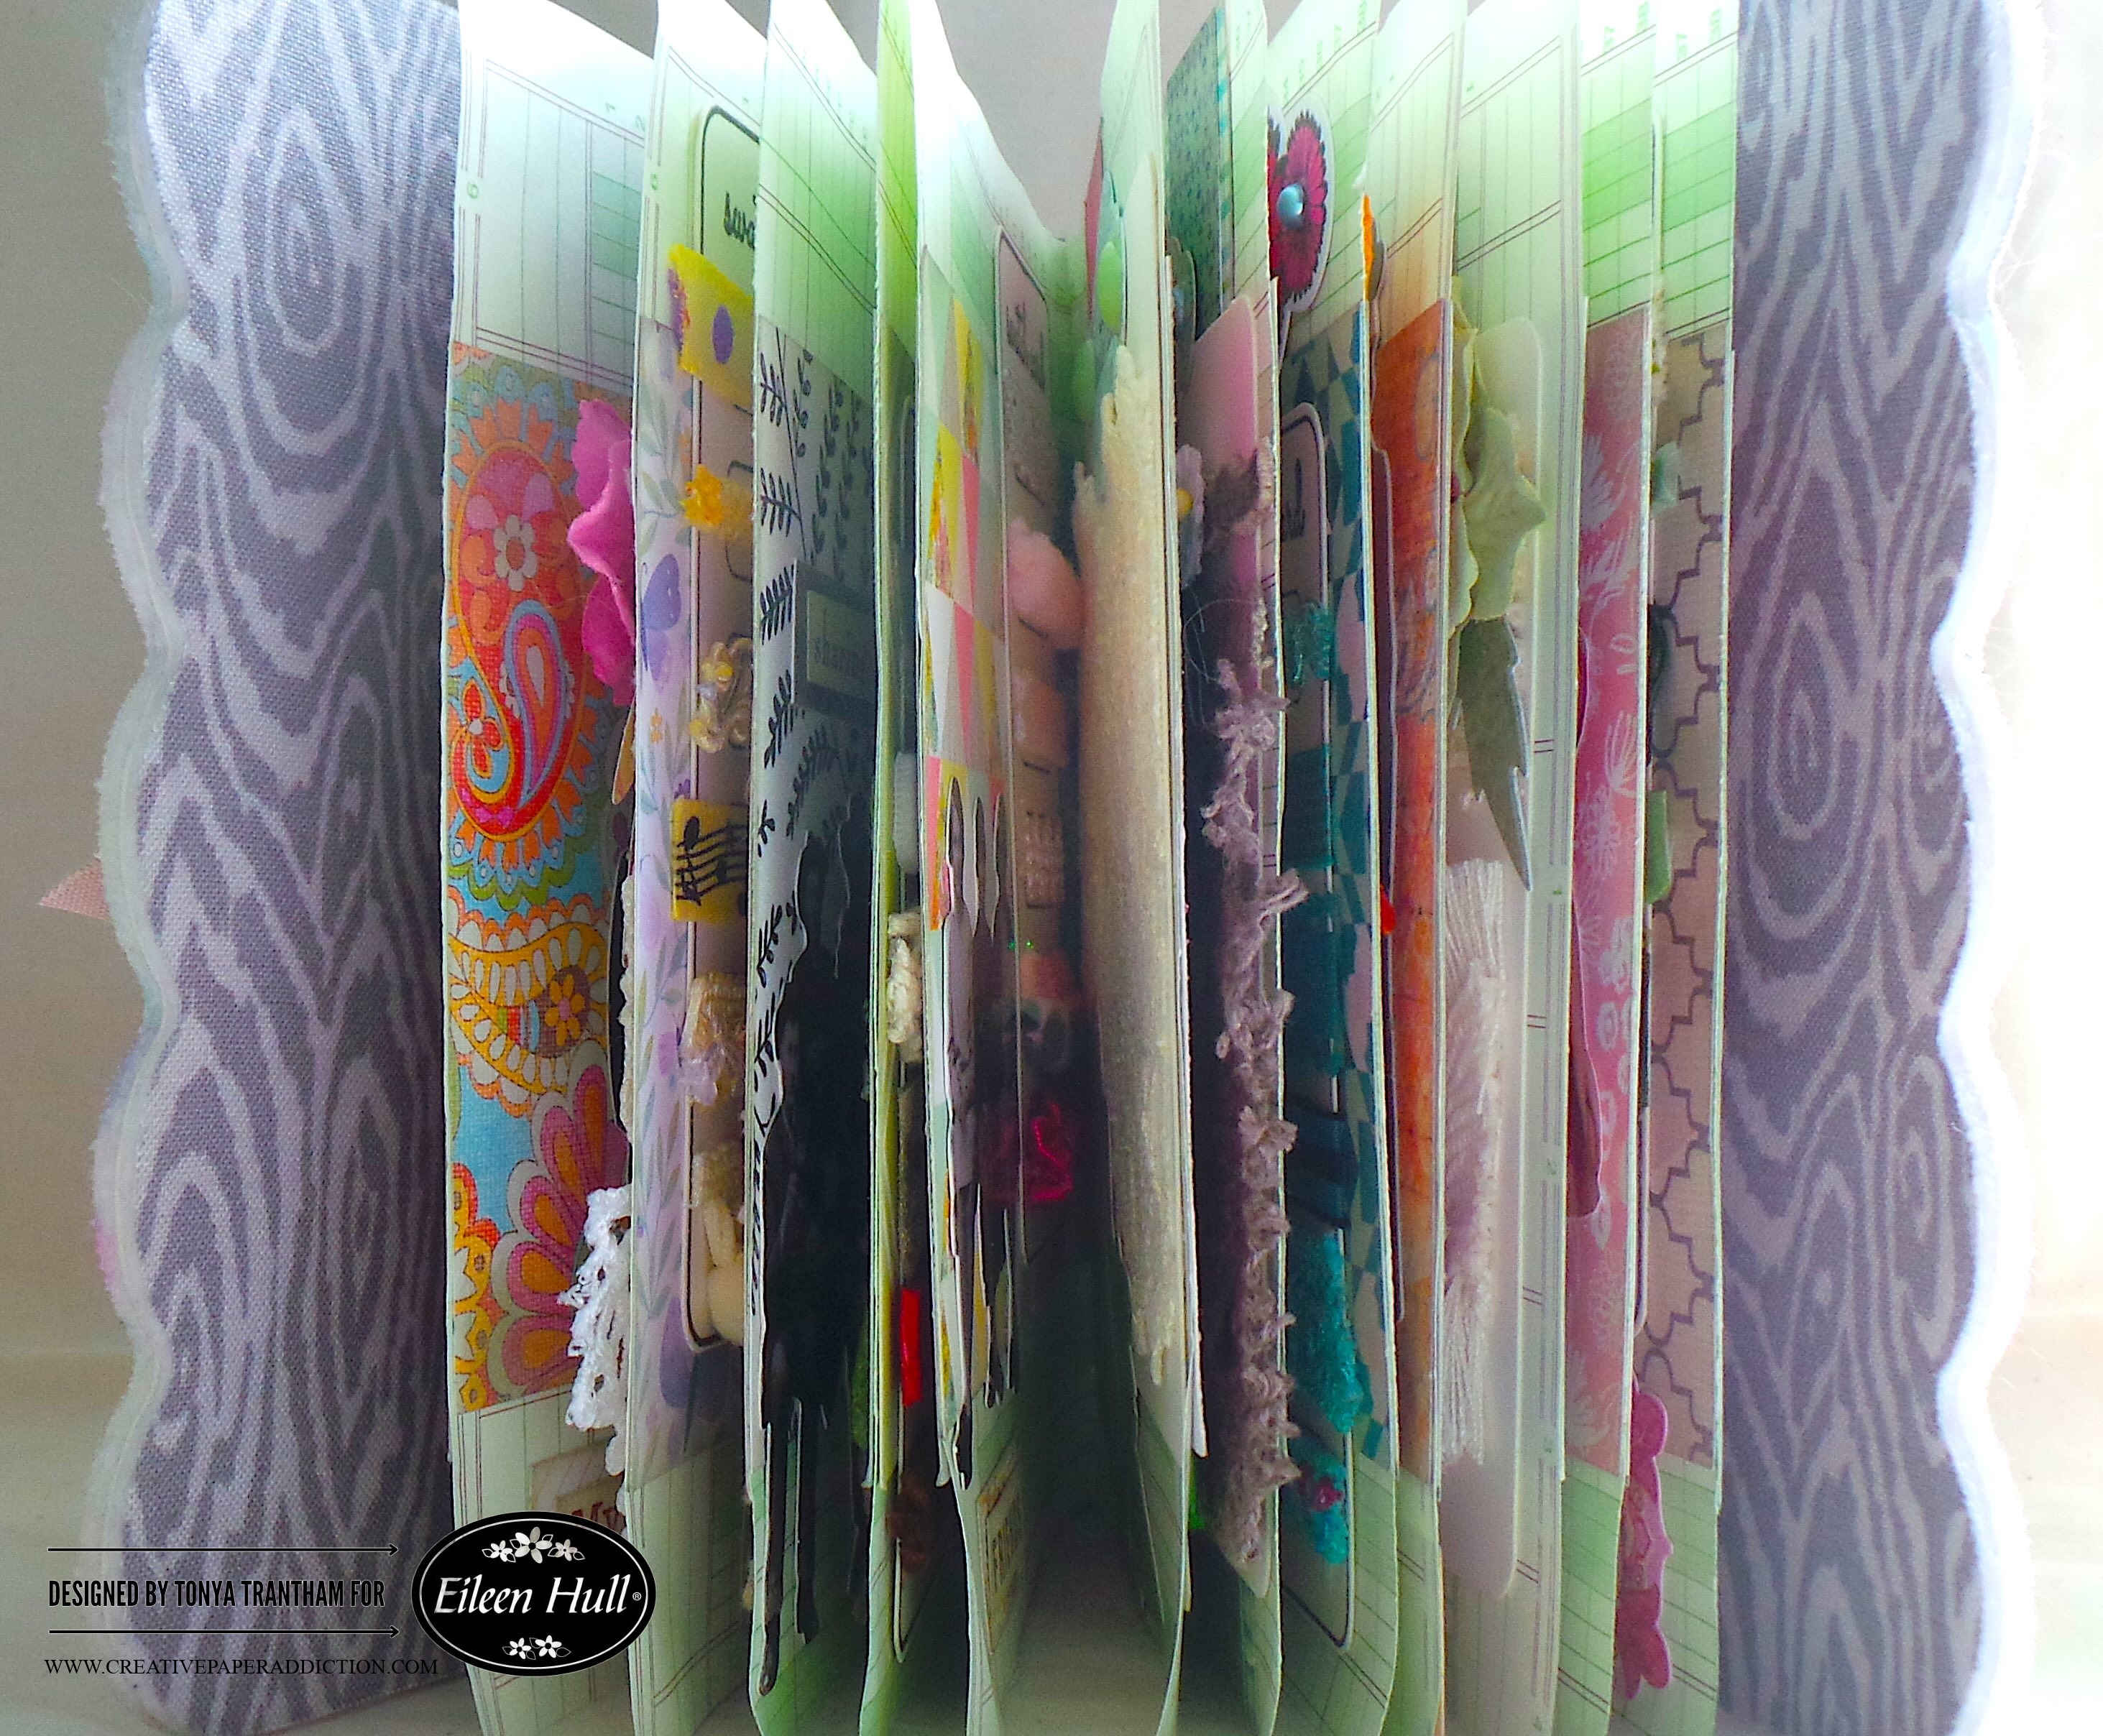
I cut a total of six papers for the journal. I folded in half and made holes in the fold before sewing two papers in per signature. A side note…I had actually sewn in more pages but had to remove them. The extra pages would have “bulked” up the journal too much.

I used the MISTI Stamping Tool to stamp the “swatch card” stamp from the Swatch Cards Stamps onto White Cardstock. I hand cut each of the swatches with Scissors.

I went through my lace, ribbon and trim and glued to the swatches. I also used the Journal Hardware Diecut to create labels for the larger lace and trim in my stash.

I adhered cardstock to each page before adding a swatch card.

This is a great way to use those bits and pieces of random embellishments.

Even though it’s fun seeing all the lace, ribbon and trim I included in this journal. It’s kind of alarming that I didn’t even make a dent in what I still have in my collection.

The cover I added a piece of lace and three bookplates in different sizes. The first bookplate, I adhered onto the lace. The second bookplate, I glued a piece of light blue lace inside the plate. I also added Foam Pop Dots to the back edge. I added a scrap of fabric to the third bookplate. Then I stacked all three on top of each other and glued them to the cover.
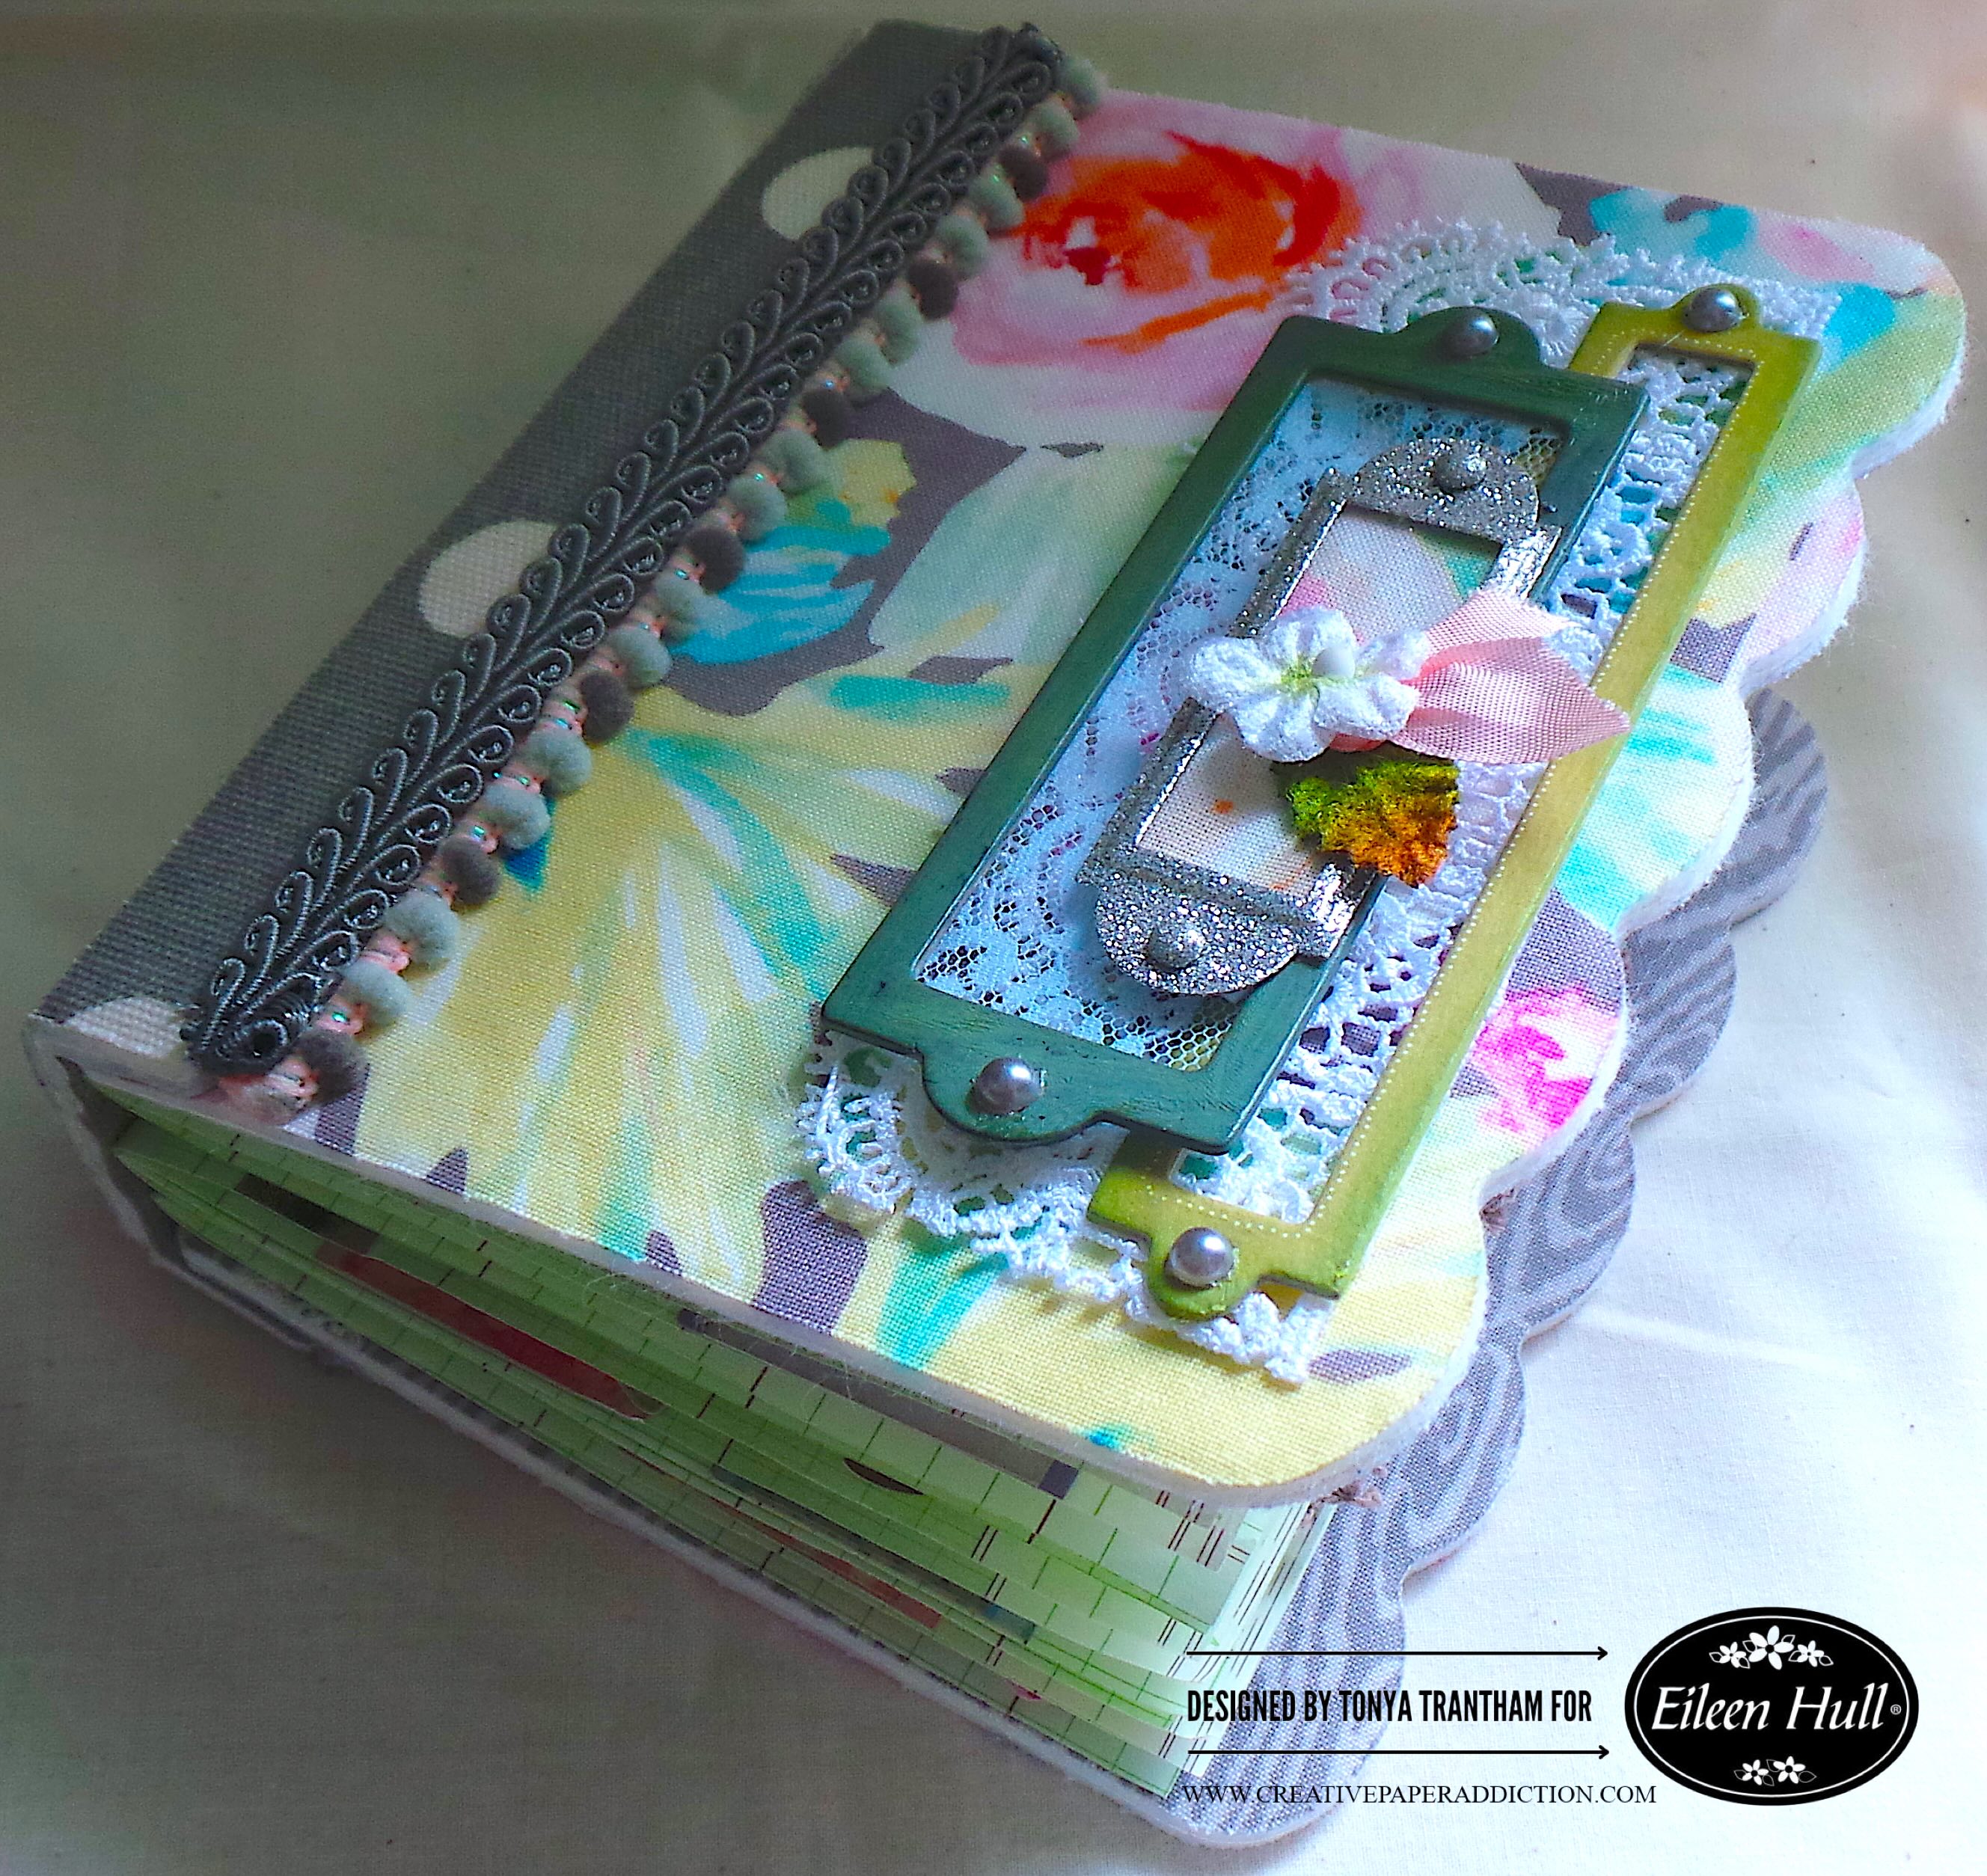
I added Gray Flatback Pearls to the ends of each bookplates. I also glued a flower with a leaf and a bit of pink seam binding to the bookplate. The finishing touch was adding mini pom pom trim to the edge of the spine and cover of the book.

I can’t wait to make more of these types of journals. Maybe the next journal will be swatches of all the Washi tape that I own?

Anyways, if you haven’t been by Eileen Hull’s blog lately you can find the latest post HERE. Also if you have any questions about this journal or comments in general leave them below.
Supplies
Sizzix/Eileen Hull: Hardbound Journal Diecut
Sizzix/Eileen Hull: Swatch Cards Stamps
Sizzix/Eileen Hull: Journal Hardware Diecut
Sizzix/Eileen Hull: Rainbow Wheels Thinlits
Grid Paper
Various Plain and Patterned Cardstock
Fabric, Felt and Thread
Various Lace, Ribbon and Trim
Various Diecuts and Embellishments
Beacon Adhesives: Zip Dry Adhesive
(Products listed above are Affiliated Links for your convenience)
DISCLAIMERS
This blog is compensated to provide opinion on products, services, websites, and various other topics. Even though the owner(s) of this blog receives compensation for our posts or advertisements. I always give my honest opinions, findings, beliefs, or experiences on those topics or products. The views and opinions expressed on this blog are purely my own. Any product claim, statistic, or quote should be checked with each manufacturer. Verify other representations about a product or service with the provider or party in question.This blog contains affiliate links. Clicking these links helps to support Tonya Trantham Designs – Creative Paper Addiction. It runs at no additional cost to you. Today’s features are Sizzix, Eileen Hull and Scrapbook.com Products.

Thanks for stopping by, I hope your Wednesday is great and enjoy creating!


