Shades of Green Tag

Hi everyone! I’m back this week with a quick and easy Saint Patrick’s Day tag I created. I know Saint Patty’s Day is over but I’ve been a little under the weather and I’m now getting around to sharing. My go to thinlit for this project is the Waterfall Card and Tags Thinlits by Eileen Hull. Anyways, let’s get started!

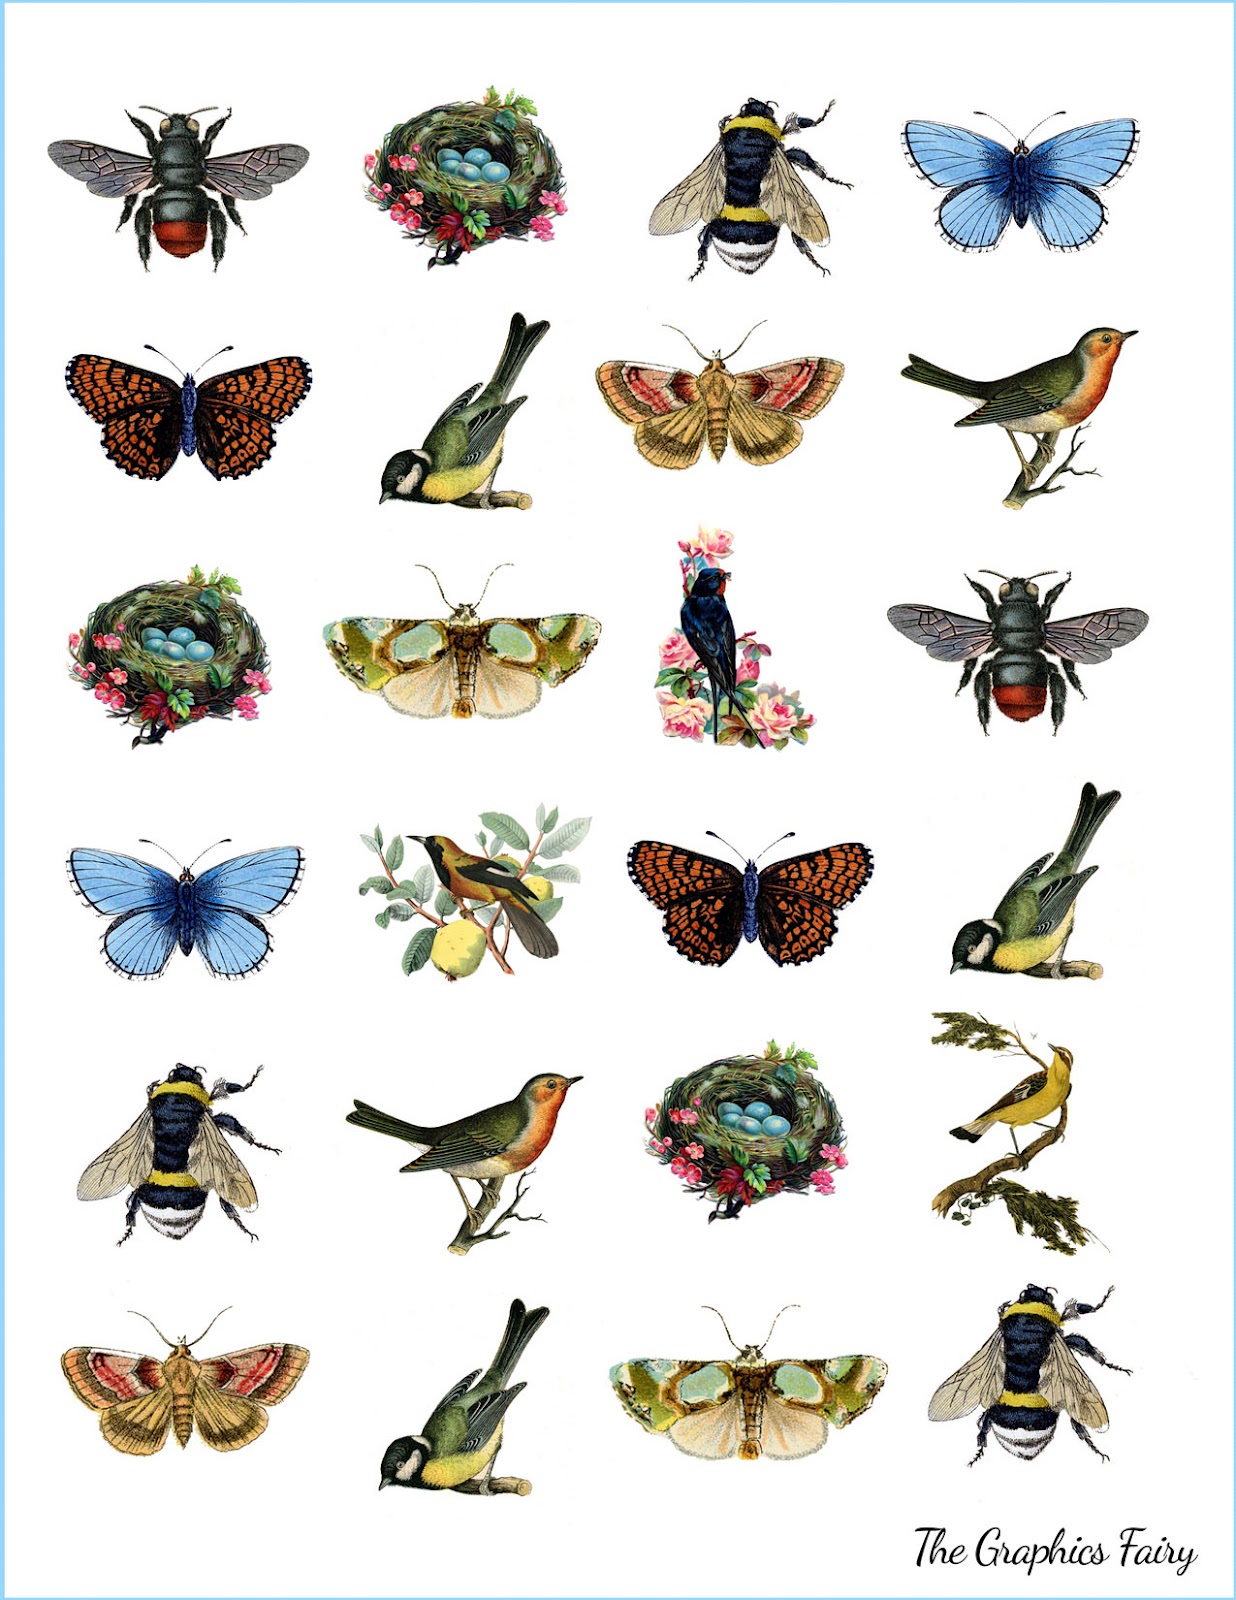
First, I cut out two of the largest tags from the Waterfall Card and Tags Thinlits since the backs of both cardstocks were white and glued them back to back. I fussy cut all the images out from the free printable that I had downloaded from the Graphic Fairy. It was a free printable that was offered on their instagram page so I’m not sure if it’s still available or not? But you can find other images on their site for free or they have a paid membership option also.

Second, I used two different size circle punches to punch out two of the images but the other images were fussy cut. Before adding all the images to the tag I lightly inked the edges of the tag with a light green chalk ink.

The butterfly I applied adhesive to the center part and bent the wings upwards before placing onto the tag. I used Gold Stickles on the wings of the butterfly and I added Liquid Gloss to the berries of the leaves and branch to finish this side of the tag.

Third, I lightly inked this side of the tag with the light green chalk ink along with a few of the fussy cut images. I layered, distressed and adhered the images to the tag. The image of the woman I added Foam Pop Dots to the back before placing onto the tag.

Fourth, I added gems to the hat and added Liquid Gloss to the center of each flower before calling it finished. I really enjoyed using the printable along with the scraps that I used for the tags. I have leftovers from the printable so I’m sure those images with end up in another project down the road.

If you have any questions or comments about this tag please leave them below.

Supplies

Sizzix/Eileen Hull: Waterfall Card and Tags Thinlits

Graphic Fairy: Printables

Diecut Machine

Paper Cutter

Scissors

Various Plain and Patterned Cardstocks

Circle Punches

Foam Pop Dots

Gold Stickles

Liquid Gloss

Light Green Chalk Ink

Gems

Beacon Adhesives: Zip Dry Adhesive

(Products listed above are Affiliated Links for your convenience)

DISCLAIMERS

This blog is compensated to provide opinion on products, services, websites, and various other topics. Even though the owner(s) of this blog receives compensation for our posts or advertisements. I always give my honest opinions, findings, beliefs, or experiences on those topics or products. The views and opinions expressed on this blog are purely my own. Any product claim, statistic, quote or other representation about a product or service should be verified with each manufacturer, provider, or party in question.This blog contains affiliate links, clicking and shopping through these links helps to support and run Tonya Trantham Designs – Creative Paper Addiction at no additional cost to you. Today’s features are Sizzix, Eileen Hull, Scrapbook.com and A Cherry on Top Store Products. 

Thanks for stopping by, hope your Thursday is great and enjoy creating!

She Wished for Beauty

Hi everyone and Happy Memorial Day!!! I’m here to share my May Flowers project I created for the Art with Heart Challenge which is over at Eileen Hull’s blog. I had just finished an altered Altoid tin for my design team project and after looking at the suitcase die I decided I could definitely create my own “Altoid tin” with this diecut. 🙂
For this challenge I used Eileen Hull’s Sizzix Scoreboards XL Die Bag Suitcase to cut out two “bottoms” each from mat board and cardstock for a total of four “bottoms”. I inked all the edges with chalk ink, adhered together.
Now for the fun part…adding all the fun embellishments!!!

I fussy cut the girl images out from the Easter Children Hang Tags and added stickles for a bit of shimmer.

I’ve had these hinges for several years and I’m now finally using them…yes, can we say I am a craft horder 😉

I used some leftover dies that I had cut out from the Sizzix Scoreboards XL Die Box Square to use to frame the side of the box. The buttons, Dew Drops and sequins I built up so I could wrap twine around to keep the box close. The beads I added as weighs to keep the twine from unwinding around the button.

The inside I used the Tim Holtz: Lace Die along with dew drops, stickers, punches, sizzlets and buttons which I think turned out adorable.

I fussy cut a butterfly from the Vintage Spring Printable. I added antenna and flowers to  top off the upper corner of the box.

Supplies Used:

Eileen Hull: Sizzix Scoreboards XL Die Bag Suitcase,Sizzix Scoreboards XL Die Box Square
Other Sizzix Dies: Tim Holtz: Lace Die,Sizzlits Retired Dies: Flower #3, Stampin’ Up! 
Robin’s Nest: Dew Drops
Little Leaves
Basic Grey’s Lemonade Collection
Making Memories: Hinges and Brads
Sticker Sayings
Stick Pin
Flower Punches
Buttons
Sequins
Broken Ear ring
Crystal Stickles
Ribbon
Lace
Twine
Beads
Brads
Chalk Ink
Recollection Flowers
Ephemera’s Vintage Garden: Easter Children Hang Tags
Graphic Fairy: Vintage Spring Printable
Cassi’s Creations: (Words)

If you have any questions about this project let me know. Thanks for stopping by, hope your Monday is awesome and enjoy creating!!!


The Amazing Flying Boy

Hi everyone! I’m here to share a quick project I created using the Eileen Hull’s Sizzix-Scoreboards Food Jar 3D Spoon Diecut. I know it is a little bit quirky but I had a lot of fun creating this little Flying Boy. 🙂
I cut the jar twice from matt board and cardstock, inked all edges and then adhered together. Then I lightly inked over the cardstock with Sahara Sands chalk ink to give it that “old vintage look”. Next I stuffed tissue paper in the bottom of the jar, cut out rosettes, put together, adhered to the jar and then added gears, sprockets and dew drops to top it off. 

The fly boy I fussy cut and chalked his outfit and then outlined him with a black fine tip pen. I then fussy cut bug wings out and adhered to the boy’s back, added two dress pins as antennas to his head and glued him inside the jar.

I printed the verbiage from the computer, cut, inked and adhered to the banner along with an airplane that I fussy cut. I adhered the banner to the stick pin and glued to jar.

Supplies Used:

Sizzix:Eileen Hull: Scoreboards Food Jar 3D Spoon Diecut
Matt Board
Other Sizzix Dies: Brenda Walton’s Medallion and Ampersands & Banner
Tim Holtz: Gears and Sprockets
Robin’s Nest: Airplane Cardstock, Belgian Chocolate Cardstock, Mens Plaid/Compass Cardstock, Beaches Dew Drops/Tear Drops, Natural Twine, Special Delivery Boy Cardstock
Stick Pin from Art.i.cakes
Lace
Ocean Depth and Sahara Sand Chalk Ink
Airplane from K & Company  
Bugs Wings are from Graphic Fairy Web site
Crystal Stickles
Two Dress Pins

Cassi’s Creations: Digital Collage Sheet Vintage Children 2 Fairies 

I hope you enjoyed this little project as much as I enjoyed creating it.
Thanks for stopping by, hope your Wednesday is wonderful and enjoy creating!!!


Sing Me a Lullaby

Hi everyone! I know it has been a few weeks since my last post but I’ve been crafting up a storm and I also managed to slip off for a long weekend in warm and sunny Florida.I got back on Monday with the intent of photographing and finishing up blog posts. Well I have come down some type sinus crud and a swollen gland in my neck. 🙁 Needless to say I went to the doctor and got medication. Now it needs to take effect so I can get back to my normal self. 🙂
Well, I want to share my very first attempt of using the Eileen Hull Square Box XL Scoreboard diecut for the Art with Heart April Showers challenge that is going on over at her blog this month.
First I cut the box from matt board, inked the edges and used the Lil Angelz Kit 1 digital kit from the Dreams Etc Etsy shop as the base to decorate this adorable ATB (artist trading block). I sized down the digital image to fit the block and decorated. 🙂

The top of the block I painted a wooden doily and once dry I spritzed it with a combination of Perfect Pearls Mist Mint and Biscotti Sprays and let dry. Next I adhered two buttons and a glass knob to the top of the block. I finished that off with a smaller button, sequin and a dew drop.

I think I am finally getting the hang of how to make these 3D roses…when all else fails go to You Tube and watch how to videos on how to make them…lol 😉 


I used some Pink Honeycomb scrapbook paper to offset the sleeping baby and little girl in the baby shoe and topped it off with a sprig of flowers and some little pink swirls.

The white flowers I lightly inked with Shabby Pink and then stickled for the perfect vintage look.

 The butterfly I fussy cut, added stickles and antenna which I used jewelry wire that I wrapped with Tim Holtz Elements Tissue Tape, then shaped and adhered to the butterfly.
Also I used the Spare Parts Screw Fasteners as little legs for my block.

This baby block could be used for a baby shower or as a decoration. Too cute!!!
I can honestly say I am hooked on these artist trading block and I already have more ideas swirling around in this head of mine. 🙂
Supplies Used:
Mat Board
Other Sizzix Dies:Stampin’ Up Sizzlits Little Leaves, Flower, Rose 3-D
Small Flower Punch
Prima: Slip Swirls Pink
Wooden Doily
Tim Holtz Elements Tissue Tape
Folk Art Taffy Acrylic Paint
Perfect Pearls Mist: Mint and Biscotti Sprays
Glass Knob
Spare Parts: Screw Fasteners, Paper Flowers 
Stickles: Crystal and Star Dust
Powder Puff Tahiti Chalking Ink
Color Box: Shabby Pink Chalk Ink
Buttons
Sequin
Robin’s Nest Dew Drop
Ric Rac
Pom pom Trim
Digital Images:Dreams Etc: Lil Angelz Kit 1, Butterfly from Graphic Fairy

Be sure to stop by Eileen’s blog and check out the other projects. Also there is still time to play in this month’s challenge and possibly win a cool prize pack and bragging rights. 🙂

If you have any questions let me know. Thanks for stopping by, hope your Friday is awesome and enjoy creating!!!