Transforming an Amazon Mailer into a Festive Gift Bag
Hi everyone! I’m back today with another recycled Amazon Mailer. But this time I turned it into a gift bag for a Christmas present.

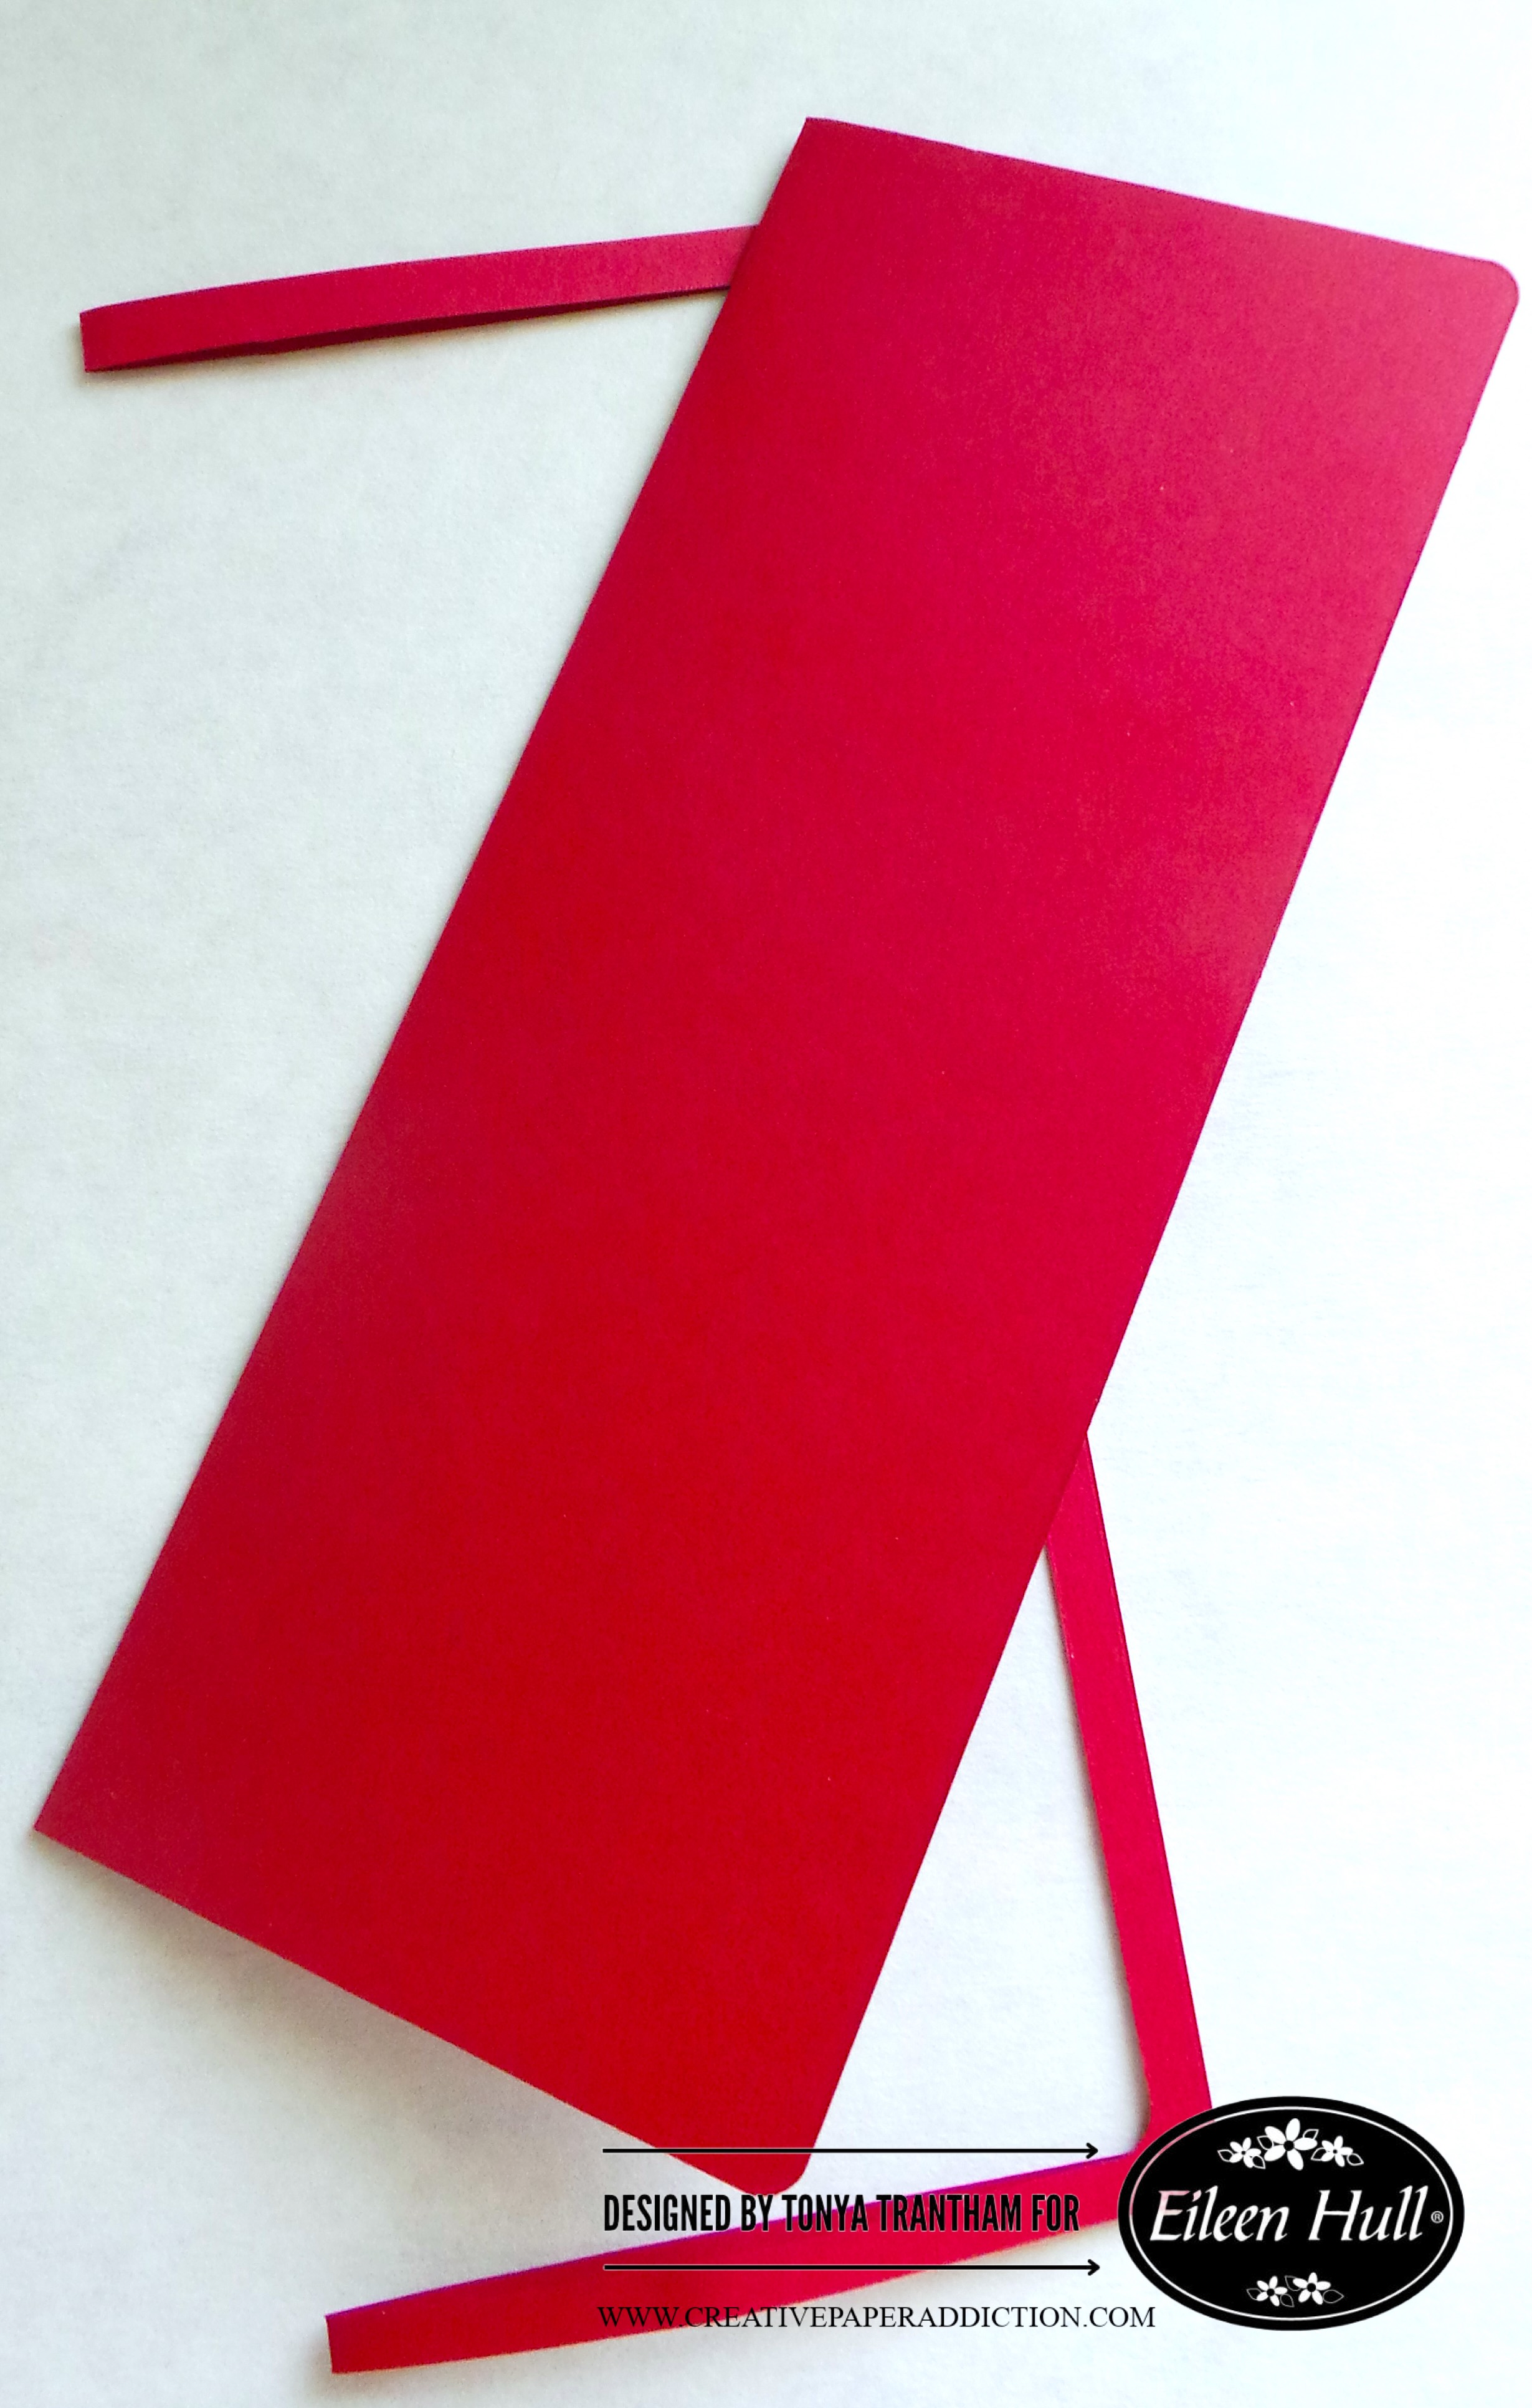
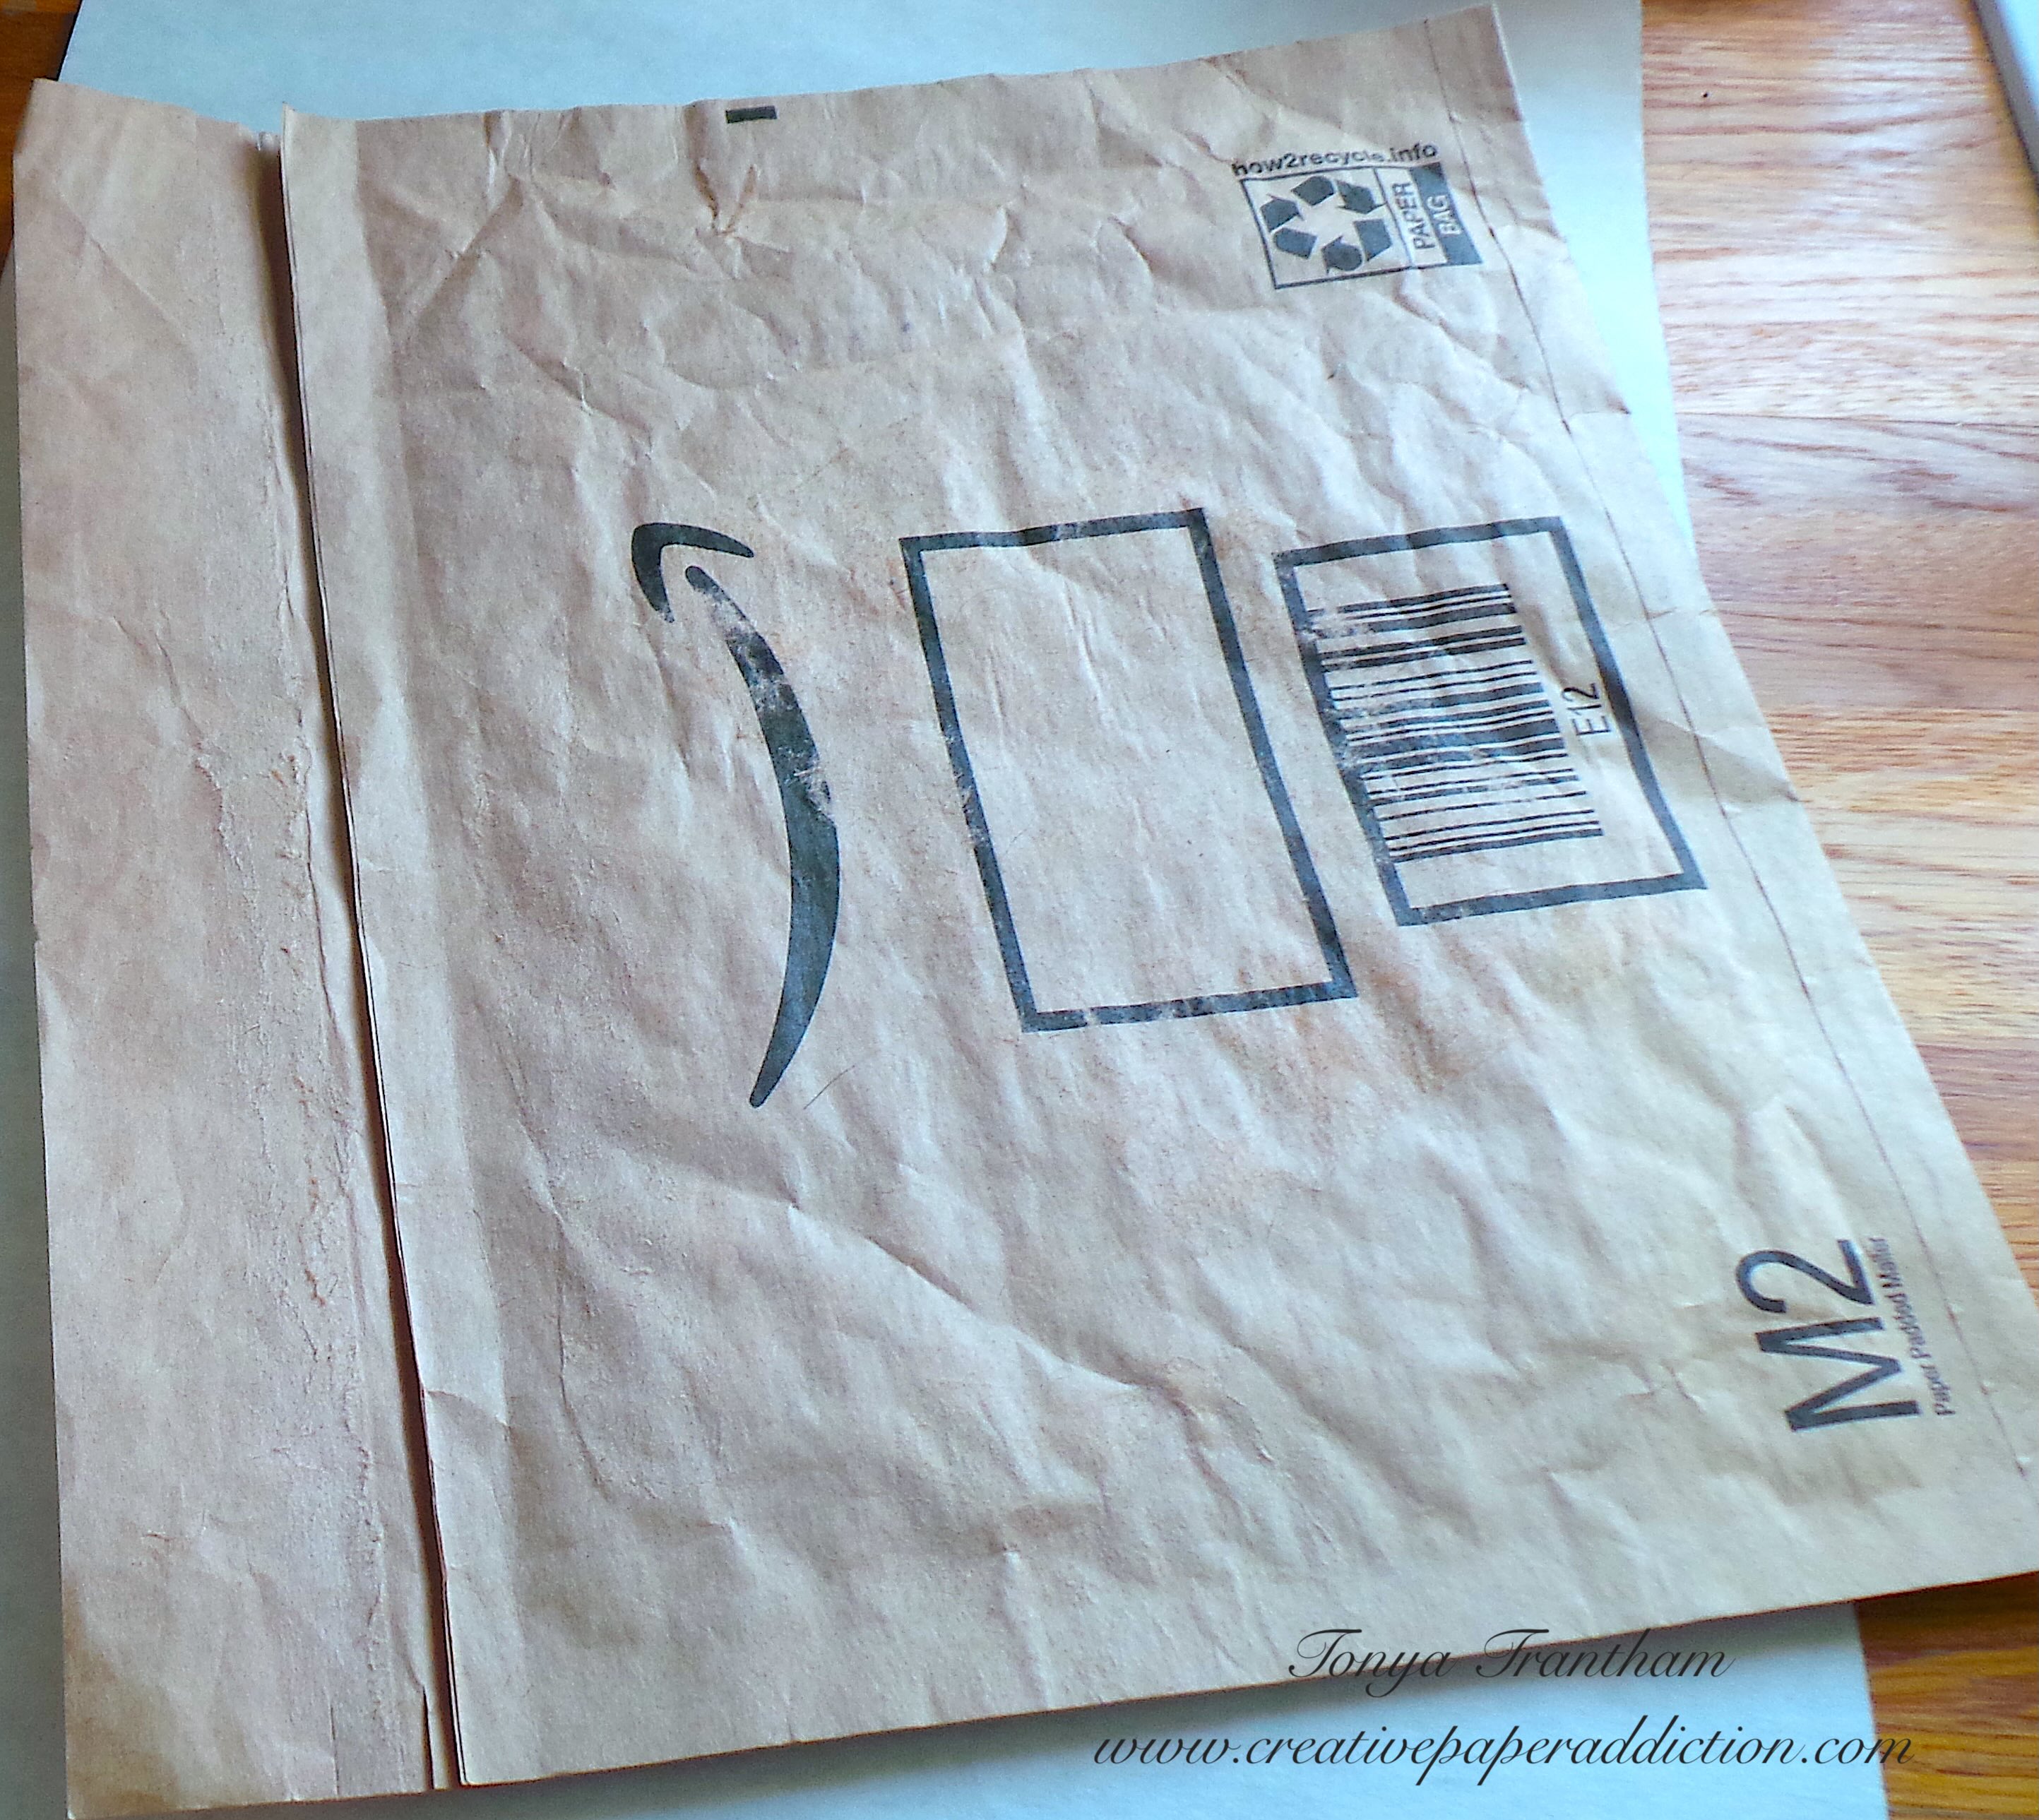
The first thing I did to the mailer was carefully remove the packaging label and cut the flap off.
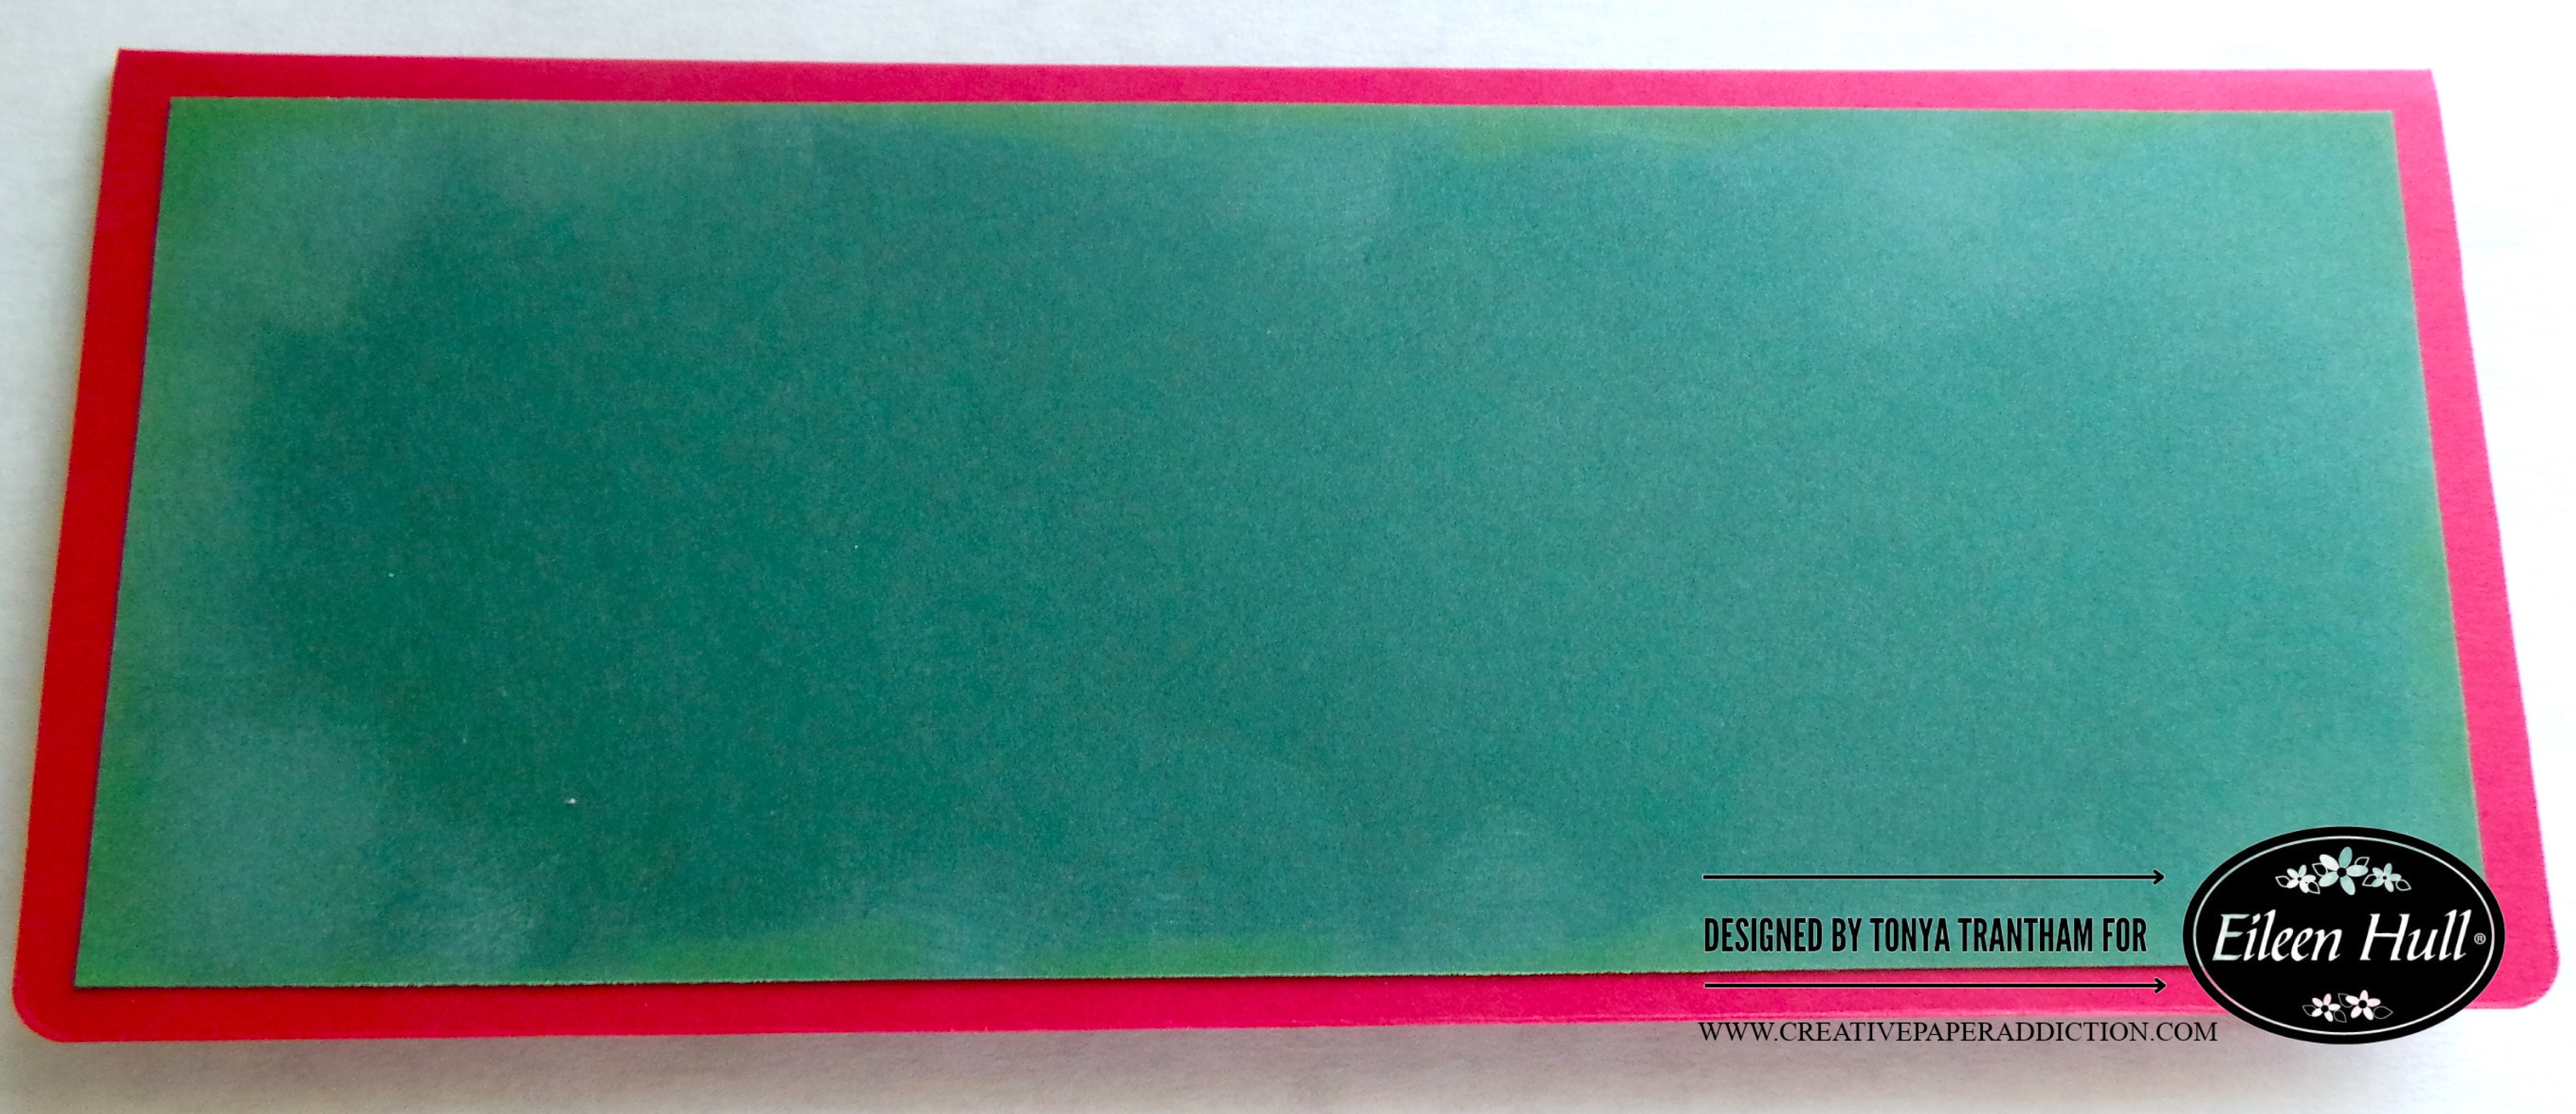
I painted the outside of the mailer. I also painted a little of the top inside using Dixie Belle Chalk Mineral Mint Julep Paint. The mailer required two coats of paint. I used what paint I had on hand. You can definitely use any type of paint to make this project.

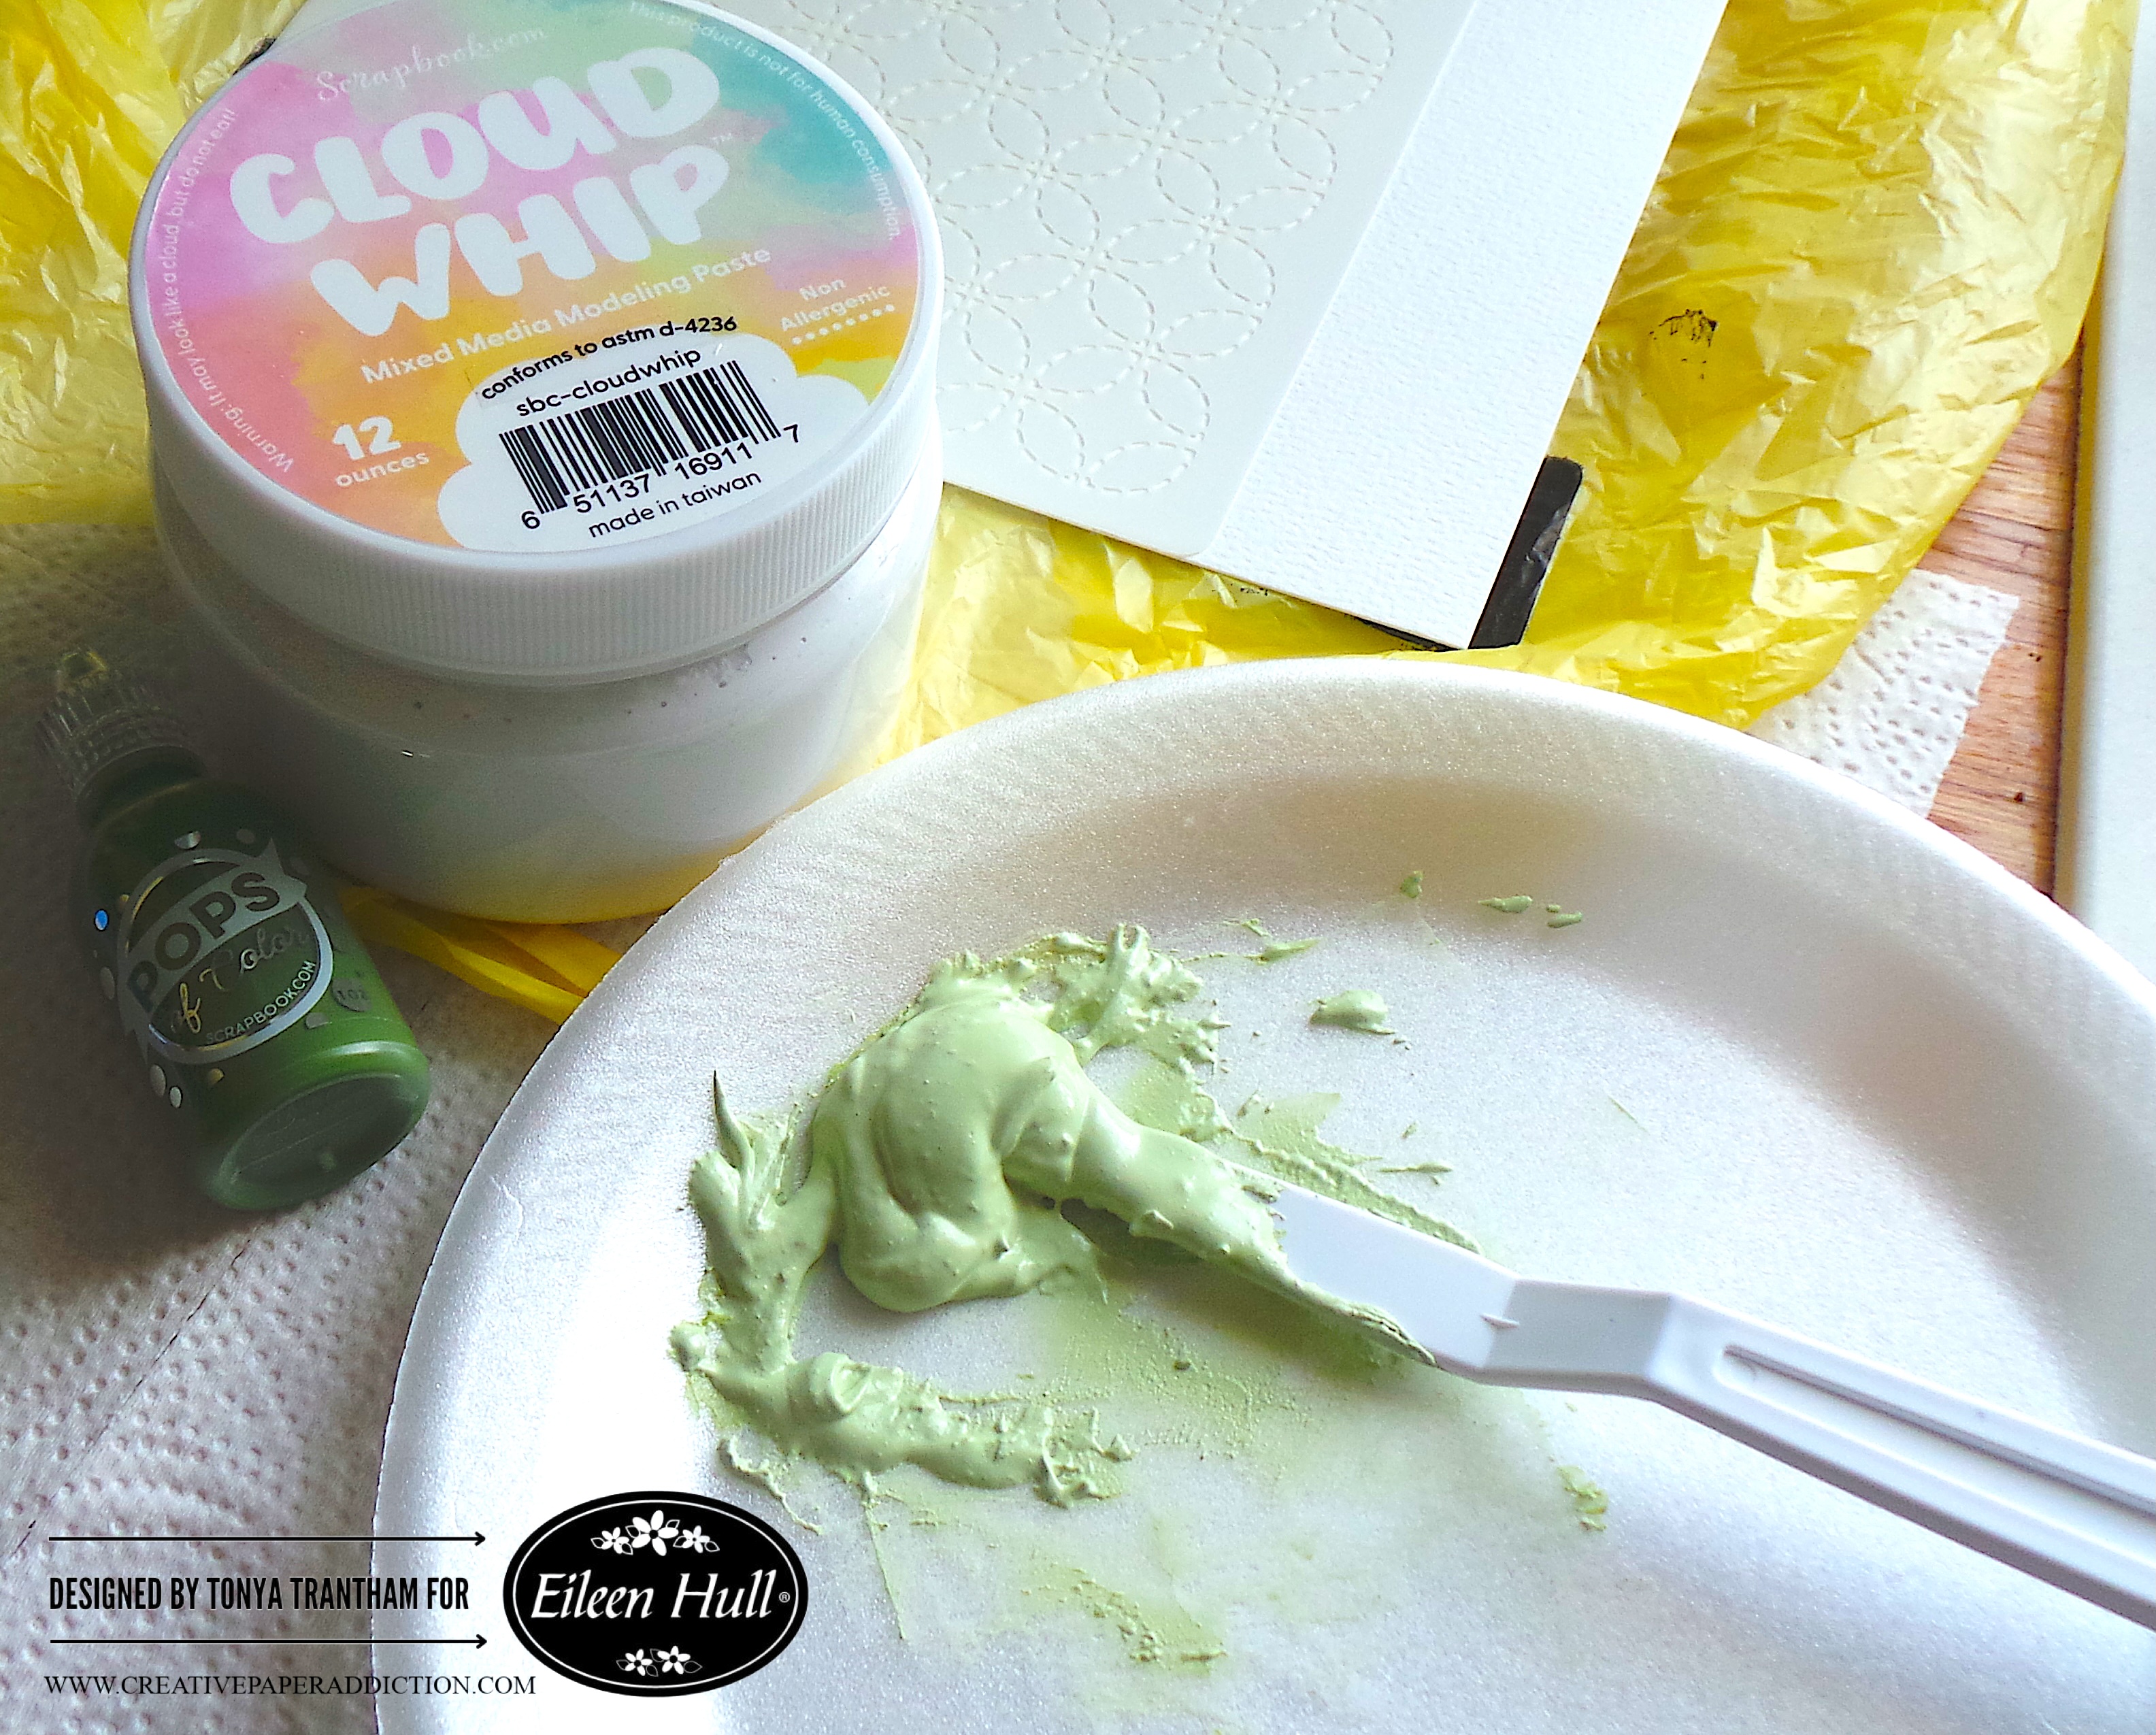
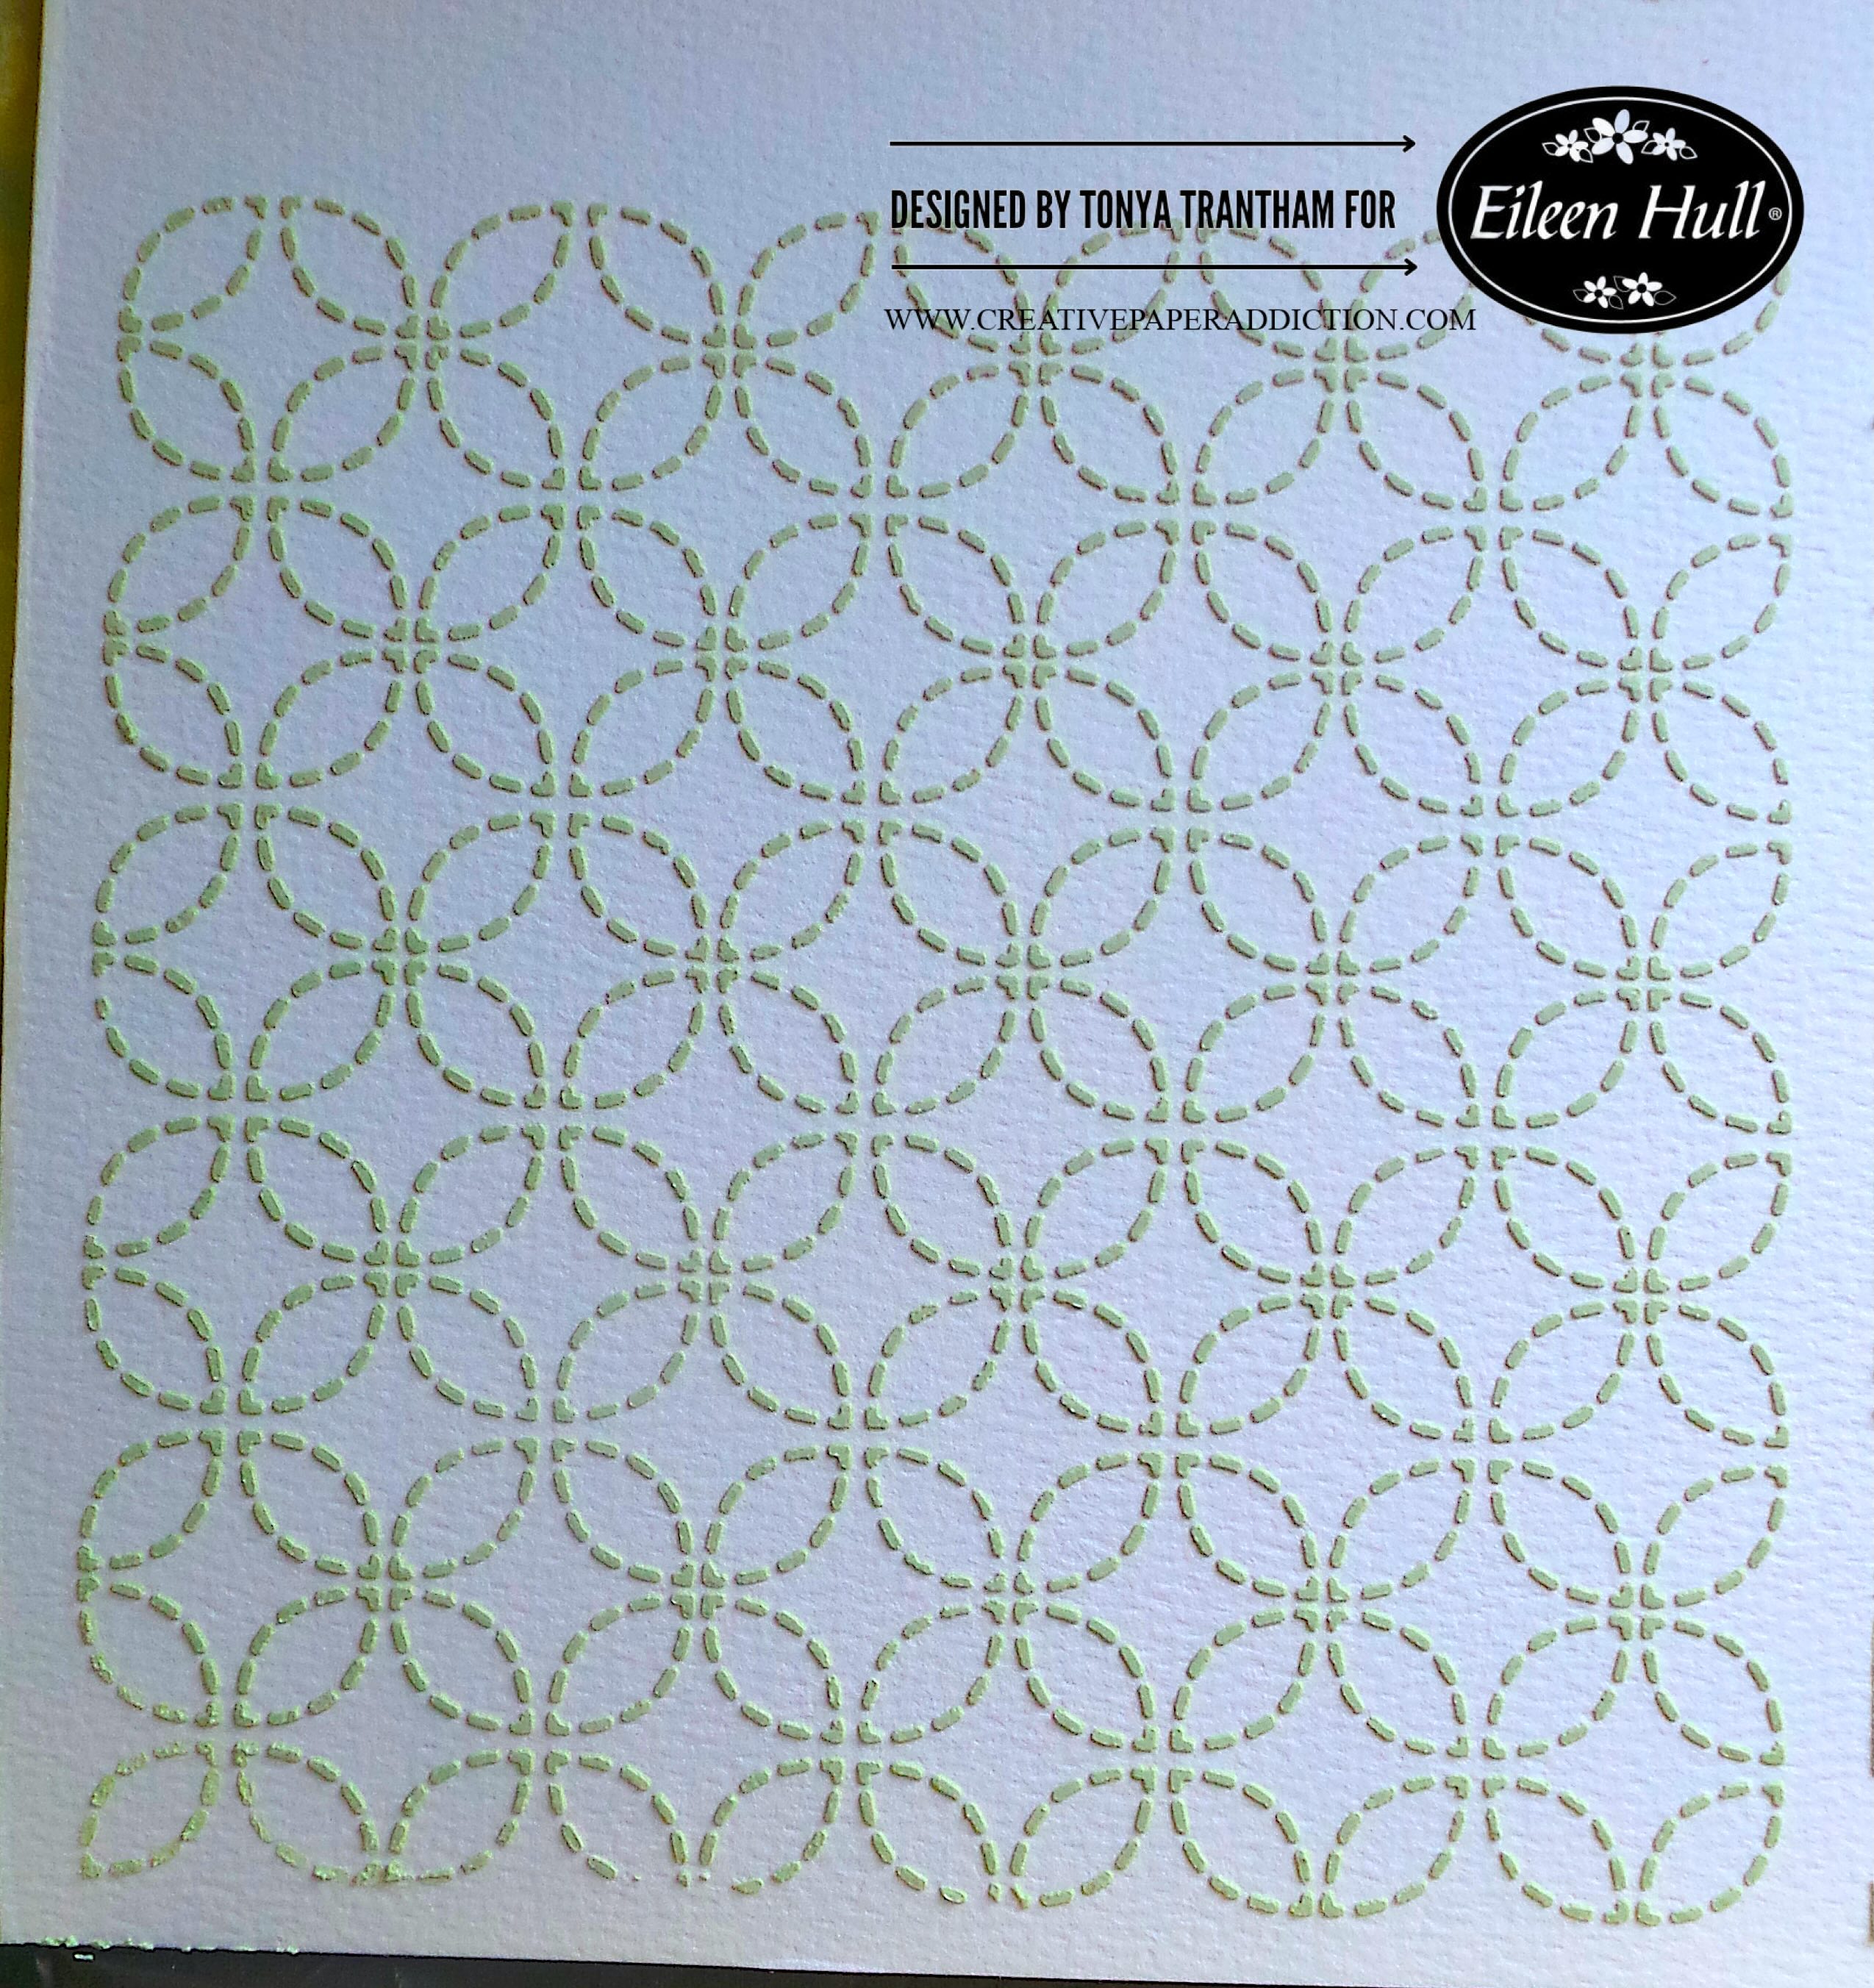
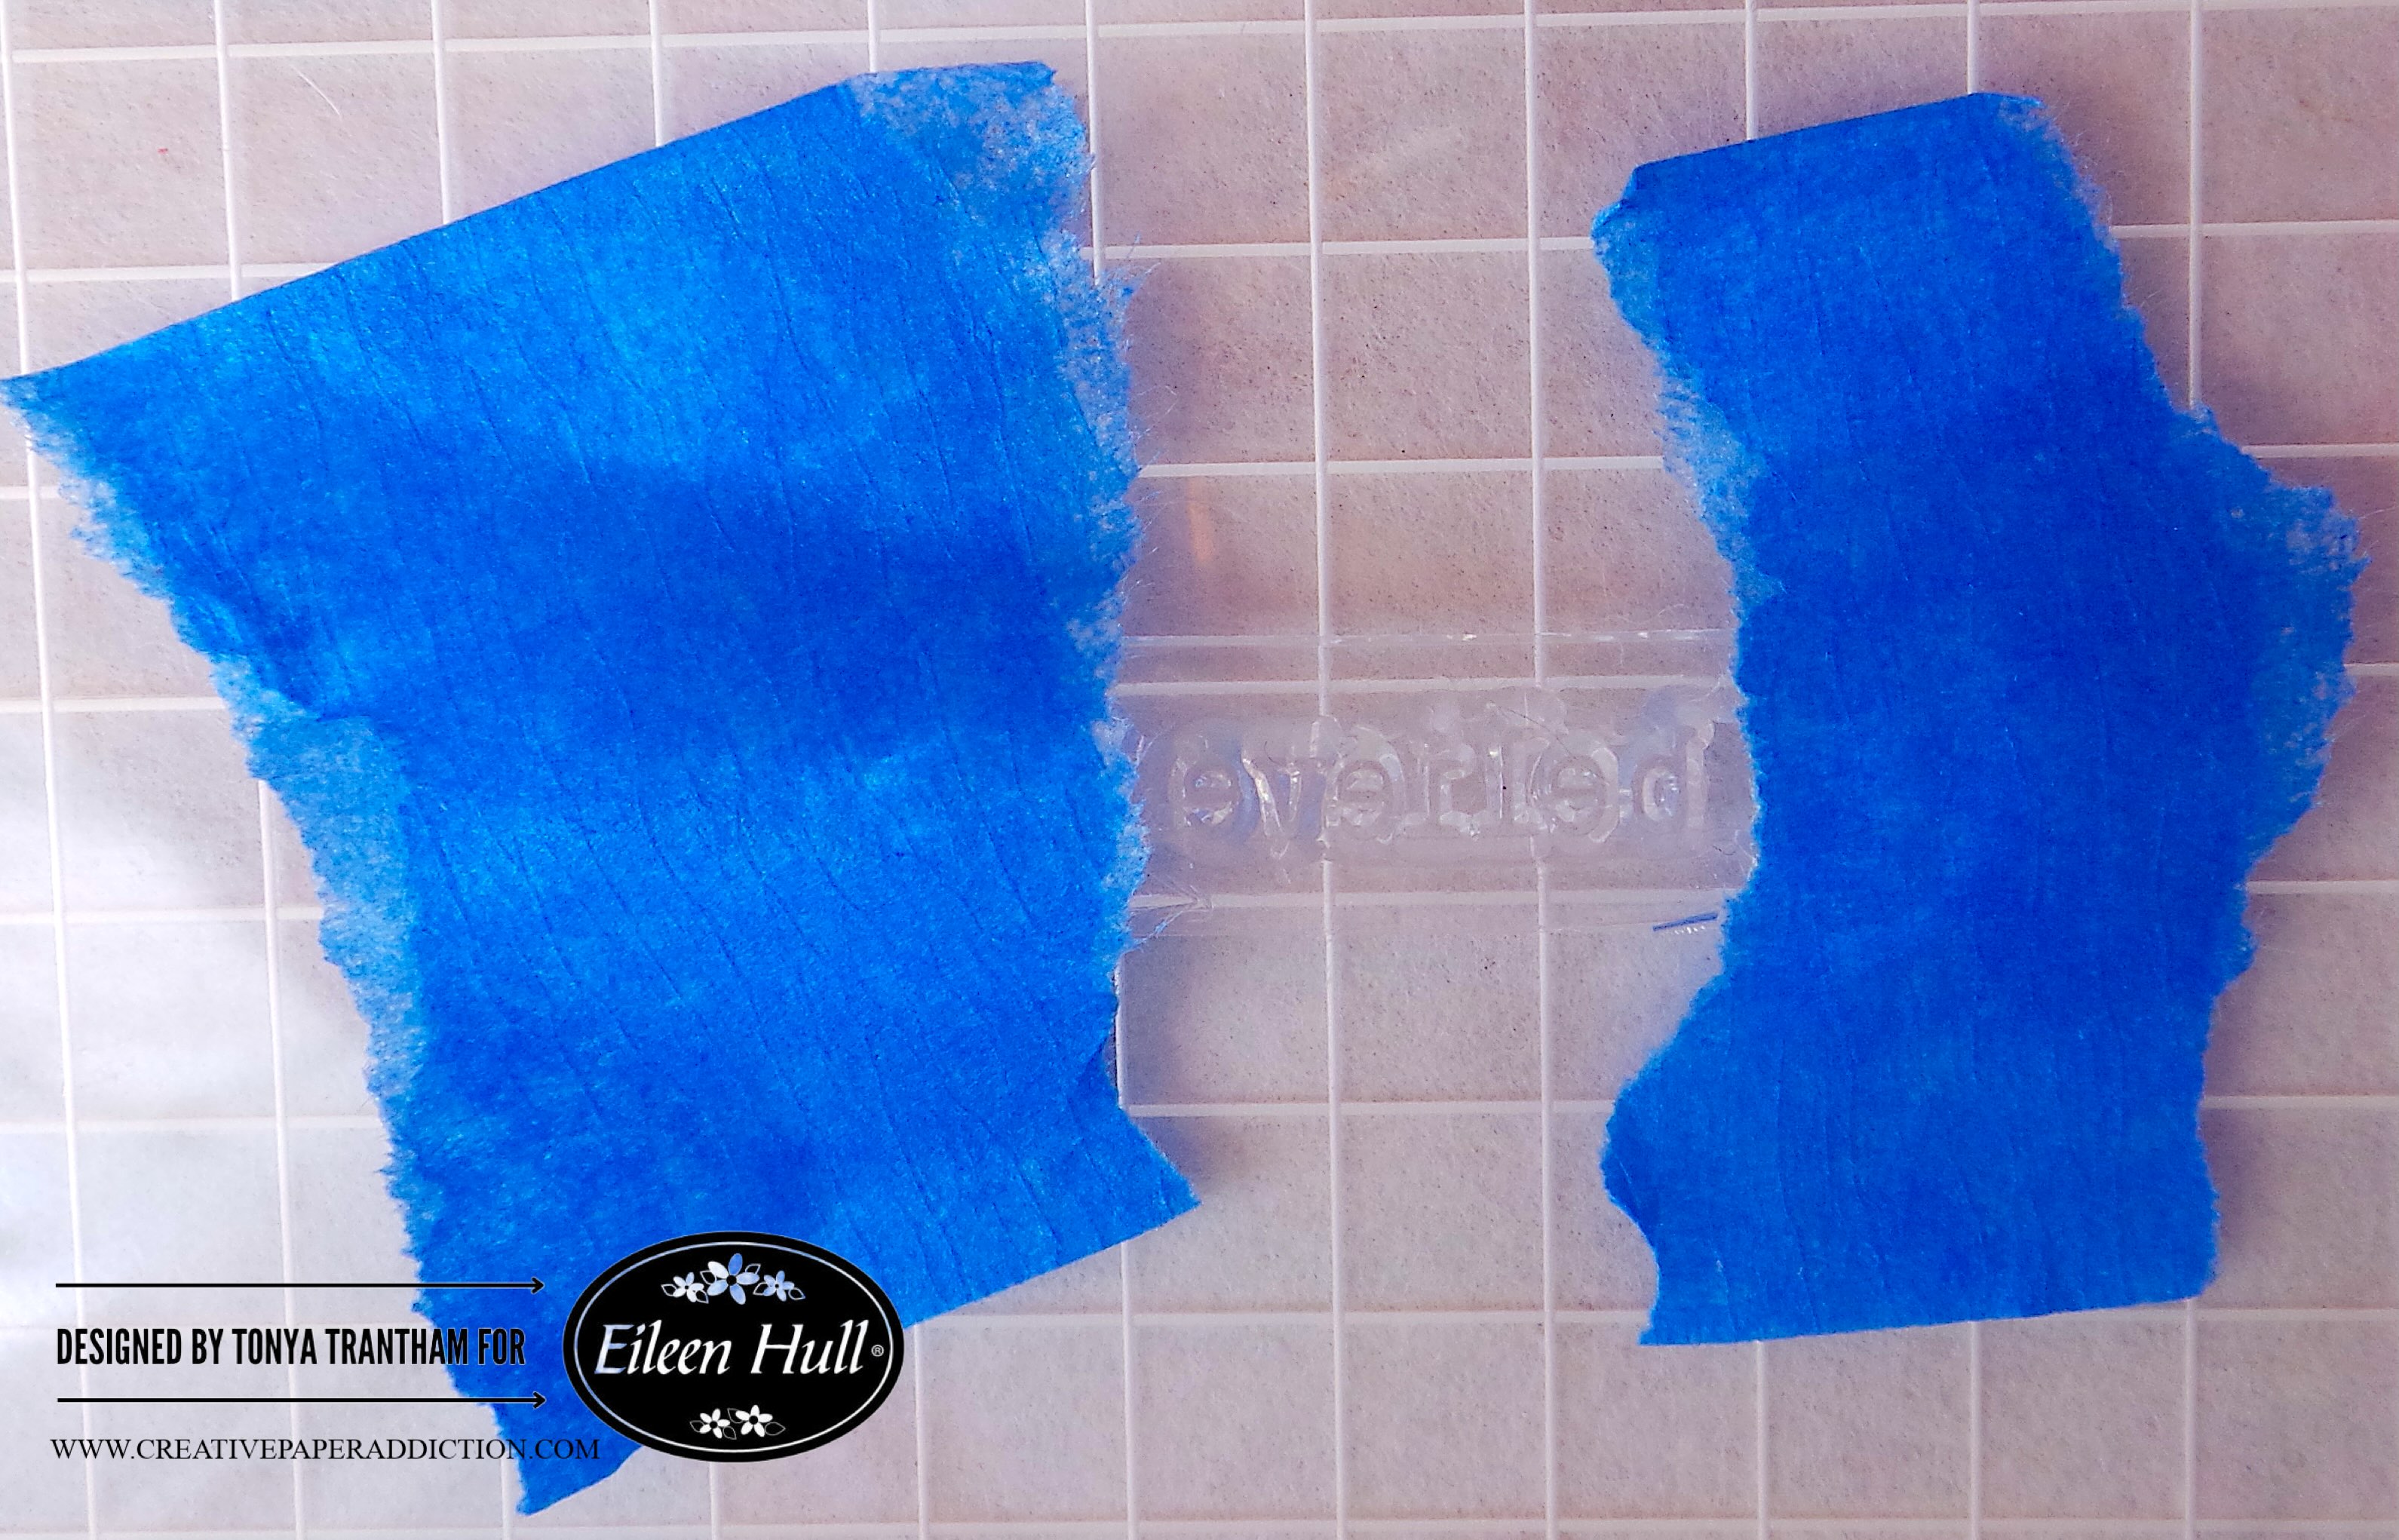
I used the Chillin’ Stamp Set (retired) since it had a giant size snowflake stamp. I placed the stamp onto a MISTI Stamping Tool and inked with Green Ink. I stamped onto a piece of Watercolor Paper. I fussy cut the snowflake out and used an assortment of inks over the image.

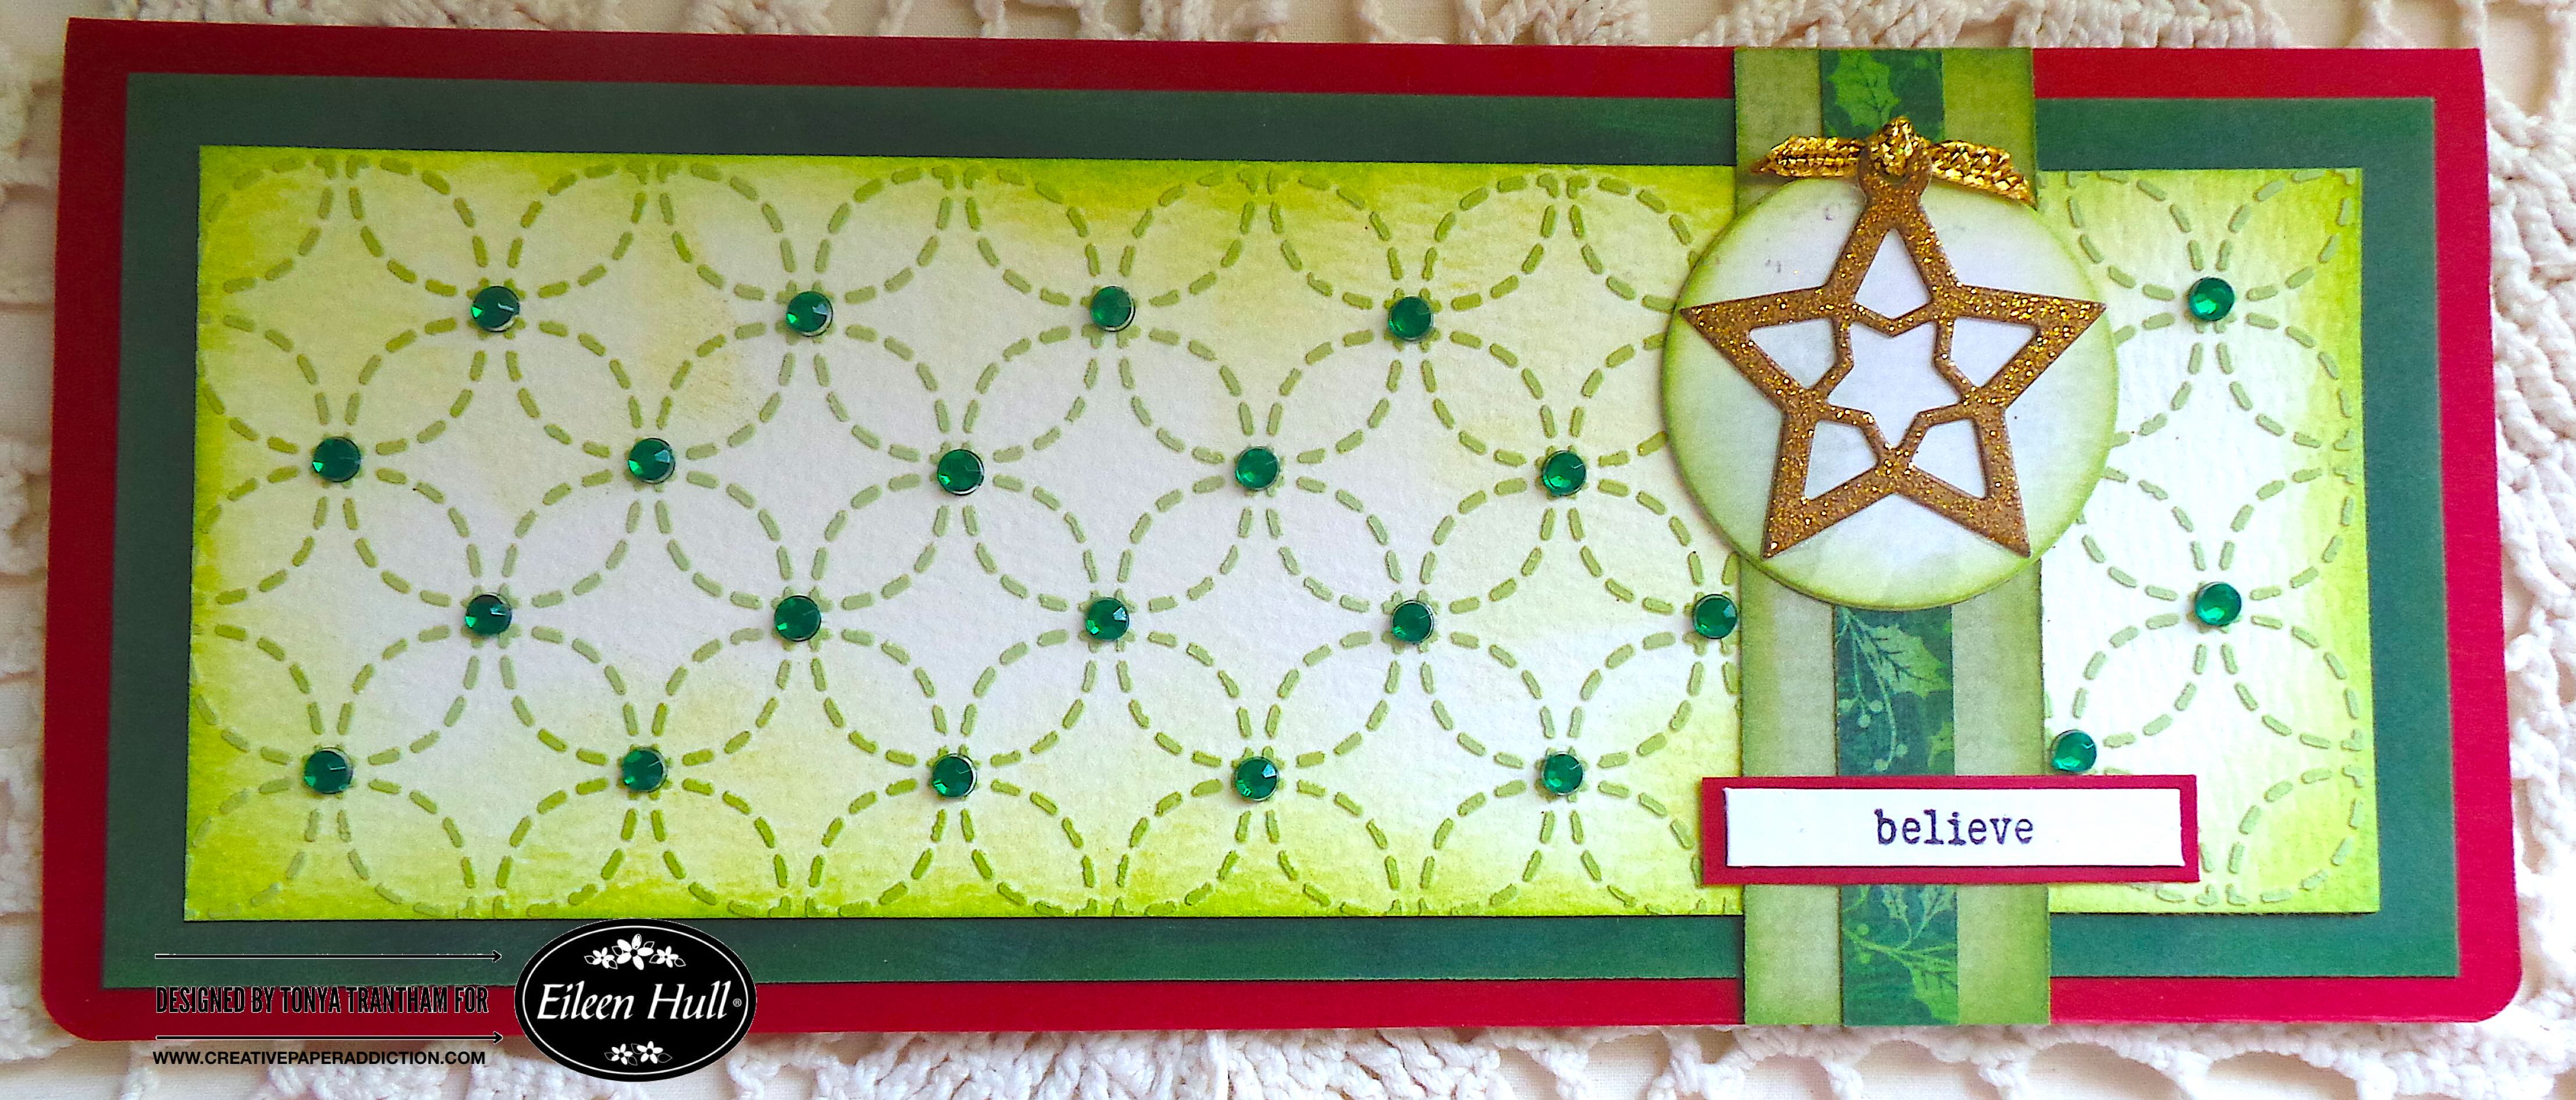
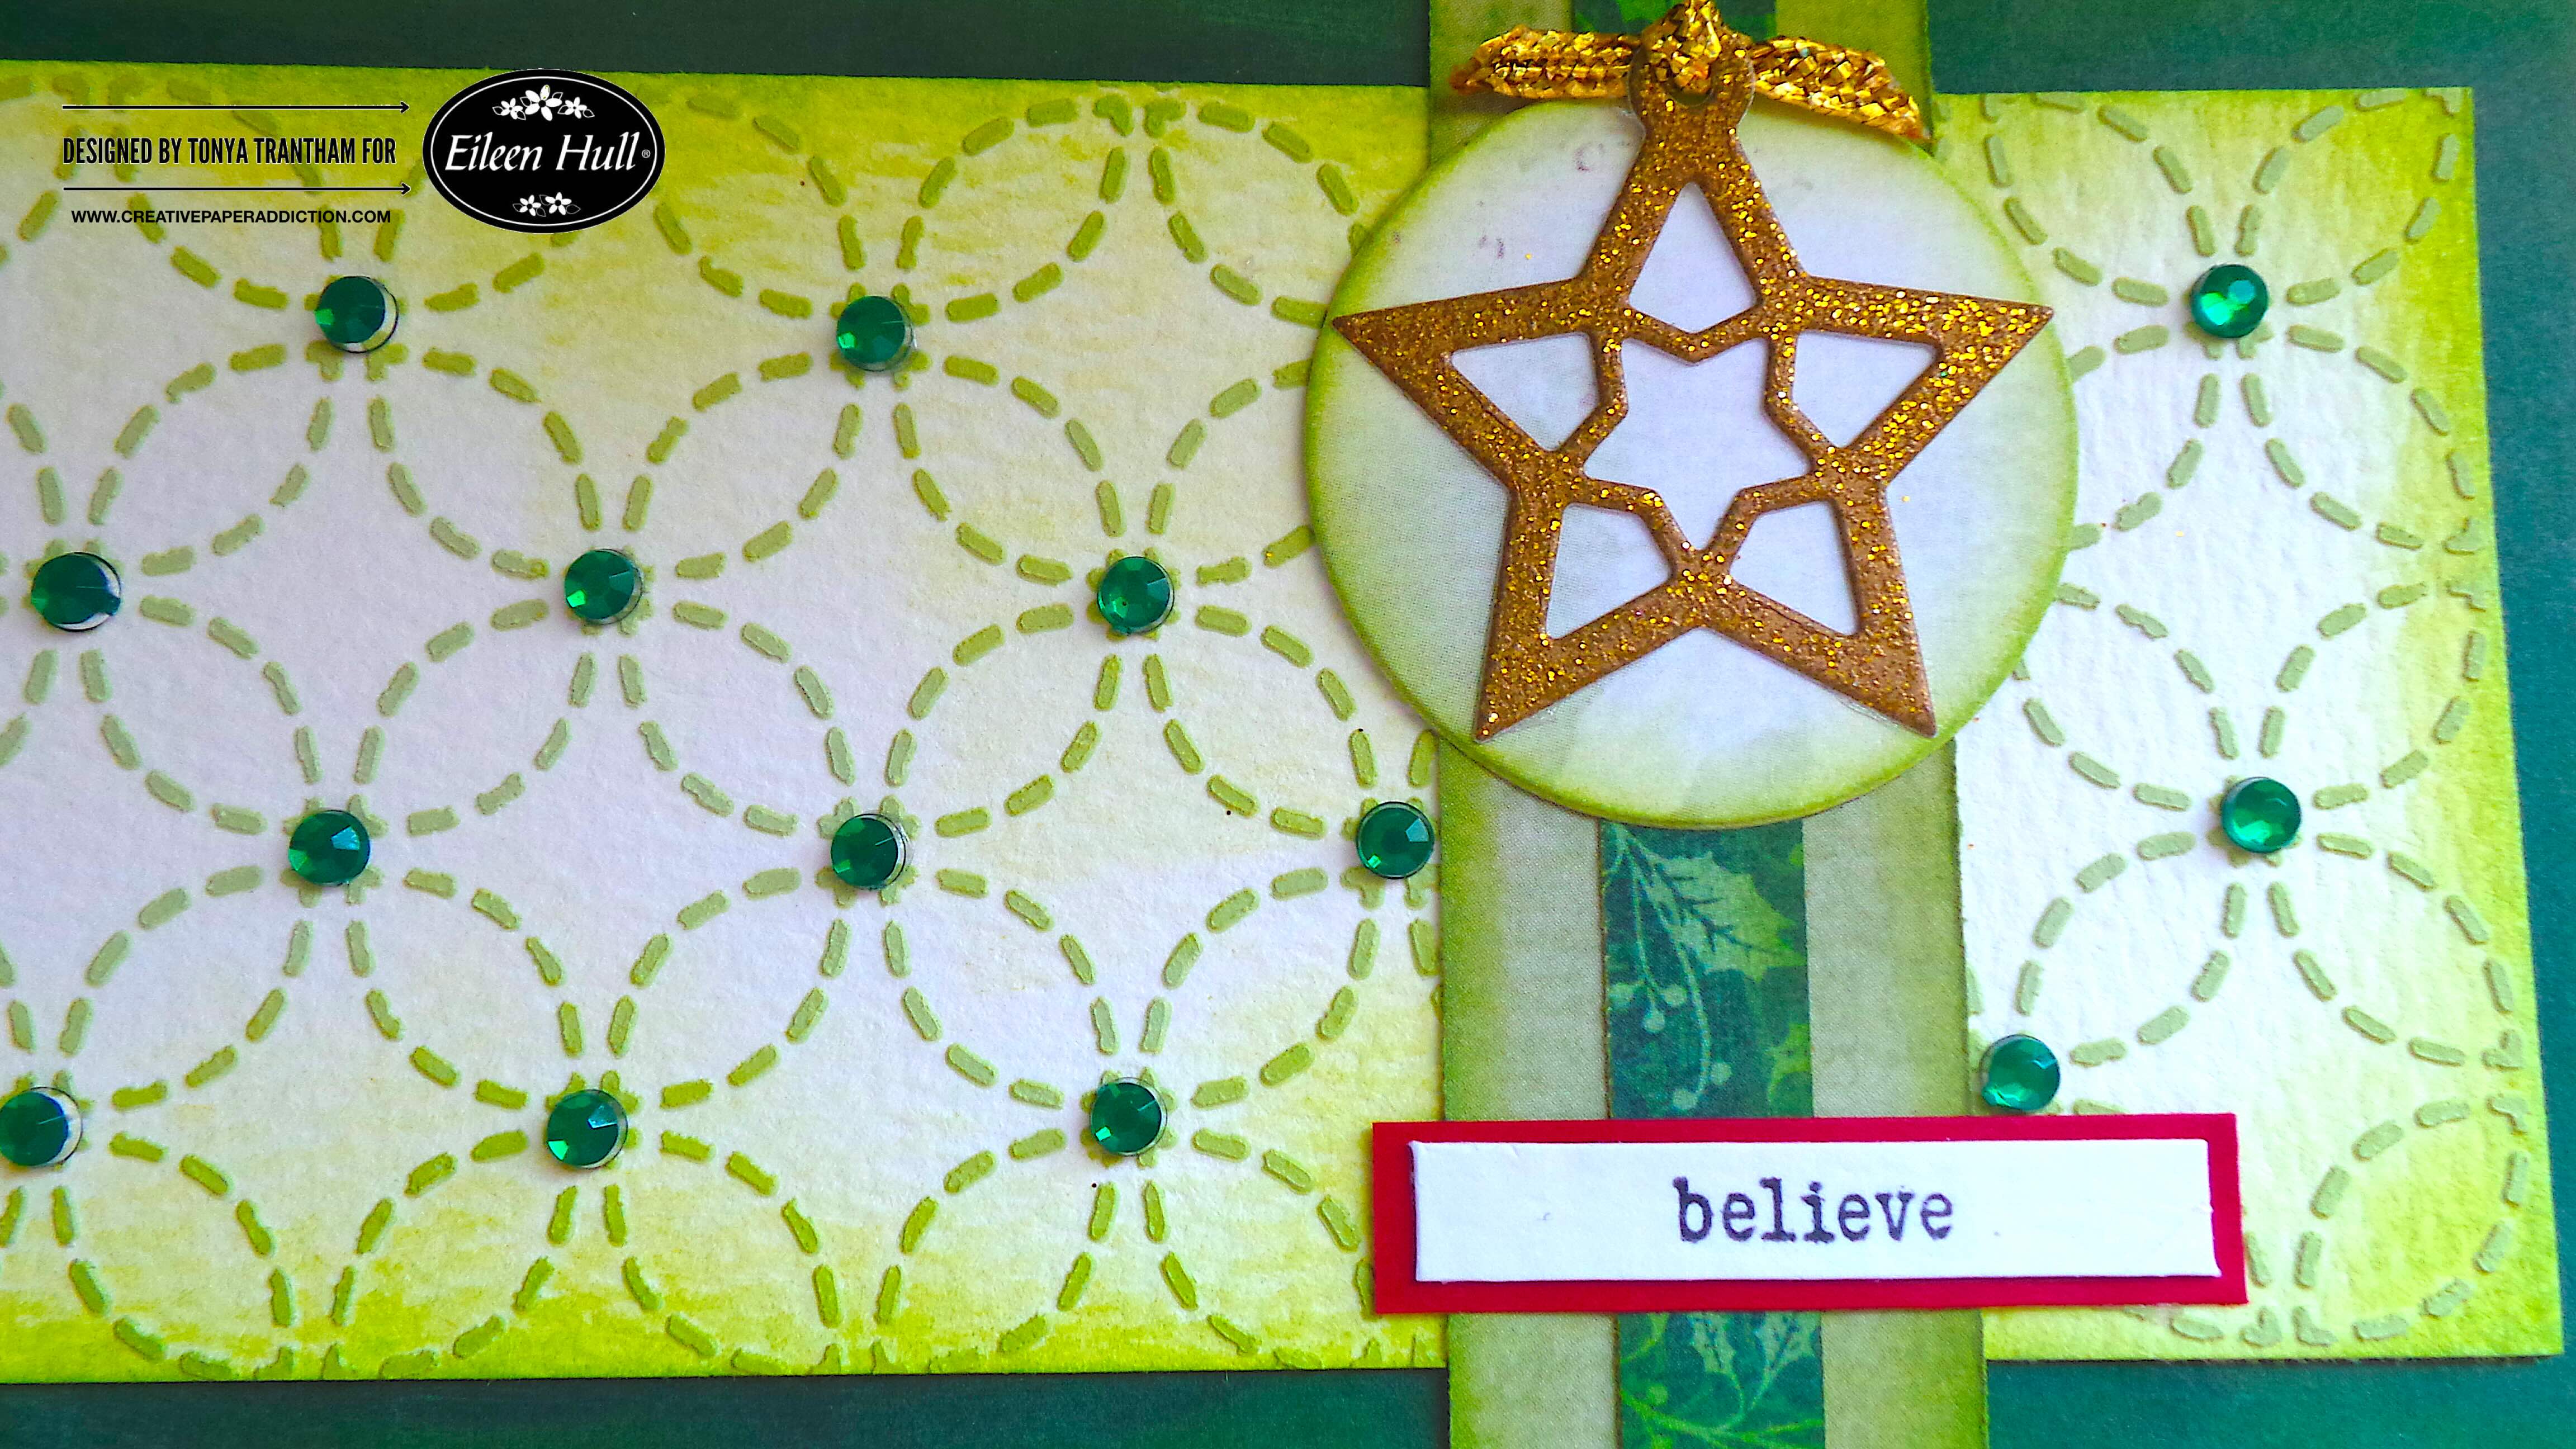
I adhered the sequins and gems to the snowflake before gluing to the mailer. A side note, if you don’t have a giant snowflake stamp, you can use diecuts or printables. You can even use several smaller snowflakes to dress up the mailer.

I adhered Large Ric Rac to the top of the mailer.

Now all I have to do is add a present, tissue paper and it’s ready to give as a gift. If you have any questions or comments about this project please leave them below.

Supply List
Amazon Mailer
Dixie Belle Chalk Mineral Mint Julep Paint
Large Ric Rac
Various Inks
Gems and Sequins
Tattered Angels: Chillin’ Stamp Set (retired)
Beacon Adhesives: Zip Dry Adhesive
(Products listed above are Affiliated Links for your convenience)
DISCLAIMERS
This blog is compensated to provide opinion on products, services, websites, and various other topics. Even though the owner(s) of this blog receives compensation for our posts or advertisements. I always give my honest opinions, findings, beliefs, or experiences on those topics or products. The views and opinions expressed on this blog are purely my own. Any product claim, statistic, or quote should be checked with each manufacturer. Verify other representations about a product or service with the provider or party in question.This blog contains affiliate links. Clicking these links helps to support Tonya Trantham Designs – Creative Paper Addiction. It runs at no additional cost to you. Today’s features are Scrapbook.com Products.

Thanks for stopping by, hope your Friday is great and enjoy creating!