How to Recycle Envelopes into a Tri Fold Journal
Hi everyone! I’m back with my first post of the month. I want to share how I altered three envelopes and turned them into a journal. I used a wide assortment of diecuts from Eileen Hull’s newest collection to create this fun project. Anyways let’s get started!
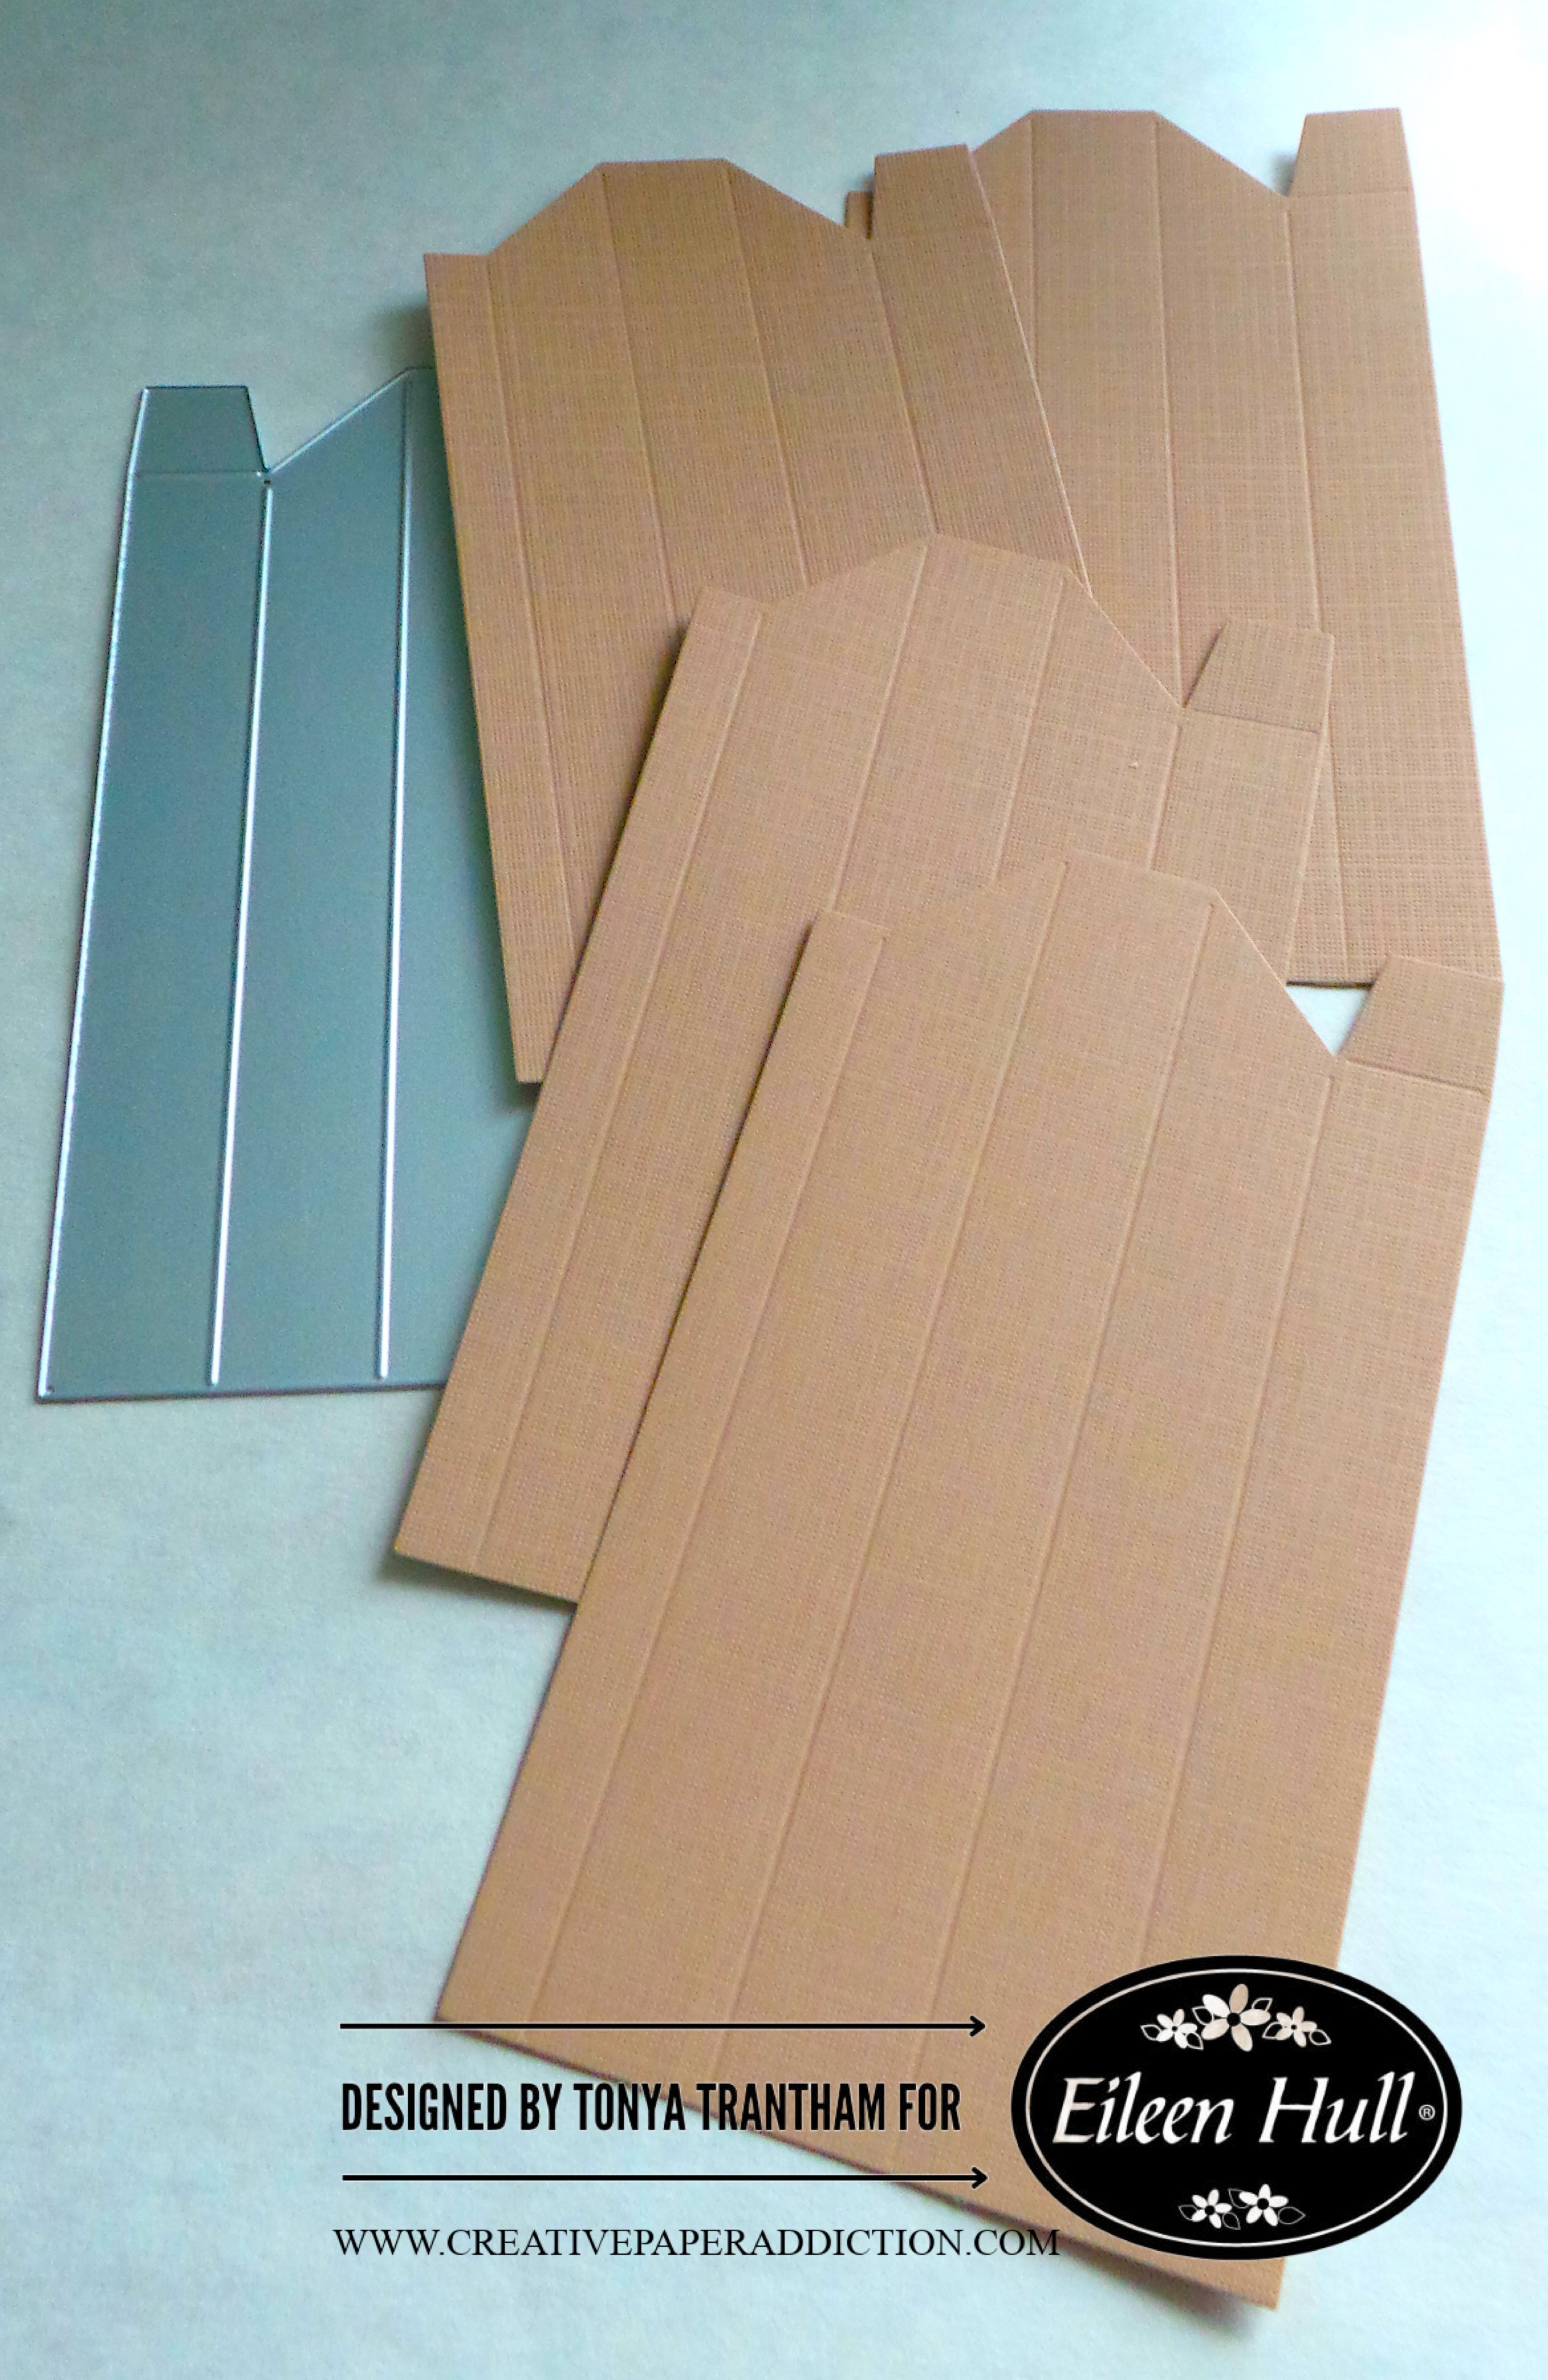
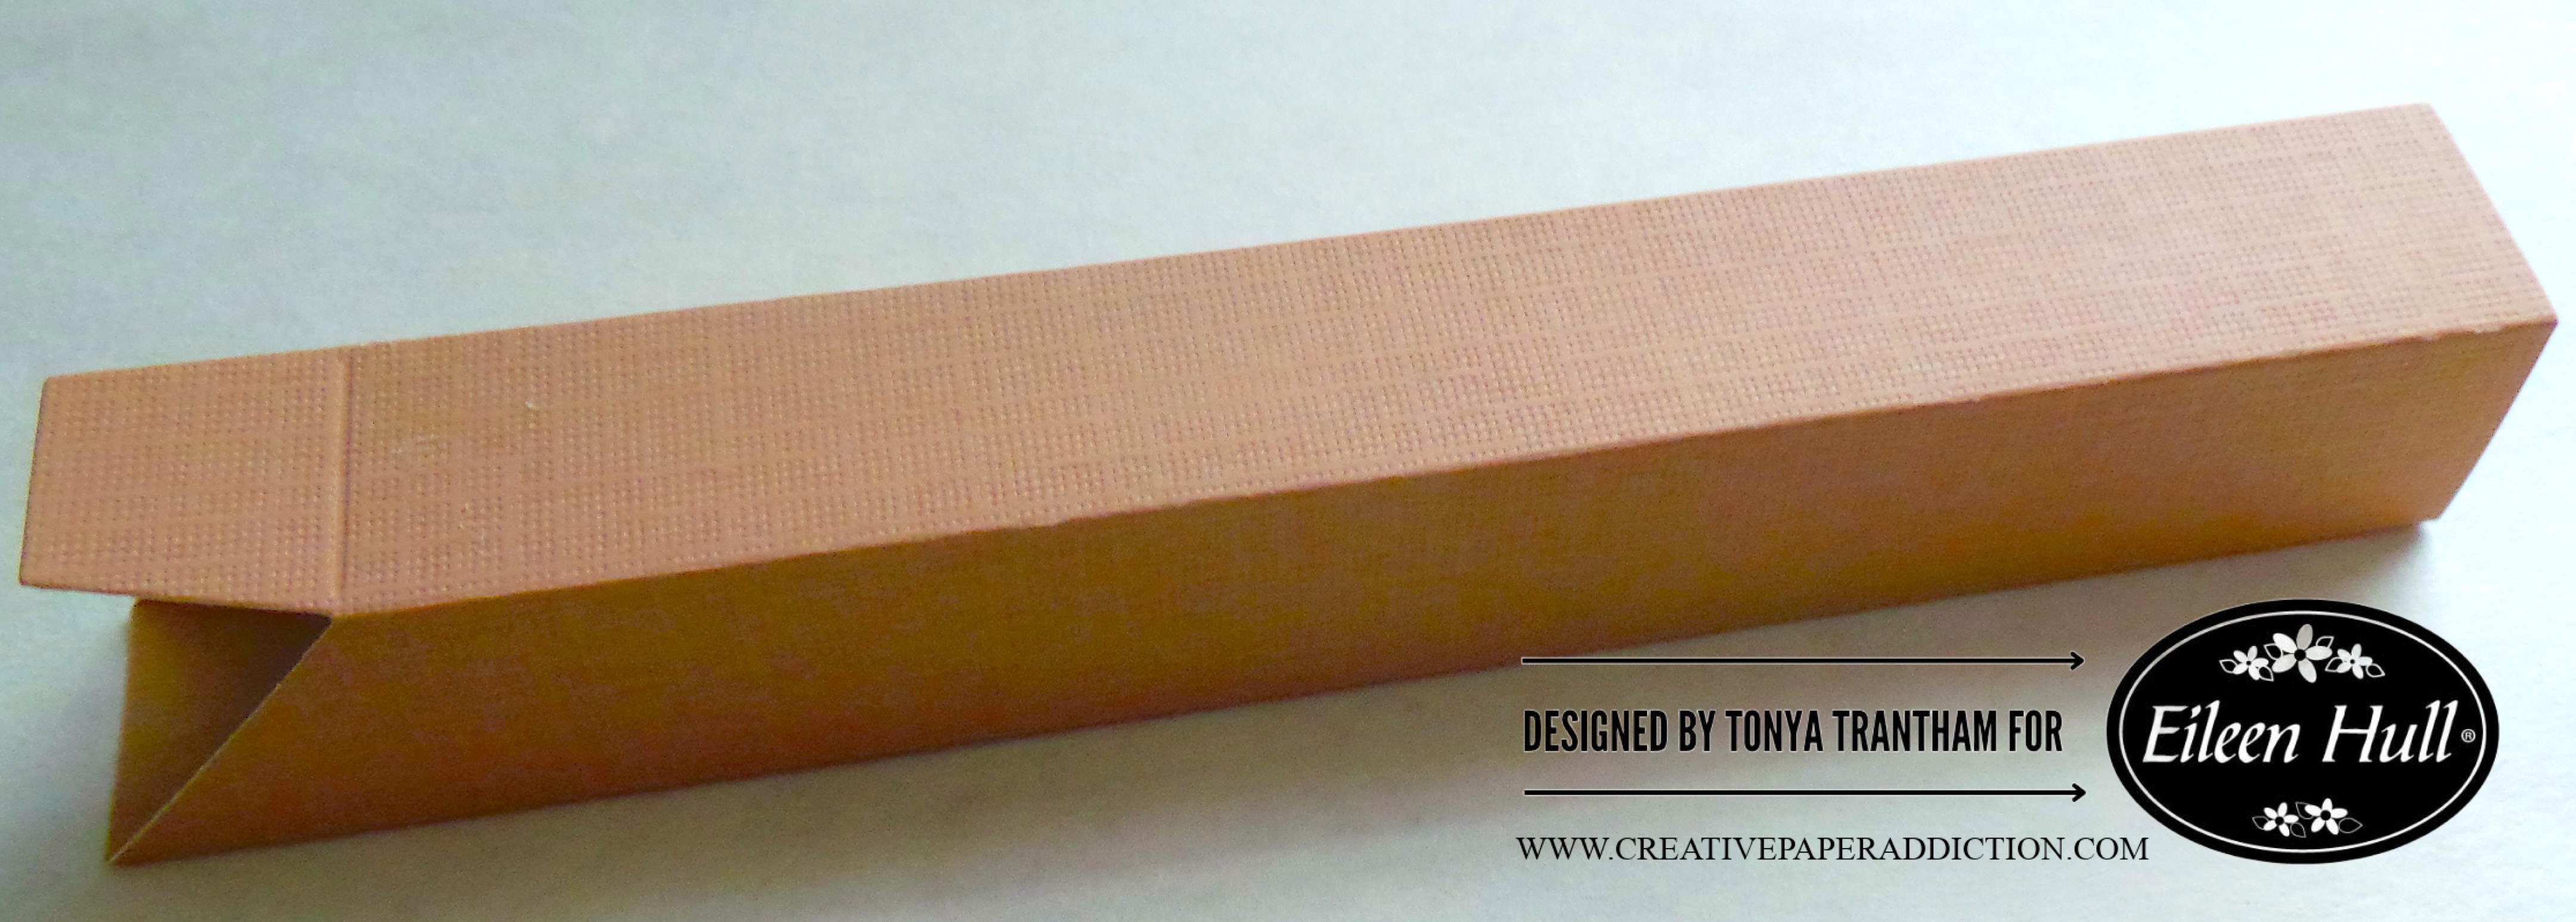
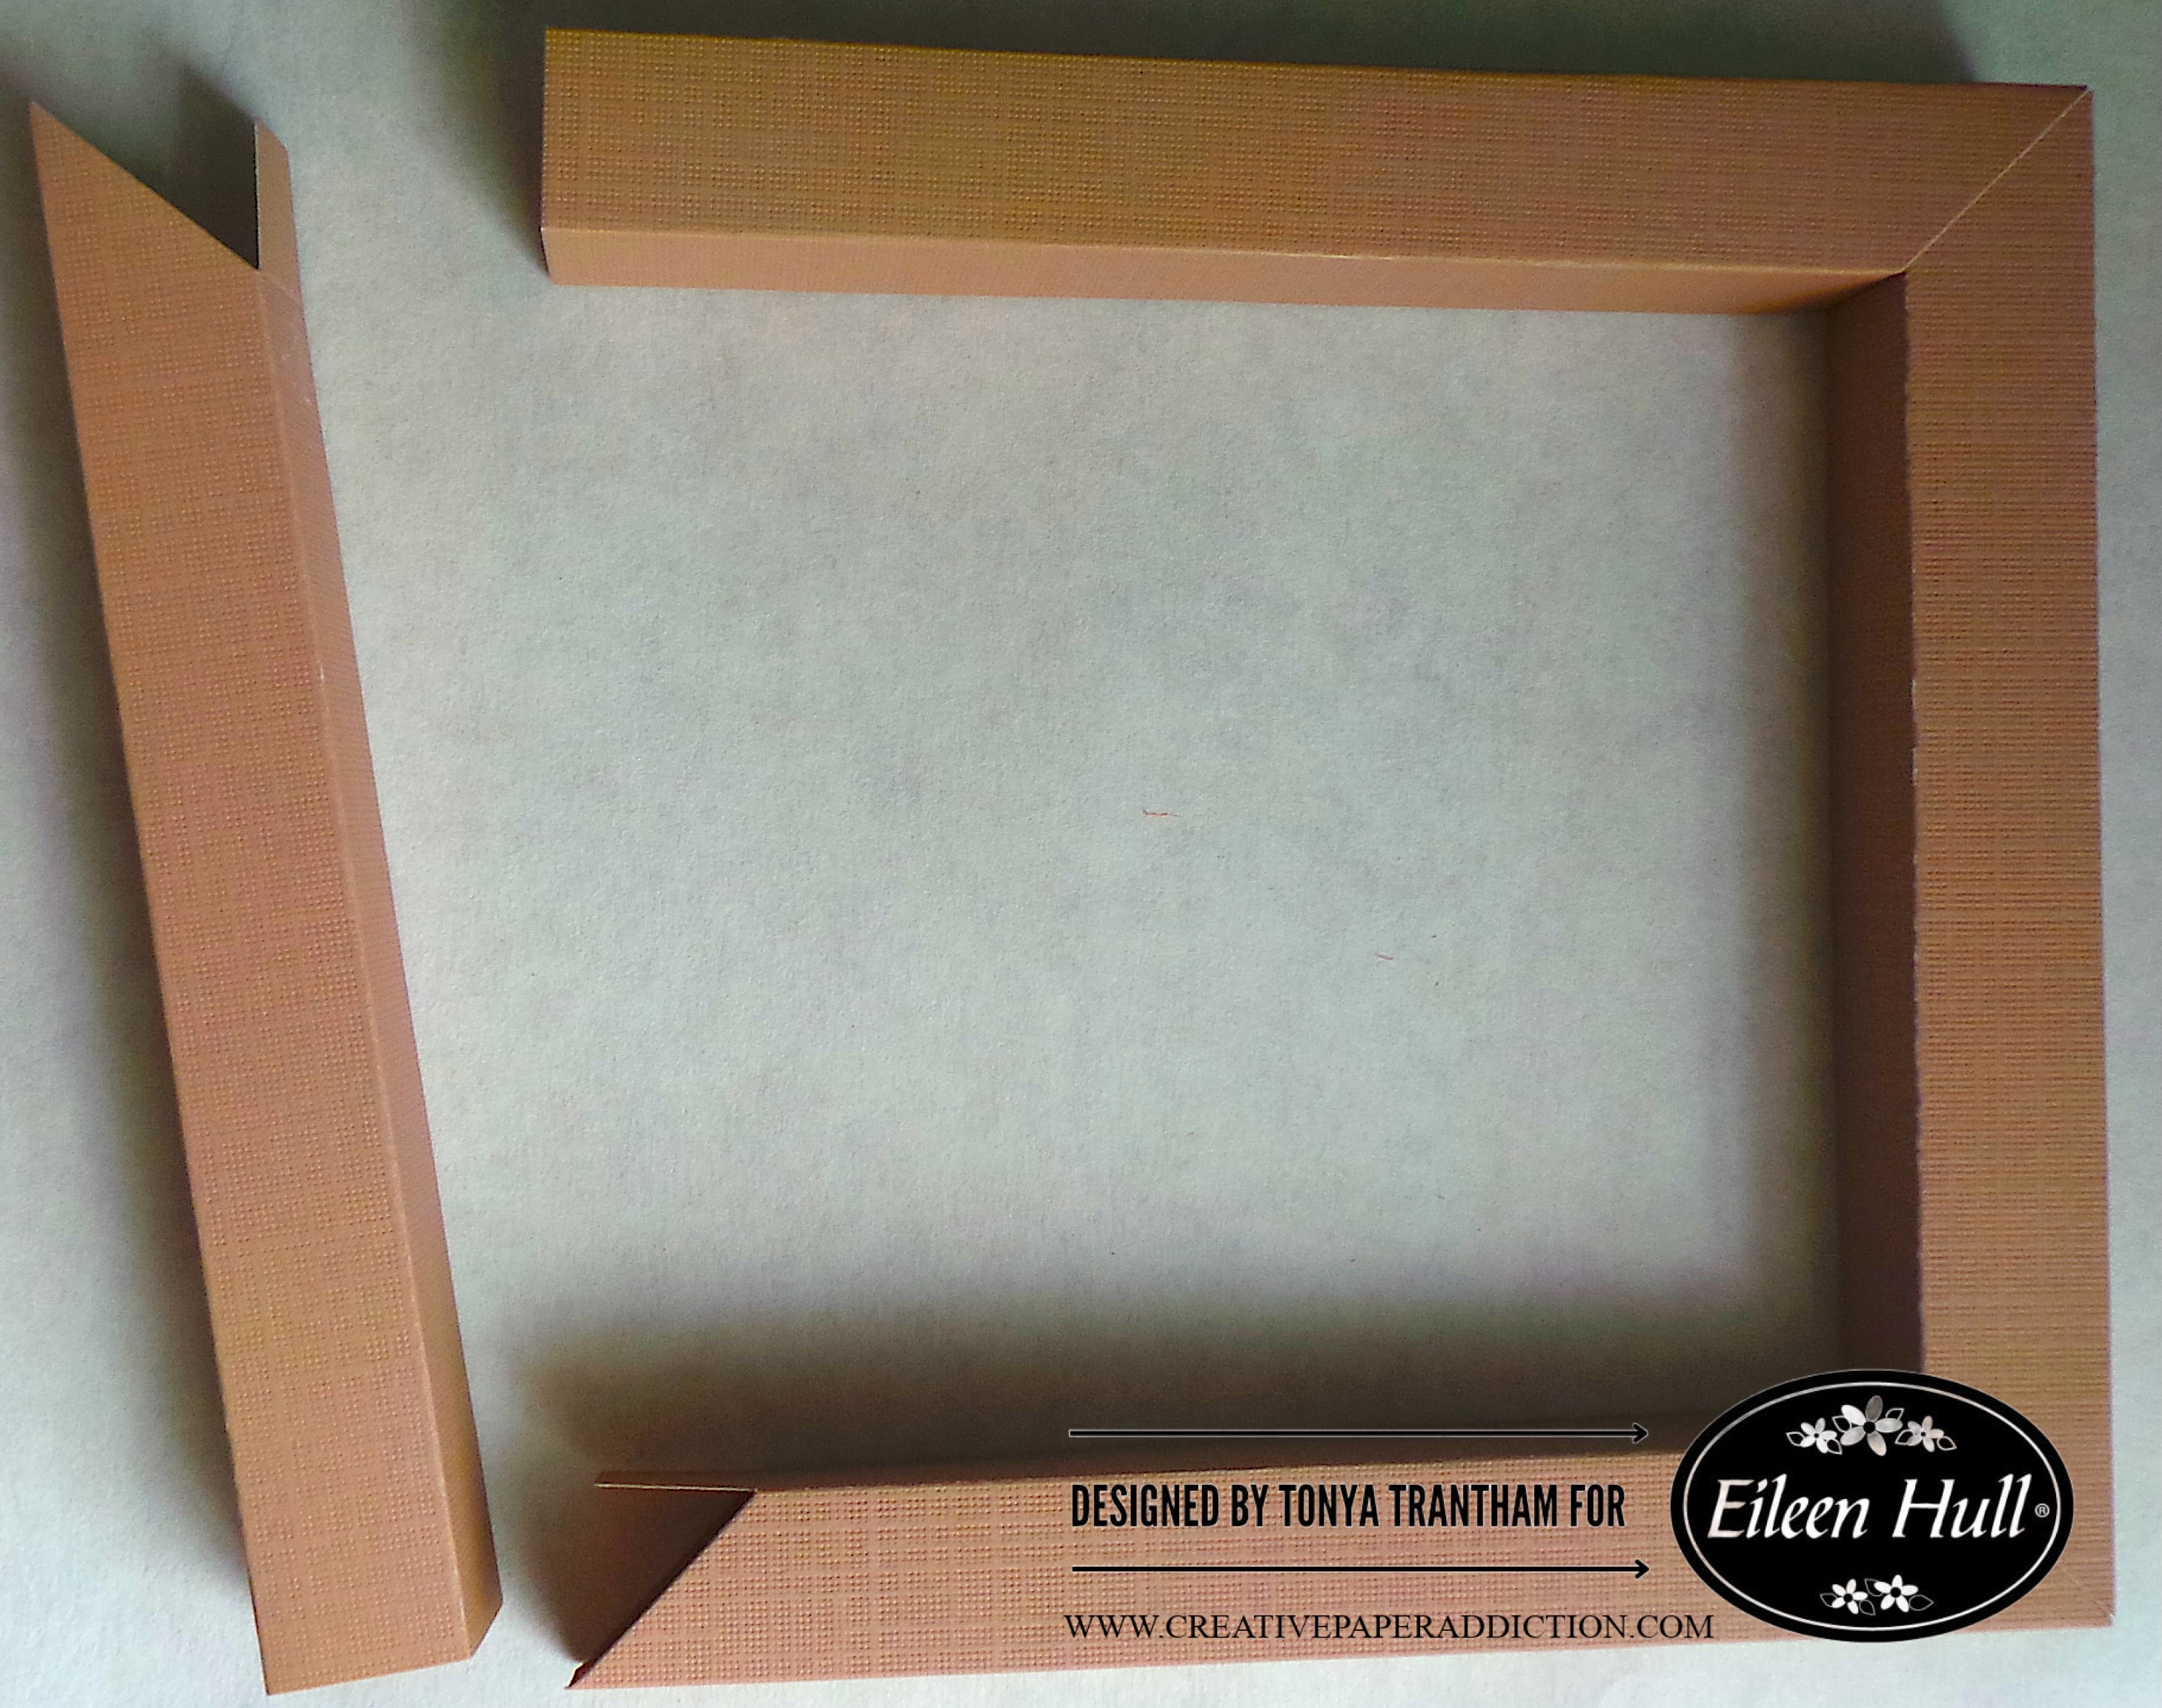
I have no step out photos of how I put together the envelopes. But I glued the top envelope flap to the middle envelope. The bottom envelope I adhered to the middle envelope to create a trip fold journal.
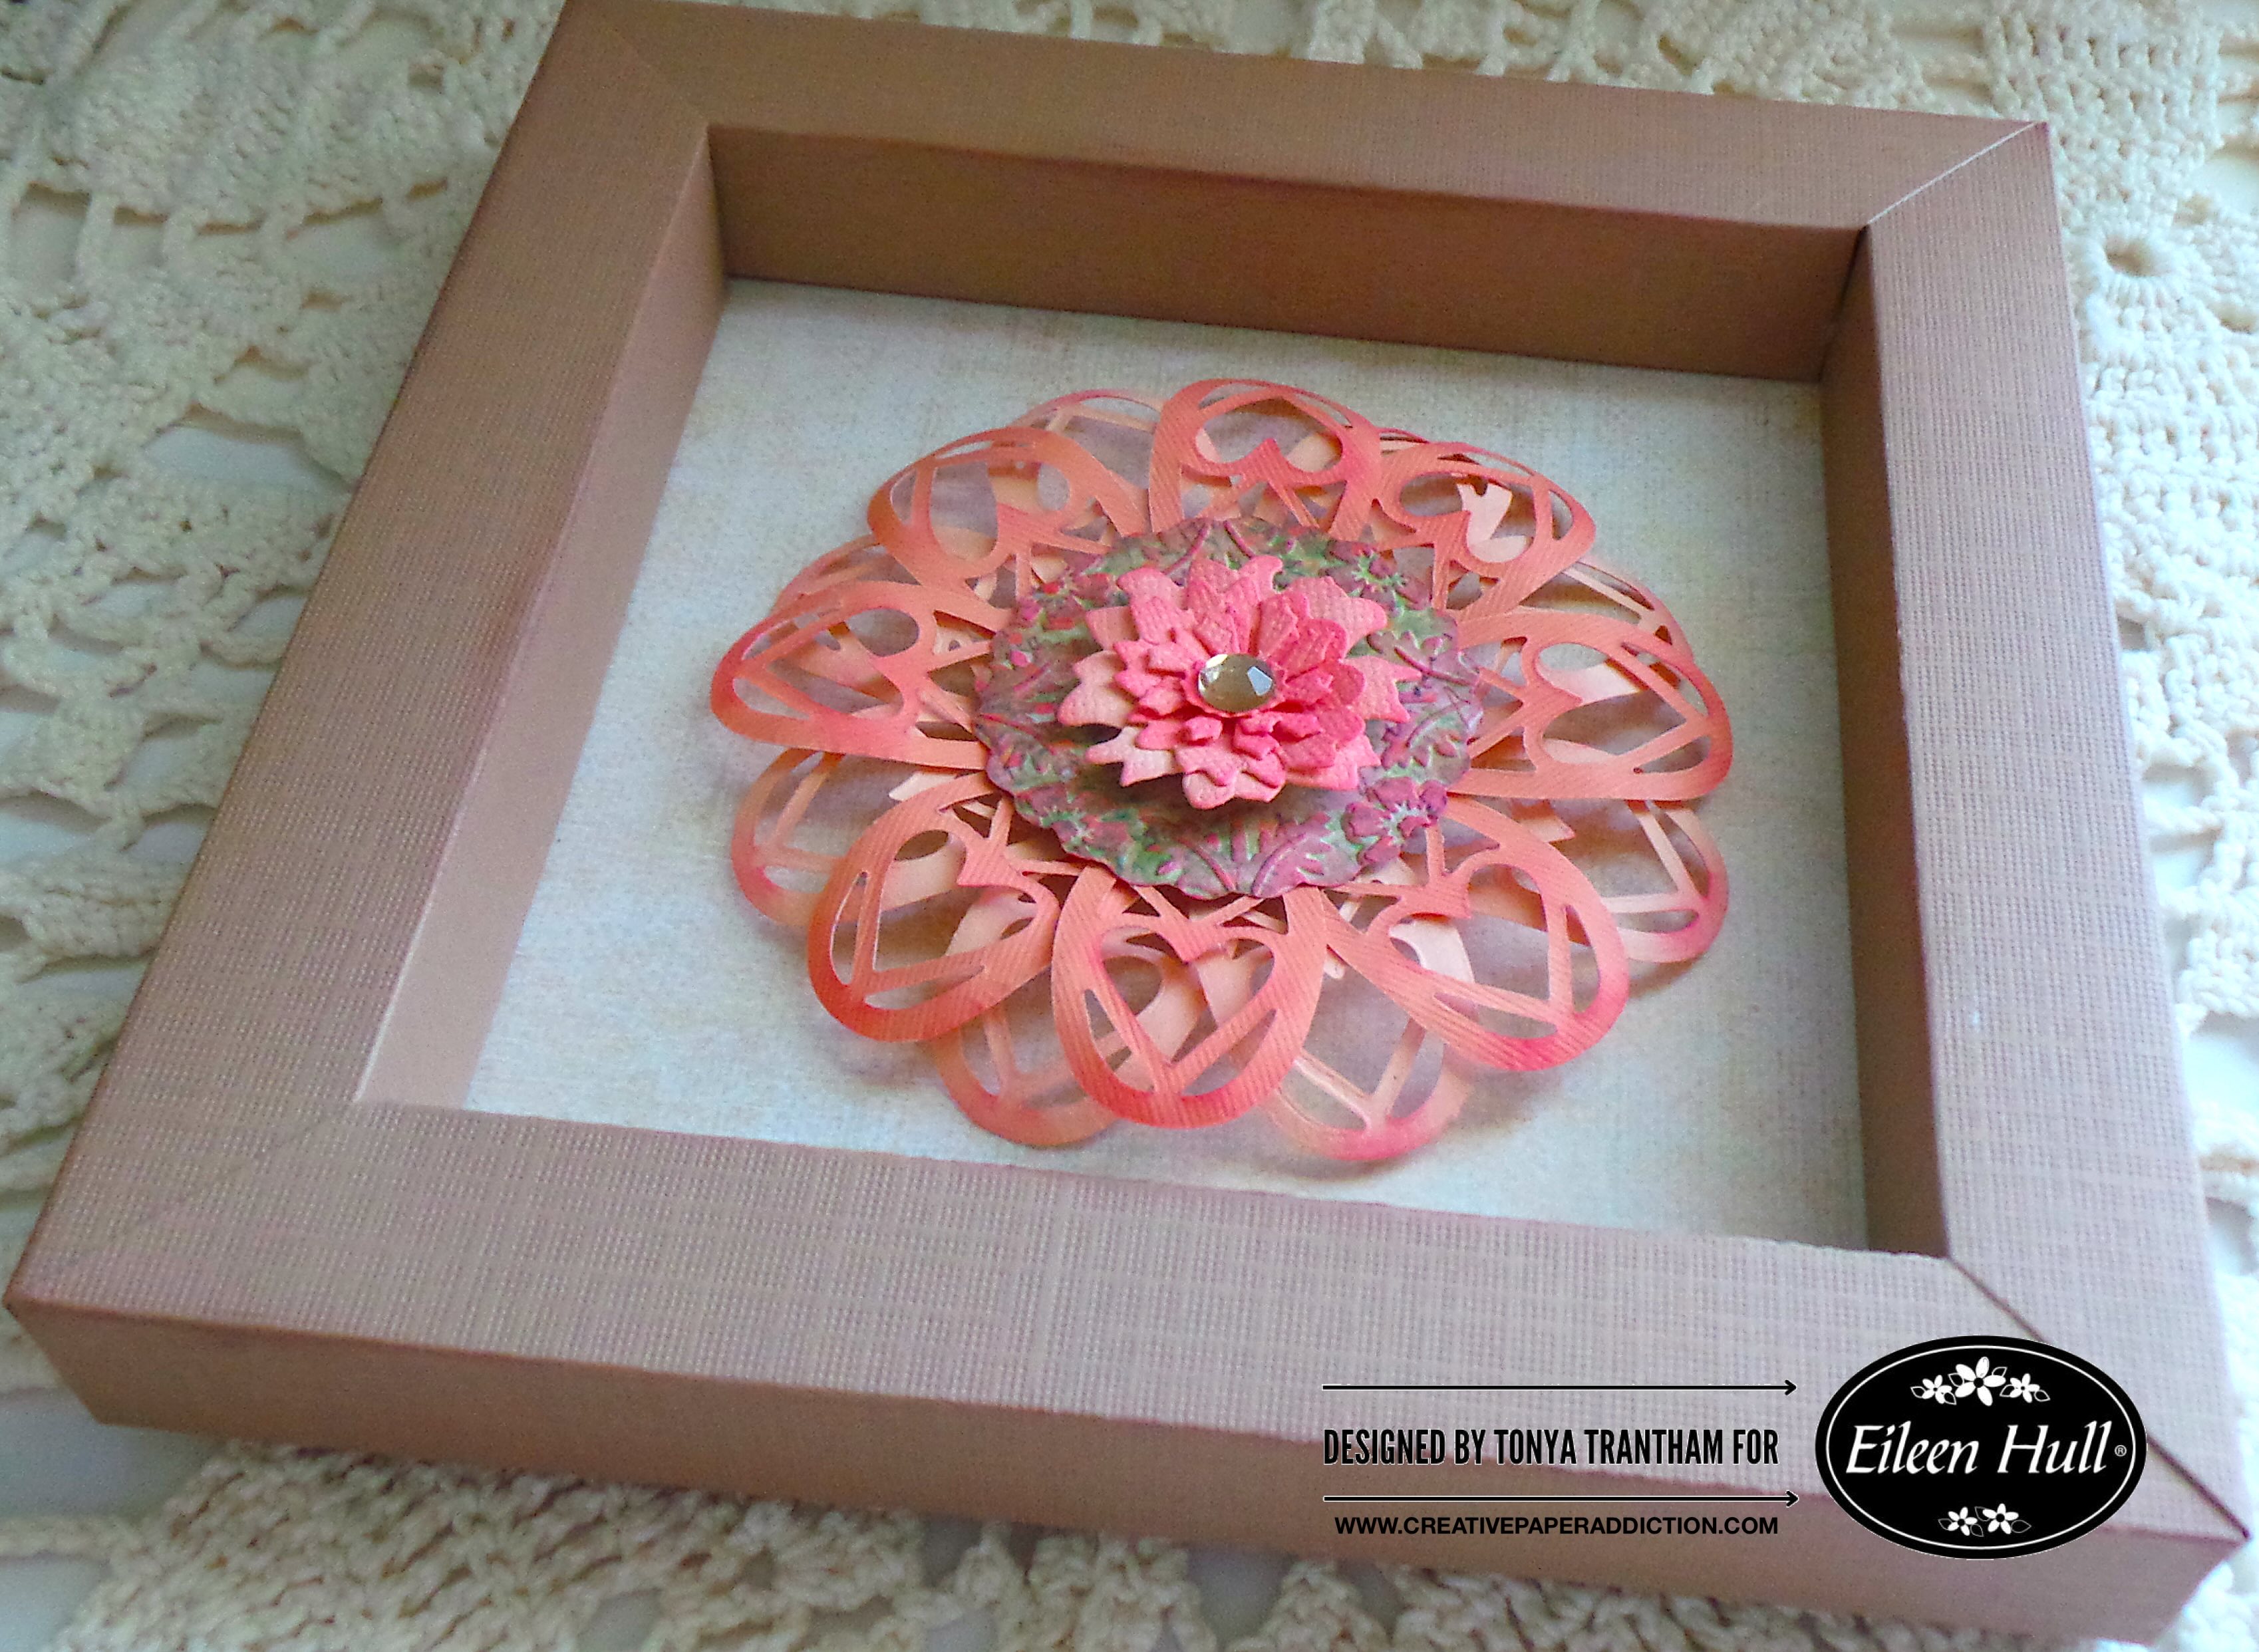
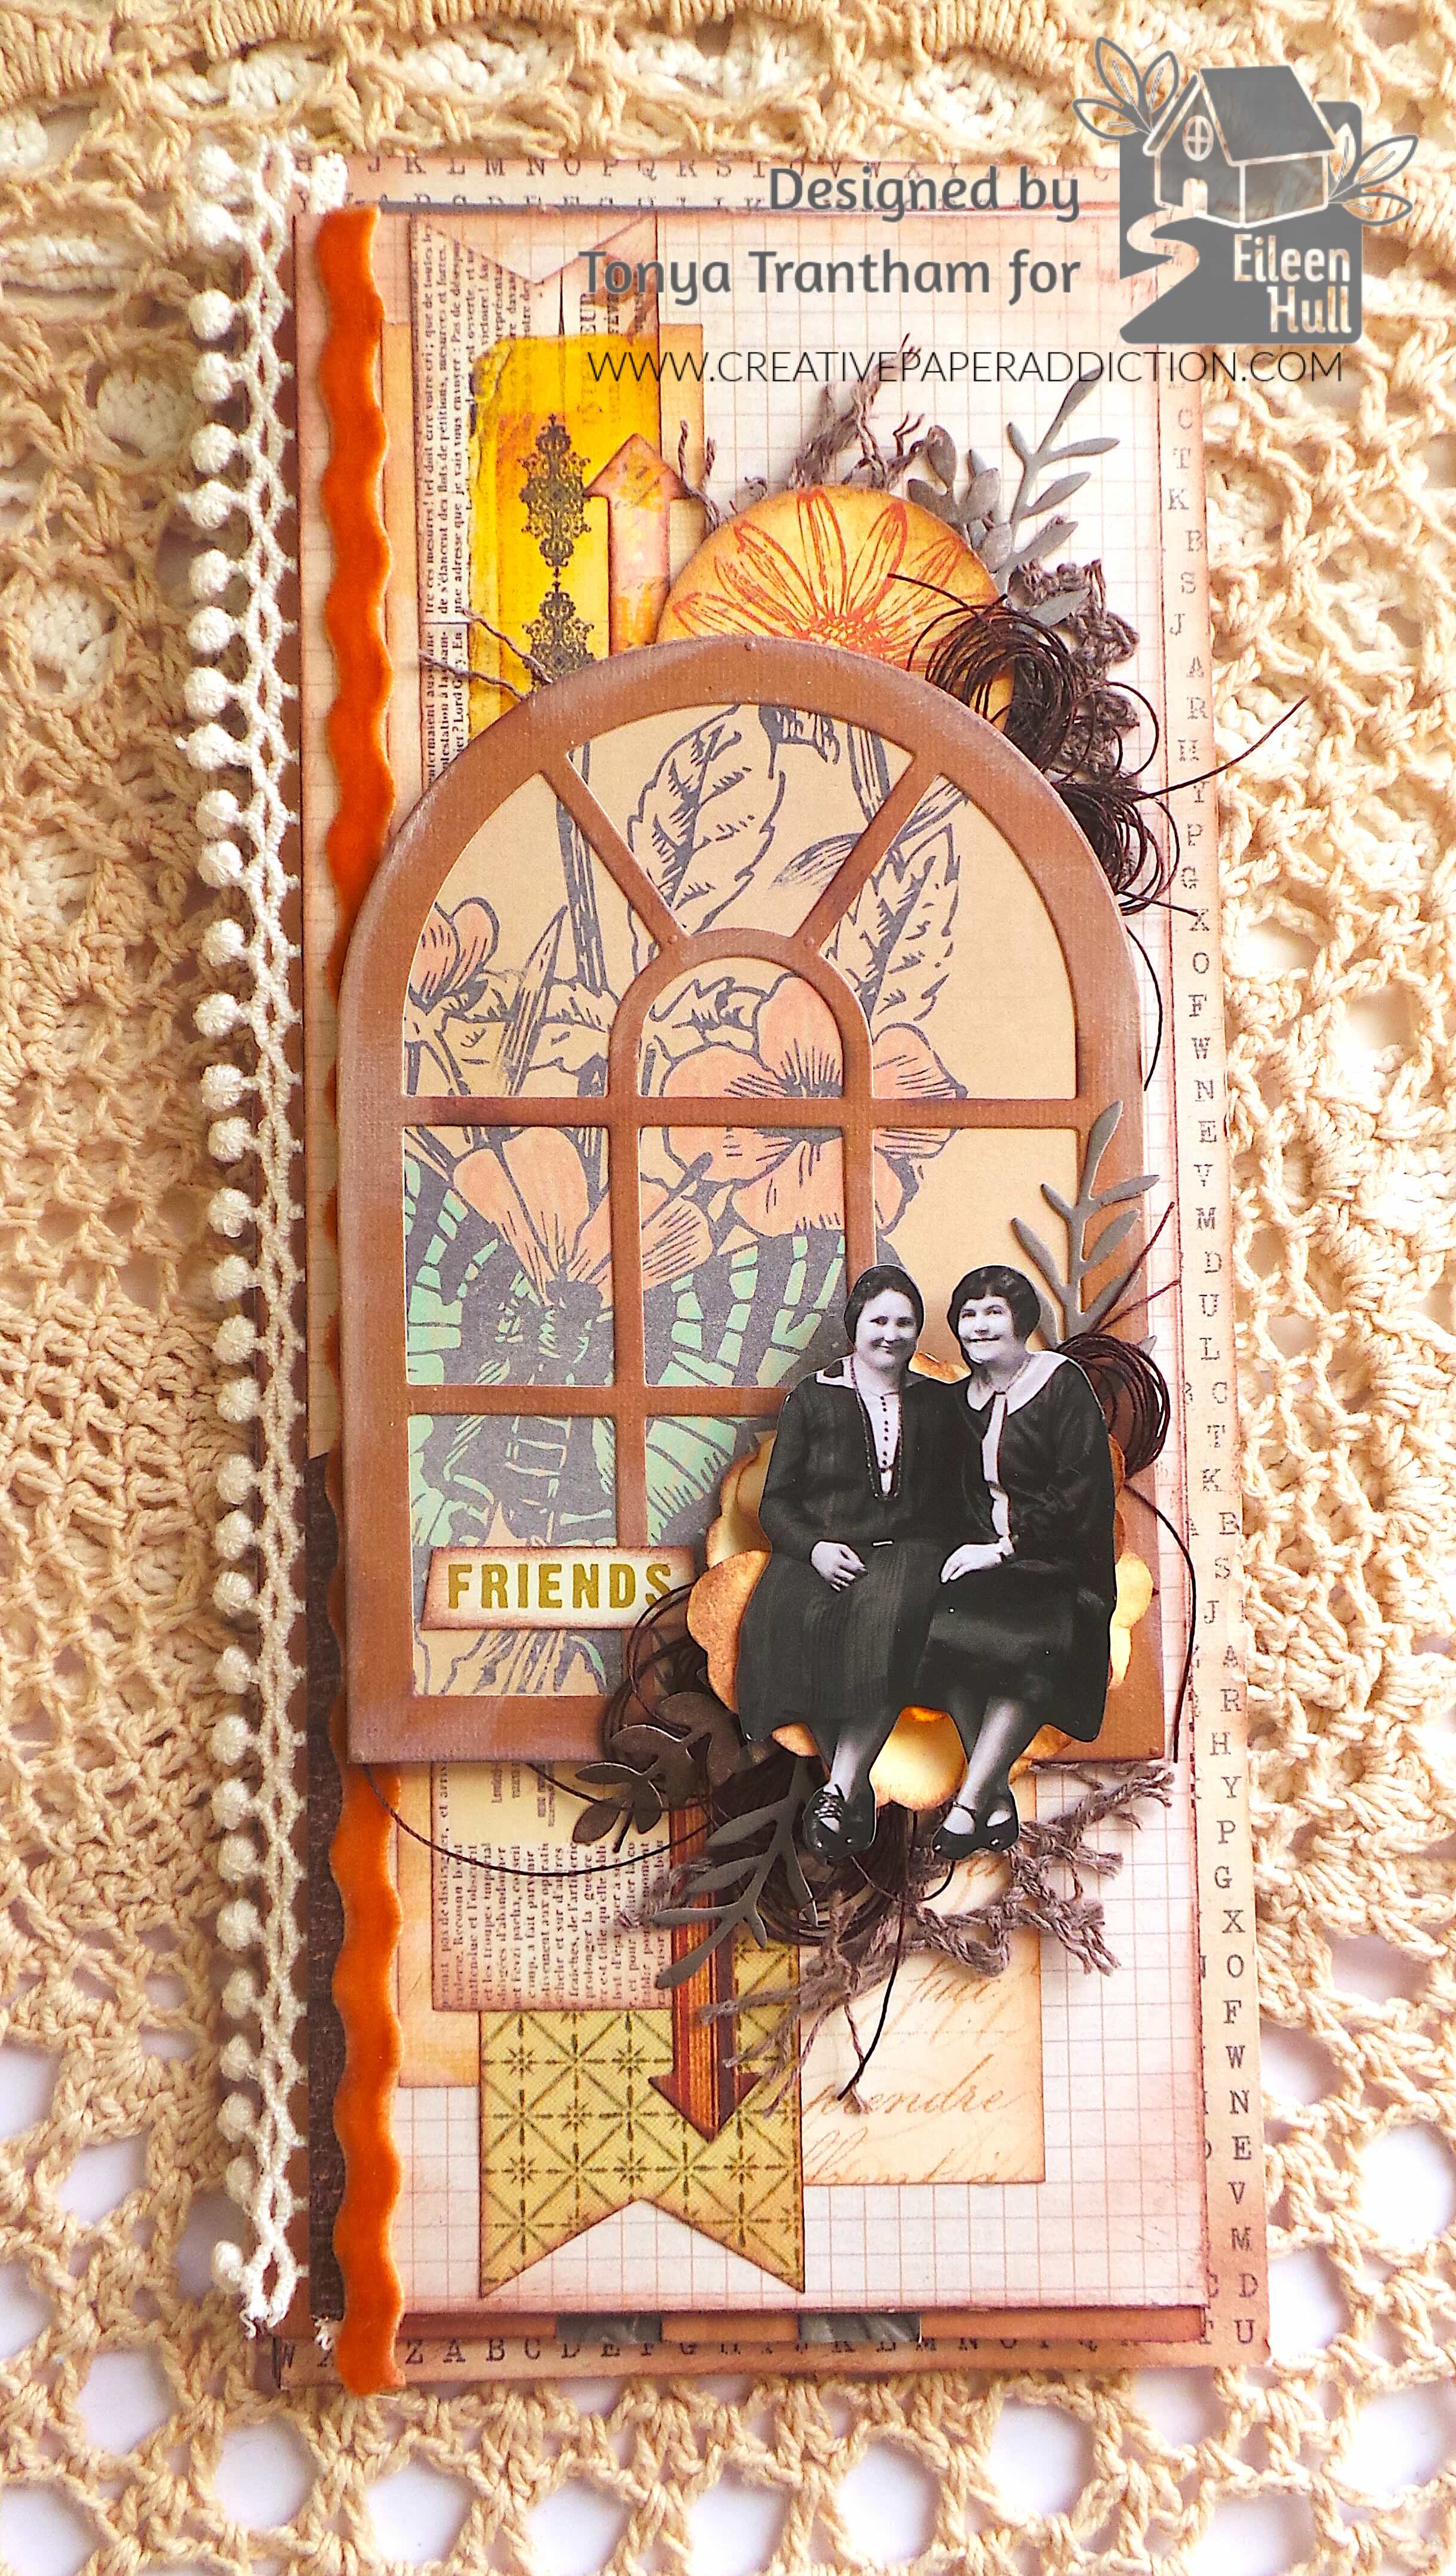
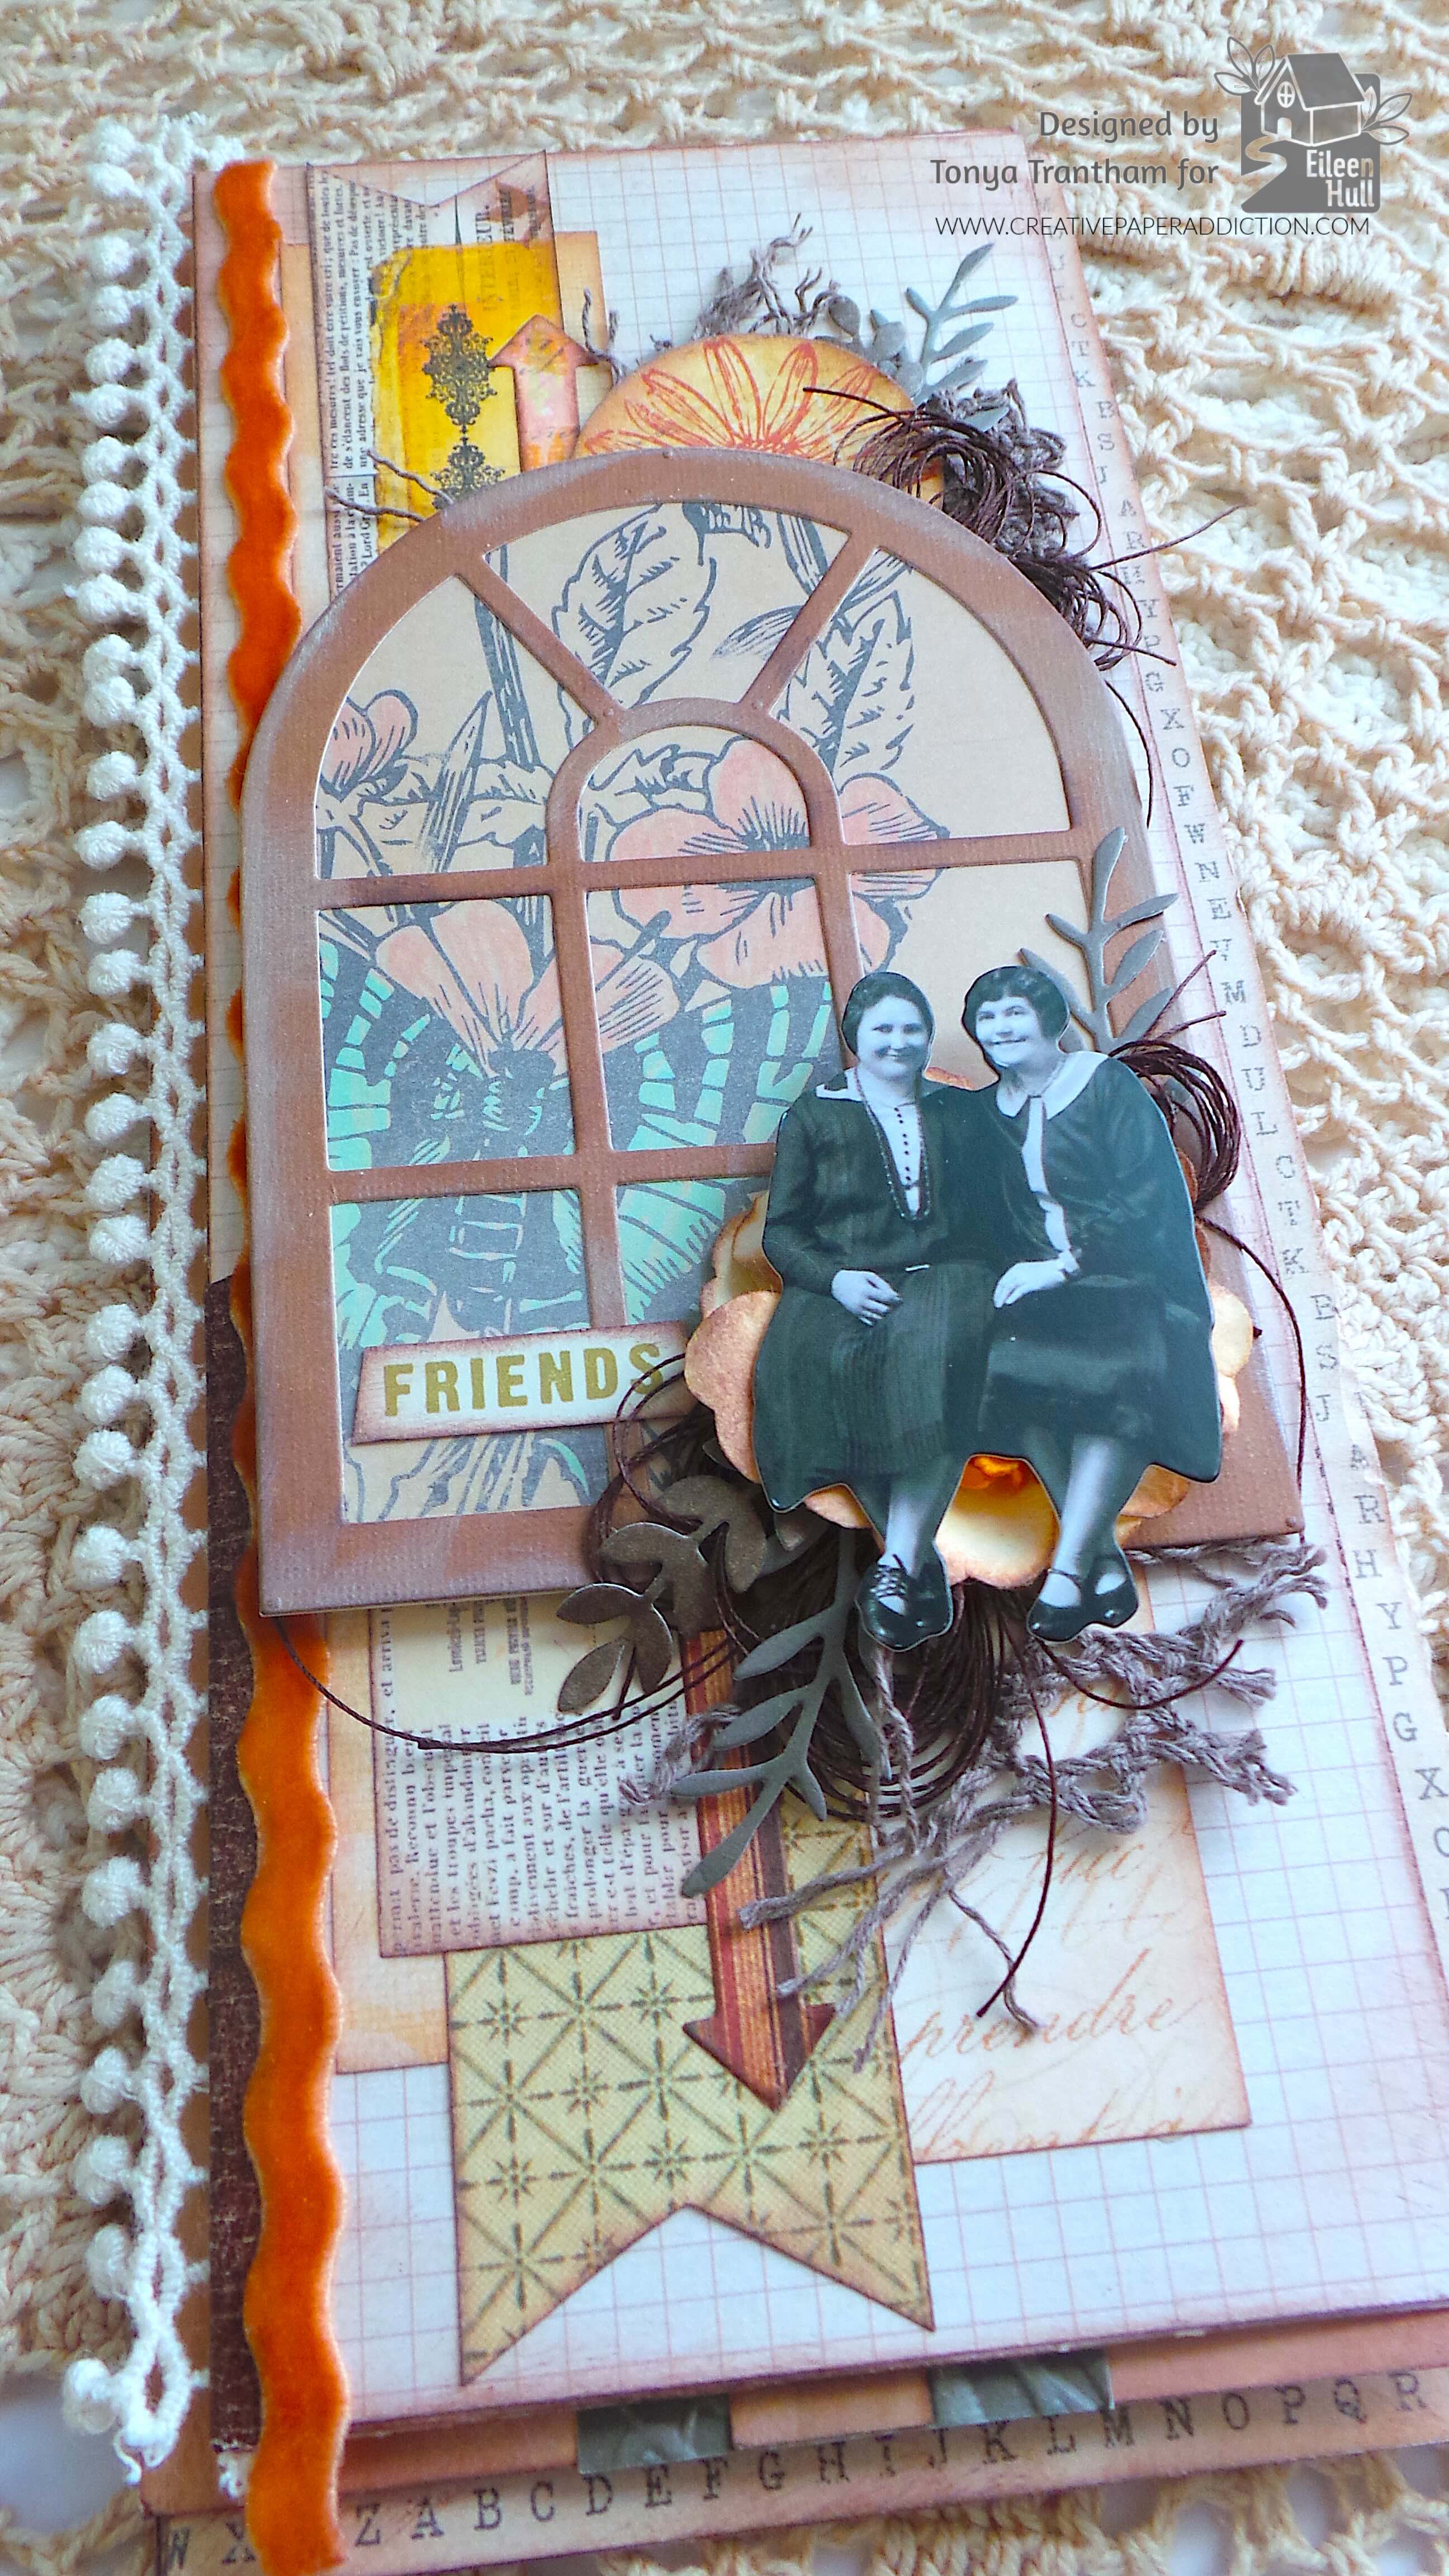
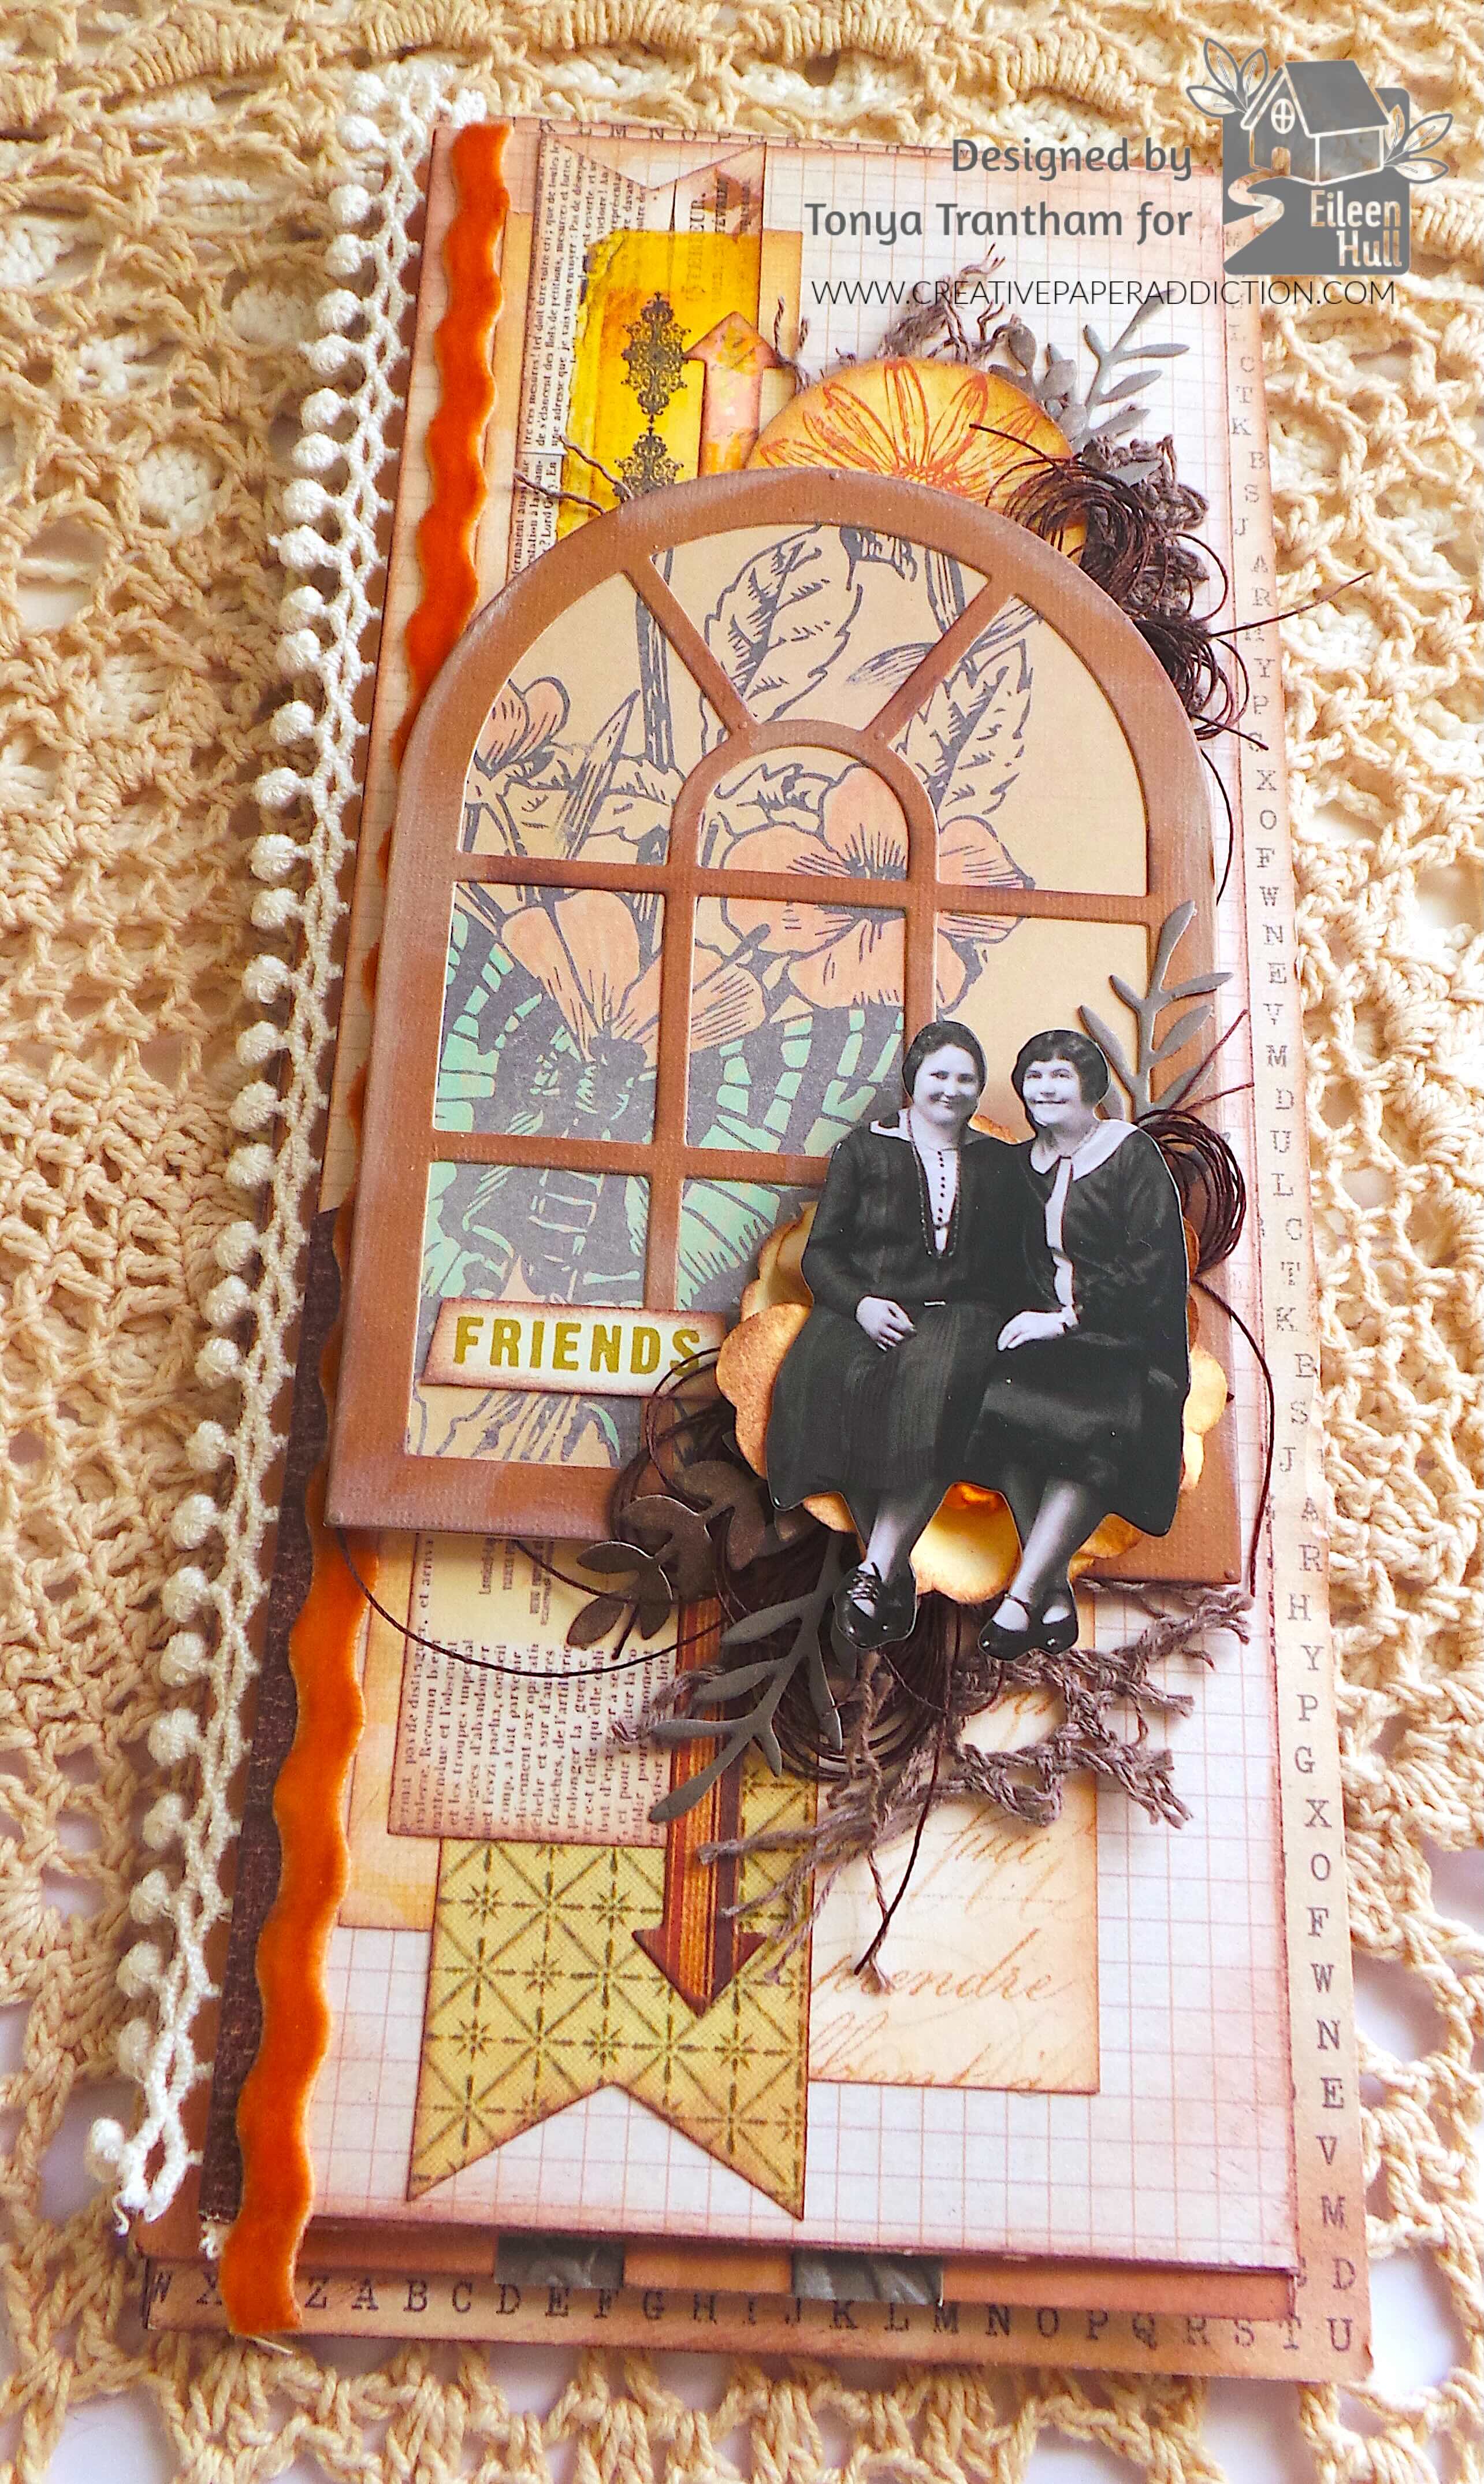
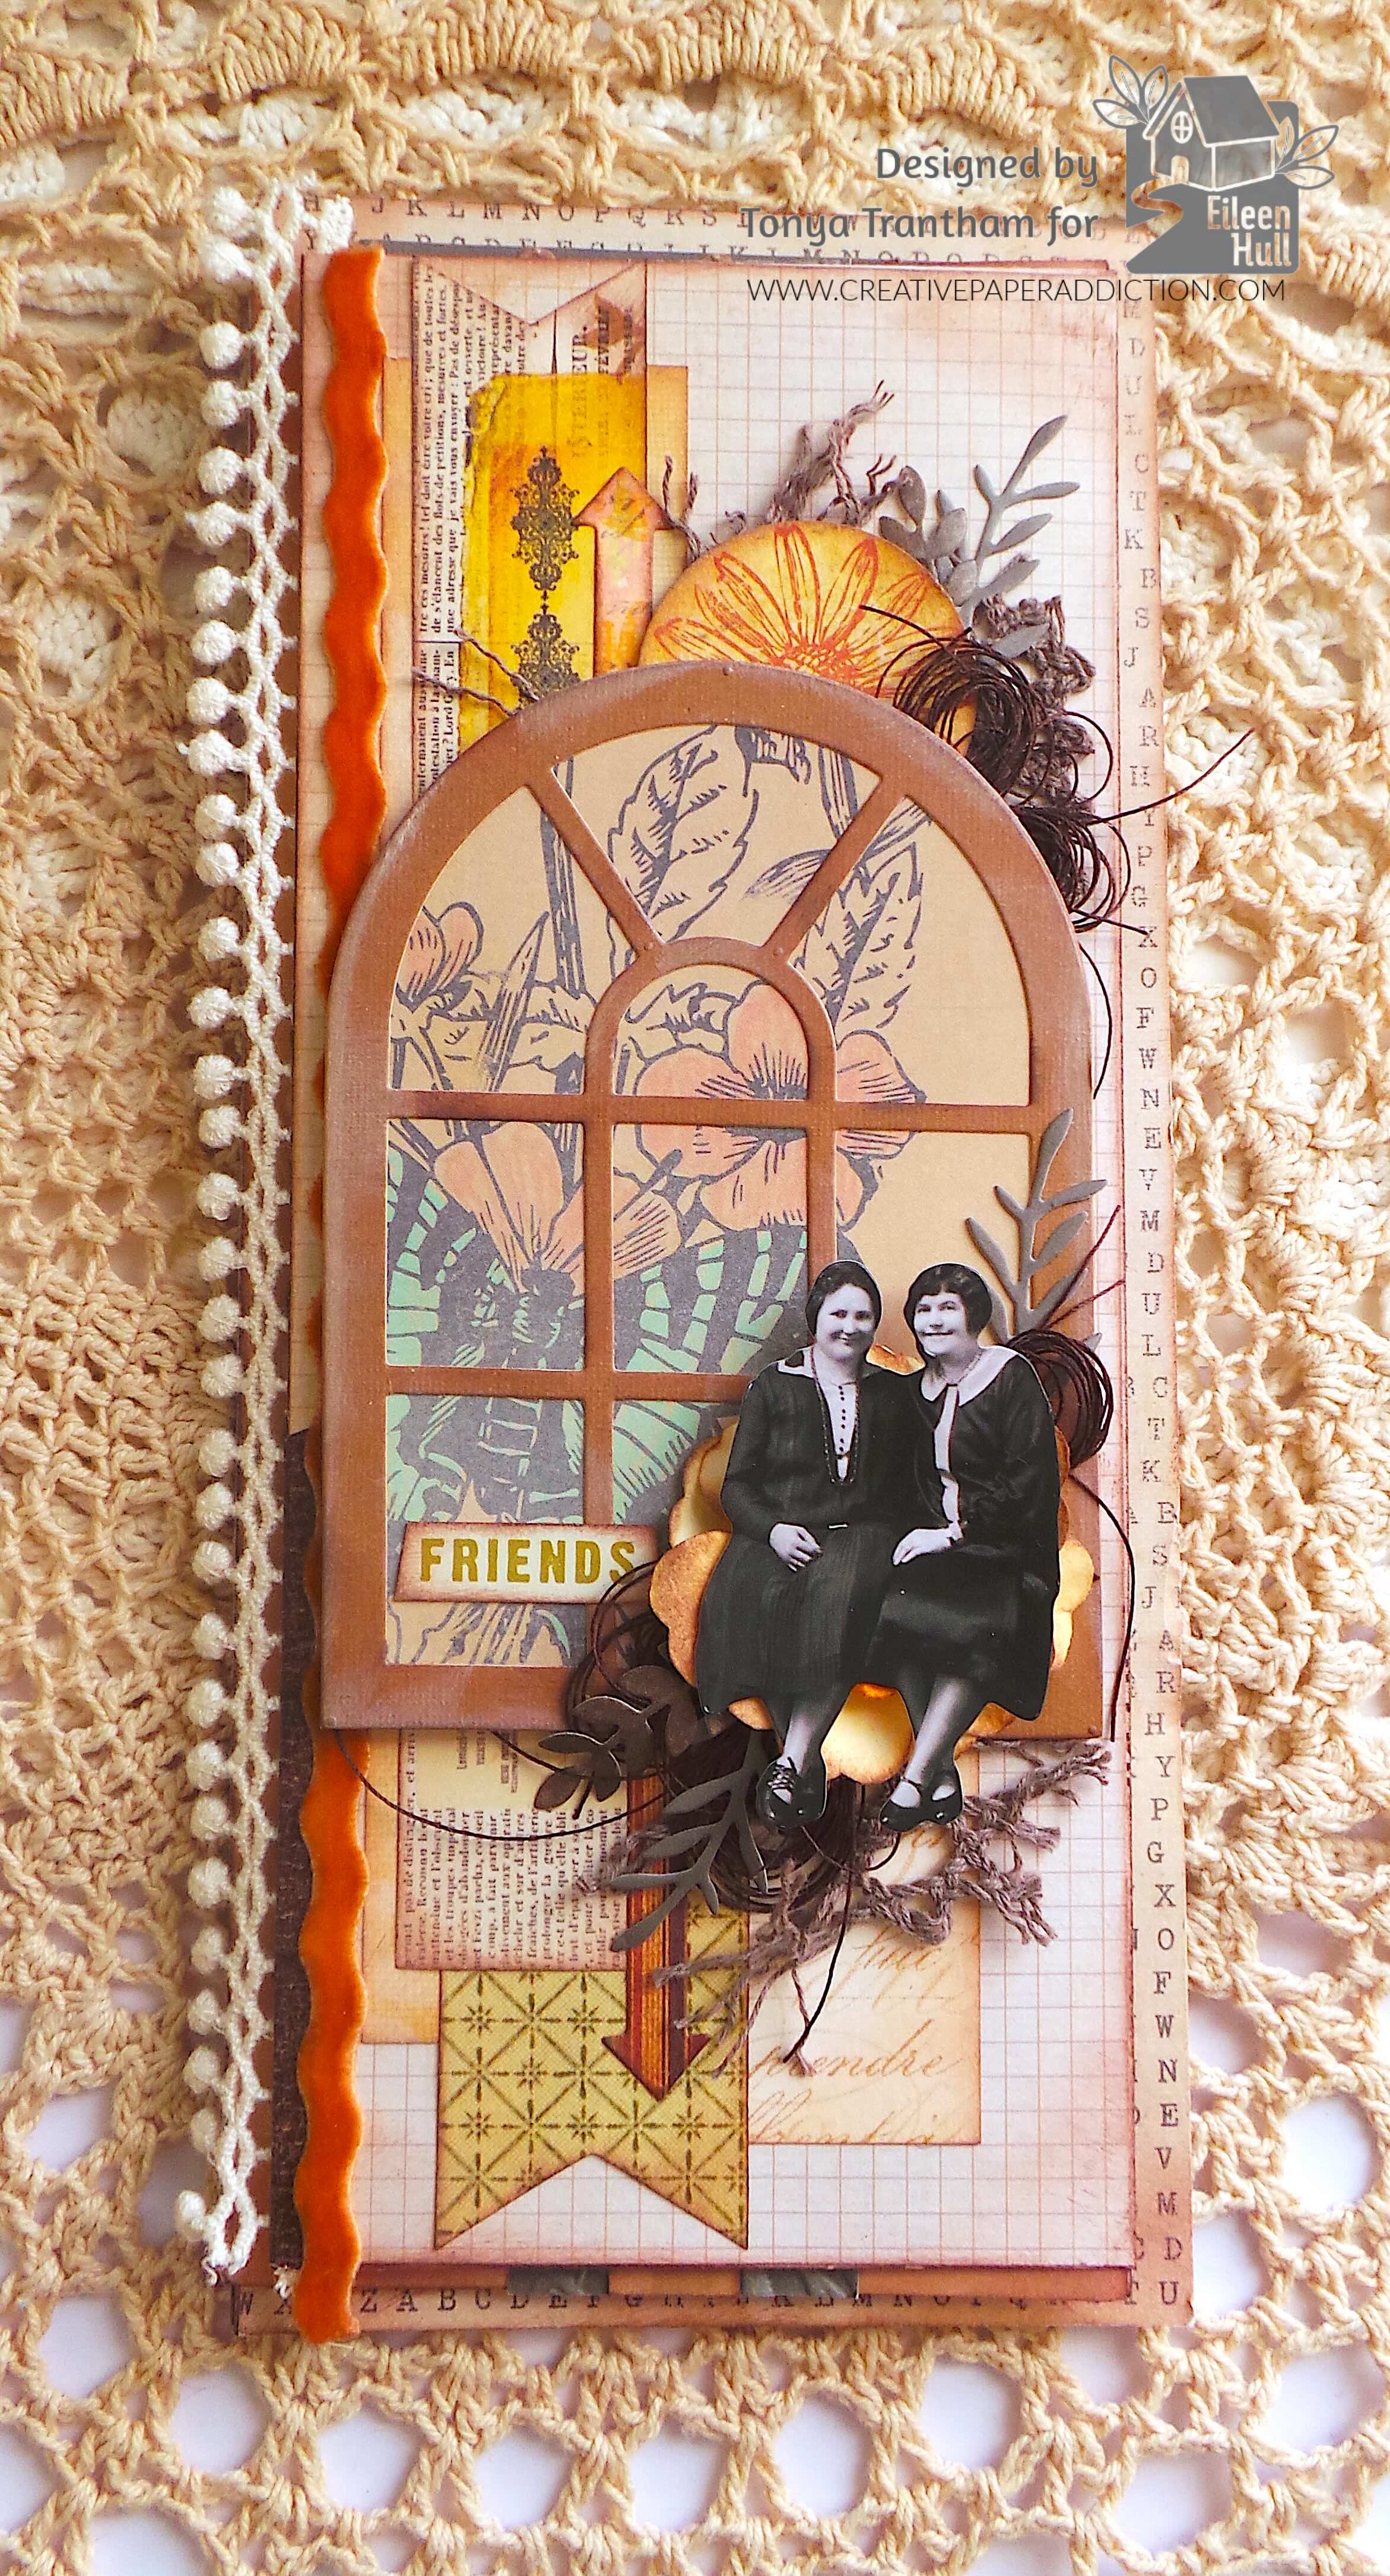
I went with an Autumn/Vintage theme and picked cardstock and embellishments to match. I covered both sides of all the tri fold journal with cardstock. I had chosen a section of a sheet of cardstock that had a butterfly and florals and cut the largest arch die from the Tunnel Arches Framelits Diecuts. I also cut the window frame die from the Windowsill Flowers and Vase Thinlits Diecuts. I glued the window frame on top of the arch and lightly inked with white chalk ink.
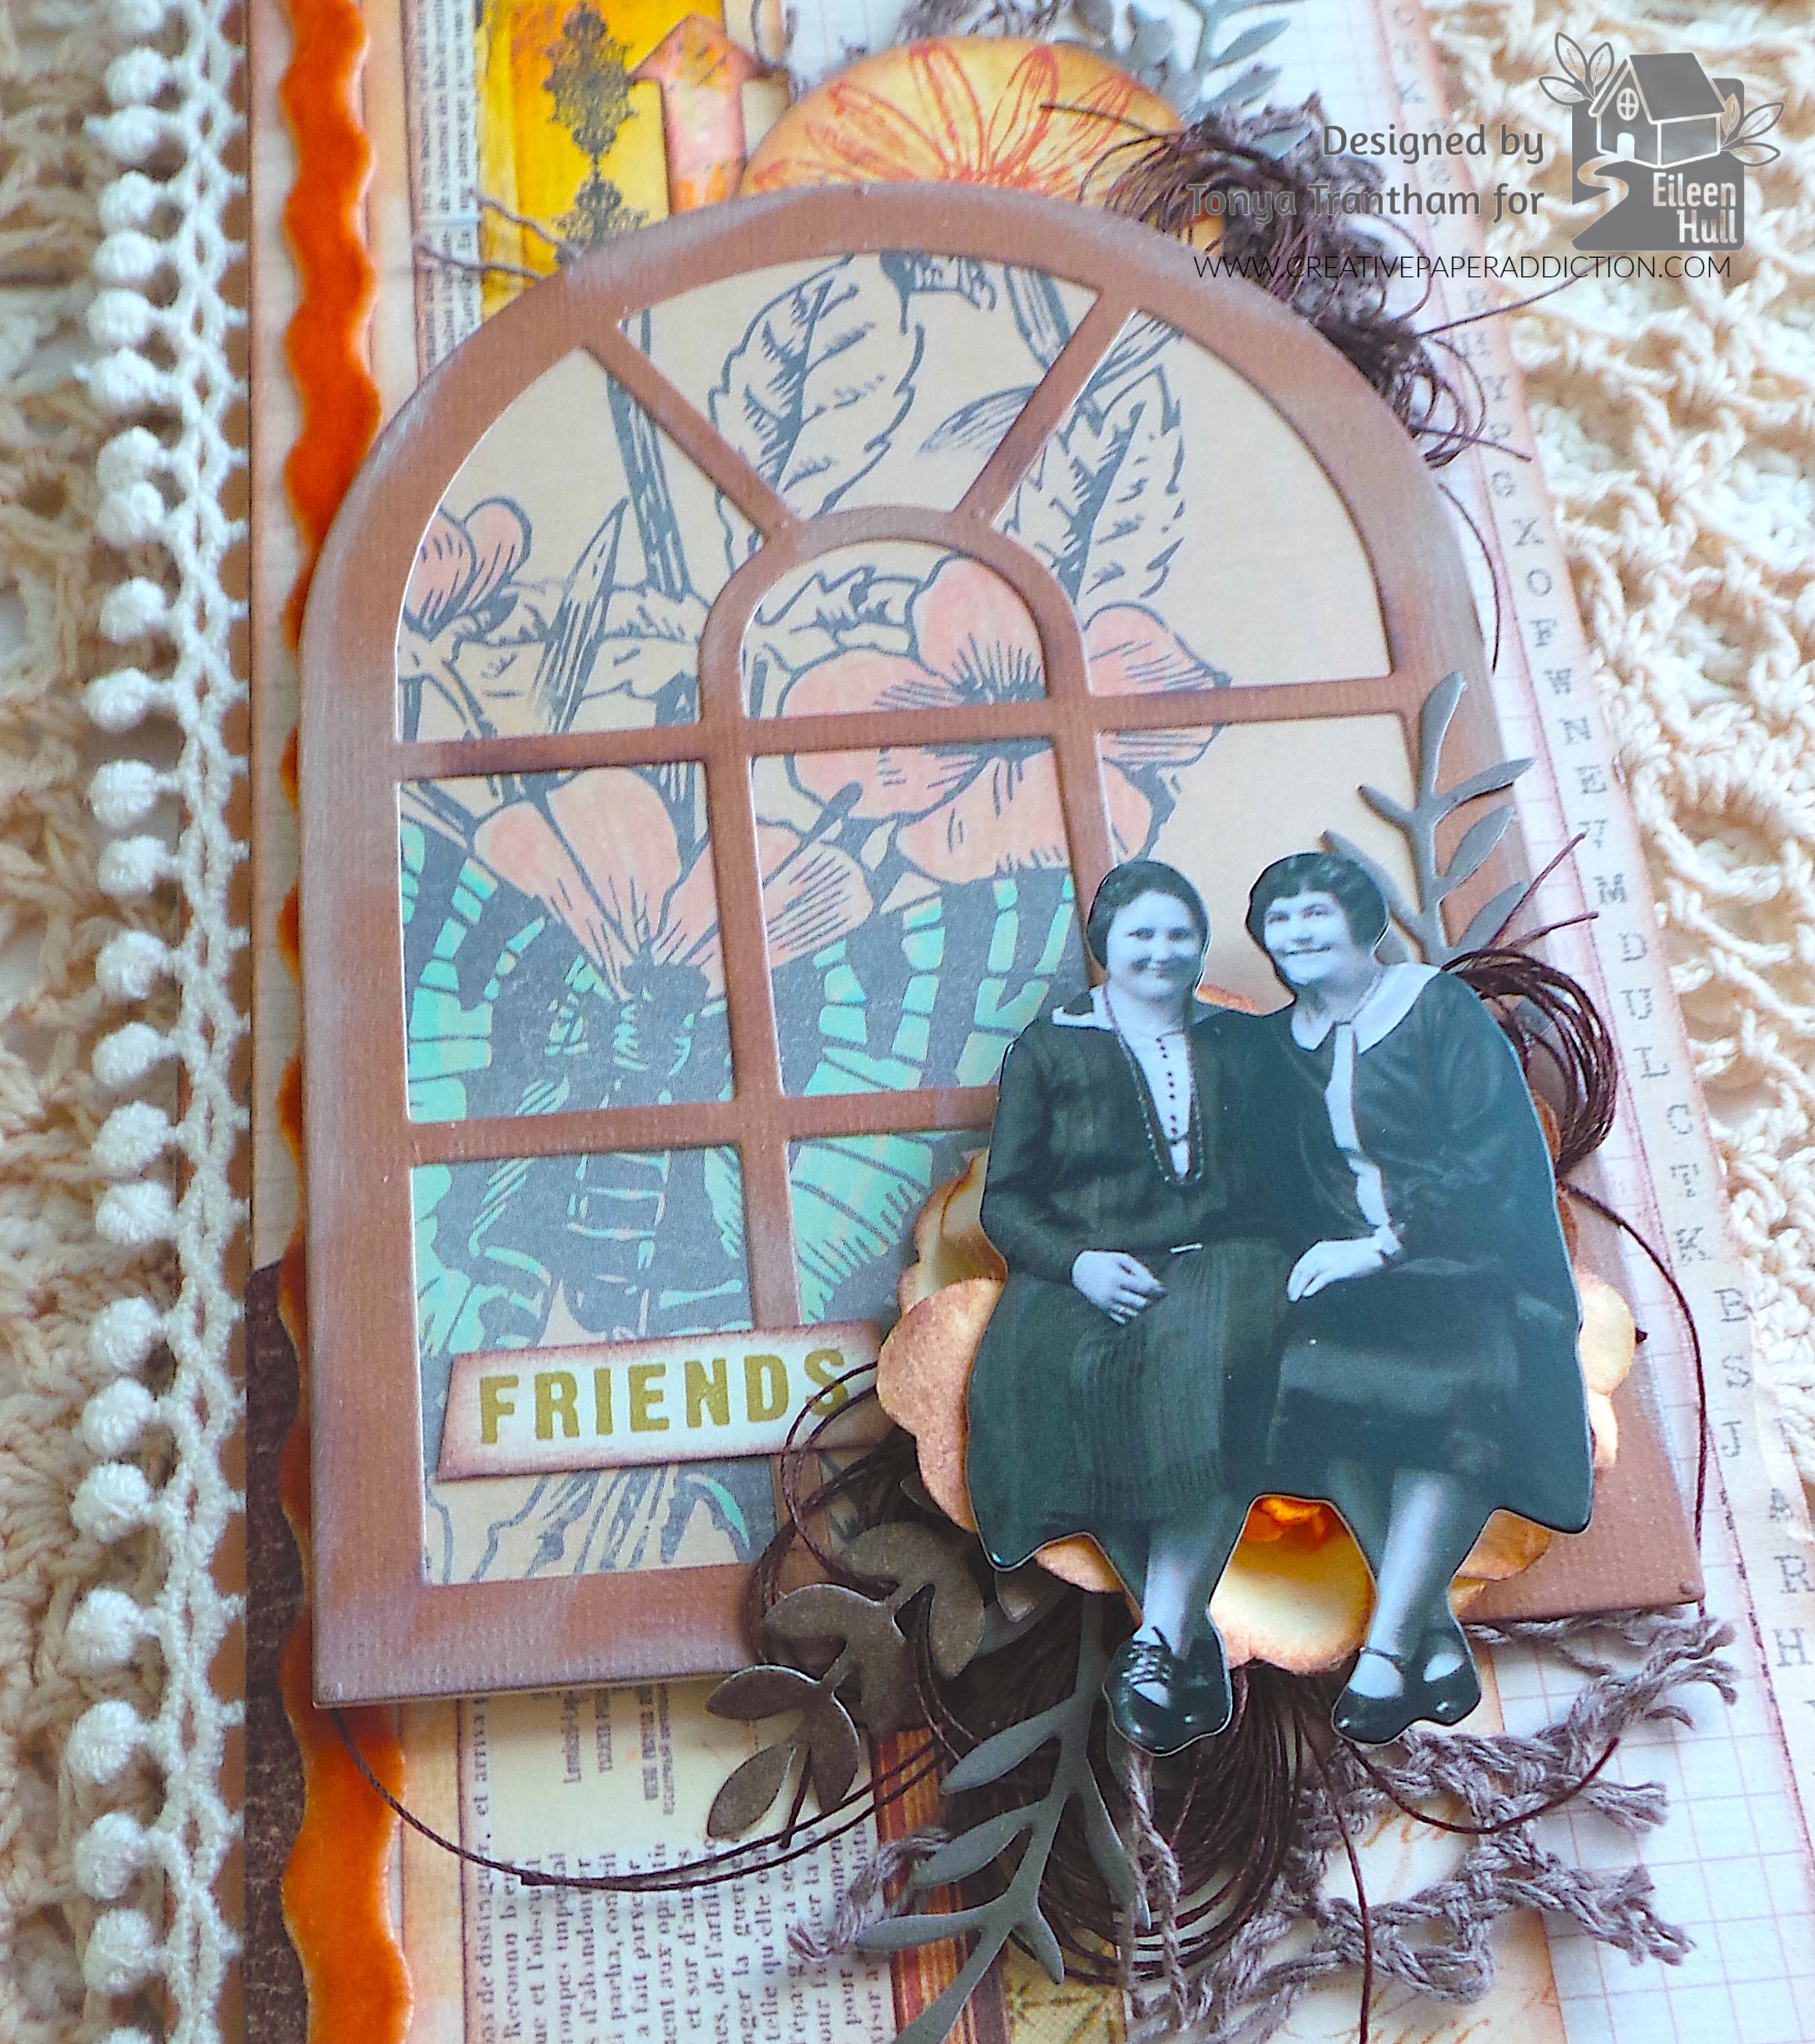
I added an assortment of scraps of cardstock along with two of the longest arrows from the Rainbow Wheels Thinlits to the cover. On the edge of the cover I adhered a piece of velvet ric rac. I added Foam Pop Dots to the back of the window frame and placed on the cover. I dug into my stash and added a yellow flower to the corner of the window frame.
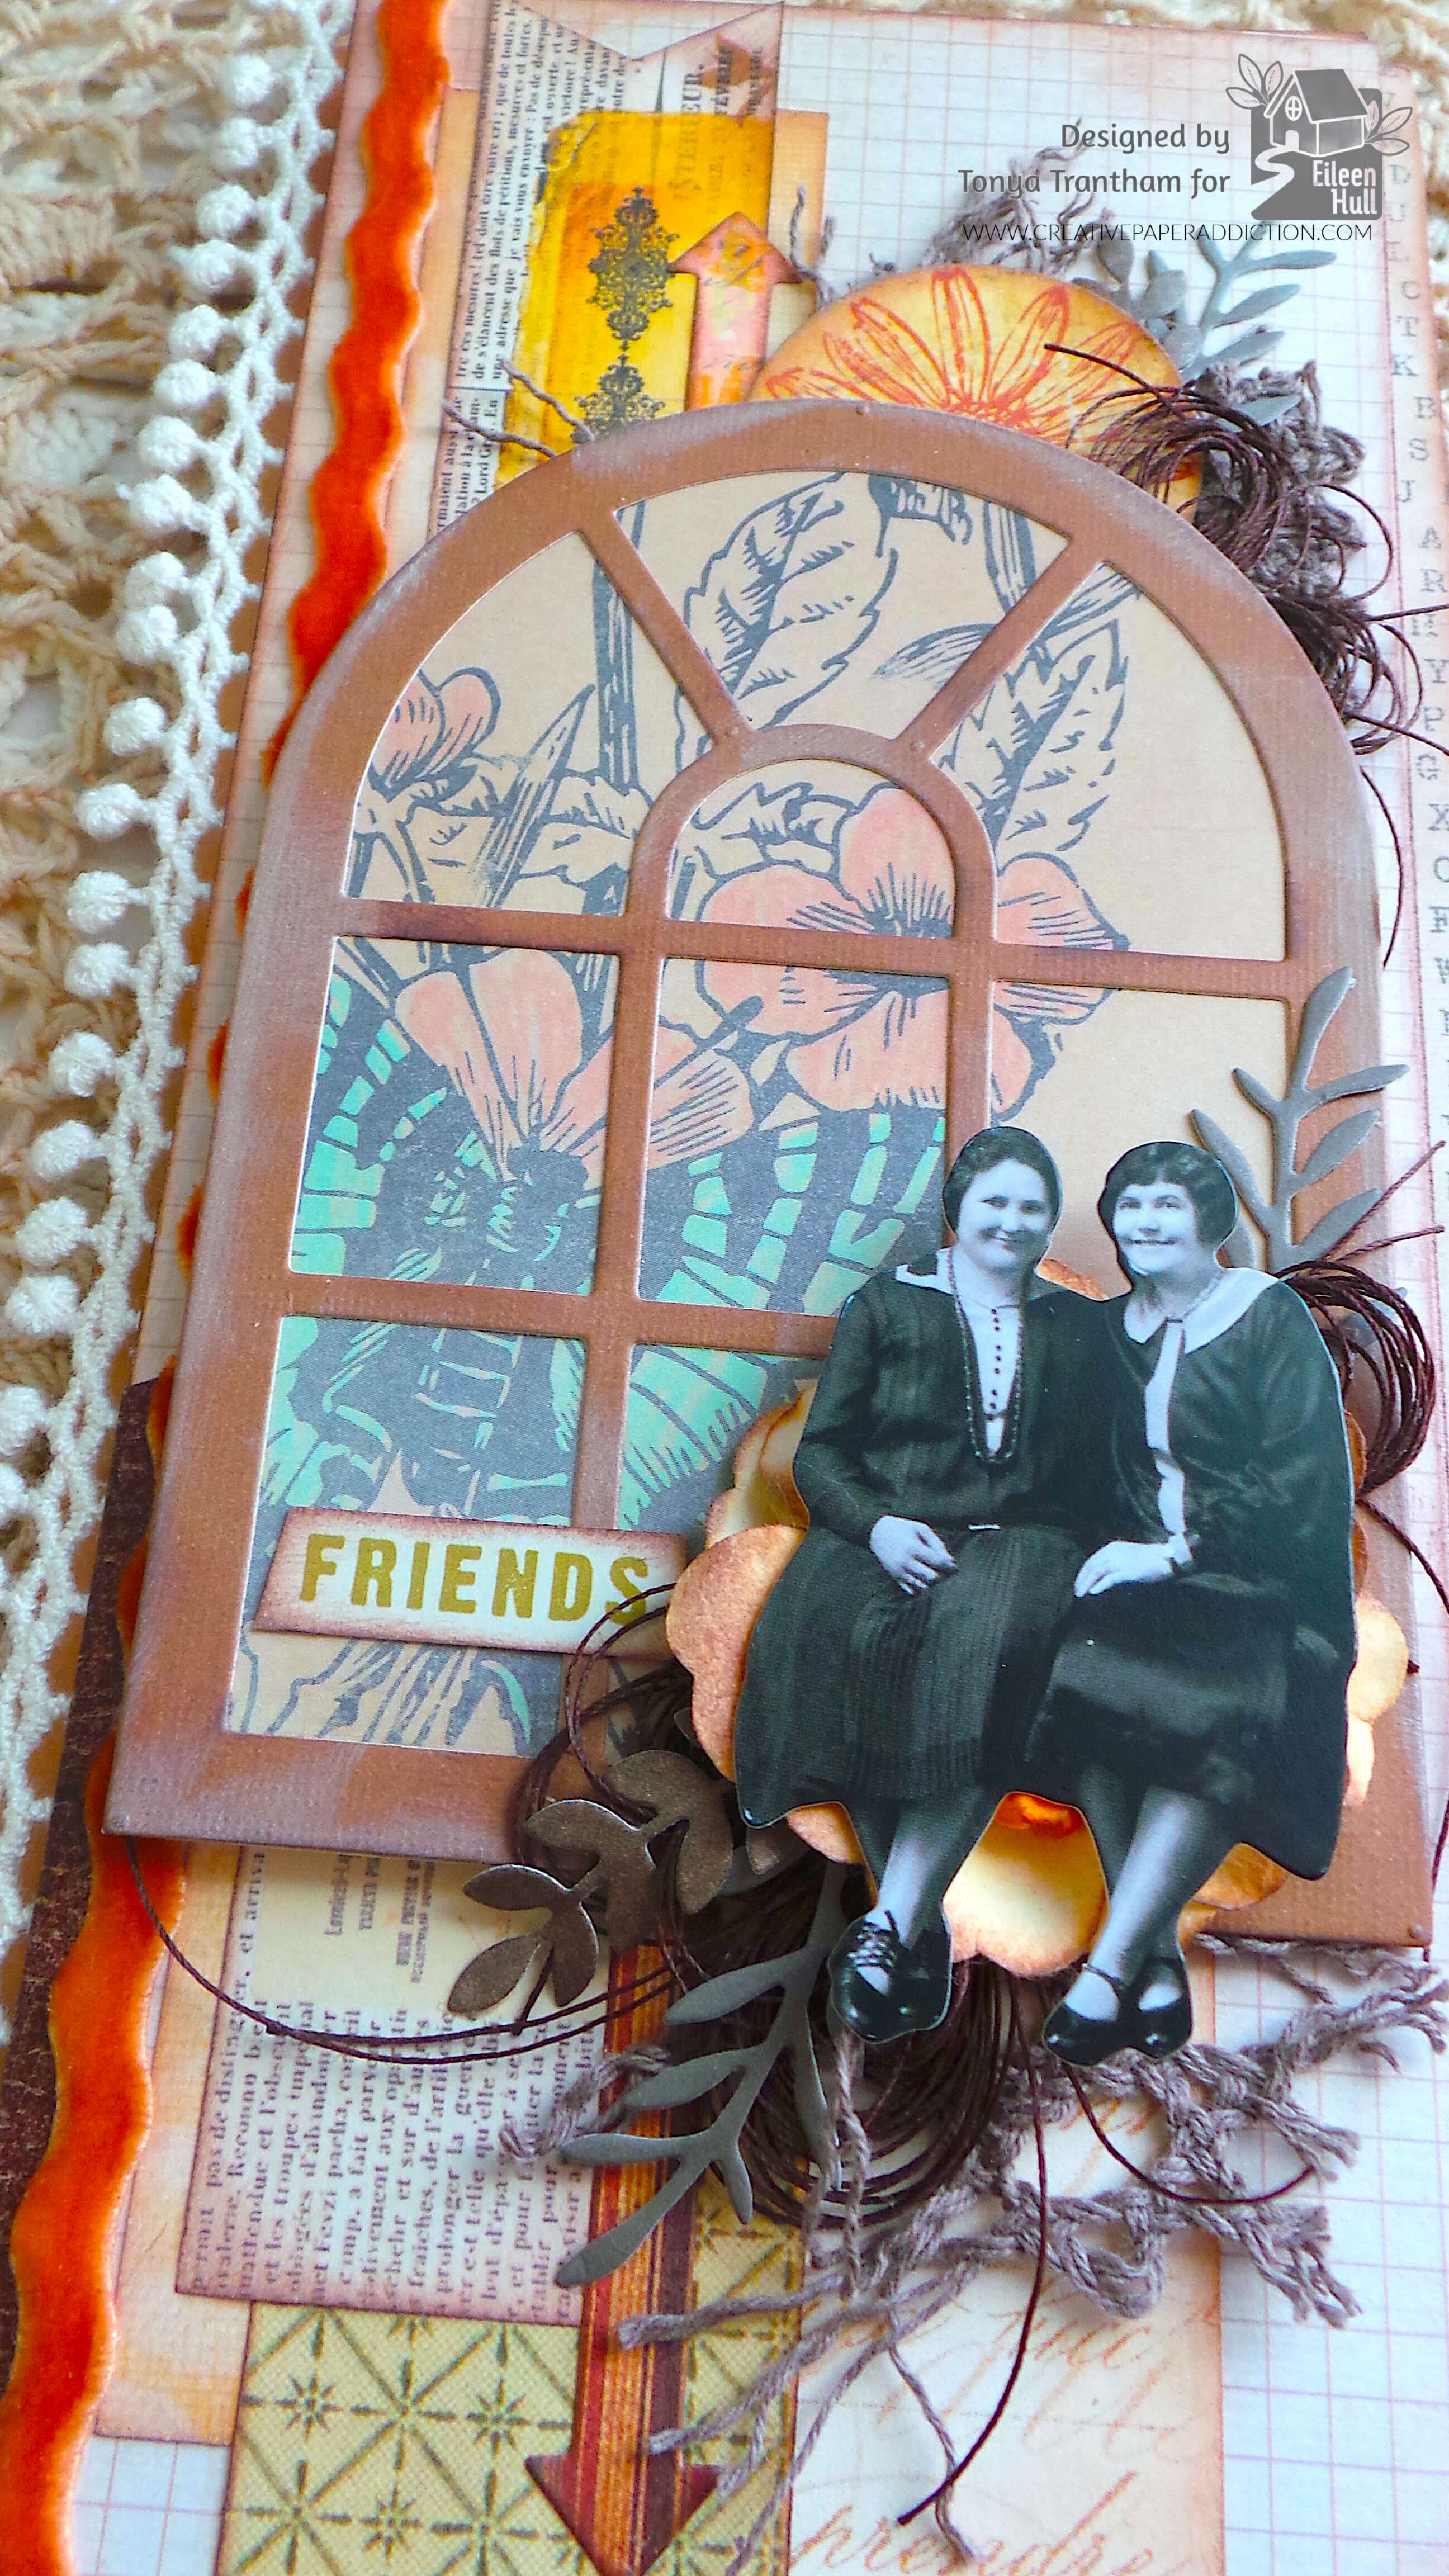
I created three bows out of thread and glued one behind the window frame and two behind the flower. I cut a part scraps of lace and glued behind the window frame along with a floral circle that I lightly inked with brown chalk ink. I inked with brown chalk ink a friend sentiment and adhered to the window frame. I picked a set of women from the Mini Paper Dolls and glued on top of the flower. I cut a total of four leaf sprigs from the Windowsill Flowers and Vase Thinlits Diecuts. I glued three under the large flower and one to the top of the cover.
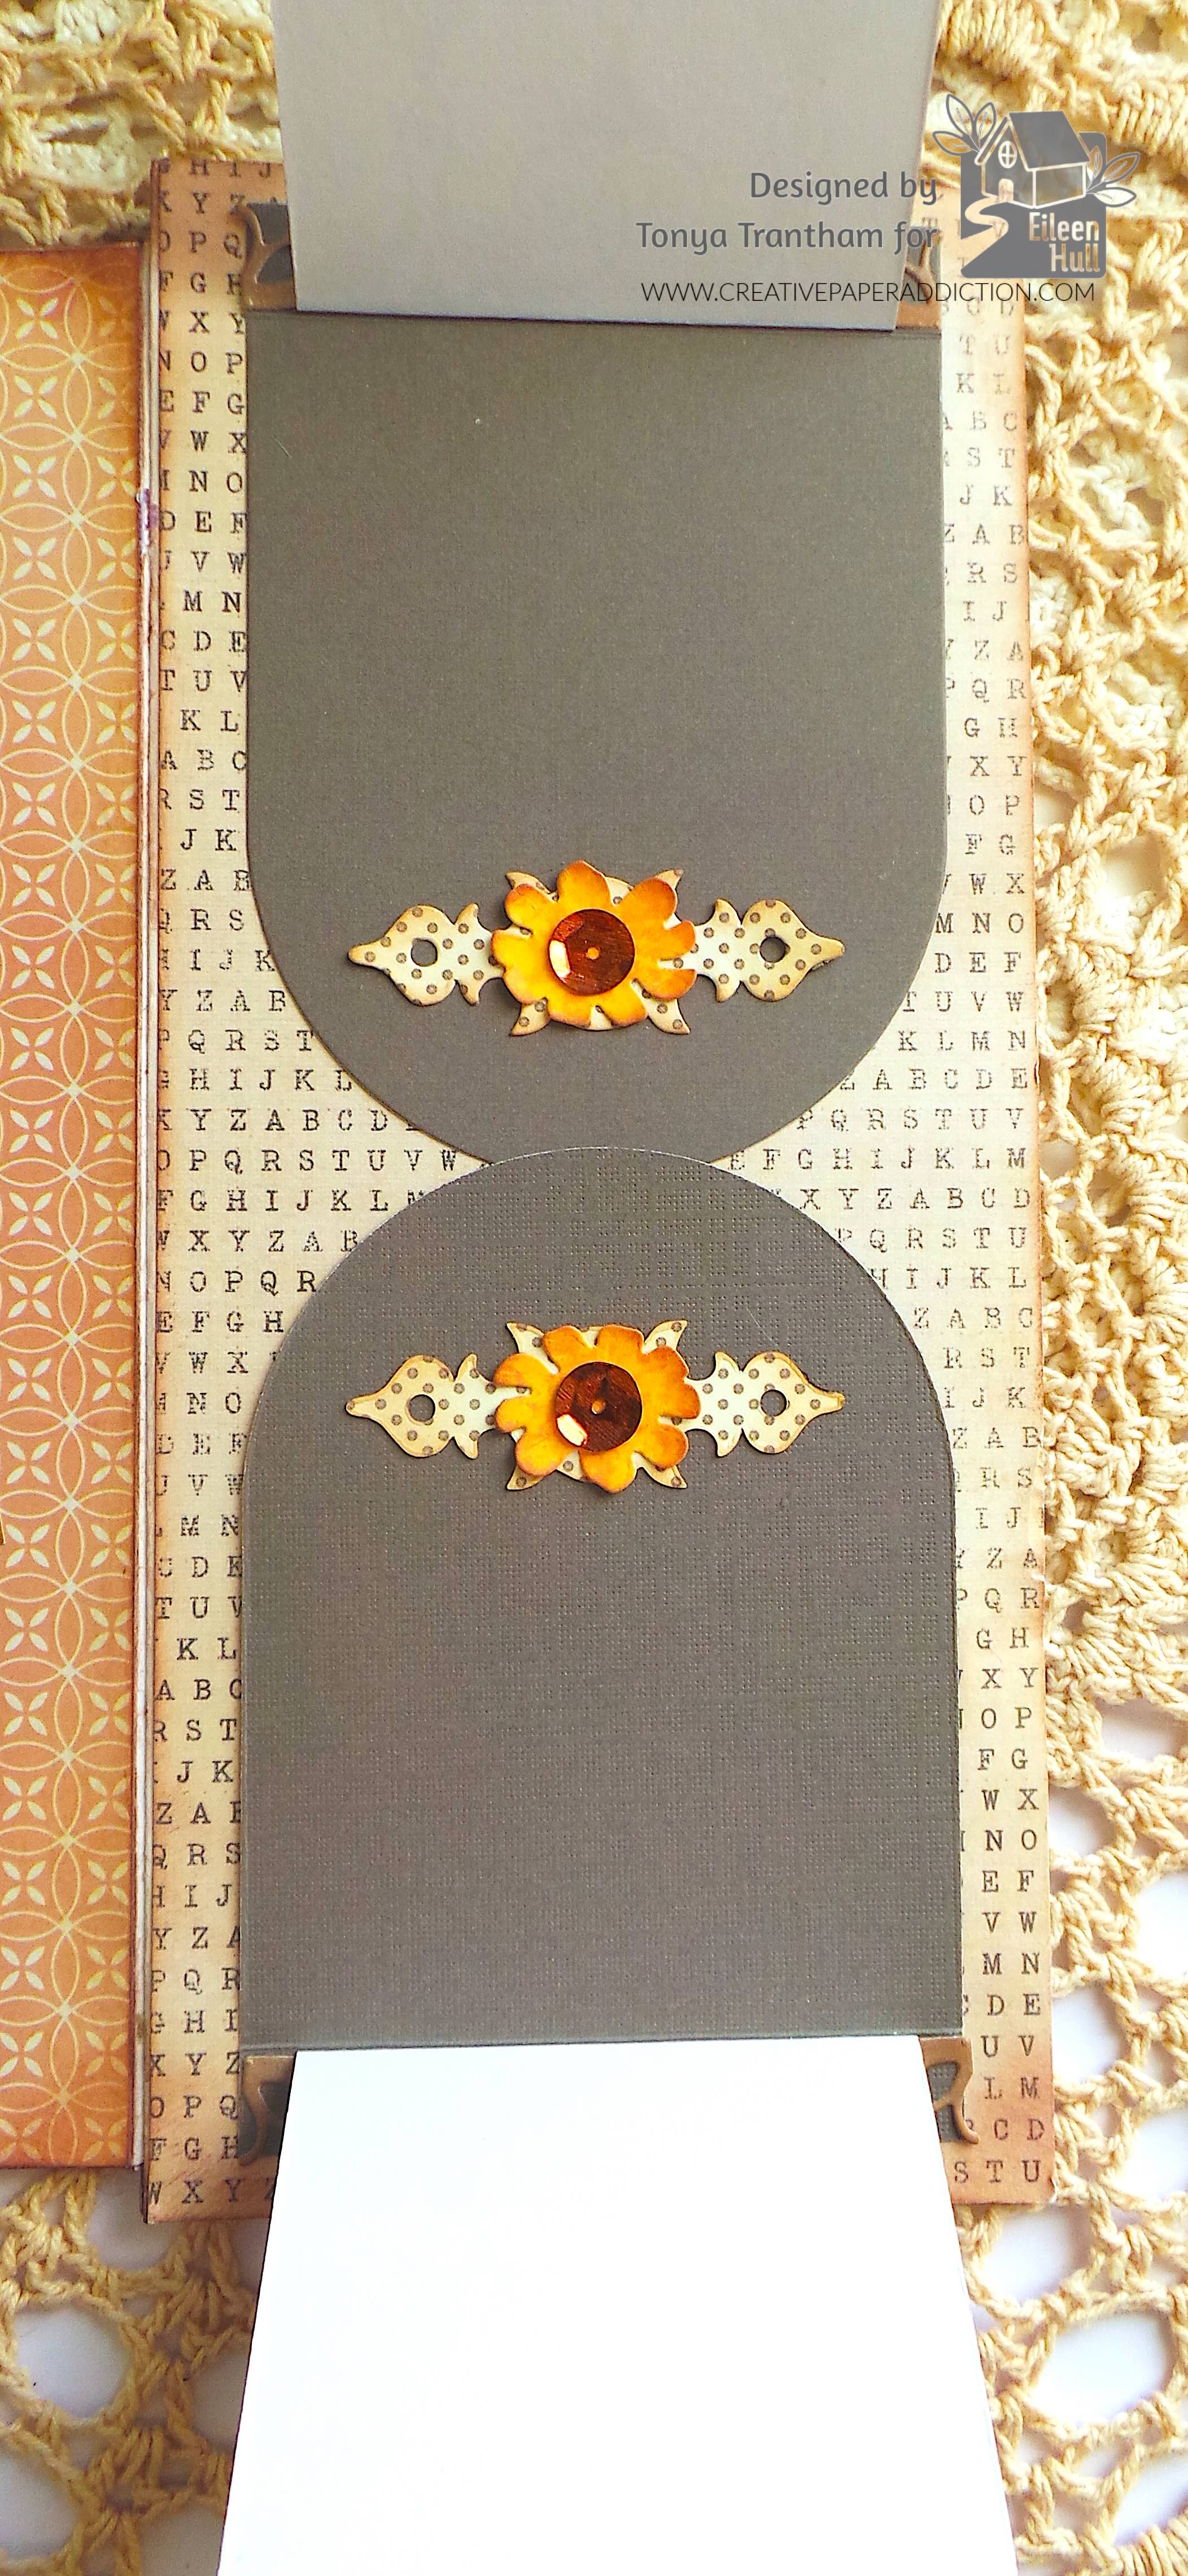
The middle page of the journal I created a pocket with a journaling spot from my stash. I added glue to the bottom edge. I cut a squirrel, rabbit and two suns from the Home Sweet Home Thinlits Diecuts. I also cut out one label and two key holes from the Journal Hardware Diecuts. I embossed the top edge of a piece of cardstock with the Lacy Leaves Embossing Folder. I folded over and stapled some scraps of cardstock to create a place to add photos or journaling. I glued the label, the outer part of the sun and rabbits to the fold over. I adhered the squirrel to the bottom corner of the journaling spot.
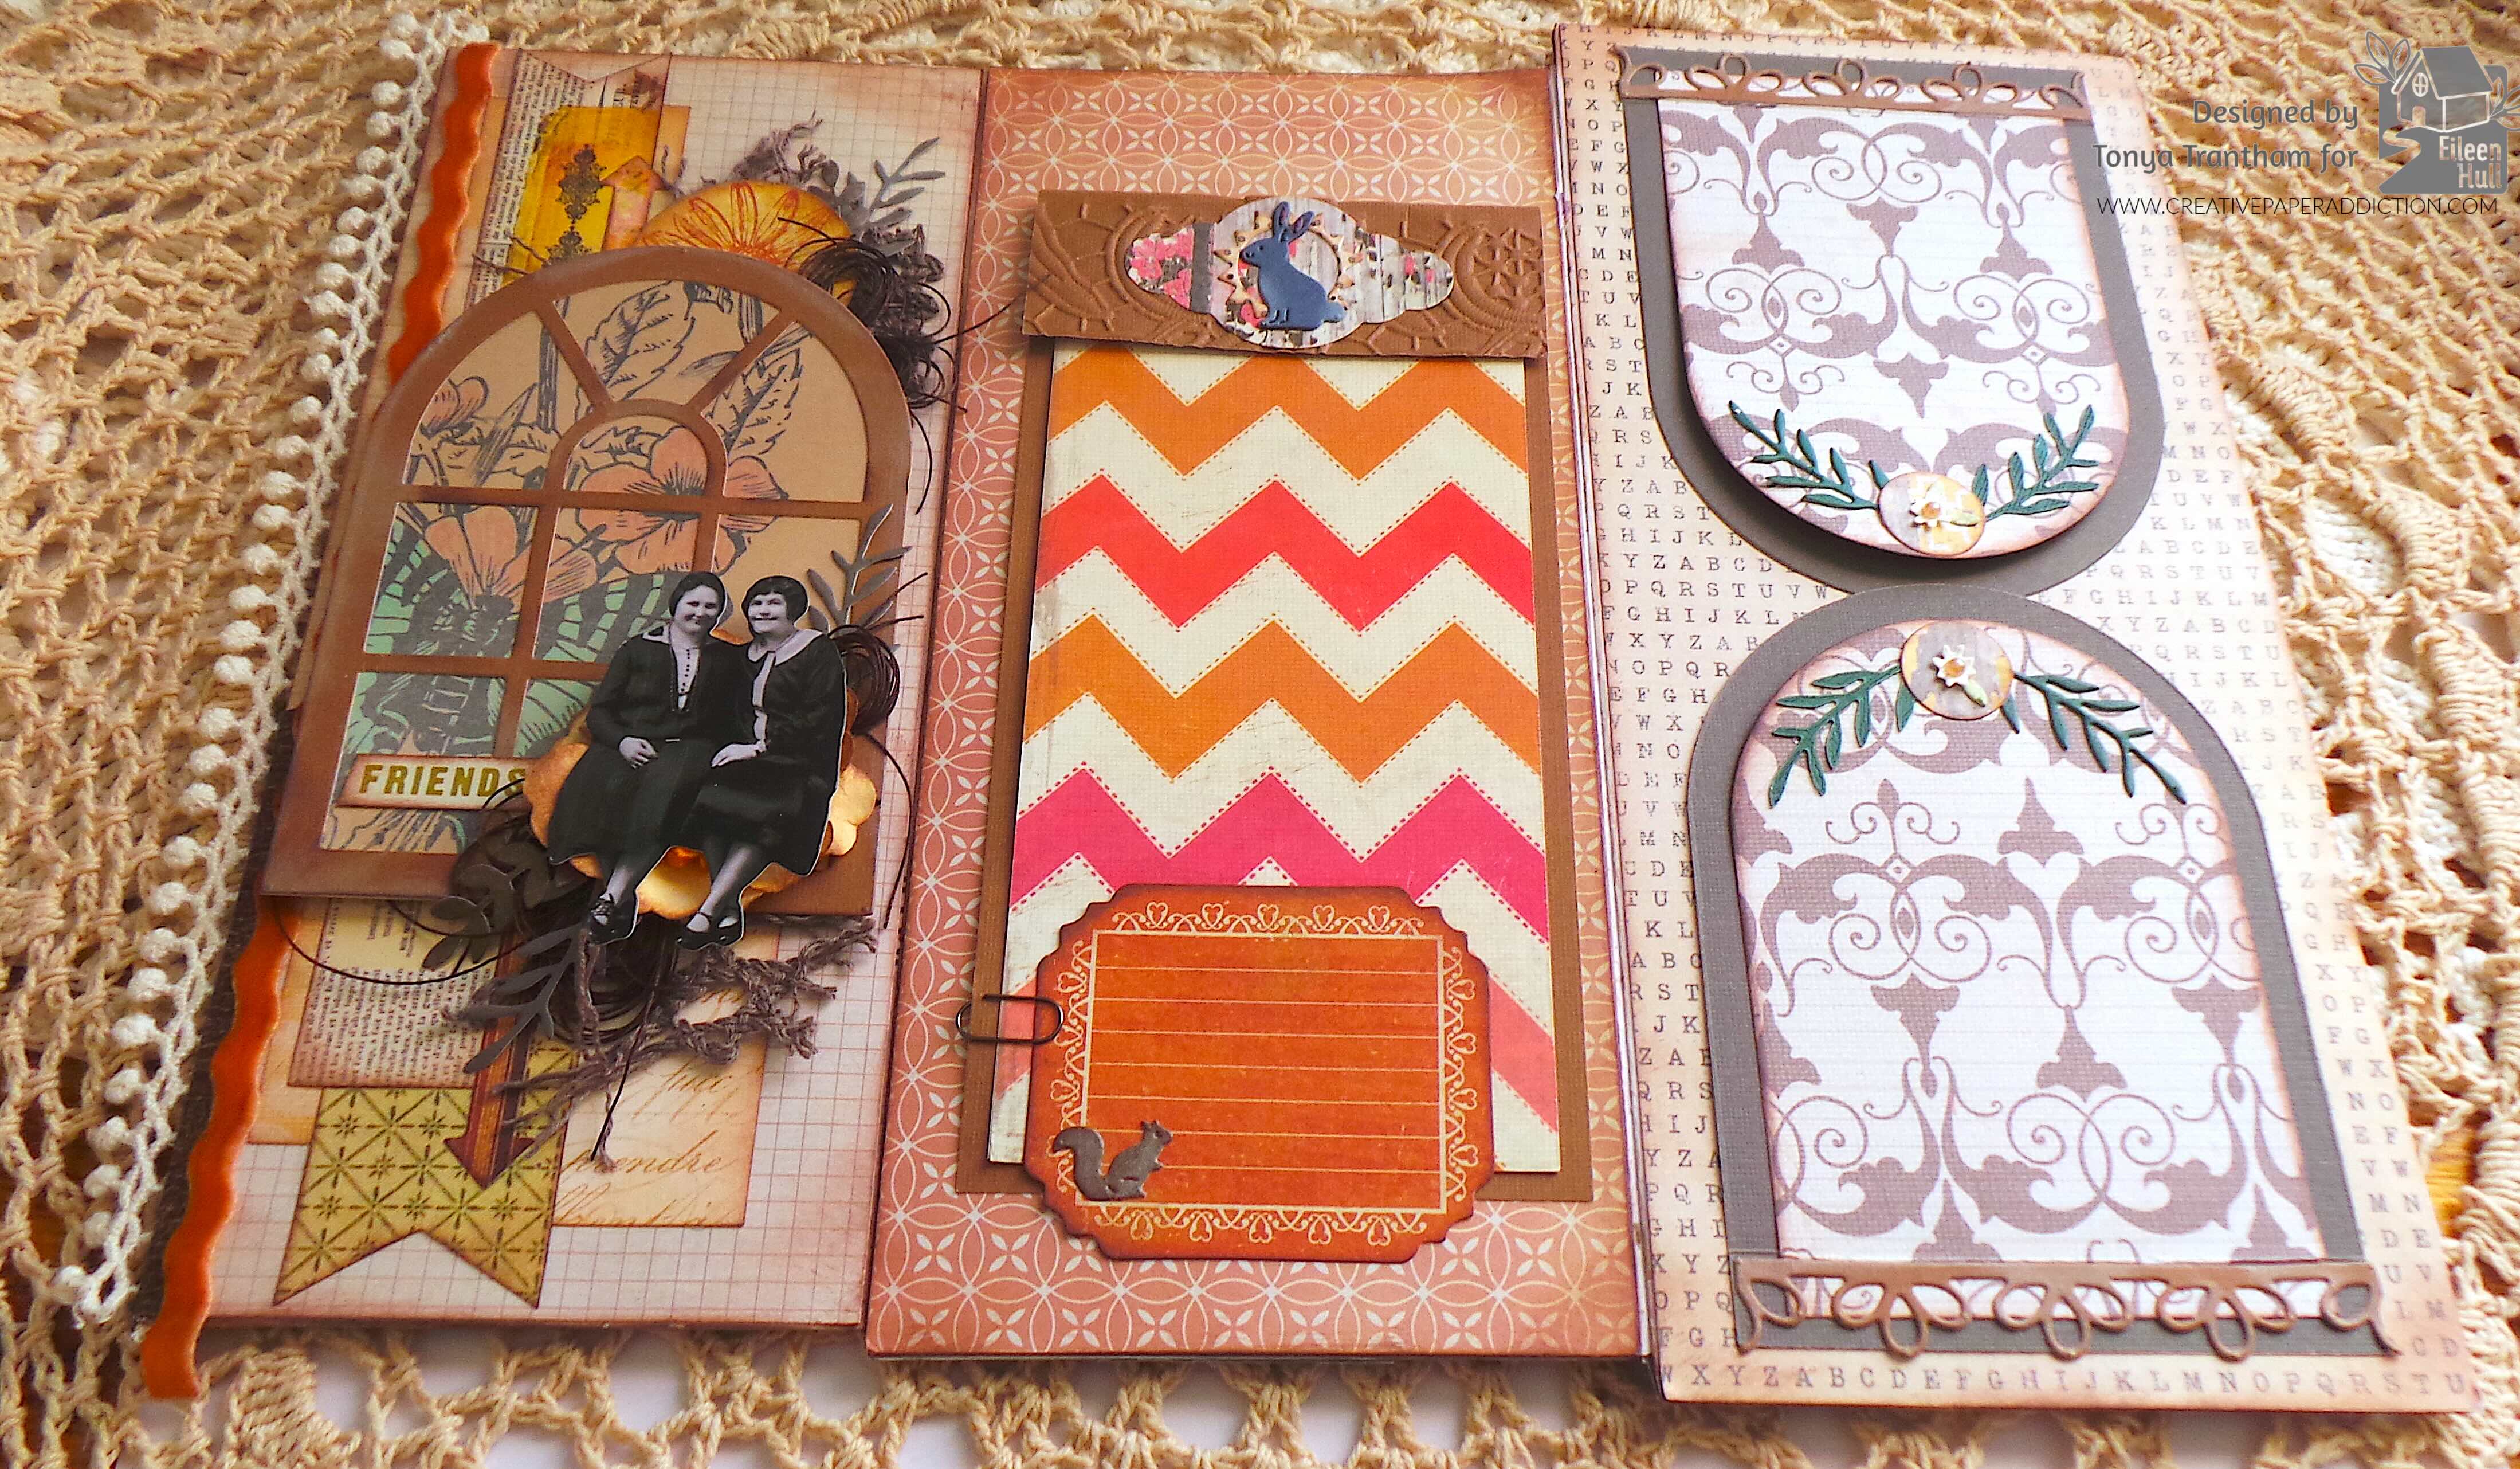
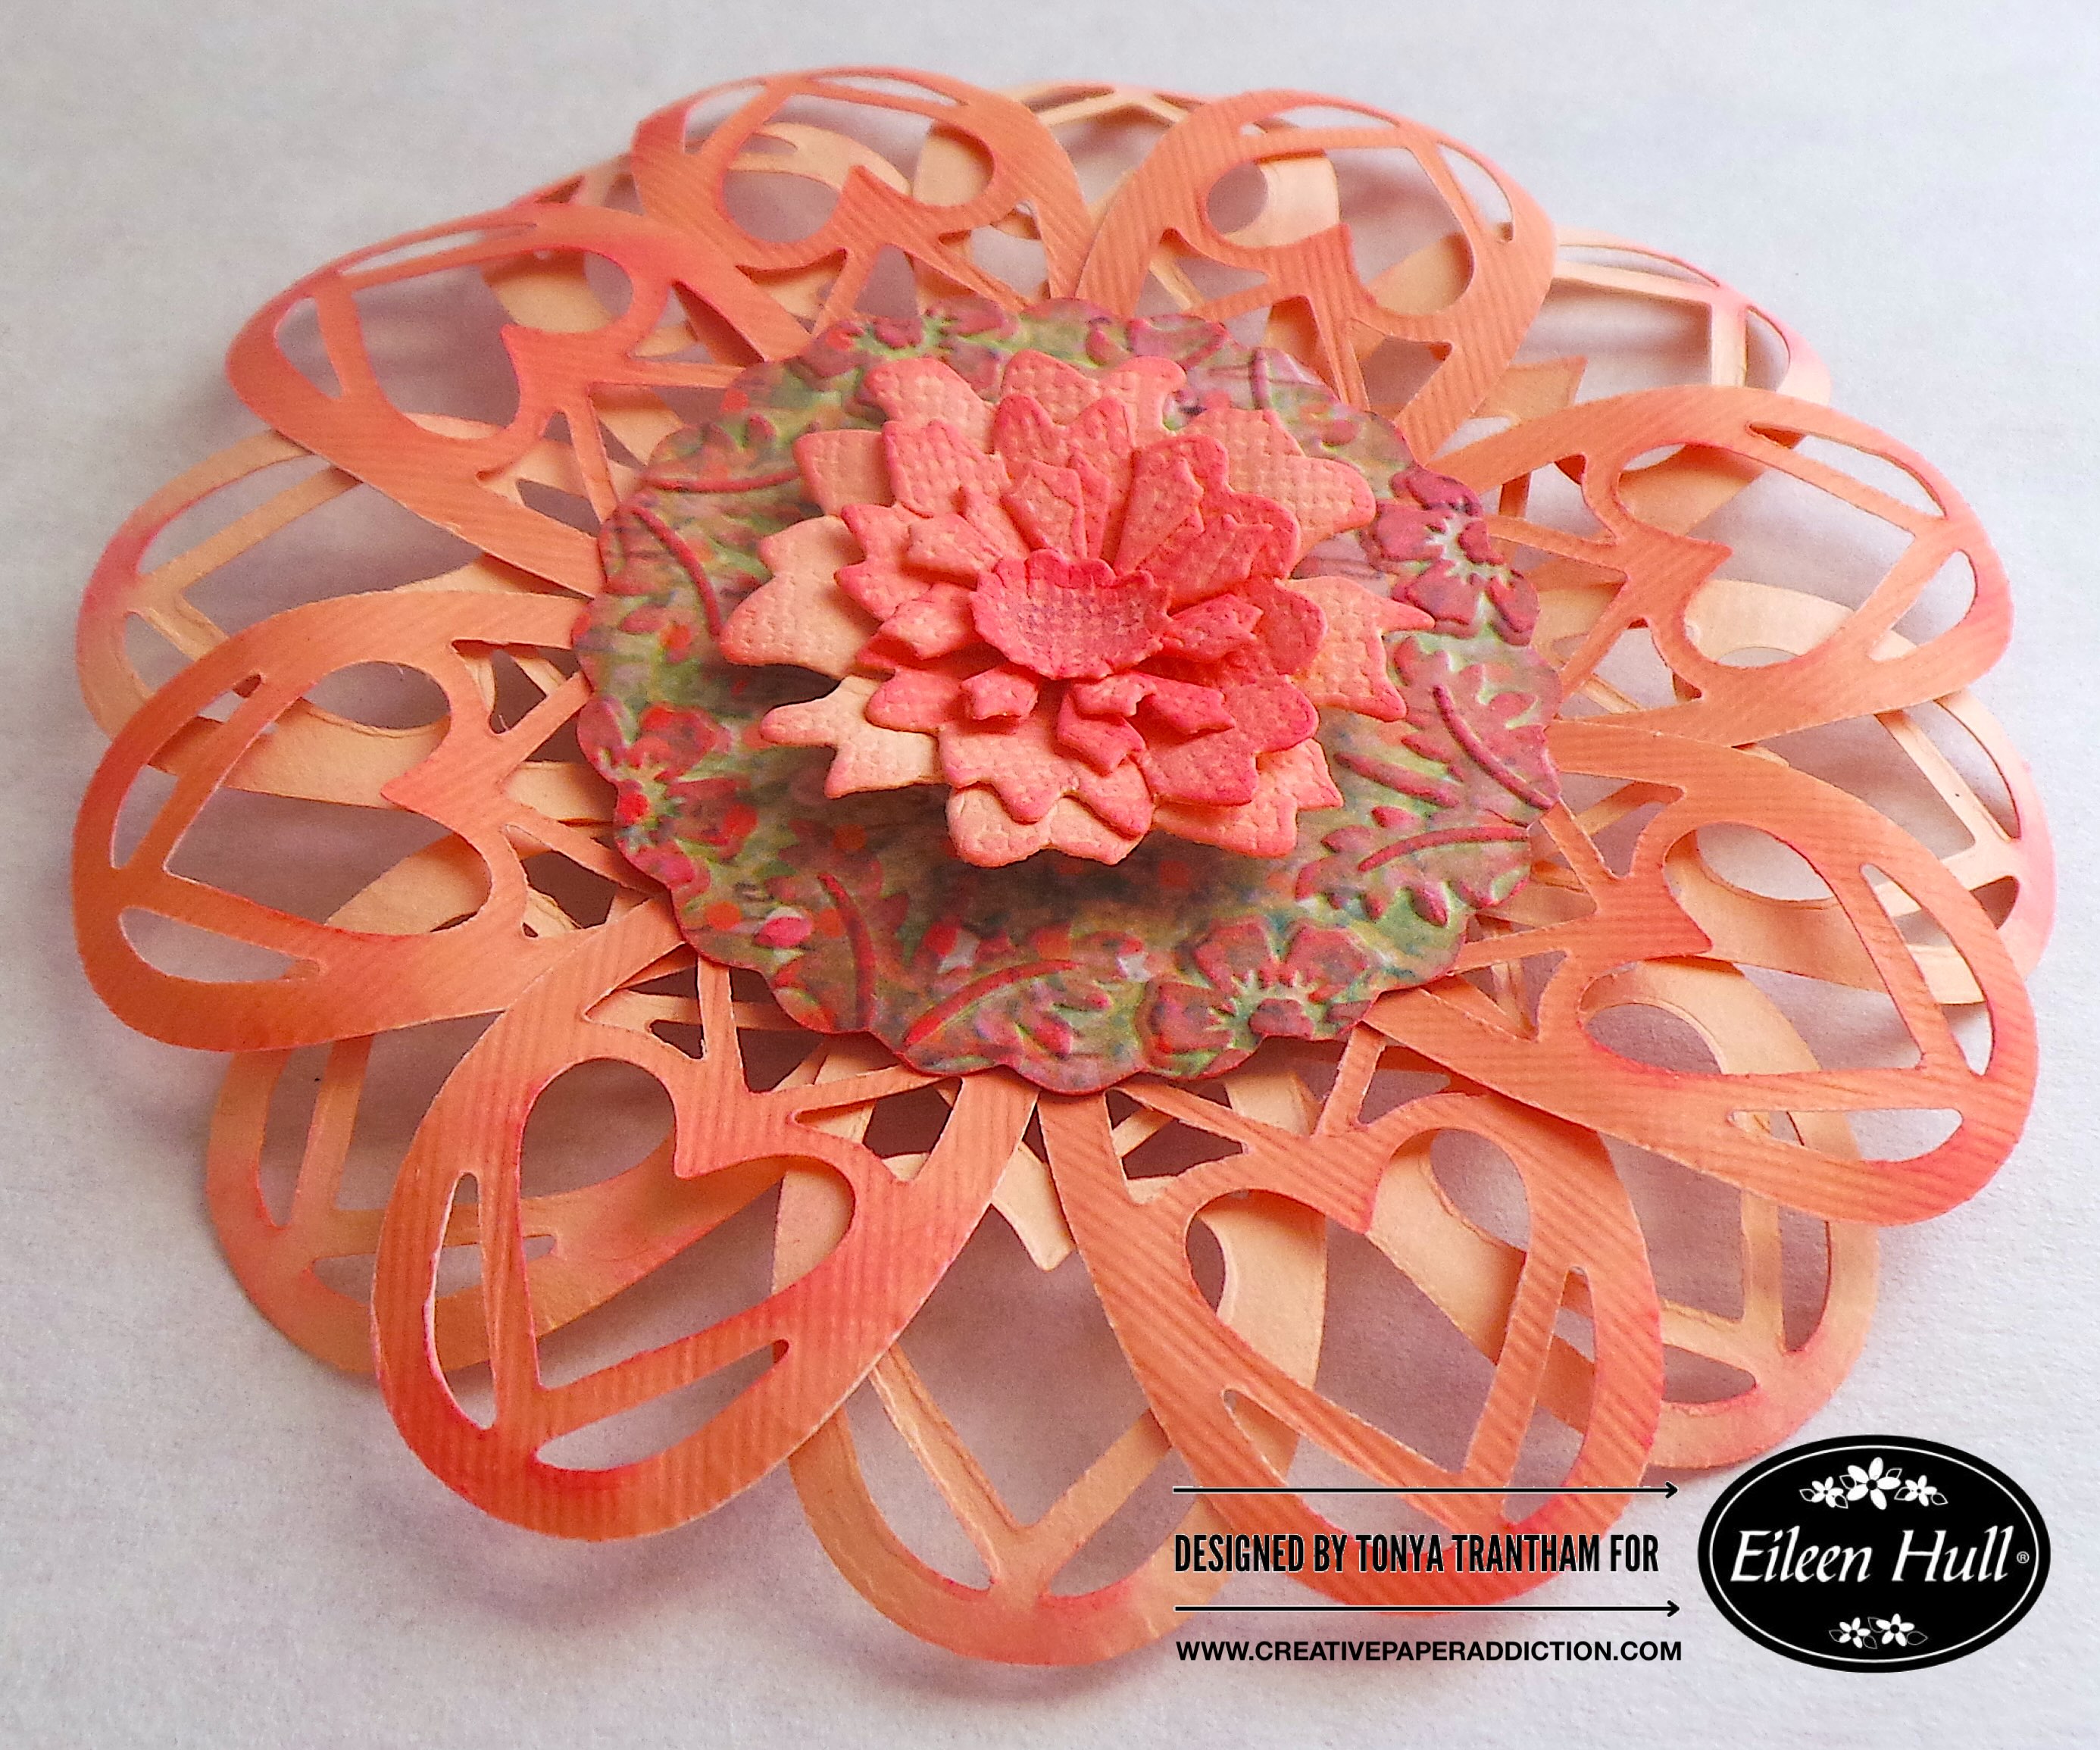
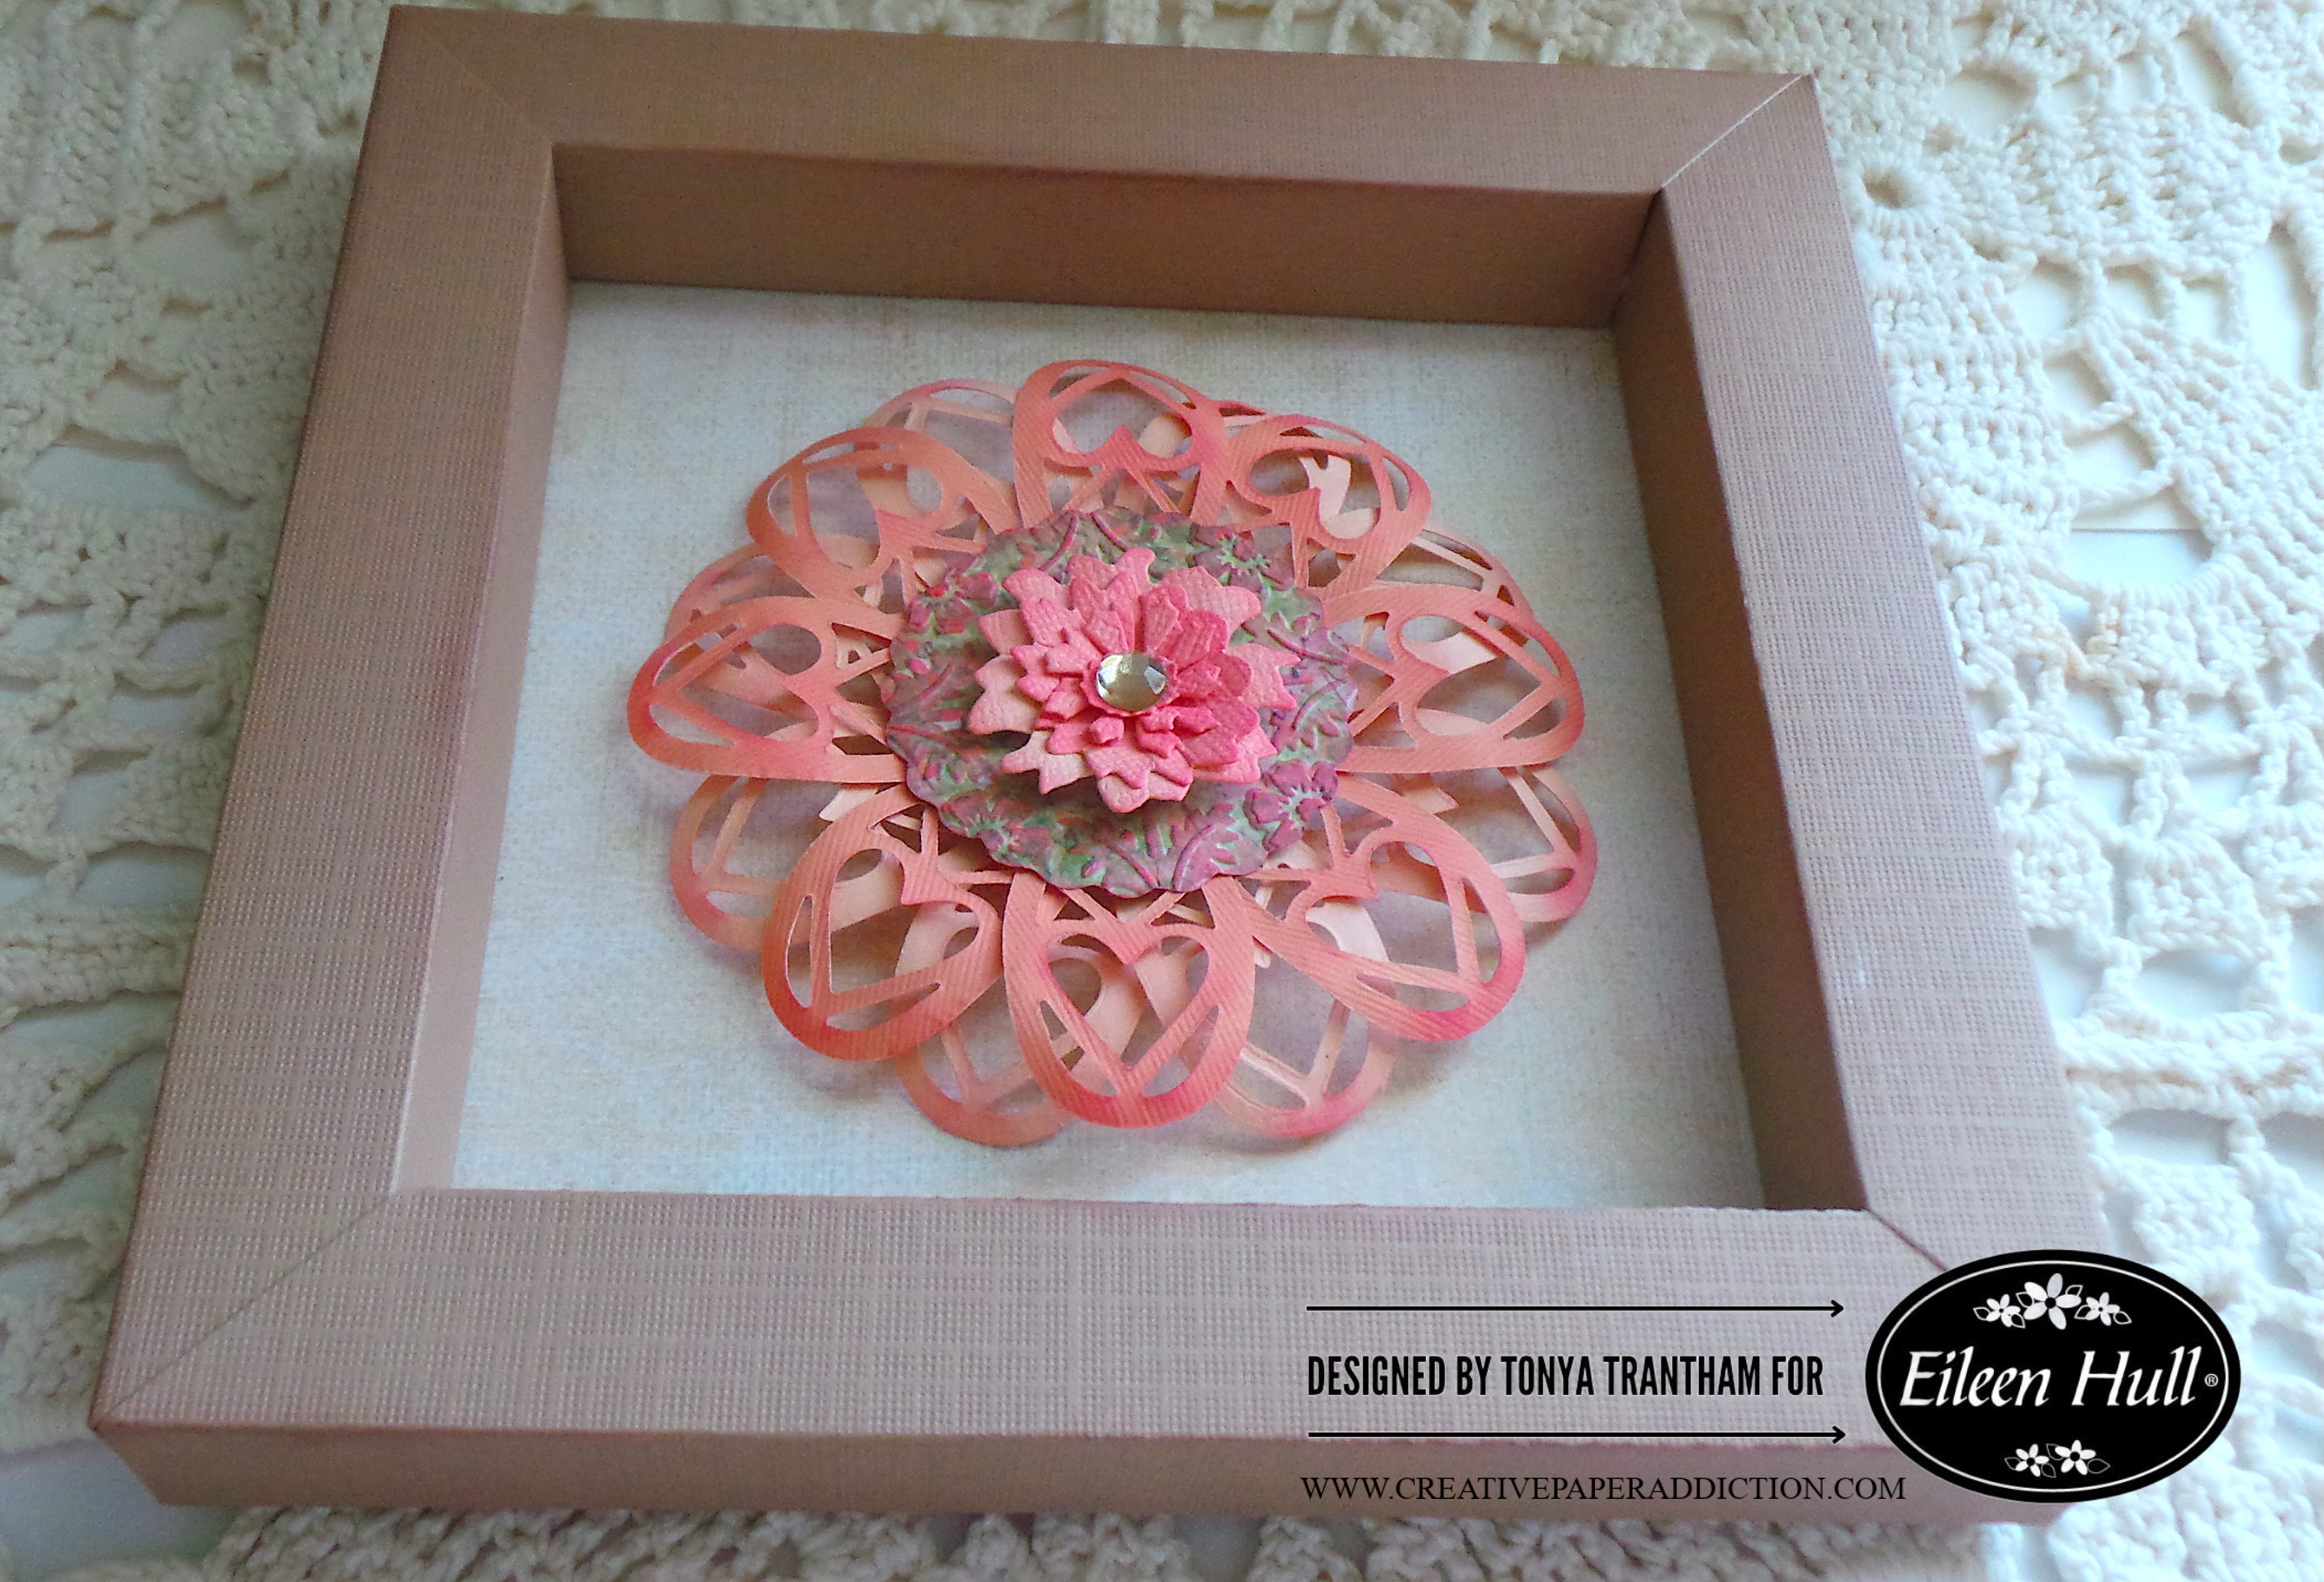
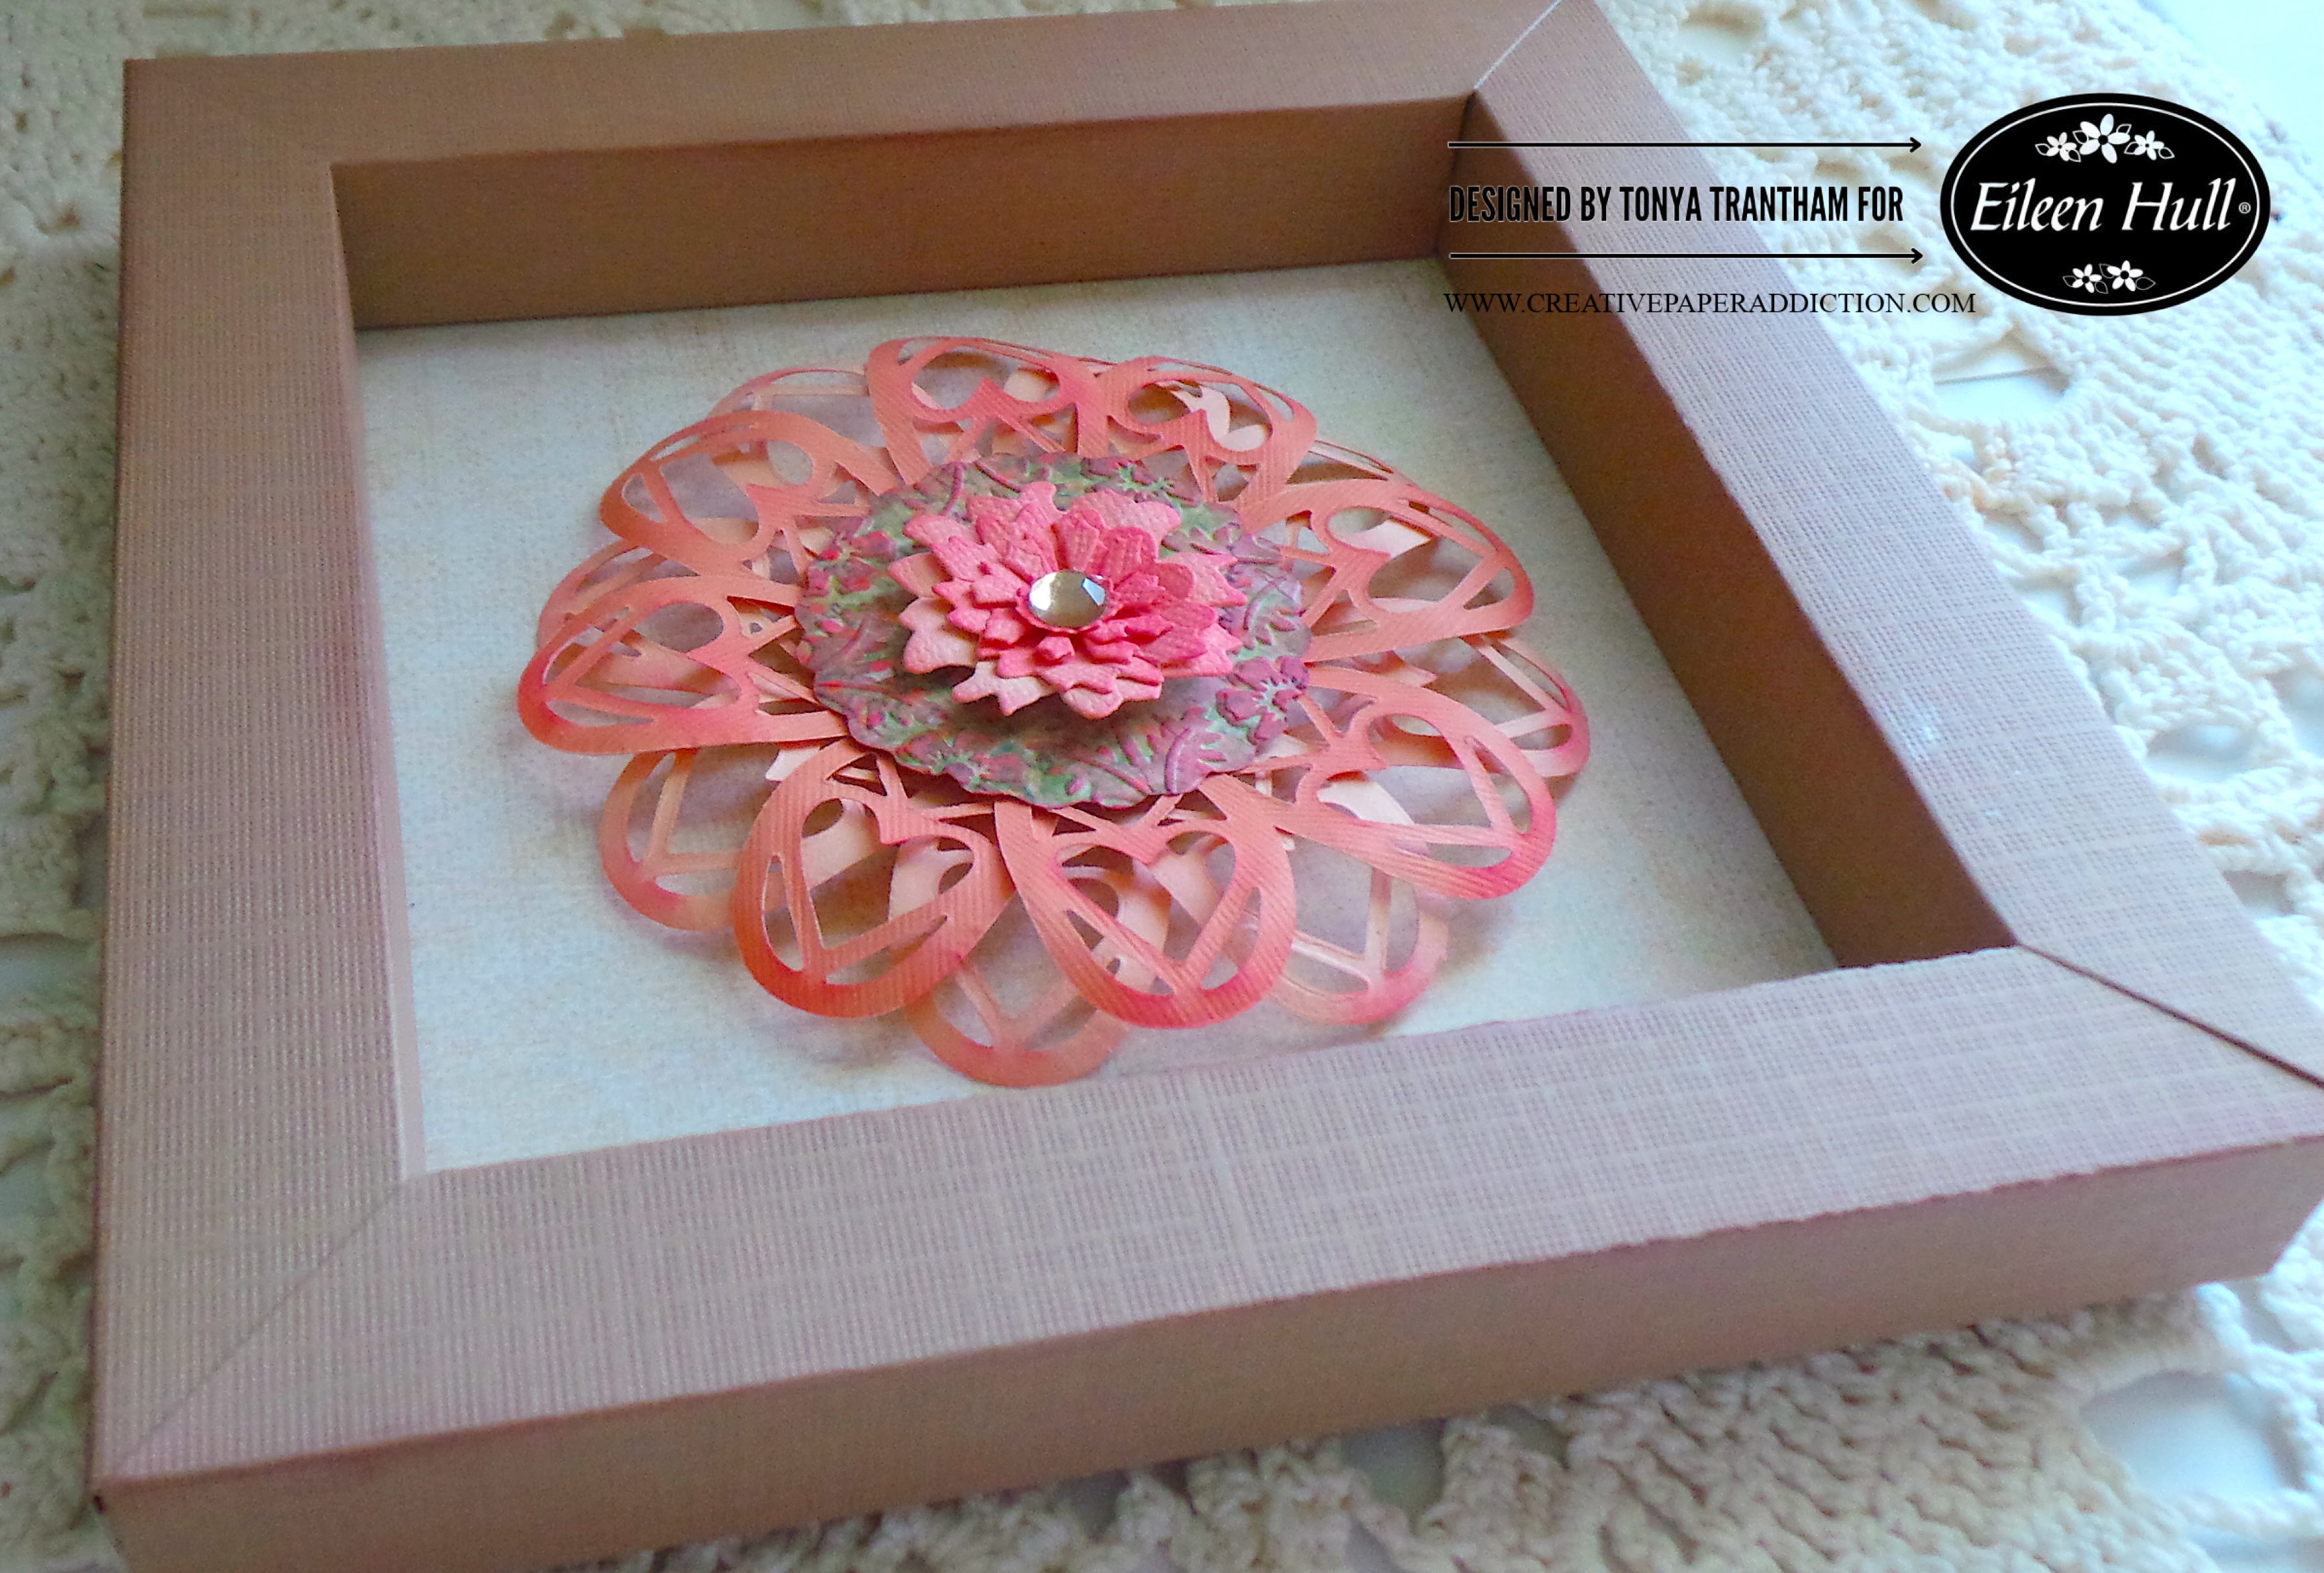
I cut two of the largest arches and two of the next size down arches from the Tunnel Arches Framelits Diecuts. I added glue to the top edge of both smaller arches and placed on top of the largest arch. I then added adhesive to the top of both largest arch and placed both onto the journal page. I cut two each of the following: lace trim, smallest flowers and larger flowers from the Windowsill Flowers and Vase Thinlits Diecuts. I also cut five of the leaf sprigs from the same set of dies. I adhered two leaf sprigs, one circle from the center of the sun diecut and two leaves cut from one of the leaf sprigs and the small flower to each outer flap. I placed a Flat Back Pearls to the center of each flower.
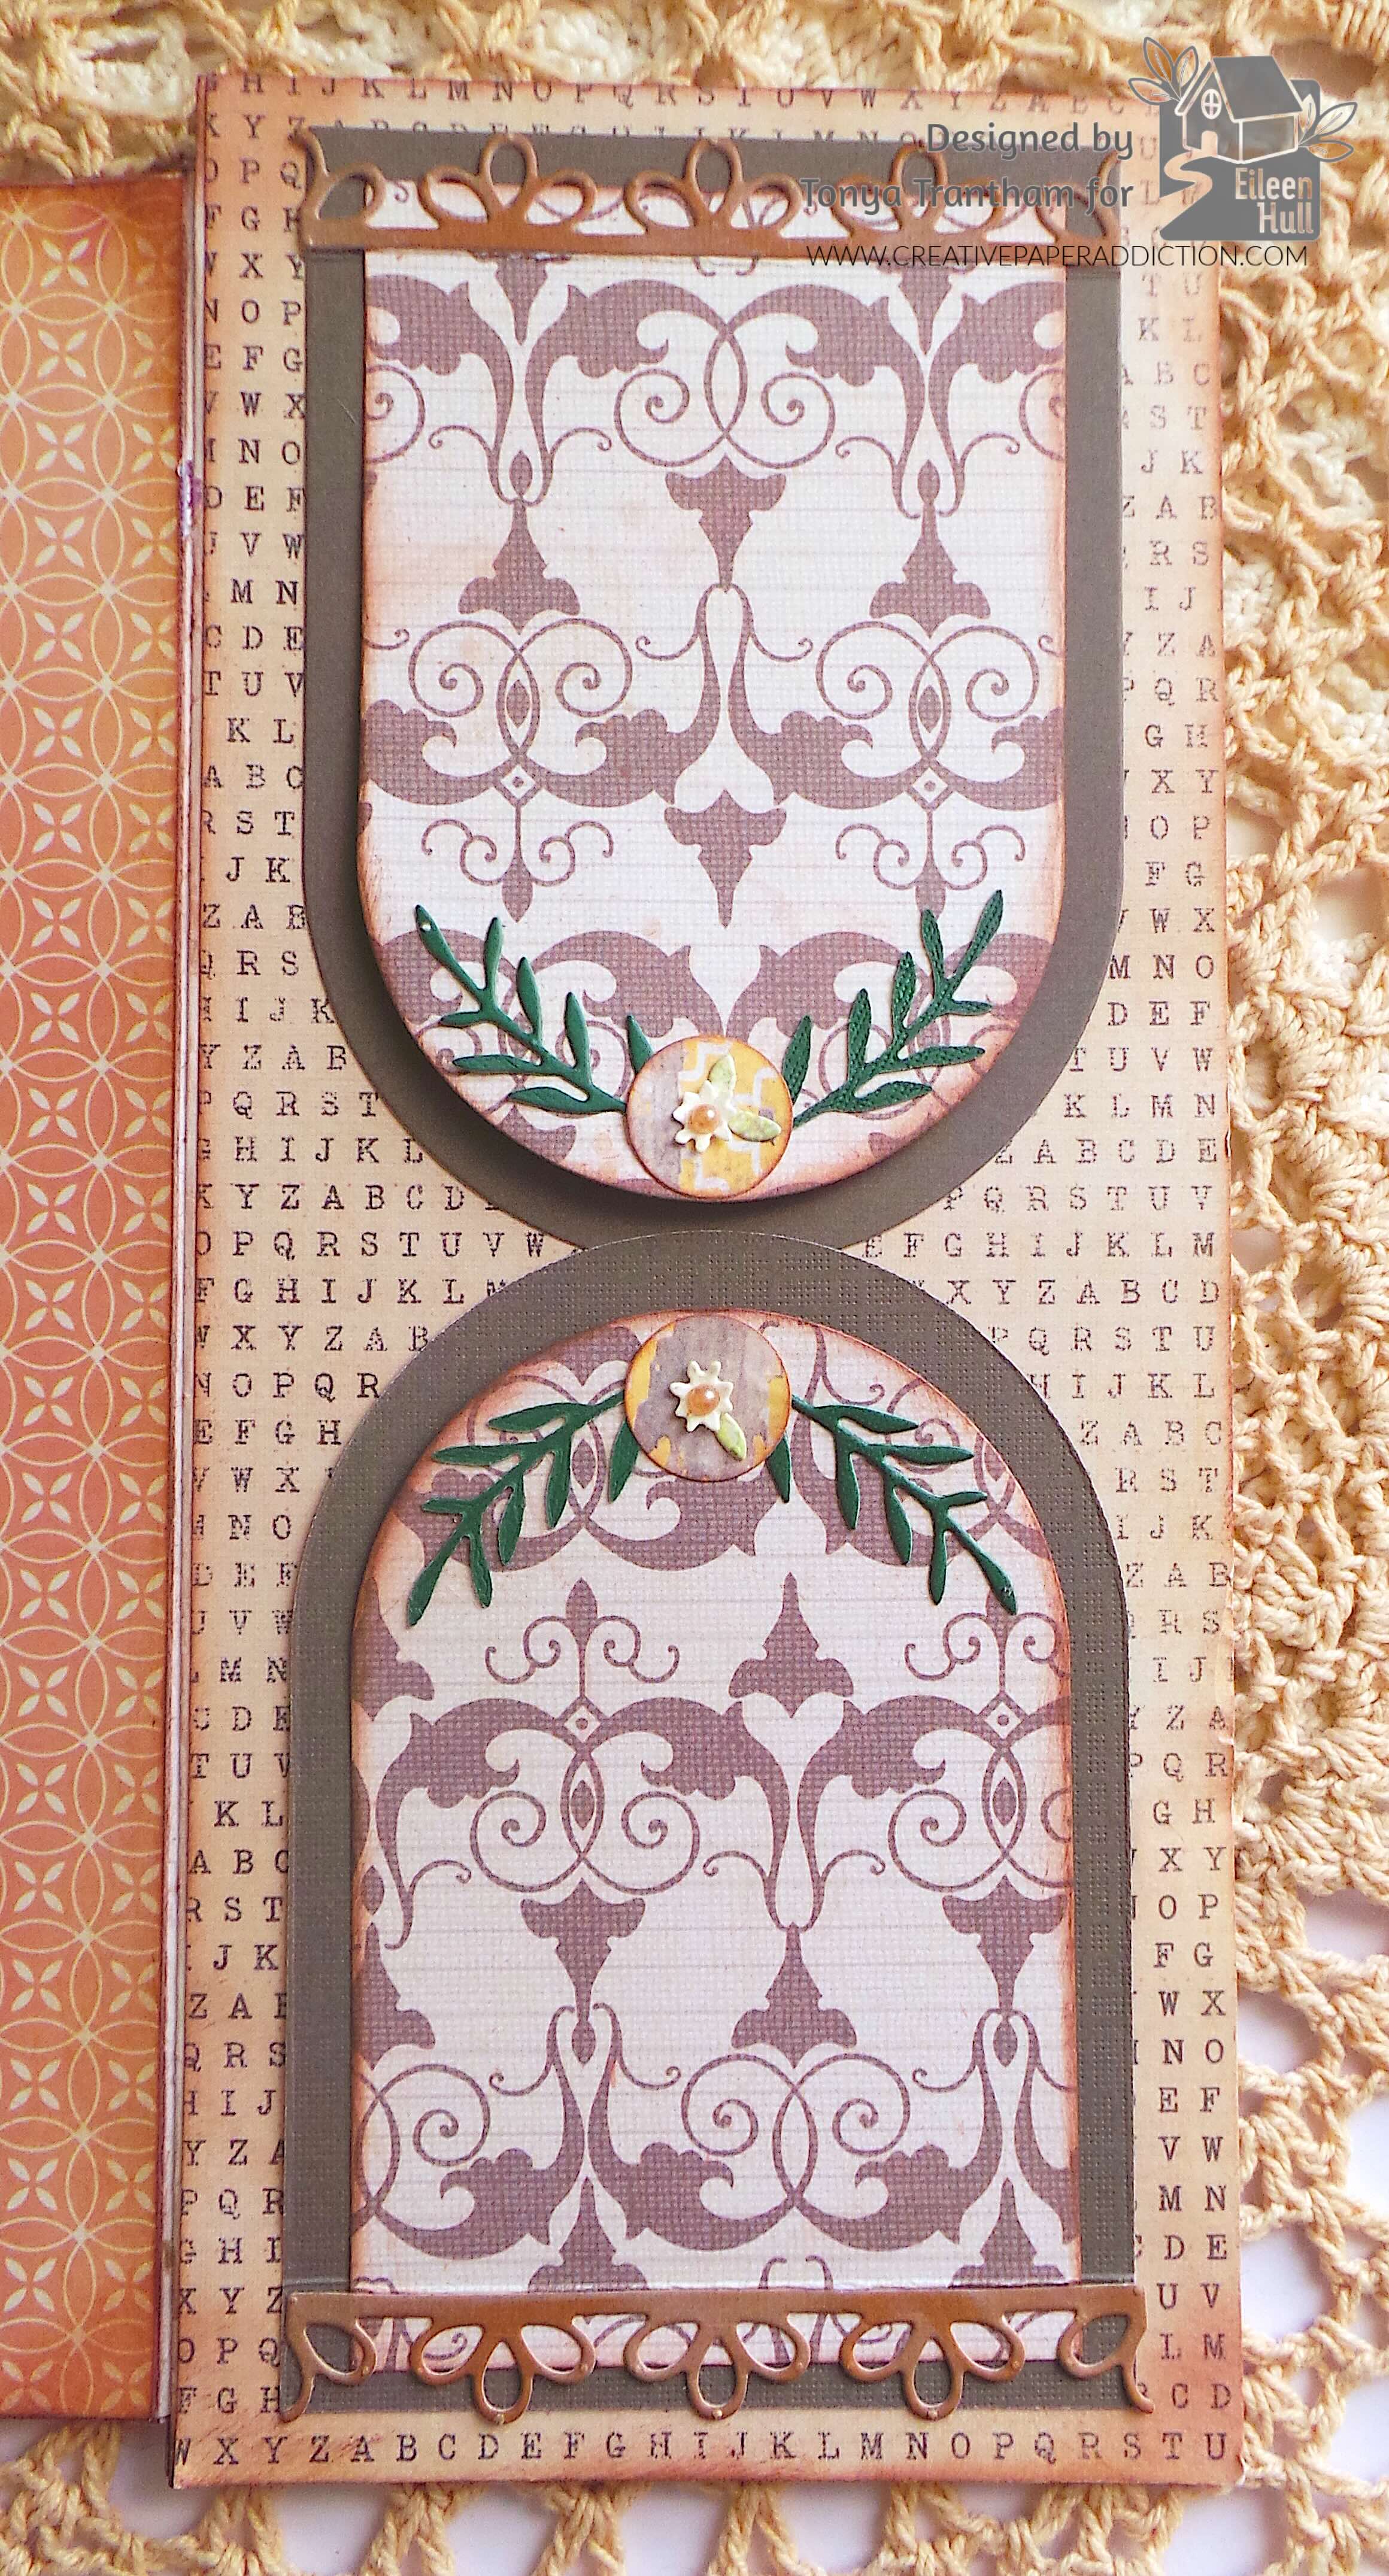
The inside flap I glued a key hole die side ways on each flap. I adhered the large flower to the middle of the key hole die and placed a sequin in the center of each flower.
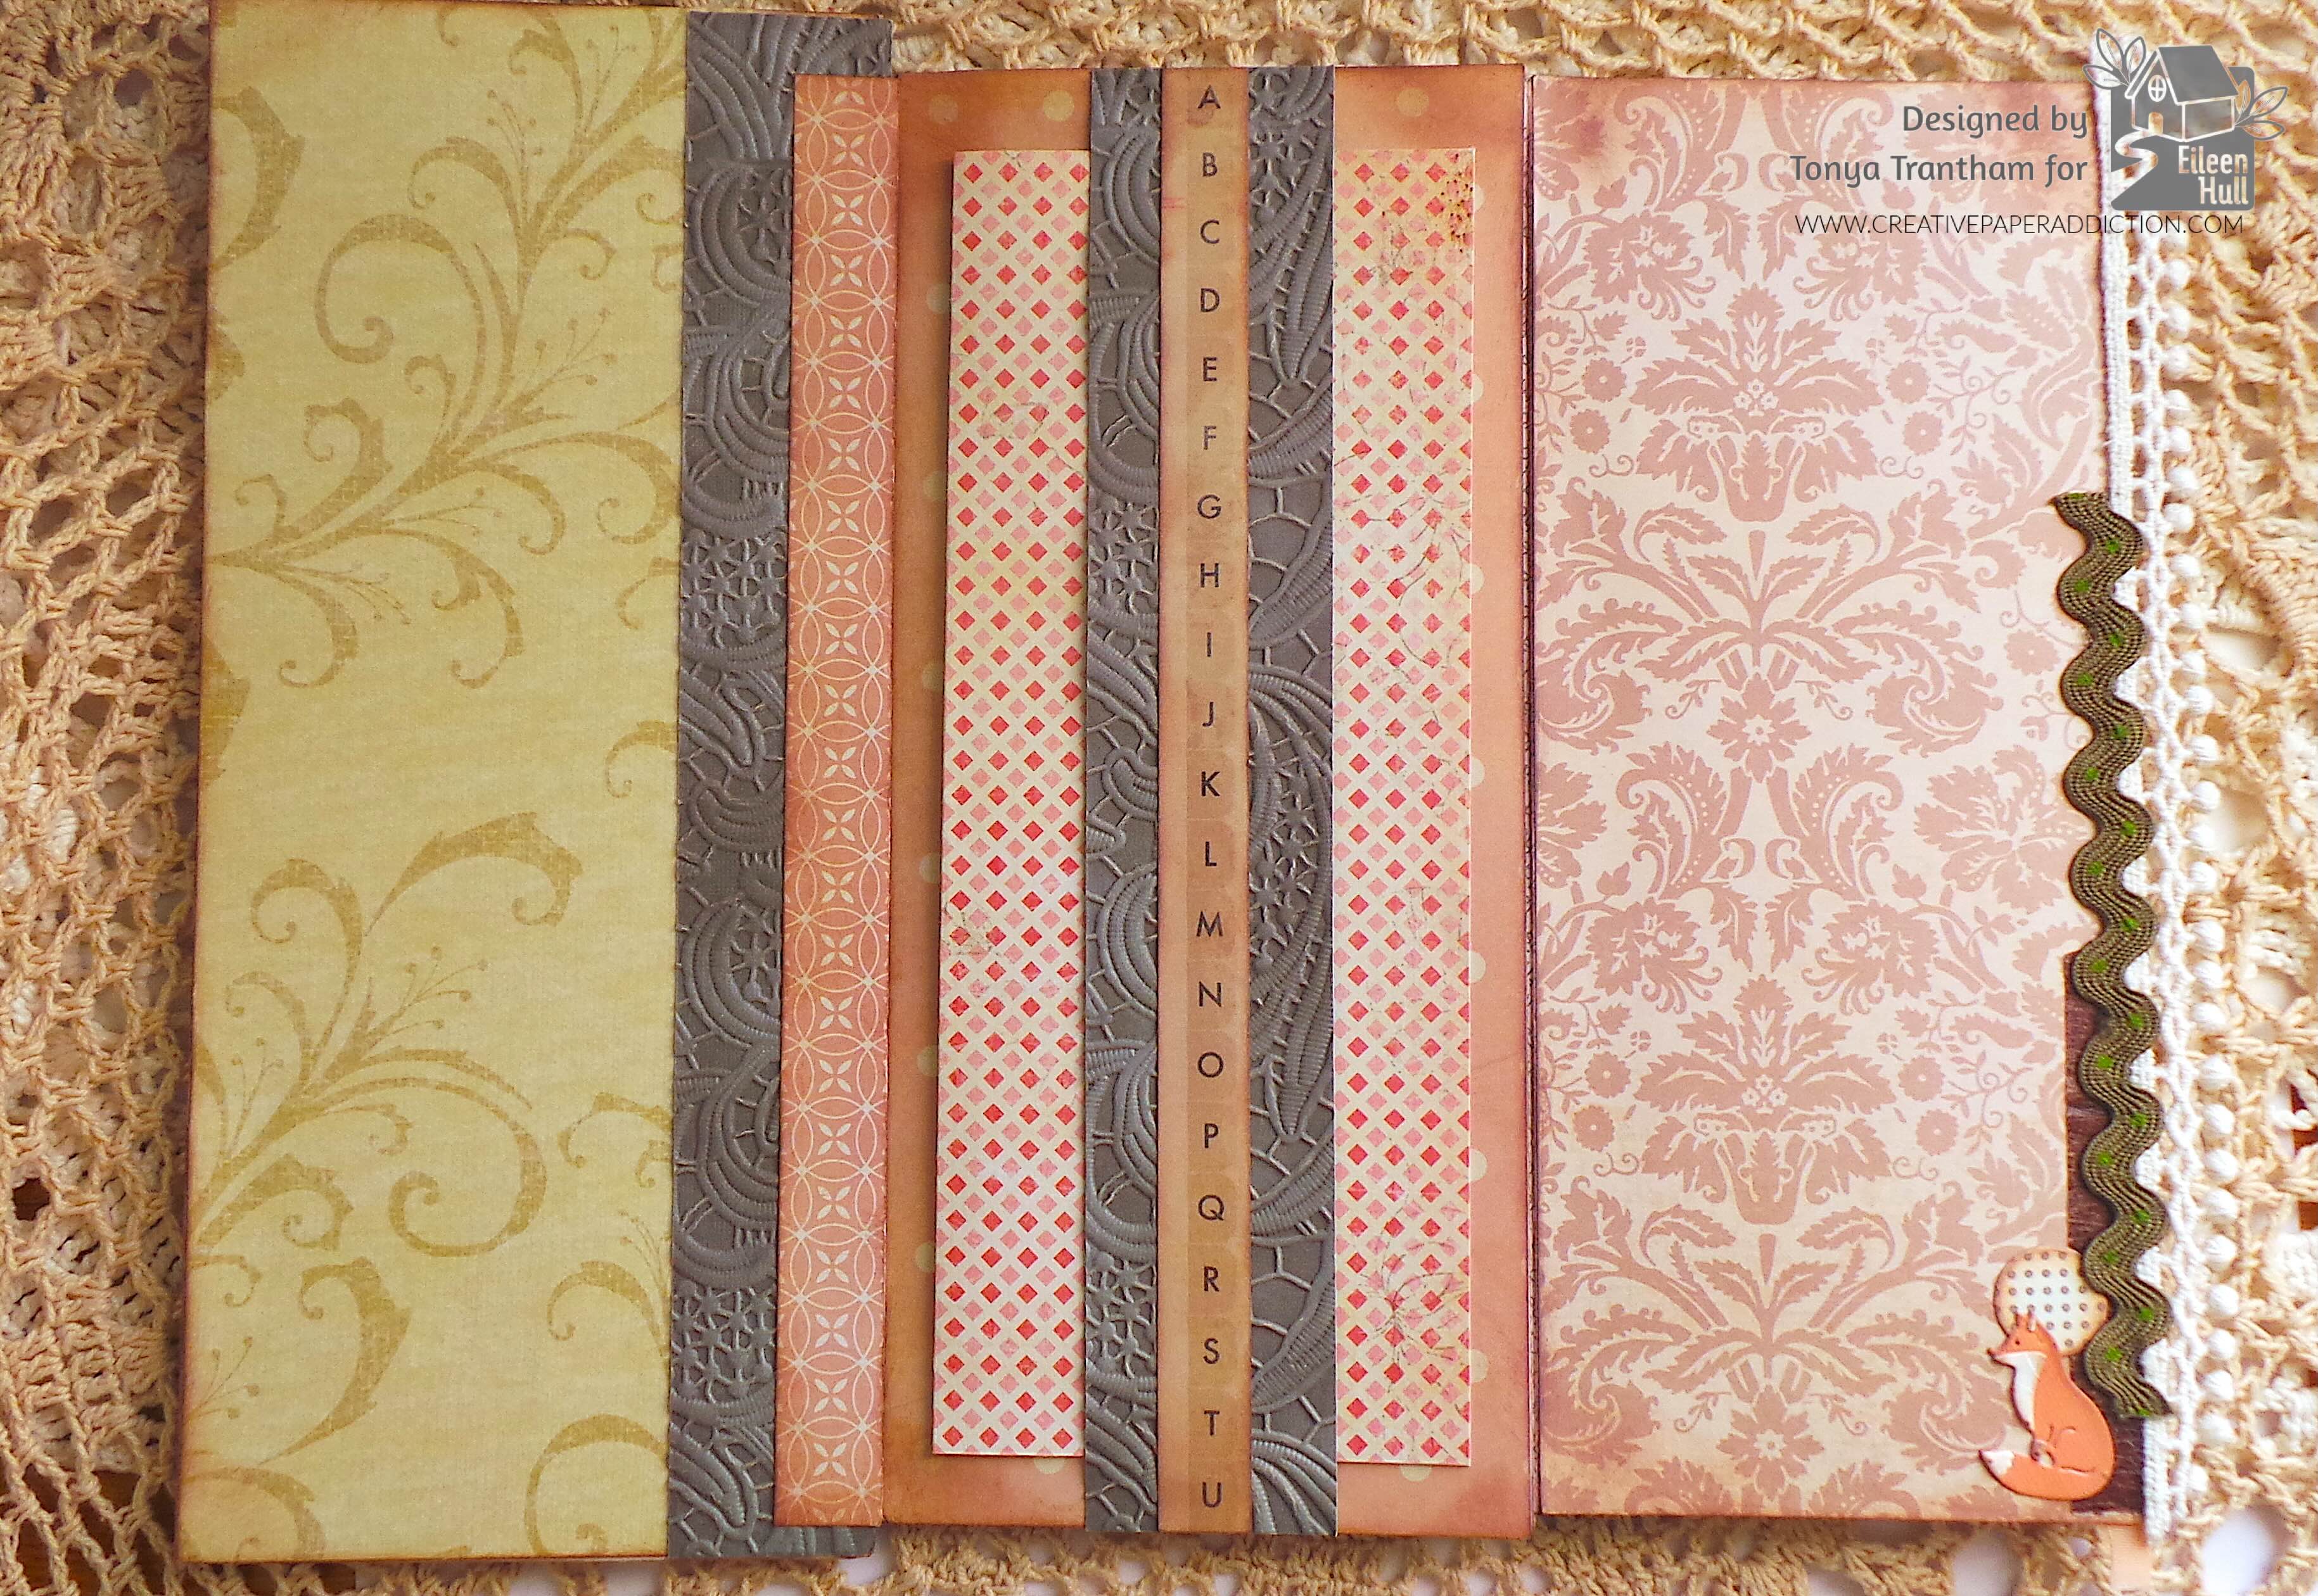
The other side of the journal. I embossed two strips of cardstock with the Lacy Leaves Embossing Folder and inked with white chalk ink. I glued one piece to the back edge of a page along with a strip of cardstock. The middle page I added adhesive to both end of the embossed cardstock. I placed in the center of the page to create a tuck spot and added a folded piece of cardstock. I glued a strip of cardstock to the center of the embossed cardstock. The other page I added a piece of ric rac to the edge of the page. I glued the circle from the center of the sun and a fox from the Home Sweet Home Thinlits Diecuts to finish.
This project is a great way to recycle envelopes you get in the mail and use up scrap of cardstock that you might have laying around in your supplies.
Also if you haven’t been by Eileen Hull’s blog lately to see what her team has been up to you can find the latest post HERE. As always if you have any questions or comments please leave them below.
Supplies
Sizzix/Eileen Hull: Tunnel Arches Framelits Diecuts
Sizzix/Eileen Hull: Windowsill Flowers and Vase Thinlits Diecuts
Sizzix/Eileen Hull: Rainbow Wheels Thinlits
Sizzix/Eileen Hull: Home Sweet Home Thinlits Diecuts
Sizzix/Eileen Hull: Journal Hardware Diecuts
Sizzix/Eileen Hull: Lacy Leaves Embossing Folder
White and Brown Chalk Ink
Lace, Ric Rac, Pom Pom Trim and Brown Thread
Various Embellishments
Various Plain and Patterned Cardstocks
Sequin and Flat Back Pearls
Beacon Adhesives: Zip Dry Adhesive
(Products listed above are Affiliated Links for your convenience)
DISCLAIMERS
This blog is compensated to provide opinion on products, services, websites, and various other topics. Even though the owner(s) of this blog receives compensation for our posts or advertisements. I always give my honest opinions, findings, beliefs, or experiences on those topics or products. The views and opinions expressed on this blog are purely my own. Any product claim, statistic, or quote should be checked with each manufacturer. Verify other representations about a product or service with the provider or party in question.This blog contains affiliate links. Clicking these links helps to support Tonya Trantham Designs – Creative Paper Addiction. It’s at no additional cost to you. Today’s features are Sizzix, Eileen Hull, Scrapbook.com and Spellbinders Products.
Thanks for stopping by, I hope your Tuesday is great and enjoy creating!