Create a Quick Christmas Card with Merry Moments Collection
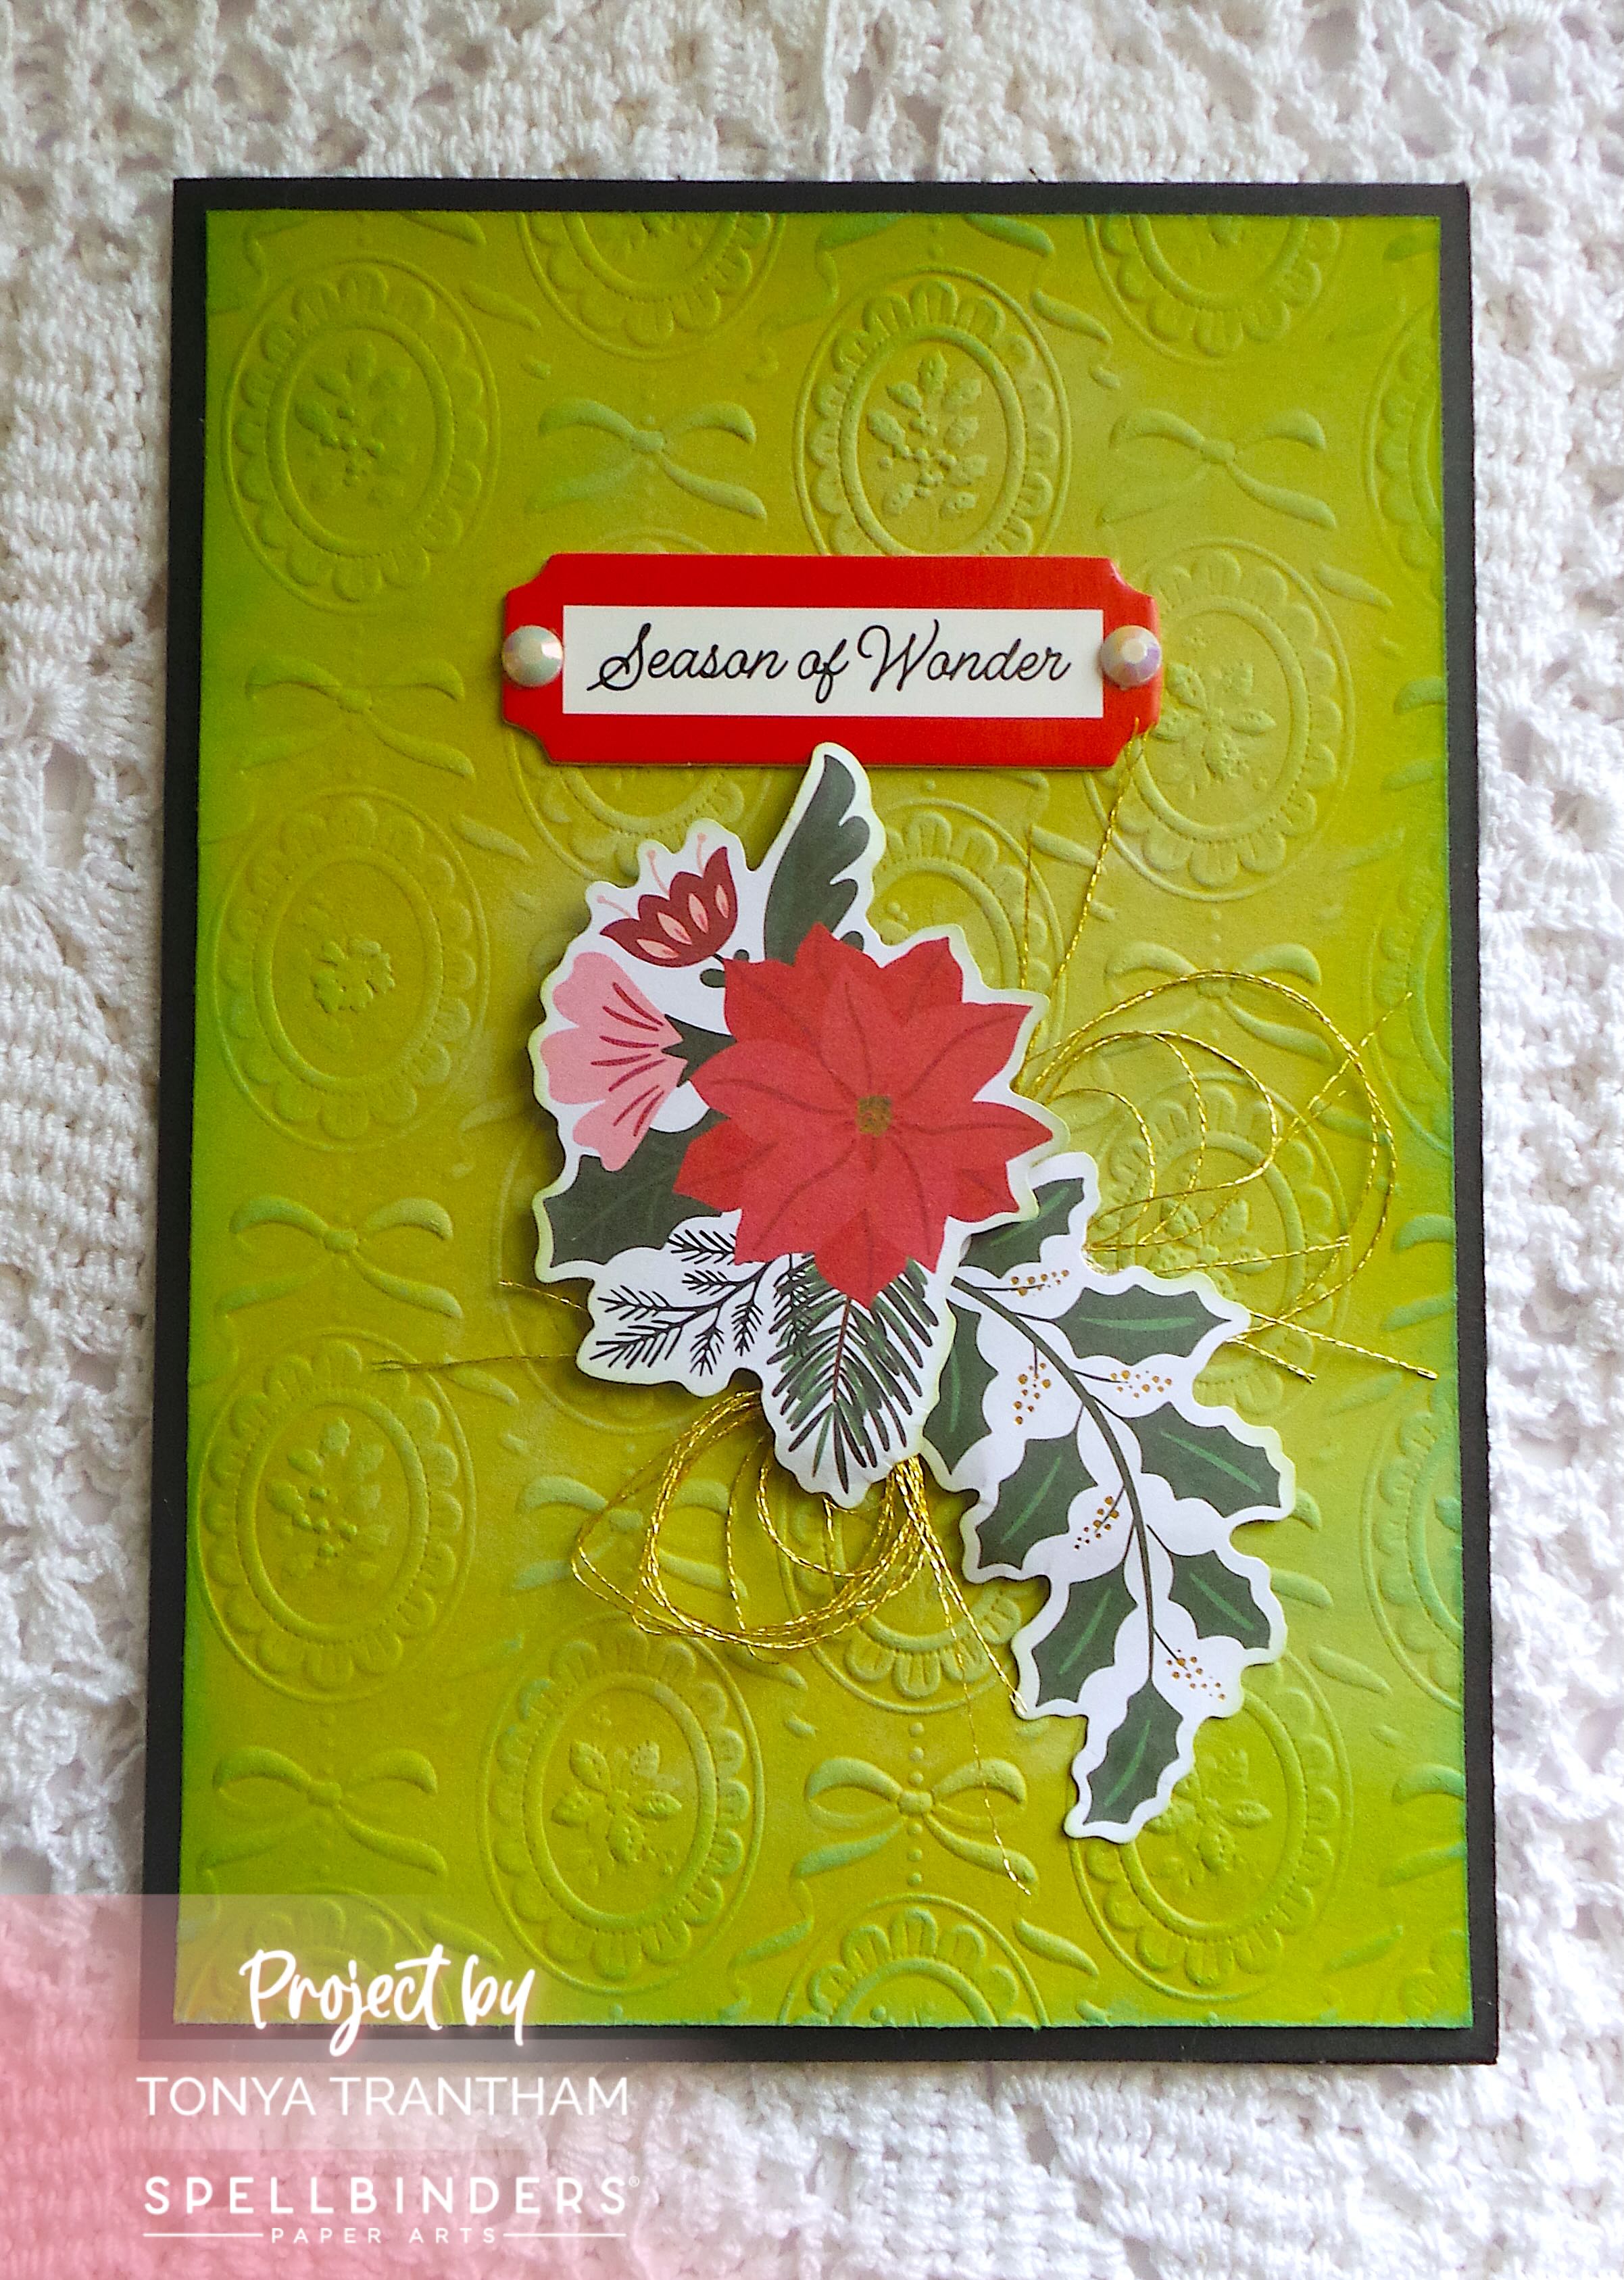
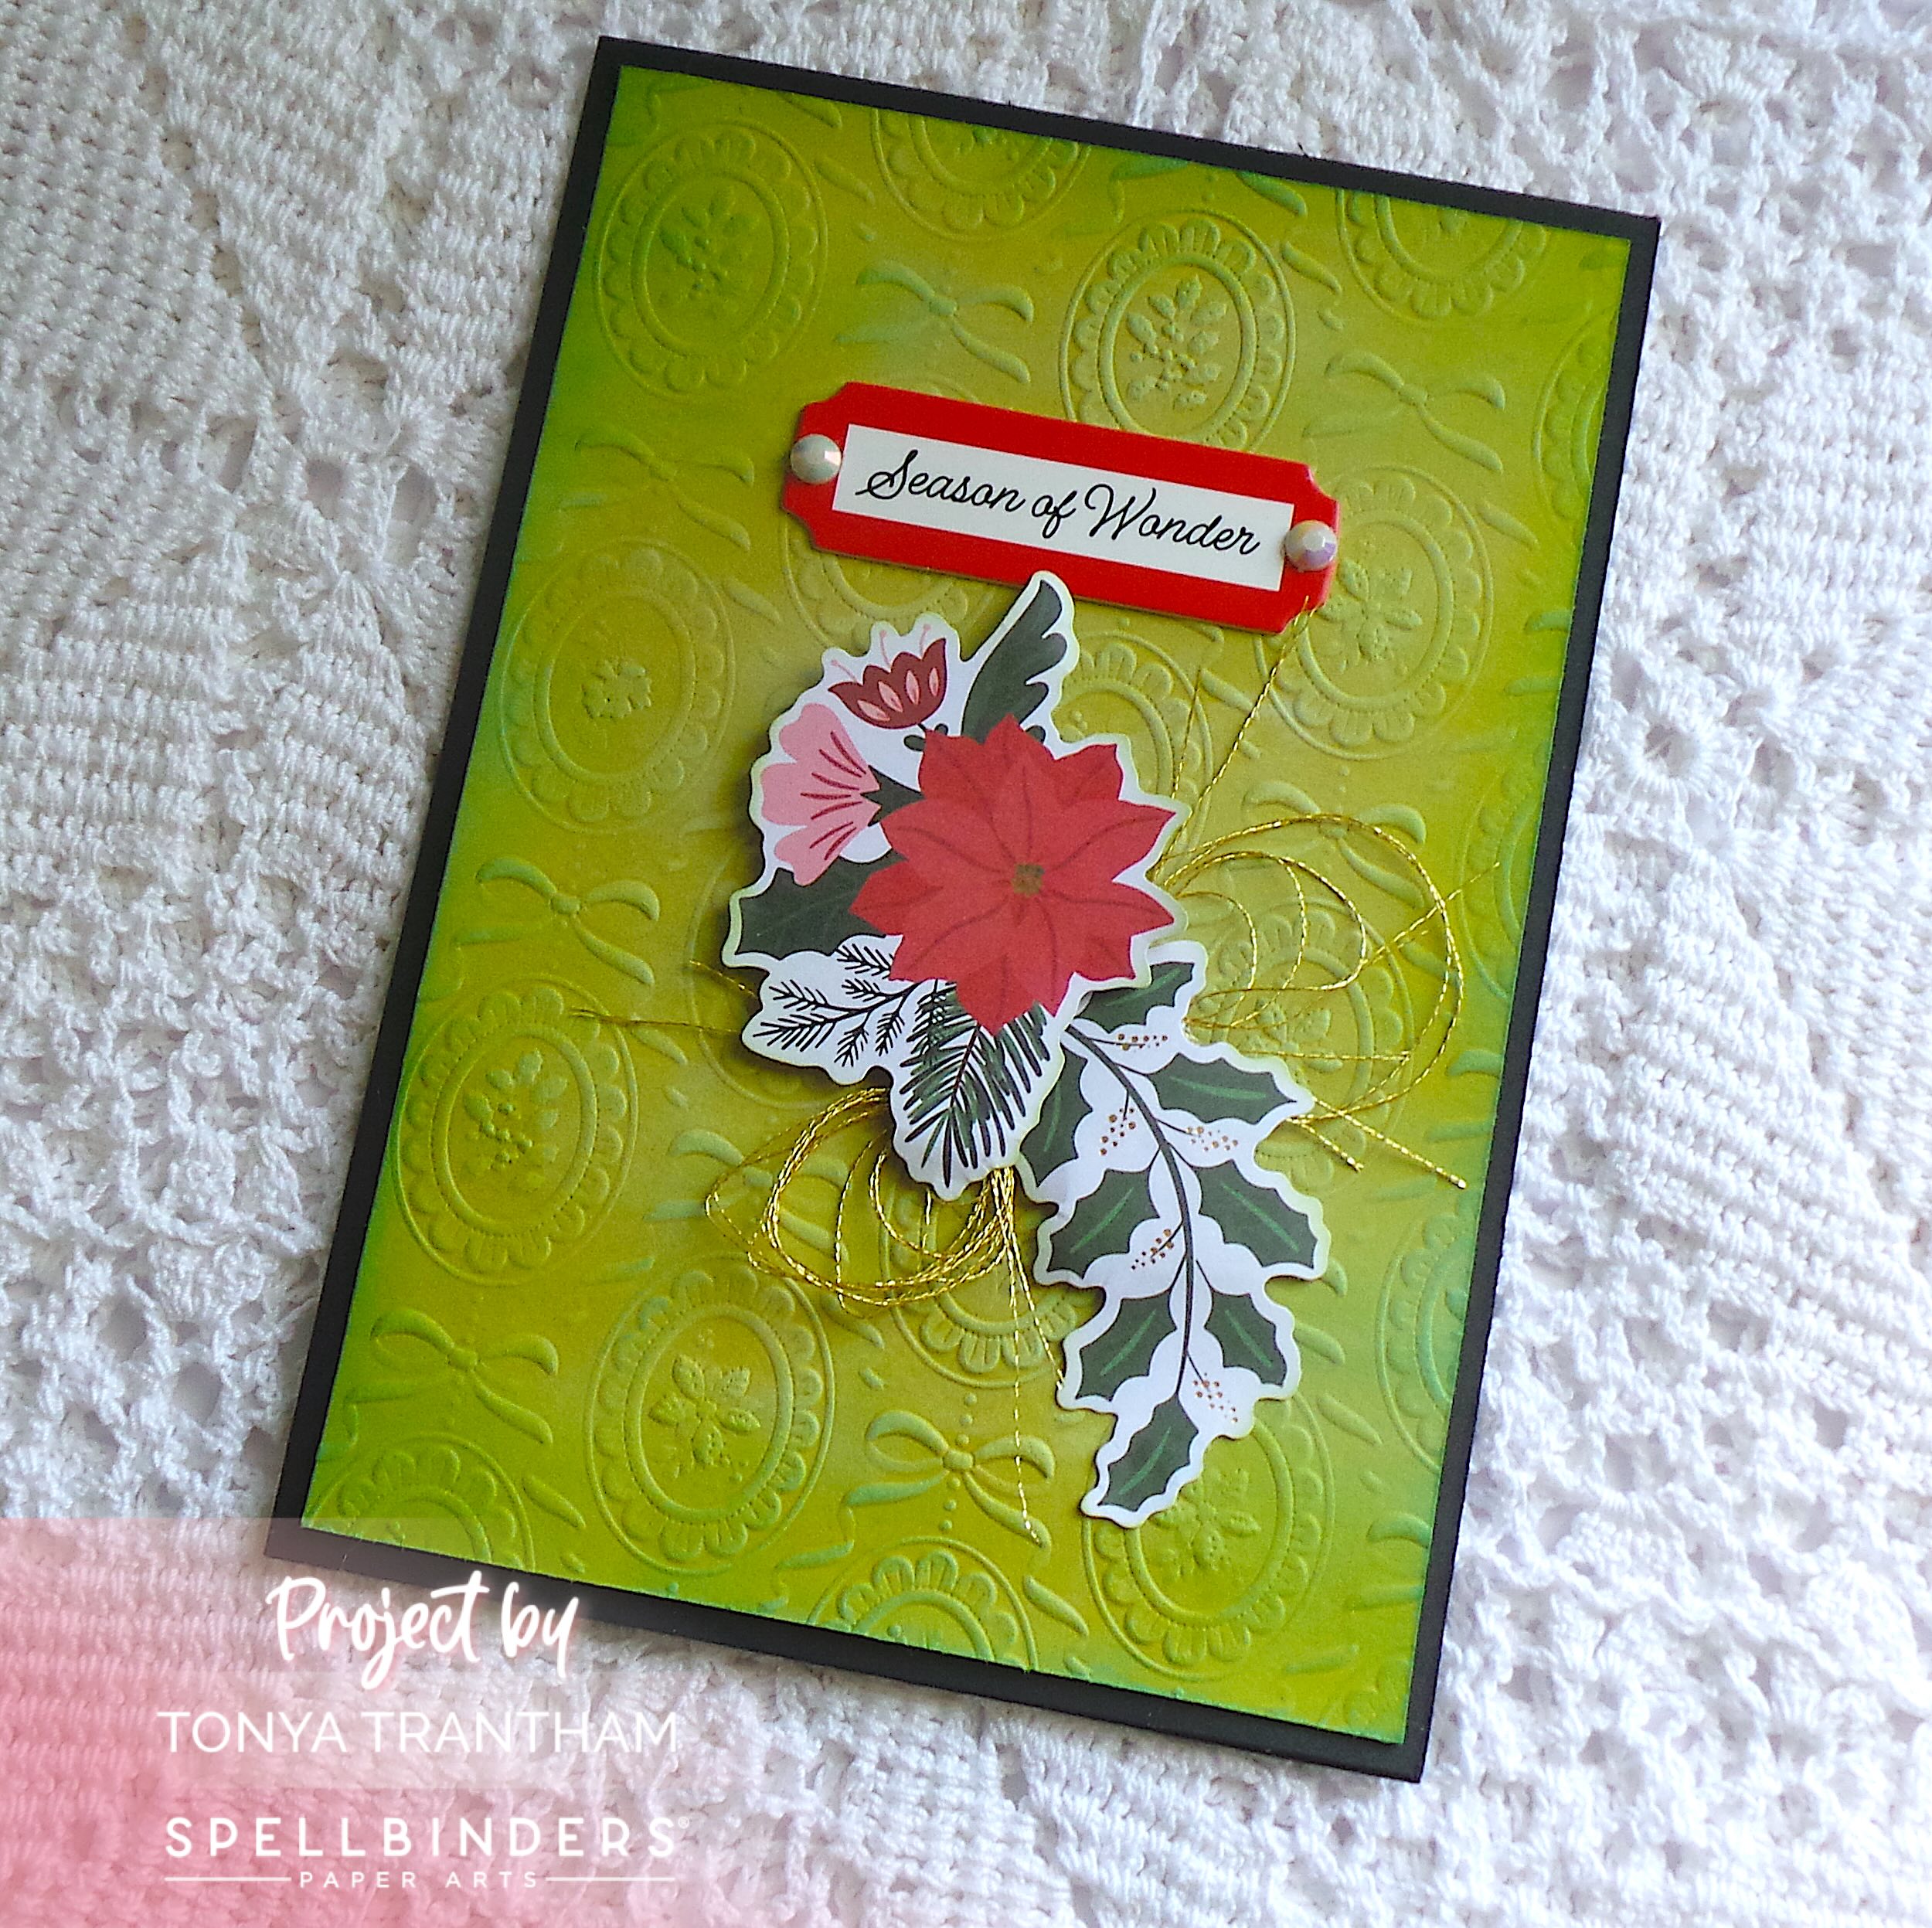
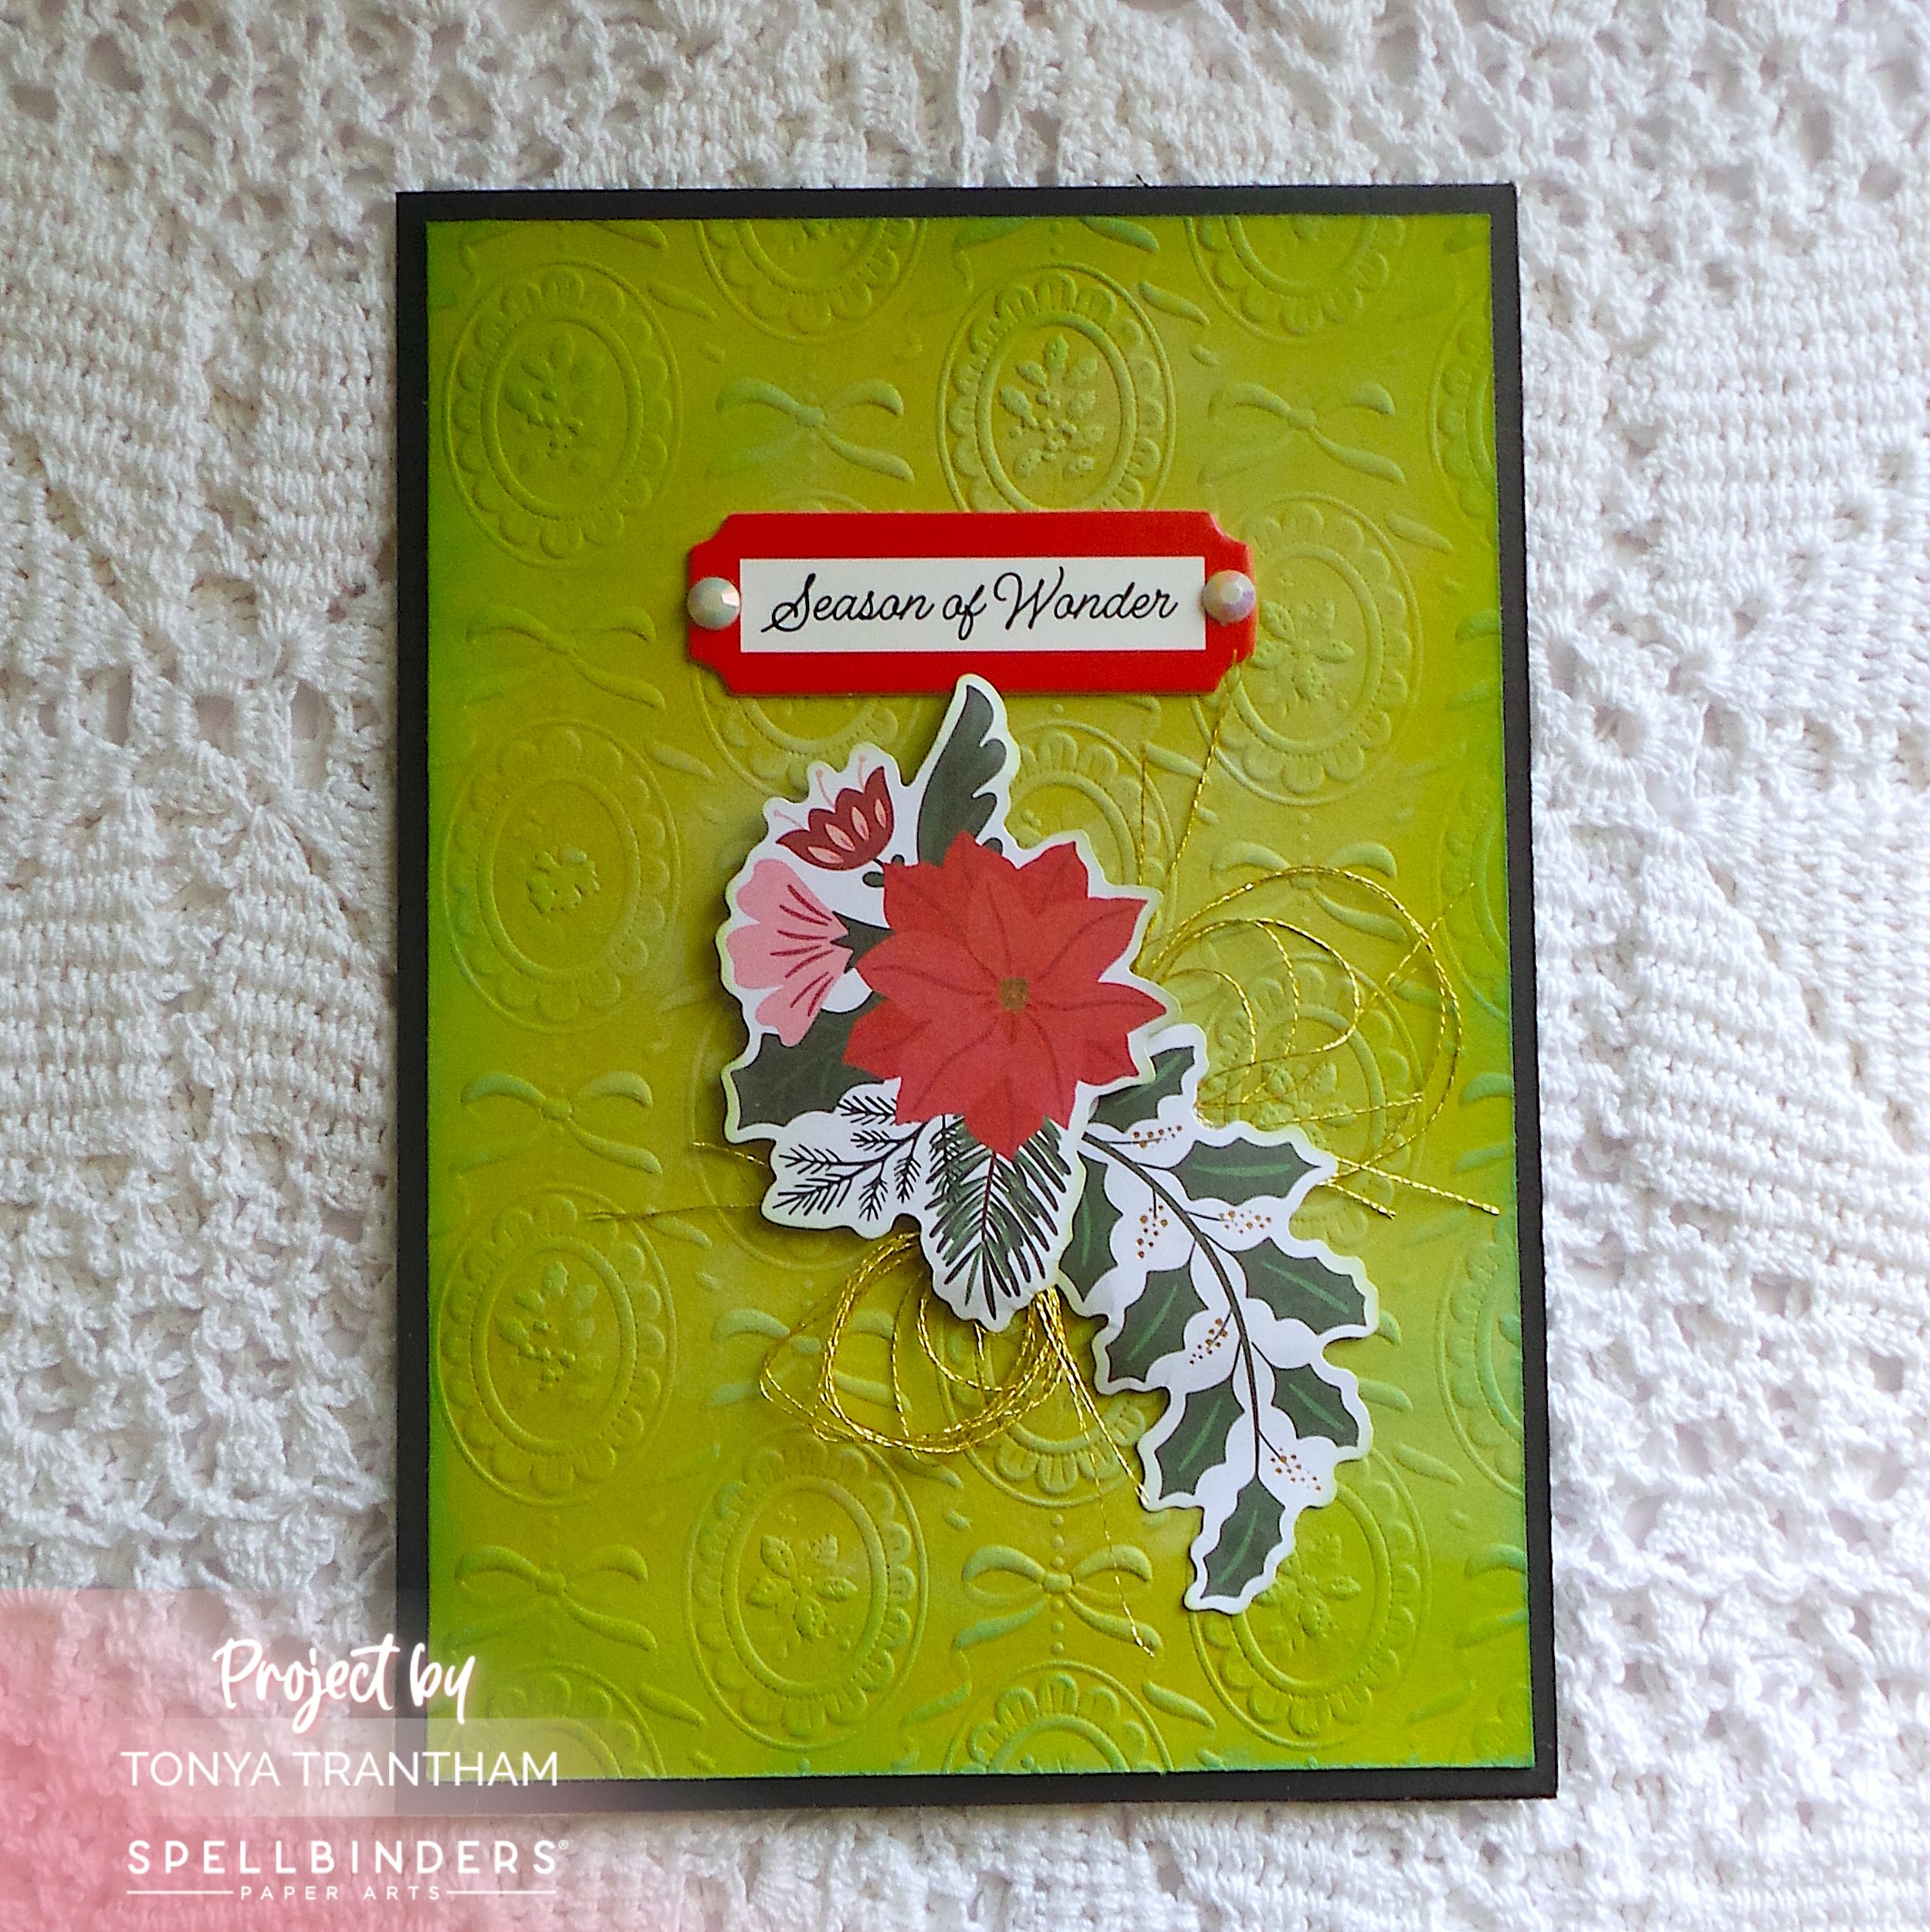
Hi everyone! I’m back with a quick card I created from the Merry Moments Collection by Spellbinders. I used the Christmas Cameos 3D Embossing Folder. Also a few diecut shapes and a chipboard piece from the Merry Moments Limited Edition Holiday Cardmaking Kit.
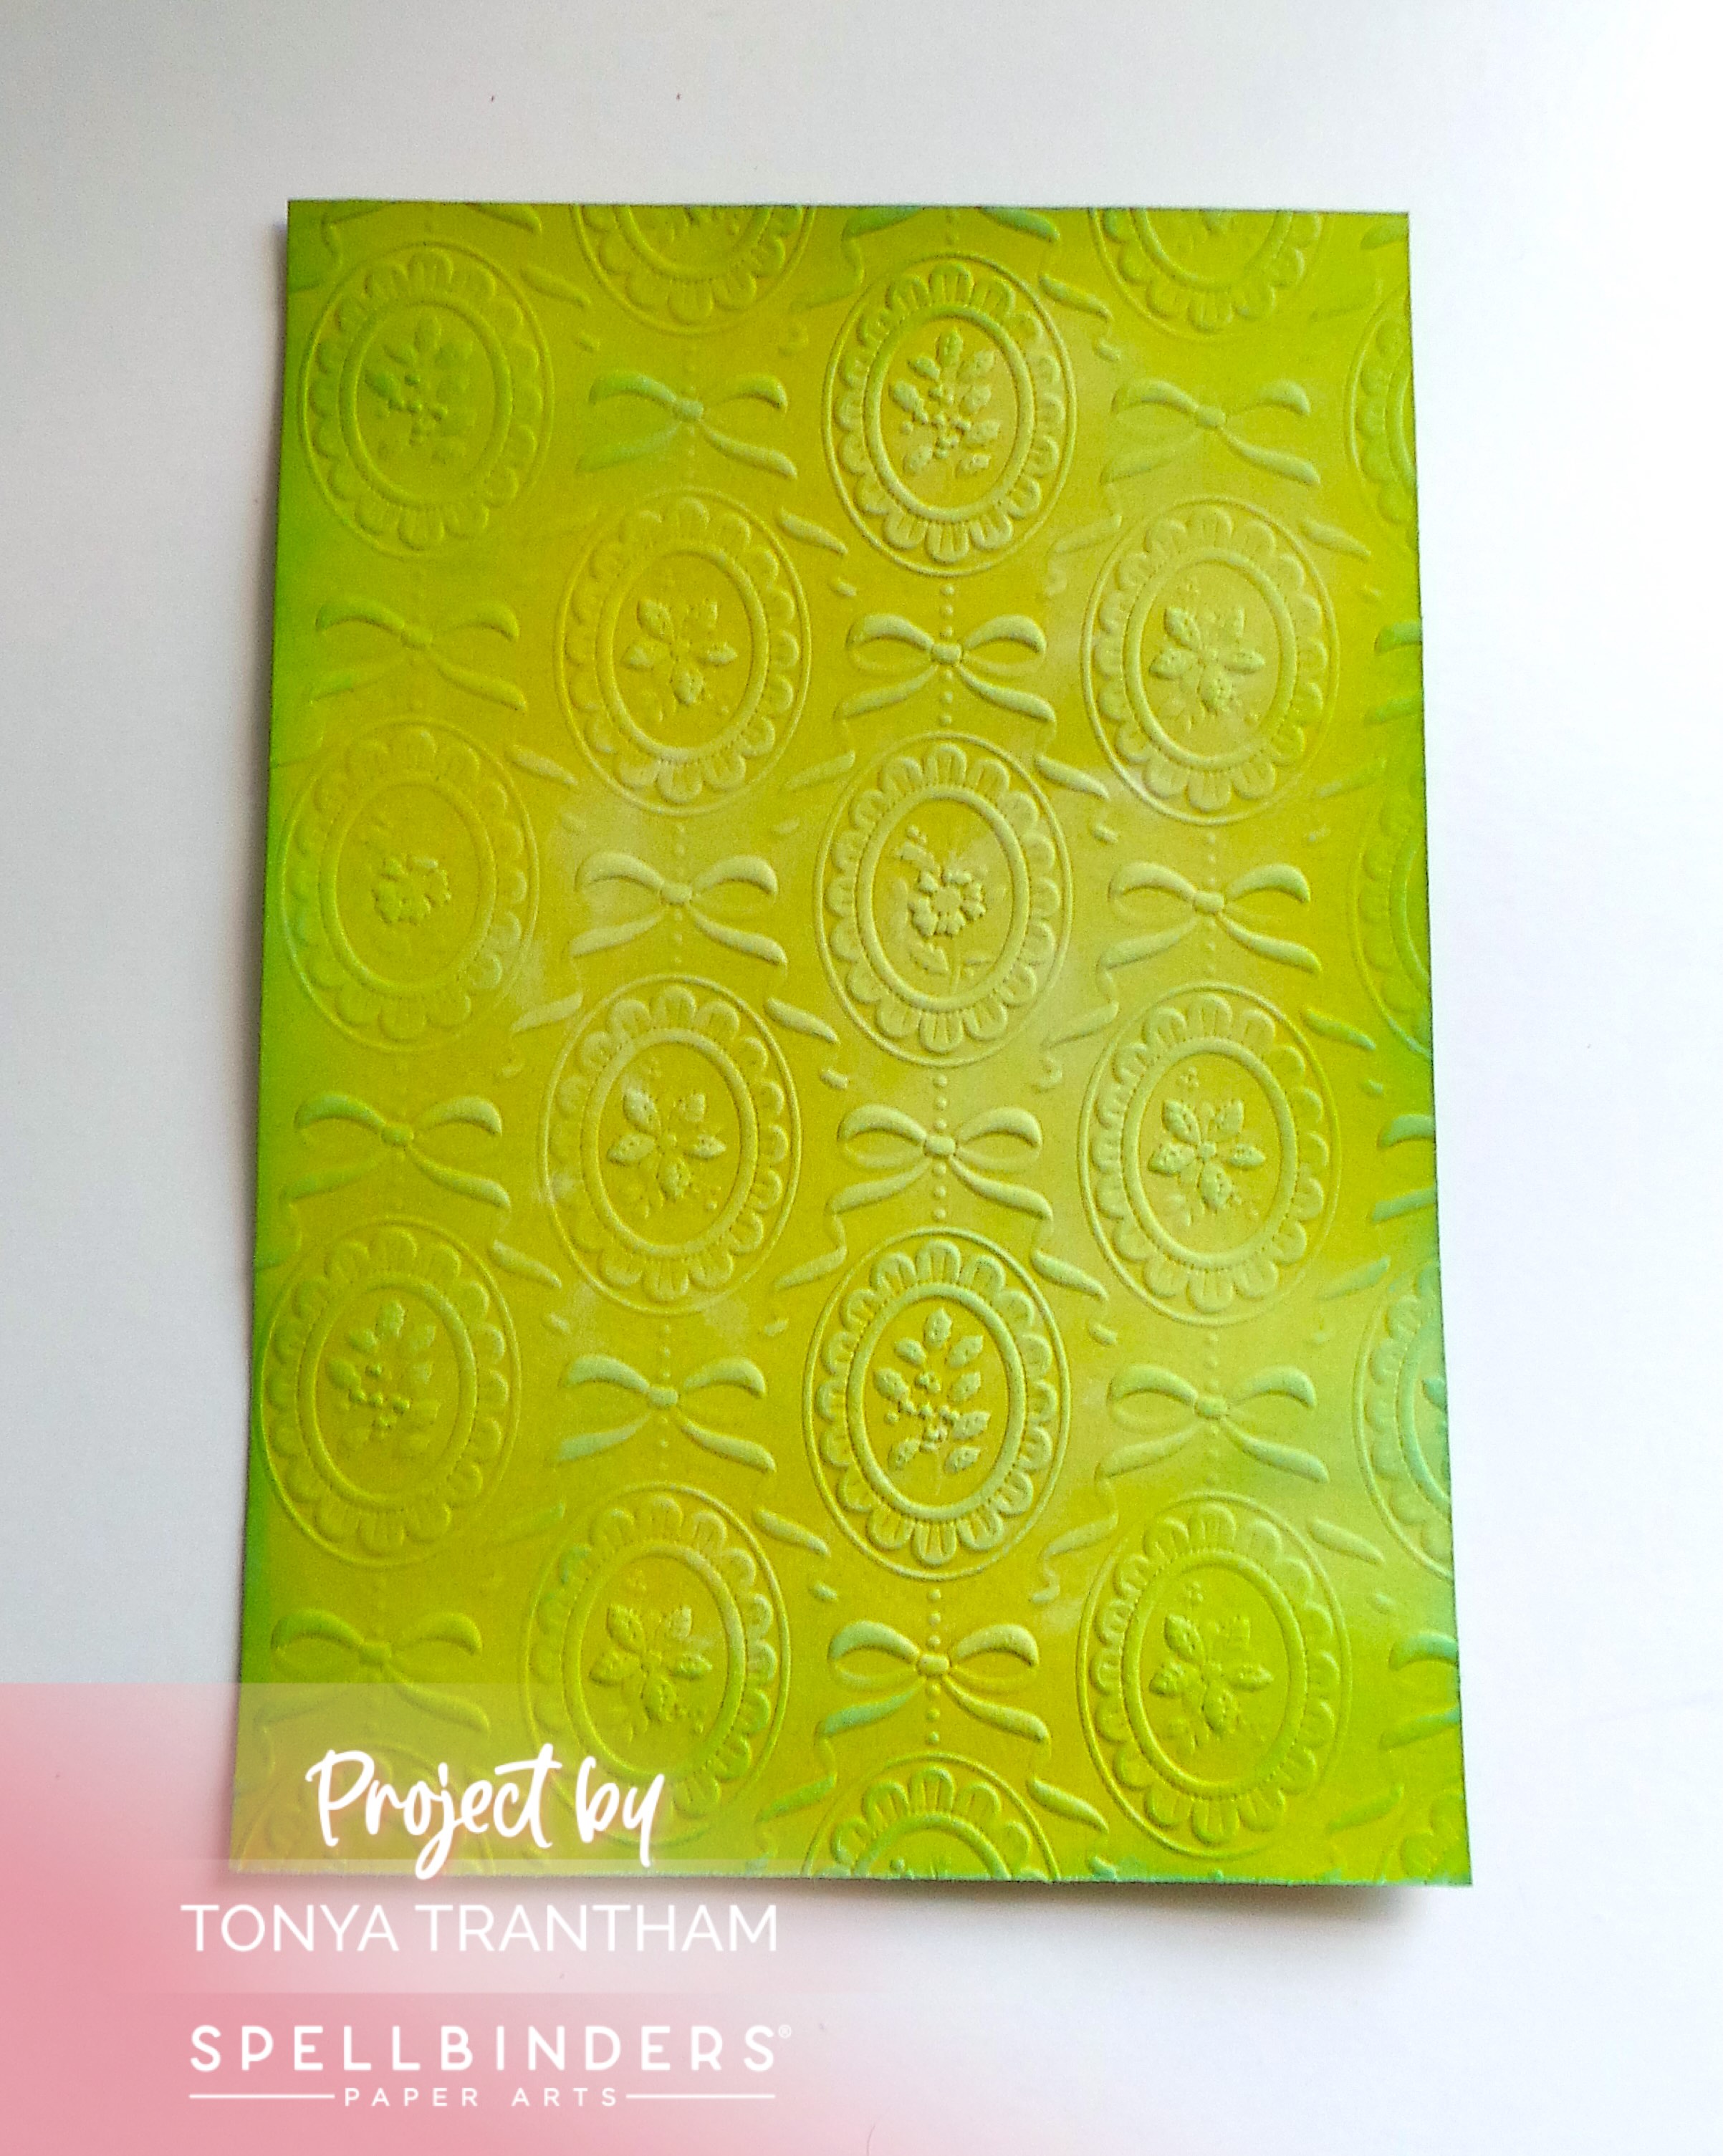
The first thing I did was lightly spritz the cardstock with a Mister Spray Bottle. I cut to size the cardstock and placed inside of the Cameos 3D Embossing Folder. Once dry I lightly inked with a combination of white, greens and blues chalk inks.
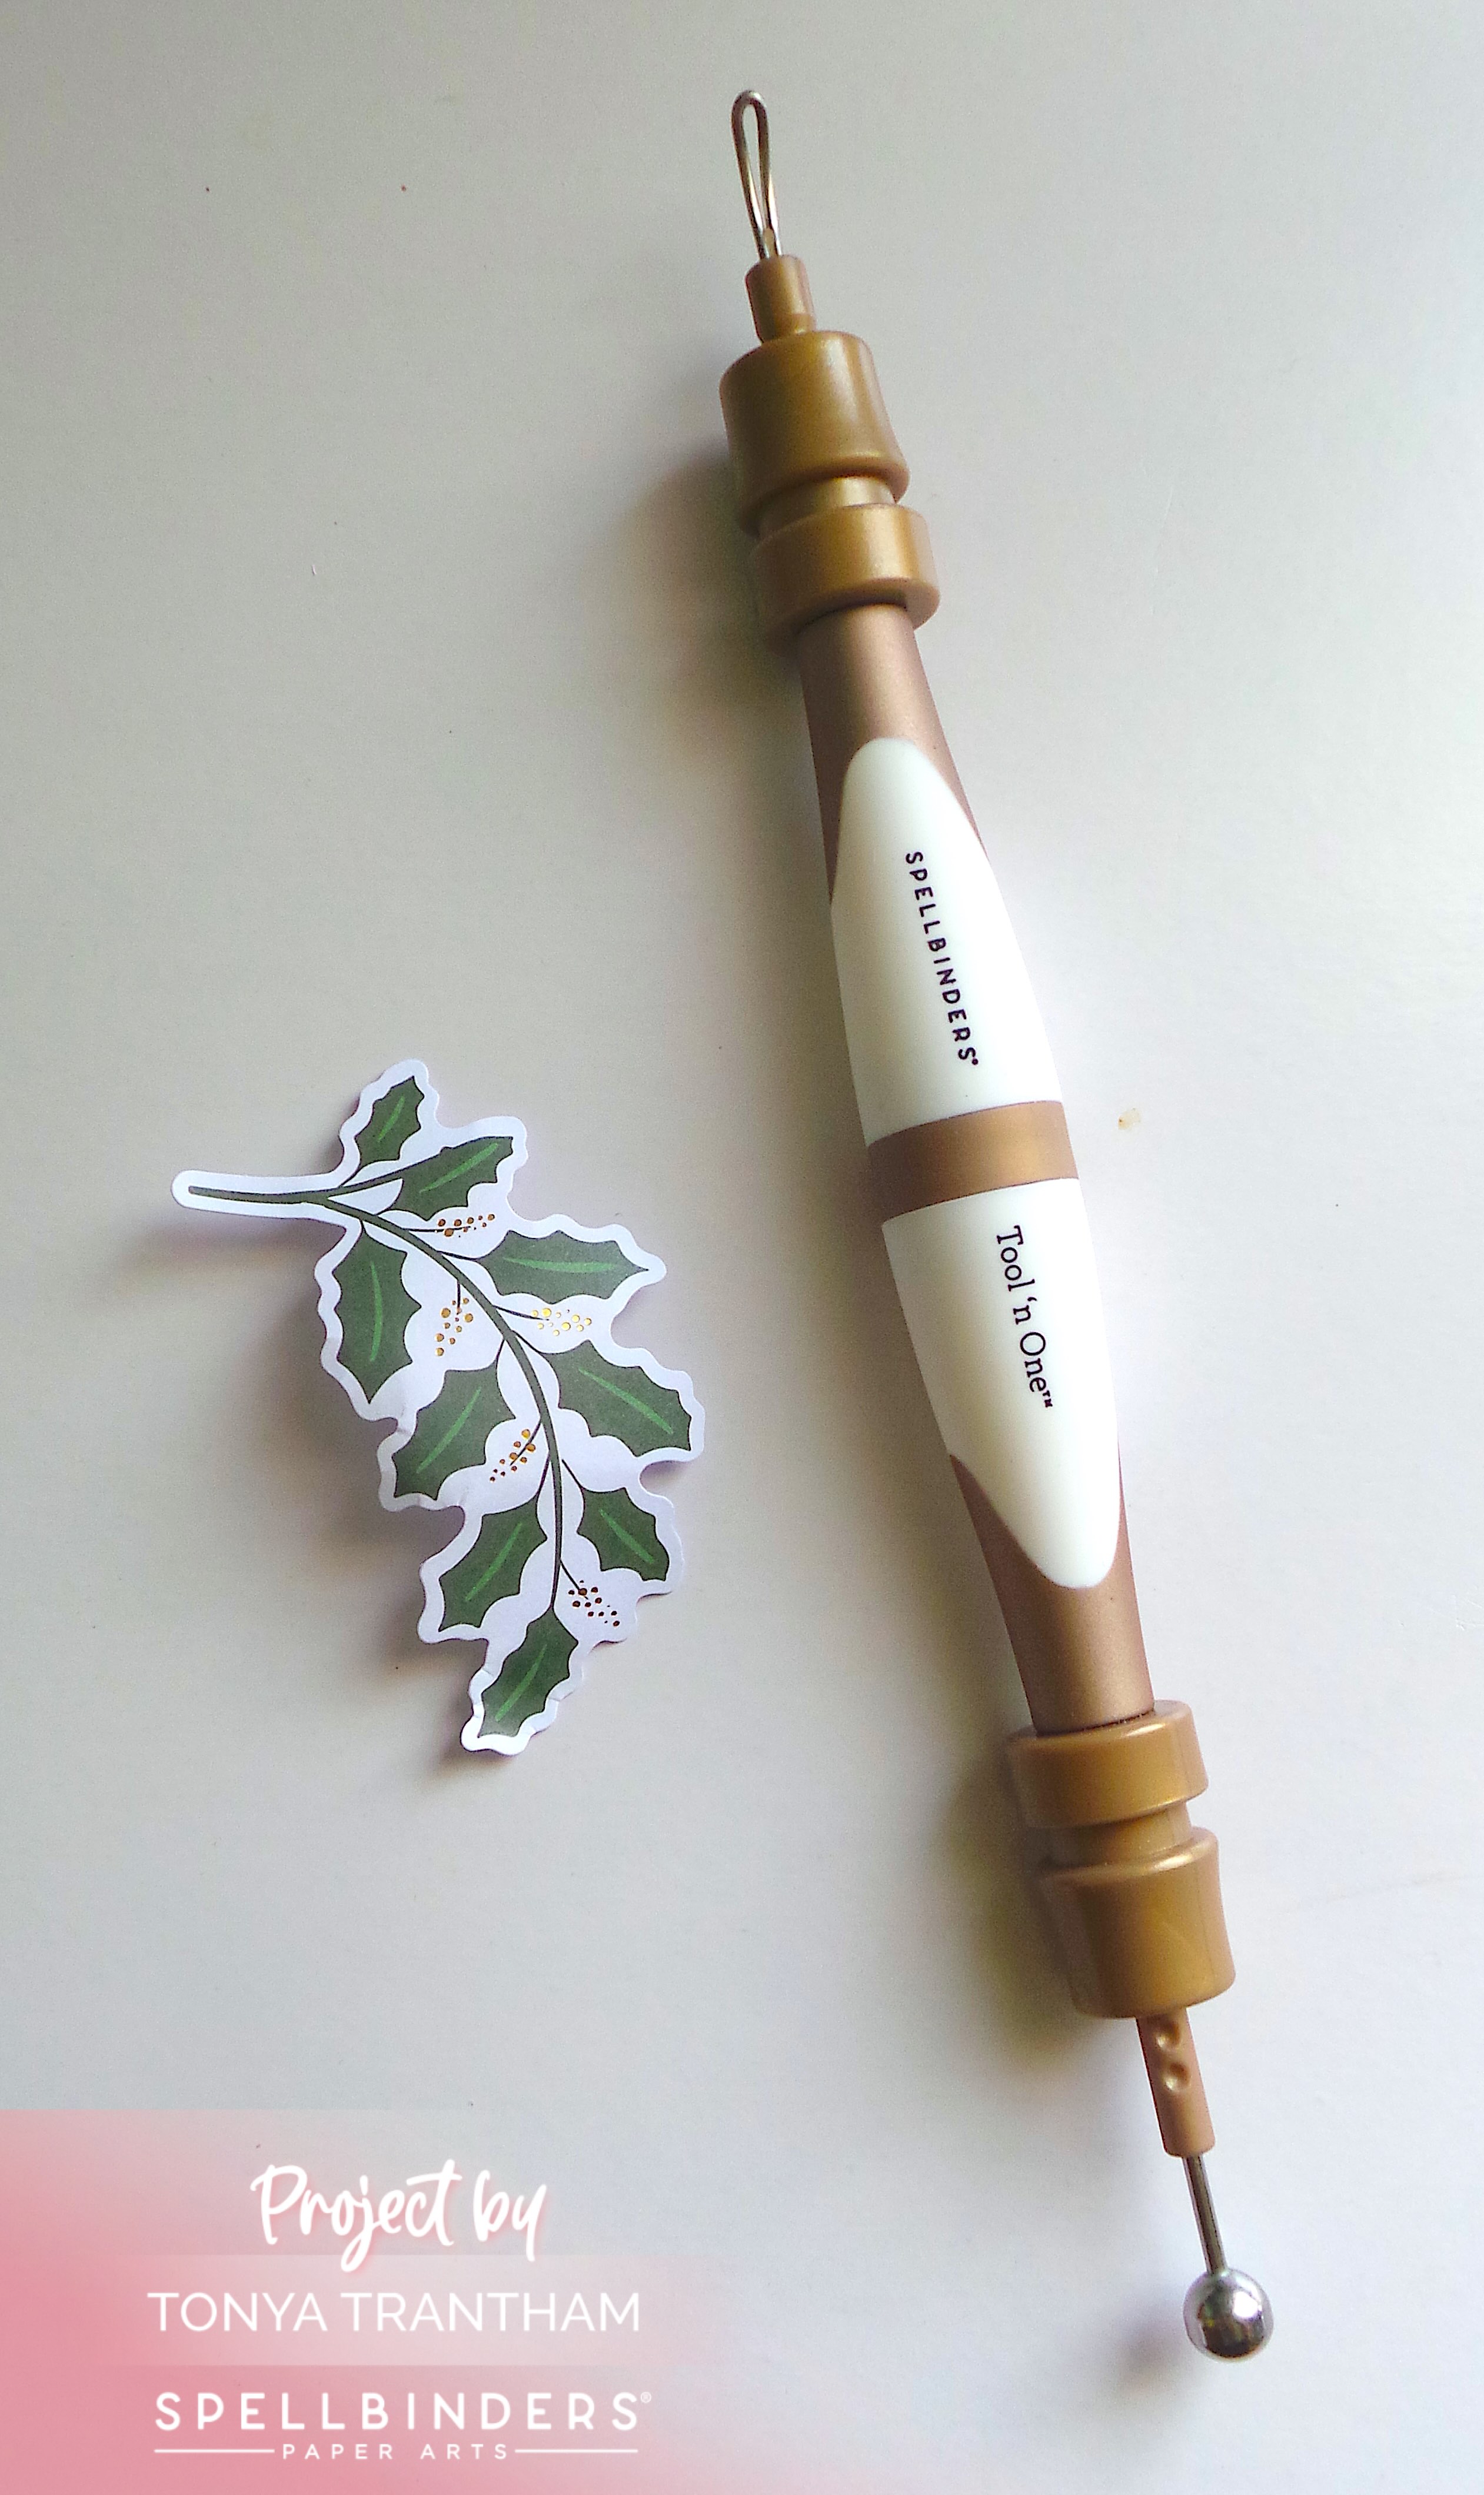
I selected a poinsettia and a holly branch die cut. I also picked a chipboard sentiment from the Merry Moments Limited Edition Holiday Cardmaking Kit 2025. I shaped the holly branch with a Stylus.
I glued the embossed cardstock to a 5″x 7″ card base. I placed Foam Pop Dots on the back side of the poinsettia die cut and placed onto the card. I adhered the holly branch underneath the poinsettia.
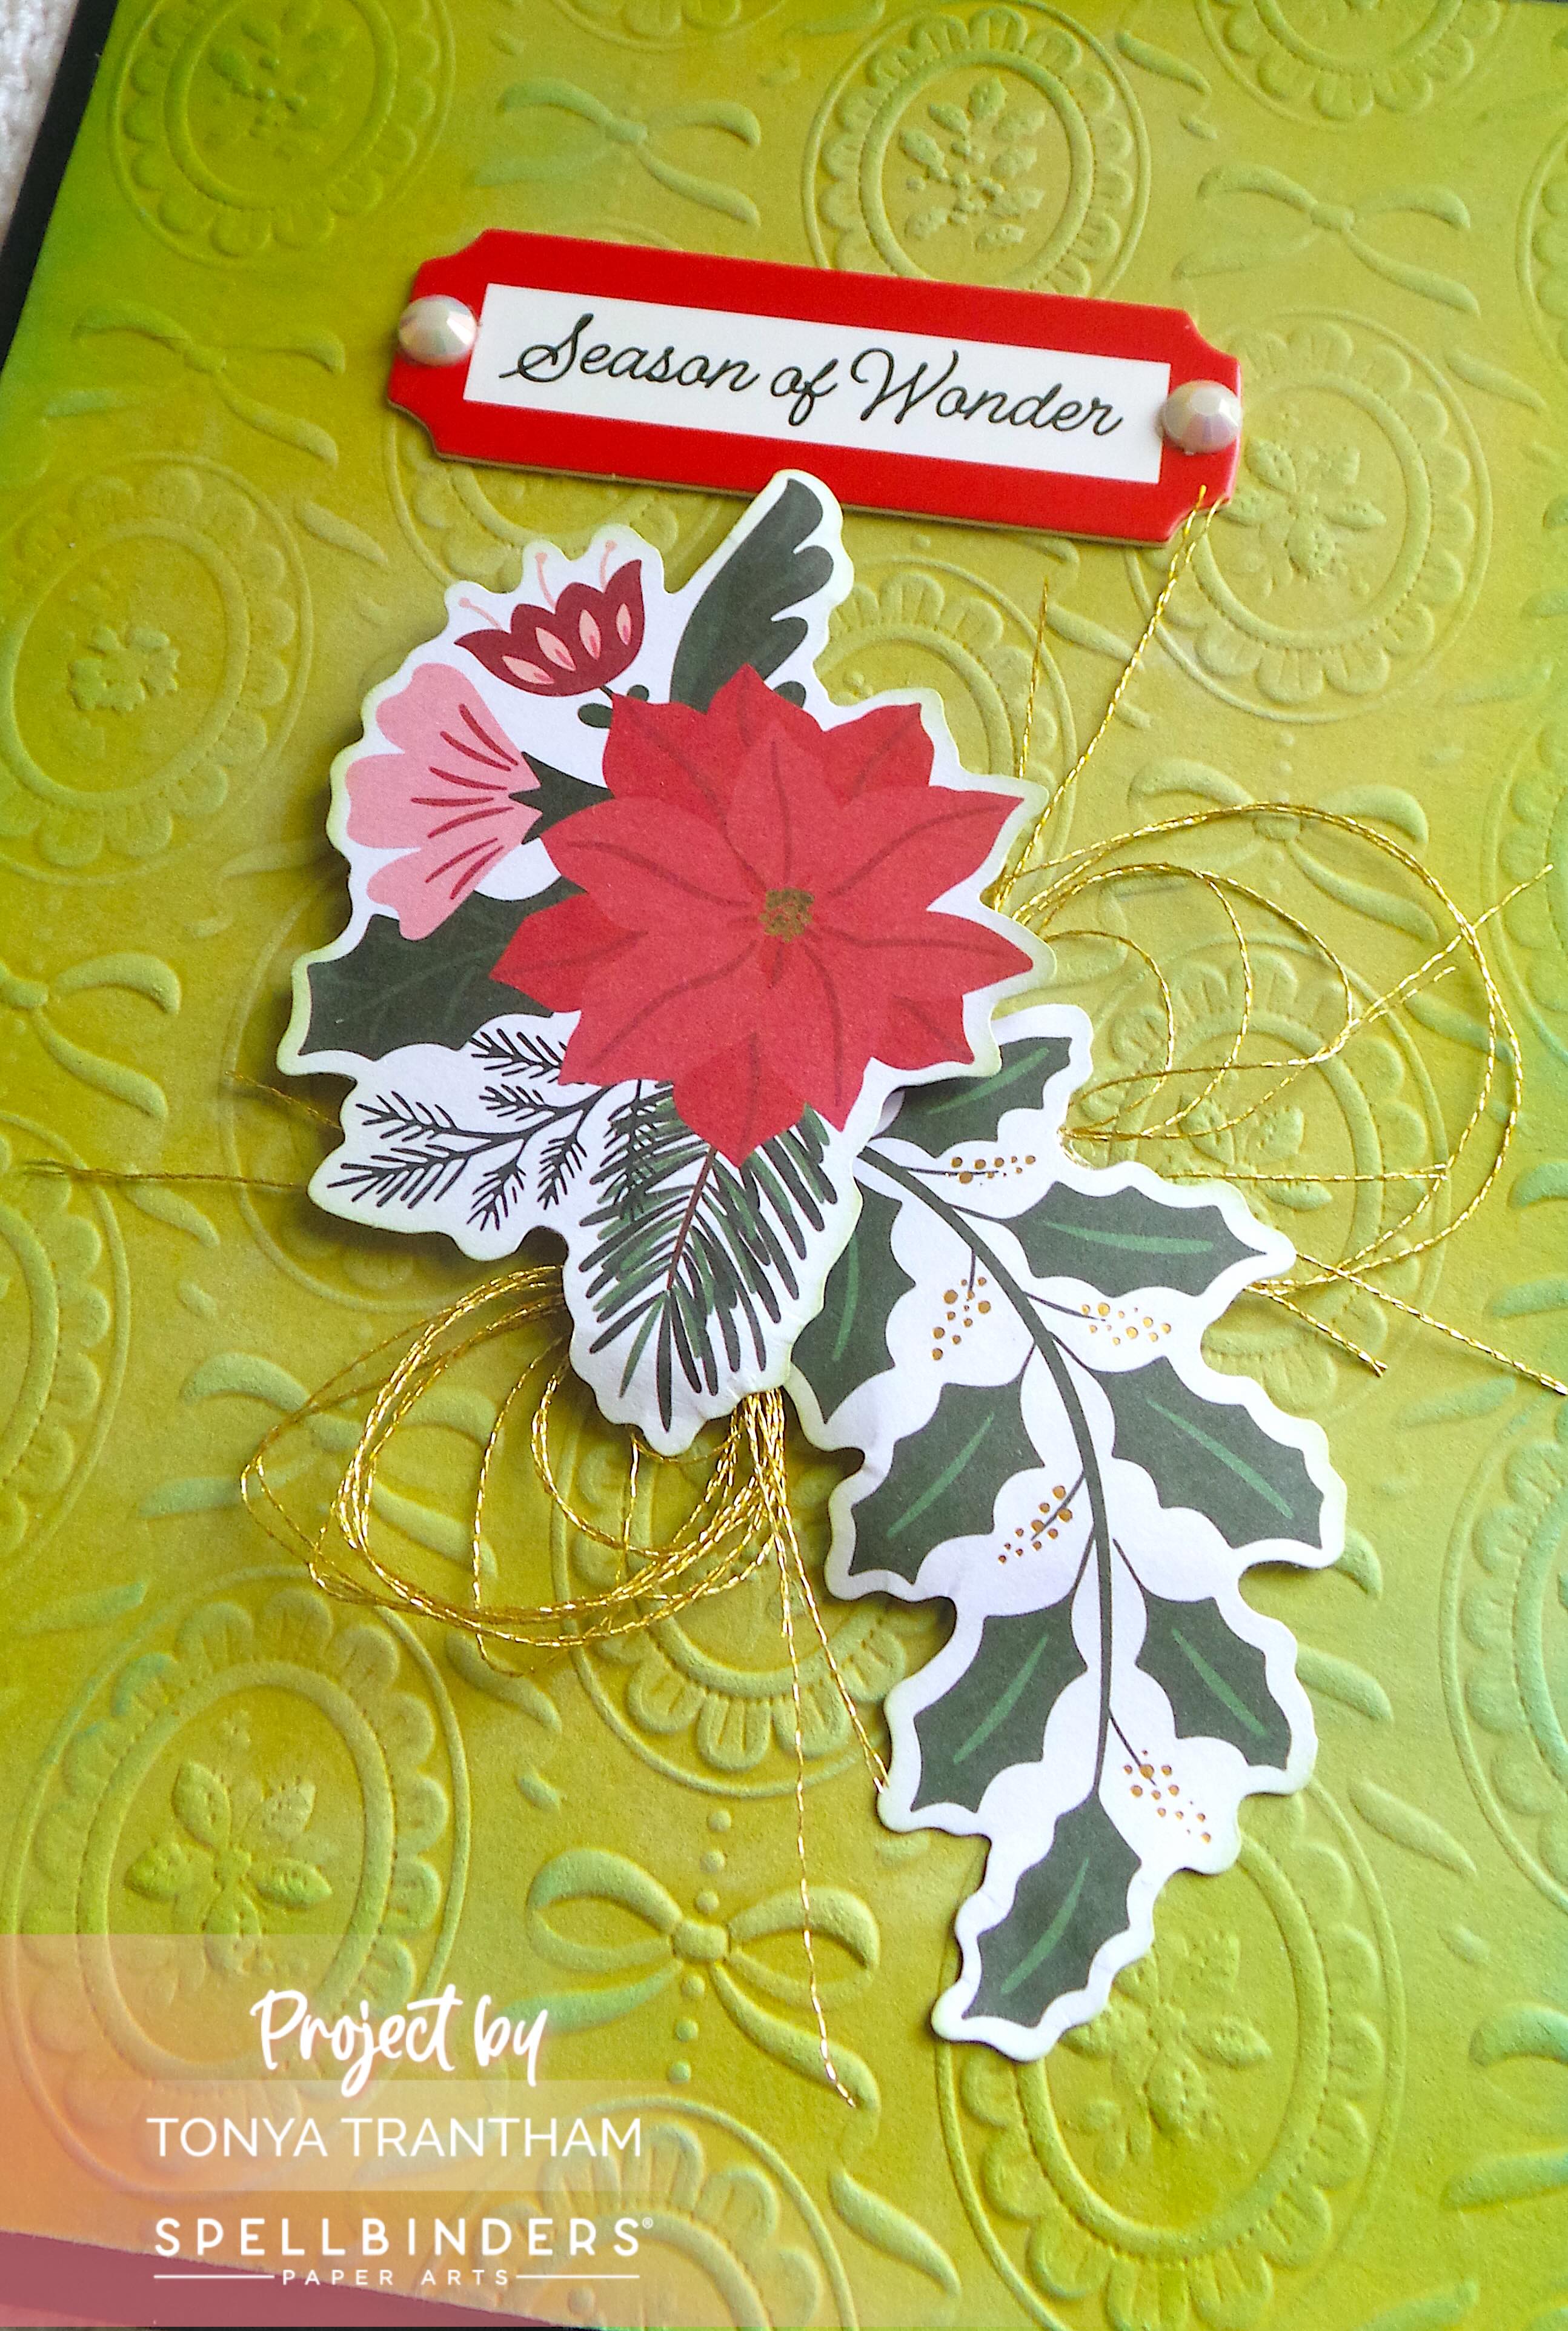
I looped Gold Thread around my fingers and tied off. I glued underneath the raised poinsettia and added the Season of Wonder chipboard piece above the die cut.
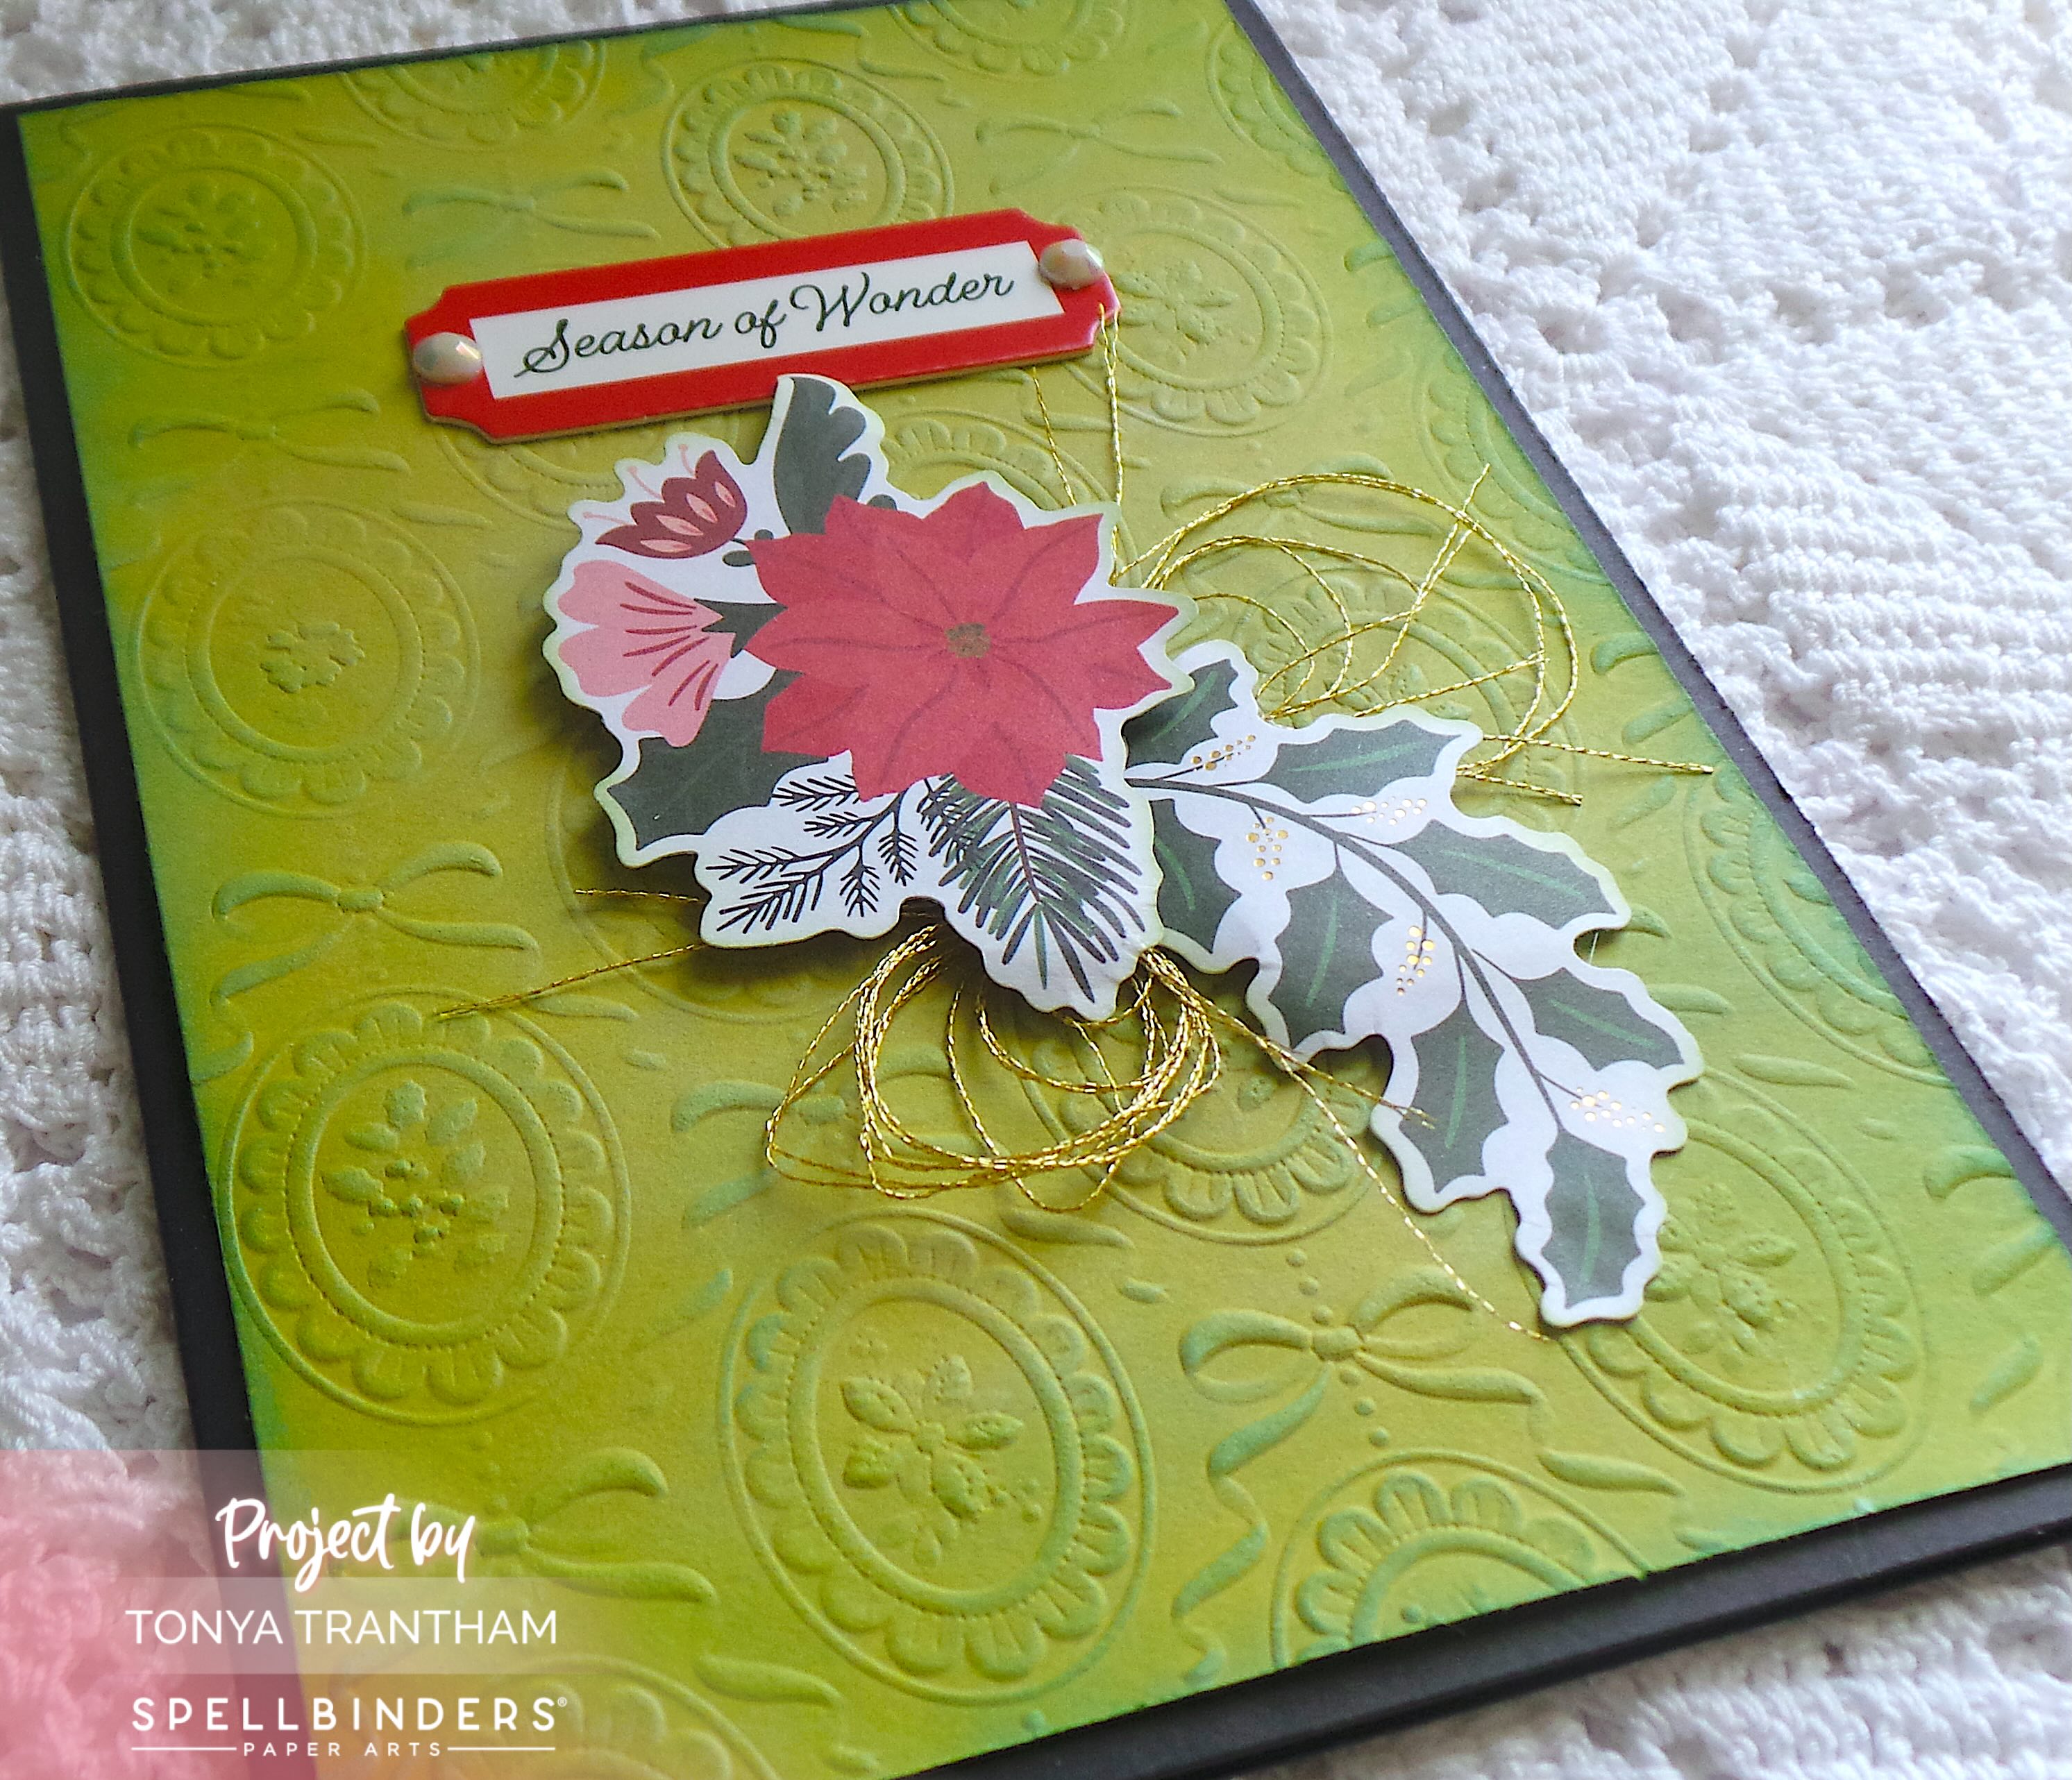
I finished by adding two White Gem Stones to the sentiment. Tada! A Christmas card made in less than 10 minutes!
If you have any questions or comments about this card please leave them below.
Supplies
Spellbinders: Cameos 3D Embossing Folder
Spellbinders: Merry Moments Limited Edition Holiday Cardmaking Kit 2025
Olive Green and Black Cardstocks
White, Greens and Blues Chalk Inks
Beacon Adhesives: Zip Dry Adhesive
(Products listed above are Affiliated Links for your convenience)
DISCLAIMERS
This blog is compensated to provide opinion on products, services, websites, and various other topics. Even though the owner(s) of this blog receives compensation for our posts or advertisements. I always give my honest opinions, findings, beliefs, or experiences on those topics or products. The views and opinions expressed on this blog are purely my own. Any product claim, statistic, or quote should be checked with each manufacturer. Verify other representations about a product or service with the provider or party in question.This blog contains affiliate links. Clicking these links helps to support Tonya Trantham Designs – Creative Paper Addiction. It’s at no additional cost to you. Today’s features are Spellbinders and Scrapbook.com Products.
Thanks for stopping by, I hope your Tuesday is awesome and enjoy creating!


