How to Use Spellbinders Country Christmas Collection
Hi everyone! I meant to share these cards I had created last week on the blog. But my back went out on the first of August. I have been to the chiropractor every other day. He has worked to get everything back in alignment. I’ll probably be going every other day until the end of this month. The pain was something beyond anything I have ever experienced and hope it never happens again.
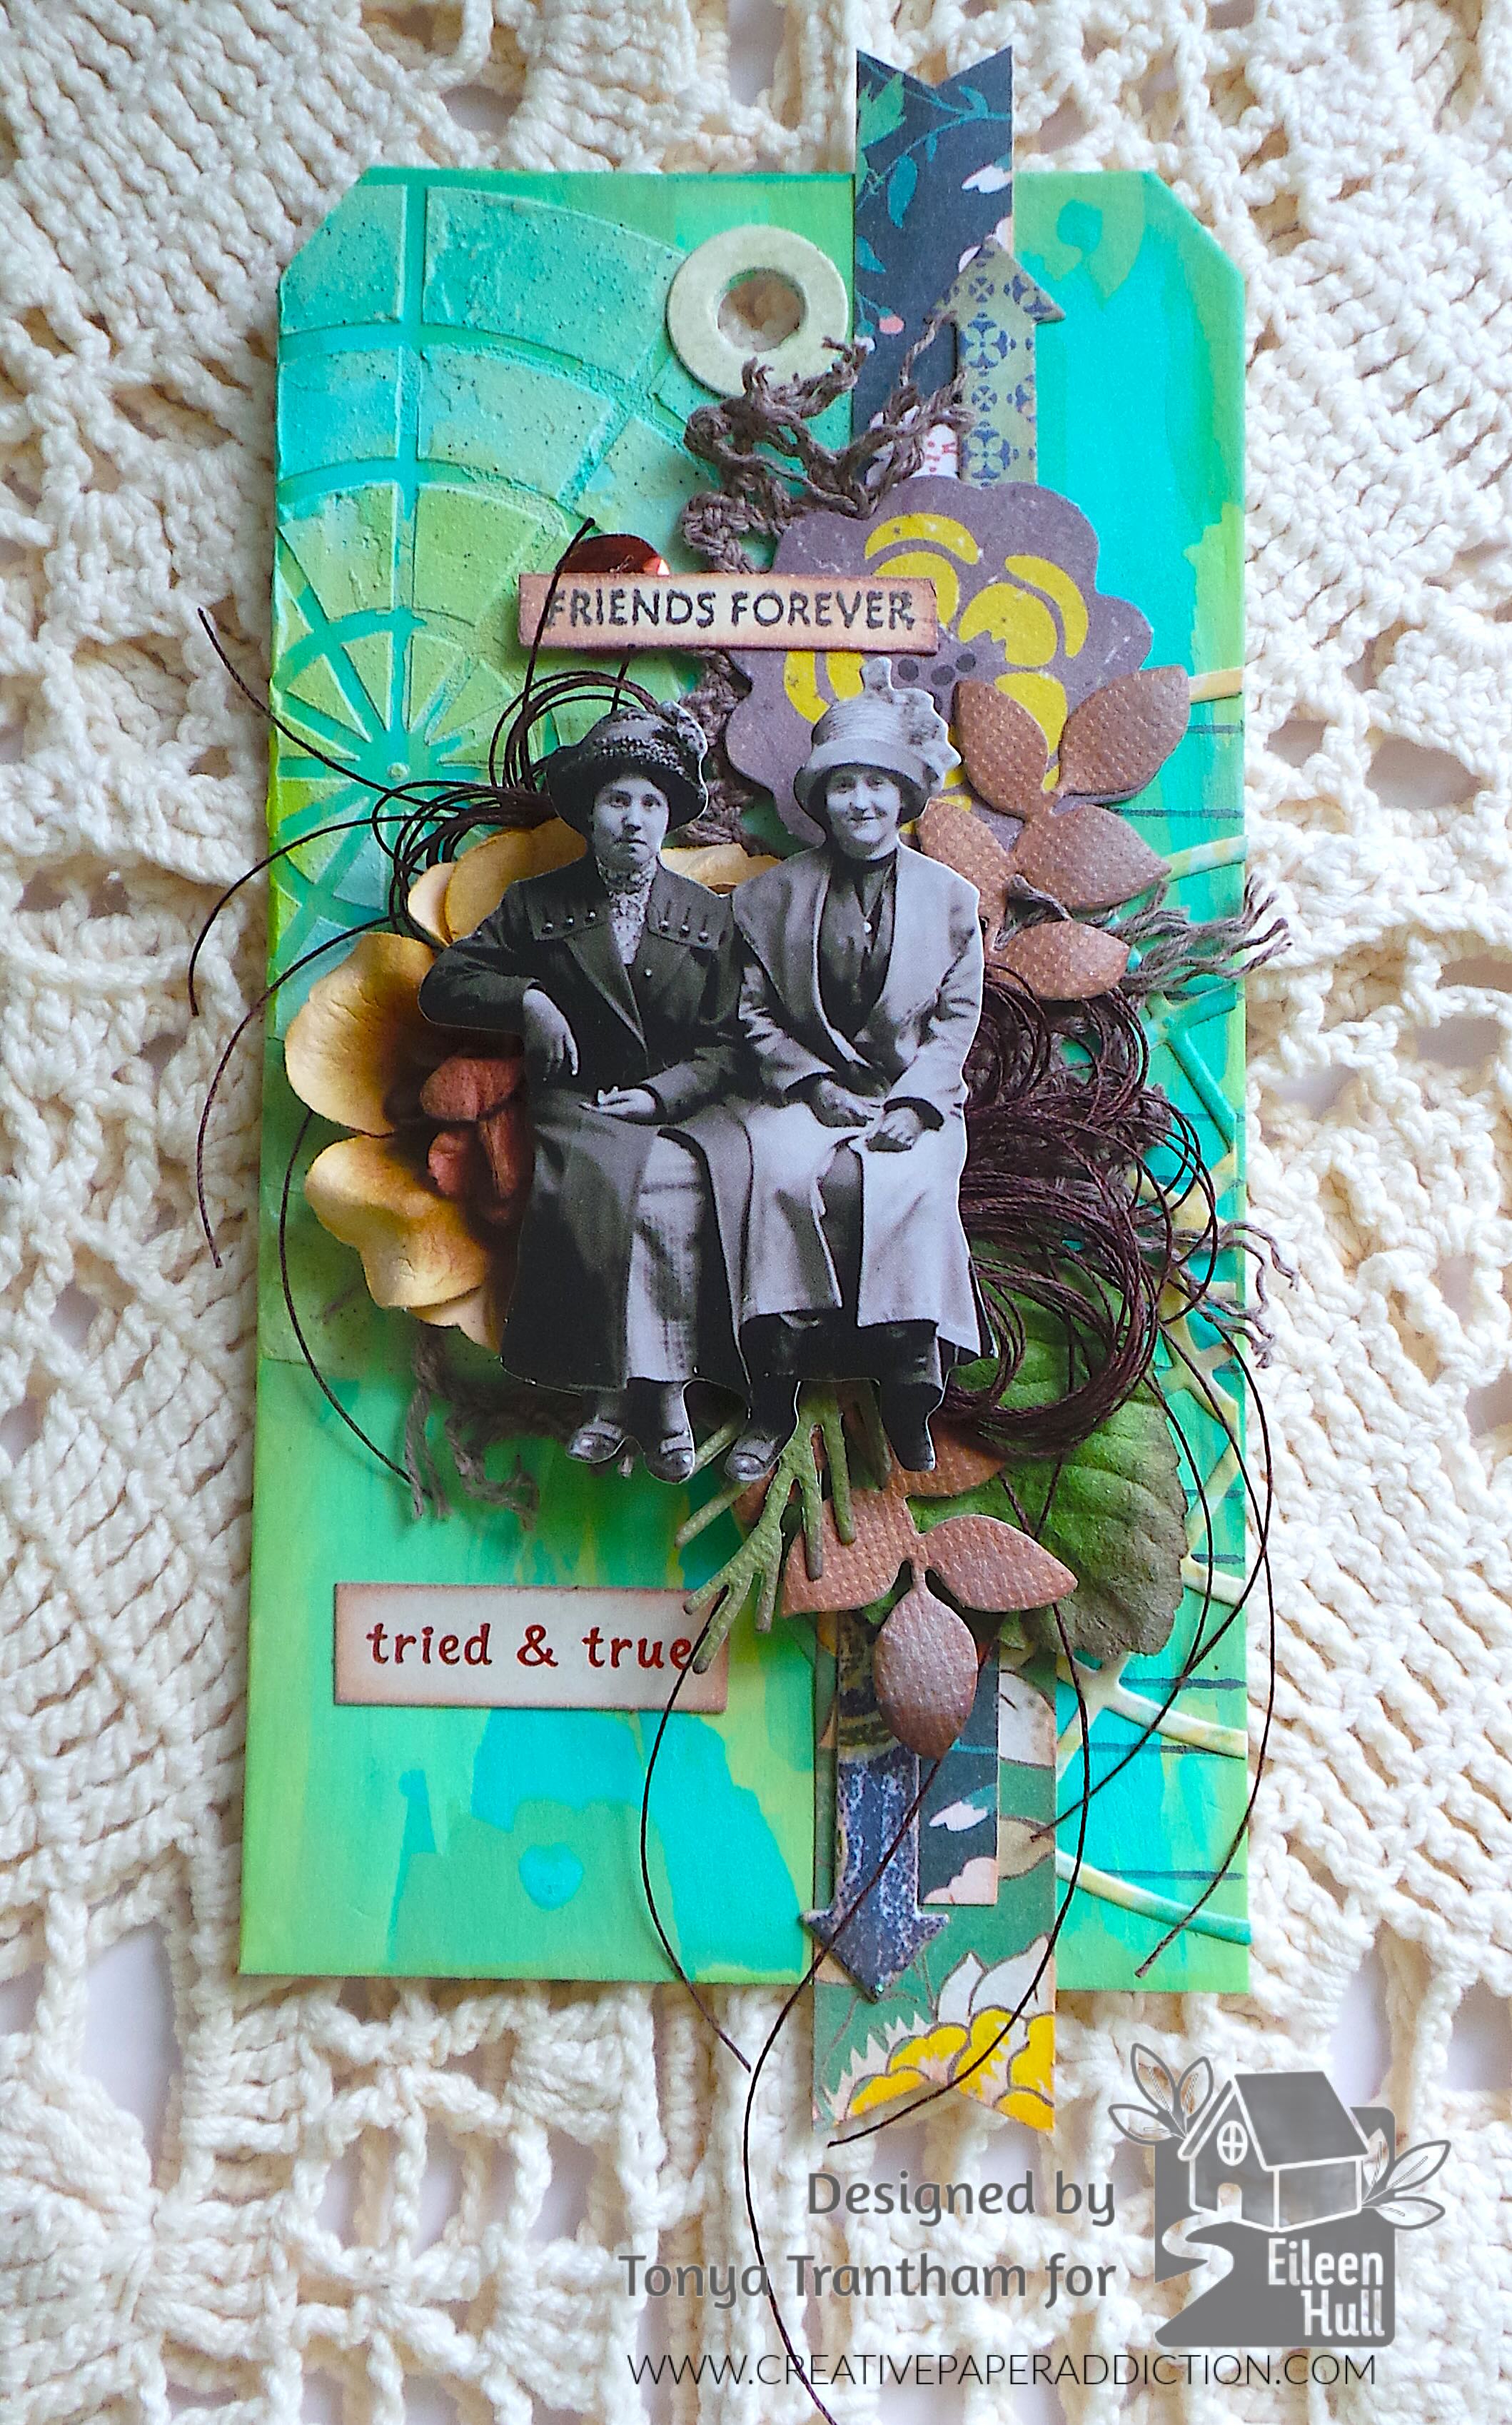
Anyways, back to the cards! I created these three cards using the Country Christmas Collection by Annie Williams and Spellbinders.
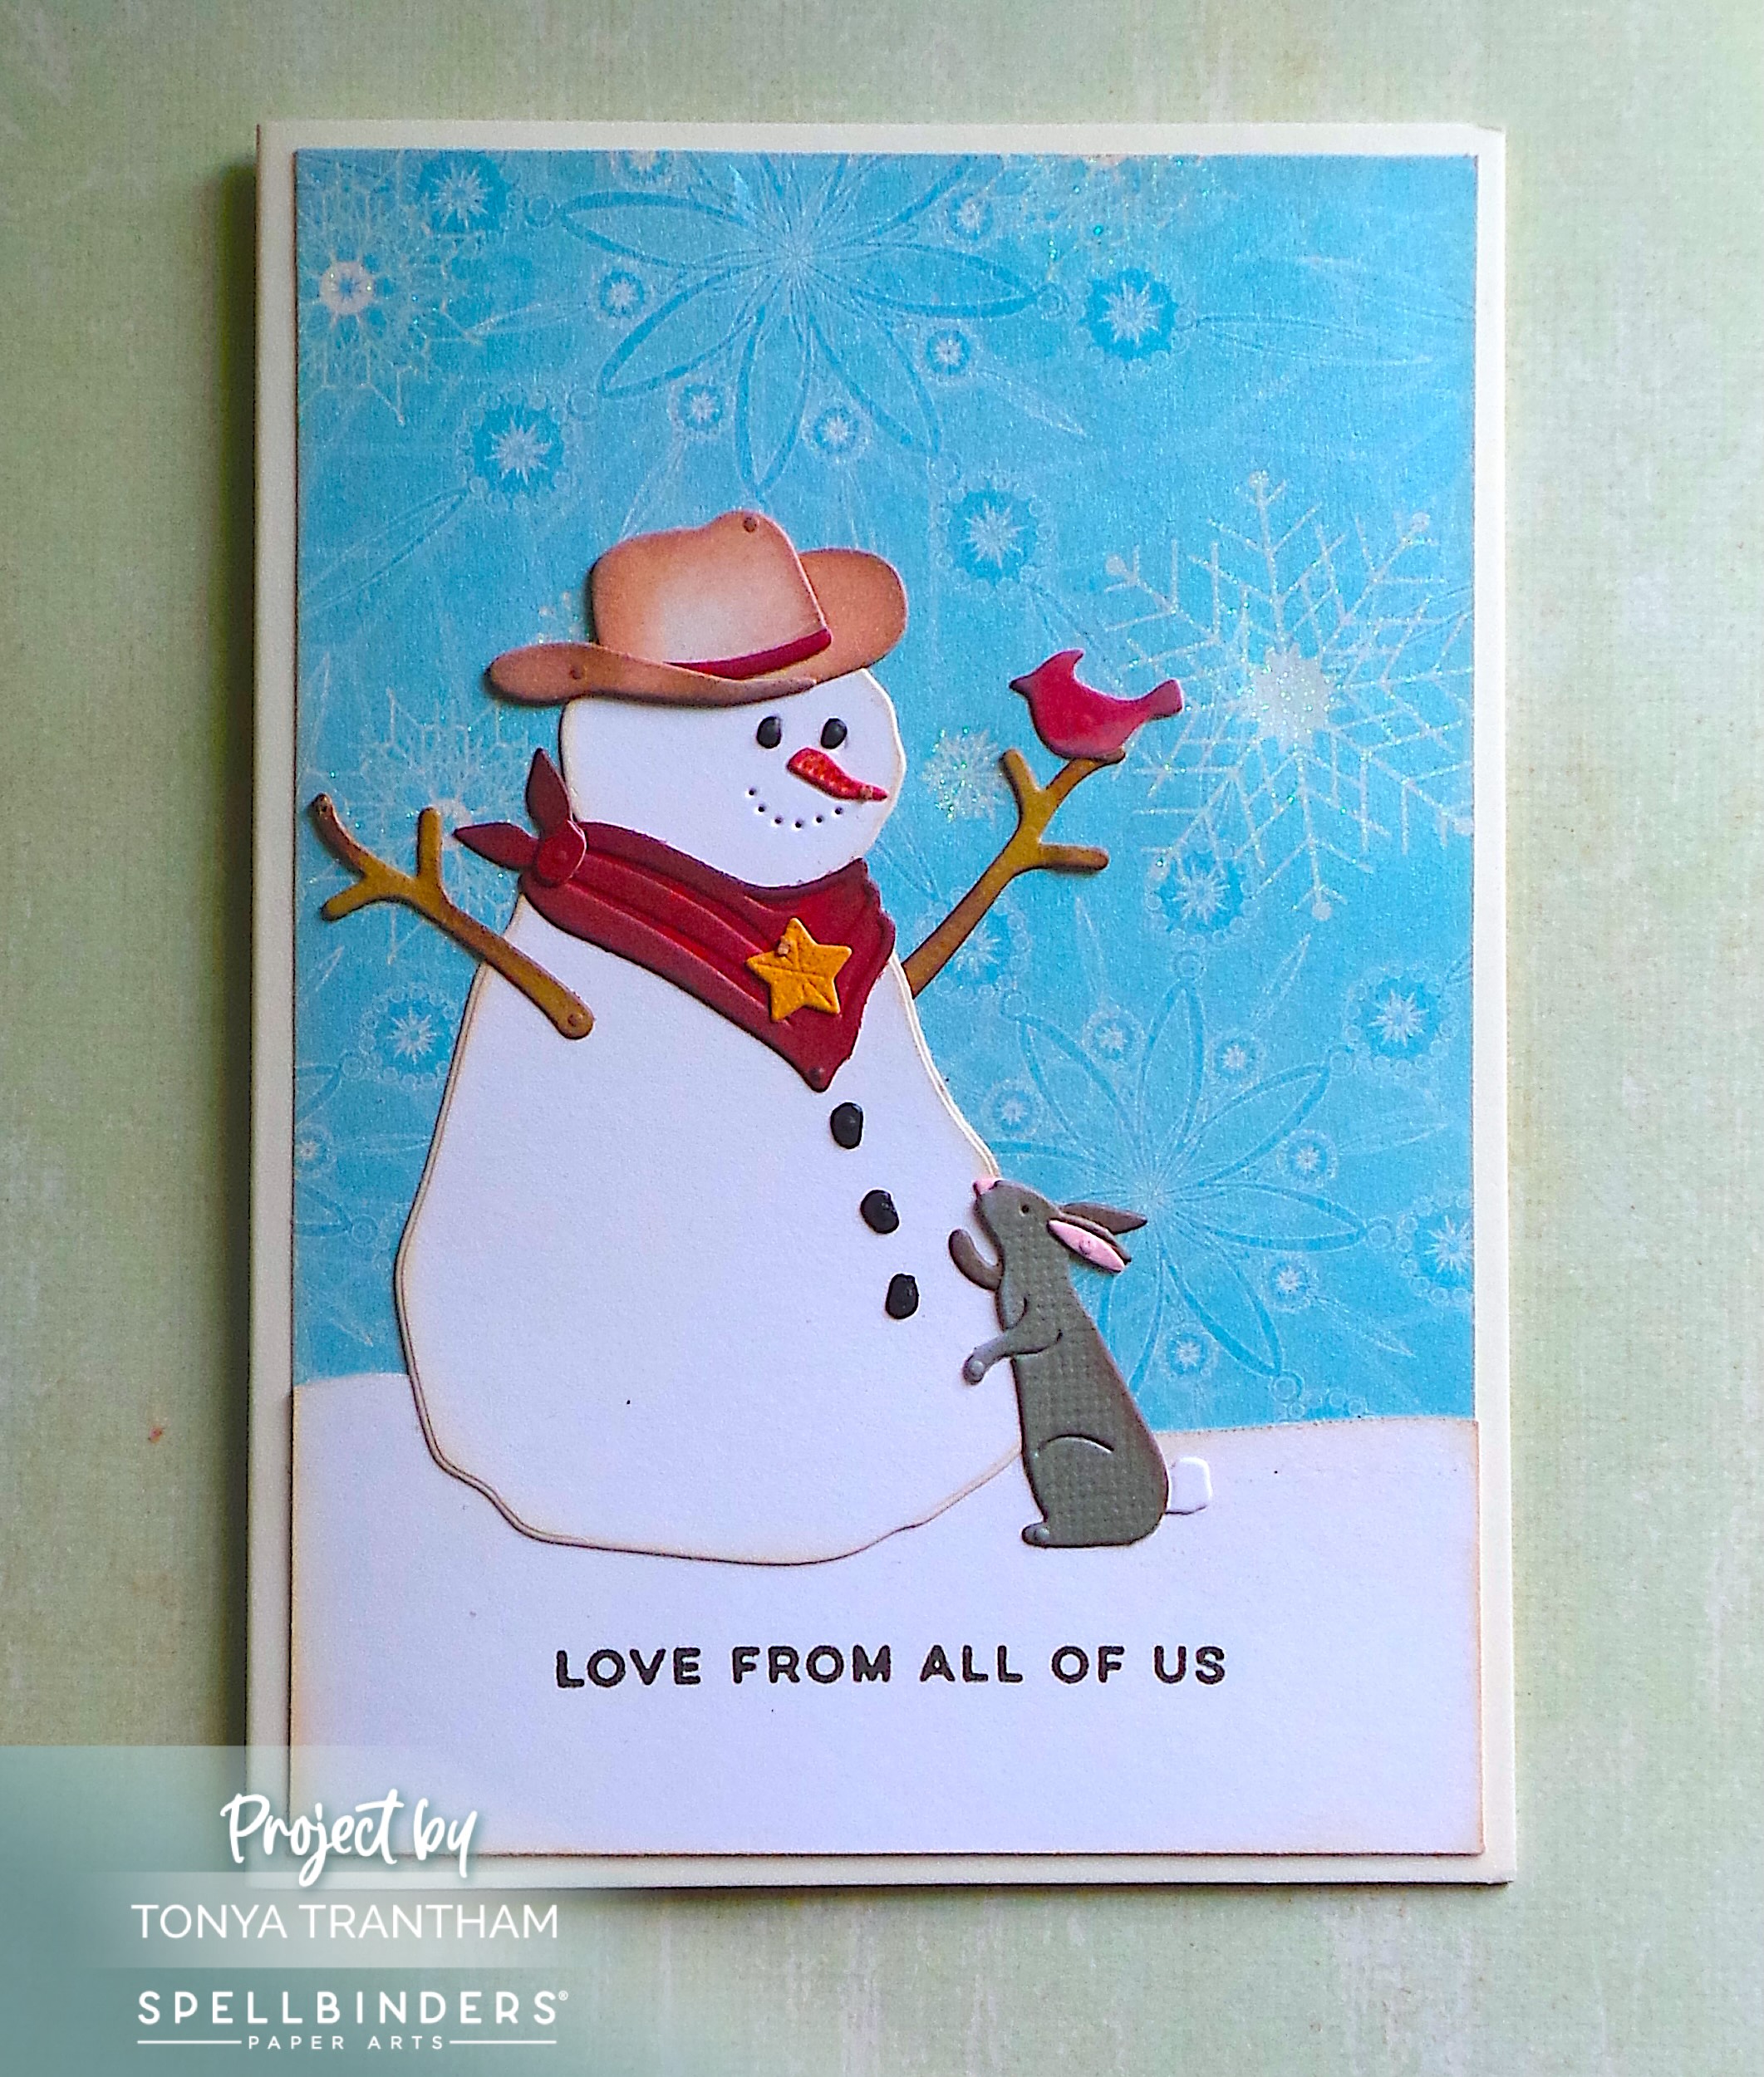
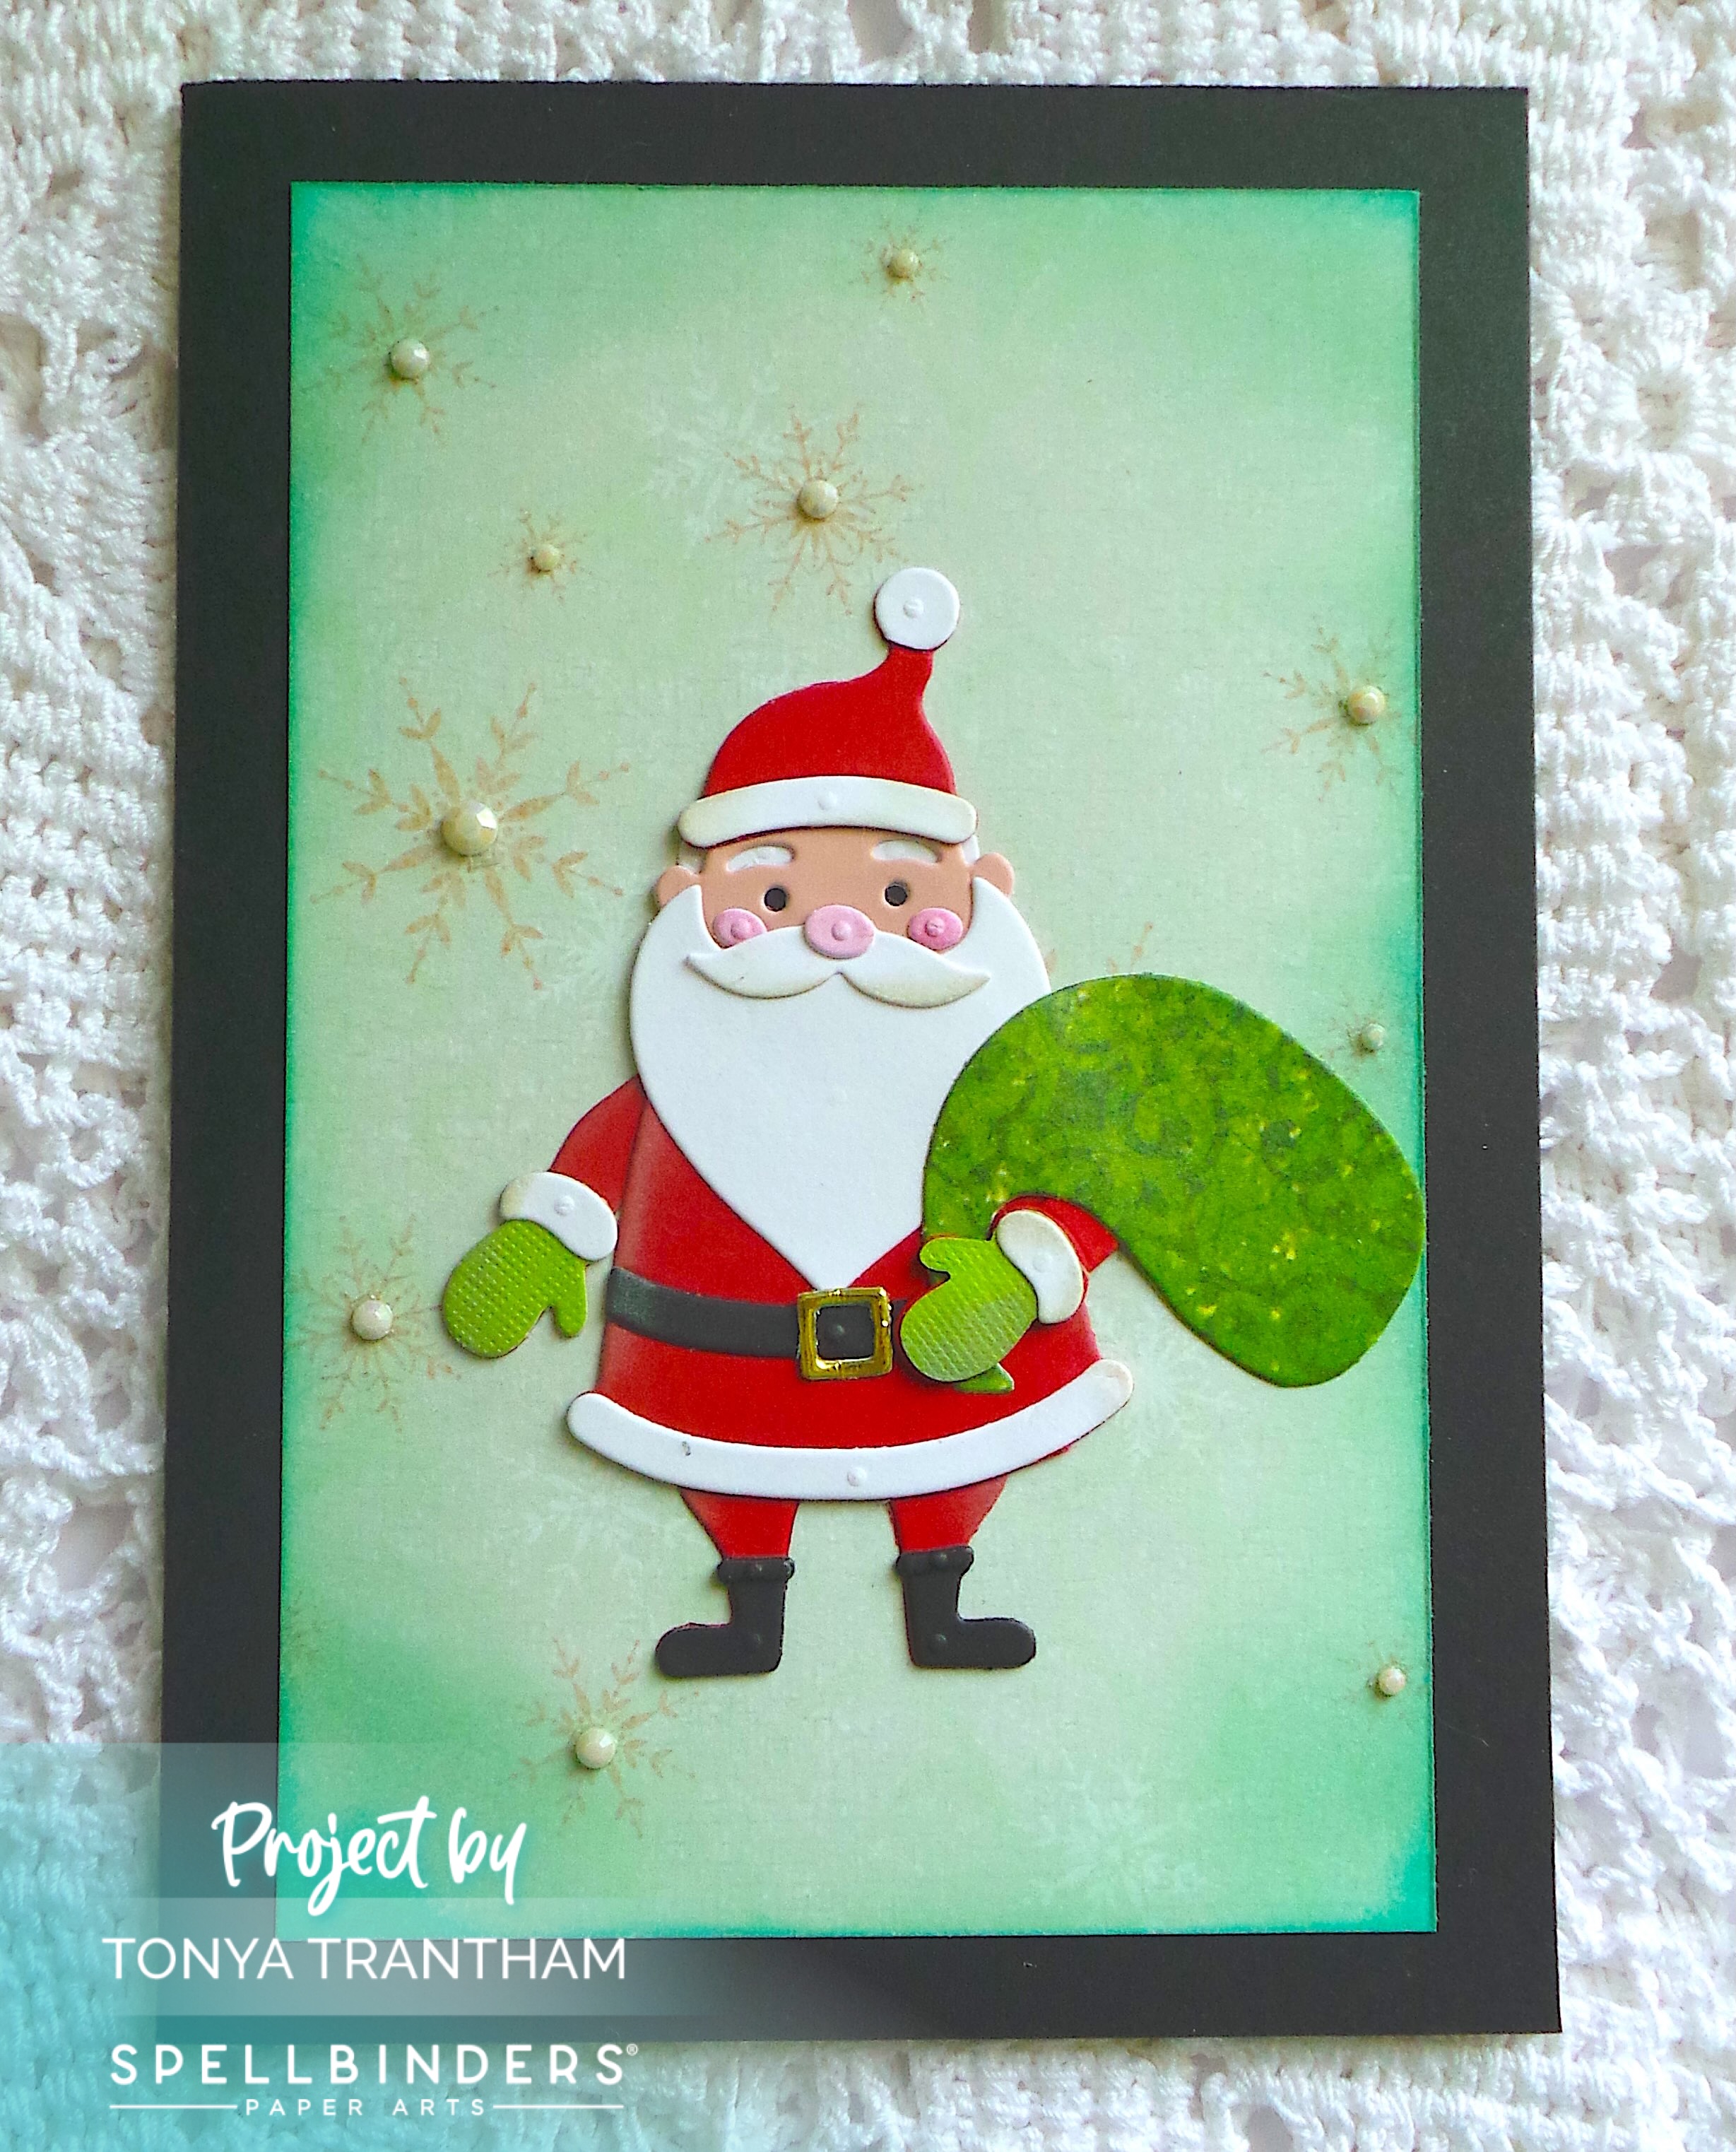
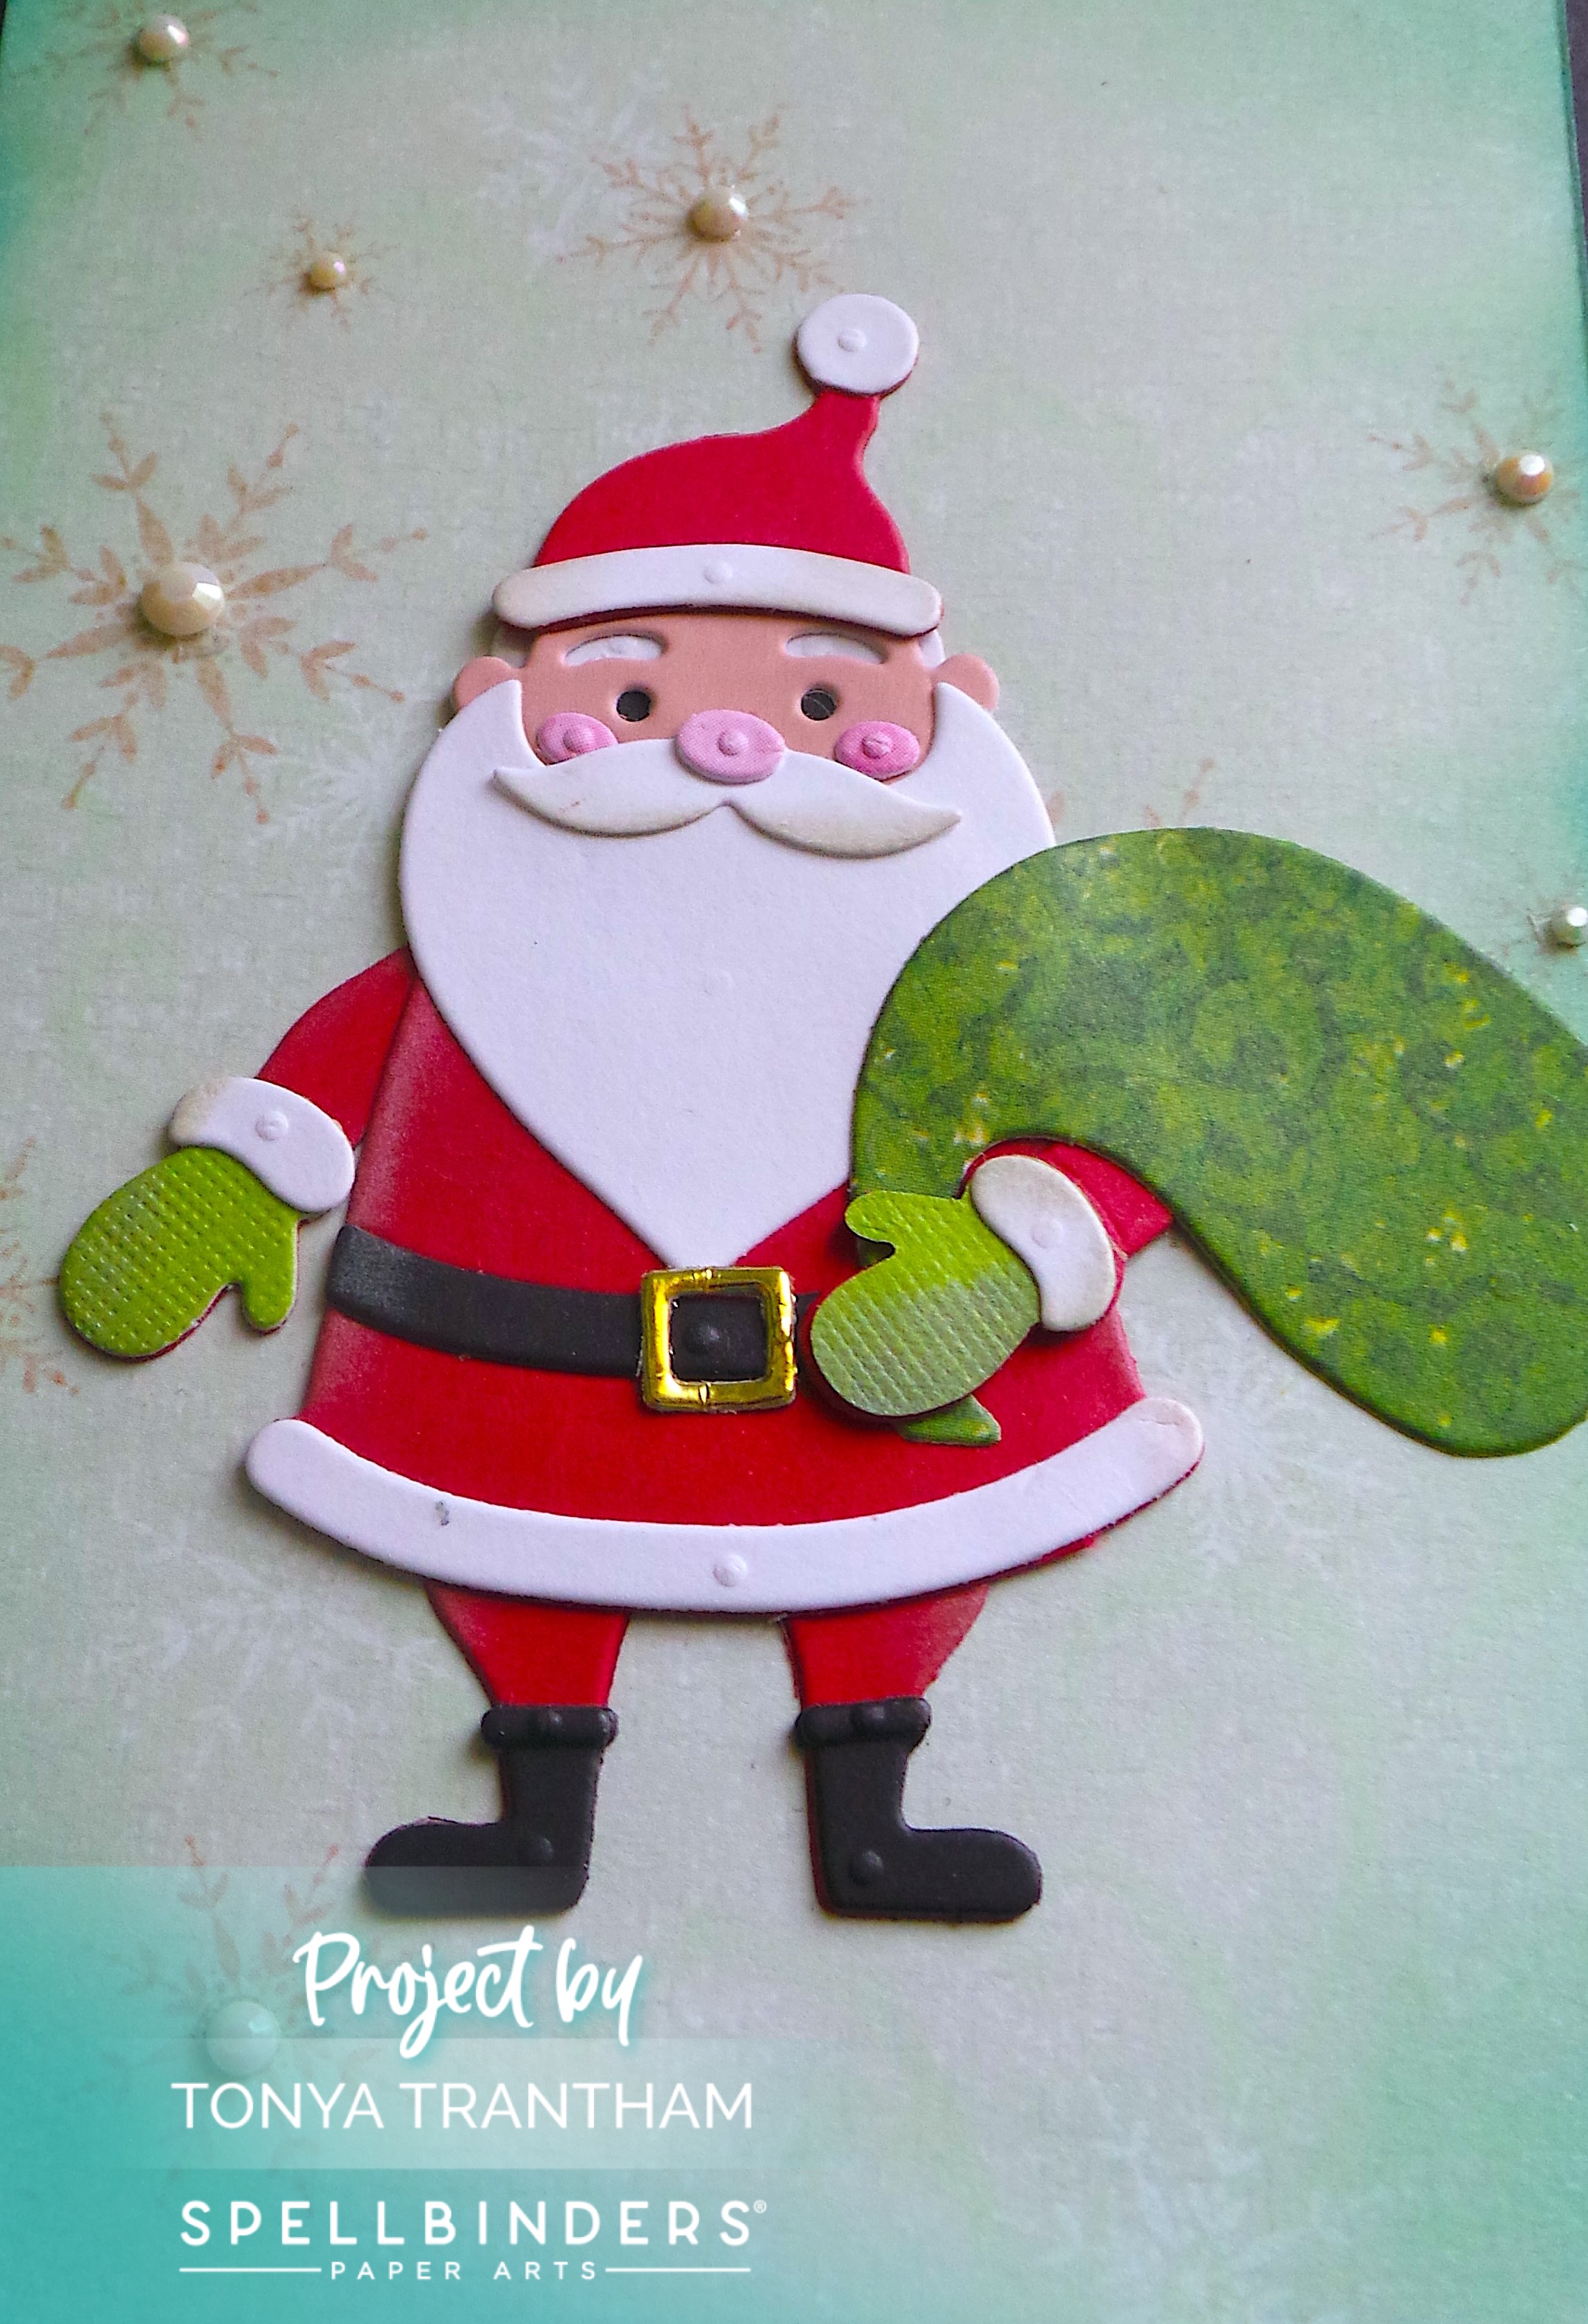
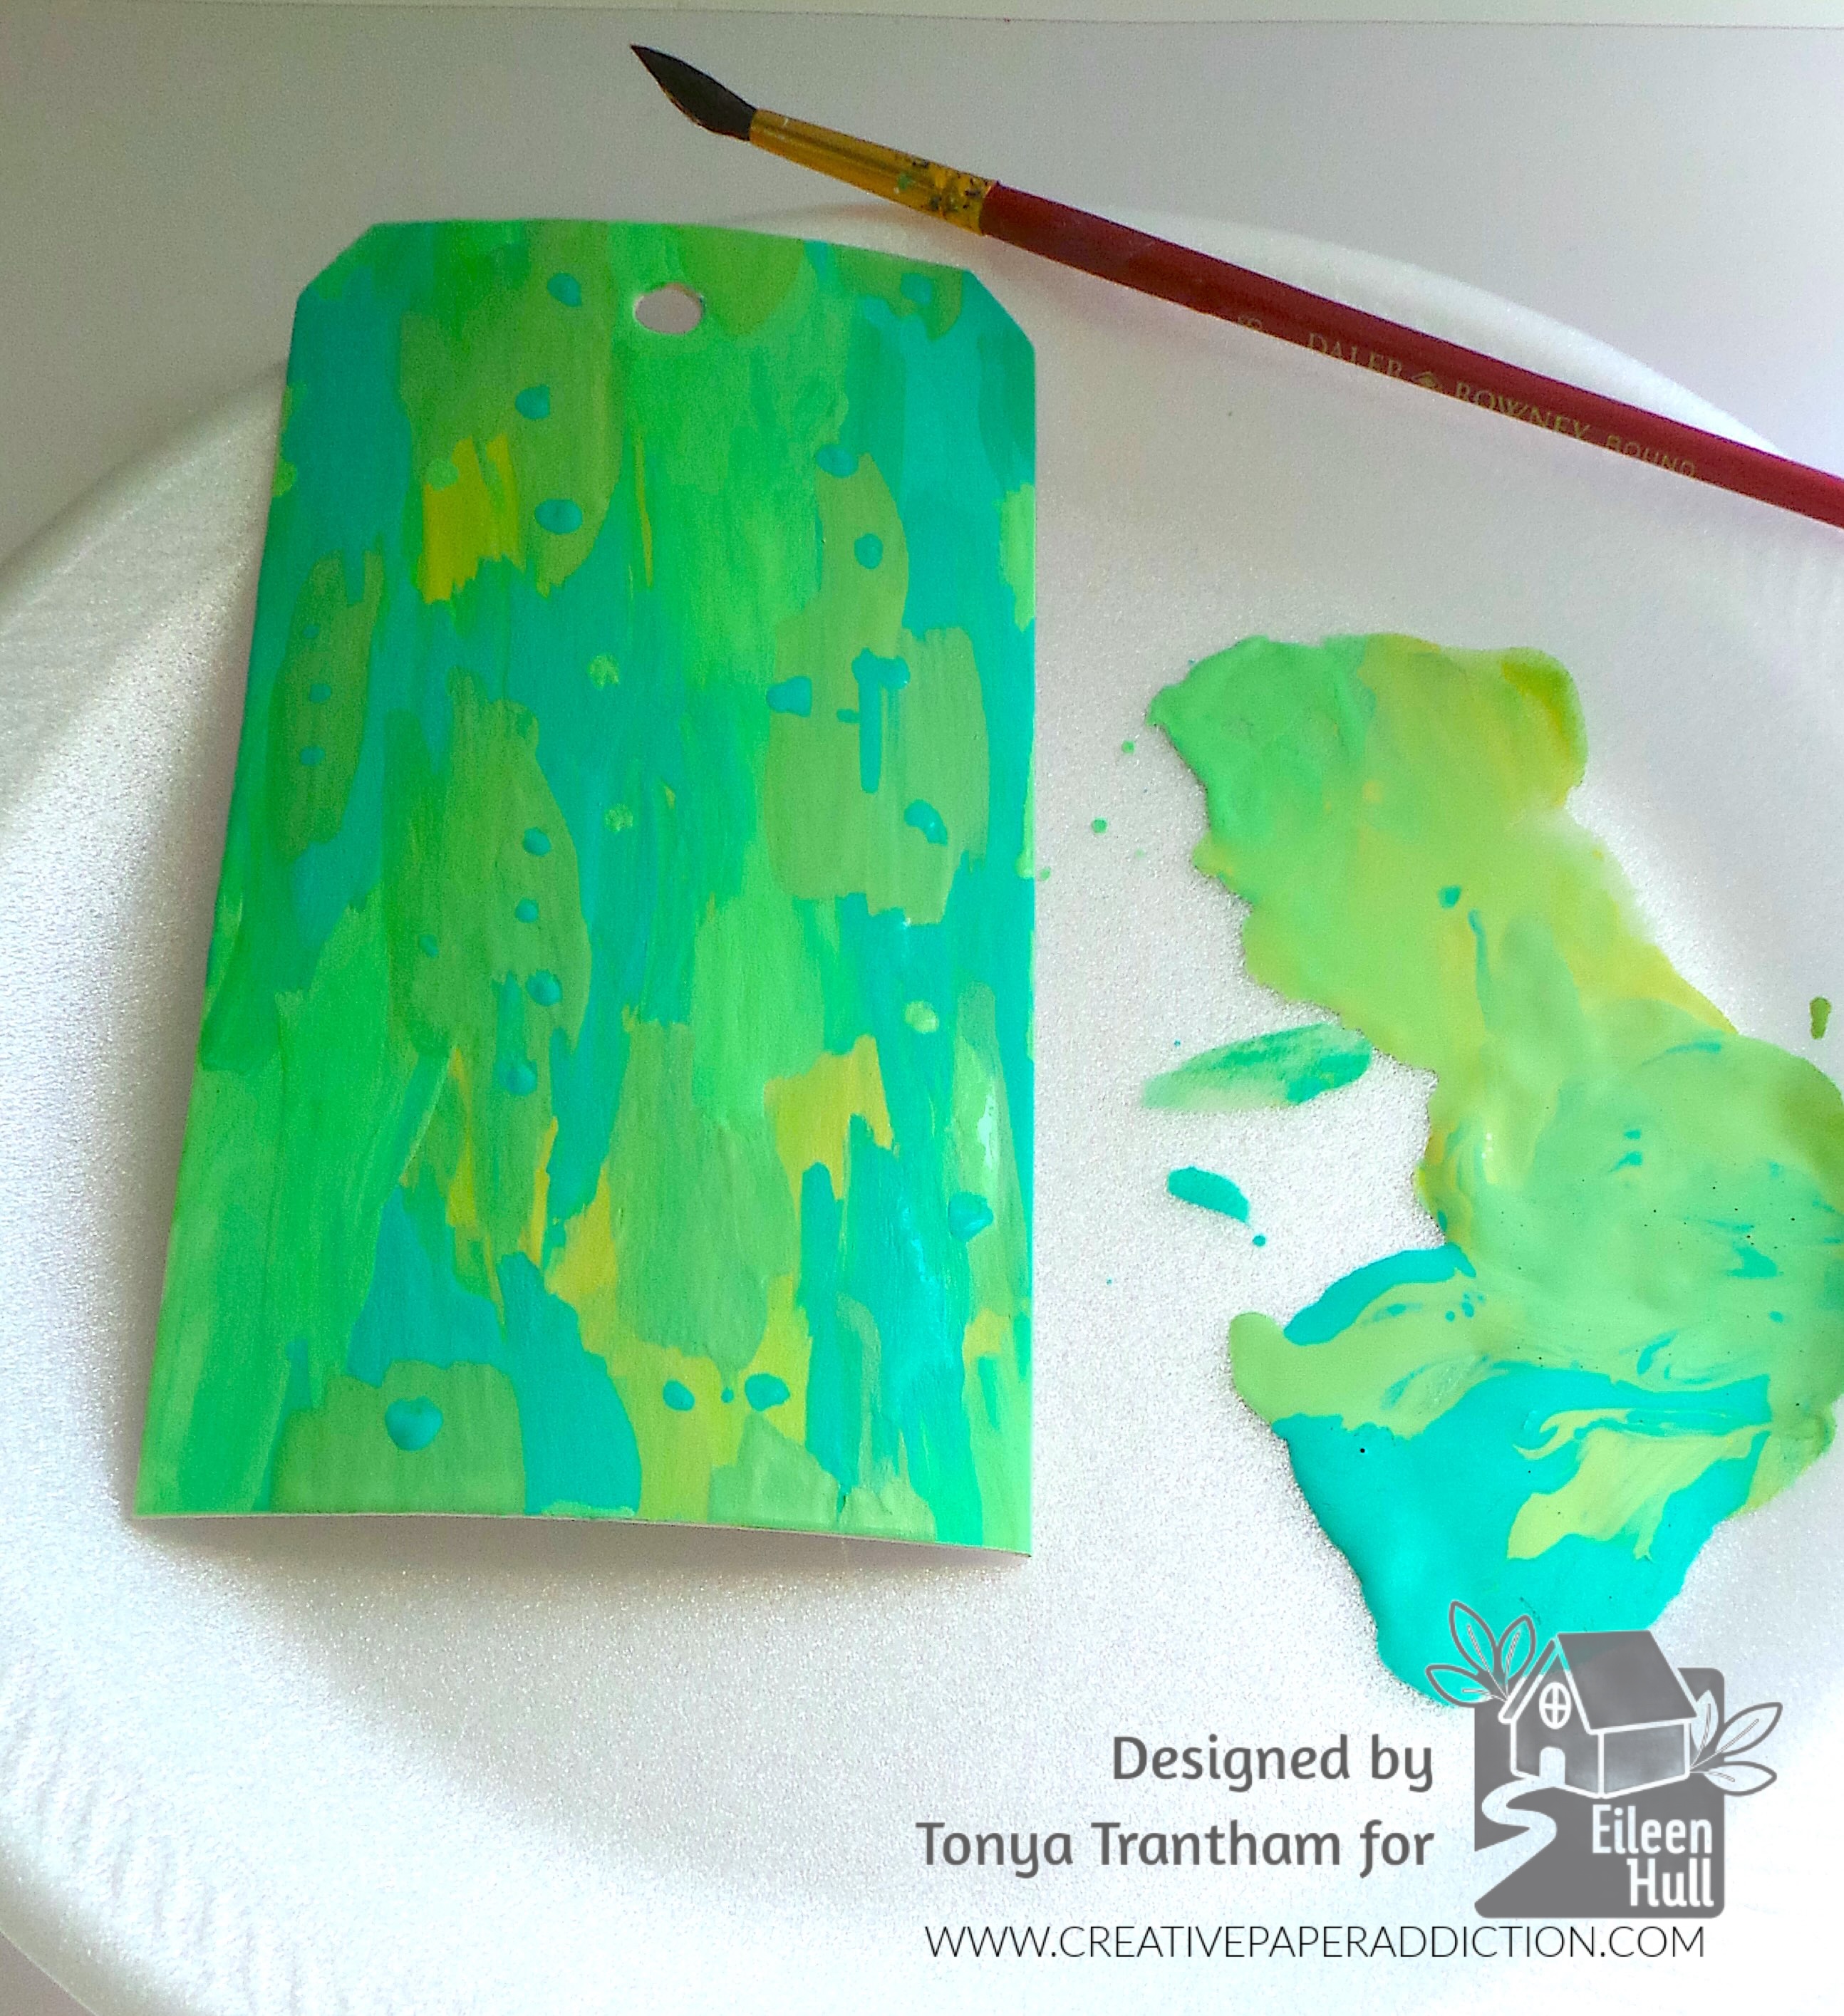
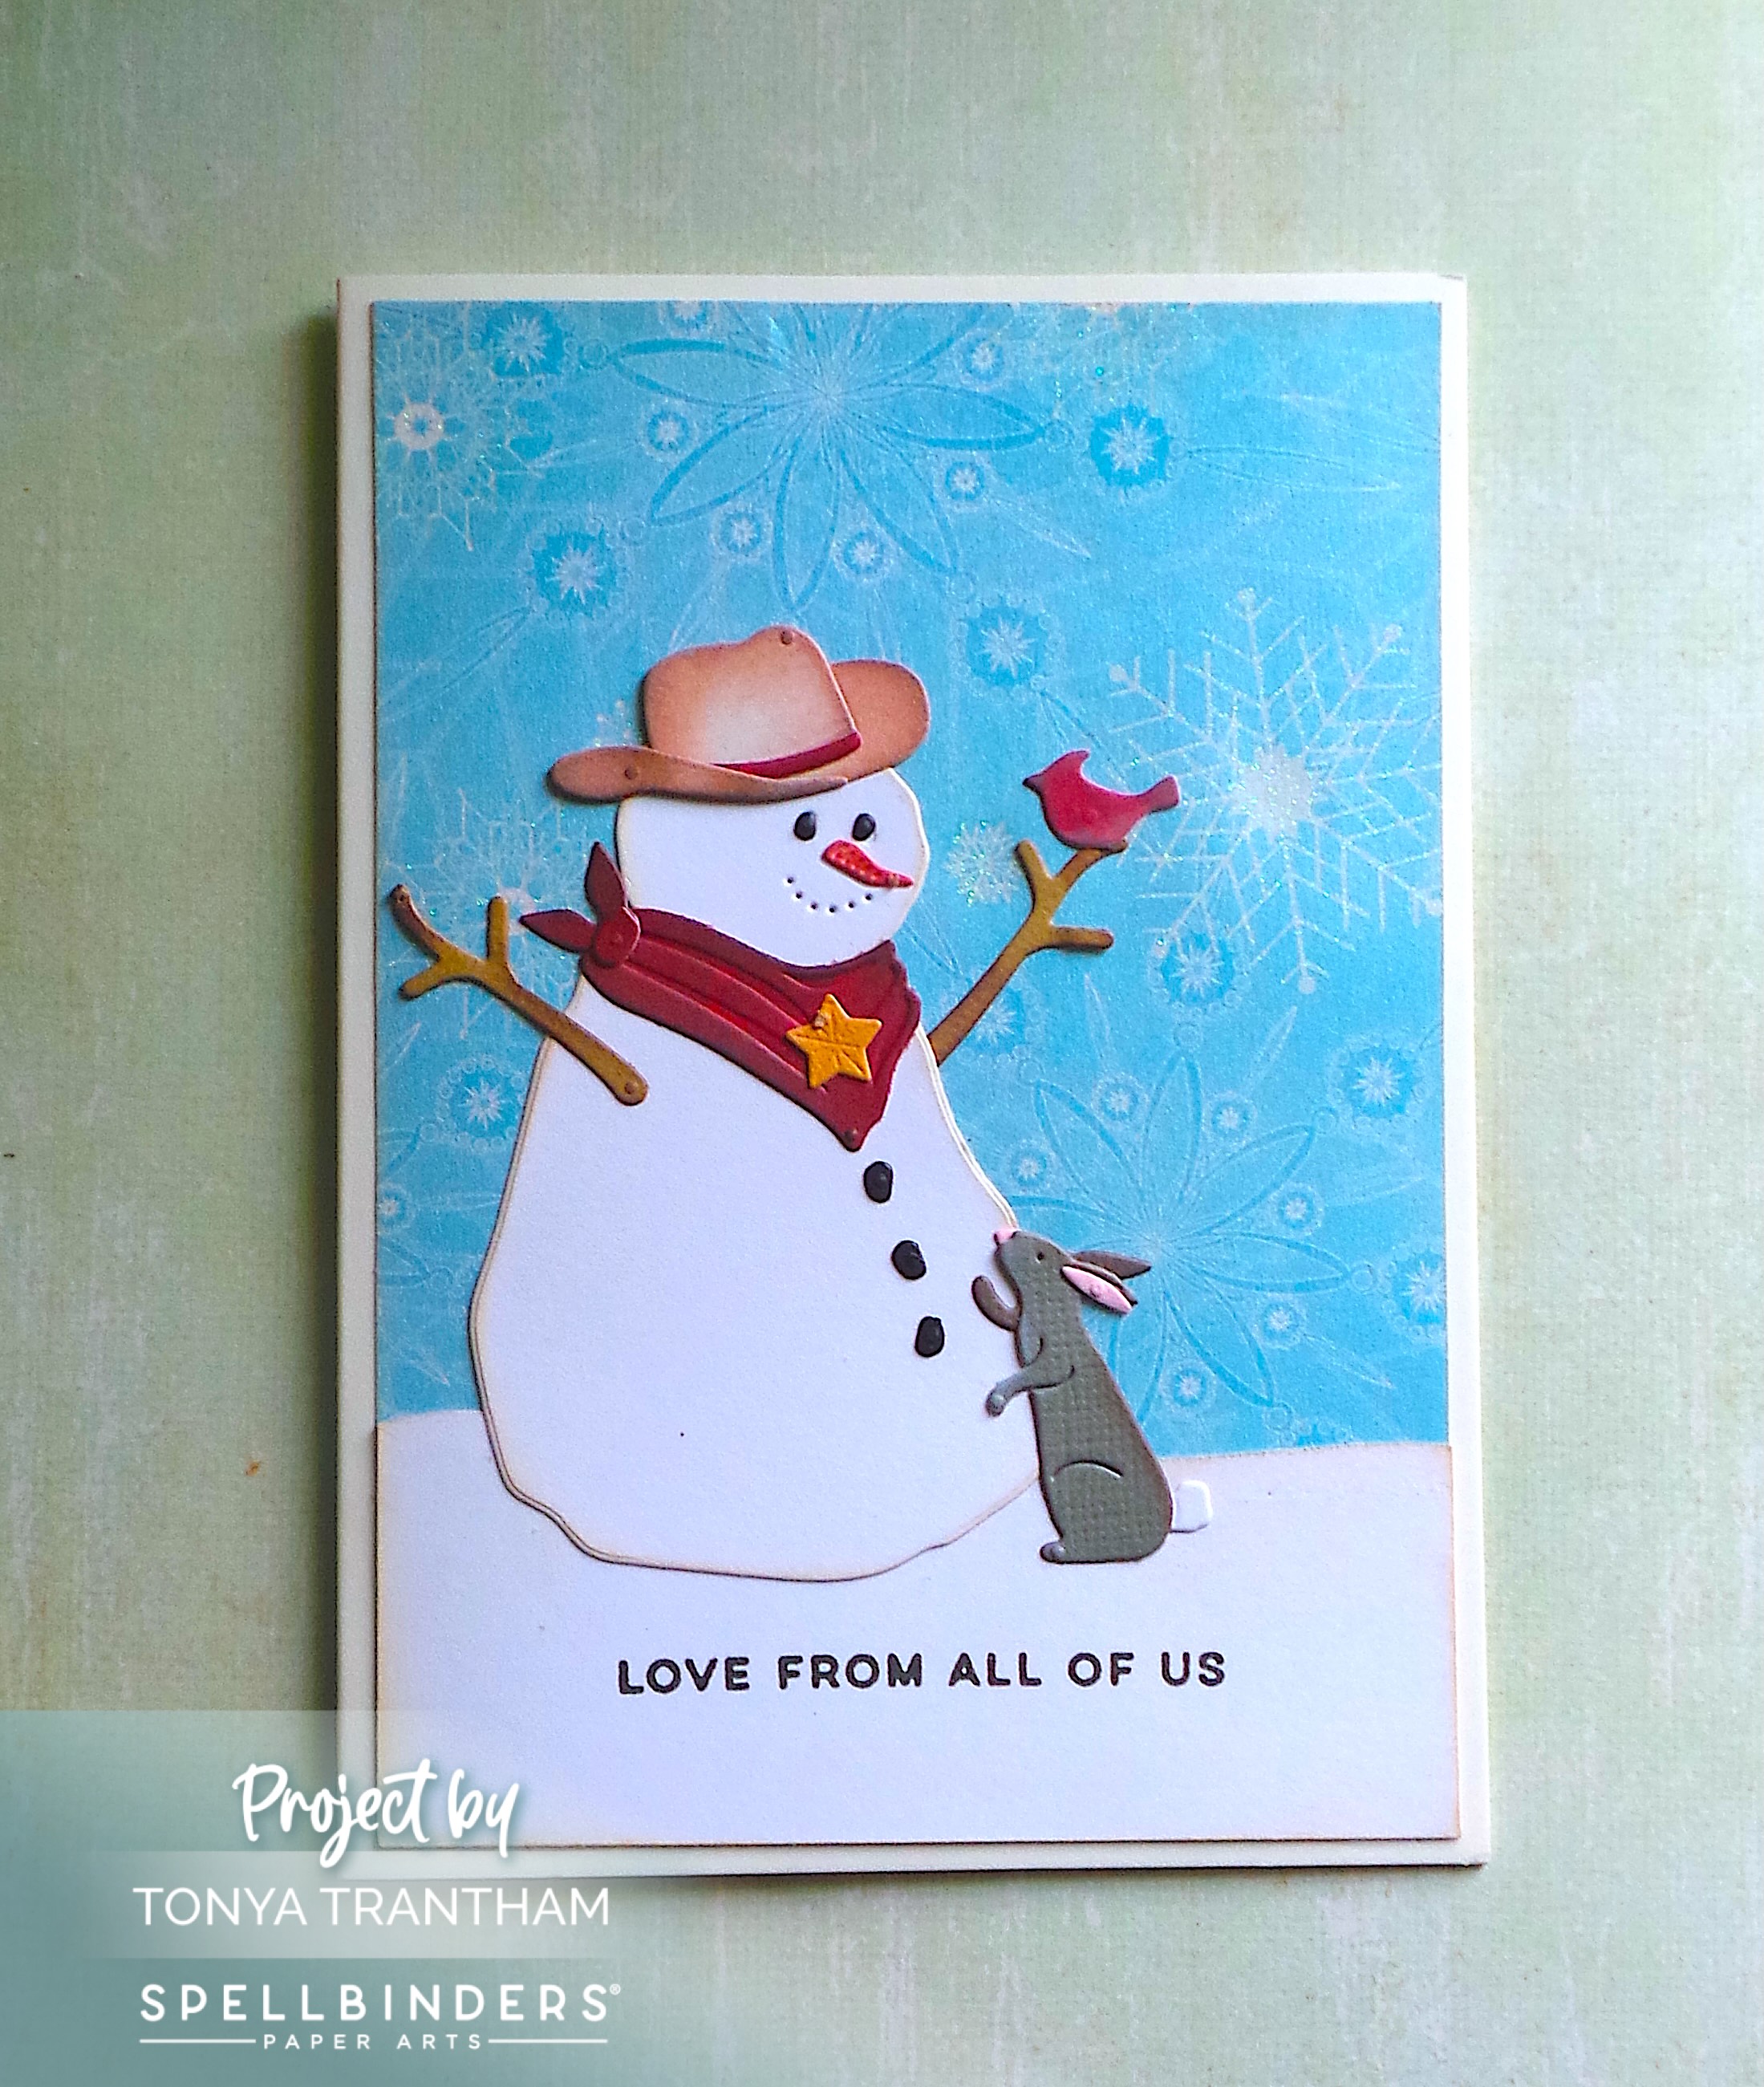
The first card, I used the Country Snowman Etched Dies. The base of all the cards I’m sharing today is 4 1/4″ x 5 1/2″ folded.
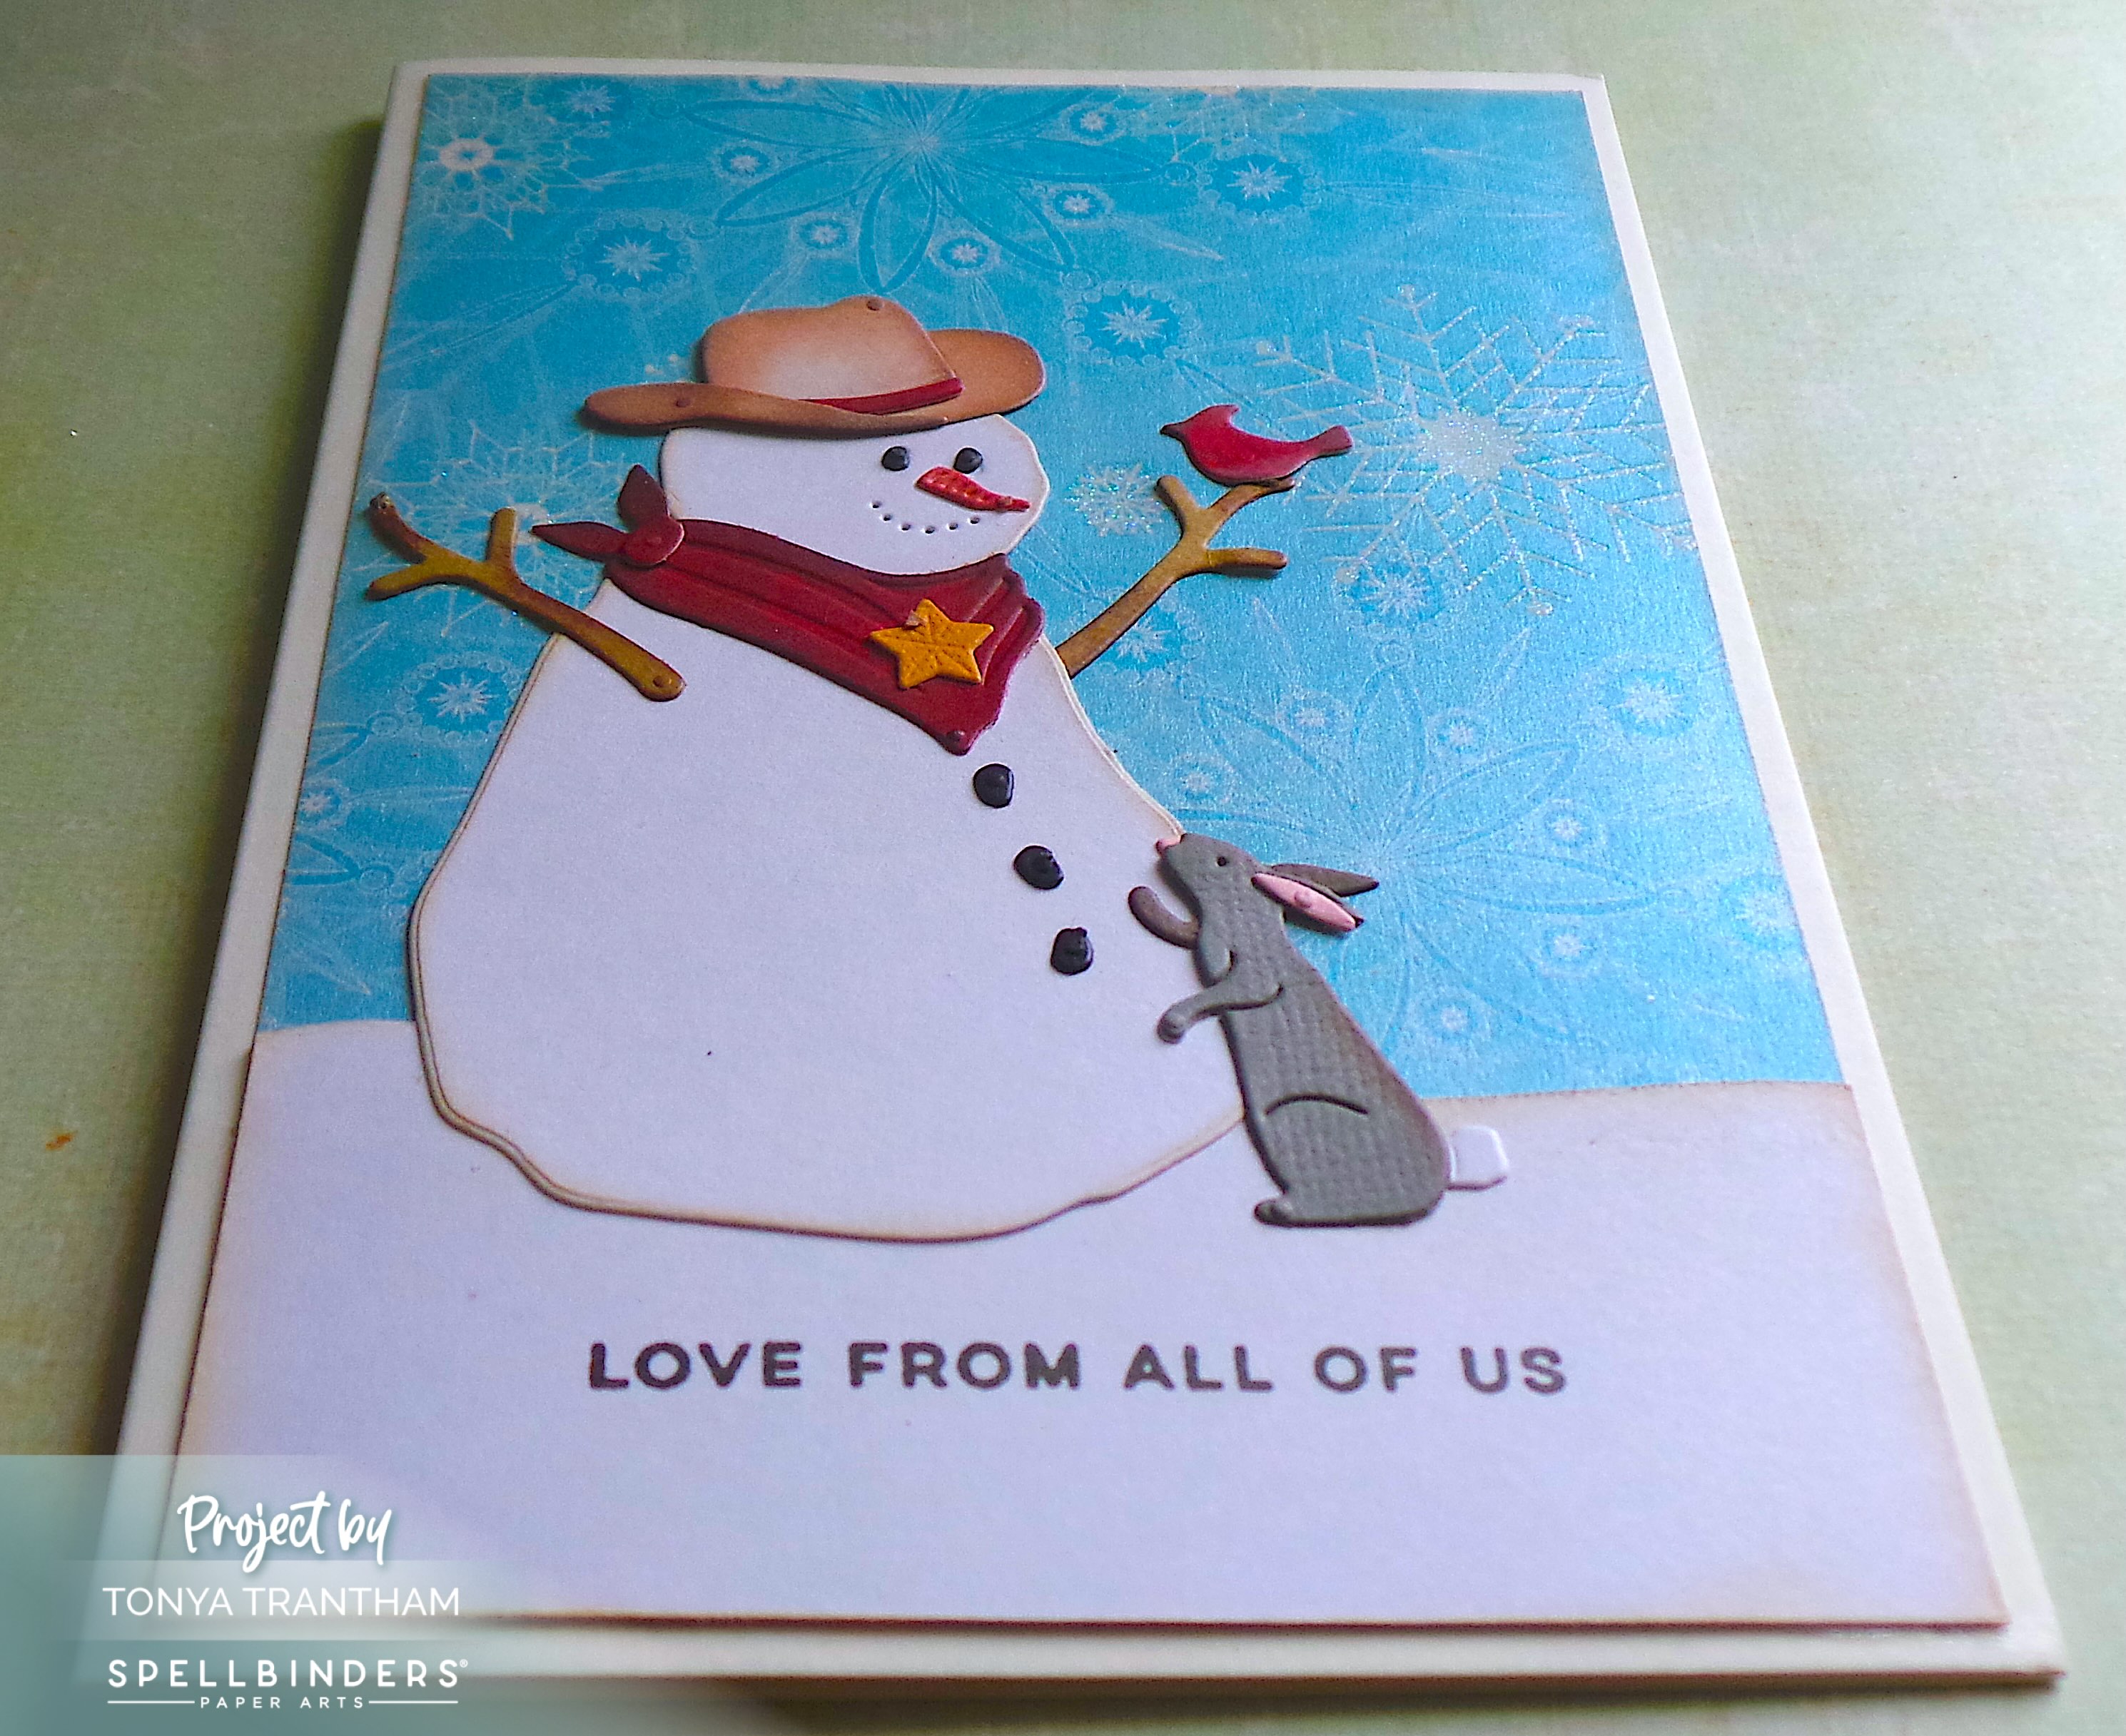
This set has 20 dies to create your own snowman with friends. I did choose to leave the broom and bird feeder off this card I created. I added the “love from all of us” sentiment from the Christmas Memories Enclosed Clear Stamp Set to the bottom of the card.
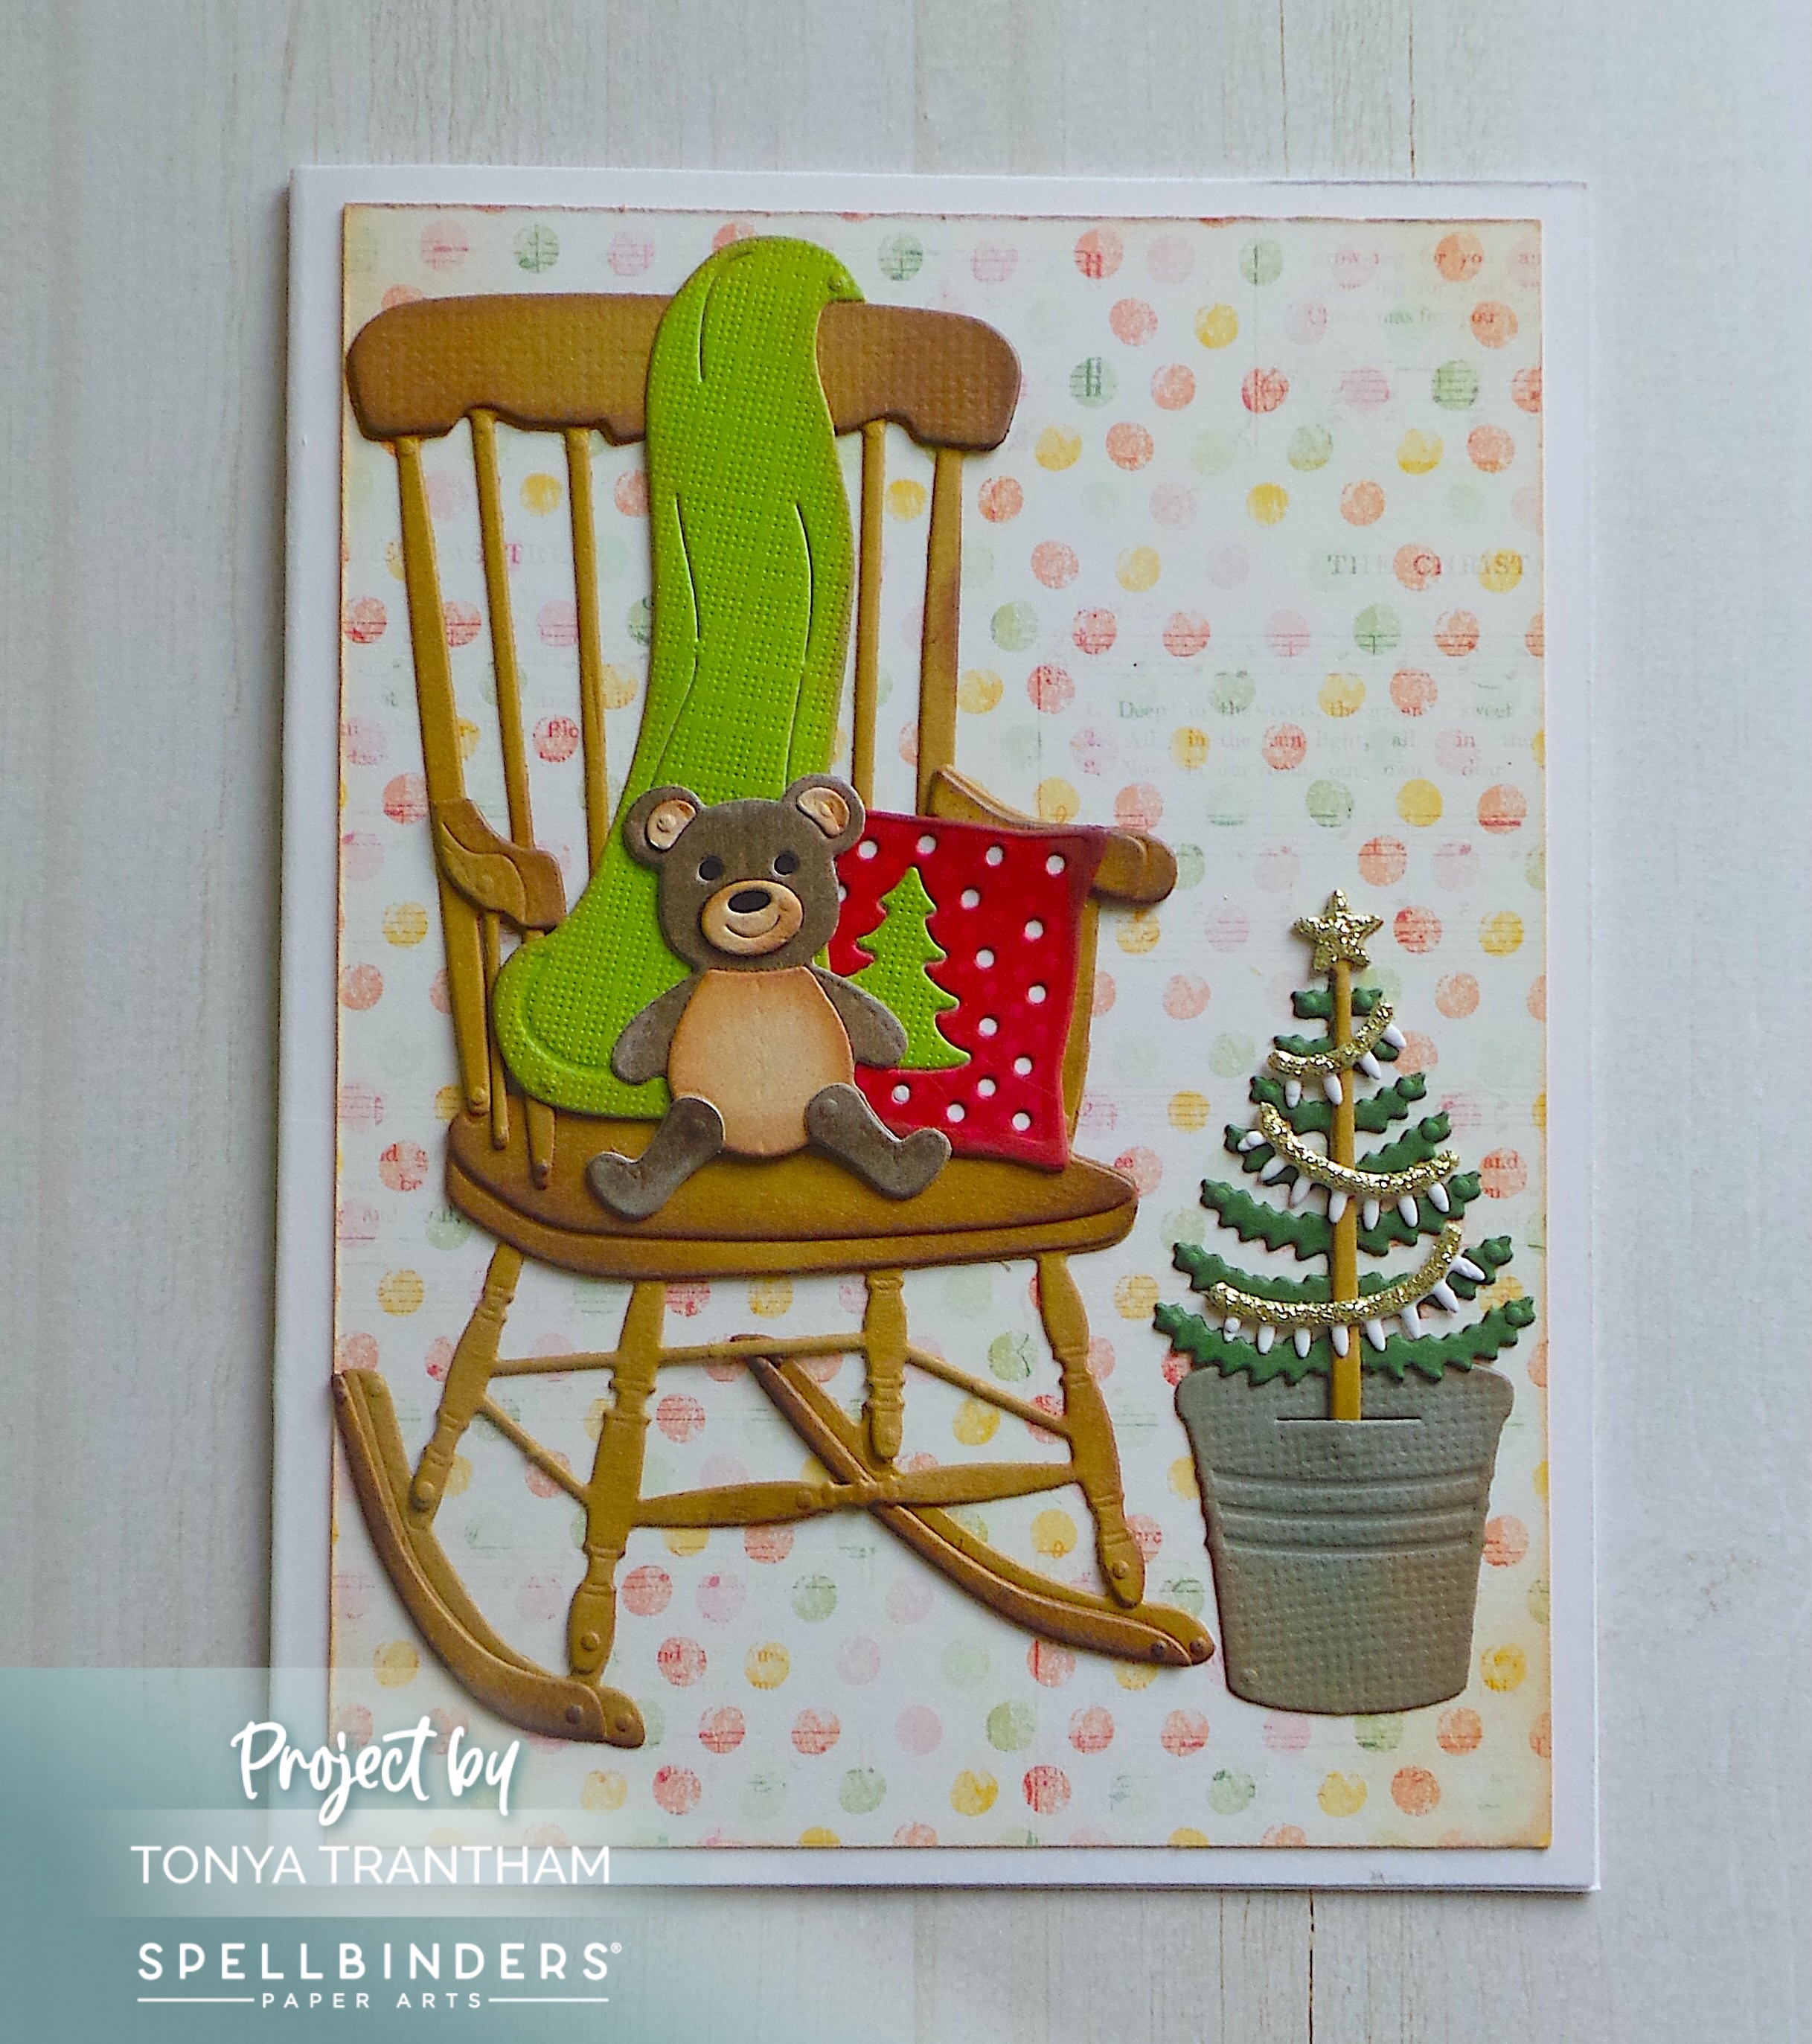
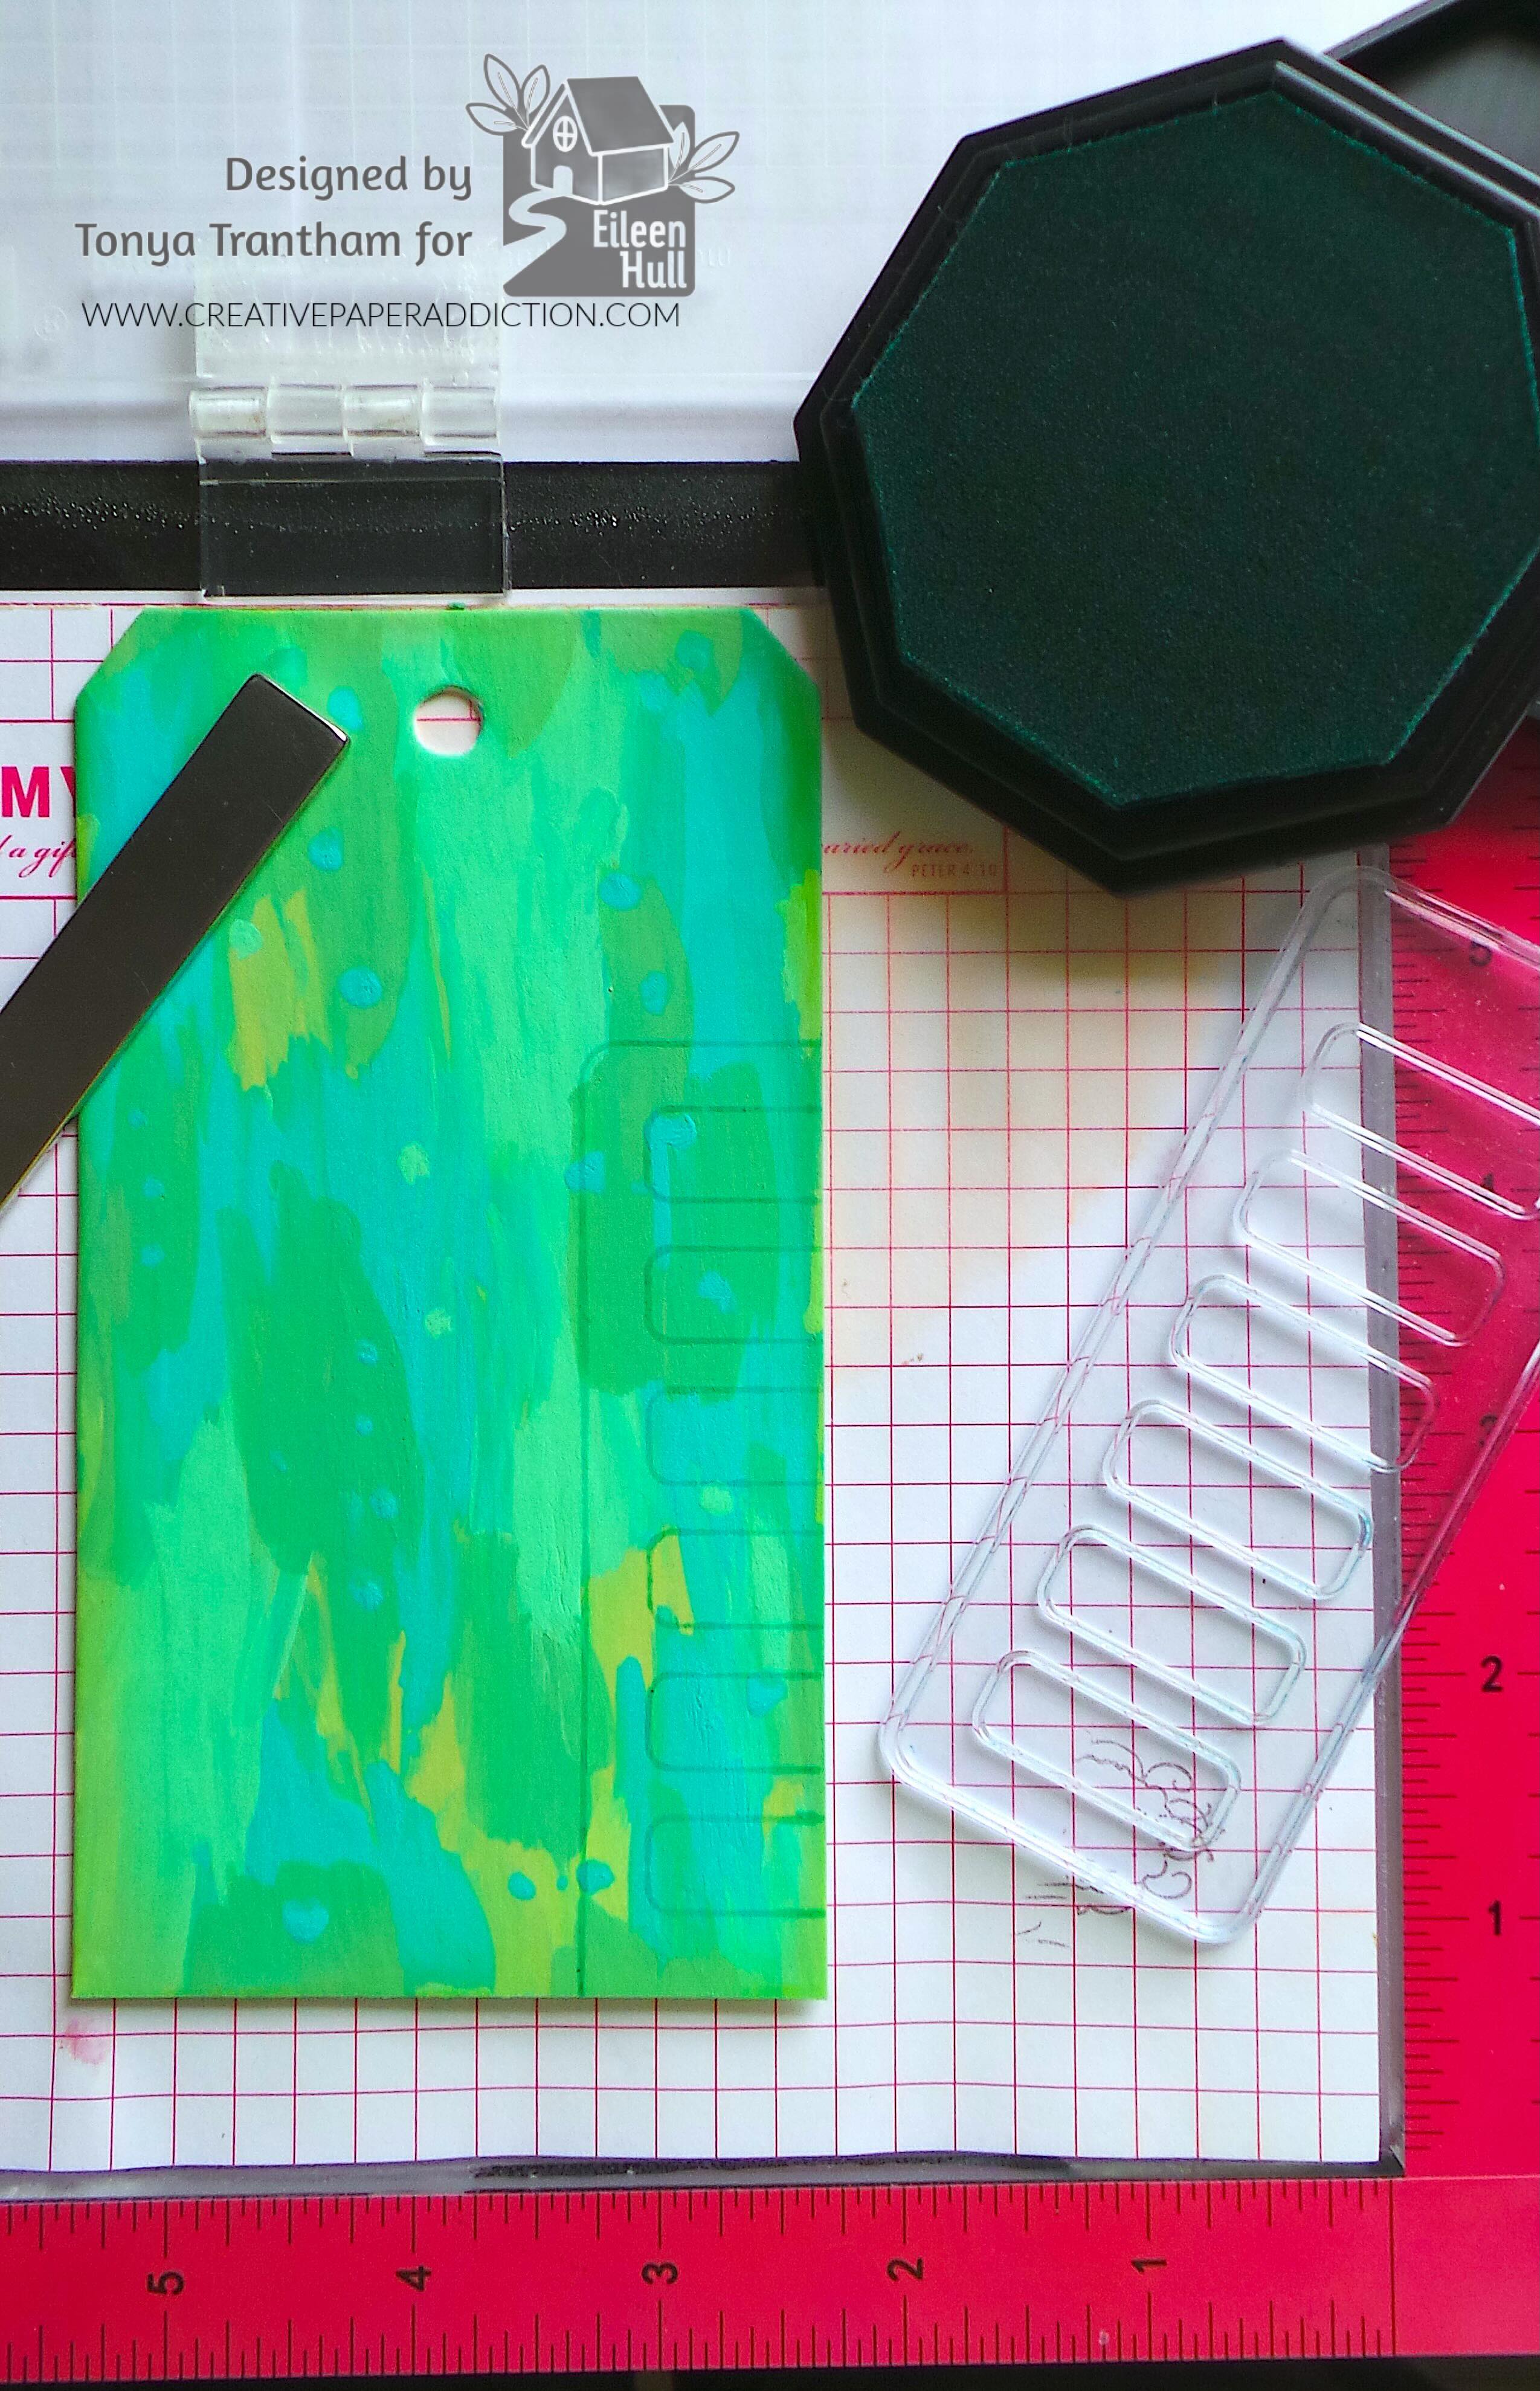
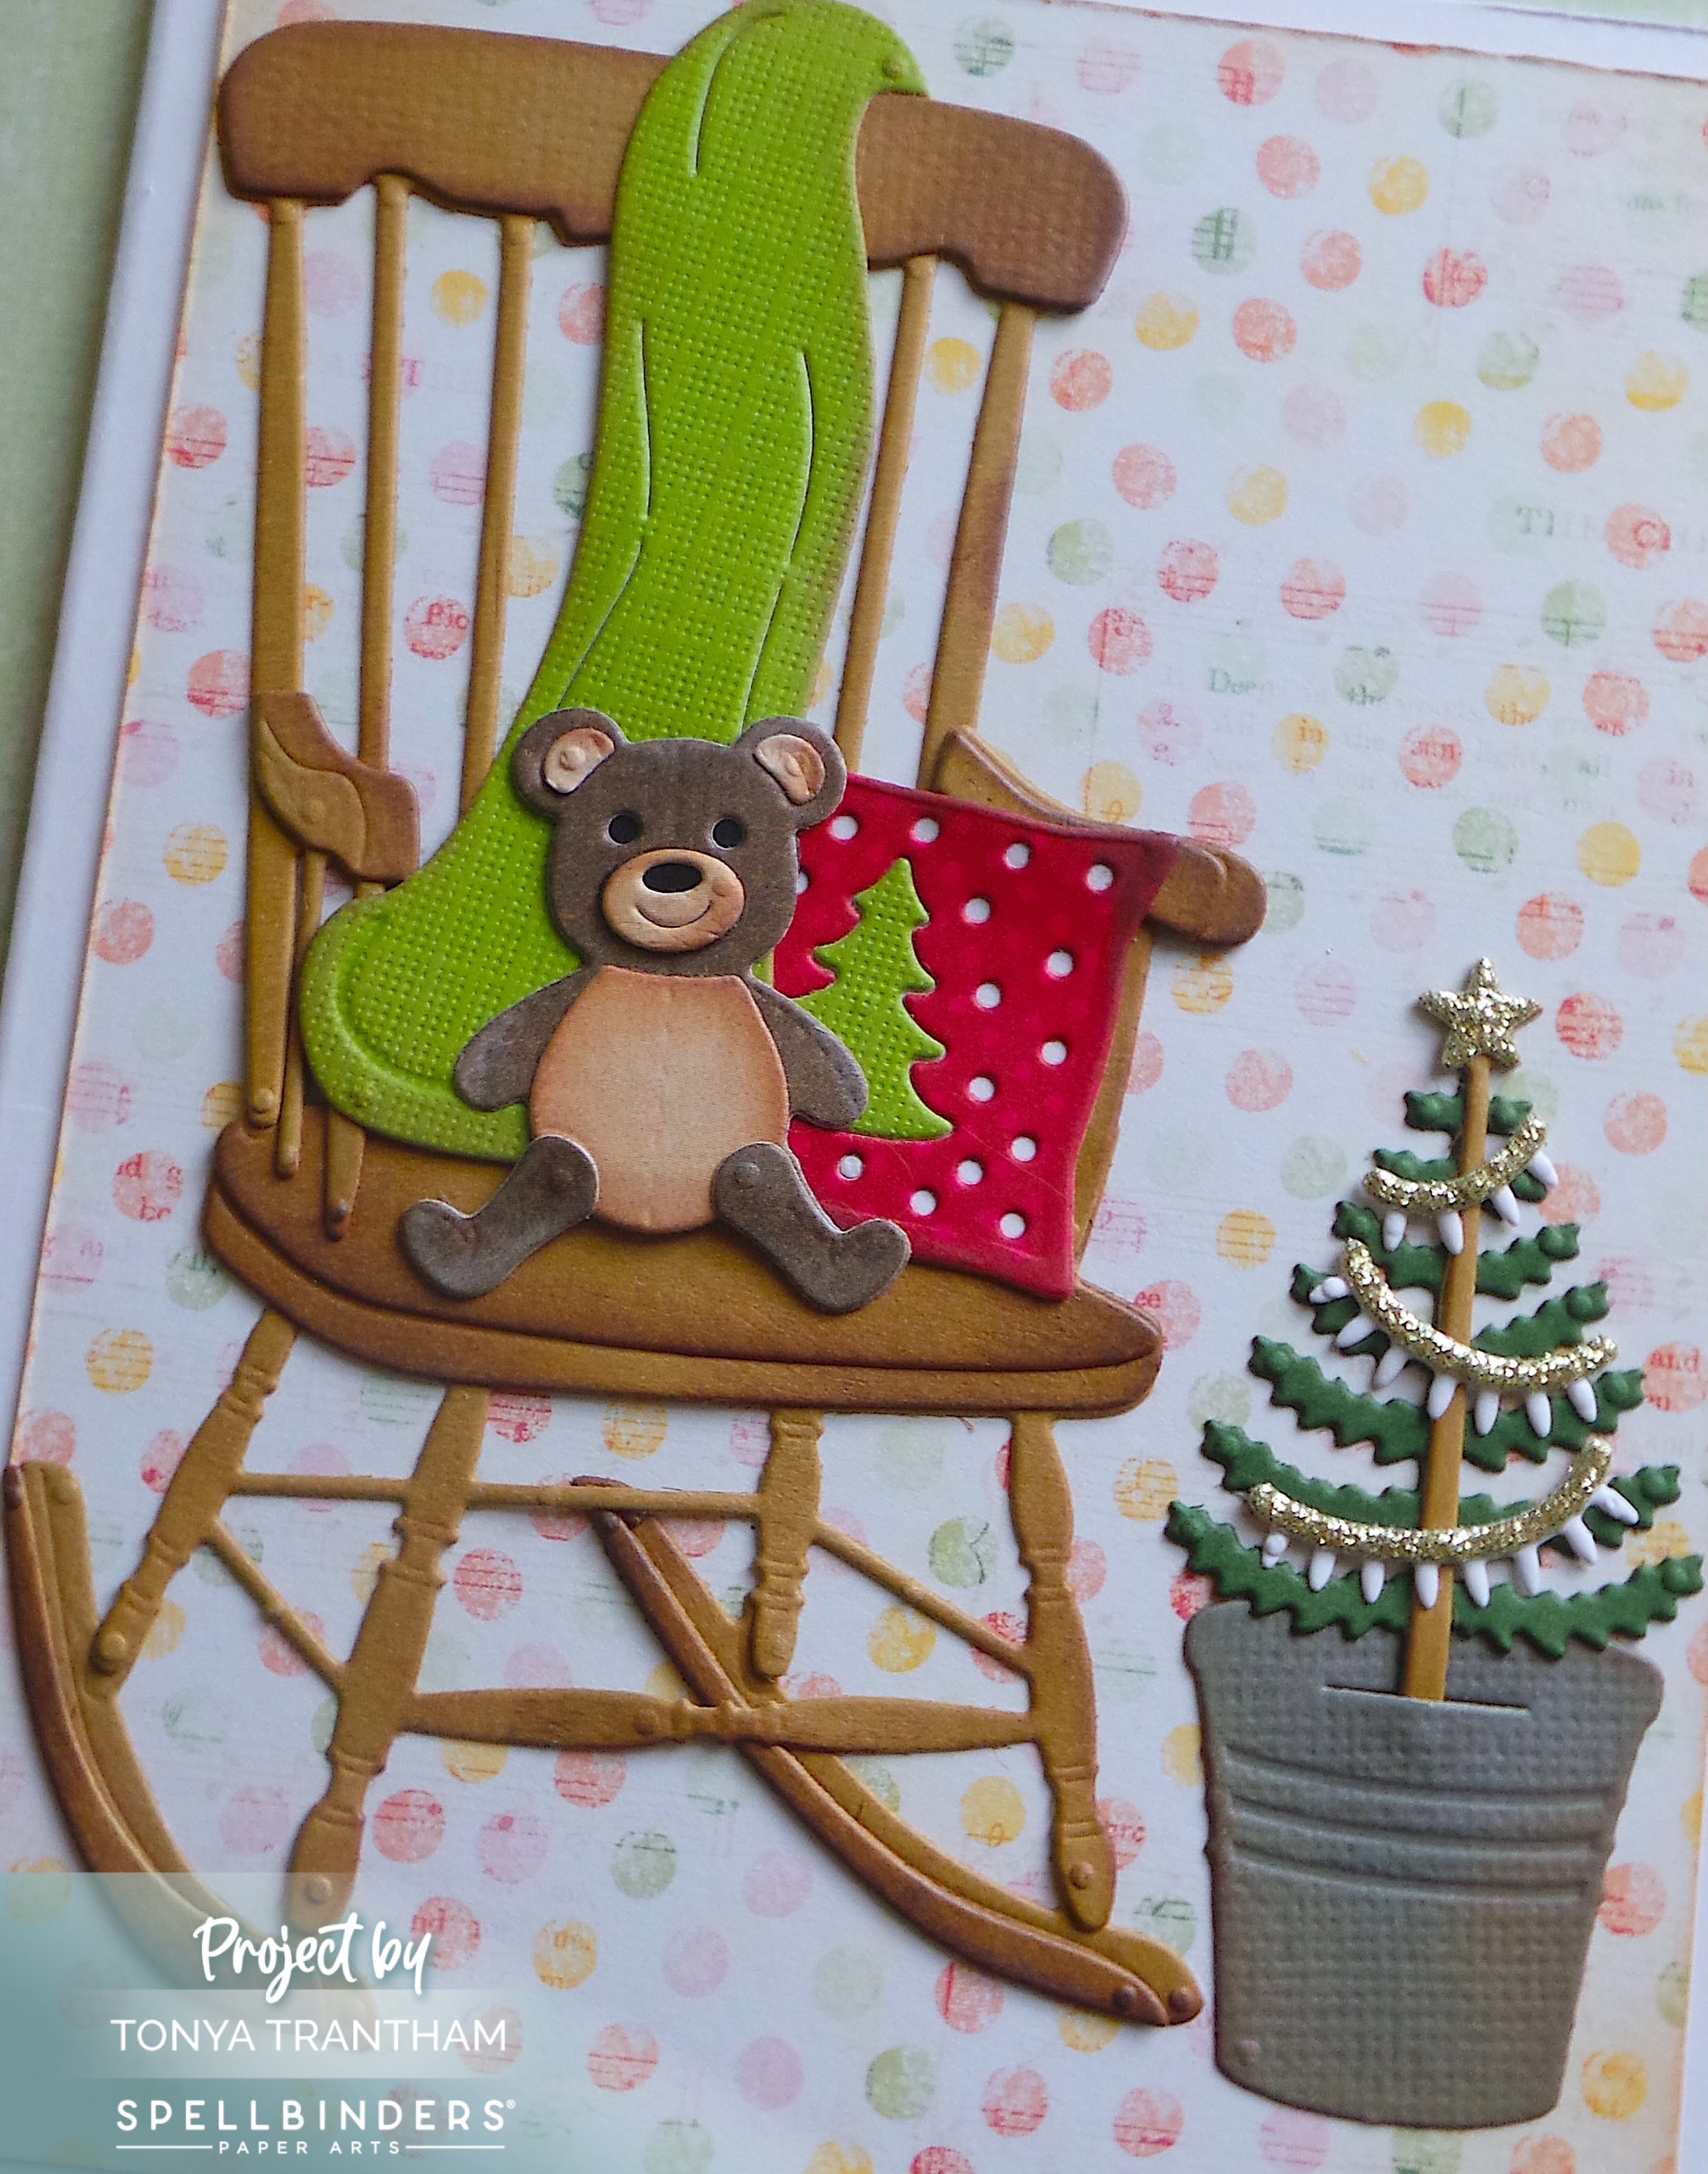
The second card, I used the Christmas Rocking Chair Etched Dies to create this adorable card. This set has 26 dies but I choose not to add the Santa hat and boots to the card. For this card and the snowman card I did lightly ink around each diecut piece to add dimension.
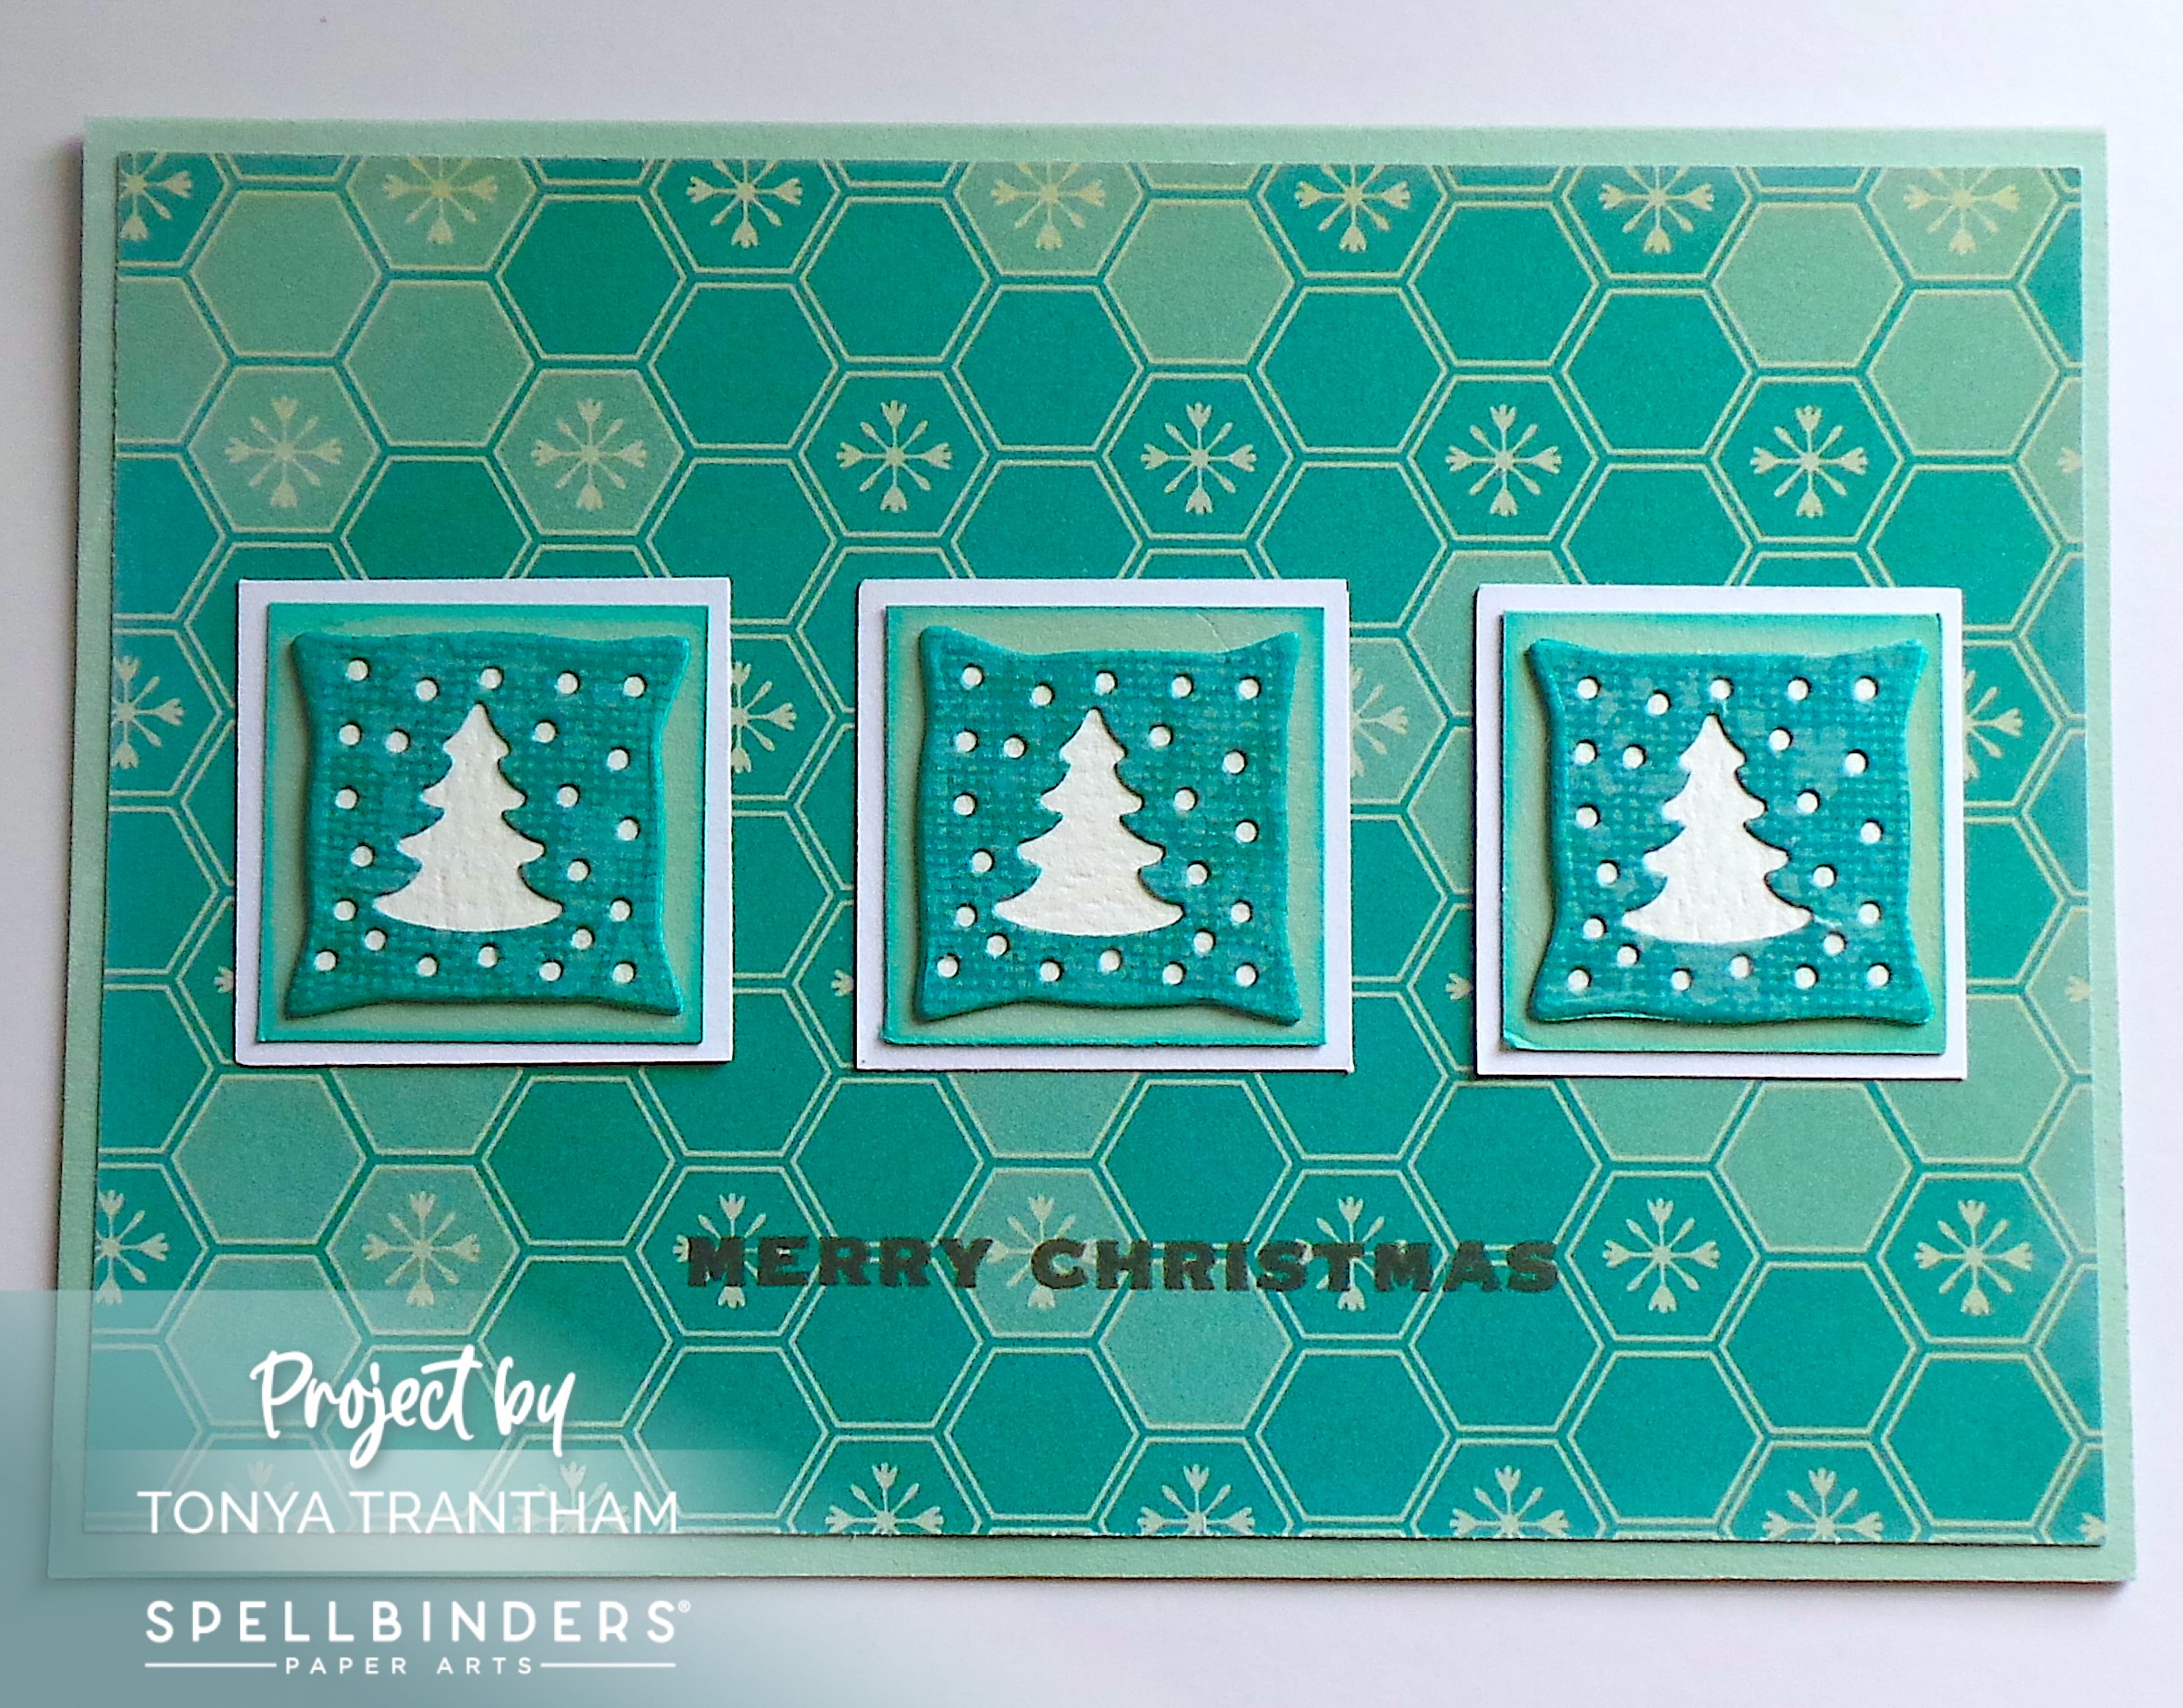
The last card, I cut out three of the tree/snow dies from the Christmas Rocking Chair Etched Dies. I added two squared cardstocks per tree/snow die and glued each to the card. I stamped the “Merry Christmas” sentiment from the Christmas Memories Enclosed Clear Stamp Set onto the card to finish.
When I’m better I hope to be using these diecuts for other cards and tag! Also if you have any questions or comments about these cards please leave them below.
Supplies
Spellbinders: Country Christmas Collection
Spellbinders: Country Snowman Etched Dies
Spellbinders: Christmas Rocking Chair Etched Dies
Spellbinders: Christmas Memories Enclosed Clear Stamp Set
Various Plain and Patterned Cardstocks
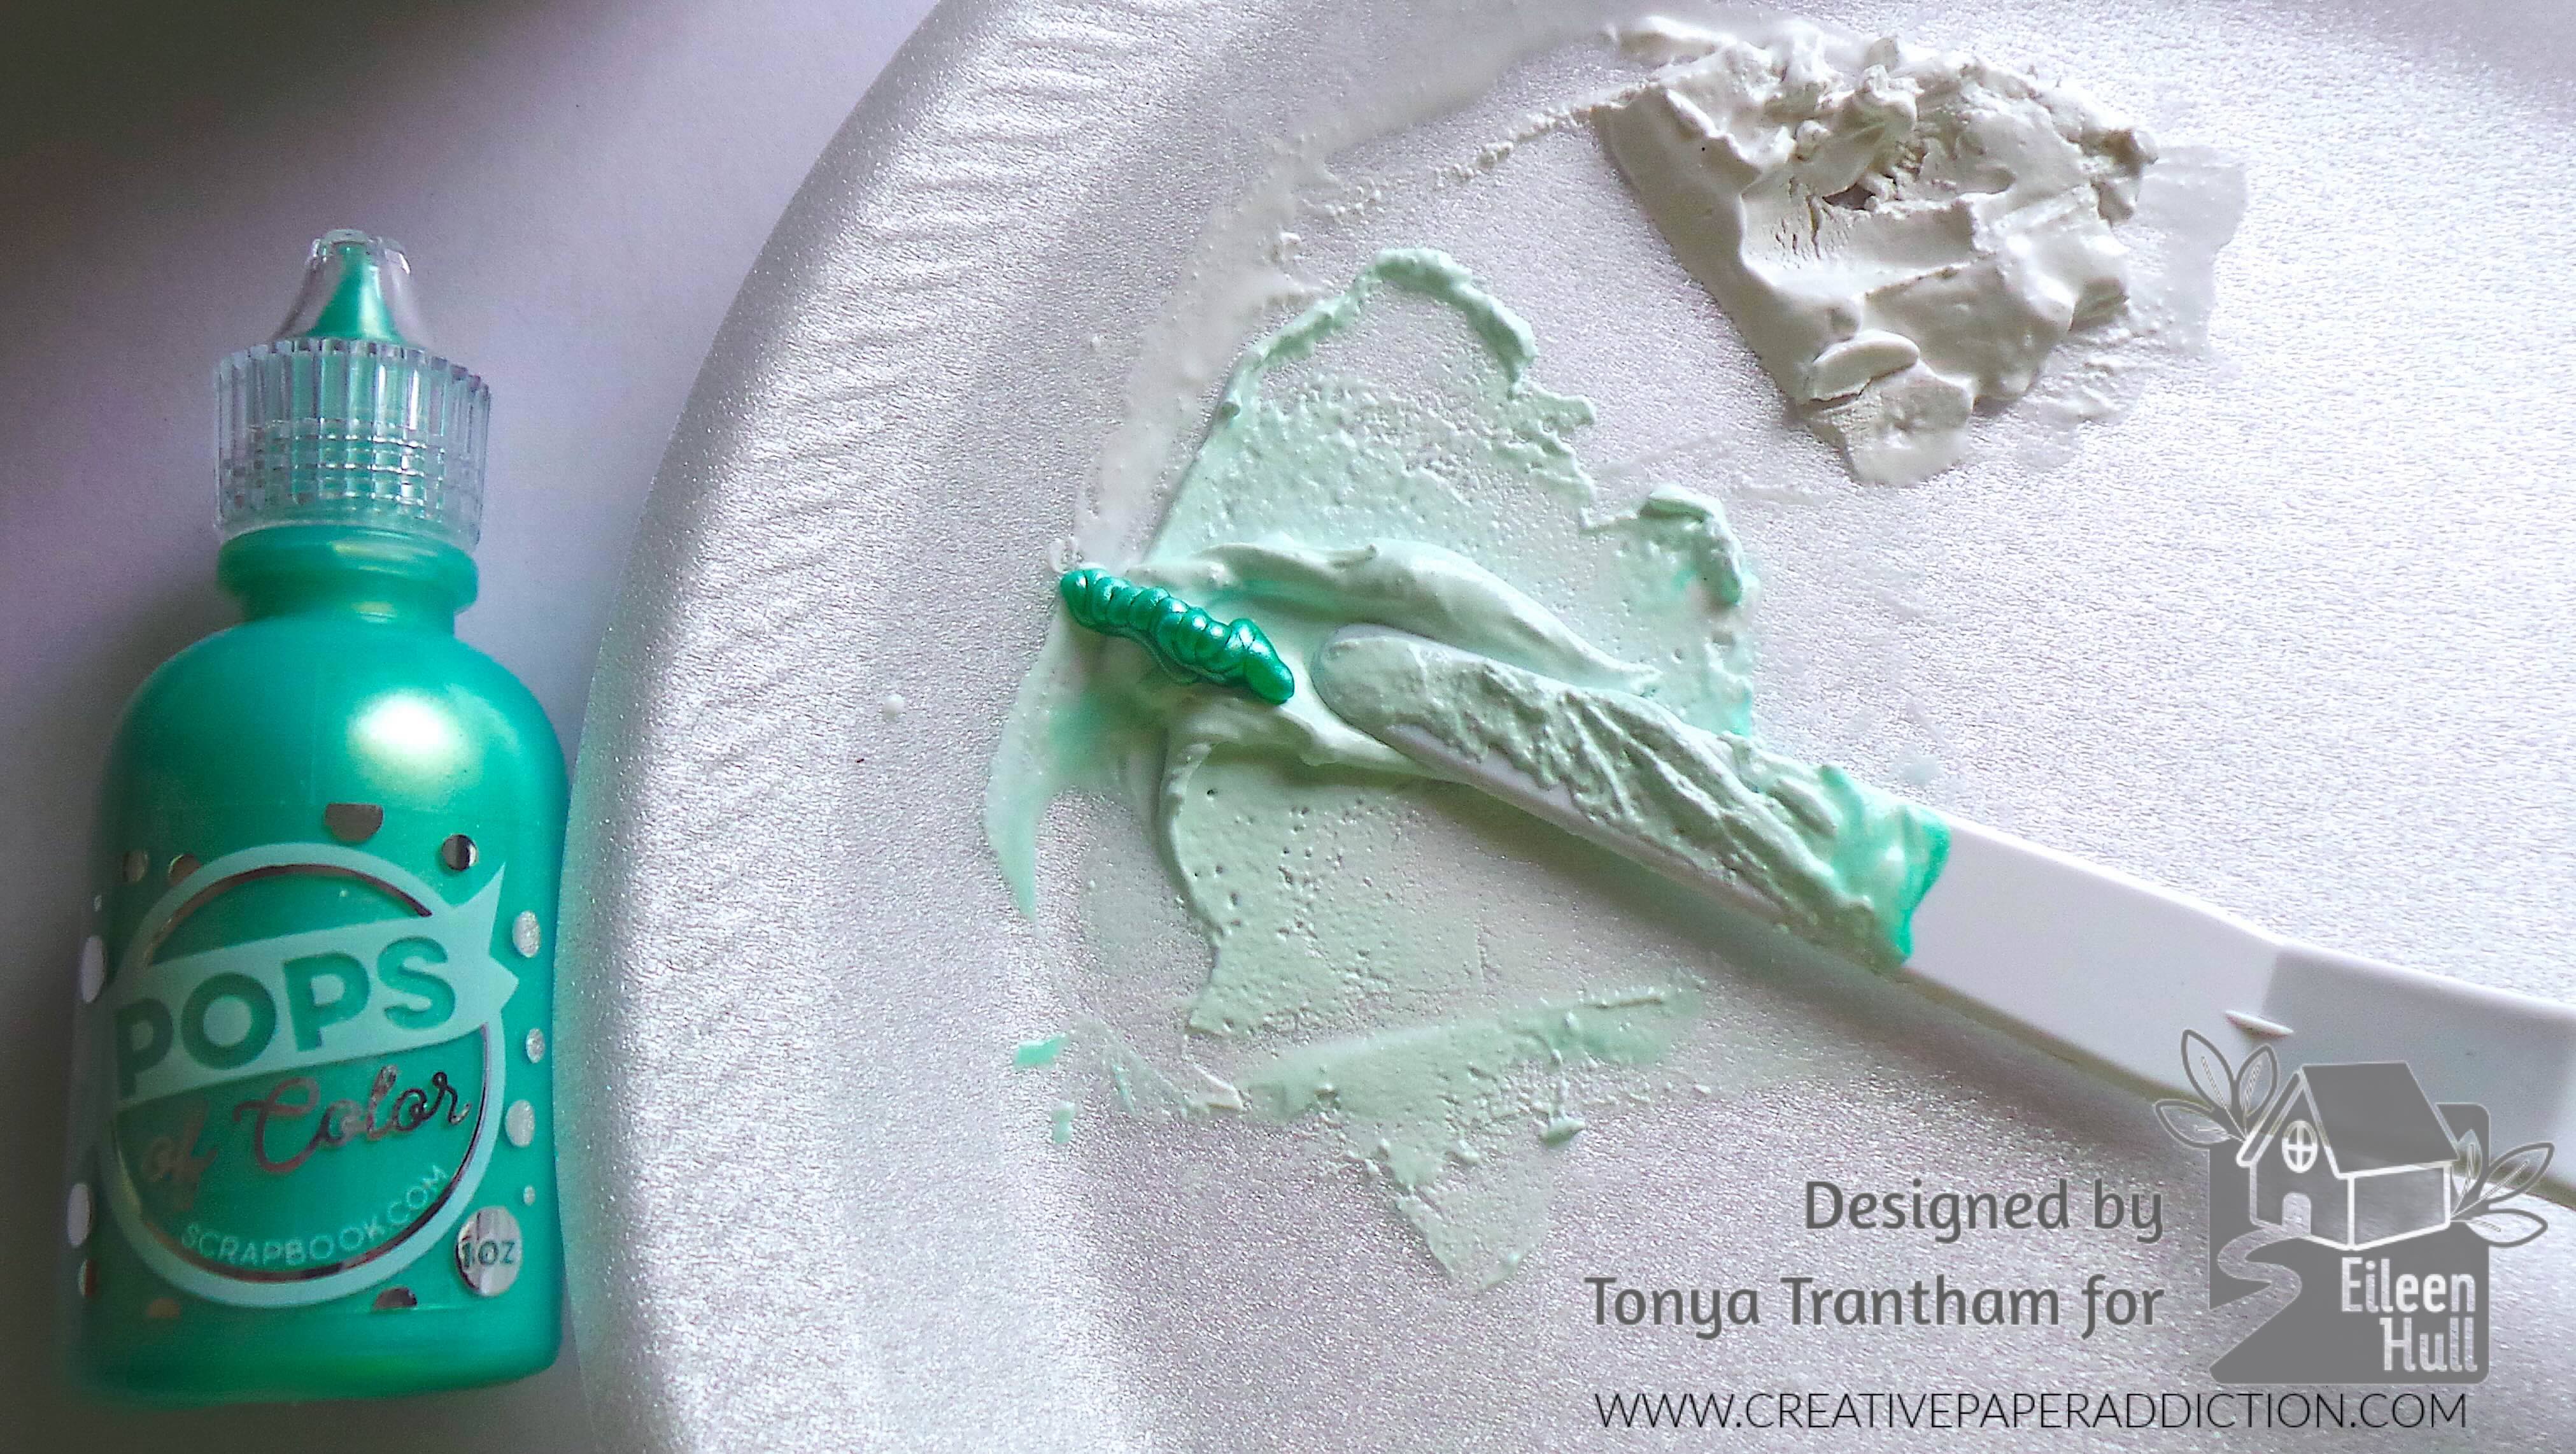
Chalk Ink
Beacon Adhesives: Zip Dry Adhesive
(Products listed above are Affiliated Links for your convenience)
DISCLAIMERS
This blog is compensated to provide opinion on products, services, websites, and various other topics. Even though the owner(s) of this blog receives compensation for our posts or advertisements. I always give my honest opinions, findings, beliefs, or experiences on those topics or products. The views and opinions expressed on this blog are purely my own. Any product claim, statistic, or quote should be checked with each manufacturer. Verify other representations about a product or service with the provider or party in question.This blog contains affiliate links. Clicking these links helps to support Tonya Trantham Designs – Creative Paper Addiction. It’s at no additional cost to you. Today’s features are Spellbinders and Scrapbook.com Products.
Thanks for stopping by, I hope your Tuesday is great and enjoy creating!