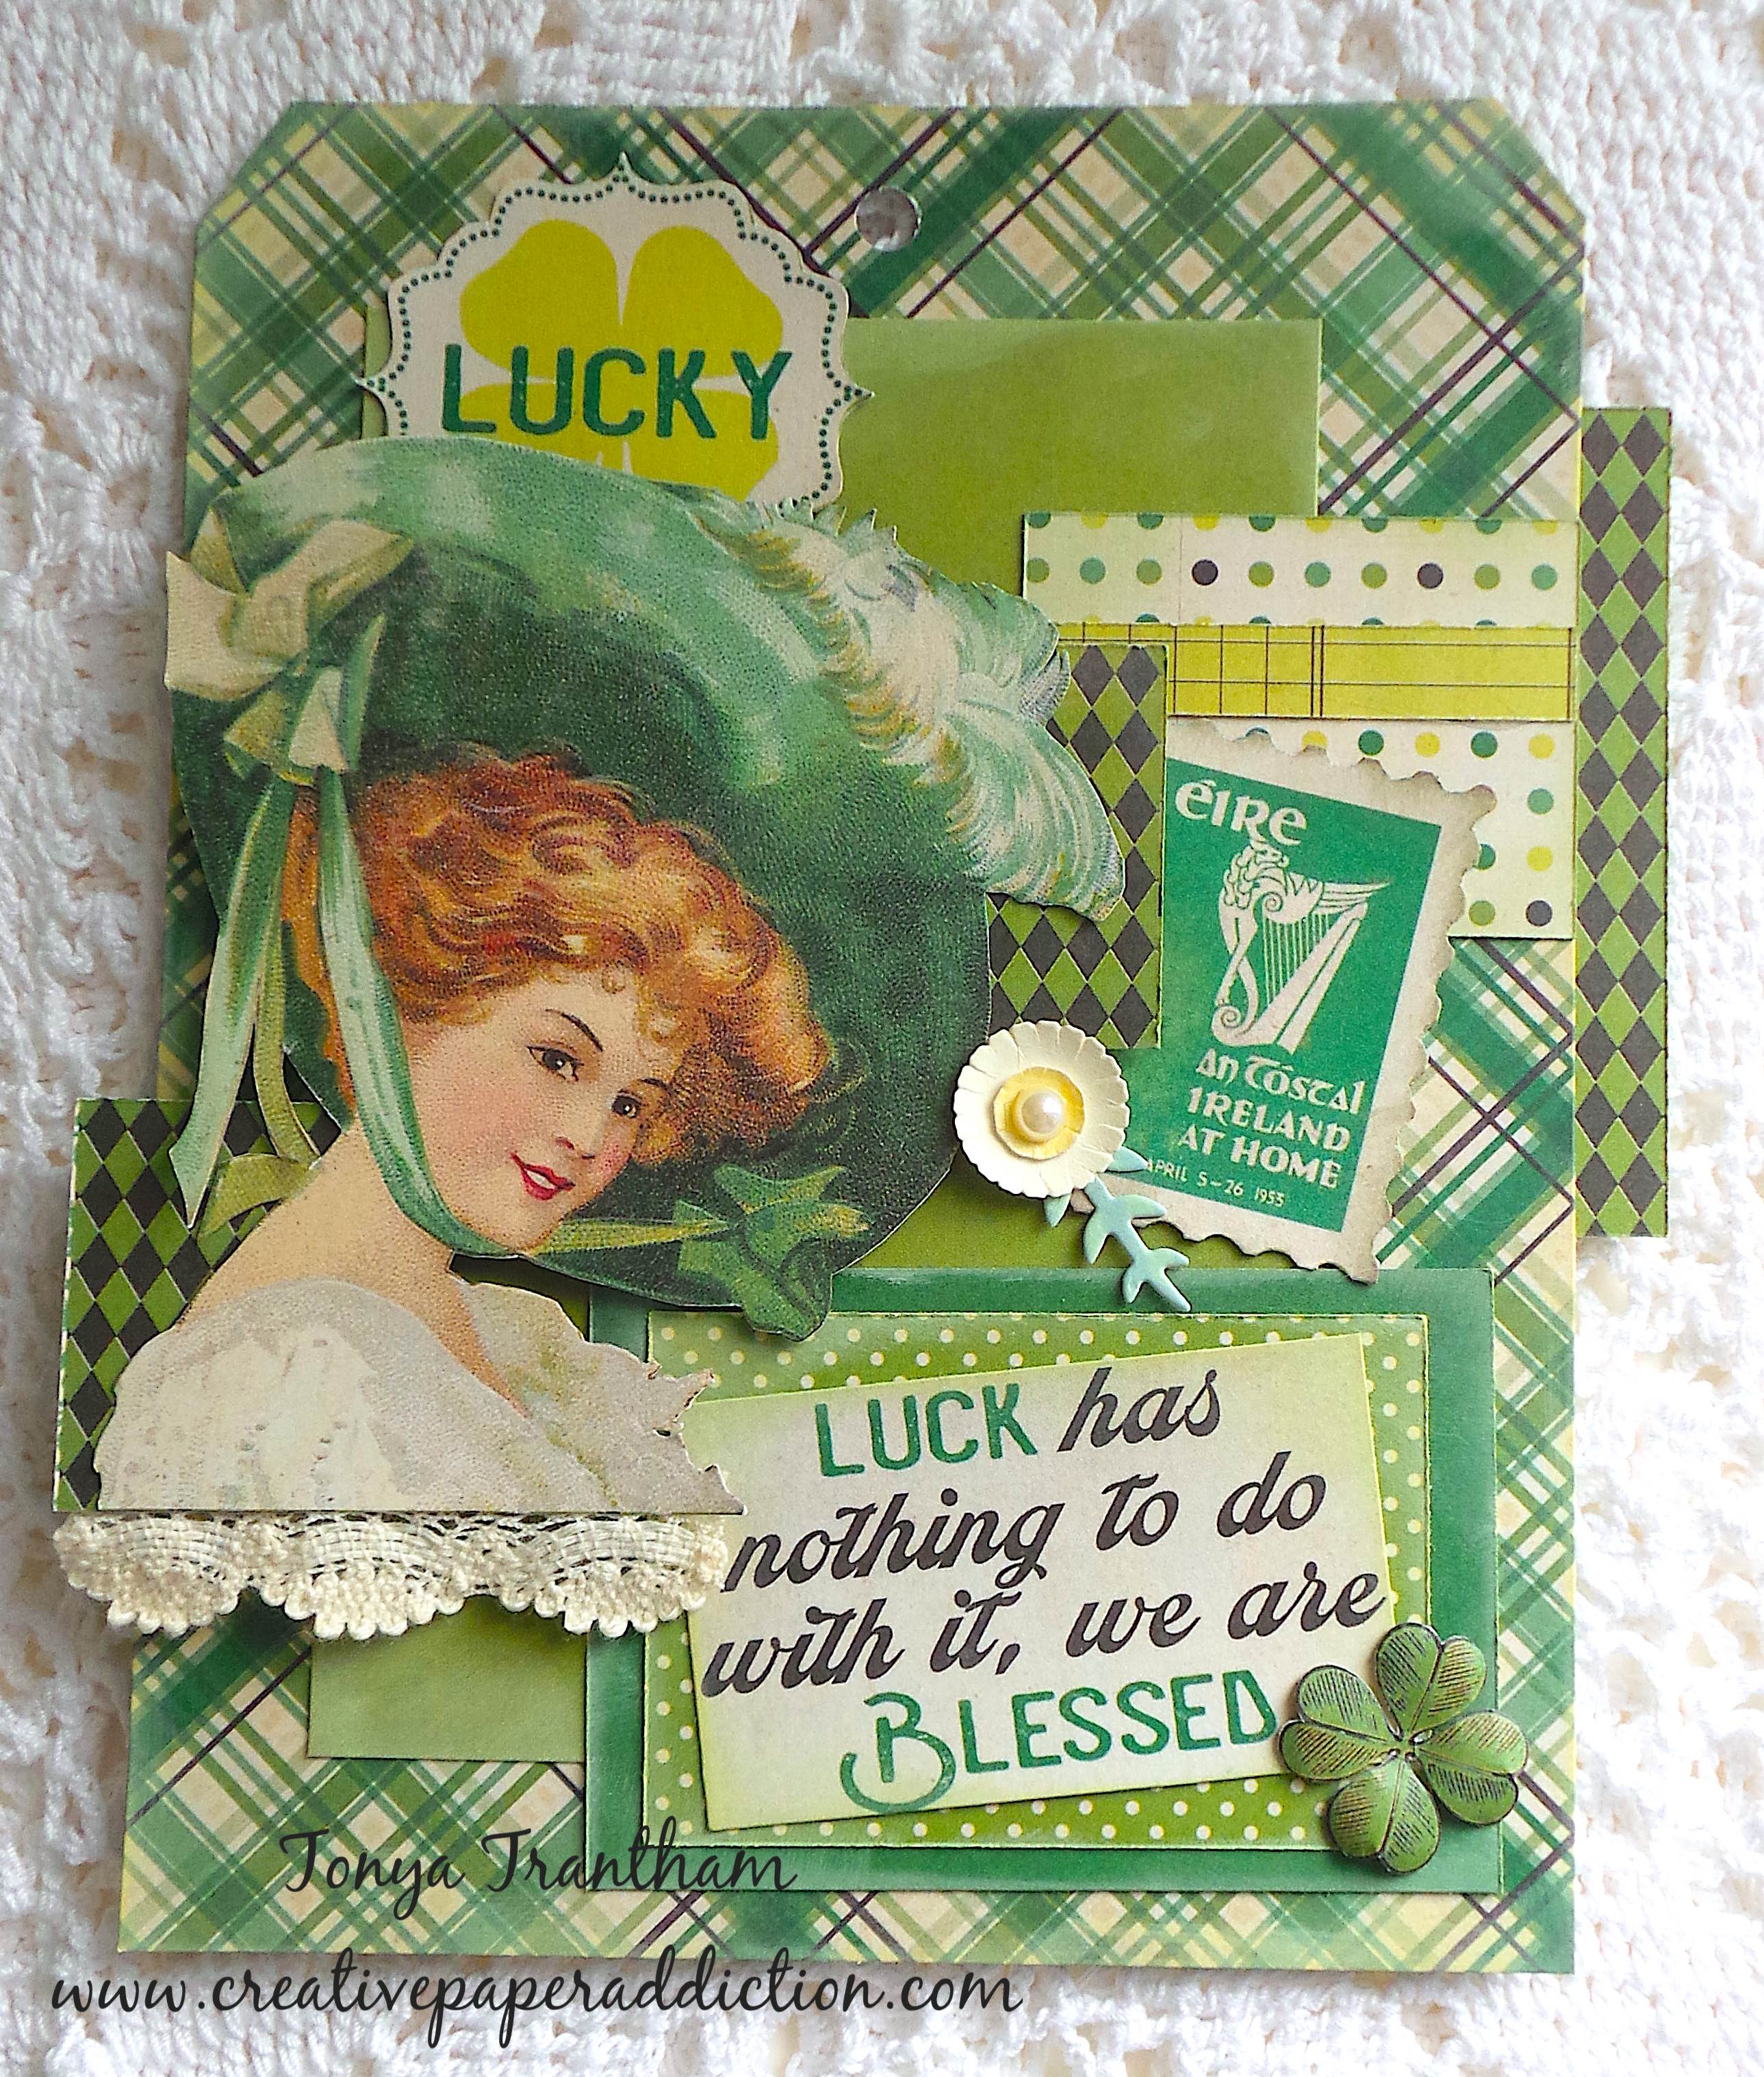
October Pumpkin Patch Tag

Hi everyone! I wanted to hop on the blog today and share a quick over sized tag I created for the month of October…I know the month is almost over…but here it is!!!

I cut the patterned cardstock 5 1/2″x10″ to create the base for my tag. I used the month of October set from the Authentique Calendar Collection (retired). I also selected several of the cut a parts to use on the tag.

I added layers of patterned cardstock and the cut-a-parts I placed Foam Pop Dots to the back of each before placing onto the tag. I cut out leaves and a few leaf sprigs from the Spring Leaves Diecut (retired) and shaped with a Stylus before adhering to the tag along with berry picks and bows made from cording.

I also decorated the back by adding more layers of patterned cardstock and cut-a-parts.

I did some fussy cutting around a couple of the figures and applied foam pop dots to the back of one of the images and sentiments. I also added more leaf sprigs, bows and berry sprigs to finish off the tag.

Supplies

Authentique: Calendar Collection (retired)

Foam Pop Dots

Sizzix/Eileen Hull: Spring Leaves Diecut (retired)

Stylus

Diecut Machine

Paper Cutter

Scissors

Cording, Berry Sprigs, Button

Beacon Adhesives: Zip Dry Adhesives

(Products listed above are Affiliated Links for your convenience)

DISCLAIMERS

This blog is compensated to provide opinion on products, services, websites, and various other topics. Even though the owner(s) of this blog receives compensation for our posts or advertisements. I always give my honest opinions, findings, beliefs, or experiences on those topics or products. The views and opinions expressed on this blog are purely my own. Any product claim, statistic, quote or other representation about a product or service should be verified with each manufacturer, provider, or party in question.This blog contains affiliate links, clicking and shopping through these links helps to support and run Tonya Trantham Designs – Creative Paper Addiction at no additional cost to you. Today’s features are Scrapbook.com and A Cherry on Top Crafts Products. 

Thanks for stopping by, hope your Thursday is wonderful and enjoy creating!

September Apple Harvest Tag

Hi everyone! I’m back with a quick end of the month project I created using some cut a parts and cardstock from the Authentique Calendar Collection (retired). So let’s get started!

I cut a 5″x10 1/2″ piece of patterned cardstock and a 4″x8 1/2″ plain piece of cardstock out. I cut off the top edges of both and punched a hole in the top of each tag. I also inked the edges with chalk ink.

One sheet of cardstock had an assortment of cut a parts which I cut and selected the ones I would use on the tag.

I inked edges and adhered the cut a parts to the tag. Next I diecut leaves and leaf sprigs from the Funky Foliage Thinlits, shaped with a Stylus and glued under the cut a parts.

I also decorated the other side of the tag by adhering the smaller tag slightly off center of the larger tag.

Next I glued the September, Apples tag and people picking apples cut a parts onto the tag.

I placed more of the leaves and leaf sprigs under the September and apples tags.

I finished off by adding cording and thread to the leaves on both sides of the tag.

Supplies

Sizzix/Tim Holtz: Funky Foliage Thinlits

Authentique: Calendar Collection (retired)

Stylus

Diecut Machine

Scissors

Paper Cutter

Cording and Thread

Chalk Ink

Hole Punch

Beacon Adhesives: Zip Dry Adhesives

(Products listed above are Affiliated Links for your convenience)

DISCLAIMERS

This blog is compensated to provide opinion on products, services, websites, and various other topics. Even though the owner(s) of this blog receives compensation for our posts or advertisements. I always give my honest opinions, findings, beliefs, or experiences on those topics or products. The views and opinions expressed on this blog are purely my own. Any product claim, statistic, quote or other representation about a product or service should be verified with each manufacturer, provider, or party in question.This blog contains affiliate links, clicking and shopping through these links helps to support and run Tonya Trantham Designs – Creative Paper Addiction at no additional cost to you. Today’s features are from Scrapbook.com and Cherry on Top. 

Thanks for stopping by, hope your Friday is wonderful and enjoy creating!

The Fancy Free Bee Hive

Hi everyone! I’m back this week with a extra large tag I created using the sheets of cardstocks from the June Calendar Collection (retired) by Authentique. I also used an assortment of Eileen Hull’s flowers, leaves and leaf sprig thinlits to dress up both sides of the tag. So, let’s get started!

With this June set of cardstocks, there is one patterned double sided sheet, one plain double sided sheet and one cut a part with images on one side and patterned cardstock on the other side. The first tag I cut the patterned cardstock 10 1/2″x5 1/4″ and punched a hole in the top. The second tag I cut from the plain cardstock 8 1/2″x4 1/4″ and punched a hole in the top also. I cut two of the tag reinforcers from the Waterfall Card and Tag Thinlits and adhered to the holes punched in each tag.

I placed Foam Pop Dots to the back of the plain tag and placed slightly off the larger tag. I glued midway of the smaller tag three strips of cardstock to create banners. The bee and daisy cut a part I adhered slightly off the smaller tag and arranged the two stamps and the sentiment cut a parts around the bee image.

I cut flowers, leaves and leaf sprigs from the following Thinlits: Folio Page Pocket and Flowers and Flower and Leaf Stitchlits (retired) and shaped with a Stylus, layered the flowers with leaves and added gems to the center. I finished off with loops of thread, sequins and a little bit of lace.

The other side of the tag I stacked and adhered two different patterned cardstocks slightly off center of each other along with a fairy and bee image I fussy cut. The June image I cut down and added a mat before placing on the tag along with a fussy cut image of yellow roses. I matted the “fancy-free” sentiment and placed over the fairy. The “Summer Time and the Living is Easy” sentiment I placed under the June image.

I shaped and adhered more flowers and leaves to the tag with loops of thread and a bow made from Hemp Cord to finish.

I still have more cut a parts and cardstock leftover and I’m hoping I can squeak out another tag or maybe even a card before the month is over.

Supplies

Authentique: June Calendar Collection (retired)

Scraps of Green and White Cardstock

Sizzix/Eileen Hull: Waterfall Card and Tag Thinlits

Sizzix/Eileen Hull: Folio Page Pocket and Flowers Thinlits

Sizzix/Eileen Hull: Flower and Leaf Stitchlits Thinlits (retired)

Foam Pop Dots

Stylus

Hemp Cord

Diecut Machine

Paper Cutter

Scissors

Hole Punch

Gems, Lace, Thread

Beacon Adhesives: Zip Dry Adhesive

(Products listed above are Affiliated Links for your convenience)

DISCLAIMERS

This blog is compensated to provide opinion on products, services, websites, and various other topics. Even though the owner(s) of this blog receives compensation for our posts or advertisements. I always give my honest opinions, findings, beliefs, or experiences on those topics or products. The views and opinions expressed on this blog are purely my own. Any product claim, statistic, quote or other representation about a product or service should be verified with each manufacturer, provider, or party in question.This blog contains affiliate links, clicking and shopping through these links helps to support and run Tonya Trantham Designs – Creative Paper Addiction at no additional cost to you. Today’s features are Sizzix, Eileen Hull and Scrapbook.com Products. 

Thanks for stopping by, hope your Monday is great and enjoy creating!

Let Freedom Ring Tag

Hi there! How is everyone? Will you be doing anything special for the 4th of July? Are you staying cool in your neck of the woods? Here, we are in the upper 80’s to low 90’s with not much relief in sight…so glad my husband agreed to getting a swimming pool! Anyways, I want to share a patriotic tag I created for the 4th of July!

I used the July cardstocks from the Authentique: Calendar Collection (retired) to create both sides of this tag. I cut patterned cardstock to 5″x10 1/2″ to create the base for the tag.

The journaling cards/cut-a-parts in the collection I cut apart, adhered some to the base and added Foam Pop Dots to the back of a couple to give dimension to the tag.

I cut and adhered Patriotic Red, White and Blue Ribbon underneath the cut-a-parts, along with thread, stars, sequins and White Pom Pom Trim at the bottom of the tag.

There you have it! If you have questions about this project please let me know.

Supplies

Authentique: Calendar Collection (retired)

Foam Pop Dots

Gwen Studios: Patriotic Red, White and Blue Ribbon

Gwen Studios: Peach and White Pom Pom, Tassel and Ribbon

Paper Cutter

Scissors

Thread, Sequin and Stars

Beacon Adhesives: Zip Dry Adhesive

(Products listed above are Affiliated Links for your convenience)

DISCLAIMERS

This blog is compensated to provide opinion on products, services, websites, and various other topics. Even though the owner(s) of this blog receives compensation for our posts or advertisements. I always give my honest opinions, findings, beliefs, or experiences on those topics or products. The views and opinions expressed on this blog are purely my own. Any product claim, statistic, quote or other representation about a product or service should be verified with each manufacturer, provider, or party in question.This blog contains affiliate links, clicking and shopping through these links helps to support and run Tonya Trantham Designs – Creative Paper Addiction at no additional cost to you. Today’s features are Gwen Studios and Scrapbook.com

Thanks for stopping by, hope your Friday is great and enjoy creating!

We are Blessed Tag

Hi everyone! I wanted to hop on quick before this month ended and share another March themed tag I created. (I almost forgot…up oh!) This was the leftovers from the Authentique Calendar Paper Pad ( plan is to do something each month with the cardstocks…fingers crossed). I fussy cut several of the images out from the cut a parts that was included with that month. I used tiny scraps that I had leftover, inked edges and added a flower and leaf sprig from the Foilo Page, Pocket and Flowers Thinlit Dies along with a piece of lace. I also shaped the fussy cut shamrock with a Stylus that is on the corner of the sentiment.

The back of the tag I kept it pretty simple with the layers. But I did used a shamrock stamp by Colorbox (no longer in business but still a favorite), fussy cut and shaped with a stylus before adhering to the bottom corner of the tag. I hope you enjoyed this quick post and as always if you have any questions please let me know.

Supplies

Authentique: Calendar Paper Pad

Sizzix/Eileen Hull: Foilo Page, Pocket and Flowers Thinlit Dies

Stylus

Diecut Machine

Scissors

ColorBox: Shamrock Stamp (no longer in business)

Black Ink

Paper Cutter

Lace and Flatback Pearl

Various Scraps of Cardstock and Diecuts

Beacon Adhesive: Zip Dry Adhesive

(Products listed above are Affiliated Links for your convenience)

DISCLAIMERS

This blog is compensated to provide opinion on products, services, websites, and various other topics. Even though the owner(s) of this blog receives compensation for our posts or advertisements. I always give my honest opinions, findings, beliefs, or experiences on those topics or products. The views and opinions expressed on this blog are purely my own. Any product claim, statistic, quote or other representation about a product or service should be verified with each manufacturer, provider, or party in question.This blog contains affiliate links, clicking and shopping through these links helps to support and run Tonya Trantham Designs – Creative Paper Addiction at no additional cost to you. Today’s features are Scrapbook.com Products. 

Thanks for stopping by, hope your Wednesday is great and enjoy creating!

Bunny Basket

Hi everyone! I’m back with my project this month for Eileen Hull! Since Easter is a less than a month away I wanted to show you how to create an Easter basket using the Folio Page Pocket and Flower Thinlits Dies and the Teacup and Spoon Diecut. Lets get started!

From the Folio Page Pocket and Flower Thinlits I cut two of the corner pockets with flaps and from the Teacup and Spoon Die I cut the “pocket” diecut out. I folded the “pocket” in half.

While still folded in half I cut a “v” out on either side of the flap.

While still folded I punched a hole at the top and added an eyelet on either side for the handle.

I adhered the corner pocket dies to each side of the flaps on the “pocket”.

I cut out two corner dies without flaps and glued to the inside of the pocket to cover the tabs and make it look neater.

I tied a 12 inch pipe cleaner to either side of the basket.

I placed Foam Pop Dots to the back of the bunny image and placed onto the front of the basket. Next I shaped flowers and sprig dies, placed a gem in the center of each flower and added to the bunny image.

I tied bits of lace to the handle and a shaped flower and a carrot sticker. Added Easter grass and bite size candies, a little bird and fake eggs to finish this adorable basket.

If you haven’t checked out Eileen Hull’s blog to see what the Inspiration and Educator Teams have been up to lately you can find the latest posts HERE and HERE. As always if you have any questions about this projects please let me know.

Supplies

Sizzix/Eileen Hull: Folio Page Pocket and Flower Thinlits

Sizzix/Eileen Hull: Teacup and Spoon Diecut

Easter/Spring Cardstock and Stickers (I used retired line of Authentique)

Foam Pop Dots

Diecut Machine

Paper Cutter

Scissors

Pipe Cleaner

Gems, Trim and Eyelets

Crop-A-Dile

Stylus

Beacon Adhesive: Zip Dry Adhesive

(Products listed above are Affiliated Links for your convenience)

DISCLAIMERS

This blog is compensated to provide opinion on products, services, websites, and various other topics. Even though the owner(s) of this blog receives compensation for our posts or advertisements. I always give my honest opinions, findings, beliefs, or experiences on those topics or products. The views and opinions expressed on this blog are purely my own. Any product claim, statistic, quote or other representation about a product or service should be verified with each manufacturer, provider, or party in question.This blog contains affiliate links, clicking and shopping through these links helps to support and run Tonya Trantham Designs – Creative Paper Addiction at no additional cost to you. Today’s features are Sizzix, Eileen Hull and Scrapbook.com Products. 

Thanks for stopping by, hope your day is wonderful and enjoy creating!

Leprechaun Kisses and Shamrock Wishes Tag

Hi everyone! I wanted to hop on and share a St. Patrick’s Day tag I created using the March cardstock set from the Authentique Calendar Paper Pad (I’m still shopping my stash).

First off I cut a tag out from the Tim Holtz’s Tag Diecut Set (largest diecut). I cut all the cut a parts from the March set in the paper pad out and even when further by fussy cutting certain images out. Next I shaped the shamrocks with a Stylus to add dimension, inked edges of the tag, a decorative diecut (from my stash) and cut a parts before assembling all the pieces together. I added Foam Pop Dots to the back of the leprechaun image and green thread bows before placing onto the tag.

There you have it! Do you celebrate St. Patrick’s Day? If you do please let me know in comments and as always if you have any questions please let me know.

Supplies

Authentique: Calendar Paper Pad

Sizzix/Tim Holtz: Tag Diecut Set

Stylus

Foam Pop Dots

Diecut Machine

Scissors

Paper Cutter

Beacon Adhesive: Zip Dry Adhesive

Chalk Ink

Green Thread

(Products listed above are Affiliated Links for your convenience)

DISCLAIMERS

This blog is compensated to provide opinion on products, services, websites, and various other topics. Even though the owner(s) of this blog receives compensation for our posts or advertisements. I always give my honest opinions, findings, beliefs, or experiences on those topics or products. The views and opinions expressed on this blog are purely my own. Any product claim, statistic, quote or other representation about a product or service should be verified with each manufacturer, provider, or party in question.This blog contains affiliate links, clicking and shopping through these links helps to support and run Tonya Trantham Designs – Creative Paper Addiction at no additional cost to you. Today’s features are (Sizzix and Scrapbook.com Products. 

Thanks for stopping by, hope your day is great and enjoy creating!

Genuine Vintage Pocket Notebook

Hi everyone! I want to share this Vintage Baseball Pocket Notebook I create for Eileen to take on her trip to the UK. Also I thought why not share since the World Series will be starting soon.

I applied Adhesive Sheets to both sides of the Mat Board, placed the cardstock on both sides, run through the Diecut Machine and I cut two covers out. 
Also the cardstock I used is from Authentique, it’s retired and I can’t find the package to tell you what the name of the collection is…sorry. 😔 I added a “one of a kind” journaling card from the same collection to the cover. And I fussy cut from another journaling card two baseball players which I adhered one player to the front corner of the cover and added three black gems to each corner of the one of the “one of a kind” journaling card .

The back of the journal I adhered the other baseball players and a couple of  banners to the lower corner.
I lined the last hole up on the spine and adhered together. For a more finished look I cut another piece of wood patterned cardstock and adhered to the spine and set Eyelets in each of the holes.
I ran the elastic cording through the button holes and the middle holes on the spine and tied off. I did add a little adhesive to the back of the button to keep it from sliding around.
I ran elastic cording through the holes on the spine and tied off inside the cover. There is eight elastic bands that can hold journals.
I forgot to add that I applied an adhesive sheet to the back of piece of cardstock and then I cut the word “journal” out from the Journaling Words Diecuts and placed it at the top of the journal cover. There you have it a completed journal cover and all that needs to be added is notebooks. Be sure to hop on over to Eileen Hull’s blog to see what the rest of her Inspiration Team has created! You can find this month’s posts: HERE, HERE and HERE. As always if you have any questions please let me know.
Supplies

Sizzix/Eileen Hull: Pocket Notebook Diecut
Elastic Cording
Button
Gems
Cardstock
(Products listed above are Affiliated Links for your convenience)

DISCLAIMERS
This blog is compensated to provide opinion on products, services, websites, and various other topics. Even though the owner(s) of this blog receives compensation for our posts or advertisements. I always give my honest opinions, findings, beliefs, or experiences on those topics or products. The views and opinions expressed on this blog are purely my own. Any product claim, statistic, quote or other representation about a product or service should be verified with each manufacturer, provider, or party in question.This blog contains affiliate links, clicking and shopping through these links helps to support and run Tonya Trantham Designs – Creative Addiction to Paper Blog at no additional cost to you. Today’s features are Sizzix and Eileen Hull Products. 

Thanks for stopping by, hope your Tuesday is great and enjoy creating!

Just Fabulous Notebook

Hi everyone! I’m back with a project using Eileen Hull’s newest Notebook Diecut. This project I created for Creativation this past January. I cut the notebook from Matboard and covered with a Fabulous Paper Collection from Authentique. Next I cut from matboard the frame from the Books and Pages, Trinket Box and Frame Diecut. I embossed it with the Waffle Embossing Folder (retired). I inked the frame with a Tutu Blends Ink and once that was dry I lightly went around the edges with Metallic Blush Pigment Ink. Before adhering to the front cover I glued an image of a woman from the Fabulous Paper Collection to the inside of the frame. 

I cut two flowers from the Flowers and Leaves Journaling Cards Diecuts. I shaped and adhered together. I fussy cut flowers and leaves images from scraps of cardstock I had laying around and adhered to the corner of the frame along with the shaped flower. I glued a sequin and glossy dot to the center of the flower. 
I covered the inside with patterned cardstock. Next I punched holes in either end of the spine and threaded elastic thread through the holes and tied off.
I threaded through the holes polka dotted ribbon and before tying off I added a mini tassel.
I decorated the front and back of a mini notebook (these can be purchased at the Dollar Tree and Walmart) with the same Fabulous Paper Collection and added three glossy dots to the cover too.
All I had to do was slide the notebook under the elastic. Easy Peasy! If you would like to see more fun projects from the Inspiration Team hop on over to Eileen Hull’s blog which you can find HERE

As always if you have any questions about this project please let me know.
I would also like to submit this project for the following challenges:

Word Art Wednesday: Anything Goes-Challenge #380-#381
Mini Album Makers Challenge: April 2019
Supplies Used
Sizzix/Eileen Hull: Notebook Diecut
Sizzix/Eileen Hull: Waffle Embossing Folder (retired)
Sizzix: Matboard
ColorBox/Eileen Hull: Tutu Blends Ink
Authentique: Fabulous Paper Collection 
Beacon Adhesive: Zip Dry Adhesive
Polka Dot Ribbon
Elastic Cording
Mini Tassel
Mini Notebook
Sequin
Glossy Dot

Thanks for stopping by, hope your Friday is wonderful and enjoy creating!

Sewing Notions Drawers

Hi everyone! I am back for my final project of February! I created this sewing notions drawers from Eileen Hull’s new diecut, Stacking Drawer Diecut that premiered  at Creativation in January.

Instead of stacking the drawers on top of each other I decided to place them side by side.

I cut three sets of drawers diecuts from Matboard and put together according to directions on the packaging. I adhered all three “walls” together and covered with patterned cardstock from Authentique. Actually all cardstock used on this project is from Authentique and if I remember correctly it from the Fabulous Collection.

I put all the drawers together and covered with cardstock outside and on the inside too. Before covering the inside with cardstock I added drawer pulls which I attached with brads.

I cut all the flowers and leaves from the Flowers and Leaves Jouranling Cards Diecuts.

I shaped all the flowers and added cording, lace, pearl top pins and mini spools to the top of the drawers.

I also added sequins and gems to the center of each flower. 

I dressed up the outside edges by adhering decorative trim to both sides of the drawers. Be sure to stop by Eileen Hull’s blog to see what the rest of the team has created! You can find these post HERE and HERE. As always if you have any questions about this project please let me know.

I would also like to submit this project for the following challenge:

Word Art Wednesday Anything Goes: Weeks #376-#377

Thanks for stopping by, hope your Thursday is wonderful and enjoy creating!