There was a Fairy that Lived in a Shoe…

Hi everyone! For over a year now I have participated in Eileen Hull’s monthly Art with Heart Challenge and this month’s I will start as an Inspiration Team  Member for Eileen’s Favorite Fall Things Challenge. Yes, you heard me right!!! I was asked to join and of course I said yes!!!


Since I love fairies I decided to create something fun and whimsical with an autumn twist using the 3D Shoe diecut which I cut from Black Mat Board.

I cut from patterned cardstock another shoe diecut and then adhered to the mat board surface, inked with brown chalk ink and then put together.

I laced and tied the shoe some brown twine. 

The image of the girl I found on the Land of Nod blog and the Butterfly Wings are from Altered Pages. I printed both out and then fussy cut and adhered the wings to the back of the girl. Next I stuffed some tissue down into the shoe and glued the girl to the tissue.

 I added dried moss and a mini pine cone around the feet of the little fairy to cover up the tissue paper. Also I adhered lace to the tongue of the shoe along with sequin and mini flat back pearls.

I tied off scalloped edge tulle with metallic floss and bunched up a some seam binding and added around the fairy. I cutting up a fall pick of berries and leaves and also added a couple of flowers and dew drops to finish off this adorable shoe. I can foresee me creating more of these shoes for different occasions.

Be sure to check out this month’s Art with Heart Challenge and link up your Favorite Fall Things project for a chance to win the vintage camper diecut that is shown below.
If you have any questions please let me know.

Thanks for stopping by, hope your Tuesday is awesome and enjoy creating! 

The Robin’s Nest: Snowman Sleigh Ride

Hi everyone! I’m here to share this month’s projects I created for the Robin’s Nest using the Winter Collection. I cut a sleigh (Sleigh Favor Box die from Brenda Walton) out of the Winter Retreat Swirl Cardstock and put together according directions. You can find the how to video on YouTube here.

For more info and photos on both projects please hop on over to the Chattering Robin’s blog!

Supplies Used:
Other Supplies: Sizzix: Brenda Walton-Sleigh Favor Box, Tim Holtz-Reindeer Flight Diecut and Snow Flurries and Dot-Matrix Embossing Folders, Martha Stewart Punch, Sequins, Buttons, Twine, Lace, Tulle, Wire, SmoothFoam 1/2″ and 1 1/2″ Balls, Silver Tinsel, Pearl Spray, Mini Bottle Brush Tree, Pipe Cleaner, Sculpey Clay, Antique Mod Podge, Acrylic Paint, Chalk Ink, Glitter

If you have any questions please let me know. Thanks for stopping by, hope your Sunday is awesome and enjoy creating!
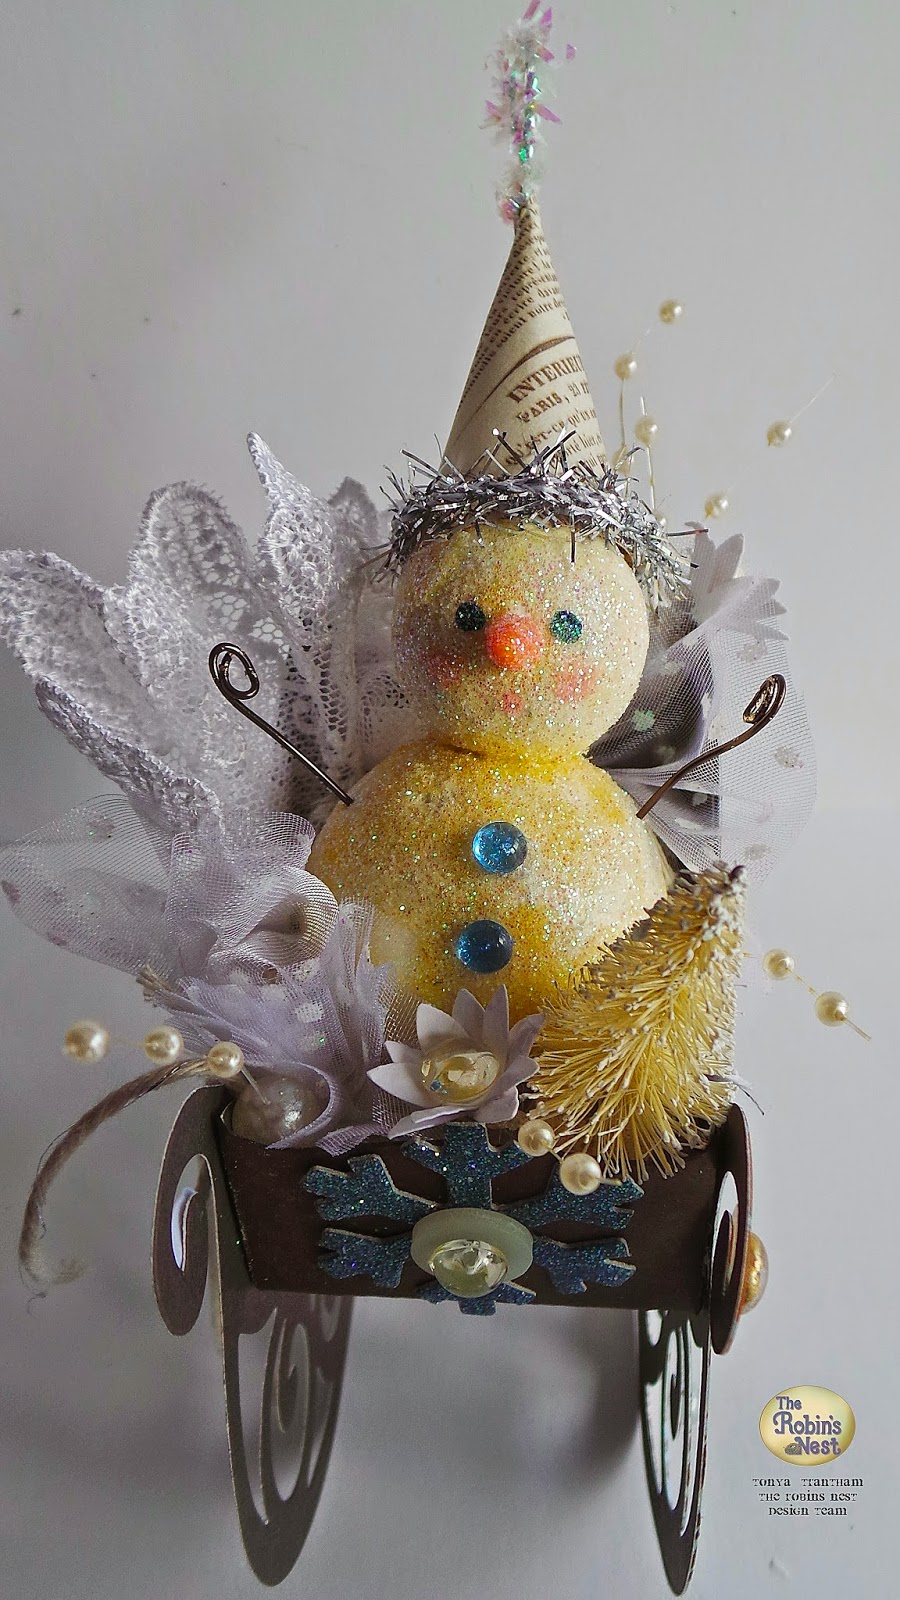
Snowflake Snowman

Hi everyone! We are almost half way through August! Can you believe that??? Summer has sure flown for me. I have painted one of our bathroom and three coats of paint later I can say the walls are finished. Now all I need is to paint the trim and door, install the new light and flooring, vanity, mirror, faucet, make a curtain and I’m finished. 🙂
I want to share a snowman decoration I created. I received a box full of Smooth Foam ornaments last year for a blog hop and this is one of the leftovers I didn’t use in the hop.
First off I applied gesso to the ornament, let dry and then painted with white acrylic paint. While the ornament was drying I shaped a carrot nose from orange Sculpey Clay and baked according to the directions on the package. I also cut from a sheet of vintage sheet music a small hat. I rolled it into a cone and adhered together and glued silver tinsel along the bottom of the hat.

I adhered two black dew drops and carrot nose to the ornament shape, painted a dot for the mouth and then I applied Antique Mod Podge all over then covered in glitter.
I painted a chipboard snowflake white and once dry I applied antique Mod Podge and sprinkled glitter over the whole snowflake. I then adhered to the base of the ornament the snowflake, tied seam binding around the “neck” and finished off with dew drops to the bow and snowflake.

Lastly I glued the little hat to the snowman’s head. Easy peasy decoration to set out at Christmas or a super cute gift to give. 🙂

Supplies Used:

SmoothFoam: Ornament, Robin’s Nest: Dew Drops, Seam Binding, Glitter, Sculpey Clay, Tinsel, Vintage Sheet Music, Chipboard Snowflake, Black and White Acrylic Paint, Gesso
If you have any questions please let me know. Thanks for stopping by, hope your Thursday is wonderful and enjoy creating!
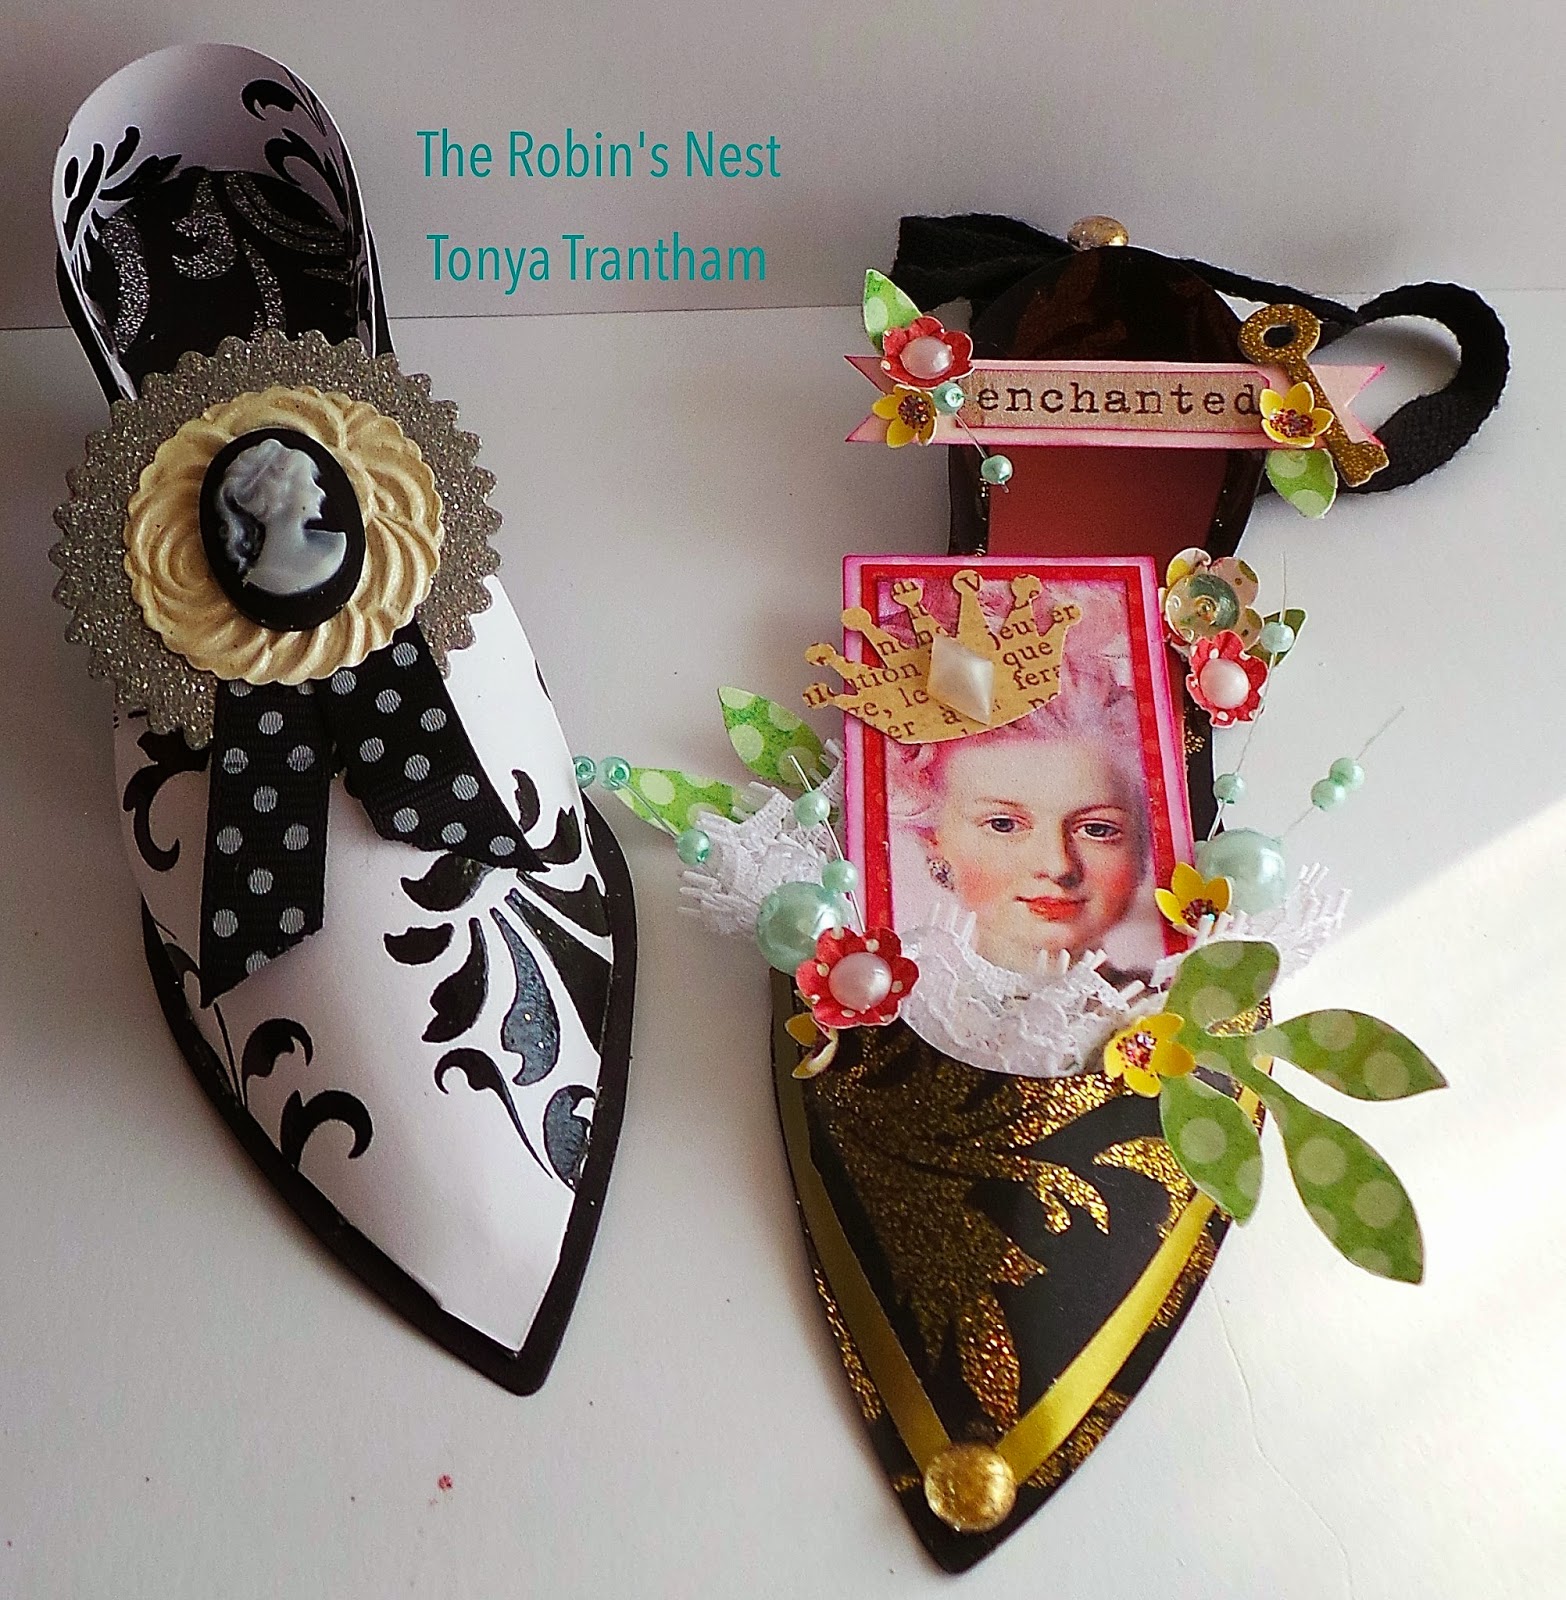
The Robin’s Nest: If the Shoe Fits Wear it

Hi everyone! It’s me and I’m back to share another couple of projects using the Wedding {in love} Collection which is also featured this month over at the Robin’s Nest.
I have these little shoes  I created using Brenda Walton’s: Sizzix Ballroom Slippers Diecut and an Anniversary card.

For more details on how to create these little shoes and card hop on over to the Chattering Robin’s blog and check it out! Also if you have any questions please let me know.
Thanks for stopping by, hope your Thursday is wonderful and enjoy creating!!!

The Robin’s Nest: There is "Gnome" Place Like Home

Hi everyone! I want to share a sneak peak at my projects I created using the Lodge Collection that is one of the Robin’s Nest featured products this month. This collection has a real woodsy outdoor feel and I decided since I had a leftover gnome printout from a previous project I was going to do something woodsy and whimsical. 

For complete directions please stop over at the Chattering Robin’s blog and check it!

Thanks for stopping by, hope your Sunday is wonderful and enjoy creating!!!


Yankee Doodle Annie

Hi everyone! I’m here to share my project for Eileen Hull’s Art with Heart Challenge which this month’s theme is Summer Celebrations. Since the 4th of July is just around the corner this is what I came up with.
I had started with the Scoreboards Diecut 3D Food Jar with Spoon. I turned it upside down and tada it looked like a doll head to me. I cut the base out in mattboard and then covered with flesh colored felt. I cut a nose from pink cardstock, added white sequins, two black dew drops and I painted a white dot on each dew drop for the eyes and adhered to the face. I also added a tiny enamel heart, that I colored with a pink sharpie to make it darker, for the mouth. To finish off her face I gave her rosy cheeks using my chalk pastels.

I also used the Sizzix die Flowers, Daisies #2 to create the hair with. I used three of those 8″x10″ sheets of orange felt to do her hair…that was the most time consuming part of her. Since there is a small hole in the center of the flower I cut open the flower and adhered it around her head.

I cut out Annie’s body from mattboard with the Sizzix Scoreboards XL Die Vase 3D and covered with a dark blue scrapbook paper. I adhered the head to the body and let dry.

I cut from red scrapbook paper Annie’s sleeves. I rolled up, glued one end and left the other open. I cut two small flesh colored circles for hands and adhered in the opening of the sleeve. Next I added lace, sequins, dew drops, button and baker’s twine to finish her off.

I plan on giving this little Annie to my mom since she has a collection of Raggedy Ann and Andy…she  still has my Andy and my sister’s Anne from when we were little. 🙂

Other Sizzix Die: Flowers, Daisies #2
Flesh and Orange Colored Felt
Sequins
Red and Blue Scrapbook Paper
Baker’s Twine
Lace
Button
Mattboard

Be sure to hop on over to Eileen Hull’s Art with Heart Challenge and see what everyone else has created and there is still time to join in on the challenge too.
 I hope you have enjoyed my little Annie and if you have any questions please let me know.
Thanks for stopping by, hope your Monday is awesome and enjoy creating!!!


The Fairy of Spring

 Hi everyone!!! I’m here to share a project I created using the Eileen Hull: Food Jar, 3-D and Spoon Diecut which is for the New Beginnings-Art with Heart Challenge.  This die has so many possible uses. I wanted to create something with a whimsical vintage Springy theme and this is what I came up with. 
The jar base is cut from mat board which I inked all of the edges and then adhered together. I dressed it up with cardstock from the Lost and Found collection from My Mind’s Eye. I added a little bit of tissue paper into the “bottom” of the jar. I fussy cut the Flower Fairy Vintage Graphics out and adhered to the tissue paper, added moss and then proceeded to add lace and the flowers that I had punched/cut out and shaped. 

The butterfly and the little birdie is fussy cut from theVintage Spring Printable-Country Living Project sheet. For the butterfly I added a little Stickles and an antenna made from 24 gauge bead wire which I wrapped with Tim Holtz Elements Tissue Tape. 

The little spoon is cut from mat board and to get its shape I dampened the bottom half of it. I used the largest stylus to make a “bowl”. I then used an actual baby’s spoon to finish shaping the “bowl” and the handle. Once dry I inked and adhered cardstock to the front and back of the spoon and inked it again. 🙂

I added a bit of moss, little birdie and a punched flower, sequins and dew drops to finish off this adorable spoon.


Also some other challenges I would like to submit my little Spring Fairy to:

Cut It Up Blog Challenge: National Craft Month, Anything Goes! Challenge #41

PAPER SWEETIES MARCH INSPIRATION CHALLENGE #17 – ‘POLKA DOT LOVE

Supplies Used:
Eileen Hull: Sizzix ScoreBoards Die – Food Jar, 3-D and Spoon
Other Sizzix Dies: Flower, 3-D Rose, Sizzlits: Flower #2 and Sizzlets: Stampin’ Up Little Leaves
Flower Punches
24 Gauge Bead Wire
Tim Holtz Elements Tissue Tape
Versa Magic Dew Drop: Aquatic and Oasis Green Chalk Ink
Crystal Stickles
Mat Board 
Lace
Sequins
Moss
My Mind’s Eye: Lost and Found Collection 
The Robin’s Nest: Pink Glitter Cardstock, Dew Drops 
Eclectic Anthology: Flower Fairy Vintage Graphics
The Graphic Fairy: Vintage Spring Printable-Country Living Project


If you want to play along with these challenges be sure to stop by Eileen Hull’s blog, Paper Sweeties and Cut It Up Blog Challenge for more details. Also if you have any questions let me know.
Thanks for stopping by, hope your Thursday is awesome and enjoy creating!!!