9 Unique Card Designs from Merry Moments Kit
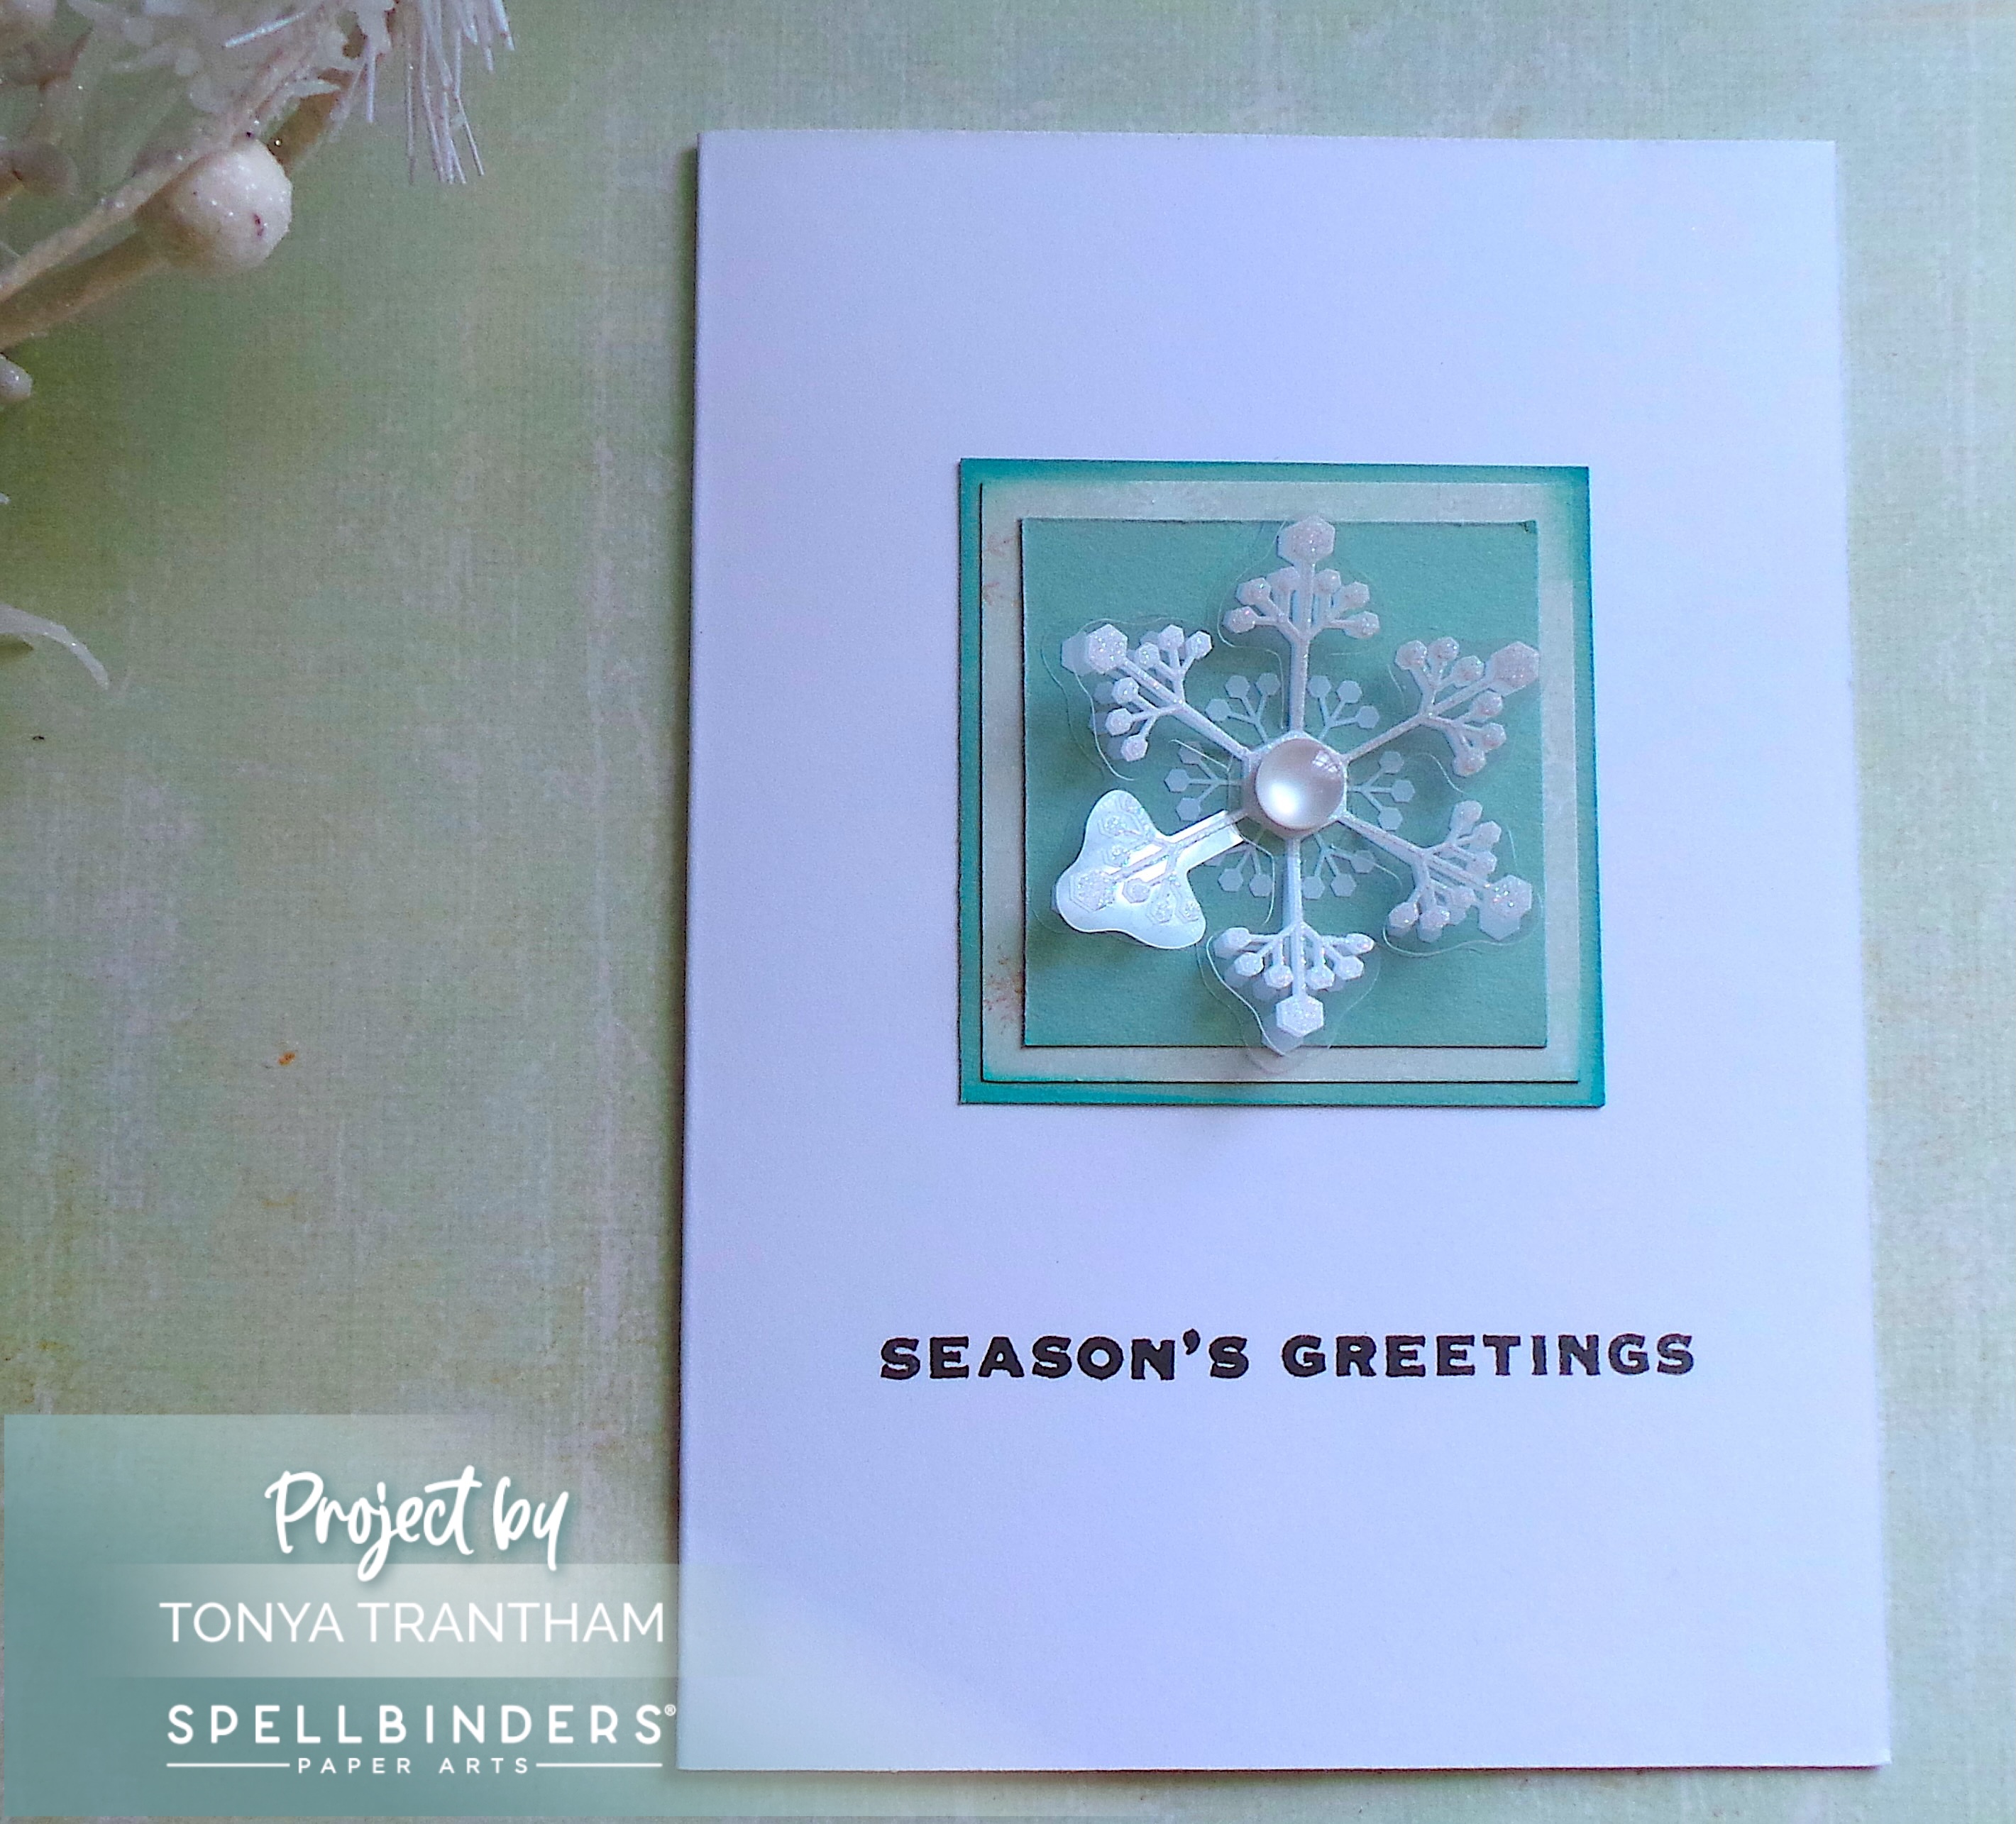
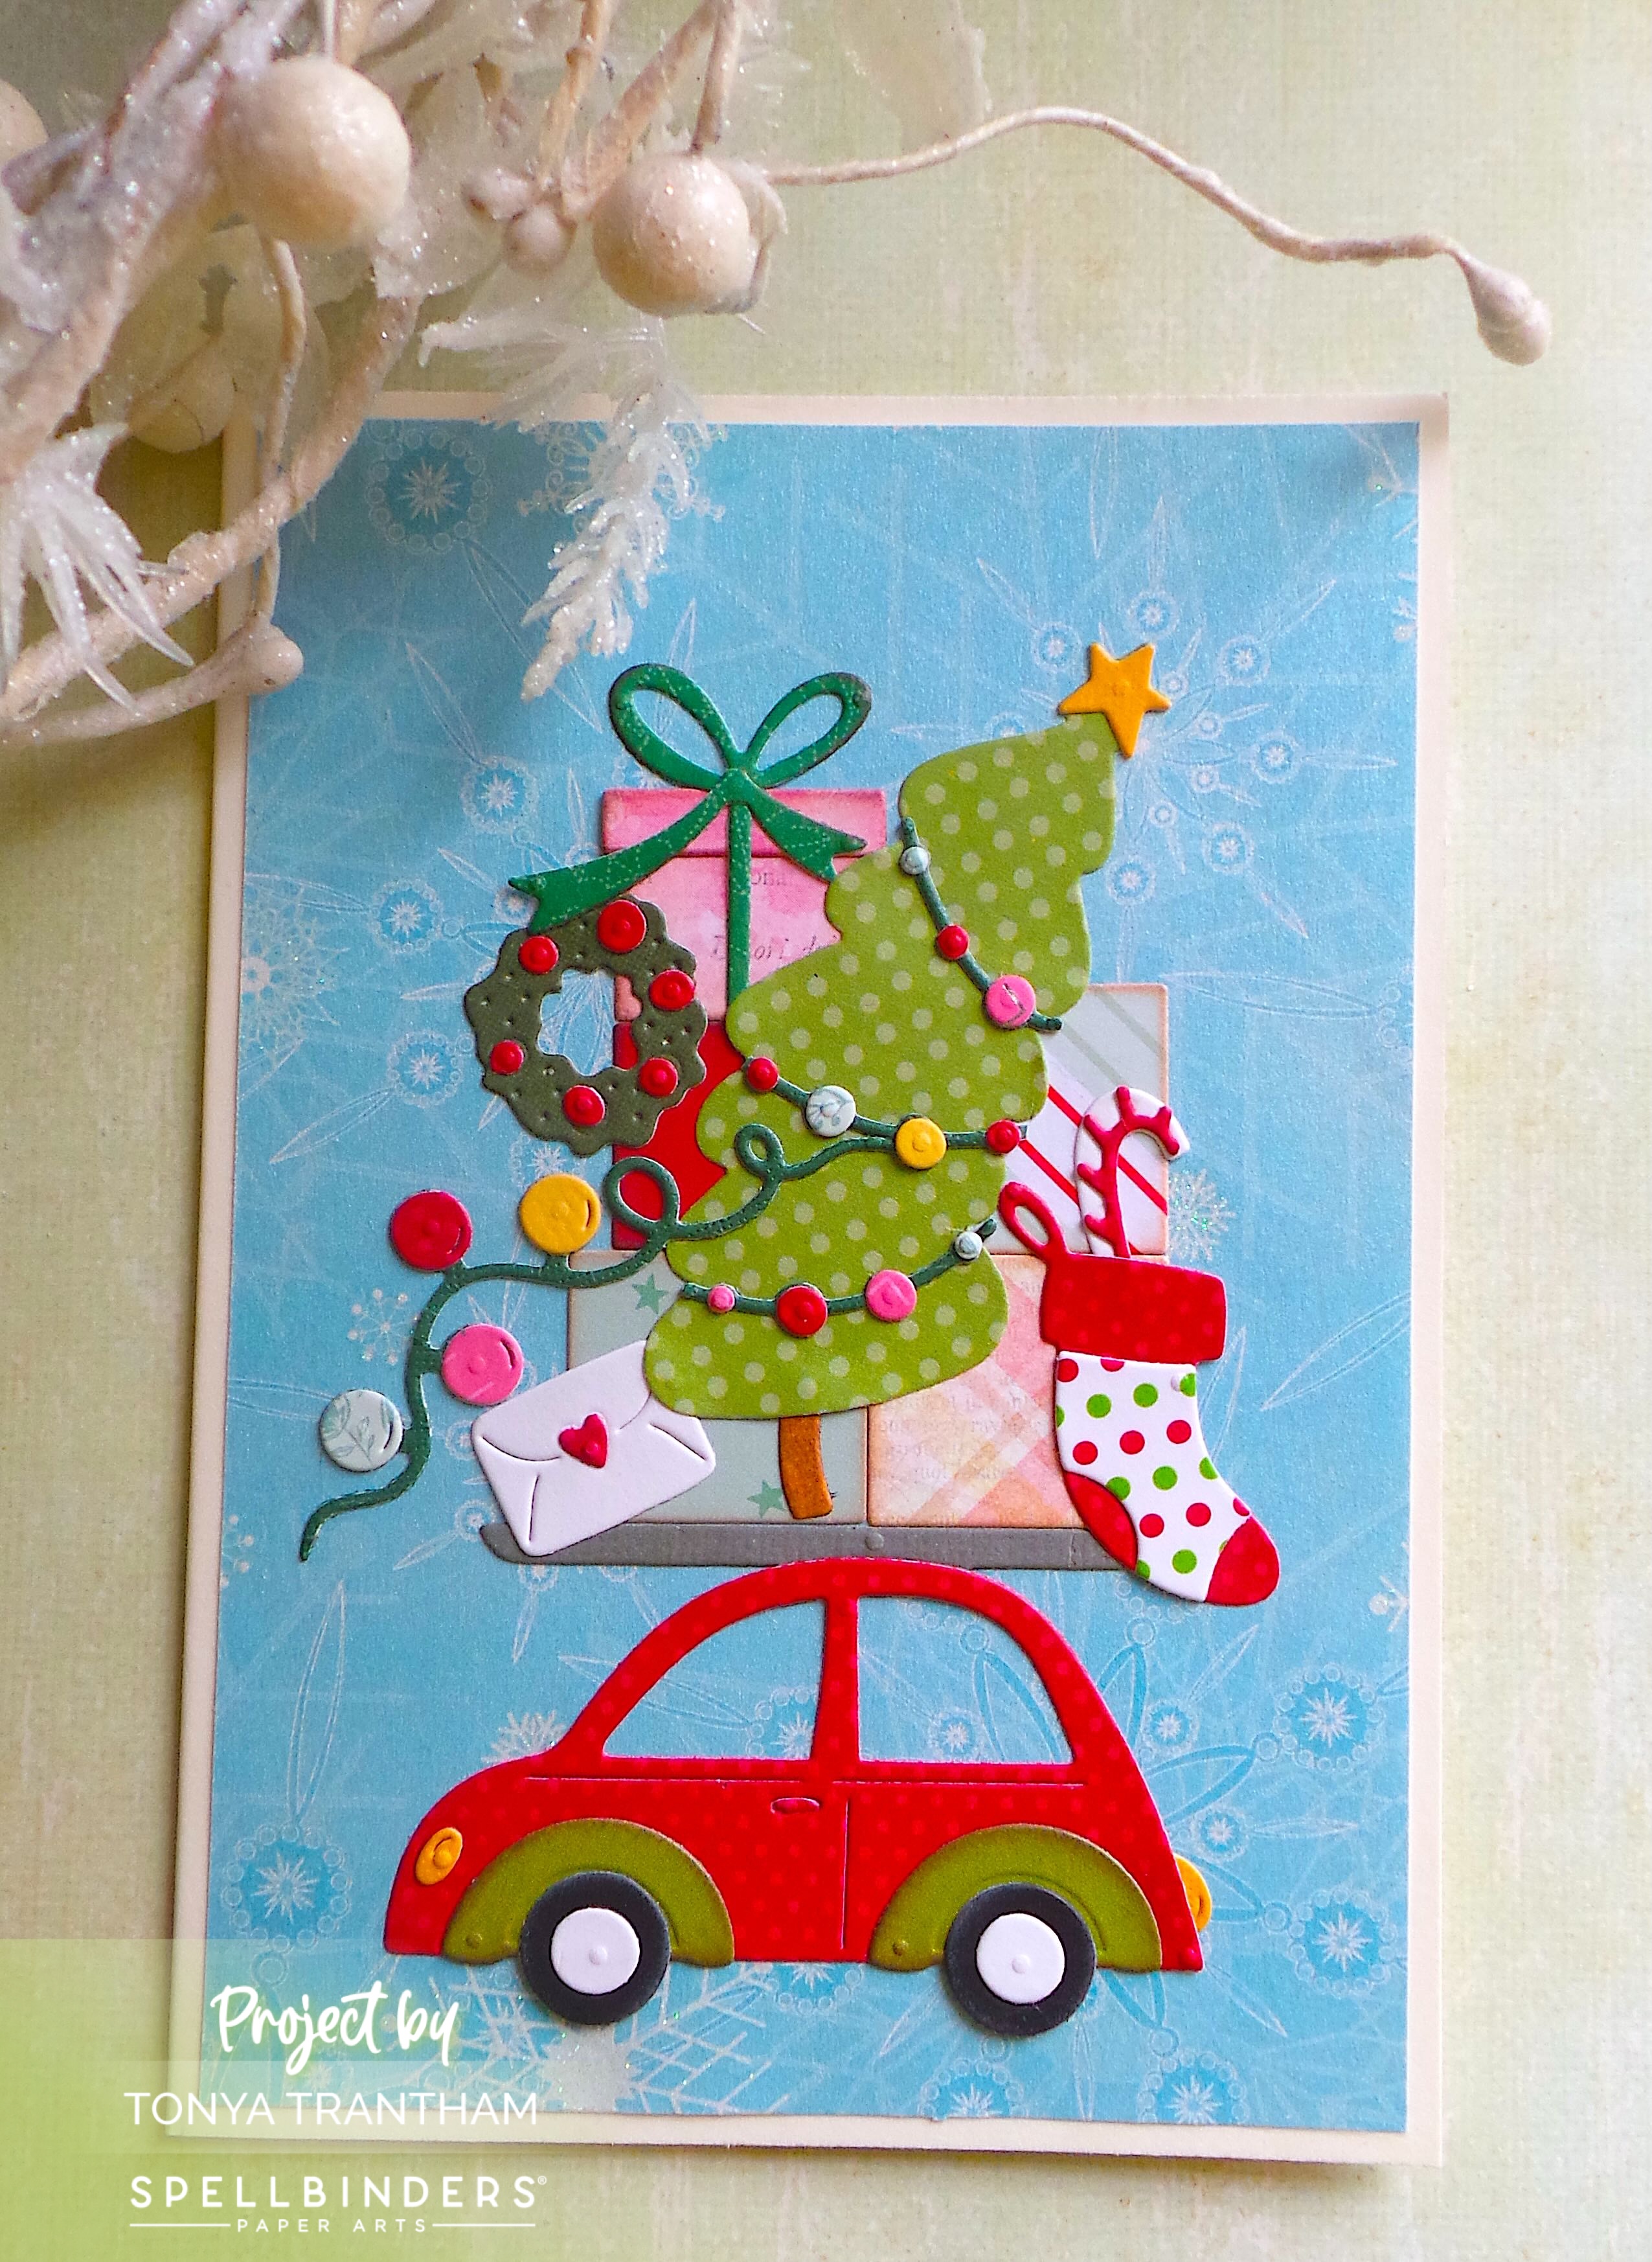
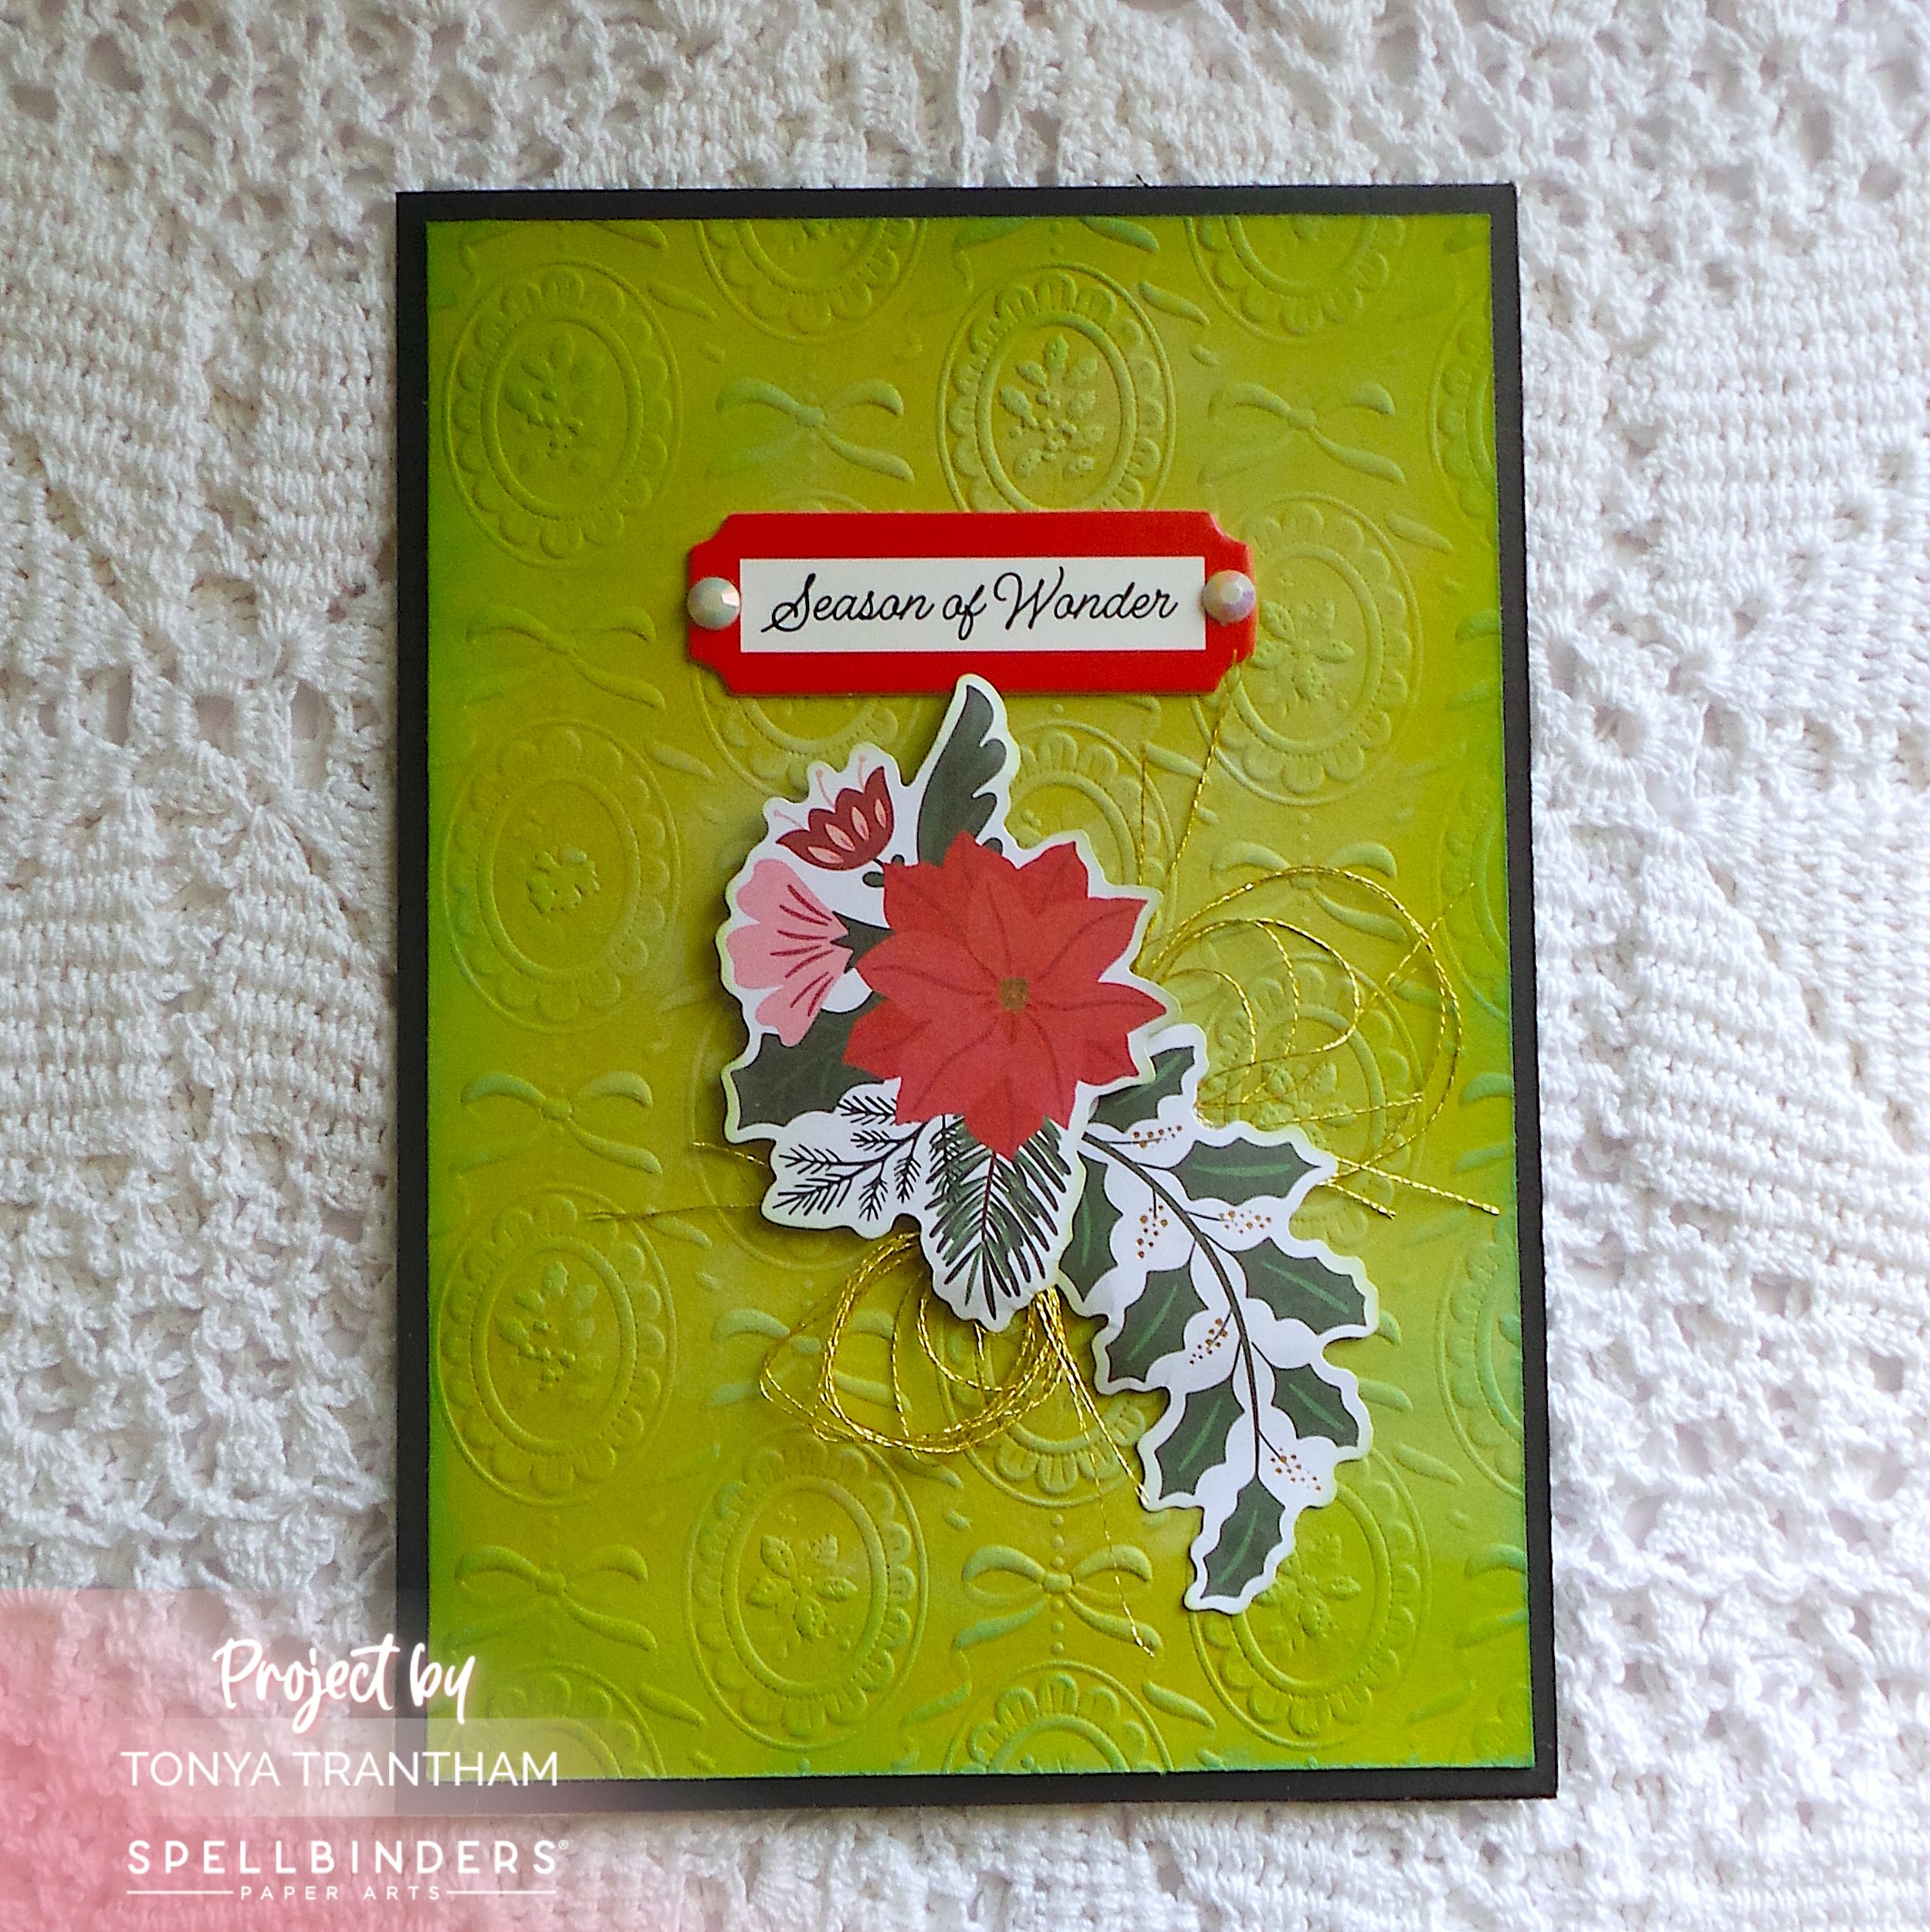
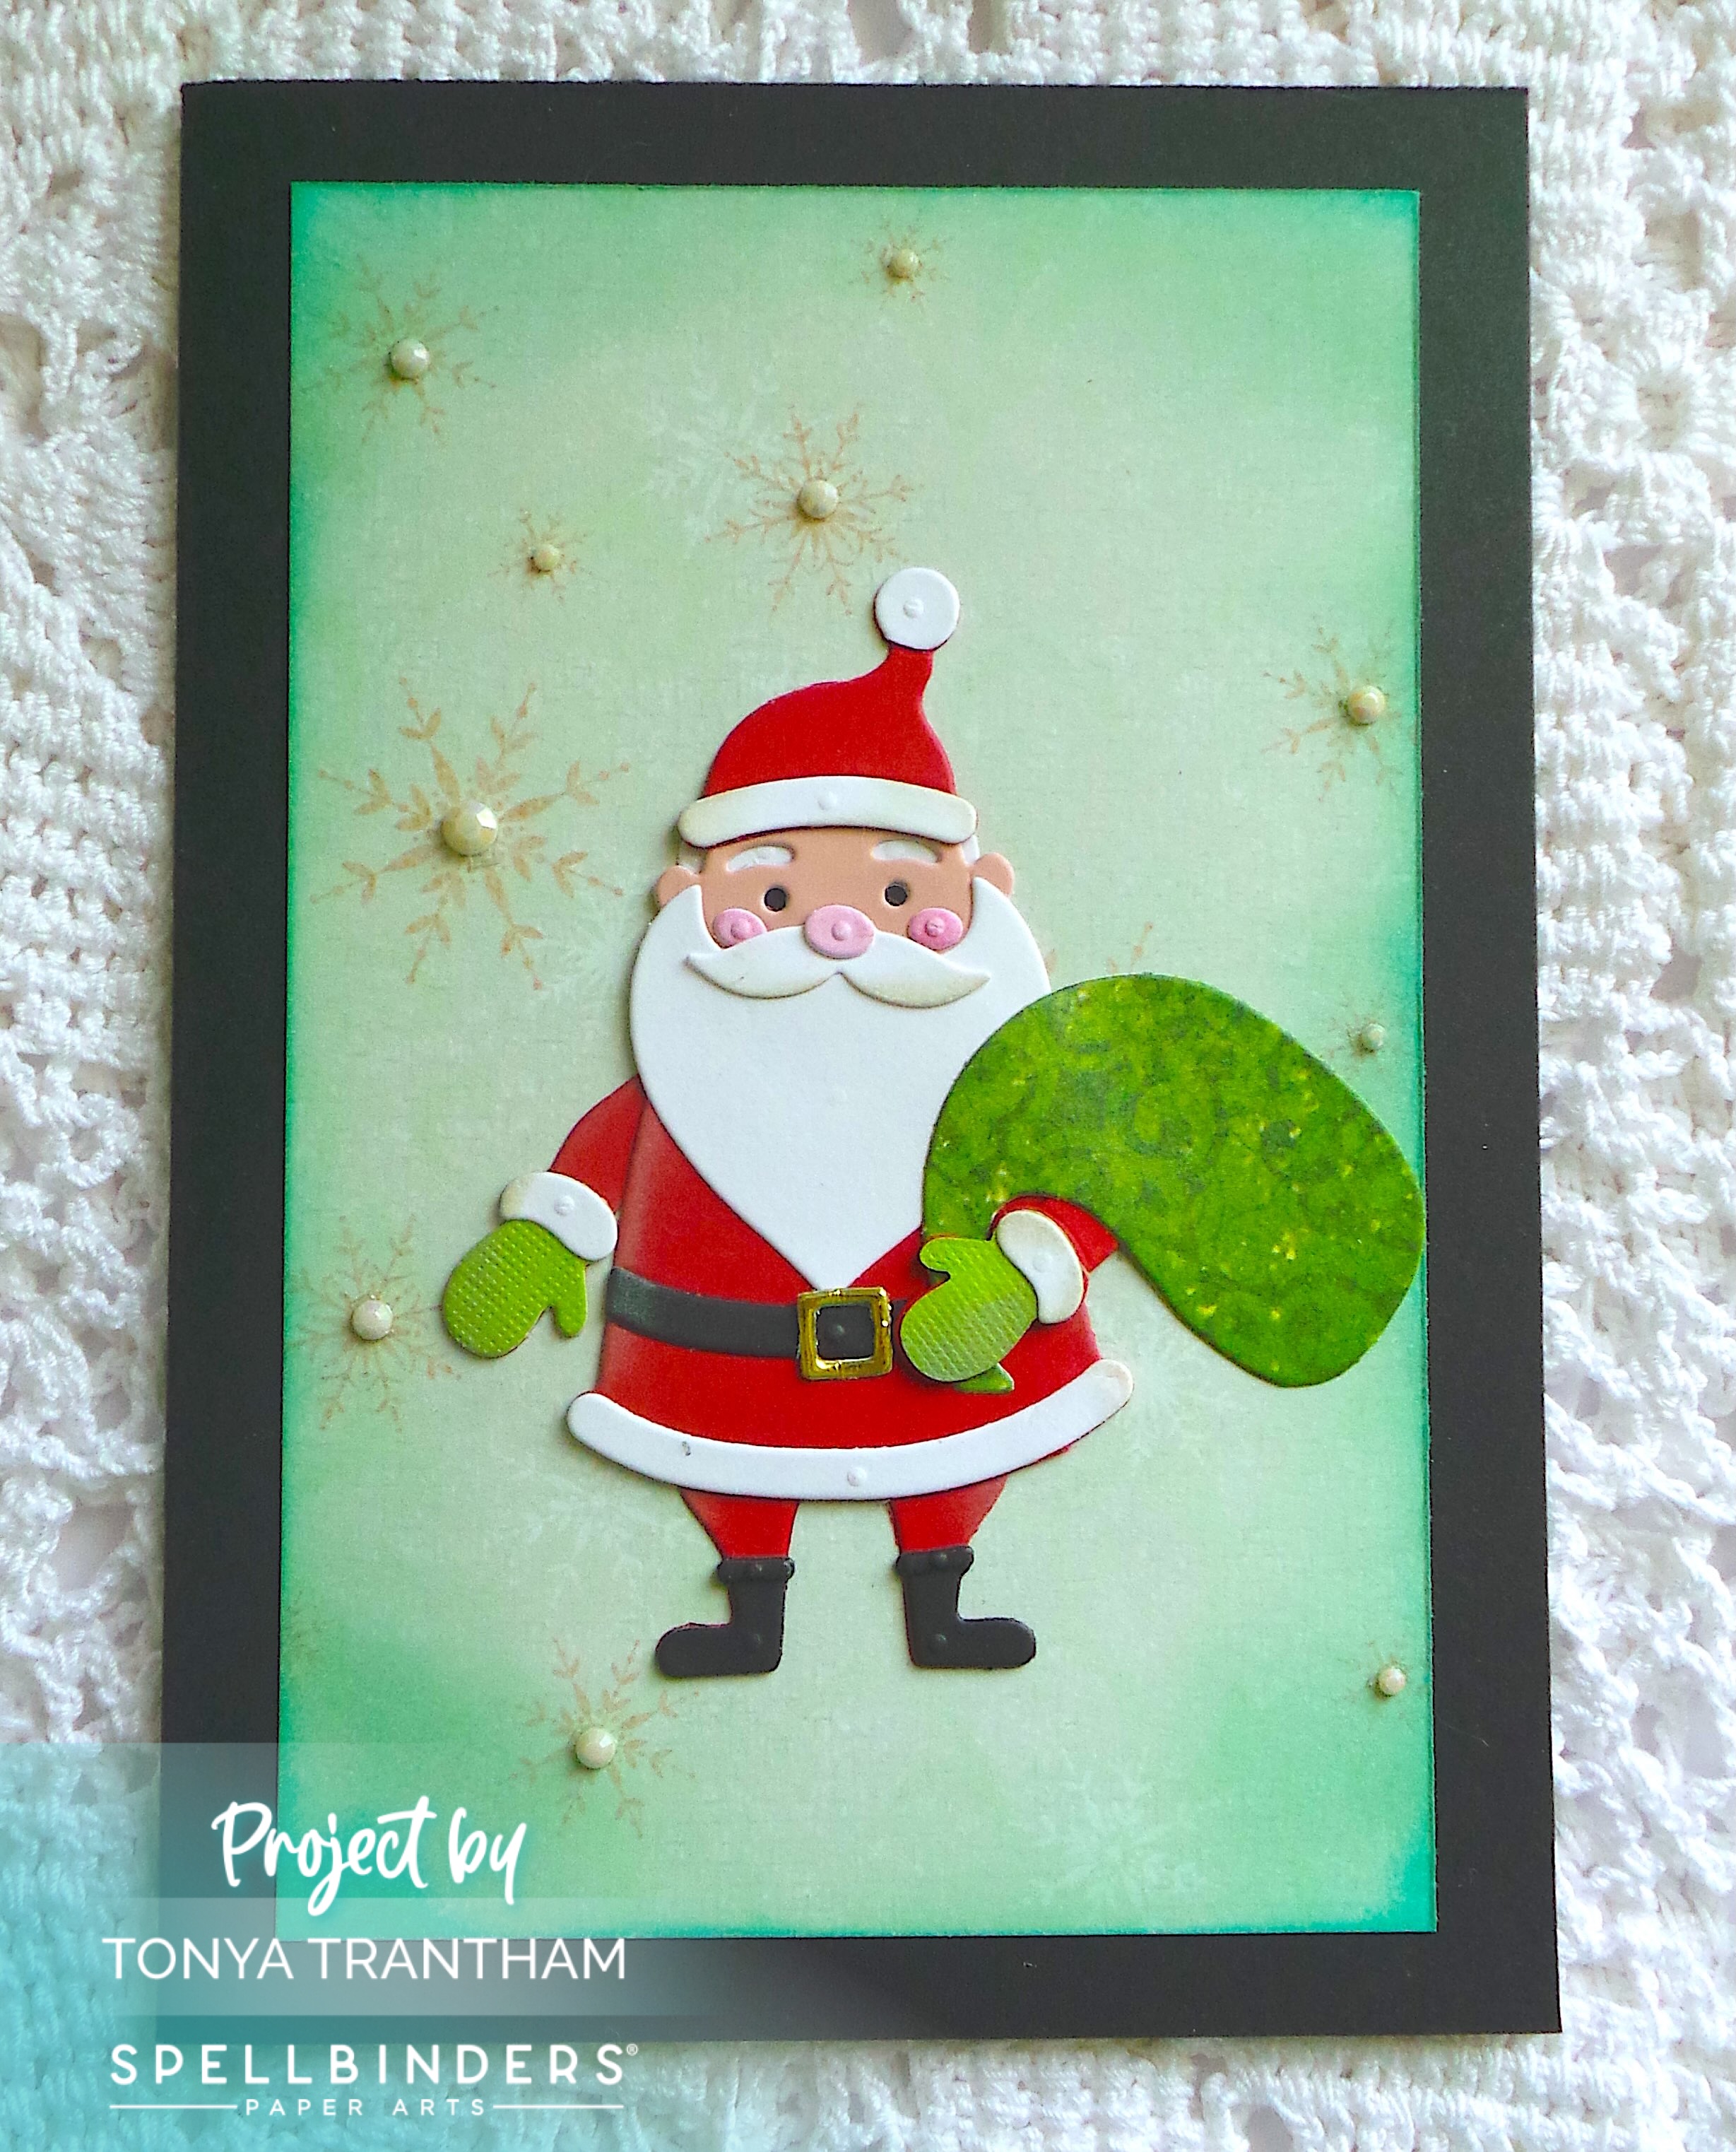
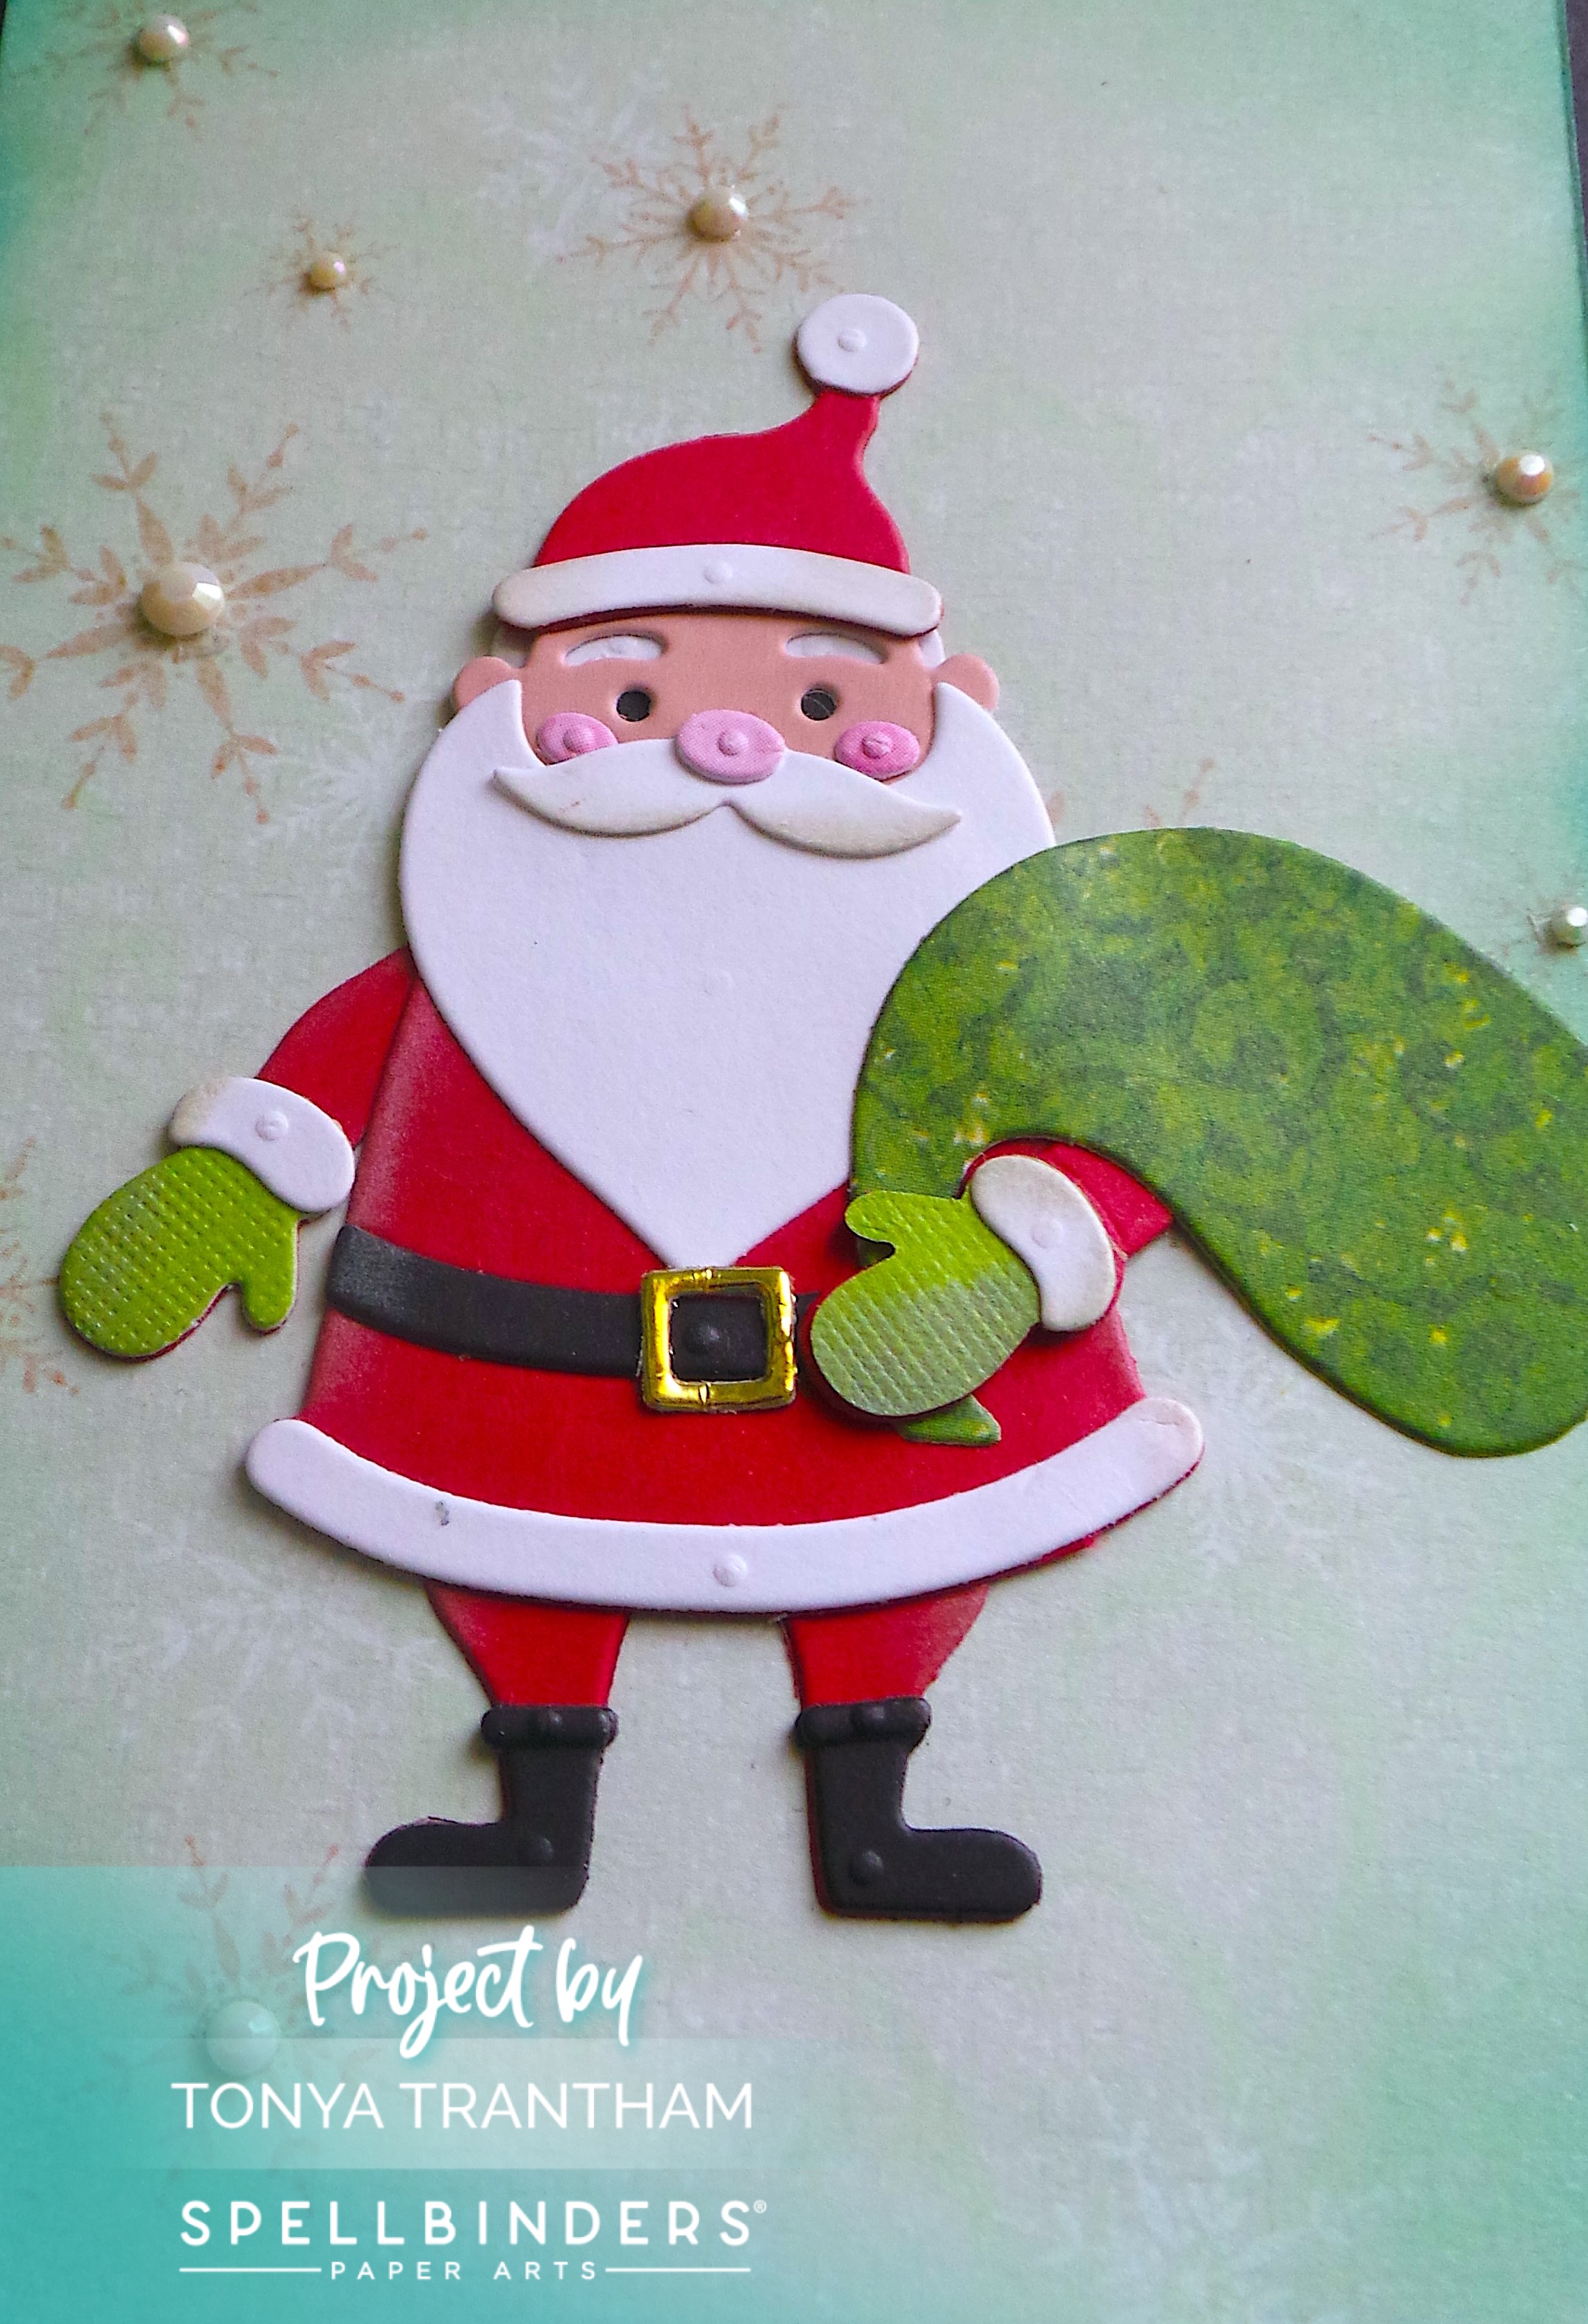
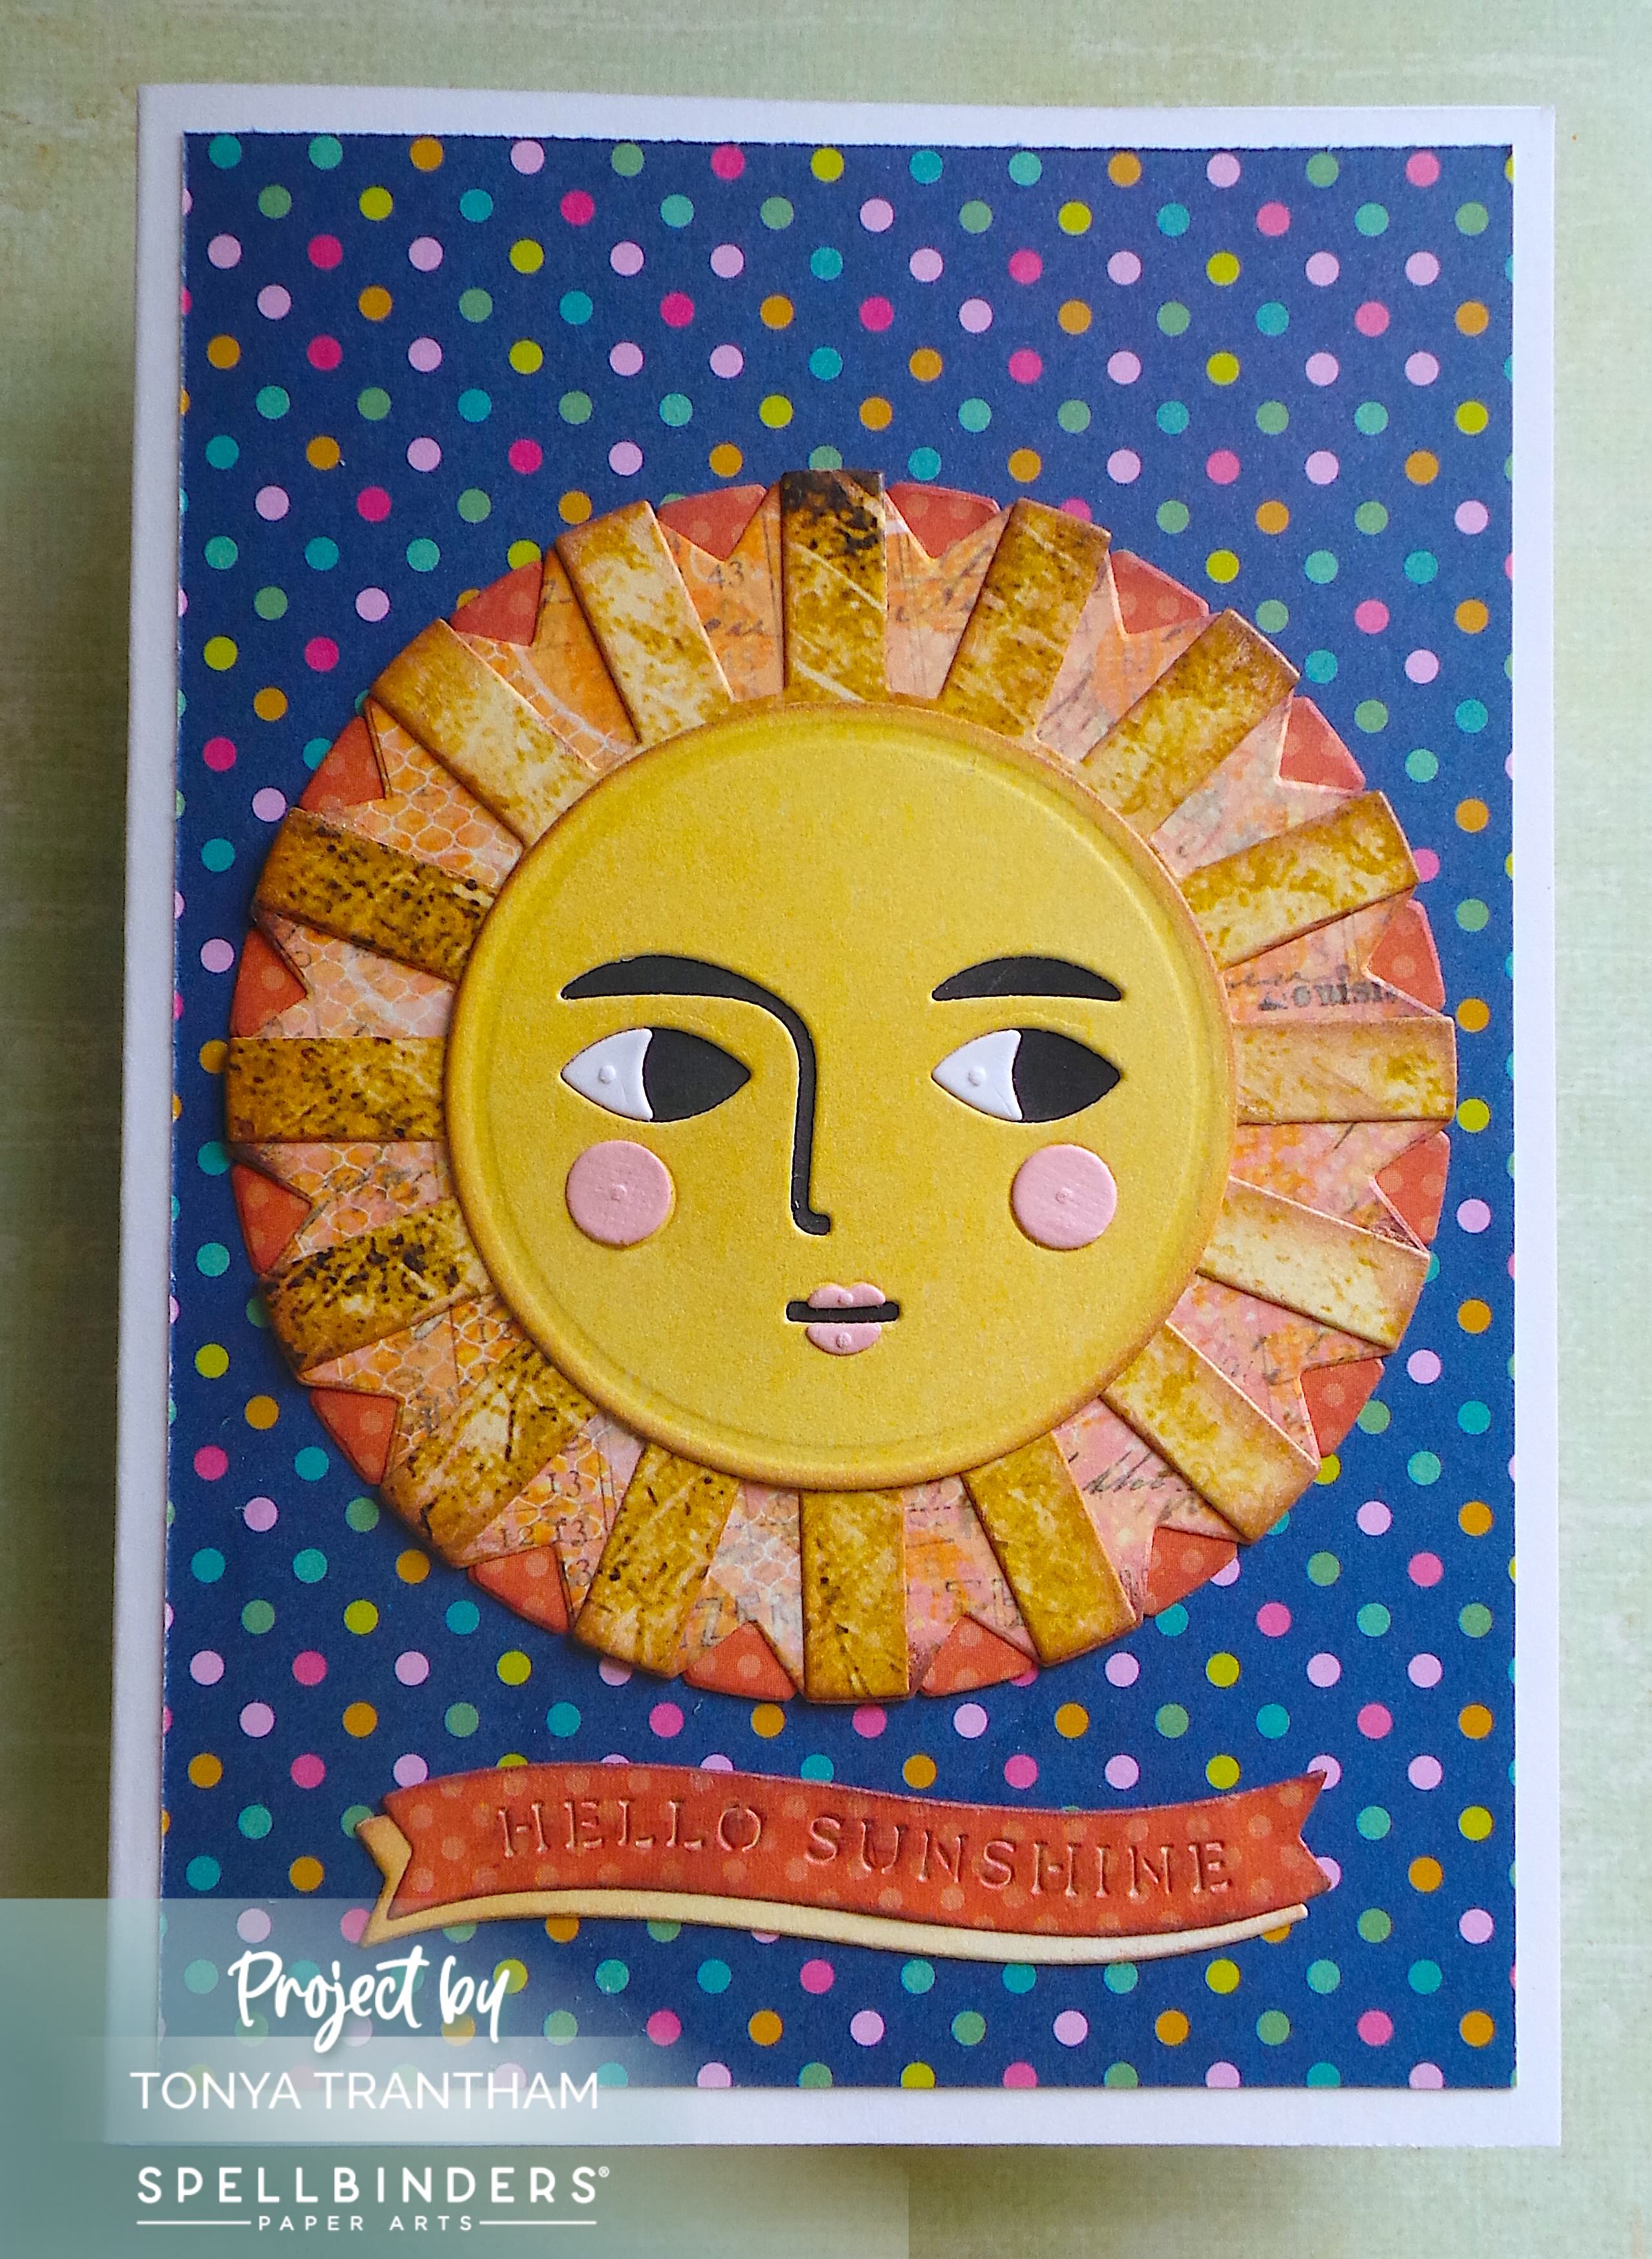
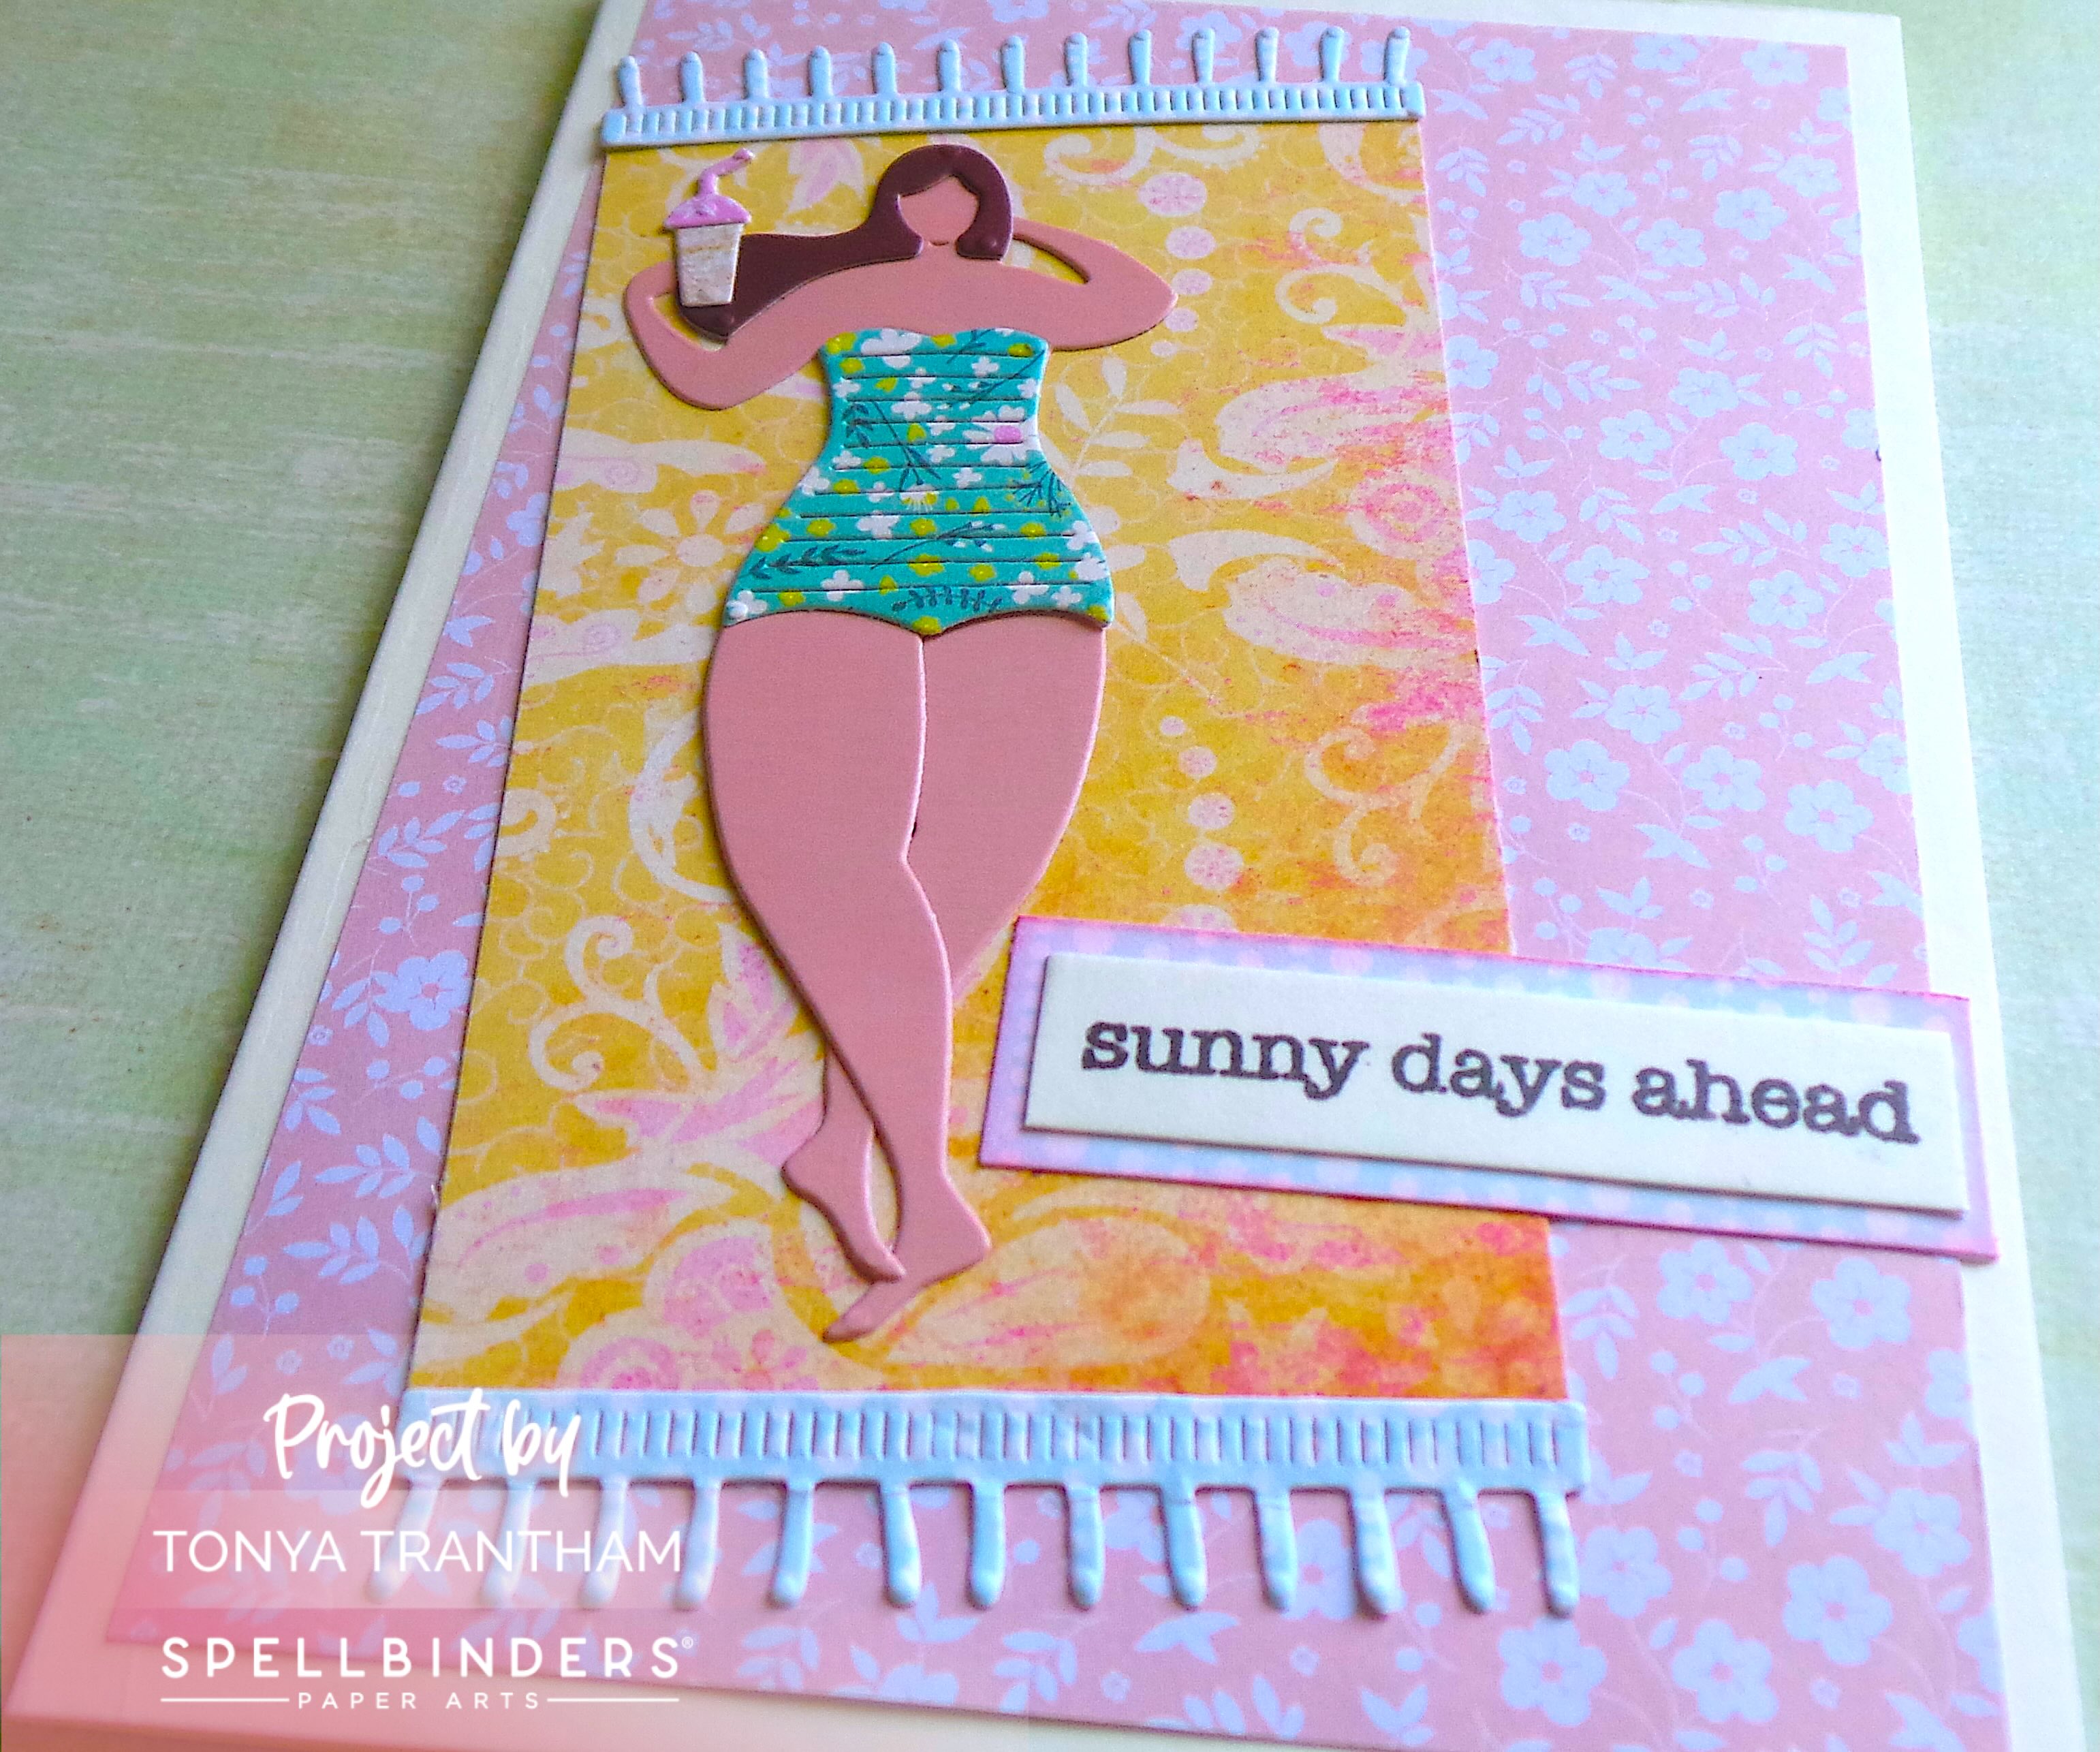
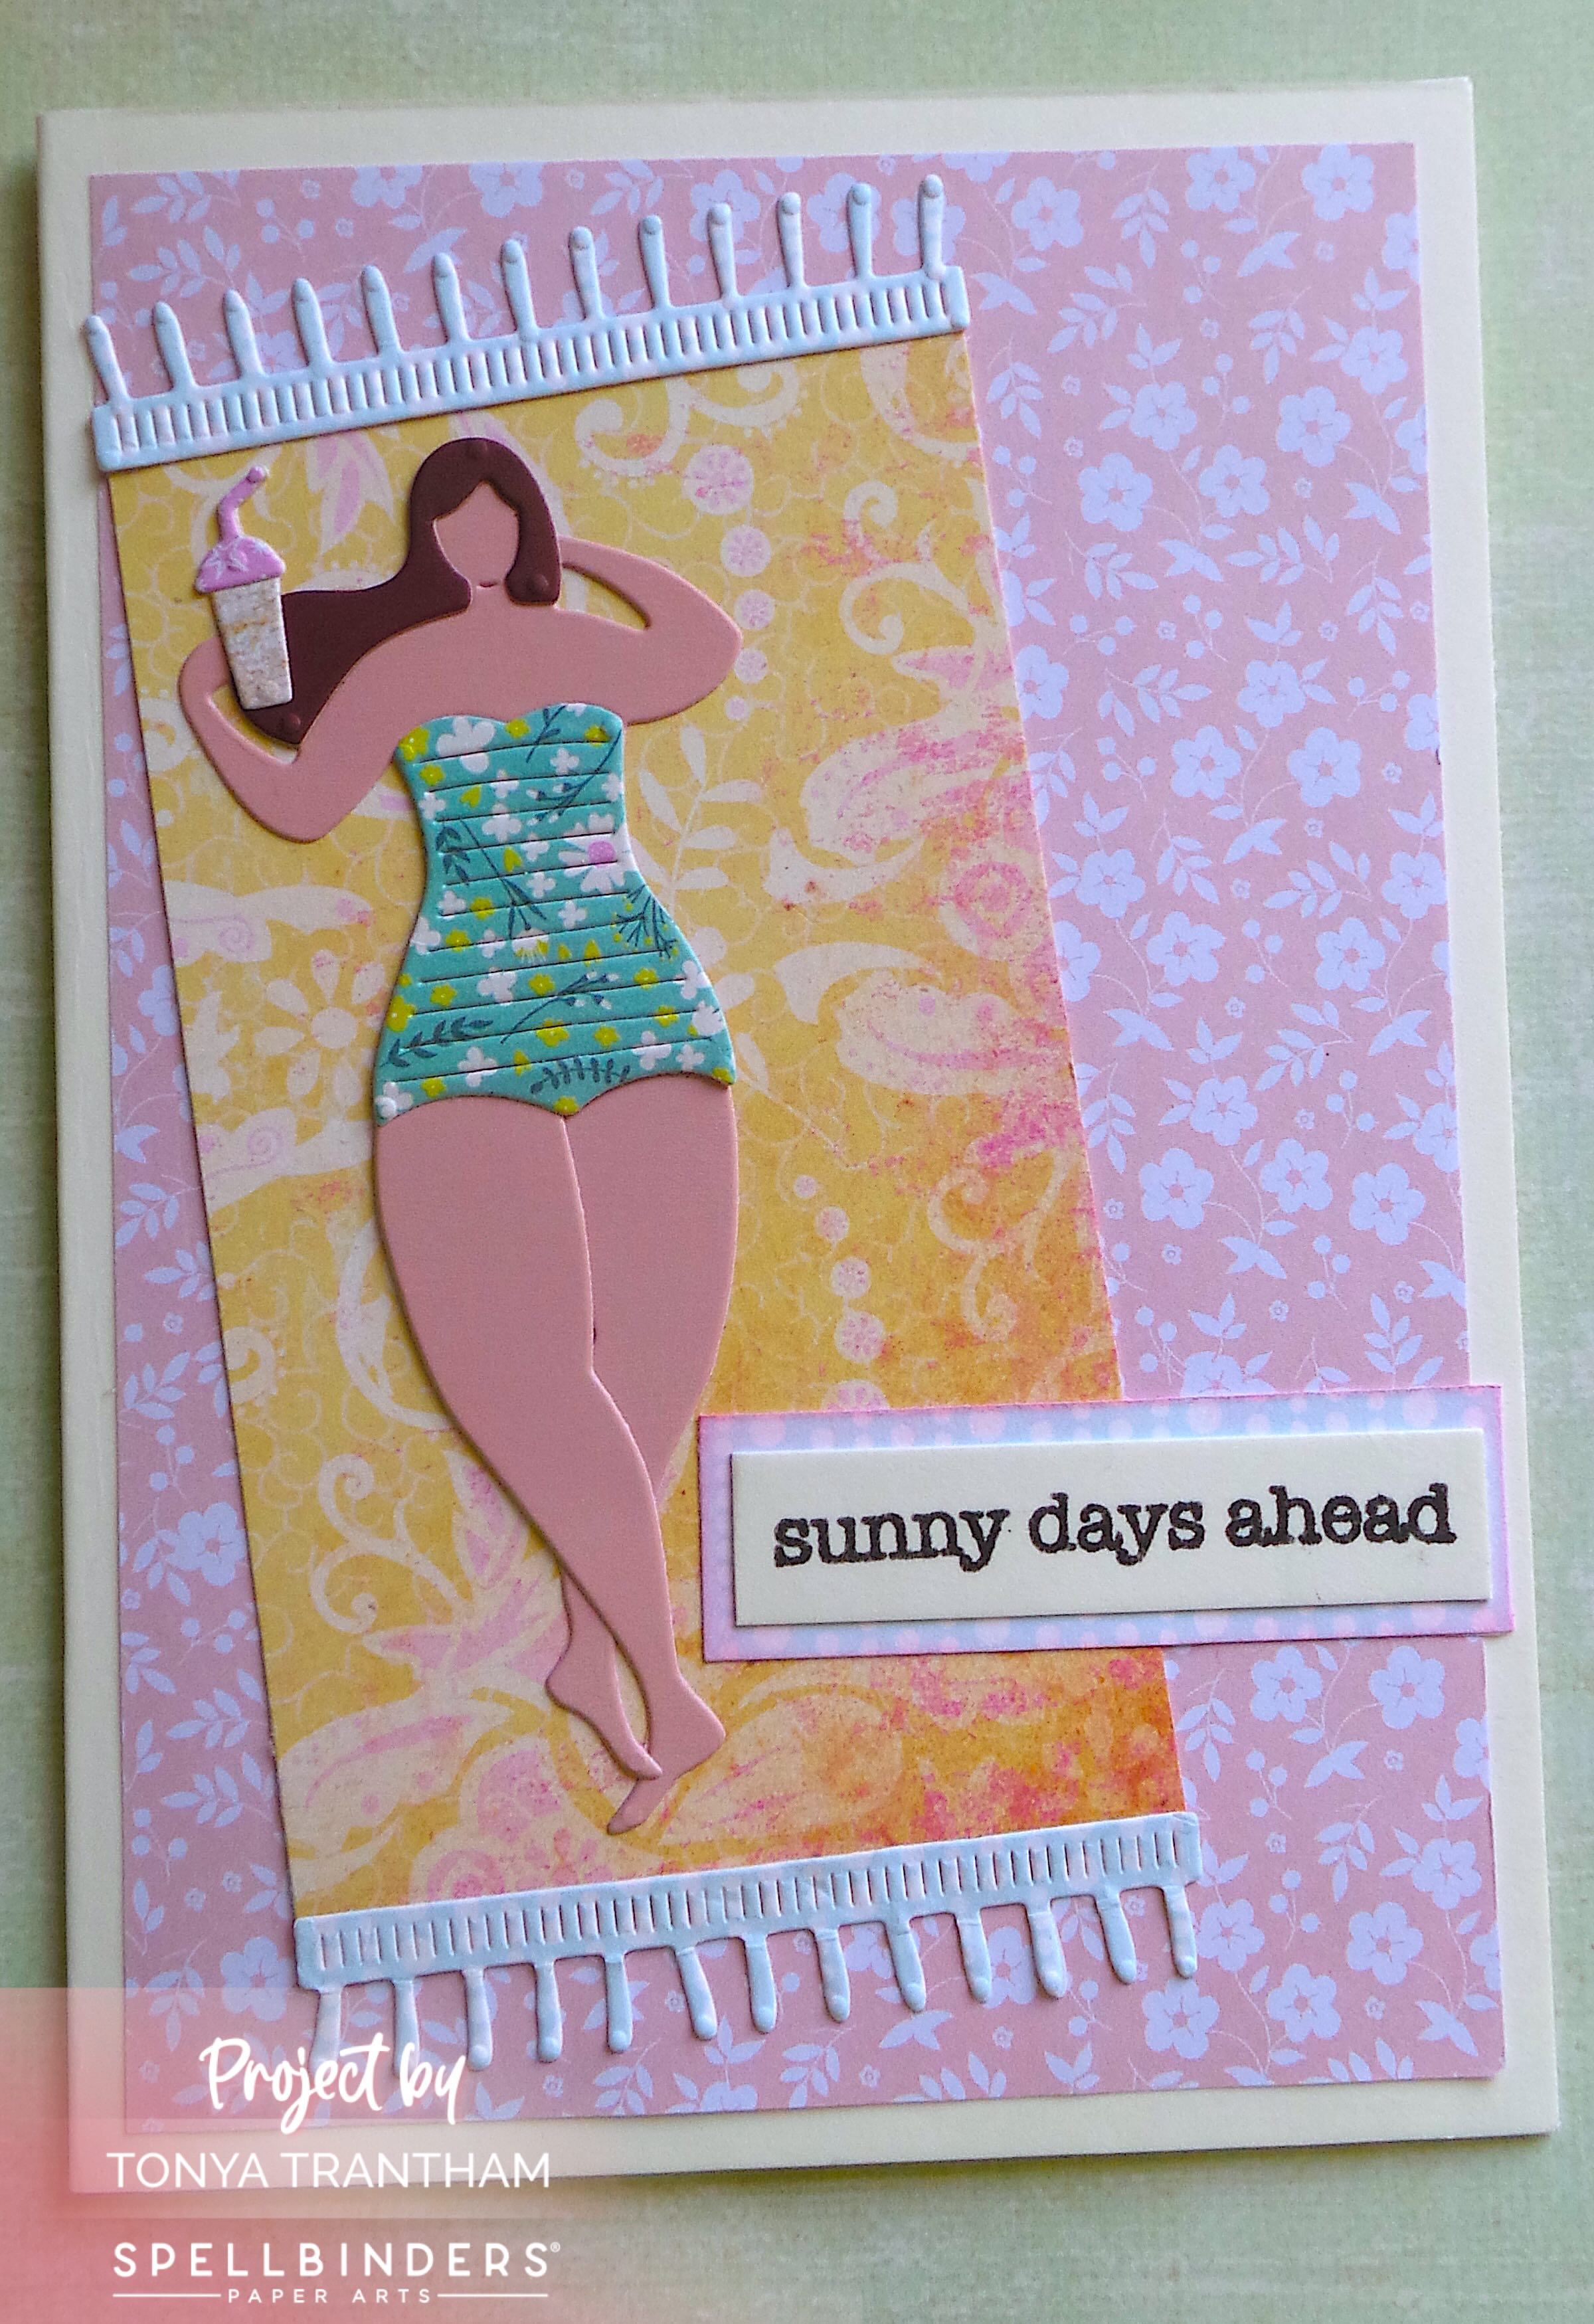
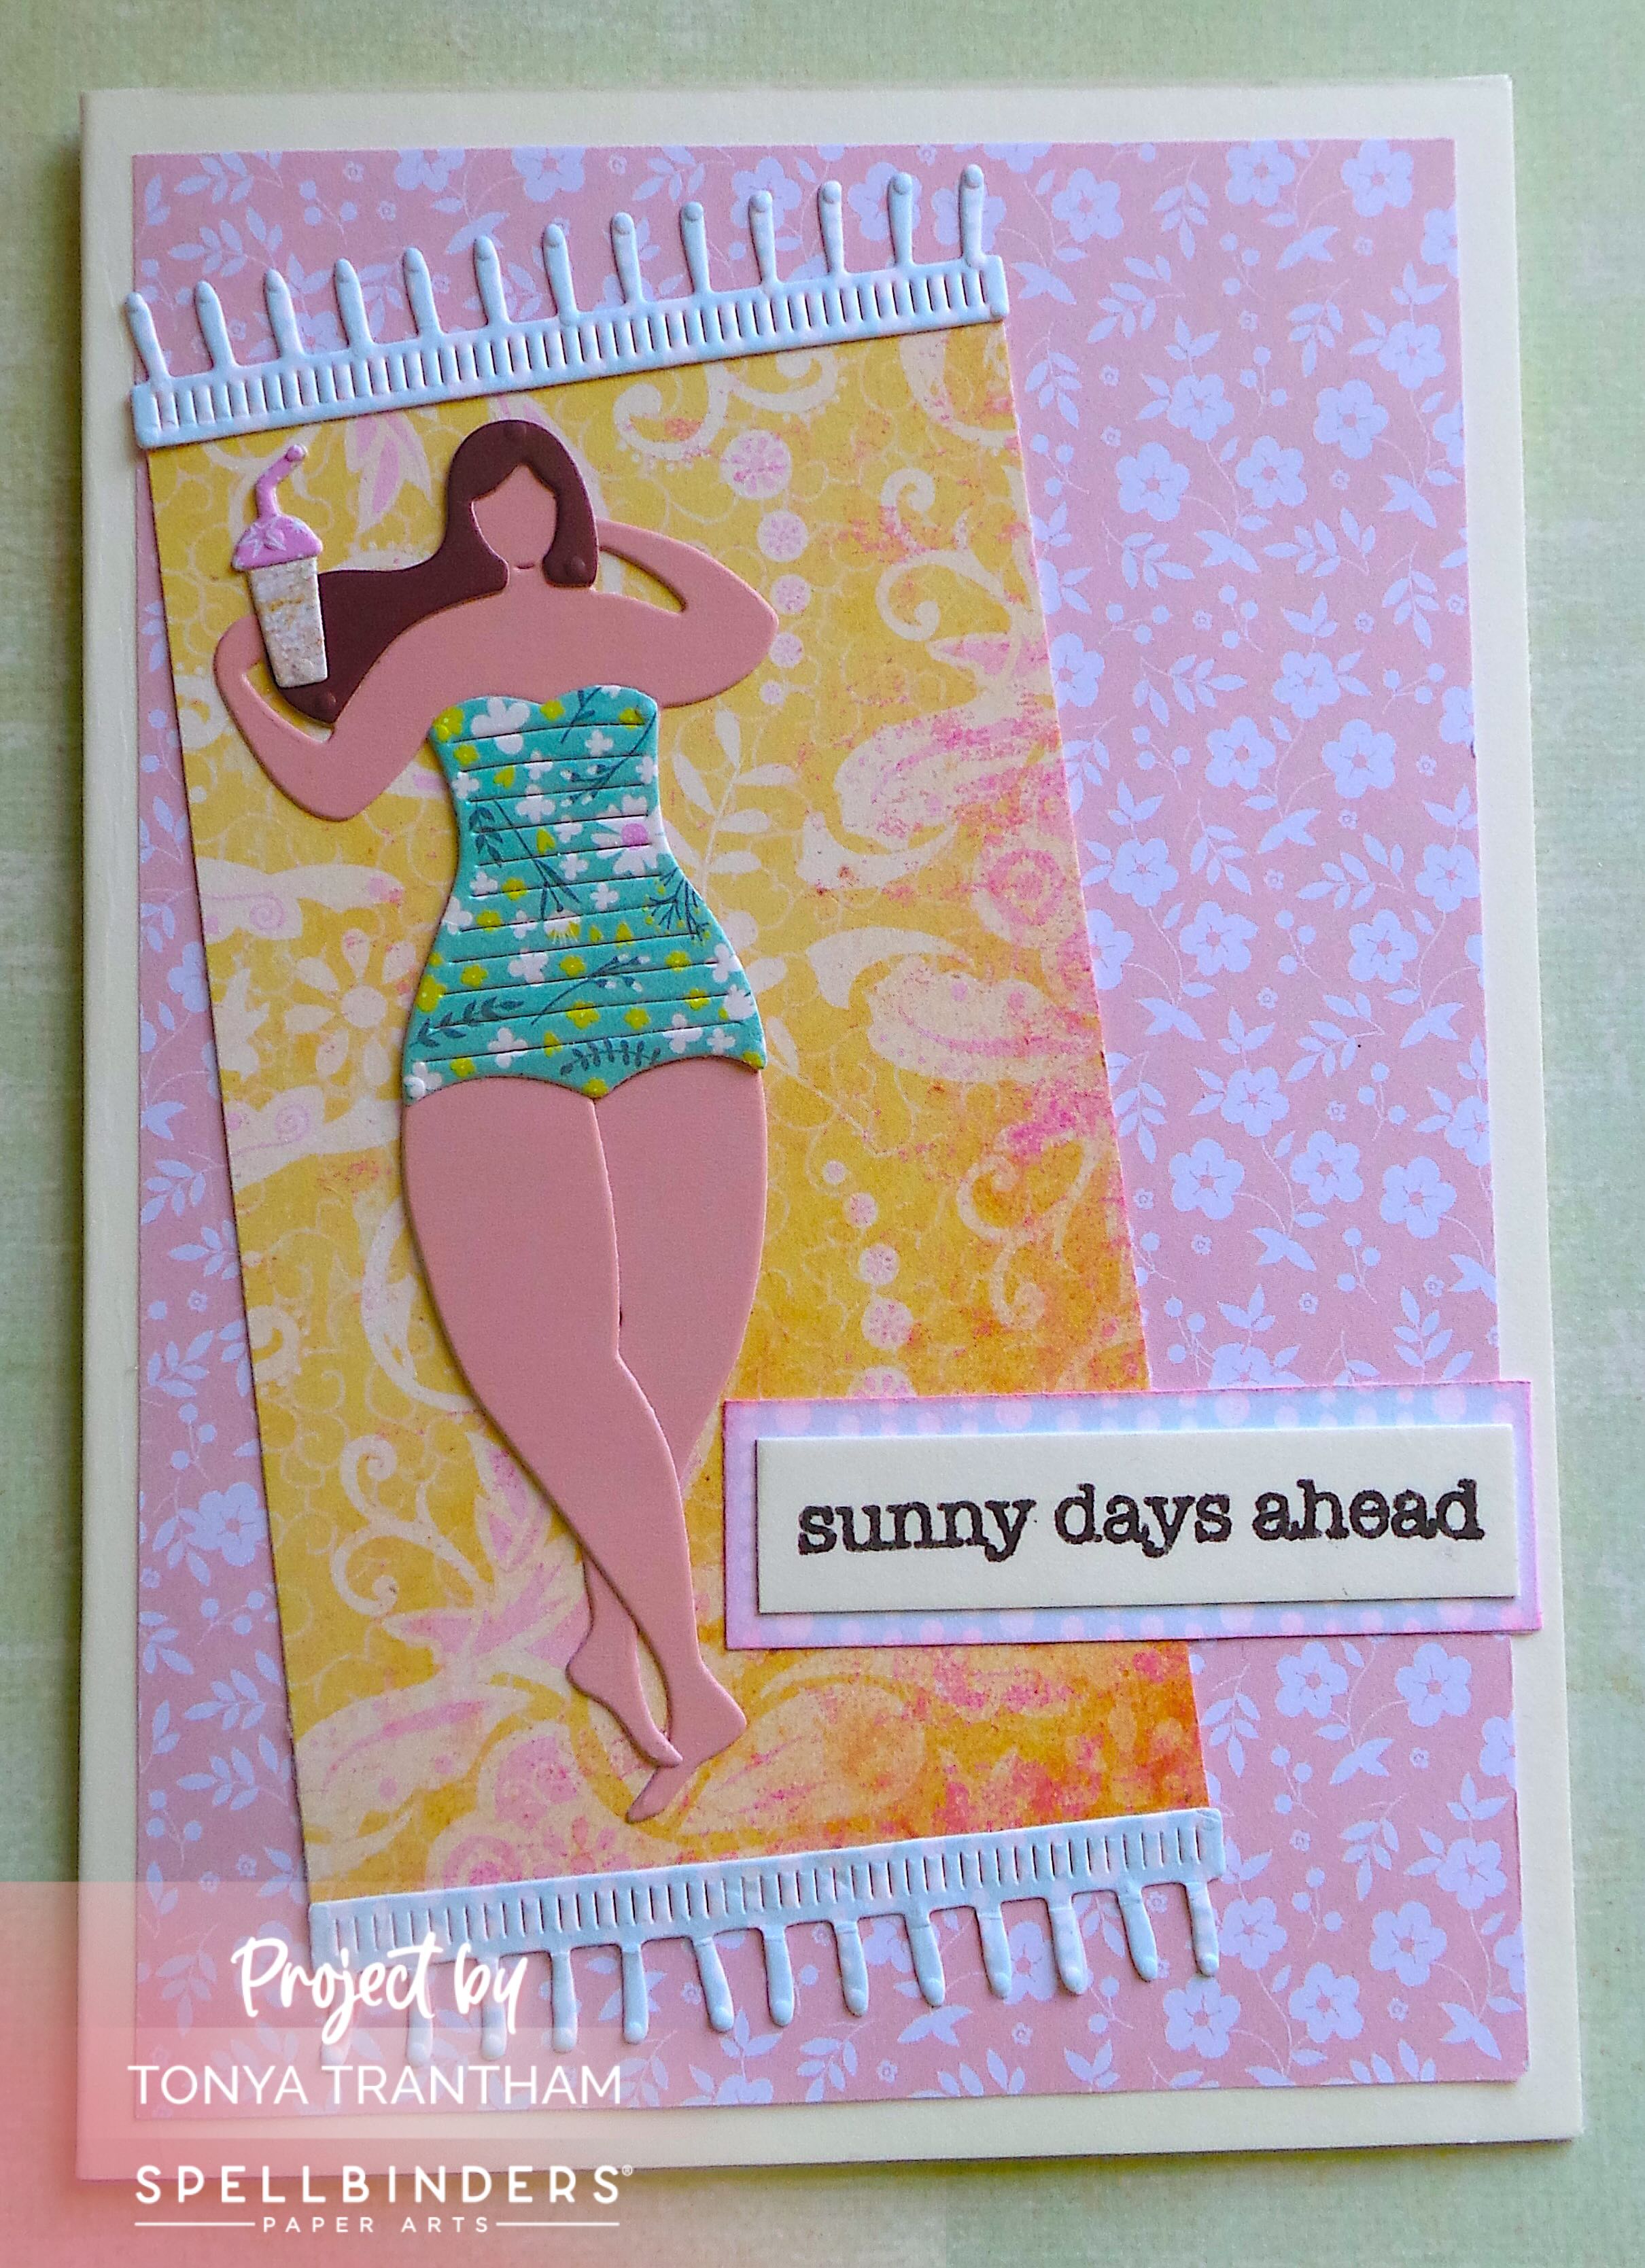
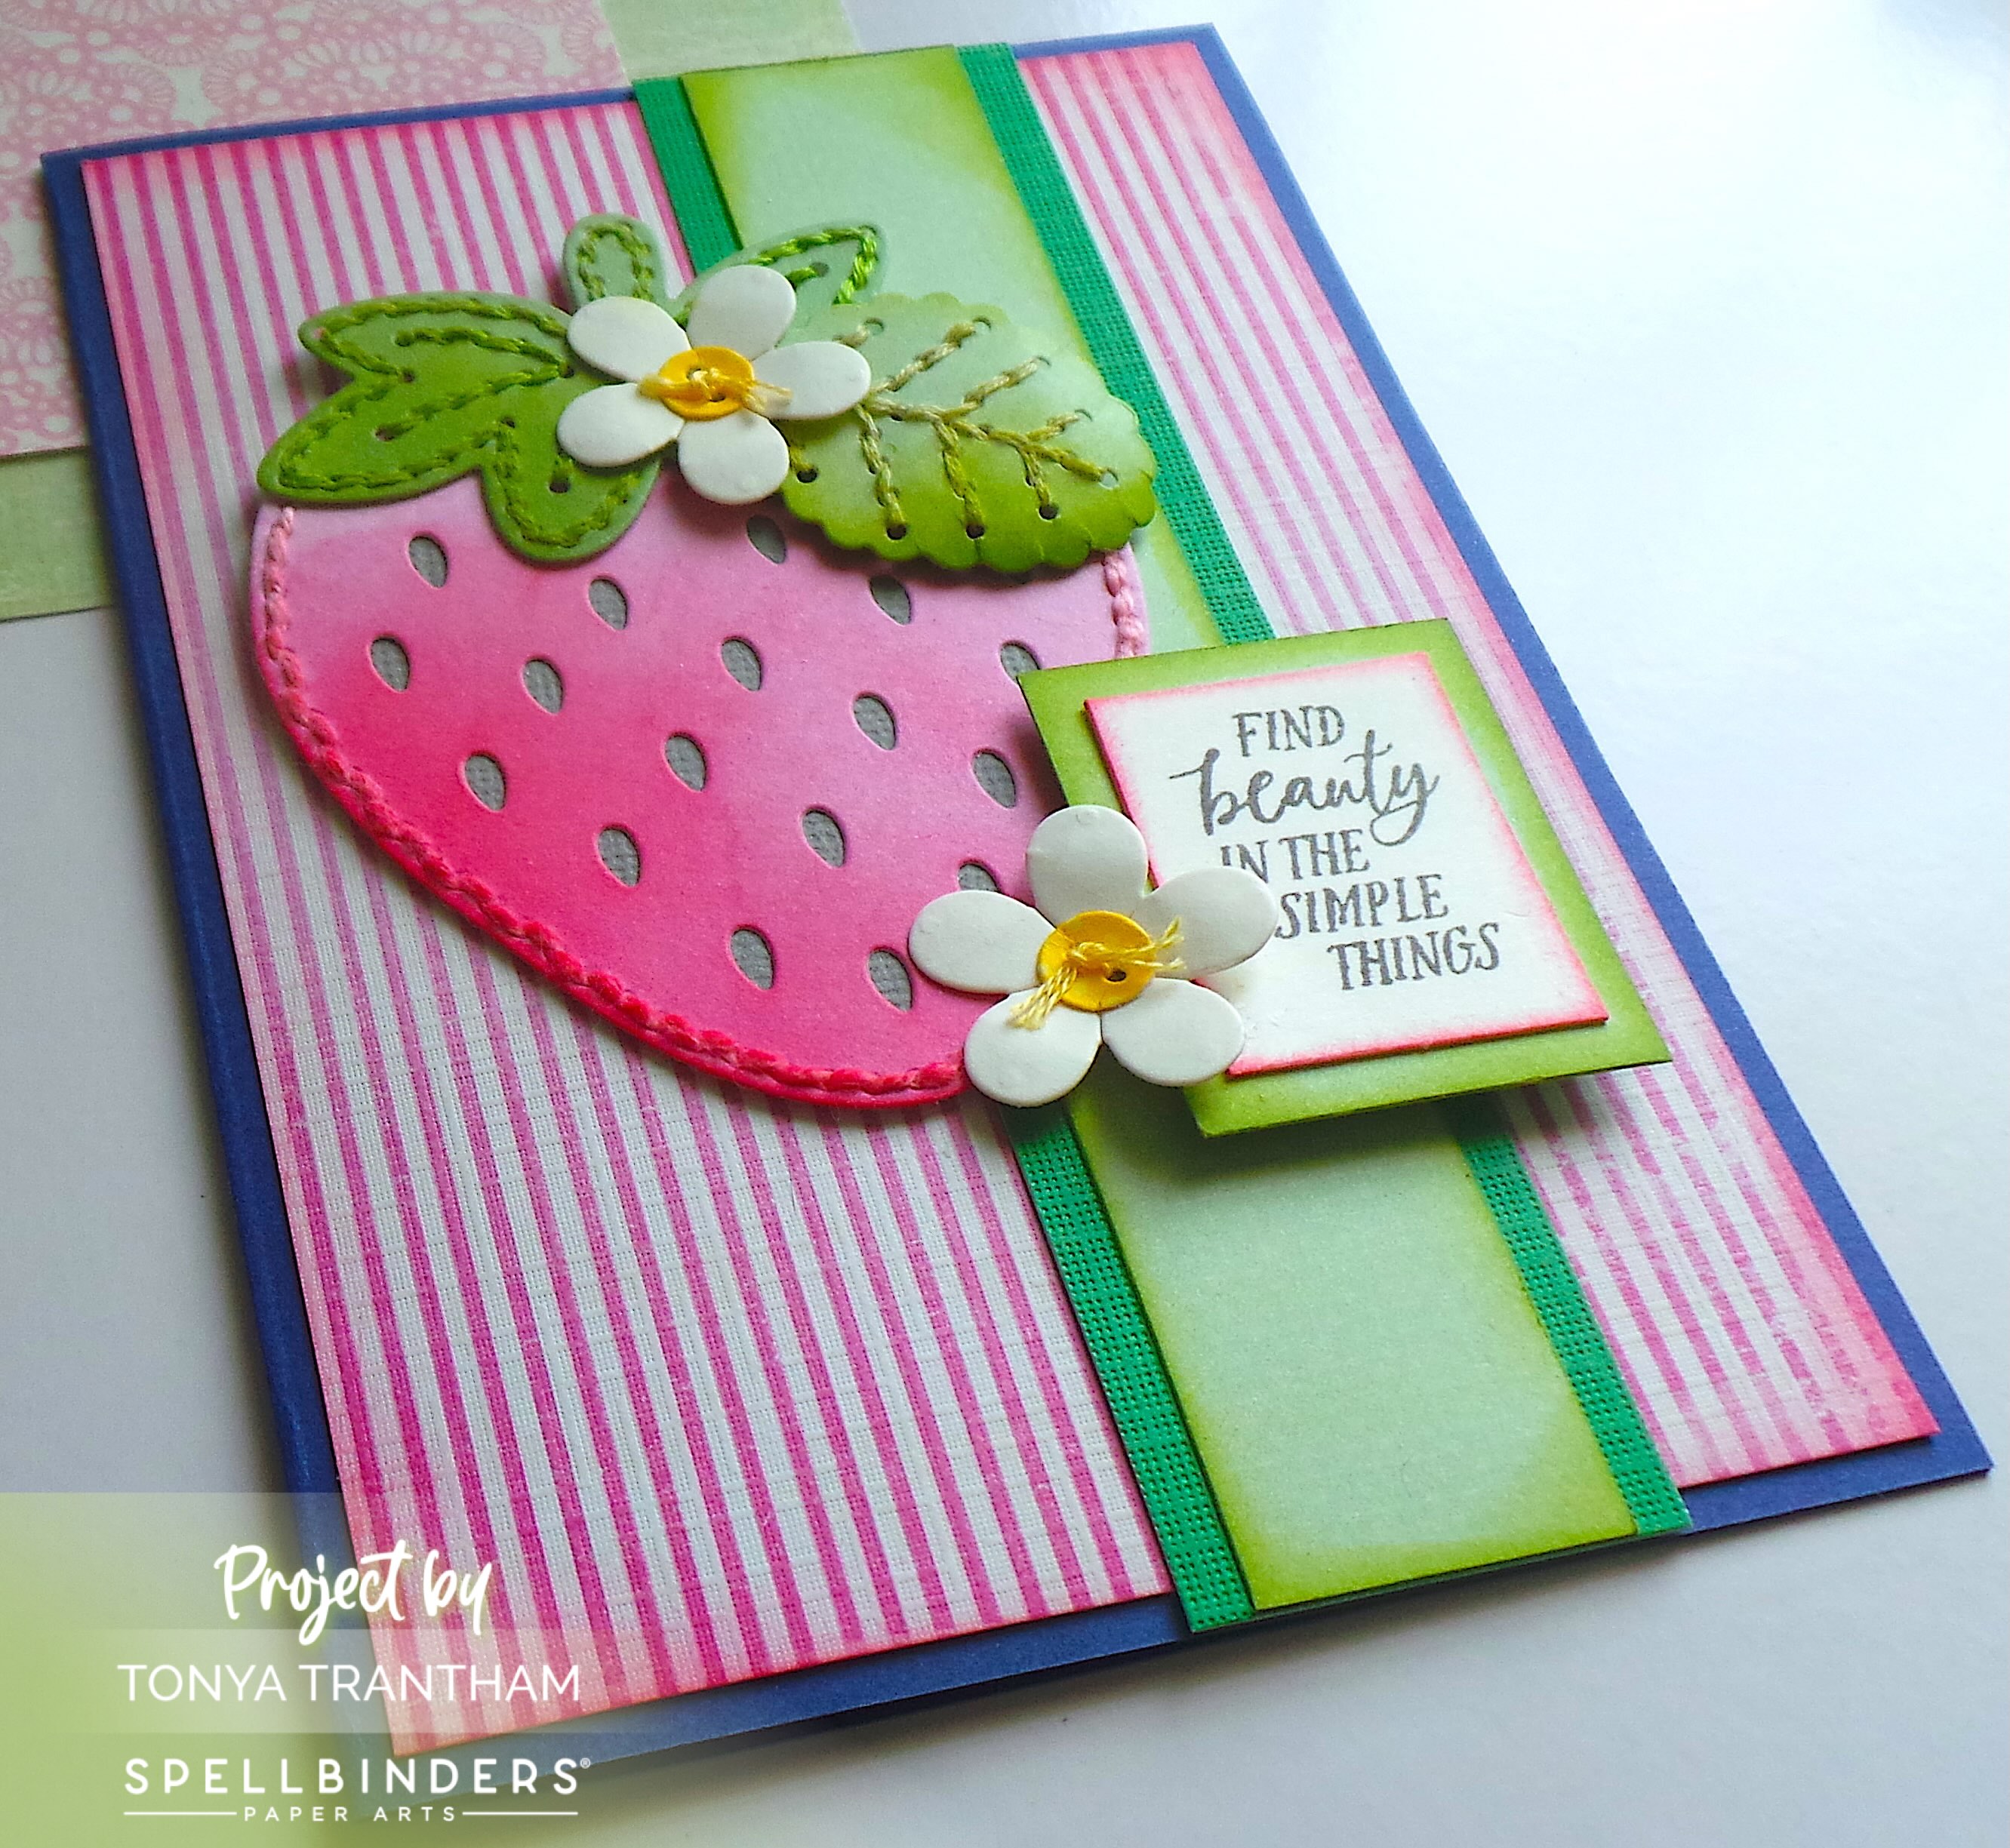
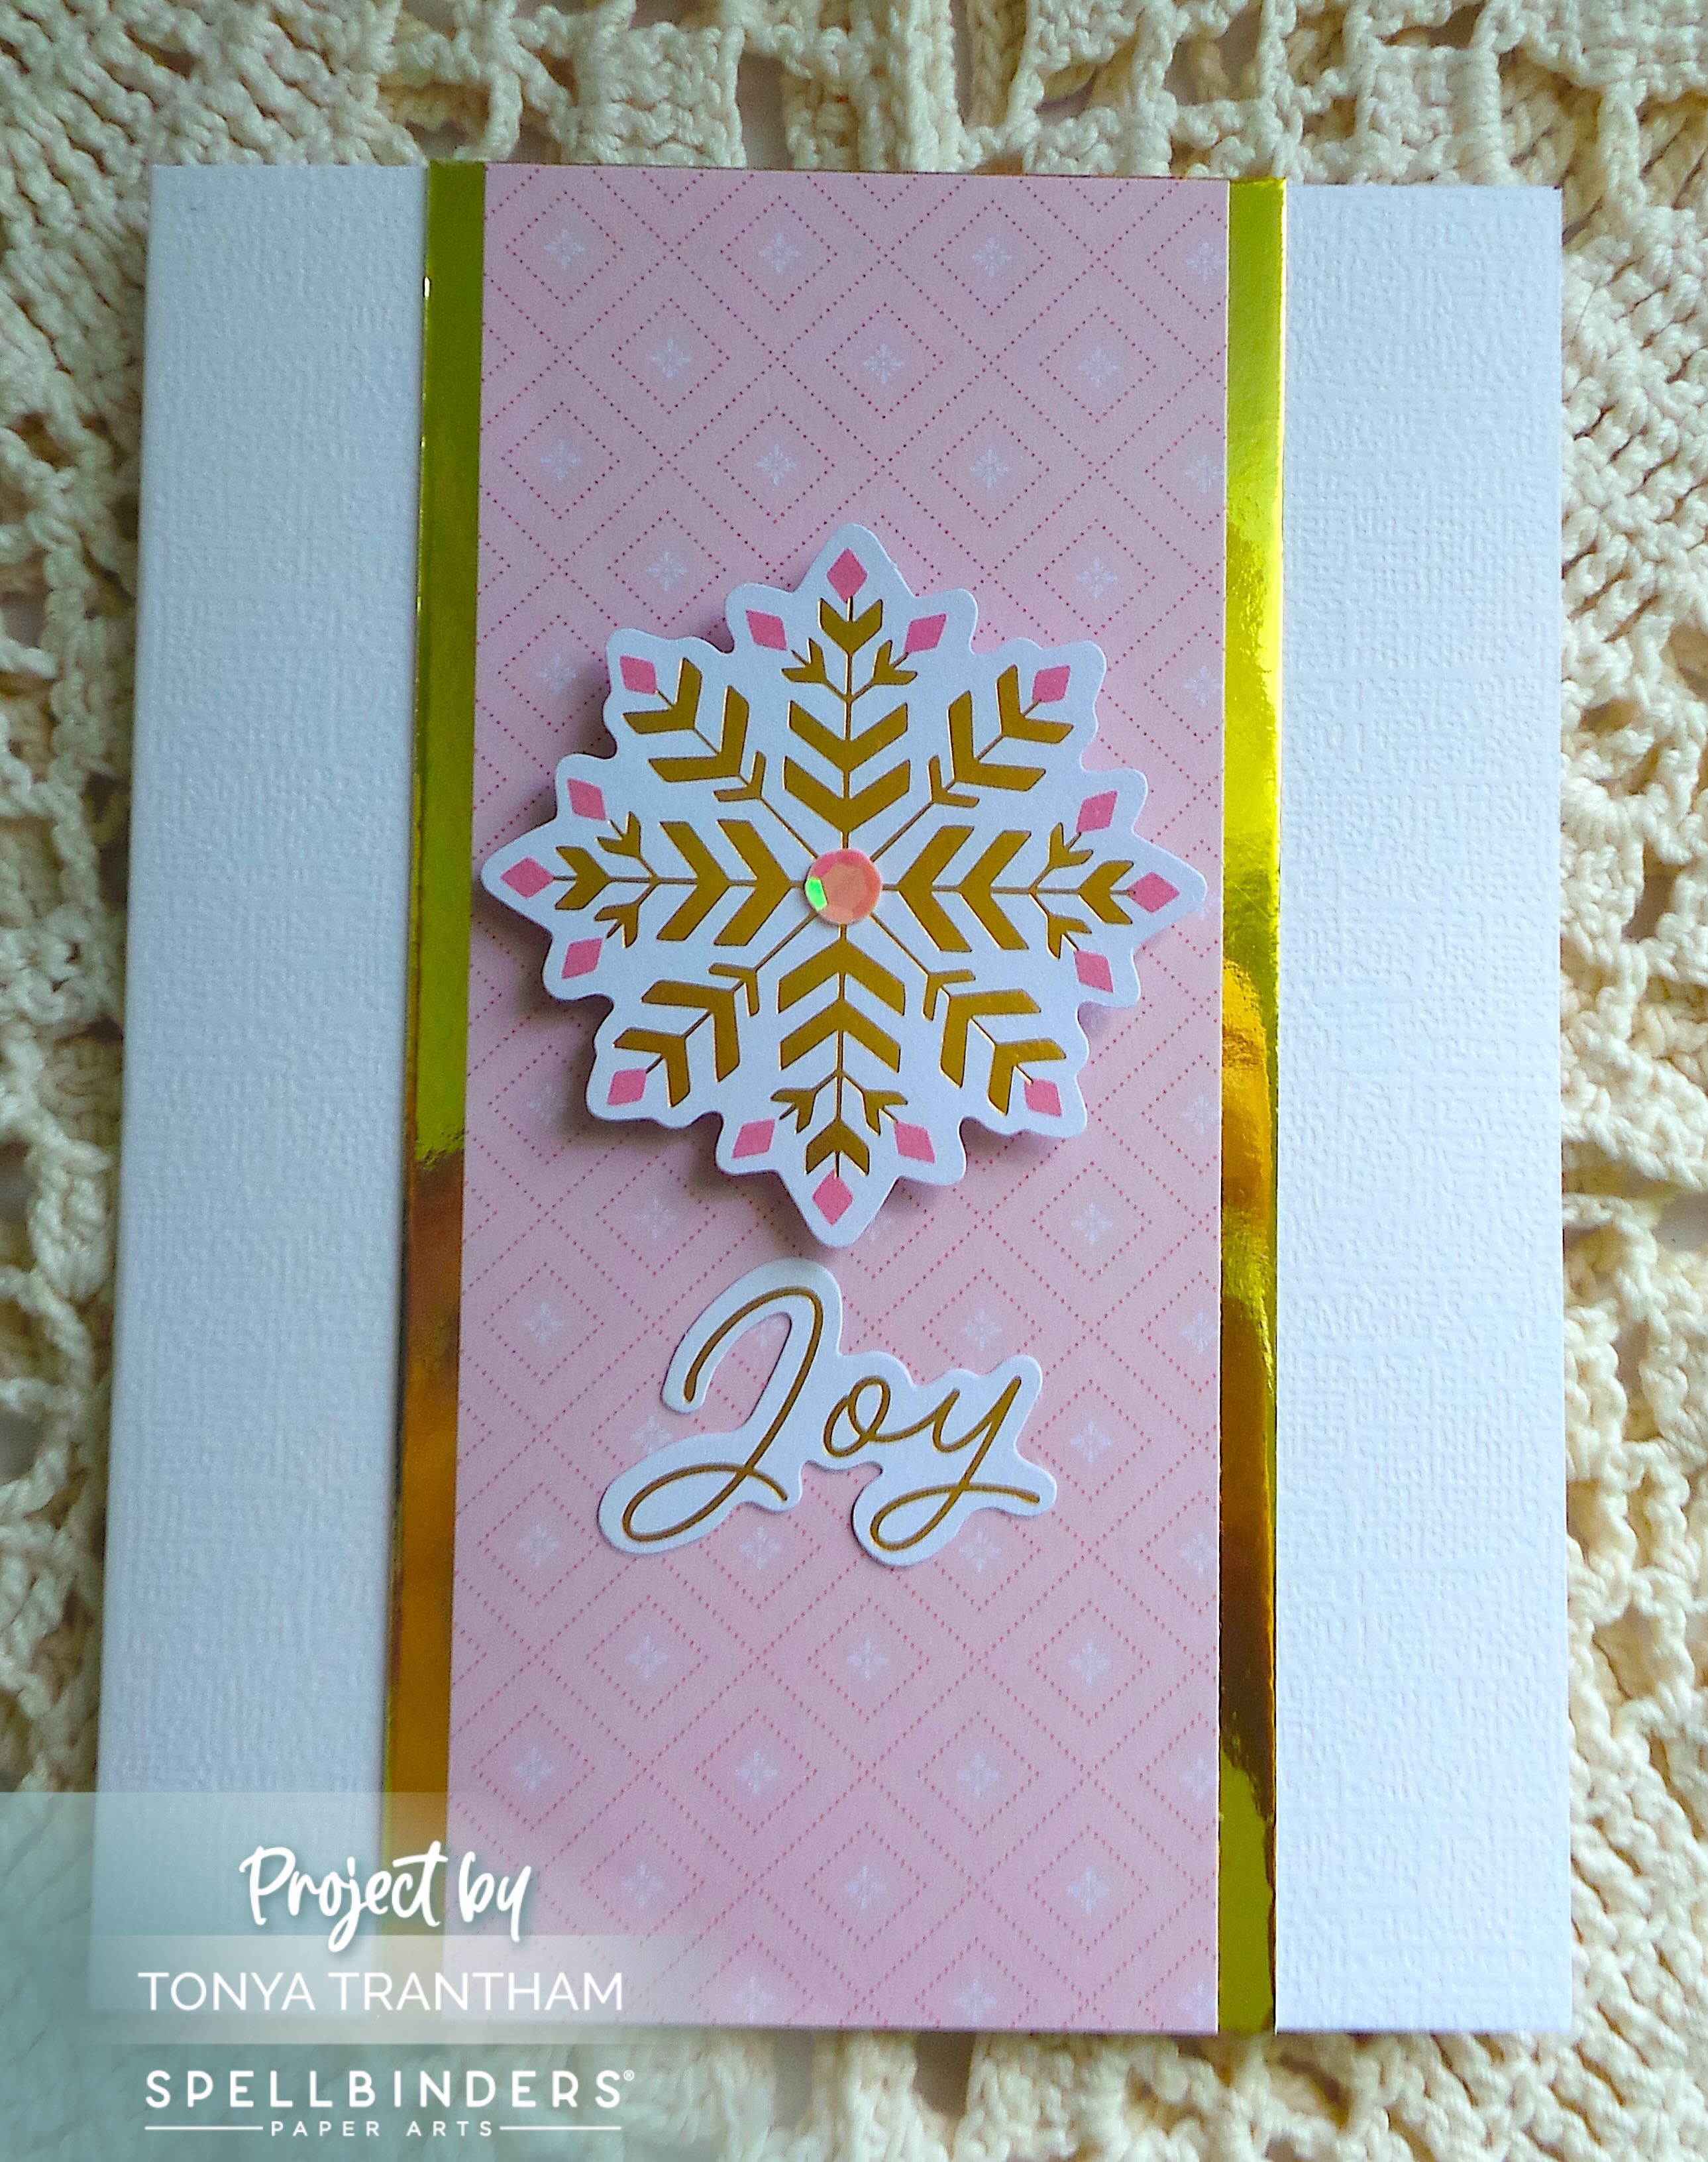
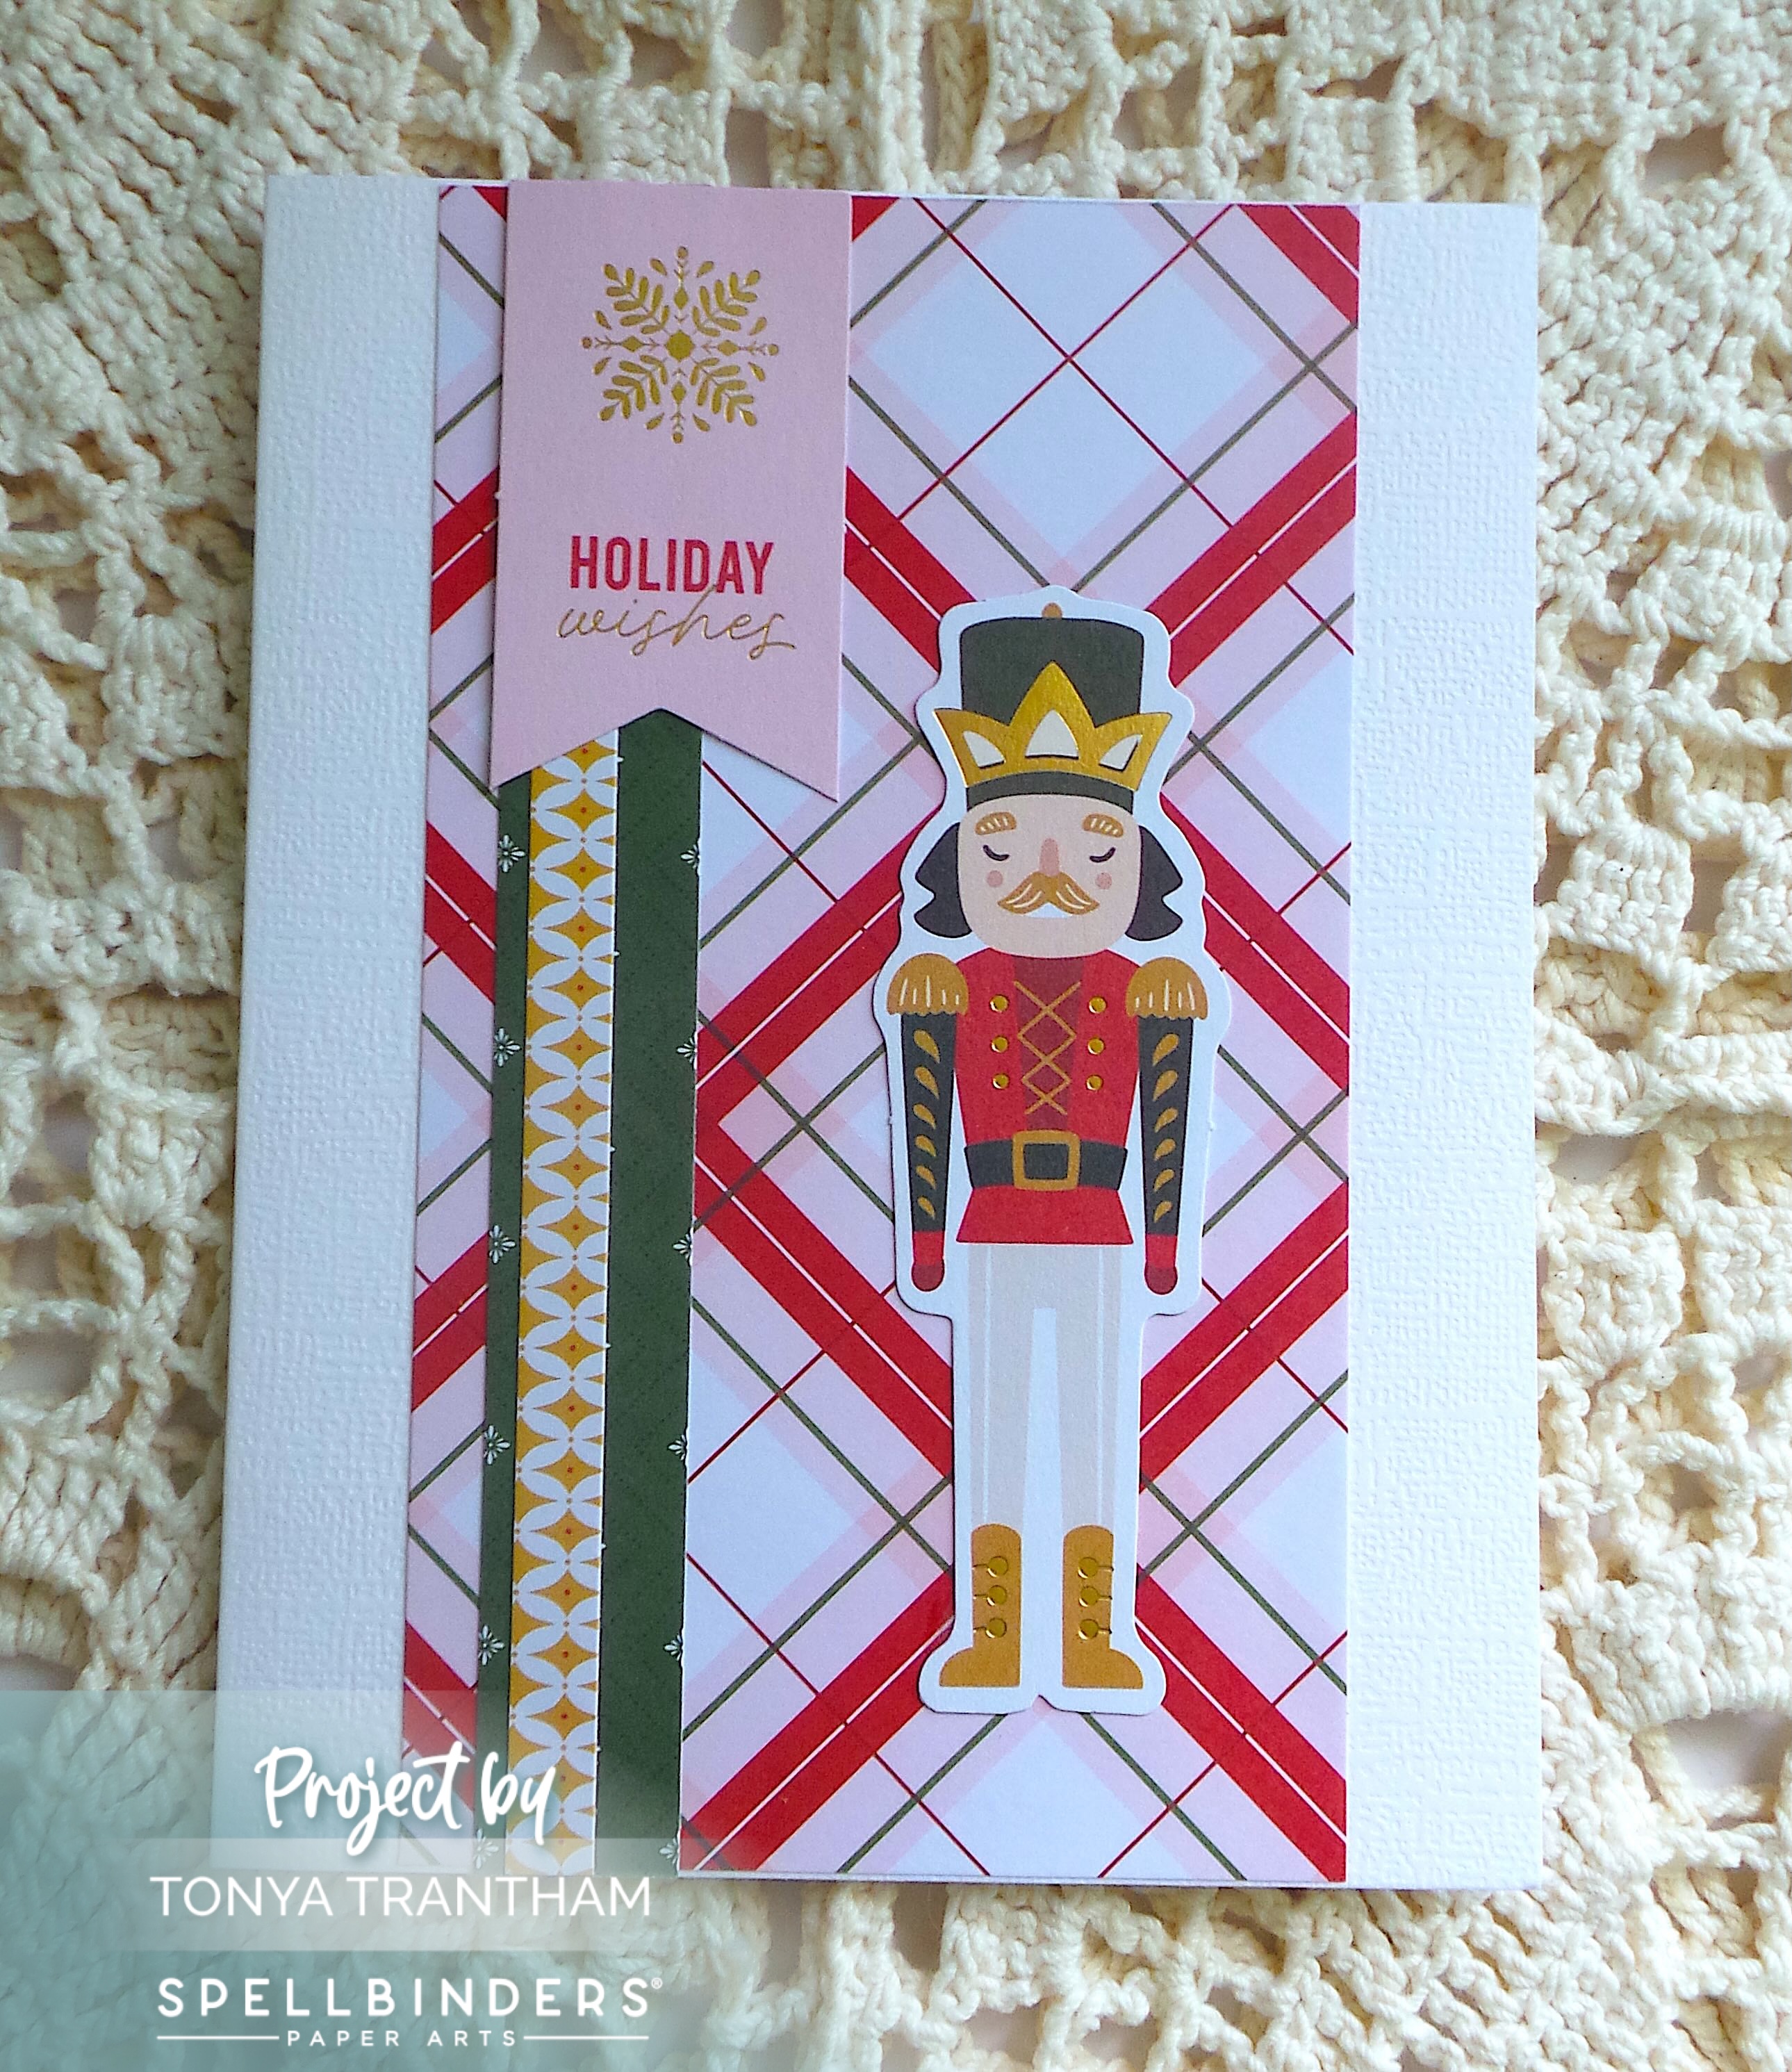
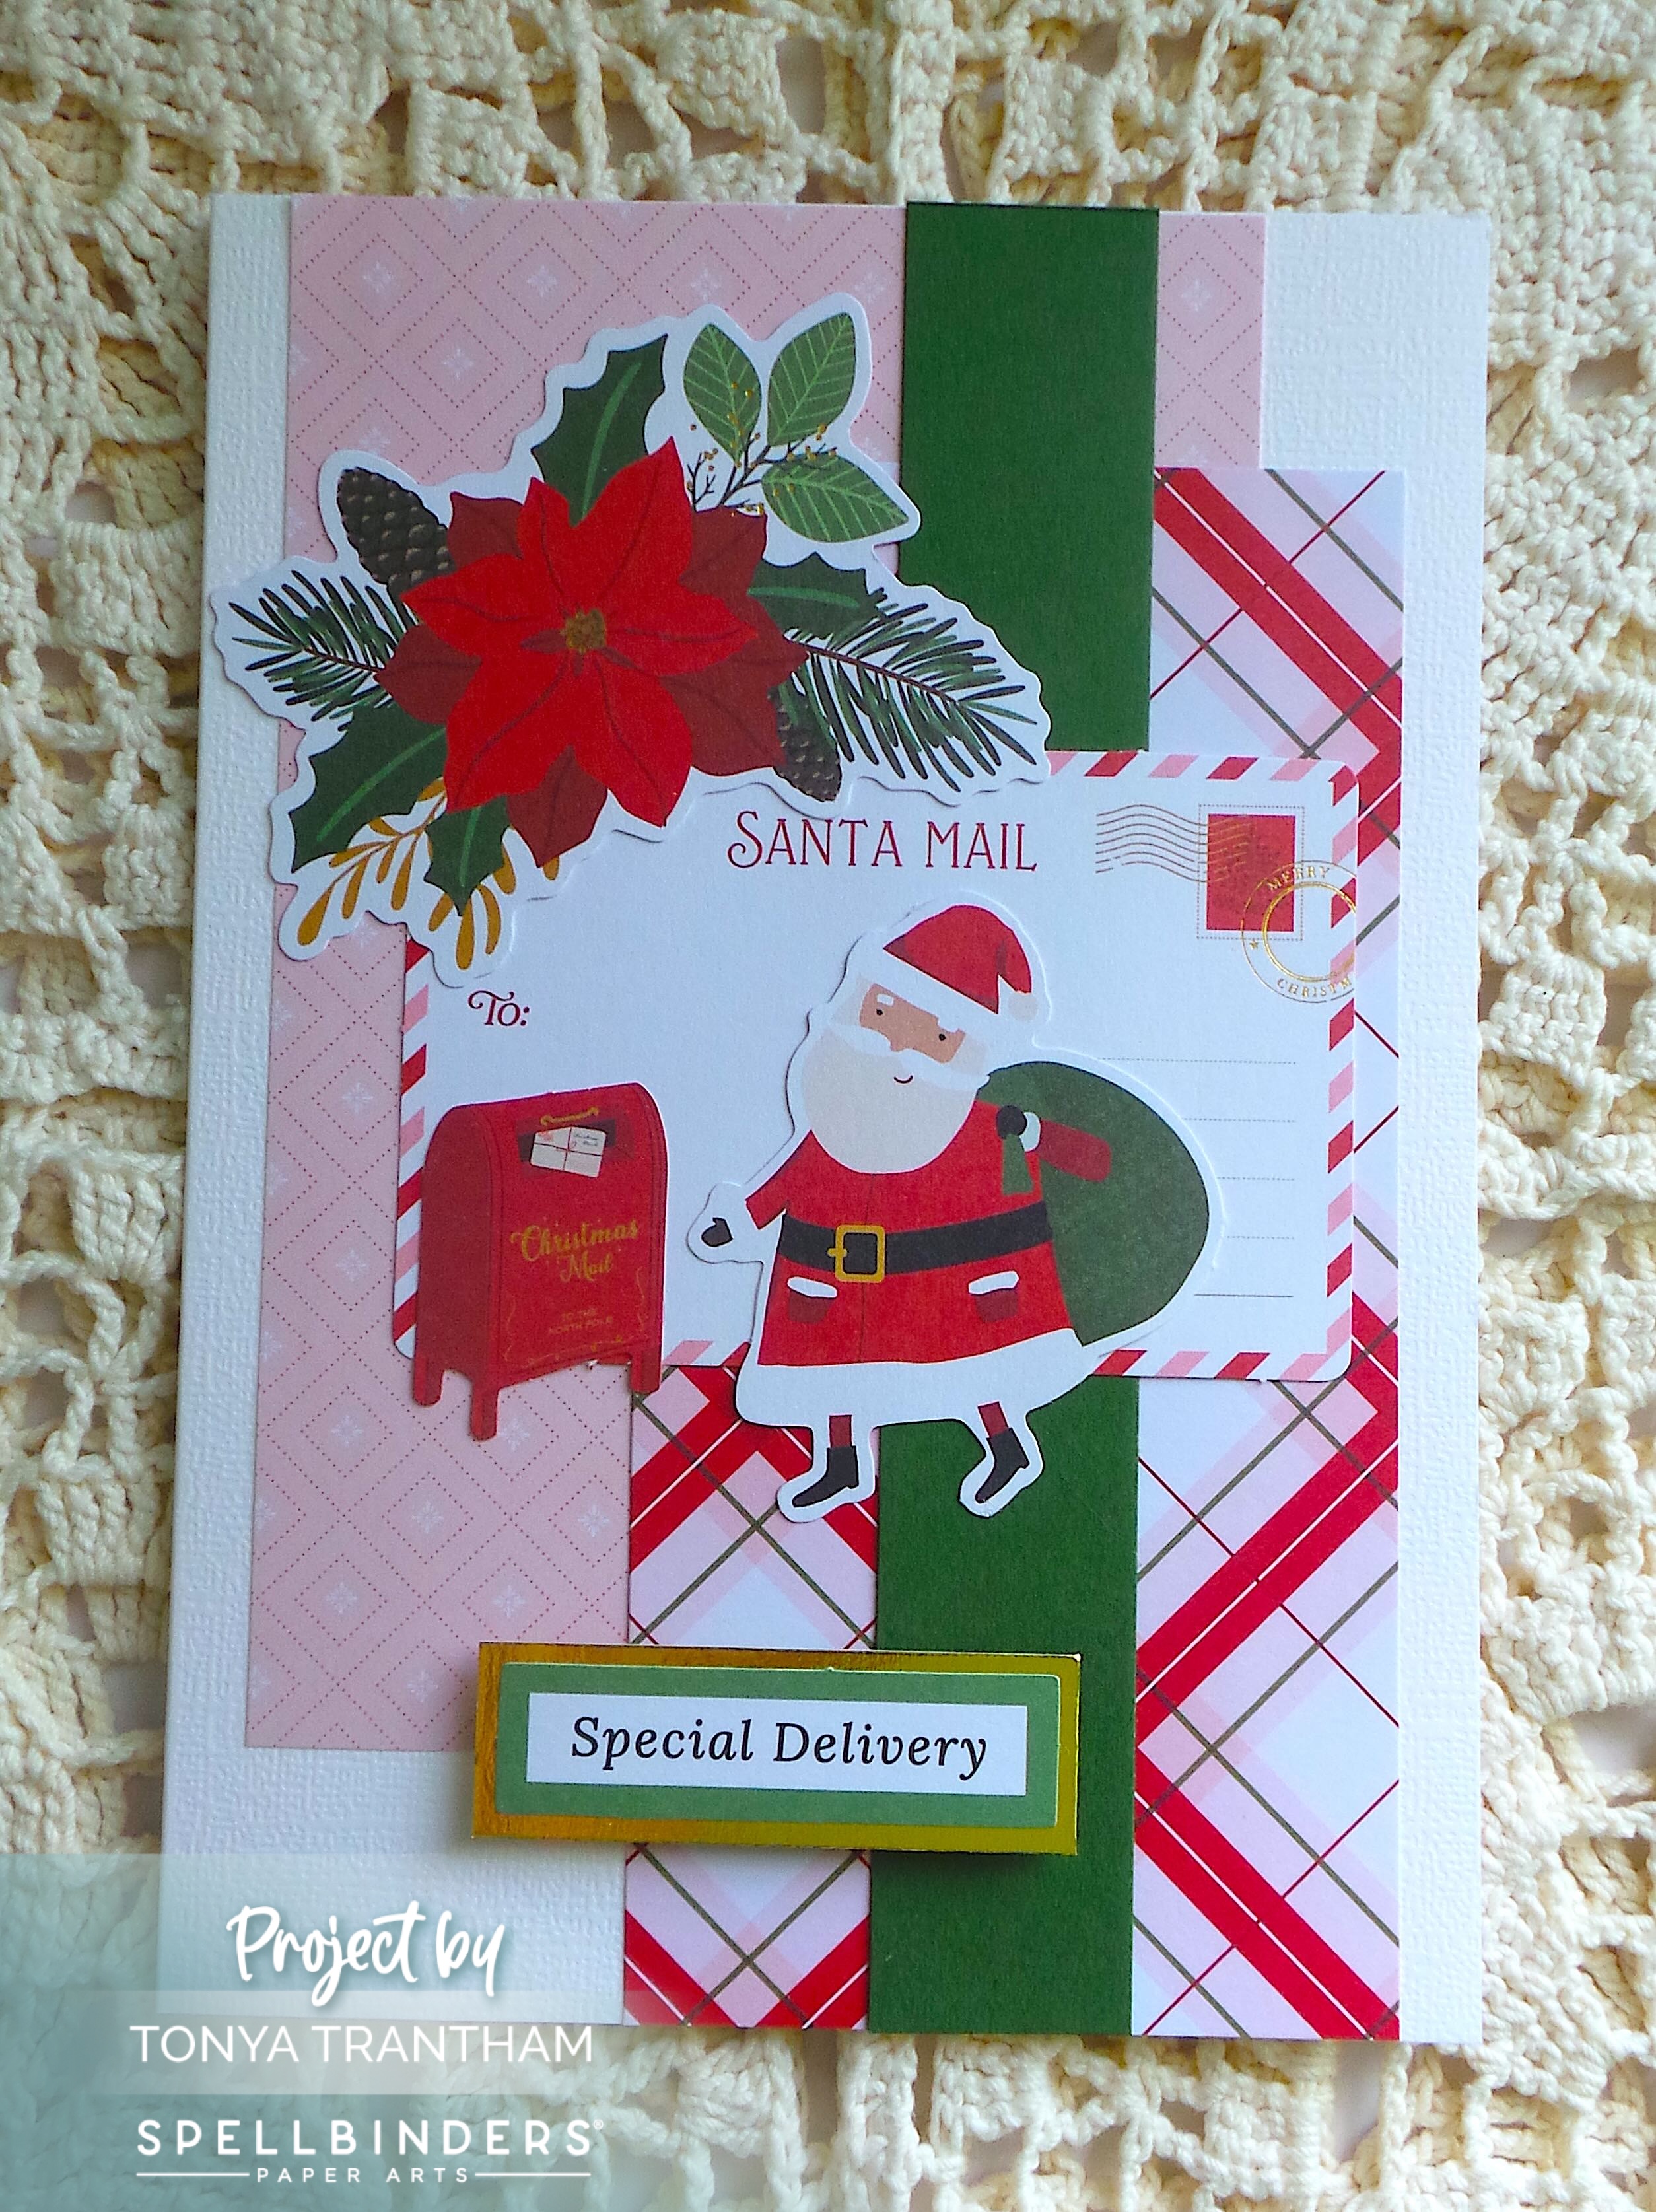
Hi everyone! I want to share nine cards I created from the Merry Moments Limited Edition Holiday Cardmaking Kit by Spellbinders.
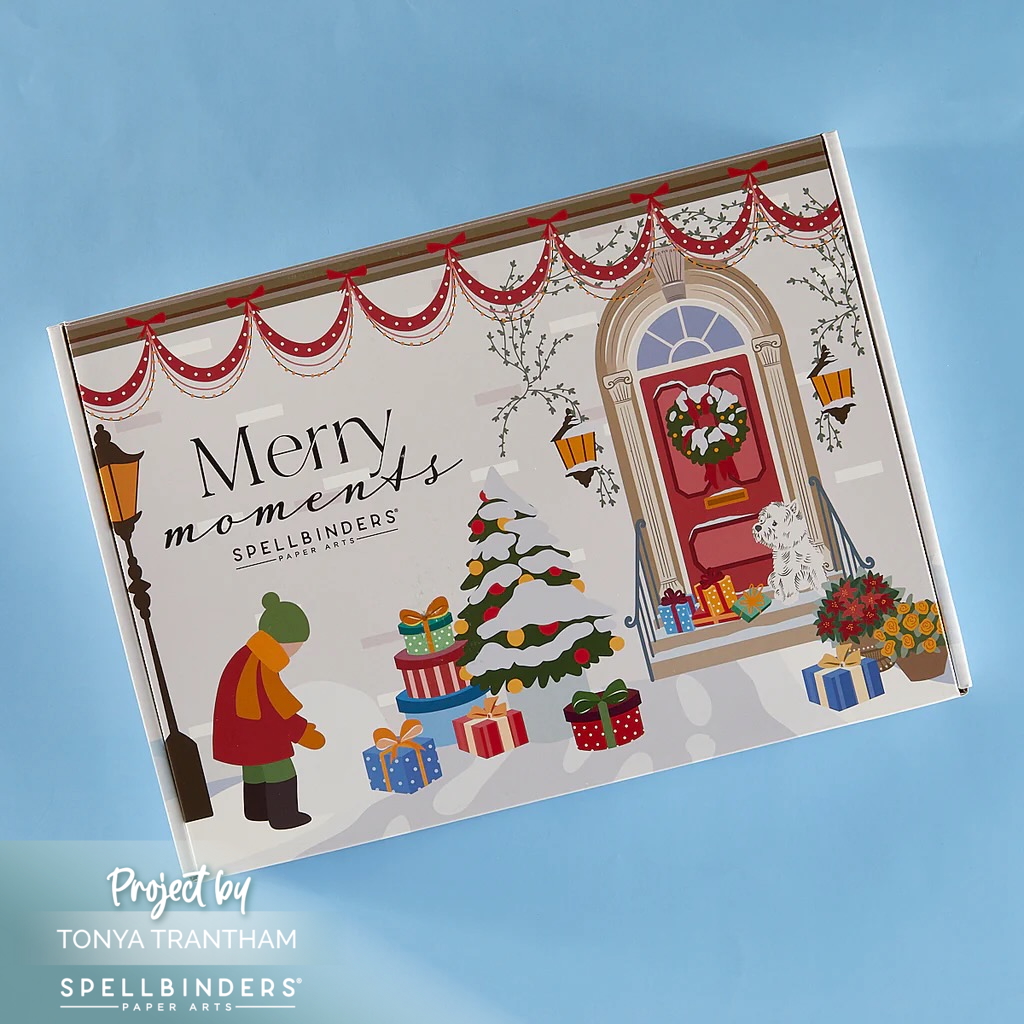
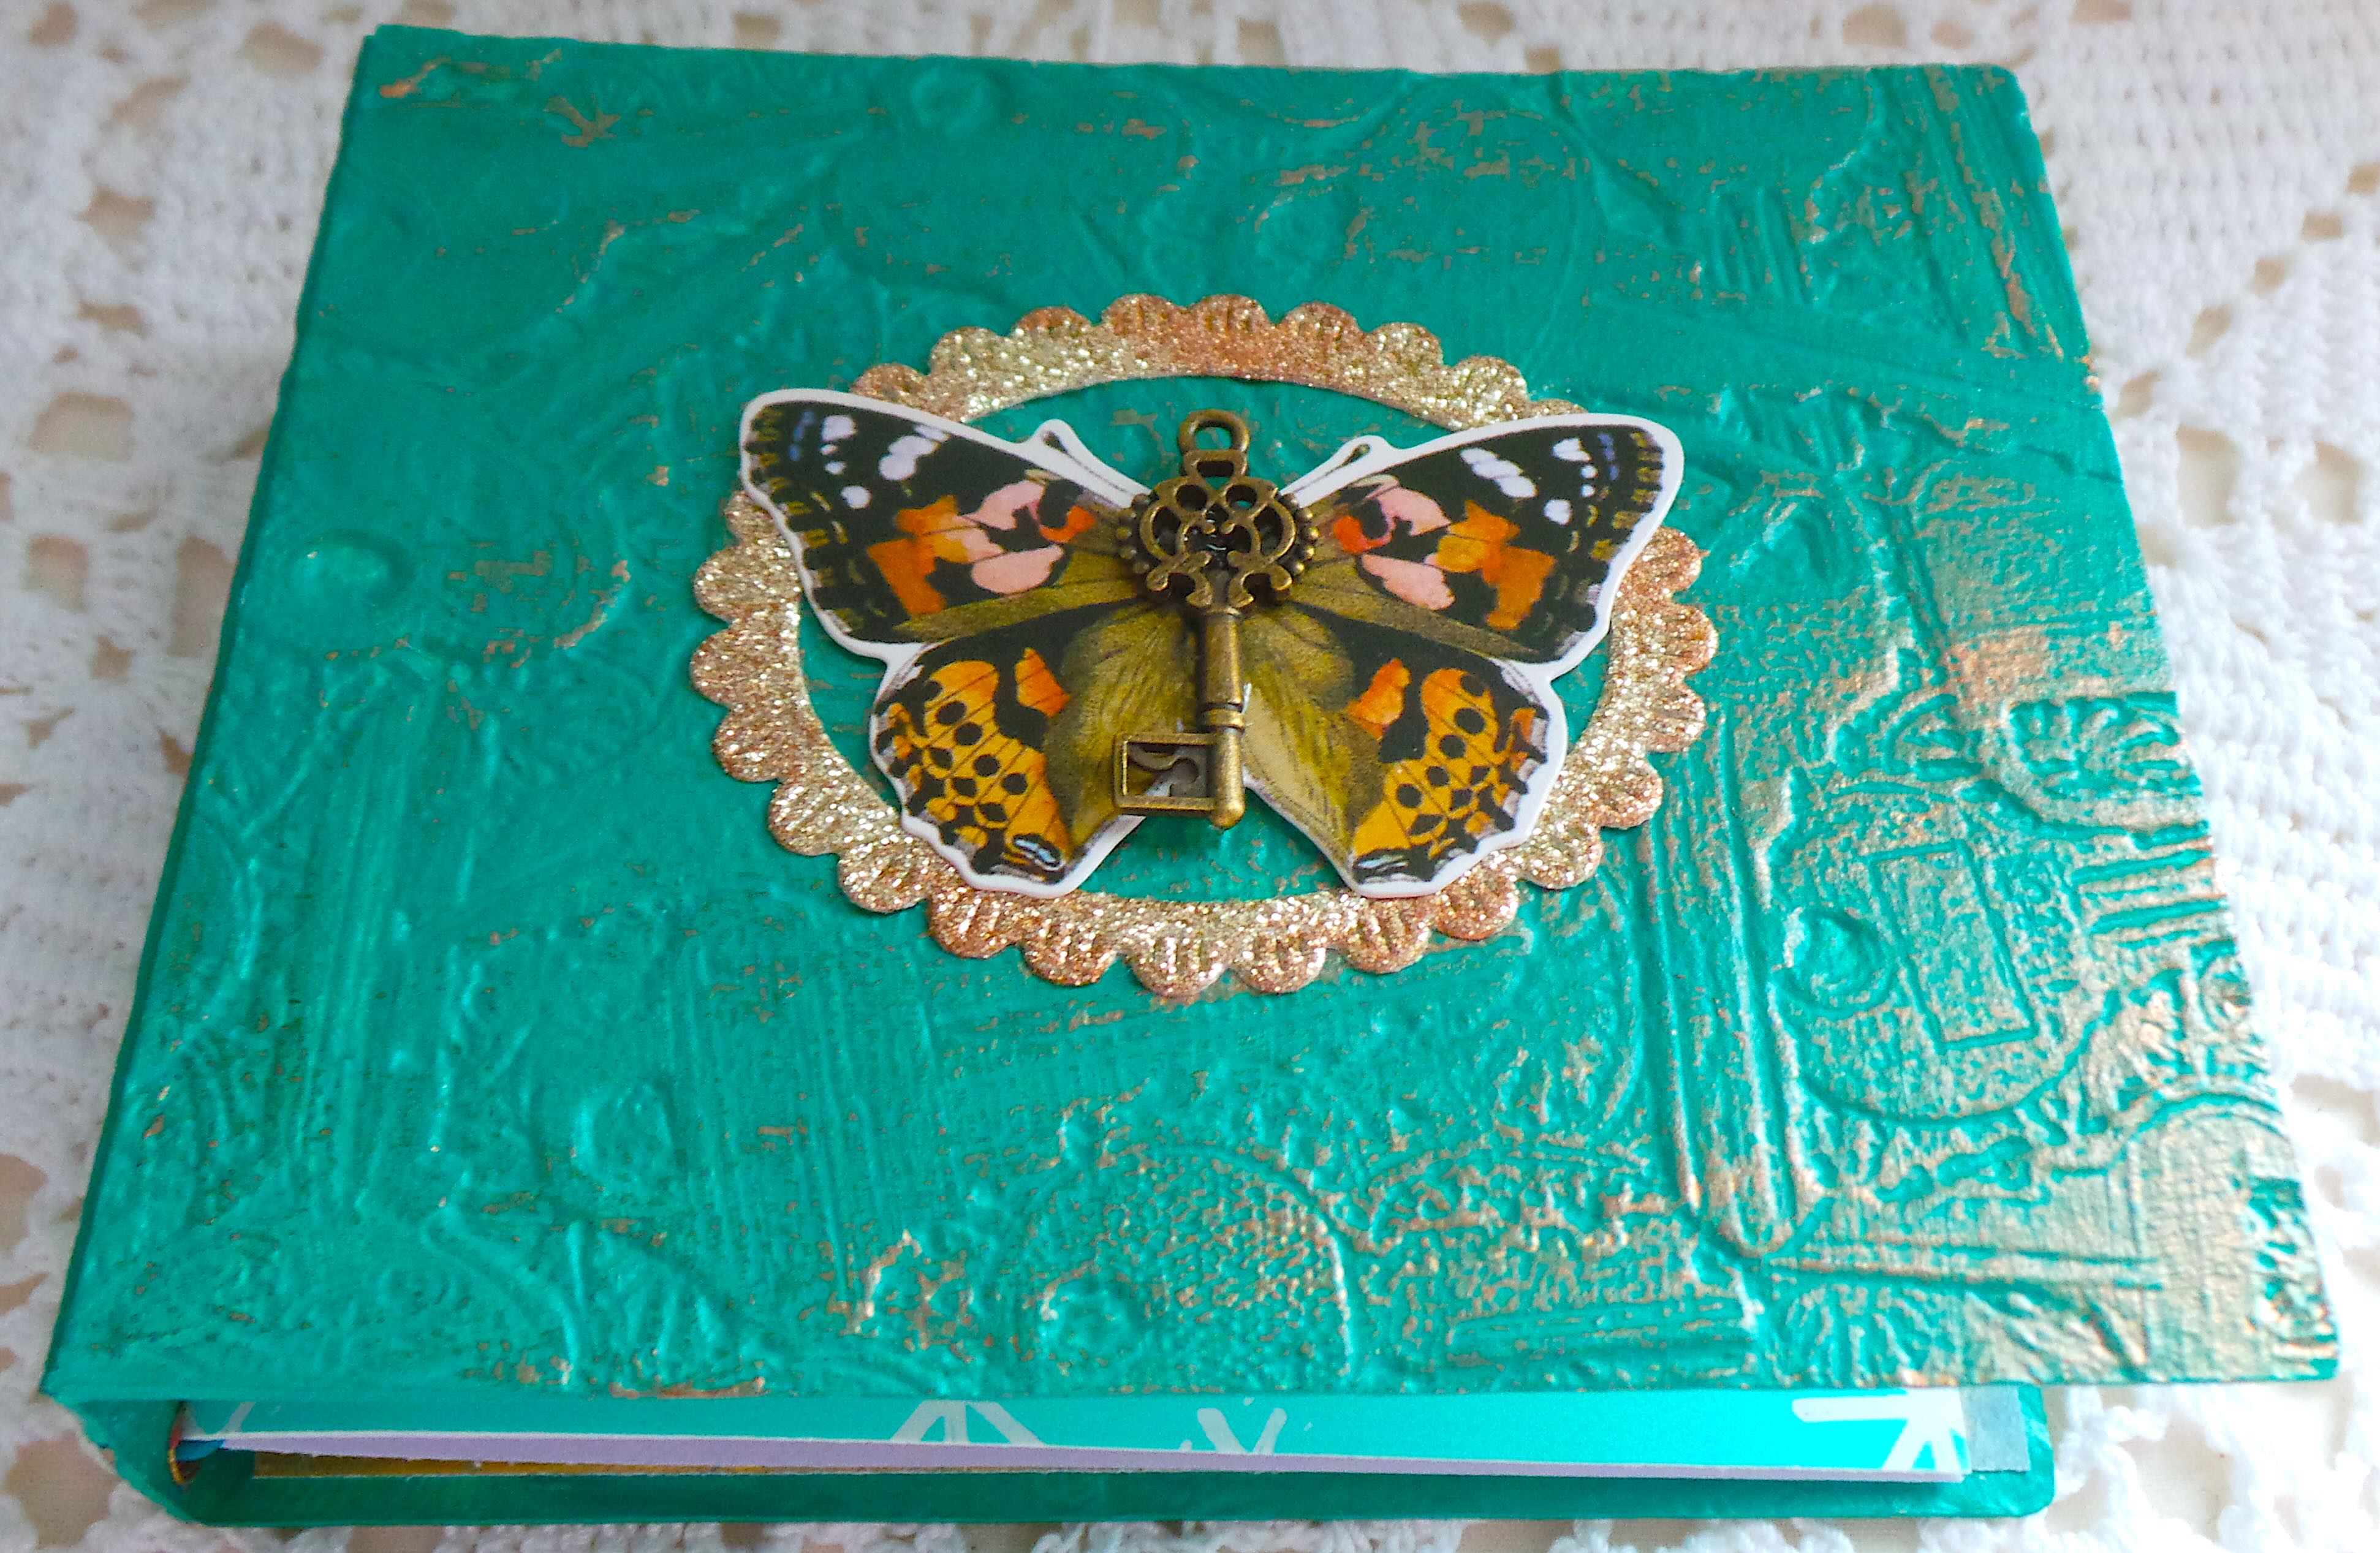
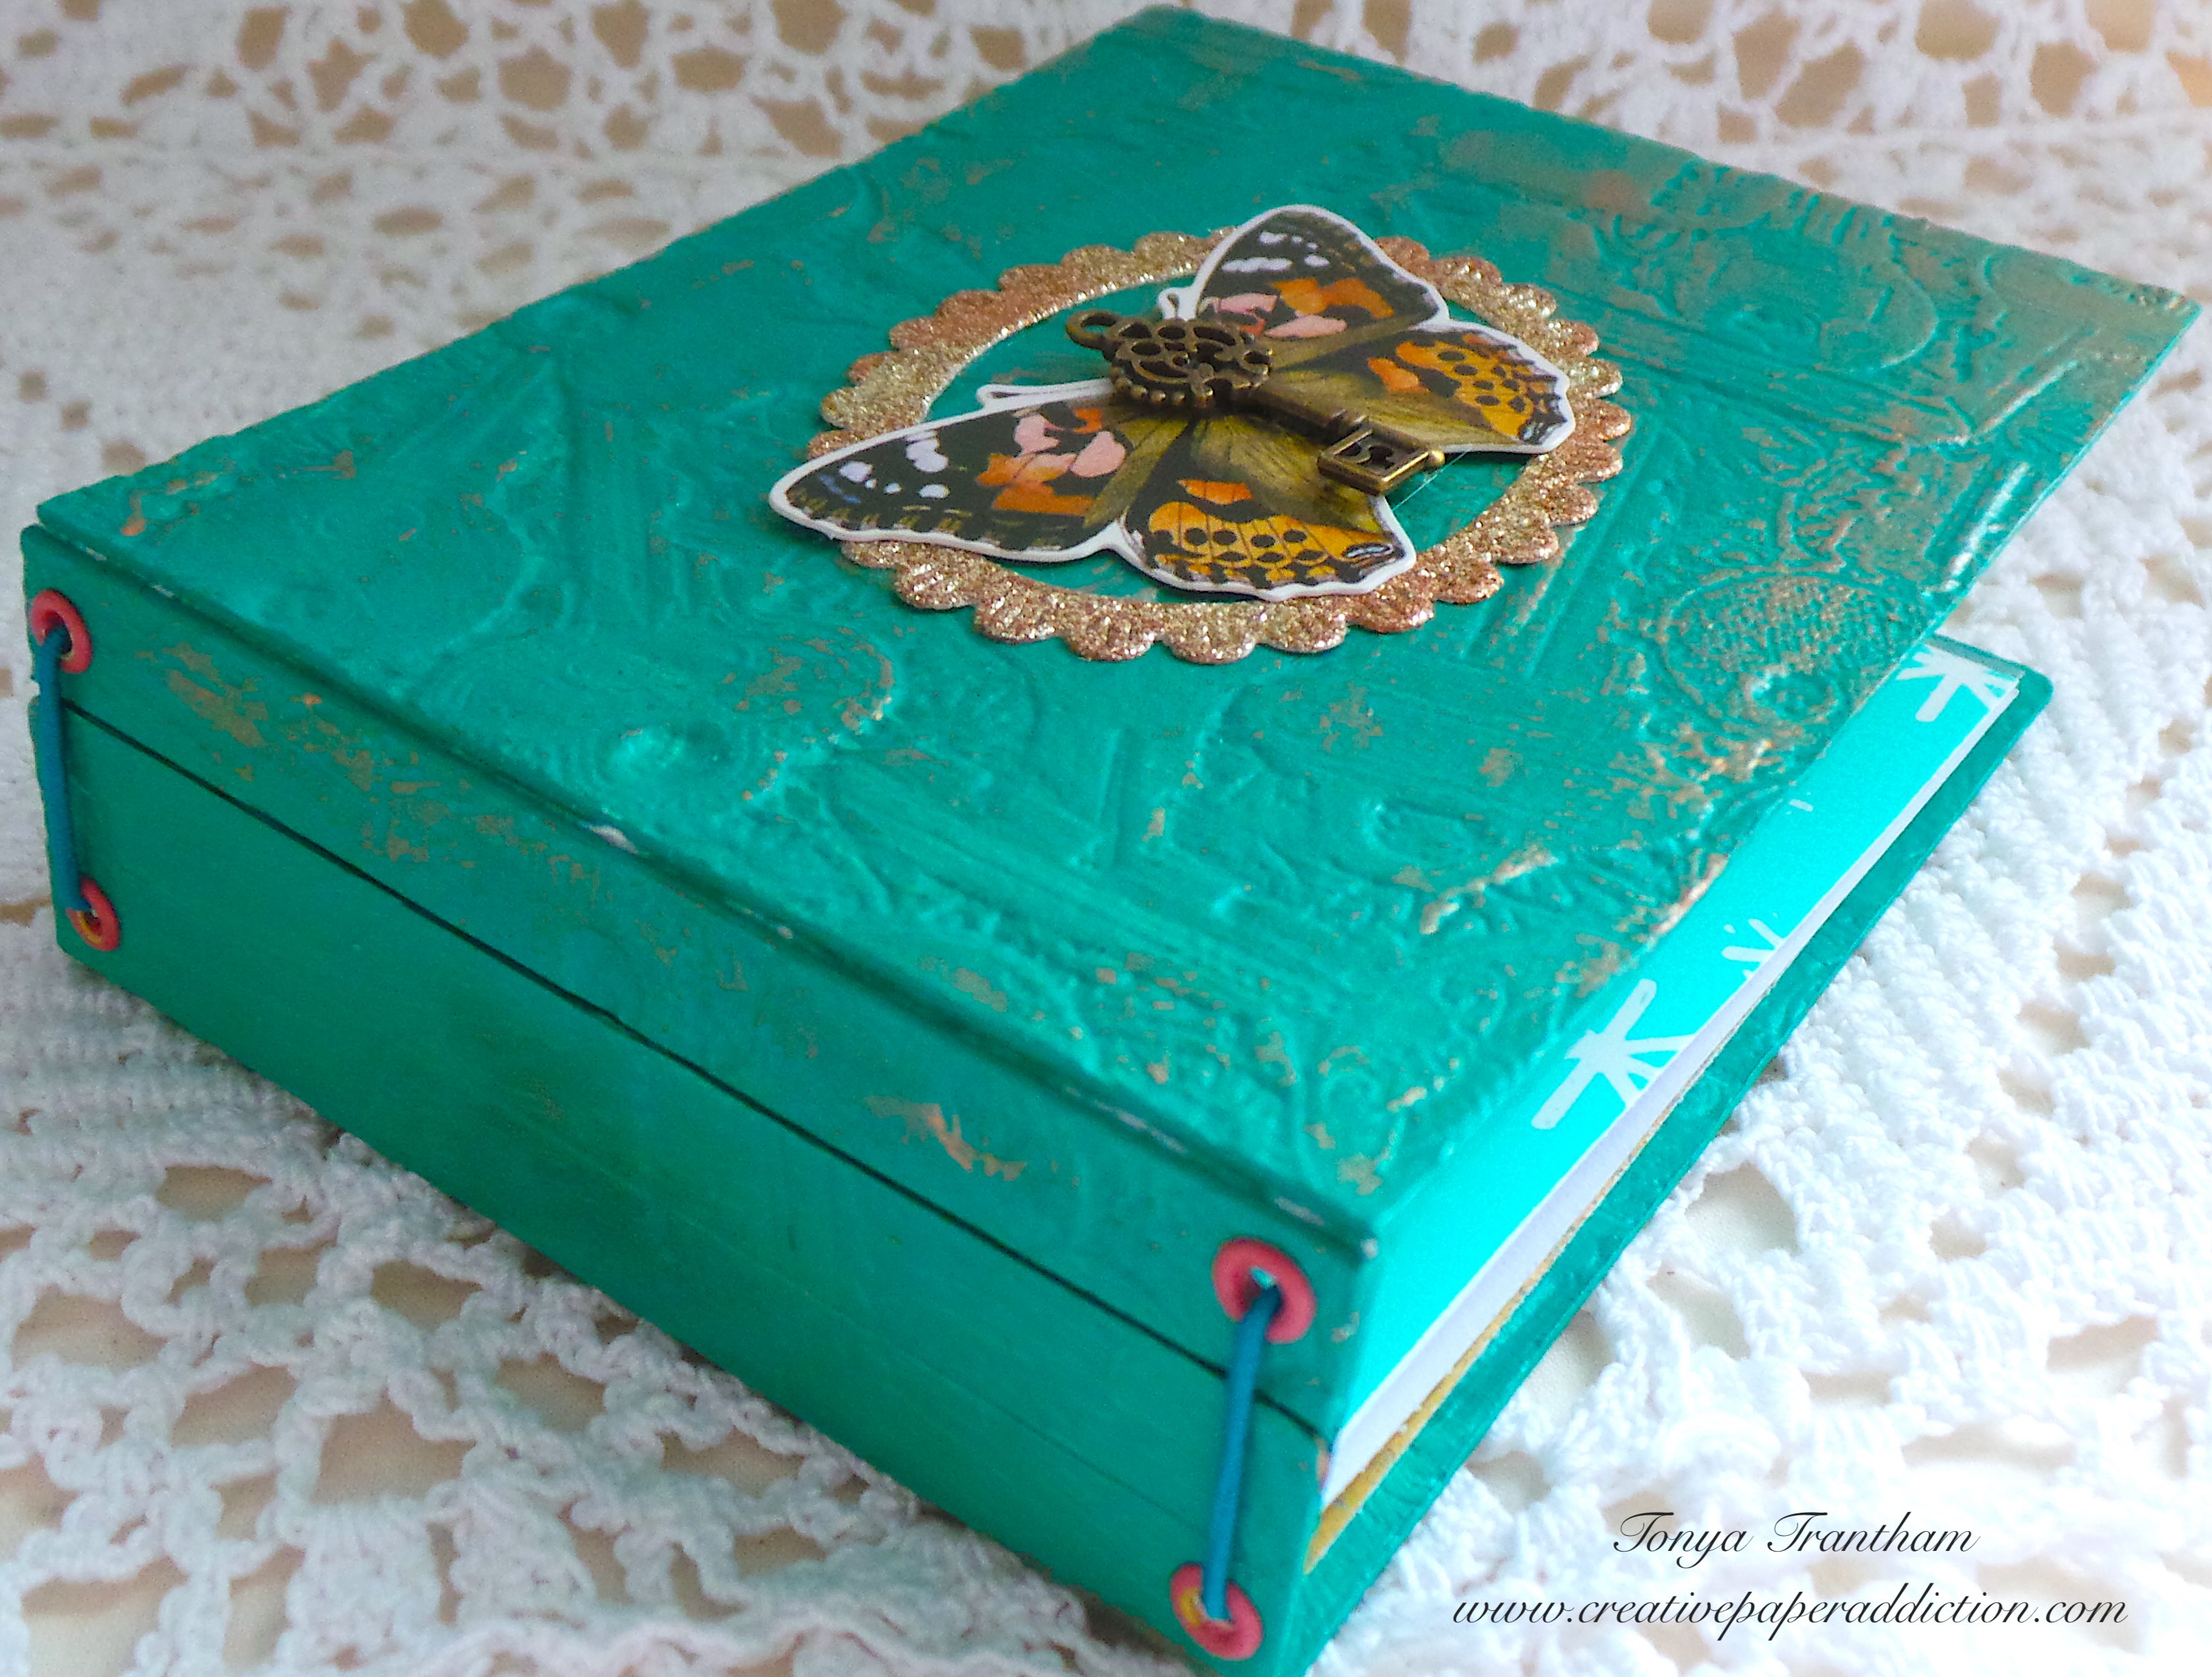
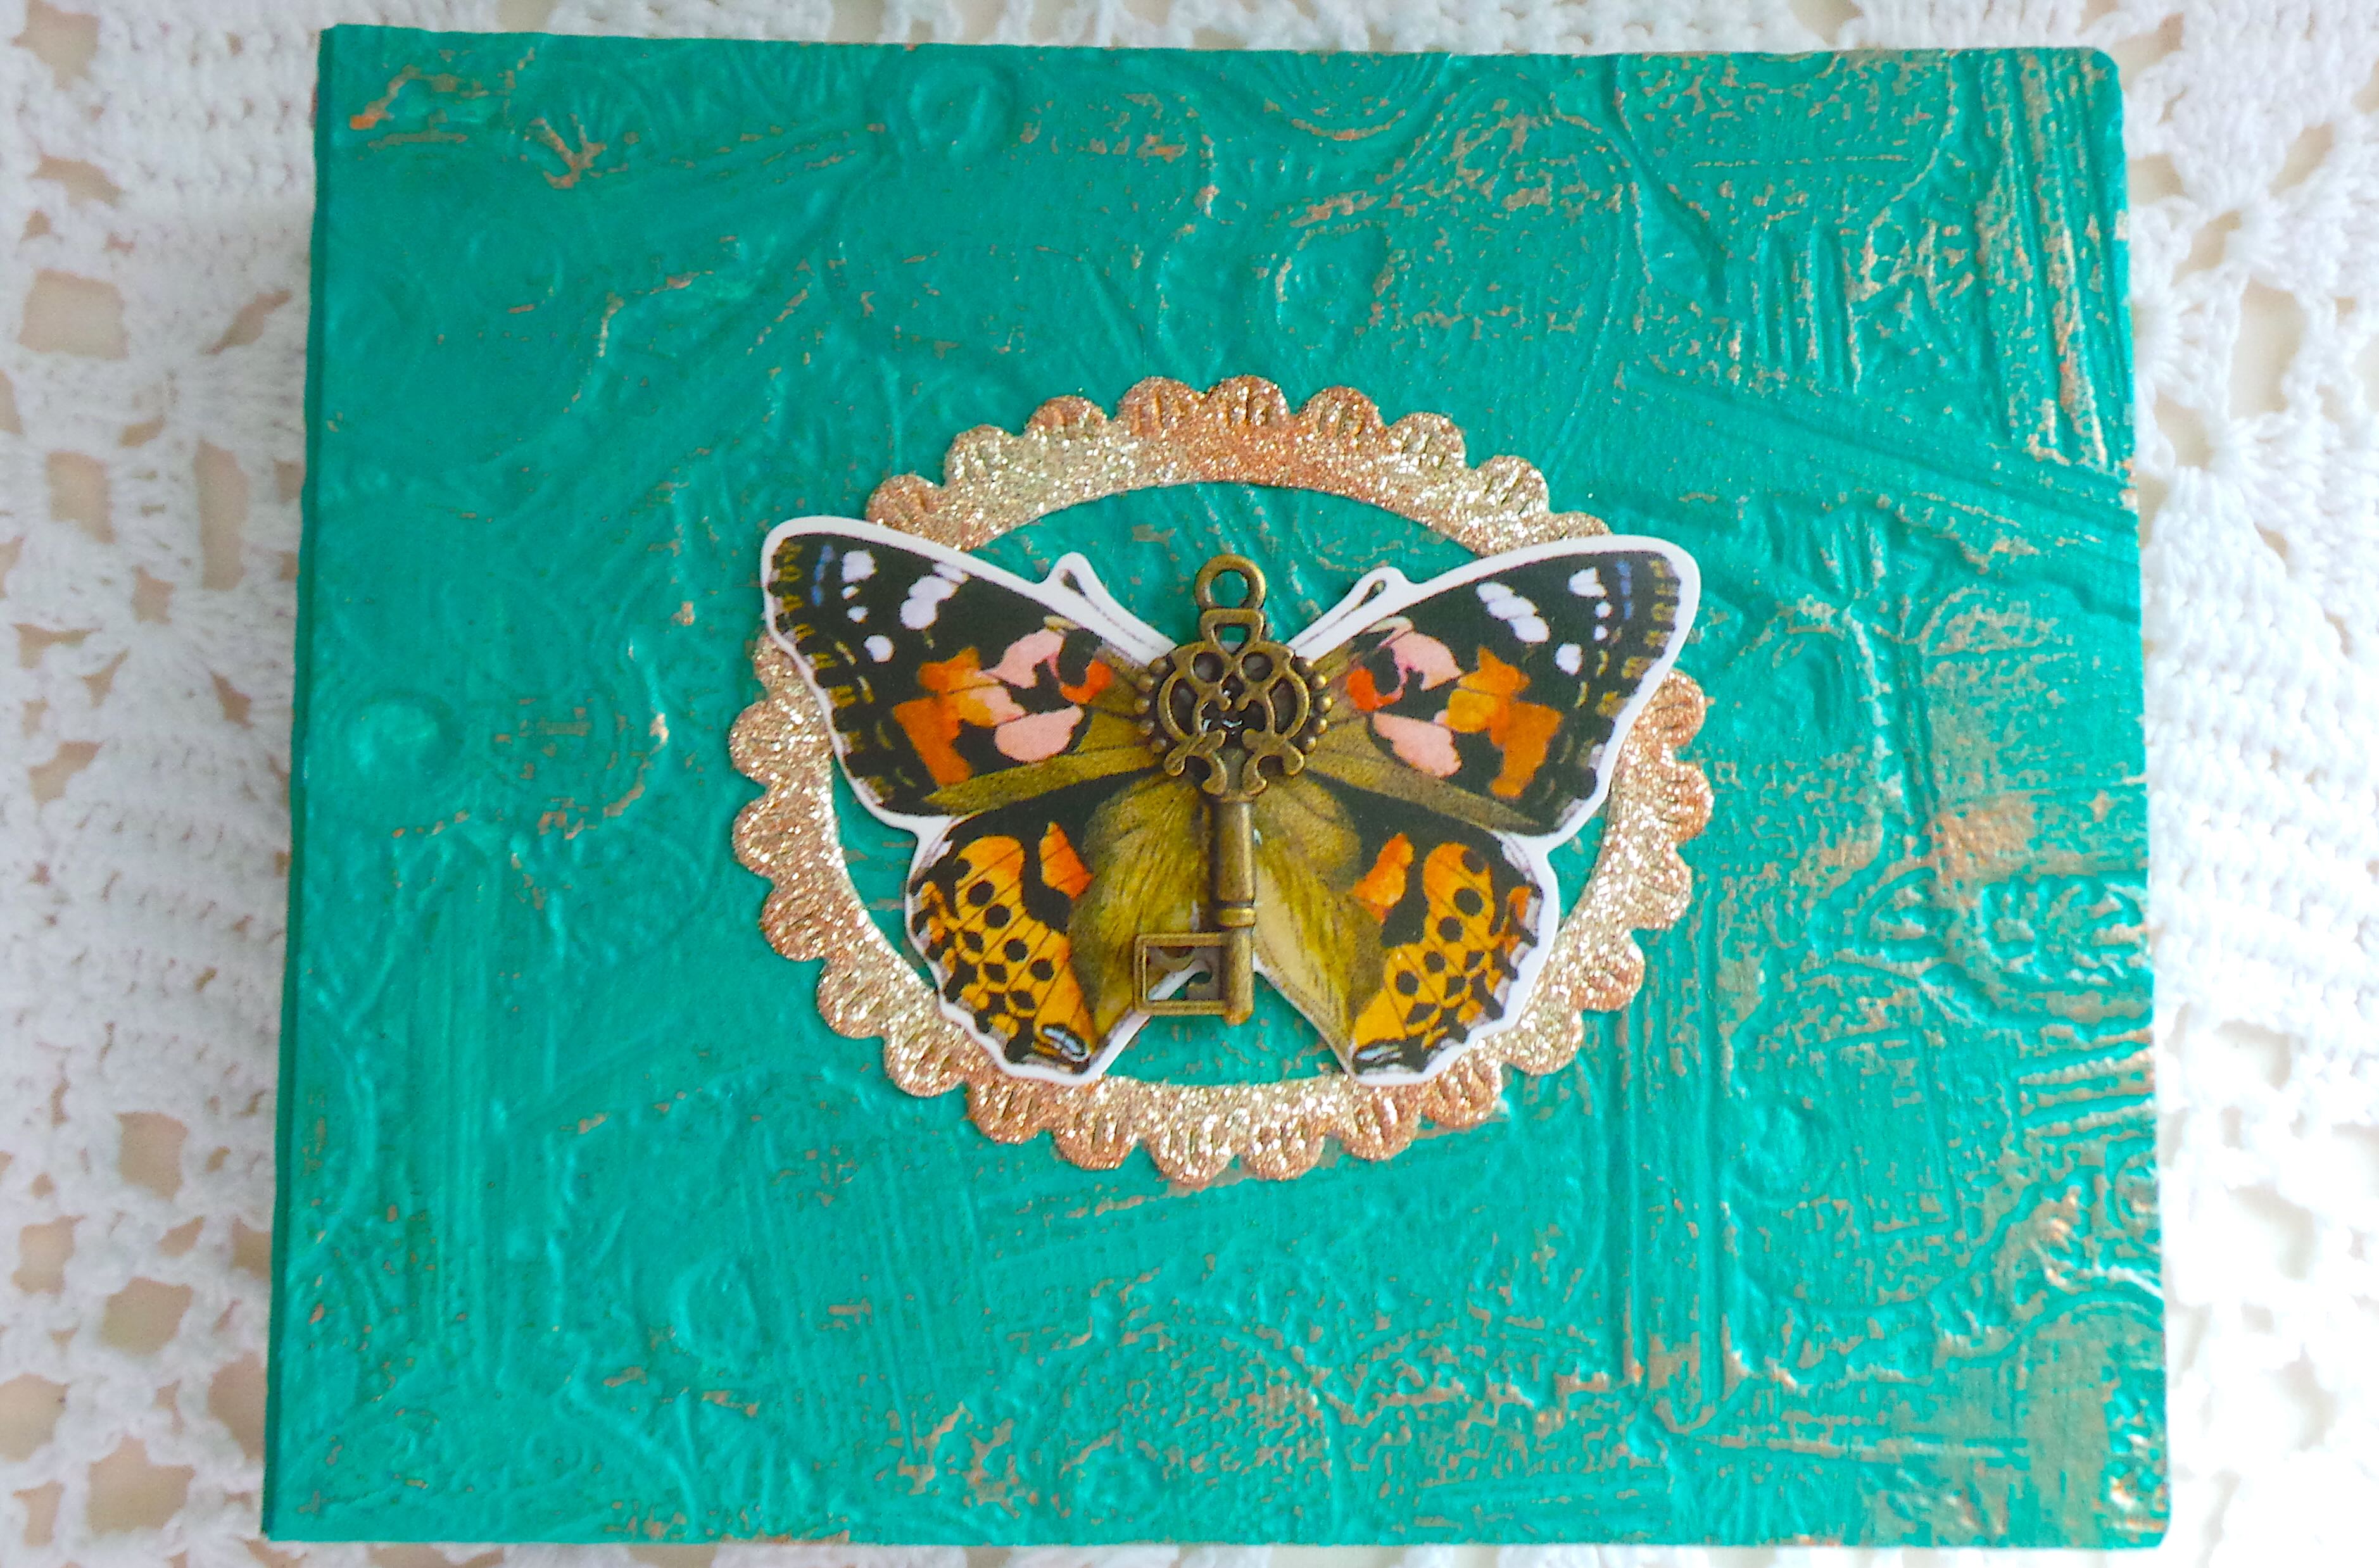
The outside of the box is a work of art!
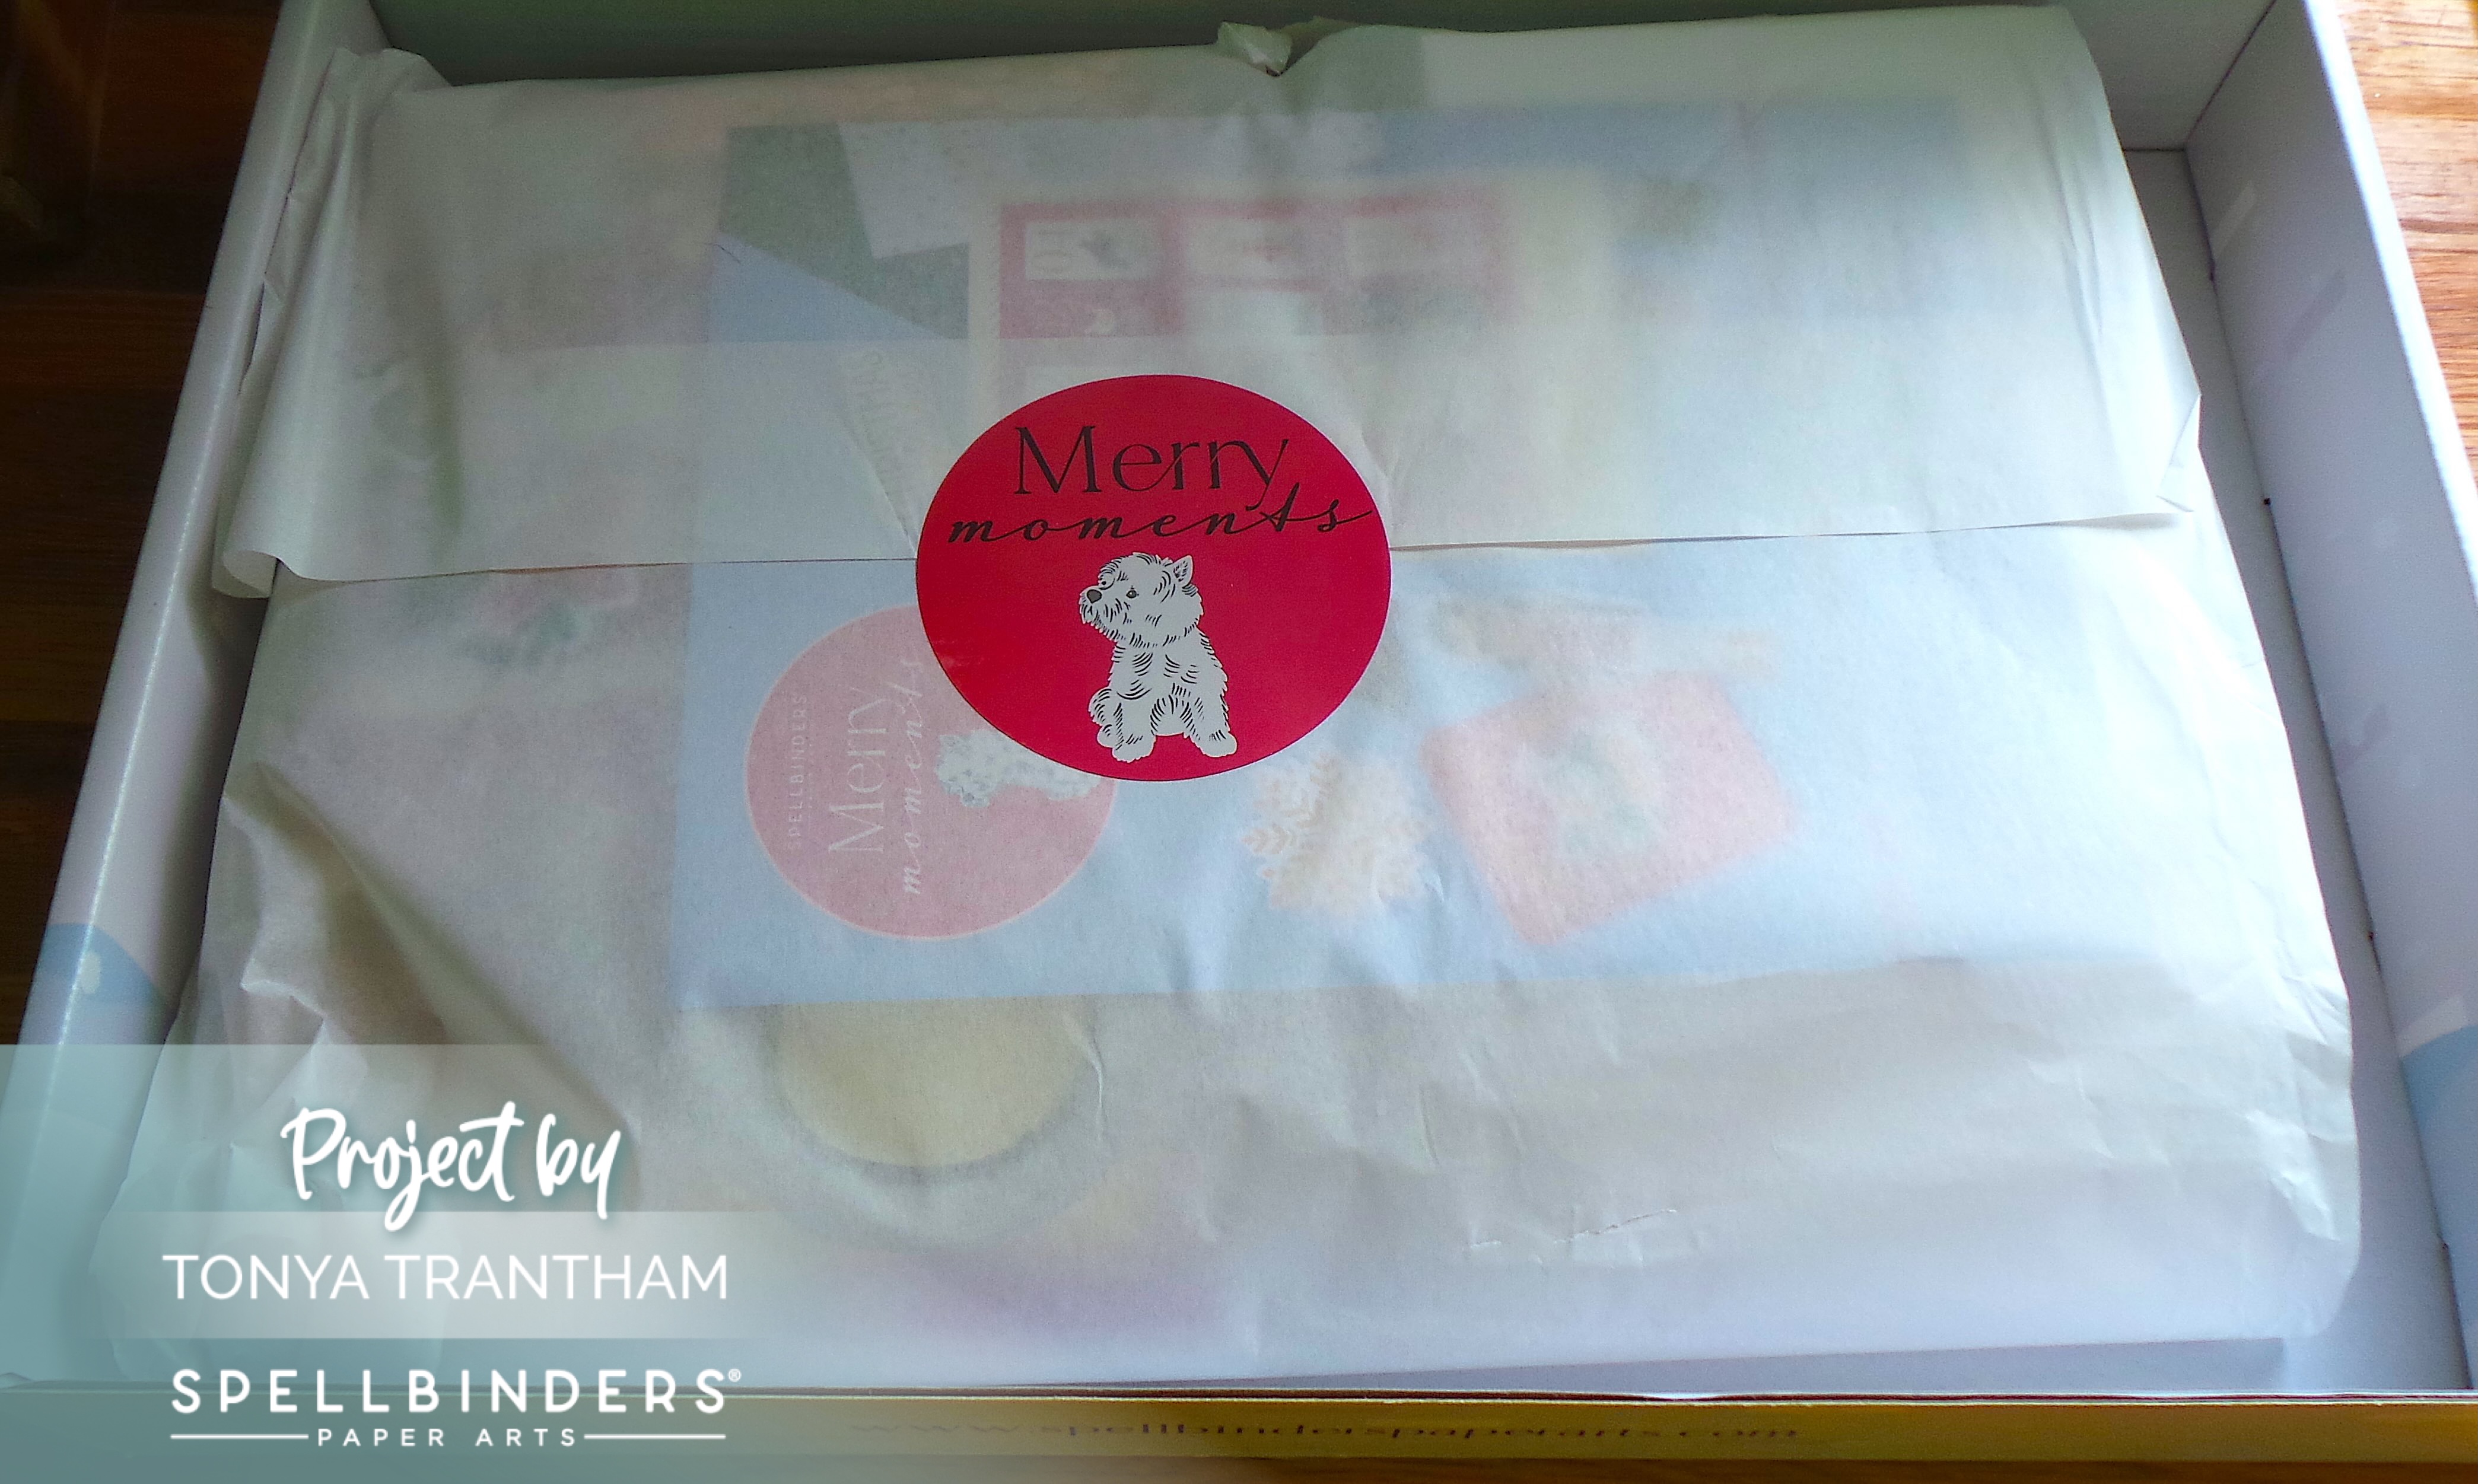
The inside was wrapped with tissue paper and a sticker.
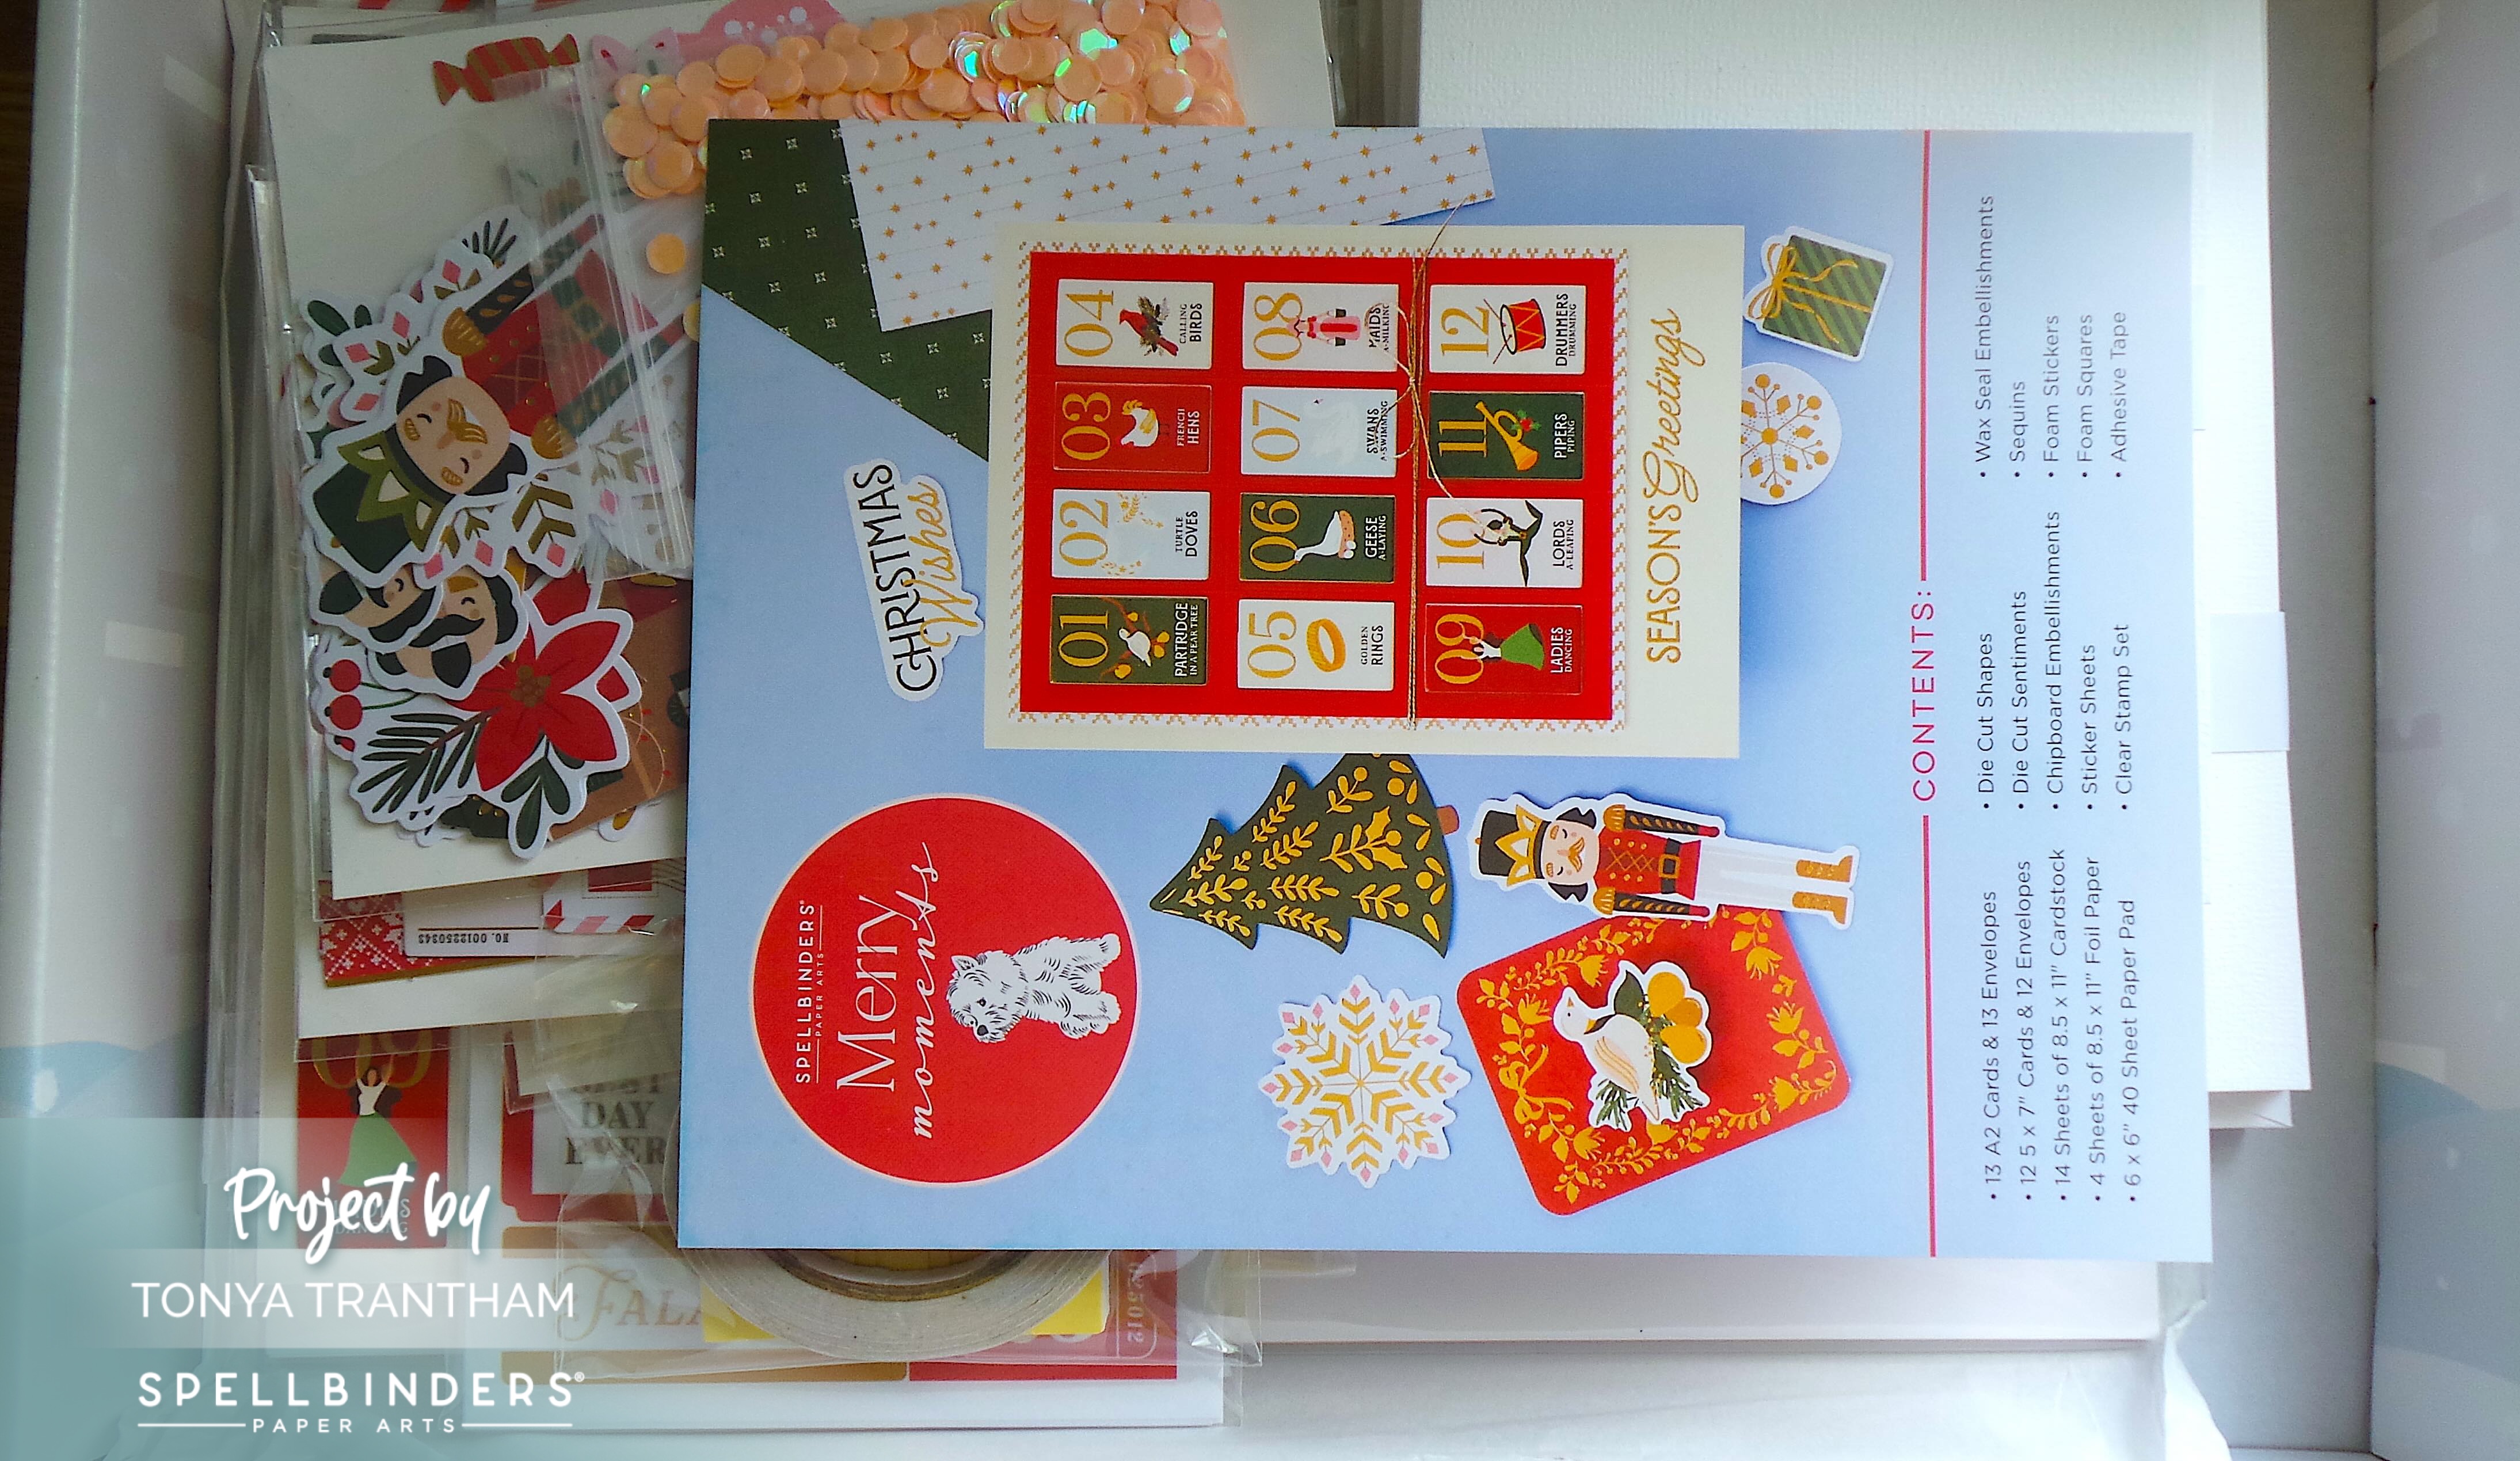
I carefully removed the sticker which will be added to my December Daily later. The kits is packed full of everything you will need to make cards. But you could definitely use some of the embellishments for other projects besides cards. The kit contains the following items:
- 13 A2 Cards & Matching Envelopes
- 12 5 x 7 in. Cards & Matching Envelopes
- 14 Sheets of 8.5 x 11 in. Cardstock
- Four Sheets of 8.5 x 11 in. Foil Paper
- One 6 x 6 in. Paper Pad (40 sheets)
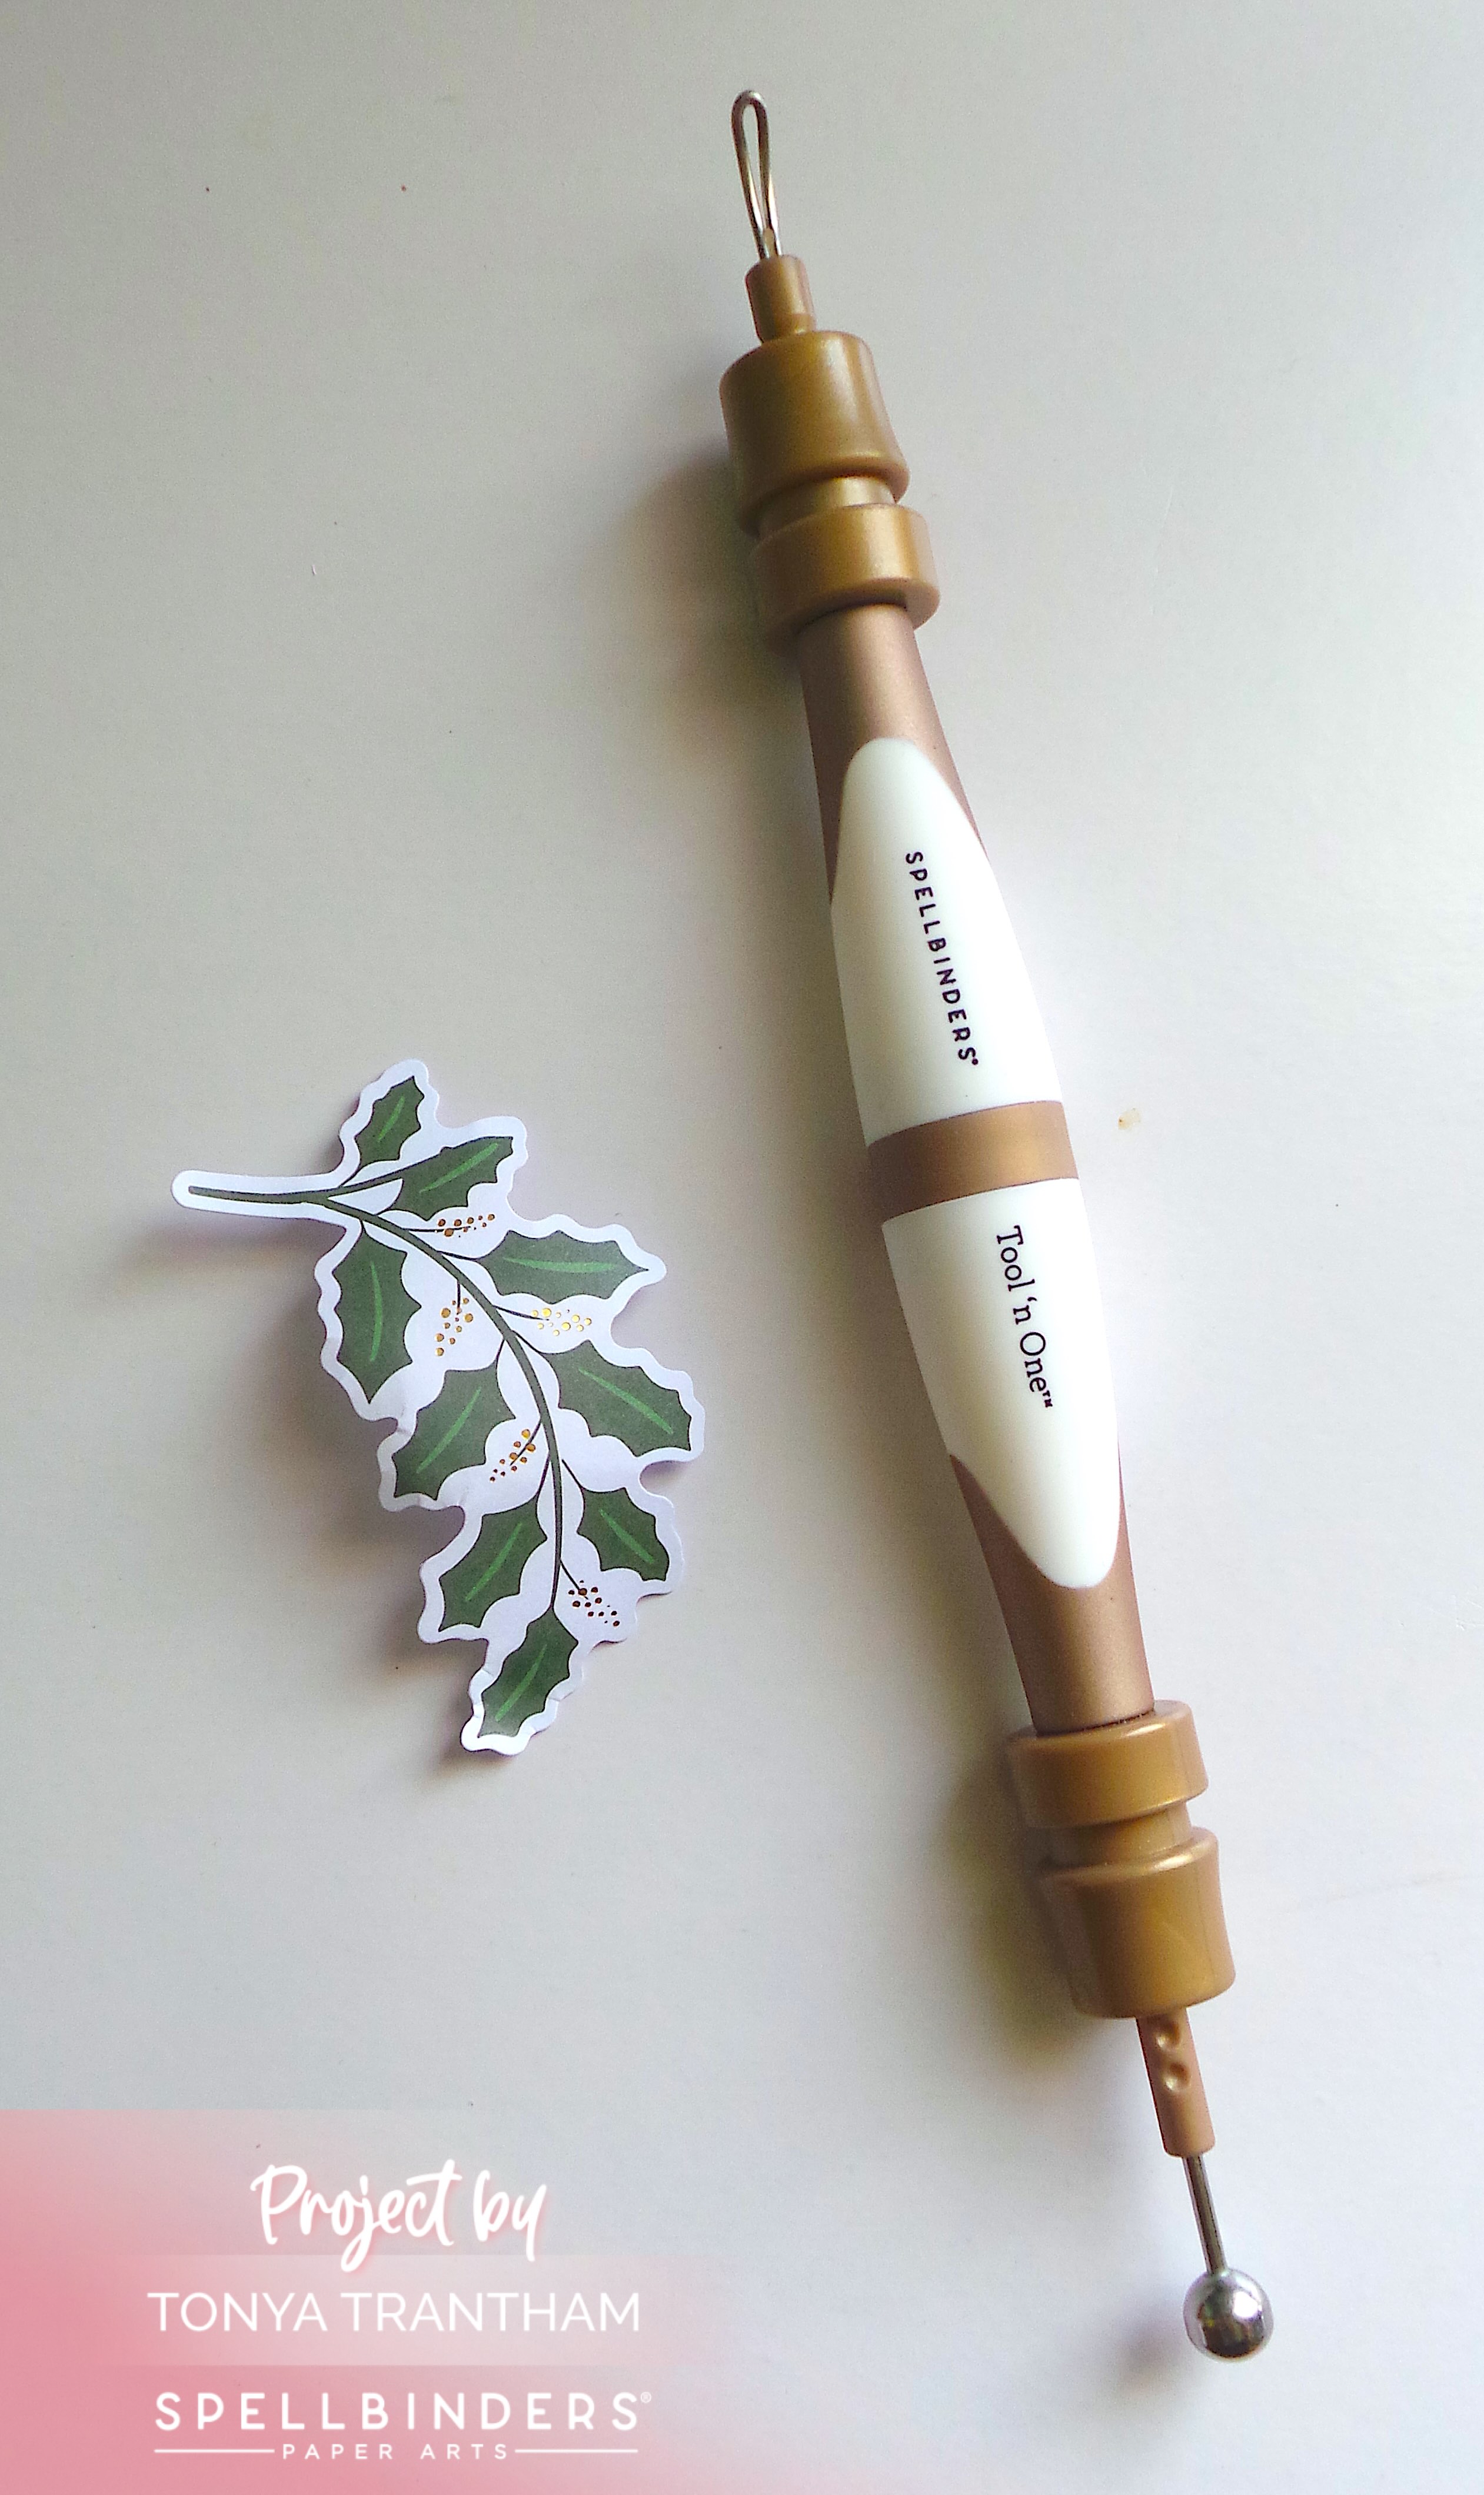
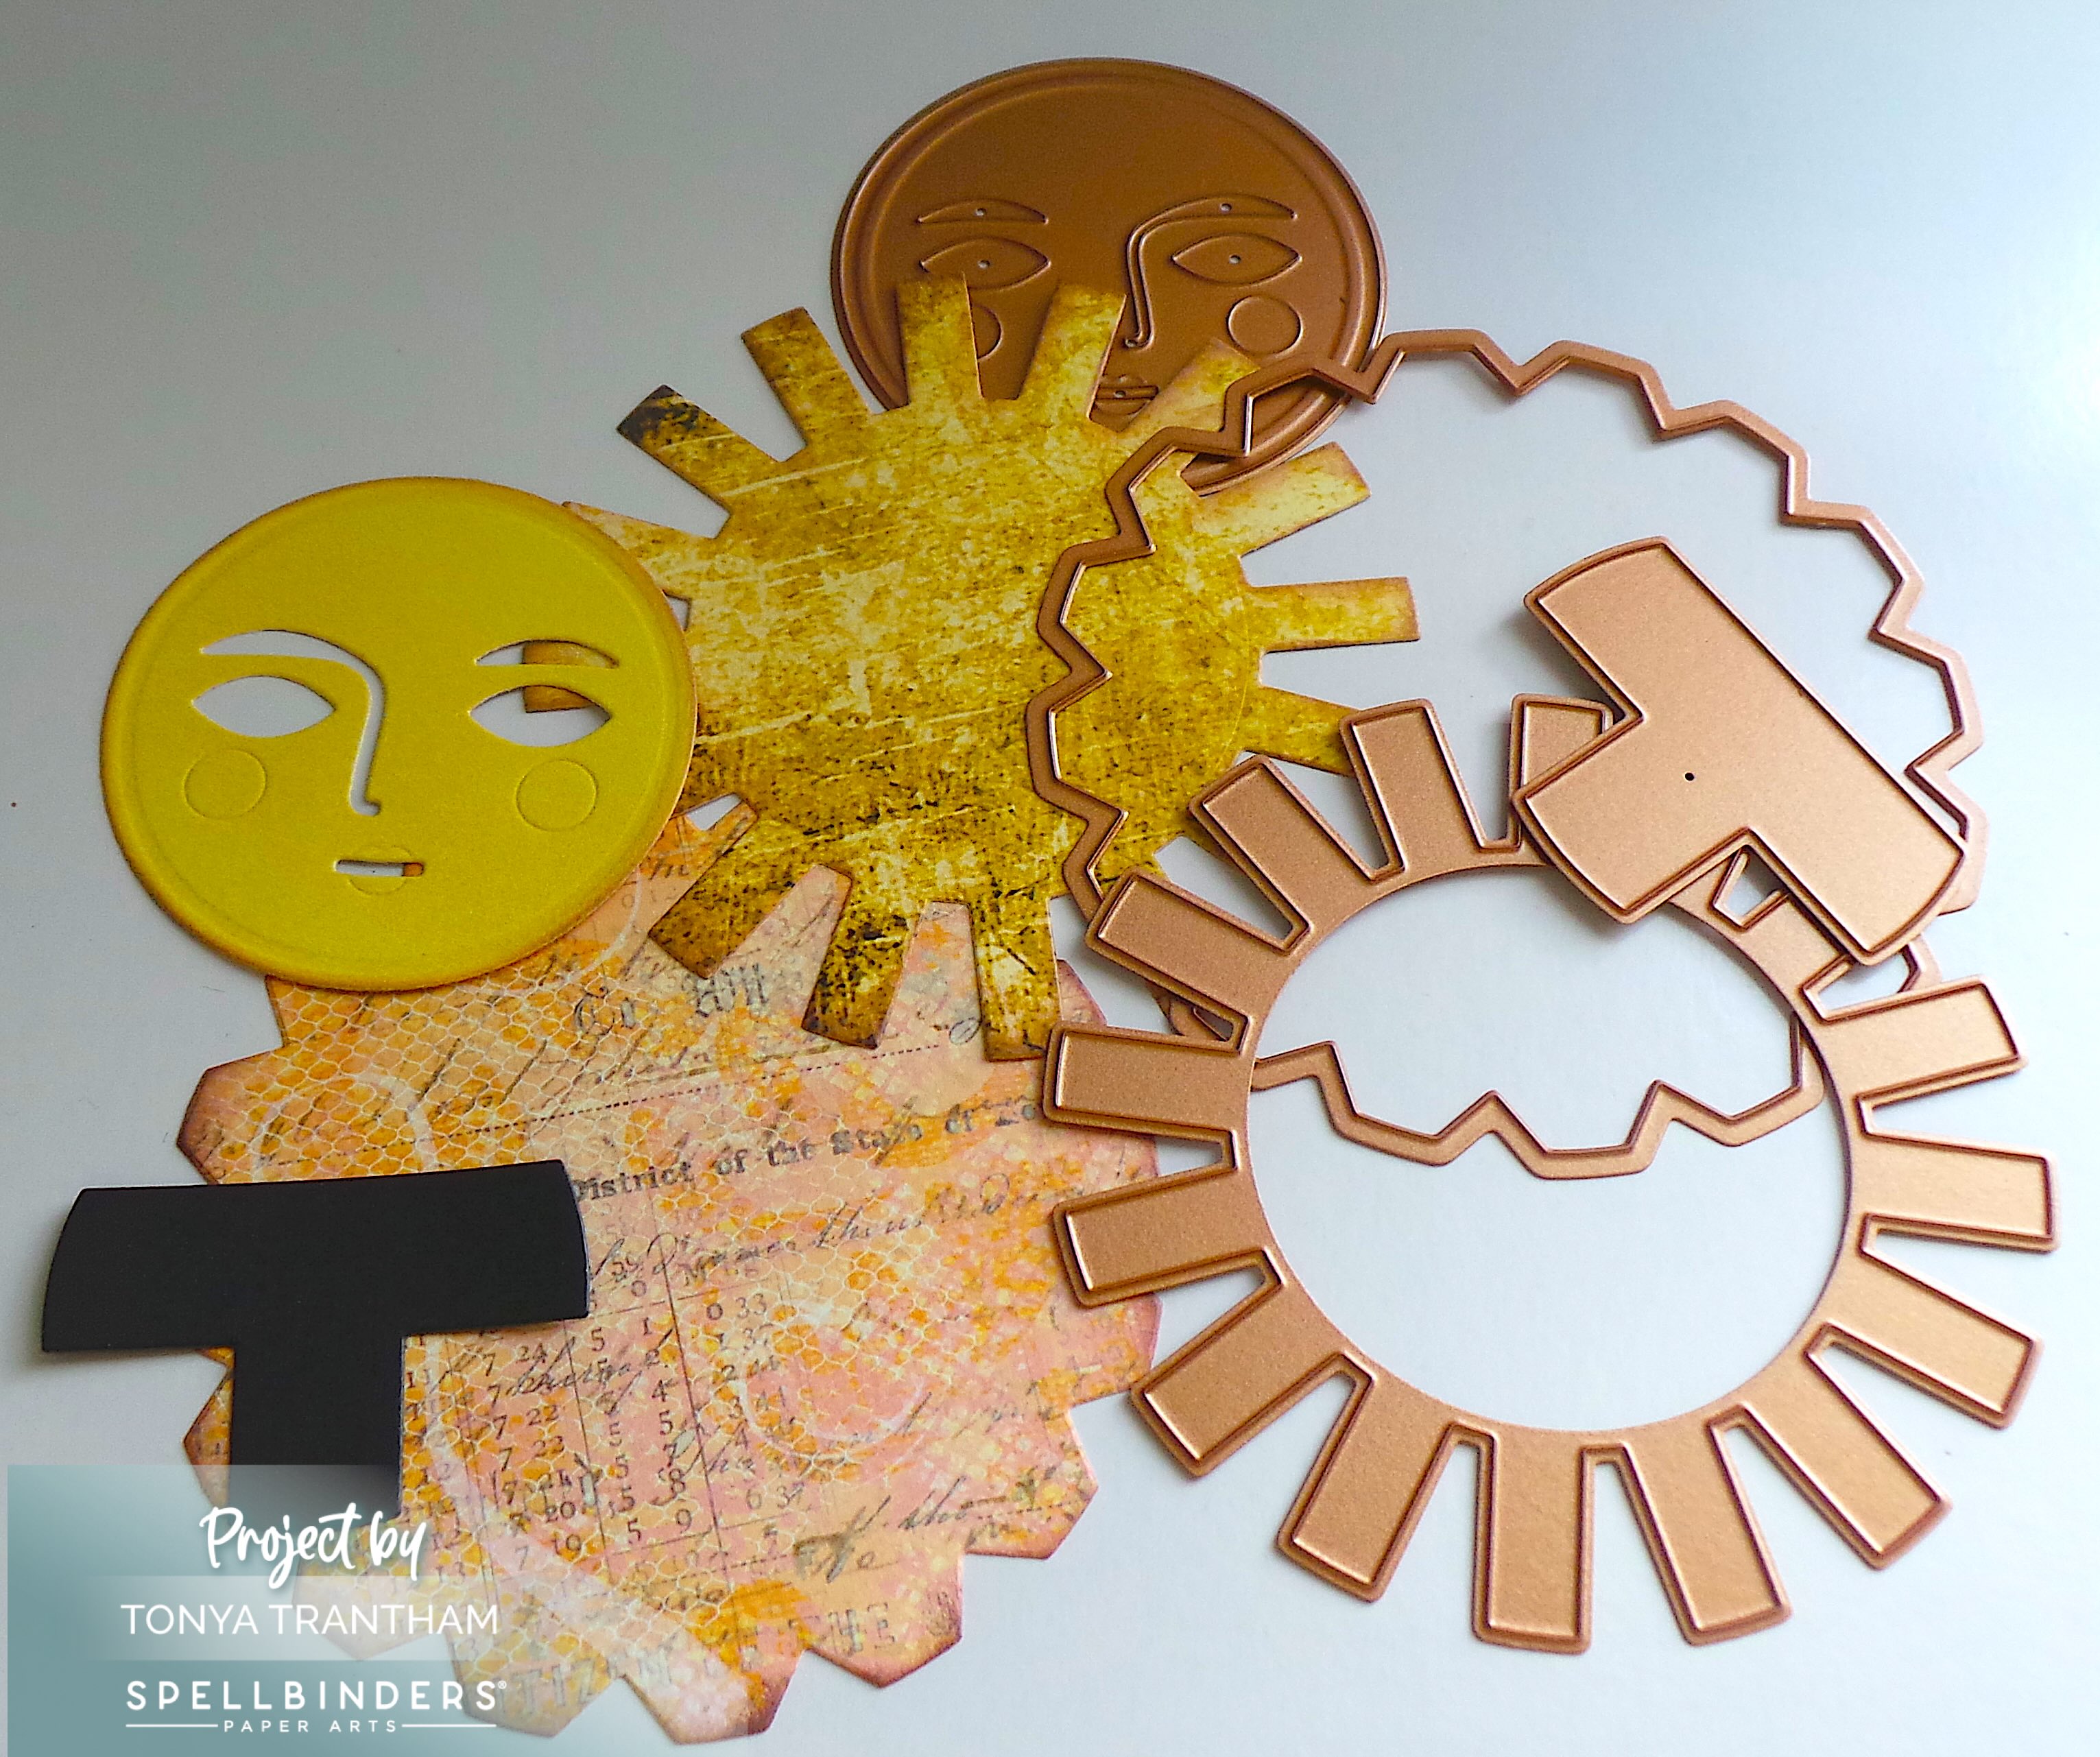
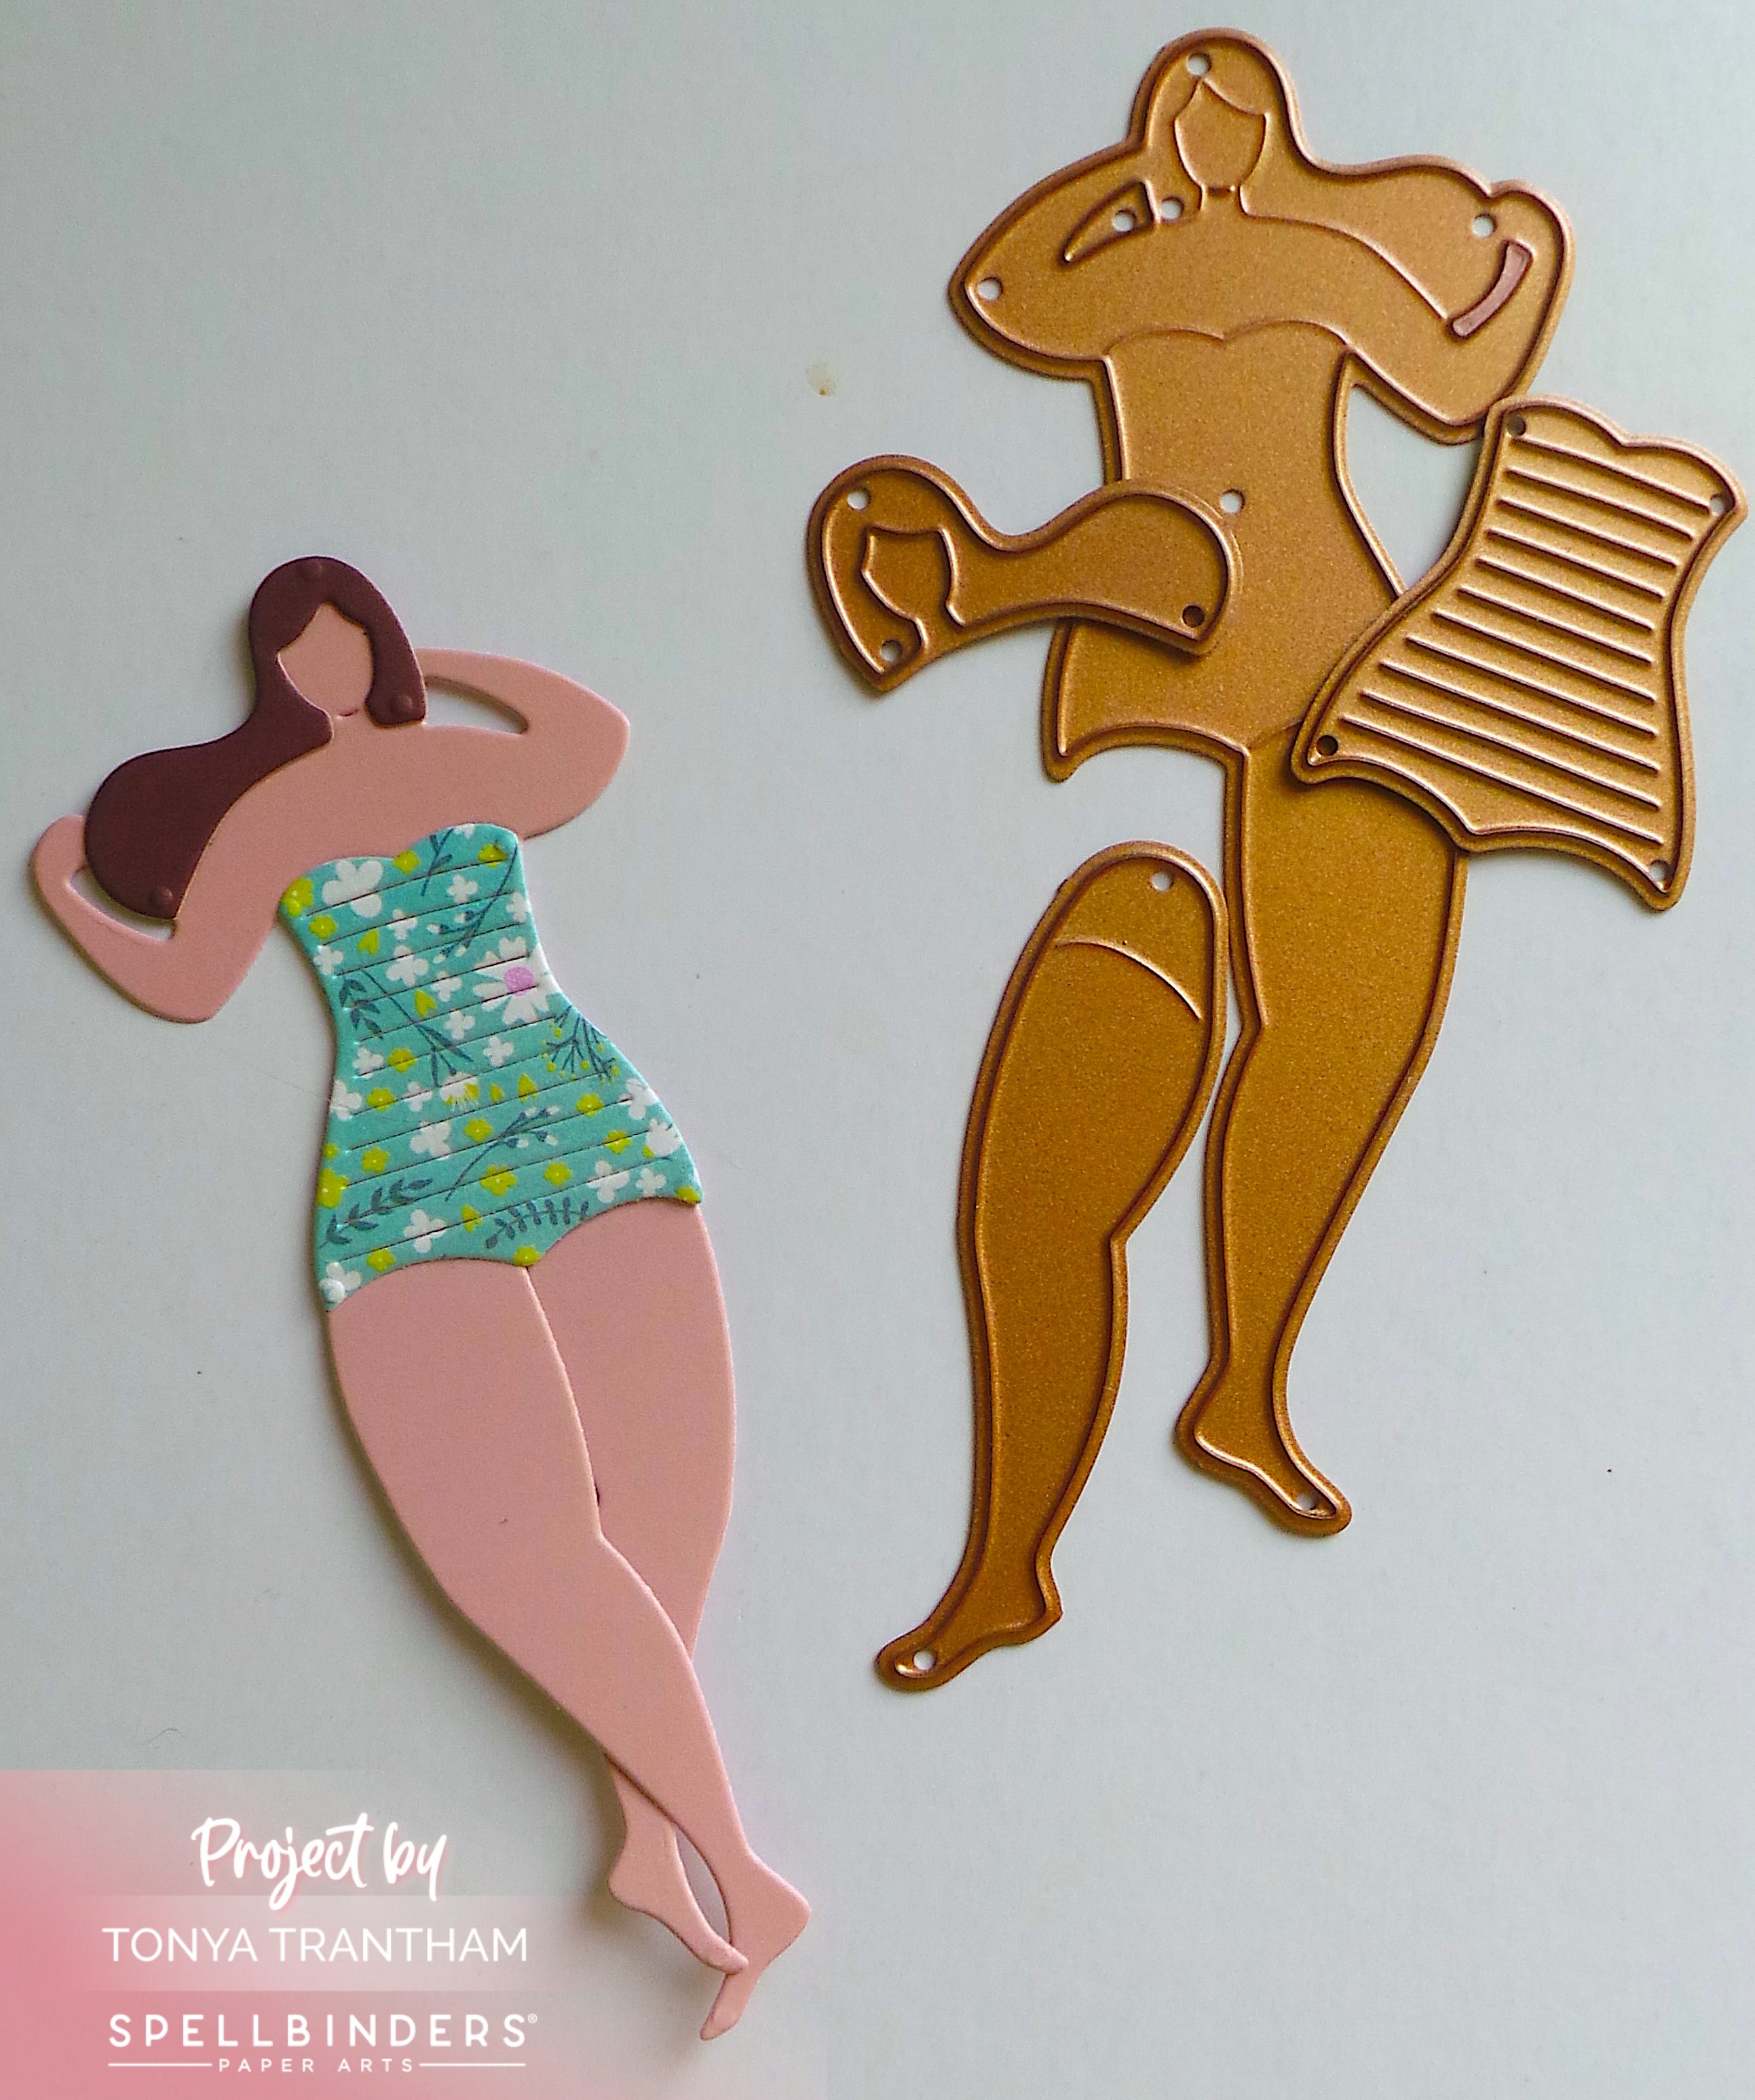
- Die Cut Shapes
- Chipboard Embellishments
- Sticker Sheets
- Clear Stamp Set
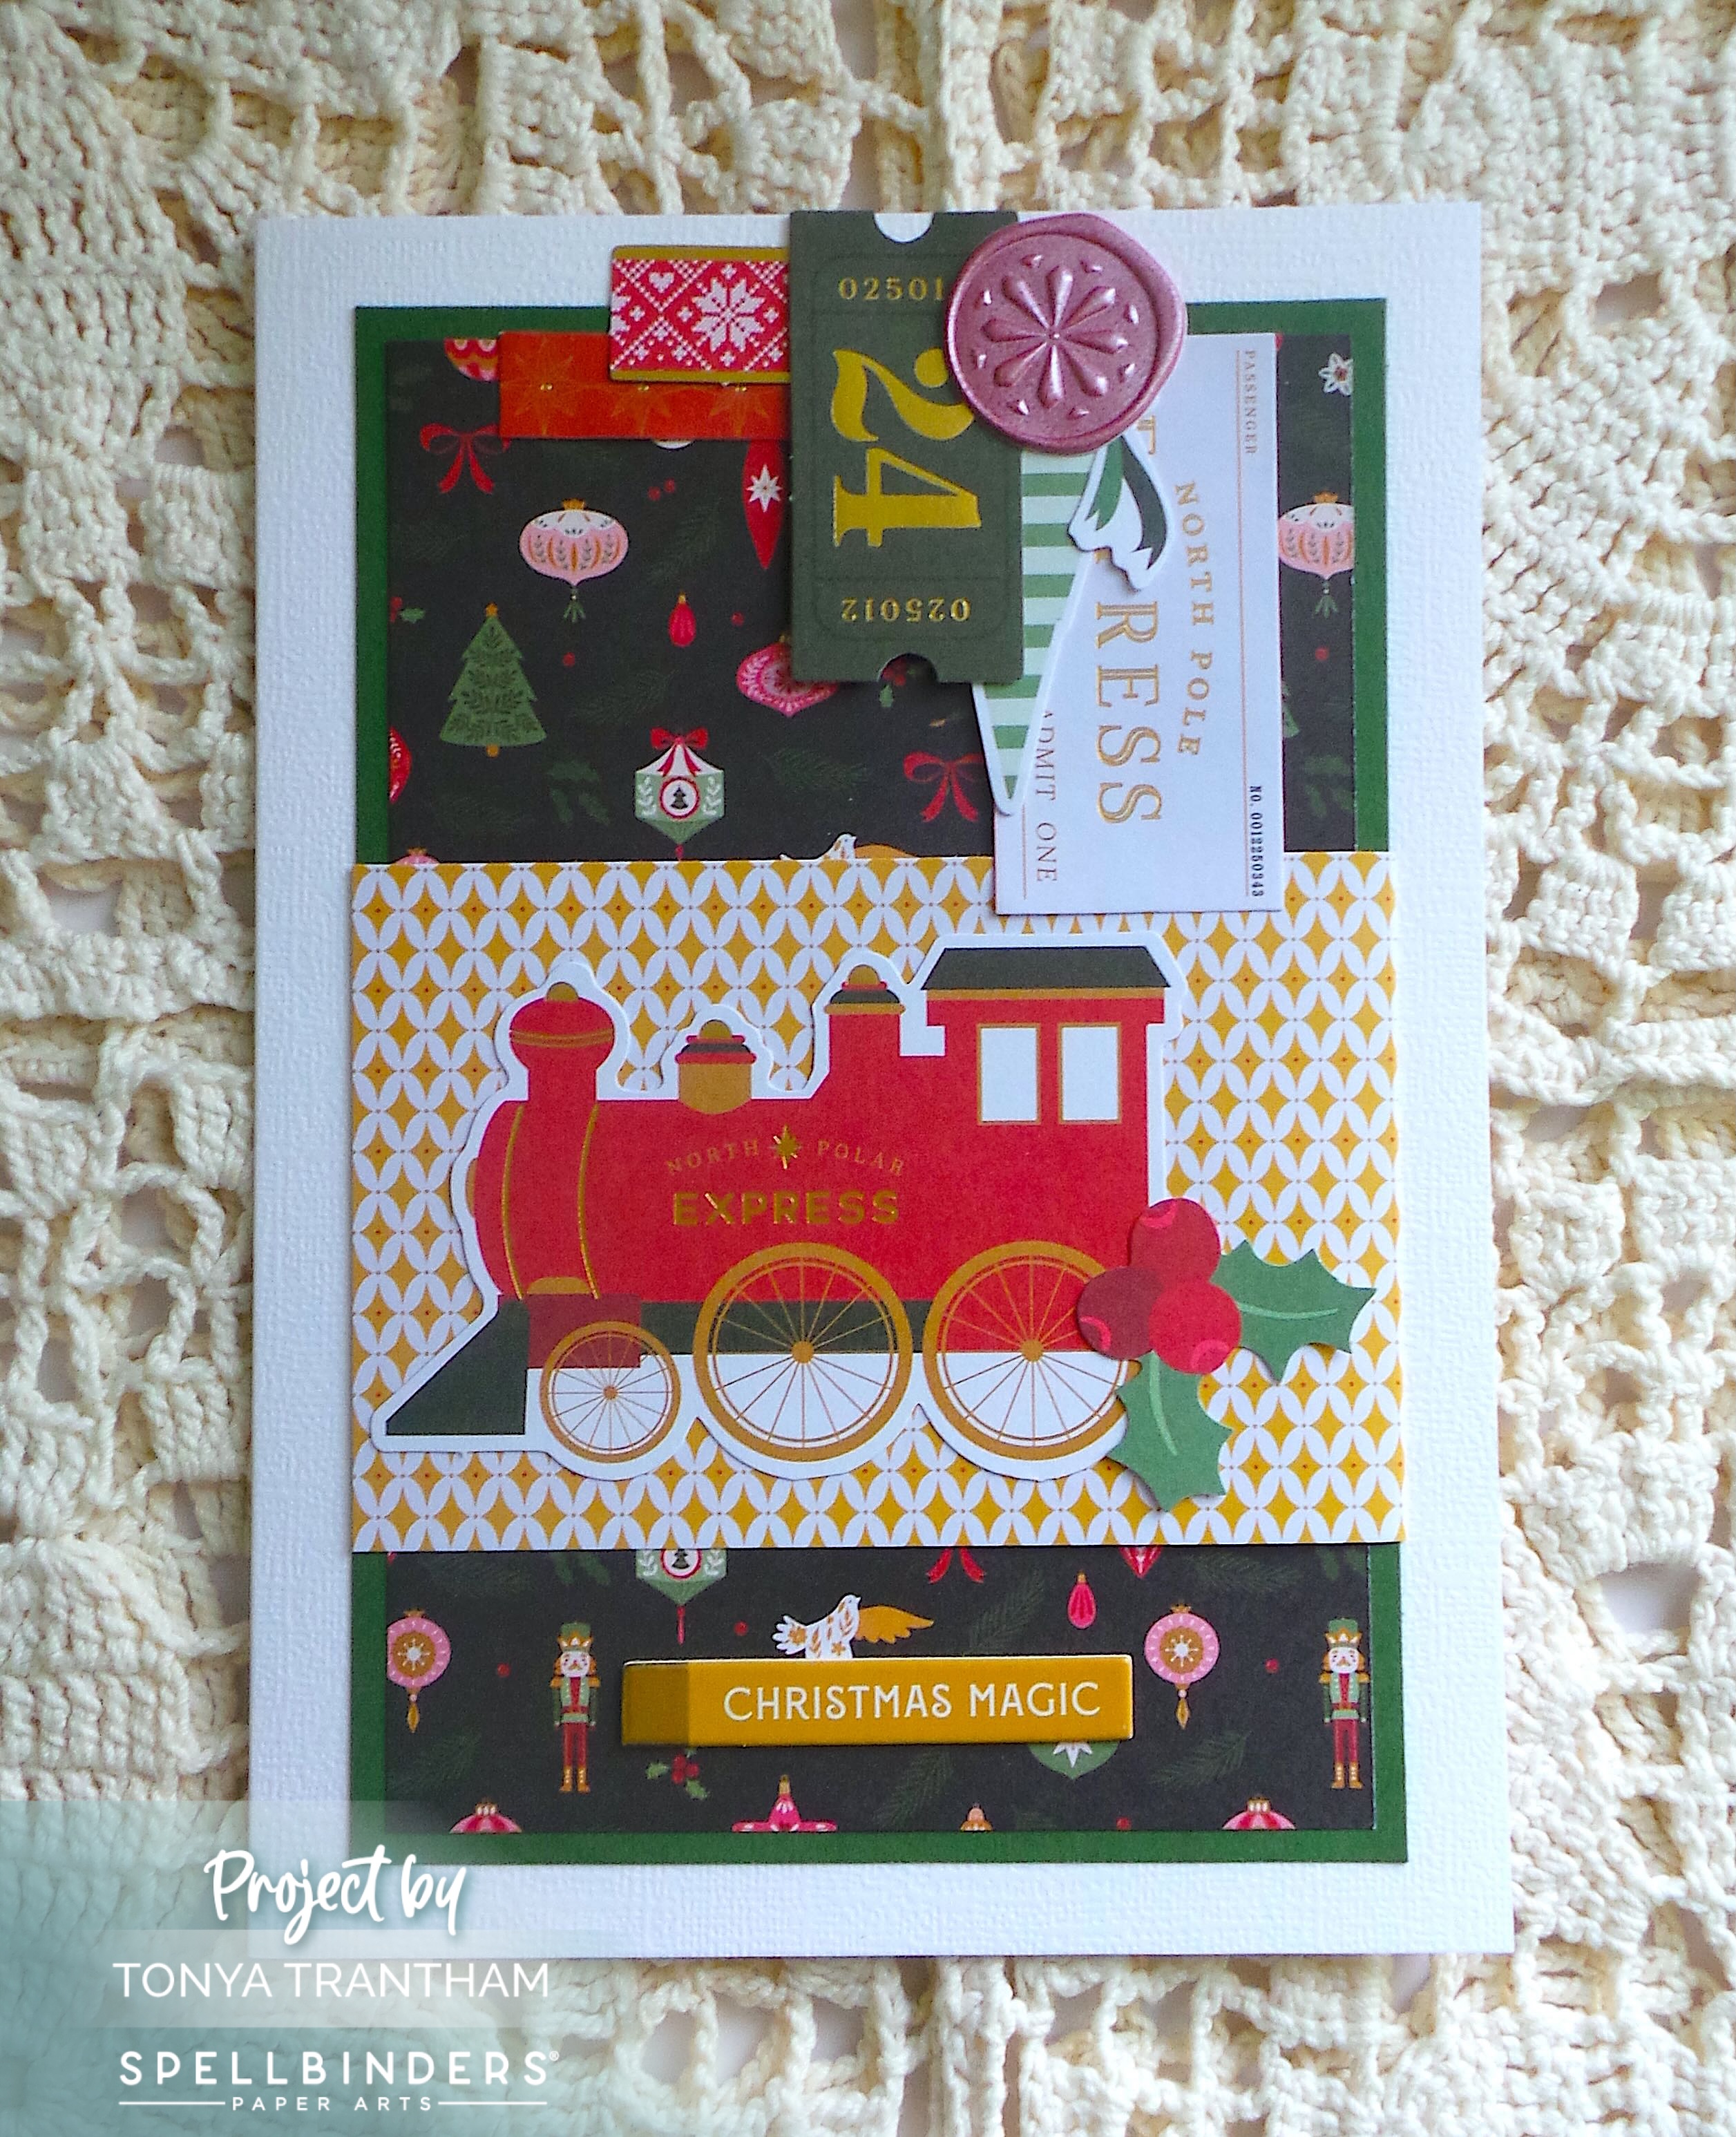
- Wax Seal Embellishments
- Sequins
- Foam Stickers
- Foam Squares
- Adhesive Tape
- Instruction Sheet
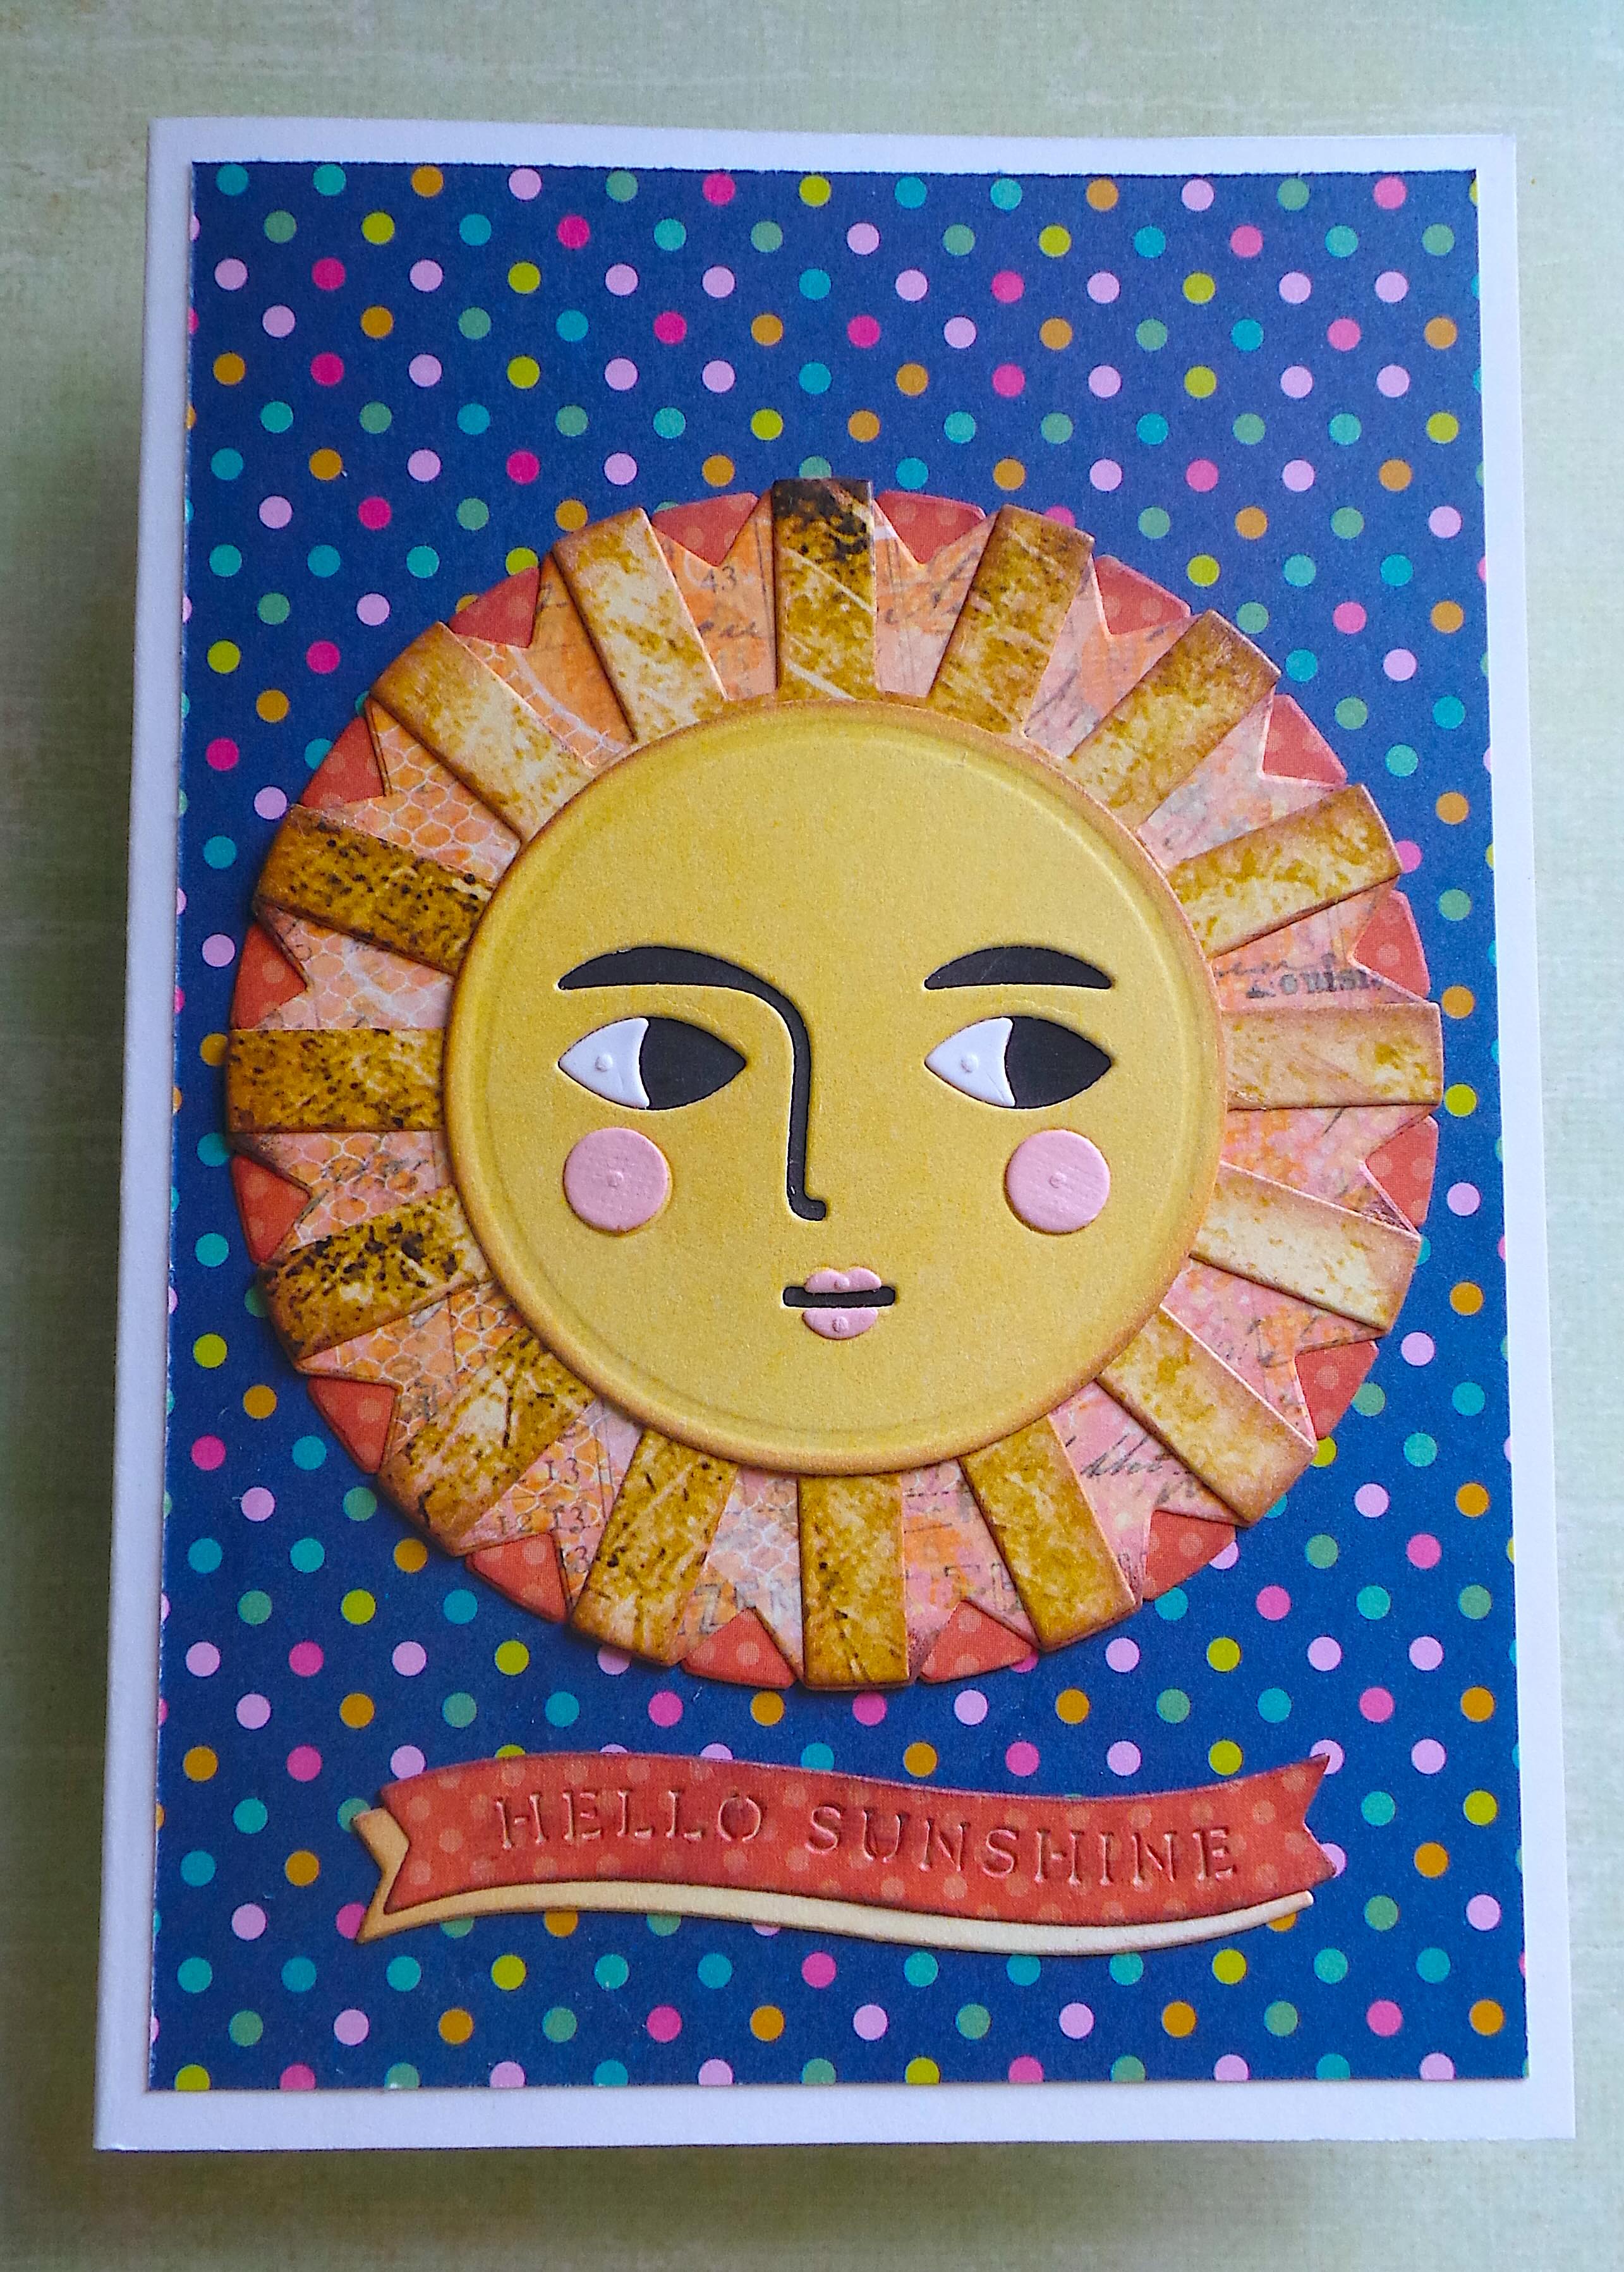
I love how everything is included in the kit! The only thing you will need is a Paper Cutter, Scissors and possibly extra Adhesive. I sat down and knocked out these cards quickly.
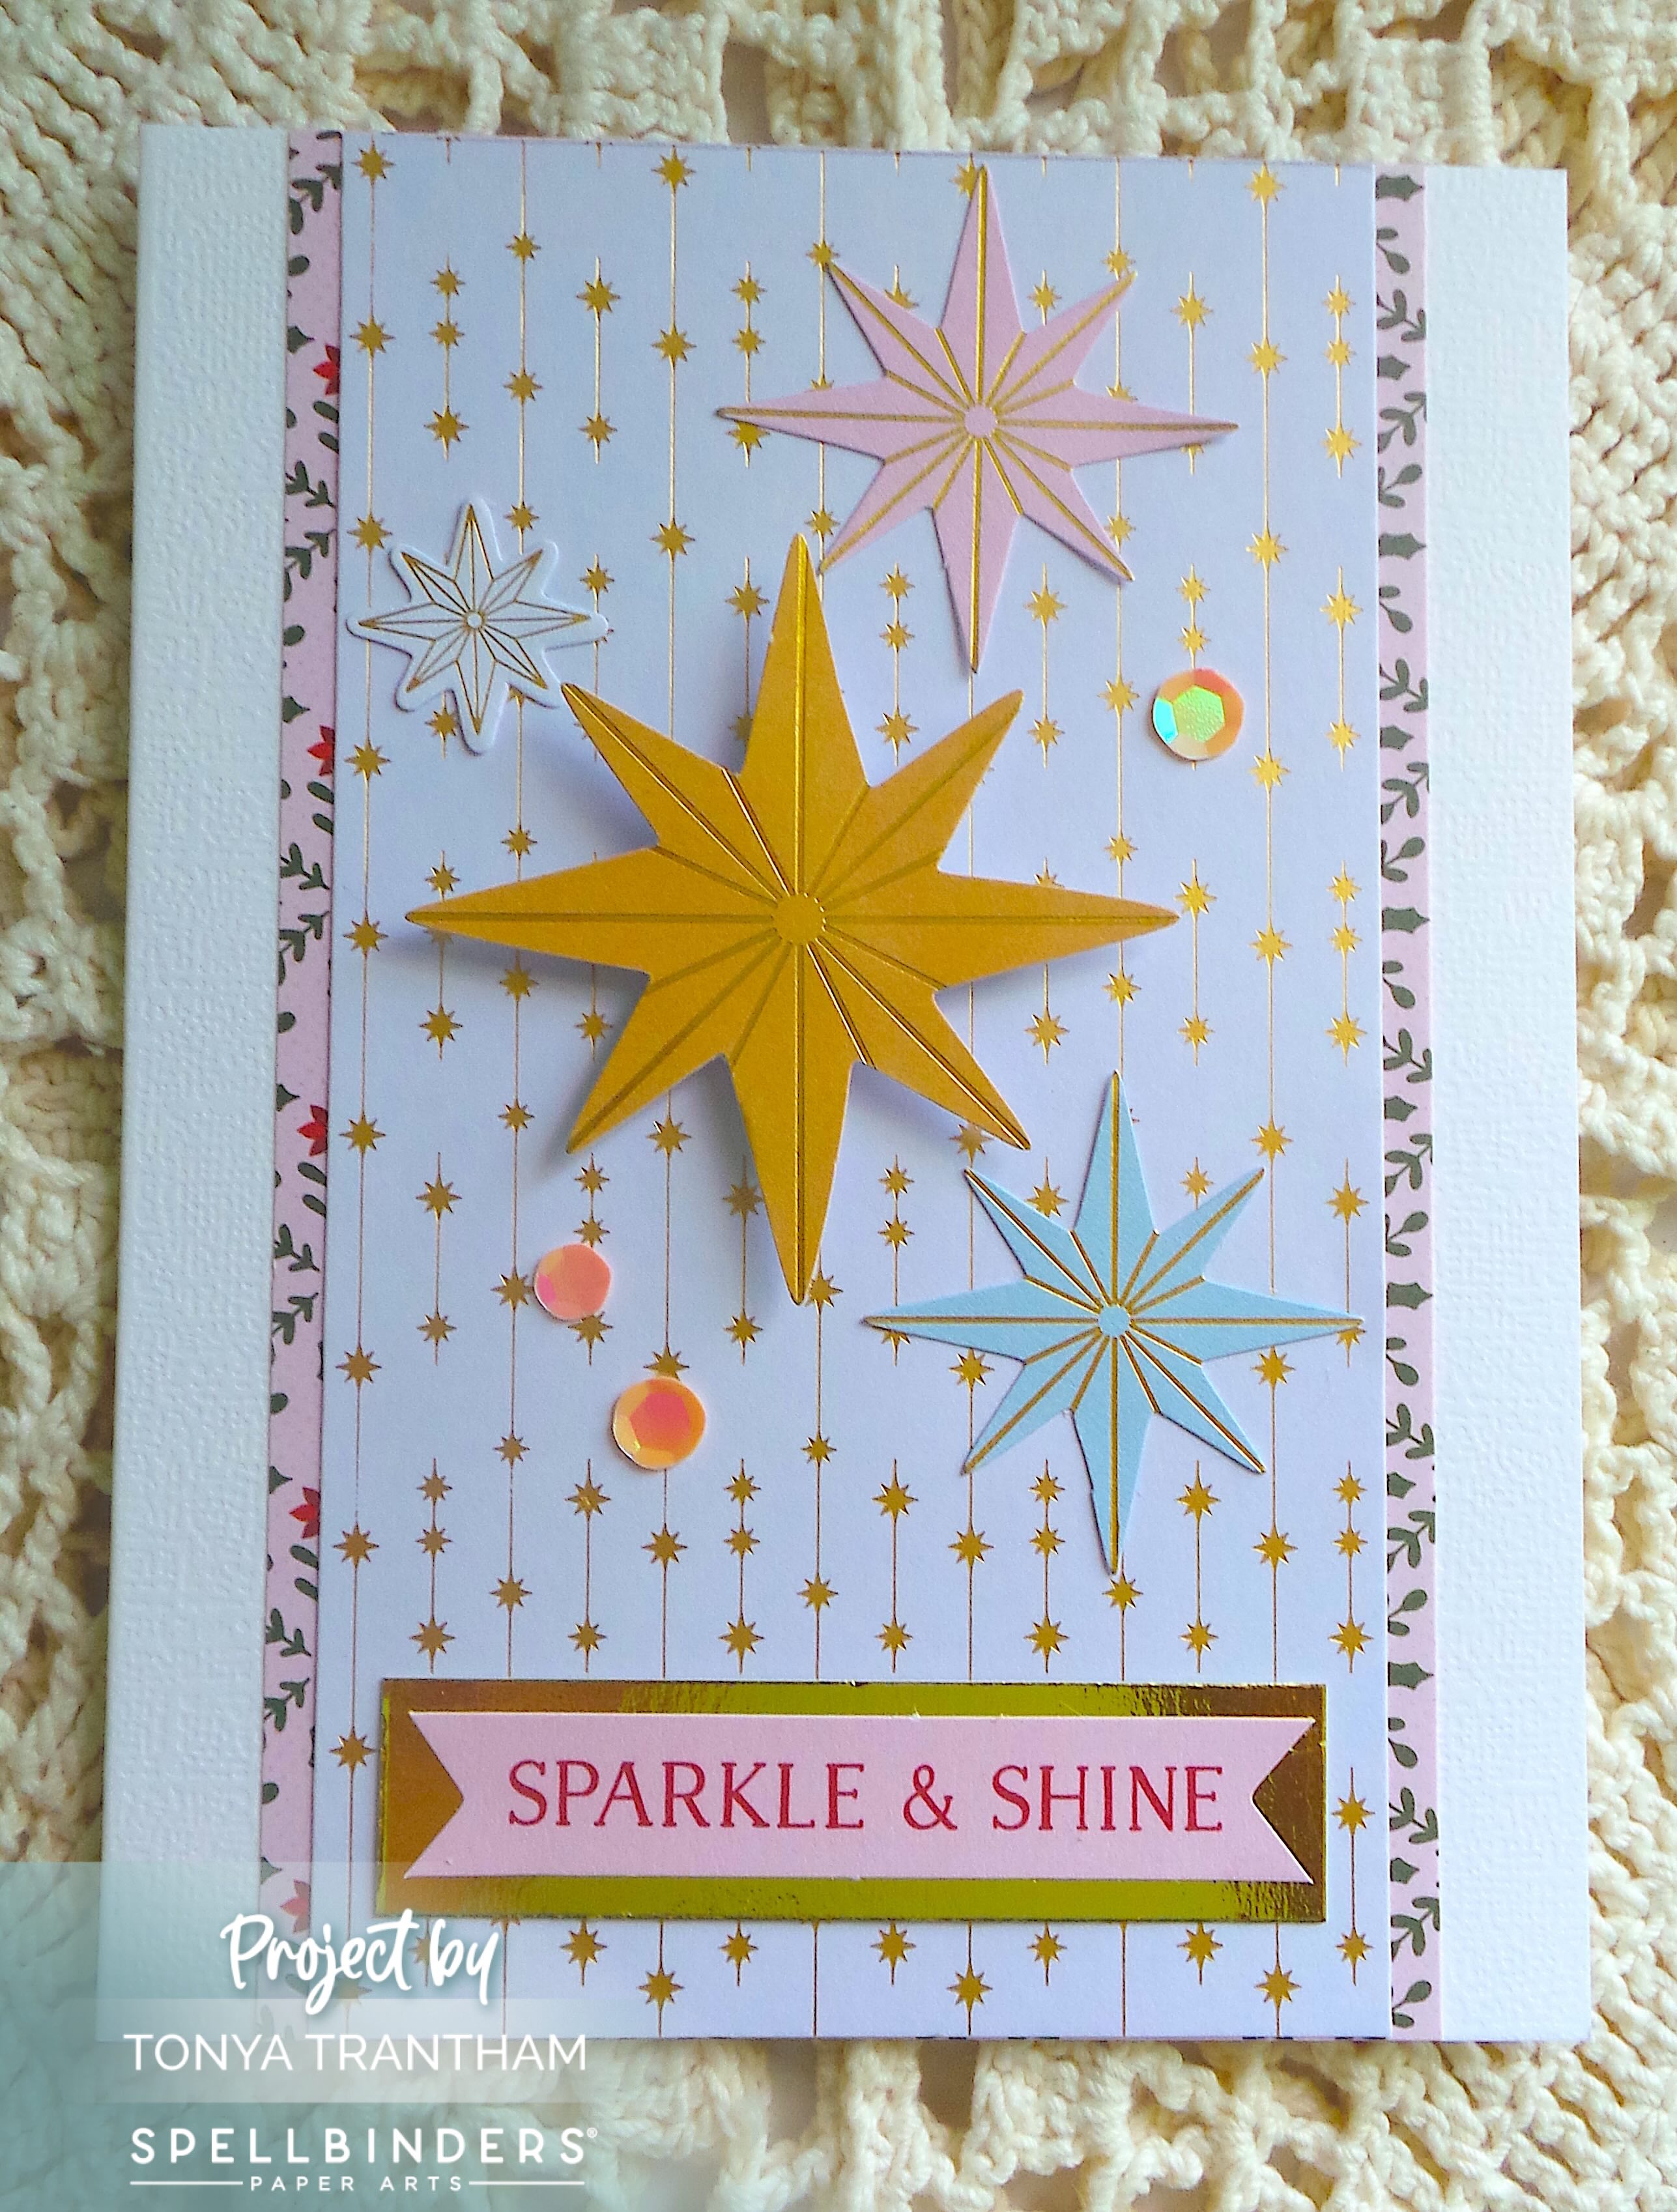
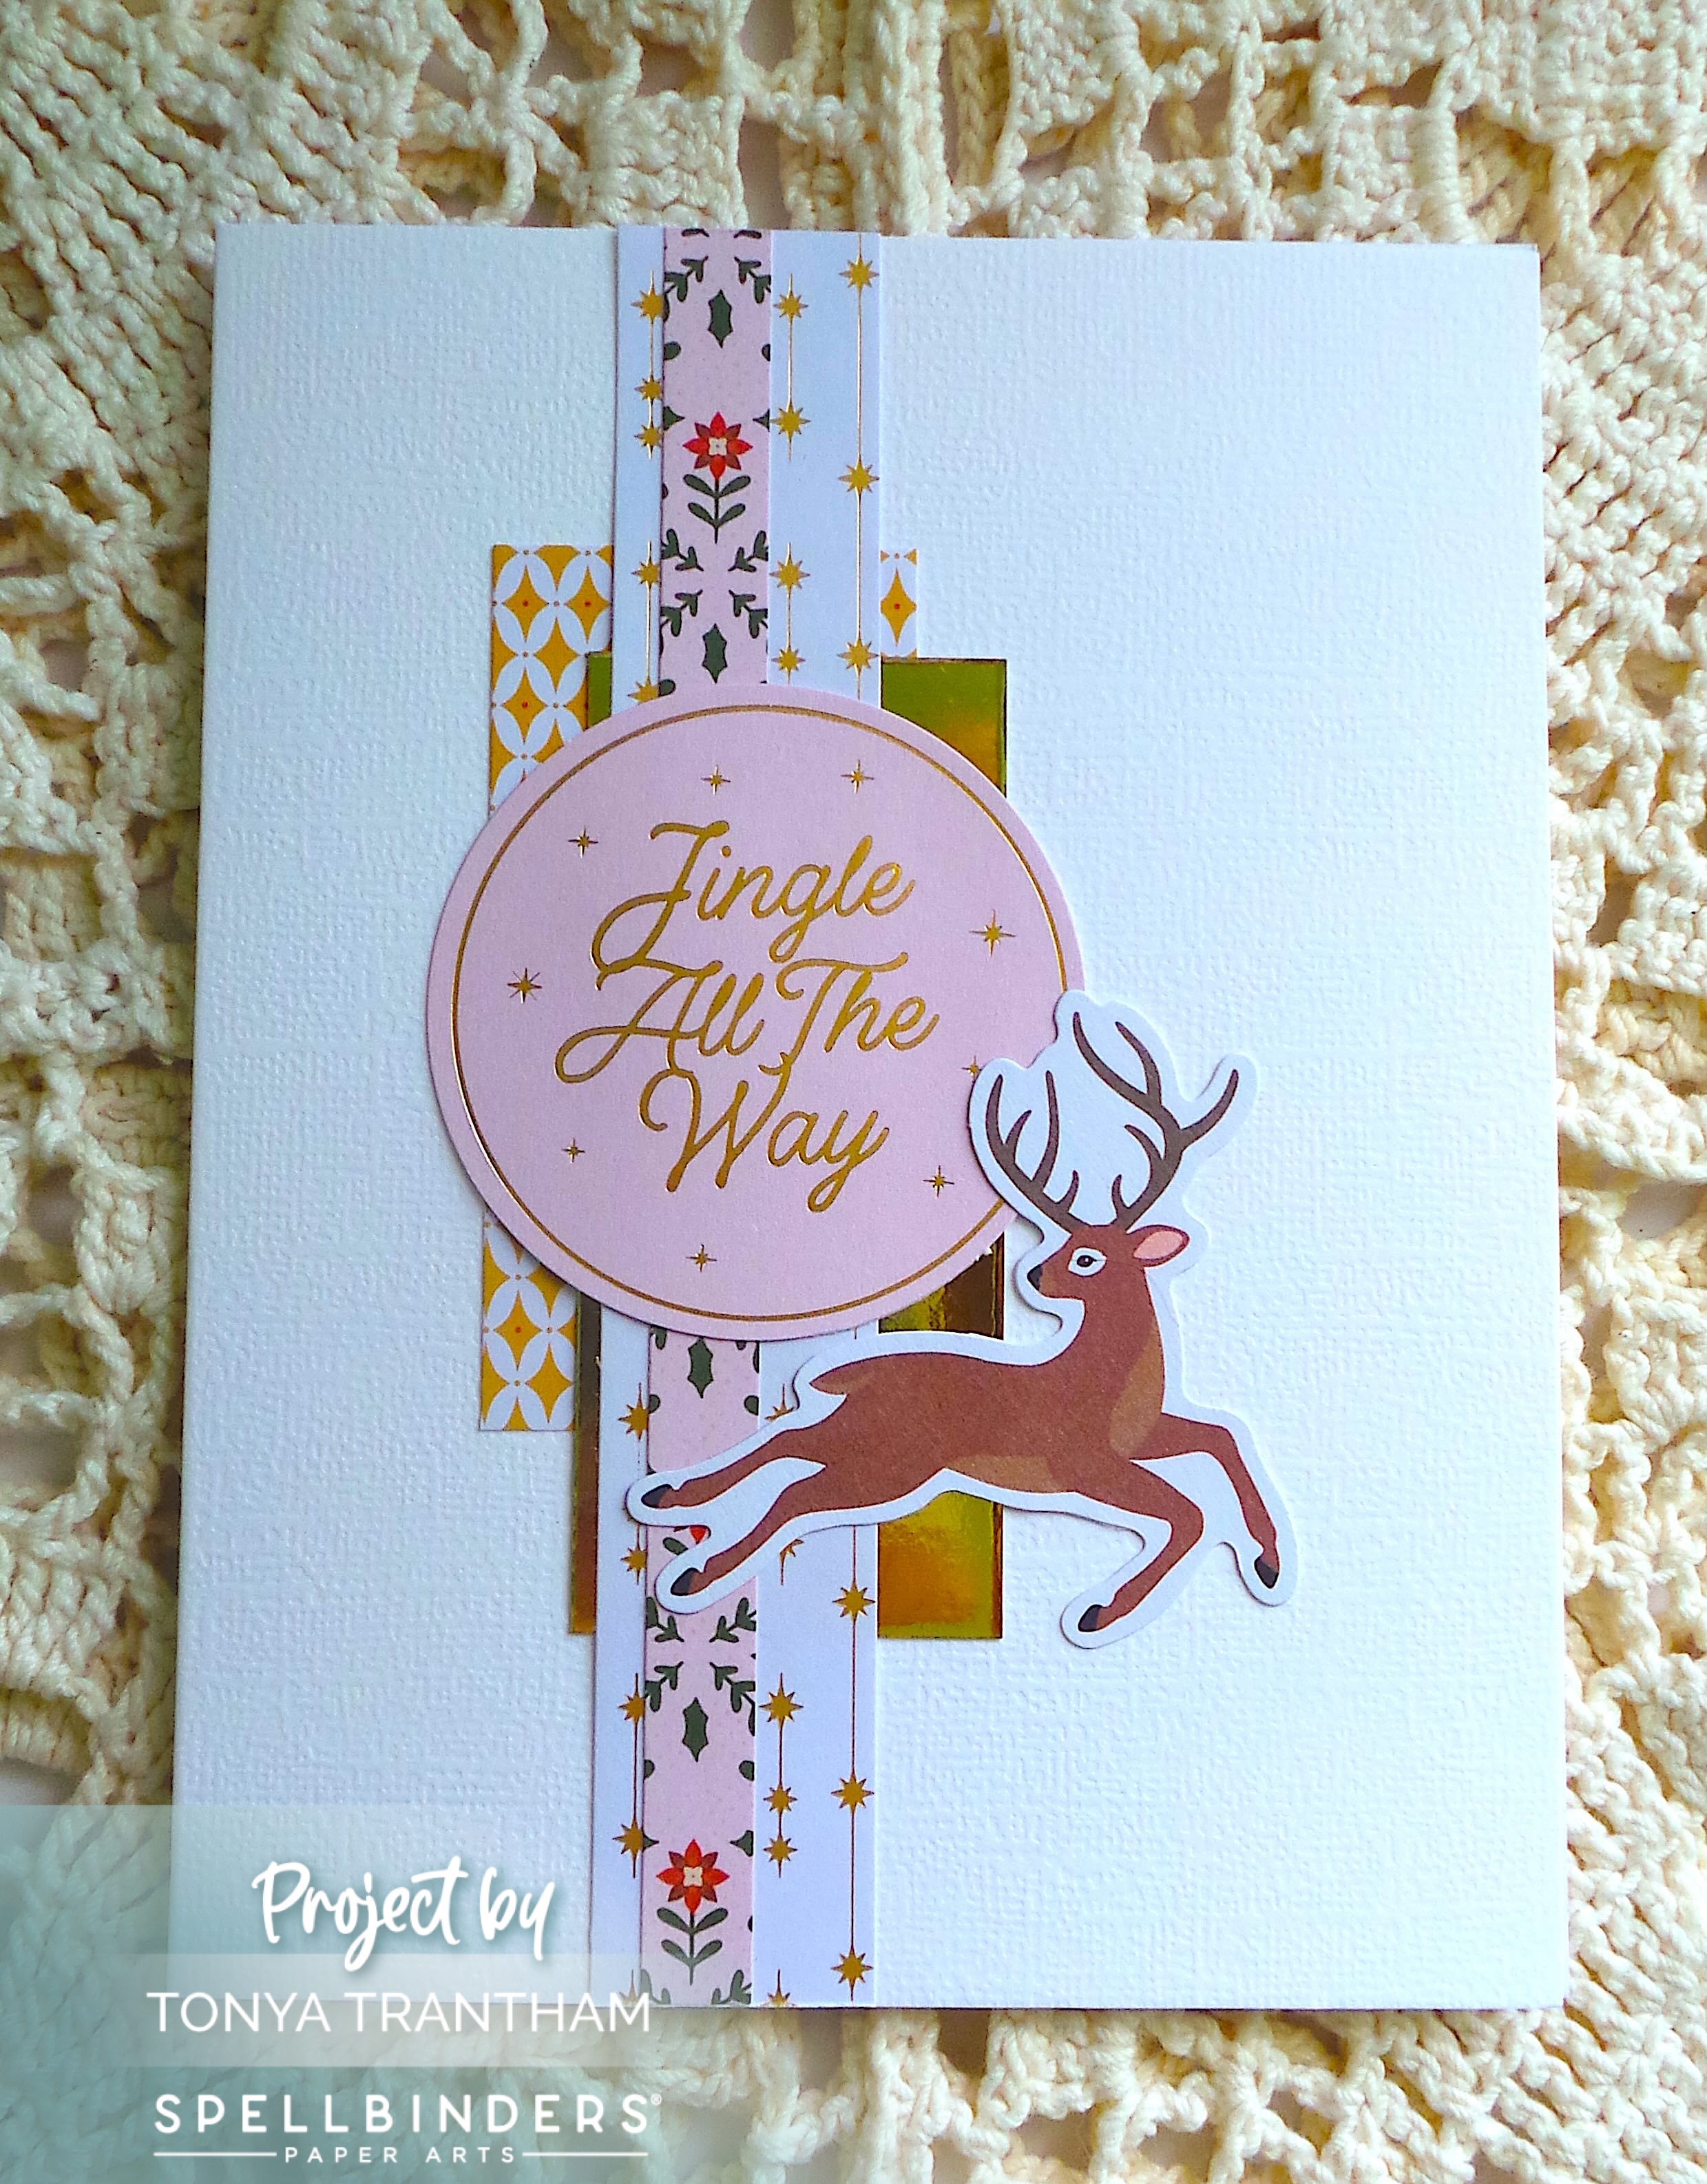
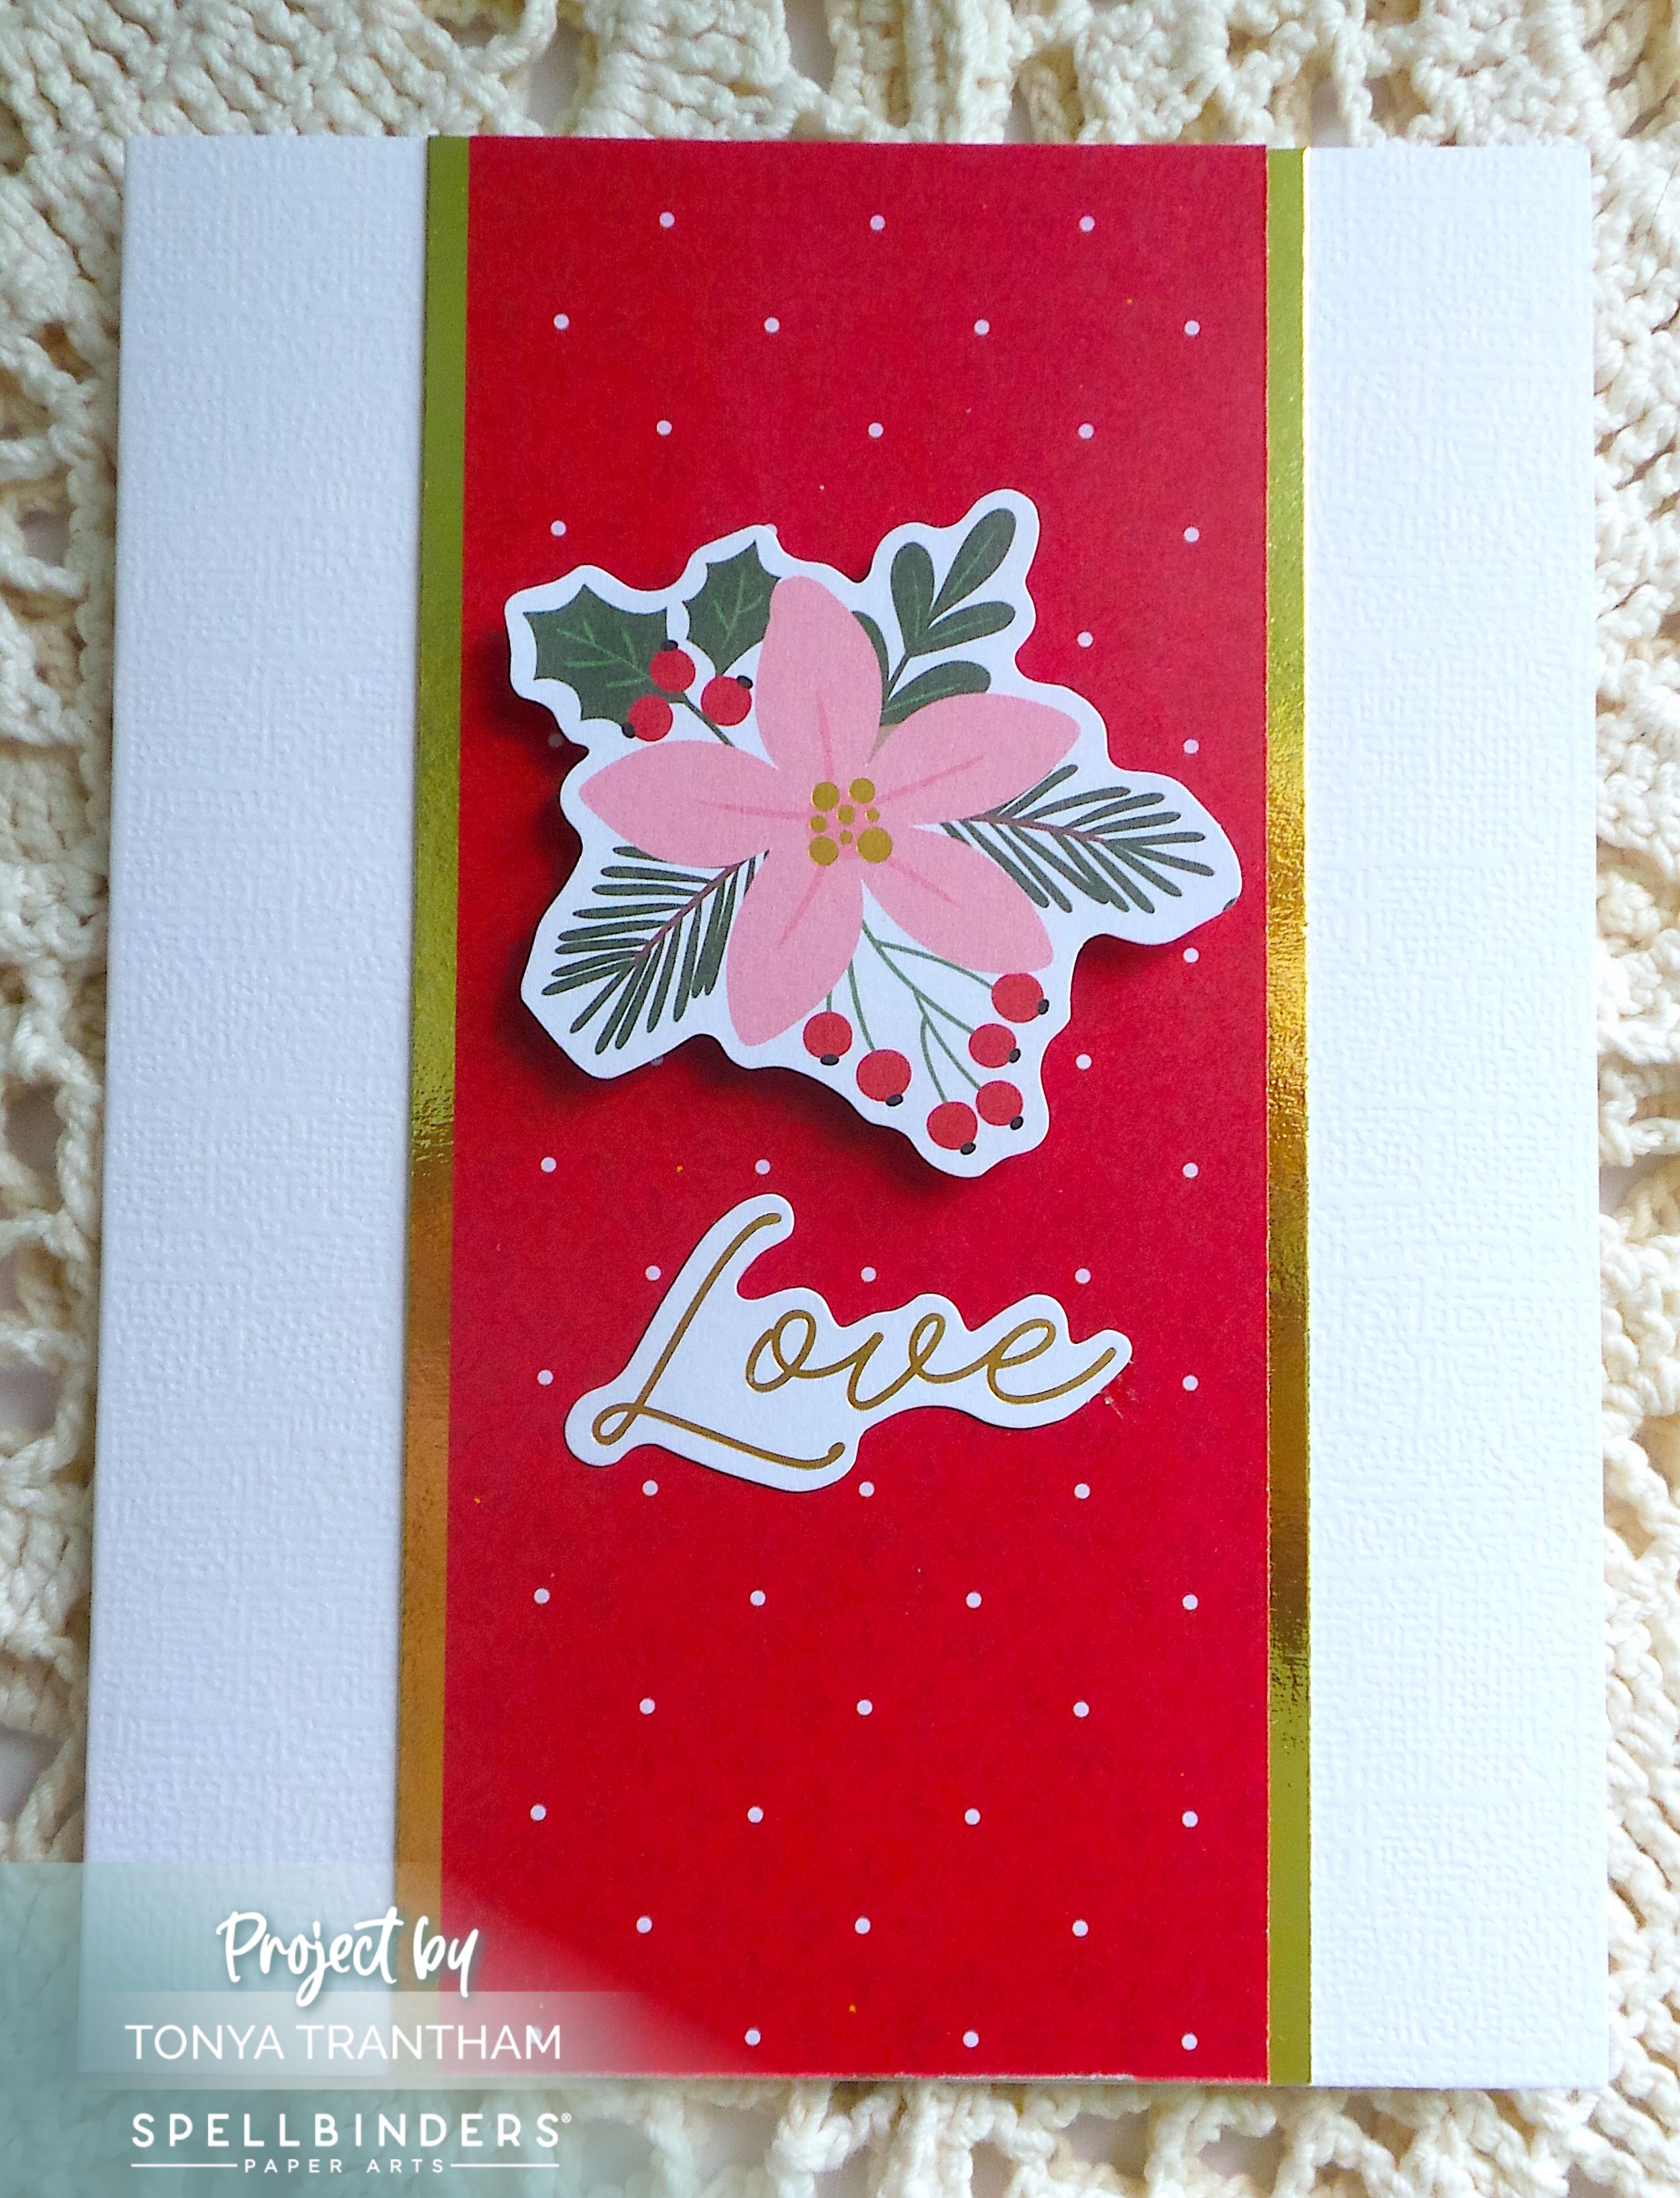
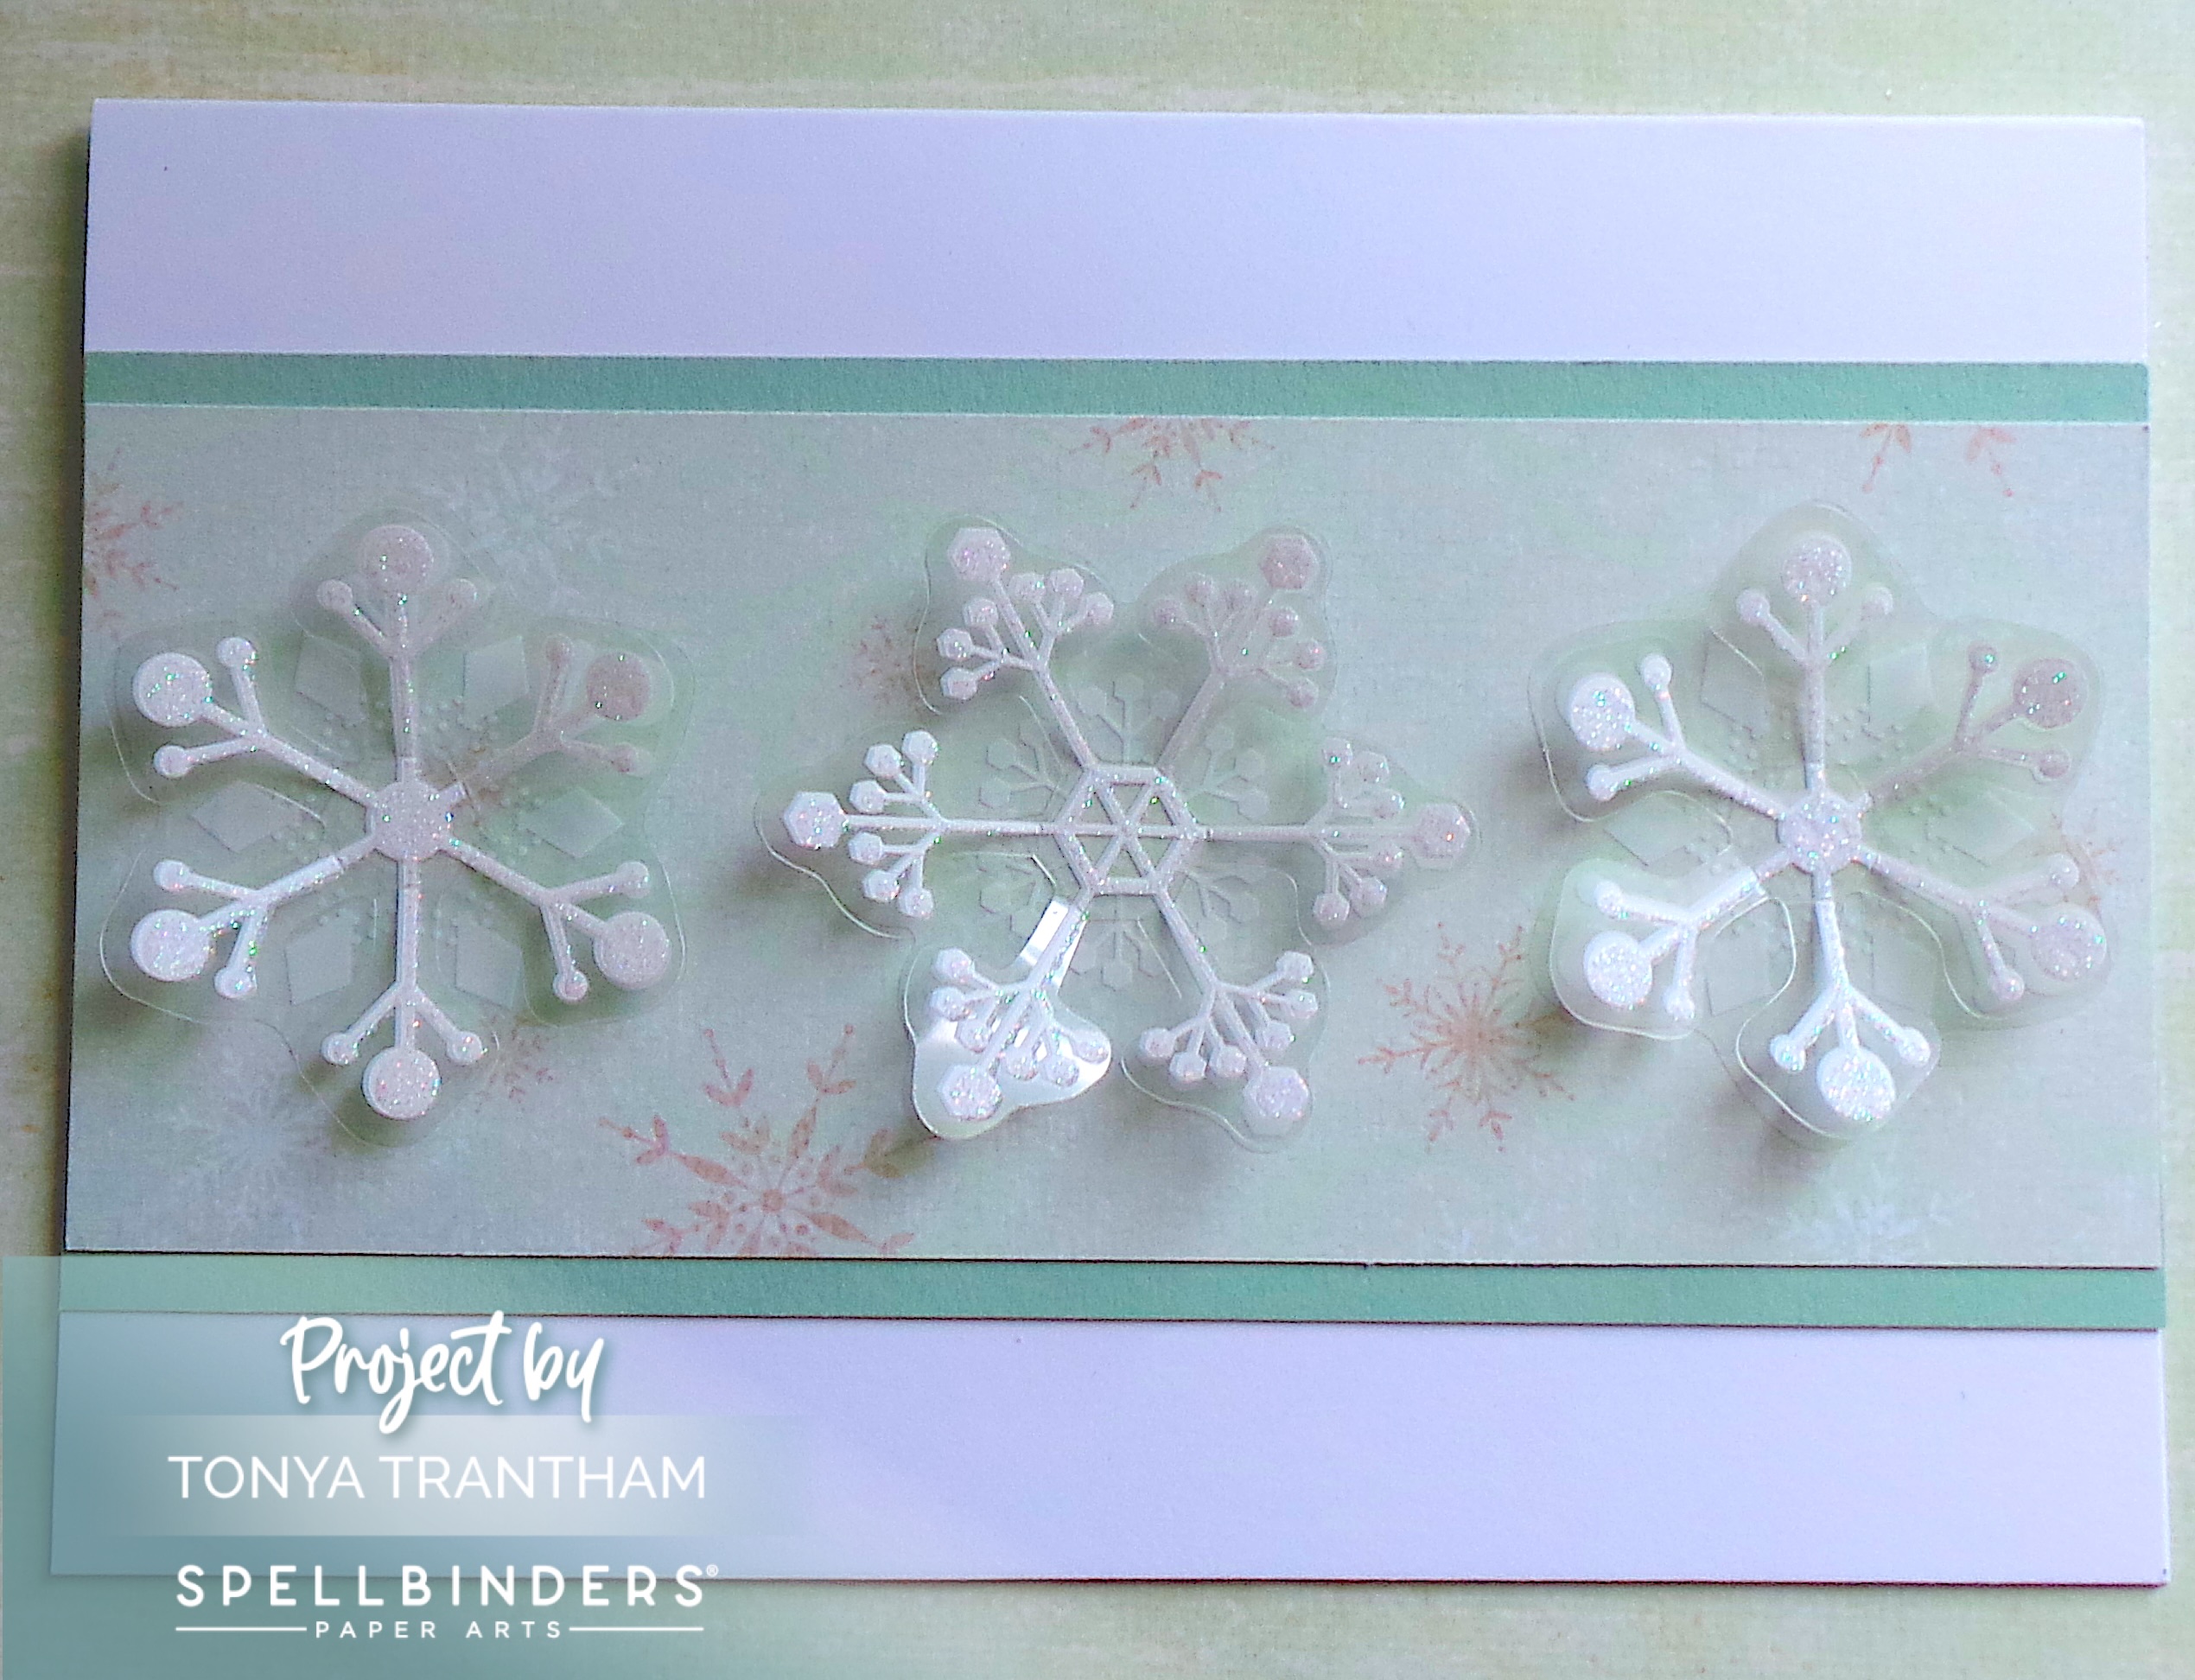
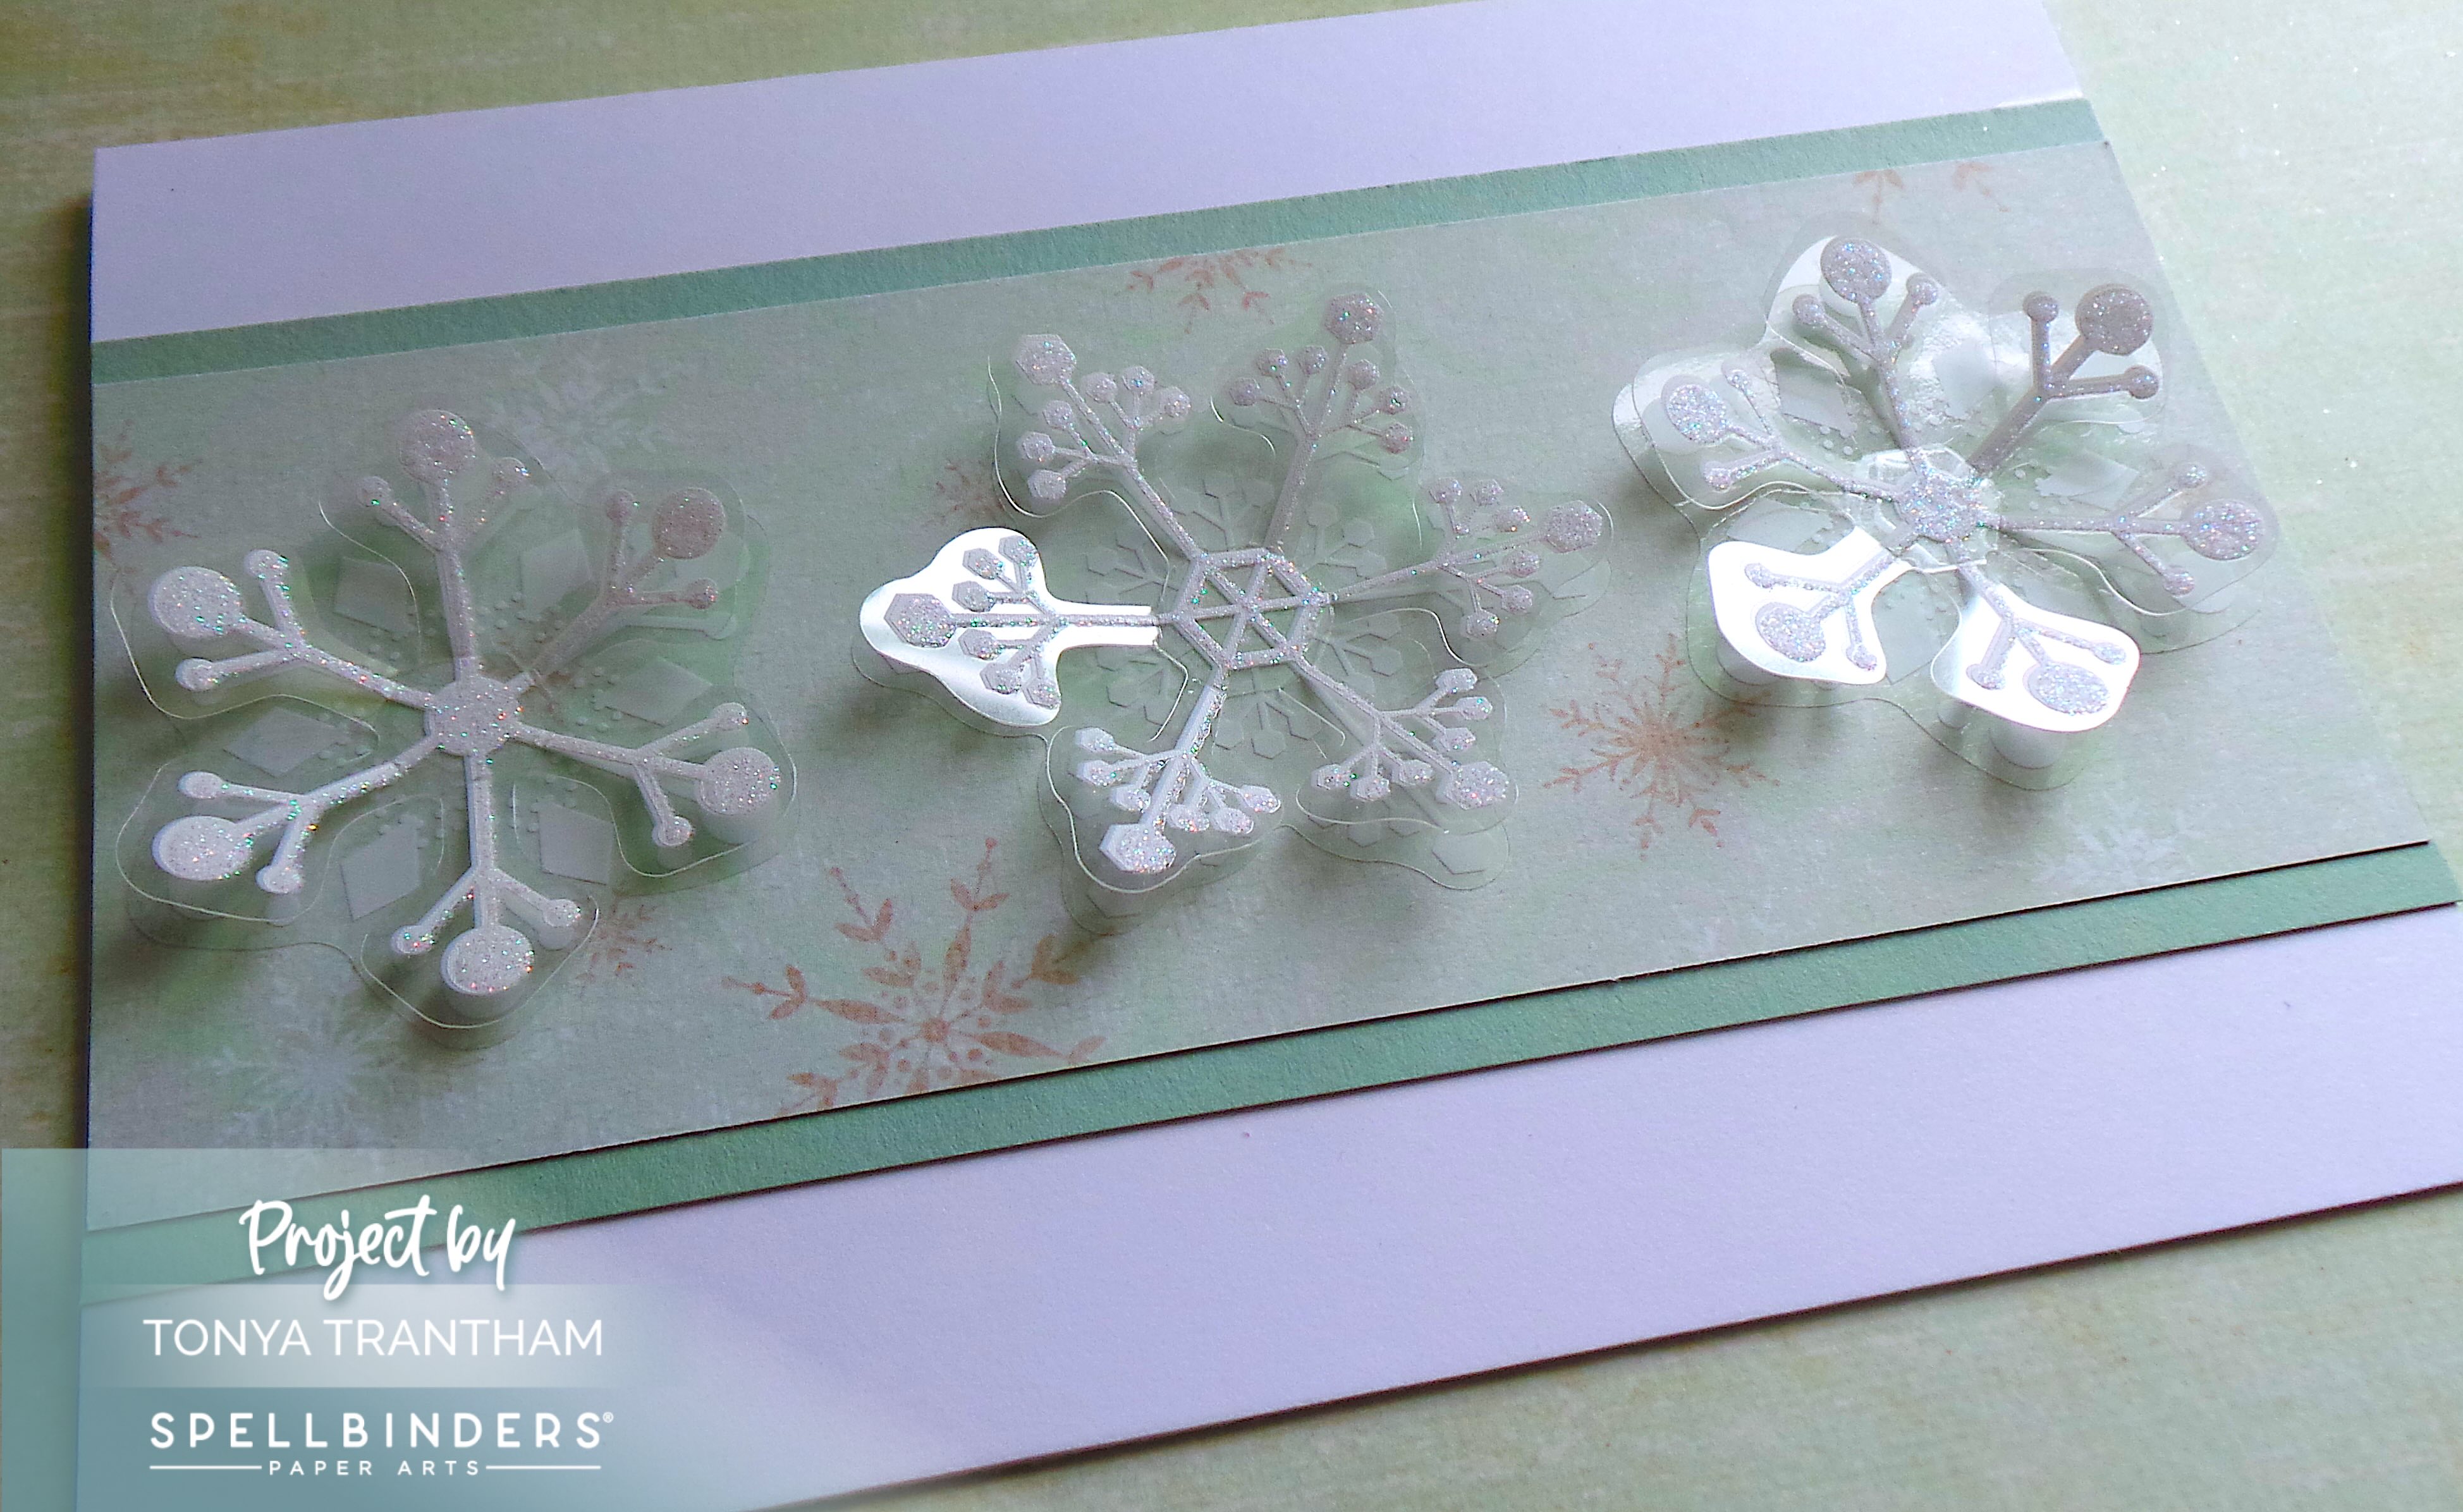
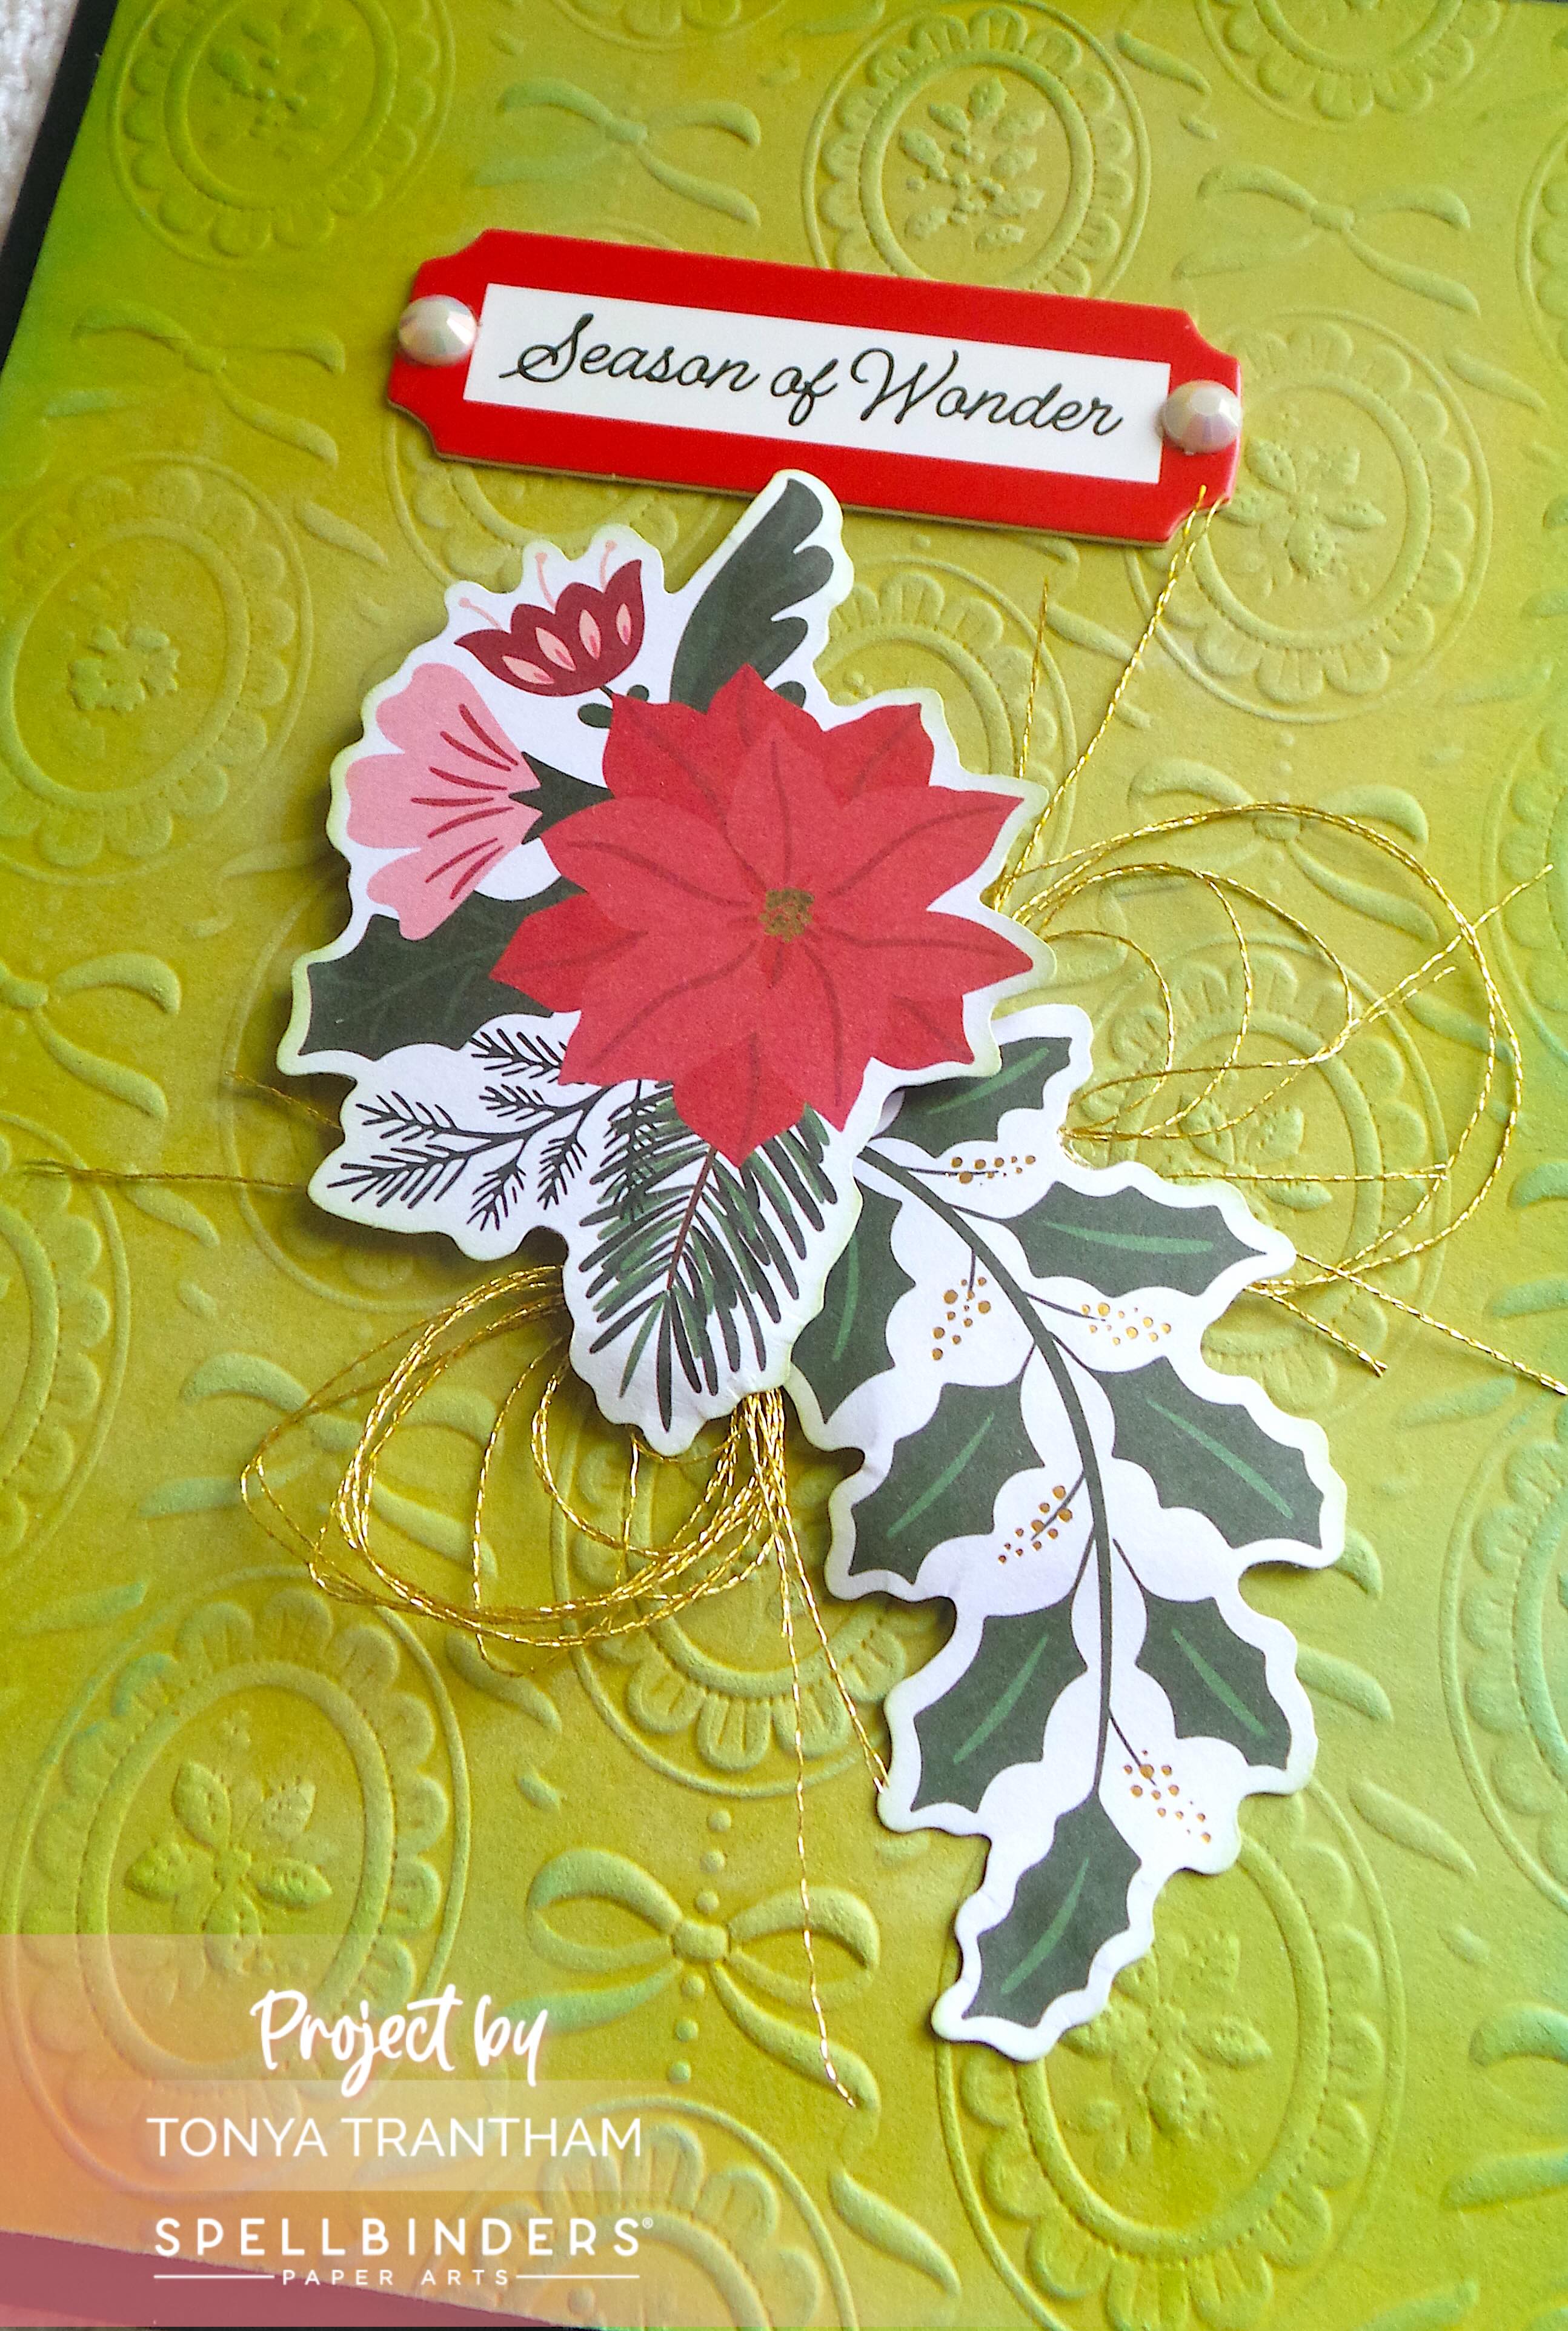
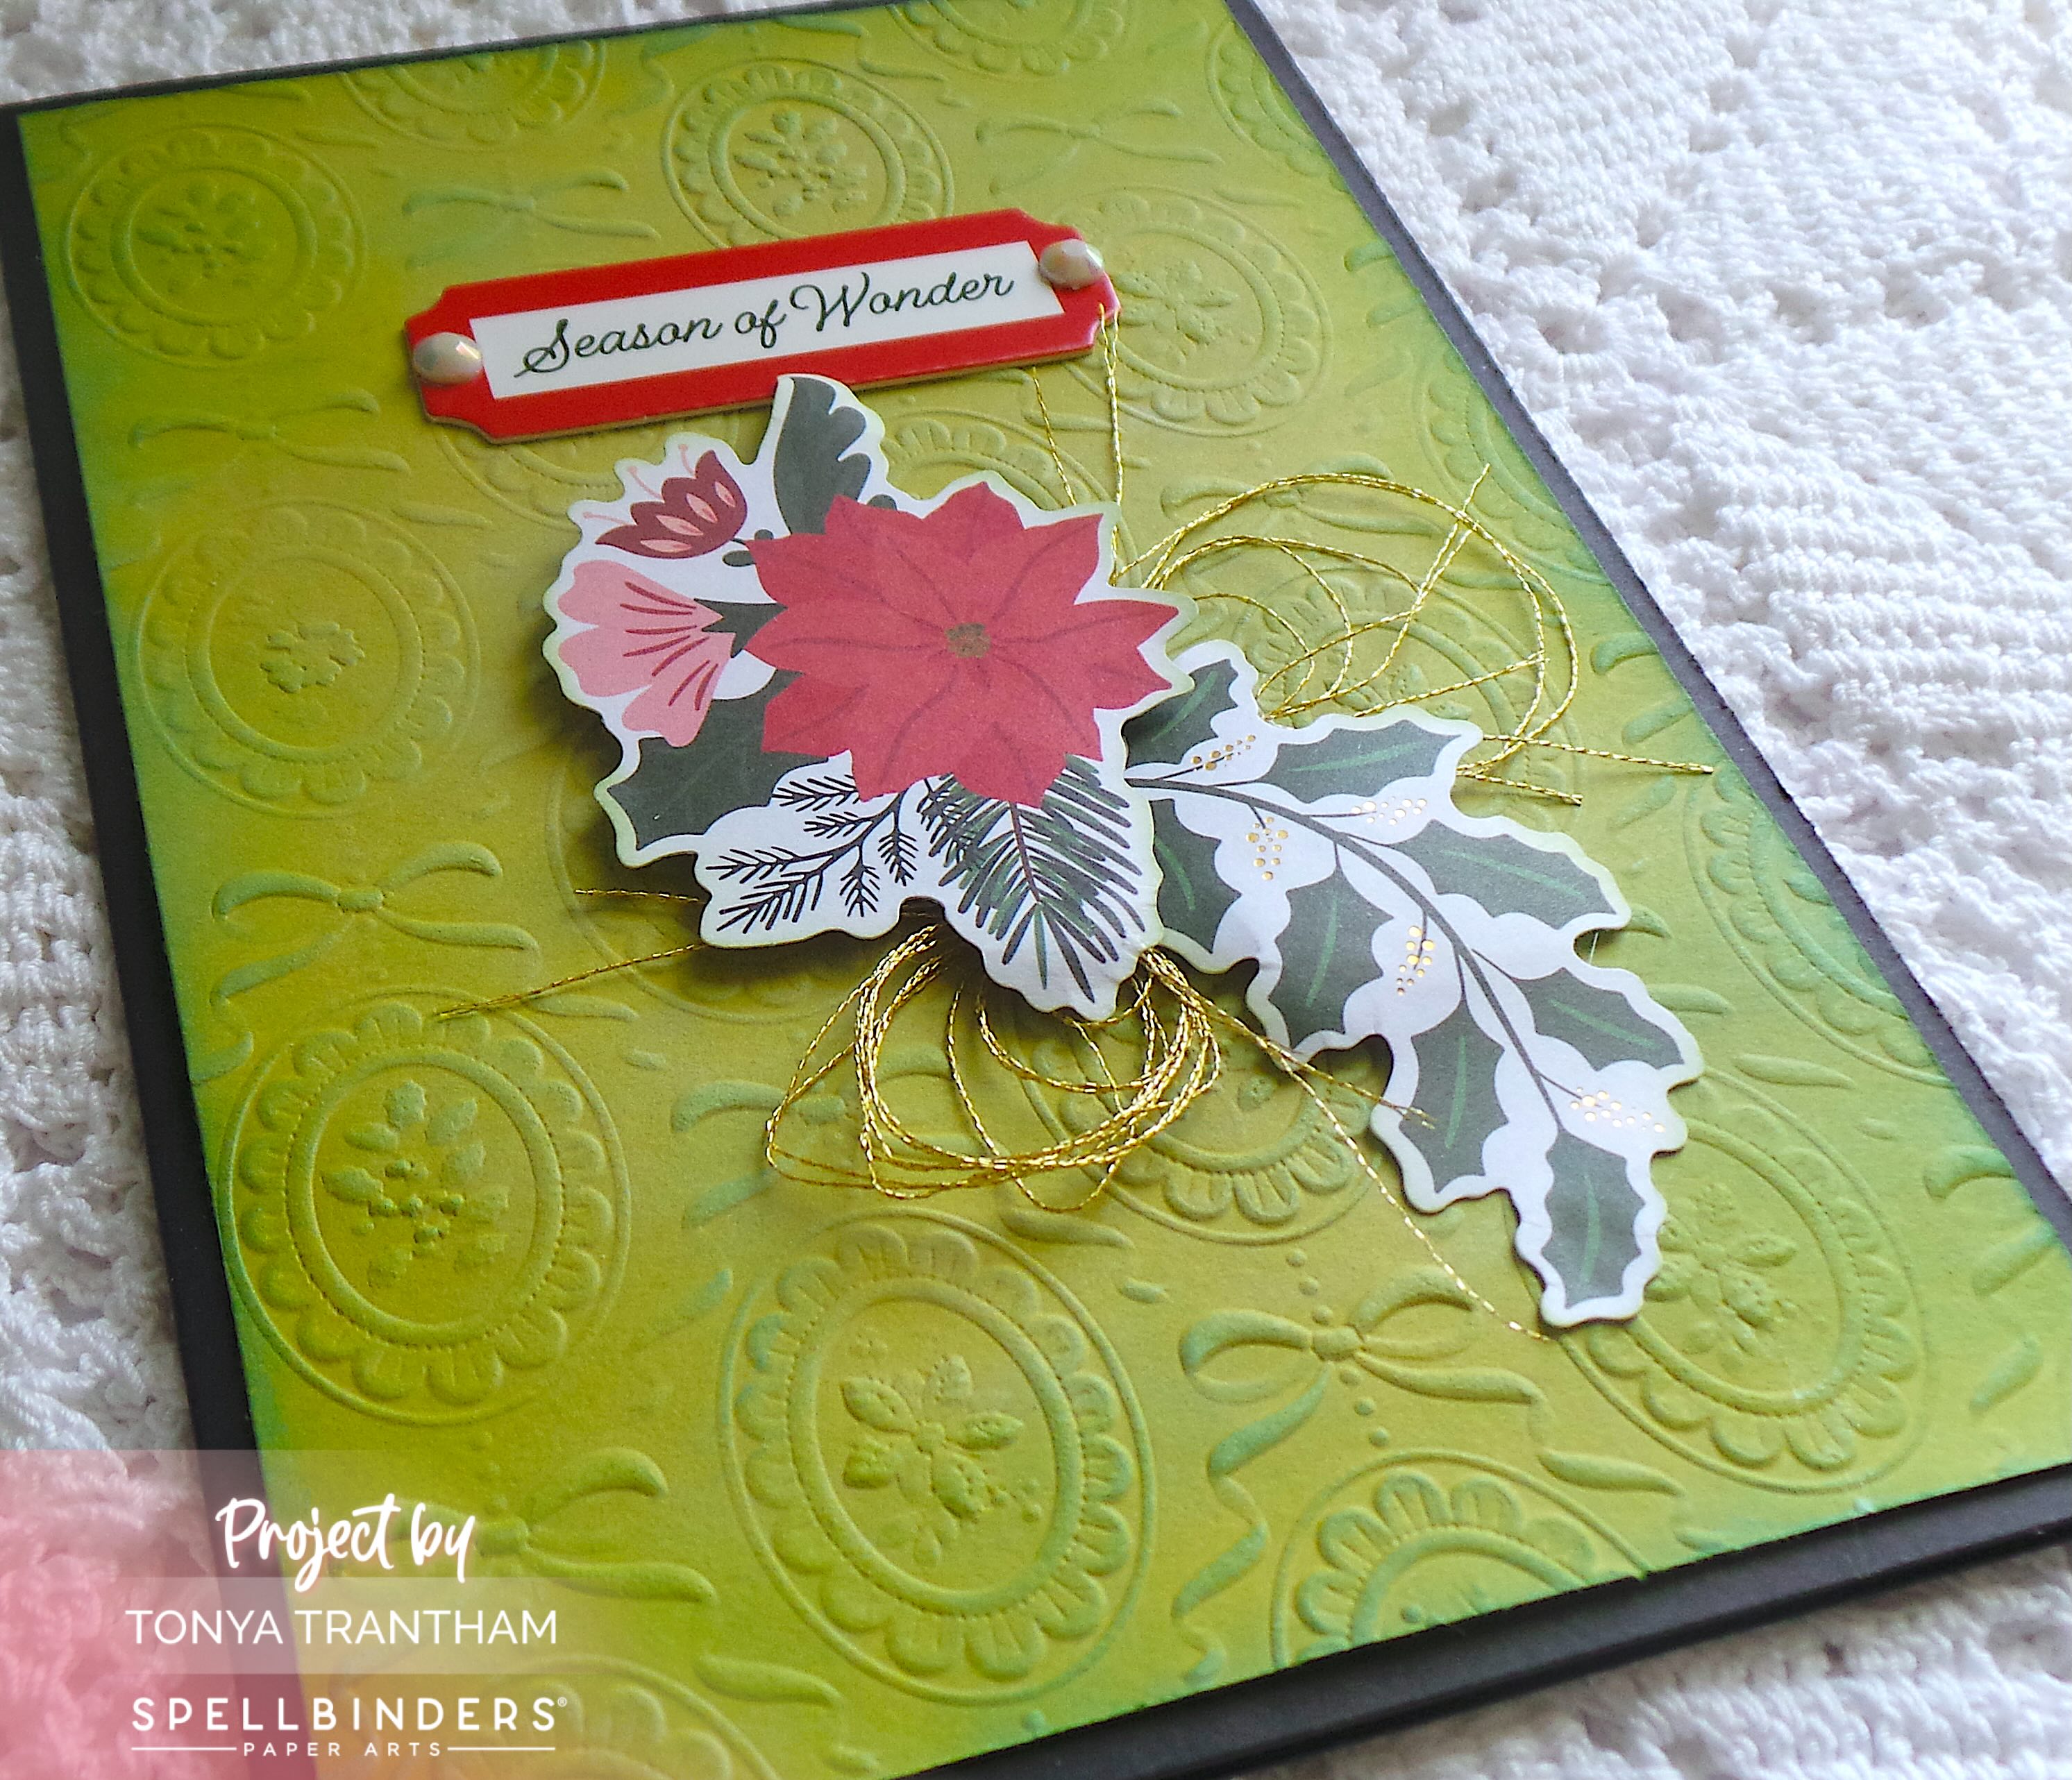
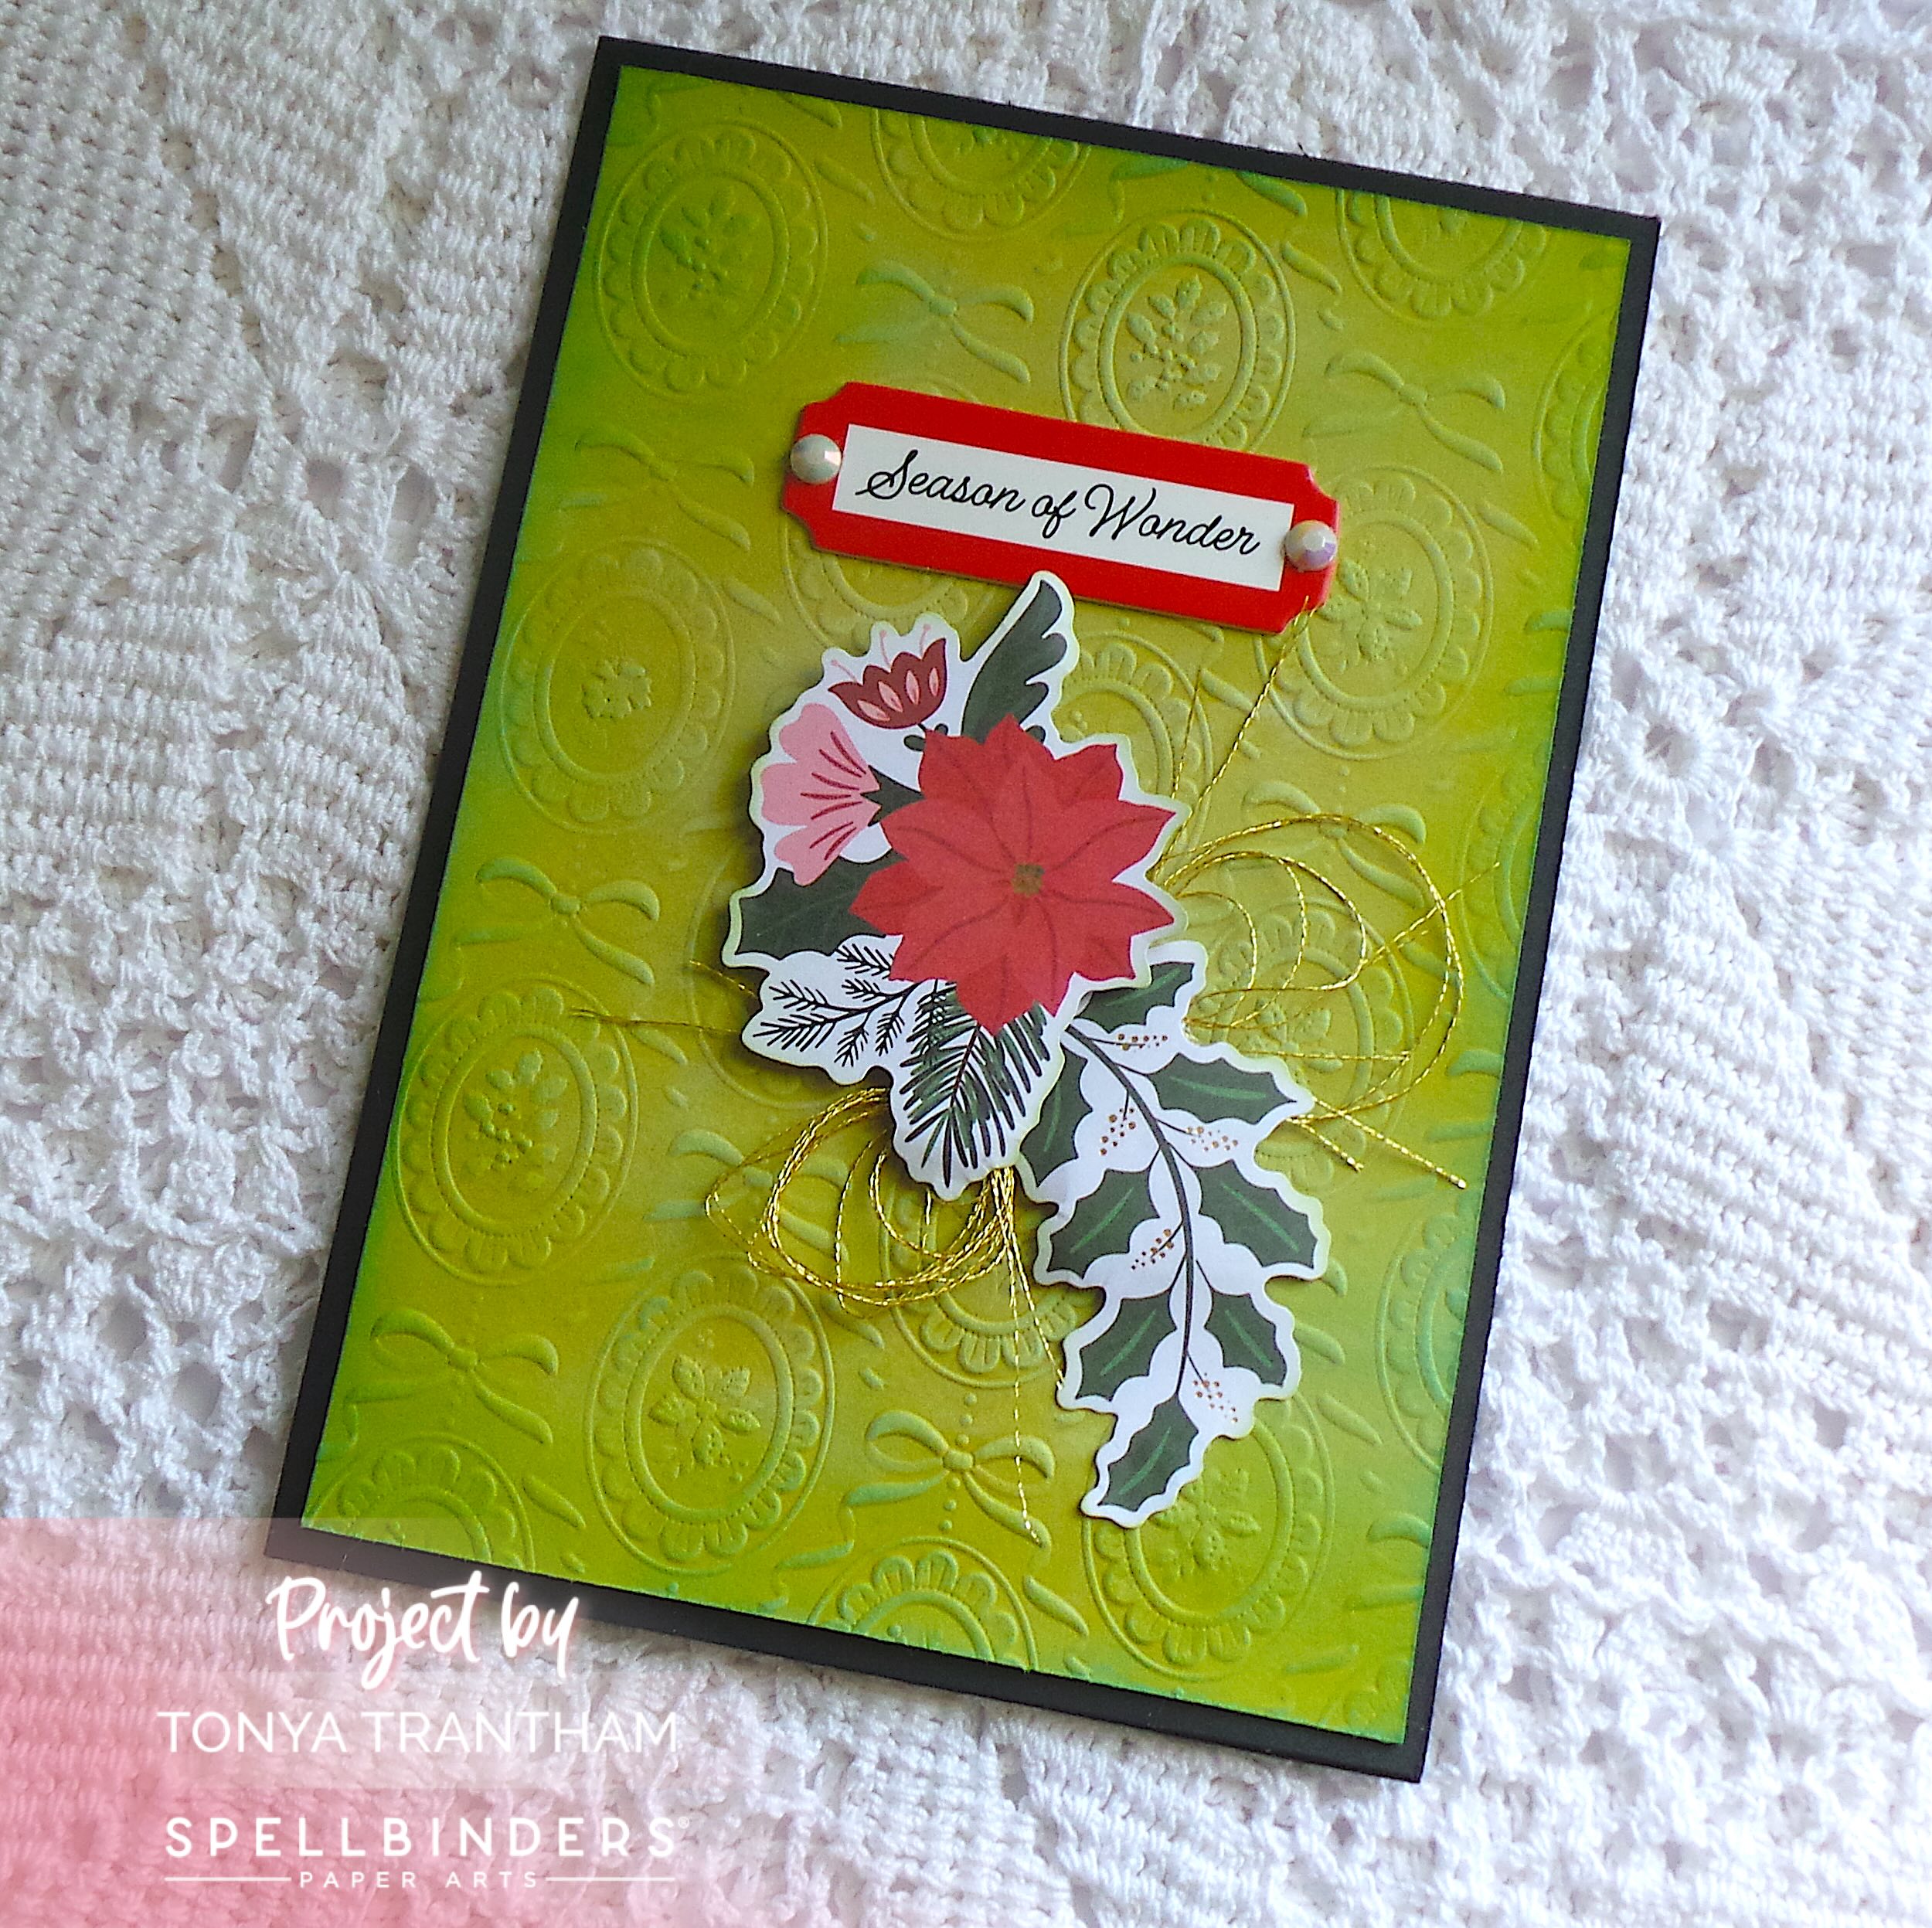
I challenged myself to use every piece of cardstock that was cut so nothing went to waste.
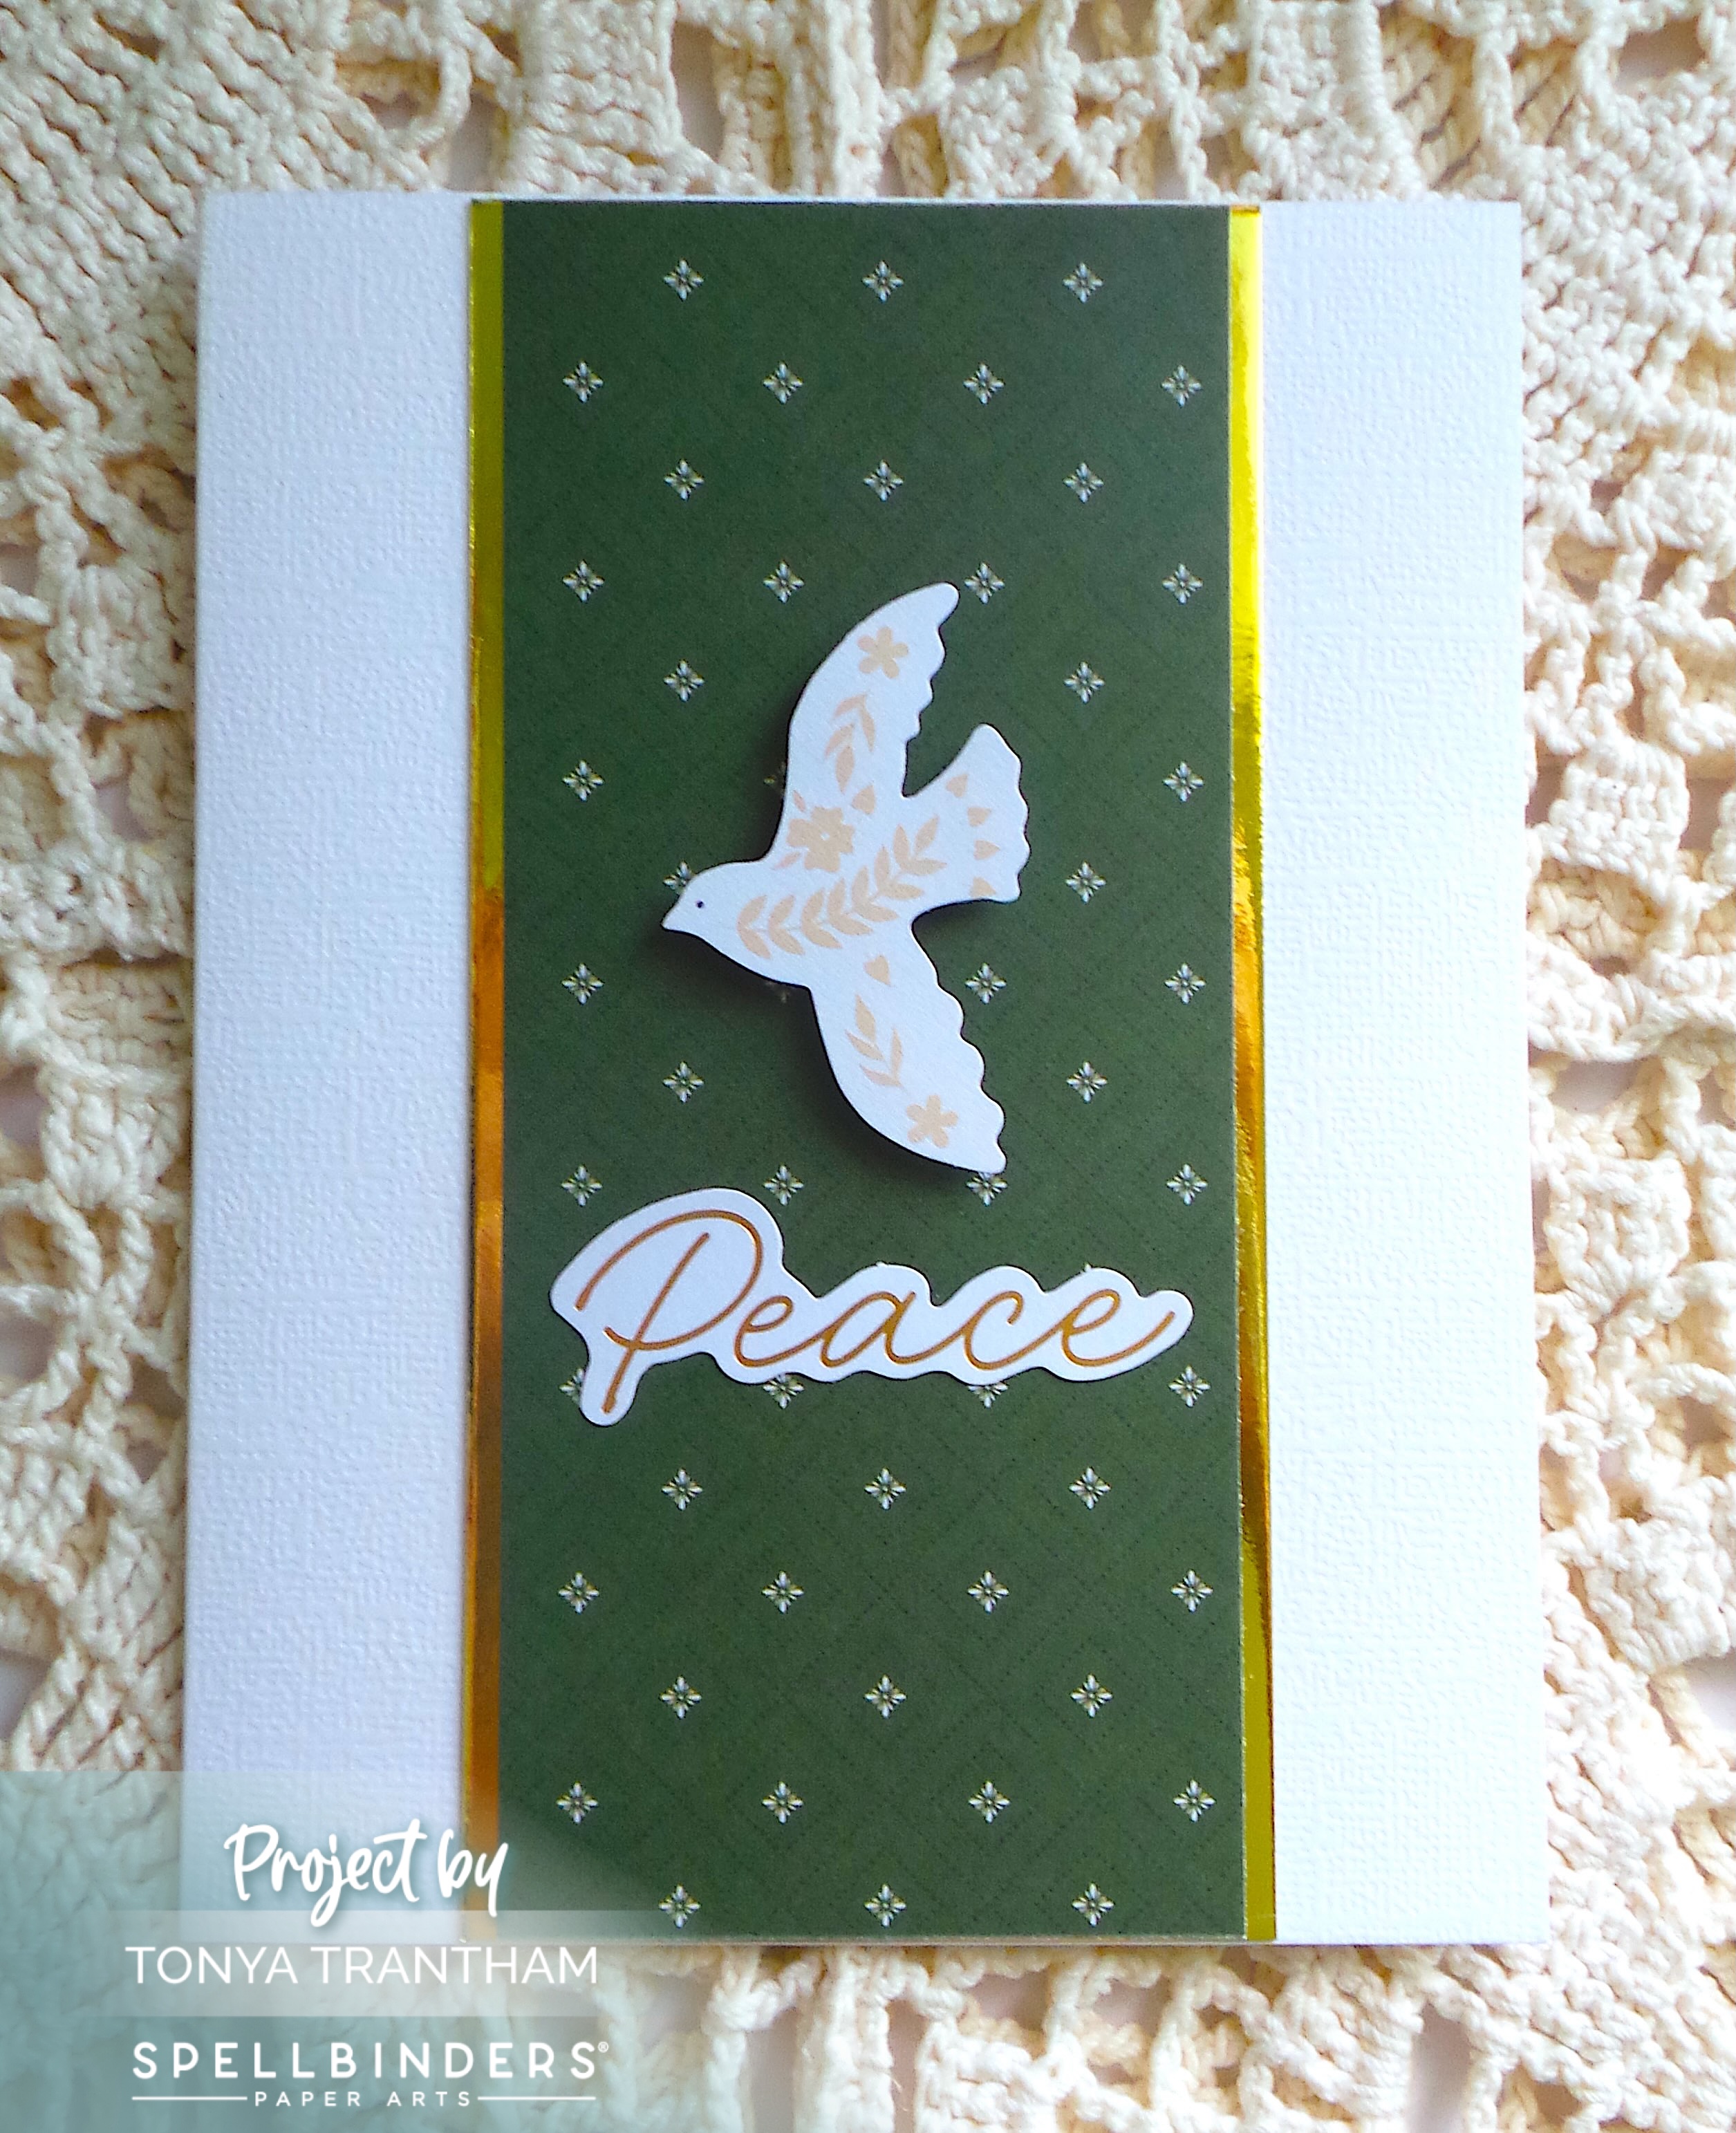
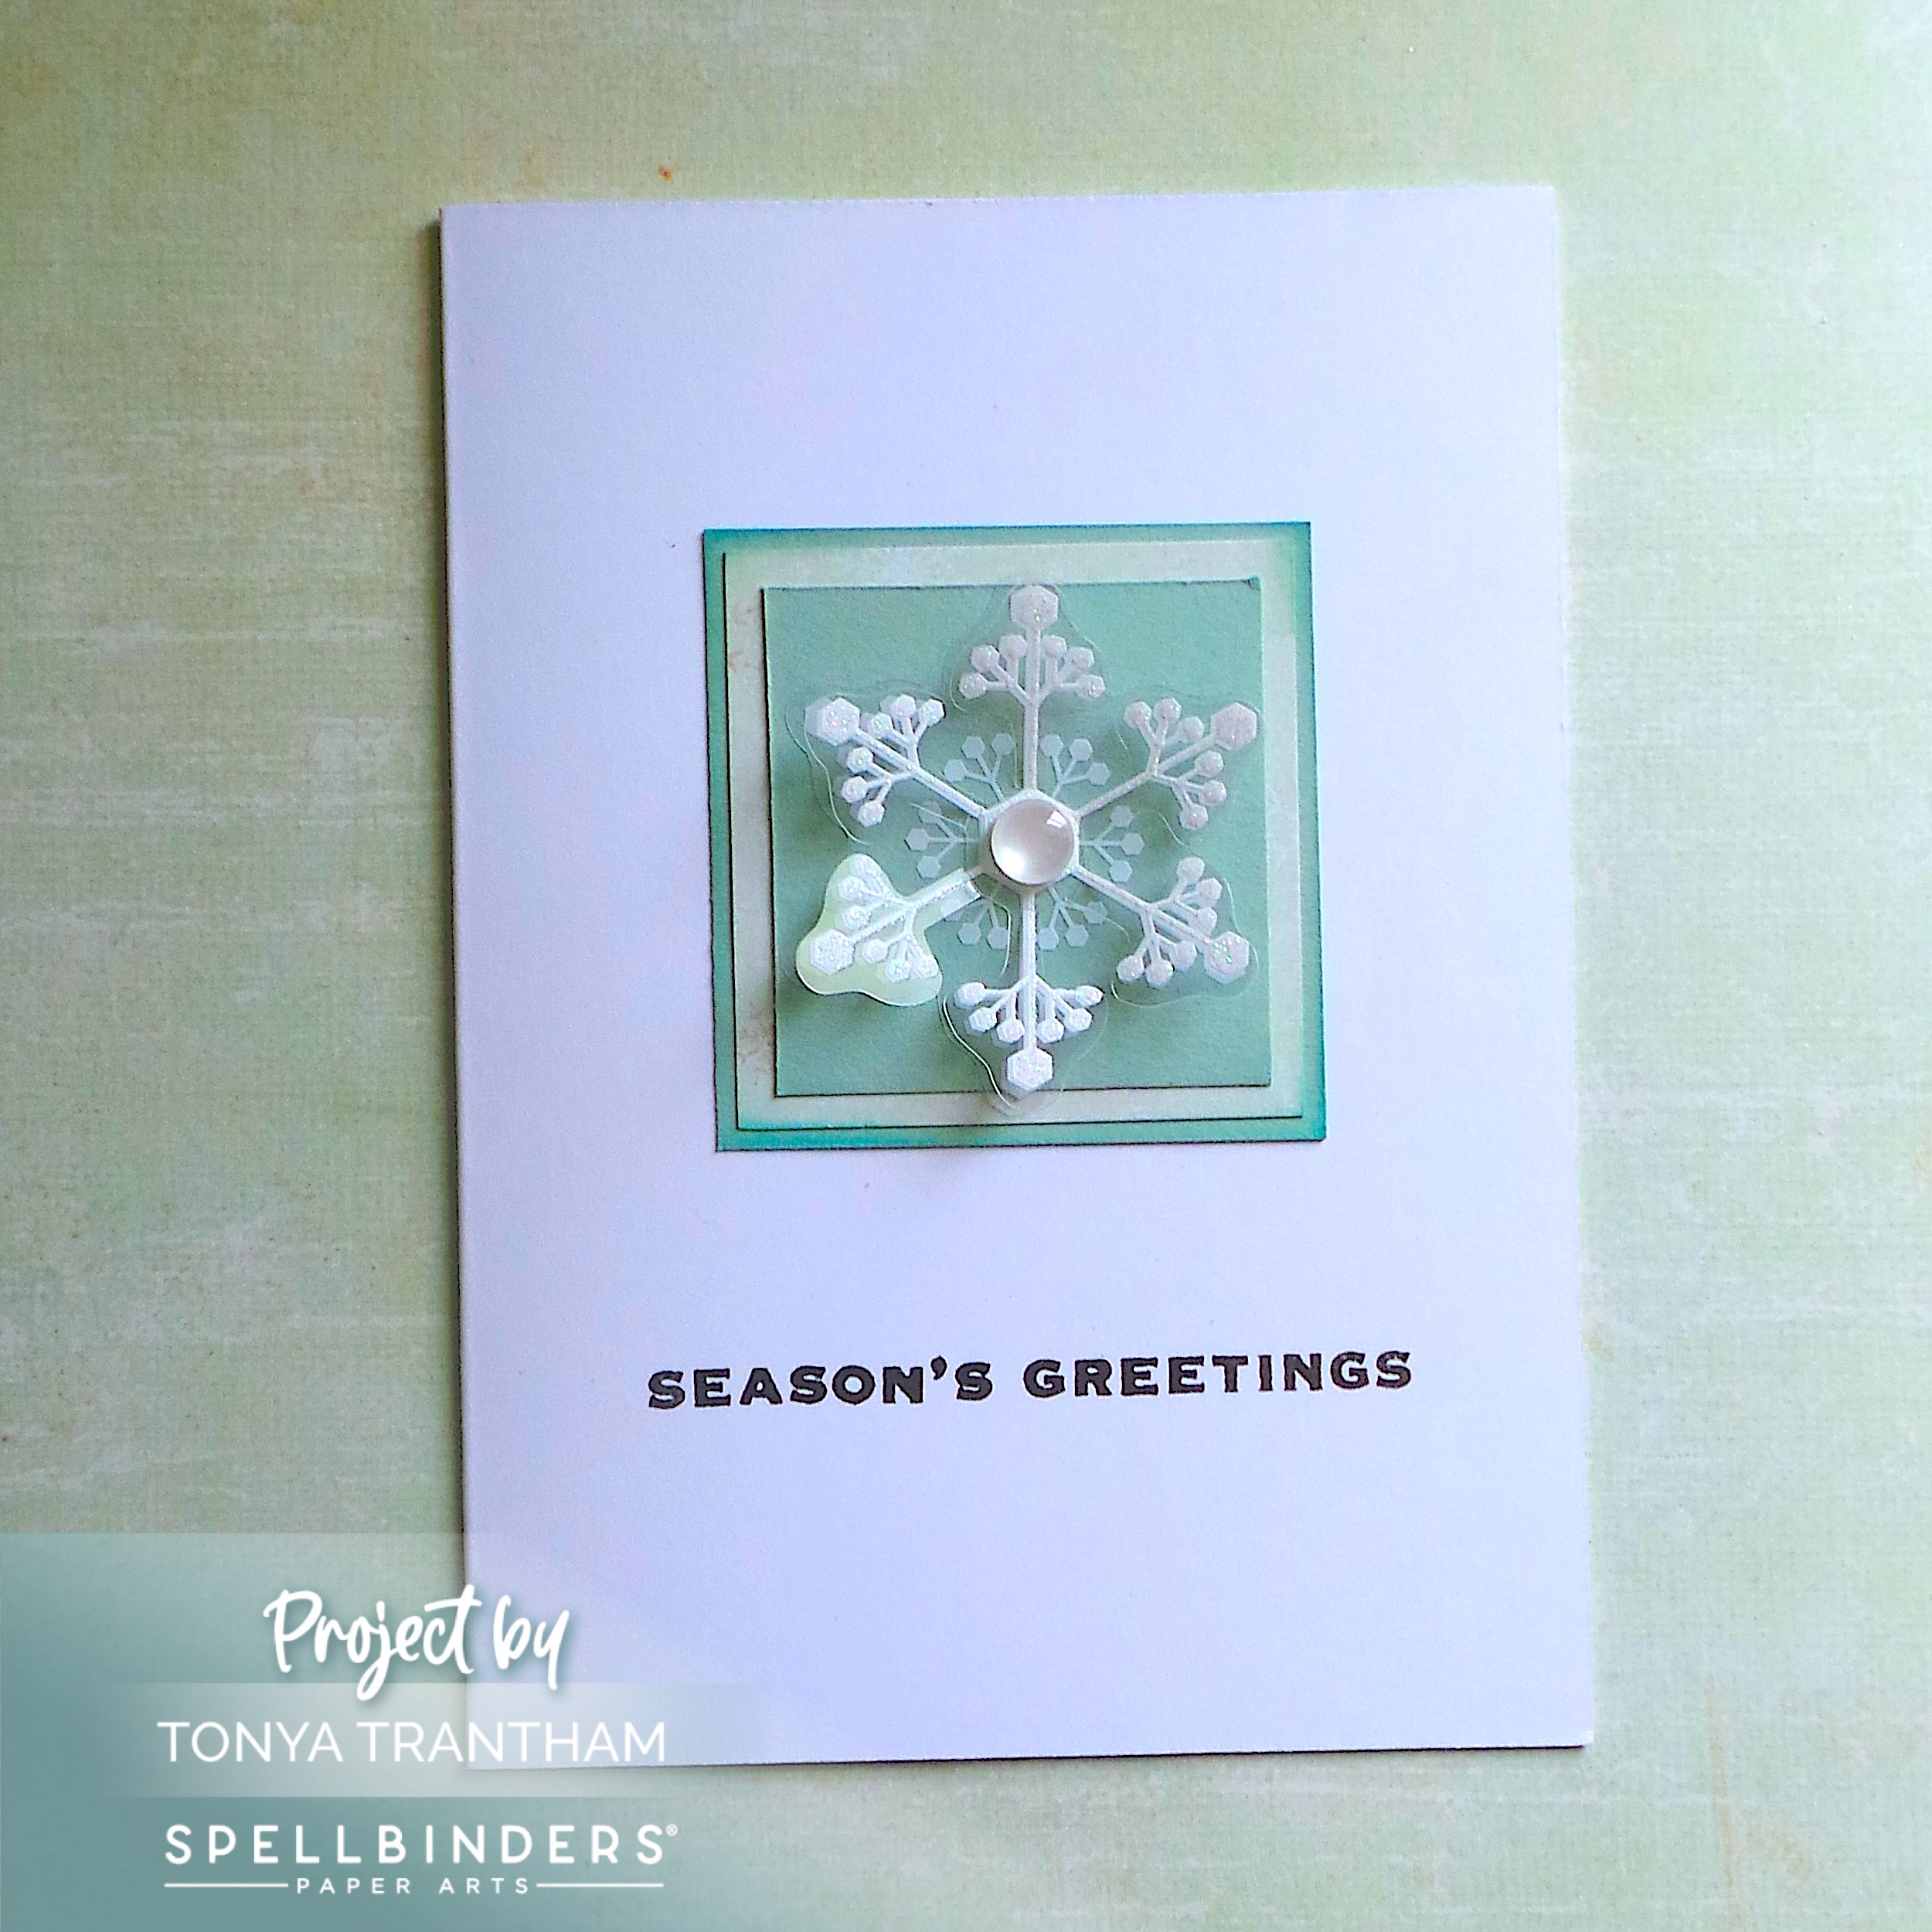
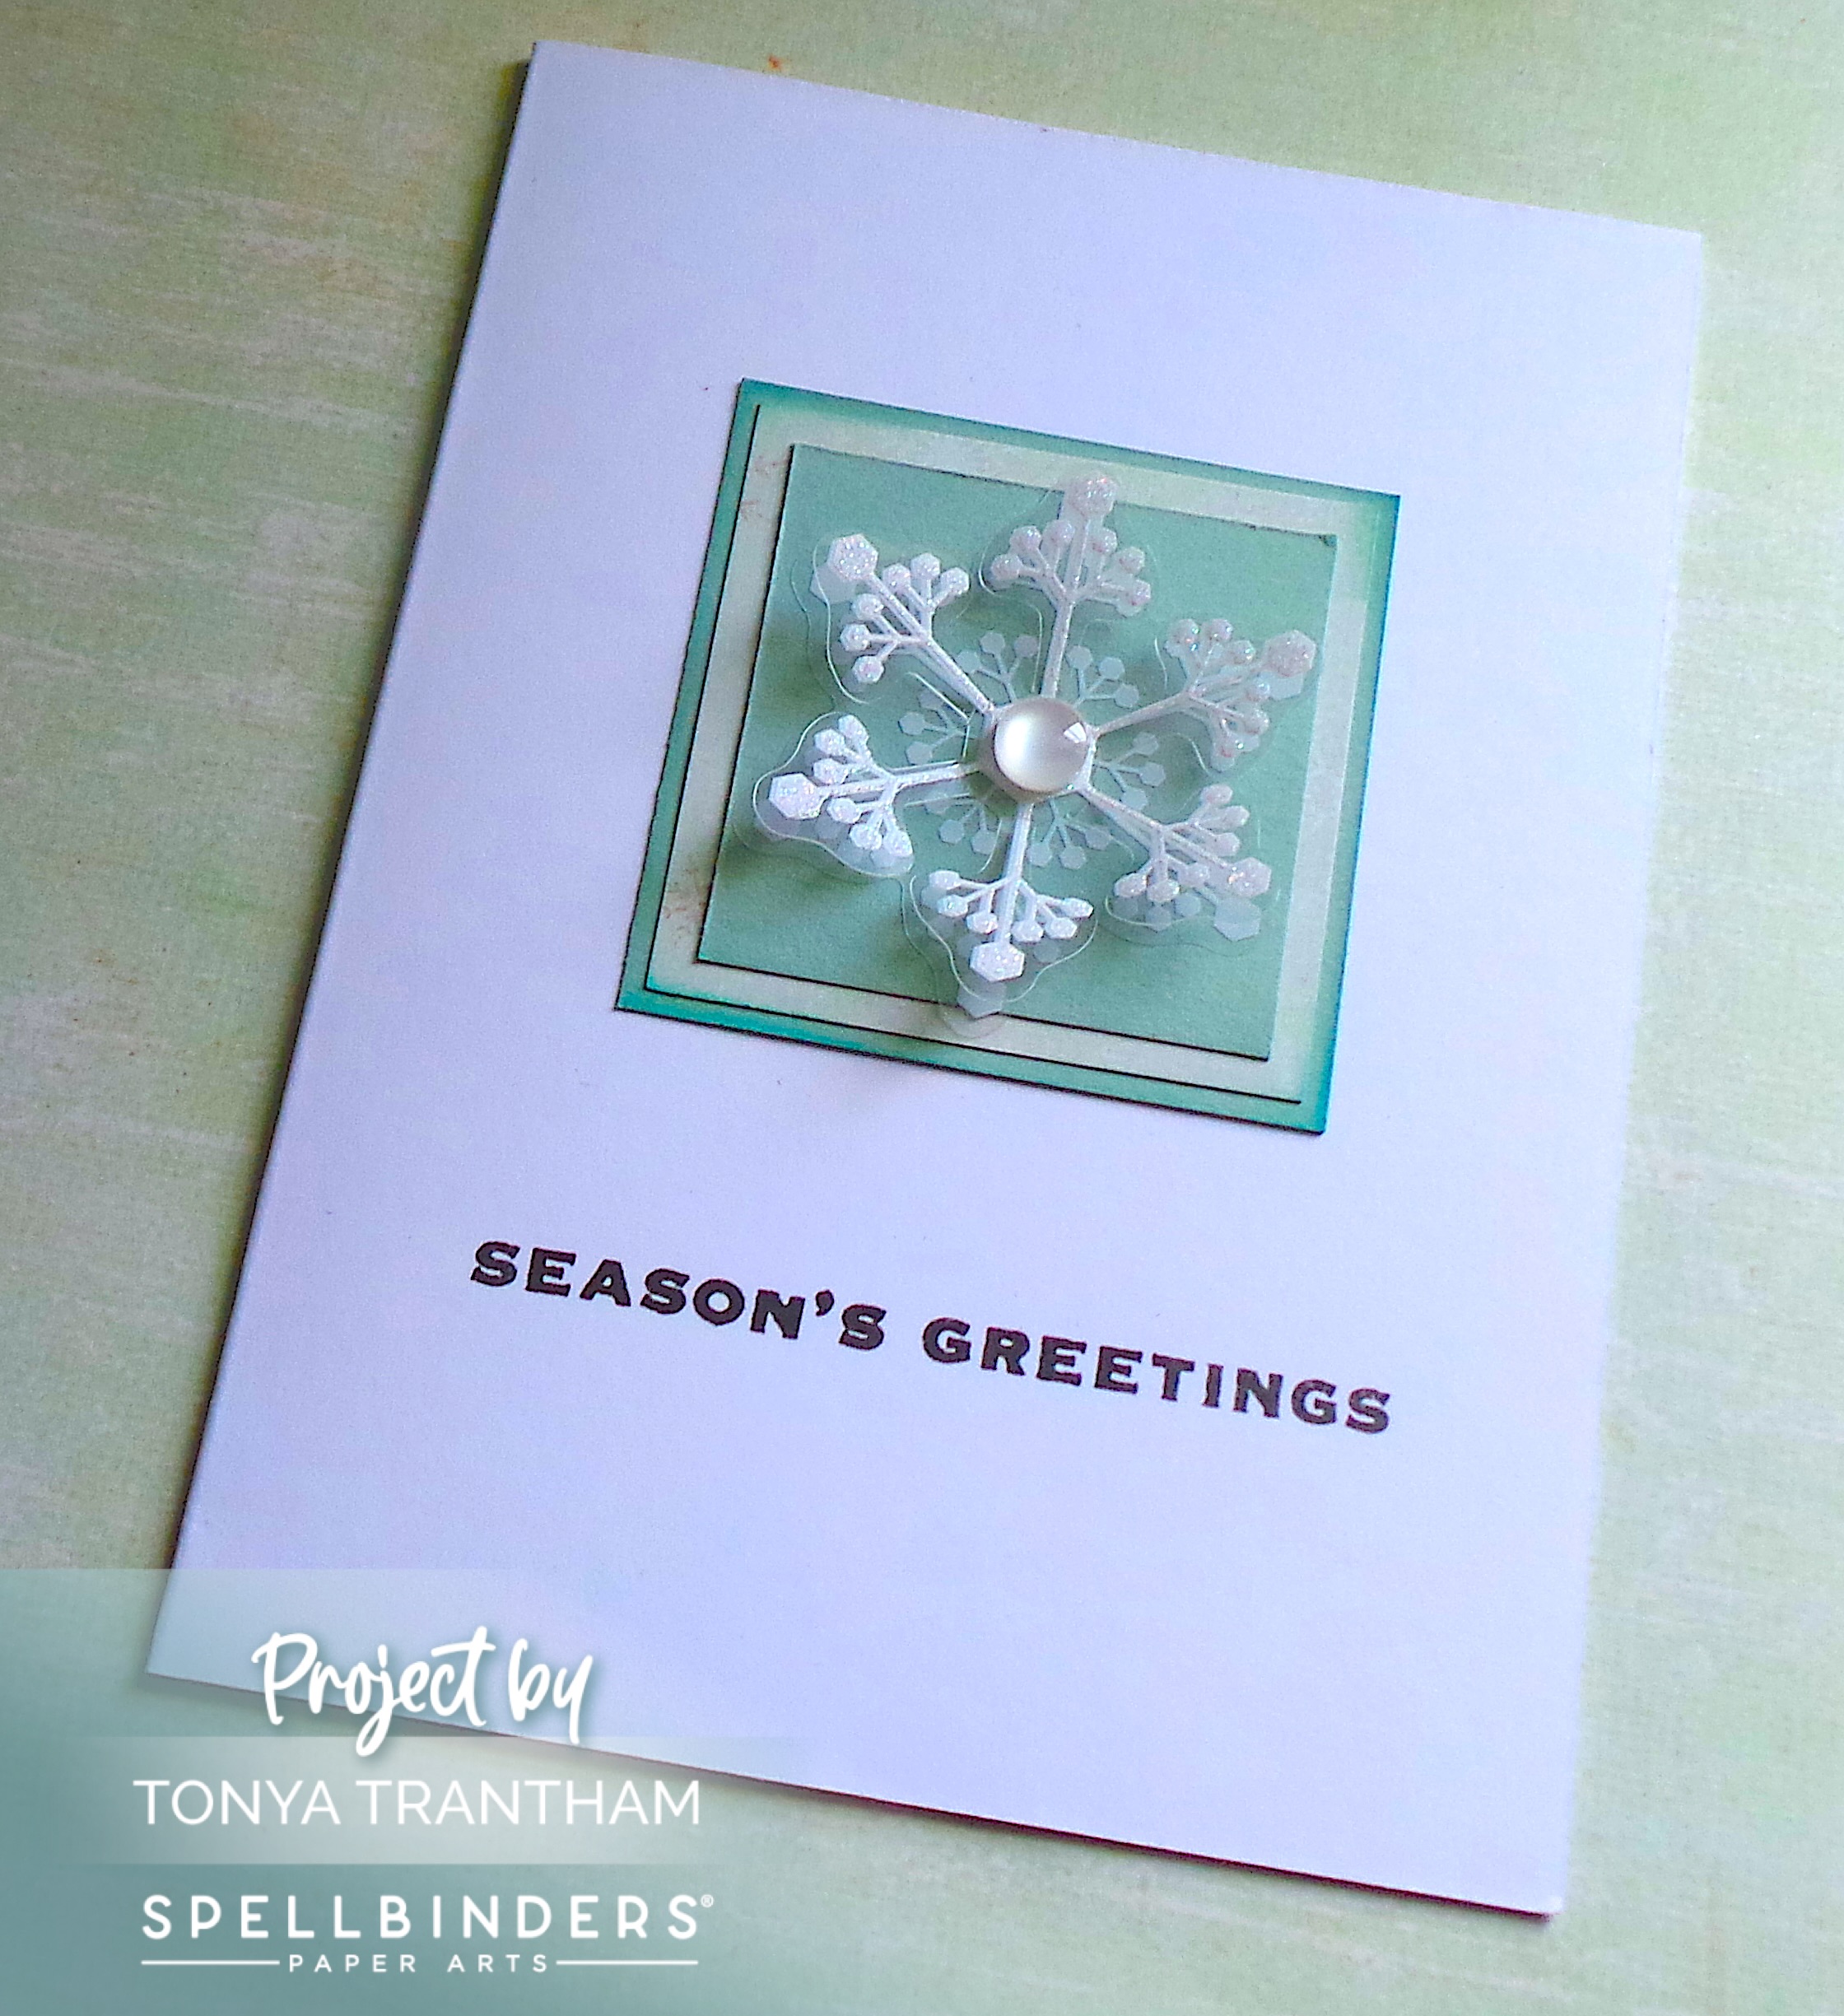
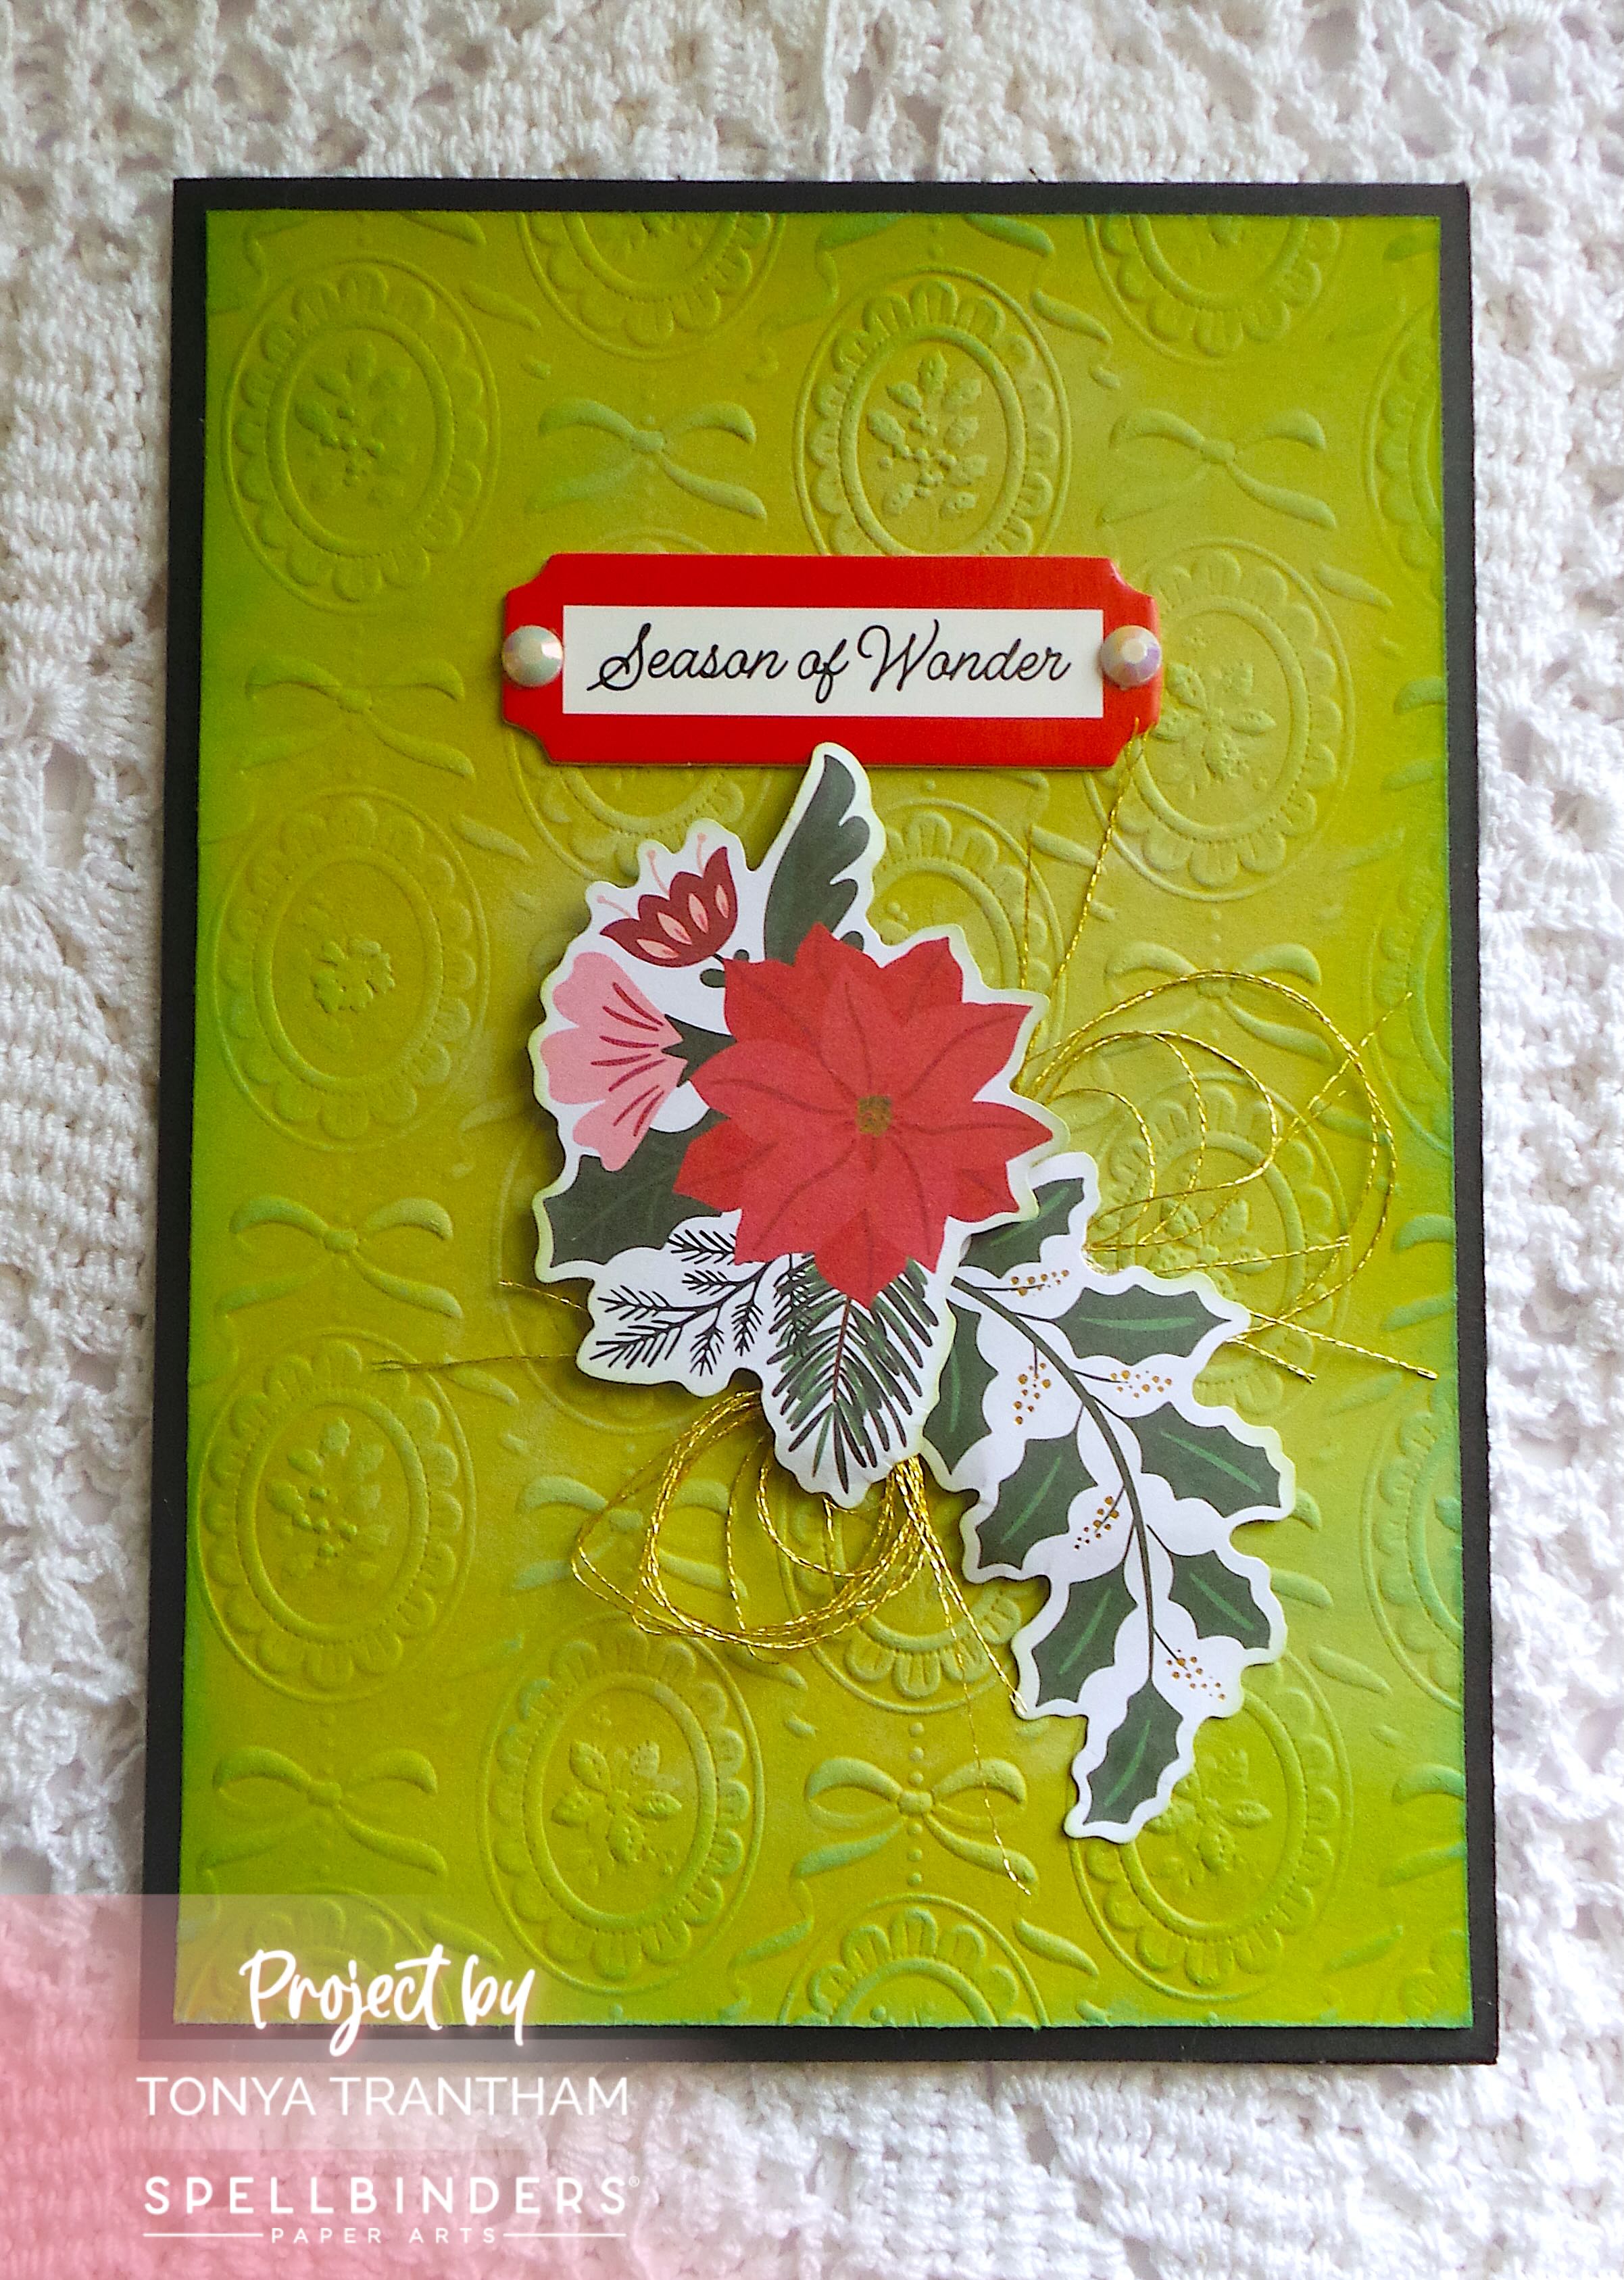
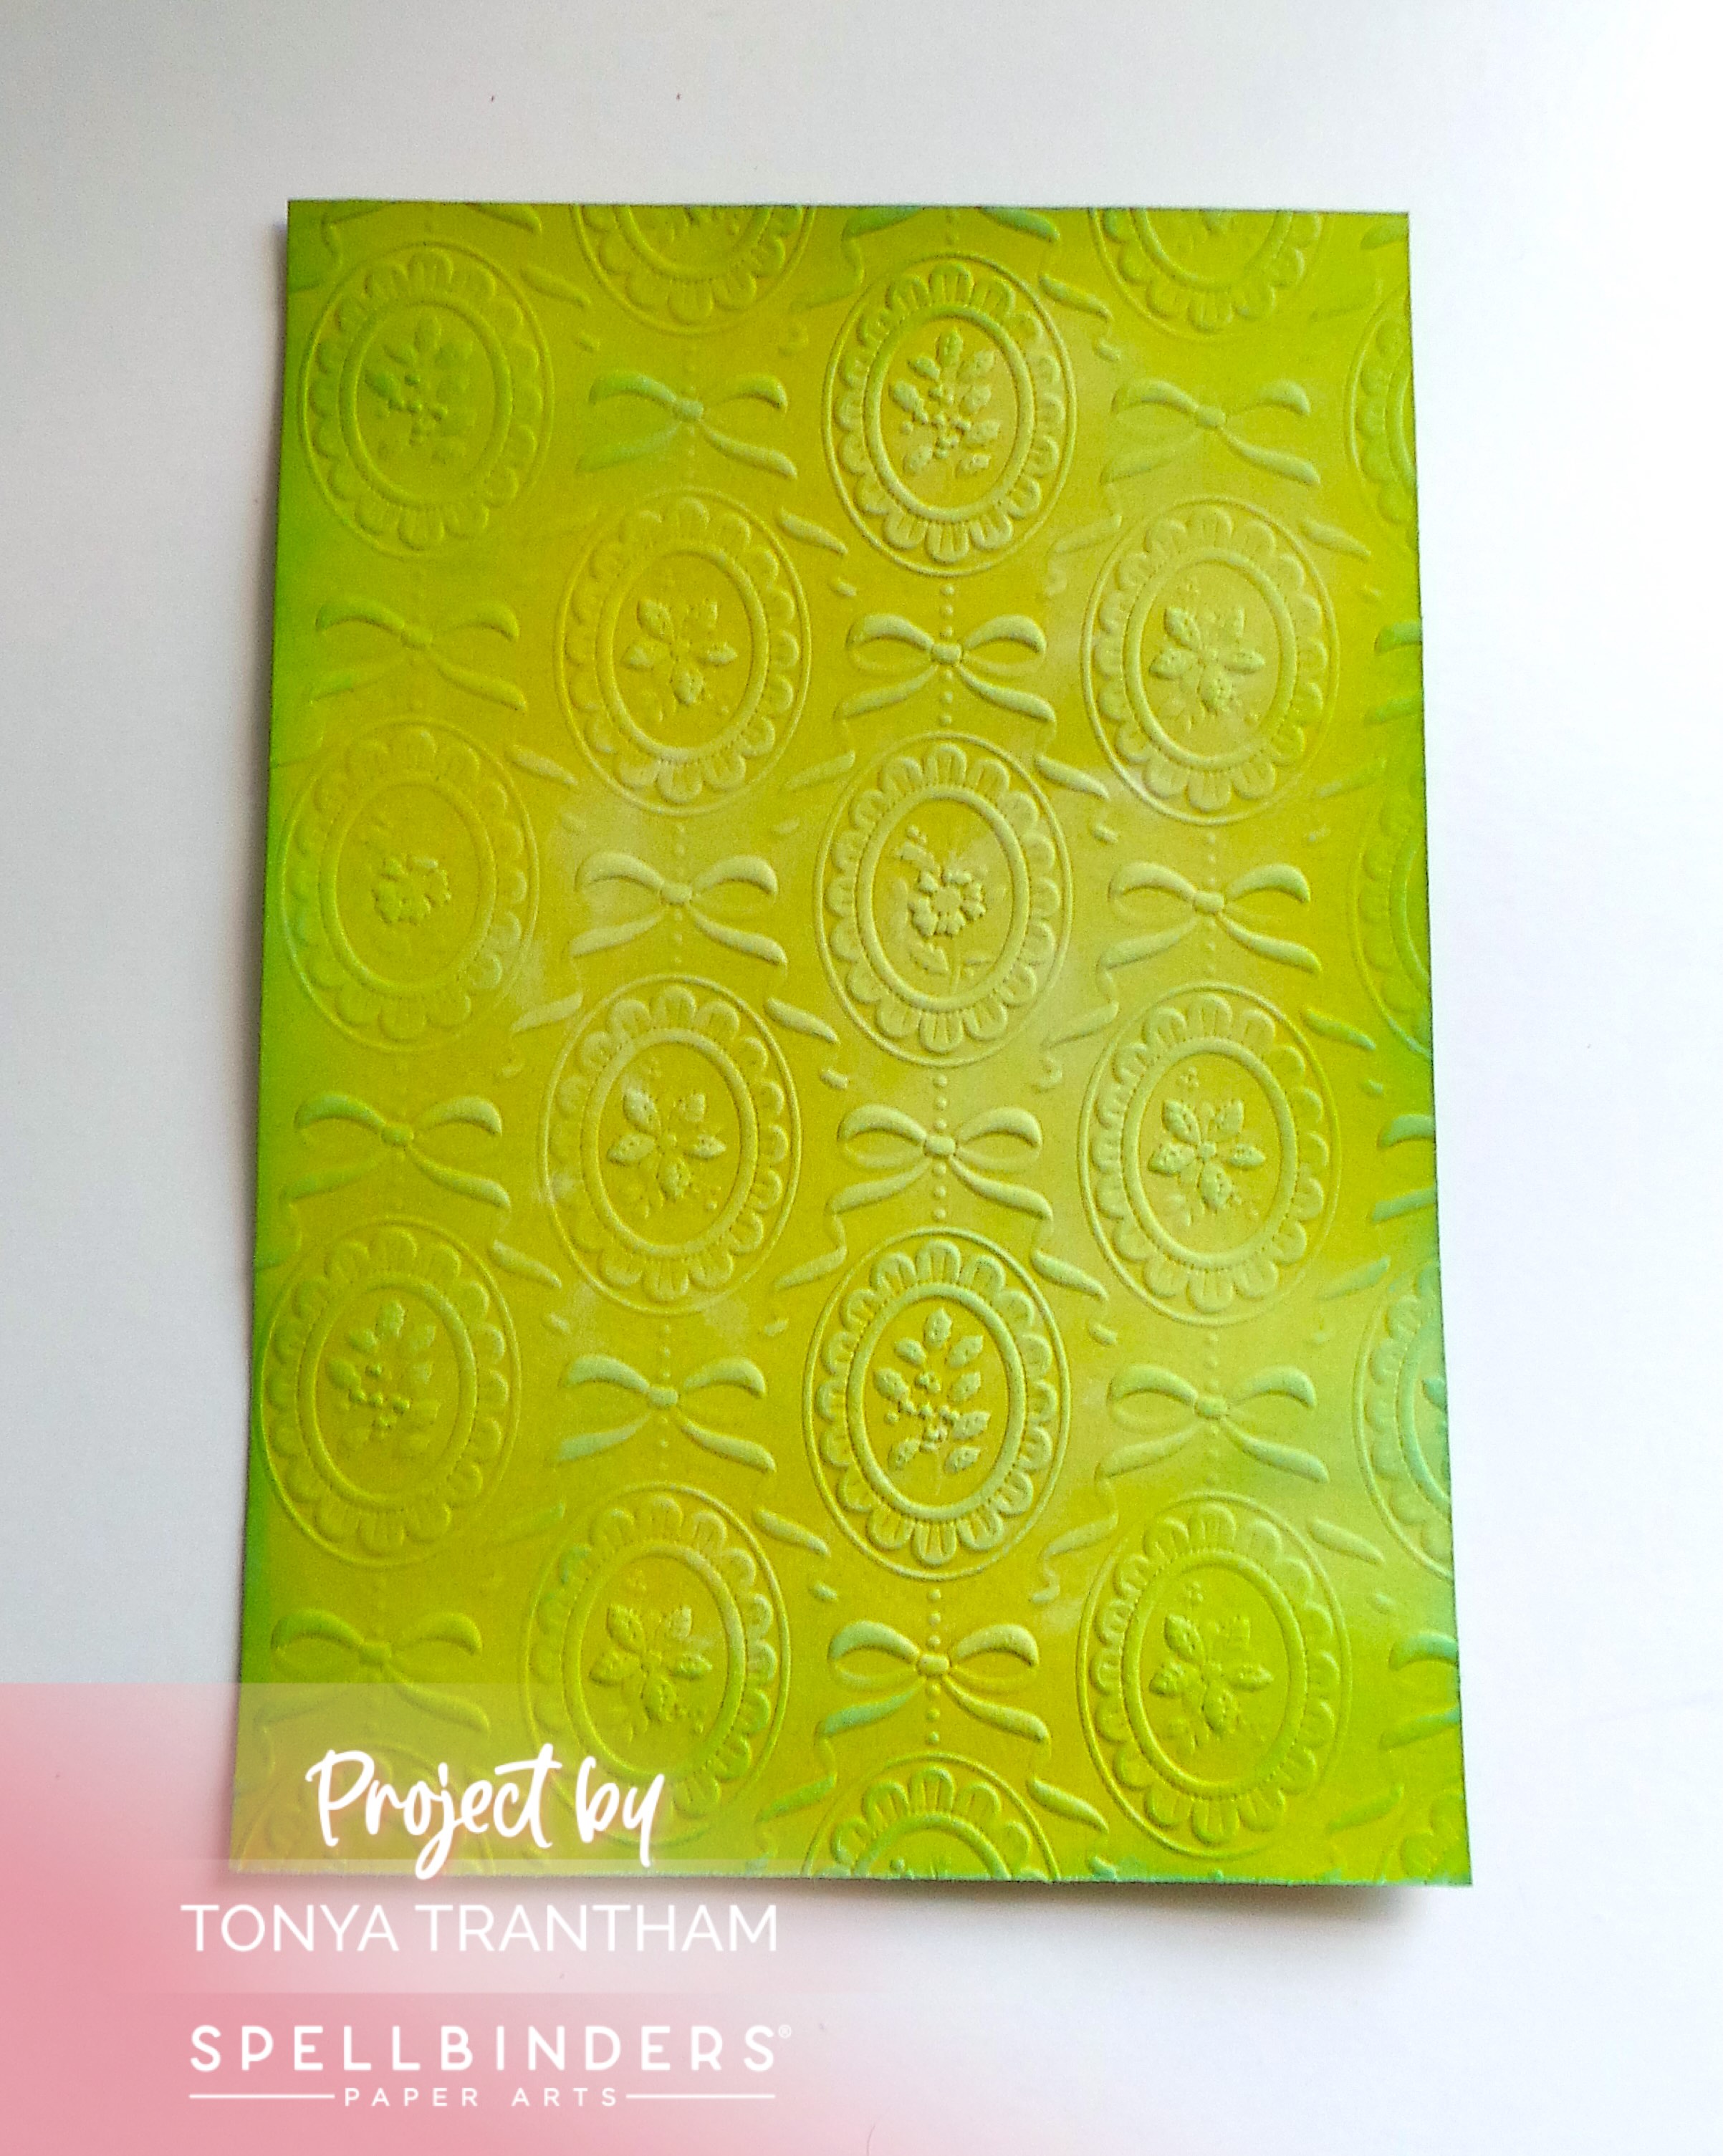
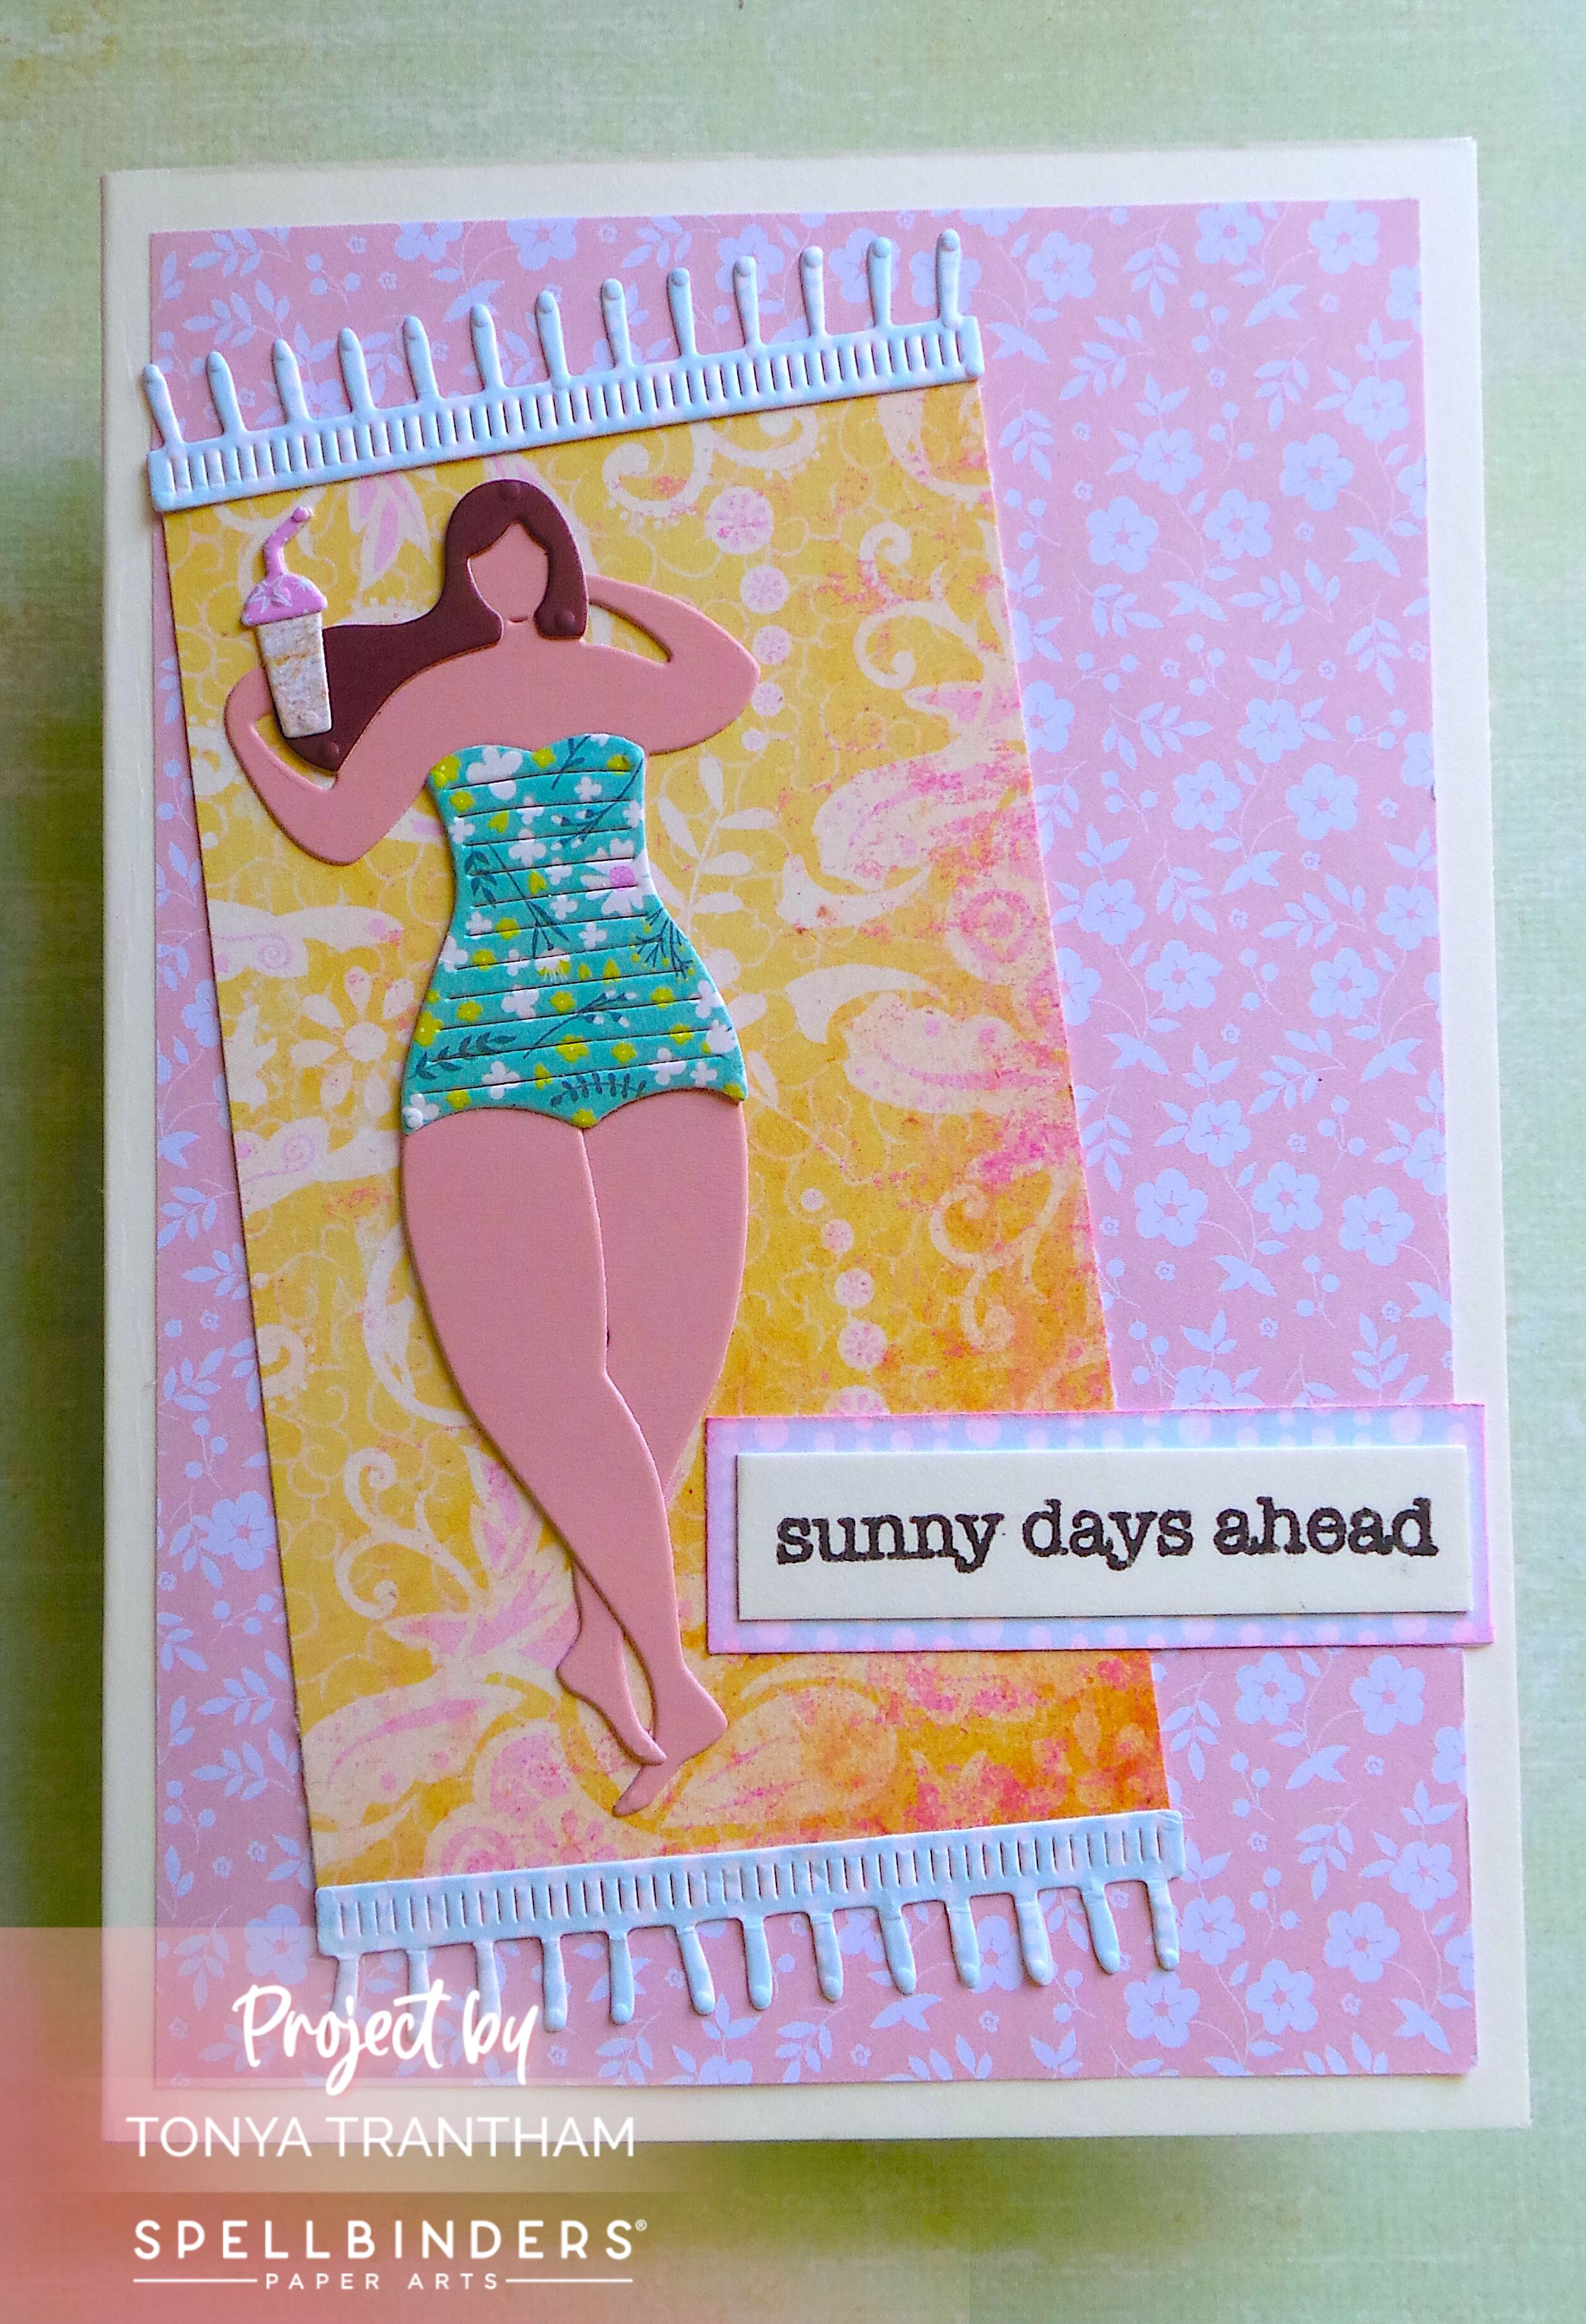
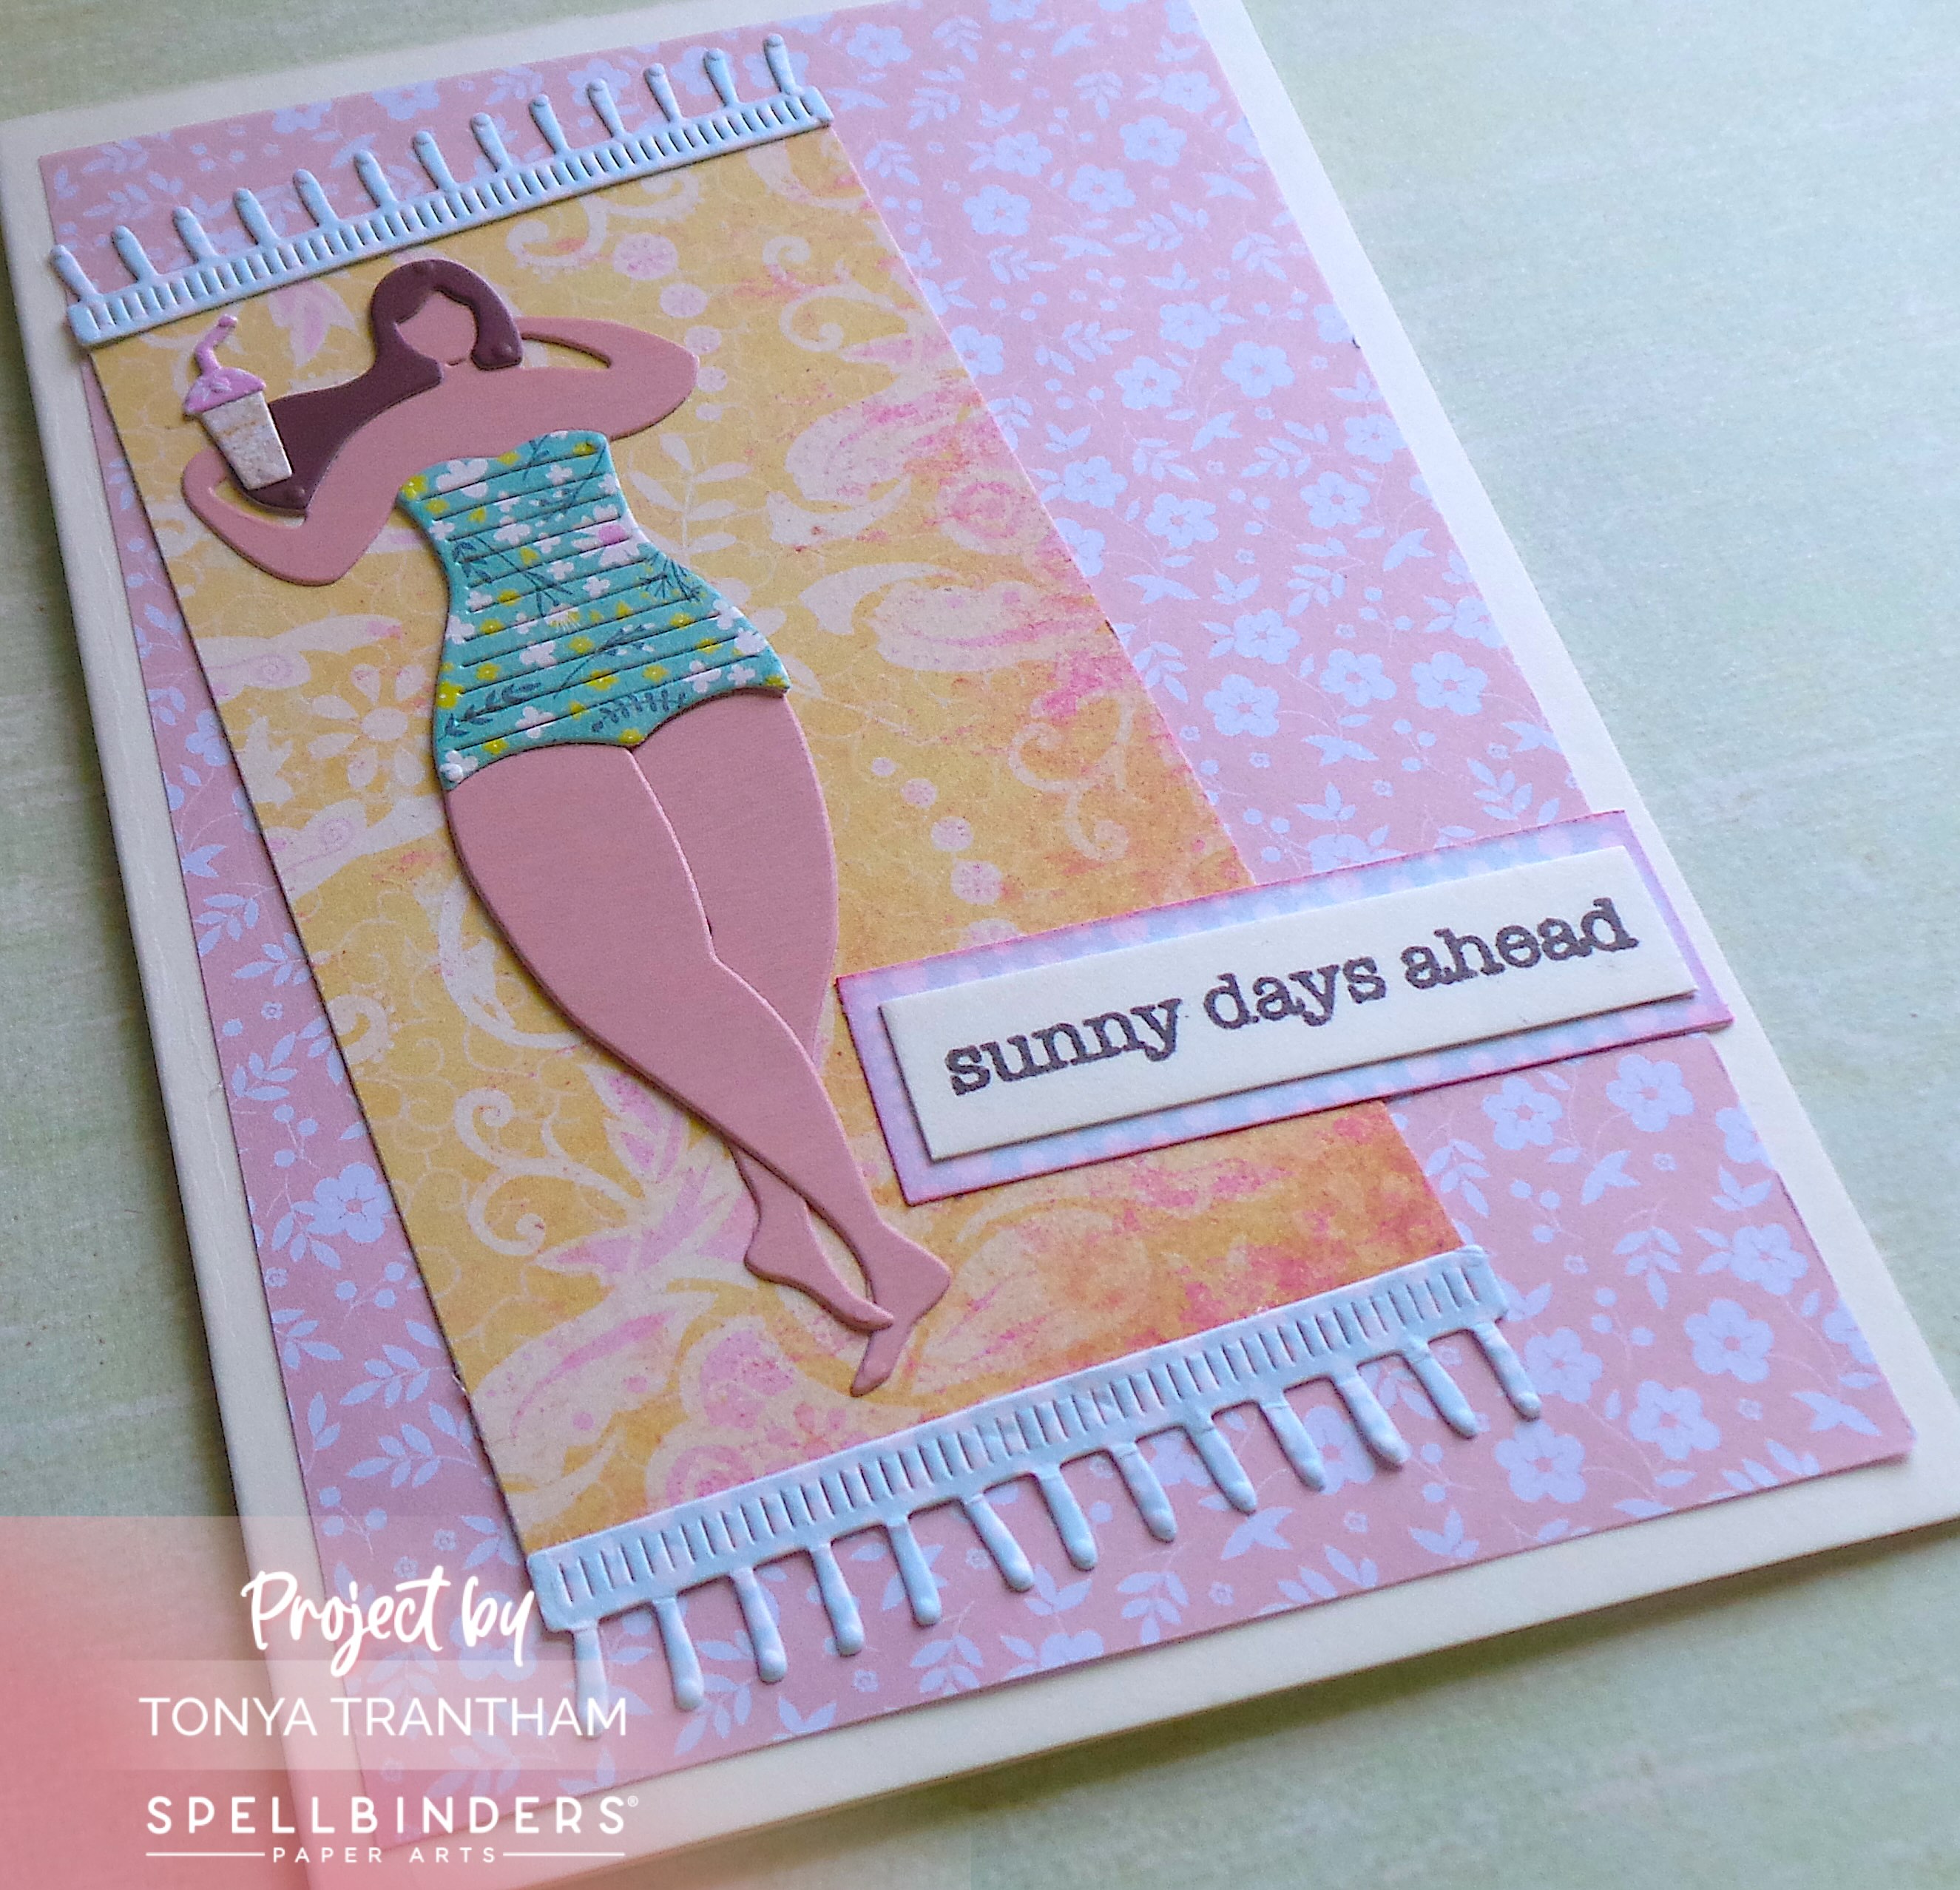
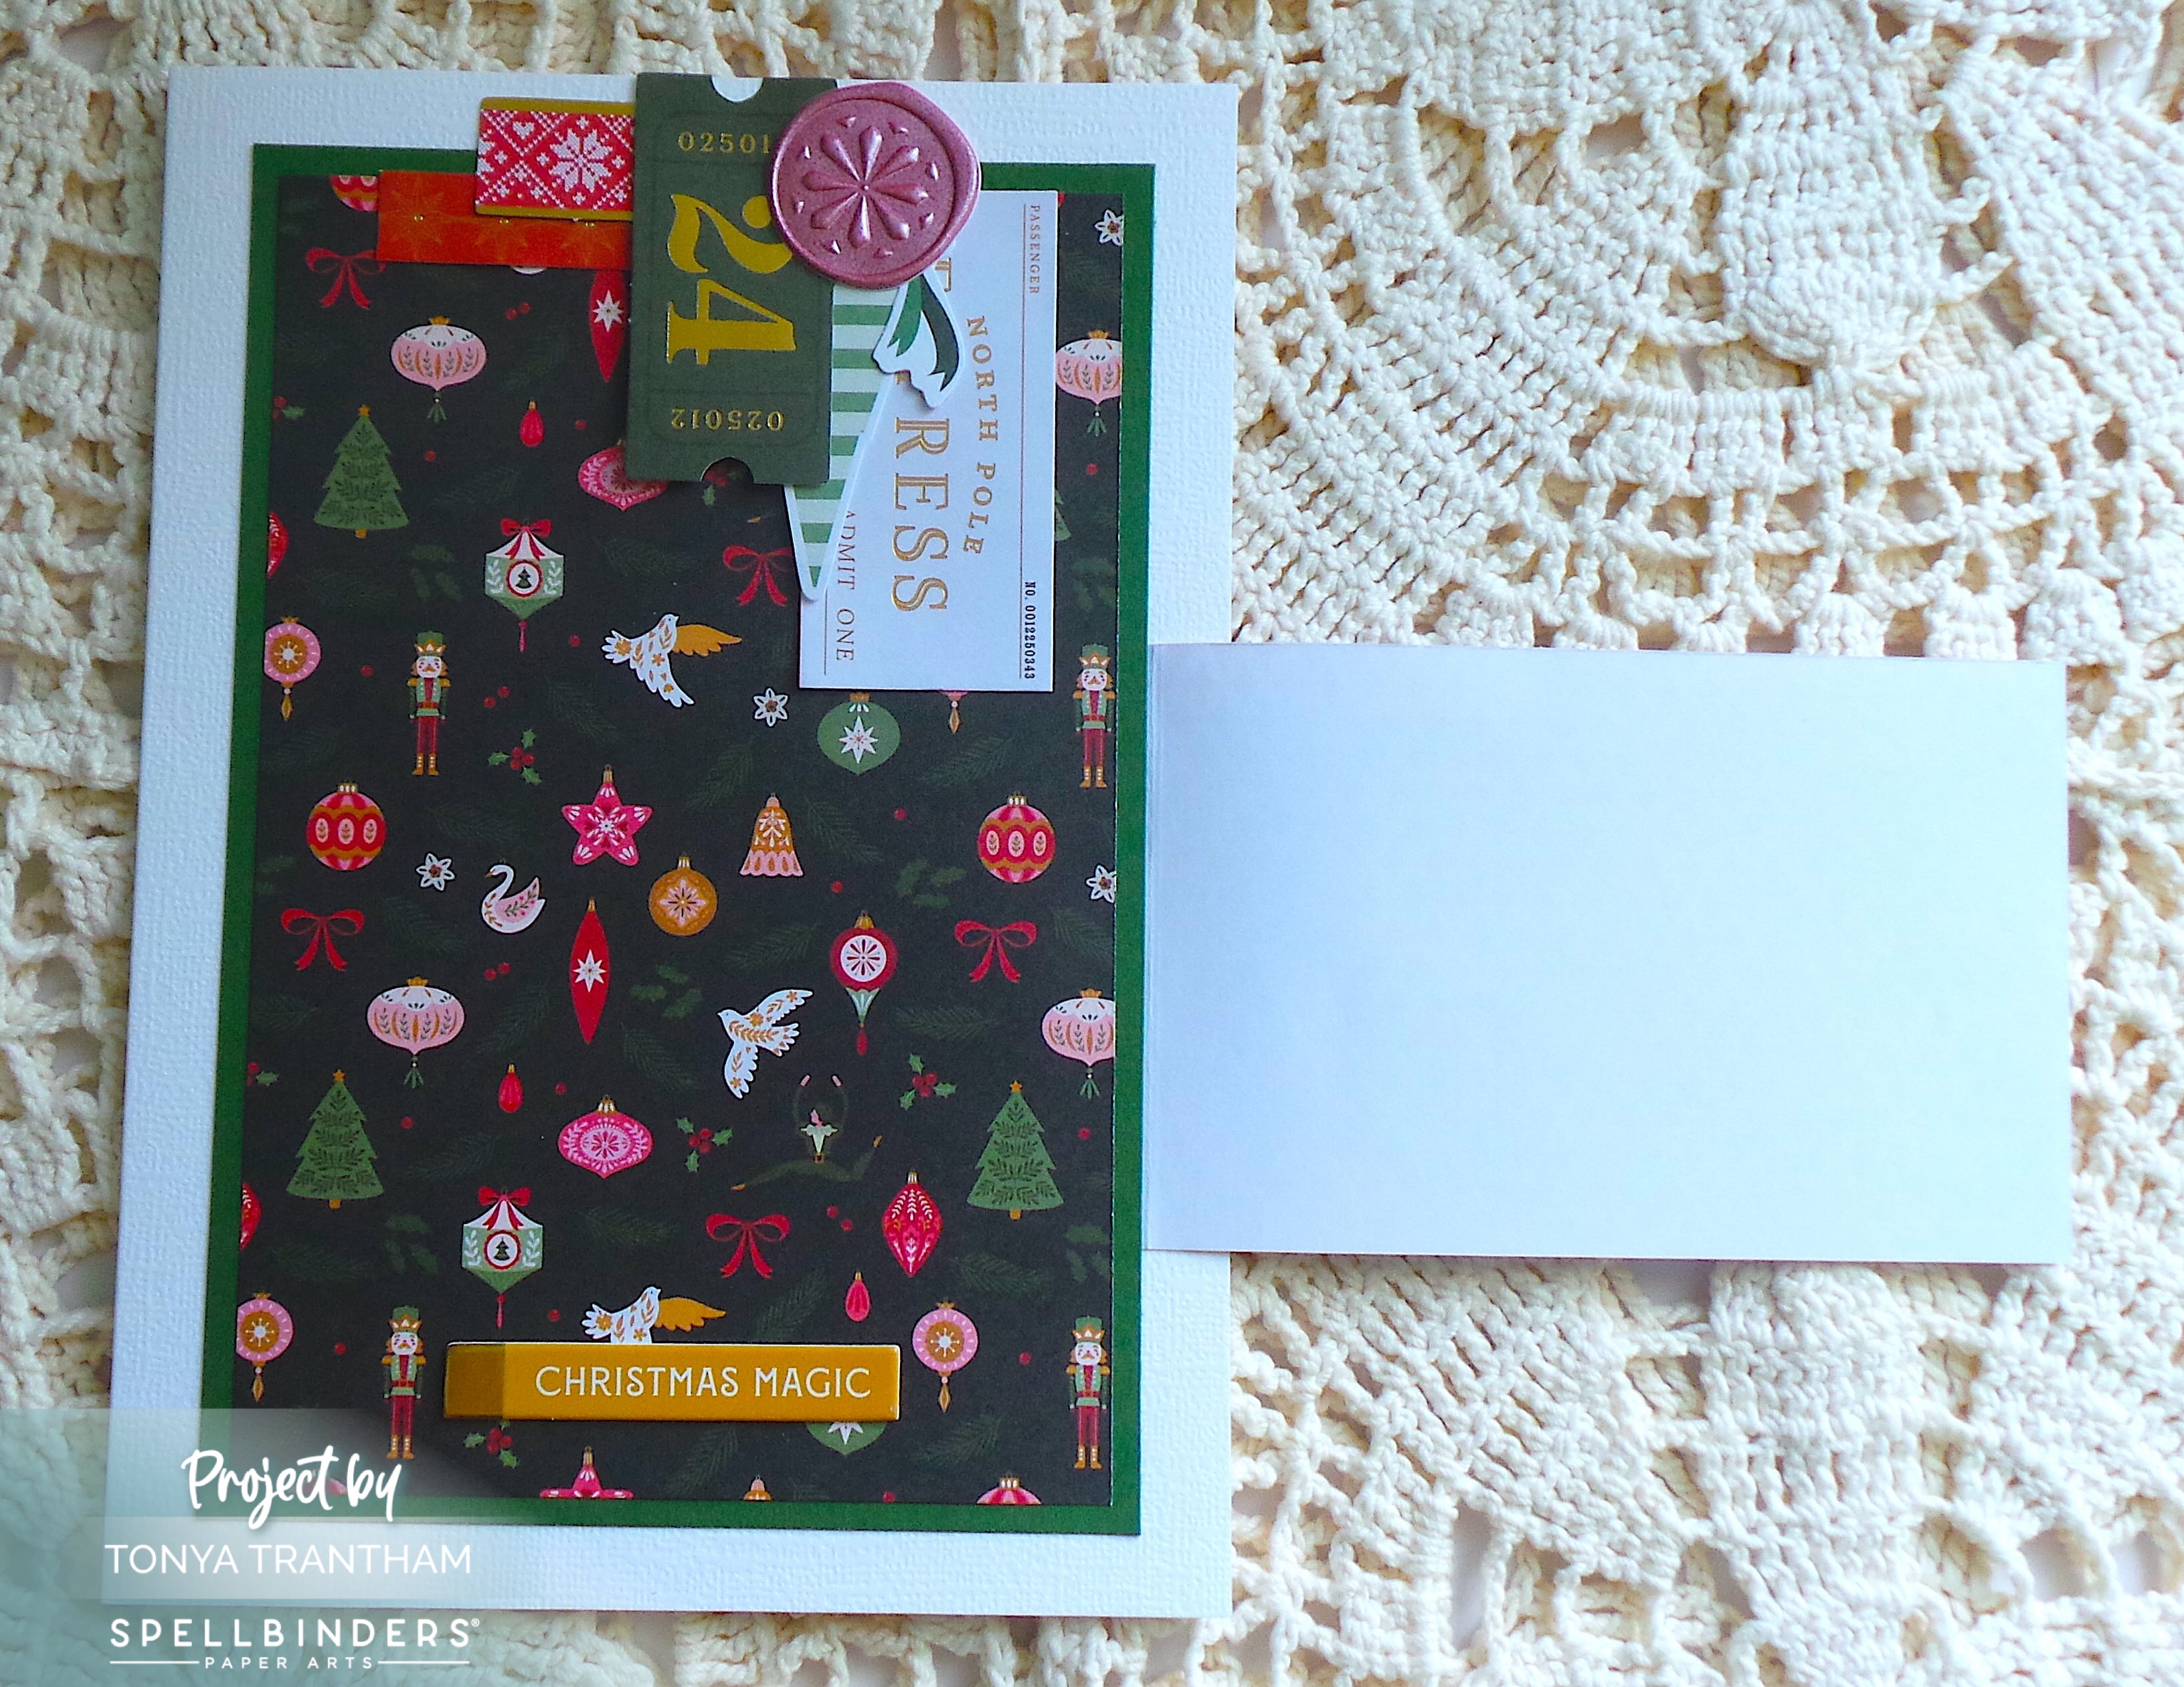
The last two cards I created are 5″ x 7″.
This card I added a hidden flap to the front to leave a special note.
I still have over half the cards left in the kit. I will be sharing them in the next couple of months.
I love how everything is included in the kit and it keeps all your supplies contained in this beautiful box!
If you have any questions or comments please leave them below.

Supplies
Spellbinders: Merry Moments Limited Edition Holiday Cardmaking Kit
Scrapbook.com: Merry Moments Limited Edition Holiday Cardmaking Kit
Beacon Adhesives: Zip Adhesive
(Products listed above are Affiliated Links for your convenience)
DISCLAIMERS
This blog is compensated to provide opinion on products, services, websites, and various other topics. Even though the owner(s) of this blog receives compensation for our posts or advertisements. I always give my honest opinions, findings, beliefs, or experiences on those topics or products. The views and opinions expressed on this blog are purely my own. Any product claim, statistic, or quote should be checked with each manufacturer. Verify other representations about a product or service with the provider or party in question.This blog contains affiliate links. Clicking these links helps to support Tonya Trantham Designs – Creative Paper Addiction. It’s at no additional cost to you. Today’s features are Spellbinders and Scrapbook.com Products.
Thanks for stopping by, hope your day is awesome and enjoy creating!