Creating Beautiful Cards with Spellbinders Yuletide Ride Dies

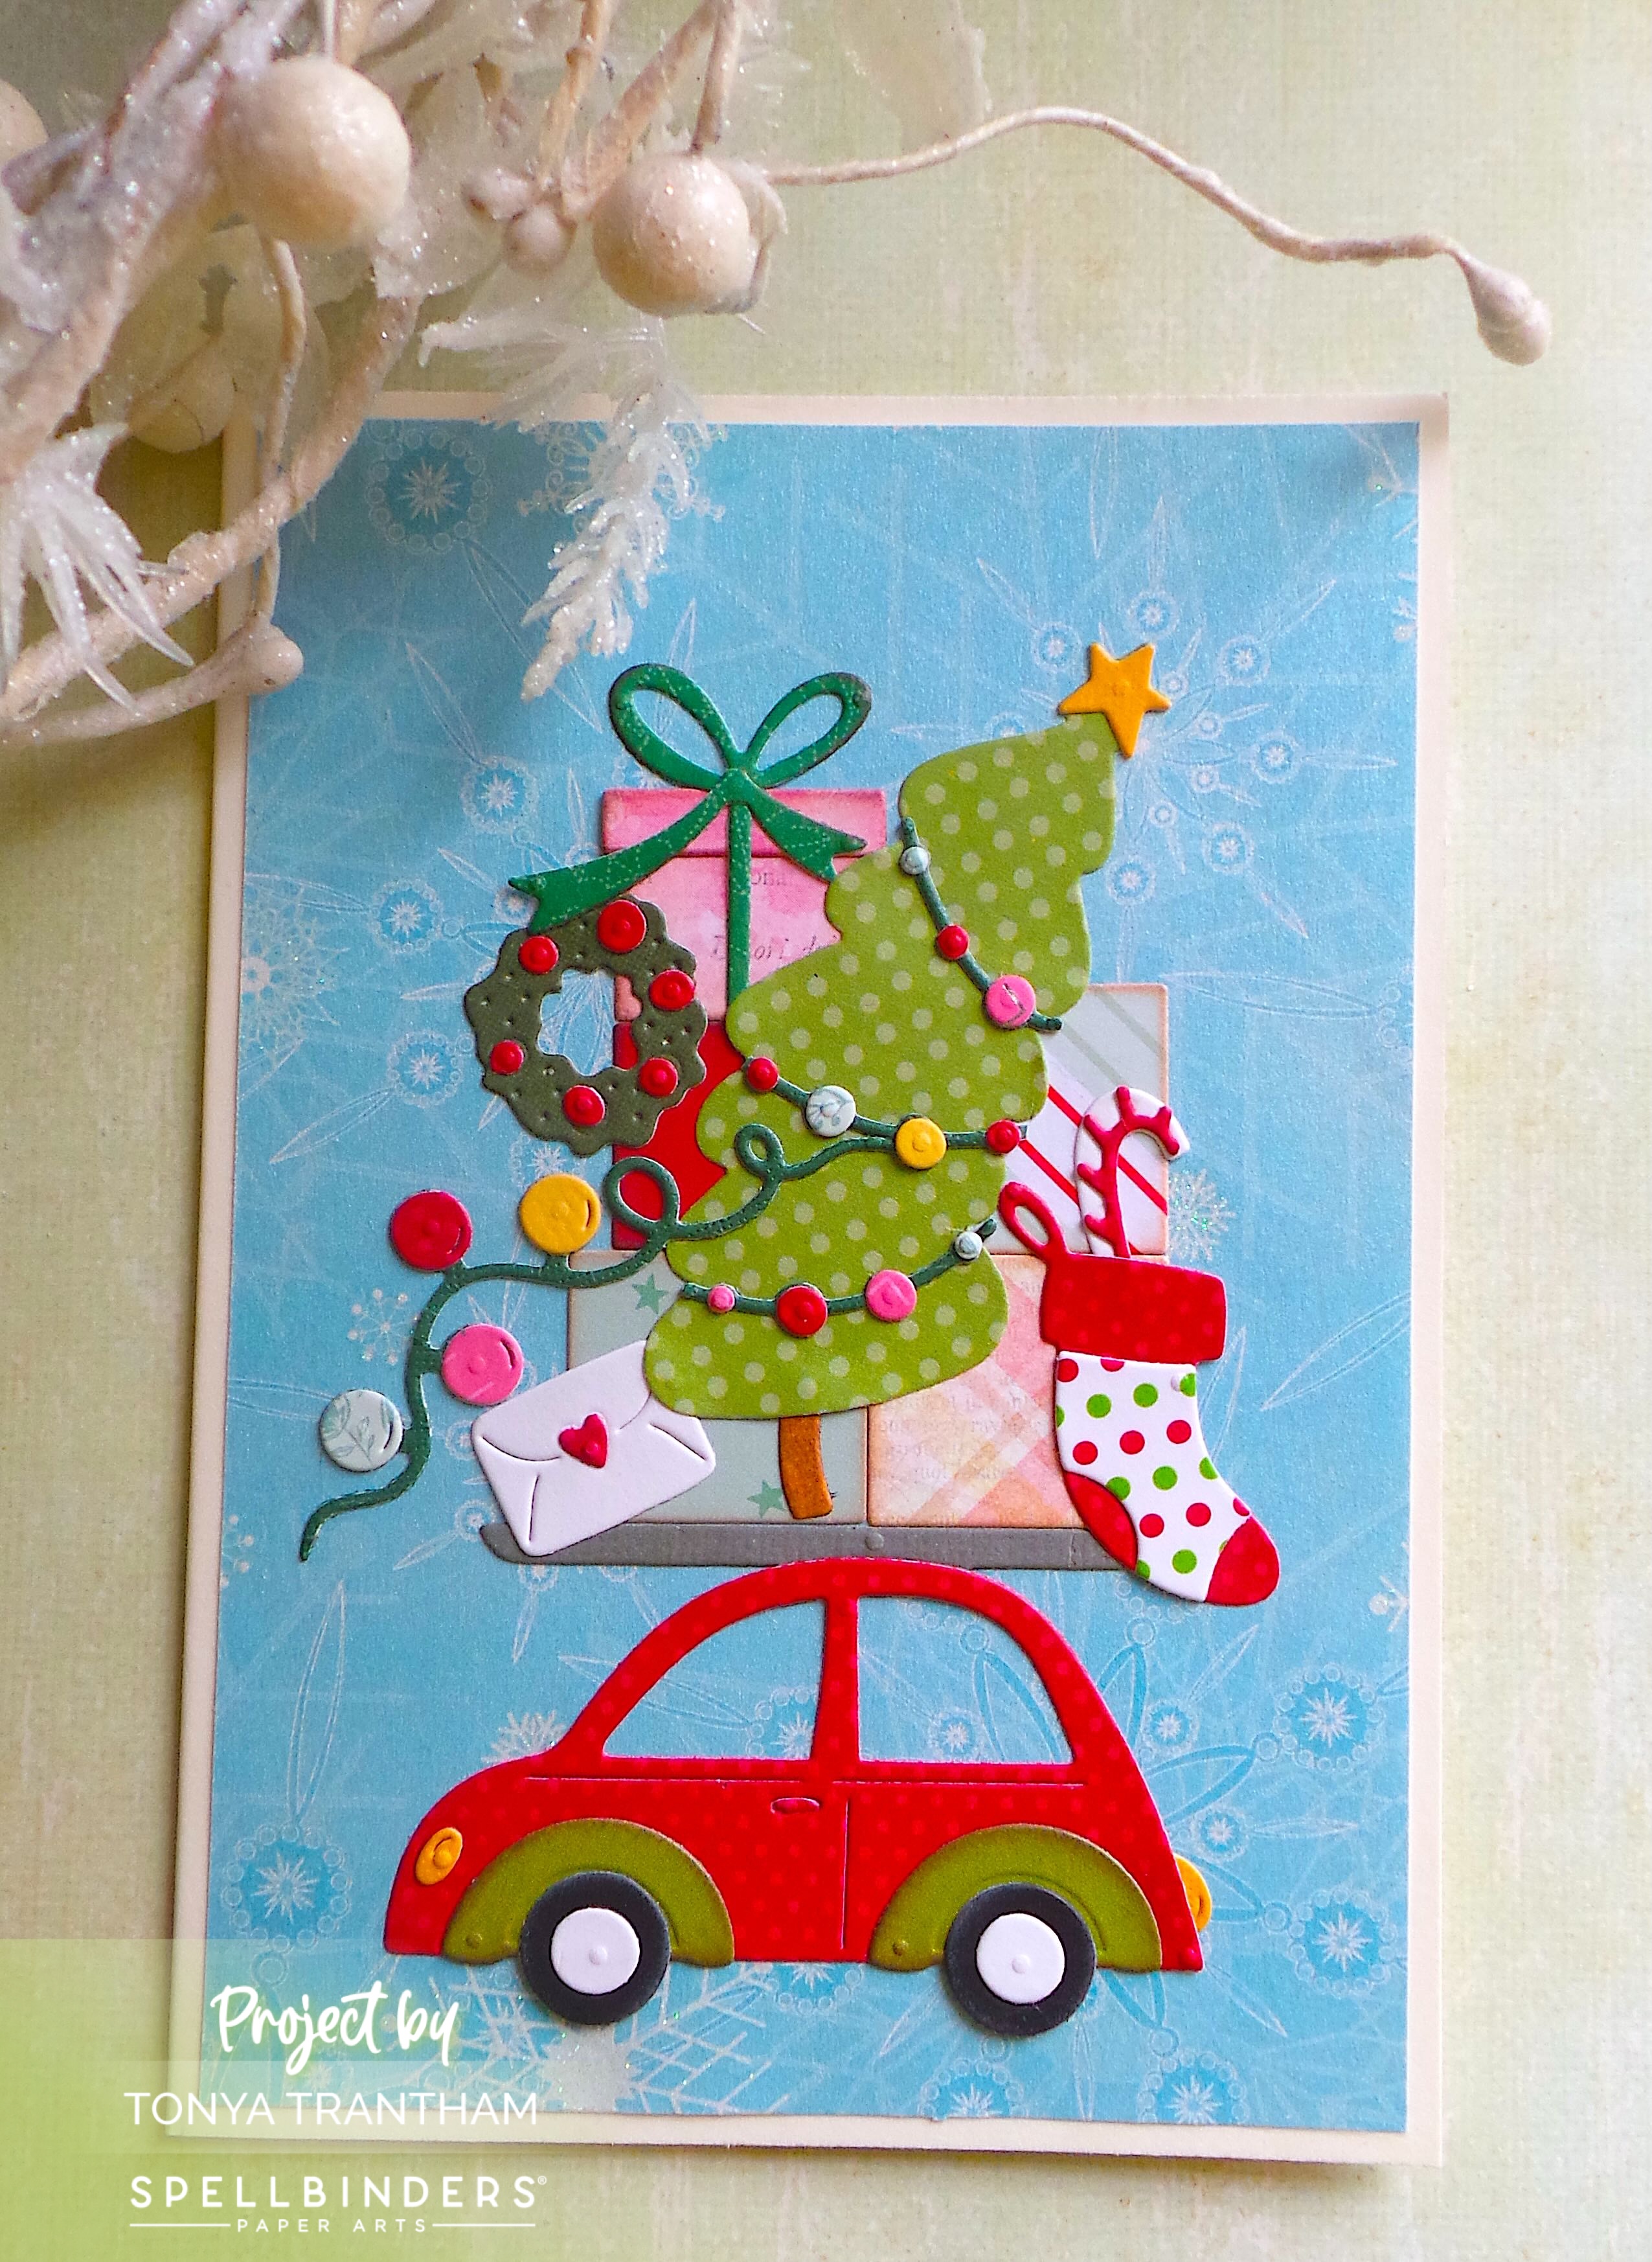
Hi everyone! I want to share a few photos of a card I created. I used the Yuletide Ride Etched Dies from the Wonderland Collection by Spellbinders. I was in the moment and didn’t do any step out photos.

A festive handmade card featuring a red car decorated with a Christmas tree, wreath, and presents, set against a blue patterned background.

The card base is 4 1/4″ x 5 1/2″ folded. I cut a piece of patterned cardstock slightly smaller than the card and glued to the base.

A festive greeting card featuring a decorated Christmas tree, holiday presents, and a red car, all against a light blue background.

I applied adhesive from an Adhesive Roll to the back of various pieces of cardstock. There are 23 dies in this set. It is much easier to have the adhesive already applied to the back.

A festive holiday card featuring a decorated Christmas tree, a wreath, gift boxes, and a red toy car, all made from various colorful cardstock pieces.

Once all dies are cut out, there are indentions on each die. This feature makes it so easy to put them together.

If you have any questions or comments about this card please leave them below.

A handmade holiday card featuring a red car, a decorated Christmas tree, colorful gifts, a wreath, and festive embellishments on a blue patterned background.

Supplies

Spellbinders: Yuletide Ride Etched Dies

Spellbinders: Diecut Machine

Paper Cutter

Scissors

Adhesive Roll

Various Plain and Patterned Cardstocks

Beacon Adhesives: Zip Dry Adhesive

(Products listed above are Affiliated Links for your convenience)

DISCLAIMERS

This blog is compensated to provide opinion on products, services, websites, and various other topics. Even though the owner(s) of this blog receives compensation for our posts or advertisements. I always give my honest opinions, findings, beliefs, or experiences on those topics or products. The views and opinions expressed on this blog are purely my own. Any product claim, statistic, or quote should be checked with each manufacturer. Verify other representations about a product or service with the provider or party in question.This blog contains affiliate links. Clicking these links helps to support Tonya Trantham Designs – Creative Paper Addiction. It’s at no additional cost to you. Today’s features are Spellbinders and Scrapbook.com Products. 

A festive card featuring a red car with a decorated Christmas tree, wreath, and stockings on top, set against a blue patterned background.

Thanks for stopping by, I hope your Wednesday wonderful and enjoy creating!

A decorative background featuring a bird perched among colorful flowers and swirling floral designs, with the name 'Tonya' written in an elegant script.

Create a Quick Christmas Card with Merry Moments Collection

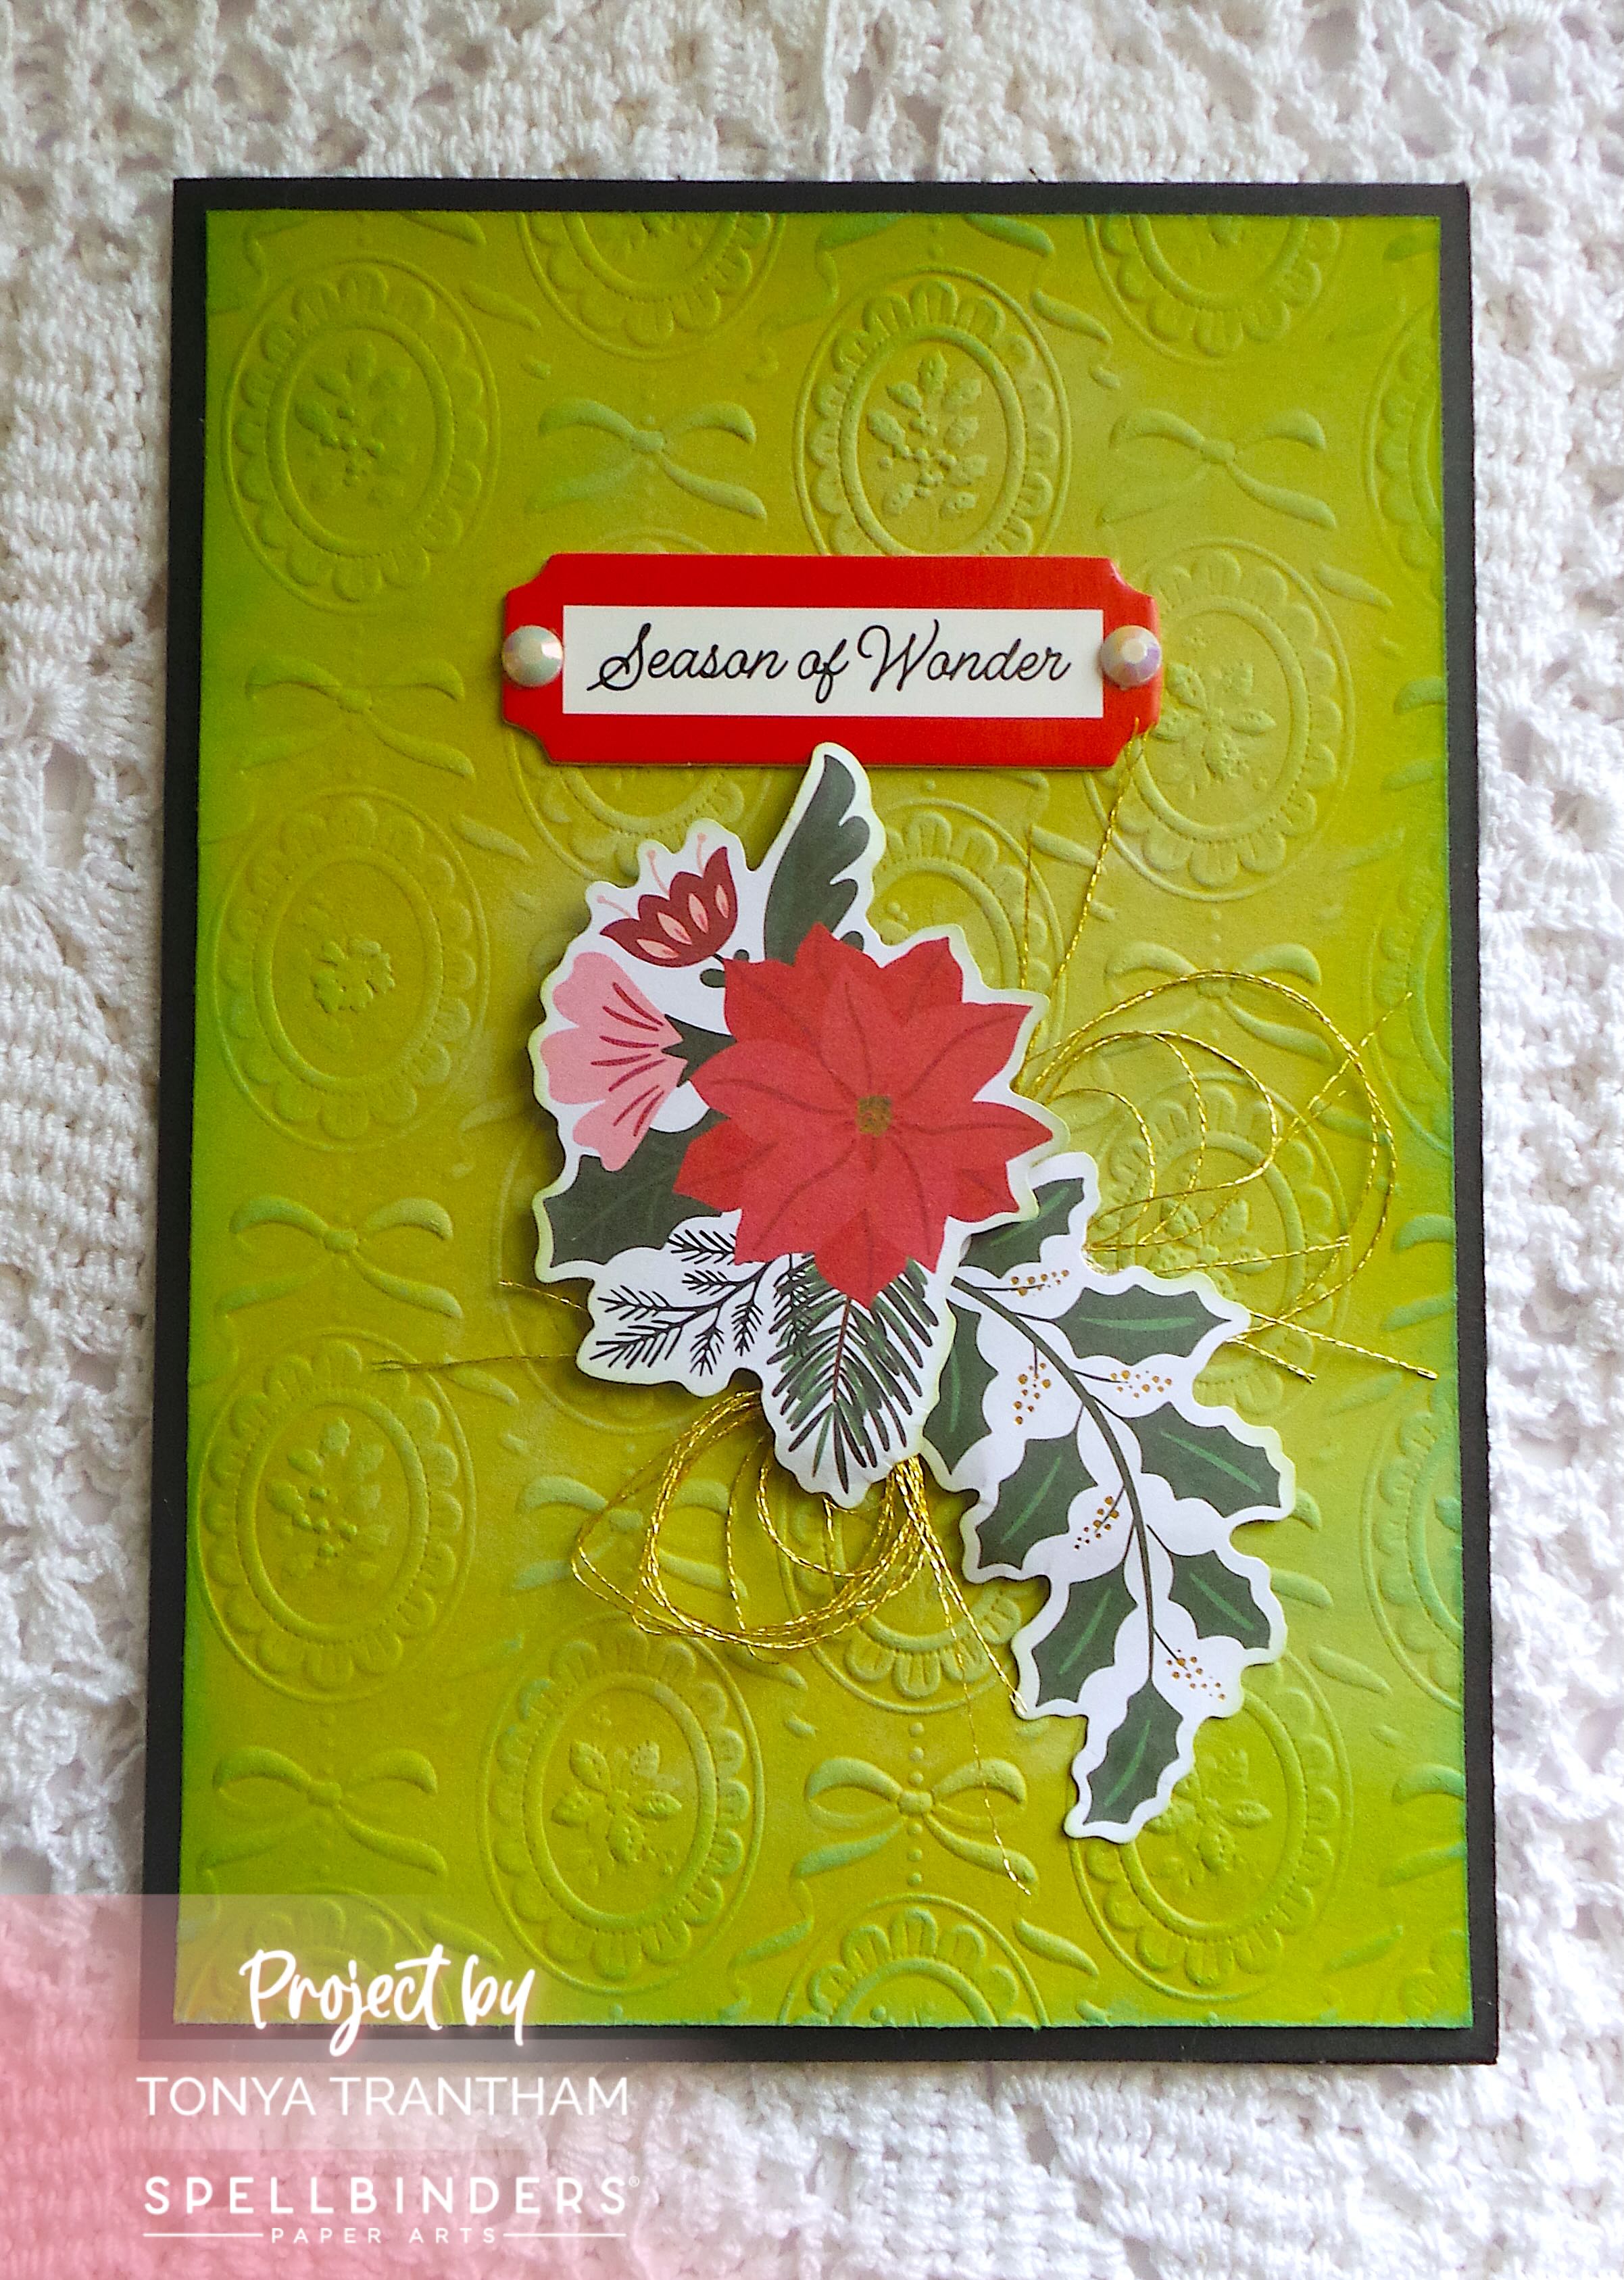
Hi everyone! I’m back with a quick card I created from the Merry Moments Collection by Spellbinders. I used the Christmas Cameos 3D Embossing Folder. Also a few diecut shapes and a chipboard piece from the Merry Moments Limited Edition Holiday Cardmaking Kit.

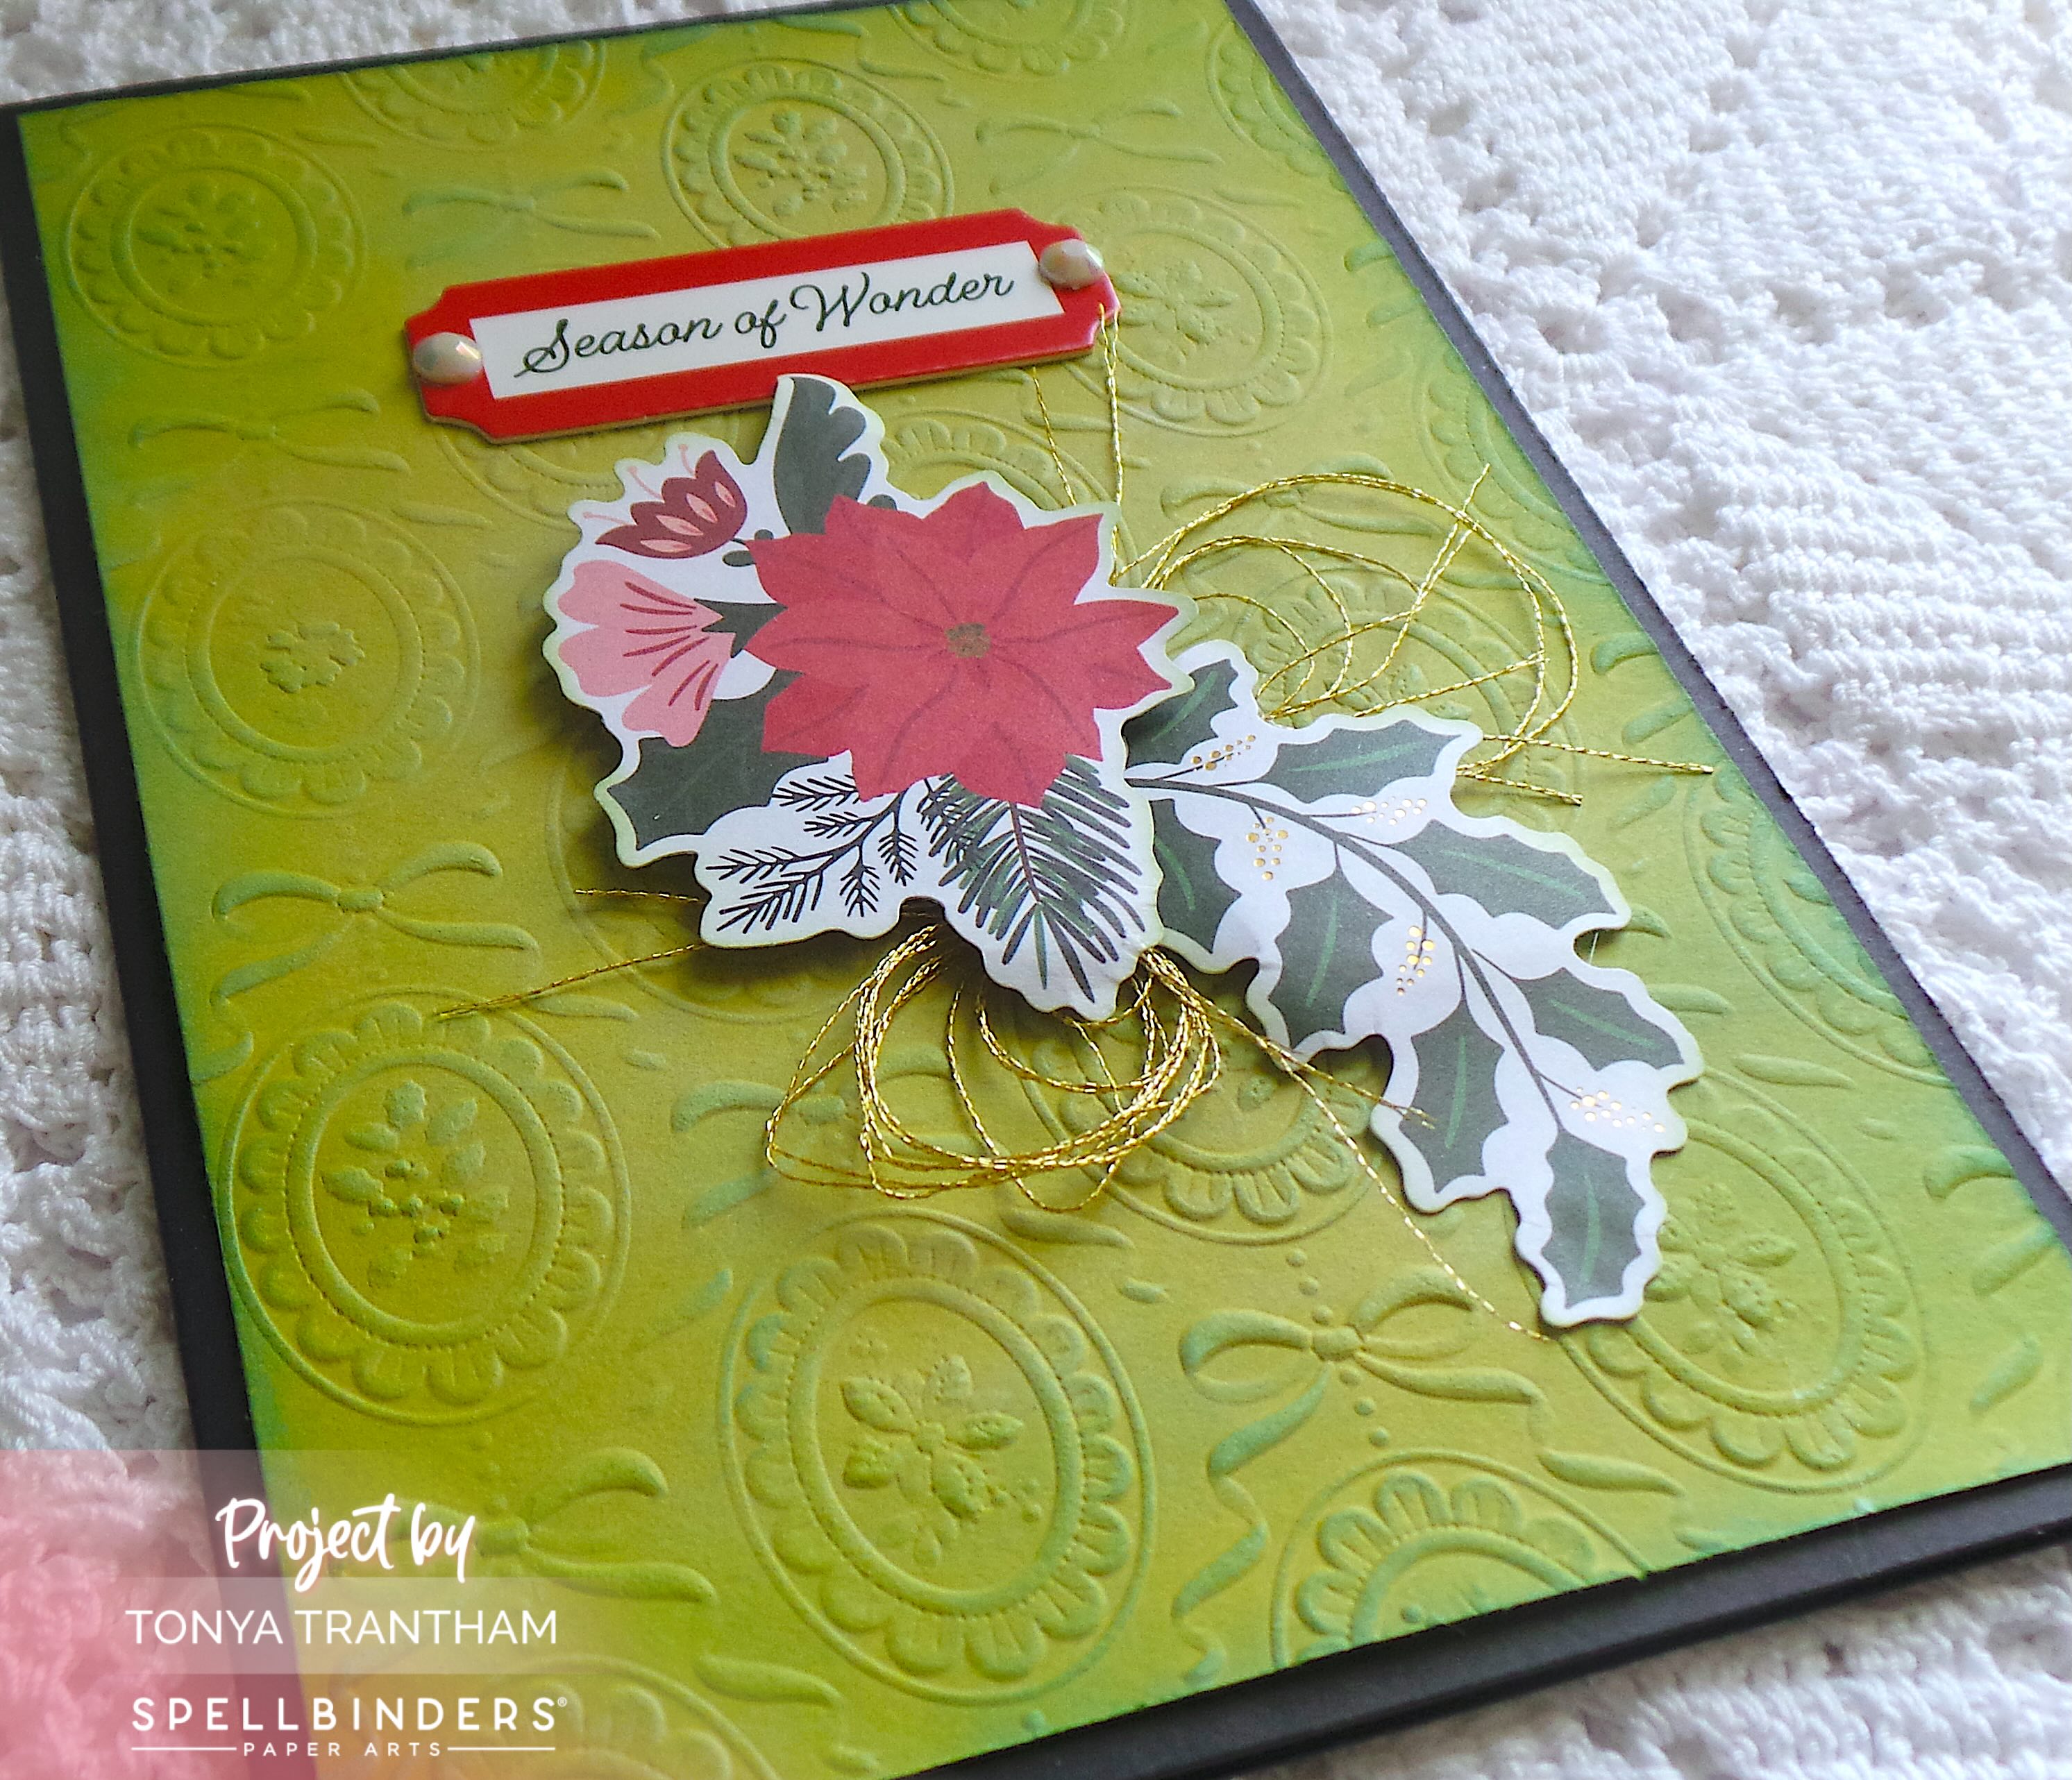
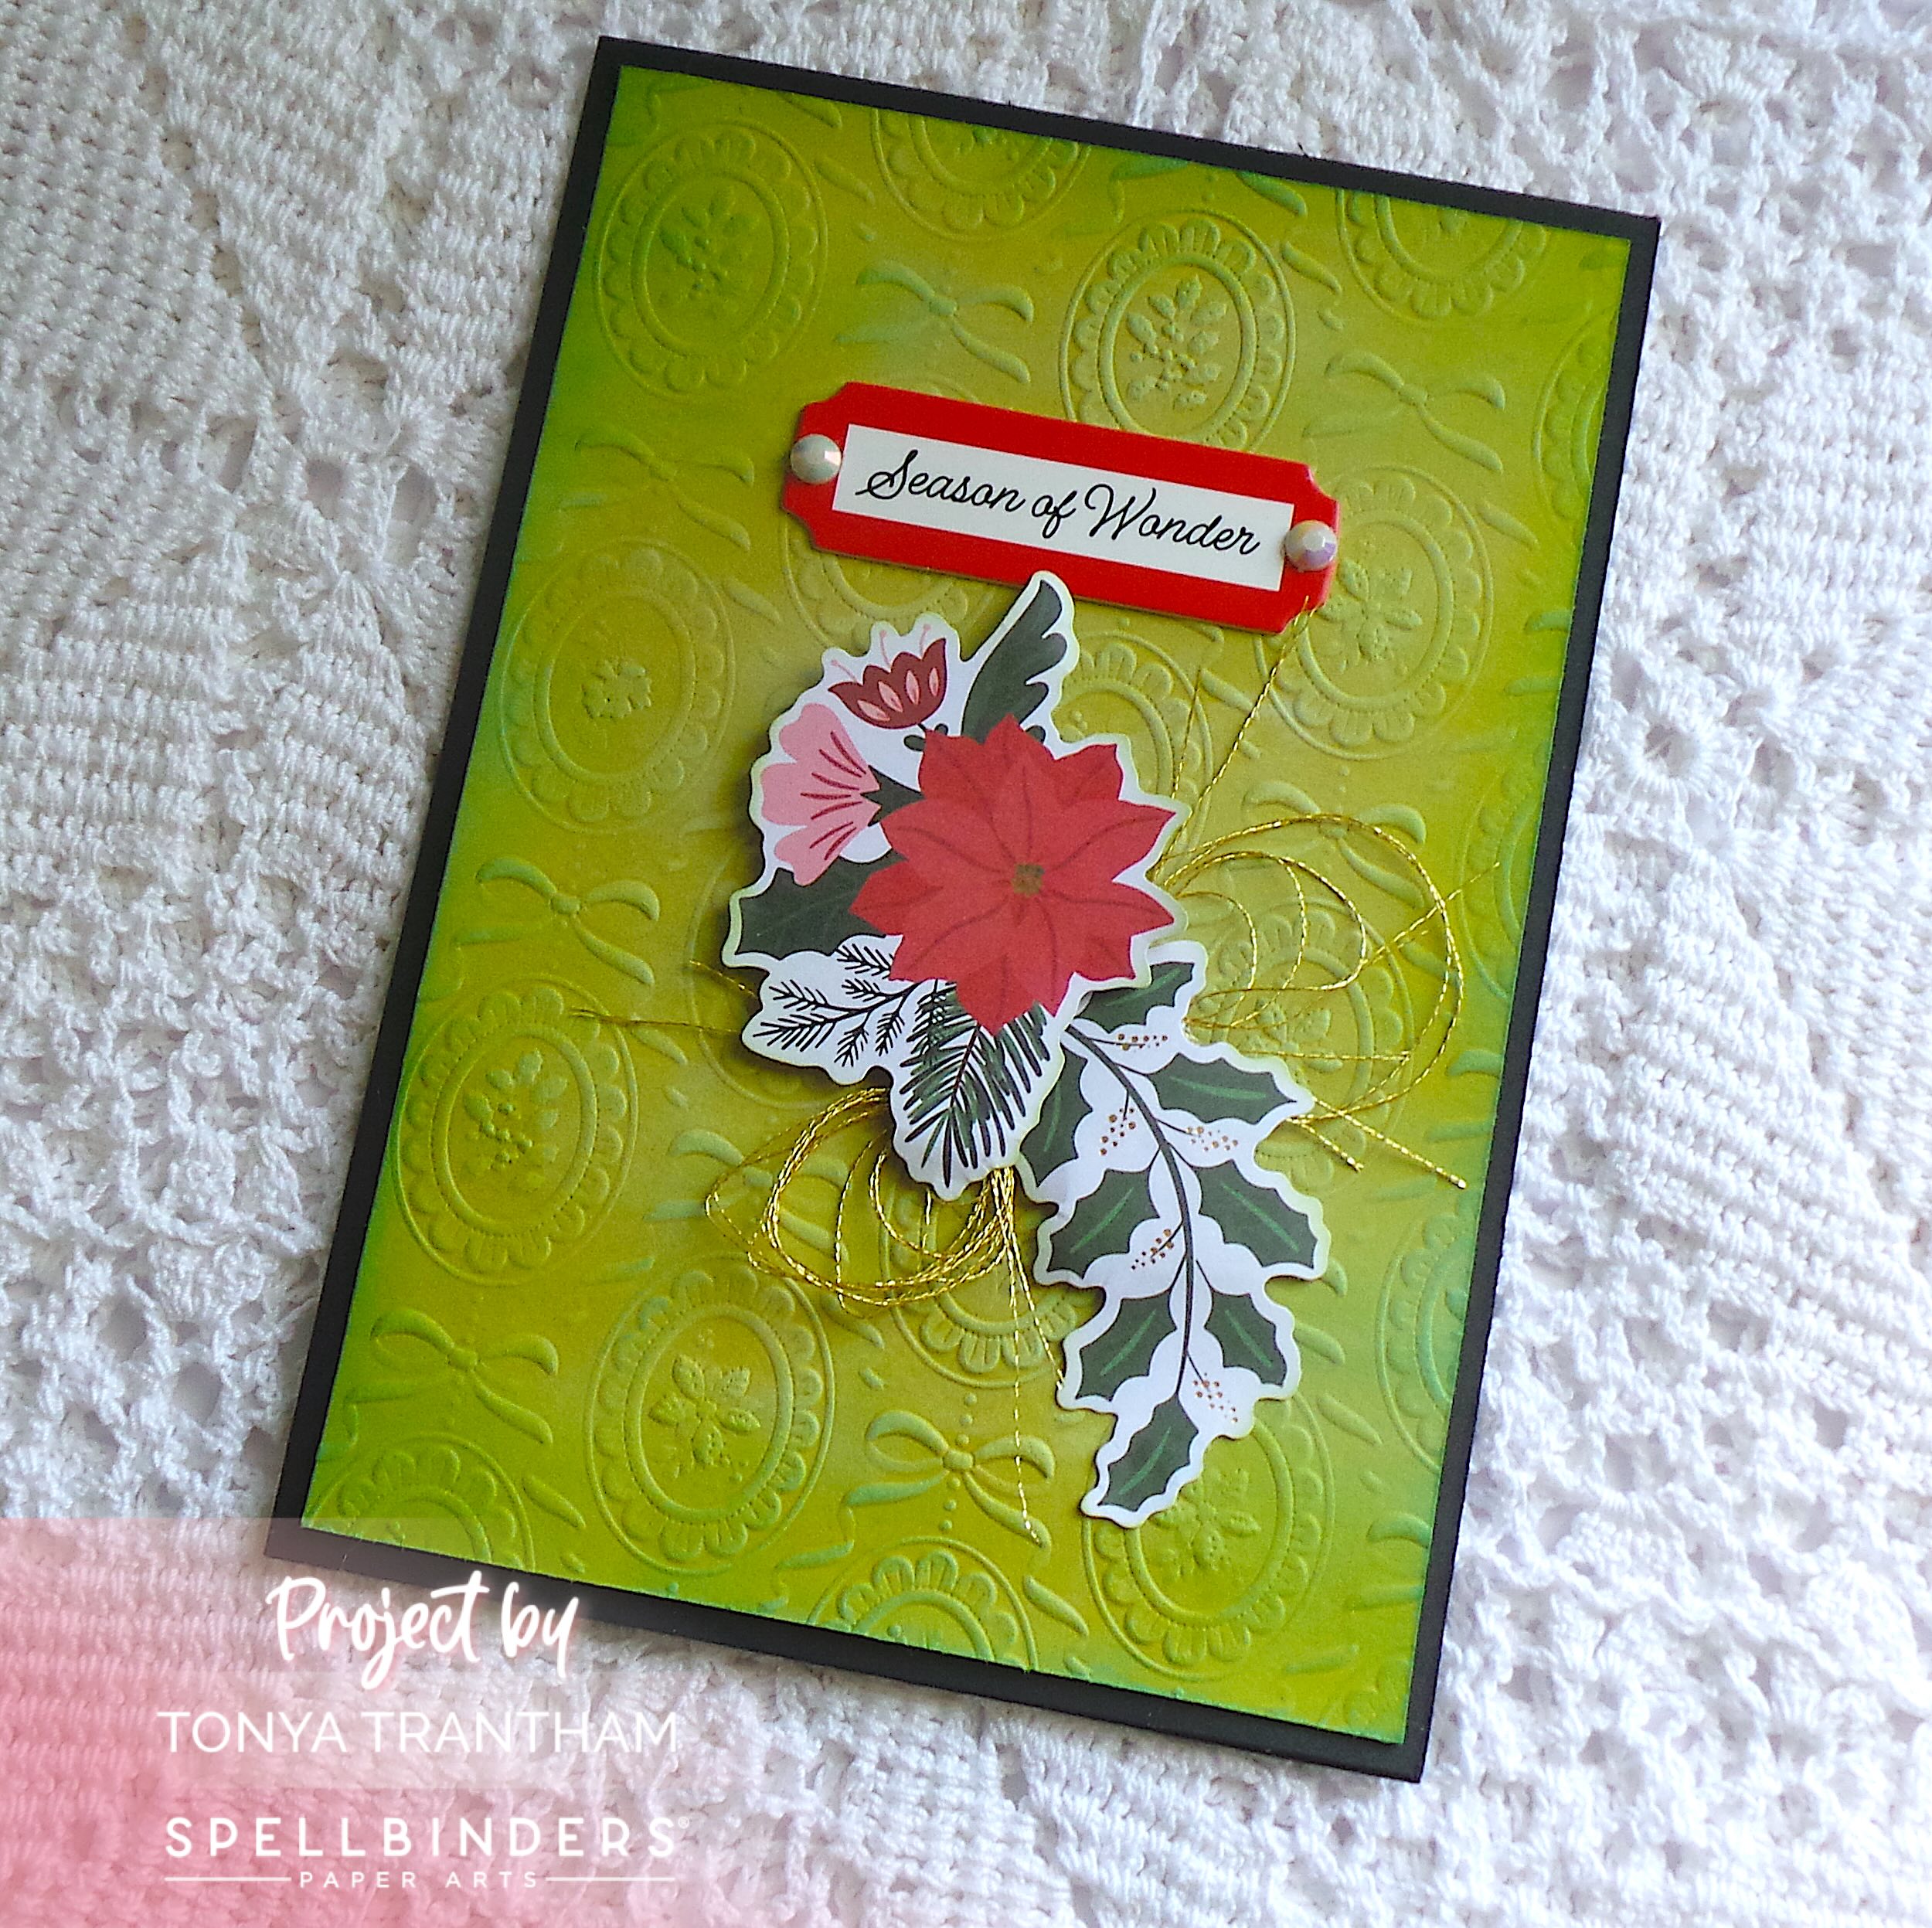
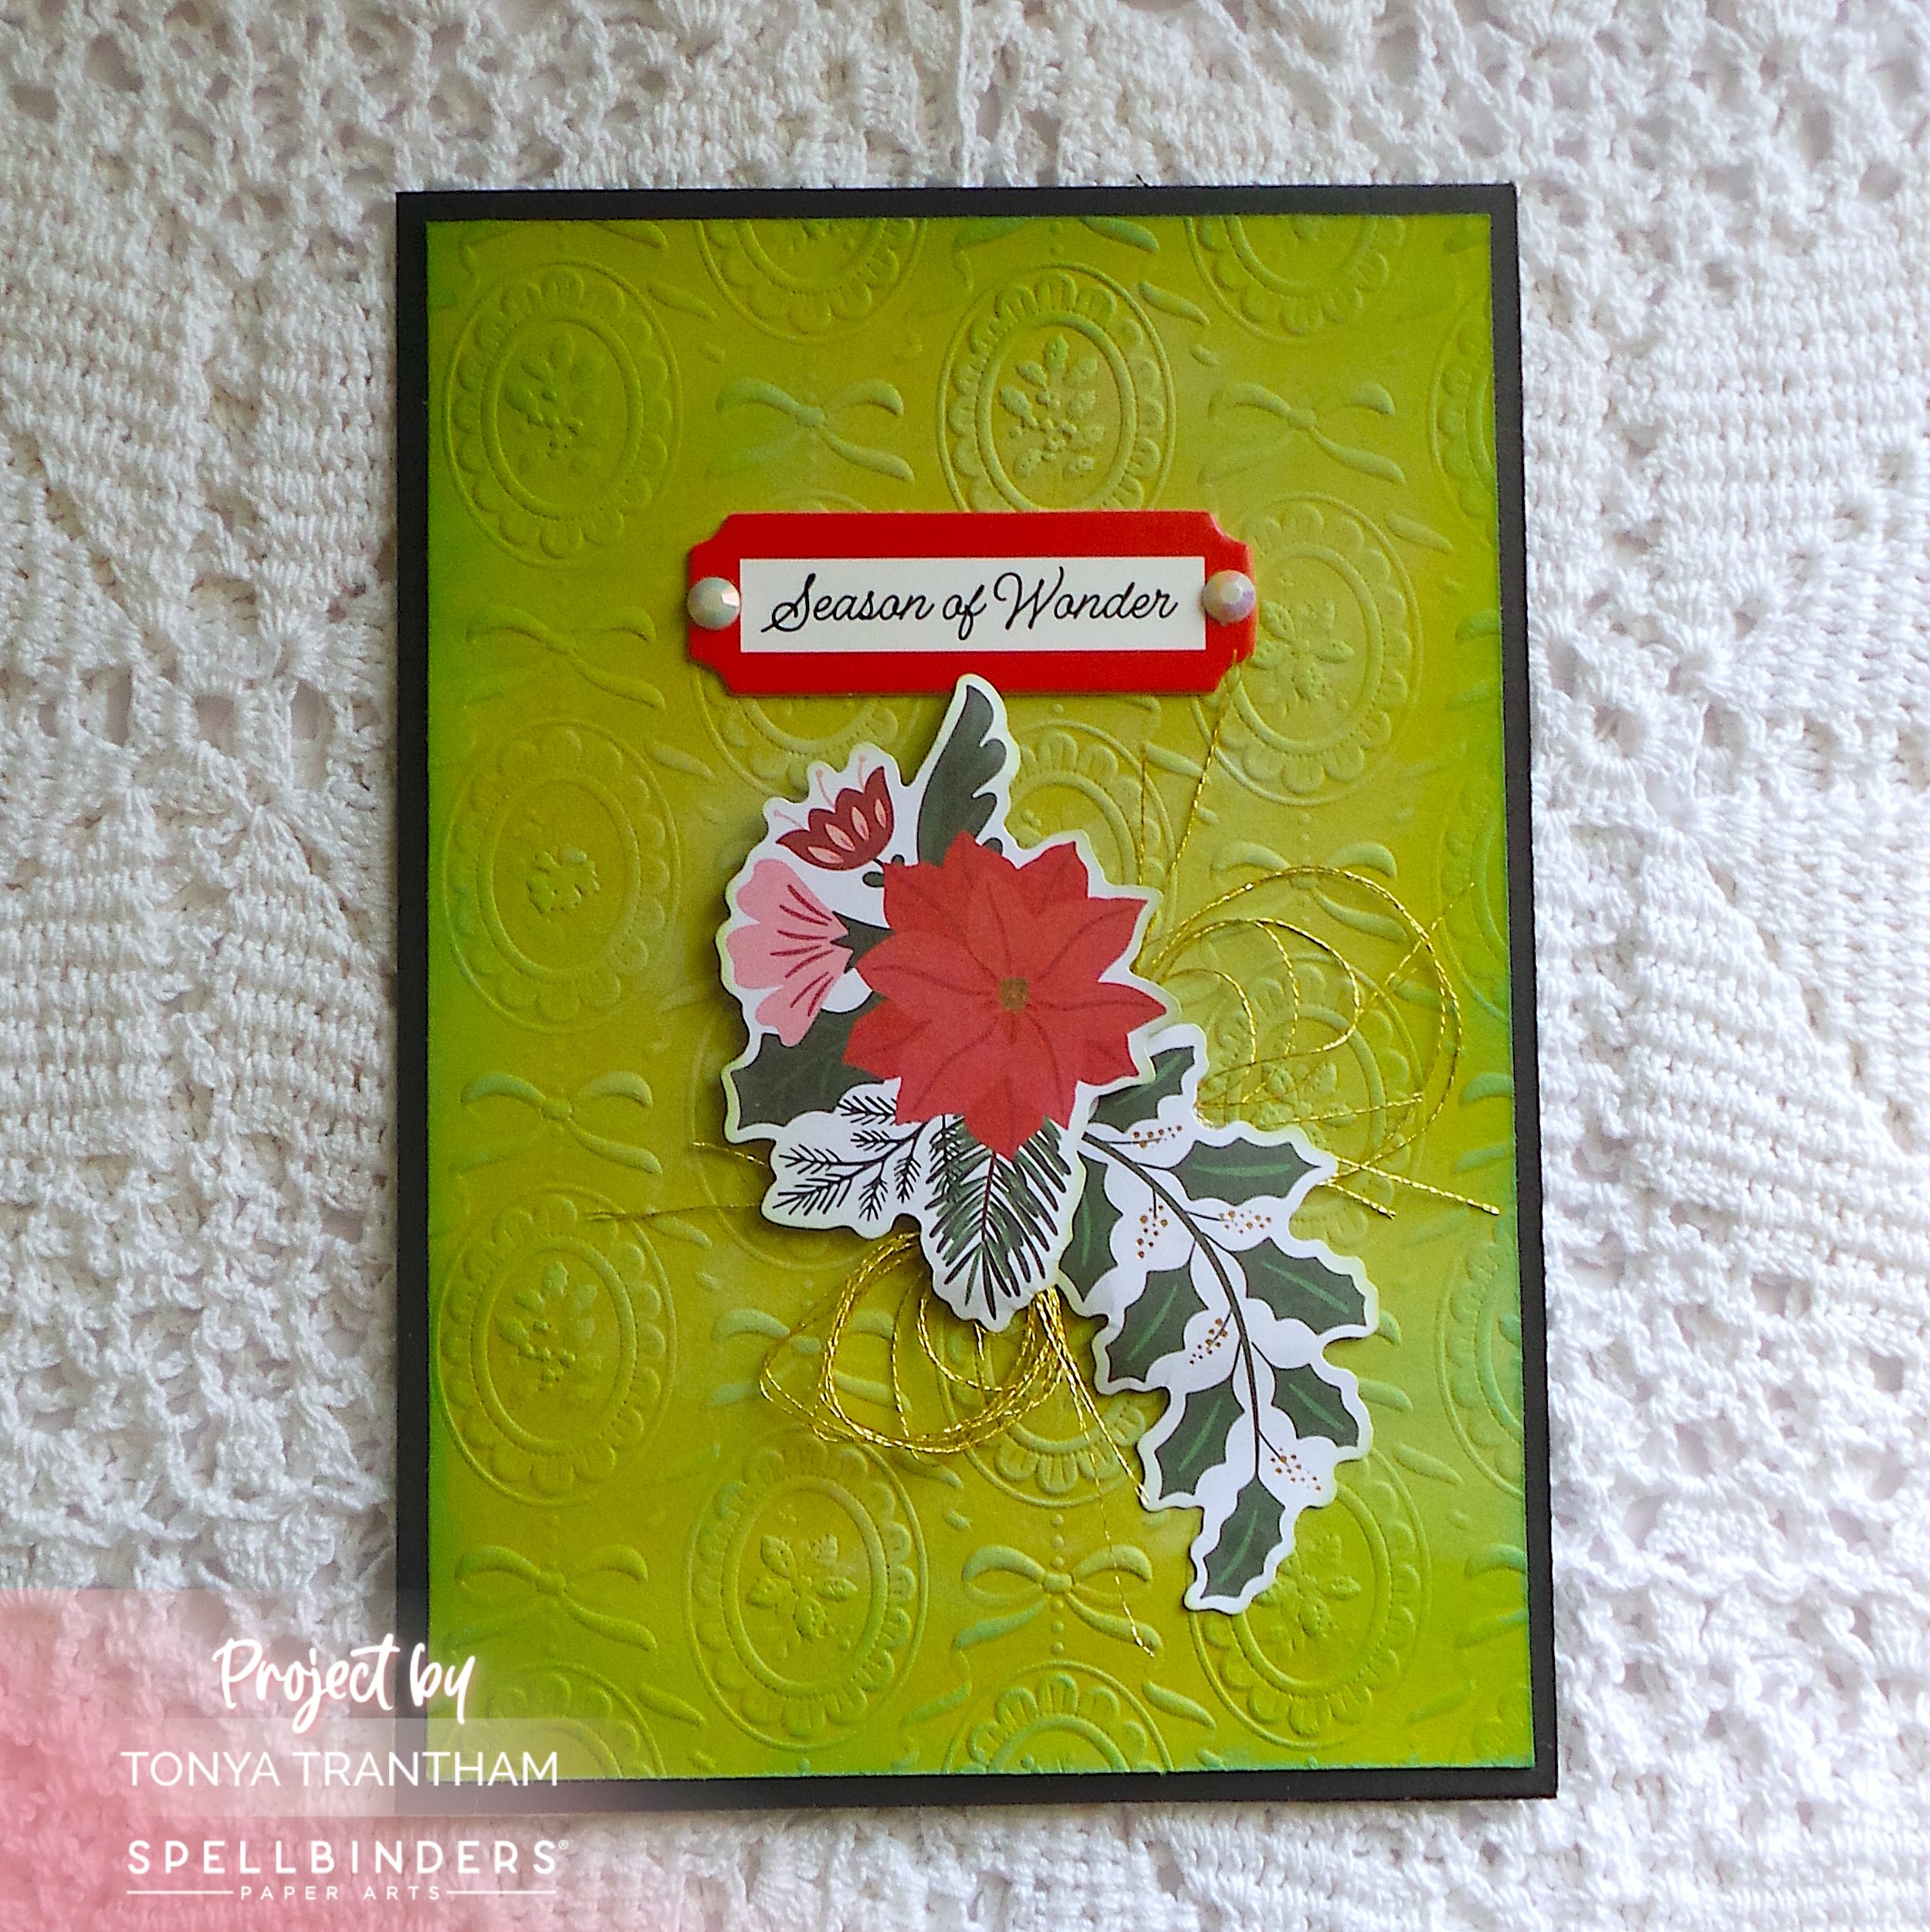
A handcrafted Christmas card featuring an embossed green background, a red poinsettia die cut, holly leaves, and a 'Season of Wonder' sentiment in red and white.

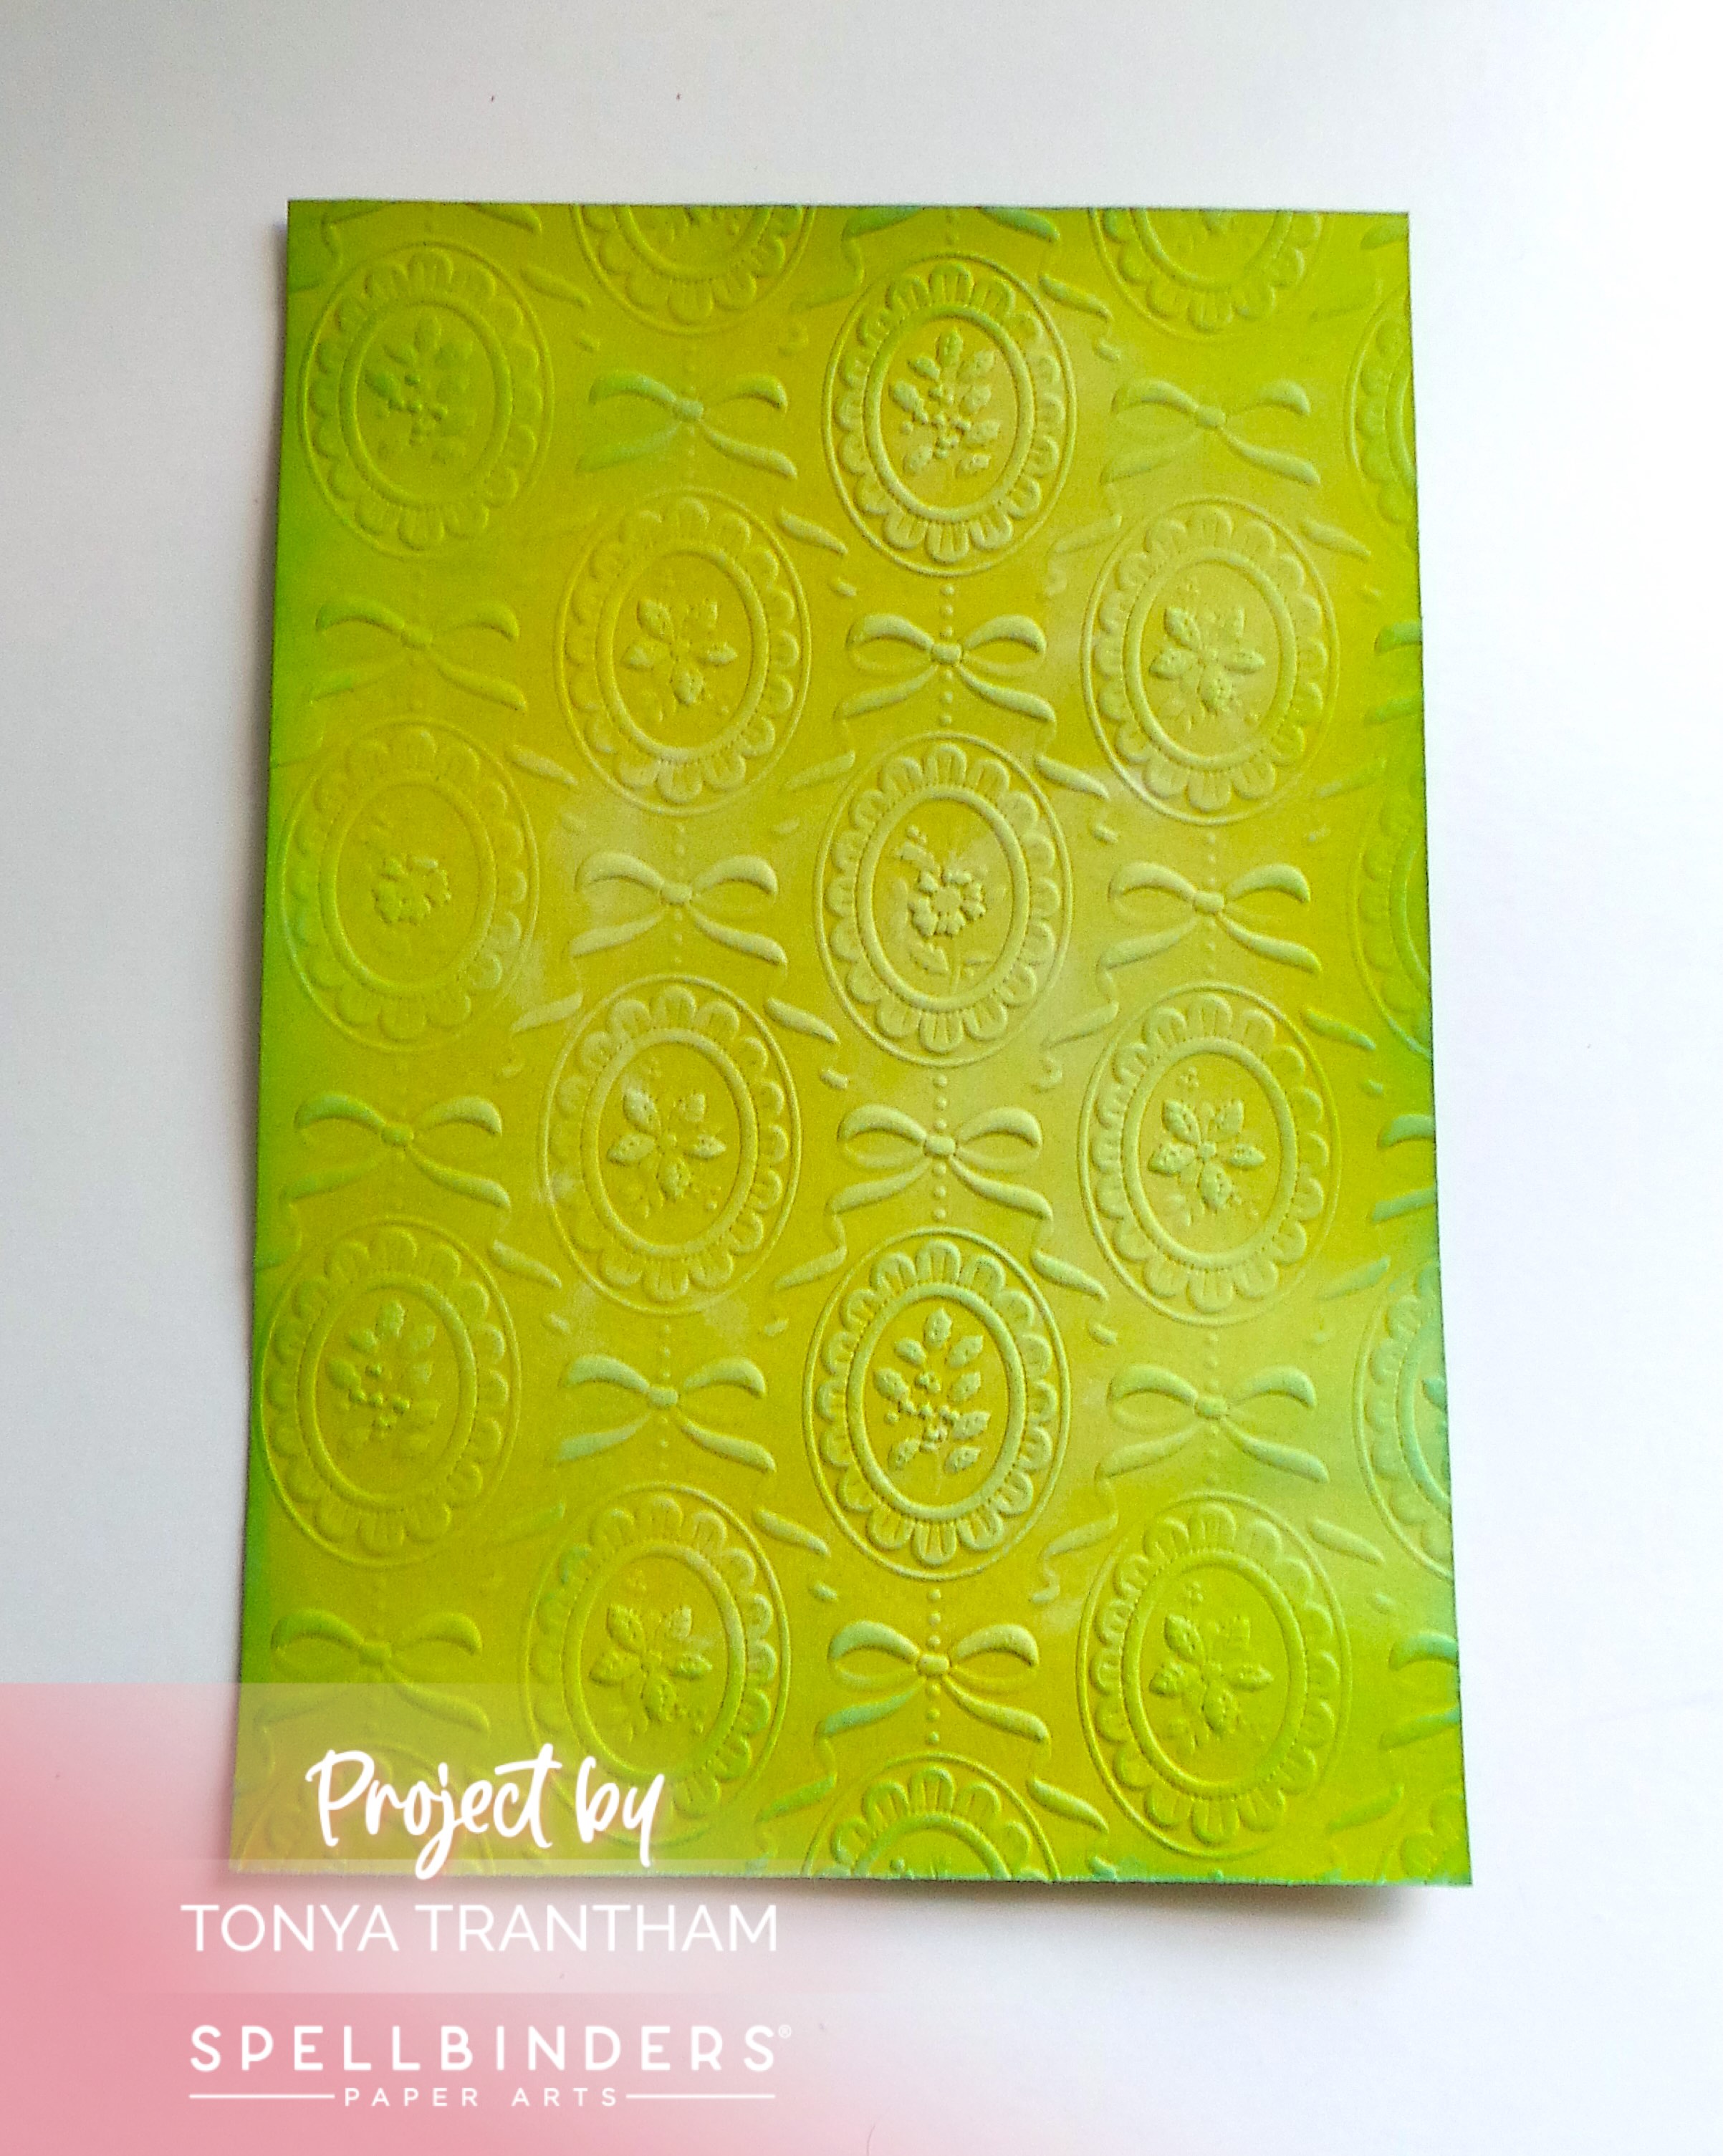
The first thing I did was lightly spritz the cardstock with a Mister Spray Bottle. I cut to size the cardstock and placed inside of the Cameos 3D Embossing Folder. Once dry I lightly inked with a combination of white, greens and blues chalk inks.

Embossed cardstock featuring a decorative pattern of ovals and bows in shades of green.

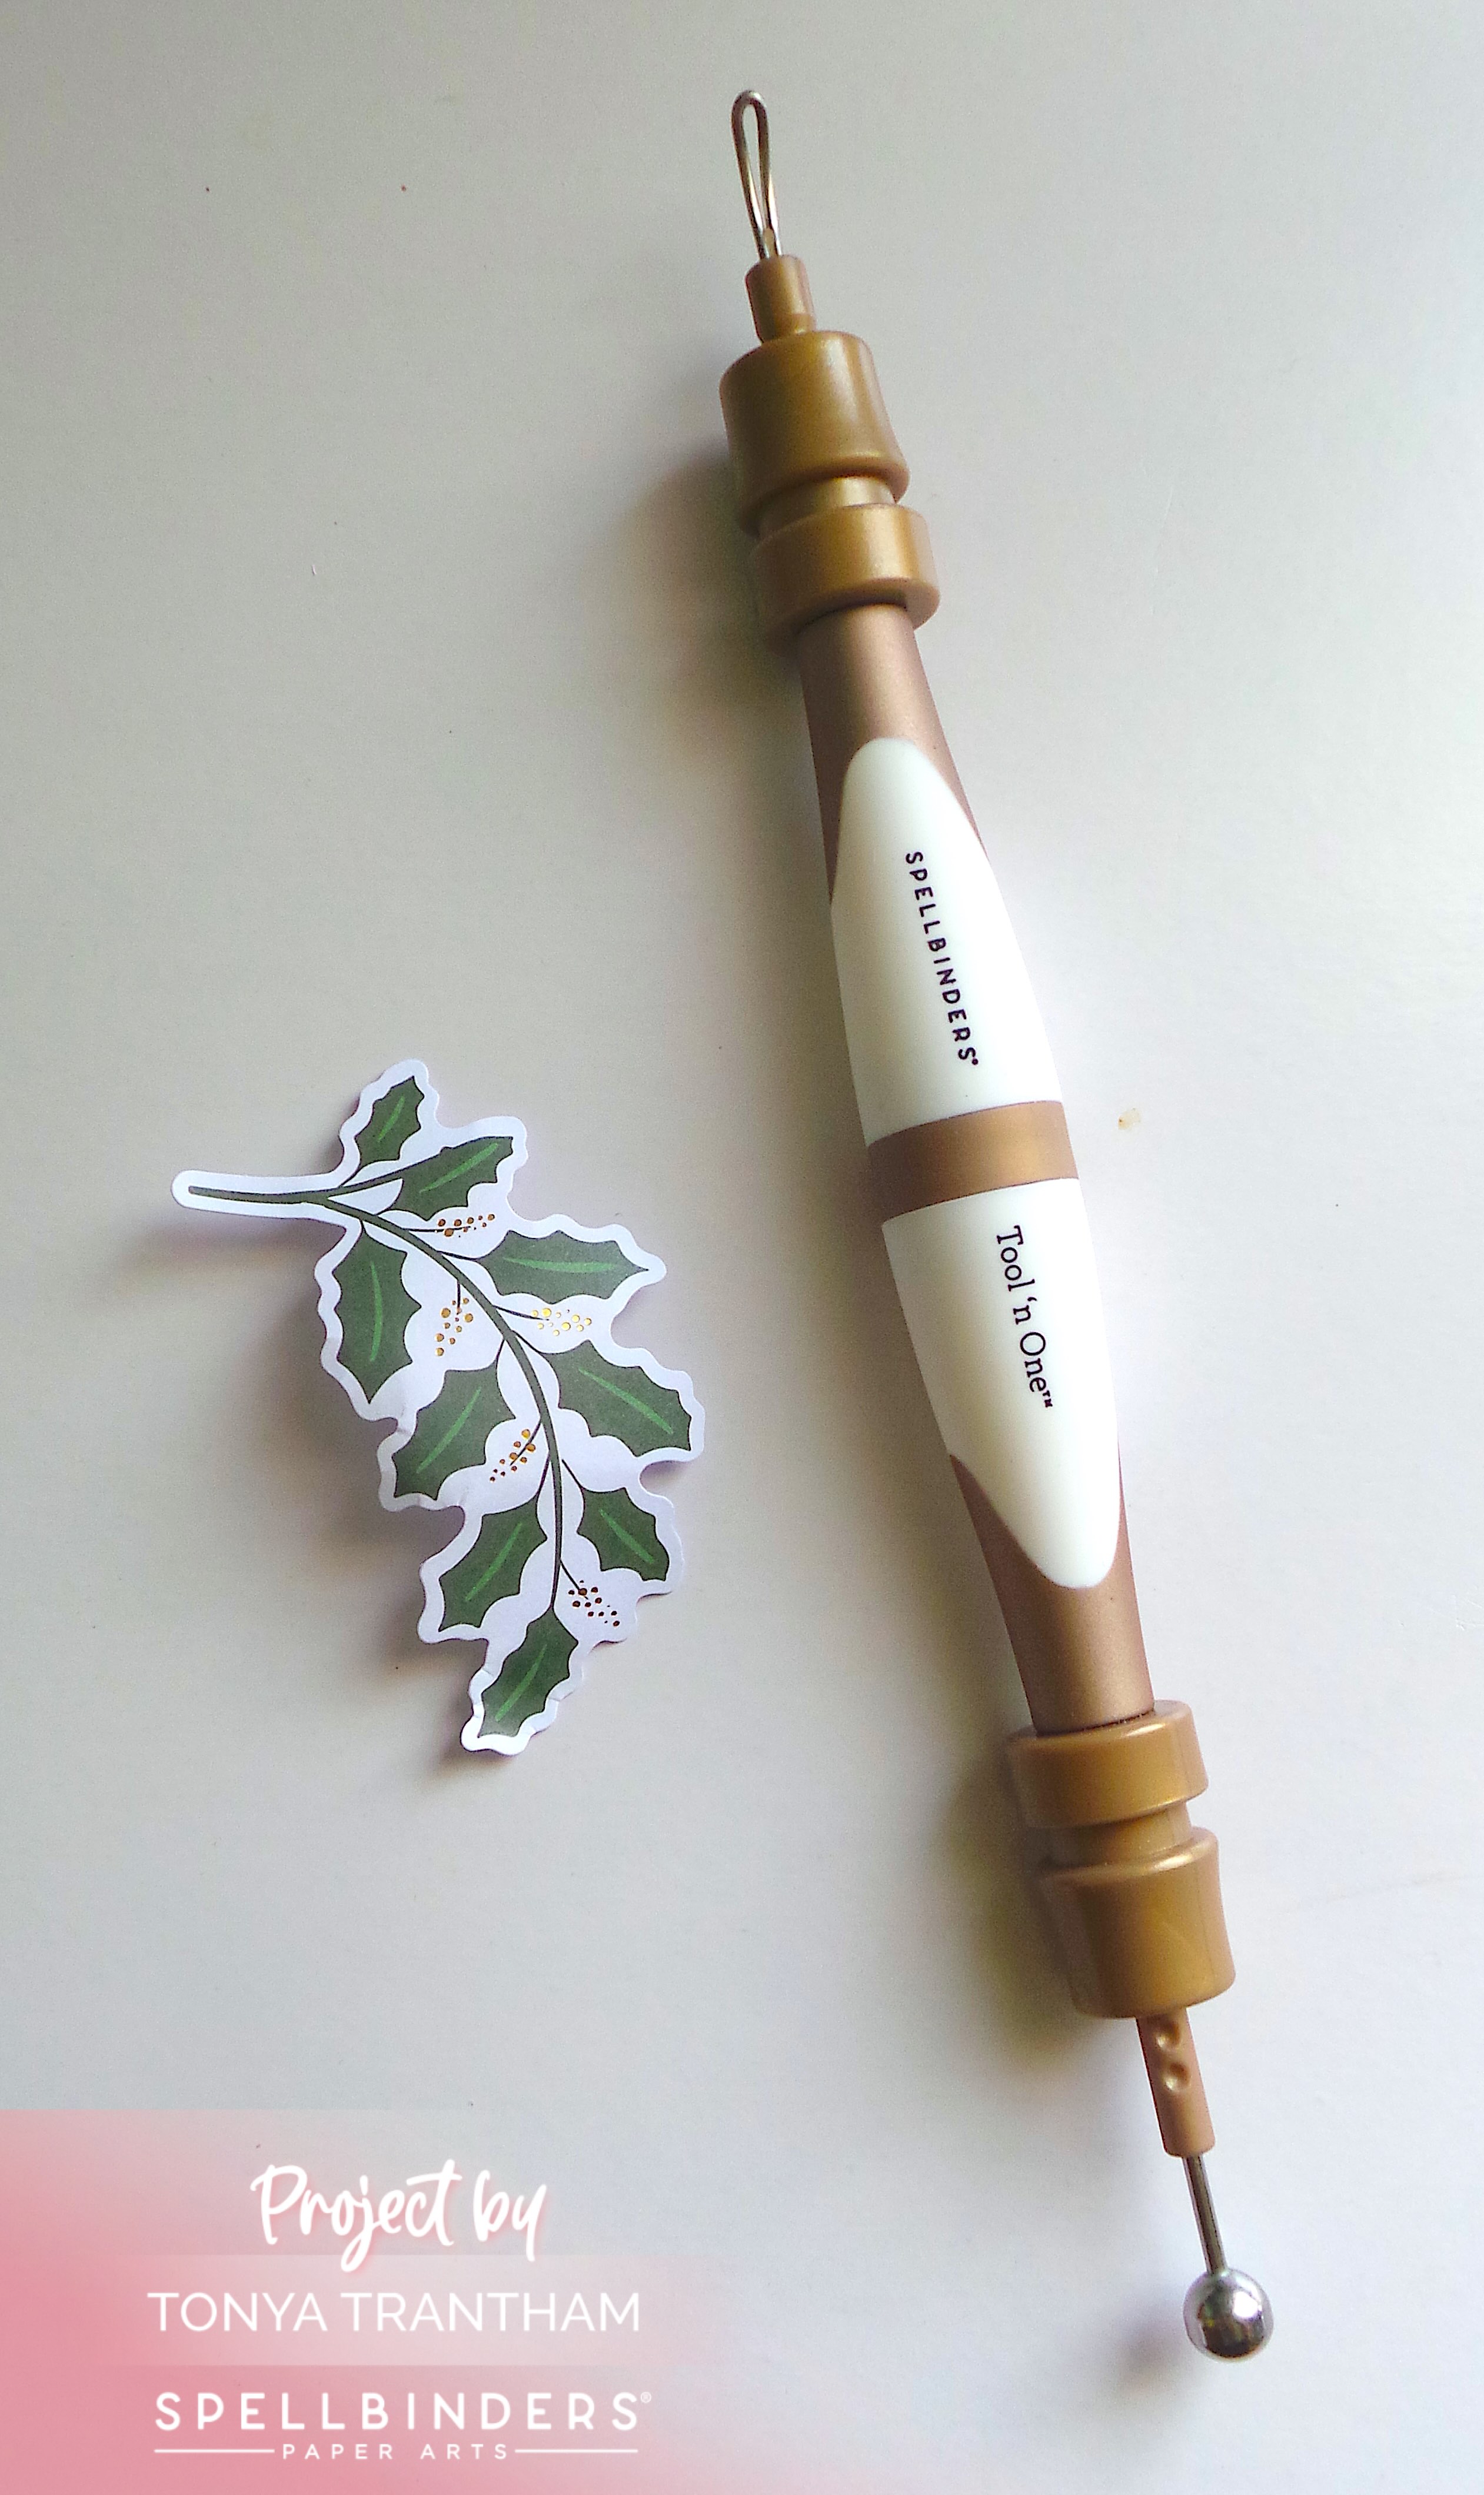
I selected a poinsettia and a holly branch die cut. I also picked a chipboard sentiment from the Merry Moments Limited Edition Holiday Cardmaking Kit 2025. I shaped the holly branch with a Stylus.

A gold and white tool labeled 'Spellbinders Tool in One' next to a die-cut holly branch featuring green leaves and white berries.

I glued the embossed cardstock to a 5″x 7″ card base. I placed Foam Pop Dots on the back side of the poinsettia die cut and placed onto the card. I adhered the holly branch underneath the poinsettia.

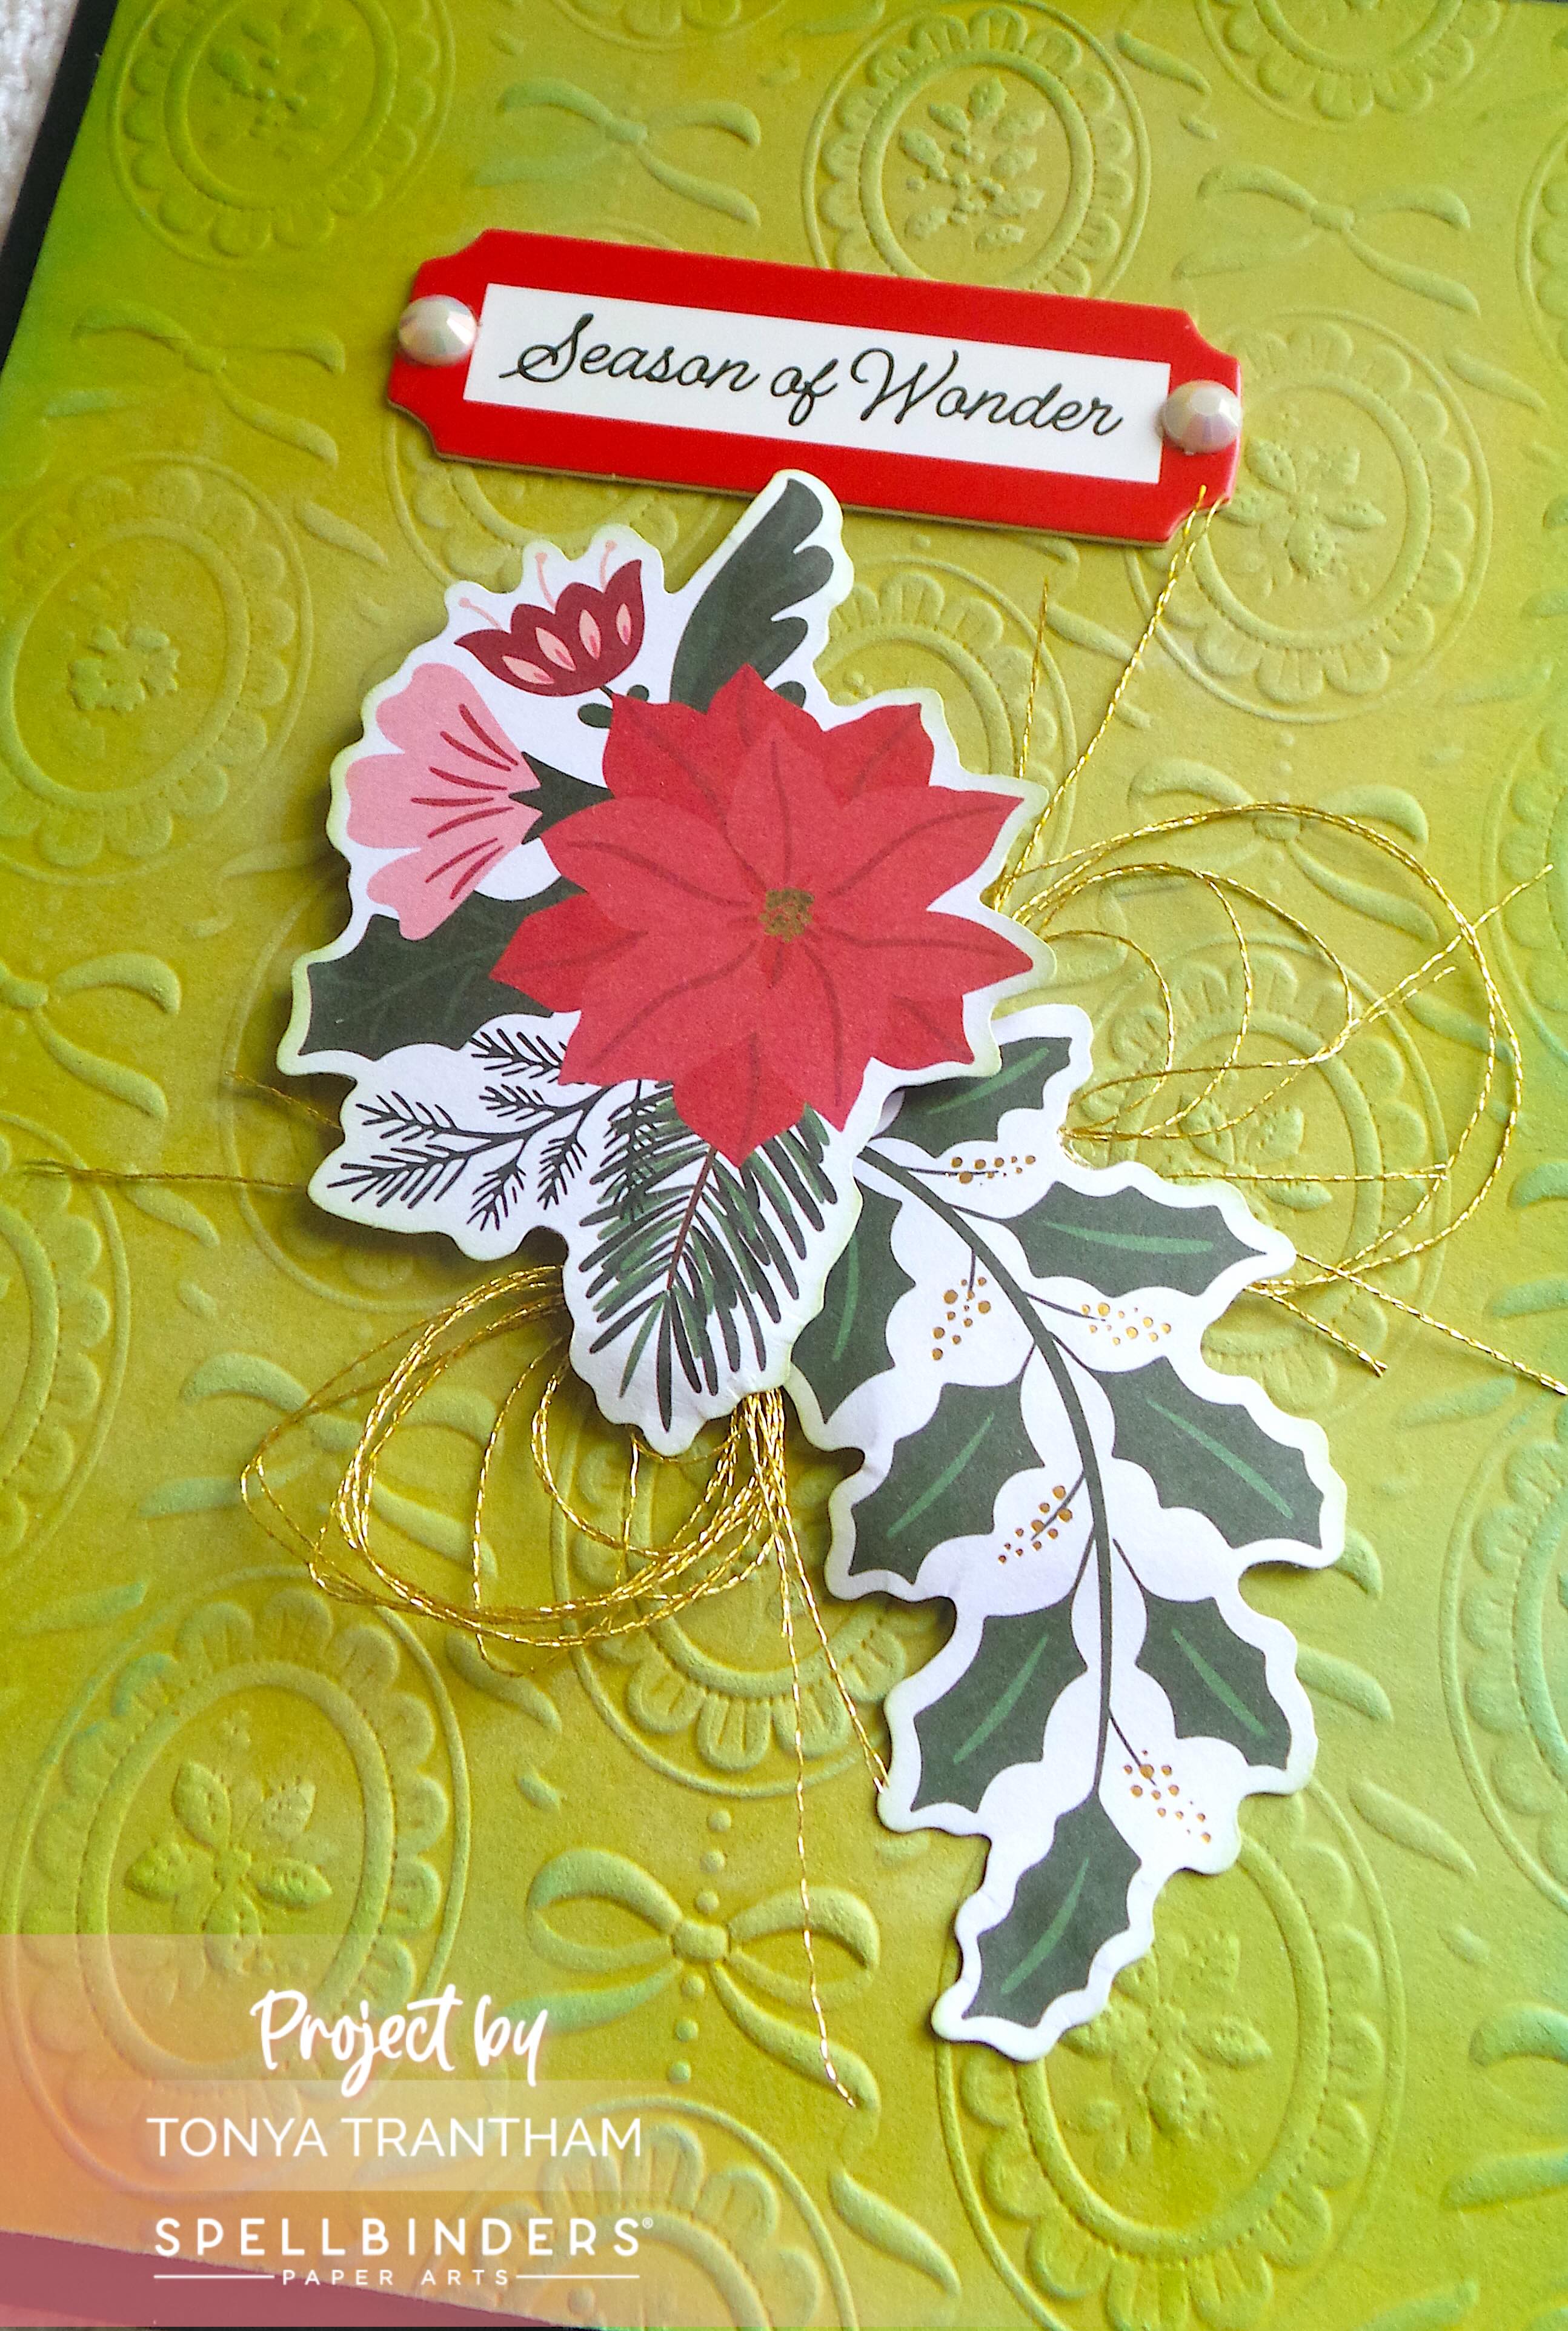
Close-up of a Christmas card featuring a poinsettia and holly branch die cuts, with a gold thread accent and a red tag that reads 'Season of Wonder' against a textured green embossed background.

I looped Gold Thread around my fingers and tied off. I glued underneath the raised poinsettia and added the Season of Wonder chipboard piece above the die cut.

Close-up of a festive Christmas card featuring an embossed green background with a poinsettia and holly branch die cuts. A red and white chipboard sentiment reading 'Season of Wonder' is prominently displayed.

I finished by adding two White Gem Stones to the sentiment. Tada! A Christmas card made in less than 10 minutes!

If you have any questions or comments about this card please leave them below.

A handcrafted Christmas card featuring a green embossed background, adorned with a poinsettia and holly branch die cuts, along with a chipboard sentiment reading 'Season of Wonder'. Gold thread accents add dimension.

Supplies

Spellbinders: Cameos 3D Embossing Folder

Spellbinders: Merry Moments Limited Edition Holiday Cardmaking Kit 2025

Gold Thread

Mister Spray Bottle

Diecut Machine

Foam Pop Dots

Paper Cutter

Scissors

Stylus

White Gem Stones

Olive Green and Black Cardstocks

White, Greens and Blues Chalk Inks

Beacon Adhesives: Zip Dry Adhesive

(Products listed above are Affiliated Links for your convenience)

DISCLAIMERS

This blog is compensated to provide opinion on products, services, websites, and various other topics. Even though the owner(s) of this blog receives compensation for our posts or advertisements. I always give my honest opinions, findings, beliefs, or experiences on those topics or products. The views and opinions expressed on this blog are purely my own. Any product claim, statistic, or quote should be checked with each manufacturer. Verify other representations about a product or service with the provider or party in question.This blog contains affiliate links. Clicking these links helps to support Tonya Trantham Designs – Creative Paper Addiction. It’s at no additional cost to you. Today’s features are Spellbinders and Scrapbook.com Products. 

A Christmas card featuring an embossed green background, decorated with a layered poinsettia and holly branch die cuts, and a chipboard sentiment reading 'Season of Wonder'.

Thanks for stopping by, I hope your Tuesday is awesome and enjoy creating!

An artistic banner featuring a bird surrounded by colorful flowers and the name 'Tonya' in elegant typography.

Creative Cards with North Pole Friends Simon Hurley and Spellbinders

Hi everyone! The month of July has flown by. I haven’t had a chance to share some of the projects I created for Spellbinders. I want to share a couple of completed of cards using Simon Hurley’s North Pole Friends Collection for Spellbinders.

A festive greeting card featuring two playful elves in colorful outfits, one holding a candy cane and the other a lollipop, set against a snowy green background with snowflakes and gift boxes.

The first card I created I used the Santa’s Elves Etched Dies to create this fun holiday scene.

A festive holiday card featuring two whimsical elves, one holding a lollipop and the other a candy cane, surrounded by colorful presents and a snowy landscape.

The base of the card is 5″x 7″. I used an assortment of plain and patterned cardstocks to put these elves together.

A handmade card featuring a cheerful Mrs. Claus character holding a tray of cookies, set against a soft green background with snowflake designs and decorative embellishments.

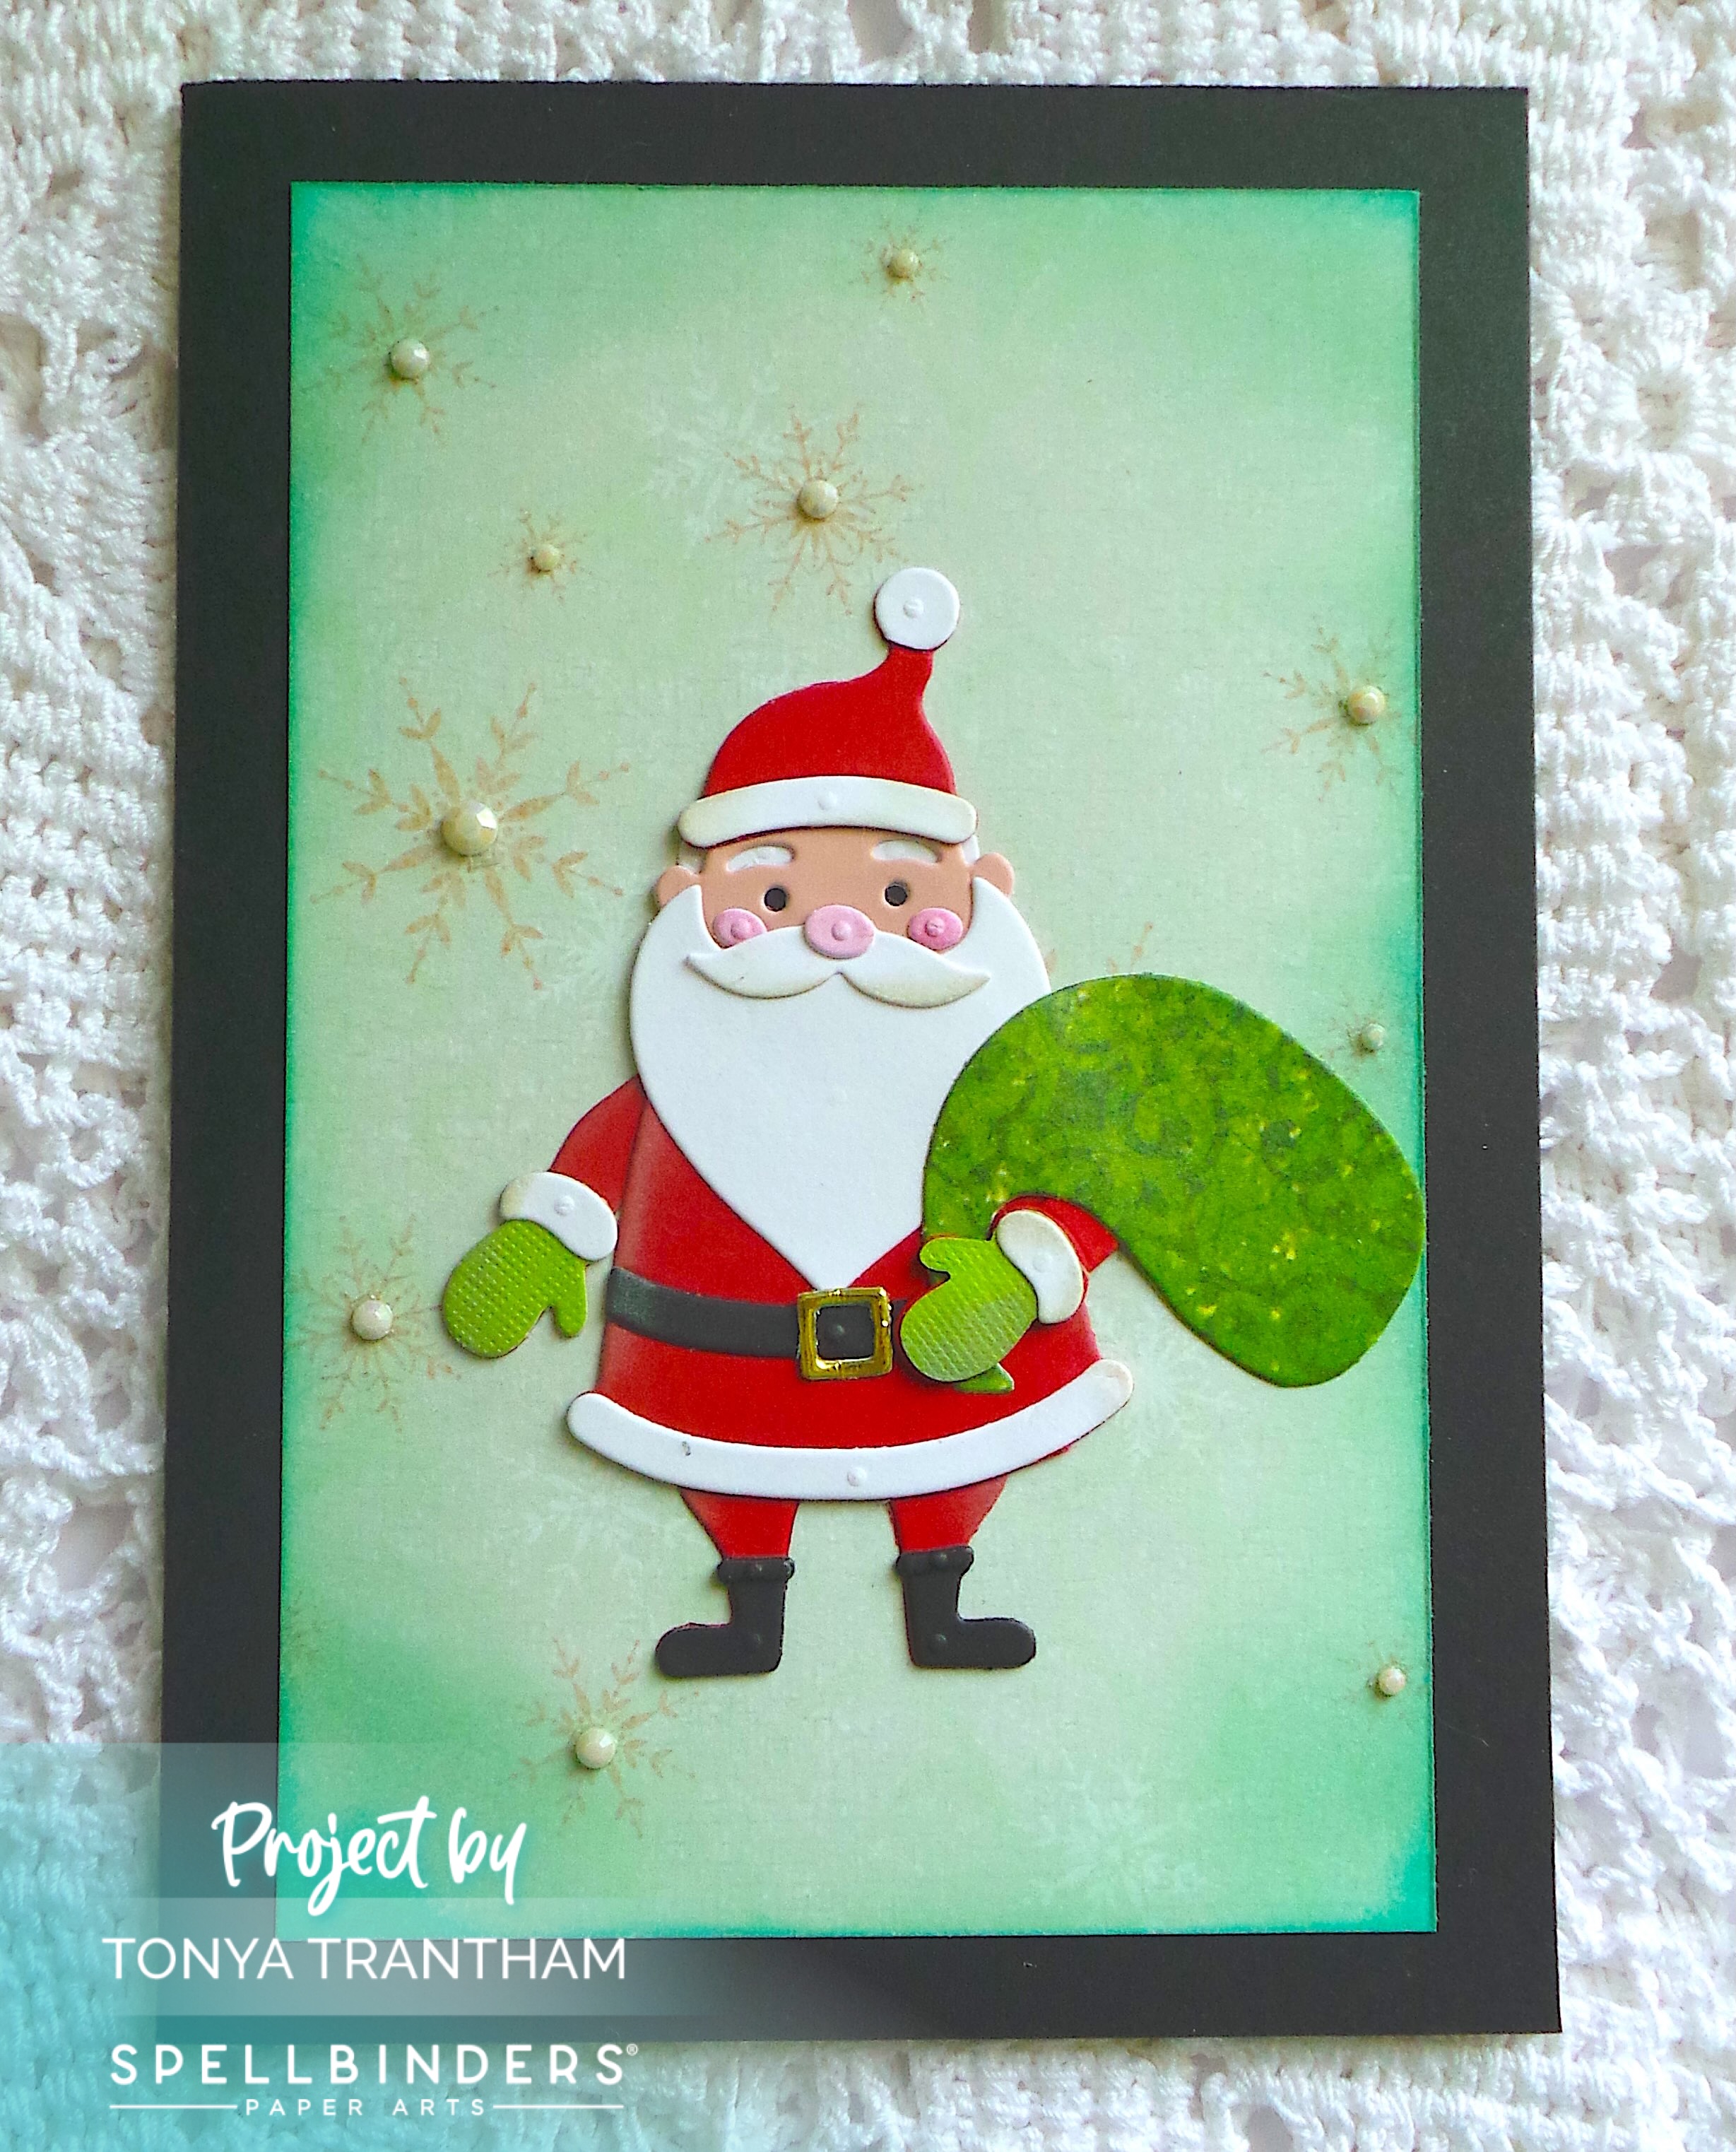
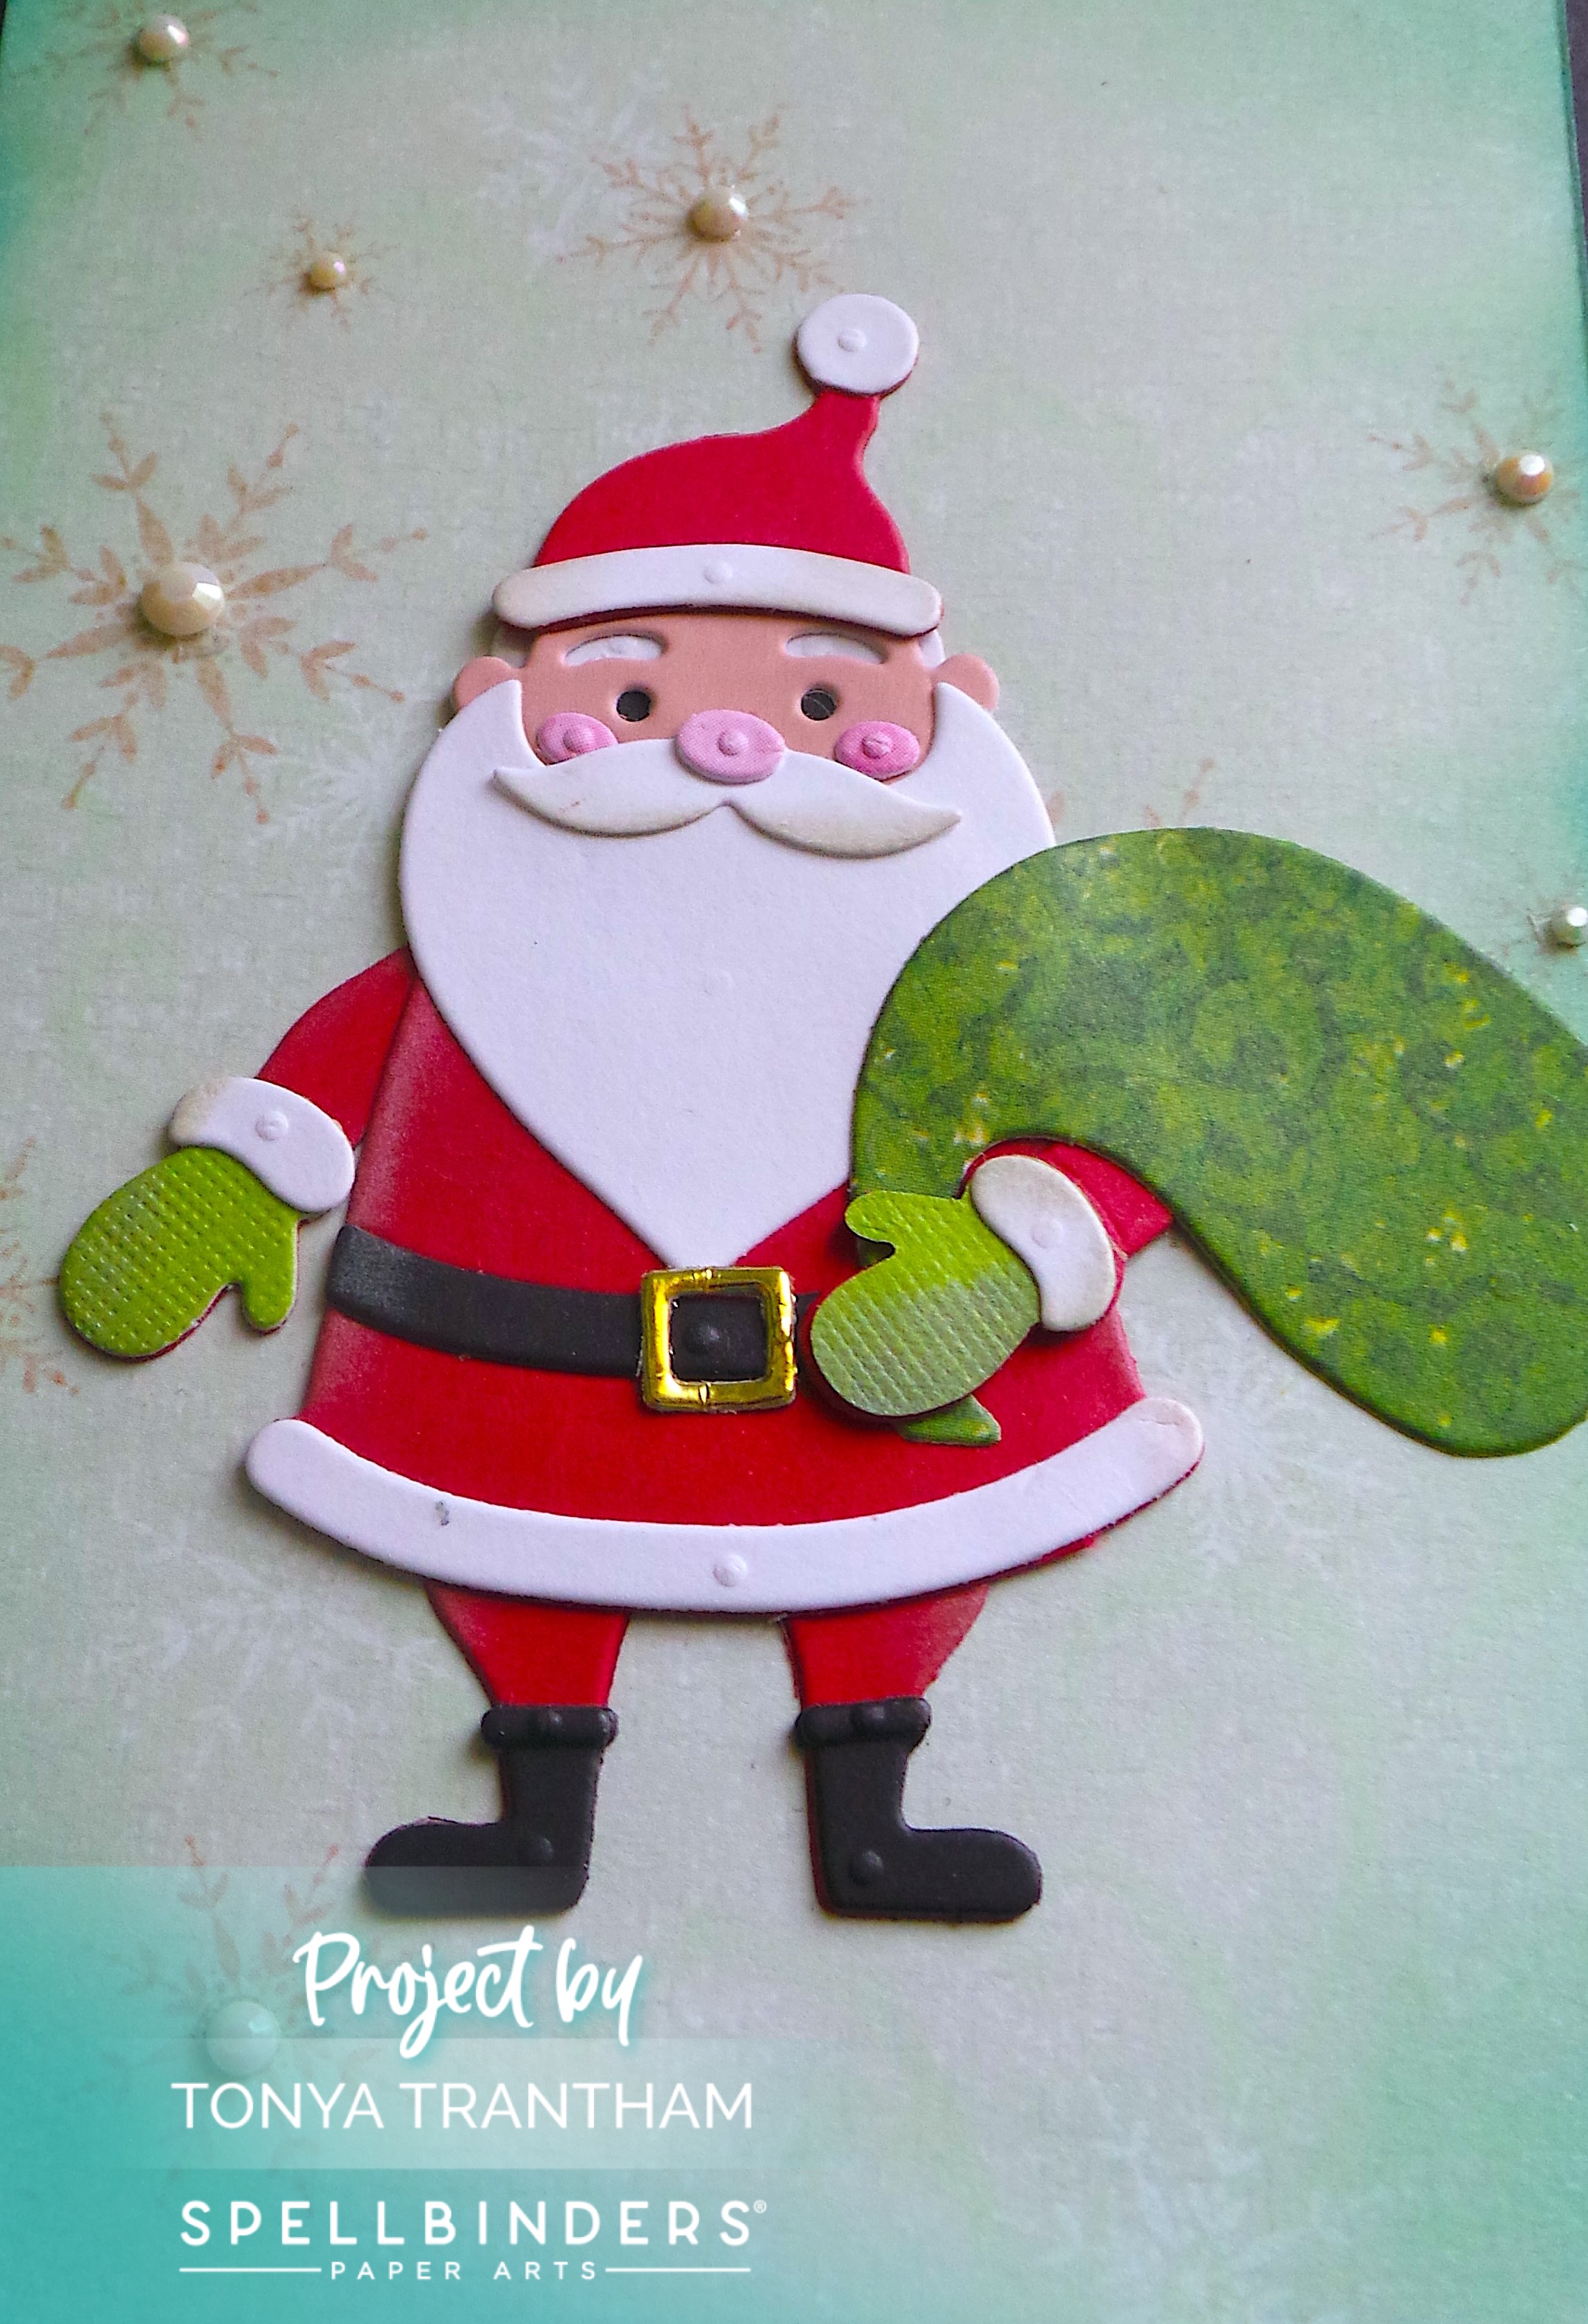
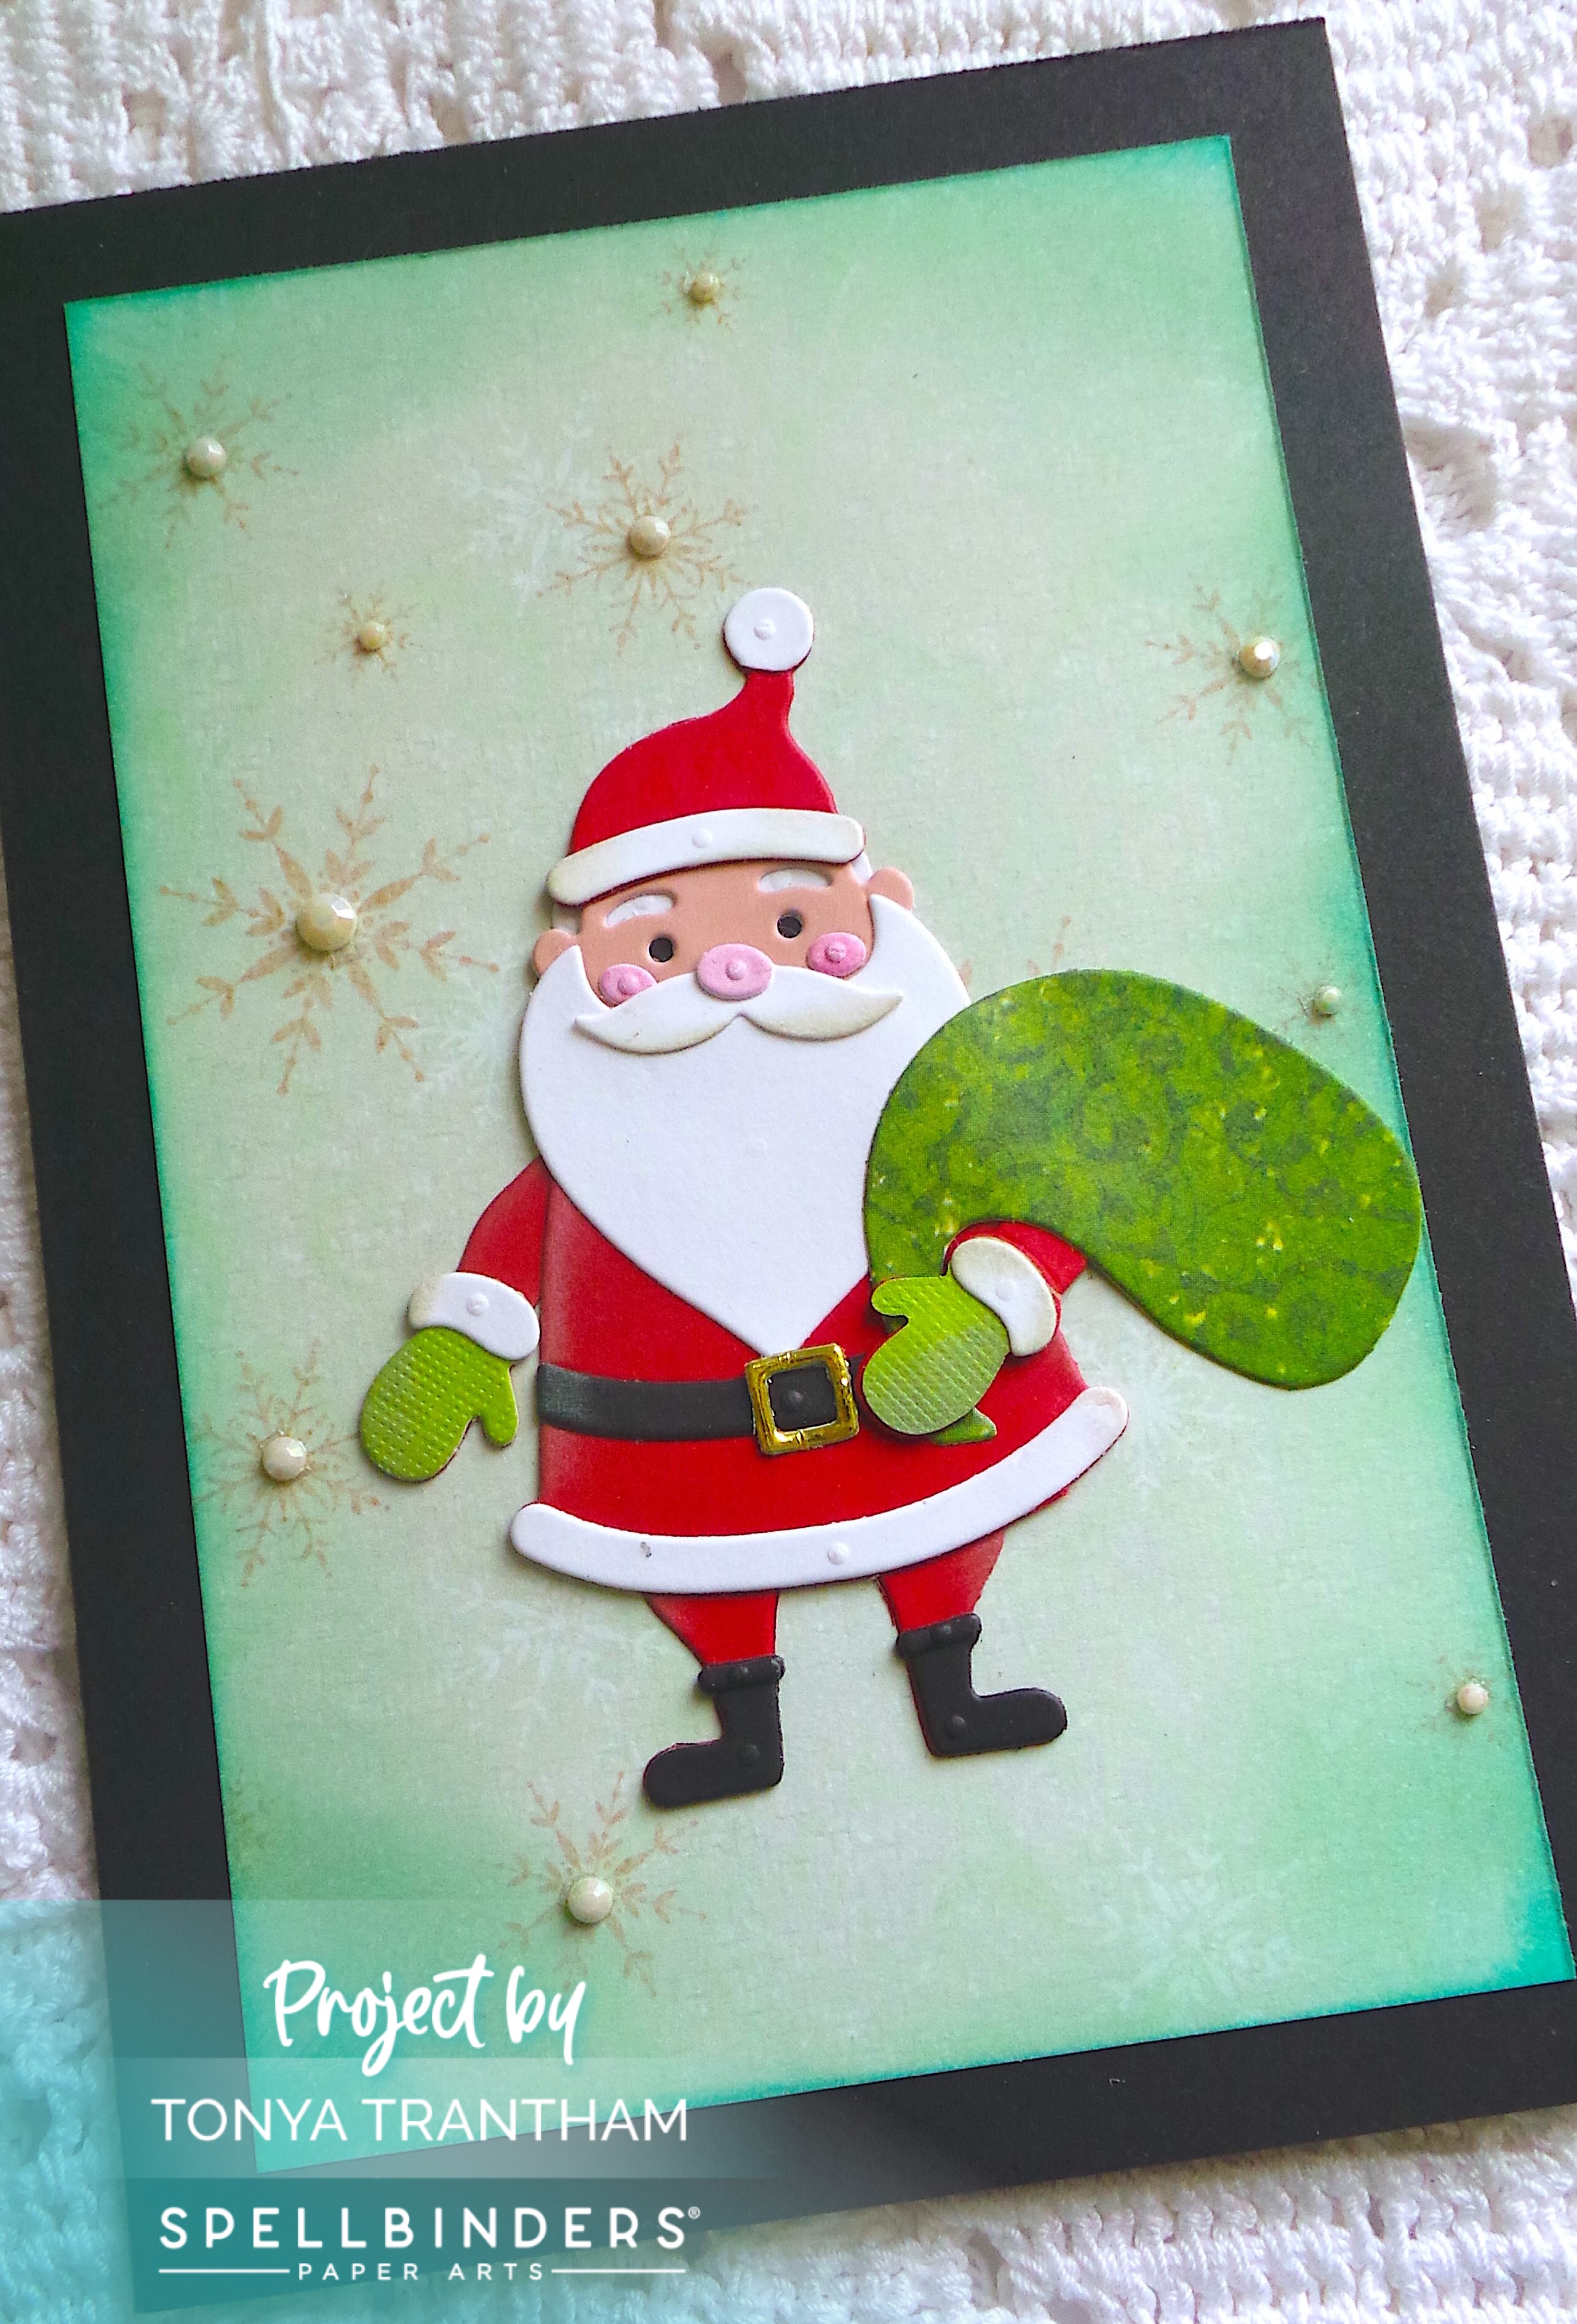
The second card, the base is 4 1/4″ x 5 1/2″. I used The Clauses Etched Dies for Mrs. Claus and for the Santa card below.

A festive greeting card featuring a cheerful Santa Claus with a green bag, set against a snowy background with light embellishments.

And like the Elves card I used an assortment of cardstock. A side note, I use Adhesive Roll to back all pieces of cardstock. Since all diecut pieces are very small this makes it much easier to put the images together.

If you have any questions or comments about these cards please leave them below.

A festive card featuring a die-cut Santa Claus holding a green sack, set against a soft, snowy background with decorative pearls.

Supplies

Spellbinders/Simon Hurley: North Pole Friends Collection

Spellbinders/Simon Hurley: Santa’s Elves Etched Dies

Spellbinders/Simon Hurley: The Clauses Etched Dies

Diecut Machine

Adhesive Roll

Various Plain and Patterned Cardstocks

Gems

Blue Chalk Ink

Beacon Adhesives: Zip Dry Adhesive

(Products listed above are Affiliated Links for your convenience)

DISCLAIMERS

This blog is compensated to provide opinion on products, services, websites, and various other topics. Even though the owner(s) of this blog receives compensation for our posts or advertisements. I always give my honest opinions, findings, beliefs, or experiences on those topics or products. The views and opinions expressed on this blog are purely my own. Any product claim, statistic, or quote should be checked with each manufacturer. Verify other representations about a product or service with the provider or party in question.This blog contains affiliate links. Clicking these links helps to support Tonya Trantham Designs – Creative Paper Addiction. It’s at no additional cost to you. Today’s features are Spellbinders, Simon Hurley and Scrapbook.com Products. 

A festive greeting card featuring a cheerful Santa Claus design, with Santa holding a large green sack. The background is light green with snowflake patterns and adorned with decorative pearls.

Thanks for stopping by, I hope your Thursday is great and enjoy creating!

Colorful graphic design featuring a bird and vibrant flowers with the name 'Tonya' in an elegant font.

Create a Quick Sunshine Card in Under 10 Minutes

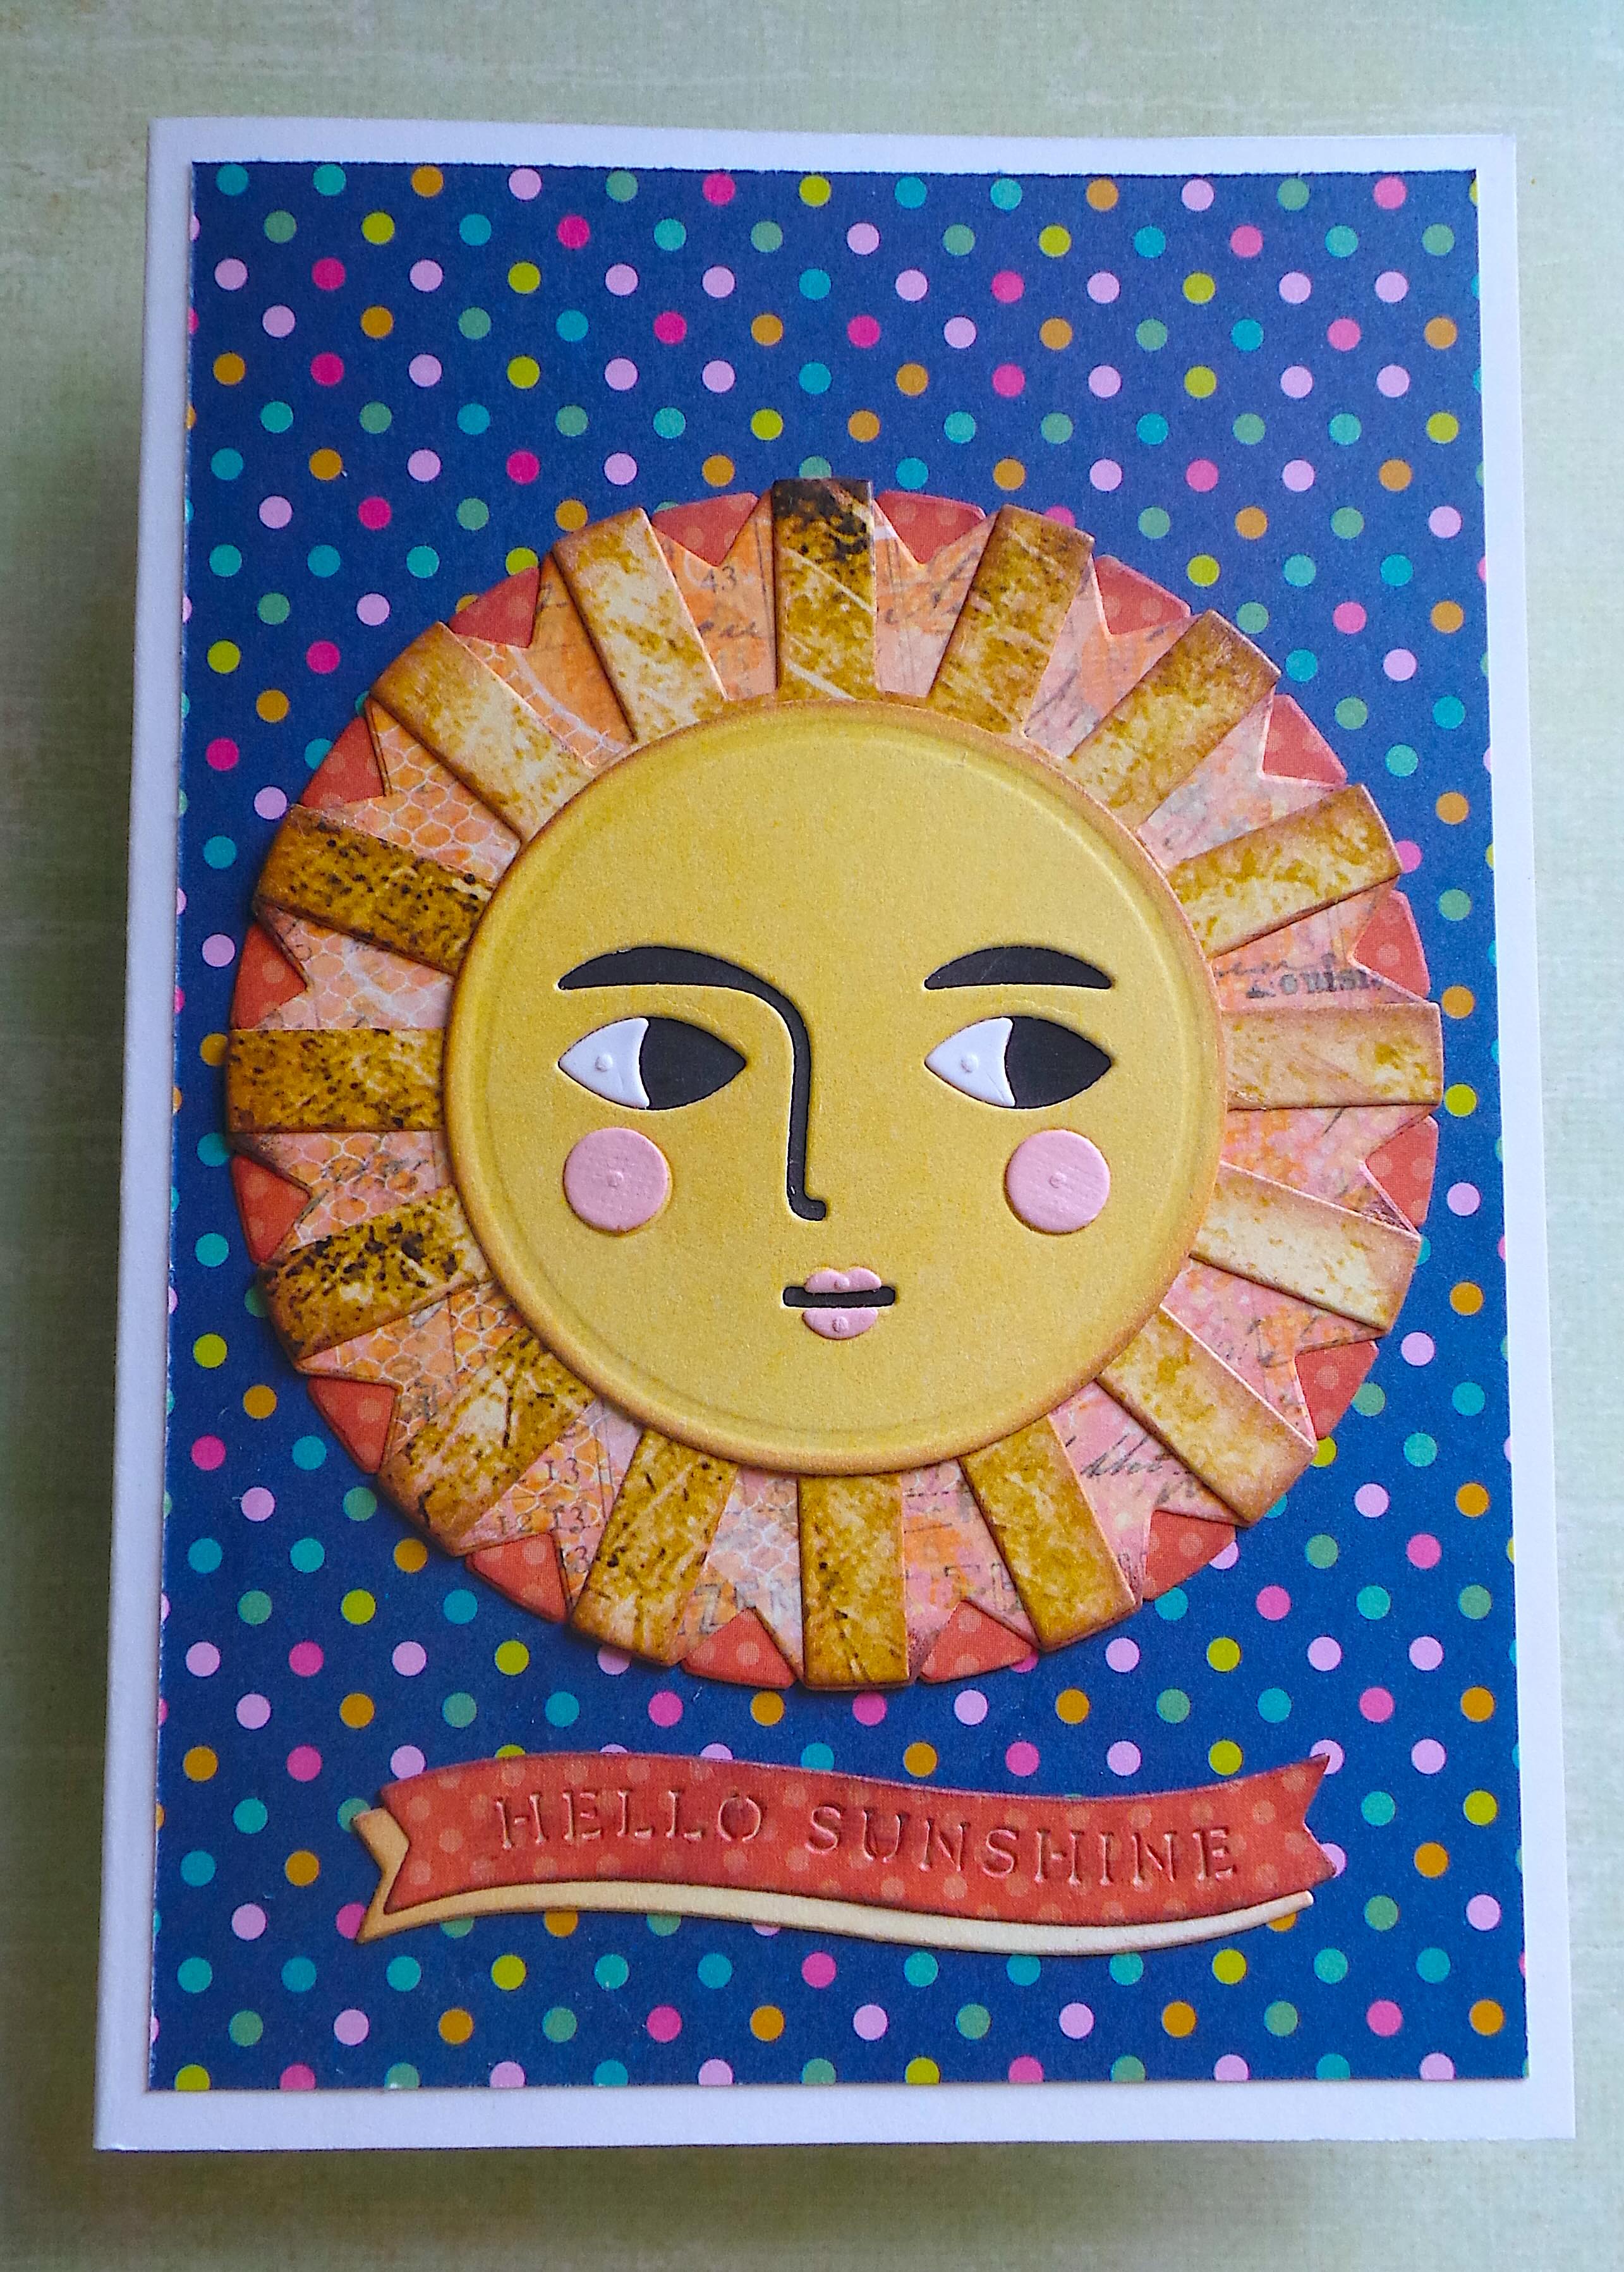
Hi there! I’m back with a quick and easy card today. I used the Under the Sun Etched Dies and the La Dolce Vita Banners Etched Dies by Spellbinders. This bright and happy card came together in less than 10 minutes. Anyways, let’s get started!

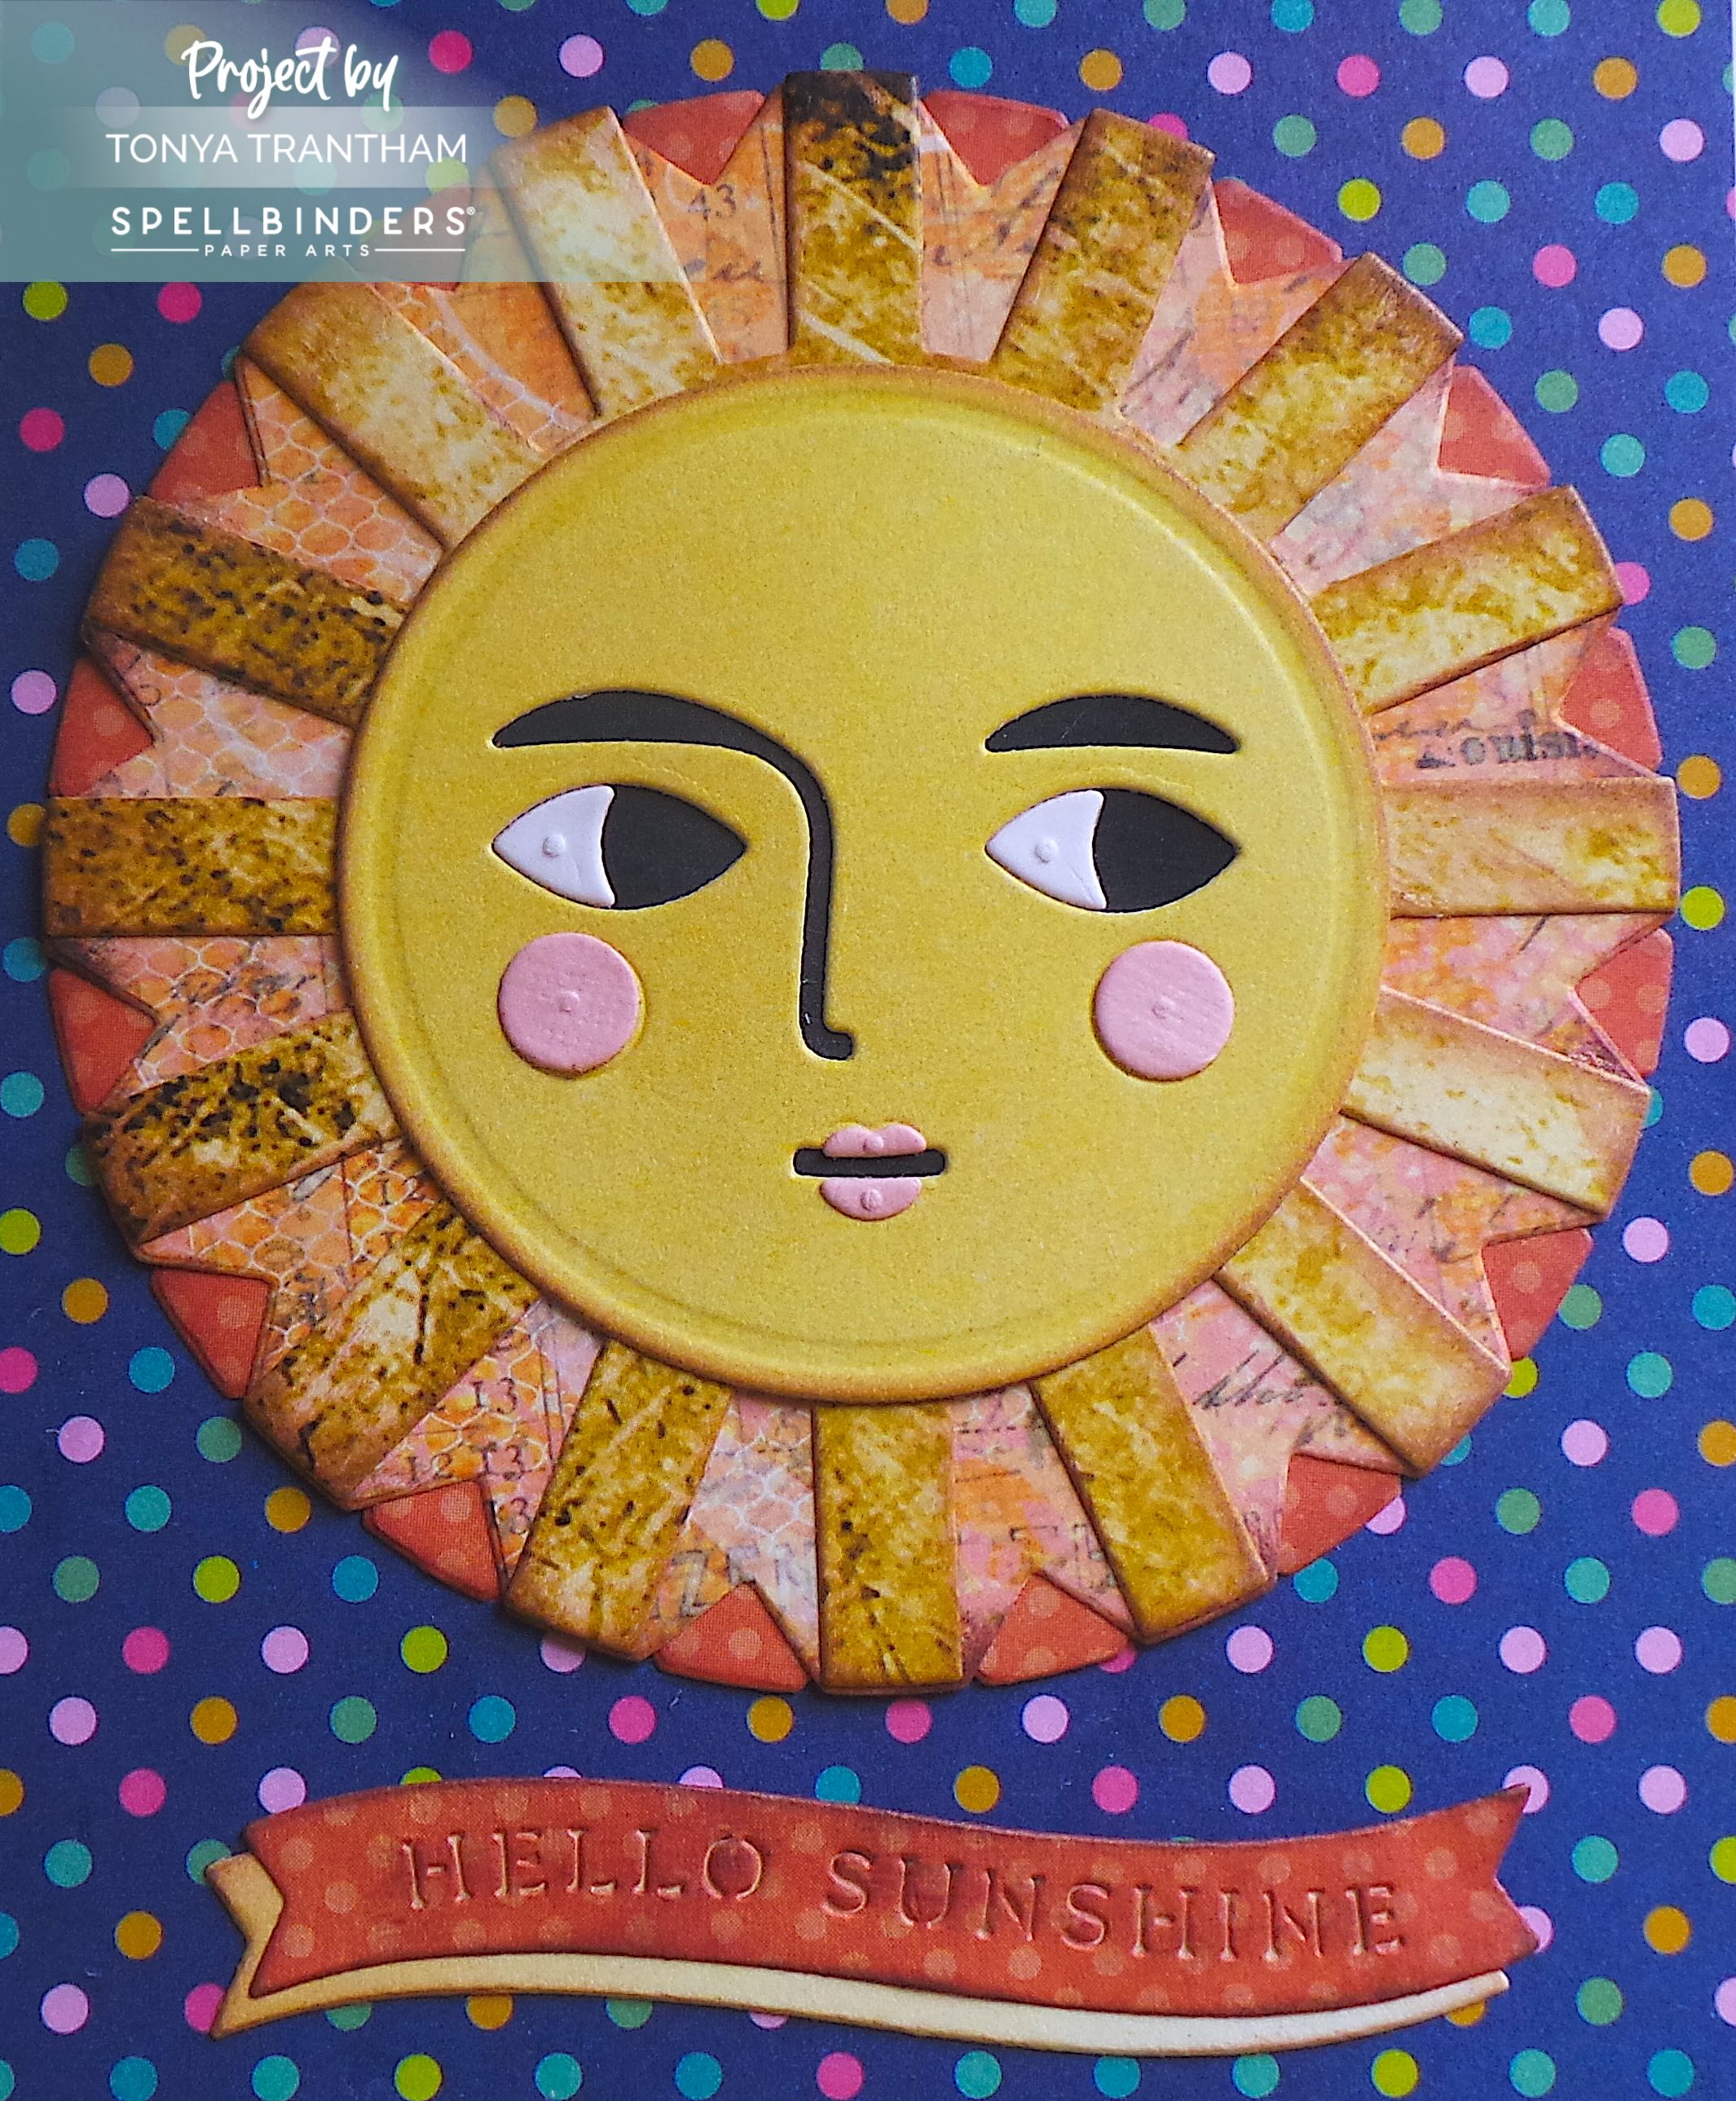
A colorful handmade card featuring a smiling sun face with rays, set against a polka dot background, and a banner reading 'HELLO SUNSHINE'.

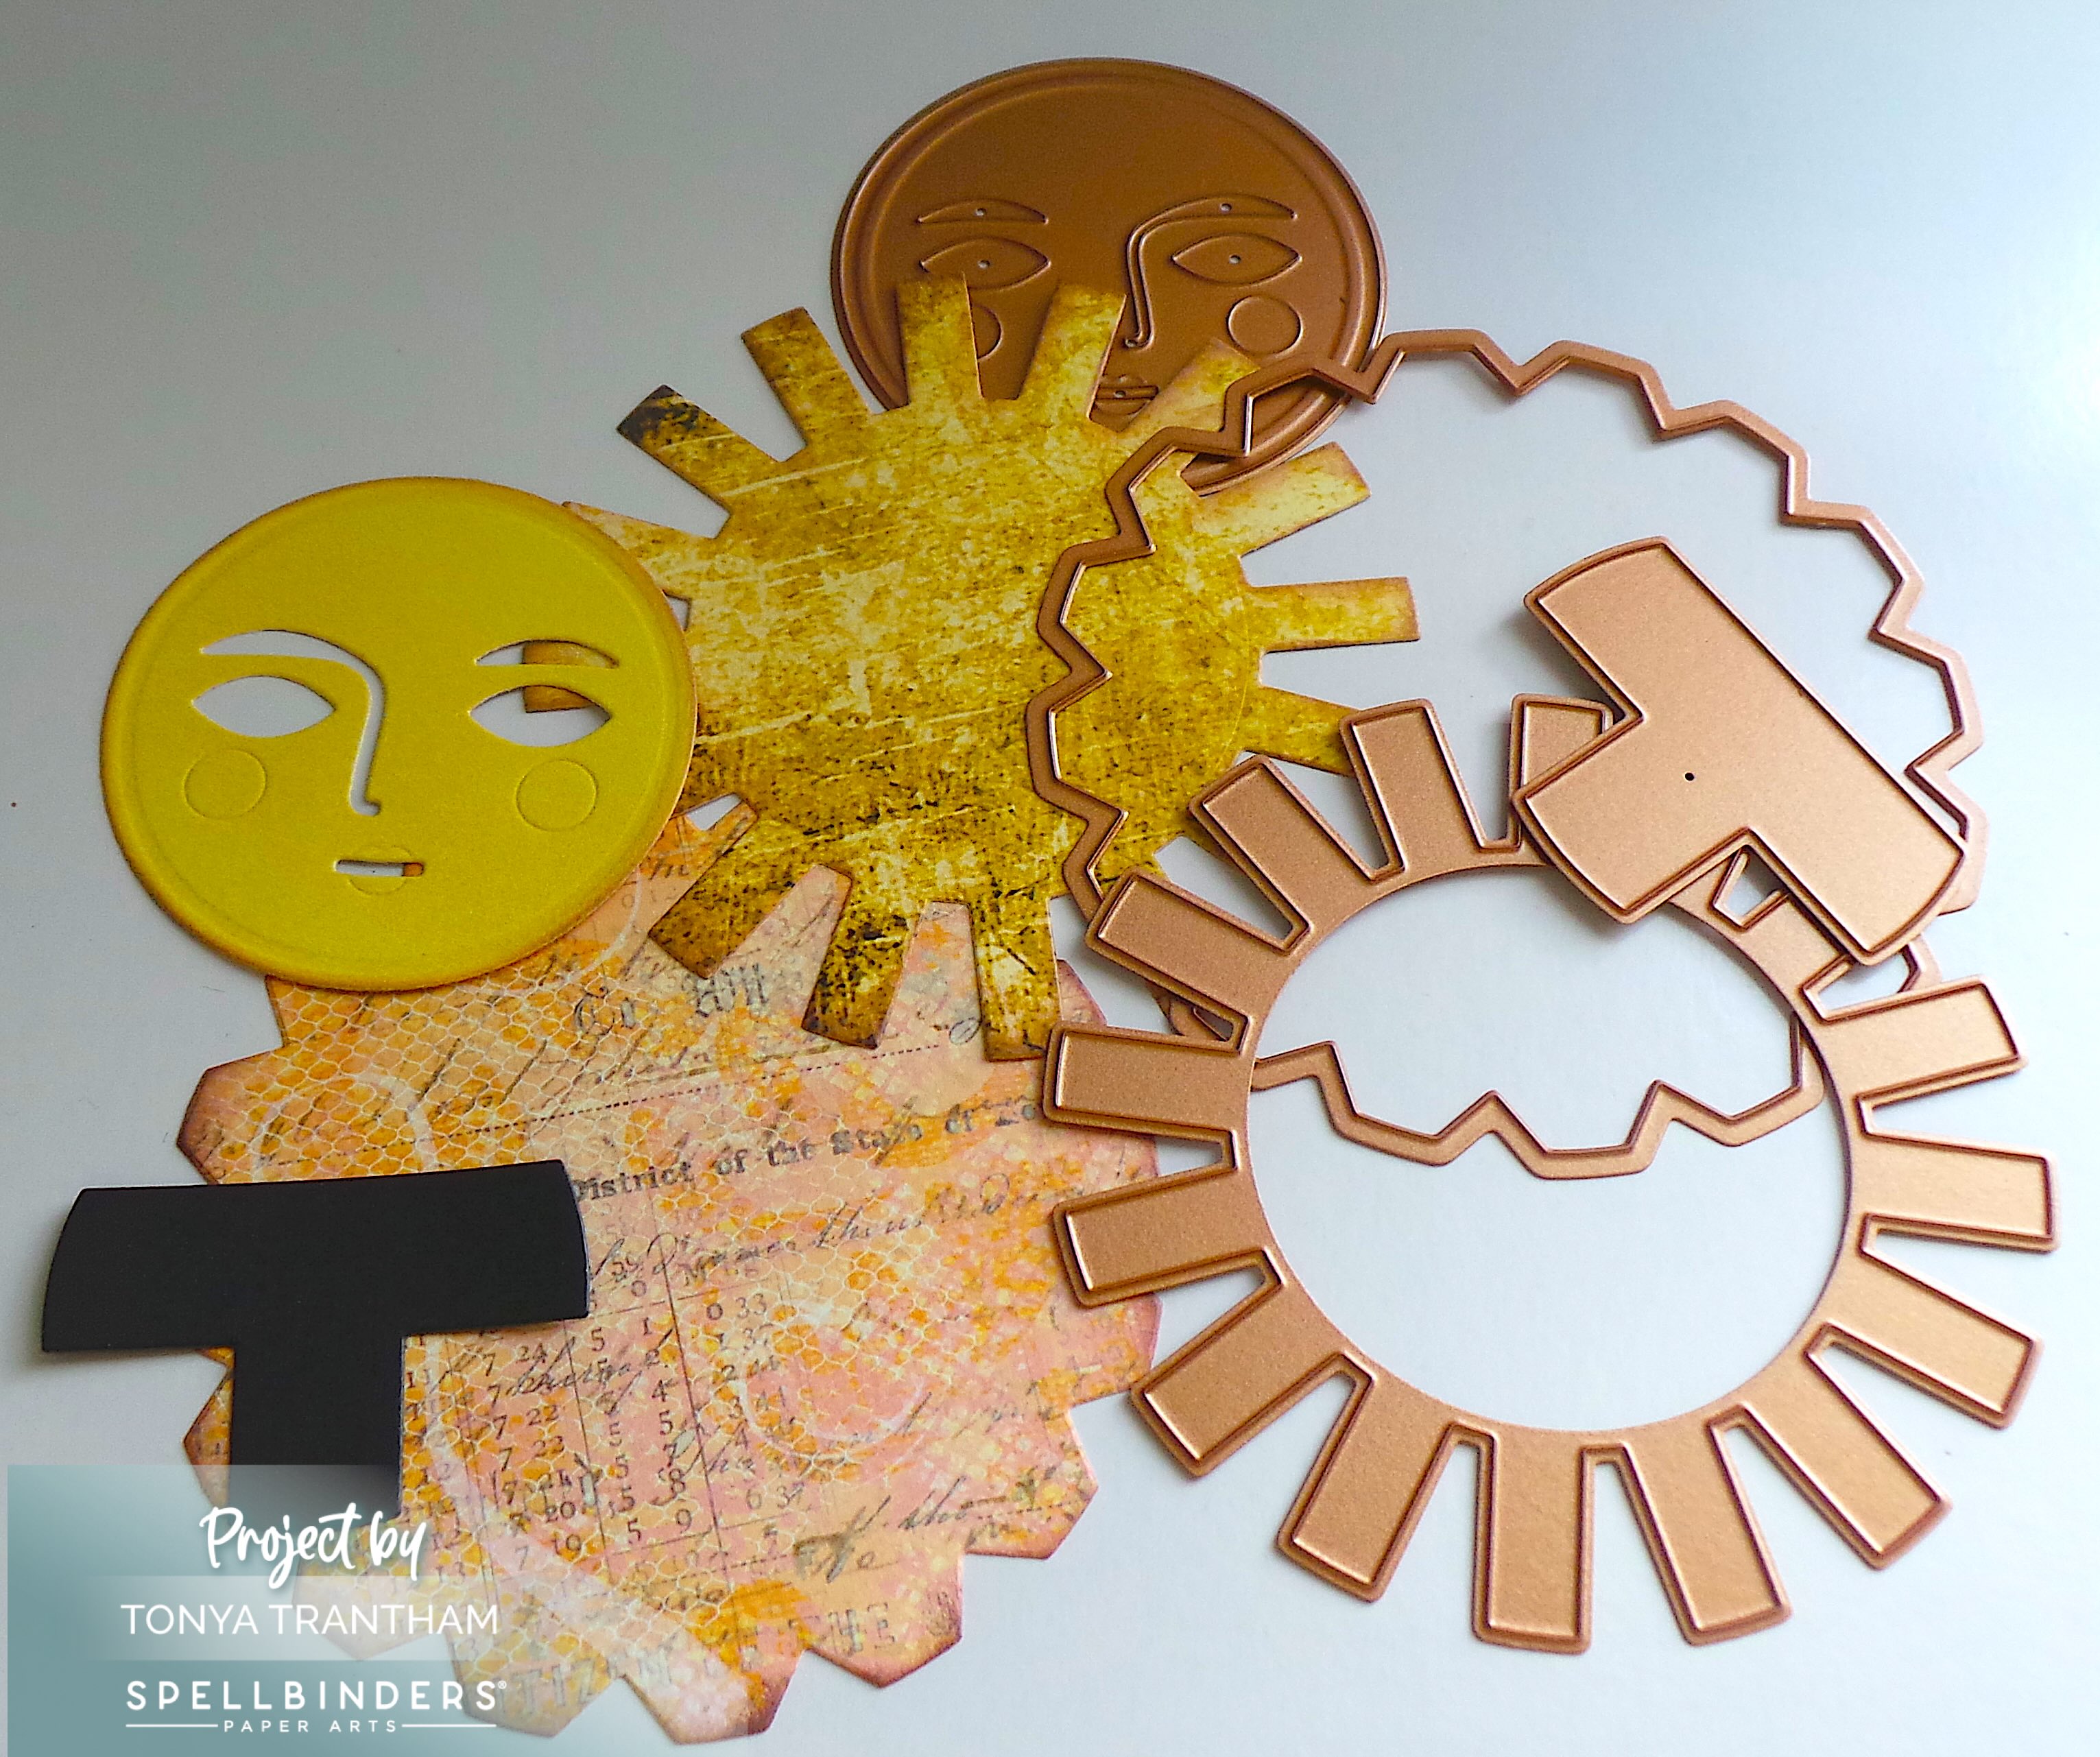
I cut out two sun rays and one each of the following: face, sun, background for the eyes. I also cut two of the following: eyes, cheeks and lips. I did apply Adhesive to the back of the cardstock of the smaller pieces before cutting out. All cuts are from the Under the Sun Etched Dies.

Assorted die-cut pieces featuring a yellow face, sun rays, and a background pattern for crafting a card.

Side note, both yellow cardstocks, the face and sun ray are from Tattered and Worn Paper Collection. My friend Pam Bray created this collection and I’m so excited to include in creating this card.

I lightly inked all the pieces with Brown Chalk Ink before assembling the sunshine face.

A bright and cheerful card featuring a sun design with facial features, set against a polka-dotted background. The card includes a banner that reads "HELLO SUNSHINE."

I cut and folded a piece of cardstock, 4 1/4″x 5 1/2″, to create the base for the card. I cut a polk-a-dot mat from the Just Saying Paper Collection slightly smaller than the card base. I adhered to the base of the card along with the sunshine face.

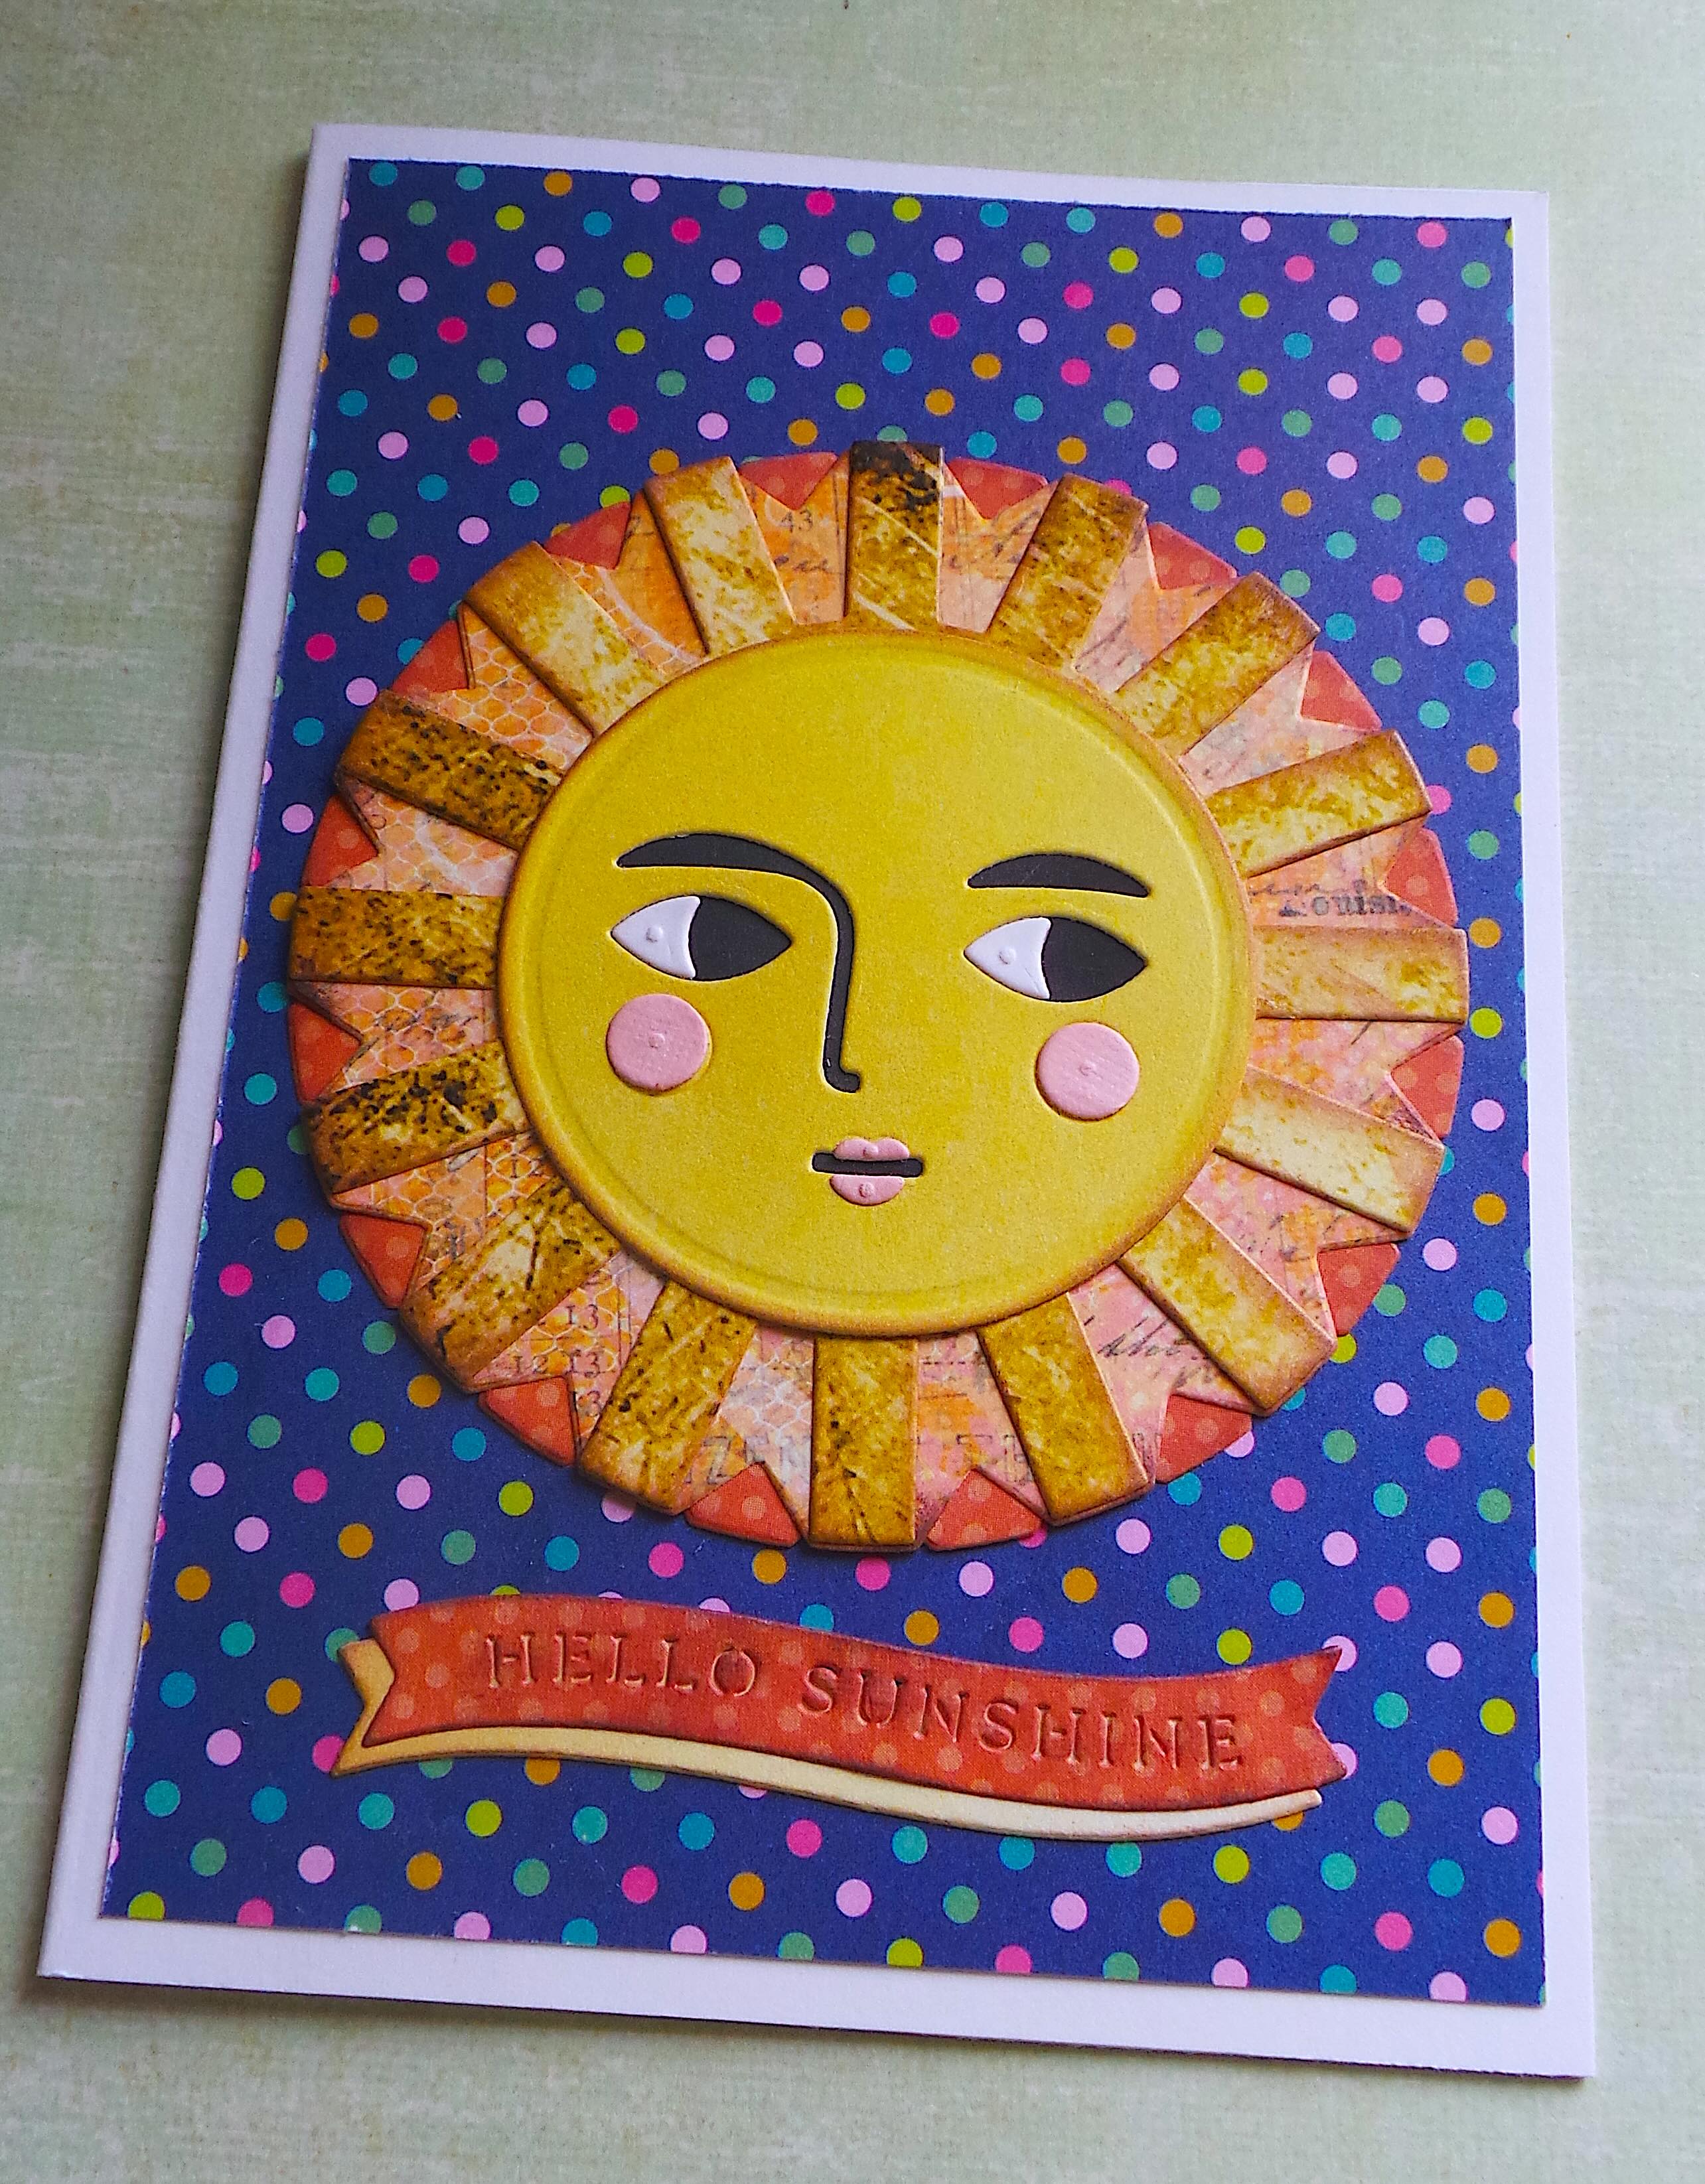
A cheerful card featuring a sun design with a face, surrounded by sun rays and a polka dot background, with the text 'HELLO SUNSHINE' on a banner at the bottom.

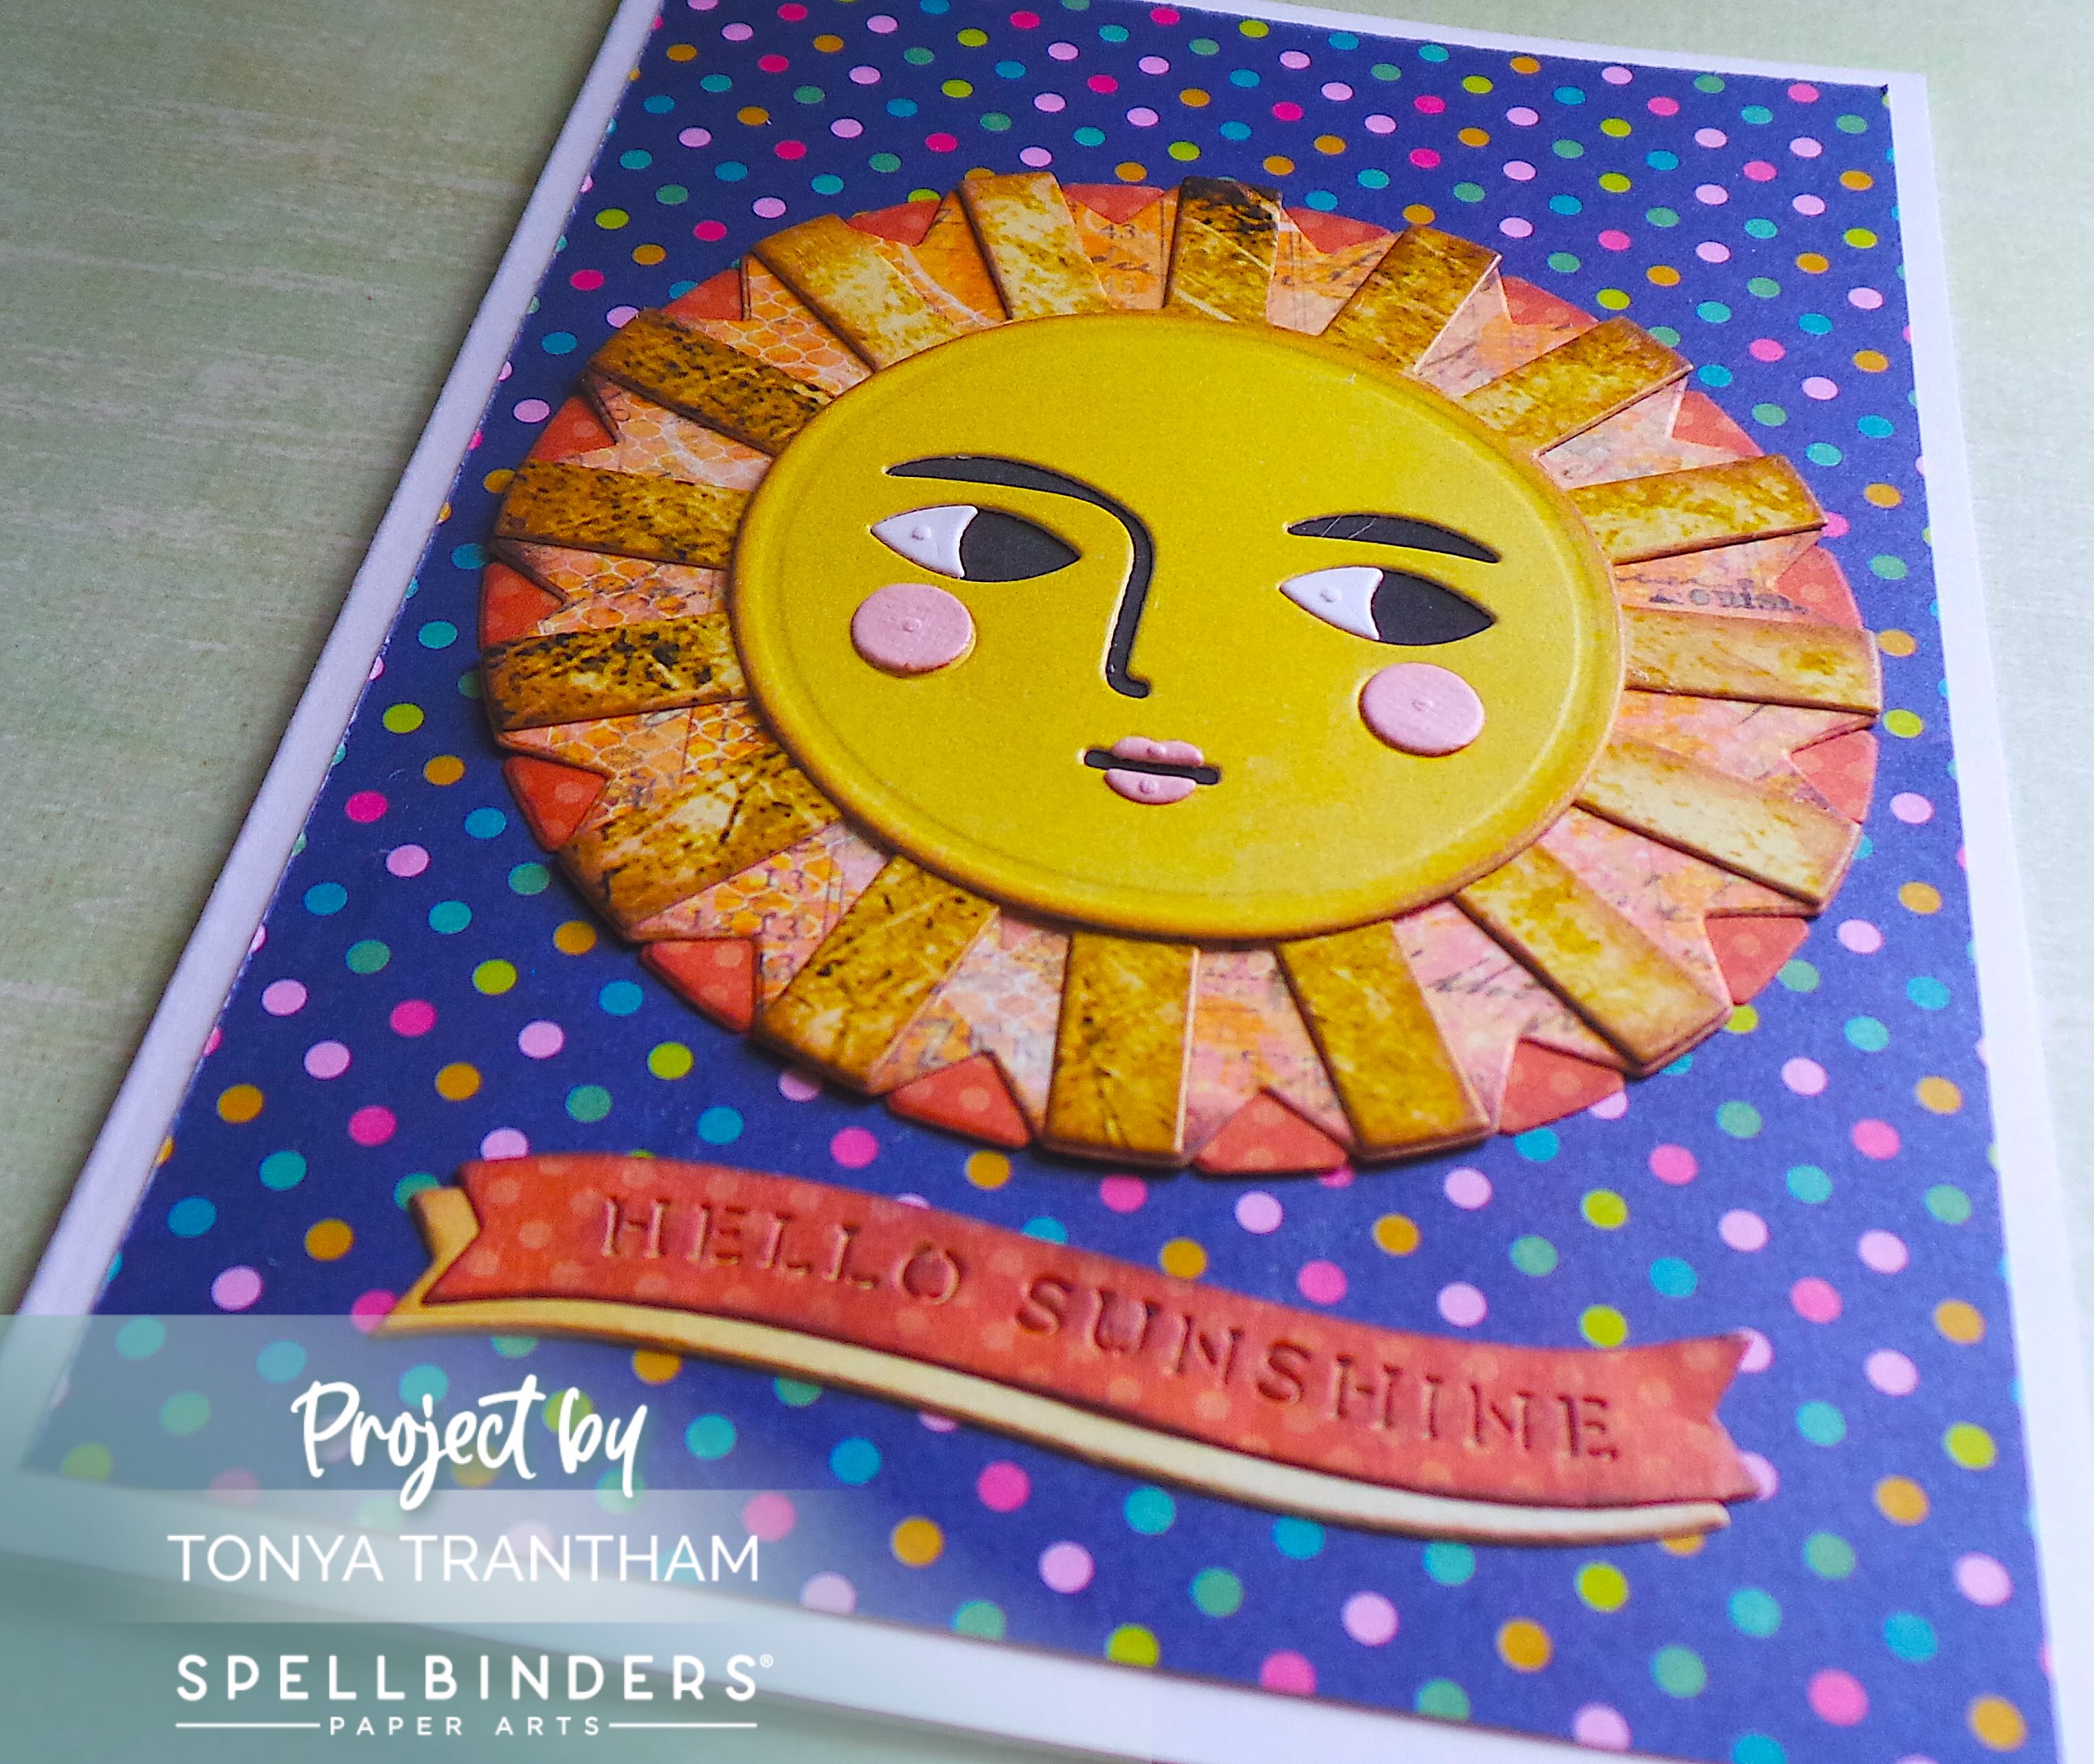
I cut a banner and the “hello sunshine” sentiment from the La Dolce Vita Banners Etched Dies. I lightly inked with Brown Chalk Ink before gluing the sentiment off center of the banner. I adhered to the card base to finish.

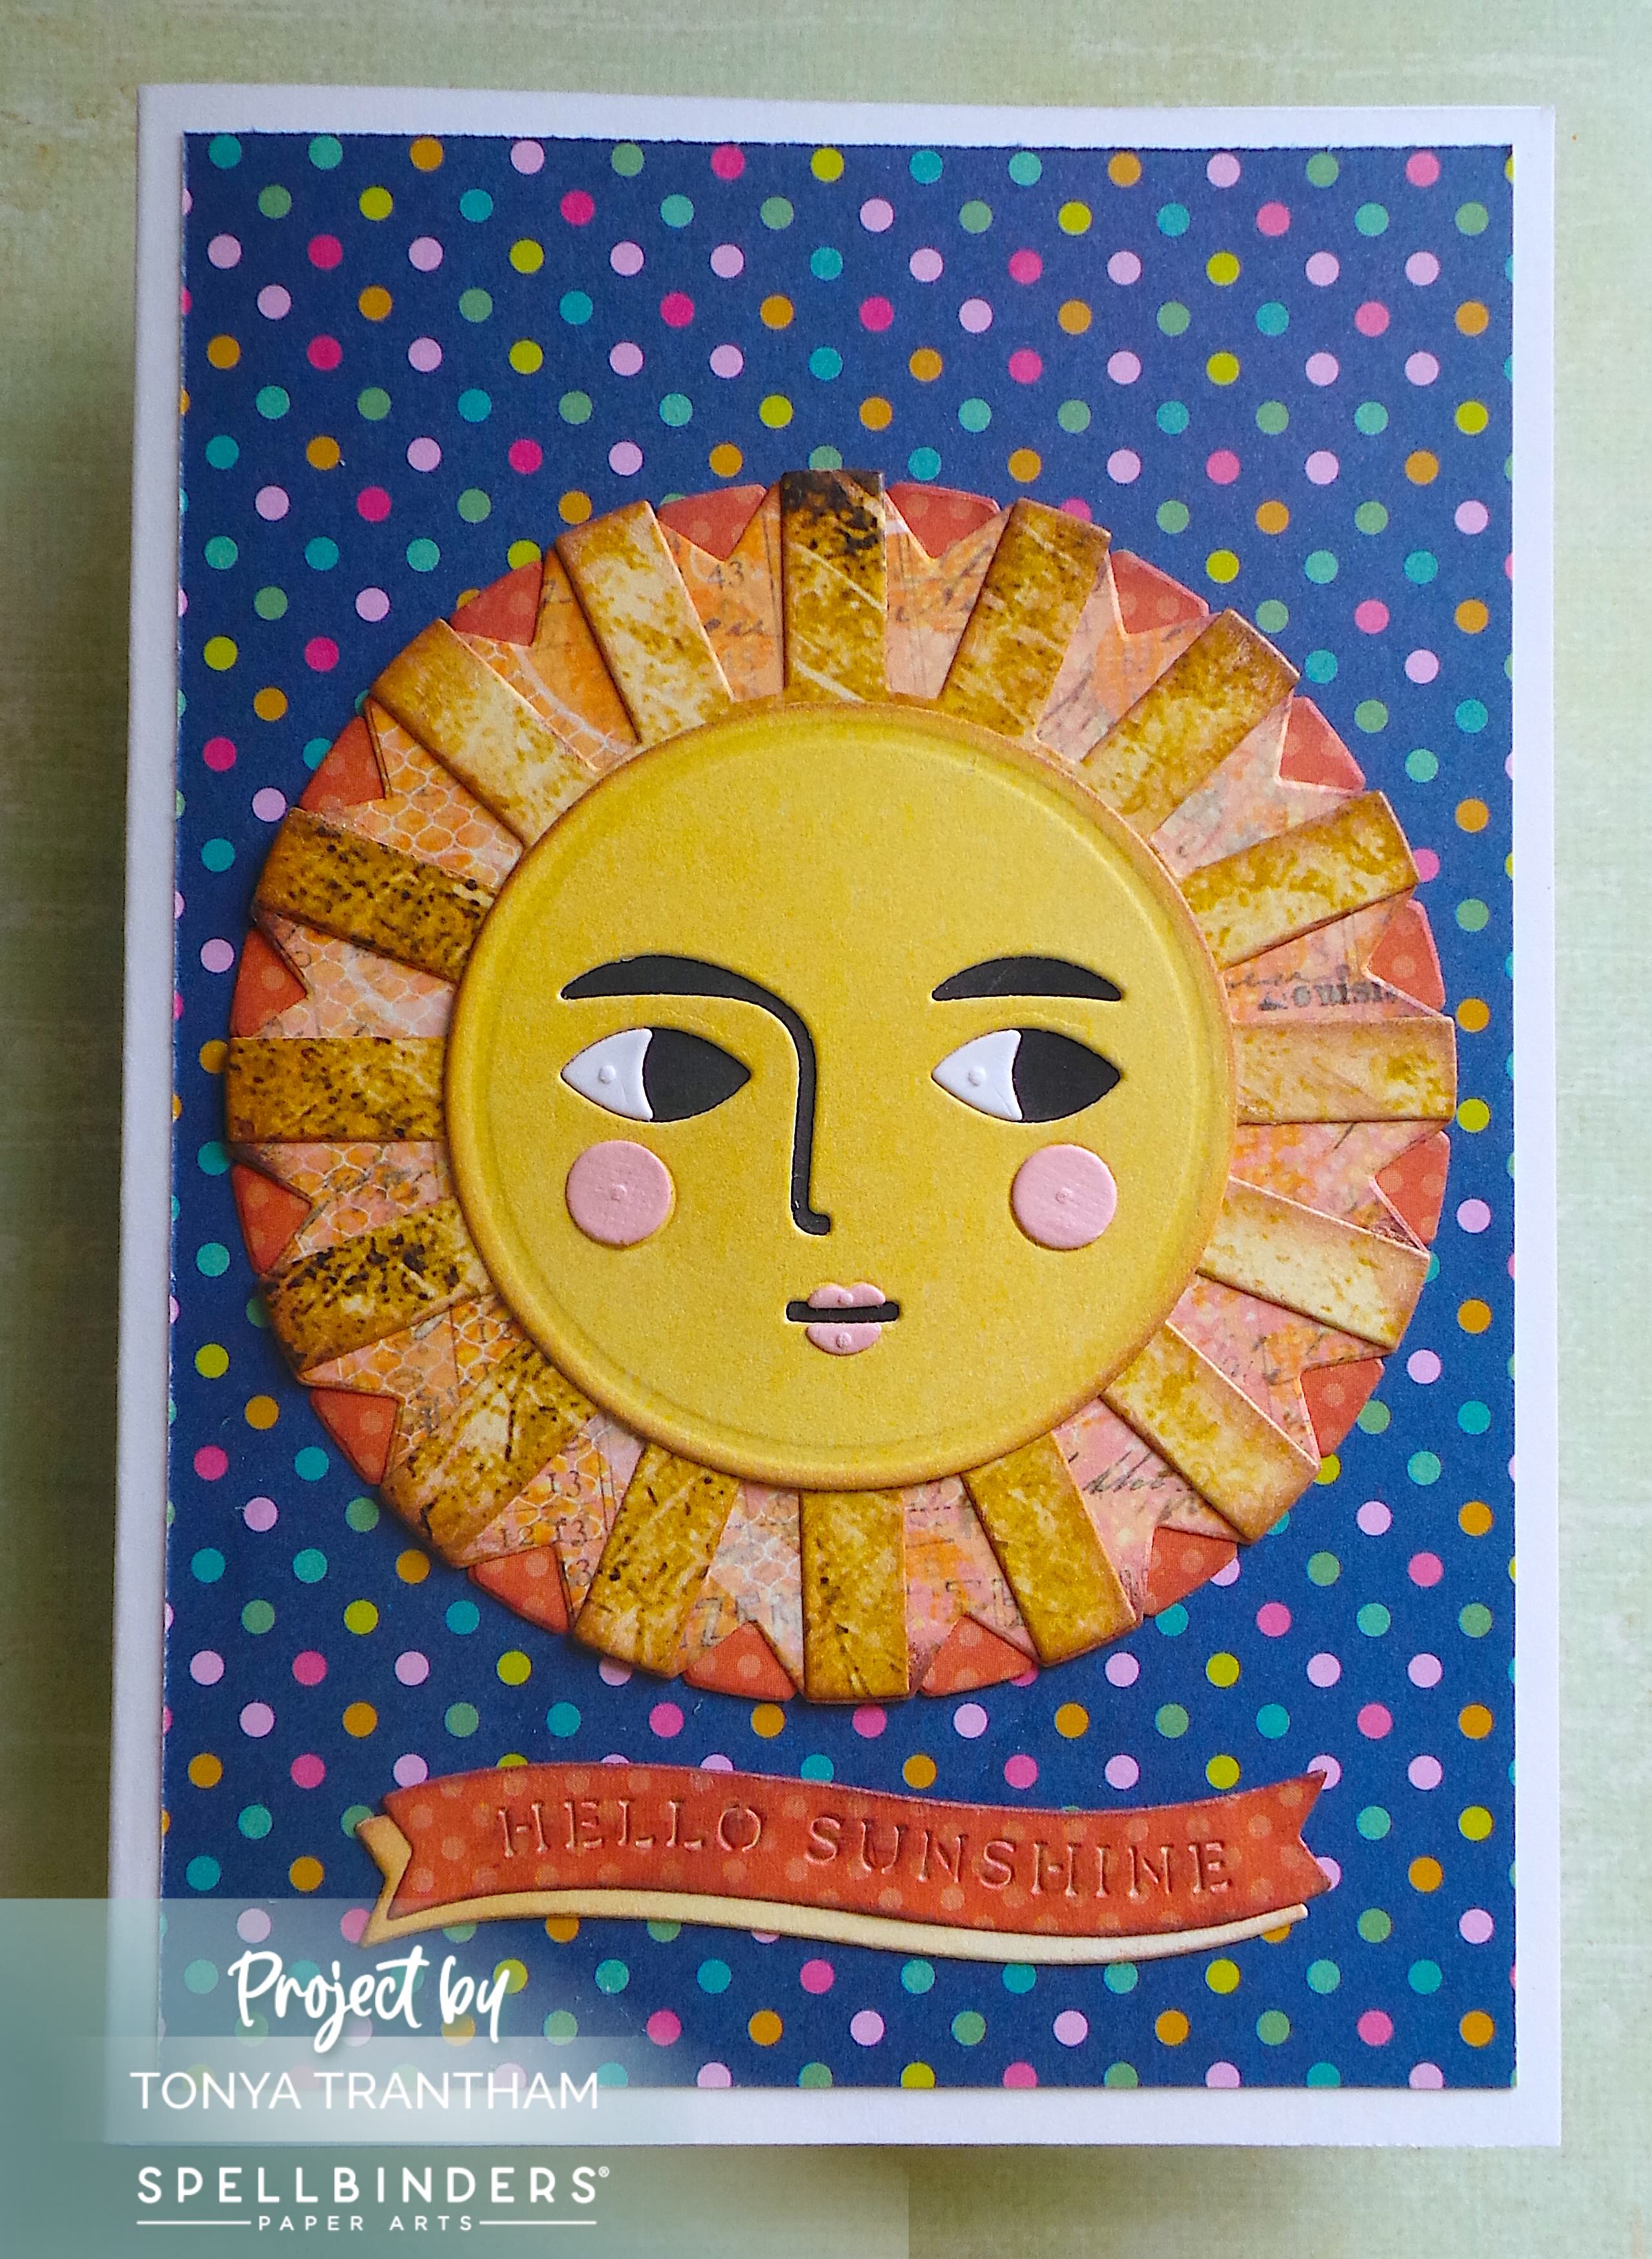
If you have questions of comments about this card please leave them below.

A colorful greeting card featuring a smiling sun face design on a polka dot background, with the text 'HELLO SUNSHINE' on a banner at the bottom.

Supplies

Spellbinders: Under the Sun Etched Dies

Spellbinders: La Dolce Vita Banners Etched Dies

Spellbinders/Kelly Bangs: Just Saying Paper Collection

Diecut Machine

Blank Page Muse/Pam Bray: Tattered and Worn Paper Collection

Various Plain and Patterned Cardstocks

Chalk Ink

Paper Cutter

Scissors

Adhesive Roll

Beacon Adhesives: Zip Dry Adhesive

(Products listed above are Affiliated Links for your convenience)

DISCLAIMERS

This blog is compensated to provide opinion on products, services, websites, and various other topics. Even though the owner(s) of this blog receives compensation for our posts or advertisements. I always give my honest opinions, findings, beliefs, or experiences on those topics or products. The views and opinions expressed on this blog are purely my own. Any product claim, statistic, or quote should be checked with each manufacturer. Verify other representations about a product or service with the provider or party in question.This blog contains affiliate linksClicking these links helps to support Tonya Trantham Designs – Creative Paper Addiction. It’s at no additional cost to you. Today’s features are Spellbinders, Blank Page Muse/Pam Bray and Scrapbook.com Products. 

A handmade card featuring a cheerful sun face with yellow rays, set against a polka dot background, and a 'Hello Sunshine' banner.

Thanks for stopping by, I hope your Thursday is great and enjoy creating!

A decorative graphic featuring a bird among colorful flowers with the name 'Tonya' elegantly scripted across the image.

Create a Summer Card with Amalfi Breeze Dies

Hi everyone! How is everyone’s summer going? We are in the last week of June and it has turned scorching hot! We went from rain everyday to 90 degree + weather. I like warm weather but not this warm. It has turned the swimming pool into what feels like bath water. But I wouldn’t mind if I was enjoying the sun on a beach with my toes in the ocean.

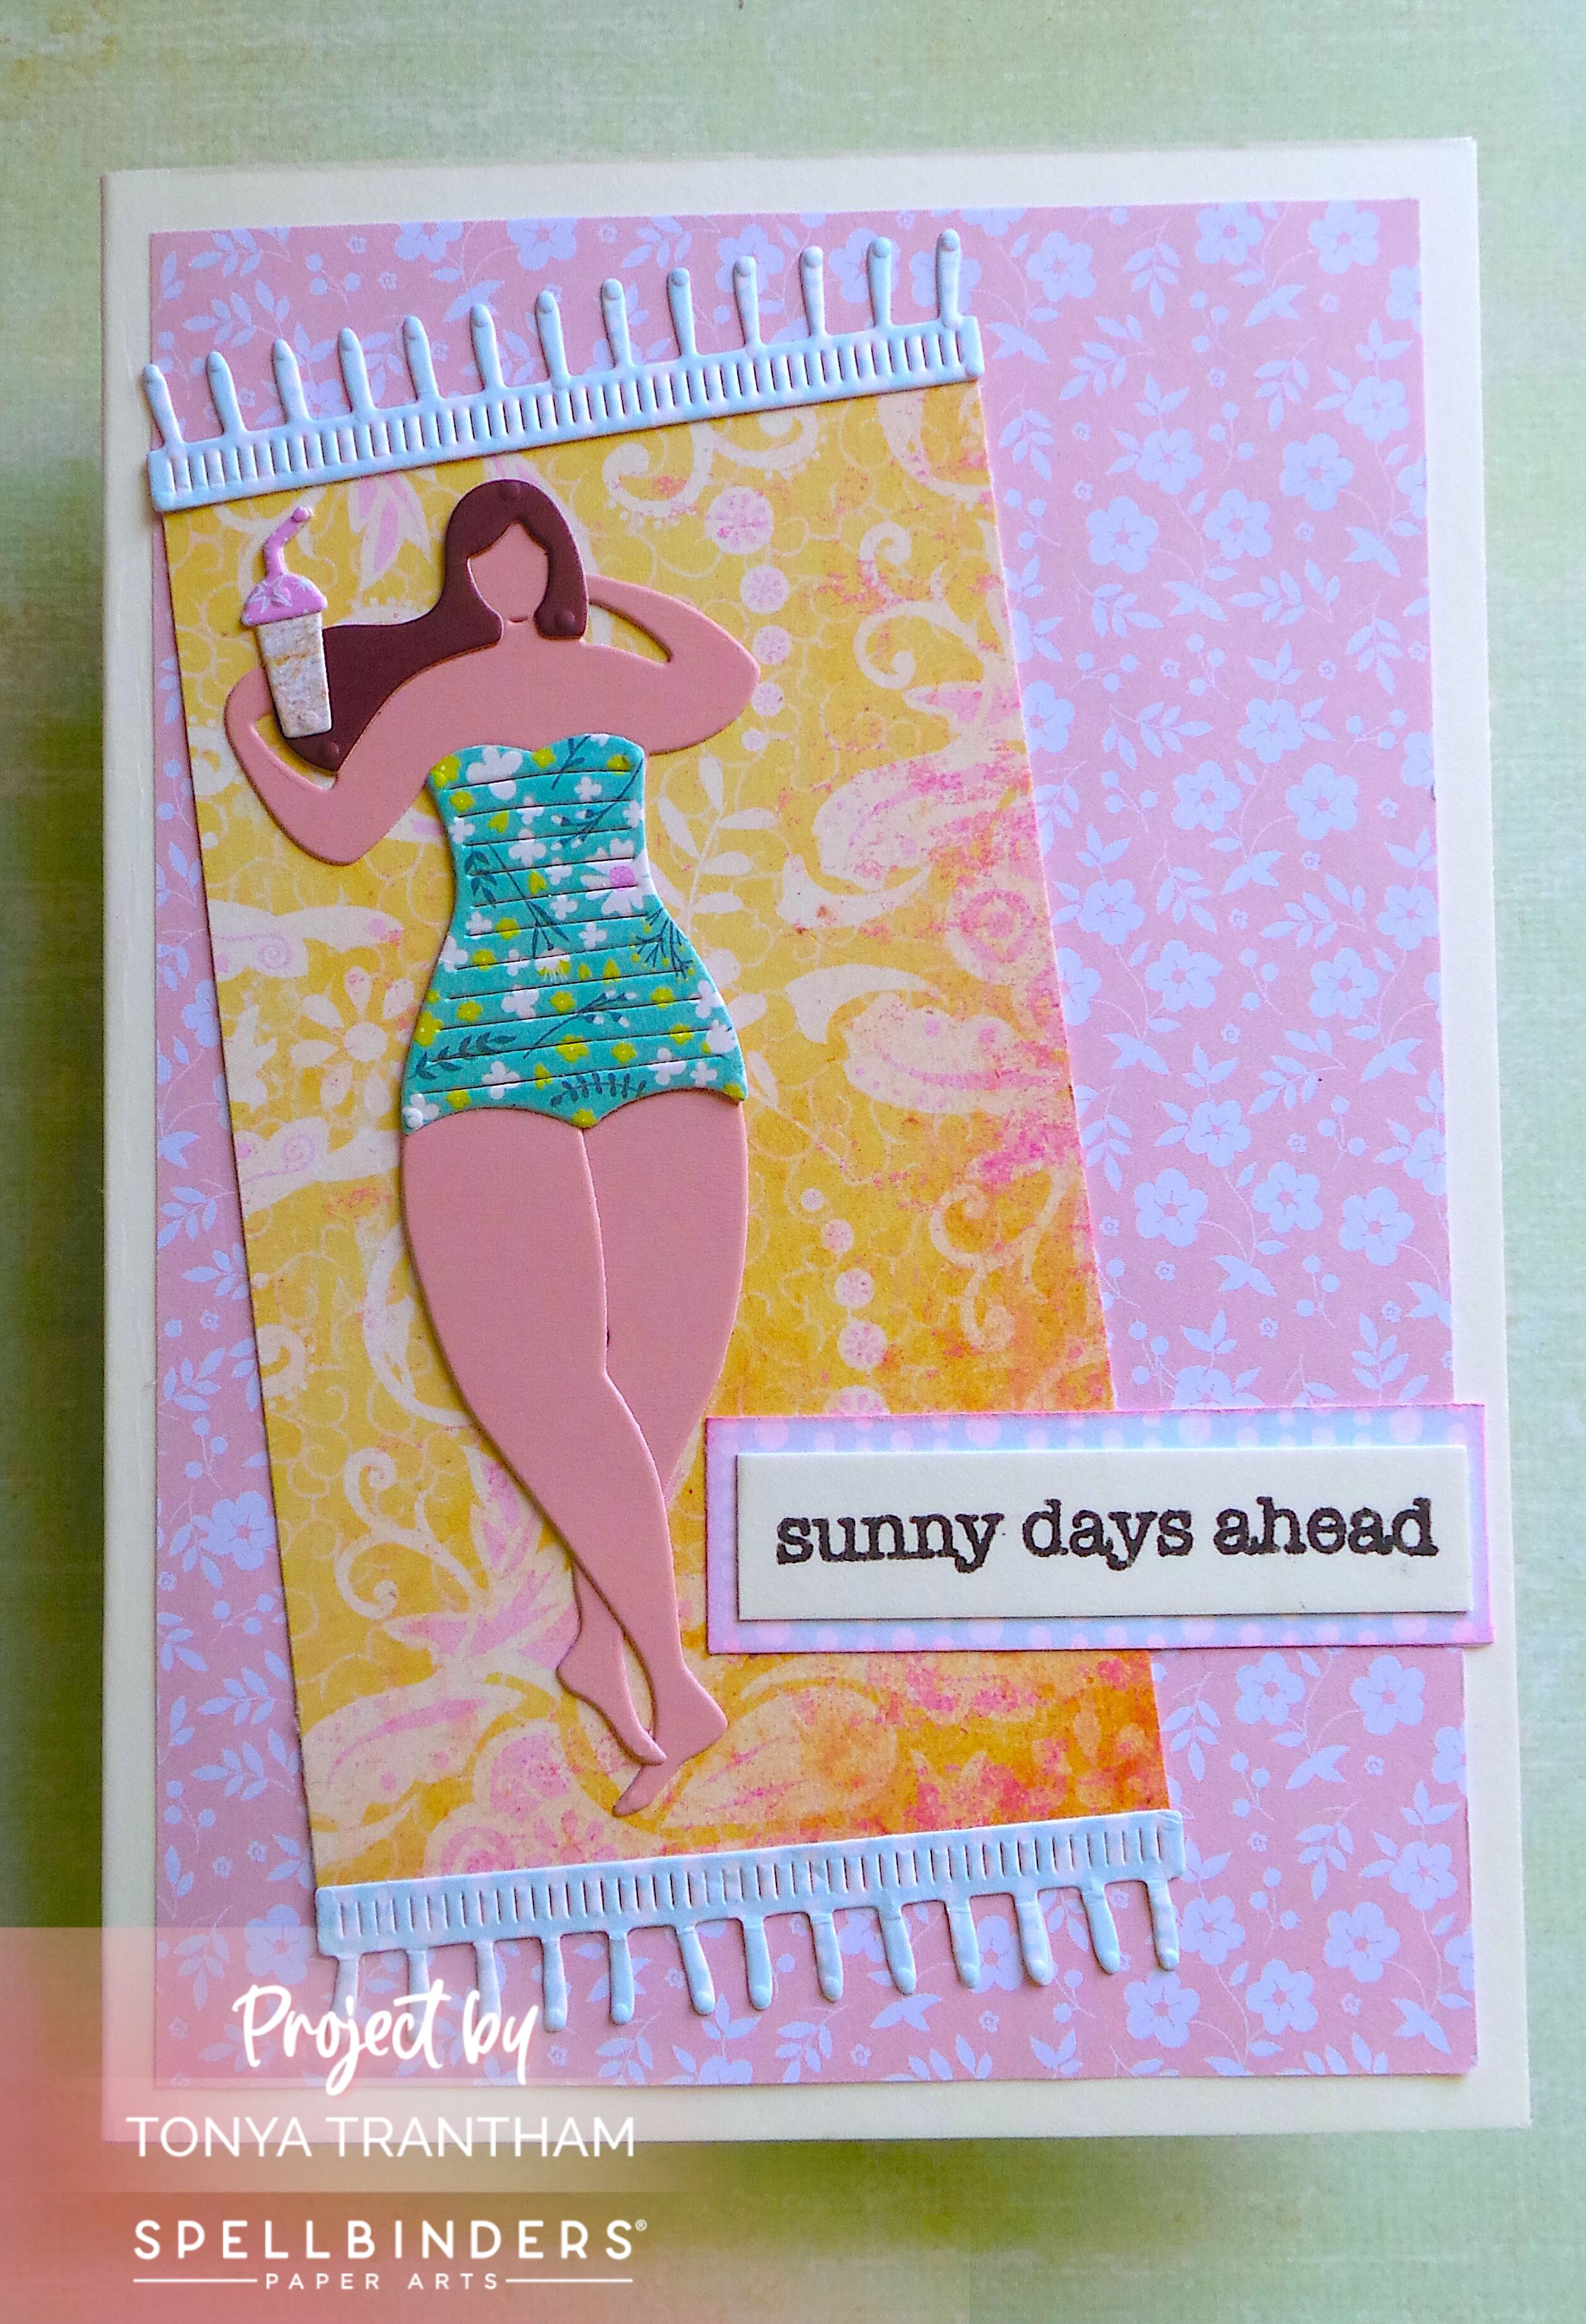
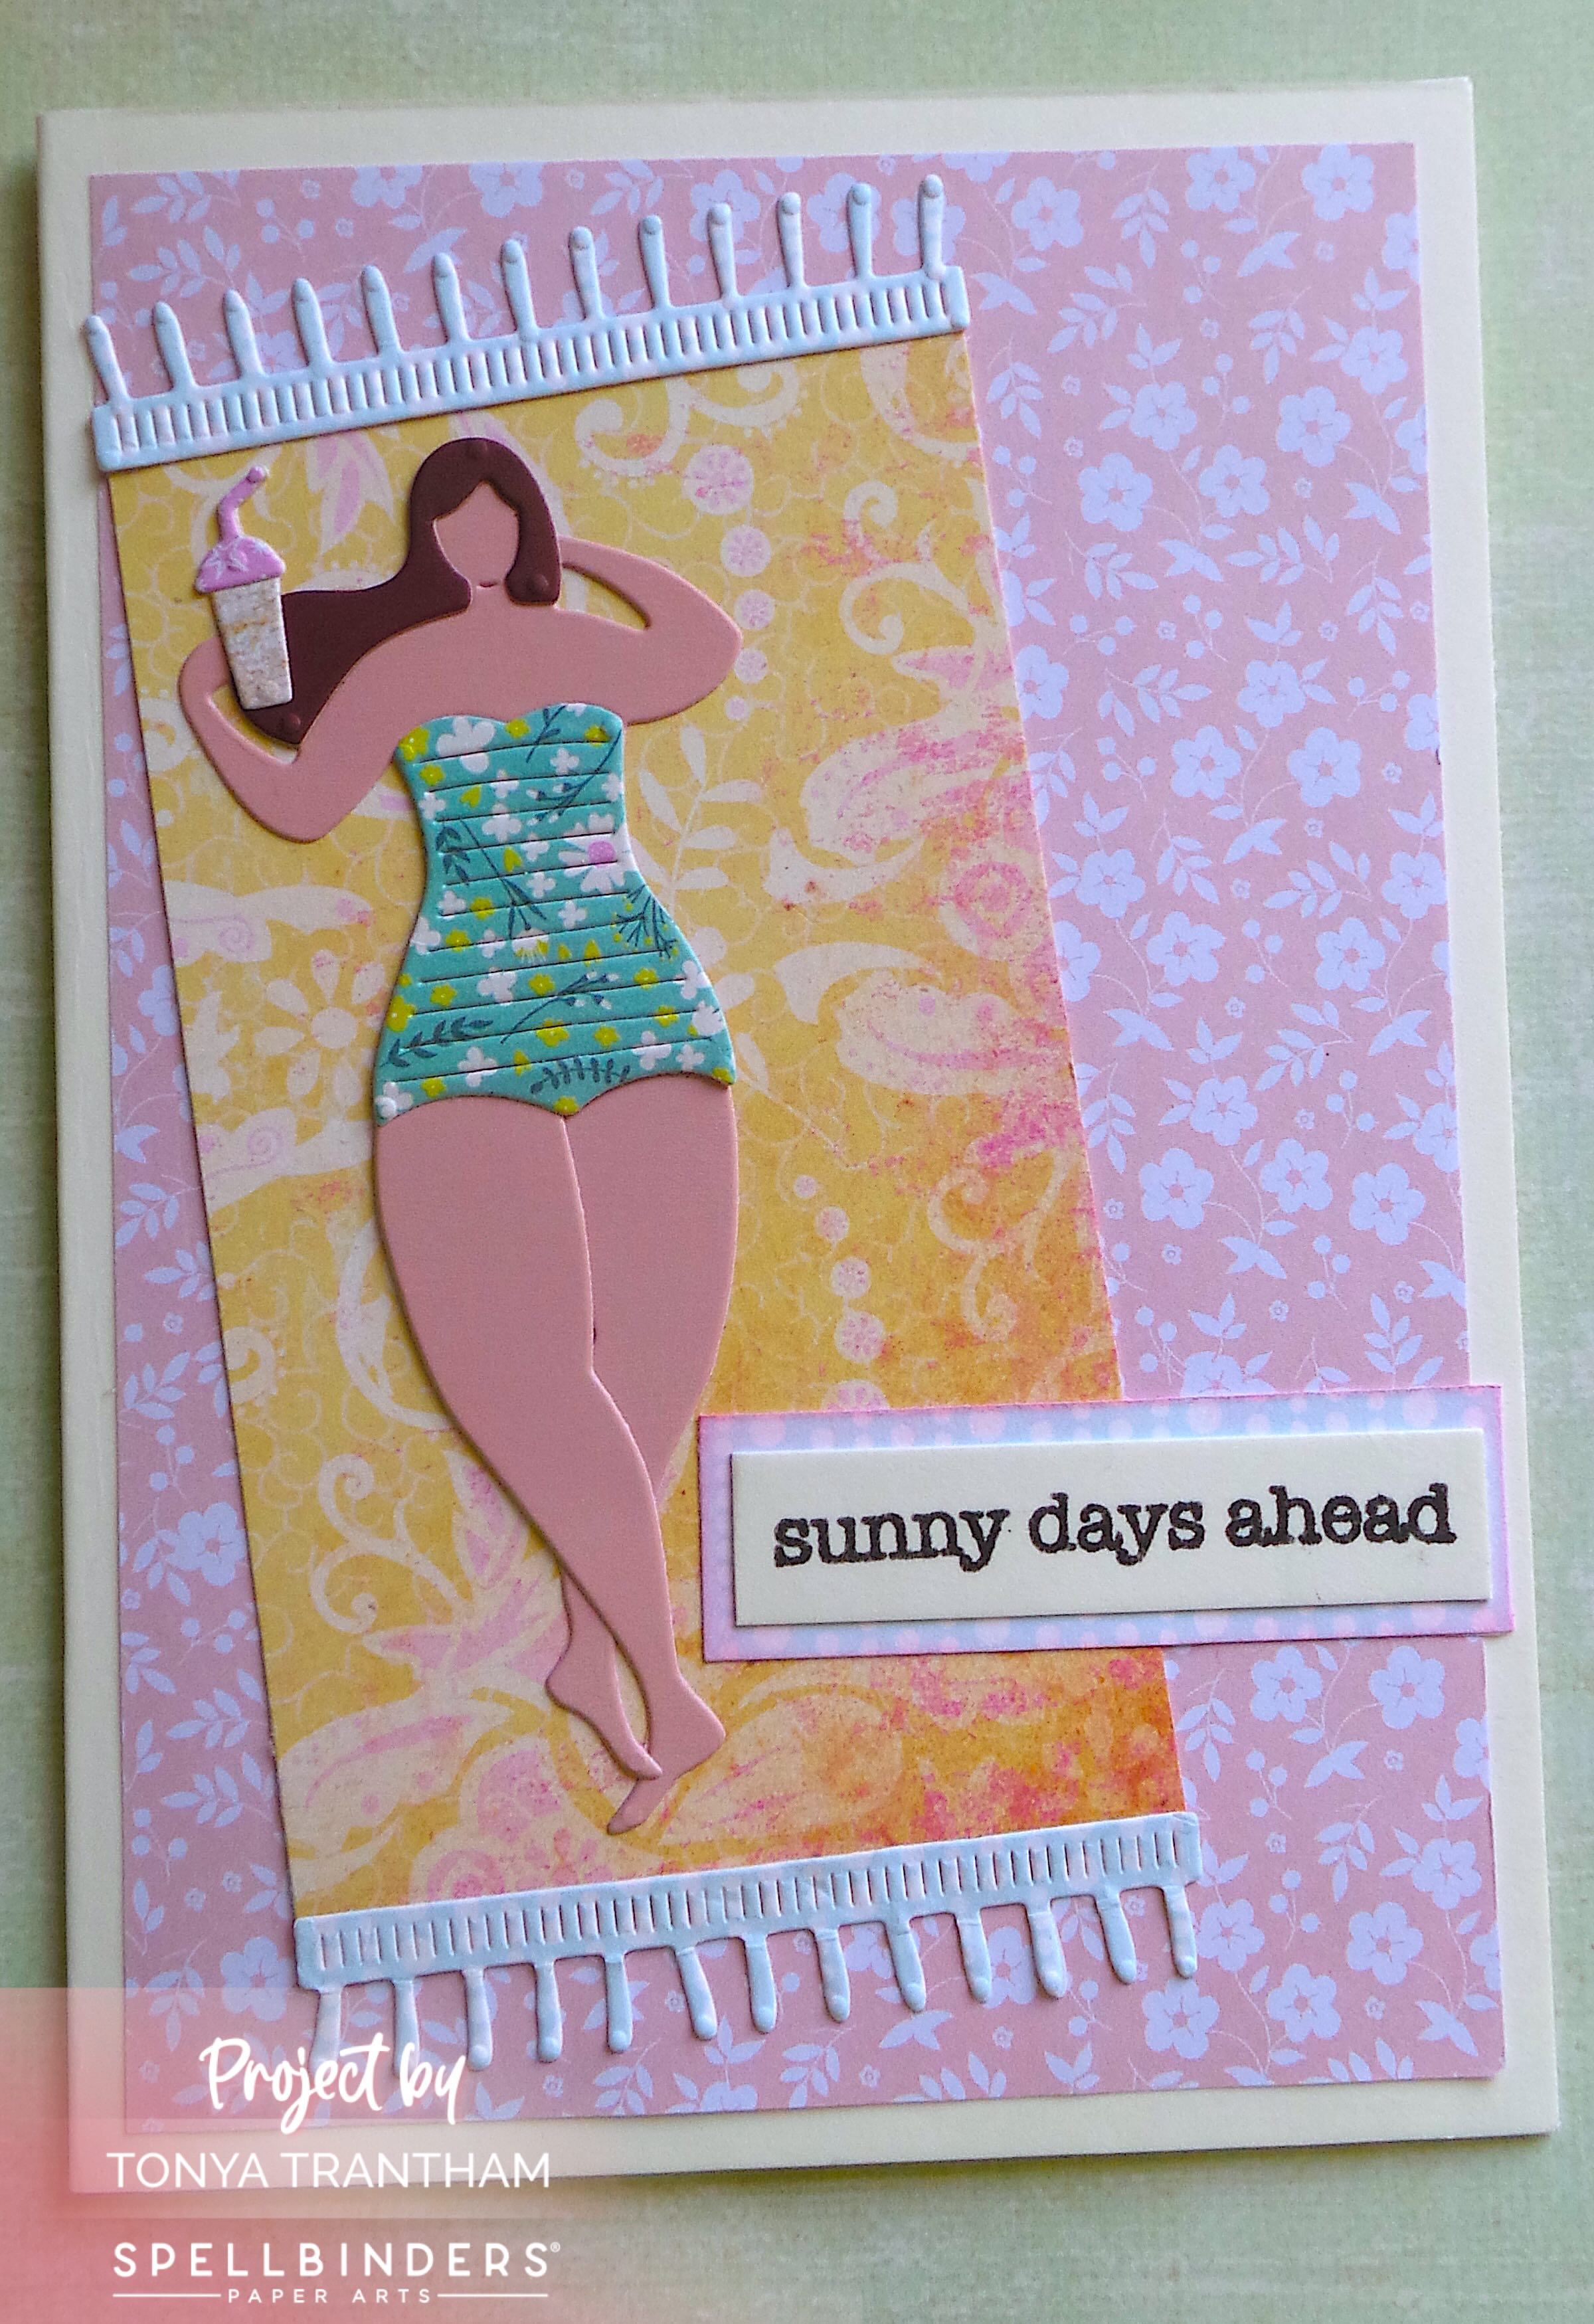
Anyways, I would like to share a card I created. I used the Amalfi Breeze Etched Dies from the La Dolce Vita Collection by Spellbinders. I also used the Typewriter Adventure Sentiments Stamp Set and a sheet of cardstock from the Just Saying Paper Collection.

A handmade card featuring a woman in a bathing suit, holding a drink, surrounded by decorative paper and embellishments, with the text 'sunny days ahead' prominently displayed.

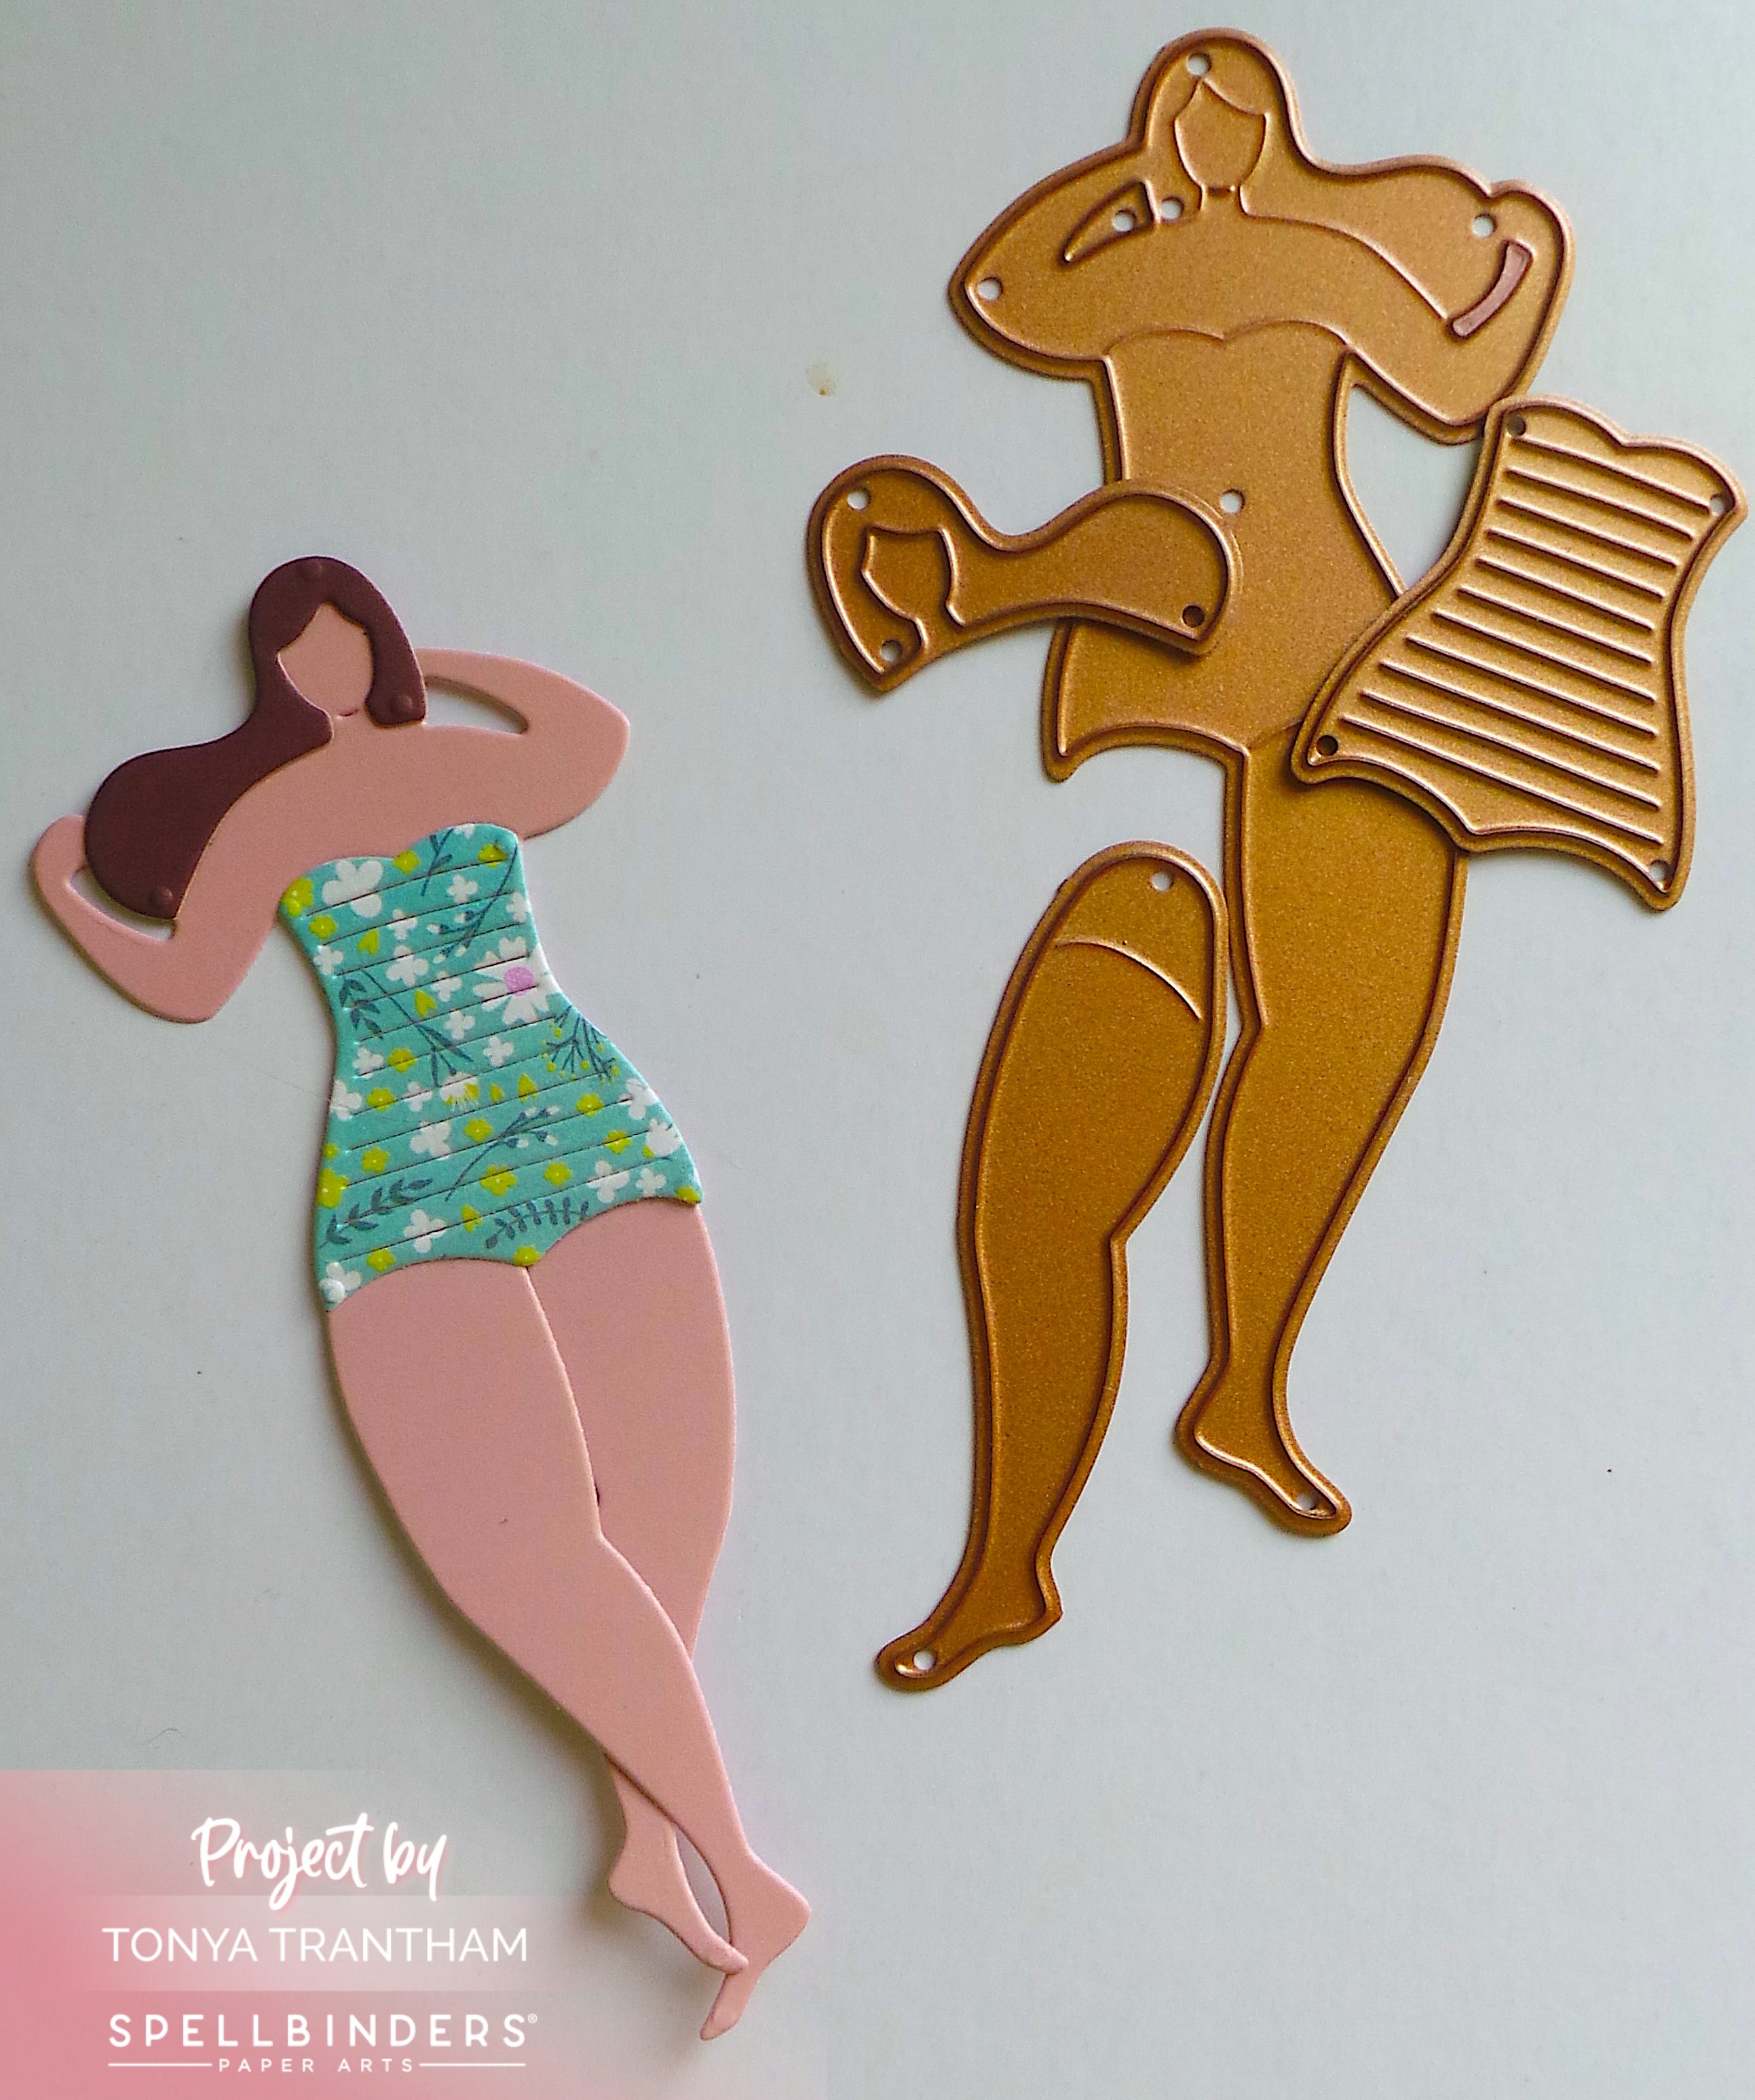
The first thing I did was cut all the pieces of the sun bather out. But before doing that I applied Adhesive to the back of each piece of cardstock. I used a sheet of cardstock from the Just Saying Paper Collection for the bathing suit. I removed the backing from the adhesive and put the sun bather together.

A colorful die-cut piece of a woman in a swimwear pose, accompanied by a matching die template for cutting additional pieces.

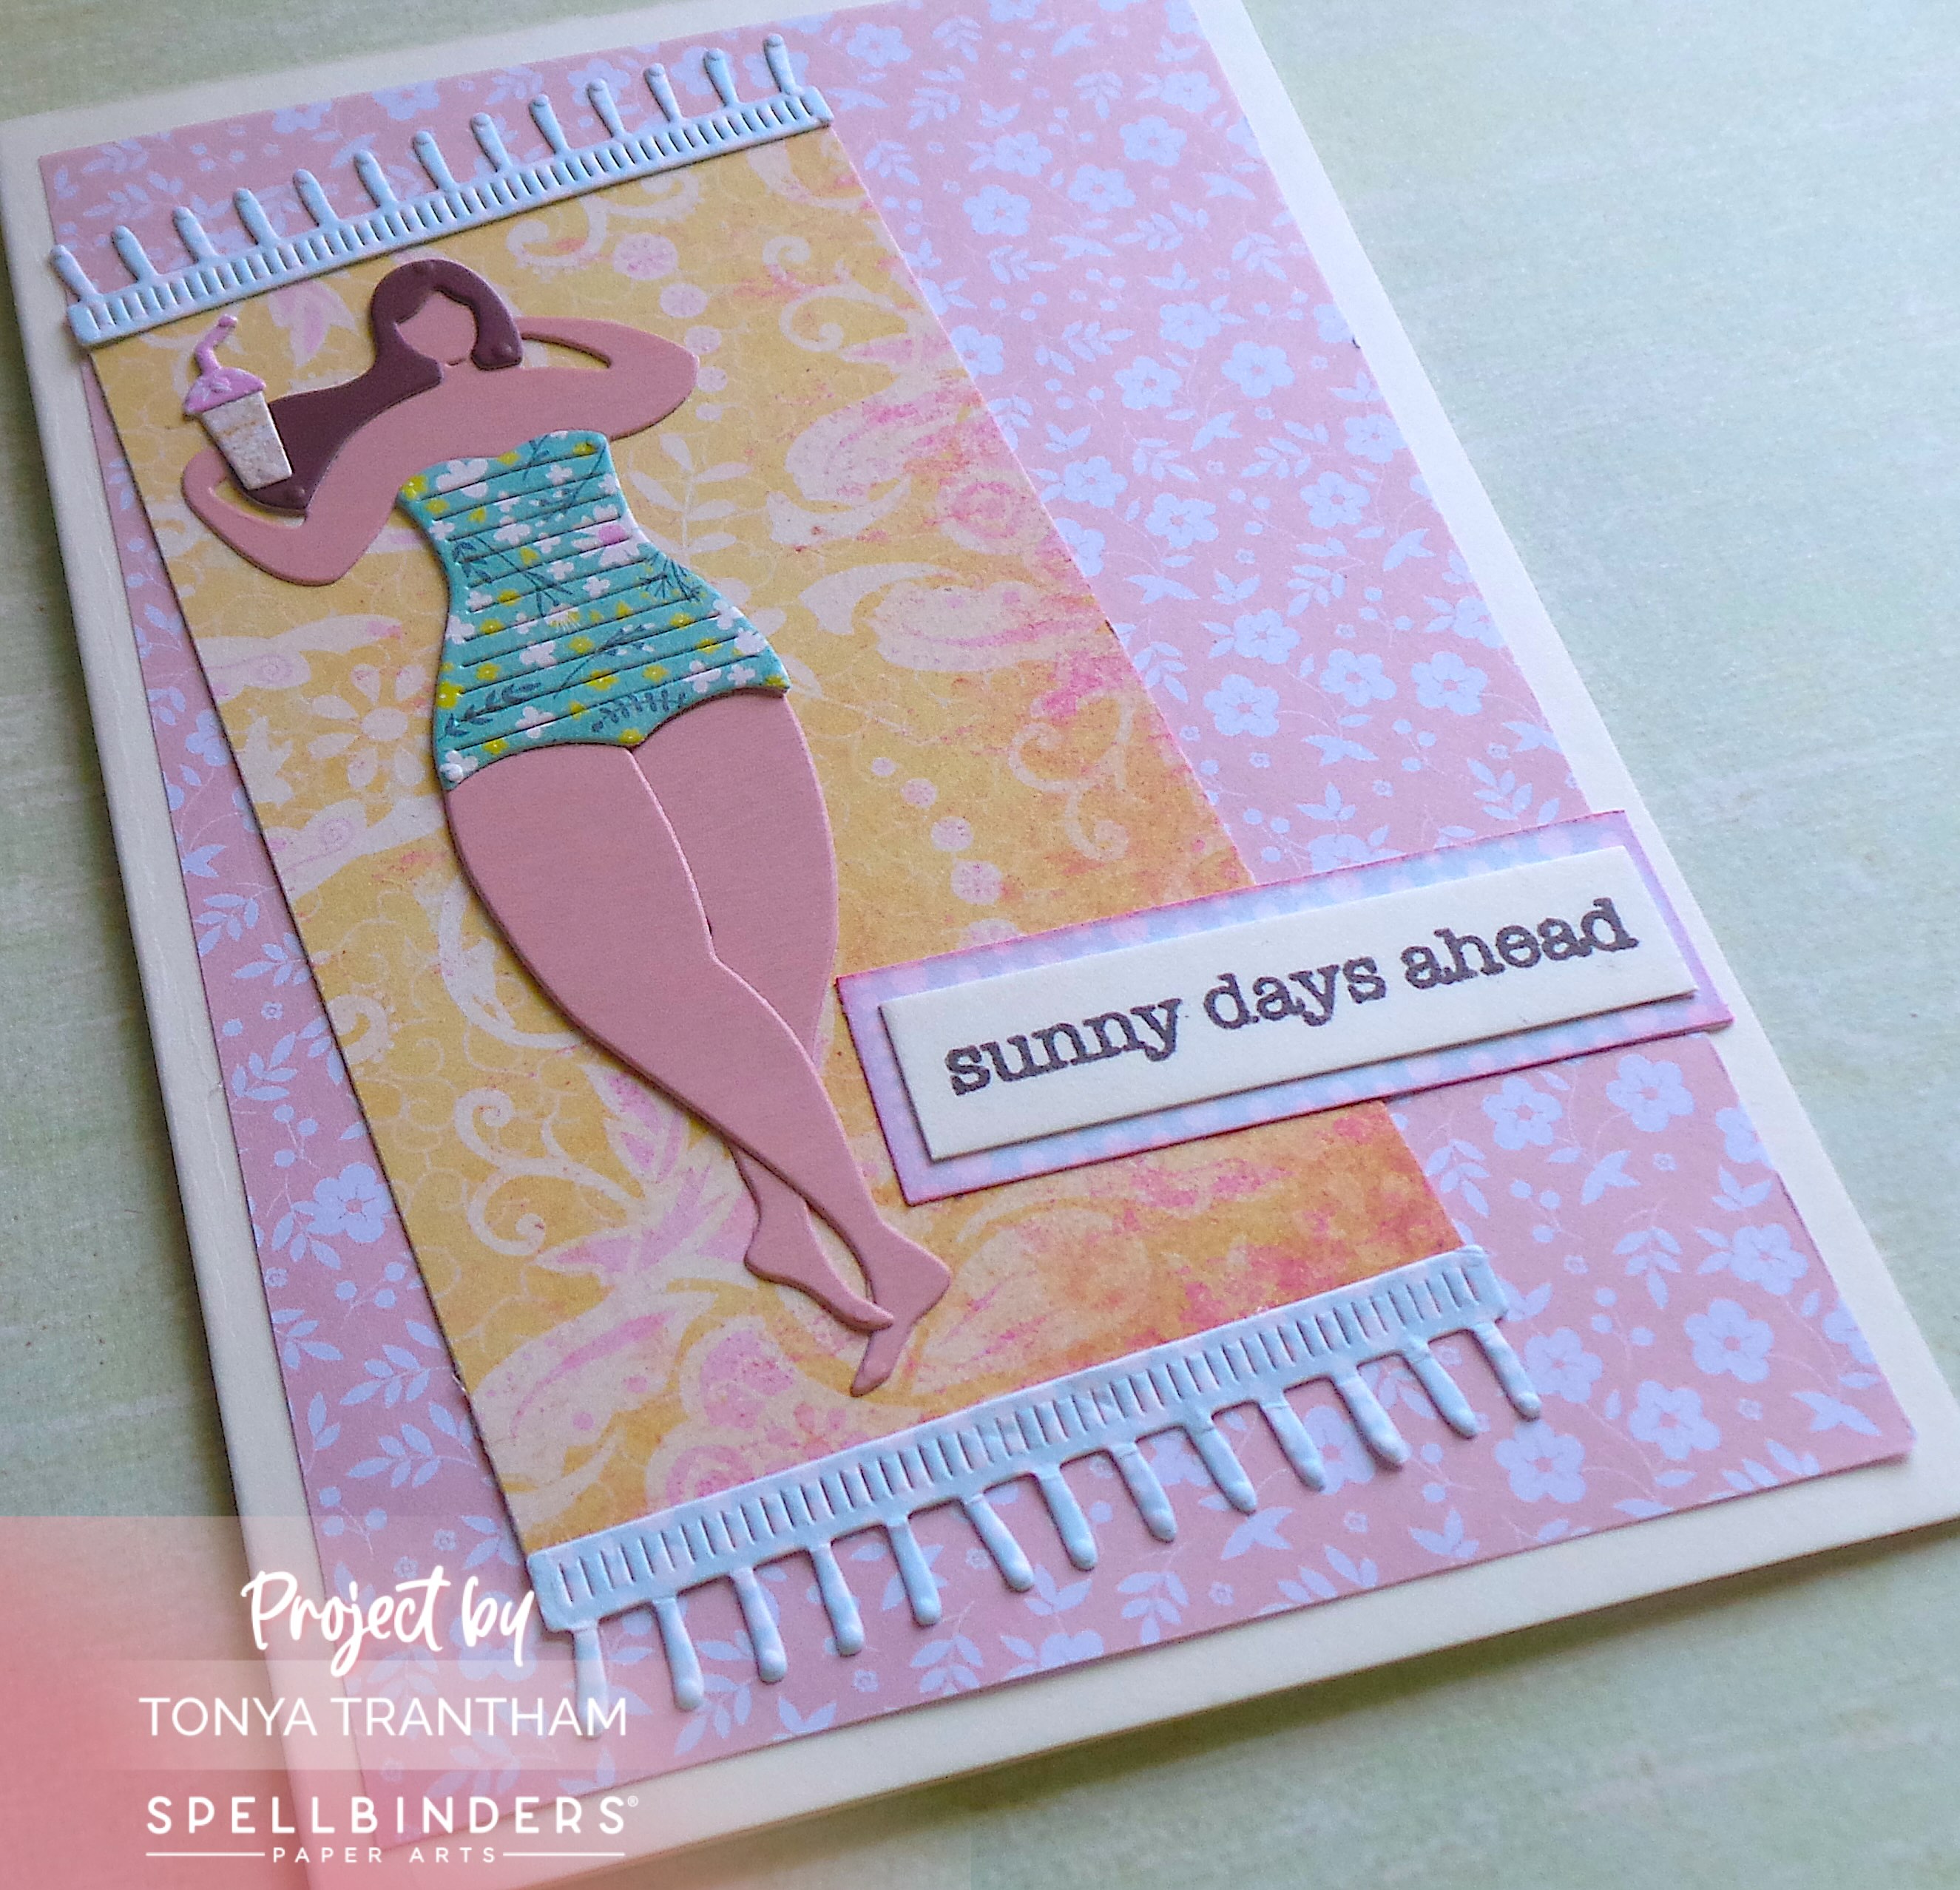
I cut and folded a piece of cardstock, 4 1/4″x 5 1/2″, to create the base of the card. I cut a floral mat slightly smaller than the base and adhered to the card. I applied adhesive to the back of two small pieces of cardstock. I cut two fringes from the die set. Next I cut a piece of cardstock the same width as the fringe and longer than the sunbather.

A handmade greeting card featuring a paper cutout of a woman in a colorful bathing suit holding an ice cream cone, with a sentiment that reads 'sunny days ahead'. The card has a floral background and decorative fringes.

I placed the fringe on either end of the piece of cardstock and glued at an angle onto the card. Next I added the sun bather on top of the “blanket”.

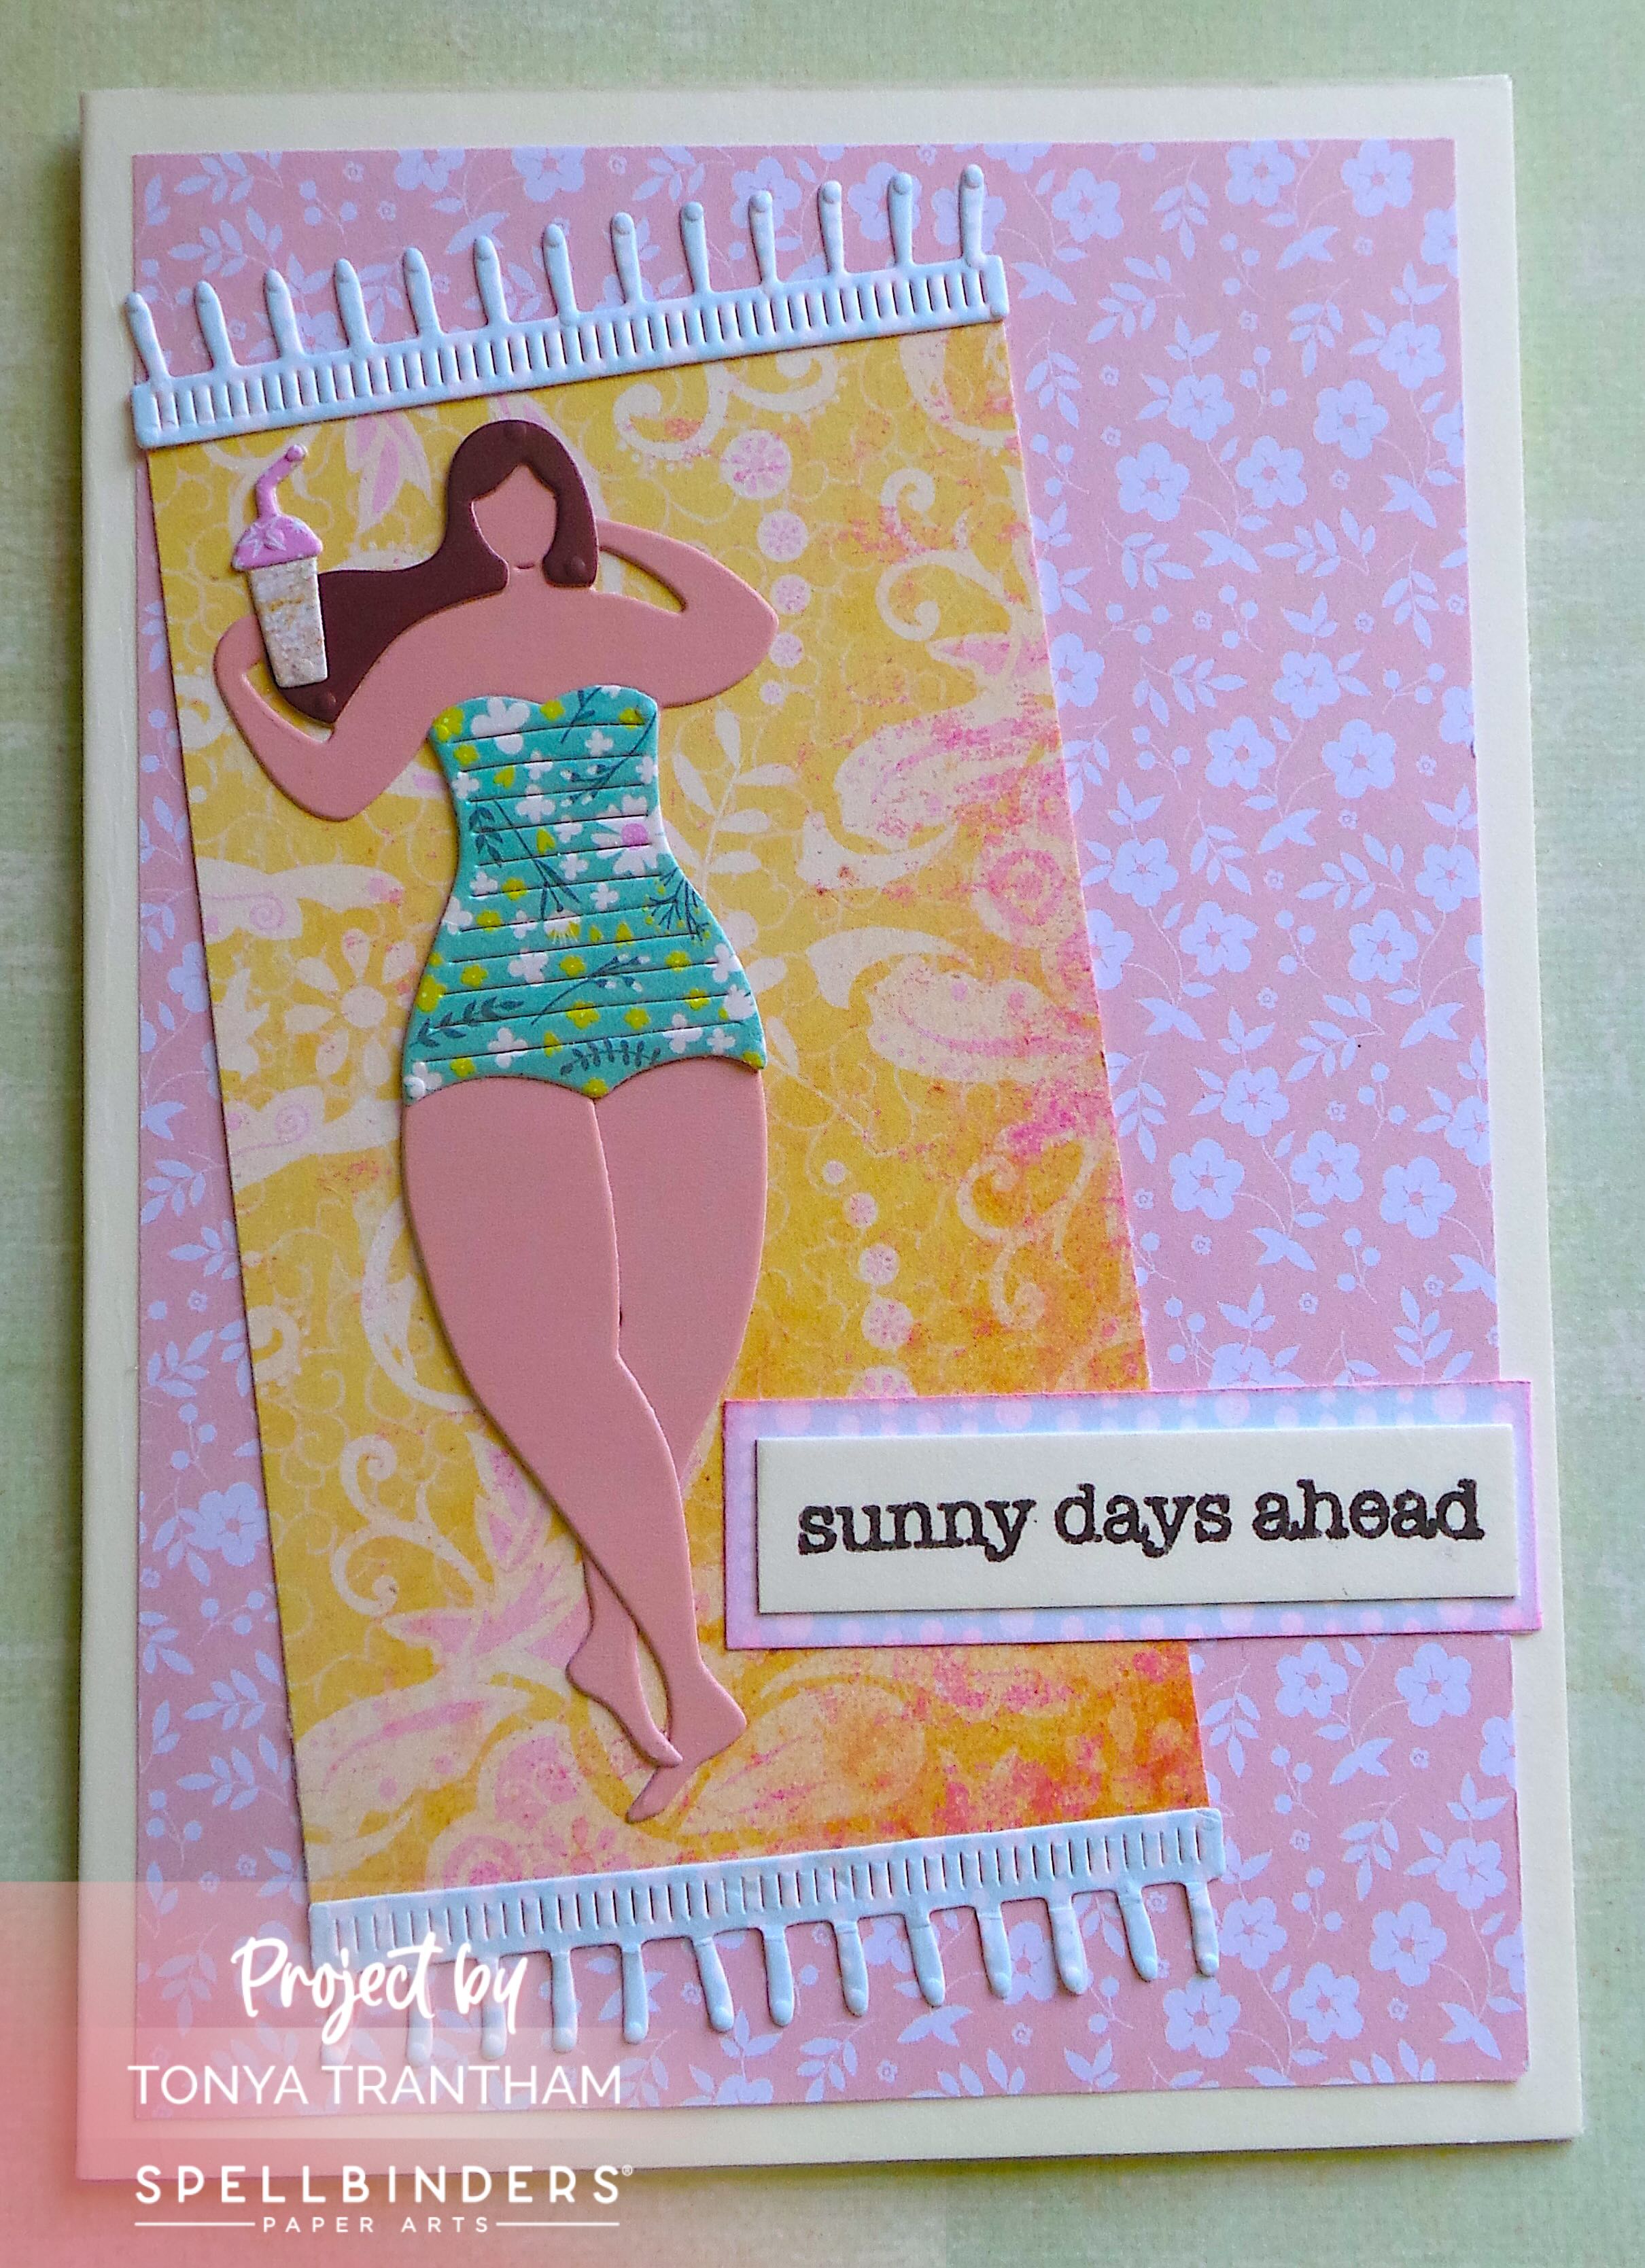
A handmade greeting card depicting a sunbather in a colorful swimsuit, holding a drink. The background features floral patterns in pink and yellow. The phrase 'sunny days ahead' is prominently displayed on the card.

I placed the “sunny days ahead” stamp from the Typewriter Adventure Sentiments Stamp Set onto the MISTI Stamping Tool. I inked with Black Ink and stamped onto a piece of cardstock. I cut a mat slightly larger than the sentiment and lightly inked with Pink Chalk Ink. I glued the sentiment onto the mat and placed on the card to finish.

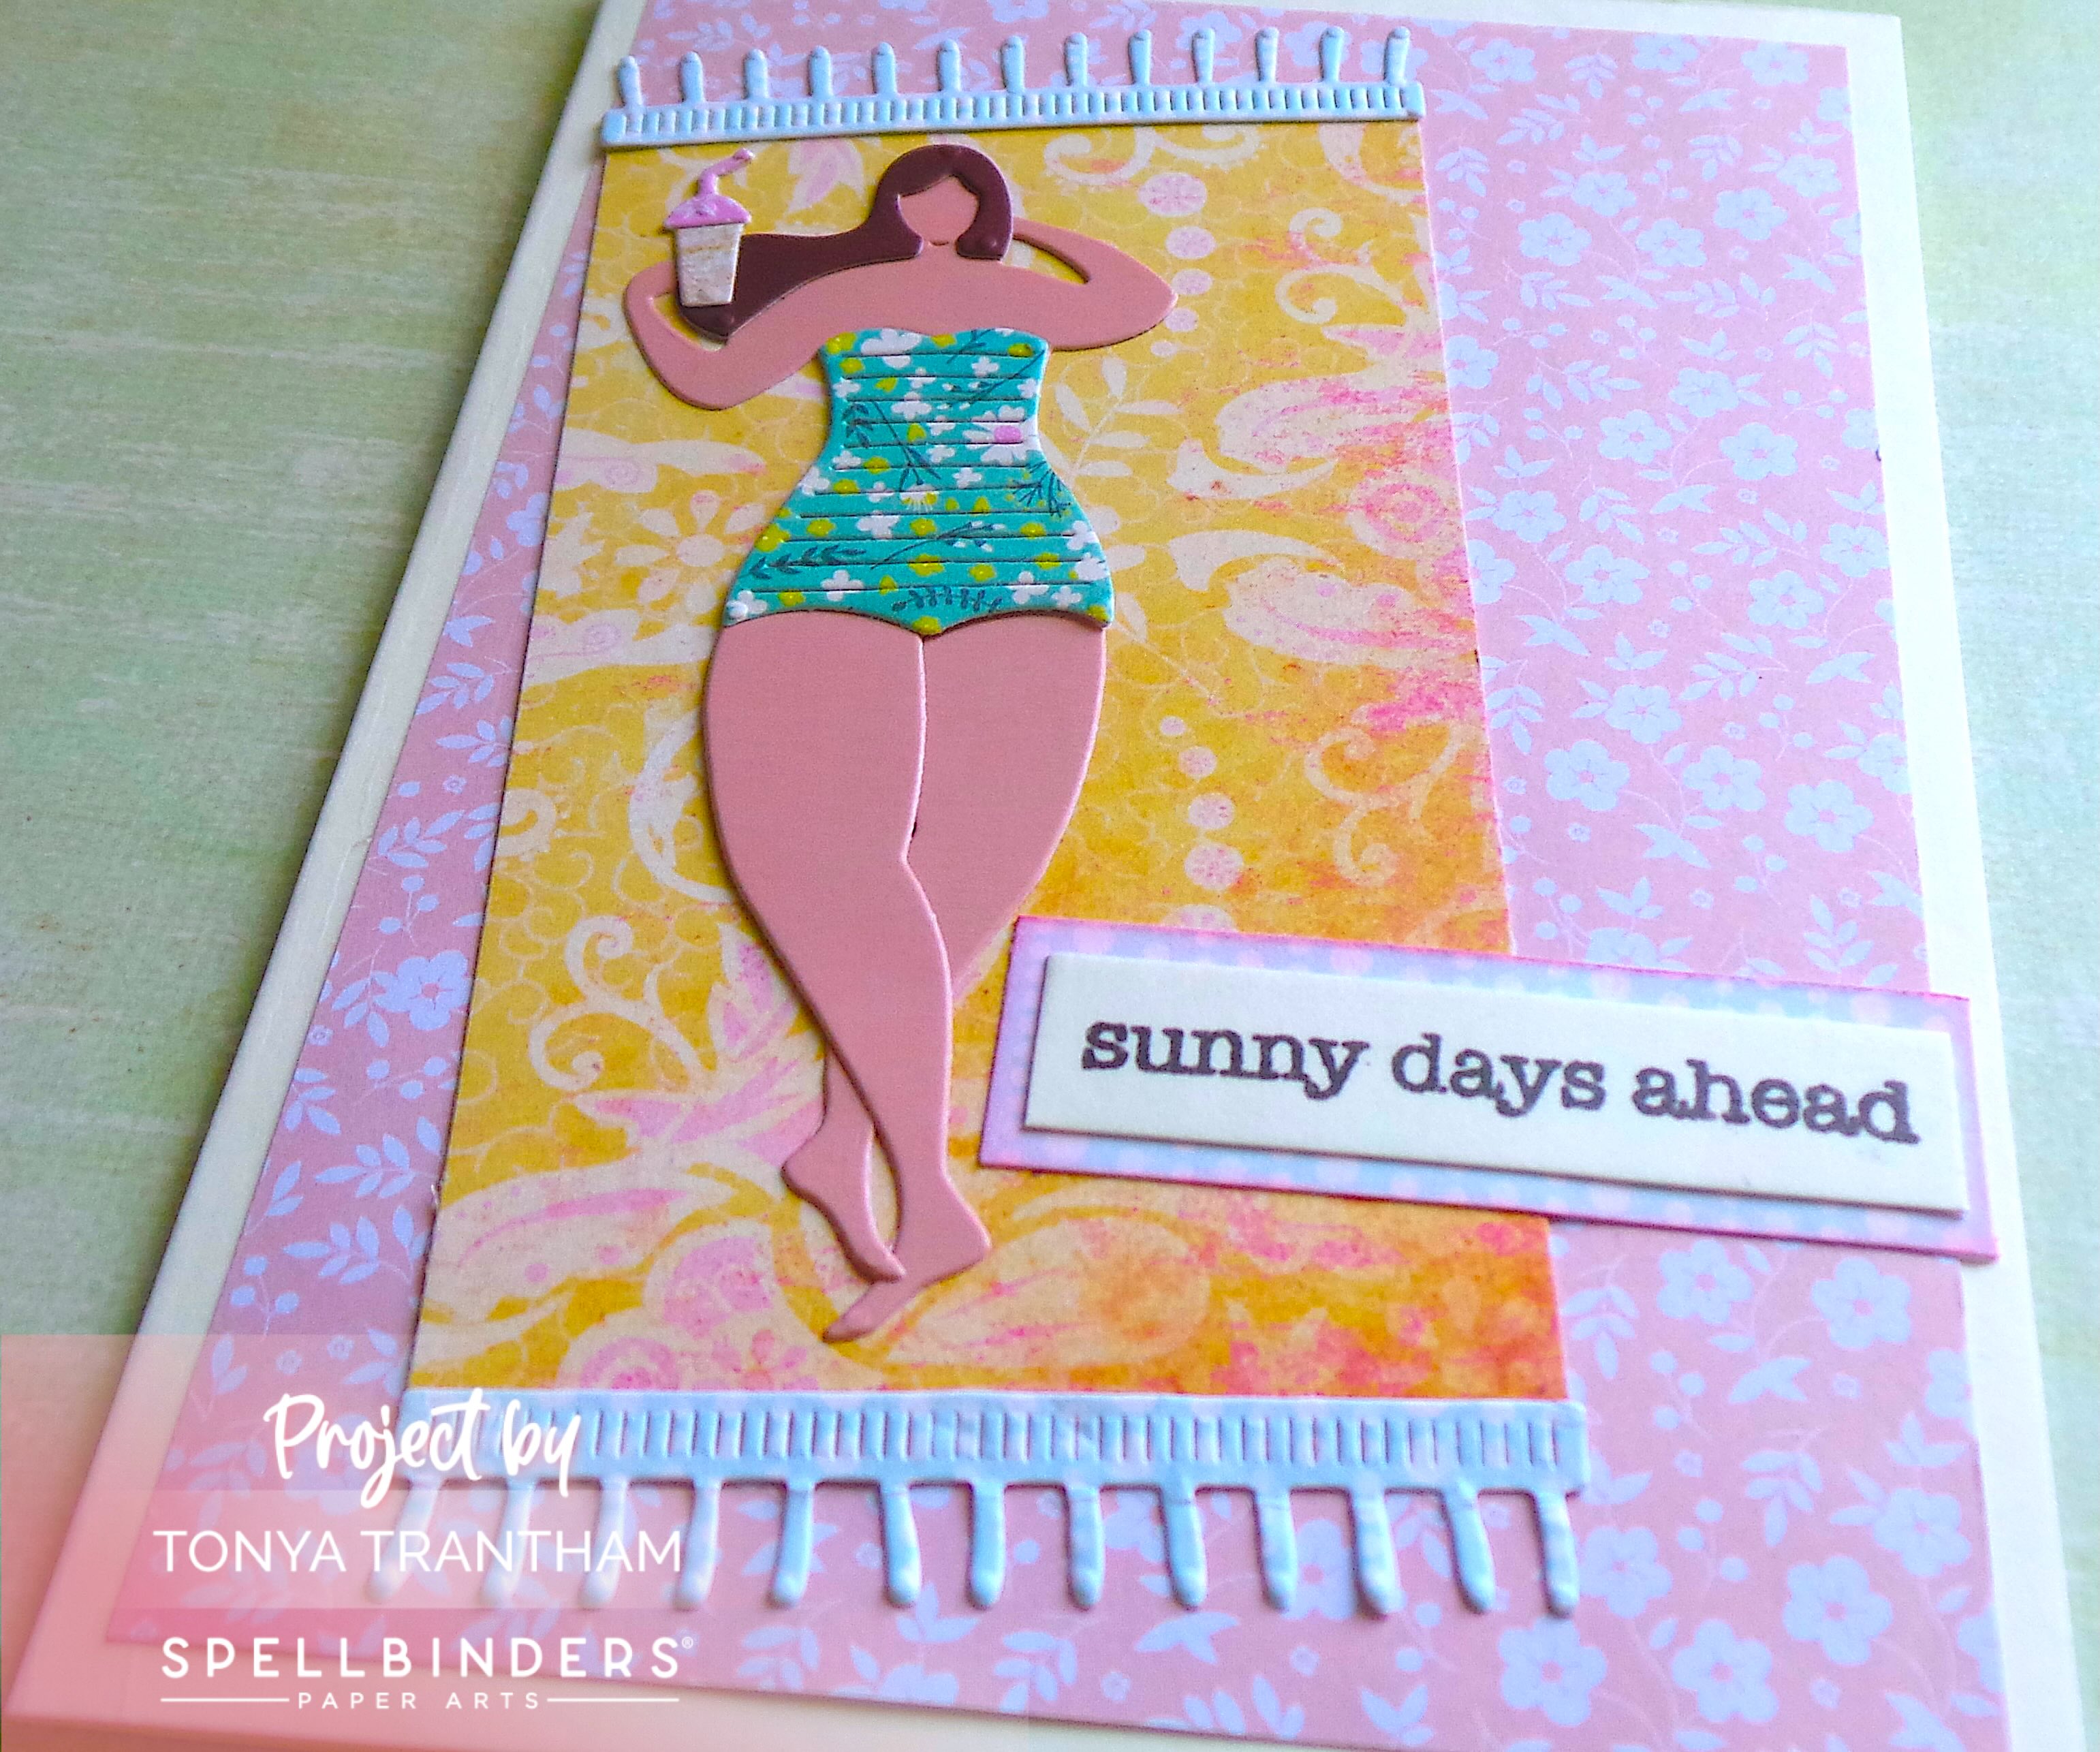
If you have any questions or comments about this card please leave them below.

A handmade card featuring a sunbather in a colorful swimsuit, holding an ice cream drink, with the phrase 'sunny days ahead' printed on it. The card has a floral background and decorative fringes at the bottom.

Supplies

Spellbinders: Amalfi Breeze Etched Dies

Spellbinders: Typewriter Adventure Sentiments Stamp Set

Spellbinders/Kelly Bangs: Just Saying Paper Collection

Diecut Machine

Various Plain and Patterned Cardstocks

MISTI Stamping Tool

Black Ink

Chalk Ink

Paper Cutter

Scissors

Adhesive Roll

Beacon Adhesives: Zip Dry Adhesive

(Products listed above are Affiliated Links for your convenience)

DISCLAIMERS

This blog is compensated to provide opinion on products, services, websites, and various other topics. Even though the owner(s) of this blog receives compensation for our posts or advertisements. I always give my honest opinions, findings, beliefs, or experiences on those topics or products. The views and opinions expressed on this blog are purely my own. Any product claim, statistic, or quote should be checked with each manufacturer. Verify other representations about a product or service with the provider or party in question.This blog contains affiliate linksClicking these links helps to support Tonya Trantham Designs – Creative Paper Addiction. It’s at no additional cost to you. Today’s features are Spellbinders and Scrapbook.com Products. 

A handmade card featuring a sunbather in a colorful swimsuit holding an ice cream cone, with a background of floral patterns and the text 'sunny days ahead'.

Thanks for stopping by, I hope your Tuesday was wonderful and enjoy creating!

A decorative graphic featuring a bird and floral elements with the name 'Tonya' in elegant typography against a soft, colorful background.

How to Make a Stunning Hand Sewn Strawberry Card

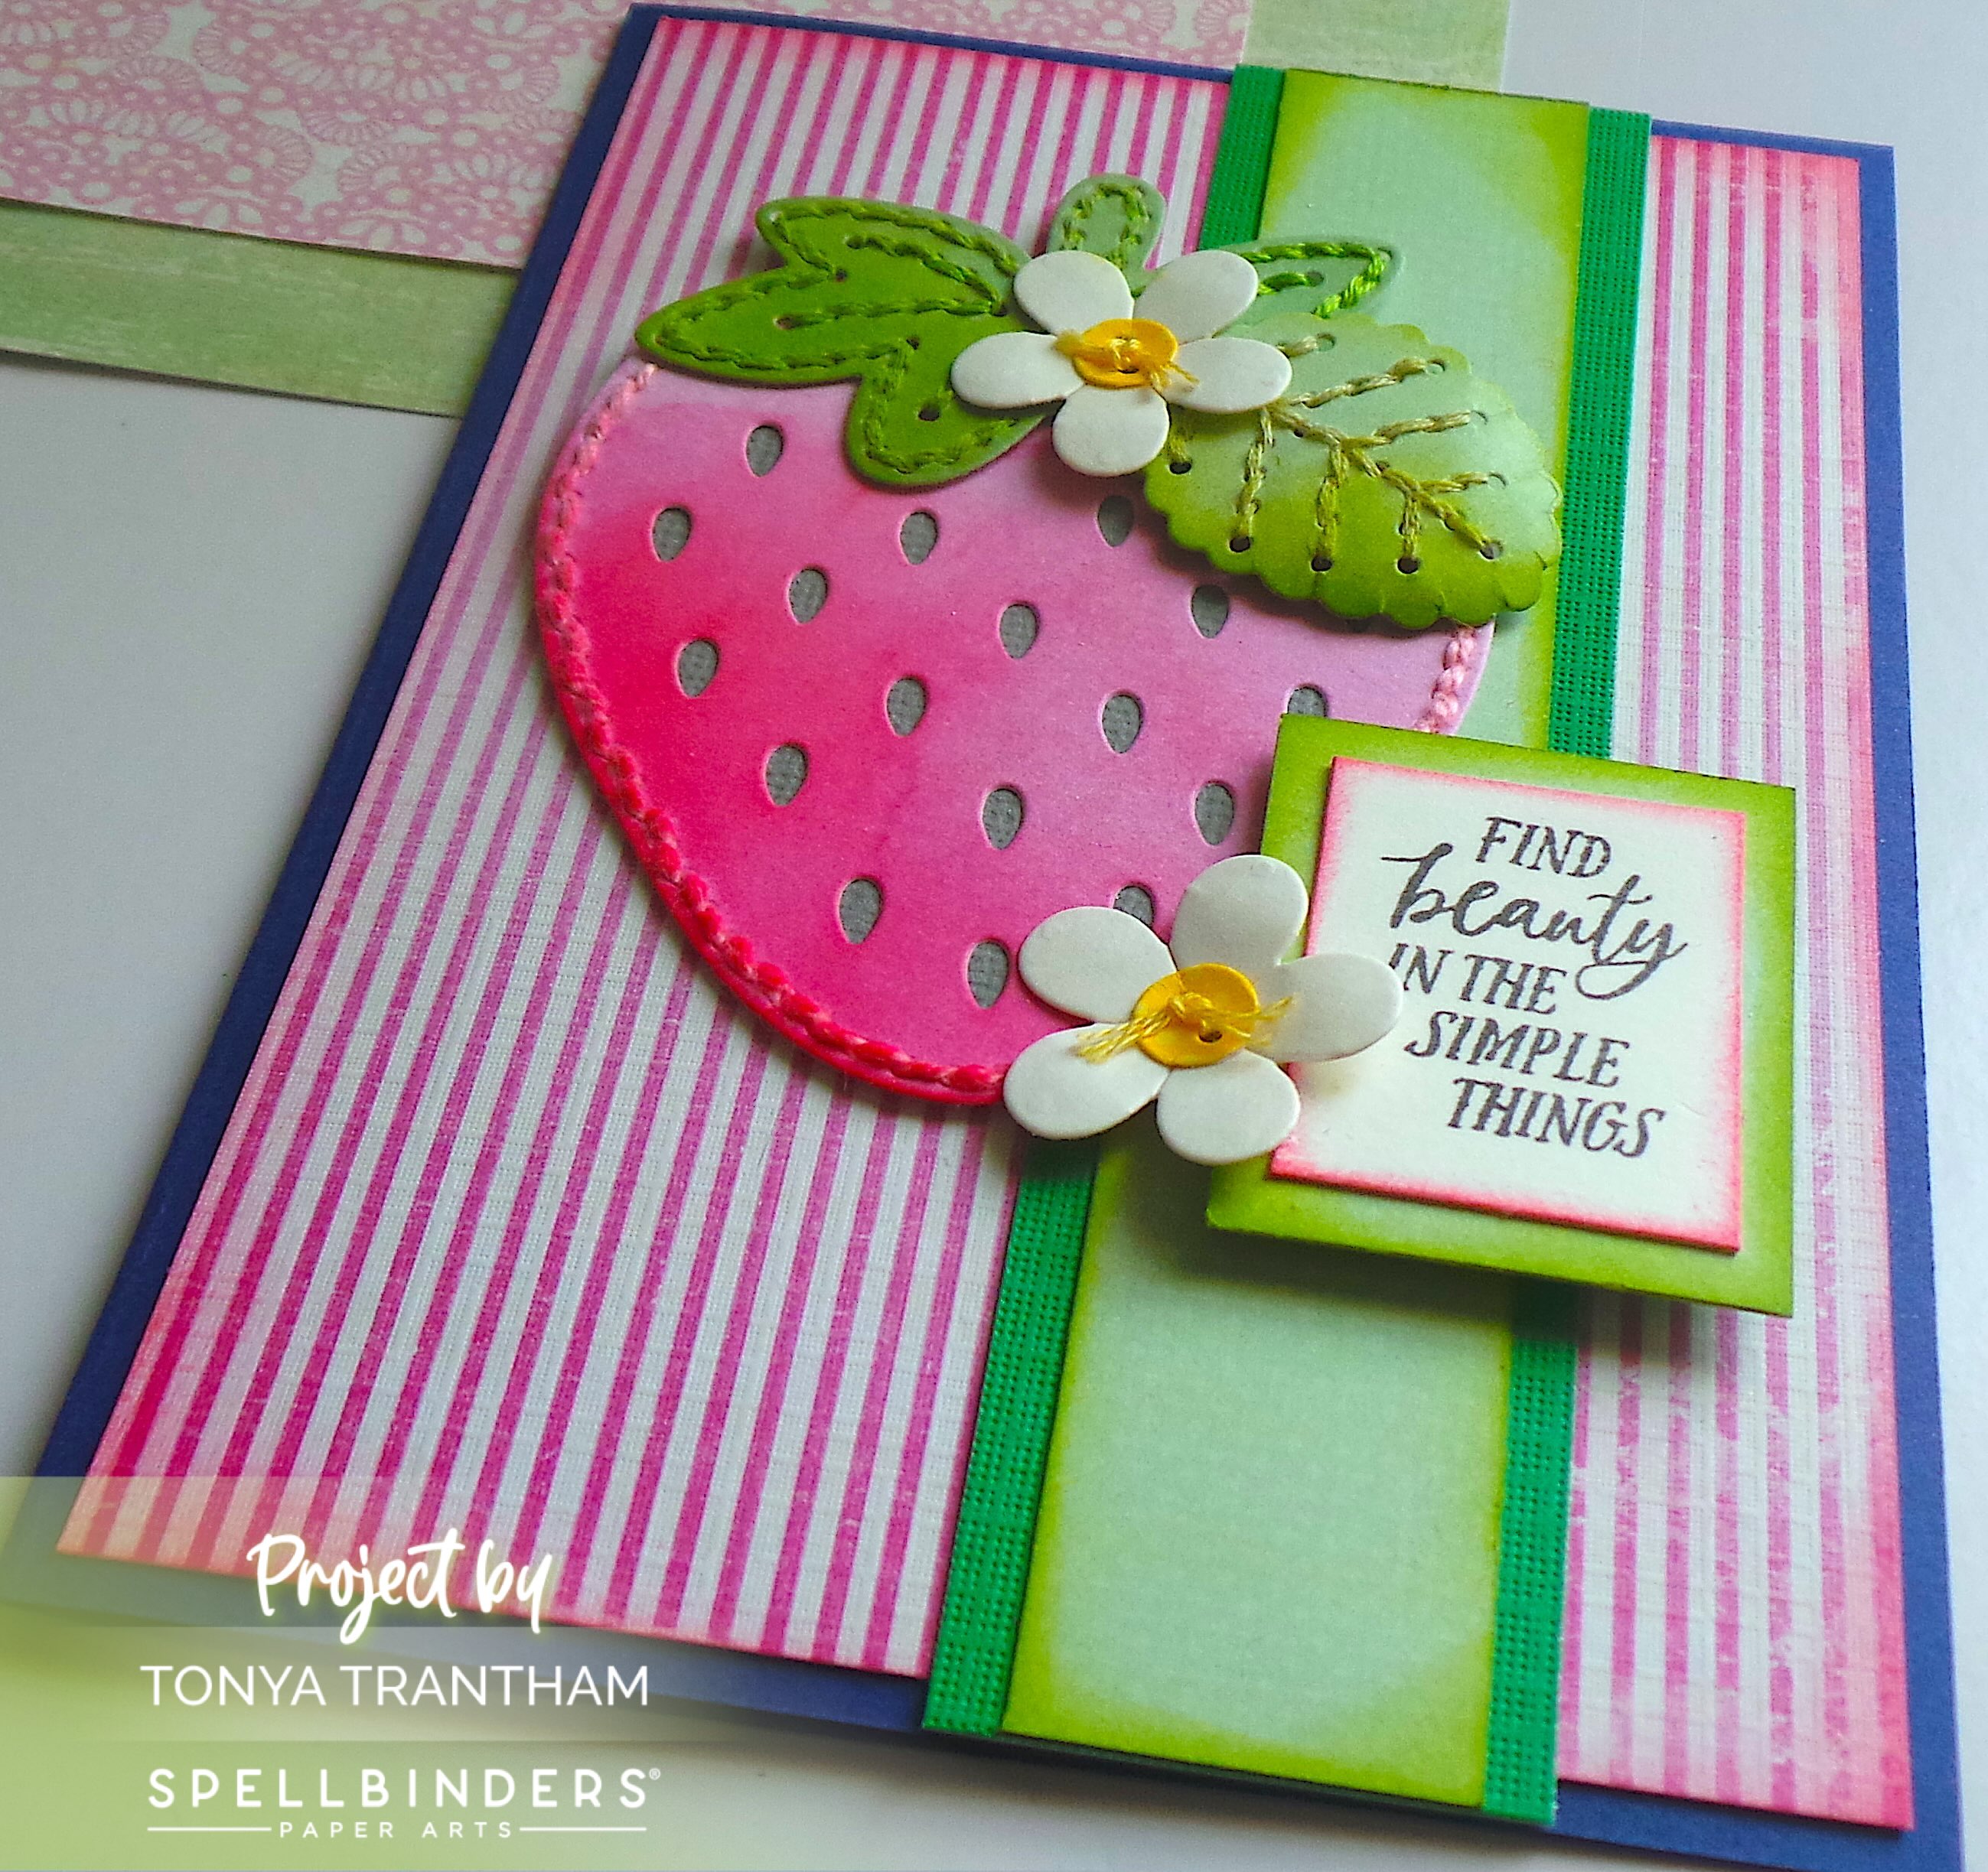
Hi there! I’m back with a card I created using the Felt Berry Blossom Etched Dies by Nichol Spohr and Spellbinders. You can use, fabric, felt, or in my case, cardstock with this set of dies. I love the versatility! Anyways let’s get started!

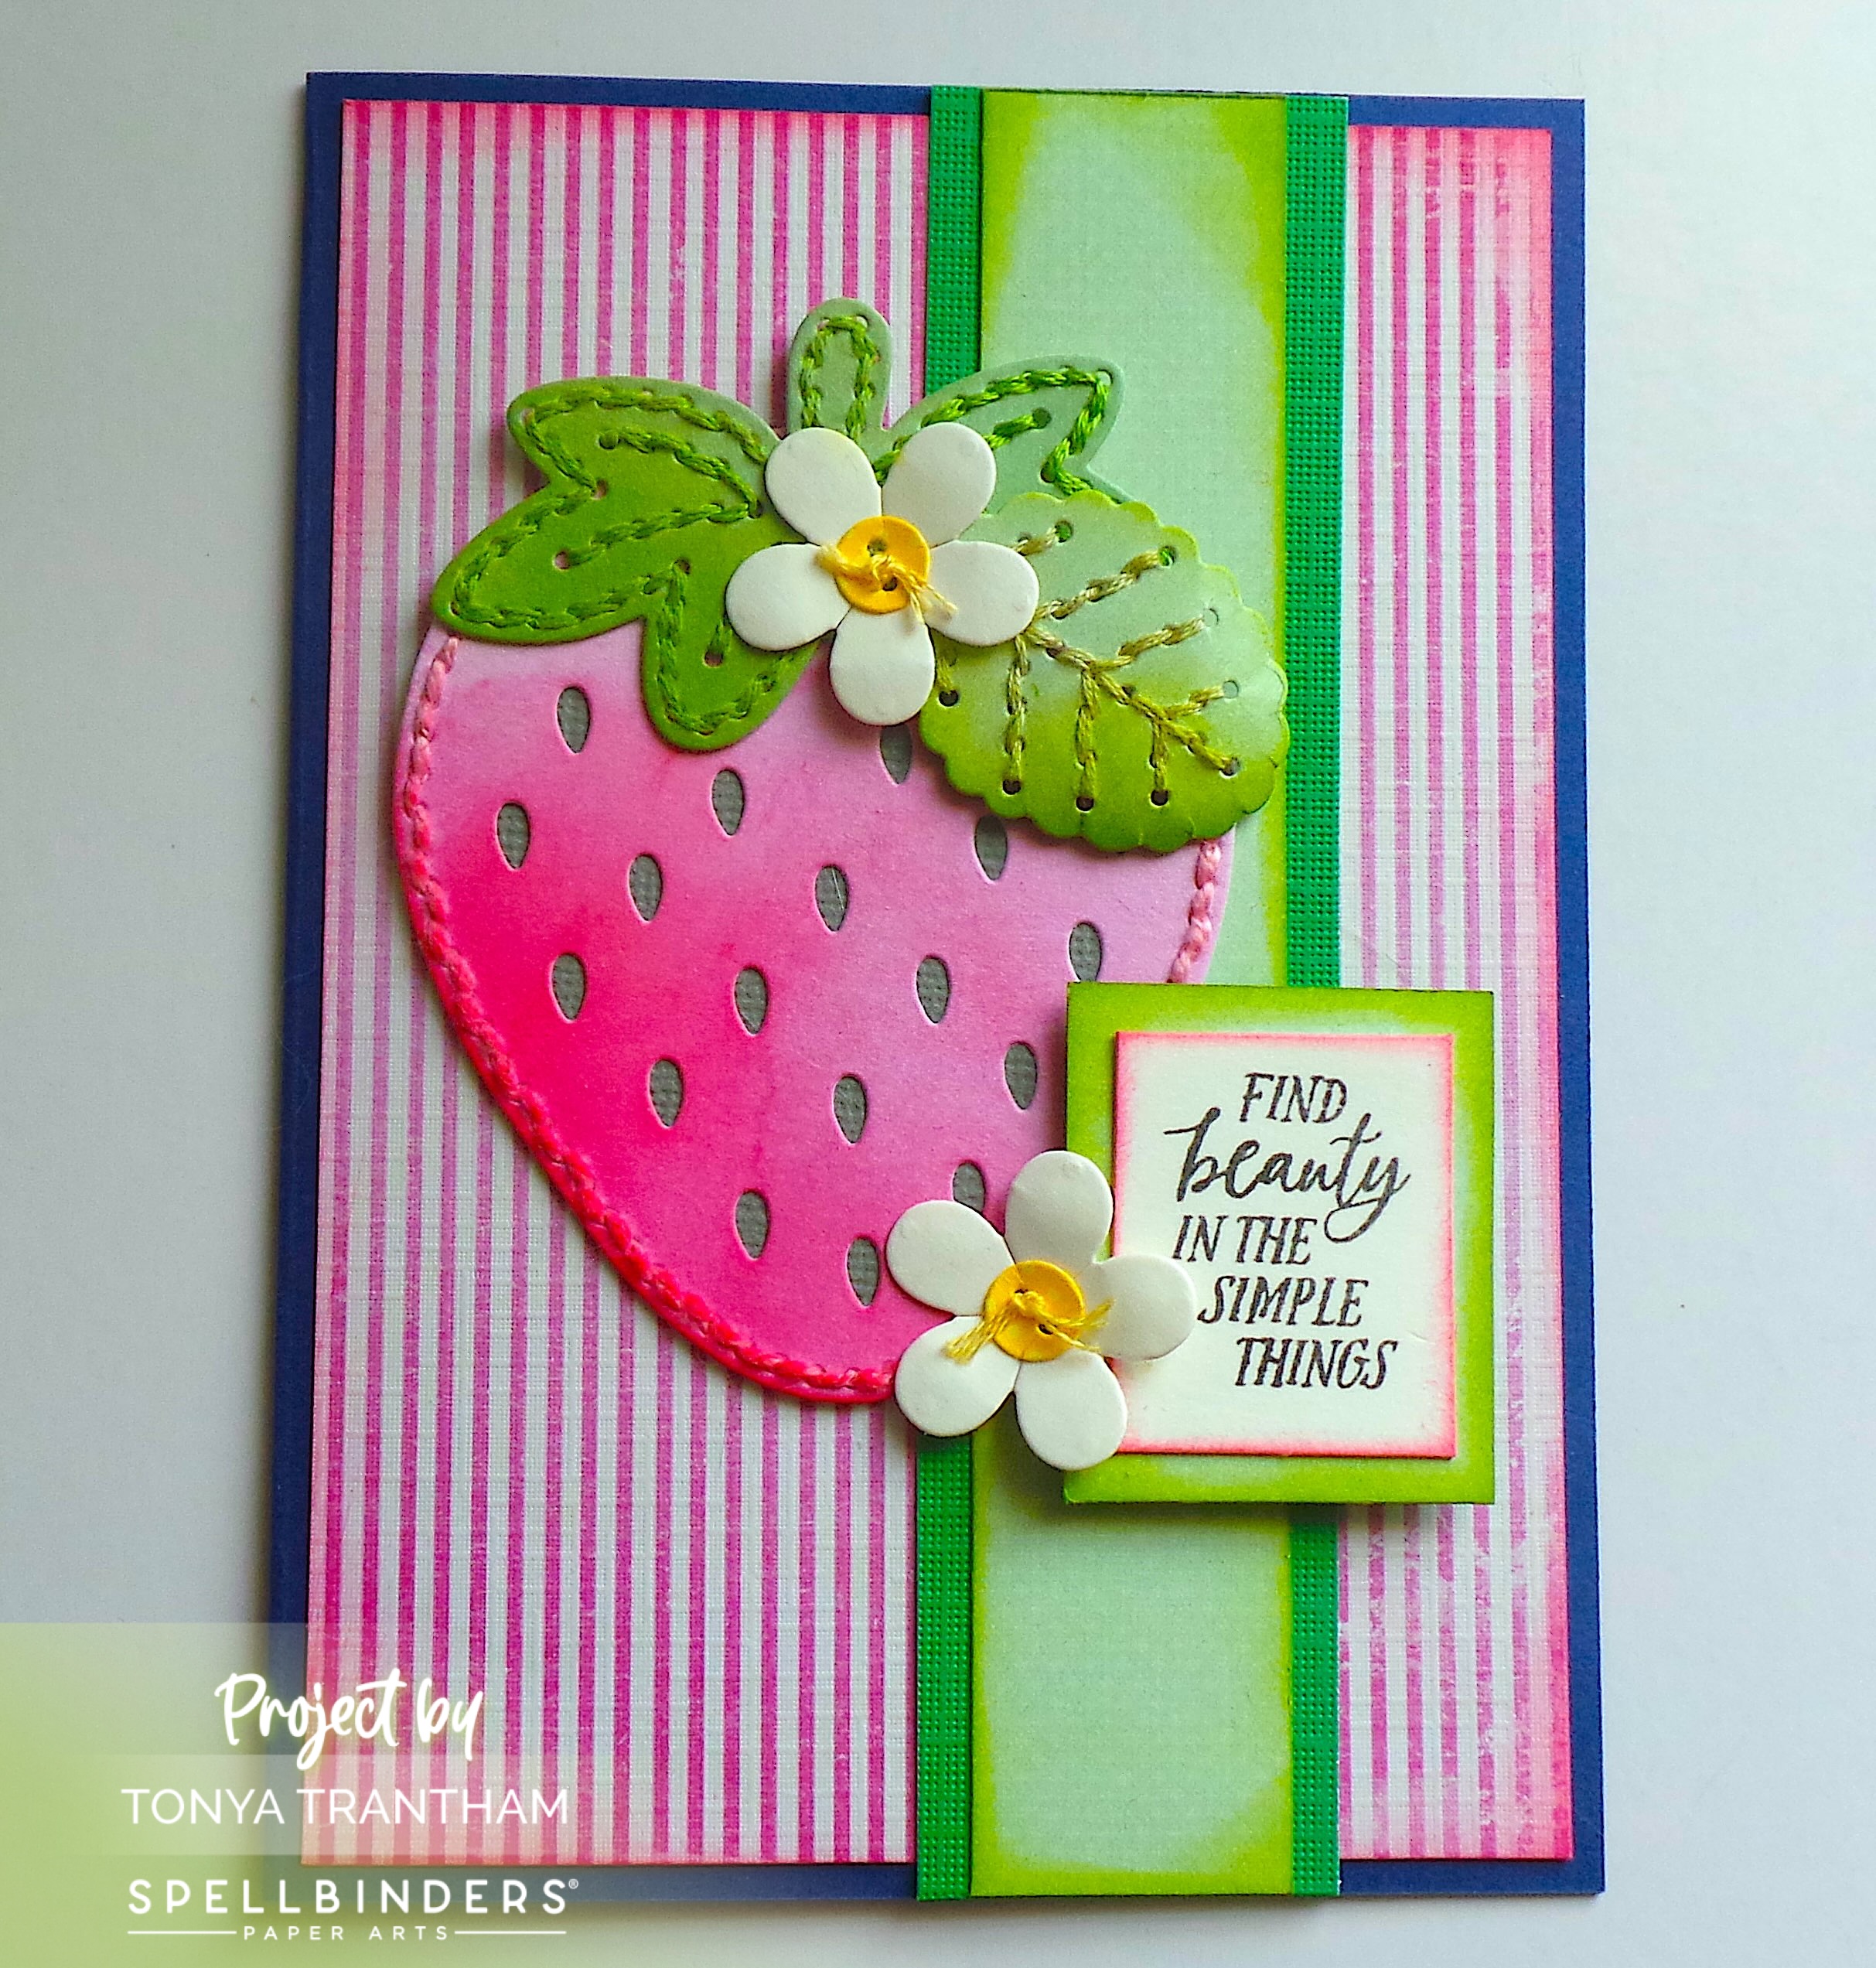
A handmade card featuring a large pink strawberry with a green leaf, accompanied by a small white flower with a yellow center and a sentiment that reads 'Find Beauty in the Simple Things,' set against a striped background.

I went with muted colored cardstock for this project. I cut one each of all the dies except the back die of the strawberry. There is no need since it will be glued to the card base. I also cut two dies each of the flower and button.

I did a back stitch around the strawberry, leaf and “cap” of the strawberry. If you don’t know how to do the back stitch research on your favorite search engine or YouTube. I glued the gray die behind the strawberry. I inked around the edges of the berry, cap and leaf with Pink and Green Chalk Ink.

Close-up of a pink paper strawberry with stitching details, a green leaf die-cut, and a sewing needle with thread. Background is a muted color.

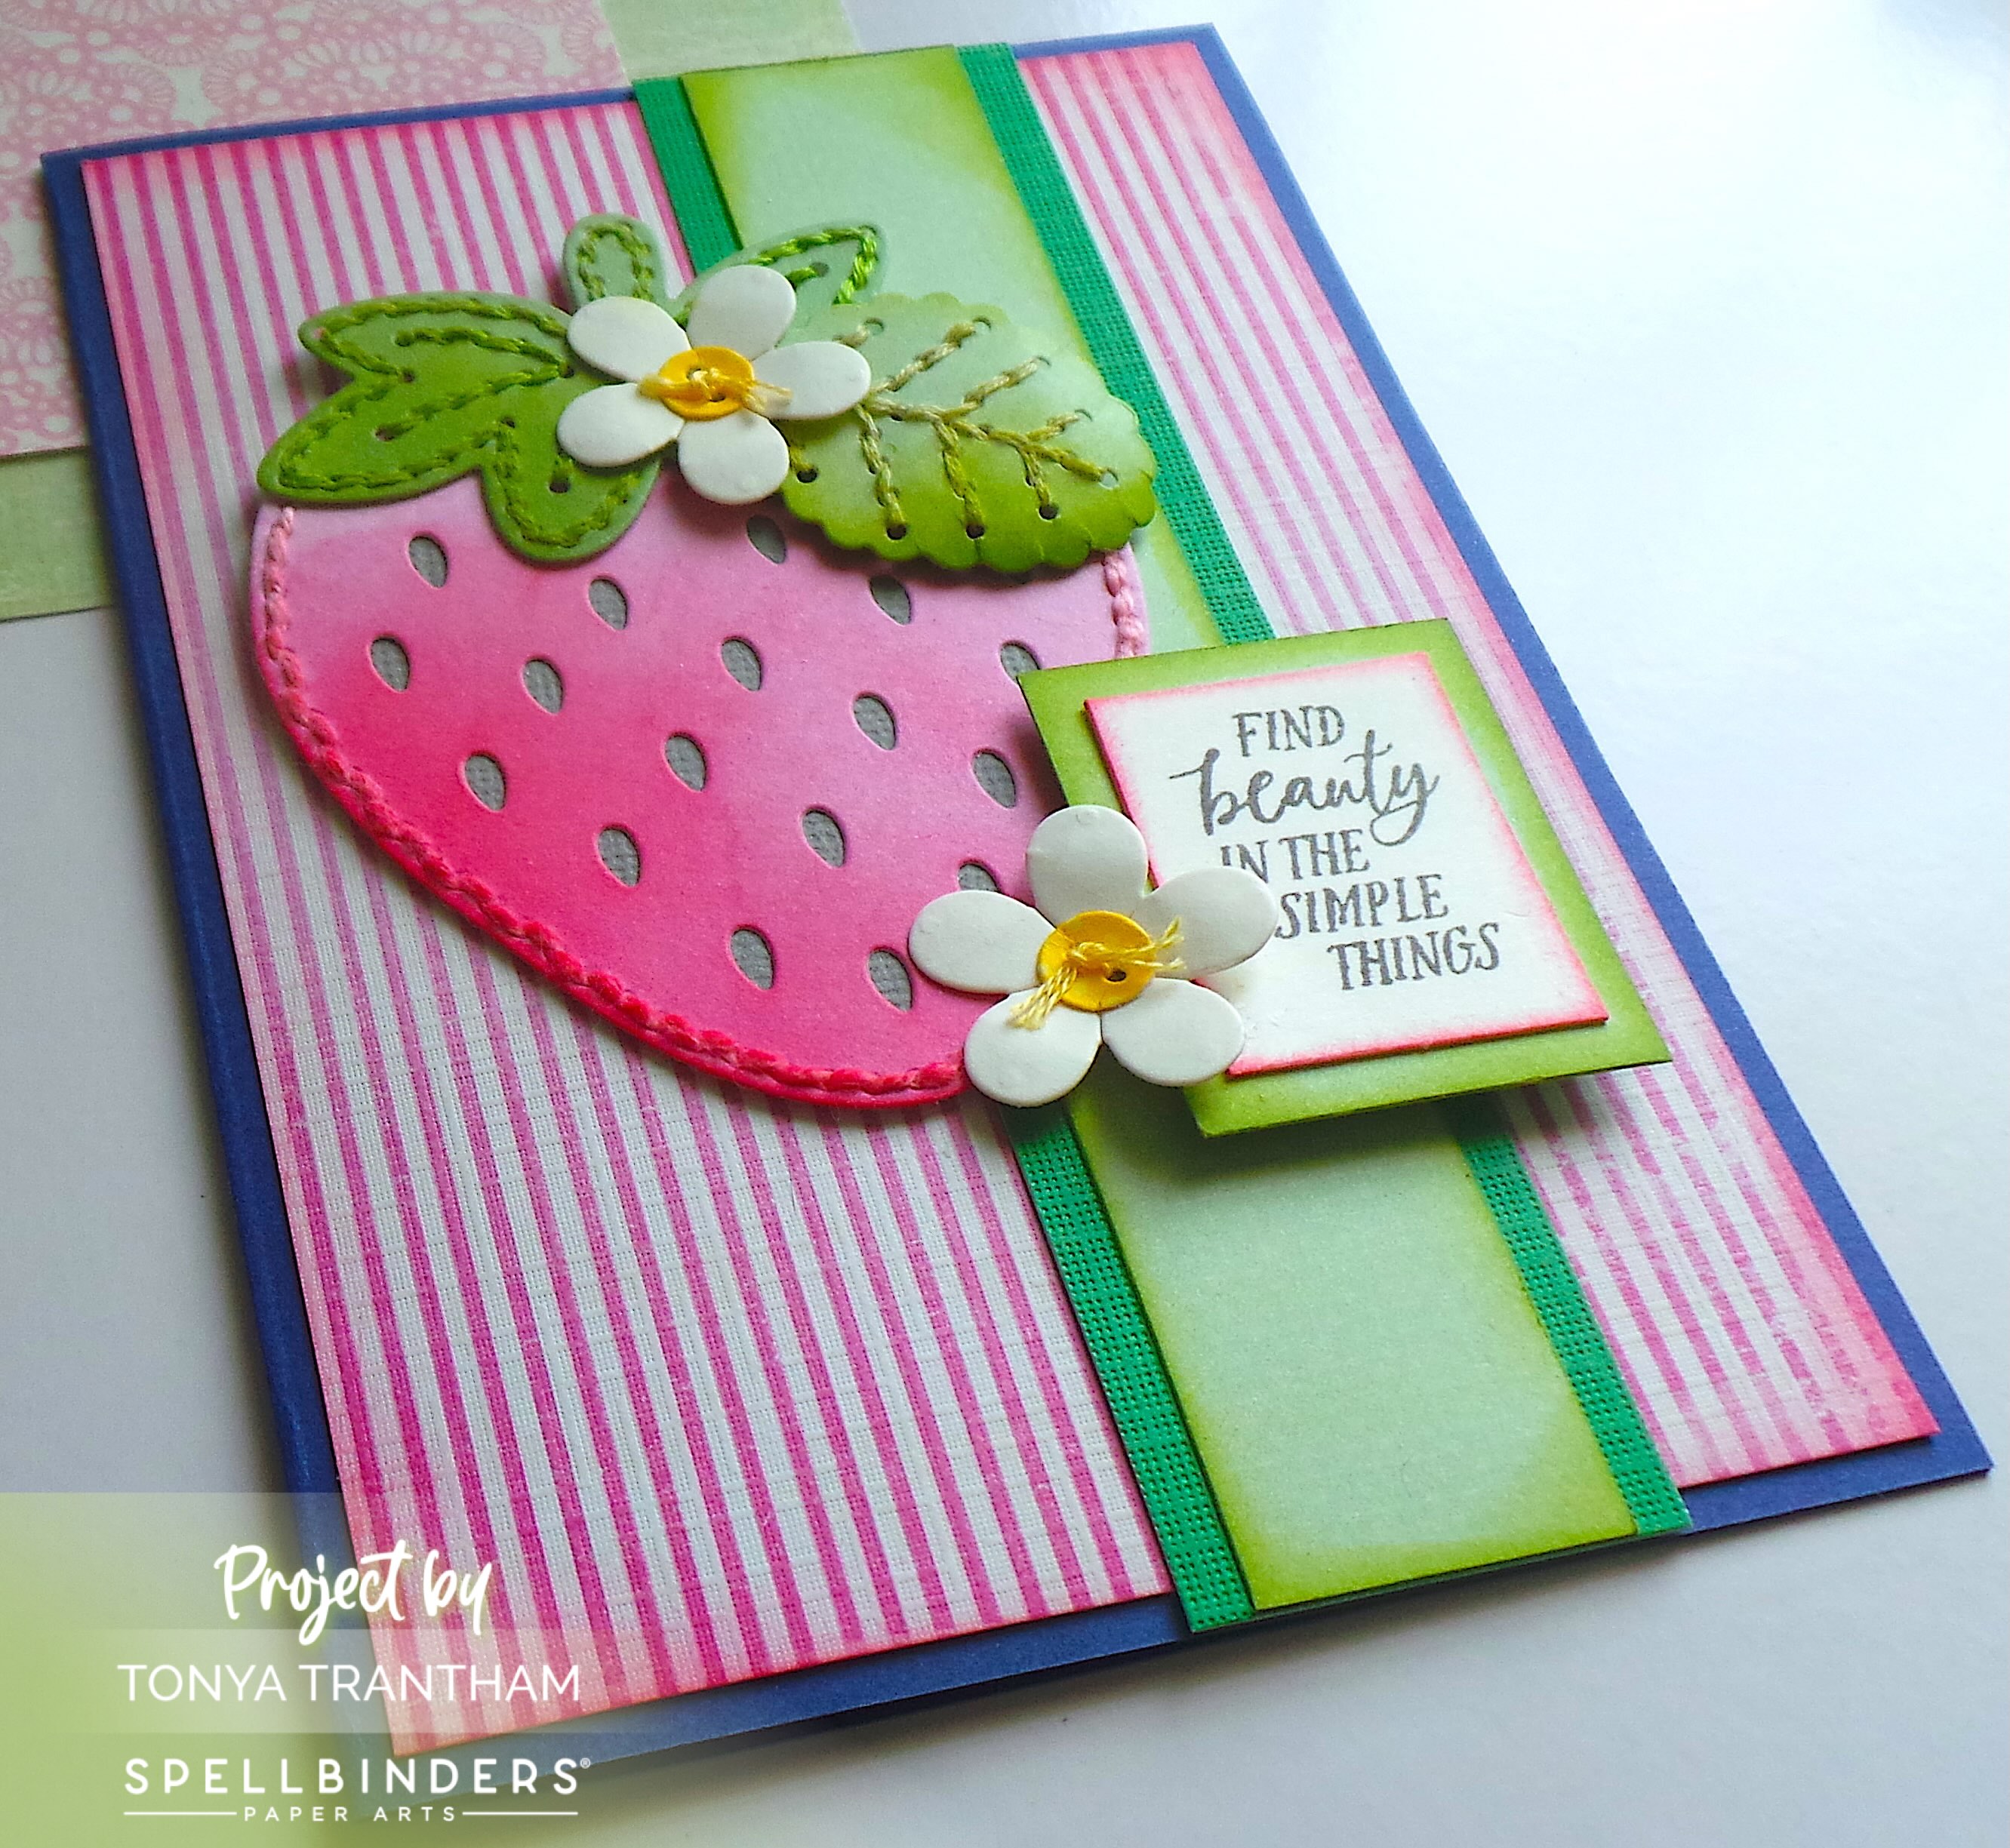
The base of the card folded is 4 1/4″x 5 1/2″. I cut a mat slightly smaller than the base adhered to the card. I cut two strips of cardstock, one slightly smaller than the other and inked with green chalk ink. I glued off center of the card.

A handmade card featuring a vibrant pink felt strawberry with green leaves and small white flowers. The card includes the sentiment 'Find beauty in the simple things' in a decorative frame, set against a striped background.

I glued the strawberry and cap to the card. I shaped the leaf with a Stylus before adding to the cap. I stitched the button die in the center of each flower and tied off. I shaped the flowers with Stylus. I glued one flower to the cap of the berry.

I place the “Find Beauty” sentiment from the Field Notes Sentiments Stamp Set onto the MISTI Stamping Tool. I inked with Black Ink and stamped onto a piece of cardstock.

A colorful handmade card featuring a large pink strawberry, green leaves, and small white flowers. The sentiment 'Find Beauty in the Simple Things' is framed in green and pink. The background includes striped patterns and additional green accents.

I inked the edges with a pink chalk ink and matted with a green piece of cardstock. I added Foam Pop Dots to the back before placing onto the card. I glued the other flower to the edge of the sentiment to finish.

Colorful handmade card featuring a pink strawberry with stitched details, green leaves, and white flowers. The sentiment 'Find beauty in the simple things' is presented on a small card beside the strawberry. The background is a mix of patterned and solid cardstocks with strips of green ribbon.

Supplies

Spellbinders/Nichol Spohr: Felt Berry Blossom Etched Dies

Spellbinders: Field Notes Sentiments Stamp Set

Diecut Machine

Foam Pop Dots

DMC Floss Sampler Bundle

Needle

Paper Cutter

Scissors

MISTI Stamping Tool

Black Ink

Chalk Ink

Stylus

Plain and Patterned Cardstocks

Beacon Adhesives: Zip Dry Adhesive

(Products listed above are Affiliated Links for your convenience)

DISCLAIMERS

This blog is compensated to provide opinion on products, services, websites, and various other topics. Even though the owner(s) of this blog receives compensation for our posts or advertisements. I always give my honest opinions, findings, beliefs, or experiences on those topics or products. The views and opinions expressed on this blog are purely my own. Any product claim, statistic, or quote should be checked with each manufacturer. Verify other representations about a product or service with the provider or party in question.This blog contains affiliate linksClicking these links helps to support Tonya Trantham Designs – Creative Paper Addiction. It’s at no additional cost to you. Today’s features are Spellbinders and Scrapbook.com Products. 

A handmade card featuring a large pink strawberry with green leaves and white flowers, accompanied by a sentiment box that reads 'Find beauty in the simple things'. The card has a striped pink background and is accented with green ribbon.

Thanks for stopping by, I hope your Thursday is awesome and enjoy creating!

A decorative graphic featuring a bird perched among colorful flowers with the name 'Tonya' artistically rendered in cursive.

Create Spellbinders Quick and Easy Colorful Wishes Card

Hi everyone! I’m back with my first project of the month. I created a quick and easy card using the Crafty Tools Etched Dies. This set of dies are from the Spellbinders and Simple Stories Crafty Babe Die Bundle and Crafty Babe Collection. Anyways, let’s get started!

A handmade greeting card featuring a watercolor background in shades of blue and green, with a paintbrush illustration and the sentiment 'colorful wishes'.

First, I cut a piece of Blue Cardstock in half. I folded with I had cut in half, 4 1/4″x 5 1/2″, to create the base of the card. I picked the blue polka-dot cardstock from the Color Vibe Bright Paper Pad. I cut it slightly smaller than the card base and l glued to the card.

A hand-painted card featuring a watercolor background in shades of blue and green, with a paintbrush design and the sentiment 'colorful wishes' displayed prominently.

I also cut a piece of Watercolor Paper smaller than the polka-dot mat and adhered to the base. I added colors of blues and greens Watercolors to the paper and let dry. I cut one paint brush parts from the following cardstocks: Black, Silver and Tan Cardstocks. I also cut a green polka-dot paint splat from the Color Vibe Bright Paper Pad. A side note I applied adhesive from the Adhesive Roll before cutting all pieces out.

A card featuring a watercolor background in shades of blue and green, with a paintbrush illustration and the sentiment 'colorful wishes' positioned prominently.

I put together all the paint brush pieces before adding to the base. Next, I placed the “colorful wishes” sentiment from the Typewriter Adventure Sentiments Stamp Set onto the MISTI Stamping Tool. I inked with Black Ink and stamped onto a piece of White Cardstock. I cut a small mat and glued to the back of the sentiment. I adhered to the base to finish. Can you say easy peasy?!?!!

A handmade card featuring an abstract watercolor background in shades of blue and green, with a paintbrush and the sentiment 'colorful wishes' displayed on it.

This card took about 10 minutes to complete. That’s using a heat gun to dry the watercolors. If you have any questions or comments about this card please leave them below.

A handmade card featuring a watercolor background in shades of blue and green, with a paintbrush embellishment and the sentiment 'colorful wishes' on a white label.

Supplies

Spellbinders/Simple Stories: Crafty Tools Etched Dies

Spellbinders/Simple Stories: Crafty Babe Die Bundle

Spellbinders: Typewriter Adventure Sentiments Stamp Set

Simple Stories: Crafty Babe Collection

Simple Stories: Color Vibe Bright Paper Pad

Diecut Machine

Watercolor Paper

Watercolor Brush

Watercolor Paper

Watercolors

MISTI Stamping Tool

Black Ink

Black, Silver, Tan, White and Blue Cardstocks

Paper Cutter

Adhesive Roll

Scissors

Beacon Adhesives: Zip Dry Adhesive

(Products listed above are Affiliated Links for your convenience)

DISCLAIMERS

This blog is compensated to provide opinion on products, services, websites, and various other topics. Even though the owner(s) of this blog receives compensation for our posts or advertisements. I always give my honest opinions, findings, beliefs, or experiences on those topics or products. The views and opinions expressed on this blog are purely my own. Any product claim, statistic, or quote should be checked with each manufacturer. Verify other representations about a product or service with the provider or party in question.This blog contains affiliate linksClicking these links helps to support Tonya Trantham Designs – Creative Paper Addiction. It runs at no additional cost to you. Today’s features are Spellbinders and Scrapbook.com Products.

A handmade greeting card featuring a watercolor background in shades of blue and green, with a paintbrush and the sentiment 'colorful wishes' prominently displayed.

Thanks for stopping by, I hope your Friday is awesome and enjoy creating!

A digital illustration featuring a bird perched amidst flowers, with the name 'Tonya' in an elegant font overlaying a soft, colorful background.

Spellbinders Crafty Tools Dies: Color Me Happy Card Tutorial

Hi everyone! I’m back with a quick and easy card I created. I used the paint brush from the Crafty Tools Etched Diecuts. This set of dies are from the Spellbinders and Simple Stories Crafty Babe Diecut Bundle and Crafty Babe Collection. Anyways, let’s get started!

A handmade card featuring five colorful paintbrushes and a sentiment that says 'you color me happy' centered on a white panel, framed by a navy blue card base.

First, I cut a piece of Blue Cardstock in half. I folded what I had cut in half, 4 1/4″x 5 1/2″, to create the base of the card. I cut a piece of White Cardstock slightly smaller than the base and glued to the card. I cut out five individual paint brushes and five different paint drips.Side note…I applied Adhesive Roll to all the different pieces of cardstock before cutting out all.

A colorful greeting card featuring cut-out paint brushes in various colors, with the phrase 'you color me happy' prominently displayed in the center.

I put each paint brush together and placed on the card. I used the “you color me happy” stamp from the Typewriter Adventure Sentiments Stamp Set. I placed the stamp onto the MISTI Stamping Tool. Then, I inked with Black Ink. Finally, I stamped onto a piece of White Cardstock.

A handmade card featuring five painted brushes in various colors arranged vertically, with a sentiment in the center that reads 'you color me happy'.

I cut a mat for the sentiment from Blue Cardstock and glued both together. I placed Foam Pop Dots to the back before placing onto the card to finish. If you have any questions or comments please leave them below.
A handmade greeting card featuring five colorful paint brushes arranged horizontally, with a stamped sentiment 'you color me happy' in the center.

Supplies

Spellbinders/Simple Stories: Crafty Tools Etched Diecuts

Spellbinders/Simple Stories: Crafty Babe Diecut Bundle

Spellbinders: Typewriter Adventure Sentiments Stamp Set

Diecut Machine

Simple Stories: Crafty Babe Collection

Simple Stories: Color Vibe Bright Paper Pad

Foam Pop Dots

White Cardstock

Blue Cardstock

Black Cardstock

Silver Cardstock

Scraps of Tan Cardstock

Adhesive Roll

MISTI Stamping Tool

Black Ink

Beacon Adhesives: Zip Dry Adhesive

(Products listed above are Affiliated Links for your convenience)

DISCLAIMERS

This blog is compensated to provide opinion on products, services, websites, and various other topics. Even though the owner(s) of this blog receives compensation for our posts or advertisements. I always give my honest opinions, findings, beliefs, or experiences on those topics or products. The views and opinions expressed on this blog are purely my own. Any product claim, statistic, or quote should be checked with each manufacturer. Verify other representations about a product or service with the provider or party in question.This blog contains affiliate links. Clicking these links helps to support Tonya Trantham Designs – Creative Paper Addiction. It runs at no additional cost to you. Today’s features are Spellbinders and Scrapbook.com Products. 
A handmade card featuring five paintbrushes with colorful bristles and a sentiment that reads 'you color me happy' against a white background.

Thanks for stopping by, I hope your Tuesday is great and enjoy creating!

A colorful digital artwork featuring a bird perched among vibrant flowers, with the name 'Tonya' elegantly written in stylized letters.

Creating a Just a Note Shaker Heart Card

Hi everyone! I’m back this week with another card I’ve created for Spellbinders. I used the Labels and Icons Etched Diecuts and the Typewriter Adventure Sentiment Stamp Set to create this card. These diecuts are in collaboration with Simple Stories: Crafty Babe Collection. If you didn’t see my post using this collection you can find it HERE. Anyways, let’s get started!

A handmade card featuring a central pink heart with the sentiment 'just a note', surrounded by smaller heart icons with clear seed beads, all set against a patterned pink background.

First, I cut in half a piece of Antique Ivory Cardstock. I folded what I cut in half, 4 1/4″x 5 1/2″, to create the base of the card. I cut a piece of patterned cardstock slightly smaller than the card. I lightly inked the edges of the cardstock before adhering to the base.

A pink cardstock featuring a lace pattern design, with a gradient effect transitioning from light to darker shades of pink. The top and bottom edges are slightly darker, while the center displays the intricate lace detail.

I cut twelve heart icons from Foam Sheets. I backed each heart with cardstock. I placed clear seed beads inside of each heart. I cut Acetate to fit over each heart. Last but not least, I cut from patterned cardstock twelve of the heart icons and glued to each foam heart.

A collection of heart-shaped foam diecuts, some with holes and one filled with clear seed beads, alongside a tube of the seed beads on a white background.

I adhered all twelve heart icons onto the card base. I cut both the solid and the heart with holes out. I inked around the edges of both hearts and then glued both on top of the heart icons. I stamped the “just a note” sentiment from Typewriter Adventure Sentiment Stamp Set onto a piece of cardstock. I adhered to the heart. I finished by placing White Gems onto the sentiment.

A handmade card featuring a central pink heart with the sentiment 'just a note', surrounded by smaller heart-shaped frames filled with clear seed beads.

This card would be the perfect pick me up to someone that needs encouragement. Or you can change out this sentiment for birthday wishes or a get well. There’s endless possibilities. If you have any questions or comments about this card please leave them below.

A handmade card featuring a large pink heart with the sentiment 'just a note' and twelve smaller heart-shaped frames filled with clear seed beads, arranged on a patterned background.

Supplies

Spellbinders/Simple Stories: Labels and Icons Etched Diecuts

Spellbinders/Simple Stories: Crafty Babe Bundle Diecuts

Spellbinders/Simple Stories: Typewriter Adventure Sentiment Stamp Set

Diecut Machine

Simple Stories: Crafty Babe Collection

Paper Cutter

Foam Sheets

Acetate

Clear Seed Beads

Scissors

Antique Ivory Cardstock

MISTI Stamping Tool

Black Ink

Pink Chalk Ink

White Gems

Various Patterned Cardstock

Beacon Adhesives: Zip Dry Adhesive

(Products listed above are Affiliated Links for your convenience)

DISCLAIMERS

This blog is compensated to provide opinion on products, services, websites, and various other topics. Even though the owner(s) of this blog receives compensation for our posts or advertisements. I always give my honest opinions, findings, beliefs, or experiences on those topics or products. The views and opinions expressed on this blog are purely my own. Any product claim, statistic, or quote should be checked with each manufacturer. Verify other representations about a product or service with the provider or party in question.This blog contains affiliate linksClicking these links helps to support Tonya Trantham Designs – Creative Paper Addiction. It runs at no additional cost to you. Today’s features are Spellbinders and Scrapbook.com Products. 

A handmade card featuring pink patterned die-cut hearts, a central larger heart, and the text 'just a note'. The card has a layered design with clear seed beads visible within the hearts.

Thanks for stopping by, I hope your Thursday is great and enjoy creating!

Artistic design featuring a bird and colorful flowers with the name 'Tonya' elegantly scripted across the image.

DIY Card Tutorial Using Labels and Icons Dies

Hi everyone! I’m excited to be sharing my first card as a design team member of Spellbinders! I used the Labels and Icons Etched Diecuts and Typewriter Adventure Sentiments Stamp Set to create this card. These dies are in collaboration with Simple Stories:Crafty Babe Collection. But I used what I had on hand in my stash of craft supplies. Anyways, let’s get started!

A handmade greeting card featuring a pink background with patterned cardstock, an orange heart adorned with sequins, and the phrase 'thinking of you' on a cream label, decorated with a small flower and twine.

First, I cut in half a piece of Antique Ivory Cardstock. I folded what was cut in half, 4 1/4″x 5 1/2″, to create the base for the card. Next I cut a piece of patterned cardstock slightly smaller than the card. I lightly inking the edges of the cardstock before adhering it to the base.

A softly colored cardstock featuring a lace pattern with pink and white tones.

I cut the heart with holes and the background heart and the flower from the Labels and Icons Etched Diecuts. I lightly inked the edges of the heart with holes. I placed a sequin over each hole and created a French knot in the center. This secures them in place.

A flat lay image featuring an assortment of orange and pastel sequins in containers, a pink die-cut heart with holes, and a needle with orange thread laying nearby. The background is light and neutral.

I glued the solid heart to the back of the heart with sequins. I cut three strips of plain and patterned cardstock, each slightly smaller than the other. I glued each on top of each other and adhered to the card base. I placed the “thinking of you” sentiment from the Typewriter Adventure Sentiments Stamp Set on the MISTI Stamping Tool. I inked with Black Ink and stamped onto a small piece of Antique Ivory Cardstock.

A handmade card featuring a large pink heart adorned with orange sequins, a flower embellishment, and the sentiment 'thinking of you' in black ink on a patterned background.

I glued the sentiment to the center of the card base. I placed Foam Pop Dots to the back of the sequin heart and placed next to the sentiment. I shaped the flower with a Stylus and adhered to the side of the heart. I placed a Flat Back Pearl in the center of the flower. I glued a bow made from thread underneath the flower to finish. If you have any questions or comments about this card please leave them below.

A handmade card featuring a large heart made of sequins, a sentiment that reads 'thinking of you', and a decorative flower embellishment on a patterned background.

Supplies

Spellbinders/Simple Stories: Labels and Icons Etched Diecuts

Spellbinders/Simple Stories: Crafty Babe Bundle Diecuts

Spellbinders: Typewriter Adventure Sentiments Stamp Set

Diecut Machine

Simple Stories: Crafty Babe Collection

Antique Ivory Cardstock

Foam Pop Dots

Paper Cutter

Scissors

MISTI Stamping Tool

Black Ink

Stylus

Various Patterned Cardstocks

Sequins

Flat Back Pearl

Thread

Pink Chalk Ink

Beacon Adhesives: Zip Dry Adhesive

(Products listed above are Affiliated Links for your convenience)

DISCLAIMERS

This blog is compensated to provide opinion on products, services, websites, and various other topics. Even though the owner(s) of this blog receives compensation for our posts or advertisements. I always give my honest opinions, findings, beliefs, or experiences on those topics or products. The views and opinions expressed on this blog are purely my own. Any product claim, statistic, or quote should be checked with each manufacturer. Verify other representations about a product or service with the provider or party in question.This blog contains affiliate links. Clicking these links helps to support Tonya Trantham Designs – Creative Paper Addiction. It runs at no additional cost to you. Today’s features are Spellbinders and Scrapbook.com Products. 

A decorative handmade card featuring a large embellished heart filled with sequins, a flower accent, and a printed sentiment that reads 'thinking of you' against a patterned background.

Thanks for stopping by, I hope your Friday is awesome and enjoy creating!

A vibrant graphic featuring the name 'Tonya' in an elegant font, surrounded by colorful flowers and a bird, set against a soft blue background.