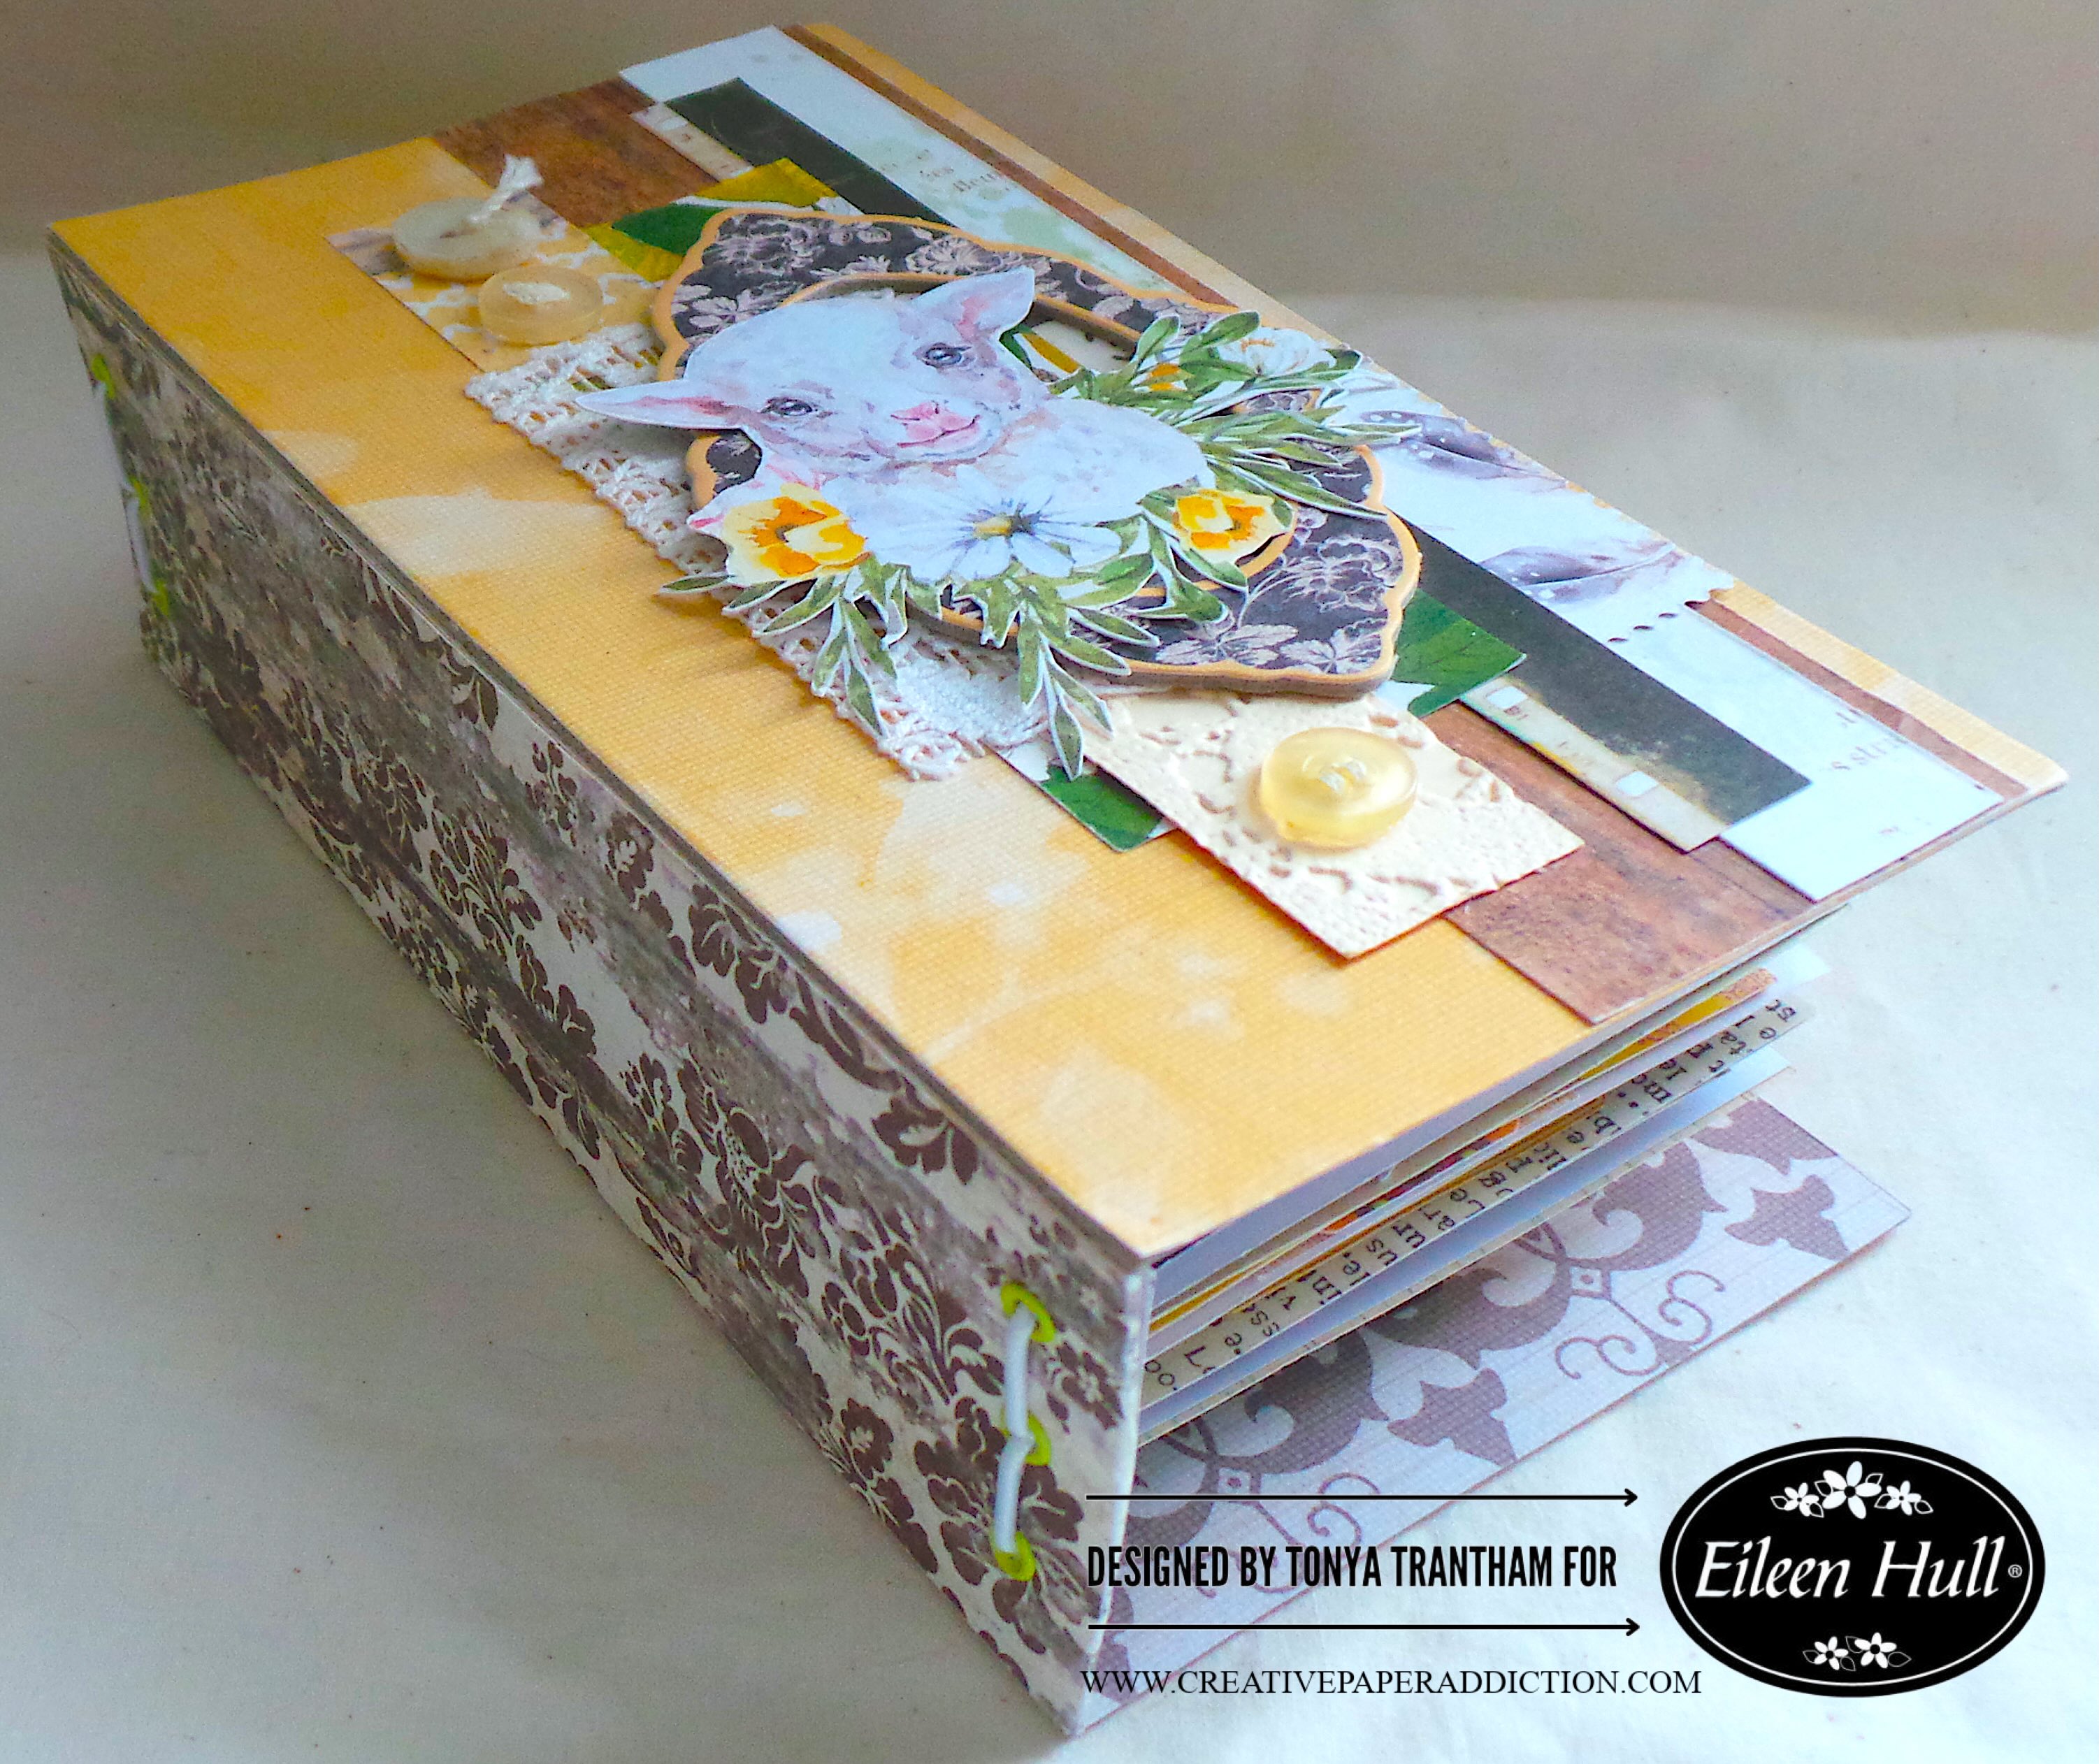
Create a Quick and Easy Mini Book

Hi everyone! I know it has been a while since I have made a post. I’ve been working on much needed home projects, gardening and now Eileen Hull’s newest release. But I’m back with a quick and easy project using the Mini Book Diecut and Bookmark, Pockets and Toppers Thinlits. I also used the notes diecut from the Floral Pocket and Paperclips Thinlits. All these dies are by Eileen Hull. Anyways, let get started!

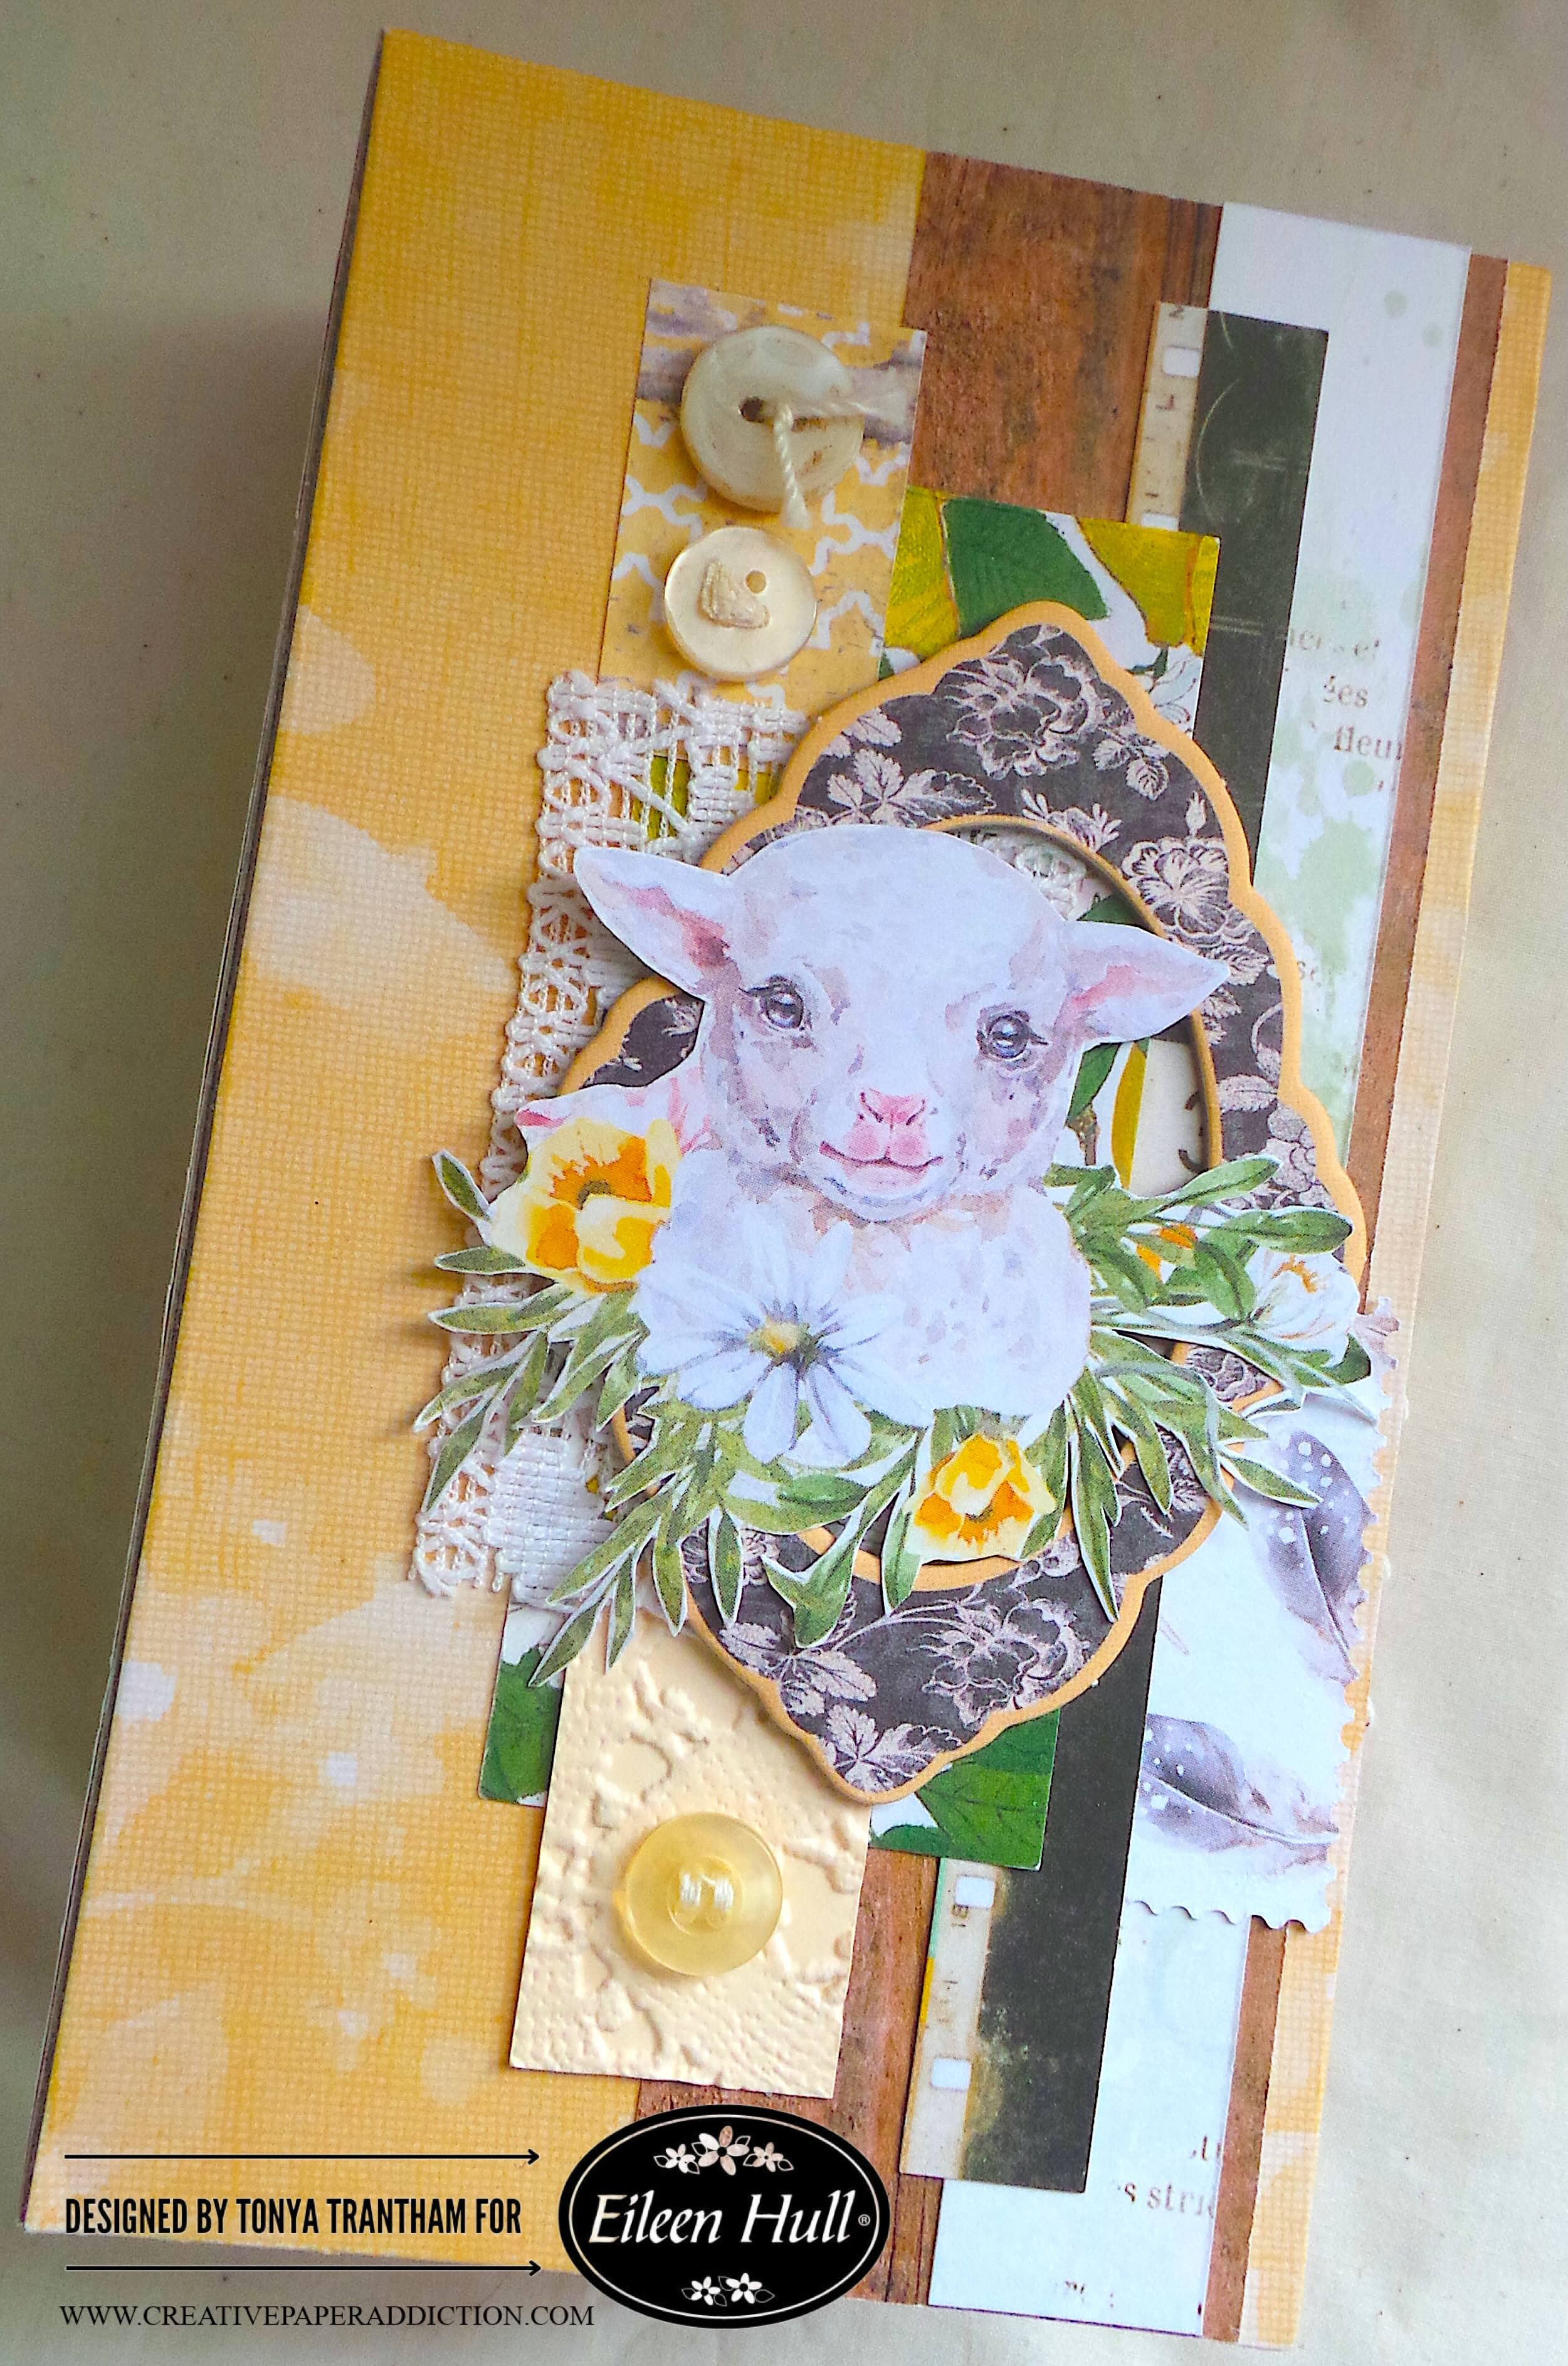
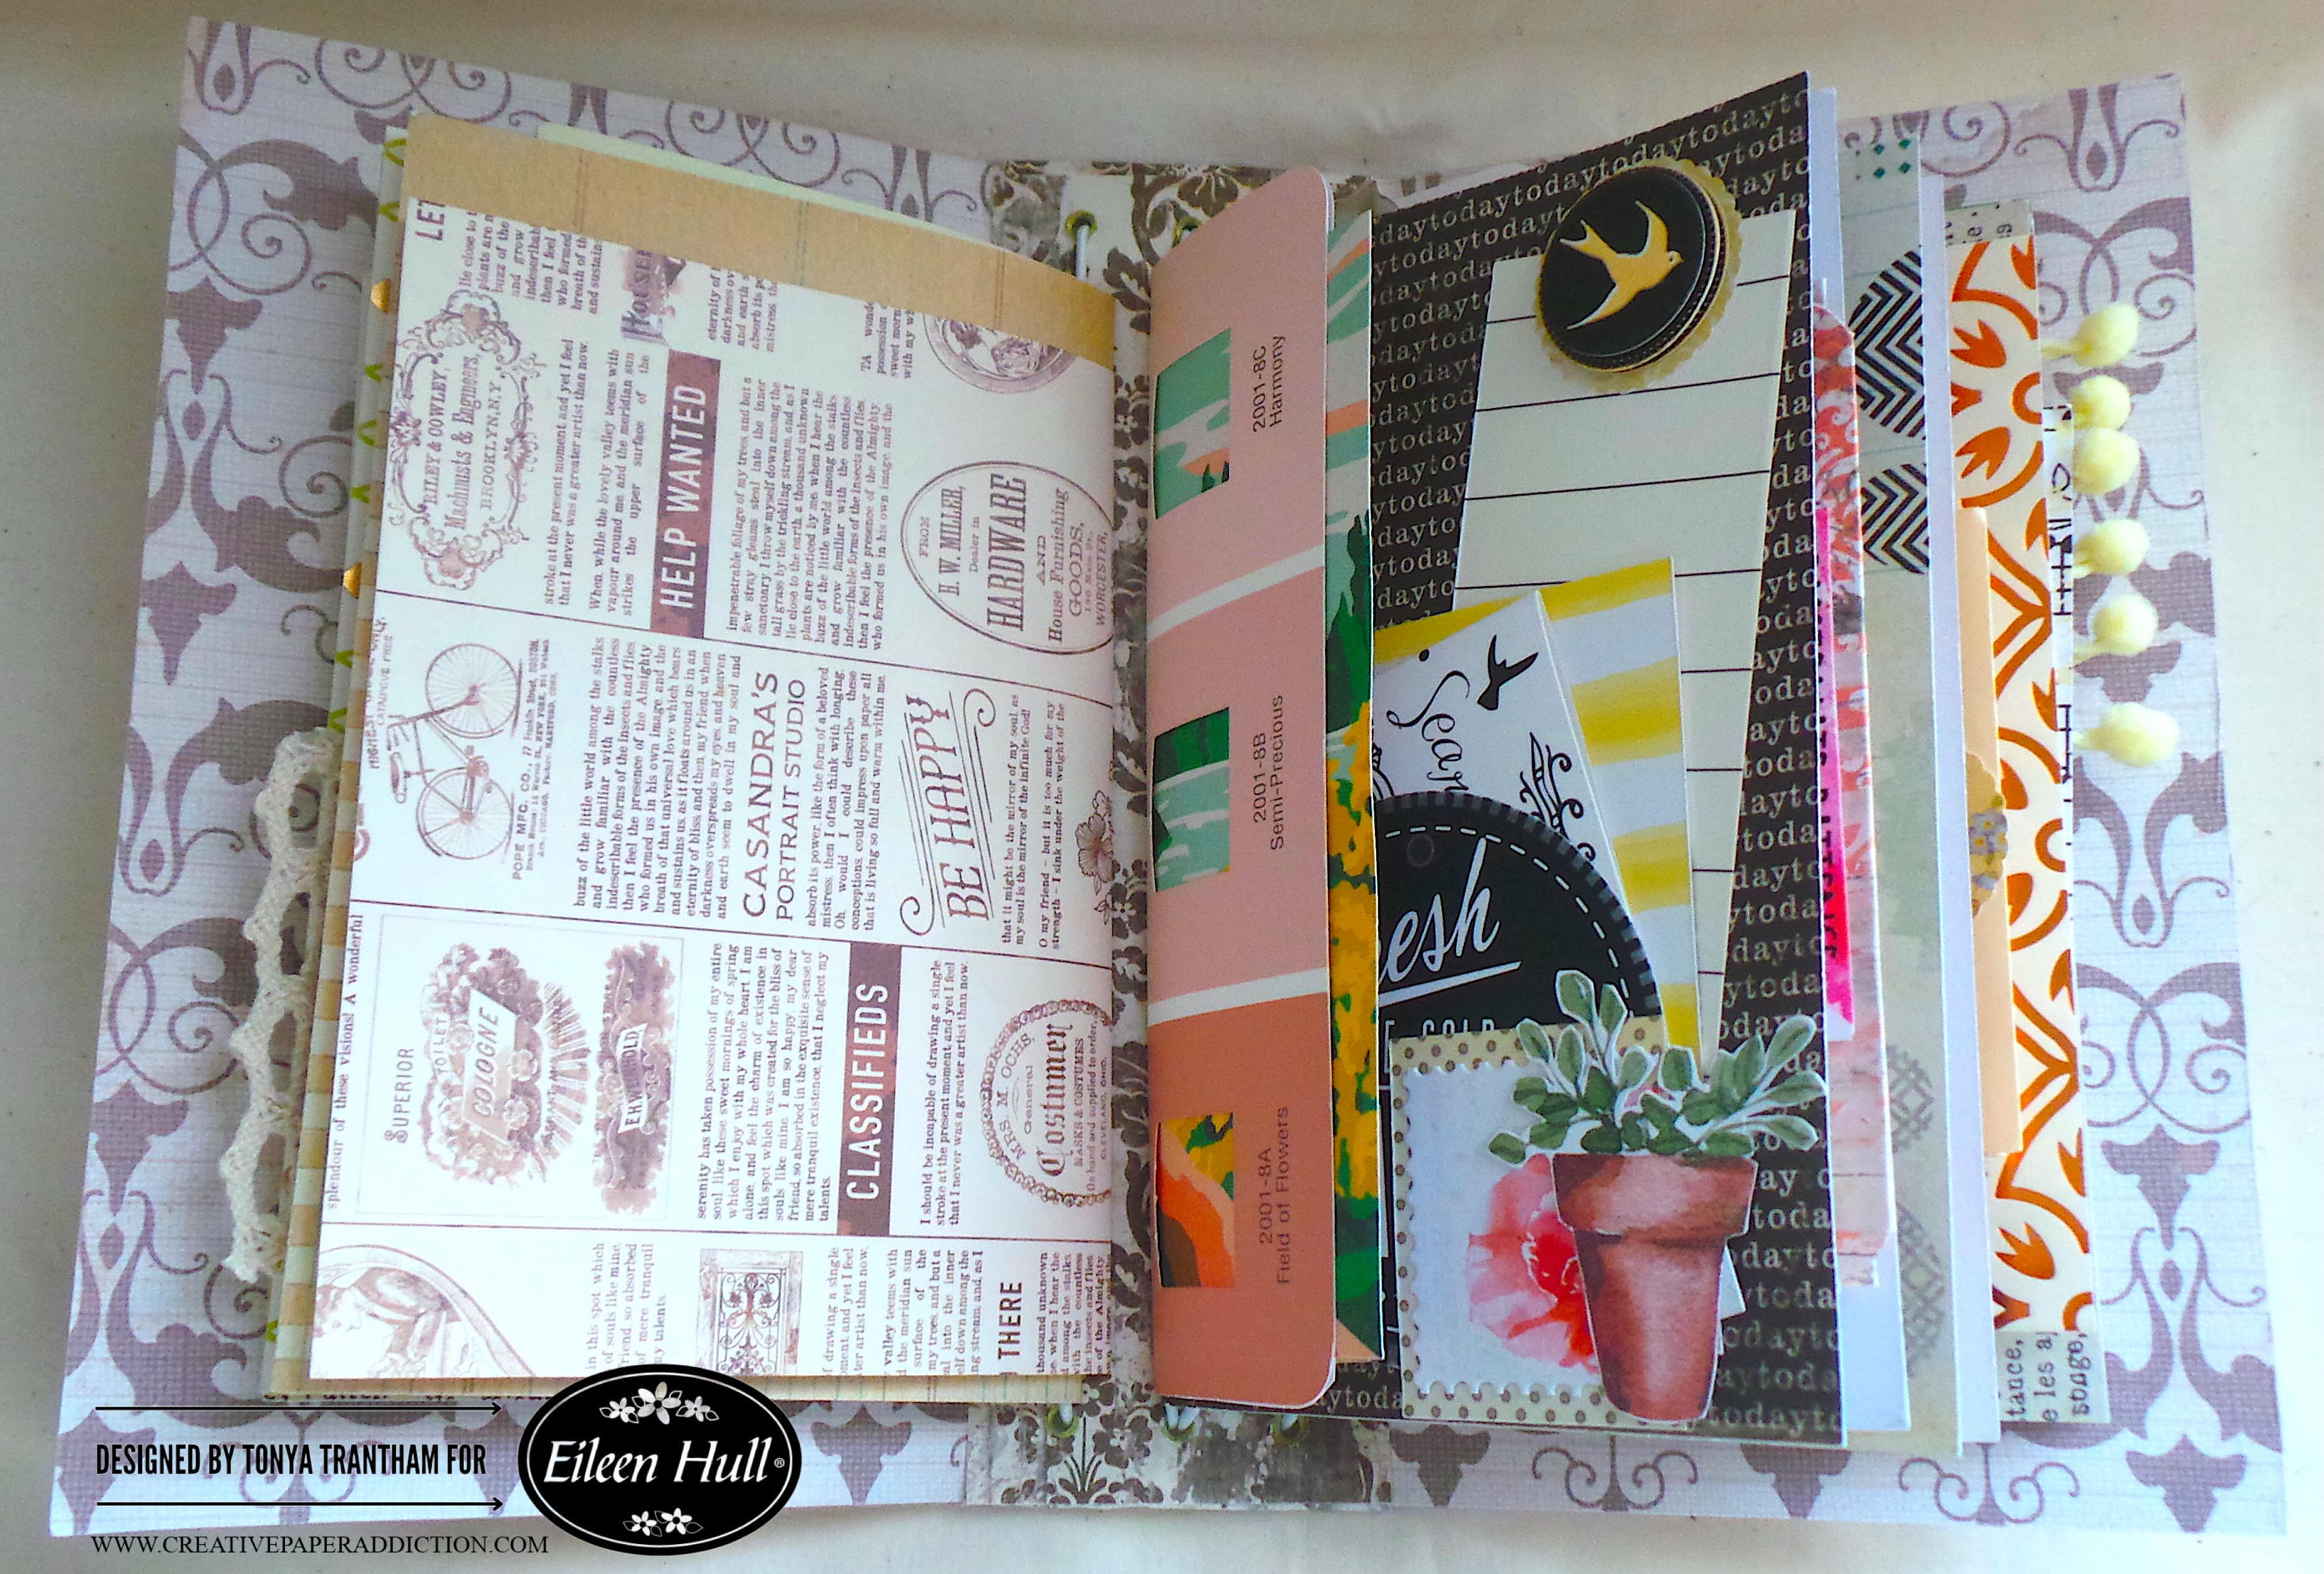
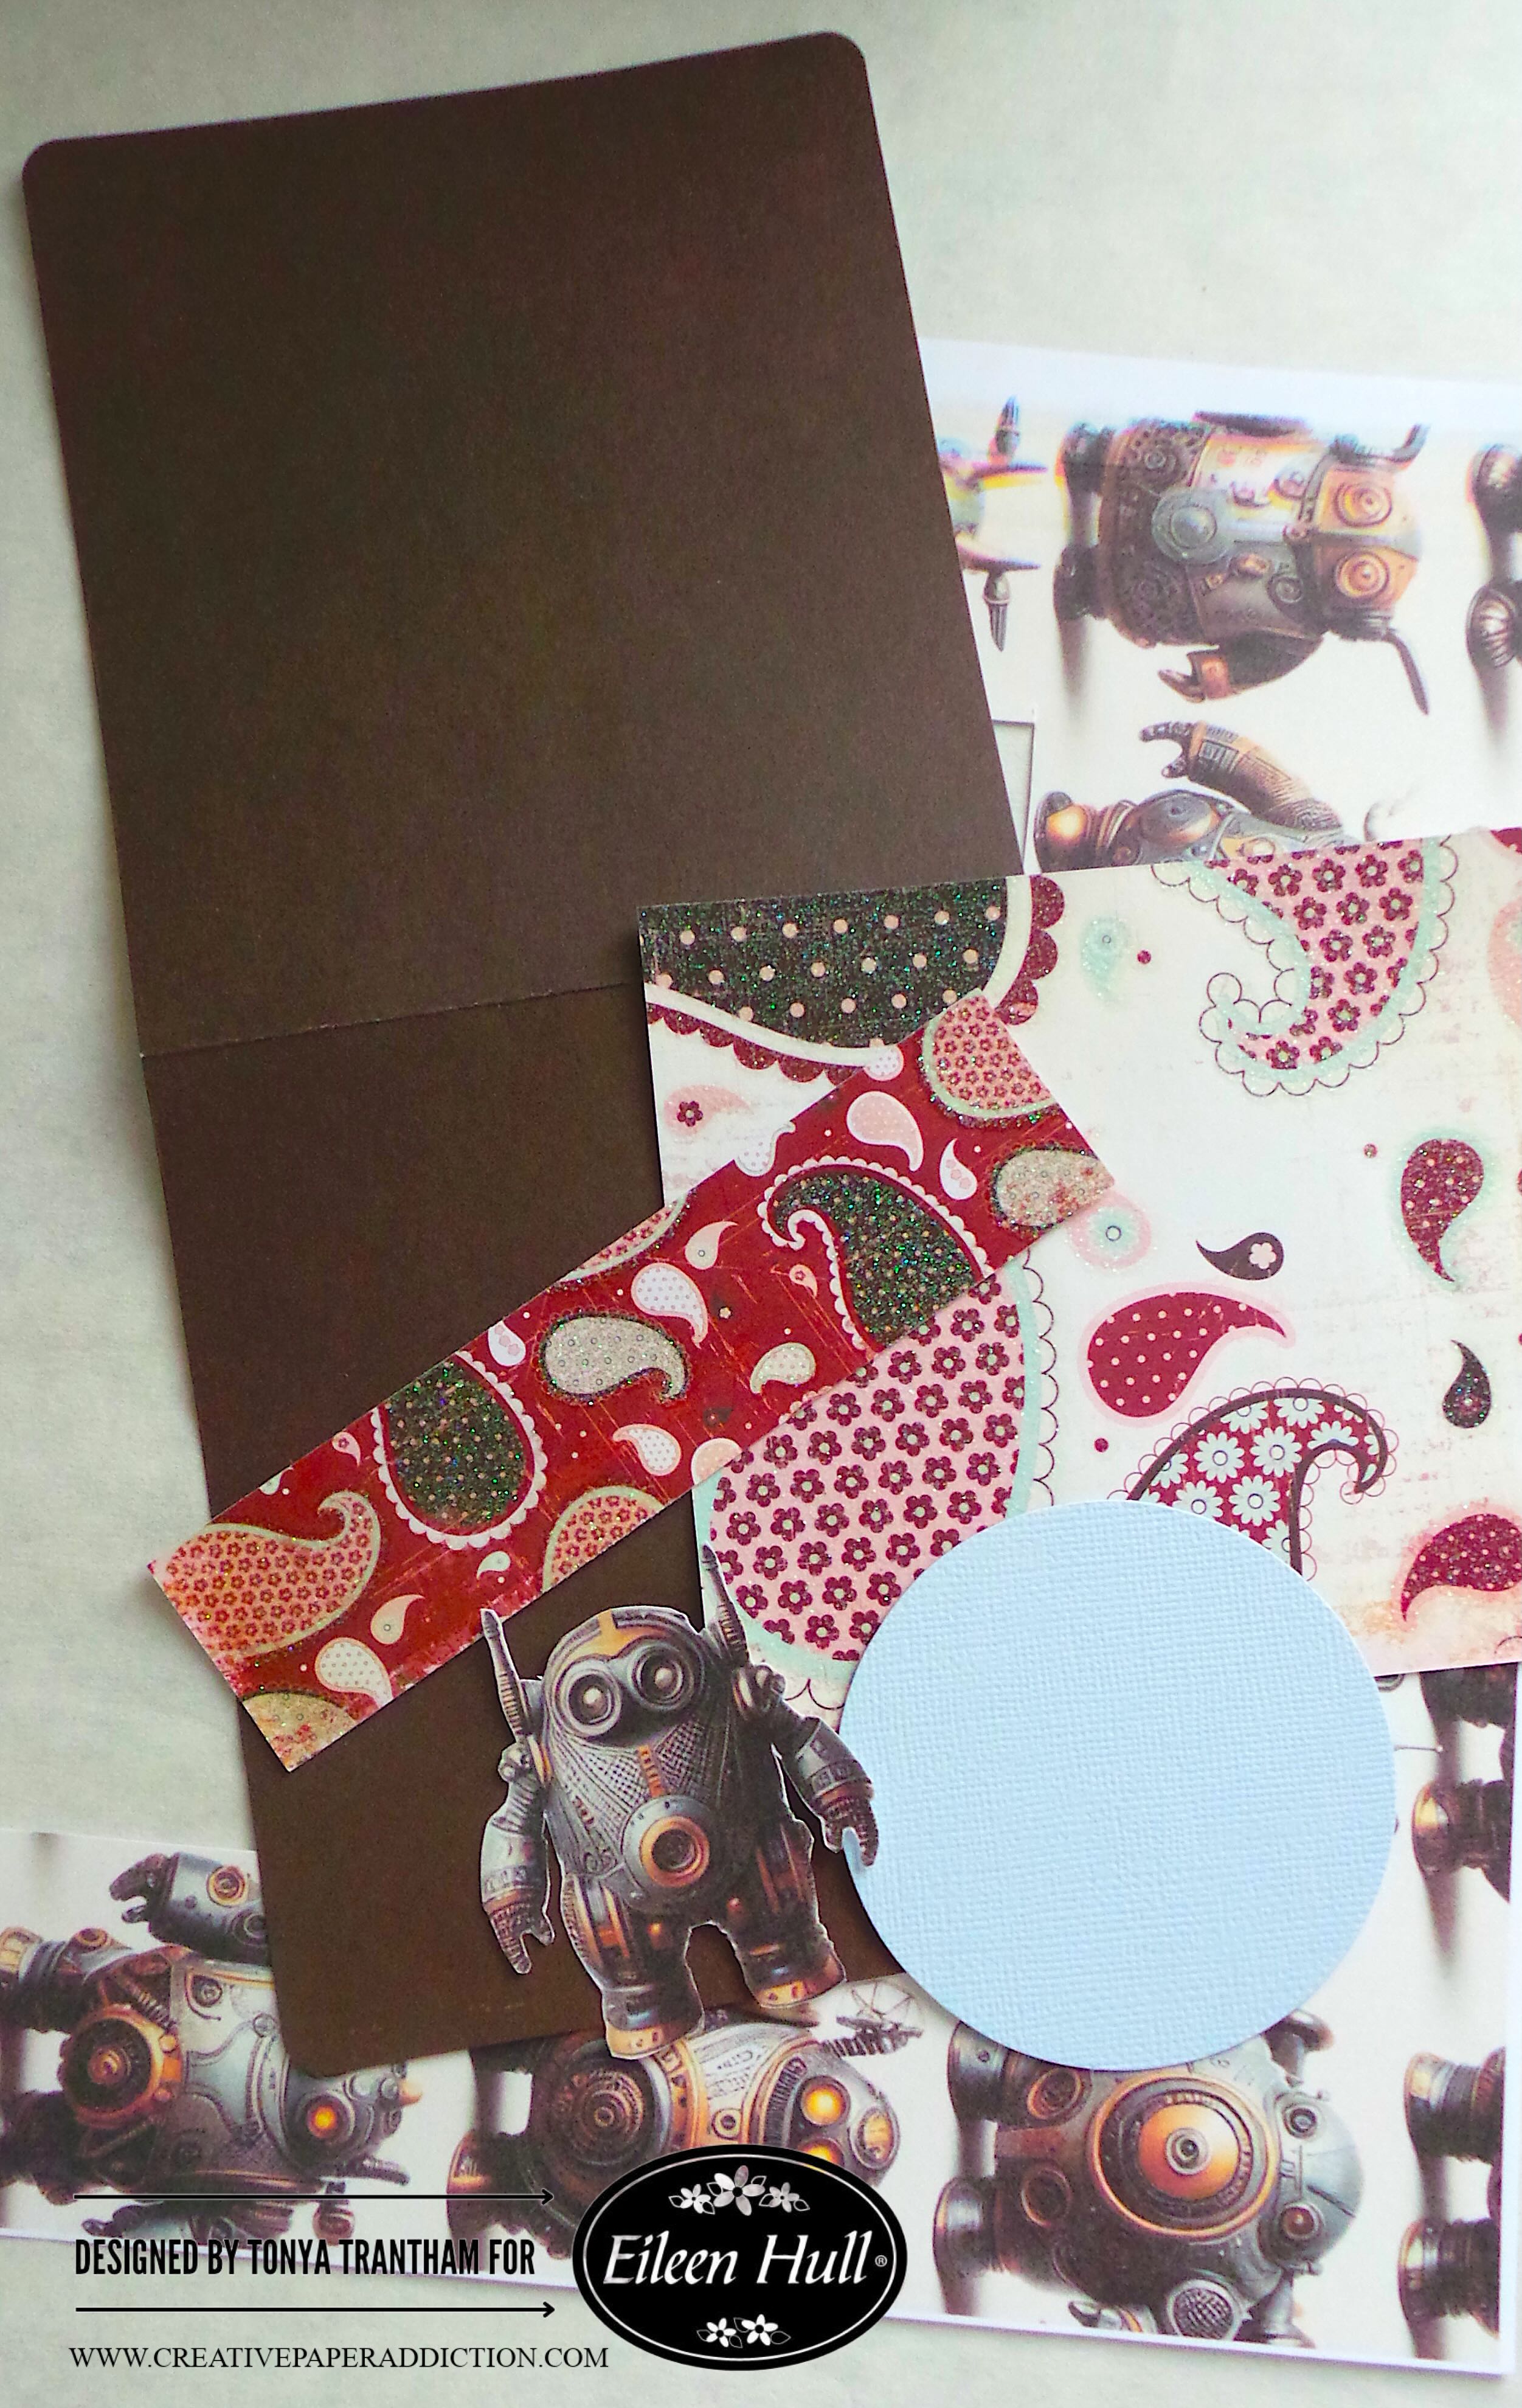
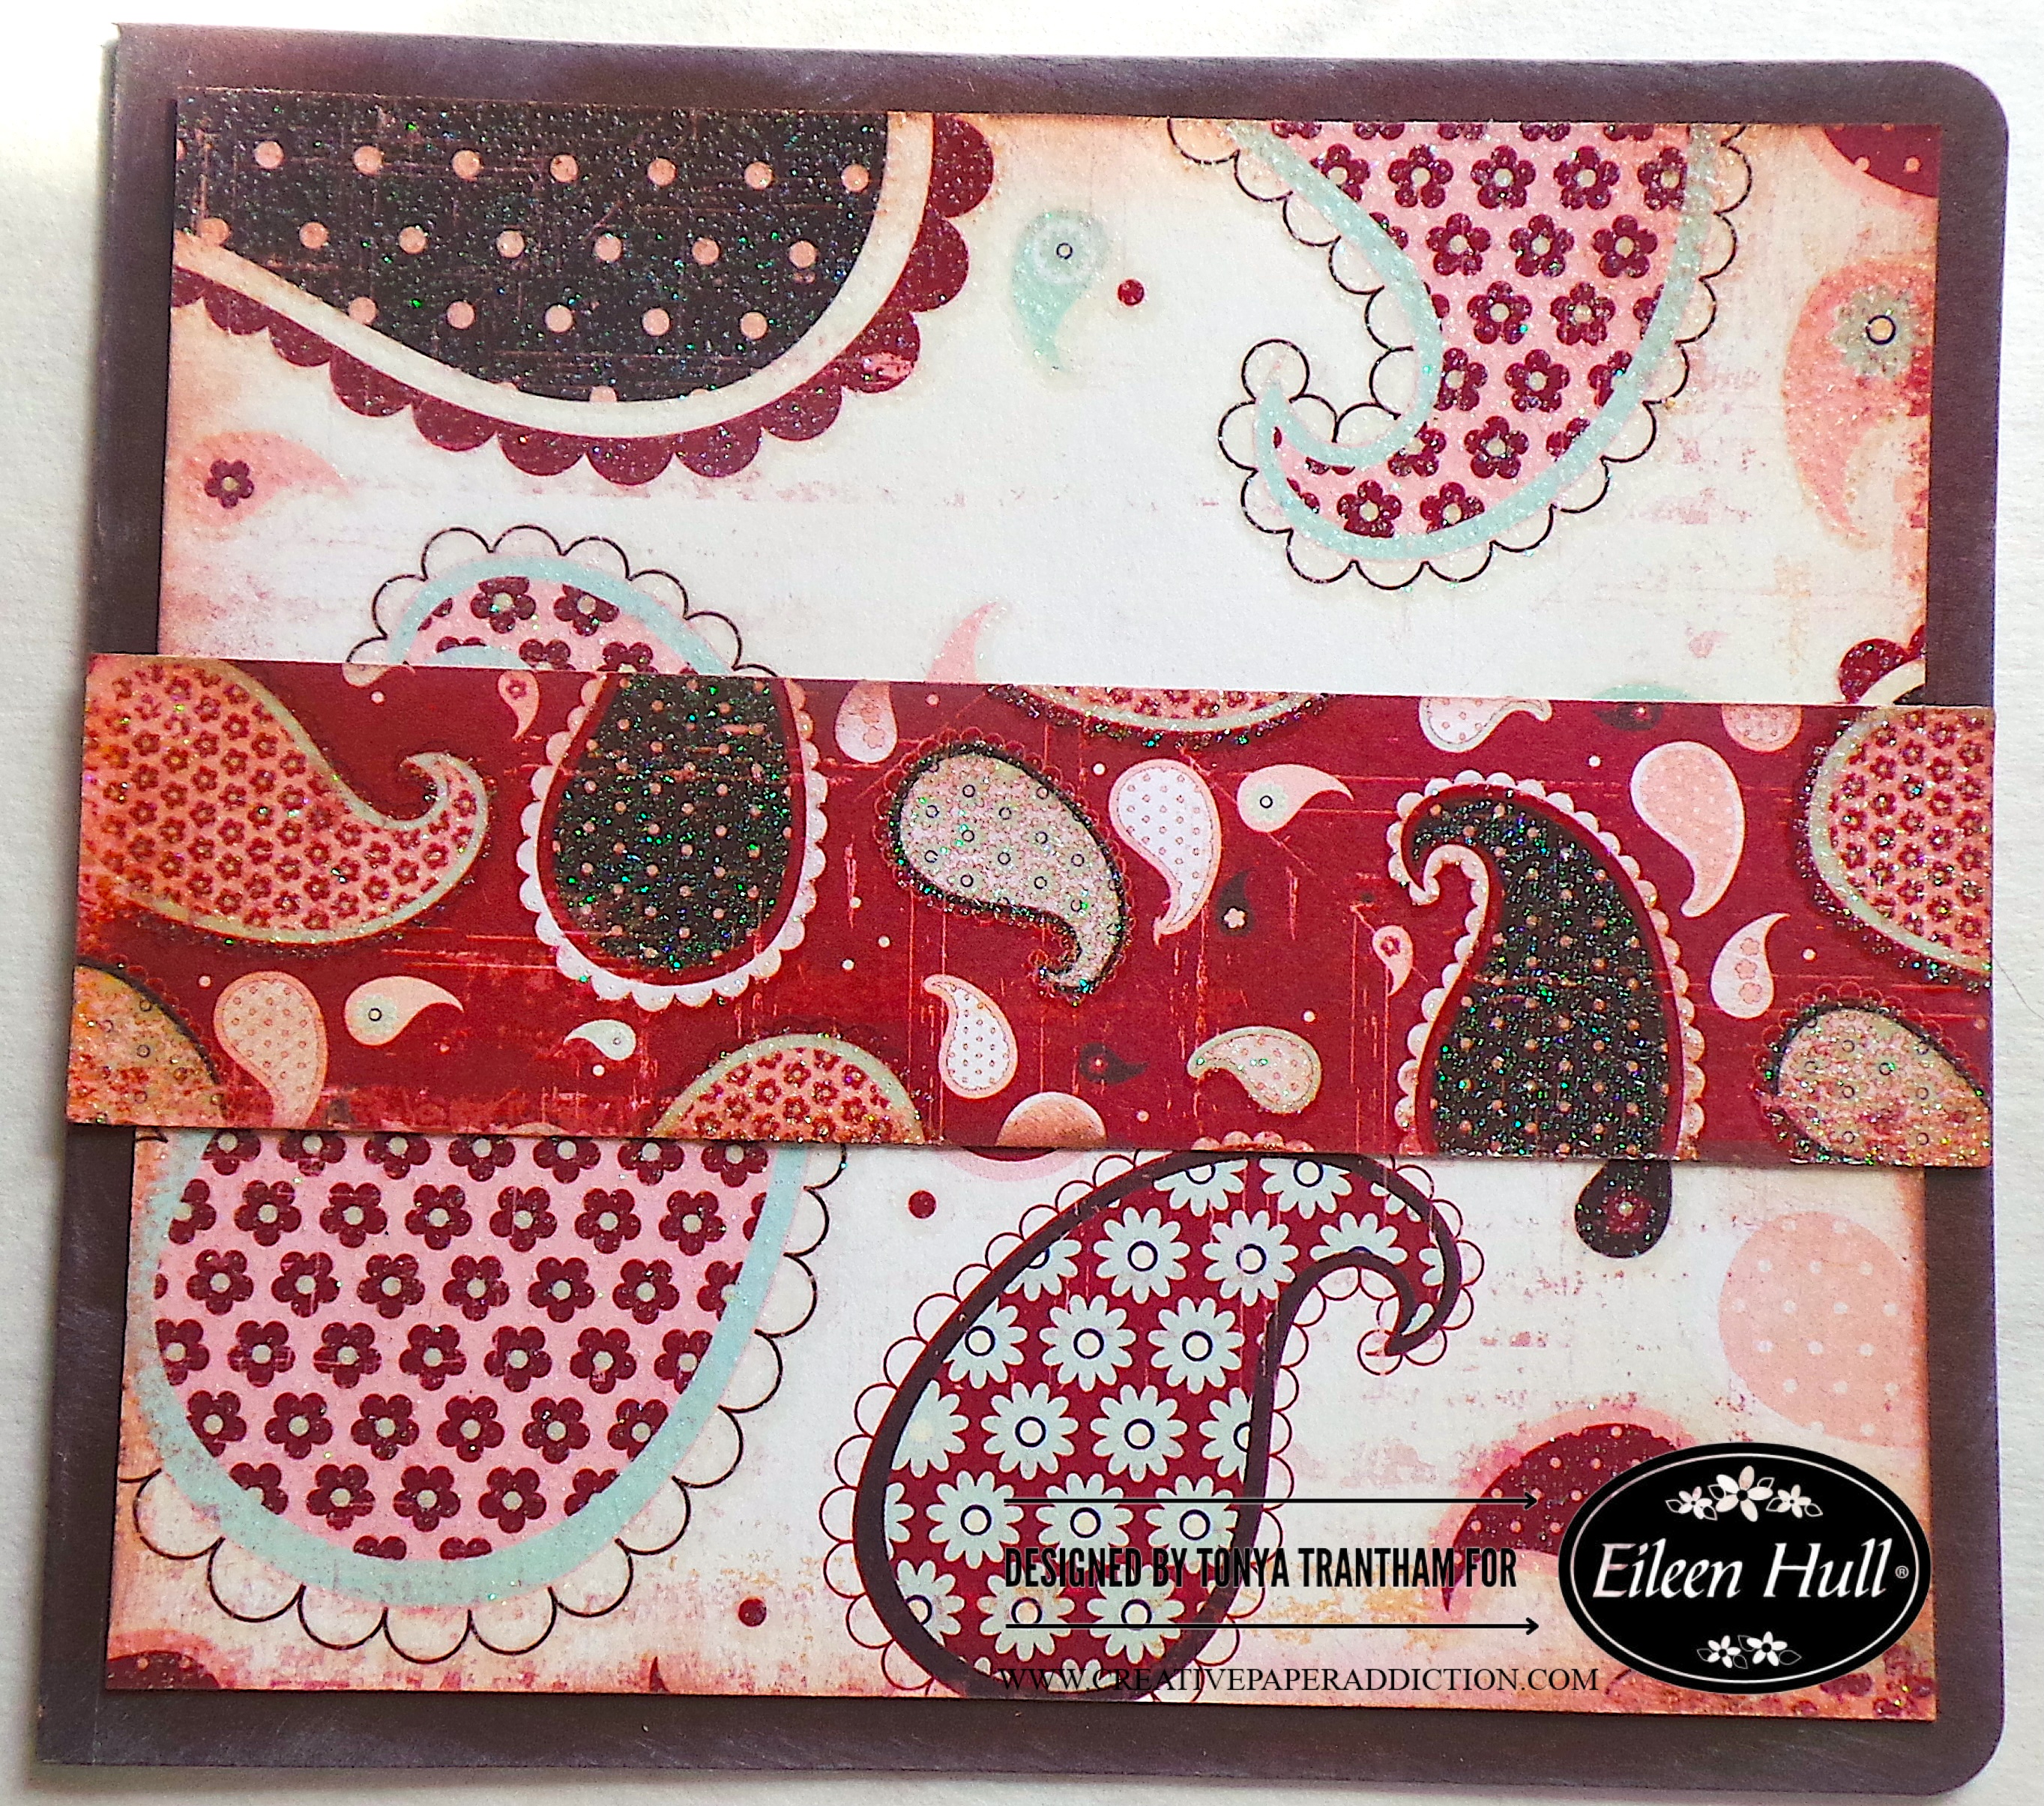
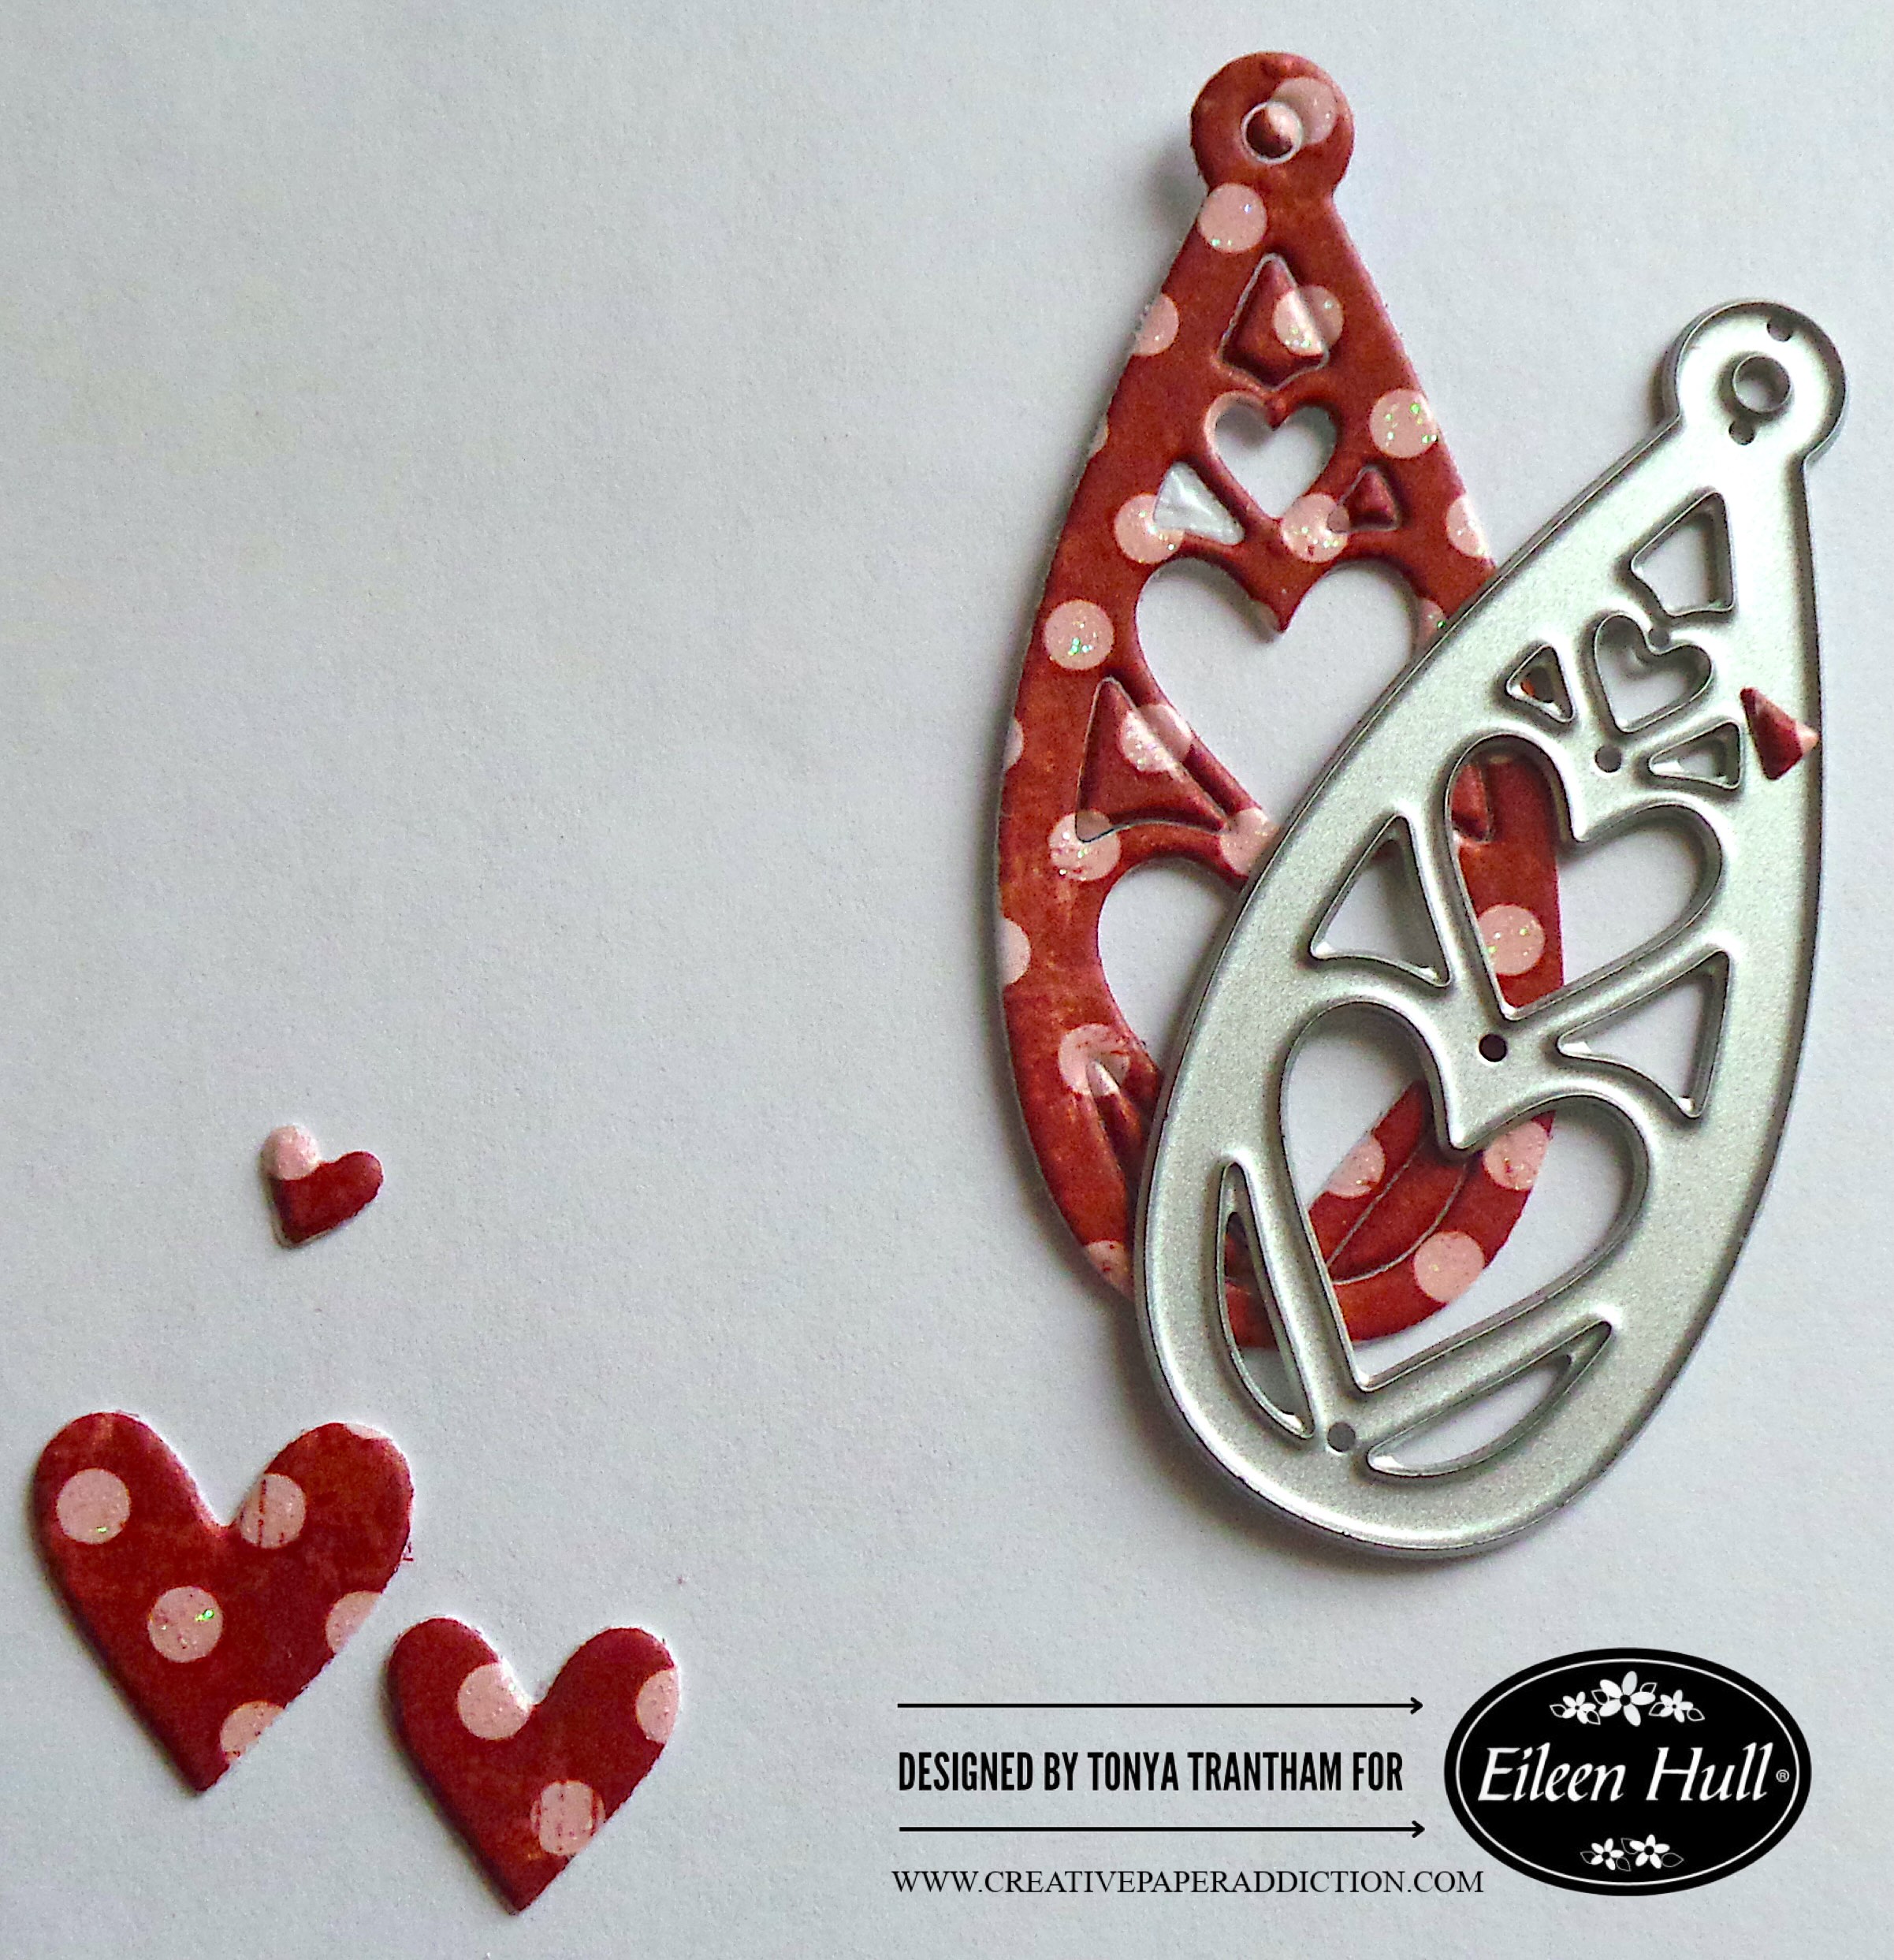
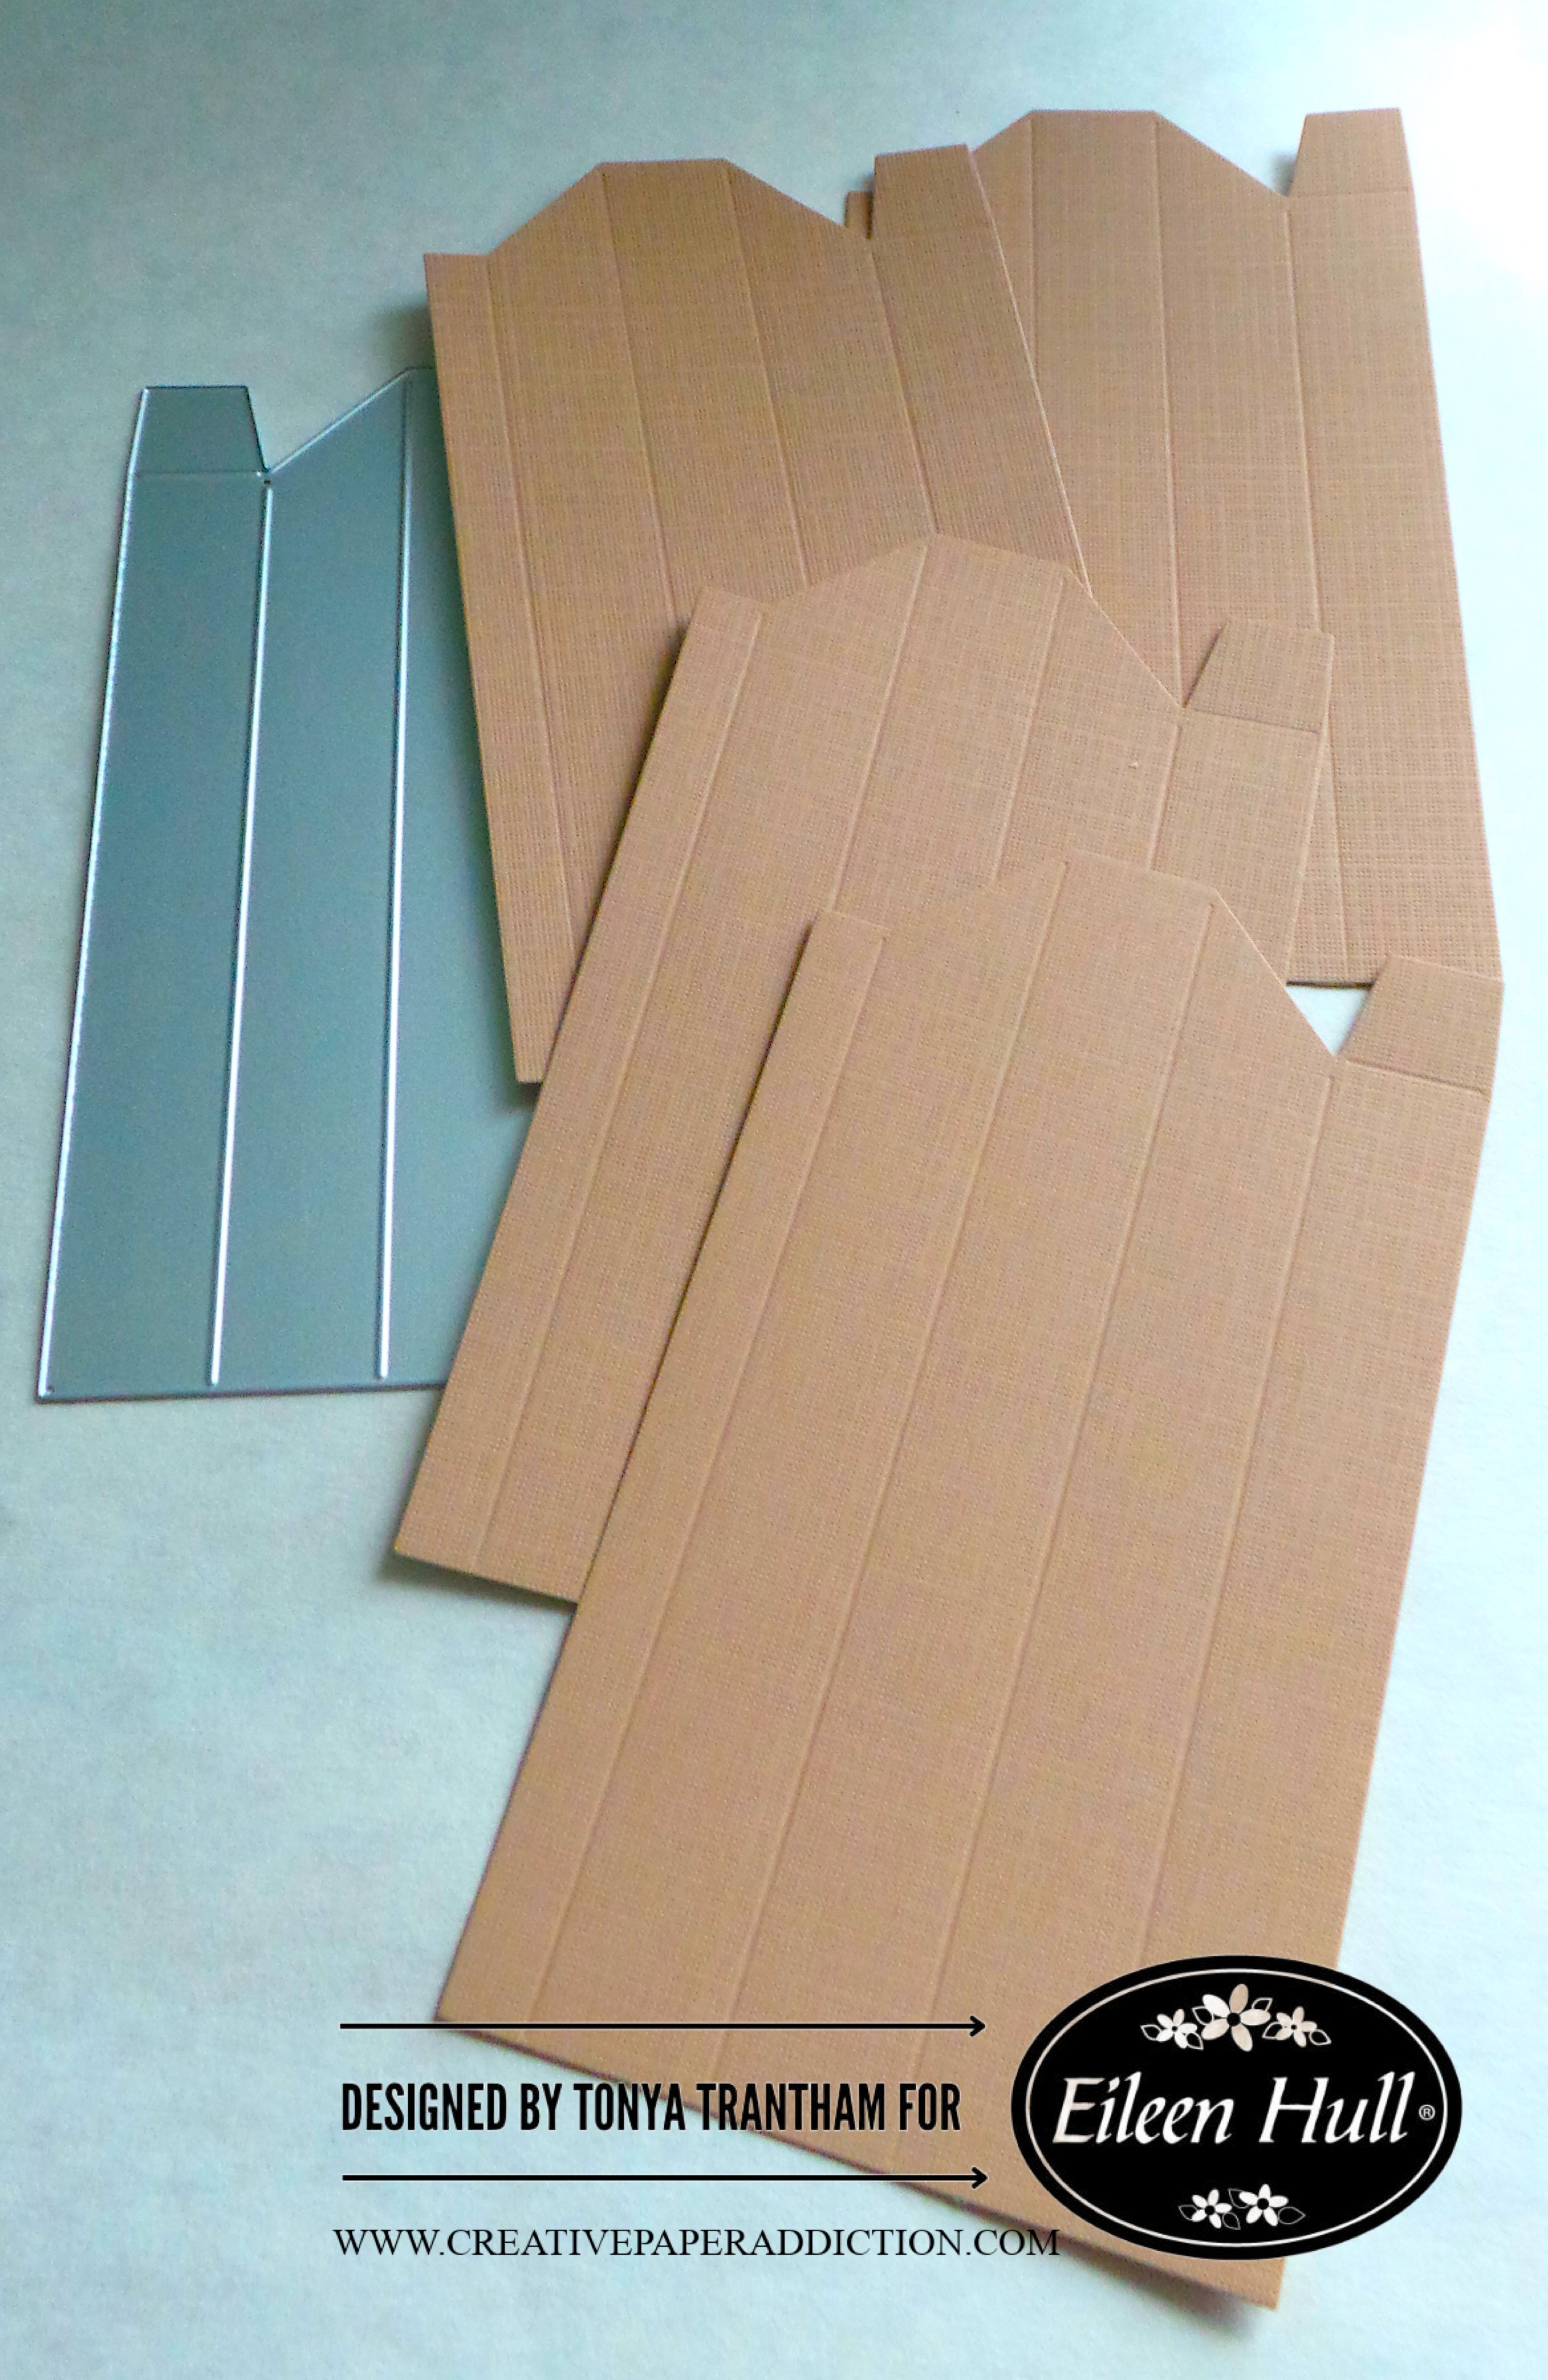
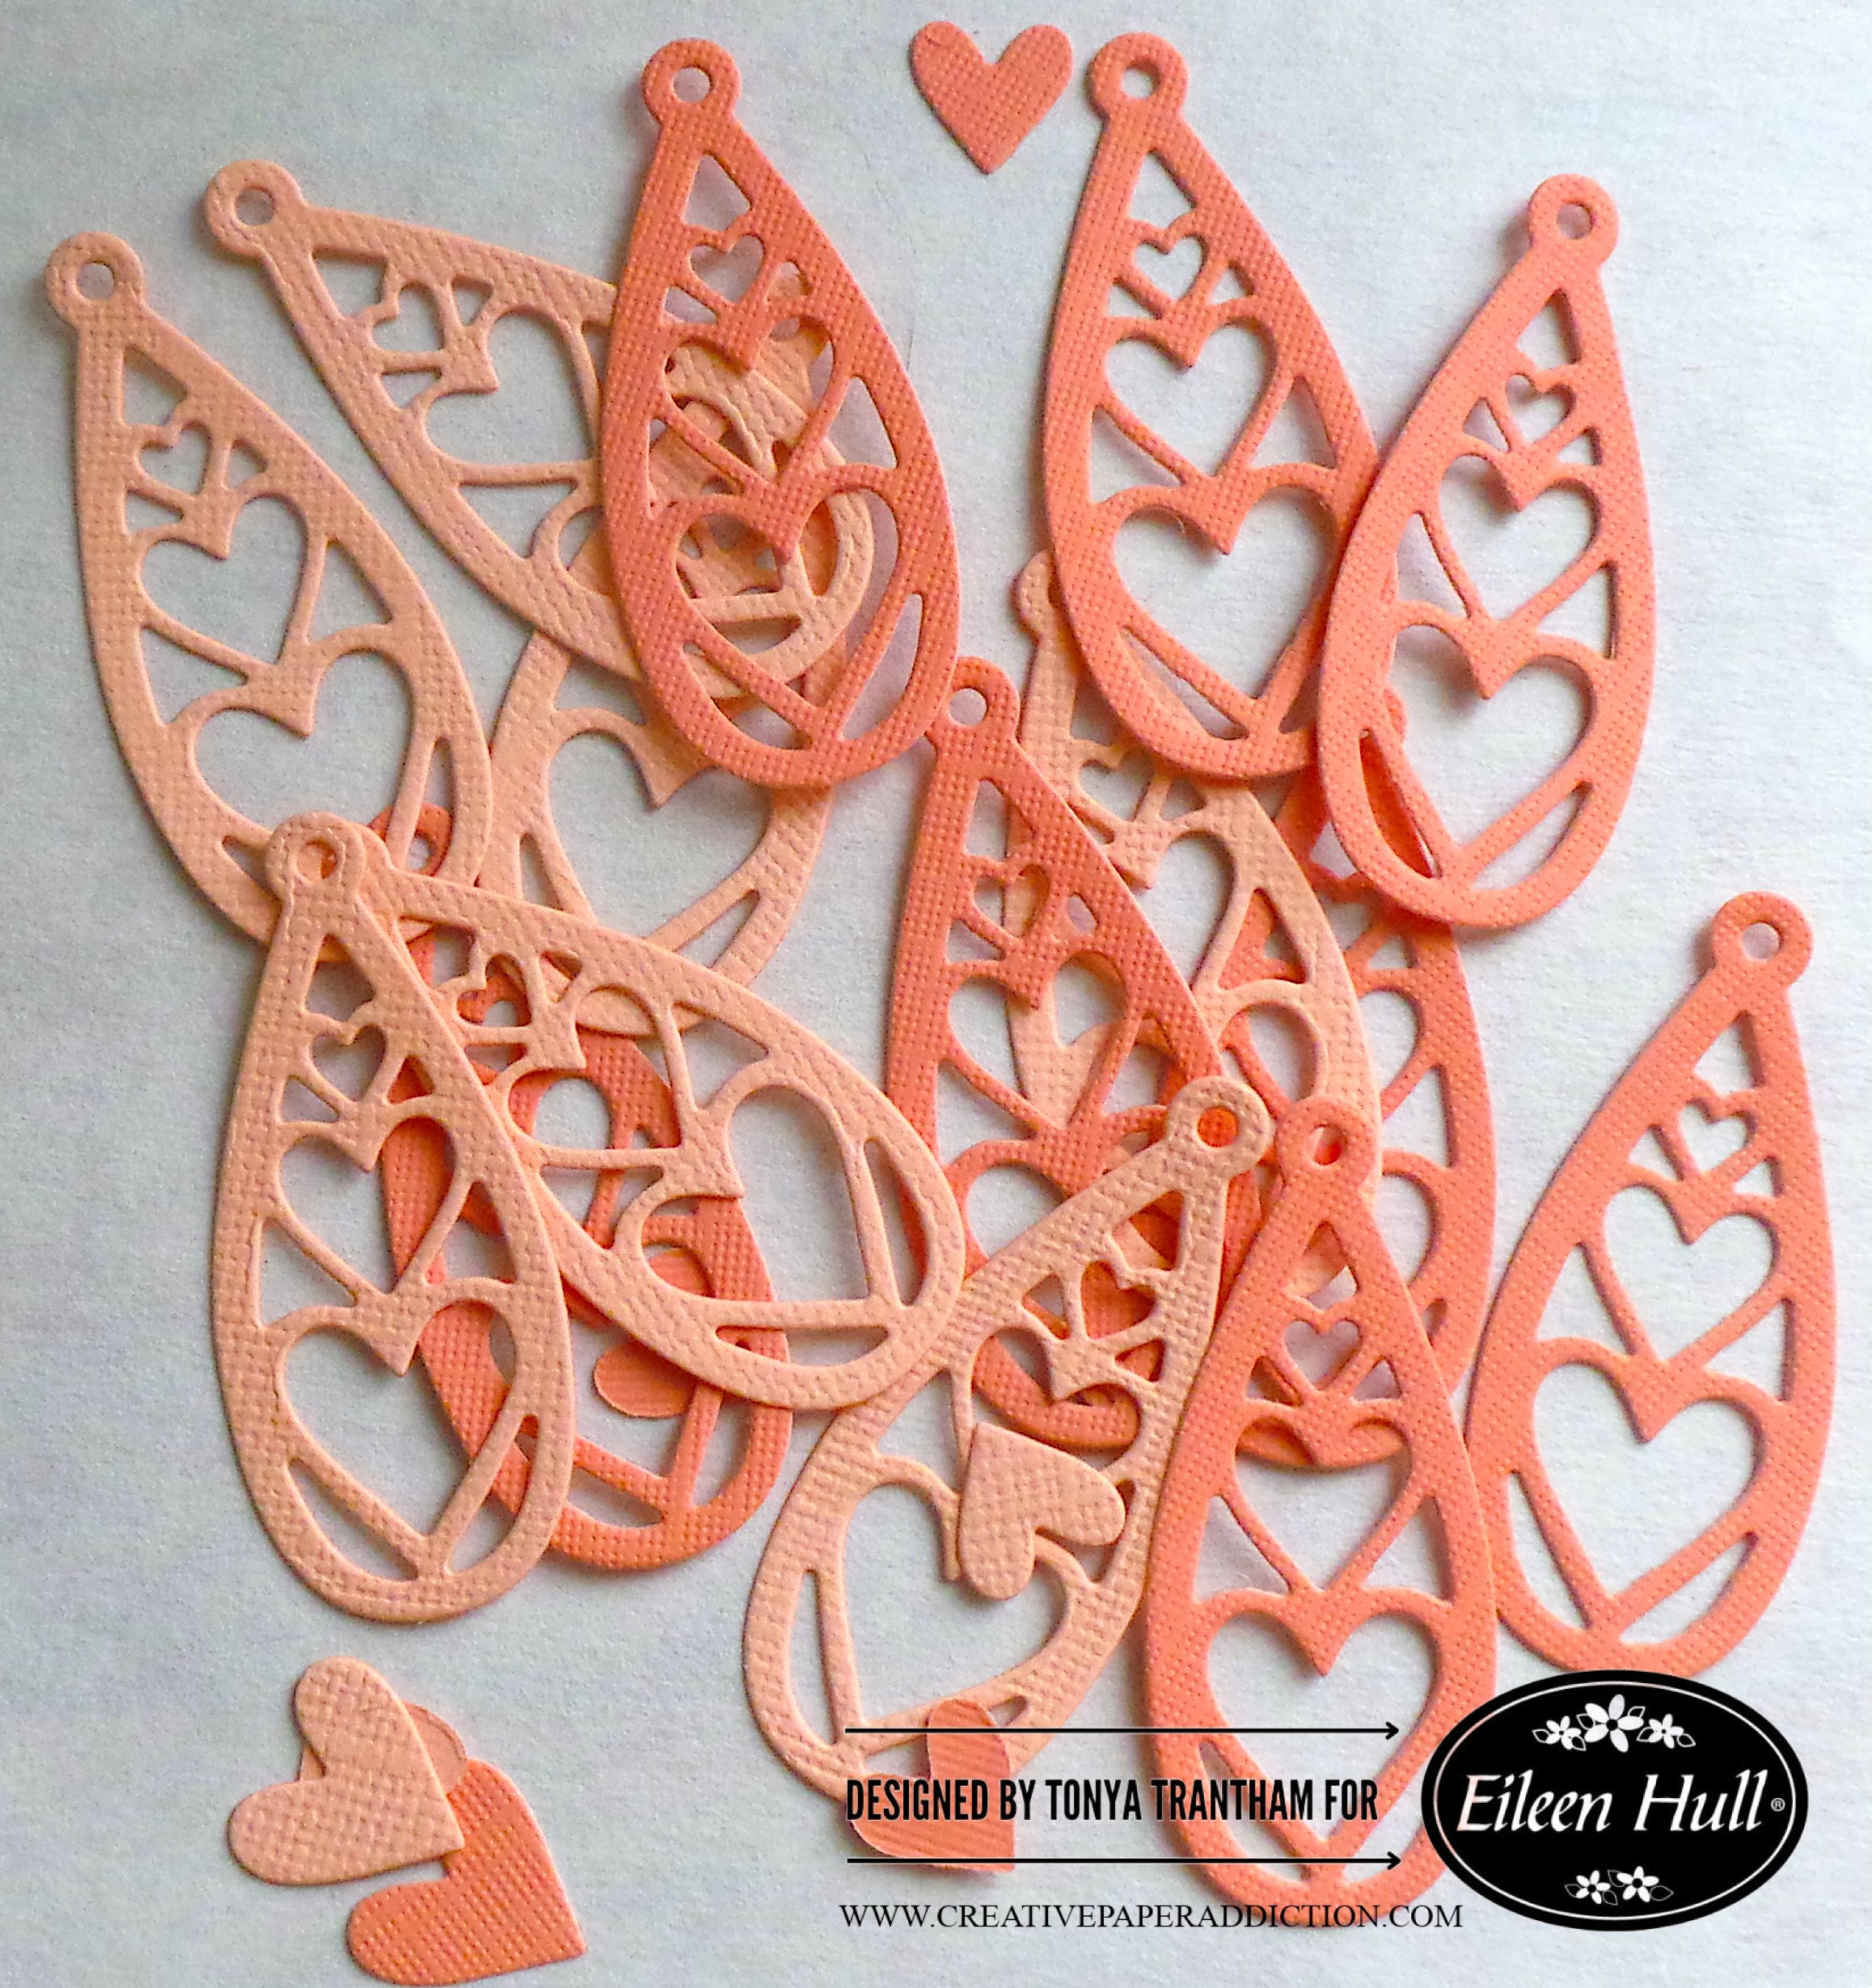
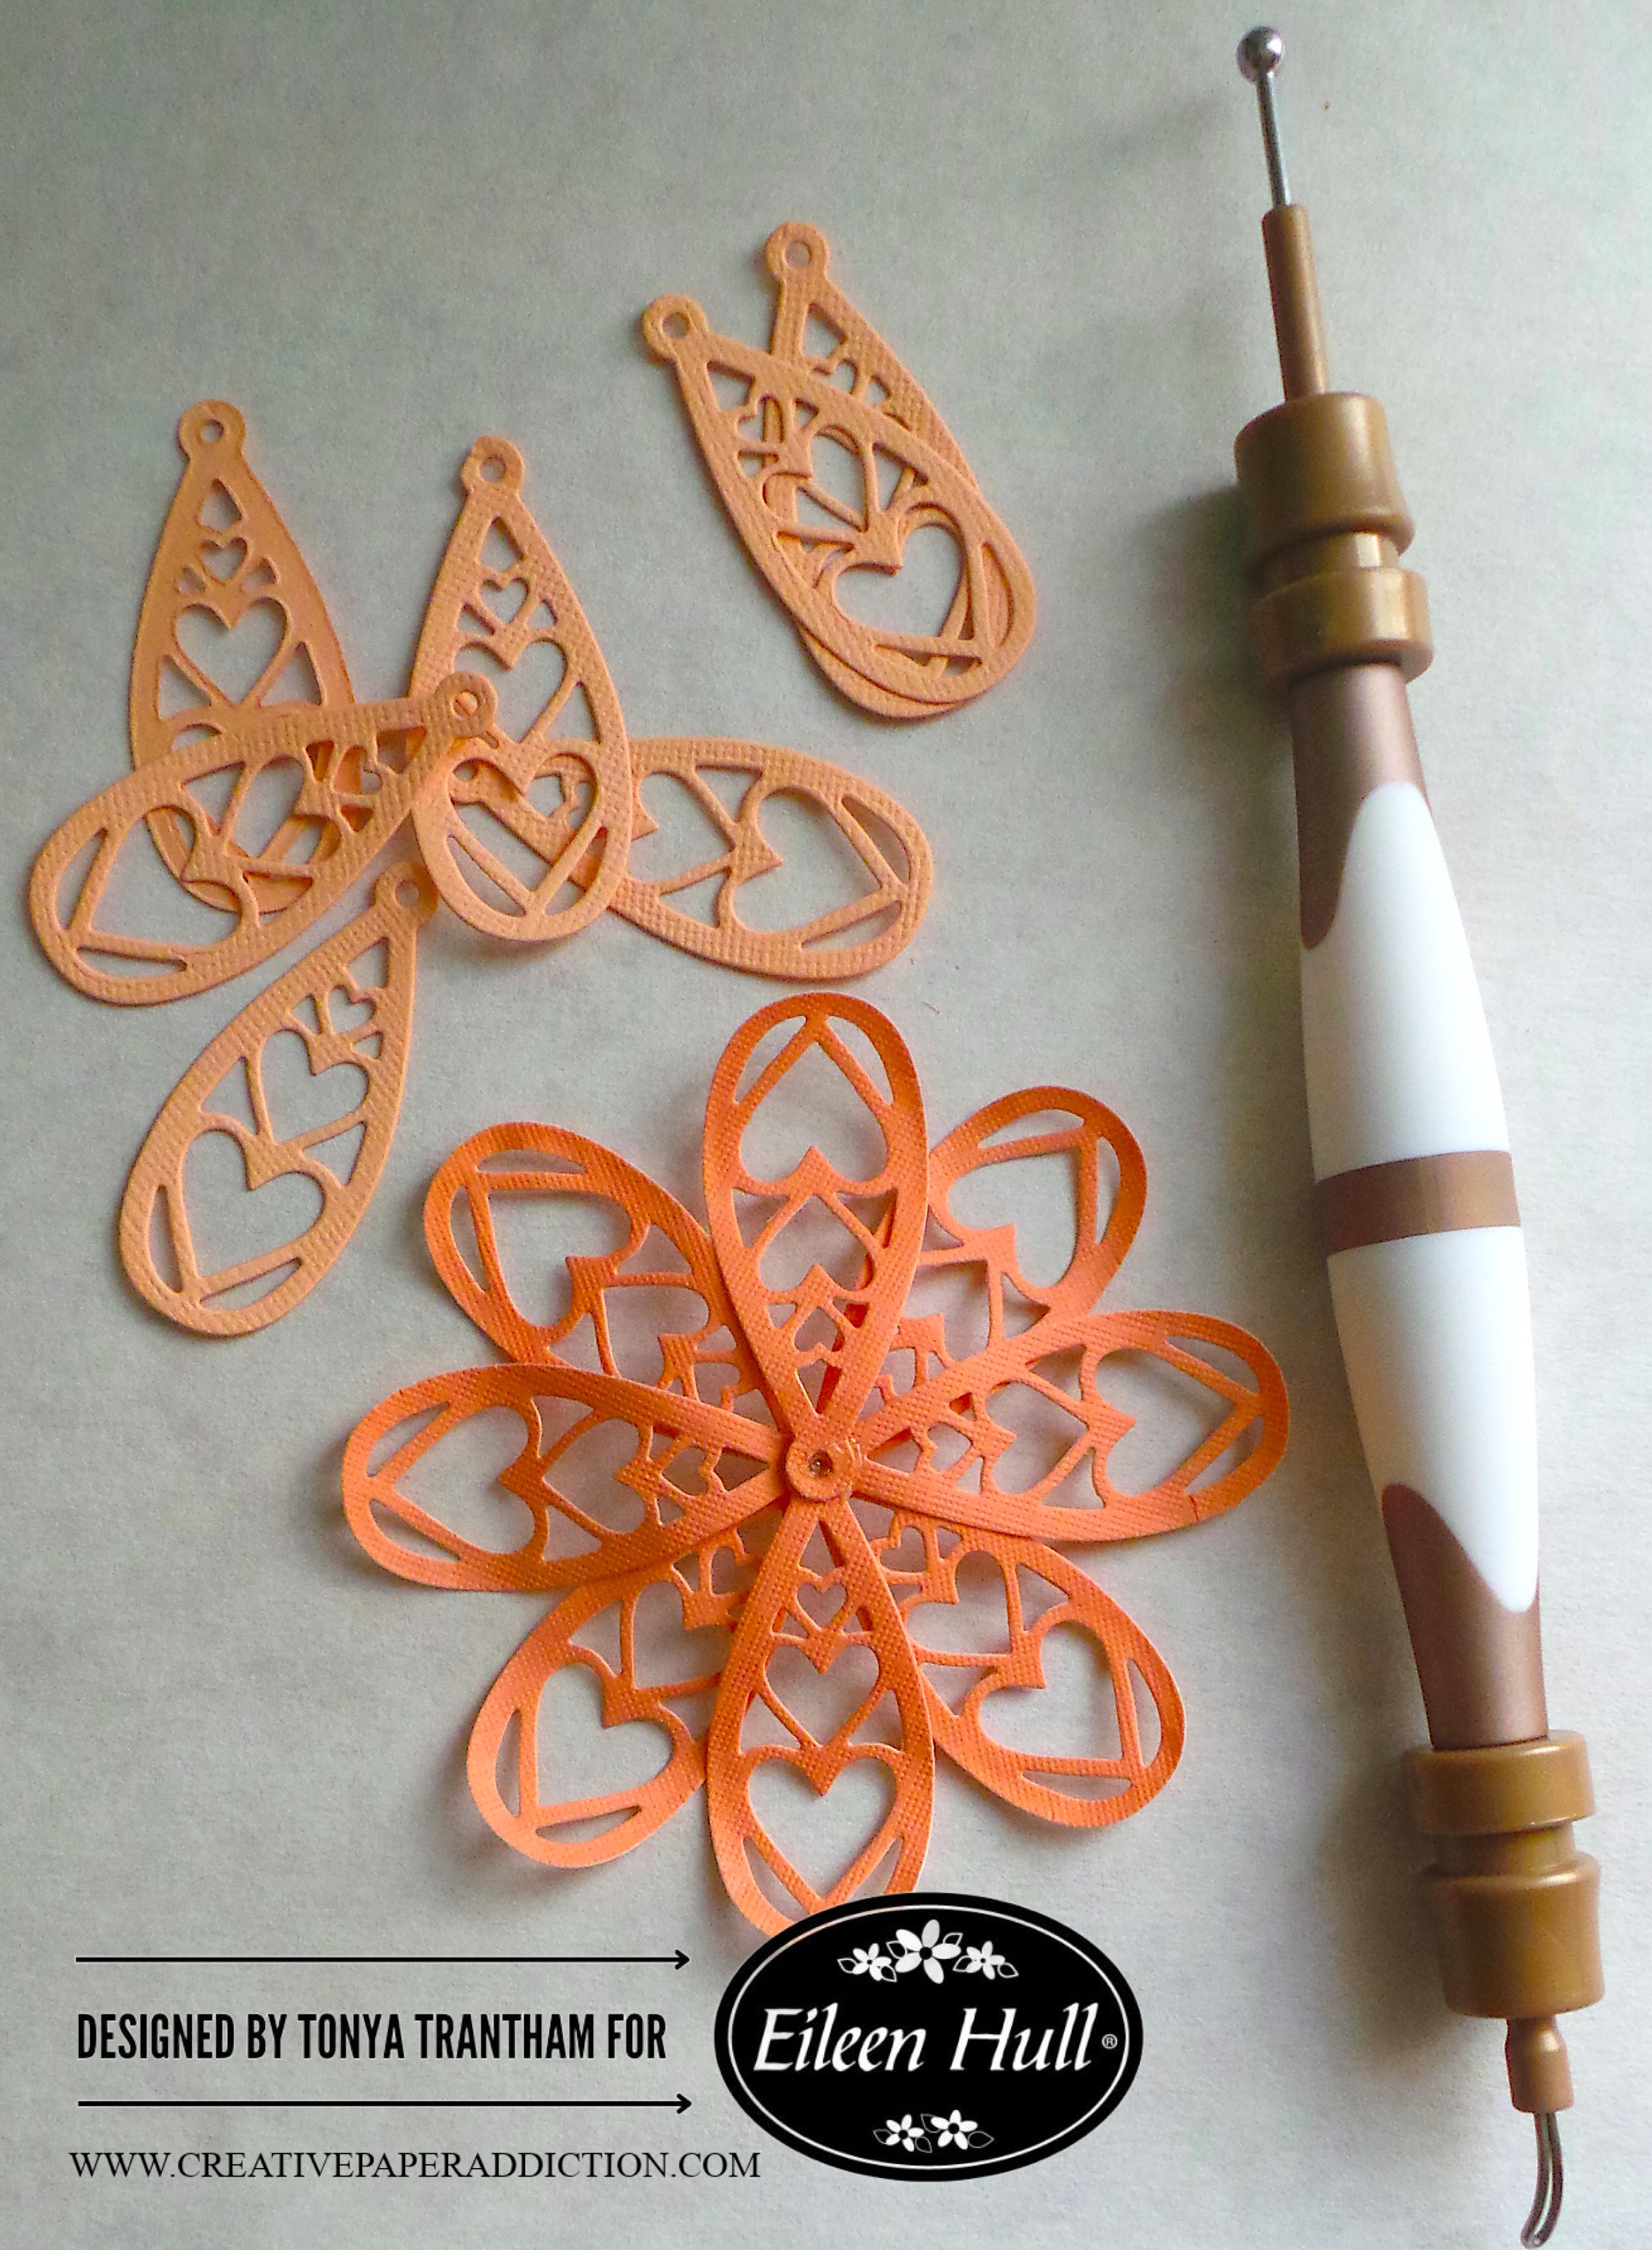
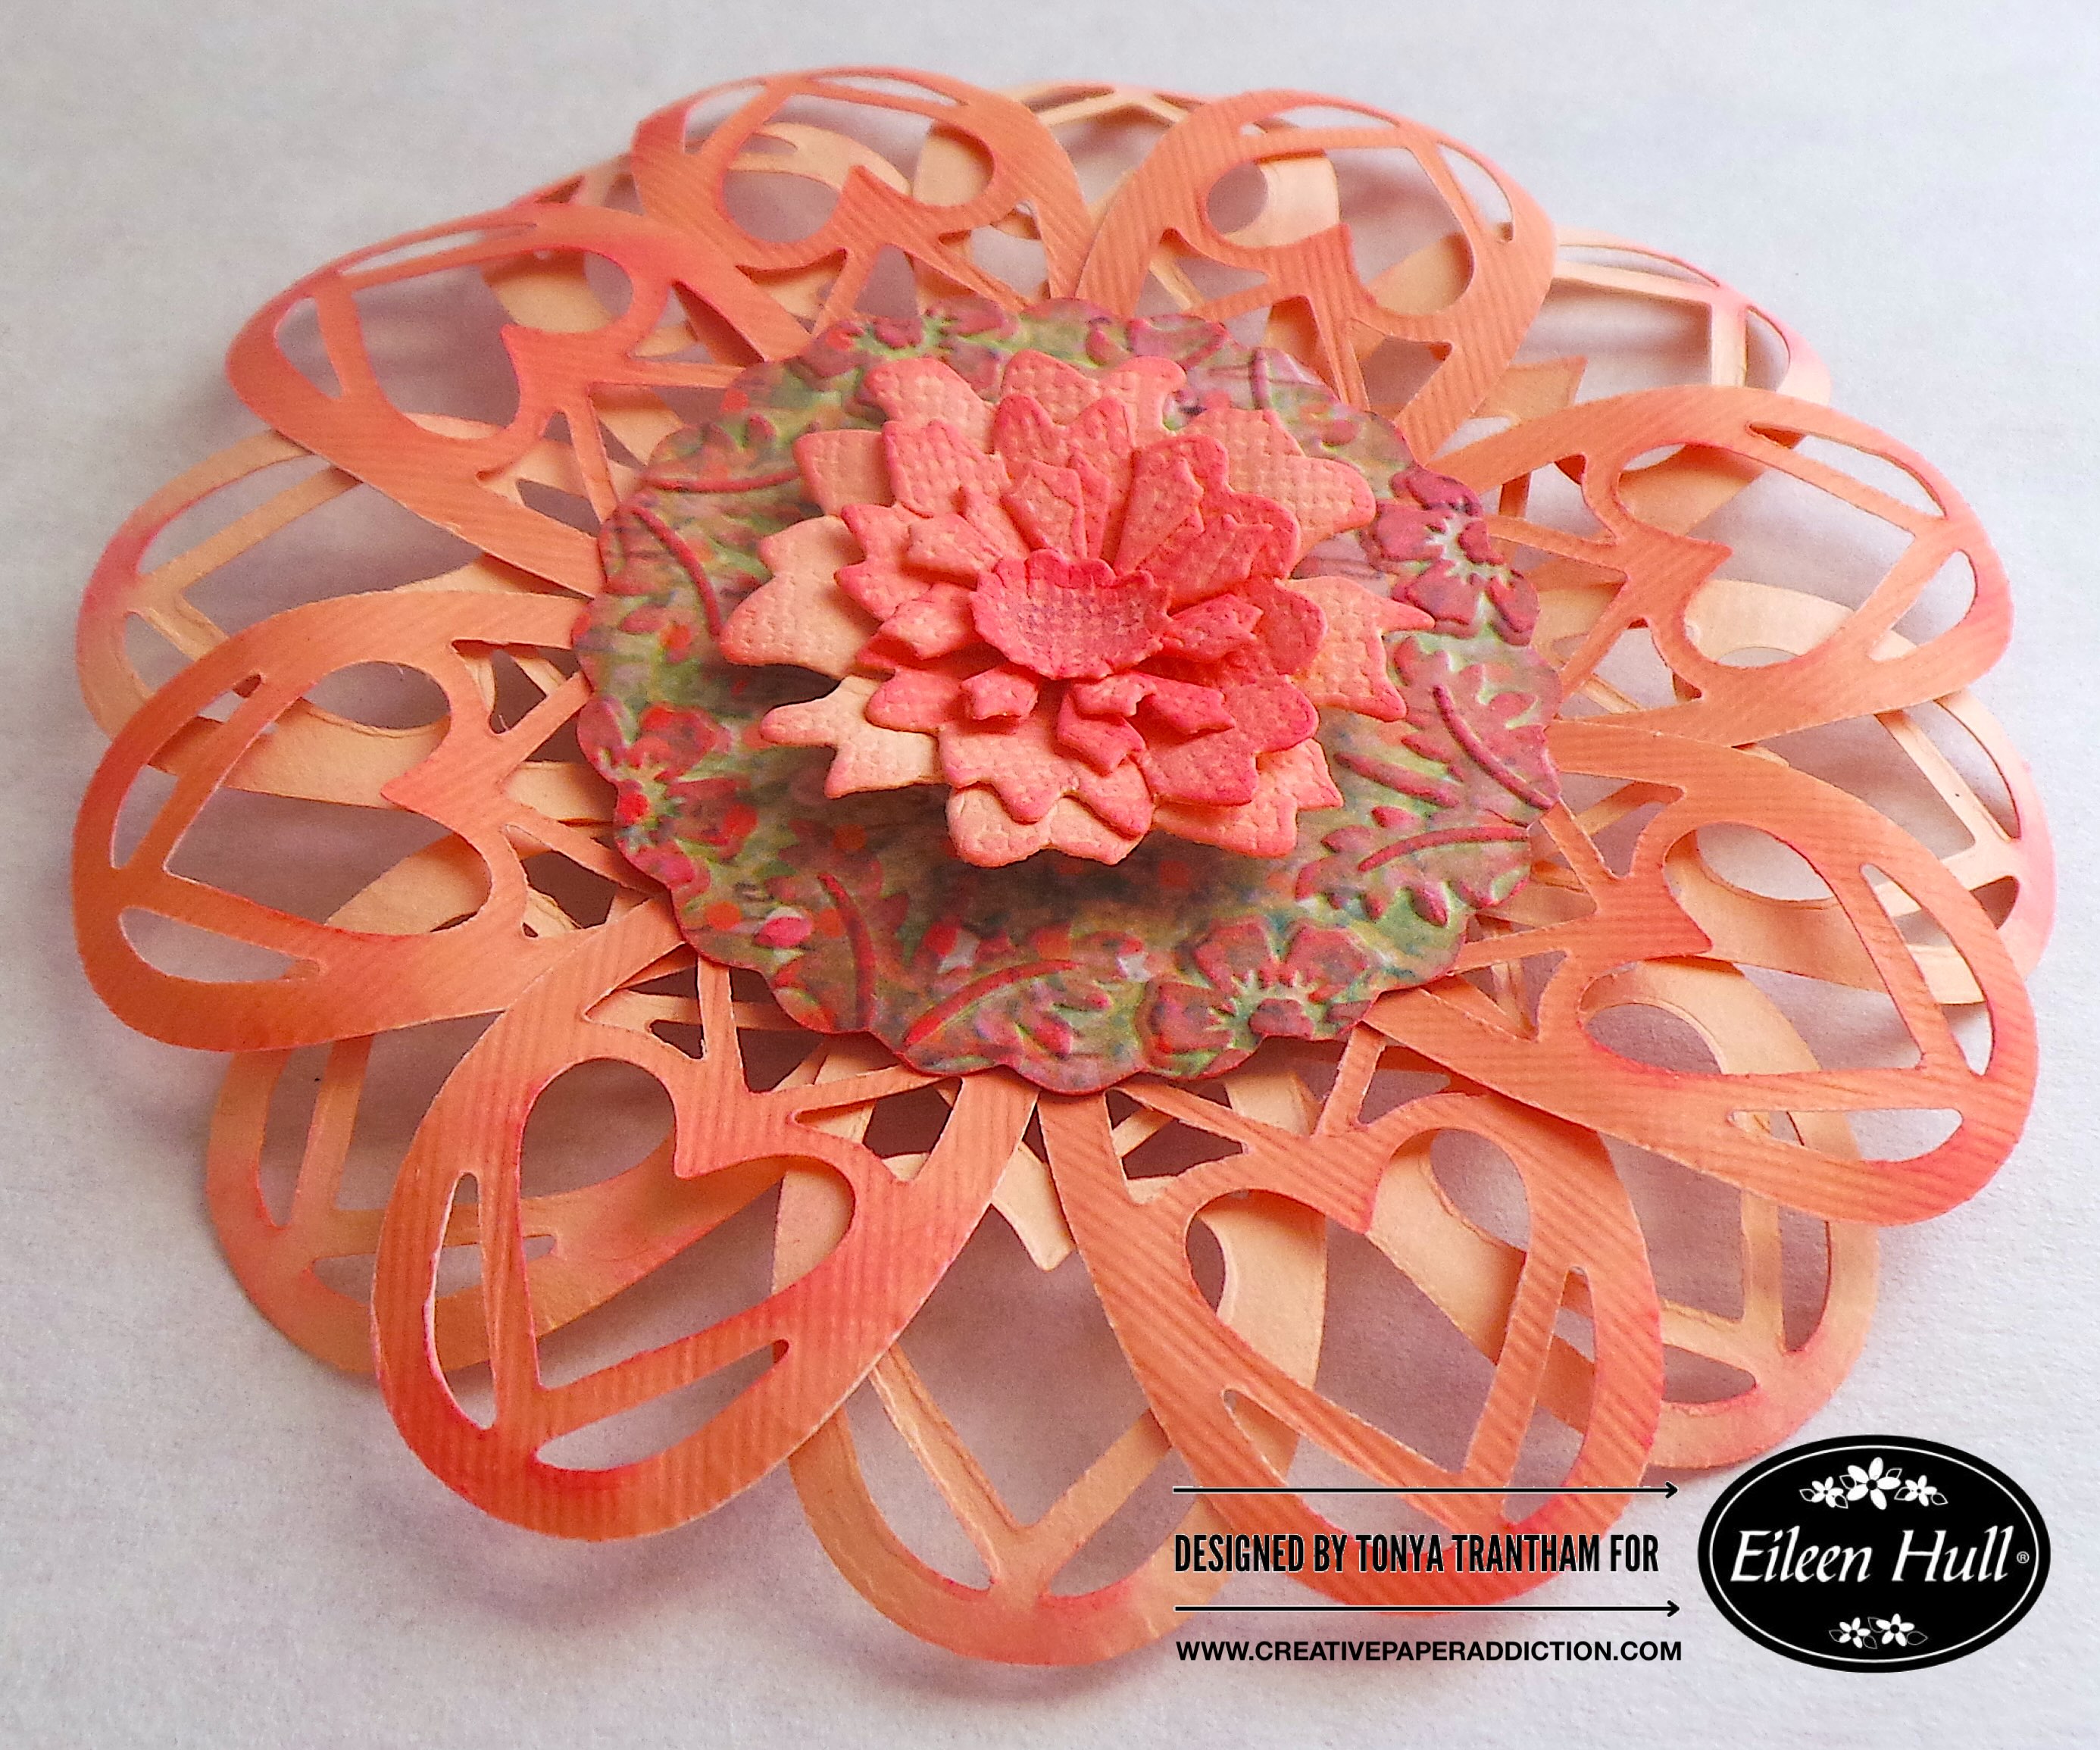
I cut out the notebook cover from the Mini Book Diecut. I also cut four dotted pages to fit inside the notebook. I applied a double sided Adhesive to the back of a piece of cardstock. I placed the “notes” diecut onto the cardstock and run through the Diecut Machine. I also cut out a circle from the Bookmark, Pockets and Toppers Thinlits. Now that I have everything cut out I’m ready to put the notebook together.

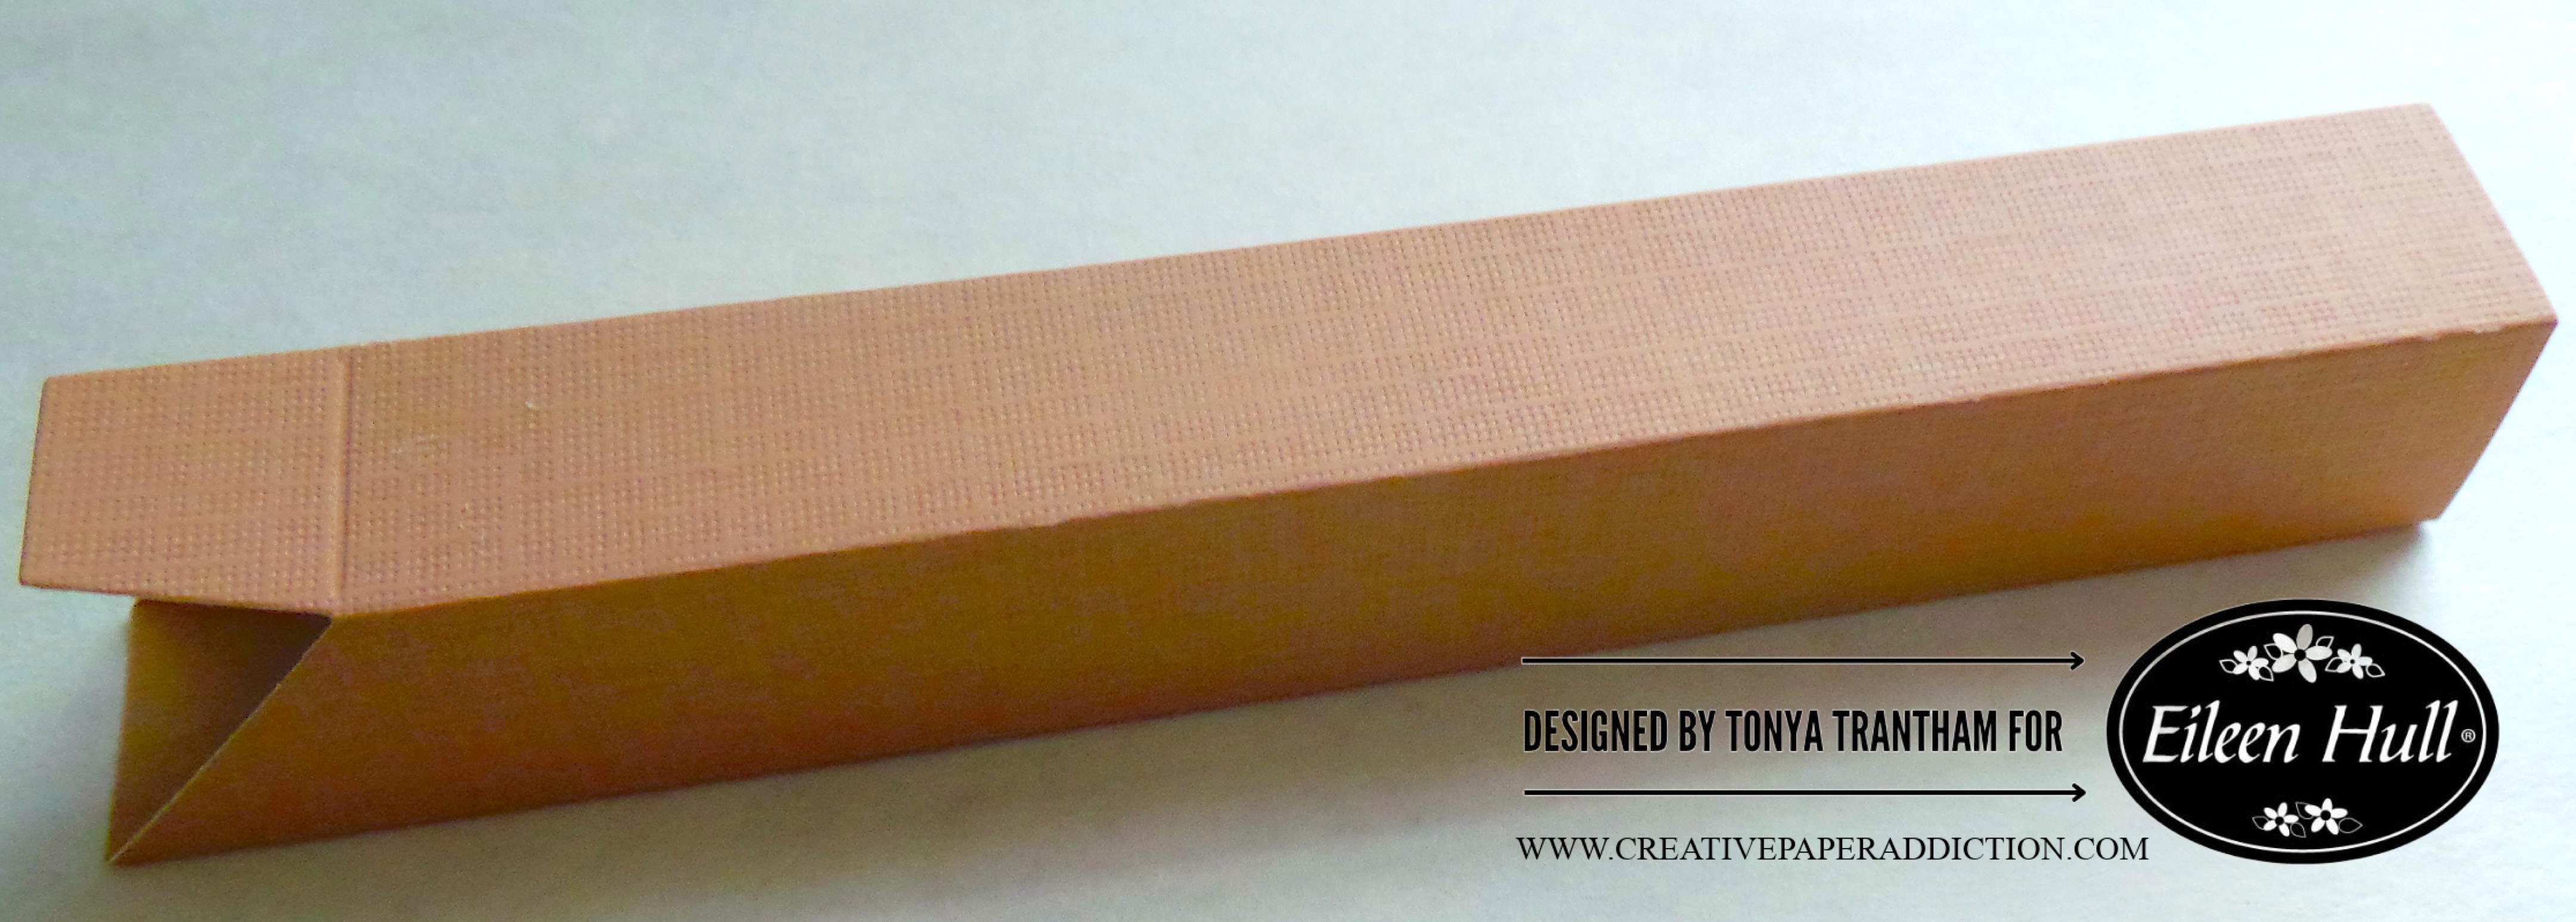
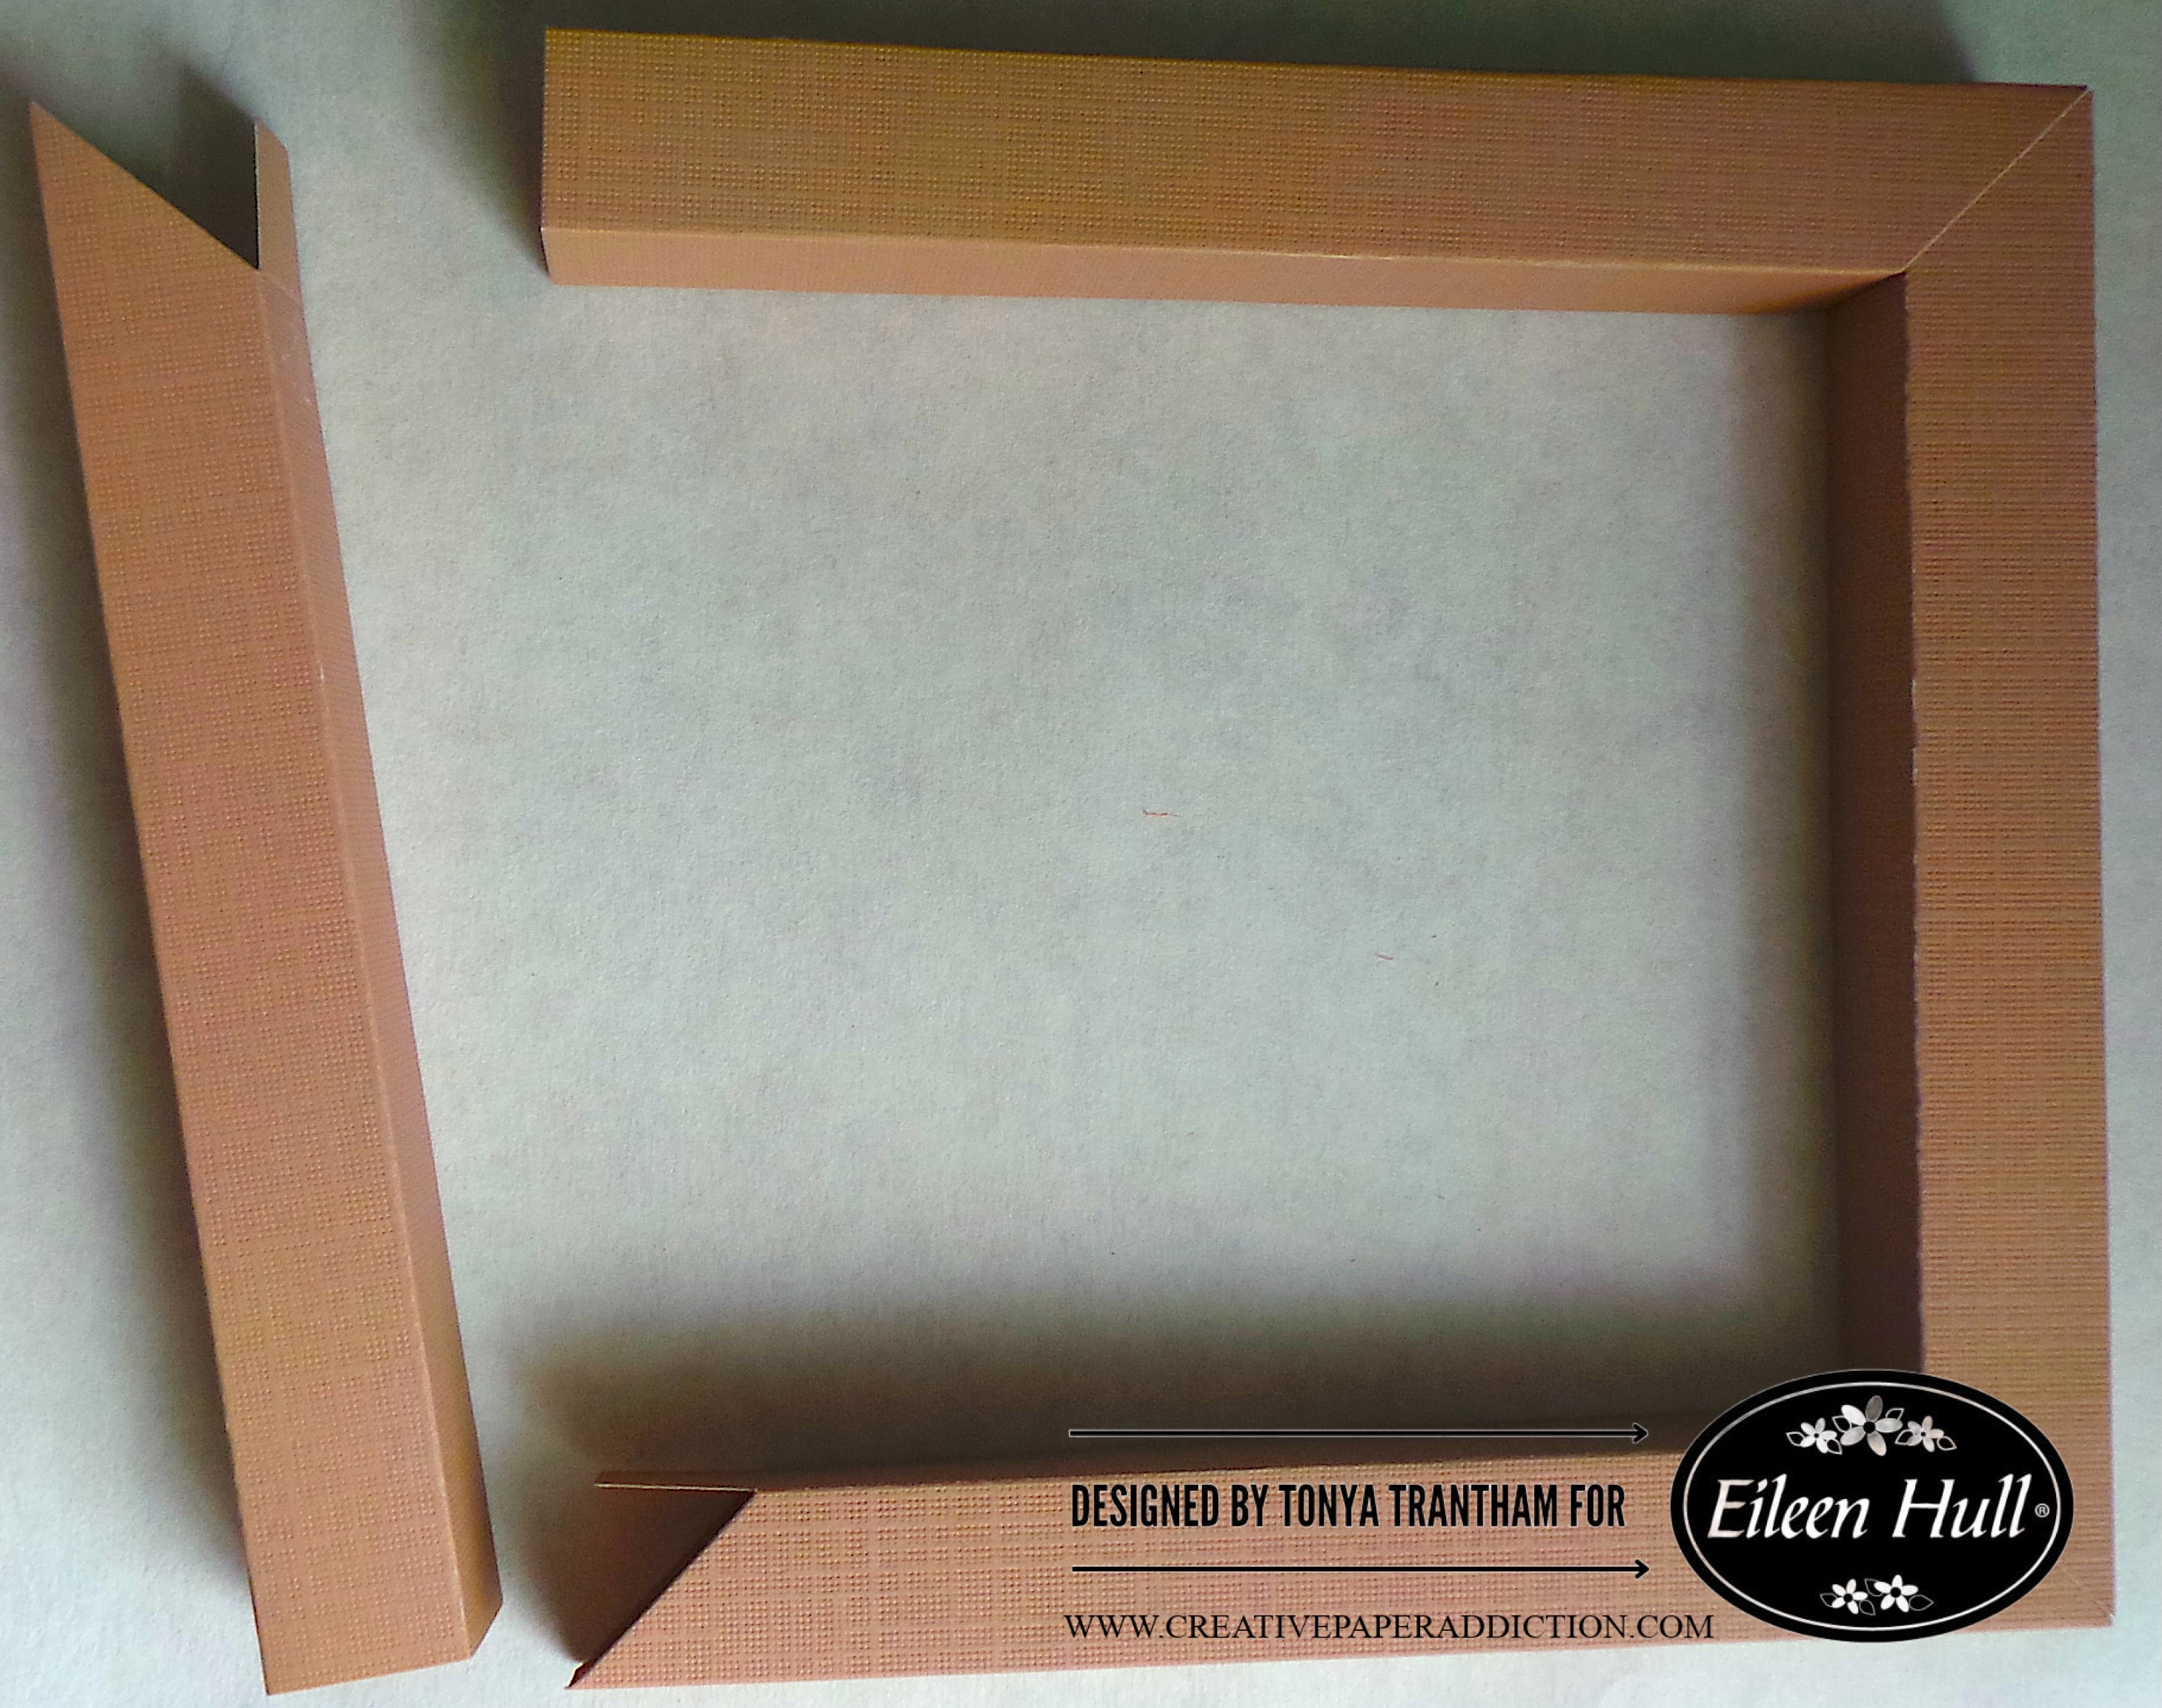
I lightly inked the edges of the notebook cover, circle, flower and notes dies. I folded the mini book die and dotted notebook paper in half. I punched two holes in the spine of the mini book and spine of the pages. I threaded a needle with thread. I sewed the pages and covers together and tied off on the inside of the notebook.

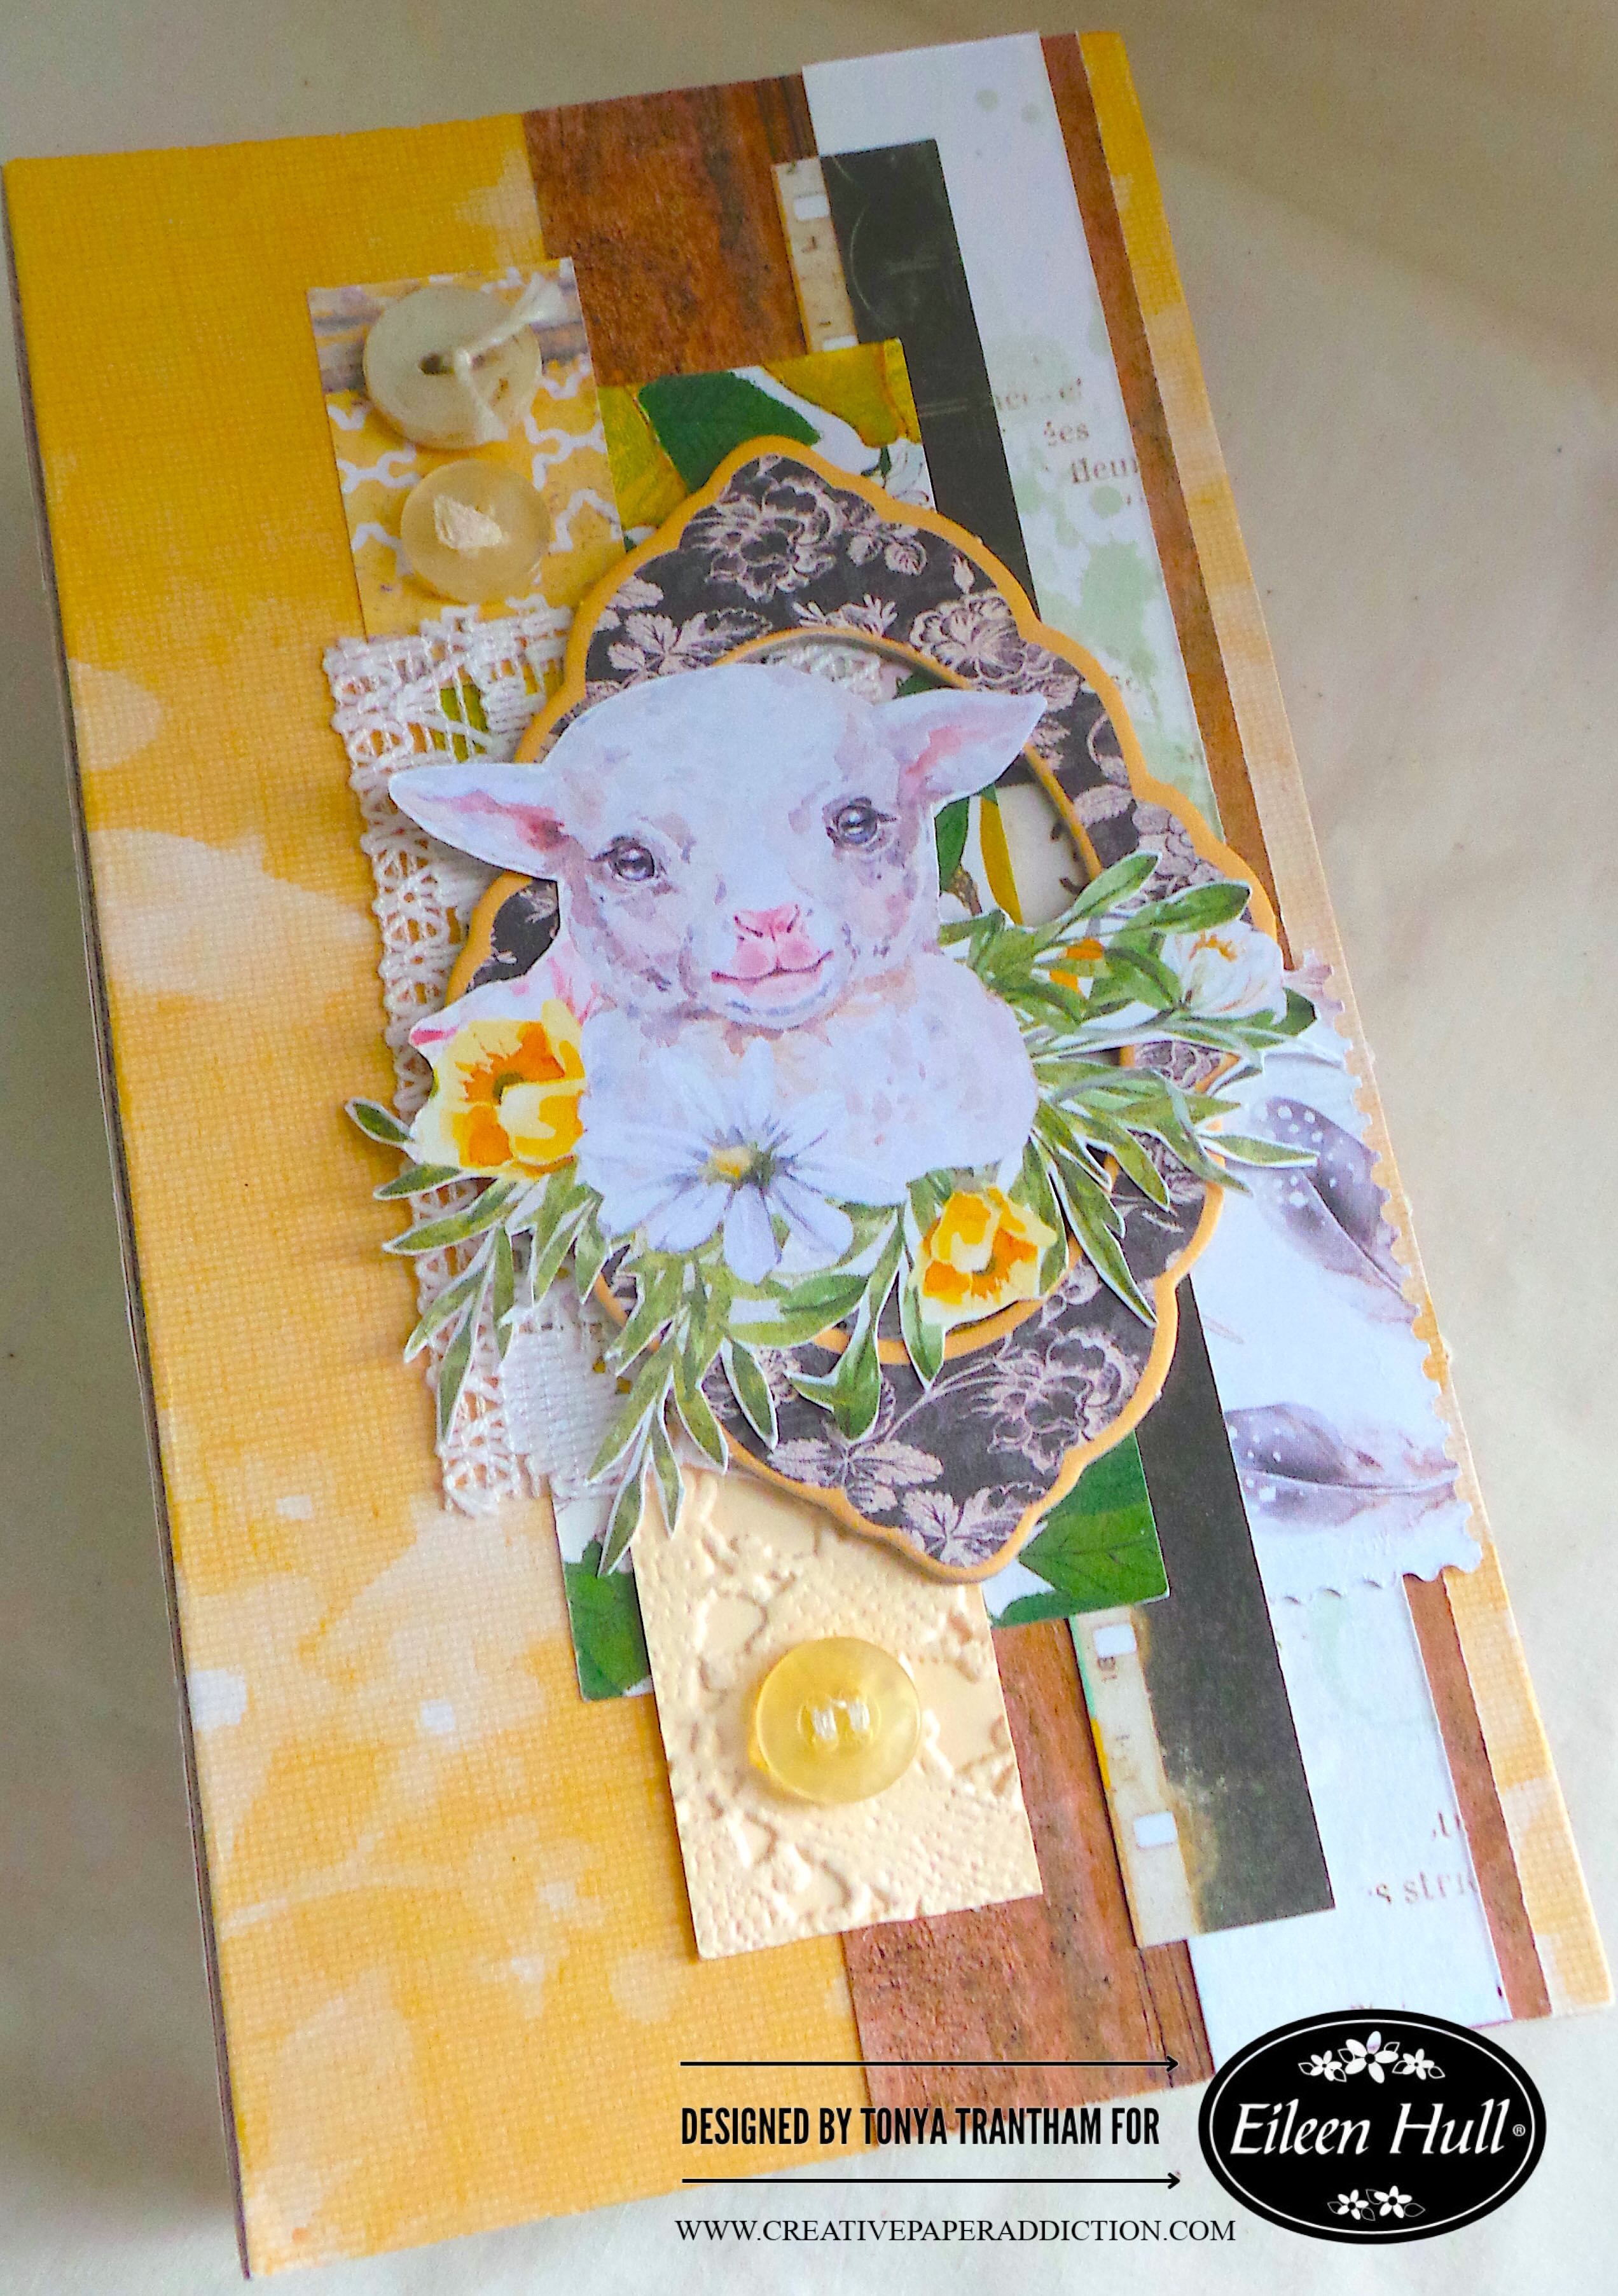
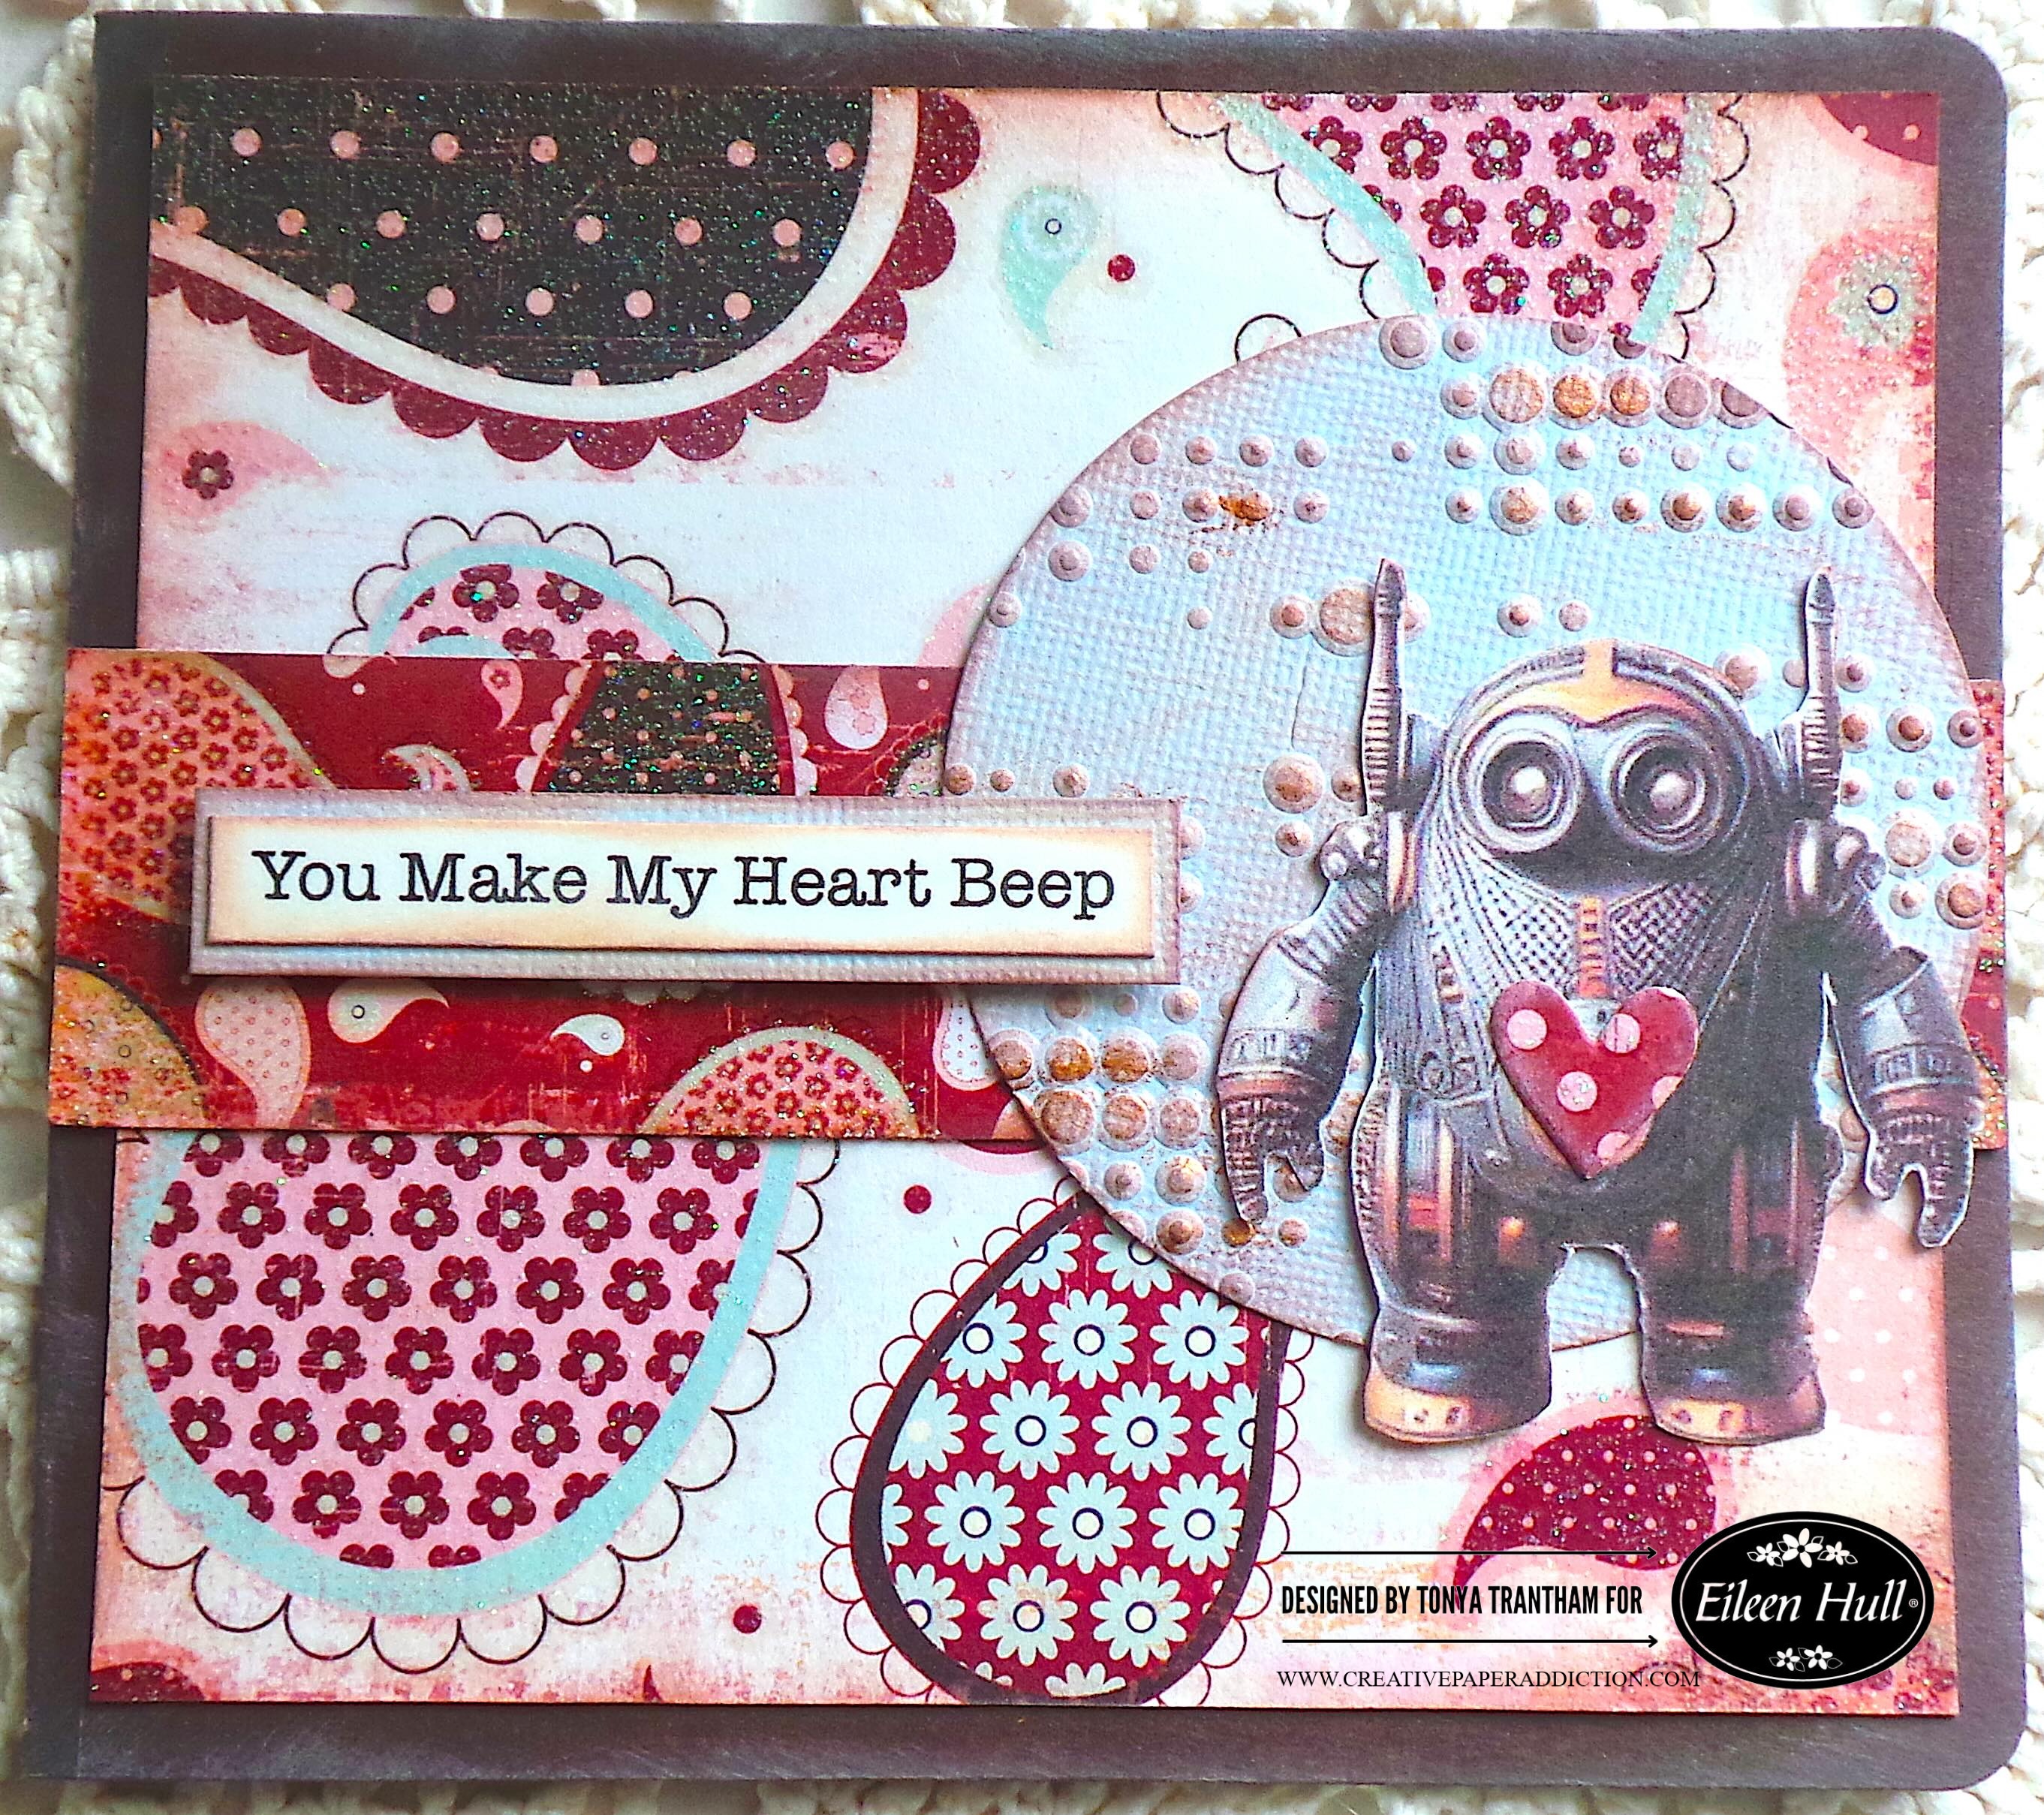
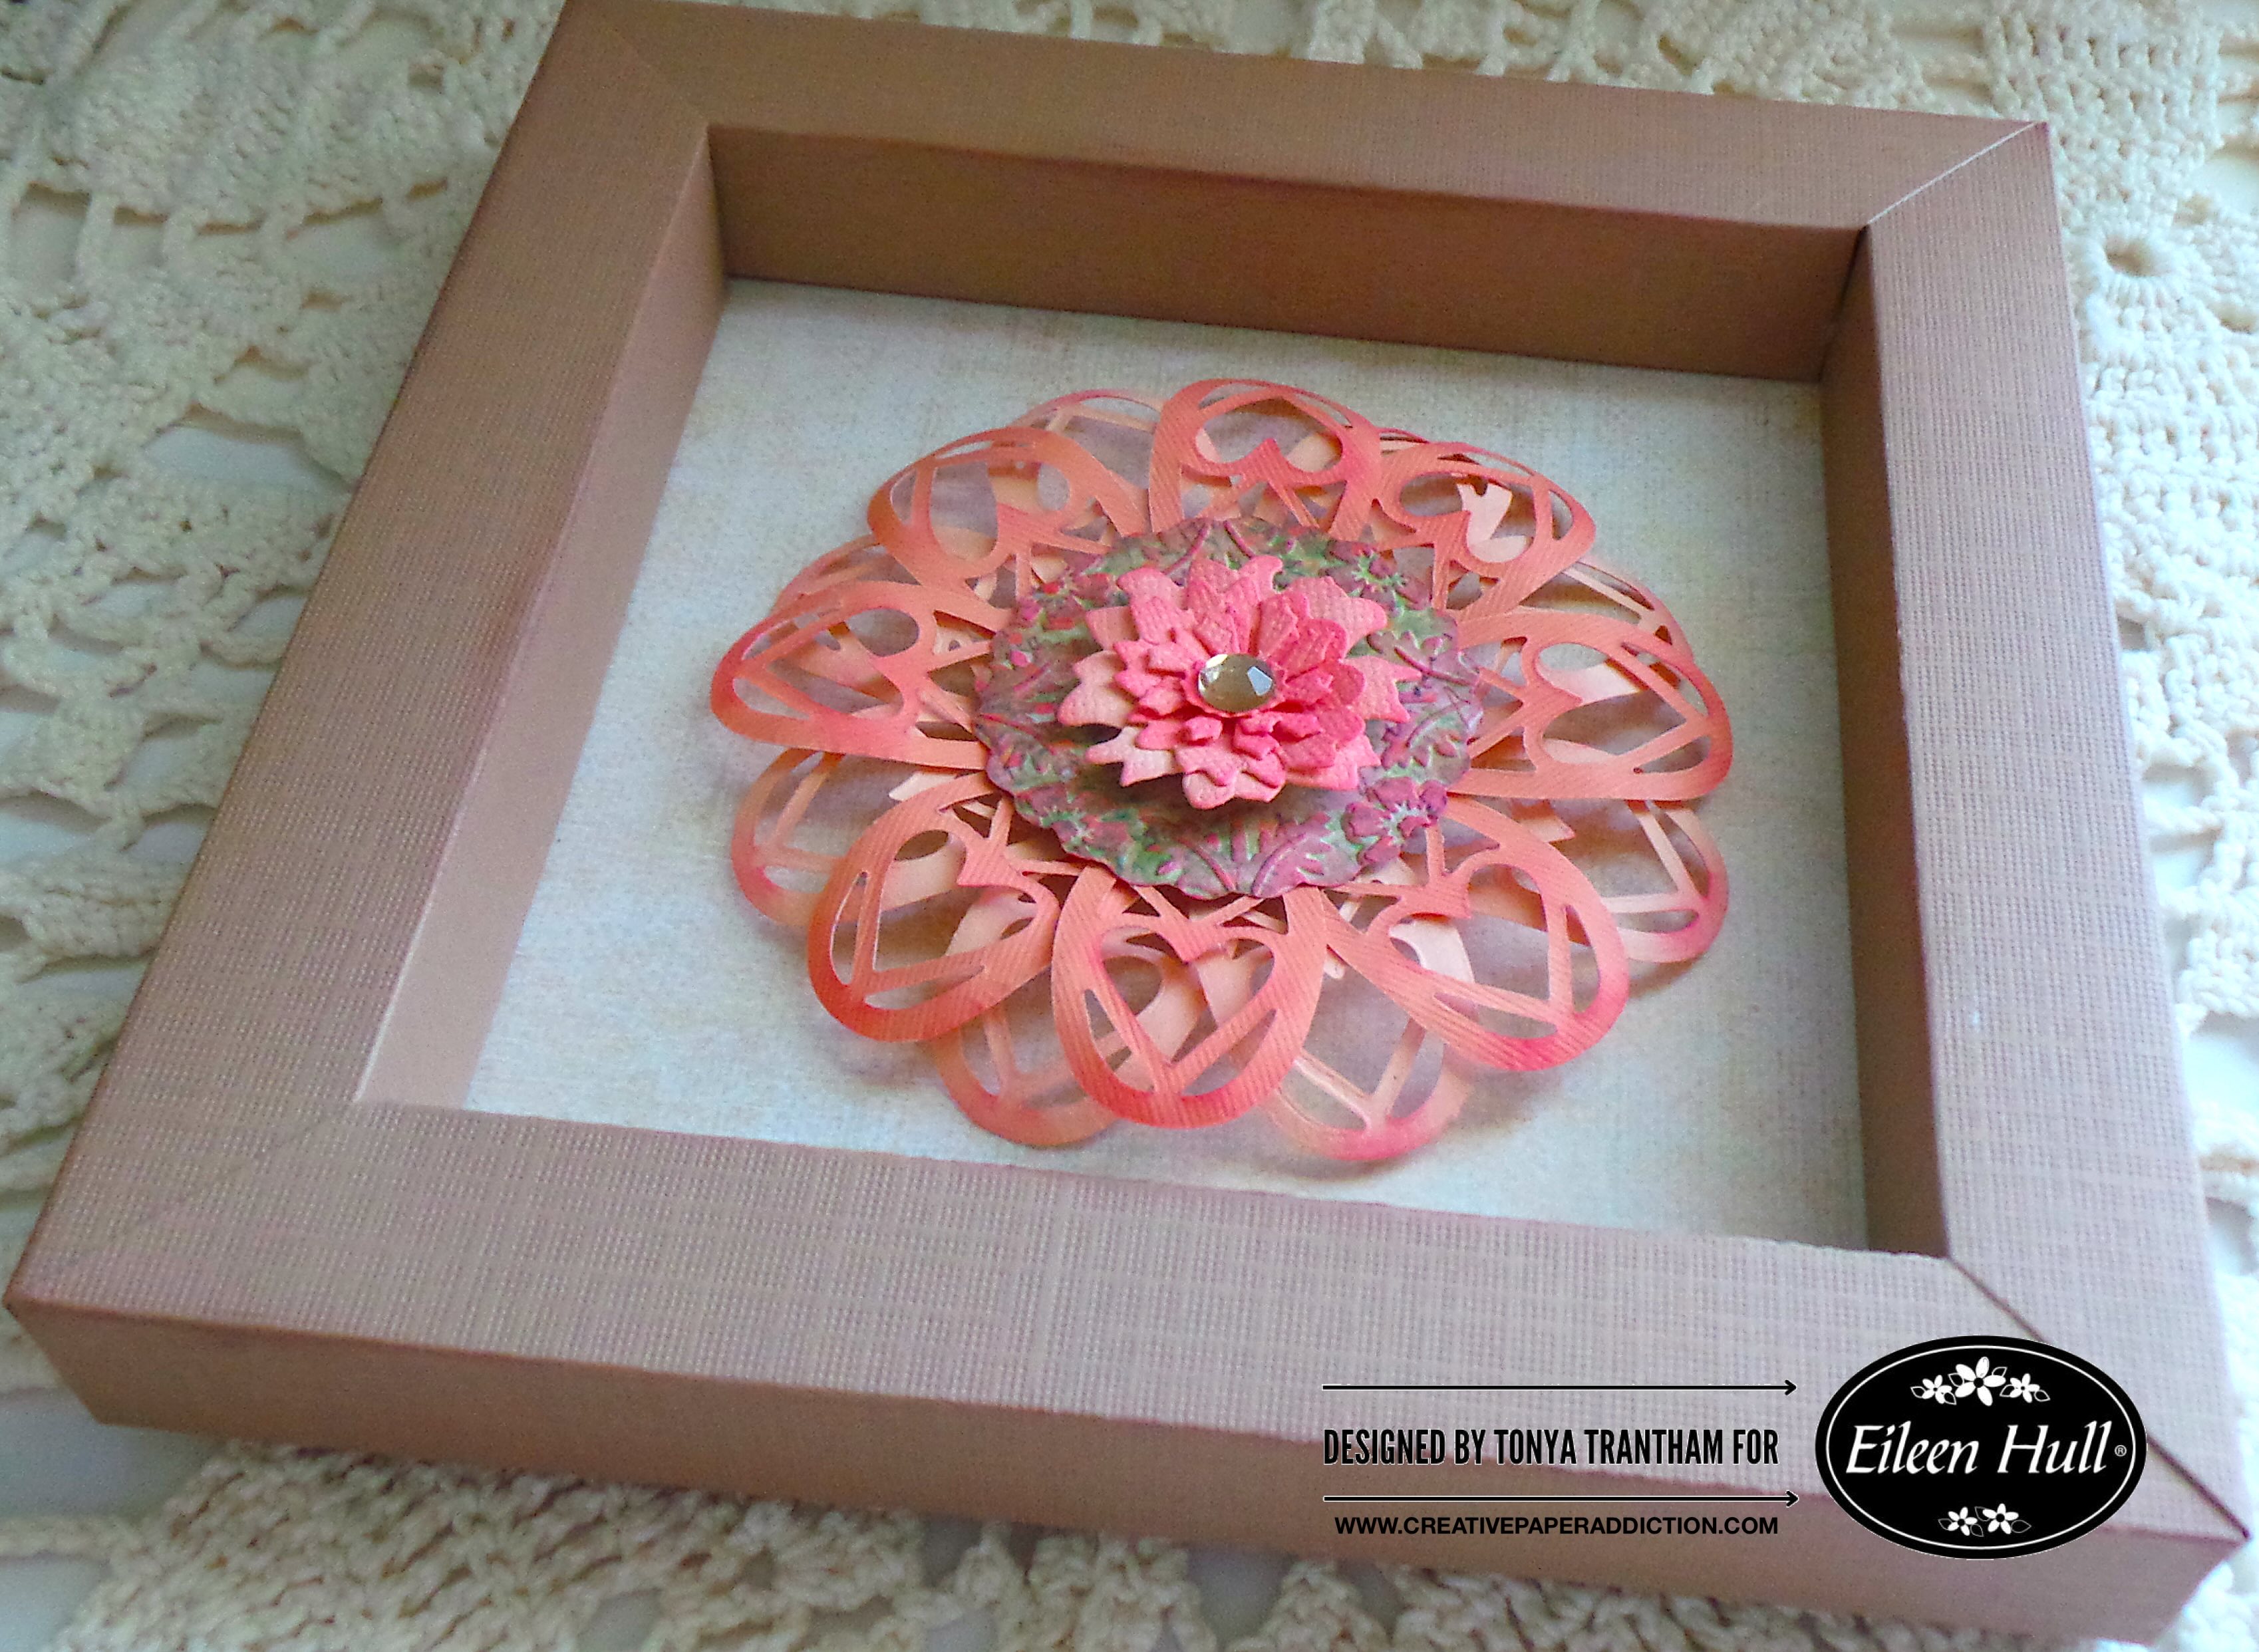
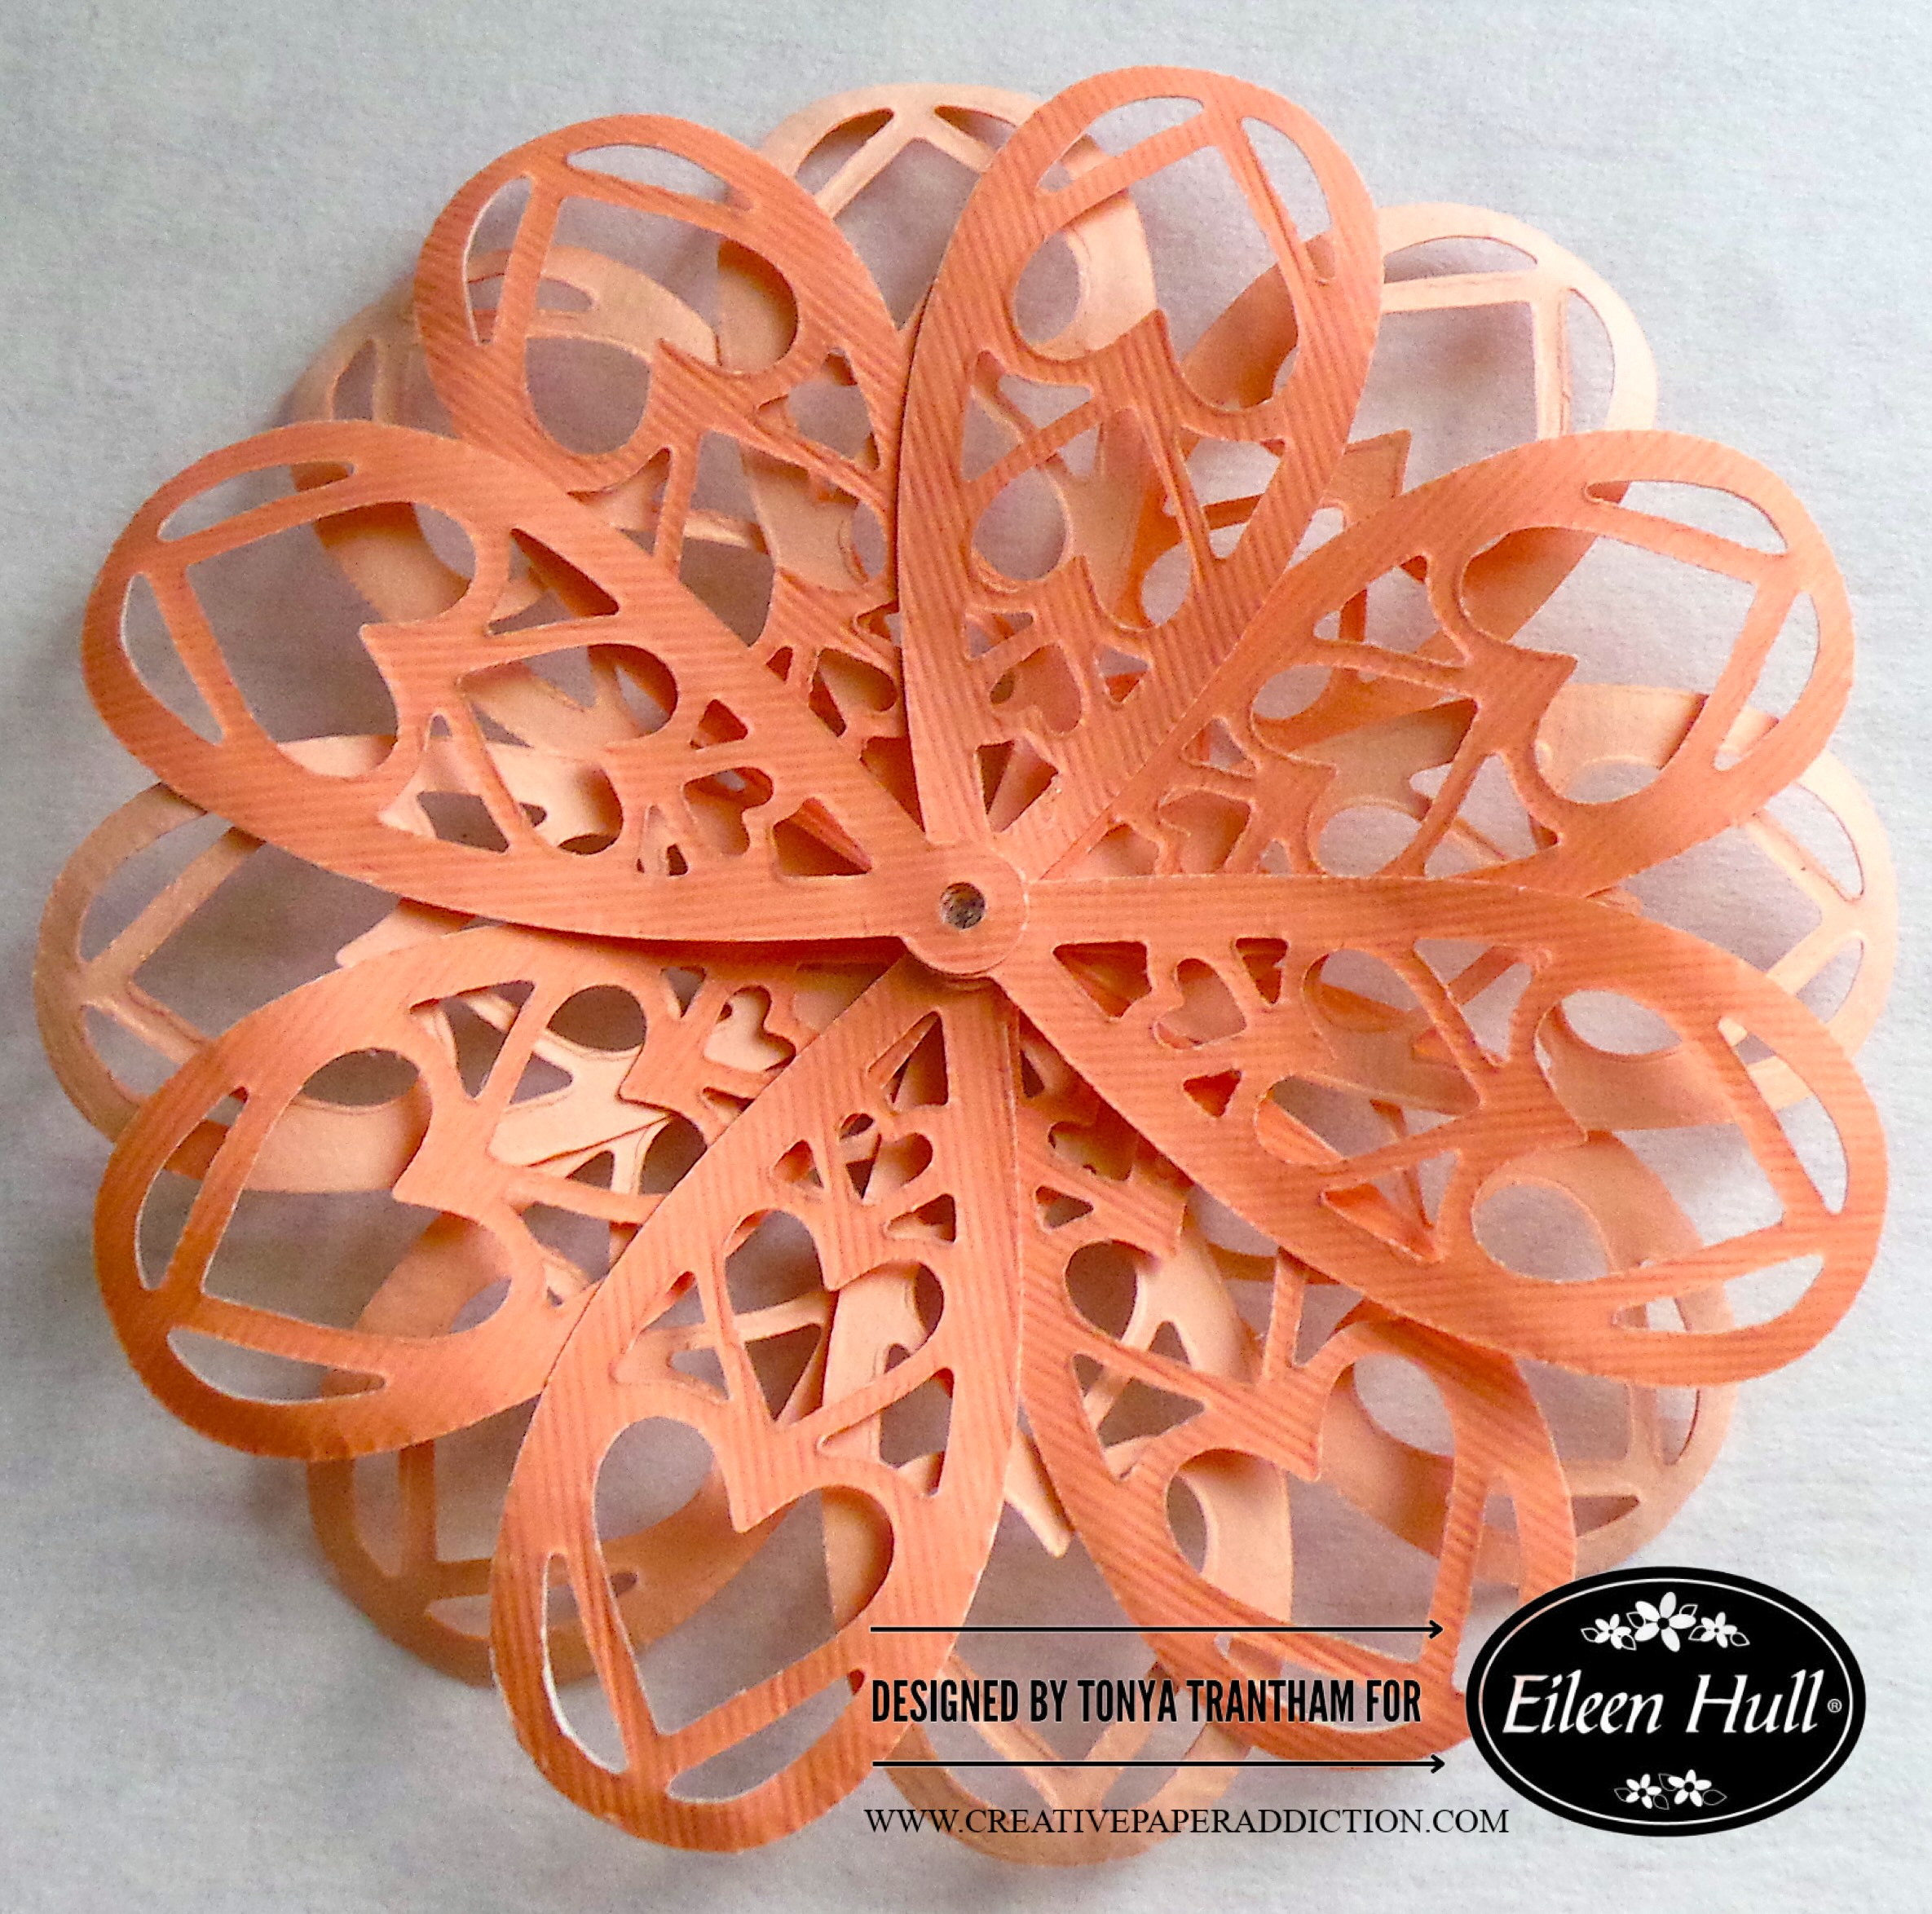
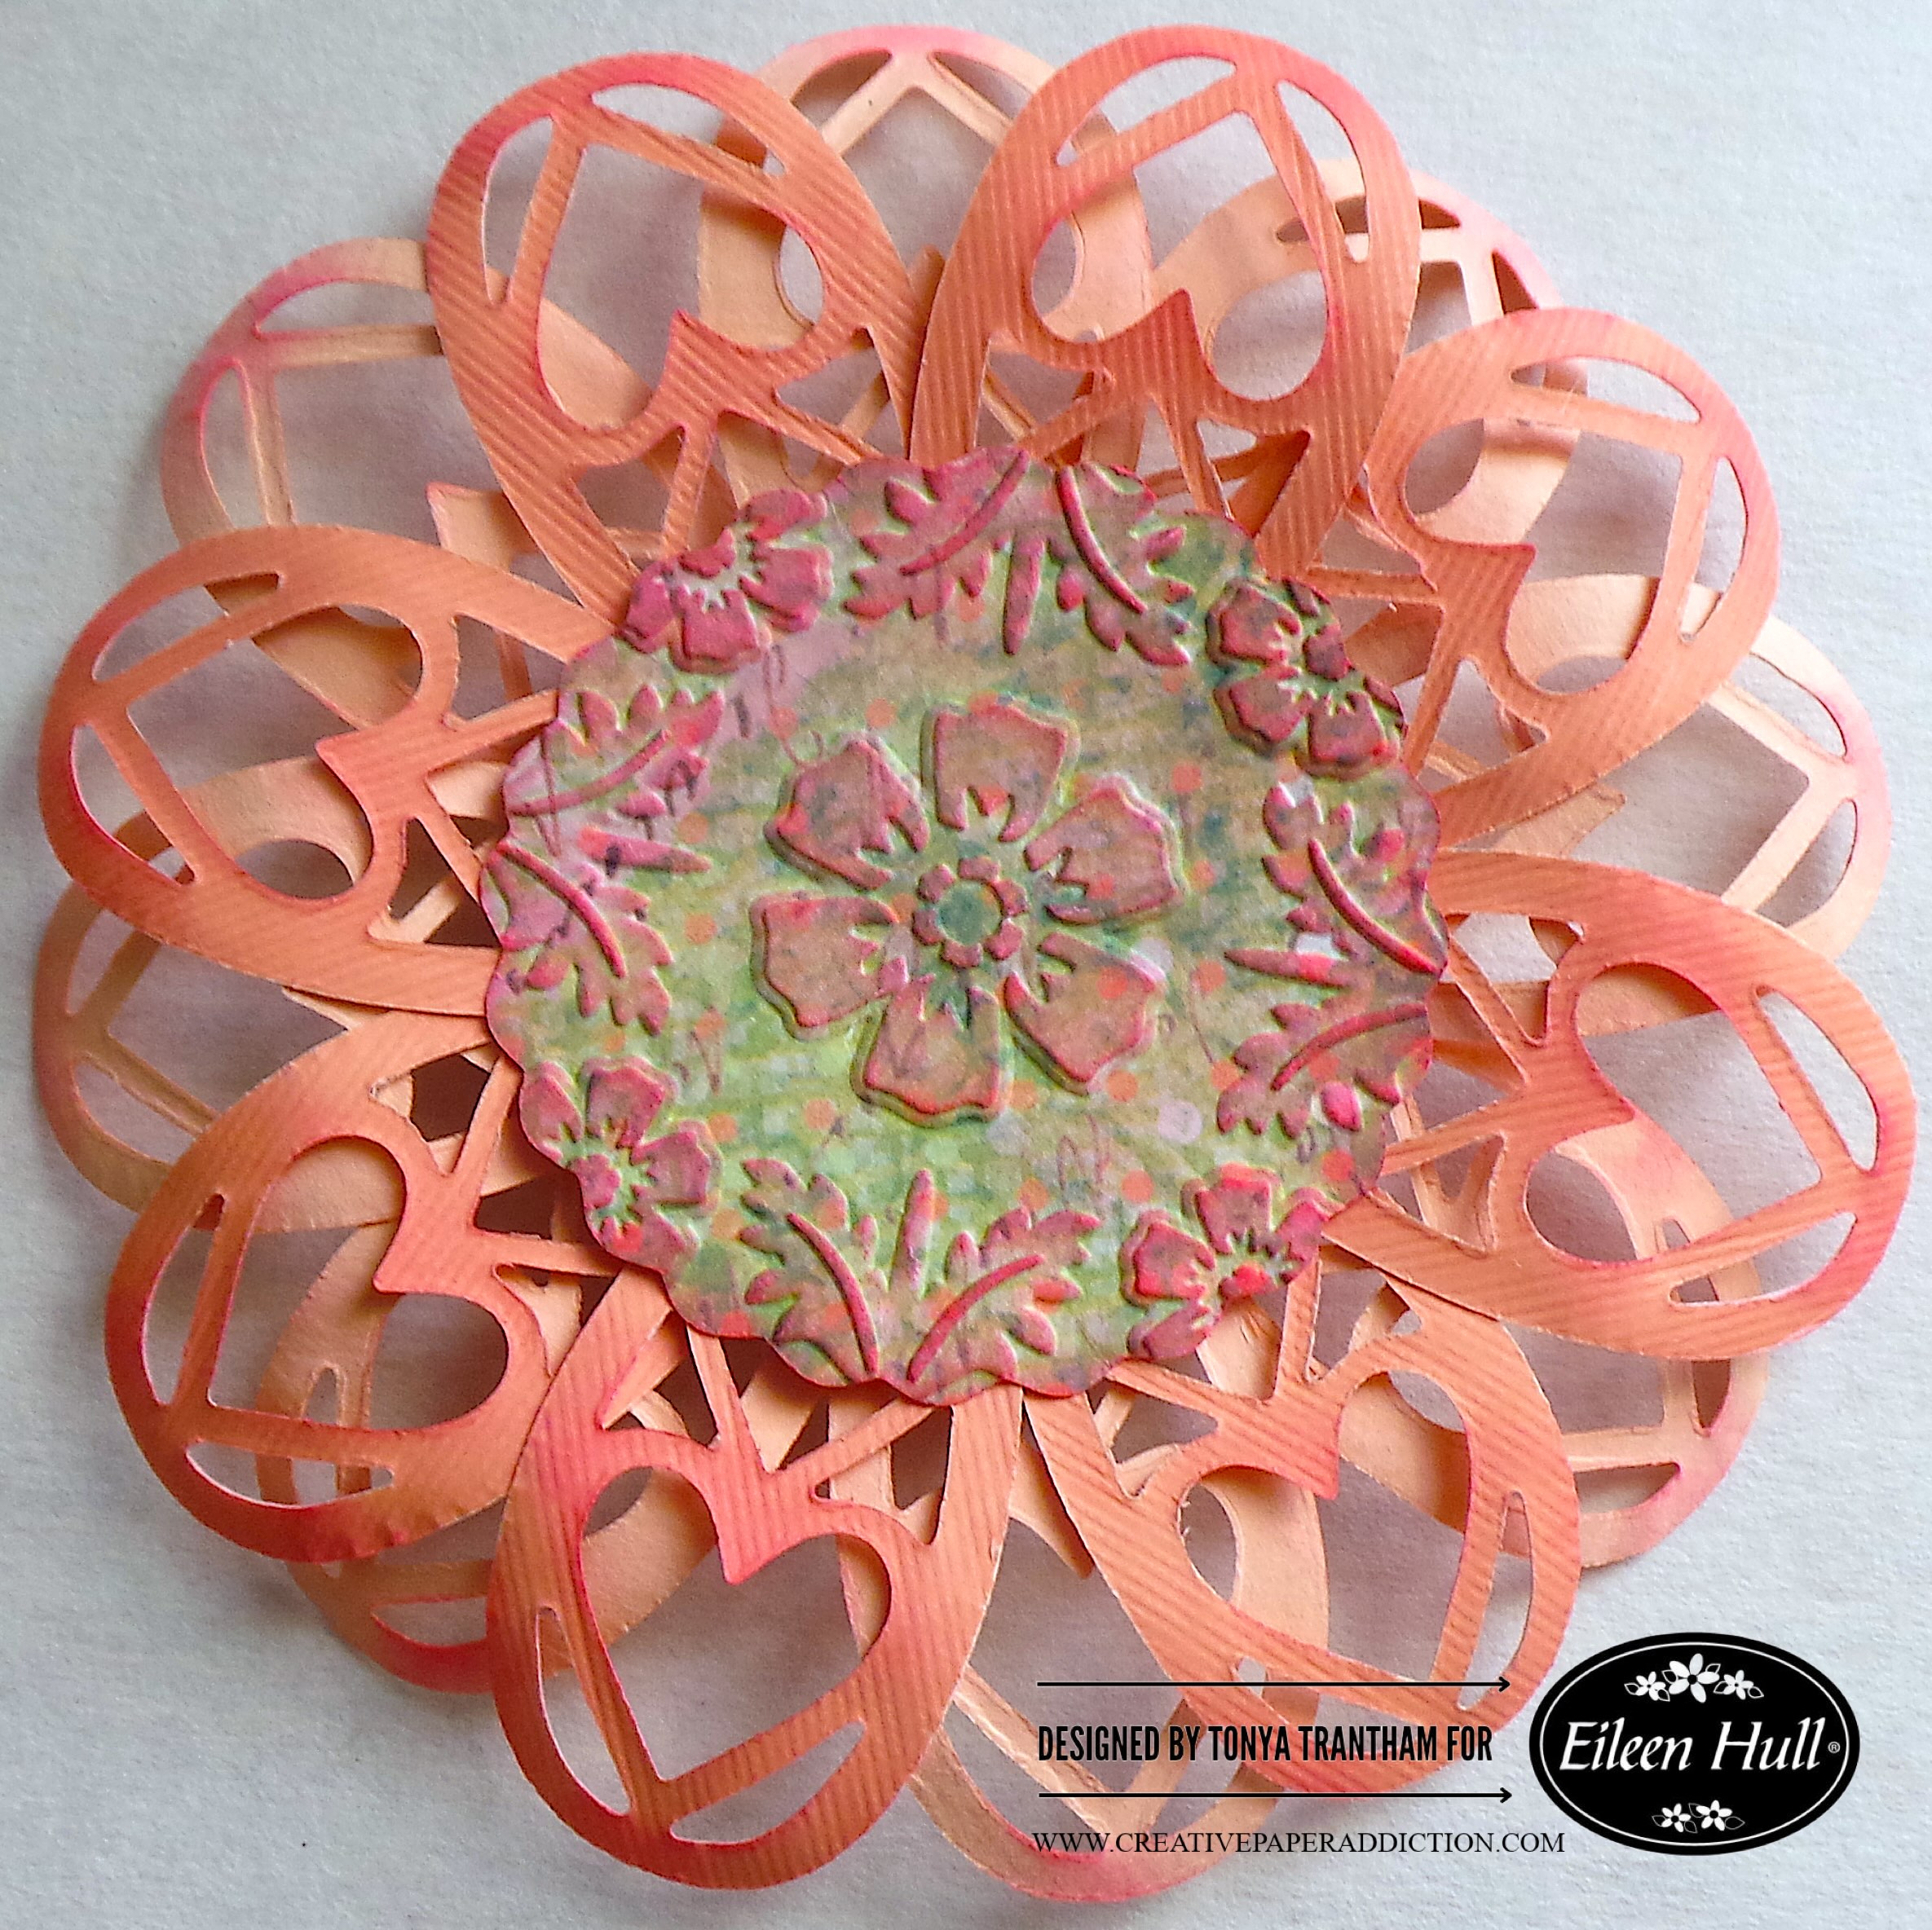
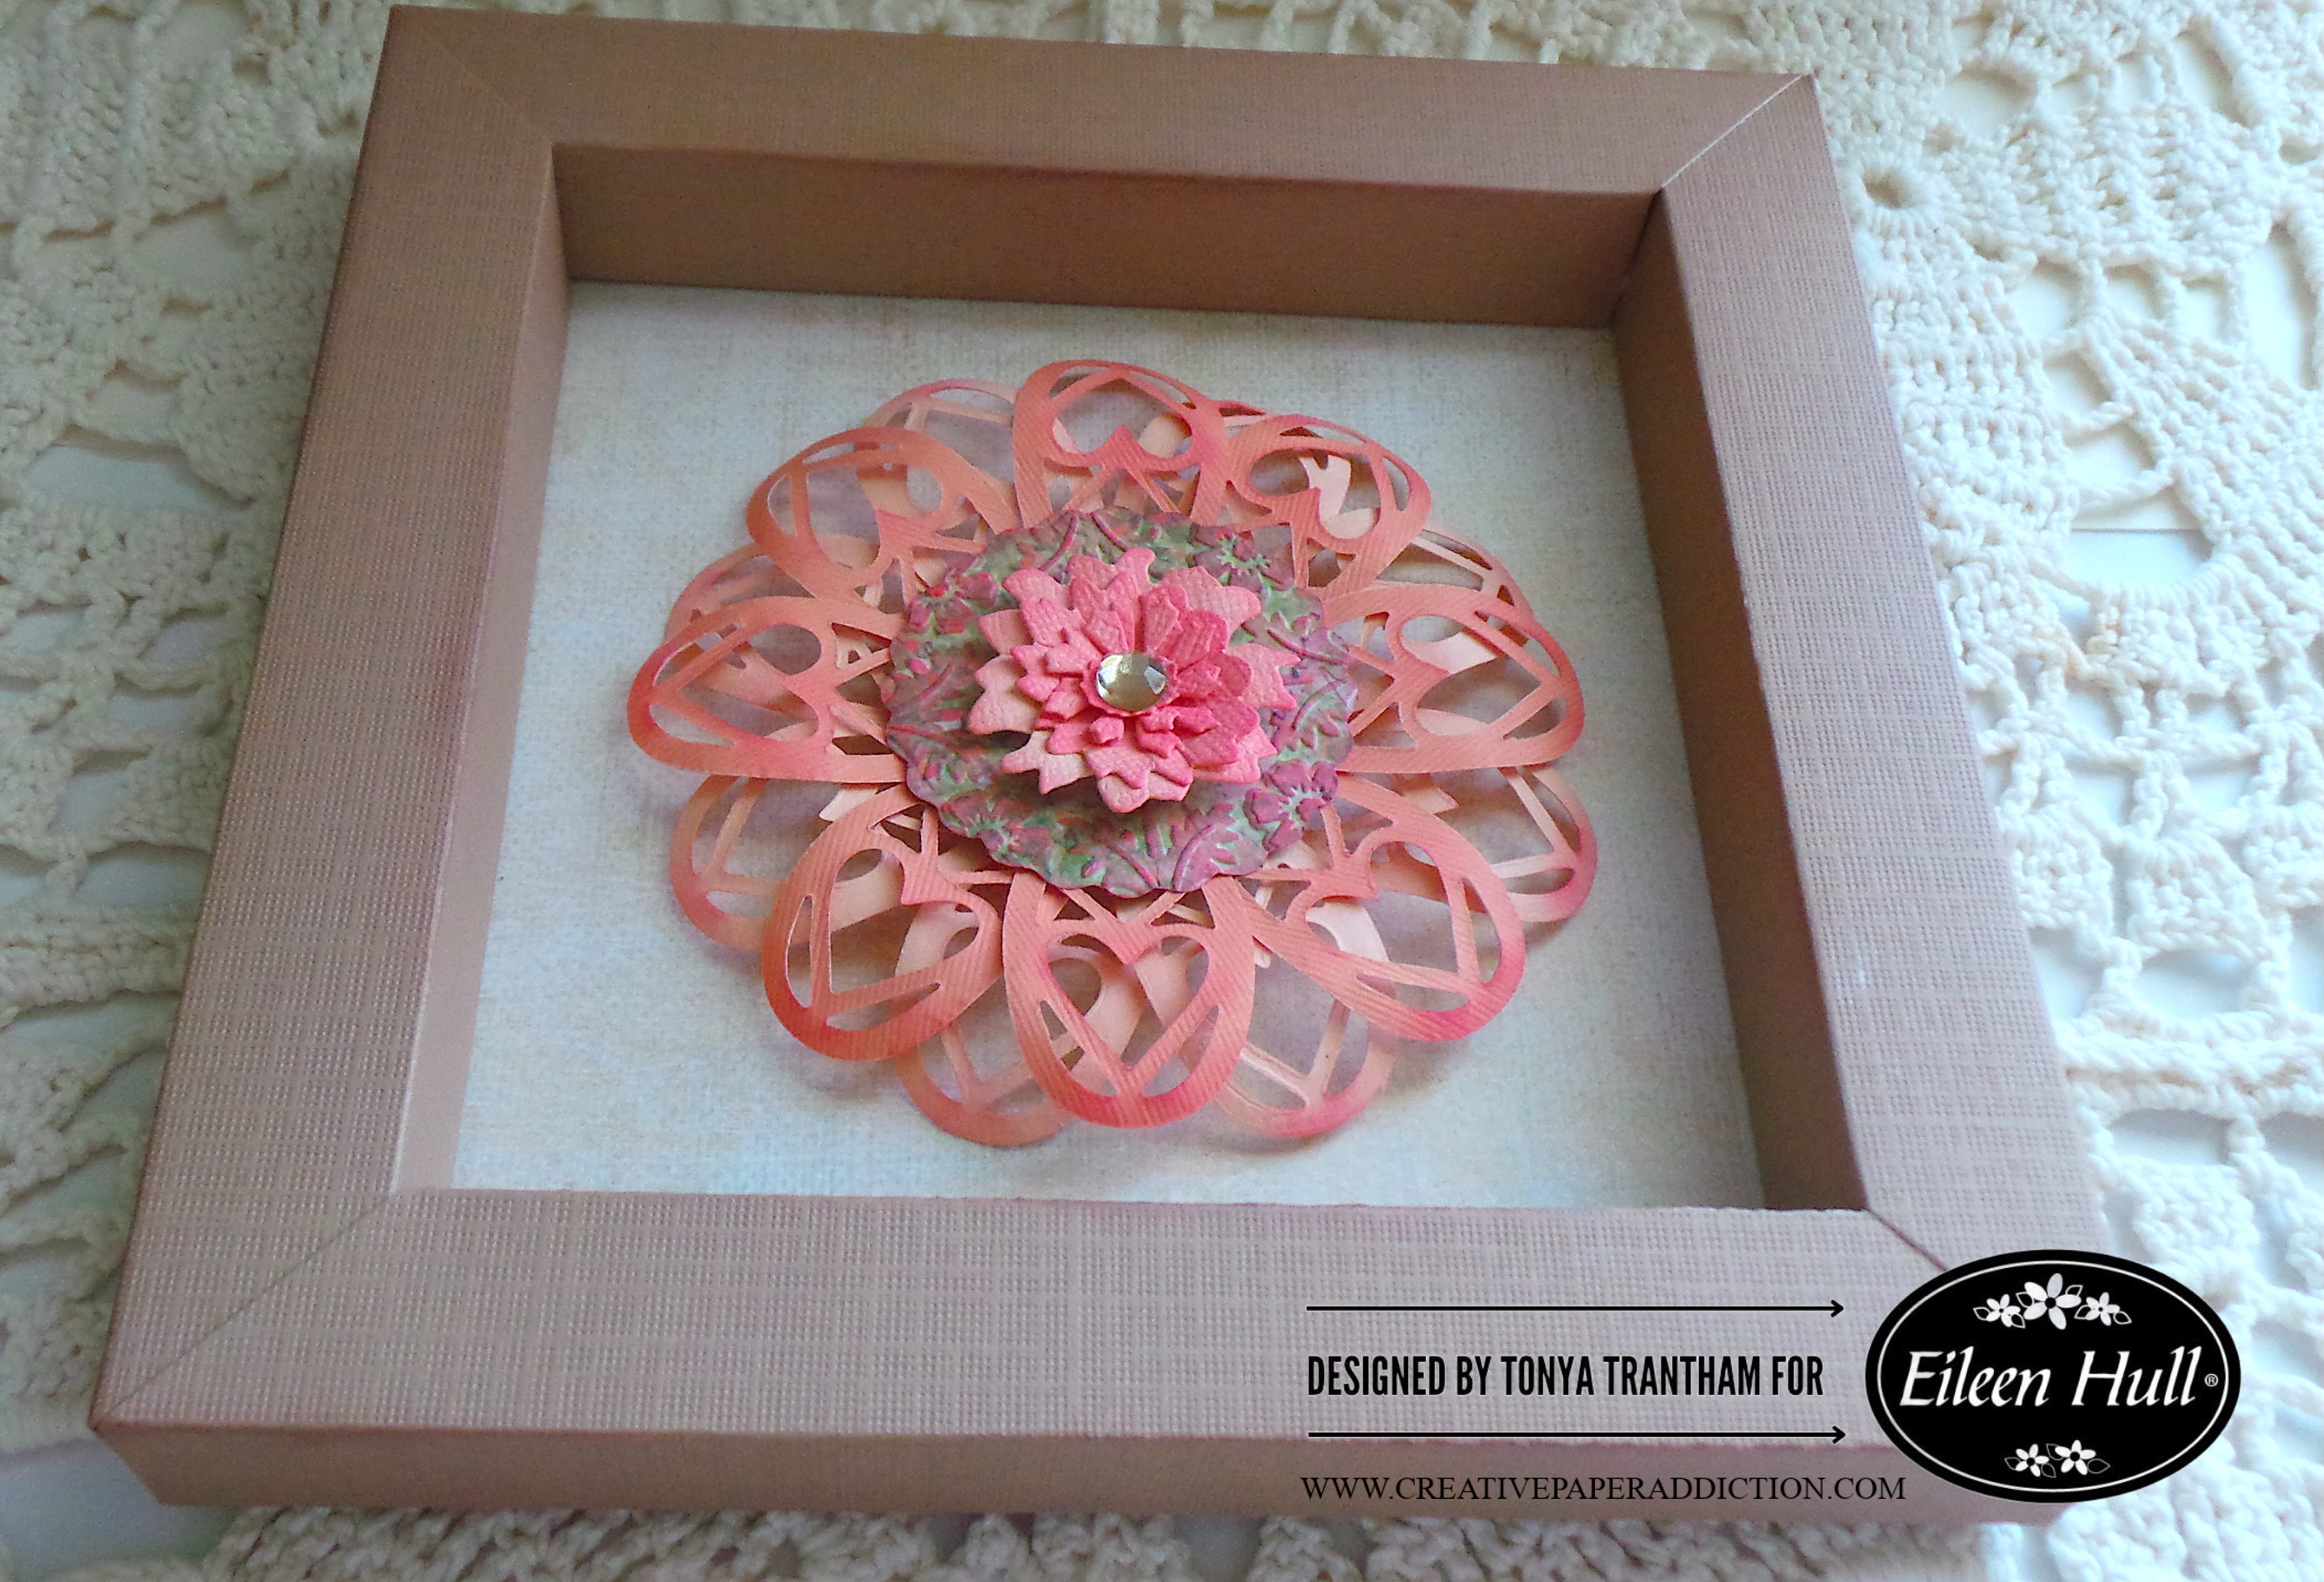
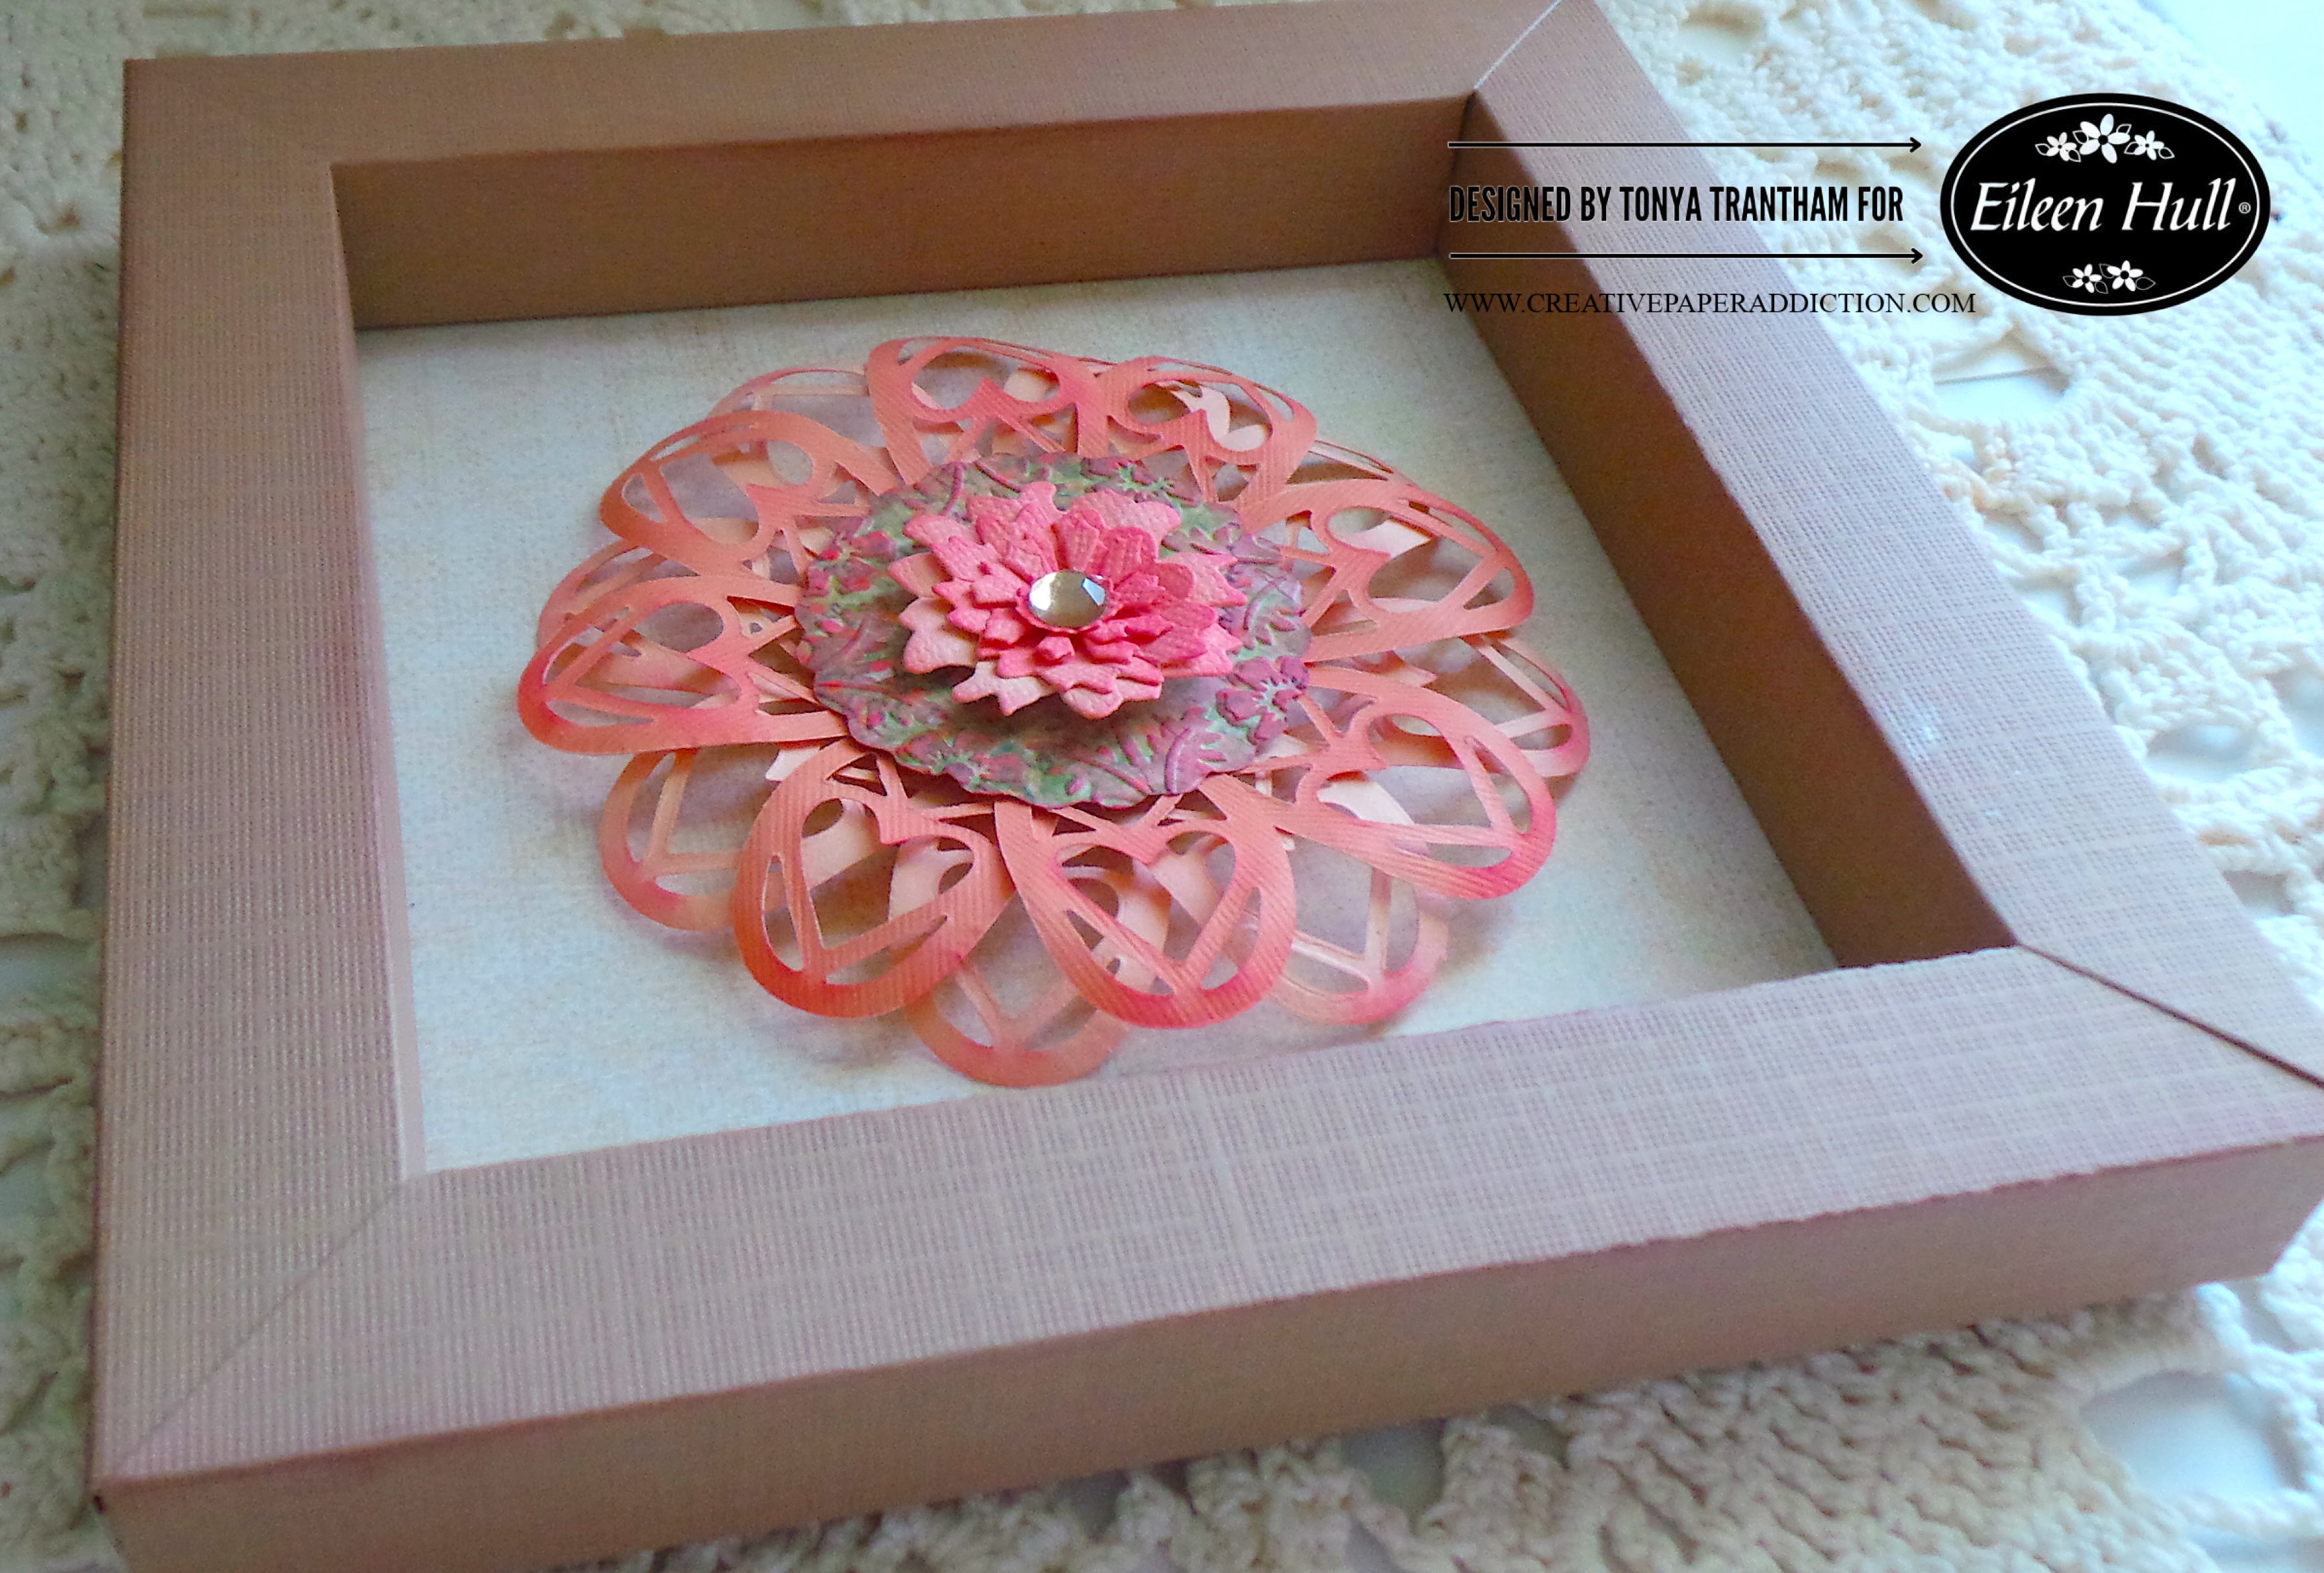
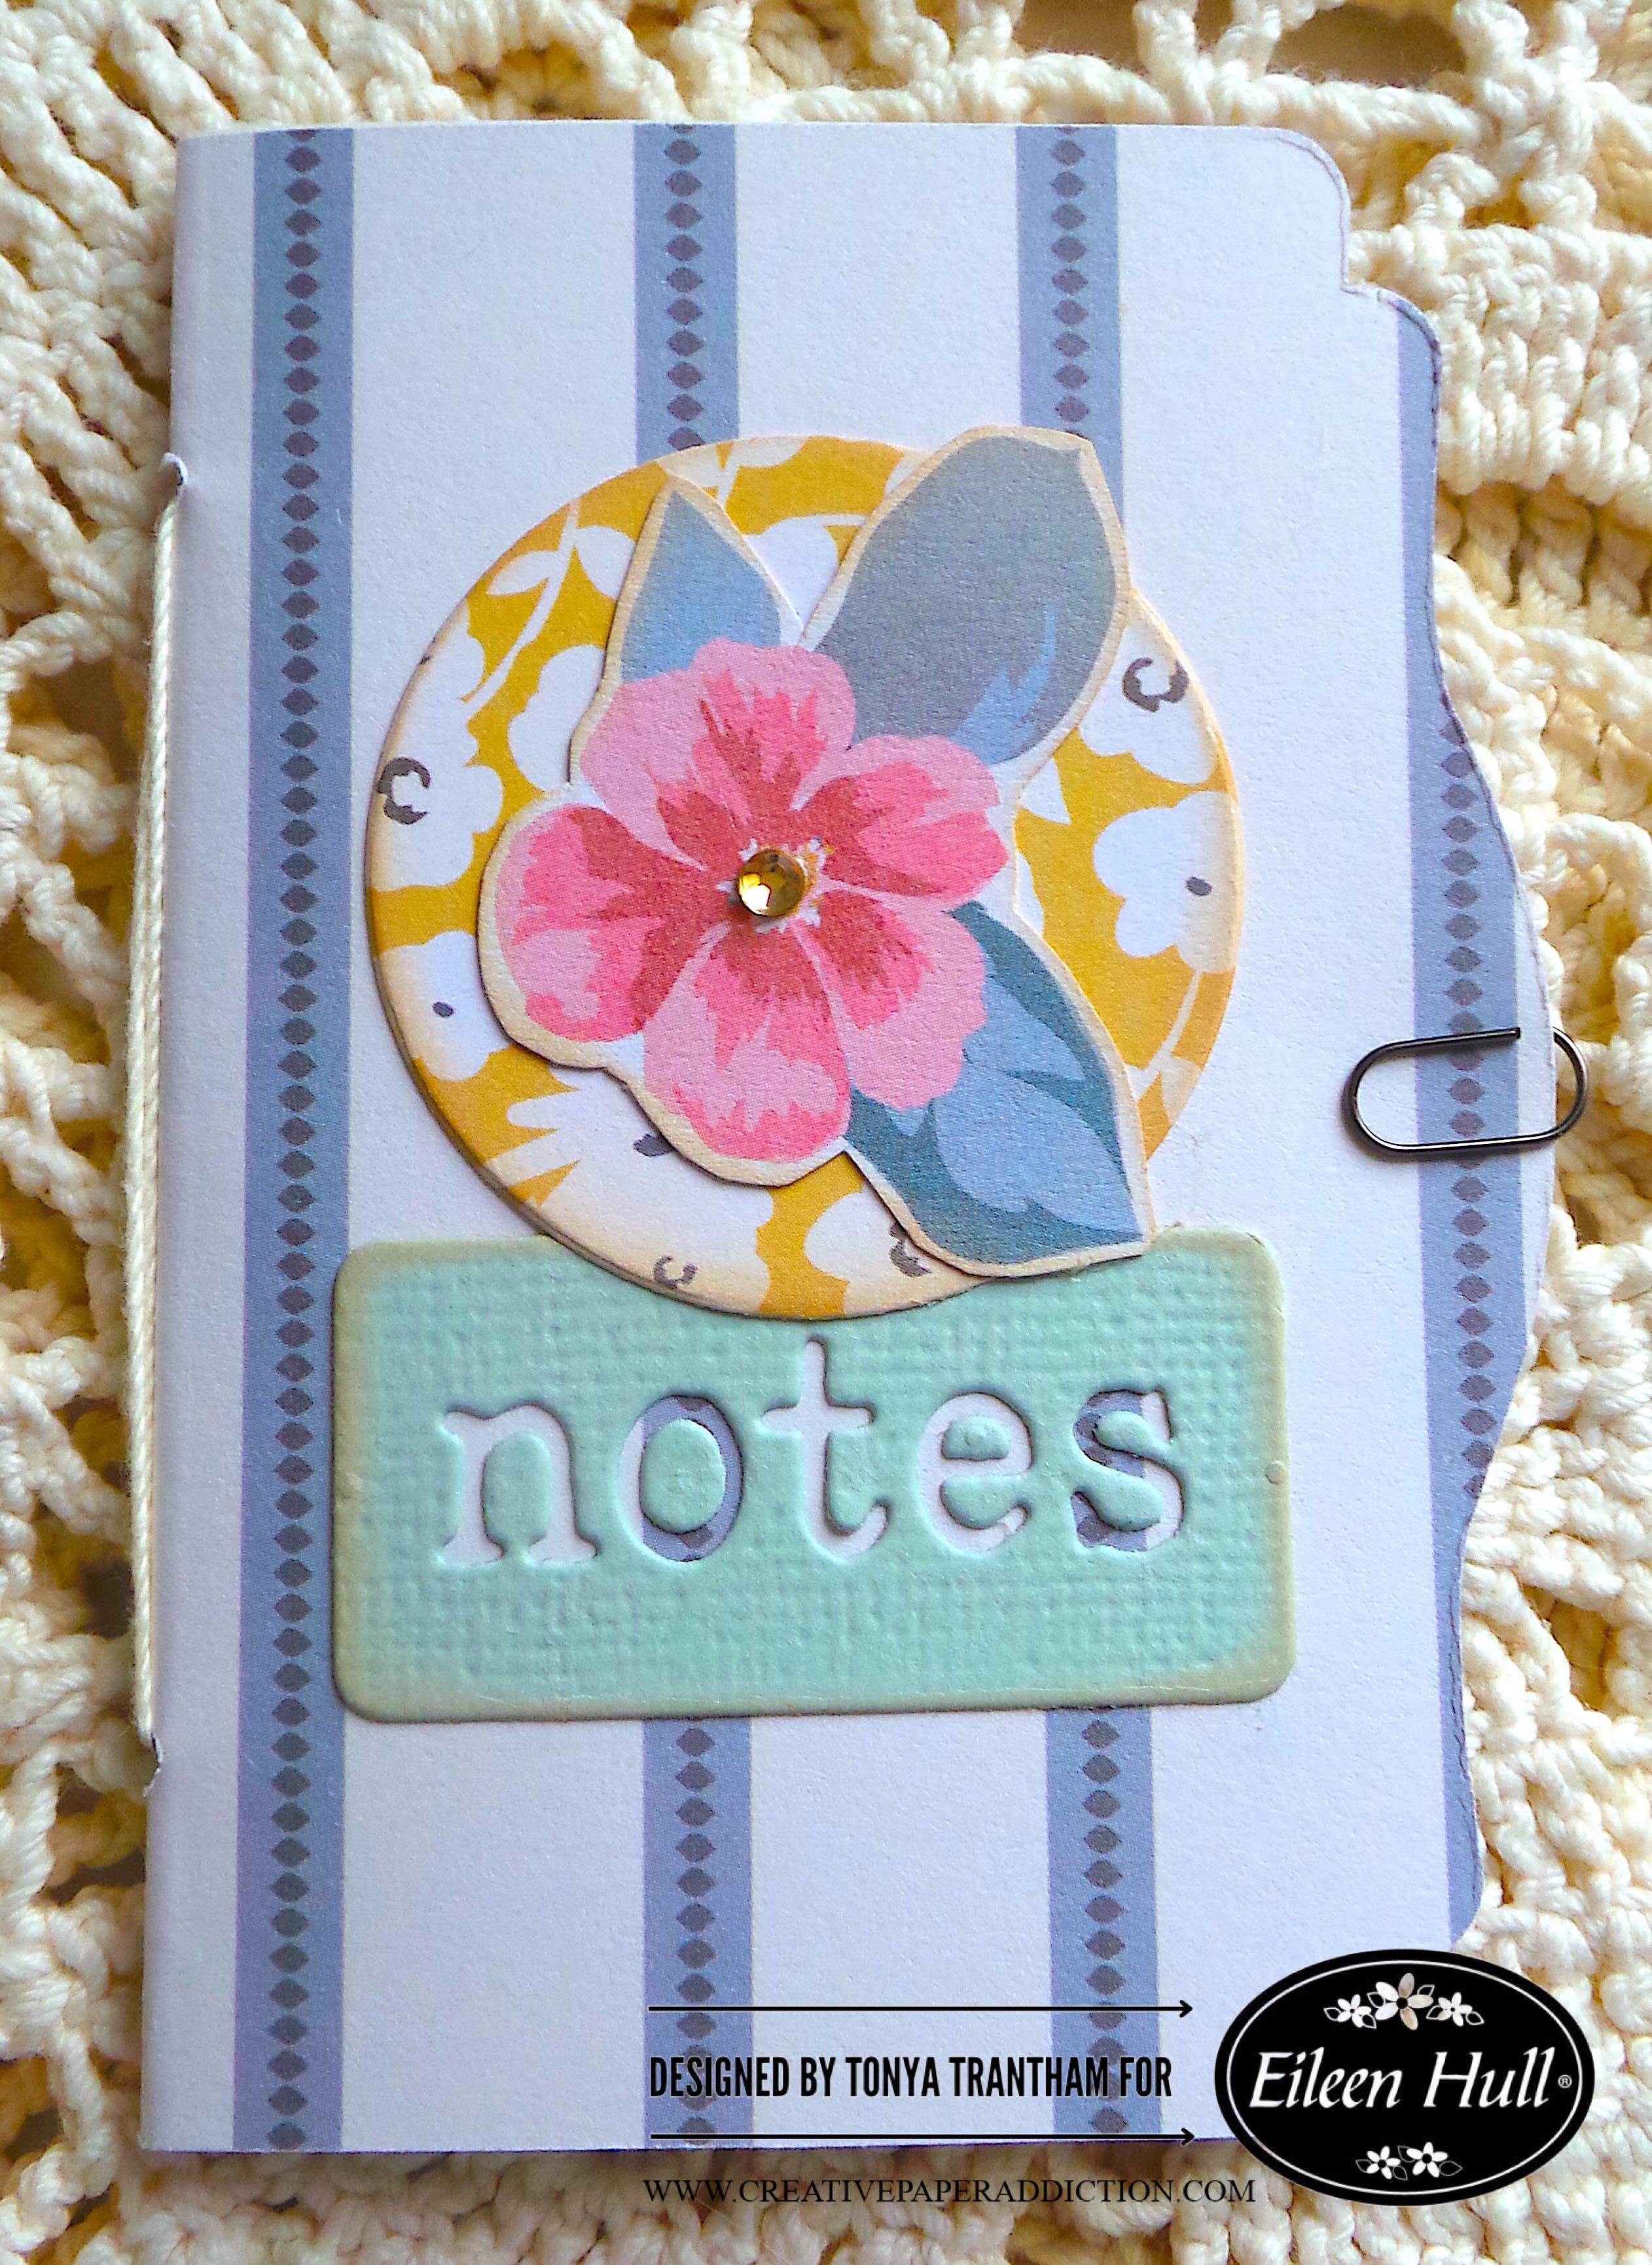
I peeled the backing off the adhesive of the notes die and placed onto the cover. Next, I glued the circle and flower slightly above the notes dies.

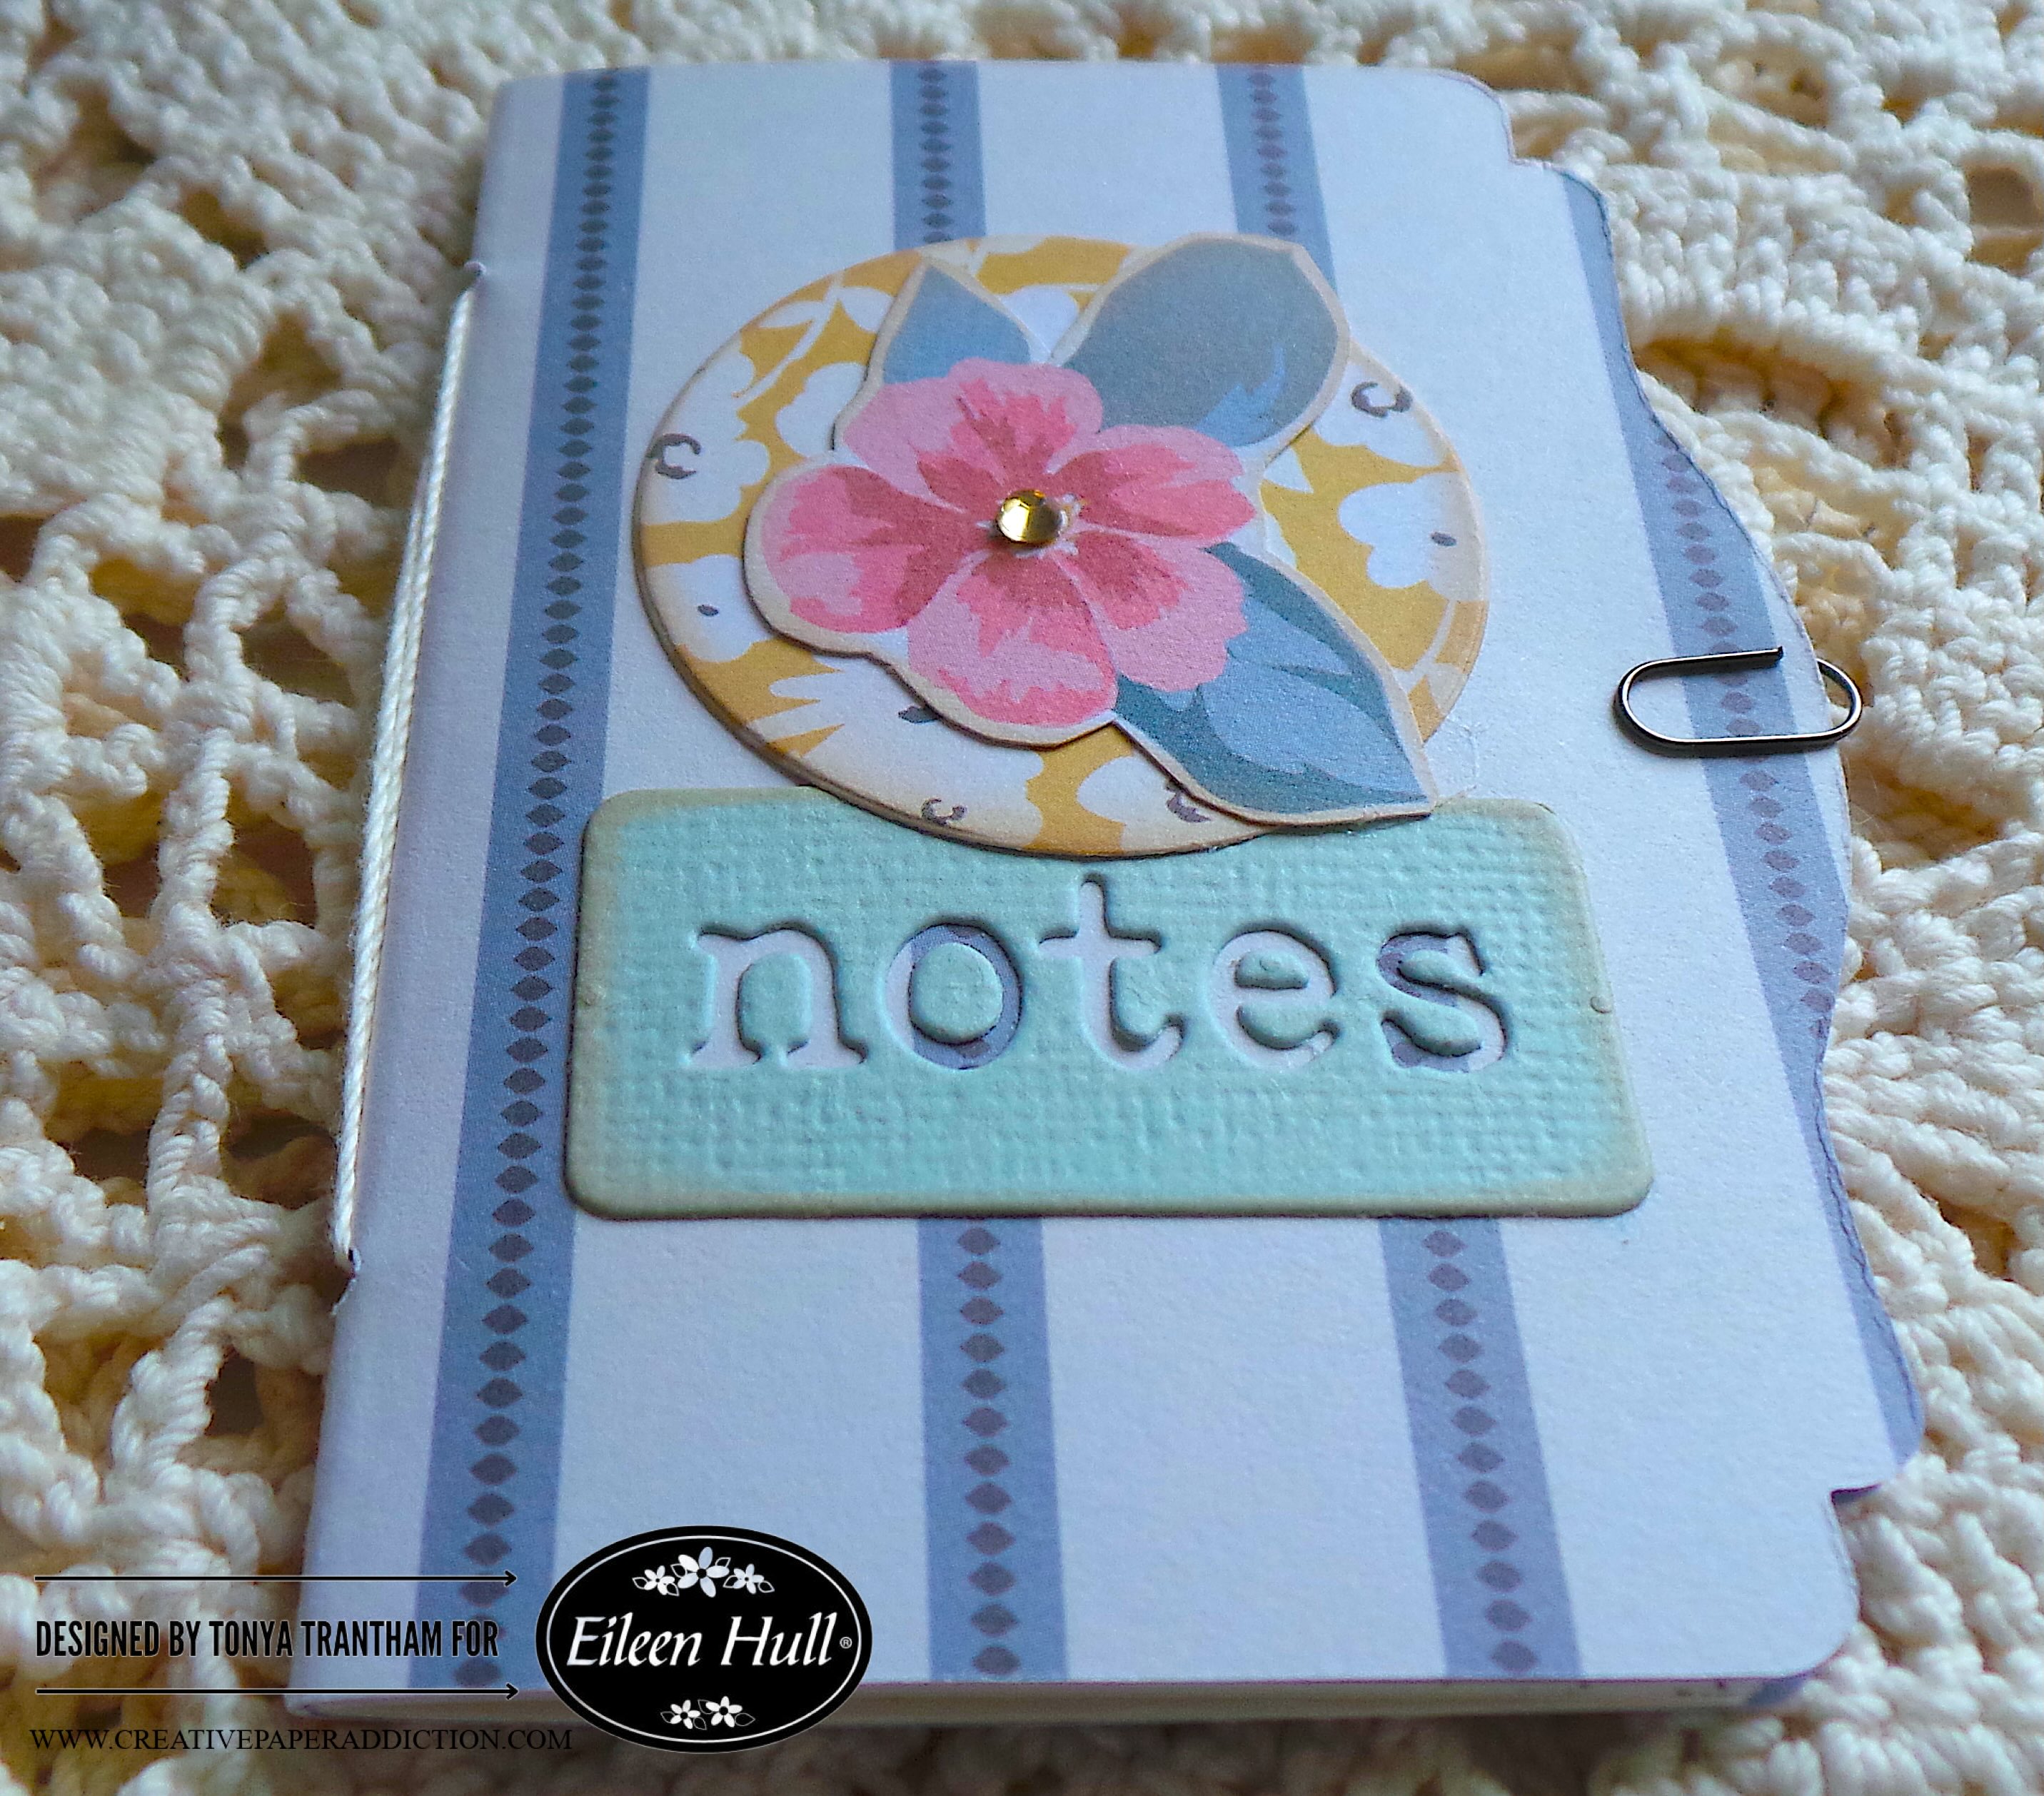
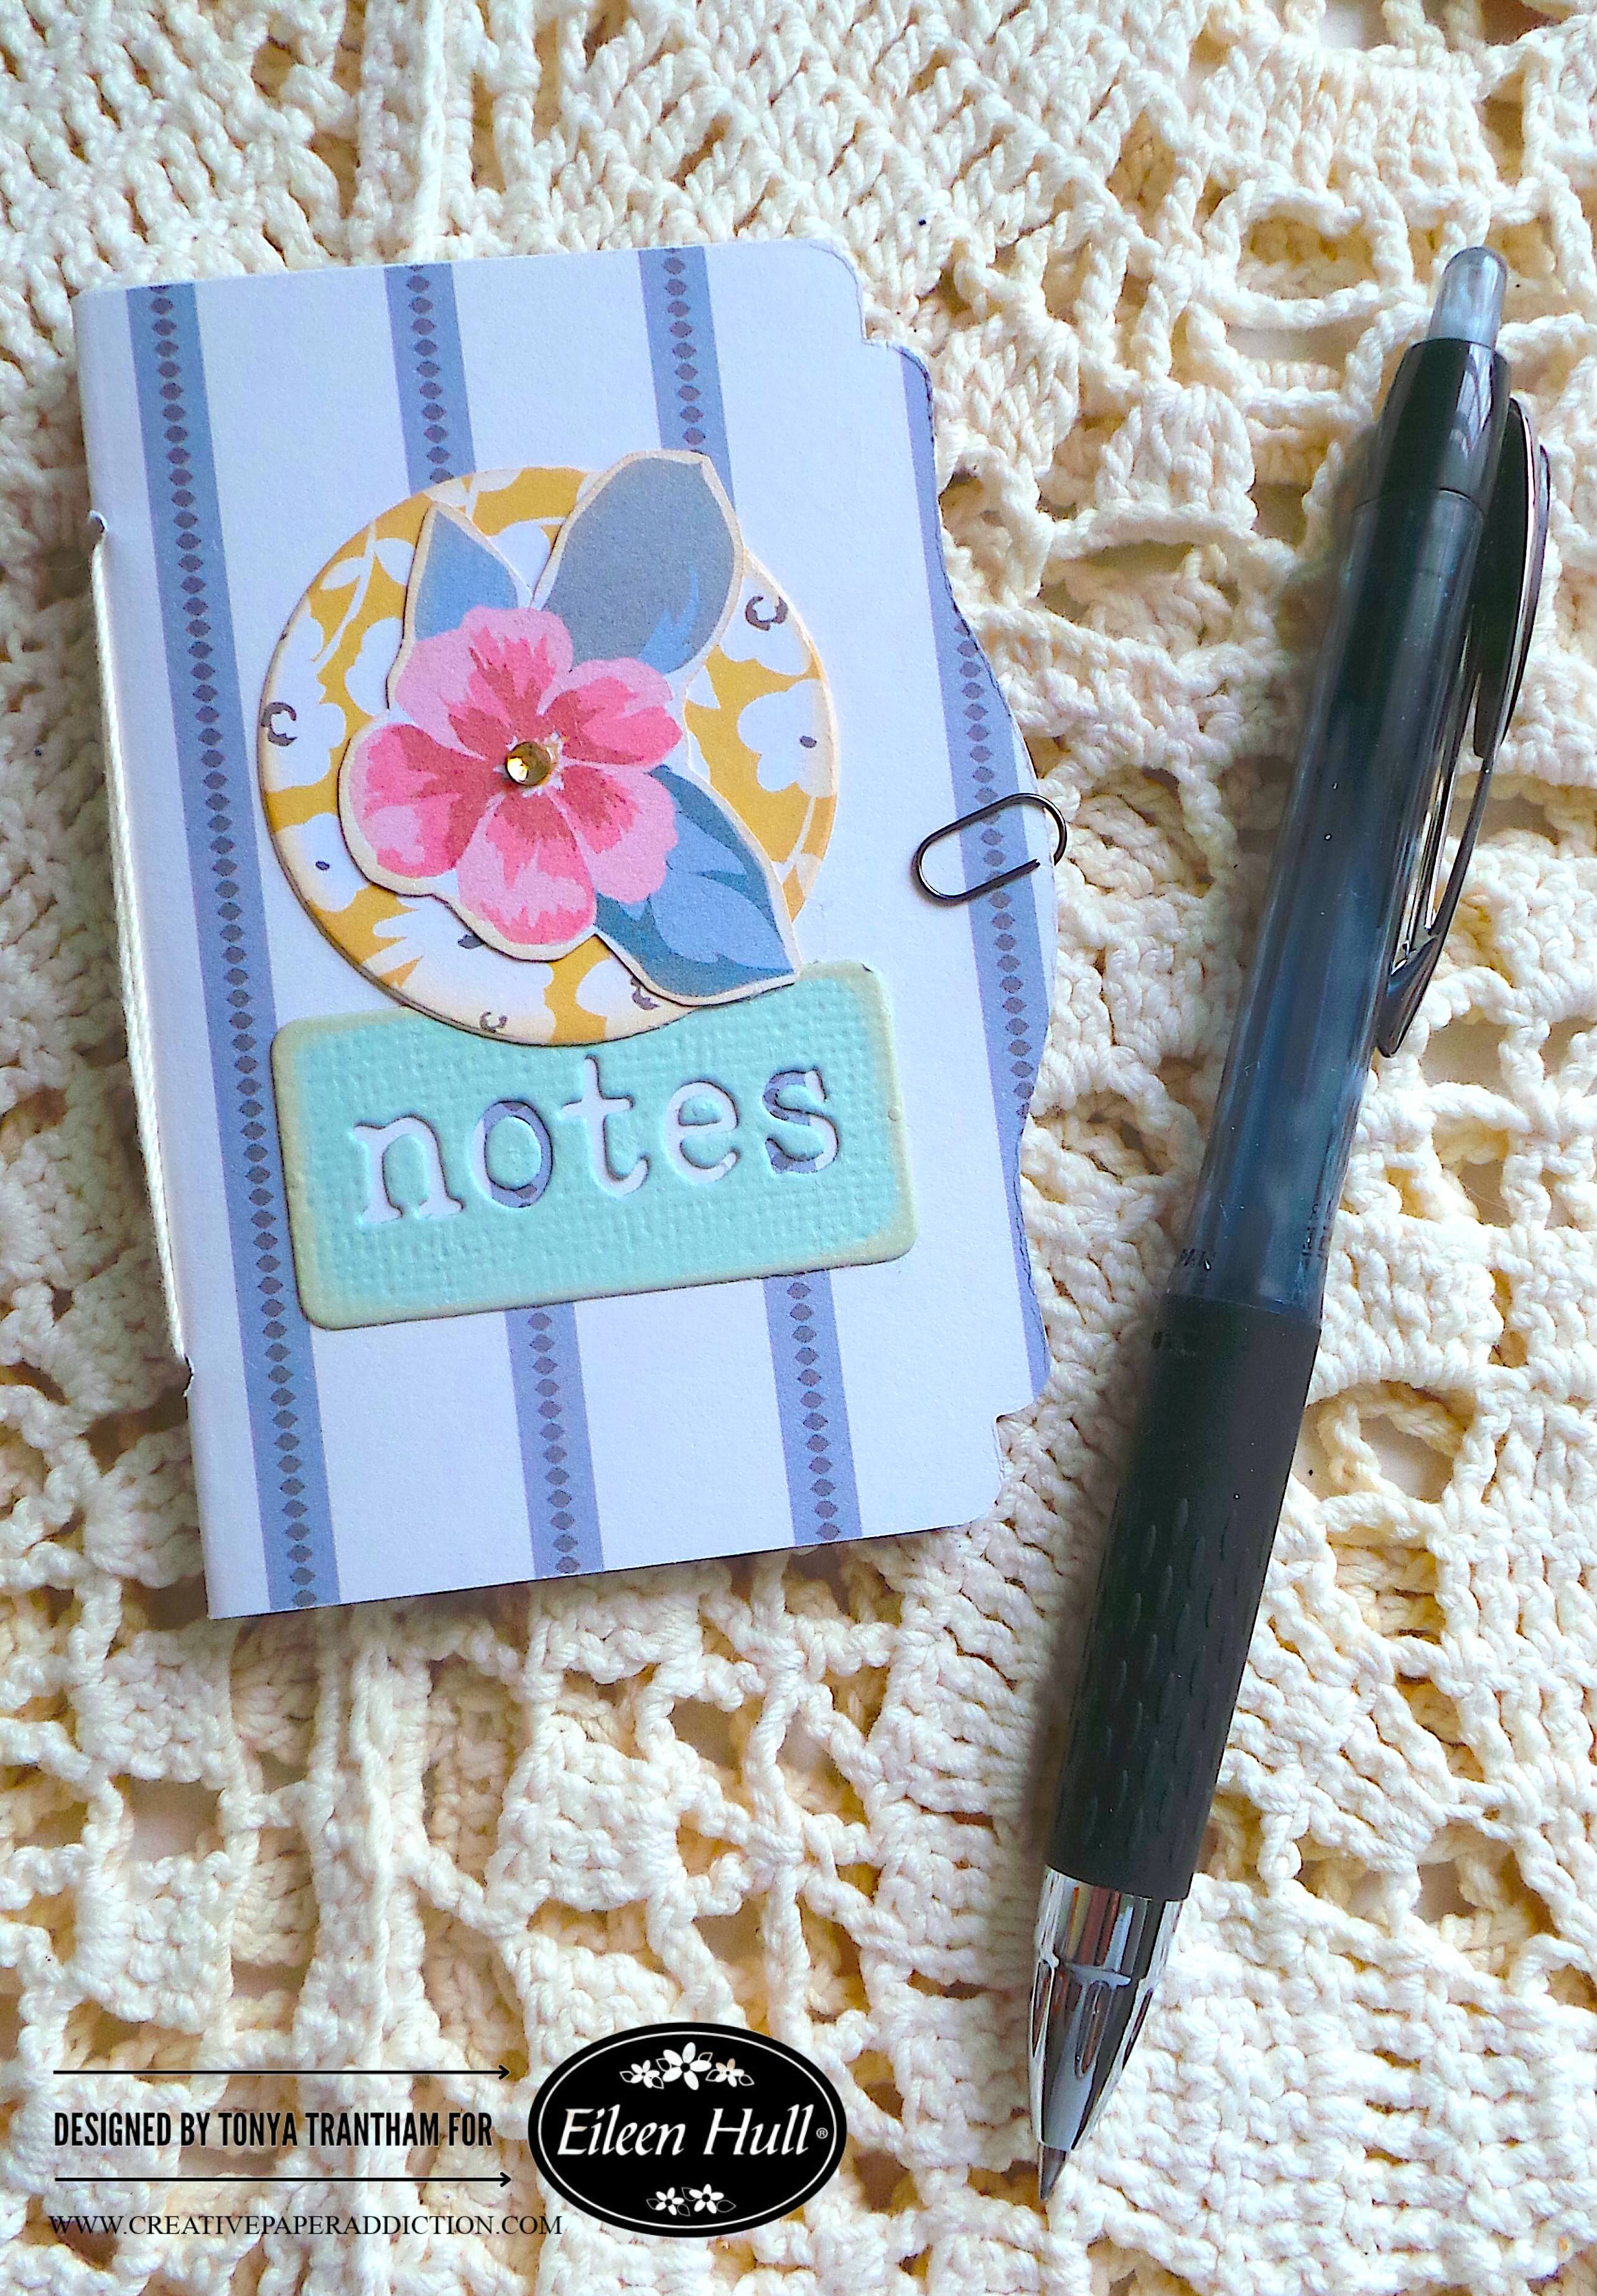
I added a Mini Gold Gem to the center of the flower. I also used a Mini Paper Clip as a closure to finish.

I have a “bigger” project that I’m working on that this notebook will be eventually be a part of. Hopefully I will be able to share it sooner rather than later.

Also if you haven’t be by Eileen Hull’s blog lately you can find the latest HERE. For the latest happenings sign up for her news letter which can be found on her blog.

Supplies

Sizzix/Eileen Hull: Mini Book Diecut

Sizzix/Eileen Hull: Bookmark, Pockets and Toppers Thinlits

Sizzix/Eileen Hull: Floral Pocket and Paperclips Thinlits

Diecut Machine

Adhesive Roll

Paper Cutter

Scissors

My Mind’s Eye: Gingham Gathered Paper Pad

My Mind’s Eye: Wildflowers Mixed Bag Embellishments

Cardstock

Dotted Notebook Paper ( Office Supply Store)

Mini Gold Gem

Mini Paper Clip

Brown Chalk Ink

Crop-A-Dile

Needle and Thread

Beacon Adhesives: Zip Dry Adhesive

(Products listed above are Affiliated Links for your convenience)

DISCLAIMERS

This blog is compensated to provide opinion on products, services, websites, and various other topics. Even though the owner(s) of this blog receives compensation for our posts or advertisements. I always give my honest opinions, findings, beliefs, or experiences on those topics or products. The views and opinions expressed on this blog are purely my own. Any product claim, statistic, or quote should be checked with each manufacturer. Verify other representations about a product or service with the provider or party in question.This blog contains affiliate links. Clicking these links helps to support Tonya Trantham Designs – Creative Paper Addiction. It runs at no additional cost to you. Today’s features are Sizzix, Eileen Hull and Scrapbook.com Products. 

Thanks for stopping by, I hope your Monday is great and enjoy creating!

Creative Ways to Personalize a Notepad

Hi everyone! I’m back with a quick easy project I created. I decorated the cover of a store bought notepad using an assortment dies and embossing folder by Eileen Hull. So let’s get started!

Confession time! I have a problem picking up notepads when I’m out shopping. I have a mass collection of notepads in different sizes and styles. It’s to the point that if I have to give a gift a notepad is added to their gift. Anyways, I dug into my stash and decided to use this 4″X 6″ notepad to decorate.

I cut a piece of elastic three inches long. I adhered one side of the elastic to the back of the notepad. I wrapped the other side of the elastic around an ink pen. I removed the ink pen before gluing on top of the other side of the elastic.

I cut to fit a piece of pink cardstock and glued to the back of the notepad.

I cut to fit another piece of pink cardstock and adhered to the front. I cut a bookmark from the Bookmark, Pockets and Toppers Thinlits. I embossed with the Floral Damask A5 Embossing Folder and applied Gold Luster Wax over the raised areas. I then adhered to the cover.

I cut a journaling card, bird and Parfum bottles from the Rose Parfum Collection (Discontinued). I cut two mats, each slightly larger than the other. I glued the journaling card and mats on top of each other before gluing to the cover.

I cut the “notes” die out from the Floral Pocket and Paperclips Thinlits. I cut a mat slightly larger than the die and lightly inked with Brown Chalk Ink. I glued both onto the cover. I finished by adhering Parfum bottles, a bird and Gold Gems to the cover.

There’s so many ways you can decorate these notepad. Add an initial, name and nice ink pen and poof you have a nice personalized gift.

If you haven’t been by Eileen Hull’s blog lately you can find out what the team is doing HERE. Also questions and comments are always welcome. Please leave those below.

Supplies

Sizzix/Eileen Hull: Floral Pocket and Paperclips Thinlits

Sizzix/Eileen Hull: Bookmark, Pockets and Toppers Thinlits

Sizzix/Eileen Hull: Floral Damask A5 Embossing Folder

Diecut Machine

Gold Luster Wax

Notepad and Ink Pen

Elastic

Paper Cutter

Scissors

Brown Chalk Ink

Gold Gems

Stamperia: Rose Parfum Collection (Discontinued)

Pink and Mint Green Cardstock

Beacon Adhesives: Zip Dry Adhesive

(Products listed above are Affiliated Links for your convenience)

DISCLAIMERS

This blog is compensated to provide opinion on products, services, websites, and various other topics. Even though the owner(s) of this blog receives compensation for our posts or advertisements. I always give my honest opinions, findings, beliefs, or experiences on those topics or products. The views and opinions expressed on this blog are purely my own. Any product claim, statistic, or quote should be checked with each manufacturer. Verify other representations about a product or service with the provider or party in question.This blog contains affiliate linksClicking these links helps to support Tonya Trantham Designs – Creative Paper Addiction. It runs at no additional cost to you. Today’s features are Sizzix, Eileen Hull and Scrapbook.com Products. 

Thanks for stopping by, hope your Monday is great and enjoy creating!

Create a Prayer Journal with What You Have on Hand

Hi everyone! The theme this month is”anything goes” with Eileen Hull’s Inspiration Team. I’ve a stack of unfinished projects lying around collecting dust and thought I really need to finish this prayer journal. I’m ashamed to say this journal is promised to someone. Family and life got in the way and I could never find enough time to finish. But I can now say it’s done!

I didn’t take step out photos of the process but will give a little back ground of what I created. I also have attached a flip through video of the journal.

I used the Skinny Mini Book Box Diecut to create the cover of the journal. I cut out two covers for the Skinny Mini Book Box Diecut. This is with applying Double Sided Adhesive to both sides of Mat Board and cardstock too. I extended the spine out to the maximum width by gluing the end tabs of each spine together. I wrapped the outside of the spine with a patterned cardstock. I punched a total of six holes, three on the top and three on the bottom of the spine. I cut and adhered a piece of cardstock to fit the inside of the spine. I poked holes through the cardstock I glued inside the spine. I used the Crop-A-Dile to attach Eyelets in the spine. I strung elastic cording through the holes and tied off inside the journal.

I glued strips of patterned cardstock vertically to the cover of the journal. I added a bit of lace to the cover, a scrap piece of embossed cardstock from the Faux Postage Thinlits. I also glued a postage stamp that I had cut from the Faux Postage Thinlits. I dug into my chipboard pieces and adhered a frame off center the cover. I fussy cut the lamb from the Farm Sweet Farm Collection and glued onto the frame. I added three vintage buttons to the cover to finish.

The inside pages has four signatures with three pages per signature.

I used a lot of inspirational/religious embellishments through the journal.

I used paint chips as pages.

There’s plenty of tuck spots for journaling and adding photos.

I was finally able to find a home for the collection of stickers from my stash.

The video is attached and be sure to click the link below to view the flip through.

Prayer Journal Flip Through Video

Also if you have any questions about this journal please leave a comment section.

Supplies

Sizzix/Eileen Hull: Skinny Mini Book Box Diecut

Sizzix/Eileen Hull: Tablecloth Embossing Folder

Sizzix/Eileen Hull: Faux Postage Thinlits

Diecut Machine

Mat Board

Double Sided Adhesive

Paper Cutter

Scissors

Crop-A-Dile

Eyelets

P13: Farm Sweet Farm Collection

Various Cardstocks, Paint Chips, Chipboard Pieces, Stickers and Journaling Cards

Buttons, Lace and Pom Pom Trim

Elastic Cording

Mini Paper Clips

Gold Gems

Beacon Adhesives: Zip Dry Adhesive

(Products listed above are Affiliated Links for your convenience)

DISCLAIMERS

This blog is compensated to provide opinion on products, services, websites, and various other topics. Even though the owner(s) of this blog receives compensation for our posts or advertisements. I always give my honest opinions, findings, beliefs, or experiences on those topics or products. The views and opinions expressed on this blog are purely my own. Any product claim, statistic, or quote should be checked with each manufacturer. Verify other representations about a product or service with the provider or party in question.This blog contains affiliate linksClicking these links helps to support Tonya Trantham Designs – Creative Paper Addiction. It runs at no additional cost to you. Today’s features are Sizzix, Eileen Hull and Scrapbook.com Products.

Thanks for stopping by, hope your Monday is wonderful and enjoy creating!


Robot Valentine’s Day Card: You Make My Heart Beep

Hi everyone! Valentine’s Day is only a couple of days away and I want to share a quick card I made. I used the Mini Album Diecut as the base for the card. I used a few other dies and thinlits by Eileen Hull. Also this month it’s “Anything Goes” with Eileen Hull’s Inspiration Team. Anyways, let’s get started!

First, I would like to share a side note about the robot printable I used. I had been fooling around on AI creating images and I came up with these fat, steampunk and vintage robots. I thought this would be perfect to use on a card.

Anyways, I placed a piece of brown cardstock onto the Mini Album Diecut. It was sandwiched between cutting plates. Then, I ran it through the Diecut Machine. I folded in half to create the base of the card.

I cut a piece of cardstock slightly smaller than the base of the card.I also cut a strip of cardstock and inked both pieces with Brown Chalk Ink. I glued both to the card base.

I cut out the teardrop heart from the Charms Thinlits. I will be using the largest heart from the teardrop.

Next, I cut out the circle from the Ornament Box Diecut (retired). I embossed the circle with the Dotted Embossing Folder. I lightly applied Rose Gold Luster Wax over the embossed area of the circle.

I adhered the circle to the edge of the card. I printed the “You Make my Heart Beep” sentiment from my computer. I cut out a mat to frame the sentiment. I inked the edges and glued both together. I added Foam Pop Dots to the back before placing on the card.

I fussy cut a robot from the printable. I placed it off center of the circle and glued the largest heart to the center of its chest.

Make sure you visit Eileen Hull‘s blog for inspiration. You can also find more details there on other ways to follow and keep up with her and her team.

Also I have a question, would you be interested in me sharing the robot printable I created? Let me know below.

Supplies

Sizzix/Eileen Hull: Mini Album Diecut

Sizzix/Eileen Hull: Charms Thinlits

Sizzix/Eileen Hull: Ornament Box Diecut ( retired)

Sizzix/Tim Holtz: Dotted Embossing Folder

Diecut Machine

Various Patterned Cardstocks

Sizzix: Black, White and Ivory Smooth Cardstock

Rose Gold Luster Wax

Brown Chalk Ink

Paper Cutter

Scissors

Foam Pop Dots

Robot Printable

Beacon Adhesives: Zip Dry Adhesive

(Products listed above are Affiliated Links for your convenience)

DISCLAIMERS

This blog is compensated to provide opinion on products, services, websites, and various other topics. Even though the owner(s) of this blog receives compensation for our posts or advertisements. I always give my honest opinions, findings, beliefs, or experiences on those topics or products. The views and opinions expressed on this blog are purely my own. Any product claim, statistic, or quote should be checked with each manufacturer. Verify other representations about a product or service with the provider or party in question.This blog contains affiliate linksClicking these links helps to support Tonya Trantham Designs – Creative Paper Addiction. It runs at no additional cost to you. Today’s features are Sizzix, Eileen Hull, Tim Holtz and Scrapbook.com Products. 

Thanks for stopping by, I hope your Monday is wonderful and enjoy creating!

Step-by-Step Guide to a Friendship-Themed Craft

Hi everyone! I am back after a break from the holidays and ready to share my first Eileen Hull project of 2025. This month’s theme is friendship. For this post I’ll be sharing how to create this floral frame using the Charms Thinlits. Along with several of Eileen’s dies and embossing folder. Anyways, let’s get started!

First, I picked out the brown cardstock from the Sizzix Making Essentials Cardstock for the frame. And I cut four frames from the Shadow Box Frames Set 02 Thinlits.

I folded and glued each frame.

I added adhesive inside the opening that has a tab. And placed it into the straight edge of the next frame. I did hold these while the glue set before adding glue to the next one. I cut and adhered a piece of cardstock to the back of the frame to give the frame stability.

I cut out fifteen of the teardrop heart charms from the Charms Thinlits.

I shaped each teardrop charm with a Stylus.

I glued the center of each teardrop charm on top of each other.

I cut a center from the Sunflower Diecut and embossing that with the Floral Damask Embossing Folder. I inked the center and petals with a Pink Chalk Ink.

I cut an assortment of flowers from the Bookmark, Pockets and Topper Thinlits. I shaped and inked each flower. I adhered on top of each other before gluing to the center of the teardrop flower.

I added two Foam Pop Dots to the back of the flower. I also added a Green Gem to the center of the flower. I placed the flower in the center of the frame. This would make a great gift for a special friend. It can also be displayed as a home decor piece.

If you have any questions or comments about this project please leave them below.

Supplies

Sizzix/Eileen Hull: Charms Thinlits

Sizzix/Eileen Hull: Floral Damask Embossing Folder

Sizzix/Eileen Hull: Bookmark, Pockets and Topper Thinlits

Sizzix/Eileen Hull: Shadow Box Frames Set 02 Thinlits

Sizzix/Eileen Hull: Sunflower Diecut

Diecut Machine

Sizzix Making Essentials Cardstock

Paper Cutter

Scissors

Stylus

Scraps of Cardstock

Foam Pop Dots

Green Gem

Pink Chalk Ink

Beacon Adhesives: Zip Dry Adhesive

(Products listed above are Affiliated Links for your convenience)

DISCLAIMERS

This blog is compensated to provide opinion on products, services, websites, and various other topics. Even though the owner(s) of this blog receives compensation for our posts or advertisements. I always give my honest opinions, findings, beliefs, or experiences on those topics or products. The views and opinions expressed on this blog are purely my own. Any product claim, statistic, or quote should be checked with each manufacturer. Verify other representations about a product or service with the provider or party in question.This blog contains affiliate linksClicking these links helps to support Tonya Trantham Designs – Creative Paper Addiction. It runs at no additional cost to you. Today’s features are Sizzix, Eileen Hull and Scrapbook.com Products. 

Thanks for stopping by, hope your Monday is great and enjoy creating!

Easy Snowflake Card Tutorial Using Notebook Diecut

Hi everyone! I’m back today with another quick and easy card. I used a few leftover pieces from past projects and the Notebook Diecut to create this. Anyways, let’s get started!

I cut the card out of the Notebook Diecut. I folded in half to create the card base.

These are the pieces I had leftovers. The seal is from the Seal Switchlits Embossing Folder and Thinlits. The snowflake is from the Snowflake Impresslits (retired). And the circle is from the Bookmark, Pocket and Toppers Thinlits. I lightly inked the seal with a chalk ink and adhered each piece on top of each other.

I glued the seal to the base of the card and added a pearl to the center of the snowflake. I added an Adhesive Sheet to the back of a piece of white cardstock.

I placed “warm” and “wishes” thinlits, from the Starlit Village Thinlits (retired) on top of the cardstock. I ran through the Diecut Machine. I removed the backing from the Adhesive Sheet and placed the sentiment onto the card to finish. This card came together so quickly!

If you have any comments or questions about this project please leave it below.

Supply List

Sizzix/Eileen Hull: Notebook Diecut

Sizzix/Eileen Hull: Bookmark, Pocket and Toppers Thinlits

Scrapbook.com/Eileen Hull: Starlit Village Thinlits (retired)

Sizzix/Tim Holtz: Seal Switchlits Embossing Folder and Thinlits

Sizzix/Tim Holtz: Snowflake Impresslits (retired)

Diecut Machine

Paper Cutter

Scissors

Adhesive Sheets

Pearl

Various Cardstock

Beacon Adhesives: Zip Dry Adhesive

(Products listed above are Affiliated Links for your convenience)

DISCLAIMERS

This blog is compensated to provide opinion on products, services, websites, and various other topics. Even though the owner(s) of this blog receives compensation for our posts or advertisements. I always give my honest opinions, findings, beliefs, or experiences on those topics or products. The views and opinions expressed on this blog are purely my own. Any product claim, statistic, or quote should be checked with each manufacturer. Verify other representations about a product or service with the provider or party in question.This blog contains affiliate linksClicking these links helps to support Tonya Trantham Designs – Creative Paper Addiction. It runs at no additional cost to you. Today’s features are Sizzix, Eileen Hull and Scrapbook.com Products. 

Thanks for stopping by, hope your Tuesday is great and enjoy creating!

Quick Guide to Making Festive Tags

Hi everyone! I’m back with a quick and easy mini tag that I created. I used the largest tag from the Waterfall Card and Tags Thinlits and the Plate and Pattern Layered Stencils. Both by Eileen Hull. Anyways let’s get started!

I cut two of the largest tags from the Waterfall Card and Tags Thinlits. One the tags was cut from a stenciled scrap from the Plate and Pattern Layered Stencils. I glued the tags back to back.

The first side I adhered a cut a part Christmas tree to the tag. The Christmas tree definition I matted with scraps of cardstock and glued to the tag. I cut a tiny star from the Charms Thinlits and added to the top of the tree. I finished that side of the tag with red pearls on either side of the definition.

I inked over the stenciled area of the tag with red and pink chalk inks. I glued a scalloped circle, holly and a tiny banner to the top of the tag.

I added a Paper Dolls couple and the “meet me” sentiment to the tag. I finished by adding mini green pearls to the stenciled area on the tag. I added red gems to the berries on the holly to finish. If you have any comments or questions about this project please let me know in the comments below.

Supply List

Sizzix/Eileen Hull: Waterfall Card and Tags Thinlits

Sizzix/Eileen Hull: Plate and Pattern Layered Stencils

Sizzix/Eileen Hull: Charms Thinlits

Cloud Whip

Pops of Color: Glitter Ruby

Spatula

Diecut Machine

Tim Holtz: Paper Dolls

Plain and Patterned Cardstocks

Red and Green Pearls

Red Gems

Different Shades of Red and Pink Chalk Inks

Scissors

Paper Cutter

Beacon Adhesives: Zip Dry Adhesive

(Products listed above are Affiliated Links for your convenience)

DISCLAIMERS

This blog is compensated to provide opinion on products, services, websites, and various other topics. Even though the owner(s) of this blog receives compensation for our posts or advertisements. I always give my honest opinions, findings, beliefs, or experiences on those topics or products. The views and opinions expressed on this blog are purely my own. Any product claim, statistic, or quote should be checked with each manufacturer. Verify other representations about a product or service with the provider or party in question.This blog contains affiliate linksClicking these links helps to support Tonya Trantham Designs – Creative Paper Addiction. It runs at no additional cost to you. Today’s features are Sizzix, Eileen Hull and Scrapbook.com Products. 

Thanks for stopping by, hope your Monday is wonderful and enjoy creating!

Quick DIY Extra Large Christmas Tag Ideas

Hi. everyone! I want to share a few photos of a quick and easy extra large tag I created.

I used a lot of embellishments from my stash that I’ve had for years. Like this “Merry” banner and the poinsettias. I dressed up the poinsettias with chalk ink, gold gems and I shaped them with a Stylus before gluing together.

I placed Foam Pop Dots to the back of the December image before placing onto the tag. I used the holly from the Deck the Halls Thinlits and adhered those behind the poinsettias.

On the other side of the tag, I added strips of cardstock and two images. I placed Foam Pop Dots to the back of one image before placing it onto the tag. I cut a bow, pinecones, and pine needles from Deck the Halls Thinlits. I placed them onto the corner of the sentiment. I also added a poinsettia, holly and a bow made from cording to finish.

If you have any comments or questions about this tag please leave them below.

Supply List

Various Plain and Patterned Cardstock

Christmas Embellishments

Tim Holtz: Deck the Halls Thinlits

Paper Cutter

Scissors

Crop A Dile

Stylus

Foam Pop Dots

Beacon Adhesives: Zip Dry Adhesive

(Products listed above are Affiliated Links for your convenience)

DISCLAIMERS

This blog is compensated to provide opinion on products, services, websites, and various other topics. Even though the owner(s) of this blog receives compensation for our posts or advertisements. I always give my honest opinions, findings, beliefs, or experiences on those topics or products. The views and opinions expressed on this blog are purely my own. Any product claim, statistic, or quote should be checked with each manufacturer. Verify other representations about a product or service with the provider or party in question.This blog contains affiliate linksClicking these links helps to support Tonya Trantham Designs – Creative Paper Addiction. It runs at no additional cost to you. Today’s features are Scrapbook.com Products. 

Thanks for stopping by, hope your Sunday is great and enjoy creating!

Transform a Snack Box into a Journal with Notebook Diecut

Hi everyone! I’m back today with another recycled project. This time I used an empty Little Debbie snack box to create a journal using Eileen Hull’s Notebook Diecut. A side note, Little Debbie cakes are actually made in Tennessee. The company is located a city over from where I live. Anyways, let’s get started!

For this project I carefully took a part the box. I cut the front panel out, applied an Adhesive Sheets to the back of the panel. I removed the backing from the adhesive sheet and place onto a piece of Mat Board. I placed an adhesive sheet to the back of the mat board. I removed the backing from the adhesive sheet and placed plain cardstock onto it. I then placed it onto the Notebook Diecut, sandwiched between two plates and run through the Diecut Machine.

I used the Crop A Dile to punch holes in the spine of the journal.

I strung elastic through the holes and tied off.

I adhered pockets/tuck spots to the inside covers. I also added a grid notebook to the elastic.

I glued a label that I found in my stash to the spine. I decorated it with a button. I also added color dots, gems and sequins.

I found more labels in my stash that I stacked on top of each other. I added a journal sticker to the label and a gem to finish.

If you don’t have access to this type of product, don’t worry. You can always use another type of box. To create a journal with the Notebook Diecut. Also this notebook can be used to keep up with Christmas lists such as shopping, mailing cards, recipes, etc. You can actually make a journal for any occasion. My plan is to give it to my grandson so he can write and draw.

Supply List

Sizzix/Eileen Hull: Notebook Diecut

Diecut Machine

Empty Little Debbie Christmas Tree Box

Adhesive Sheets

Small Grid Notebook

Crop A Dile

Elastic

Paper Cutter

Scissors

Mat Board

Scrapbook.com: Merry Patterned Cardstock Paper Pad

Beacon Adhesives: Zip Dry Adhesive

(Products listed above are Affiliated Links for your convenience)

DISCLAIMERS

This blog is compensated to provide opinion on products, services, websites, and various other topics. Even though the owner(s) of this blog receives compensation for our posts or advertisements. I always give my honest opinions, findings, beliefs, or experiences on those topics or products. The views and opinions expressed on this blog are purely my own. Any product claim, statistic, or quote should be checked with each manufacturer. Verify other representations about a product or service with the provider or party in question.This blog contains affiliate linksClicking these links helps to support Tonya Trantham Designs – Creative Paper Addiction. It runs at no additional cost to you. Today’s features are Sizzix, Eileen Hull and Scrapbook.com Products. 

Thanks for stopping by, hope your Saturday is wonderful and enjoy creating!

Transforming an Amazon Mailer into a Festive Gift Bag

Hi everyone! I’m back today with another recycled Amazon Mailer. But this time I turned it into a gift bag for a Christmas present.

The first thing I did to the mailer was carefully remove the packaging label and cut the flap off.

I painted the outside of the mailer. I also painted a little of the top inside using Dixie Belle Chalk Mineral Mint Julep Paint. The mailer required two coats of paint. I used what paint I had on hand. You can definitely use any type of paint to make this project.

I used the Chillin’ Stamp Set (retired) since it had a giant size snowflake stamp. I placed the stamp onto a MISTI Stamping Tool and inked with Green Ink. I stamped onto a piece of Watercolor Paper. I fussy cut the snowflake out and used an assortment of inks over the image.

I adhered the sequins and gems to the snowflake before gluing to the mailer. A side note, if you don’t have a giant snowflake stamp, you can use diecuts or printables. You can even use several smaller snowflakes to dress up the mailer.

I adhered Large Ric Rac to the top of the mailer.

Now all I have to do is add a present, tissue paper and it’s ready to give as a gift. If you have any questions or comments about this project please leave them below.

Supply List

Amazon Mailer

Dixie Belle Chalk Mineral Mint Julep Paint

Brush

Scissors

Green Ink

MISTI Stamping Tool

Watercolor Paper

Large Ric Rac

Various Inks

Gems and Sequins

Tattered Angels: Chillin’ Stamp Set (retired)

Beacon Adhesives: Zip Dry Adhesive

(Products listed above are Affiliated Links for your convenience)

DISCLAIMERS

This blog is compensated to provide opinion on products, services, websites, and various other topics. Even though the owner(s) of this blog receives compensation for our posts or advertisements. I always give my honest opinions, findings, beliefs, or experiences on those topics or products. The views and opinions expressed on this blog are purely my own. Any product claim, statistic, or quote should be checked with each manufacturer. Verify other representations about a product or service with the provider or party in question.This blog contains affiliate linksClicking these links helps to support Tonya Trantham Designs – Creative Paper Addiction. It runs at no additional cost to you. Today’s features are Scrapbook.com Products. 

Thanks for stopping by, hope your Friday is great and enjoy creating!