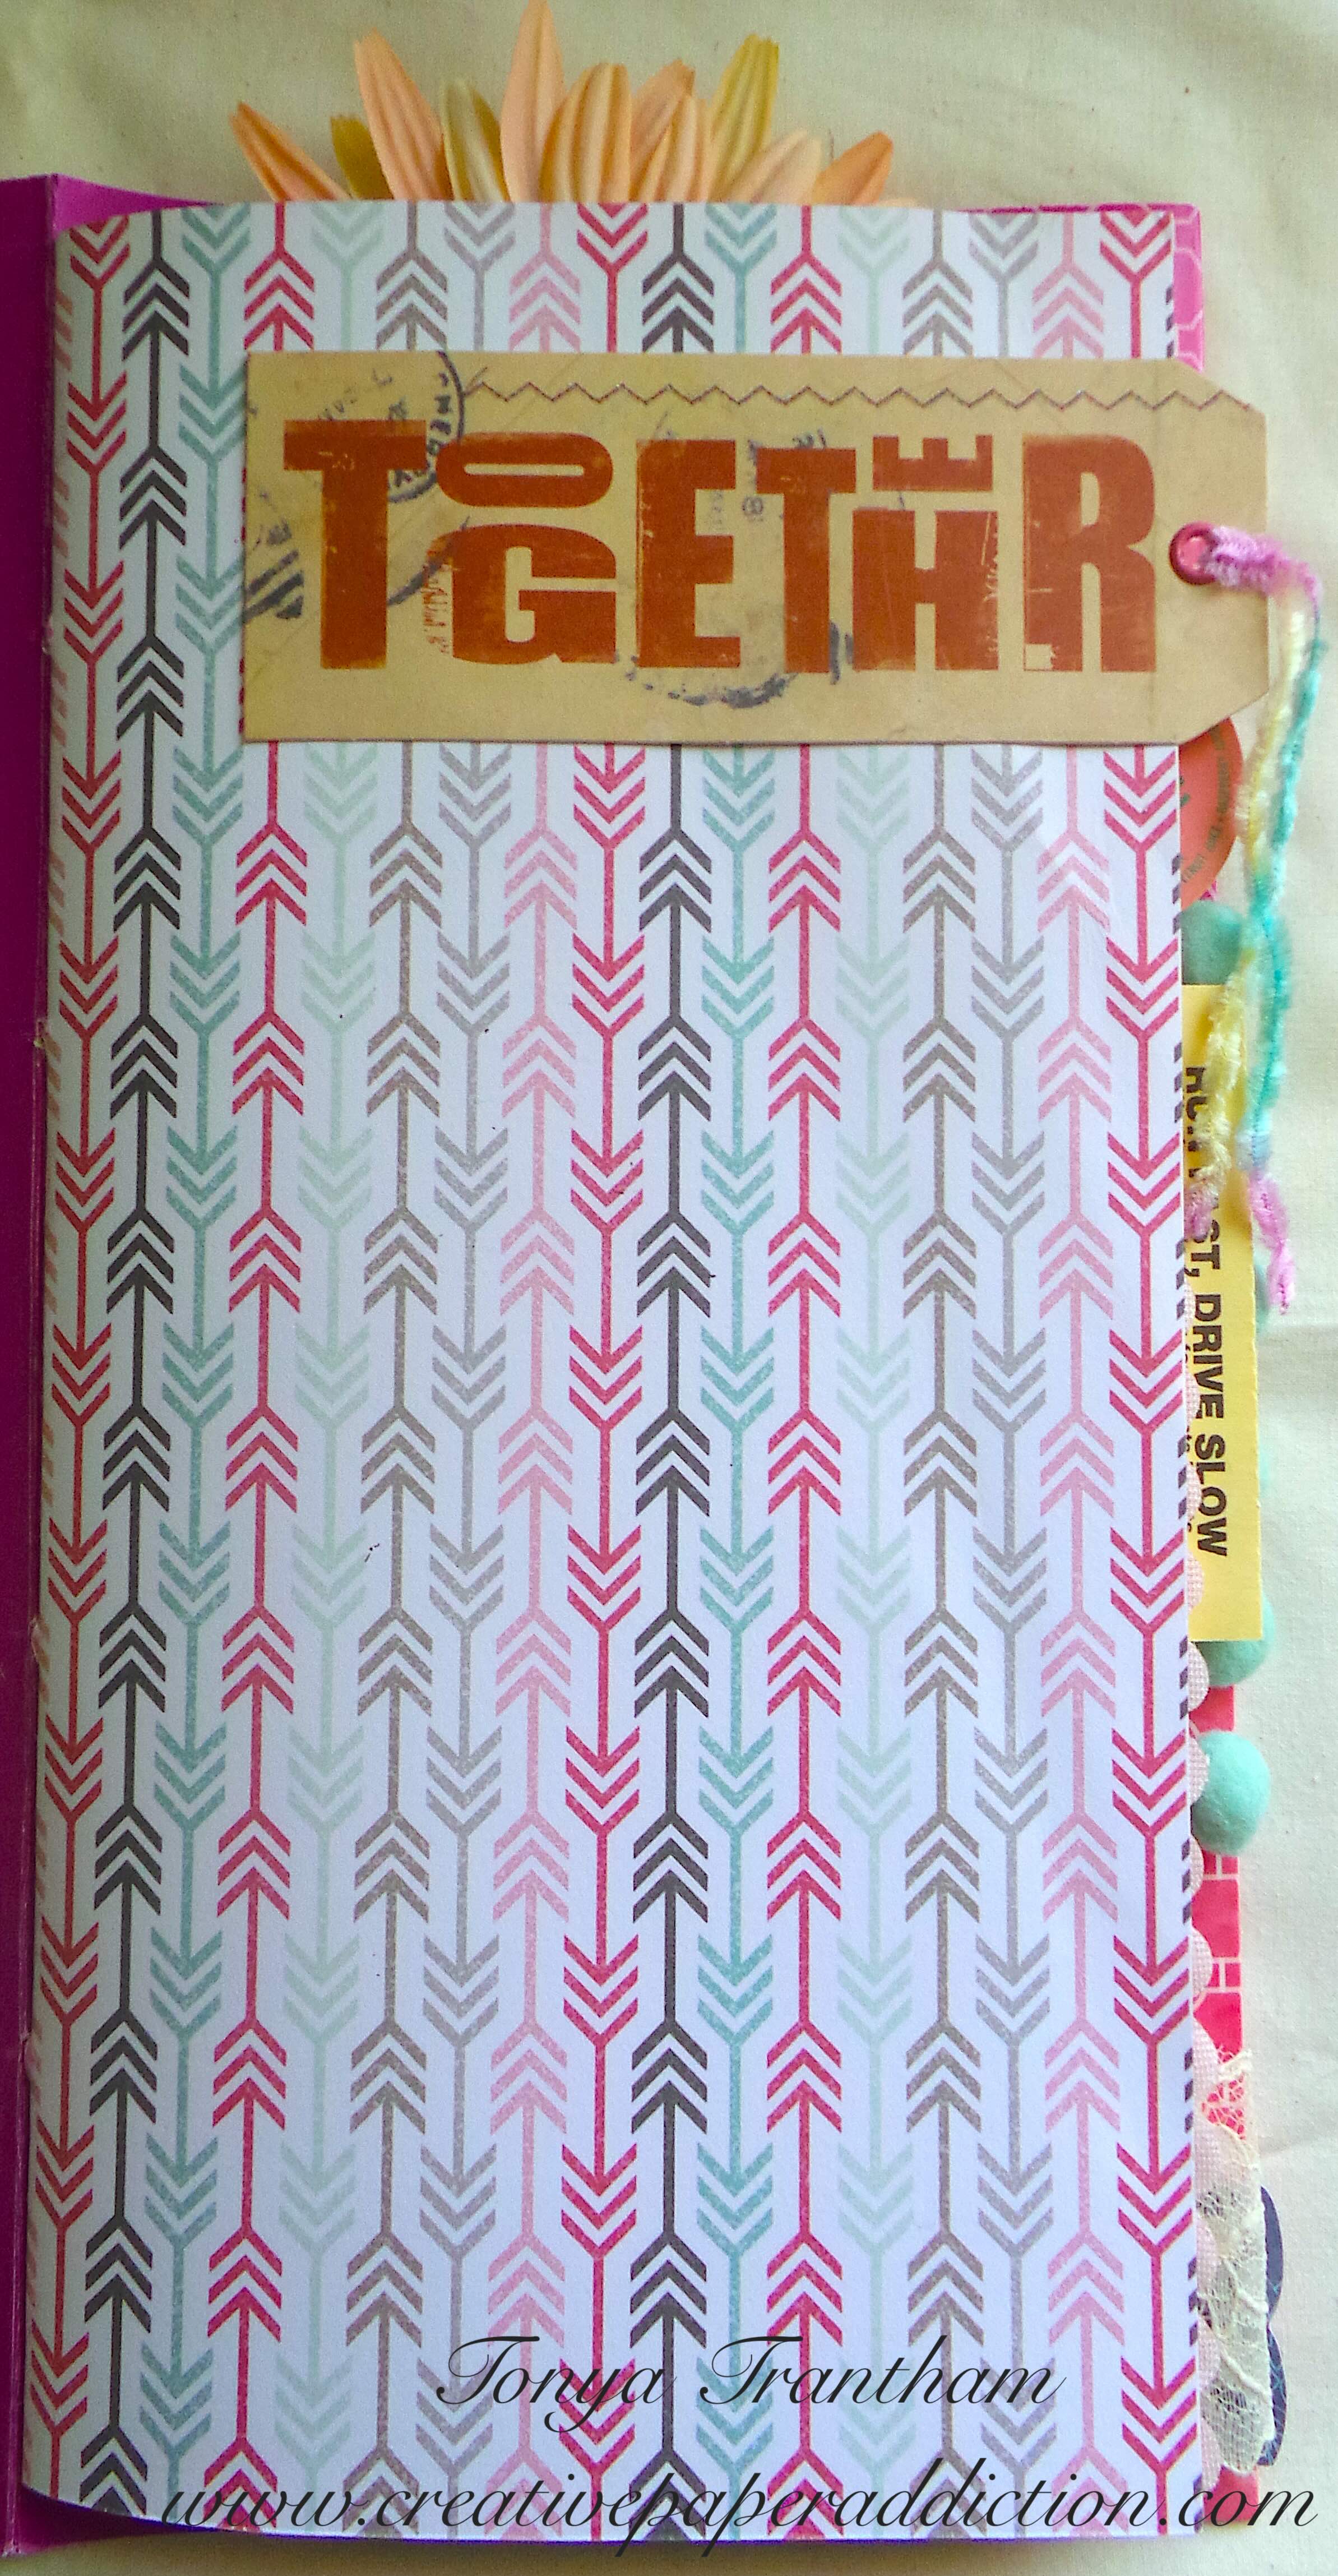
Part Two: Amazon Mailer Junk Journal Pages

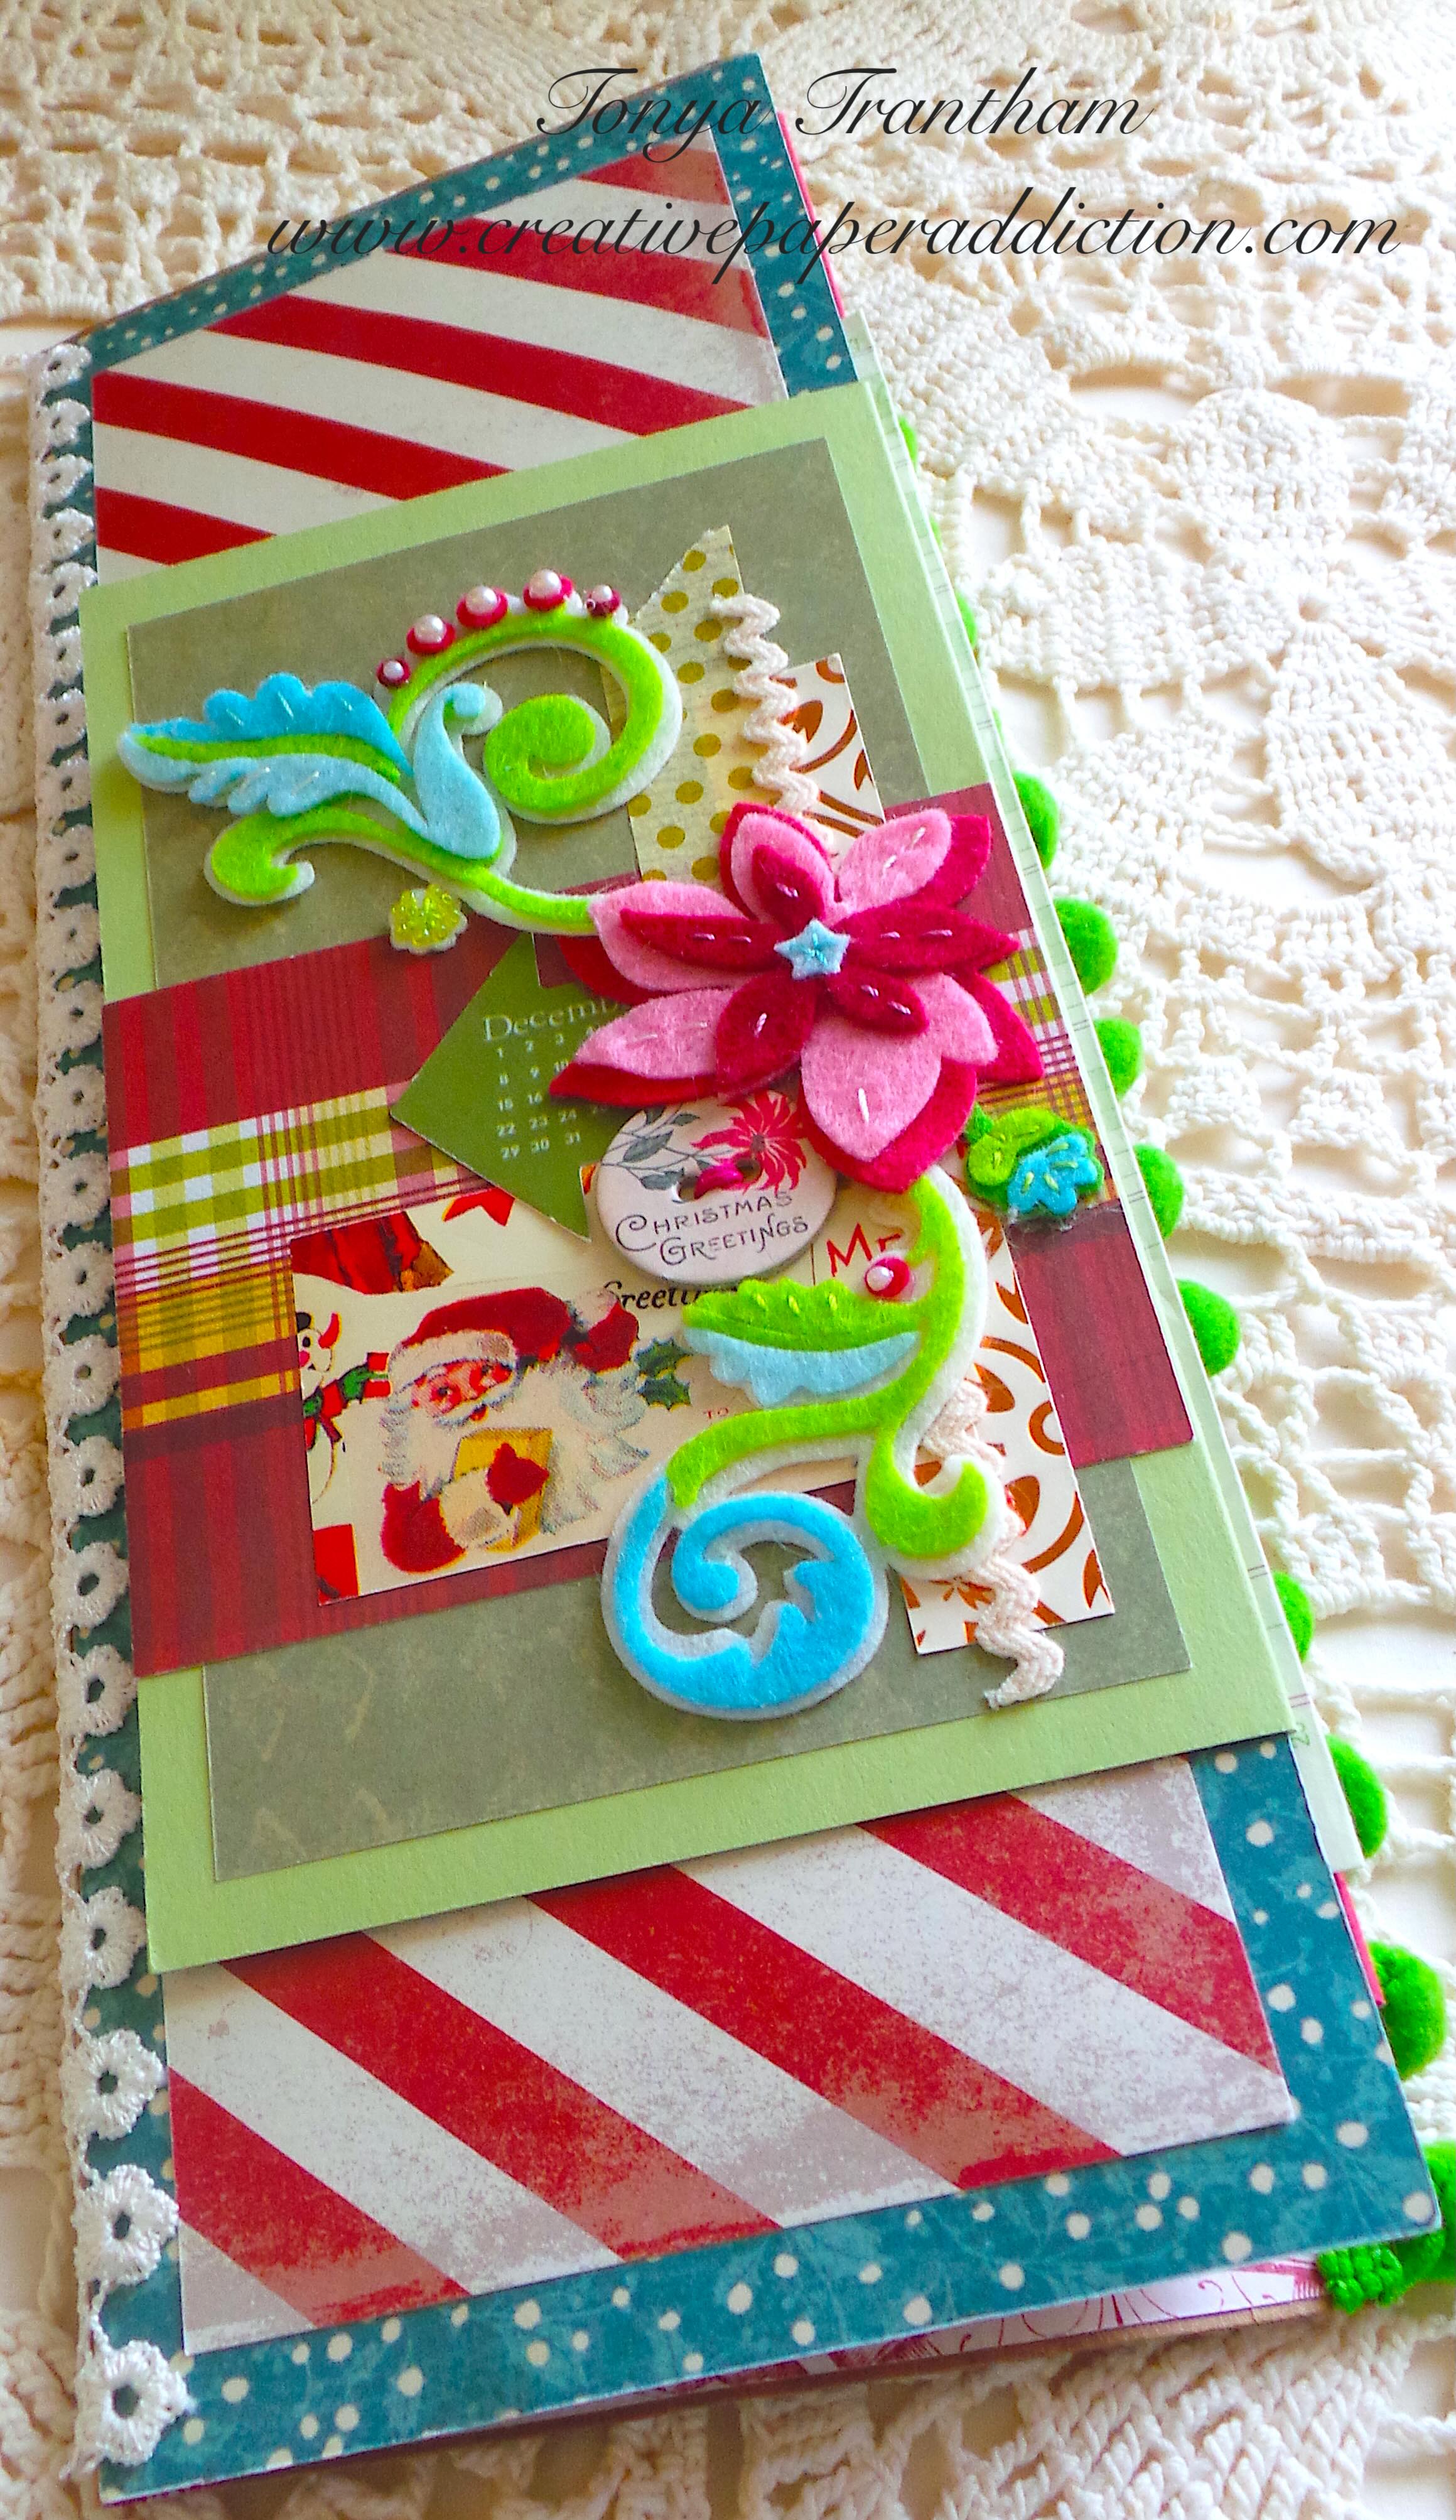
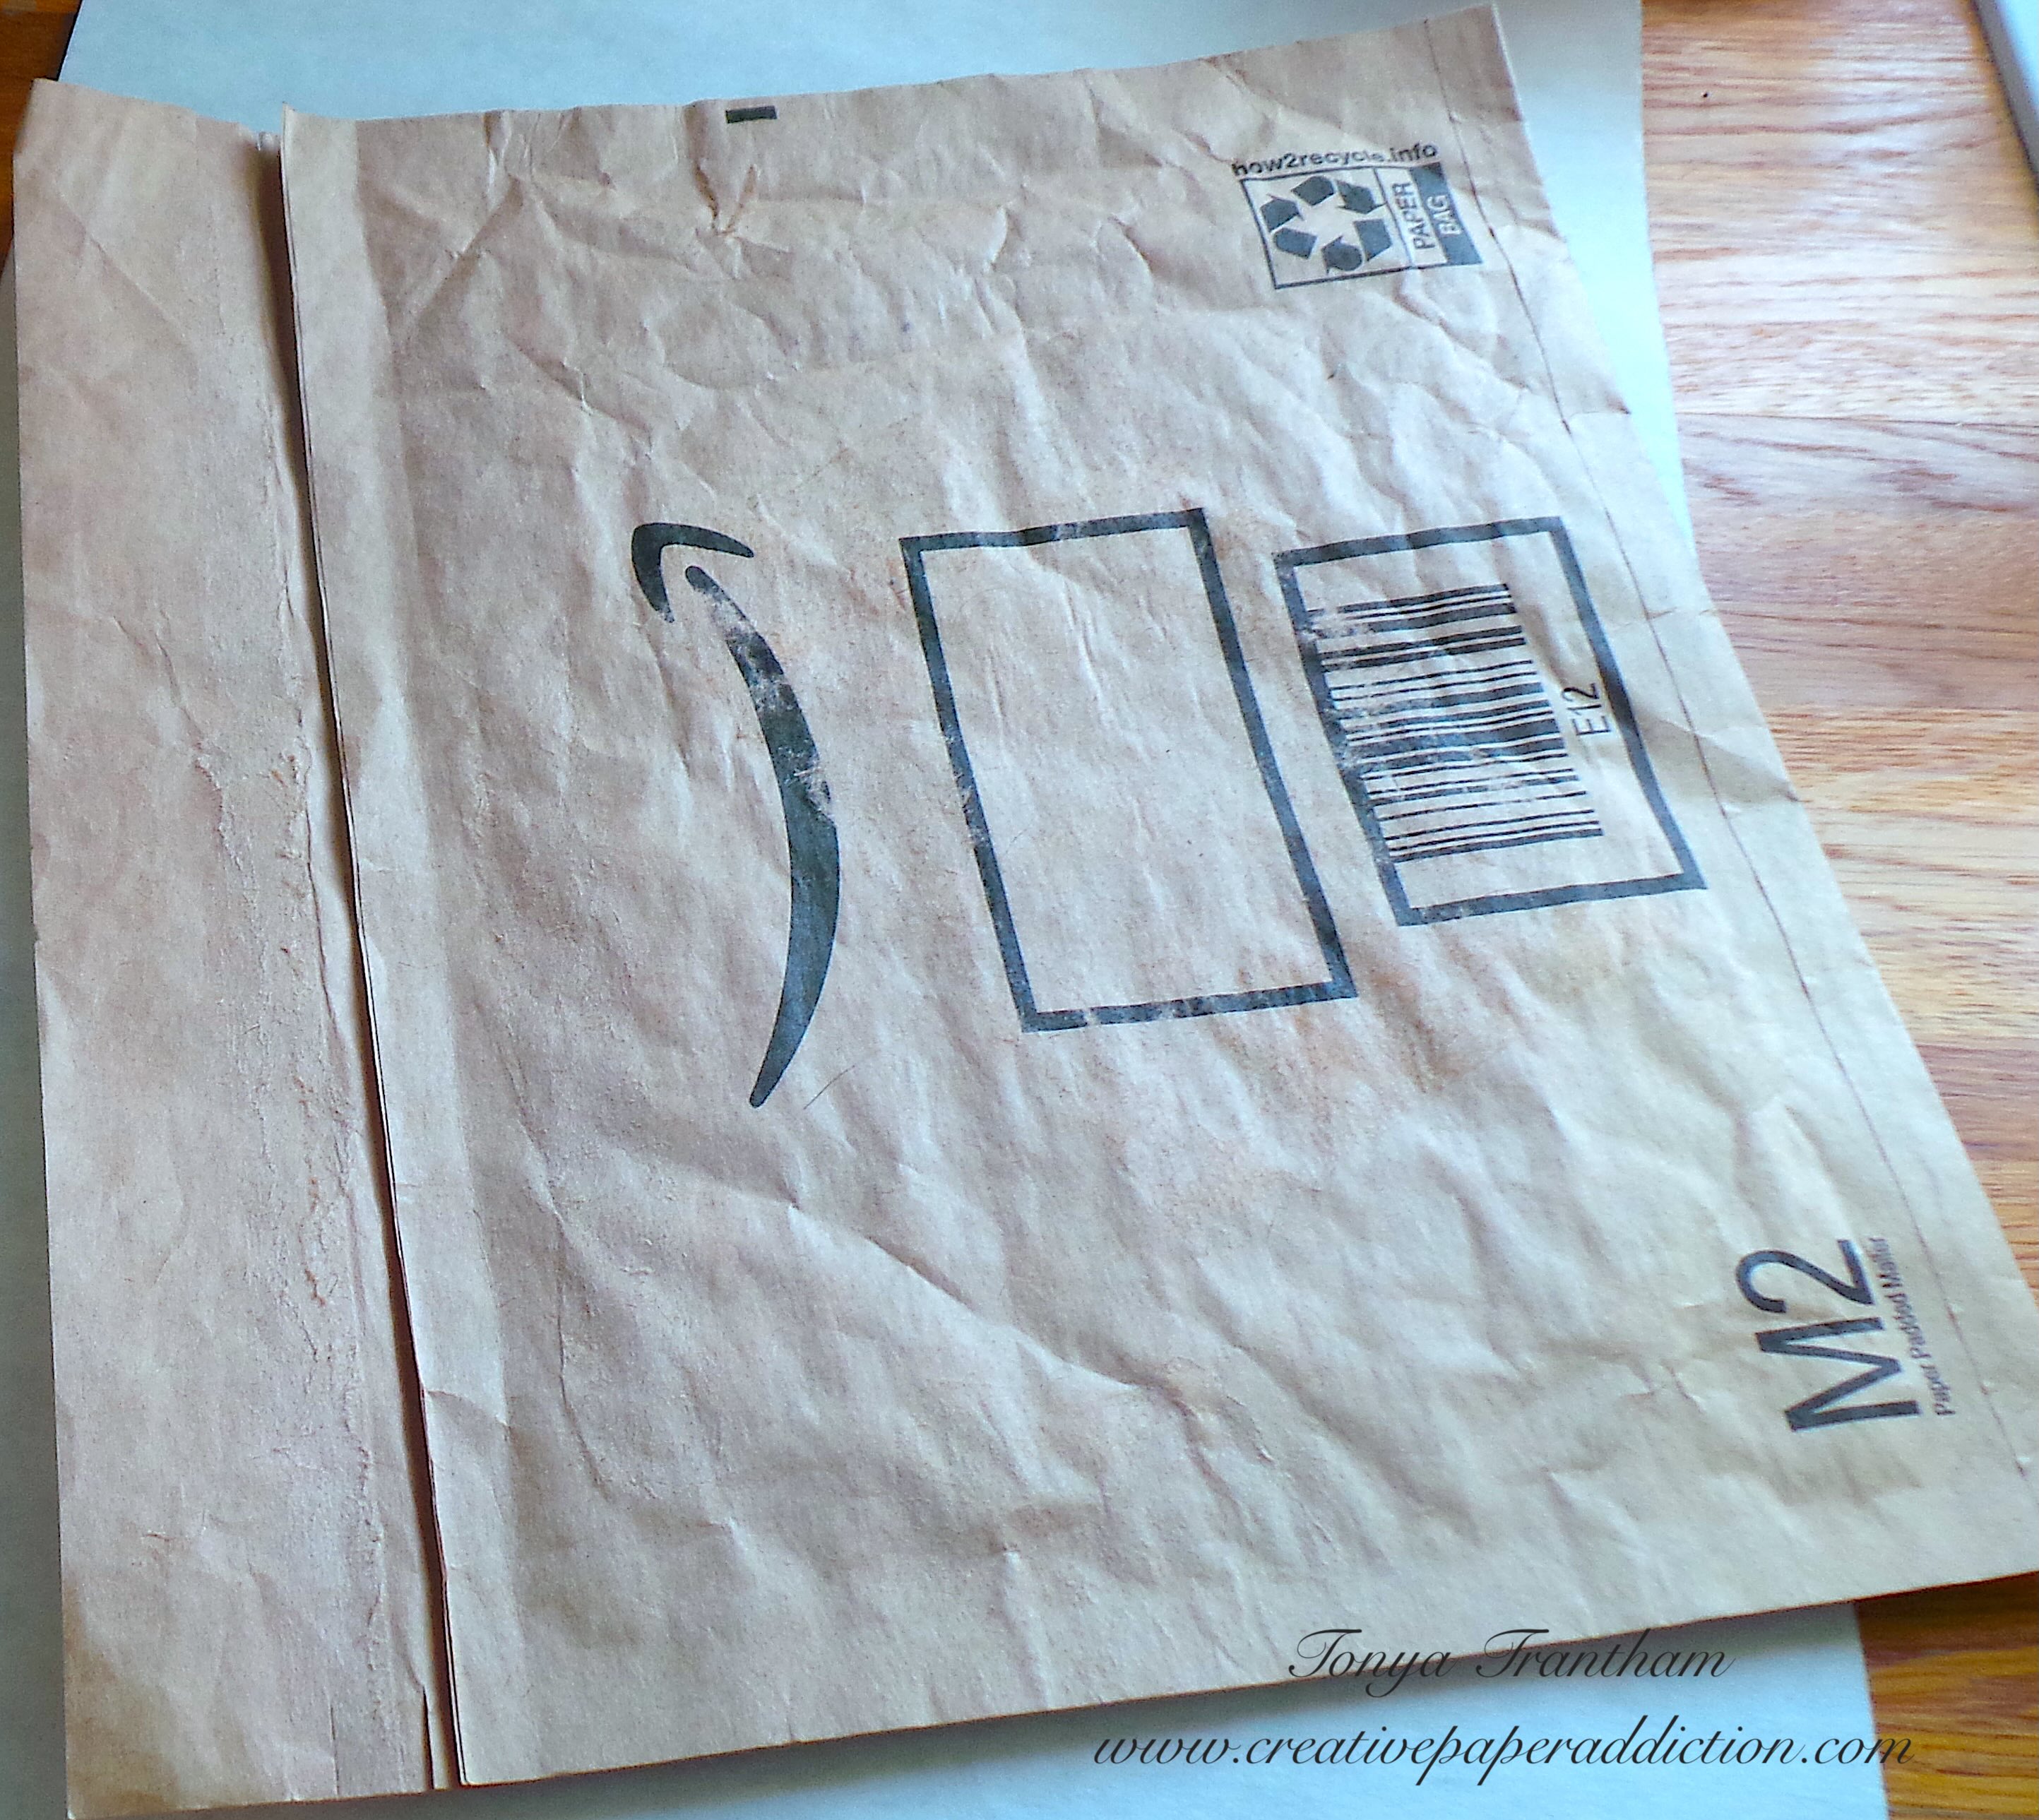
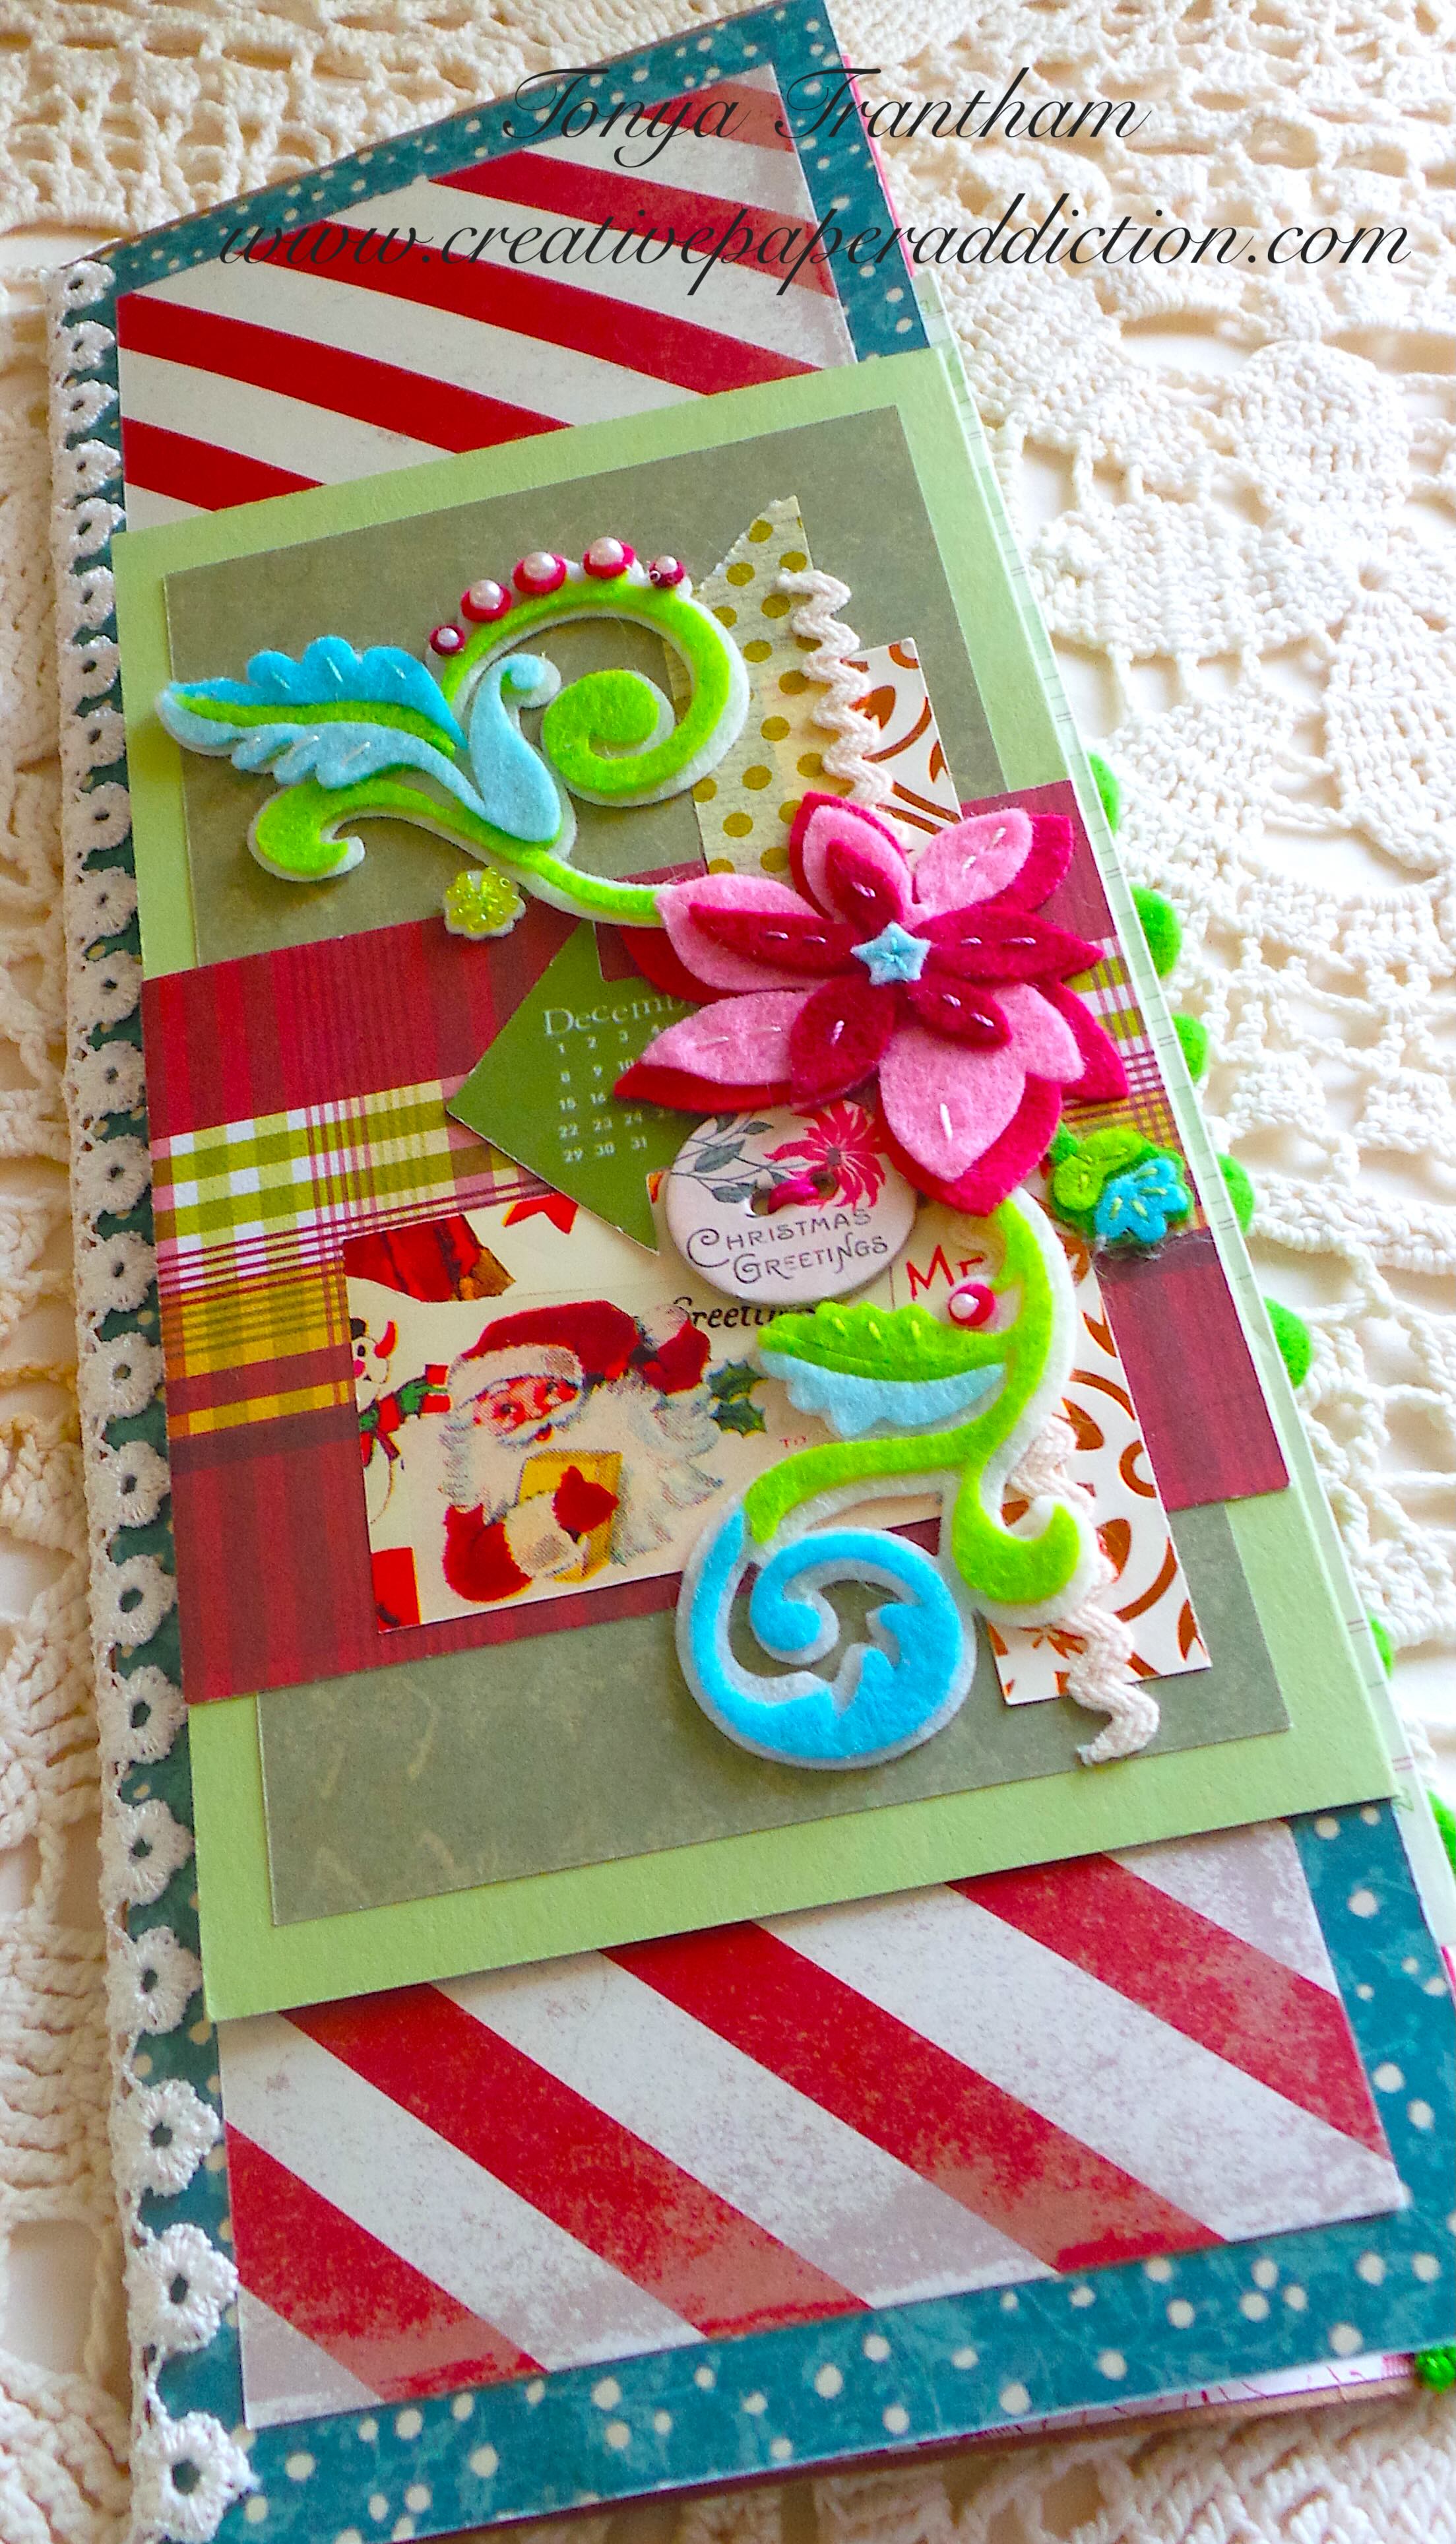
Hi everyone! I’m back with part two of my junk journal that I created using an Amazon Mailer as the cover. Today I will share the inside pages and as I stated yesterday there will be no process photos. Only the finished pages. Anyways, let’s get started!

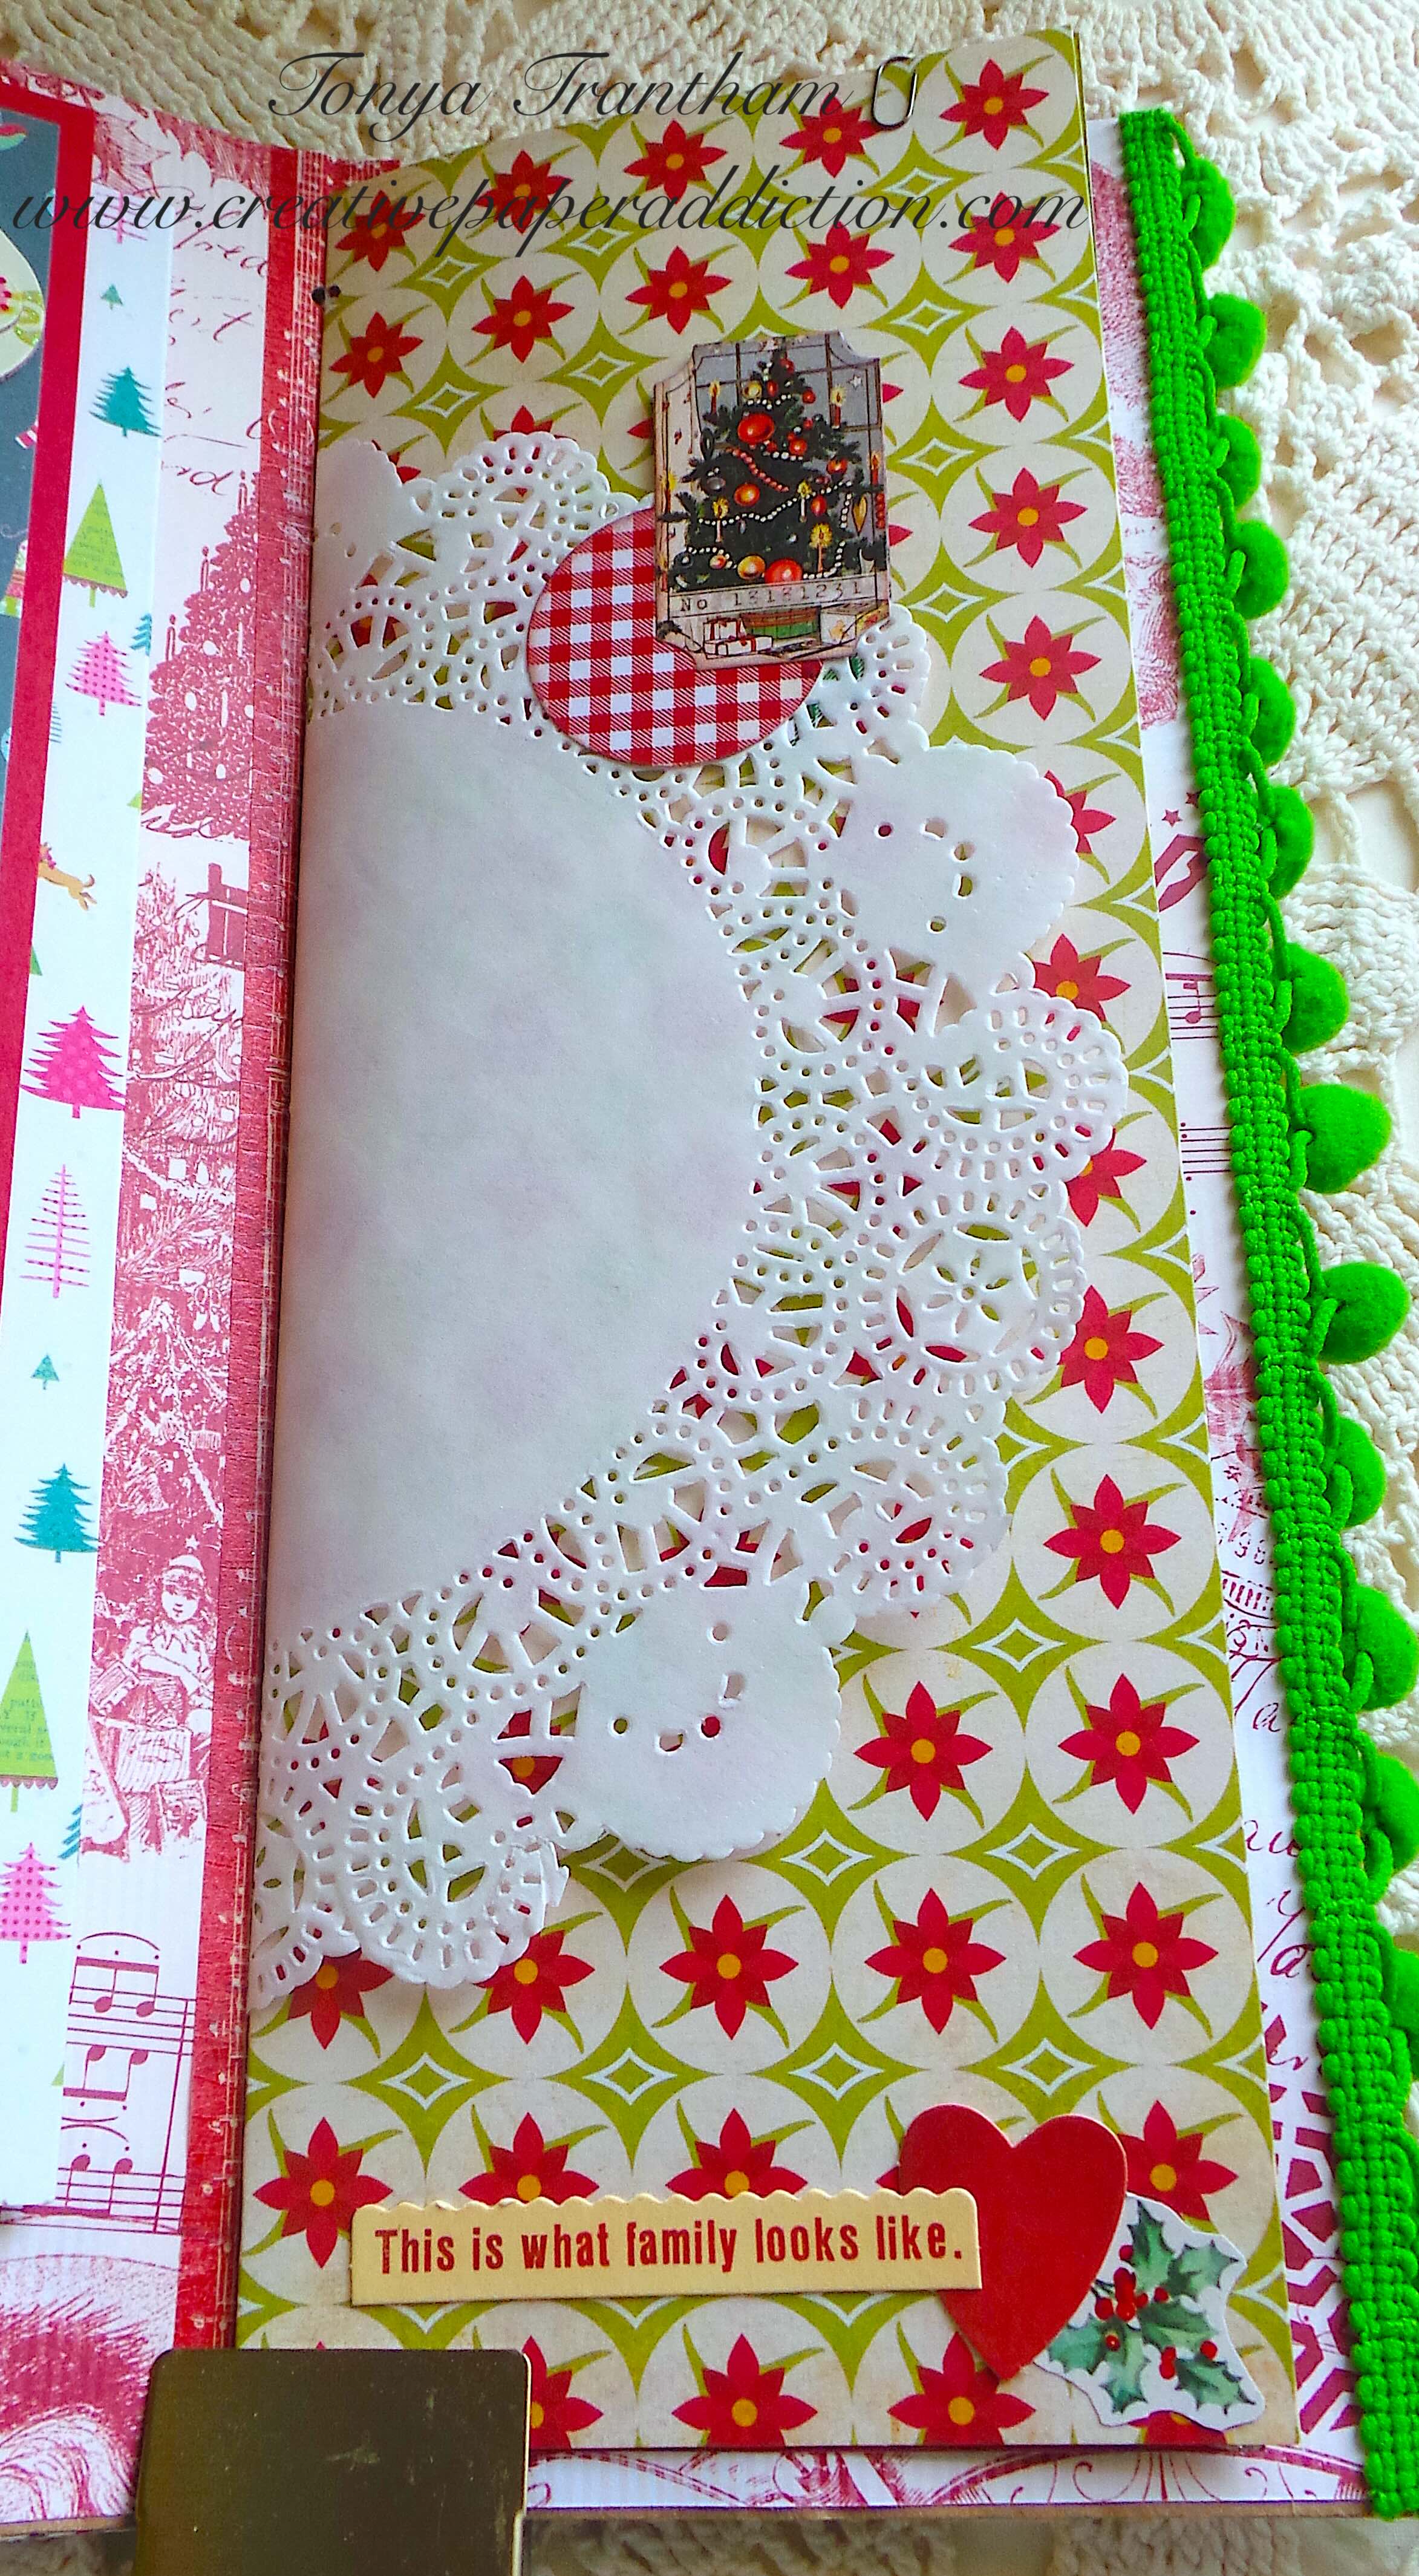
The first is actual a paper doily that I added fussy cut Christmas images to.

The height of most of the pages is almost 12″, depending on how the scrapbook paper was made. Some I didn’t need to cut down.

I added a cut a part to the first page with a tiny paper clip. The opposite page I placed a sticker sentiment and felt bird sticker.

The next set of pages I adhered “counting the days” acetate sentiment at the bottom to create a tuck spot. The other page since it has a lot visually going on I left it plain.

I added a journaling card to the tuck spot.

On the next two pages, I glued a fussy cut image of a girl. The image features her holding a present and is placed at the bottom of the pages. On the opposite side I applied a rub on Santa image and a “here comes Santa Claus” sentiment.

The next set of pages I kept plain in case of needing extra journaling or adding photos.

This set of pages is where I stitched in all the pages. I used a Crop A Dile to punch holes in the spine. I tied off on the outside. I then covered the knot with the lace. I glued the lace to the spine and both covers.

The next set of pages includes a cut a part with a tiny paper clip. I left the opposite page blank for journaling.

This set of pages starts with a blank first page. I added a fussy cut girl to the top of the next page.

This set of pages includes three pages in total. I didn’t embellish them, other than adding mini scalloped edgers to one of the pages.

This set of pages includes three total too. I decorated the page with poinsettias with a cut a part and scraps of cardstock. The back page I added Pom Pom trim to finish.

I really loved creating this journal out of an Amazon Mailer and I can’t wait to make another. It’s a great way to recycle and turn into something useful. If you don’t have a mailer you can use envelopes and small paper bags and turn those into journals. You are only limited by your own imagination. Also If you have any questions or comments please leave those below.

Supply List

Amazon Mailer

Paper Cutter

Crop A Dile

Scissors

Various Christmas Cardstocks

Washi Tape

Christmas Embellishments

Needle and Thread

Lace, Ric Rac and Pom Pom Trim

Beacon Adhesives: Zip Dry Adhesive

(Products listed above are Affiliated Links for your convenience)

DISCLAIMERS

This blog is compensated to provide opinion on products, services, websites, and various other topics. Even though the owner(s) of this blog receives compensation for our posts or advertisements. I always give my honest opinions, findings, beliefs, or experiences on those topics or products. The views and opinions expressed on this blog are purely my own. Any product claim, statistic, or quote should be checked with each manufacturer. Verify other representations about a product or service with the provider or party in question.This blog contains affiliate links. Clicking these links helps to support Tonya Trantham Designs – Creative Paper Addiction. It runs at no additional cost to you. Today’s features are Scrapbook.com Products.

Thanks for stopping by, I hope your day is awesome and enjoy creating!

Part One: How to Recycle Amazon Mailer into a Journal

Hi everyone! I’m back today with a Christmas junk journal I created! It’s really not junk going into the making of the journal but the leftover bits and pieces from past projects. The definition of what a junk journal is: “a creative and unique book made from found and recycle materials.” In other words you can put anything in a journal.

Really the only “junk” in this journal is this Amazon Mailer that I carefully opened and removed the label. I also cut the flap off and turned it into the cover of the journal. It does say on the mailer “RECYCLABLE JUST LIKE A BOX”. So I recycled it. There will be no process photos only the finished outside and inside cover. Anyways, let’s get started!

The first thing I did was fold the mailer in half to create the cover. I covered both the outside and inside with festive Christmas inspired cardstock. For the cover I glued a flap to the inside opening of the cover. I decorated the flap with “vintage” embellishments from my stash. I have quite the collection of crafts supplies that I have never used. I figured it was time to use them.

The inside of the flap, I added glue on either side of a piece of cardstock. This was to create a belly band.

I added a winter bird sticker, scrap of wrapping paper and a fussy cut sentiment to the belly band. I added three tags to the belly band.

The inside cover I adhered another flap to the inside cover. I glued the three sides of another piece of festive cardstock to the flap. This creates another tuck spot.

The inside of the flap I covered the “seam” with Washi Tape. I placed a folded piece of Christmas cardstock and placed in the tuck spot.

There is an opening on the cover. I added a piece of folded graft paper/accounting paper. This provides more journaling options.

The back cover I added two pockets.

I cut three tags to fit into the pockets on the back cover.

I stitched in the pages to the spine and glued lace over the spine to cover the stitching.

There are many photos of this project. I will share part two of the inside of the journal tomorrow, Thursday. So, be sure to stop back by!

If you have any questions or comments about the process of the cover, please leave them below. I will get back with you.

Supply List

Amazon Mailer

Paper Cutter

Crop A Dile

Scissors

Beacon Adhesives: Zip Dry Adhesive

Various Christmas Cardstocks

Washi Tape

Christmas Embellishments

Needle and Thread

Lace, Ric Rac and Pom Pom Trim

(Products listed above are Affiliated Links for your convenience)

DISCLAIMERS

This blog is compensated to provide opinion on products, services, websites, and various other topics. Even though the owner(s) of this blog receives compensation for our posts or advertisements. I always give my honest opinions, findings, beliefs, or experiences on those topics or products. The views and opinions expressed on this blog are purely my own. Any product claim, statistic, or quote should be checked with each manufacturer. Verify other representations about a product or service with the provider or party in question.This blog contains affiliate linksClicking these links helps to support Tonya Trantham Designs – Creative Paper Addiction. It runs at no additional cost to you. Today’s features are Scrapbook.com Products.

Thanks for stopping by, hope your Wednesday is great and enjoy creating!


DIY Summery Journal from Altered File Folder

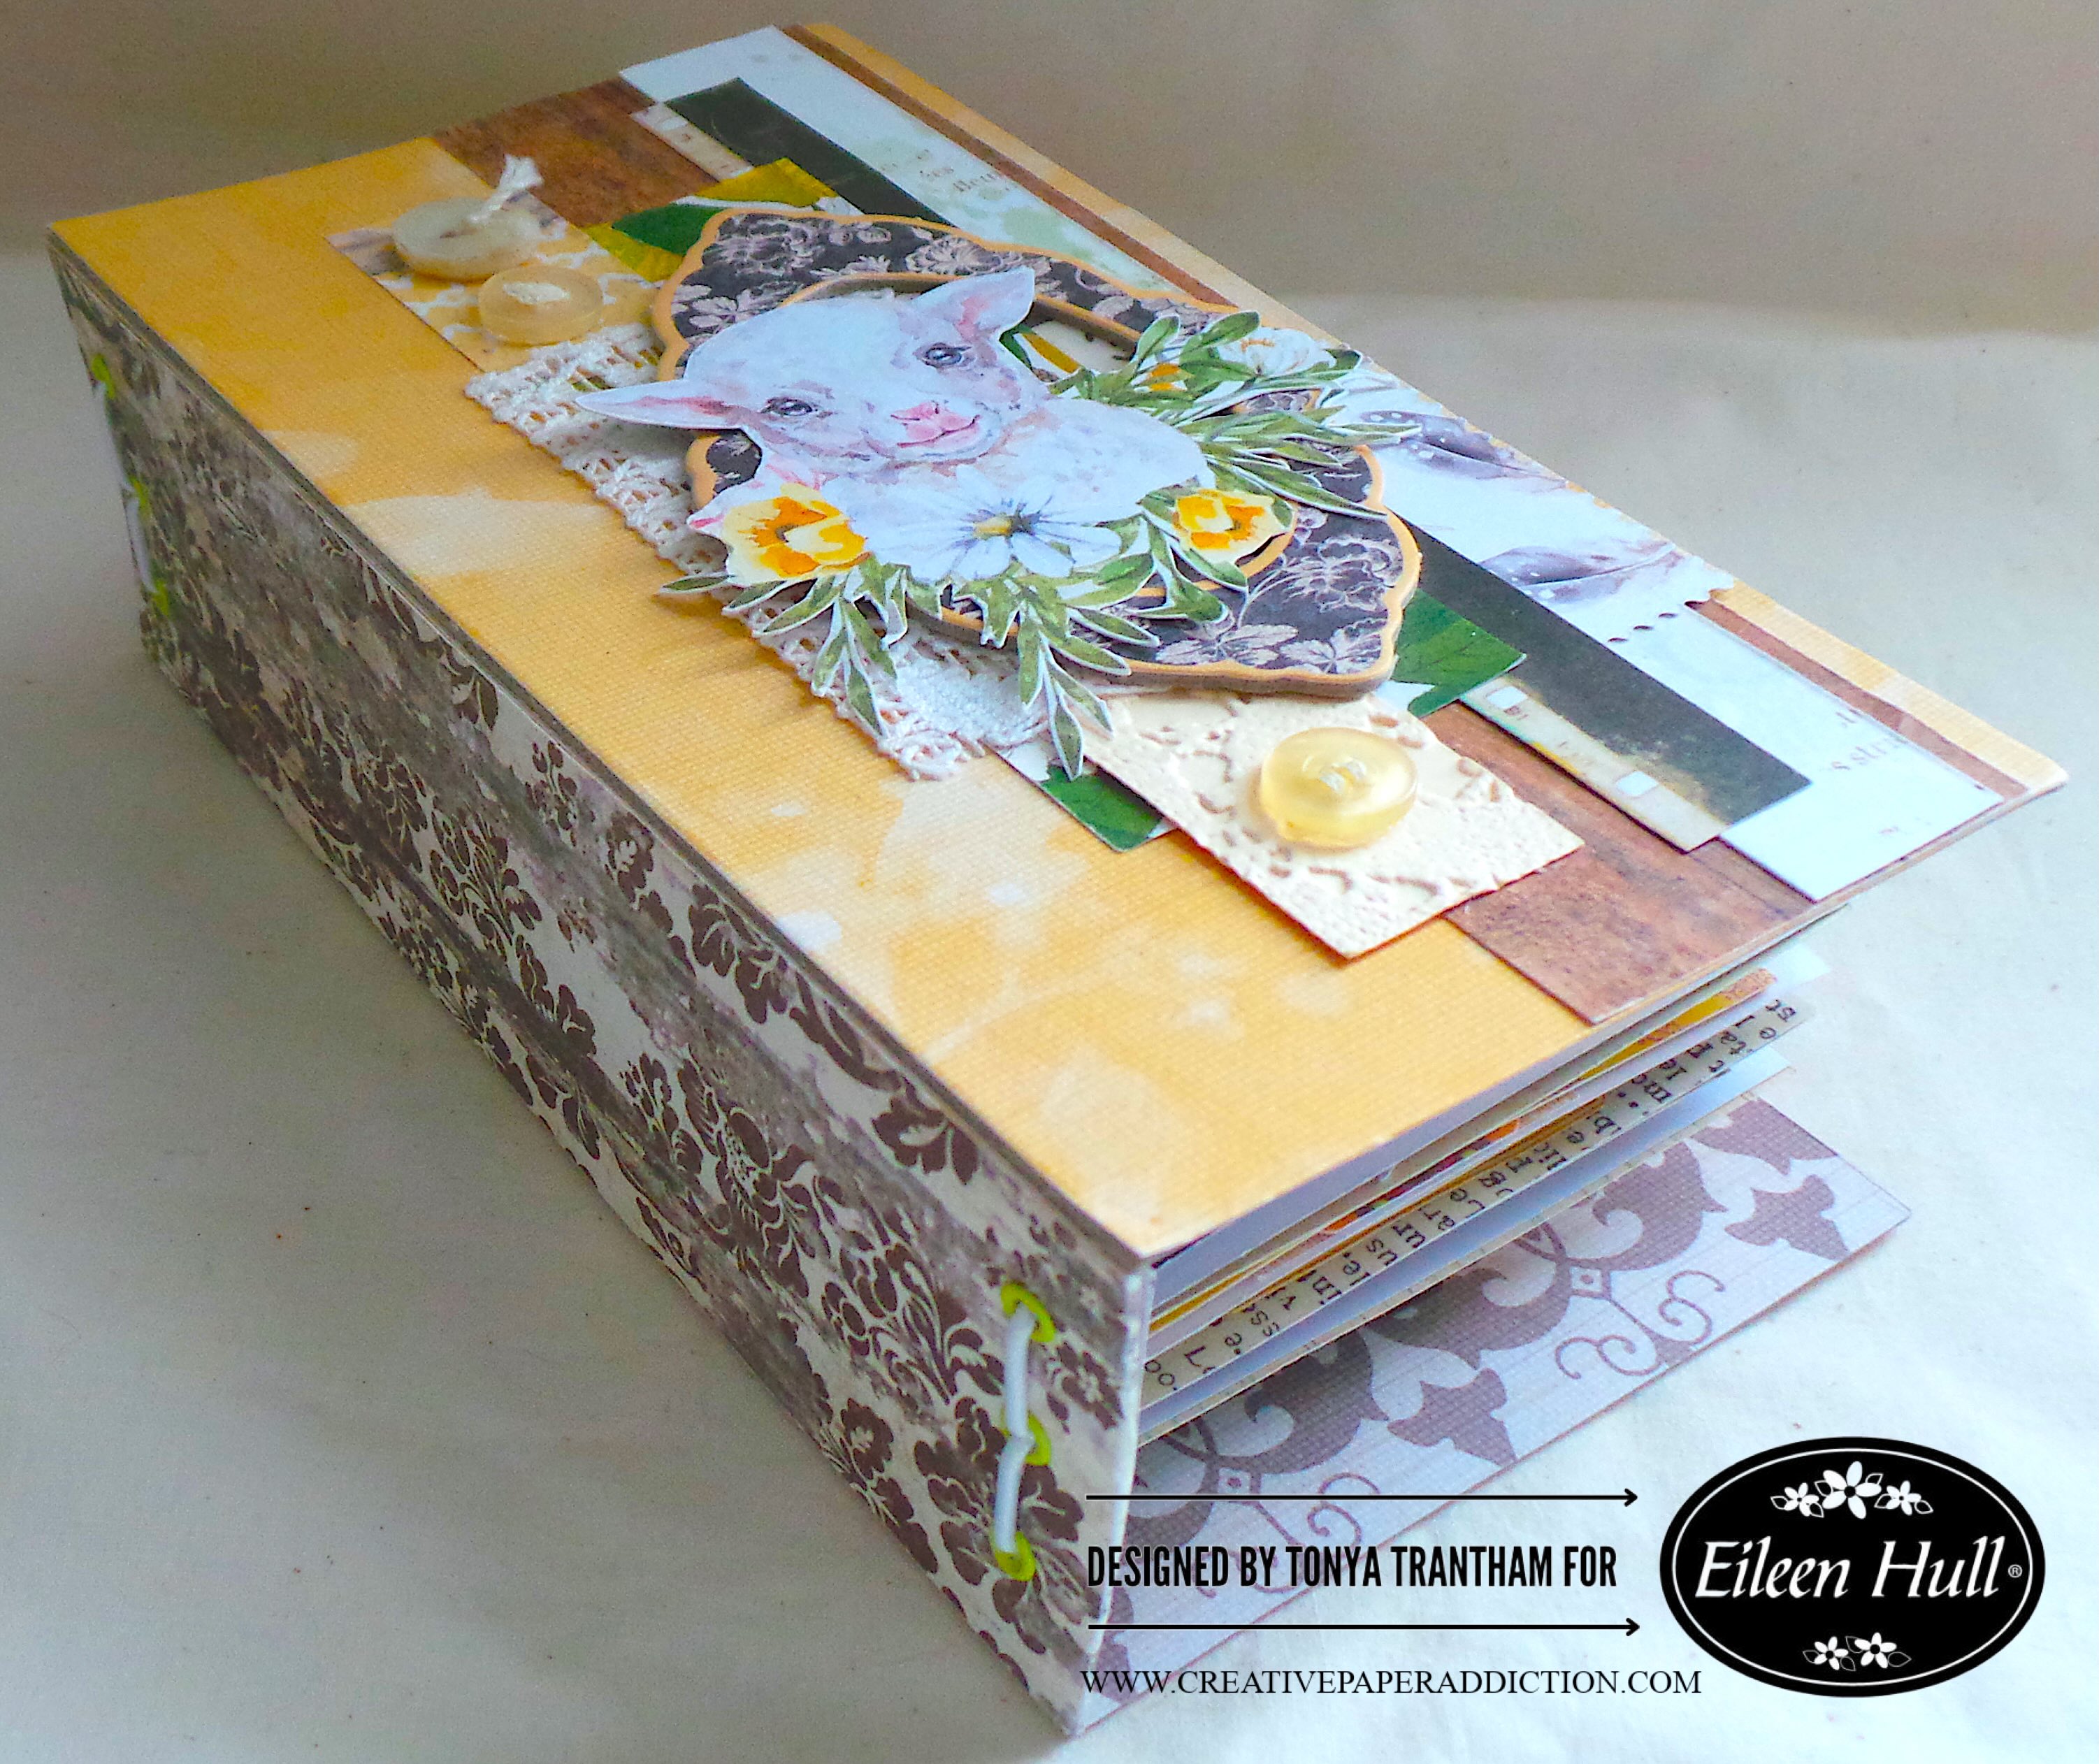
Hi everyone! Even though we are now in September. I want to share a file folder that I had altered and turned into a summery journal. I actually had this finished and ready to share a couple of months ago. My dad passed away, and it’s been hard to get back into the swing of things. But I’m getting there. I didn’t do any step out photos of the process…sorry. Anyways let’s get started!

The file folder I measured and folded. I folded the top of both sides into the inside of the cover. This created tuck spots. I glued the bottom edge of both tuck spots to the inside cover.

I tucked some notebook paper to the back cover. I had cut it down and added a rub on from the 49 and Market: Rouge Collection.

The front inside tuck spot. I added glue to either end of a cut a part. This was done after I had decorated the cover…details of the cover will come later.

I added a couple journaling cards to the belly band. I also added another piece of notebook paper with rub ons to the tuck spot.

The cover of journal measures 6″x11 1/2″ after folding the tuck spots to the inside of the journal. I gathered up an assortment of cardstock, grid paper, large doily and watercolor paper. I cut to fit and folded in half before punching holes, in the fold of all pages and the cover. I threaded a needle with cording and stitched all together. I tied off on the outside of the cover.

I tied seam binding and fiber to cover where I had tied off on the spine. I also adhered trim to the back and front cover.

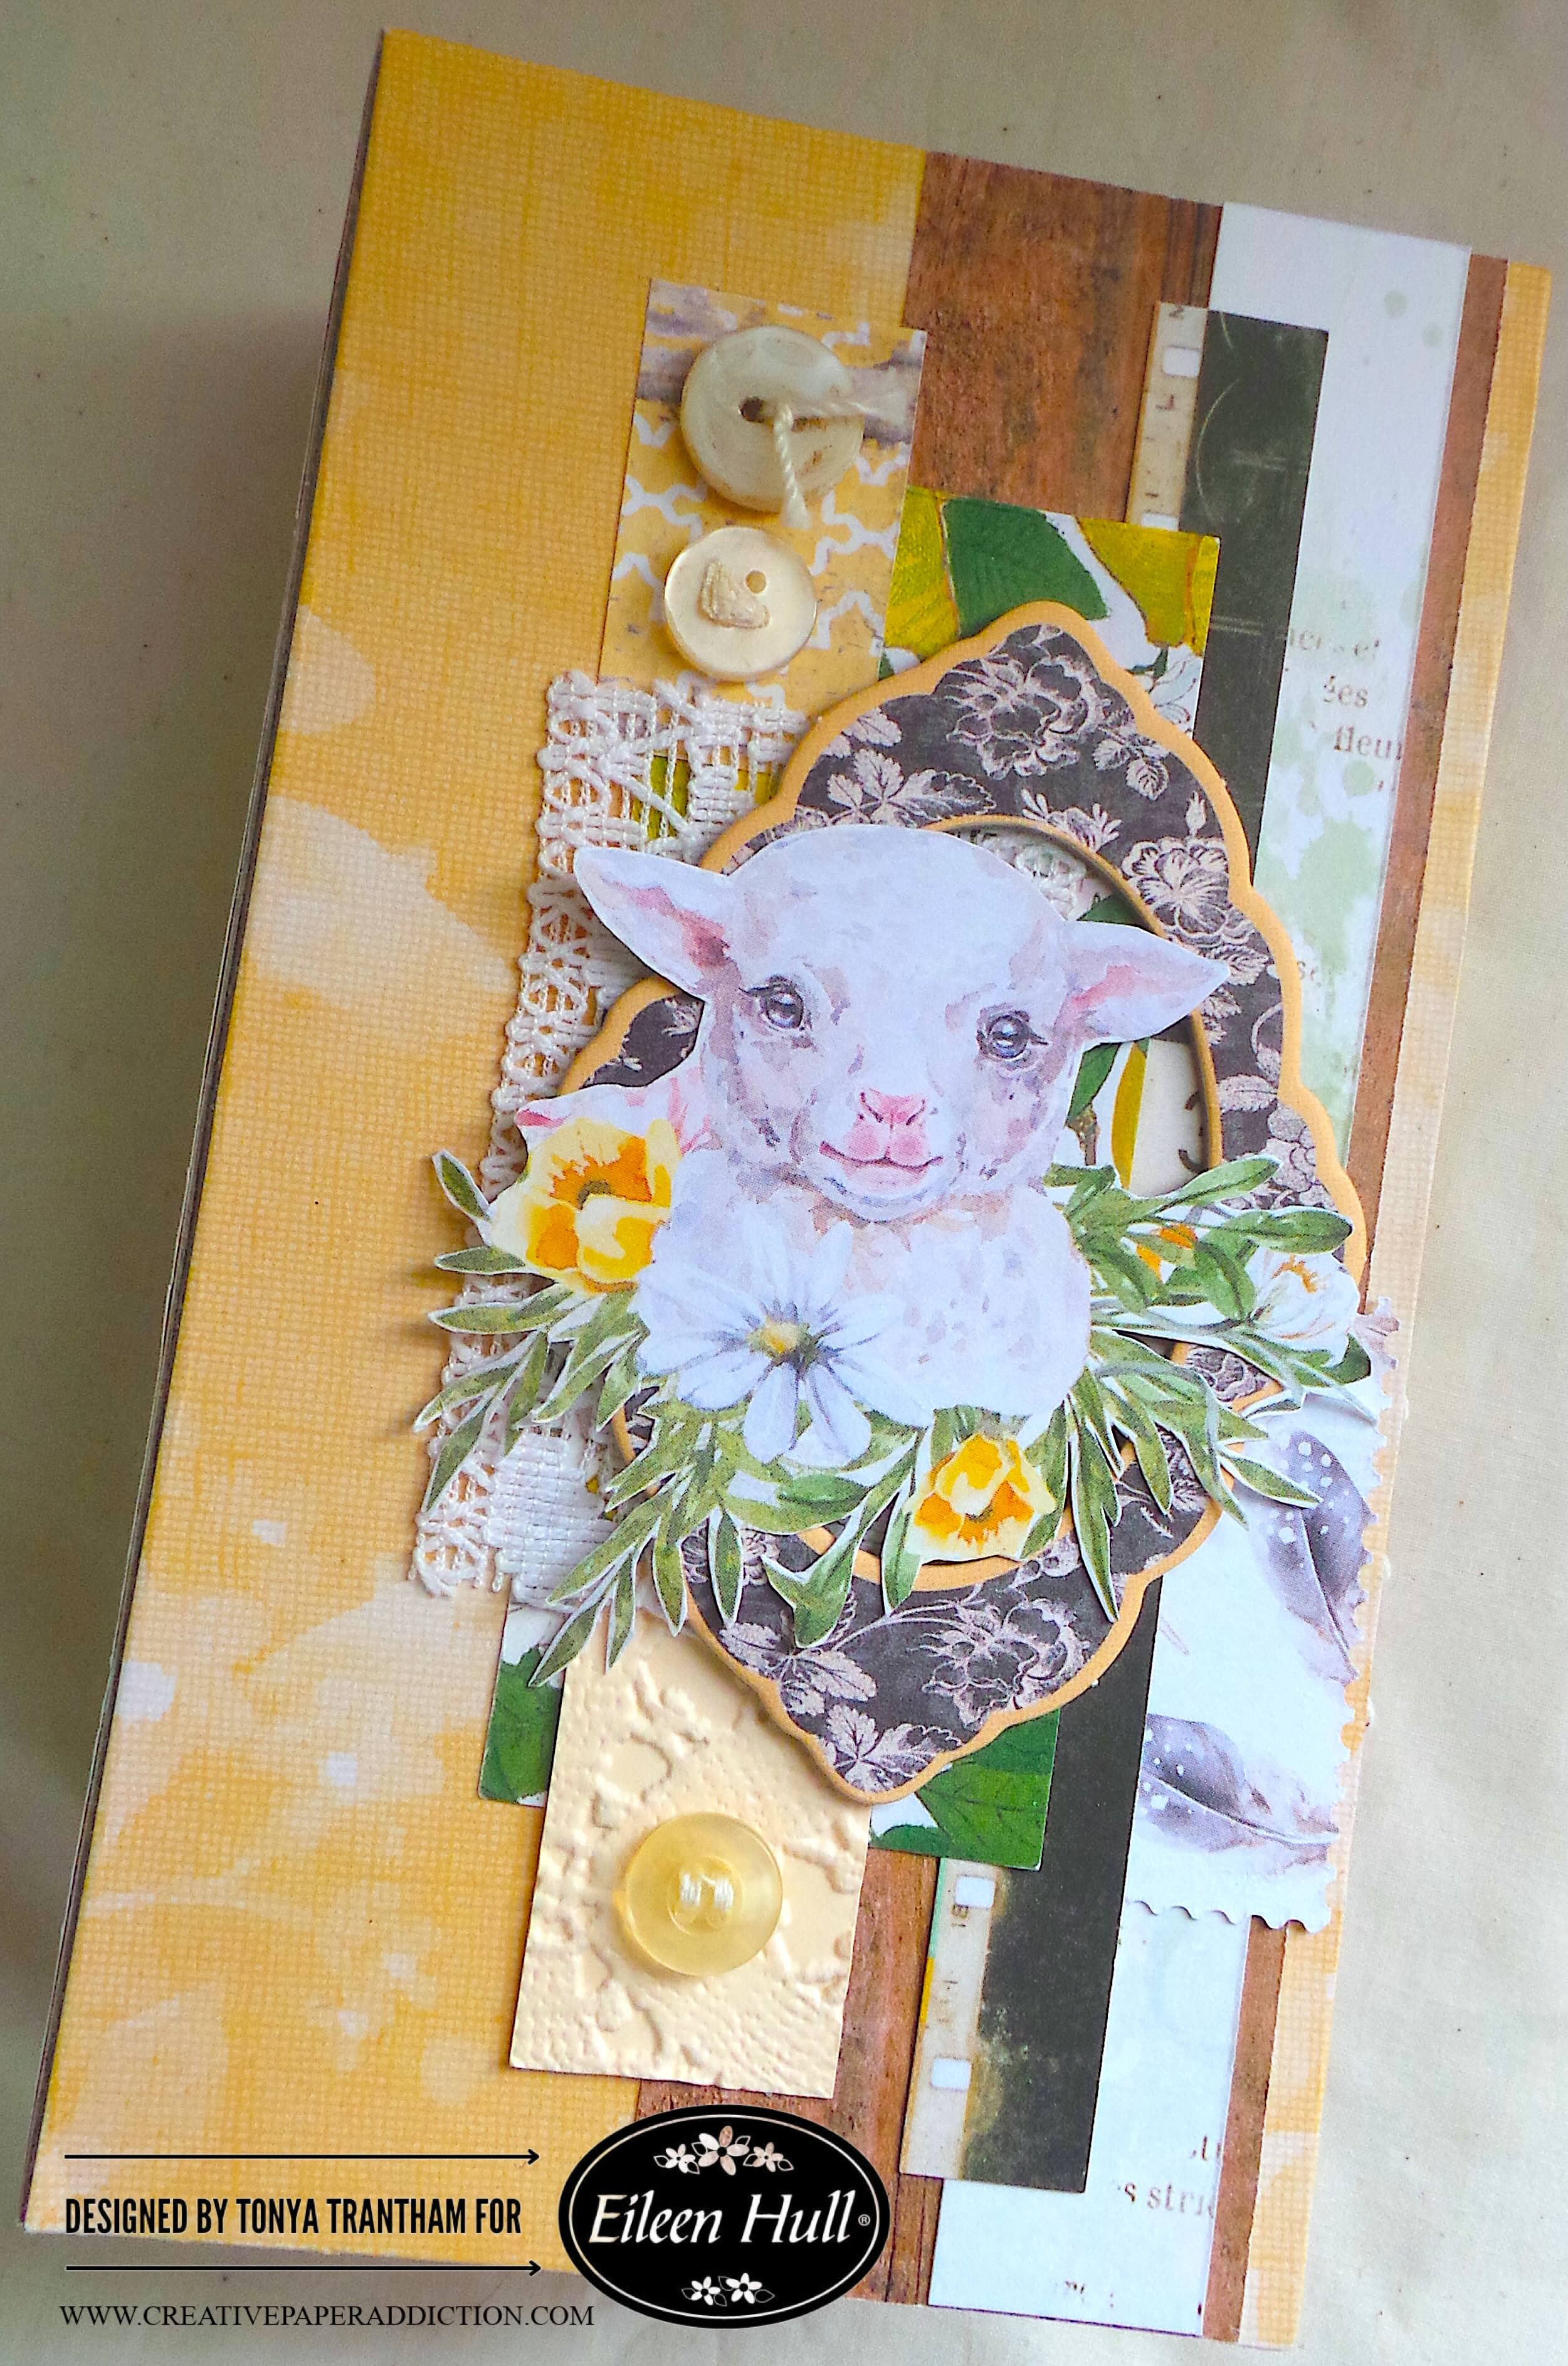
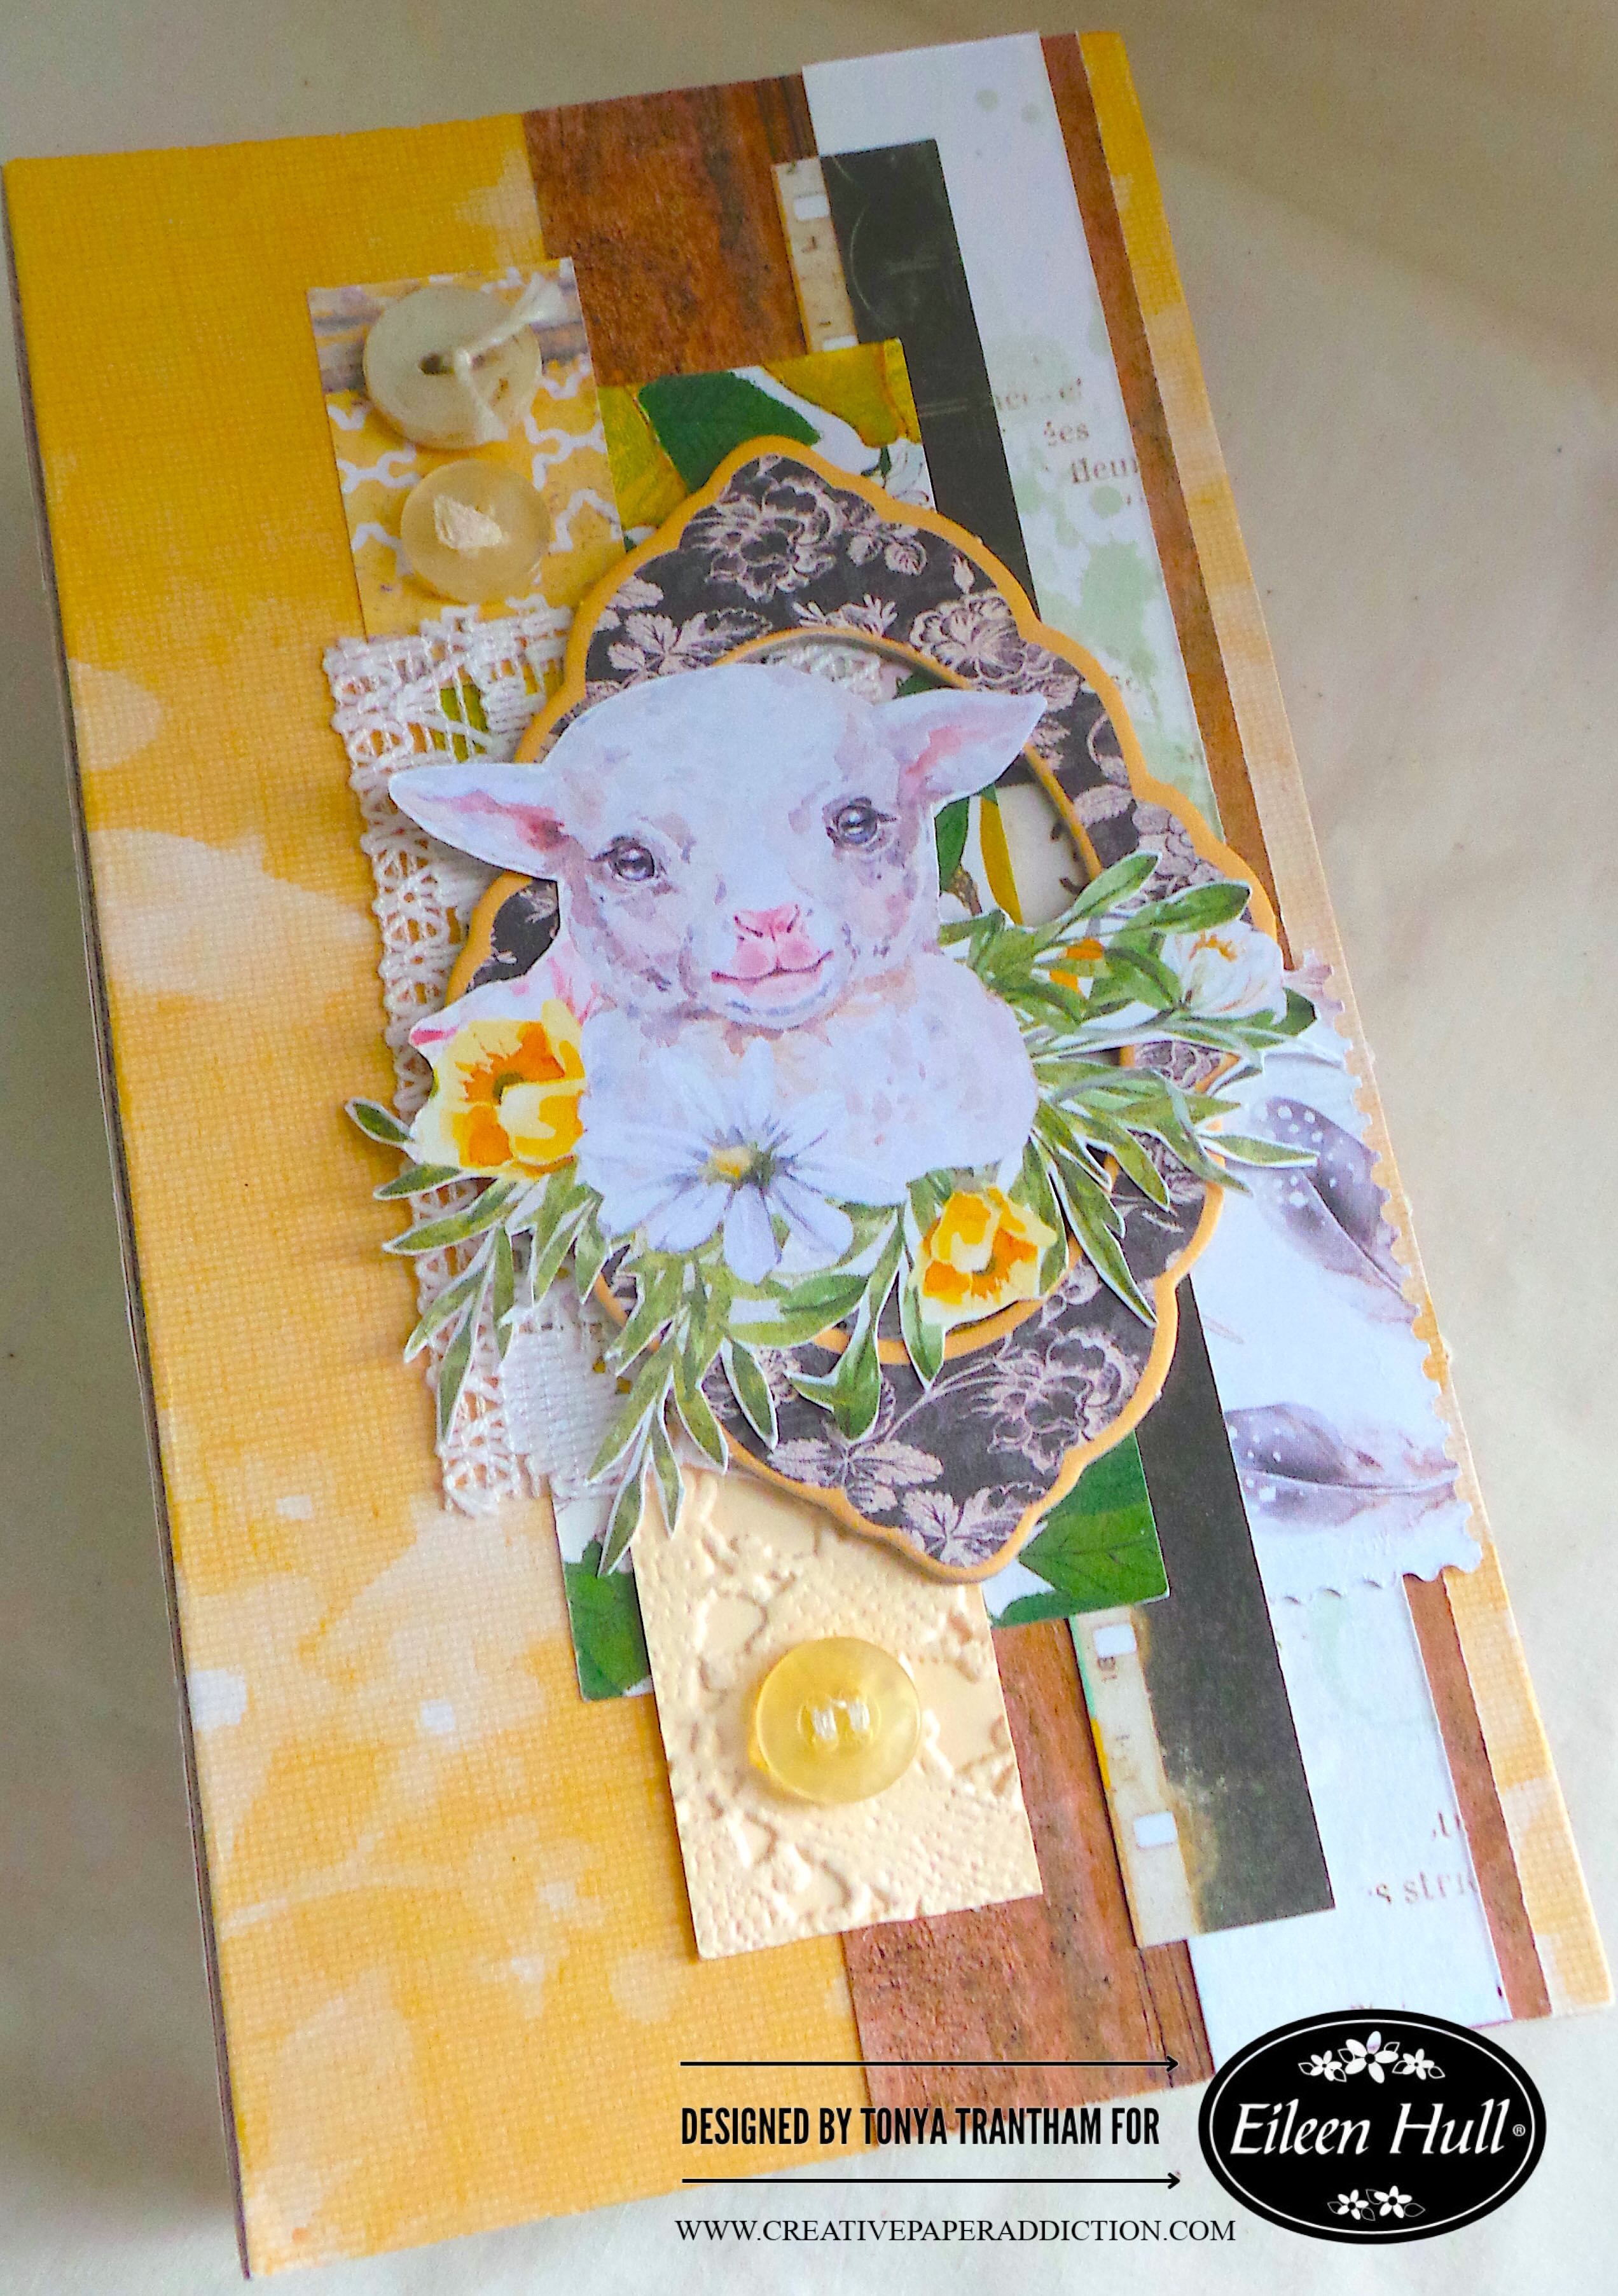
The cover I adhered a rectangle doily that I glued to the cover. The extra bit of the doily I wrapped and glued to the tuck spot of the inside. I dug into my stash of paper diecuts. I added a bingo card, frame and a floral image to the cover.

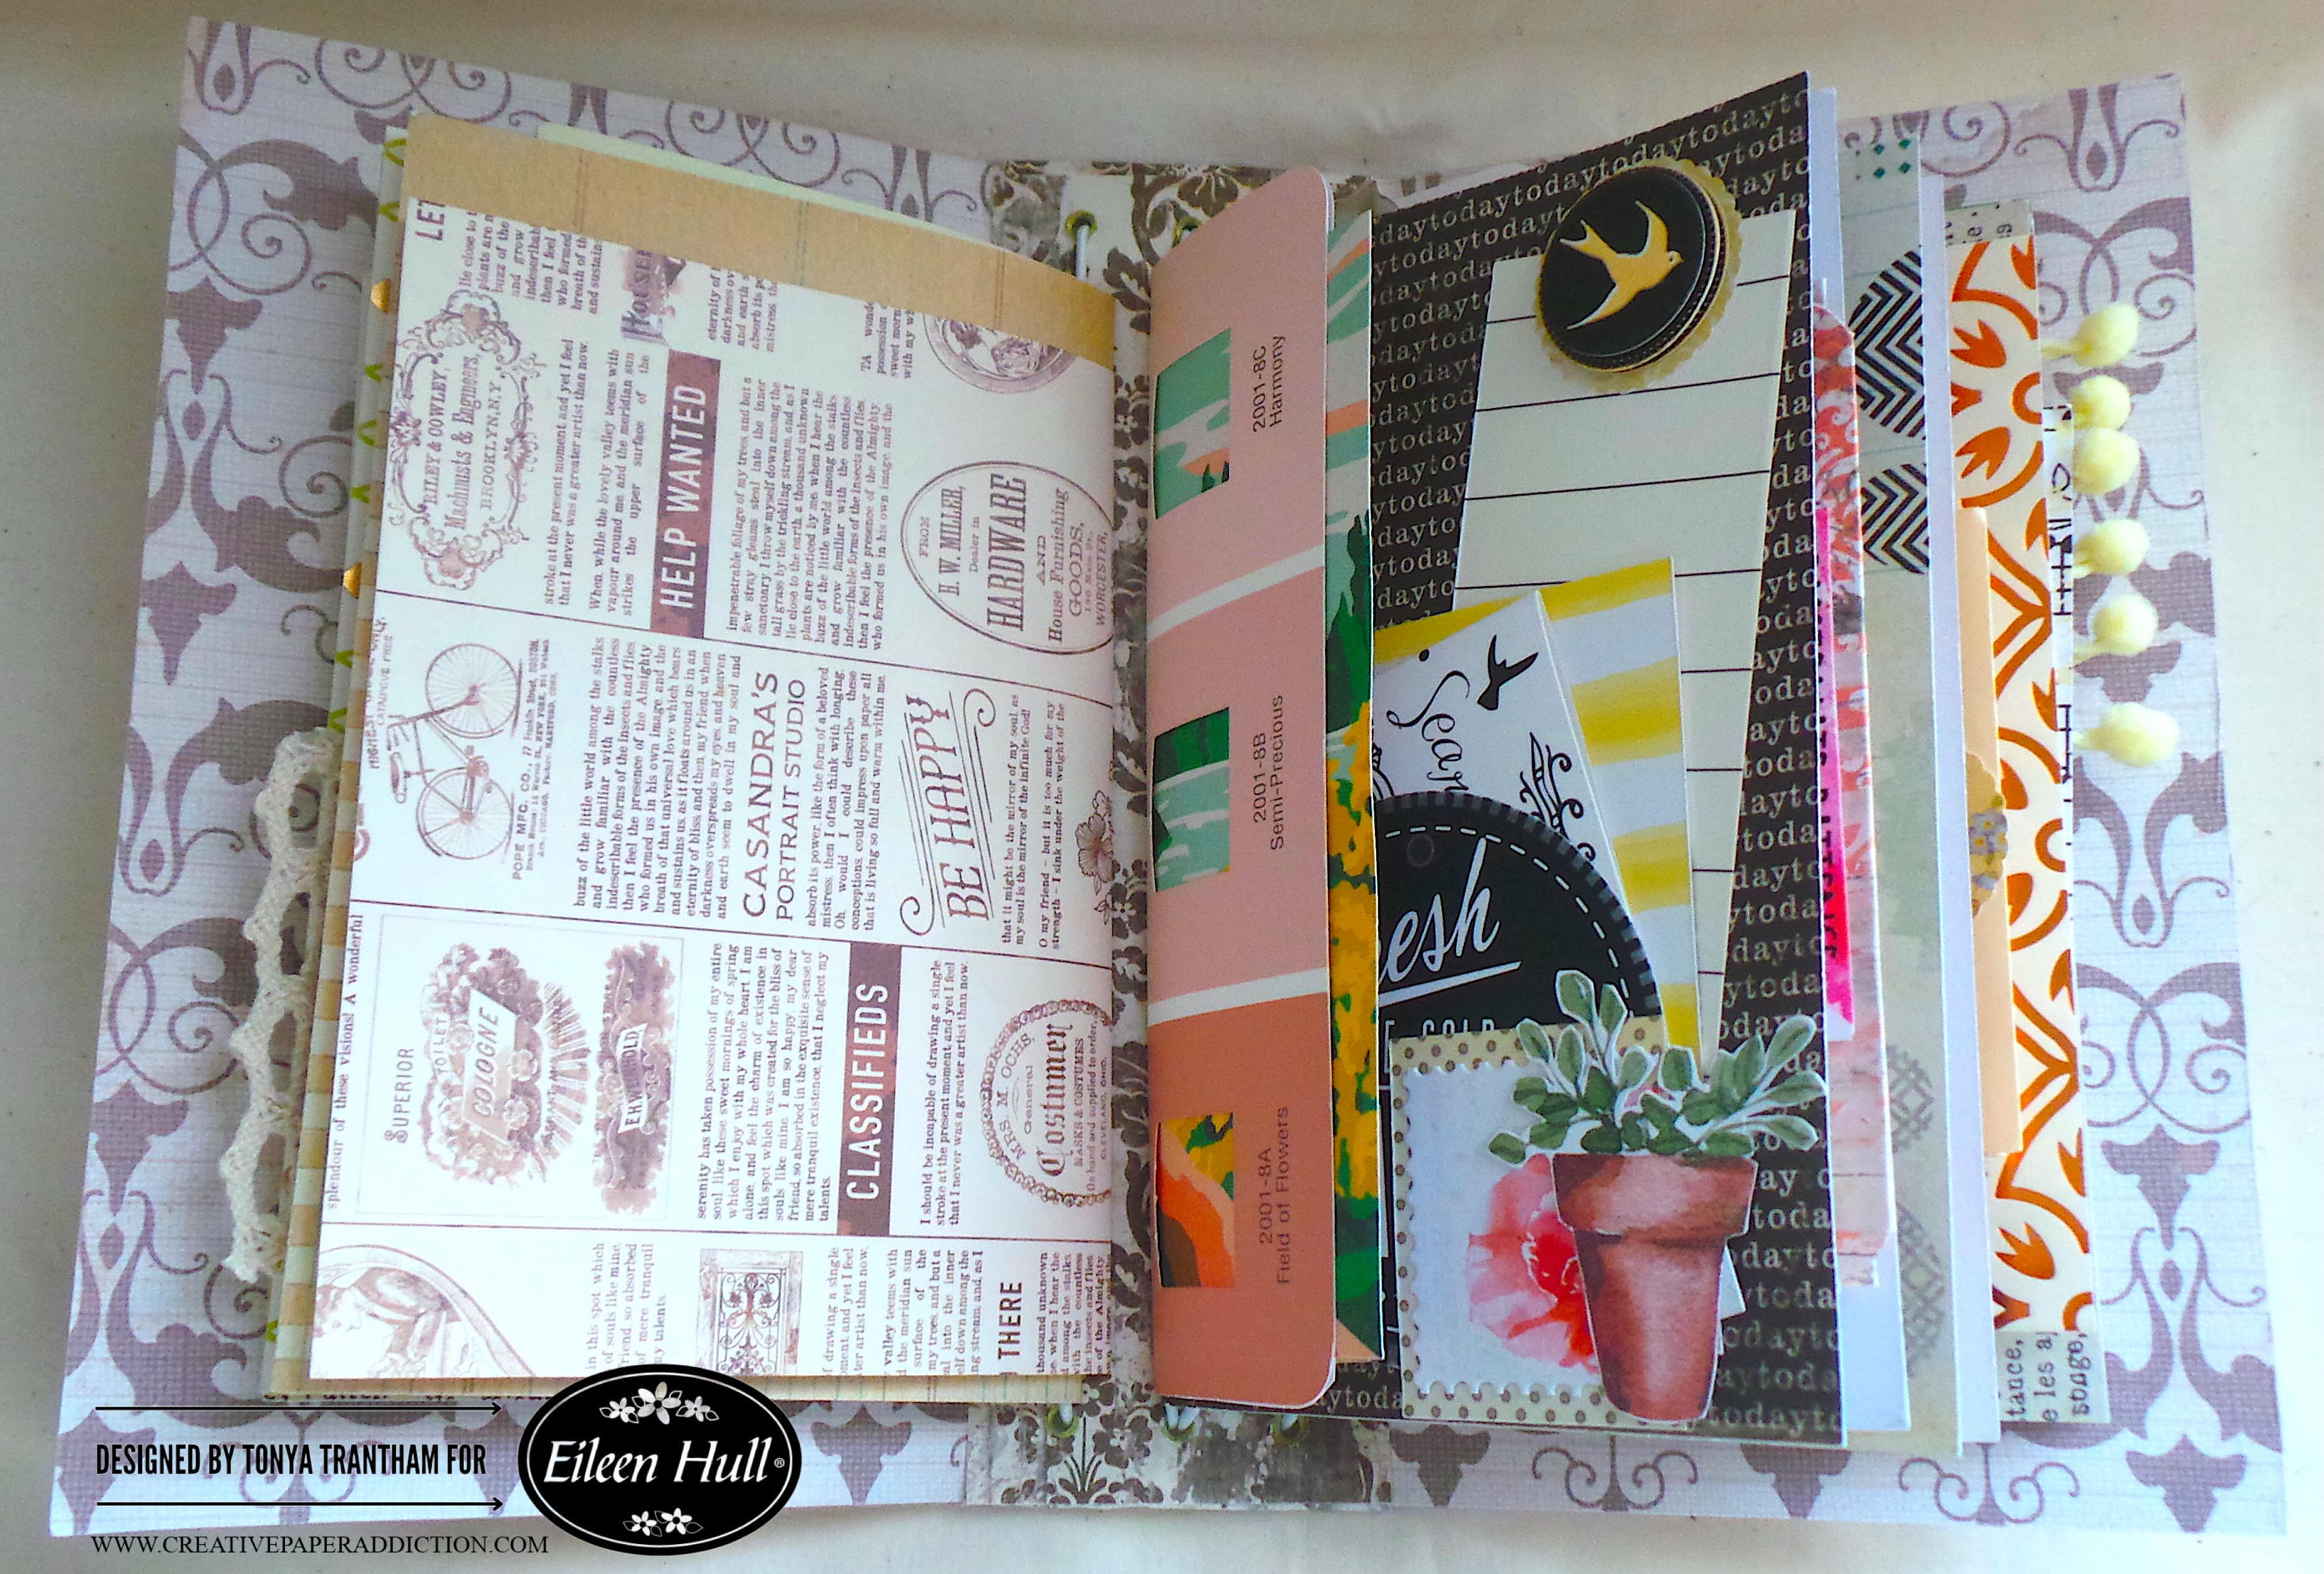
For the inside pages, I used an assortment of paper diecuts and embellishments.

I used one of the journaling cards as a tuck spot.

The two pages in one I thought was pretty cool.

I loved adding the bright green doily as a page to the journal. I also used a parking garage ticket as a tab on a page.

I used a sheet of watercolor paper in the journal. On the back side of the page, I fussy cut out a floral image from a scrap piece of cardstock. I adhered two of the sides to the page to create a pocket. I added scraps of cardstock as journaling spots to the pocket.

I used a journaling card that had a perforated edge. Instead of tearing it from the booklet it was in I carefully removed it with the perforated edge intact. I adhered to the top of the page. I added a strip of cardstock to cover where I tore it from the booklet.

I glued a journaling card along the bottom and added to the middle of the page. I created a tuck spot. I added a scrap of cardstock. I also included a journaling card and a paint chip. I had picked up the paint chip in the paint department at Walmart. These items were added to the tuck spot.

I added glue to the bottom of the “Good Times” cut a part. I placed it on the bottom of the page to create a tuck spot. I added a scrap of cardstock to the pocket.

I added a small Polk a dot paper bag to the side of the page. I secured it by adding washi tape to the page and bag. I glued a sentiment to the bag along with a butterfly embellishment. I placed a decorative journaling card inside of the bag.

I created another tuck spot with a decorative card from my stash.

I filled the tuck spot with journaling cards and scraps of cardstock.

More tuck spots and a flip up card for journaling or adding photos.

I dug into my stash and found this little felt flower and paper leaves I had not used. I thought it was a perfect addition to the page. On the opposite page, I glued another journaling card to the corner. I also added a scrap of cardstock with a sentiment.

The last page in the journal I adhered a butterfly diecut to the top of the page to finish.

This journal was so much fun to put together! If you don’t have file folders laying around your home, you can find them at places like Walmart and Target. You can also check your local office supply stores. For the rest, use what craft supplies you have on hand! You will be surprised how quick one of these journals comes together.

Supplies

File Folder

49 & Market: Rouge Collection

Various Plain and Patterned Cardstock, Notebook and Grid Paper and Paper Doilies

Various Embellishments and Diecuts

Needle and Cording

Seam Binding, Trim and Fiber

Washi Tape

Small Paper Bag

Paper Cutter

Scissors

Beacon Adhesives: Zip Dry Adhesive

(Products listed above are Affiliated Links for your convenience)

DISCLAIMERS

This blog is compensated to provide opinion on products, services, websites, and various other topics. Even though the owner(s) of this blog receives compensation for our posts or advertisements. I always give my honest opinions, findings, beliefs, or experiences on those topics or products. The views and opinions expressed on this blog are purely my own. Any product claim, statistic, quote or other representation about a product or service should be verified with each manufacturer, provider, or party in question.This blog contains affiliate links, clicking and shopping through these links helps to support and run Tonya Trantham Designs – Creative Paper Addiction at no additional cost to you. Today’s features are Scrapbook.com Products. 

Thanks for stopping by, hope your Friday wonderful and enjoy creating!

Eileen Hull Treasure Box Journal Tutorial | Part 2

Hi everyone! I’m back this week with part two of the “What’s in the box?”-The Treasure Box that is! I created a journal with the bottom half of the Treasure Box Diecut. It actually fits inside of the project that I shared last week. If you missed that post you can find it HERE. Anyways, let’s get started!

First, I cut out two of the bottom halves and a partial from the Treasure Box Diecut. I puzzled out how I was going to put the journal together. Then, I ditched the partial piece I cut out.

Next, I measured an inch from the tab, marked with a pencil and cut off.

I glued one of the side tabs to the other cover. This was when I realized I needed to cut down the height of the journal. I measured an inch from the crease in the cover, marked with a pencil and cut. I did this on both ends of the cover.

I glued the tabs to each end of the cover. I cut one of the flaps down even more. I did this so the closure with Brads would close.

I used the Bookbinding and Label Thinlits and cut one hinge out. I cut in half and use both to create the hinge for the inside of the journal.

I used an assortment of cardstock, vintage book pages and dies for the base of the inside pages.

I used the medium size tag from the Waterfall Card and Tags Thinlits through out the journal. I decorated with bits of lace, scraps of cardstock, and premade flowers. I also used leaves and a mini person from the Mini Paper Dolls.

I created a little pocket that I stuffed with a file folder and mini journaling cards.

I used the mini envelope as a pocket and stuffed with folded cardstock and tags.

I embossed a piece of cardstock with the Lace Embossing Folder. I lightly inked with chalk ink and added a circle punch and a button to the front and tags inside.

I love how all the pages turned out!

I used lace, ric rac, various cardstocks and a fussy cut feather to decorate the cover. I finished by adding loops of thread and a premade flower.

If you haven’t been by Eileen Hull’s blog lately, see what her team has created with the Treasure Box Diecut.

You can find the latest post HERE.

Supplies

Sizzix/Eileen Hull: Treasure Box Diecut

Sizzix/Eileen Hull: Waterfall Card and Tags Thinlits

Sizzix/Eileen Hull: Bookbinding and Label Thinlits

Sizzix/Eileen Hull: Envelope, Folder and Flowers Thinlits

Sizzix/Eileen Hull: Lace Embossing Folder

Diecut Machine

Paper Cutter

Scissors

Various Plain and Patterned Cardstock

Chipboard

Vintage Book Pages

Various Embellishments

Lace, Ric Rac, Trim and Thread

Closure

Brads

Crop-A-Dile

Mini Paper Dolls

Beacon Adhesives: Zip Dry Adhesive

(Products listed above are Affiliated Links for your convenience)

DISCLAIMERS

This blog is compensated to provide opinion on products, services, websites, and various other topics. Even though the owner(s) of this blog receives compensation for our posts or advertisements. I always give my honest opinions, findings, beliefs, or experiences on those topics or products. The views and opinions expressed on this blog are purely my own. Any product claim, statistic, quote or other representation about a product or service should be verified with each manufacturer. You should also verify with each provider, or party in question. This blog contains affiliate links. Clicking and shopping through these links helps to support and run Tonya Trantham Designs. Creative Paper Addiction at no additional cost to you. Today’s features are Sizzix, Eileen Hull and Scrapbook.com Products.

Thanks for stopping by, hope your Friday is wonderful and enjoy creating!

Ephemera Book Journal Tutorial with Notebook Diecut and Painterly Blooms by Eileen Hull

Hi everyone! I’m back this week with a journal I created using the Notebook Diecut and Painterly Blooms and Background Thinlits by Eileen Hull. I love using the notebook diecut because it’s so quick and easy to put together. So, let’s get started!

I used the Flowers and Lace Cut and Create Ephemera Book by Calico Collage for the cover, pages and ephemera for the inside of the journal. If you don’t have a printer or your printer is on the fritz this is an easy solution. Everything is printed for you but in book form. The only thing you need to do is be “careful” when taking the book apart.

First, I took apart the book and selected the pages I wanted to use in my journal. Next I applied Adhesive Sheets to the front and back of a piece of Chipboard, placed the selected pages on top of the adhesive sheets. I placed the chipboard on top of the Notebook Diecut, placed in-between the cutting plates and ran through the Diecut Machine.

I cut papers from the ephemera book along with an envelope . I also used an old book page and grid paper for the inside pages.

I punched holes in all the papers and in the spine of the journal and sewed all five papers along with an envelope to the inside spine and tied off. Then I glued the envelope together.

There are several cut a parts in the ephemera book. I tucked cards in a floral pocket that I had fussy cut from the book and glued to the page.

Some of the cut a parts I “wrapped” around the page to create a flap and pocket to hold journaling cards.

I had fussy cut a doily which was actually too big for the journal so I folded one end up to create a little pocket to hold journaling cards.

There’s more tuck spots for ephemera and the backside of the envelope!

I chose to add some folded papers from the book along with a journaling card to the envelope. The opposite page I dressed up with cut a parts and washi tape.

I think this is my favorite spread in the whole journal! I love the “be fearless” and butterfly and on the opposite page I created a mini journal with one of the cut a parts…so many tiny bits and pieces in it.

I turned a banner from my stash into a tuck spot.

I kept these page pretty simple with a few cut a parts and a bit of pom pom trim.

The last page and inside cover I kept plain for journaling or adding photos.

The cover I decorated with an assortment of laces, scraps of cardstock, corrugated cardboard, and fussy cut pieces from the book. I also had two flowers and a leaf cut from the Painterly Blooms and Background Thinlits. I shaped with a Stylus before gluing the flowers on top of each other and adding a leaf to the back of the flower. This was the perfect finishing touch to the cover.

I absolutely love using the ephemera book to create this journal. Everything coordinated and took a lot of the guess work out of does this go together or not. Also if you haven’t been by Eileen’s blog lately you can her latest post HERE.

Supplies

Sizzix/Eileen Hull:Notebook Diecut

Sizzix/Eileen Hull: Painterly Blooms and Background Thinlits

Calico Collage: Flowers and Lace Cut and Create Ephemera Book

Diecut Machine

Adhesive Sheets

Chipboard

Crop-A-Dile

Stylus

Paper Cutter

Scissors

Various Plain and Patterned Cardstocks, Book Page and Grid Paper

Lace and Pom Pom Trim

Needle and Thread

Washi Tape

Beacon Adhesives: Zip Dry Adhesive

(Products listed above are Affiliated Links for your convenience)

DISCLAIMERS

This blog is compensated to provide opinion on products, services, websites, and various other topics. Even though the owner(s) of this blog receives compensation for our posts or advertisements. I always give my honest opinions, findings, beliefs, or experiences on those topics or products. The views and opinions expressed on this blog are purely my own. Any product claim, statistic, quote or other representation about a product or service should be verified with each manufacturer, provider, or party in question.This blog contains affiliate links, clicking and shopping through these links helps to support and run Tonya Trantham Designs – Creative Paper Addiction at no additional cost to you. Today’s features are Sizzix, Eileen Hull, Scrapbook.com and Calico Collage Products. 

Thanks for stopping by, hope your Wednesday is great and enjoy creating!

DIY Watercolor Flowers and Lattice Stencils Notebook

Hi everyone! I’m back with my first post of the month using the Painterly Blooms and Back Ground Thinlits, Watercolor Flowers and Lattice Stencils, Notebook Diecut, along few others dies and a embossing folder, all by Eileen Hull. Have you ever had a project that didn’t turn out the way you envisioned it? This notebook was a complete “train wreck” and nothing turned out the way it was supposed to. But I was determined to make it work and not trash what I had started. Anyways, let’s get started!

First, I used washi tape to place the lattice stencil from the Watercolor Flowers and Lattice Stencils onto a piece of Watercolor Paper. I inked an Art Dauber with Brown Chalk Ink and inked over the stencil.

Second, this is where the “train started to derail”, I had to move the stencil so I could cover all the watercolor paper. Guess what? I didn’t realize I didn’t line up the stencil.

Third, I had another idea on how I wanted to do the cover but I had to switch it up. Maybe I will do another notebook with the lattice with the original idea I had. Anyways, I decided to use a box cutter knife and cut out the messed up area on the stencil along with some random areas to make it look intentional. But before I cut anything out I placed an Adhesive Sheet onto the back of the watercolor paper. Side note…the adhesive sheet and the watercolor paper is very thick which made it hard to cut through everything. Will I do anything like this again? Hopefully not, my hand hurt from all the cutting.

Fourth, I peeled the backing from the adhesive sheet and placed in onto a piece of patterned cardstock.

Fifth, I placed the cardstock/watercolor paper onto the Notebook Diecut. Guess what I did? I placed the watercolor paper side “up” on the diecut so my “creases” were on what should be the inside cover. Ugh! I folded against the creases and that is why the spine looks a little ragged.

Sixth, I adhered a patterned cardstock to the inside since it didn’t exactly match the cover. But guess what? I didn’t cut the patterned cardstock to completely cover the inside cover.

Seventh, So, I embossed plain cardstock with the Lace 3D Embossing Folder and glued those to both inside covers. I glued a bit of ribbon to add detail to the inside.

I had a plain notebook that I removed the cover and punched holes with a Crop-A-Dile into the notebook and spine.

Eighth, I tied the notebook to the spine with jute. I added a little adhesive before placing the button from the Card Case Diecut and securing and tying to the spine.

Ninth, I gathered tulle, trim and lace and glued to the lower corner of the notebook. I had the label from the Card Caddy Diecut in my stash. I inked the edges of it with gold ink and placed on top of the trim.

Tenth, I cut three flowers and leaves from the Painterly Blooms and Back Ground Thinlits and shaped with a Stylus . I adhered the three flowers on top of each other and the leaves to the back before gluing to the label. I finished by adding a gem to the center of the flower and loops of thread.

This notebook is easy to make and the perfect size to fit in your purse for quick note taking or lists. Also if you haven’t been by Eileen Hull’s blog you can find the latest posts HERE.

Supplies

Sizzix/Eileen Hull: Painterly Blooms and Back Ground Thinlits

Sizzix/Eileen Hull: Watercolor Flowers and Lattice Stencils

Sizzix/Eileen Hull: Notebook Diecut

Sizzix/Eileen Hull: Lace 3D Embossing Folder

Sizzix/Eileen Hull: Card Case Diecut

Sizzix/Eileen Hull: Card Caddy Diecut

Diecut Machine

Watercolor Paper

Various Plain and Patterned Cardstocks

Brown and Gold Inks

Jute, Thread, Tulle, Lace and Trim

Gem

Adhesive Sheet

Art Daubers

Scissors

Paper Cutter

Stylus

Xacto Knife

Notebooks

Crop-A-Dile

Beacon Adhesive: Zip Dry Adhesive

(Products listed above are Affiliated Links for your convenience)

DISCLAIMERS

This blog is compensated to provide opinion on products, services, websites, and various other topics. Even though the owner(s) of this blog receives compensation for our posts or advertisements. I always give my honest opinions, findings, beliefs, or experiences on those topics or products. The views and opinions expressed on this blog are purely my own. Any product claim, statistic, quote or other representation about a product or service should be verified with each manufacturer, provider, or party in question.This blog contains affiliate links, clicking and shopping through these links helps to support and run Tonya Trantham Designs – Creative Paper Addiction at no additional cost to you. Today’s features are Sizzix, Eileen Hull and Scrapbook.com Products. 

Thanks for stopping by, hope your Thursday is great and enjoy creating!

Roses and Hearts Envelope Journal

Hi everyone! I’m back this week with a journal I created. I had actually started this journal last year but the month of February and Valentine’s Day slipped by quickly on me and I didn’t finish it. So needless to say, I was able to finish it this year. I used envelopes, an assortment of different types of cardstocks, embellishments and a few diecuts and thinlits by Eileen Hull to complete this journal. Anyways, let’s get started!

First, I started with an envelope that had “junk mail” in it. I was able to open it without ripping up the flap on the back . I glued the flap down and folded in half.

Second, I cut to fit patterned cardstock to fit the front and back of the cover and the inside of both sides of the cover. Side note, this will make it easier to stitch in the pages.

Third, I gathered an envelope, which I sealed the flap before cutting an opening in the end to created a “pocket, patterned cardstocks and dotted writing paper for the inside pages. I punched two holes into the spine before stitching with a needle and thread all the pages to the inside of the cover. I tied off on the outside spine. I cut a piece of flat lace the length of the spine, centering the lace to either side of the front and back covers before adhering in place.

Fourth, I decorated the cover first. I know some crafters like to save the cover for last but for me if I can get the cover squared away/finished or close to finished it sets the theme for the inside of the journal.

I used an assortment of embellishments that I have had for years in my stash on the cover, such as the Ric Rac, lace, the lace flower and the chipboard roses piece along with a chipboard frame and a oversized floral postage stamp that I had purchased a couple of months ago. I cut the smallest and middle size hearts from the Envelope, Folder and Flowers Thinlits and inked the edges with a hot pink chalk ink. I layered those on top of each other and slightly under the chipboard roses. I also cut the largest leave from the same set of thinlits and shaped with a Stylus before gluing under the lace flower. I finished by adding a bow made of thread under the flower.

Fifth, I used a cut a part to create a pocket on the inside cover which I added a couple of flowers and another cut a part over the flowers. I used a bit of trim to dress up the top of the pocket. The opposite page I covered with a patterned cardstock.

I cut from a patterned piece of cardstock the decorative number 14, inked the edges before adding glue to two sides and placing on the corner of the page to create a pocket. I used a mix of cut a parts, scraps of patterned cardstock and a piece of grid paper as tags to fill the pockets. Side note, I dressed up the grid paper with a rub on and lightly inking the edges to give it an aged old.

Sixth, the next set of pages I kept the decoration to those pages to a minimum. I added a patterned cardstock to the back of the smaller page along with pom pom trim. The opposite page I found these felt pieces in my stash. I adhered to the upper corner of the page, added the “sweetheart” sentiment and sequins over the heart.

Seventh, this set of pages I added two cut a parts and a staple with my Tiny Attacher.

The opposite page I fussy cut the children out and added glue to the bottom and to the corner of the heart and placed on to the page to create a pocket. I cut down a piece of 6″x6″ patterned cardstock, folded in half and placed in the pocket.

Eighth, these two page I kept simple and added lace to the dotted paper. The opposite page I adhered the tab I had cut off from a file folder to that page along with Ric Rac.

Ninth, I adhered a piece of patterned cardstock to the back of the tab. Also you can see where I stitched the pages into the cover.

Tenth, the next set of pages I used a piece of washing tape to secure the “love you” cut a part to the page to create a tip in/flap. I adhered heart ribbon down the side of the page and I added a button to the flap. The opposite page, I cut a library pocket from Library Pocket ATC Card and Tabs Thinlits from Vellum and put together. I added glue to the bottom and one side of the pocket and placed on the bottom corner of the page.

I glued a label to the pocket. The open circle is actually the tire that was leftover from the a project I made with the Vintage Truck Box Diecut. I glued onto the label and added a chipboard heart and two sequins to complete the pocket. I placed cut a parts and folded pieces of patterned cardstock to the pocket.

Eleventh, the next set of pages, the dotted paper I cut two banners and added adhesive to the top of each and placed in the top corner of the page and a circle punch and a scrap of cardstock. The banner can be used as tuck spots for tags.

The opposite page I added two cut a parts and another staple to finish the page.

Twelfth, the next set of pages I glued two strips of cardstock, one slightly smaller than the other, together before adding adhesive to the top and bottom of the strip before placing onto the page. I embellished with a felt heart and a “love you” sentiment. I also cut a piece of notebook paper down and folded in half. I lightly inked with chalk ink and added a “us forever” rub on the paper before sliding under the belly band.

The smaller page I added patterned cardstock to the envelope and glued a flower and a cut a part to the upper corner of the page. I added two tags to the pocket.

Thirteen, I cut a waterfall card from the Waterfall Card and Tags Thinlits, added a “love” rub on to the card, folded the flap and adhered the smaller flap to the inside of the pocket.

I glued a small tab to the top of the card and a decorative piece of cardstock to the page. The back of the inside cover I used a decorative diecut from my stash and a “happiest day ever” sentiment to complete the inside of the journal.

It felt great to use what I had in my massive amount of supplies to create this journal. Don’t get me wrong I love buying new craft supplies but I am trying to use more of my supplies instead of hoarding them. 

Question, do you hoard your craft supplies or do you use them? Let me know in the comments below if you do or if you don’t.

If you haven’t been by Eileen Hull’s blog lately to see what her teams have been up to you can find the latest post HERE.

Supplies

Sizzix/Eileen Hull: Envelope, Folder and Flowers Thinlits

Sizzix/Eileen Hull: Library Pocket ATC Card and Tabs Thinlits

Sizzix/Eileen Hull: Vintage Truck Box Diecut

Sizzix/Eileen Hull: Waterfall Card and Tags Thinlit

Diecut Machine

Stylus

Tiny Attacher

Tiny Attacher Refills

Vellum

Washi Tape

Lace, Pom Pom Trim, Ric Rac and Trim

Chalk Ink

Various Embellishments

Various Patterned Cardstocks

Notebook and Dotted Paper

Needle, Thread, Button and Sequins

Scissors

Paper Cutter

Beacon Adhesives: Zip Dry Adhesive

(Products listed above are Affiliated Links for your convenience)

DISCLAIMERS

This blog is compensated to provide opinion on products, services, websites, and various other topics. Even though the owner(s) of this blog receives compensation for our posts or advertisements. I always give my honest opinions, findings, beliefs, or experiences on those topics or products. The views and opinions expressed on this blog are purely my own. Any product claim, statistic, quote or other representation about a product or service should be verified with each manufacturer, provider, or party in question.This blog contains affiliate links, clicking and shopping through these links helps to support and run Tonya Trantham Designs – Creative Paper Addiction at no additional cost to you. Today’s features are Sizzix, Eileen Hull, Scrapbook.com and A Cherry on Top Store Products. 

Thanks for stopping by, hope your Wednesday is wonderful and enjoy creating!